Buckeye Mini Pies: The Irresistible Peanut Butter & Chocolate Treat
Prepare to fall in love with these delightful Buckeye Mini Pies, a charming dessert that perfectly captures the iconic flavors of the beloved Buckeye candy. Imagine a golden, flaky pie crust cradling a rich, creamy peanut butter filling, all crowned with a generous layer of smooth, melted chocolate. These individual treats offer a sophisticated twist on a classic, making them an ideal choice for any occasion.
For those who can’t get enough of the timeless combination of peanut butter and chocolate, these mini pies are an absolute dream come true. Inspired by the irresistible traditional Buckeye candy, this recipe transforms that cherished flavor profile into an elegant, bite-sized pie form. Beyond satisfying your sweet cravings at home, these easy Buckeye Mini Pies are truly perfect for entertaining. Their handheld nature makes them a fantastic addition to party dessert tables, potlucks, or any gathering where convenience meets gourmet taste. Forget messy slices – these individual desserts are designed for effortless enjoyment, ensuring your guests can savor every delicious morsel with ease.

Frequently Asked Questions About Buckeye Mini Pies
While a baking mat (paid link) with measurement guides can certainly simplify the process of rolling out your pie crust to the perfect size, it is by no means a mandatory tool. You can achieve excellent results using a lightly floured surface or a large cutting board. Similarly, for the pie shells, any standard muffin pan (paid link) you have on hand will work perfectly. If your pan isn’t nonstick, a quick spray with cooking oil is all you need to ensure easy release of your beautifully baked crusts.
Absolutely! While colorful sprinkles add a festive touch, feel free to get creative with your toppings. For a delightful crunch and different flavor profile, consider adding finely chopped nuts such as peanuts, pecans, or walnuts. A dollop of freshly whipped cream just before serving can also elevate these mini pies to an even more decadent level, offering a lovely contrast to the rich chocolate and peanut butter layers. Shredded coconut, a drizzle of caramel, or even a sprinkle of sea salt can also be wonderful additions to explore!
This recipe is designed to yield approximately 24 mini pies using just one standard store-bought pie crust from a box of two. You’ll typically roll out the first crust, cut around 17 circles, then gather the scraps, re-roll them, and cut an additional 7 circles. This method ensures minimal waste and maximum yield from a single crust. However, if you prefer a thicker crust or want to ensure you have plenty of dough without re-rolling, you can certainly use both crusts from the box. The peanut butter filling recipe is perfectly proportioned for 24 mini pies, but you can easily scale it up or down if you decide to make more or fewer.
To maintain their freshness and delightful texture, any leftover Buckeye Mini Pies should be stored in an airtight container in the refrigerator. They will remain delicious for approximately 2 to 3 days. For best results, allow them to come to room temperature for a few minutes before serving, as this enhances the creaminess of the peanut butter filling and the richness of the chocolate topping.
Yes, Buckeye Mini Pies freeze beautifully! Once fully assembled and the chocolate topping has set, place the pies on a baking sheet and freeze until solid, about 1-2 hours. Then, transfer them to an airtight freezer-safe container or a resealable freezer bag. They can be stored in the freezer for up to 1-2 months. To serve, simply thaw them in the refrigerator overnight or at room temperature for a few hours. This makes them an excellent make-ahead dessert for future events or sudden cravings.

Essential Ingredients for Perfect Buckeye Mini Pies
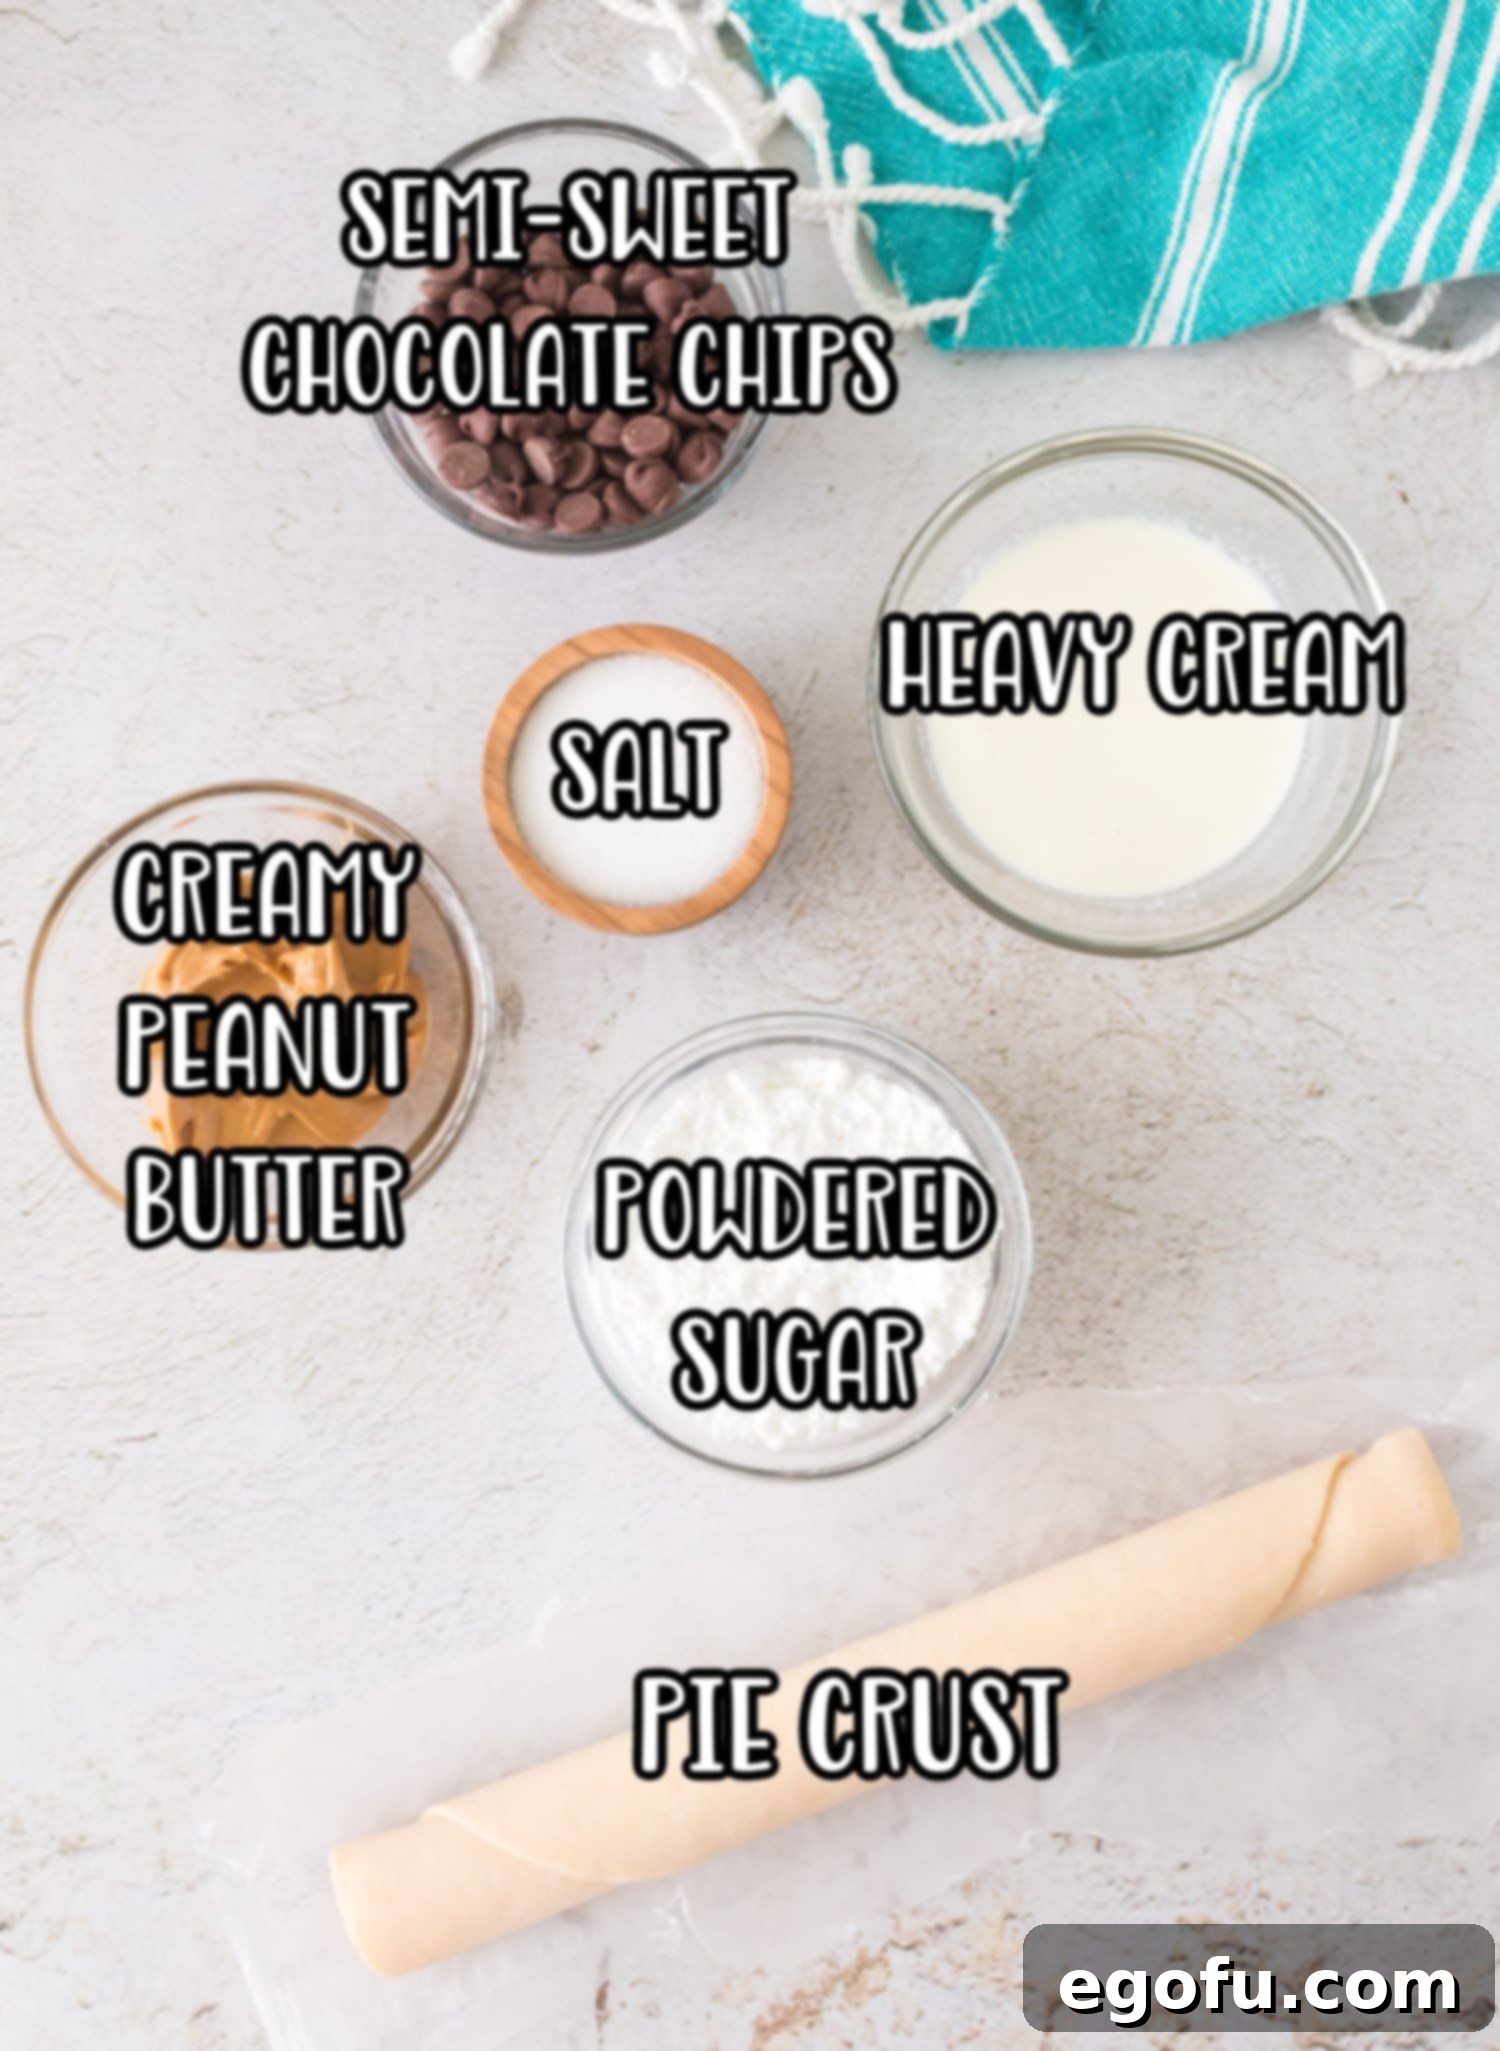
Crafting these delectable Buckeye Mini Pies requires a handful of common ingredients, most of which you likely already have in your pantry. The full, detailed recipe card is provided below, but here’s a closer look at what you’ll need and why each component is key:
- Store-Bought Pie Crusts: Convenience is key! A single box usually contains two ready-to-use pie crusts. While using pre-made crusts saves significant time and effort, feel free to substitute with your favorite homemade pie crust recipe if you prefer a from-scratch approach. Ensure your crust is thawed according to package directions before use.
- Creamy Peanut Butter: The heart of the Buckeye flavor! Smooth, creamy peanut butter creates that signature velvety filling. For a subtle textural contrast and an extra nutty bite, you could experiment with crunchy peanut butter. Just ensure it’s a good quality, stir-free variety for the best consistency.
- Powdered Sugar (Confectioners’ Sugar): This fine sugar is crucial for achieving a smooth, lump-free peanut butter filling that melts in your mouth. Unlike granulated sugar, powdered sugar dissolves effortlessly, creating a silky texture.
- Heavy Cream (Divided Use): Heavy cream plays a dual role in this recipe. It adds richness and helps create a perfectly spreadable consistency for both the peanut butter filling and the luscious chocolate ganache topping. Ensure it’s cold when using it for best results.
- Semi-Sweet Chocolate Chips: These provide the classic chocolate complement to the peanut butter. Semi-sweet chocolate offers a balanced sweetness that prevents the pies from being overly rich. You can also use milk chocolate for a sweeter profile or dark chocolate for a more intense cocoa flavor, depending on your preference.
- Salt: Just a pinch of salt (often already in your peanut butter, but sometimes added to the filling) enhances all the flavors, balancing the sweetness of the sugar and chocolate while bringing out the savory notes of the peanut butter.
- Sprinkles (Optional): A fun and festive addition! Sprinkles add a pop of color and visual appeal, making these mini pies even more enticing for parties or celebrations. Feel free to choose colors that match your occasion or skip them entirely.
Step-by-Step Guide: Crafting Your Own Buckeye Mini Pies
Creating these delightful Buckeye Mini Pies is a straightforward and enjoyable process. Follow these detailed steps to ensure your mini pies turn out perfectly golden, creamy, and utterly delicious. Remember, the full recipe with precise measurements can be found in the recipe card below.
Preparing the Pie Crusts: The Foundation of Flavor
- Begin by preheating your oven to 425°F (220°C). This high temperature is essential for achieving a perfectly flaky and golden-brown crust.
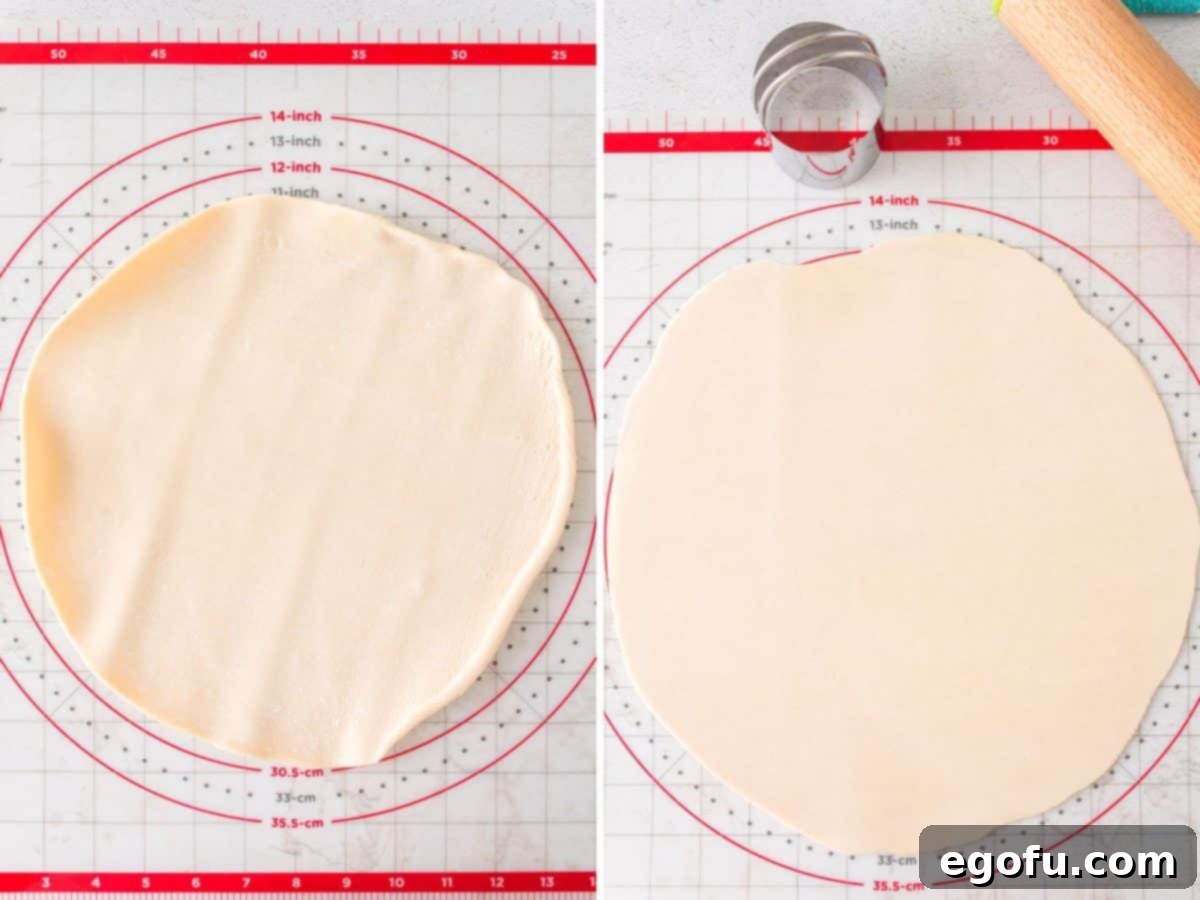
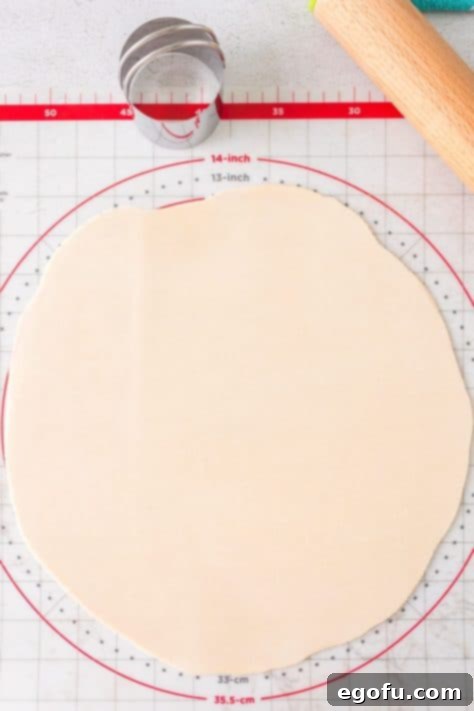
- Gently unroll one of your store-bought pie crusts onto a clean, lightly floured work surface. If you have a baking mat (paid link) with measurement guides, it can be helpful here, but a large cutting board or countertop works just as well. Roll the dough evenly into a 12-inch circle. Don’t worry if it’s not perfectly round; the goal is to have enough surface area for cutting.
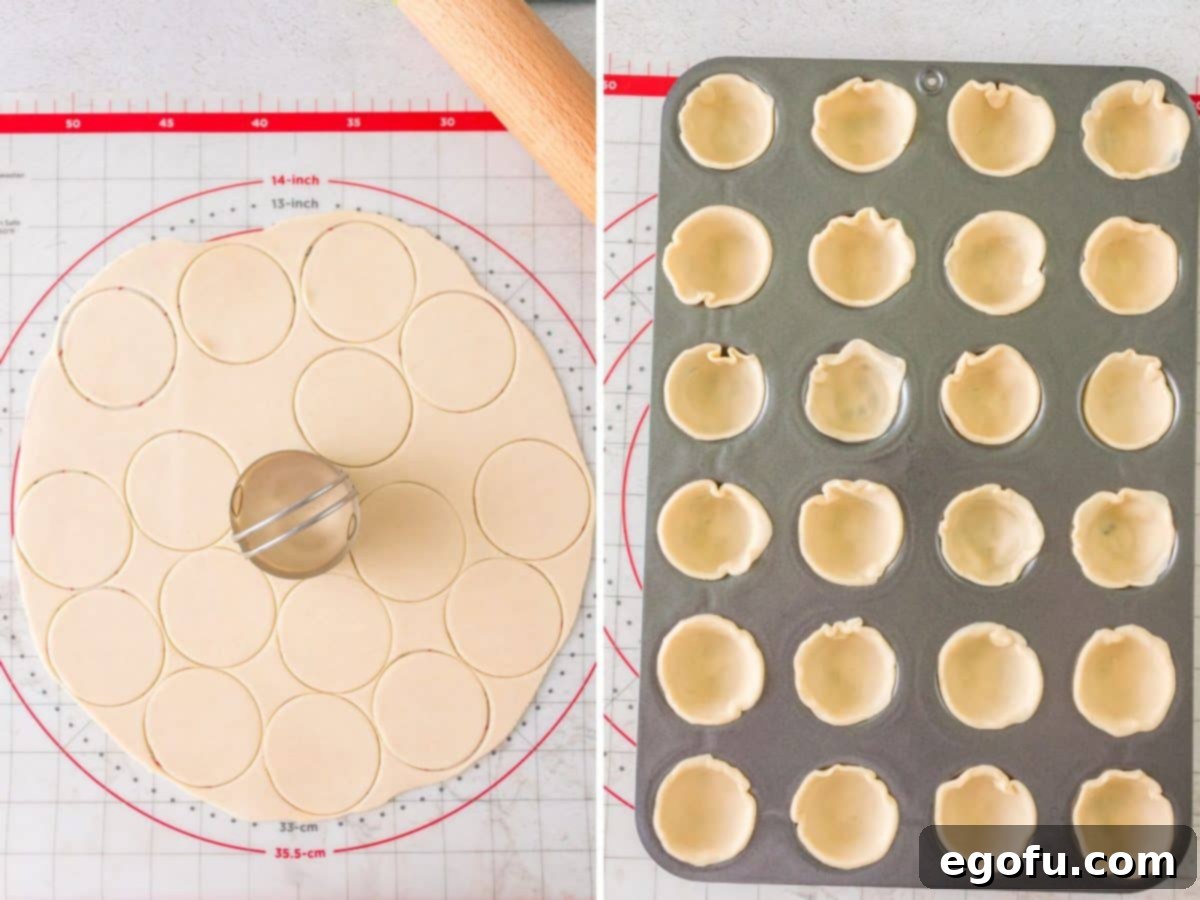
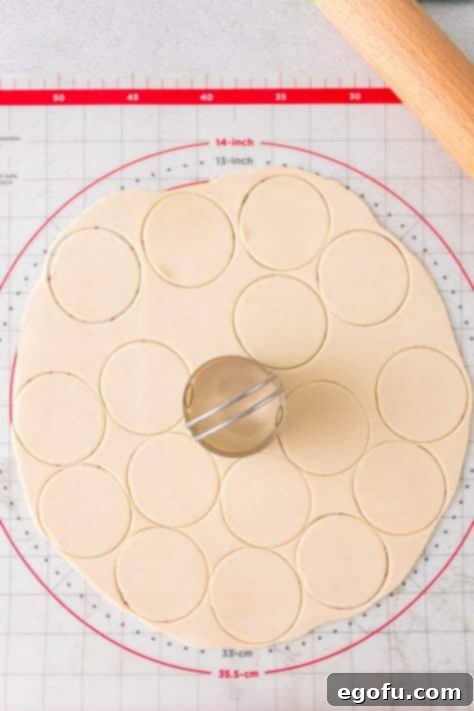
- Using a 2½-inch circular cookie cutter or biscuit cutter, cut out as many circles as possible from your 12-inch dough. You should get around 17 circles initially. Gather the leftover dough scraps, gently press them together, and re-roll the dough. Continue cutting circles until you have a total of 24. There will be very little dough remaining. Alternatively, to save time on re-rolling, you can simply use a second pie crust from the box if preferred.
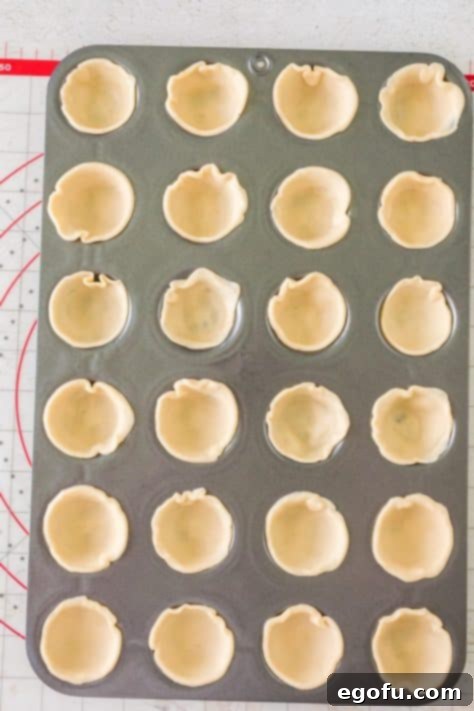
- Carefully place each dough circle into the cavities of an ungreased nonstick mini muffin pan. If your muffin pan isn’t nonstick, lightly spray each cavity with a nonstick cooking spray to prevent sticking. A standard 24-cup mini muffin pan is ideal, but if you have a smaller one (like 12 or 18 cups), you can bake these in batches.
- Gently press the dough down into each cavity, ensuring it forms a neat little cup shape. This creates the perfect vessel for your peanut butter filling. Once the cups are formed, use a fork to poke the bottom of each dough cup 3 to 4 times. This crucial step allows steam to escape during baking, preventing the crust from bubbling up and losing its cup shape.
- Bake the pie shells in the preheated oven on the middle rack for 8 to 10 minutes, or until they turn a beautiful golden brown. Keep a close eye on them, as mini crusts can bake quickly.
- Remove the pan from the oven and let it cool for about 5 minutes before carefully transferring the baked pie shells onto a wire cooling rack. Allow them to cool completely to room temperature before adding the filling. This prevents the filling from melting prematurely.
Crafting the Creamy Peanut Butter Filling: The Star of the Show
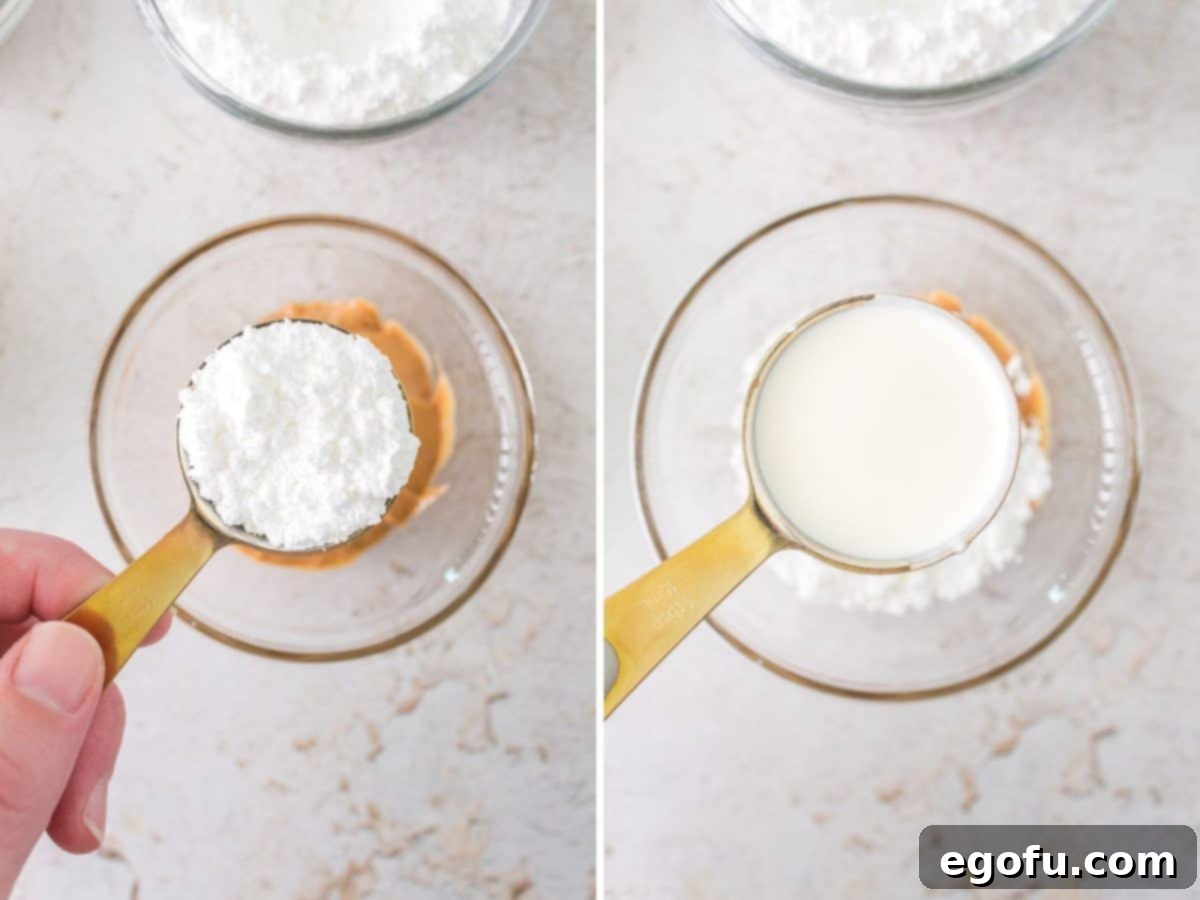
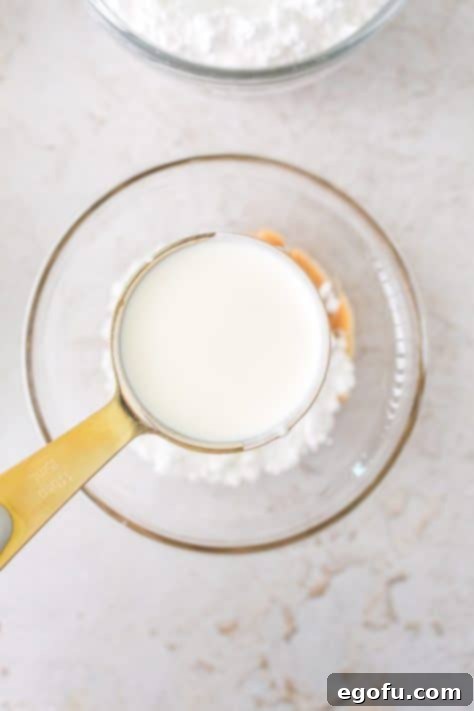
- While your pie shells are cooling, prepare the rich peanut butter filling. In a small mixing bowl, combine the creamy peanut butter, powdered sugar, and 3 tablespoons of heavy cream.
- Mix these ingredients thoroughly until they are fully combined and achieve a smooth, consistent texture. The mixture should be thick enough to hold its shape but still soft enough to pipe easily.
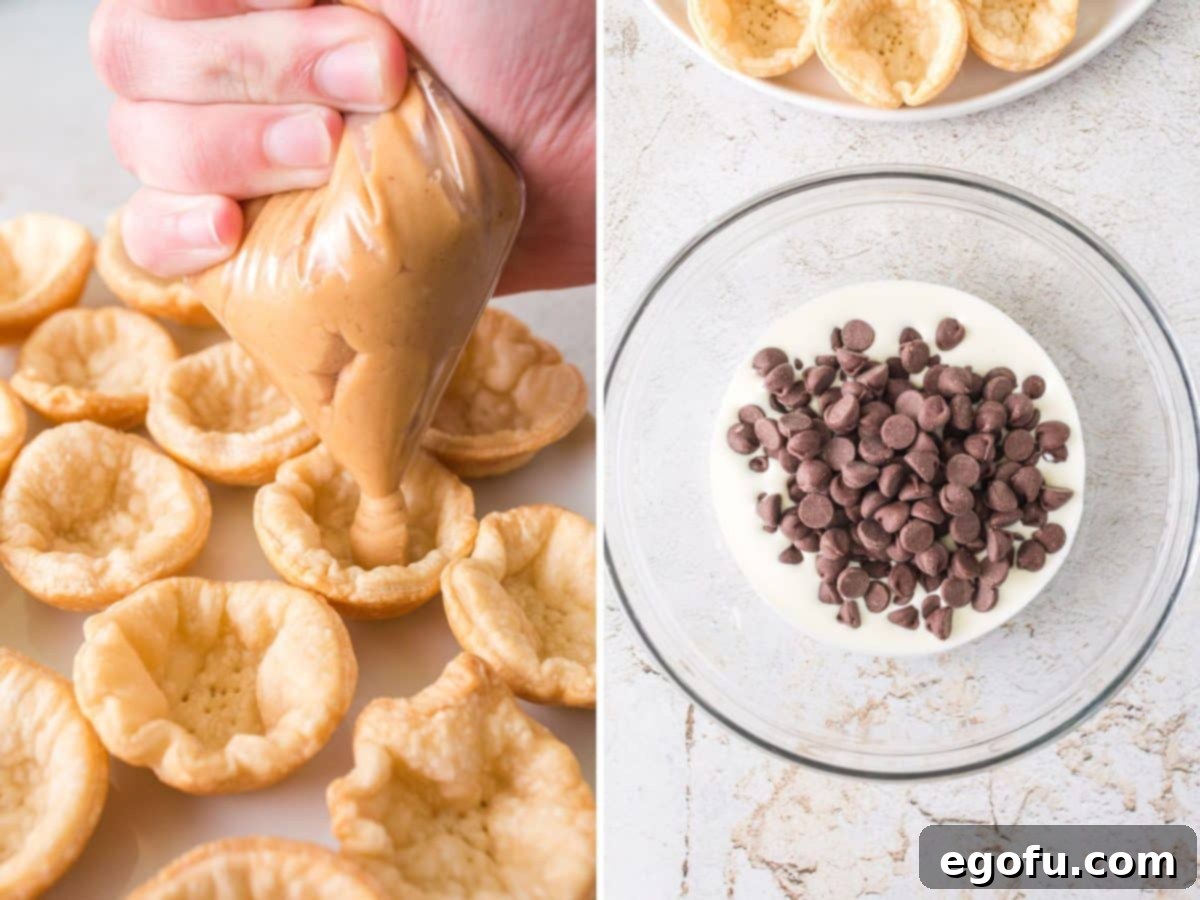
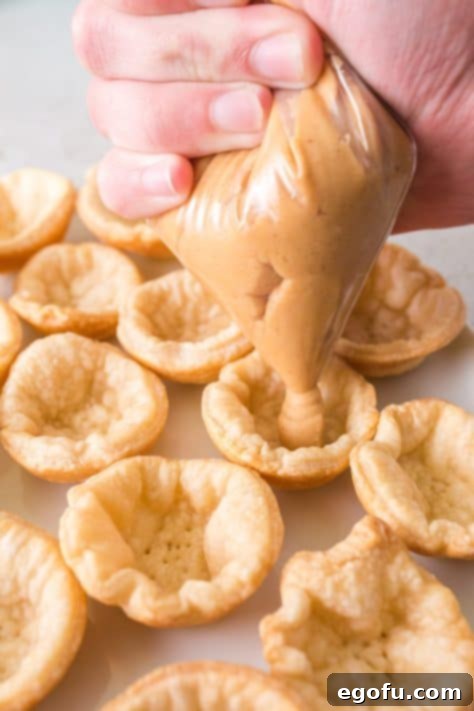
- Transfer the peanut butter mixture into a piping bag fitted with a round tip. If you don’t have a piping bag, a sturdy zip-top bag with one corner snipped off will work just as well. Pipe the peanut butter filling into each cooled pie shell, filling it about halfway up. Set these aside while you prepare the chocolate topping.
Adding the Decadent Chocolate Topping: The Perfect Finish
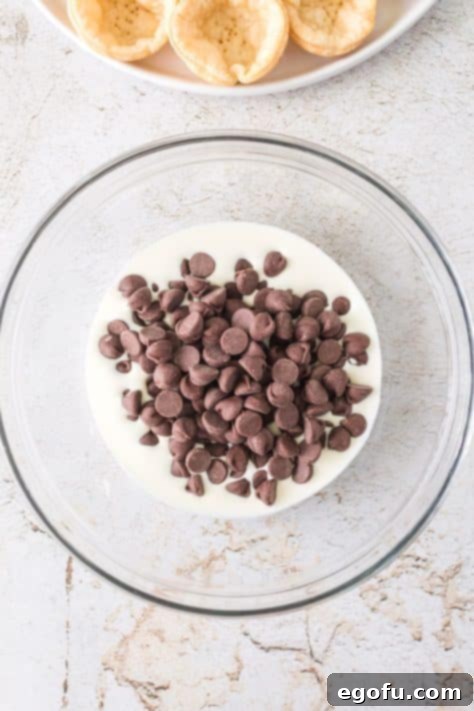
- In a medium microwave-safe bowl, combine the semi-sweet chocolate chips and the remaining 3 tablespoons of heavy cream.
- Microwave the mixture in 10-second intervals, stirring well after each interval, until the chocolate is completely melted and smooth. This typically takes between 30 to 45 seconds in total. Be careful not to overheat the chocolate, as it can seize.
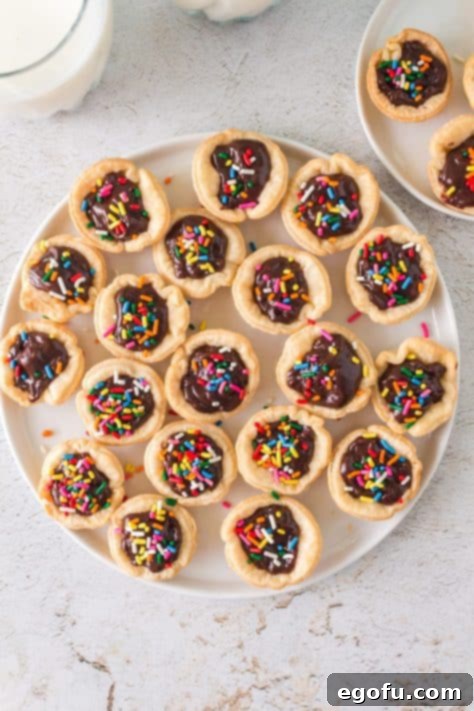
- Once the chocolate mixture is melted and glossy, transfer it to another piping bag (or a zip-top bag with a snipped corner). Carefully pipe the melted chocolate over the peanut butter filling in each mini pie, creating a smooth, even layer.
- Before the chocolate sets, if you’re using sprinkles, gently scatter them over the top of each mini pie for a festive touch. You can also use other toppings like chopped nuts or a sprinkle of sea salt.
- Place the assembled Buckeye Mini Pies in the refrigerator for at least 2 hours. This chilling time is crucial to allow the chocolate topping to set firmly and the peanut butter filling to firm up, ensuring a perfect texture for serving.
- Once chilled, your delightful Buckeye Mini Pies are ready to be served and enjoyed!

Expert Tips for Buckeye Mini Pie Perfection
Achieving bakery-quality Buckeye Mini Pies at home is easier than you think, especially with a few insider tips. Keep these pointers in mind for a truly outstanding dessert:
- Don’t Overwork the Dough: When re-rolling pie crust scraps, handle the dough minimally. Overworking it can develop the gluten, making the crust tough rather than flaky. Gather the scraps gently and press them together before rolling once more.
- Chill Your Crusts: If your kitchen is warm or if the dough becomes too soft while working with it, pop the muffin pan with the pressed dough circles into the refrigerator for 10-15 minutes before baking. This helps the crusts hold their shape and prevents shrinking.
- Achieving the Perfect Peanut Butter Filling Consistency: The amount of heavy cream in the peanut butter filling can be slightly adjusted. If your peanut butter mixture seems too stiff to pipe, add an extra ½ to 1 teaspoon of heavy cream until it reaches a smooth, pipeable consistency. If it’s too loose, a tiny bit more powdered sugar can help thicken it.
- Melting Chocolate with Care: When melting the chocolate chips and heavy cream, use short bursts in the microwave and stir diligently. Chocolate can easily seize if overheated, becoming grainy and unusable. The residual heat will continue melting the chocolate between stirs, resulting in a perfectly smooth ganache.
- Get Creative with Decoration: While sprinkles are classic, consider other toppings to personalize your mini pies. Crushed mini peanut butter cups, a light dusting of cocoa powder, or a drizzle of white chocolate can add extra flair and flavor.
- Patience with Chilling: The chilling step is not optional! It allows both the chocolate topping to firm up beautifully and the peanut butter filling to set properly, ensuring a delightful texture and preventing the pies from falling apart when served.
Serving Suggestions and Storage Tips
These Buckeye Mini Pies are versatile enough for almost any occasion. Here’s how to best serve and store them:
Serving Your Mini Pies:
These individual desserts are fantastic on their own, but a few presentation ideas can make them even more special. Arrange them artfully on a tiered dessert stand for a party, or plate them individually with a small garnish like a fresh berry or a mint leaf. They pair wonderfully with a cup of coffee, a glass of milk, or even a scoop of vanilla bean ice cream for an extra indulgent treat.
Proper Storage for Freshness:
As mentioned in our FAQs, proper storage is key to enjoying your Buckeye Mini Pies for as long as possible. Always keep them in an airtight container in the refrigerator. This not only preserves their freshness but also maintains the firm texture of the chocolate and peanut butter layers. While they are best enjoyed within 2-3 days, their delightful flavor and texture make them unlikely to last that long!
CRAVING MORE RECIPES?
- Crock Pot Candy
- Grandma’s Peanut Butter Bars
- Chocolate Chip Peanut Butter Fudge
- Reese’s Mini Cheesecakes
- Peanut Butter Cookie Bars
- Reese’s Cheesecake Bars
- Peanut Butter Chocolate Hot Cocoa Bombs
- Reese’s Peanut Butter Poke Cake
- Mini Cherry Cheesecake Pies
- Air Fryer Apple Hand Pies
- Fried Apple Pie
- Air Fryer Blueberry Hand Pies
- Christmas Tree Hand Pies

Buckeye Mini Pies
A delightful combination of a flaky pie crust, a smooth peanut butter layer, and a rich chocolate topping, finished with fun sprinkles.
Pin Recipe
Rate this Recipe
Prep Time: 20 minutes
Cook Time: 9 minutes
Chill Time: 2 hours
Total Time: 2 hours 29 minutes
Servings: 24 mini pies
Author: Brandie Skibinski
Ingredients
- 1 store-bought pie crust (from a box of two)
- 4 Tablespoons creamy peanut butter
- ½ cup powdered sugar
- 6 Tablespoons heavy cream (divided use)
- ¾ cup semi-sweet chocolate chips
- 2 Tablespoons sprinkles (optional)
Instructions
- Preheat the oven to 425°F (220°C).
- Gently unroll one store-bought pie crust onto a nonstick surface or a lightly floured large cutting board. Roll the dough into a 12-inch circle.
- Using a 2½-inch circular cookie cutter, cut 24 circles. Gather leftover dough, re-roll, and cut more circles until you reach 24.
- Place the dough circles into an ungreased nonstick mini muffin pan (spray if not nonstick).
- Gently press the dough to form cups. Poke the bottom of each cup 3-4 times with a fork to prevent bubbling.
- Bake for 8-10 minutes, or until golden.
- Remove from oven, cool in pan for 5 minutes, then transfer shells to a cooling rack to cool completely.
- In a small bowl, mix 4 Tablespoons creamy peanut butter, ½ cup powdered sugar, and 3 Tablespoons of heavy cream until combined.
- Place the mixture into a piping bag (or ziploc with snipped corner). Fill shells about halfway. Set aside.
- In a medium microwavable bowl, add ¾ cup semi-sweet chocolate chips and 3 Tablespoons of heavy cream. Microwave for 30-45 seconds, mixing every 10 seconds, until melted.
- Transfer melted chocolate to a piping bag (or ziploc). Pipe chocolate over the peanut butter layer.
- Top with sprinkles, if desired.
- Place in the refrigerator for at least 2 hours or until ready to serve.

Notes
- For additional substitutions or common questions, please refer to the Frequently Asked Questions and ingredient list provided above in the article.
Recipe Details
- Course: Dessert
- Cuisine: American
Nutrition Information (Estimated Per Serving)
Calories: 107kcal | Carbohydrates: 10g | Protein: 1g | Fat: 7g | Sodium: 42mg | Fiber: 1g | Sugar: 6g
Nutritional Disclaimer: The nutritional information provided is an estimate. As brands and ingredients can vary, it is recommended to calculate the values using your preferred nutritional calculator for accuracy, especially if specific dietary needs are a concern.
Did you make this recipe? Share your creations on Instagram @thecountrycook and tag us using #thecountrycook!
