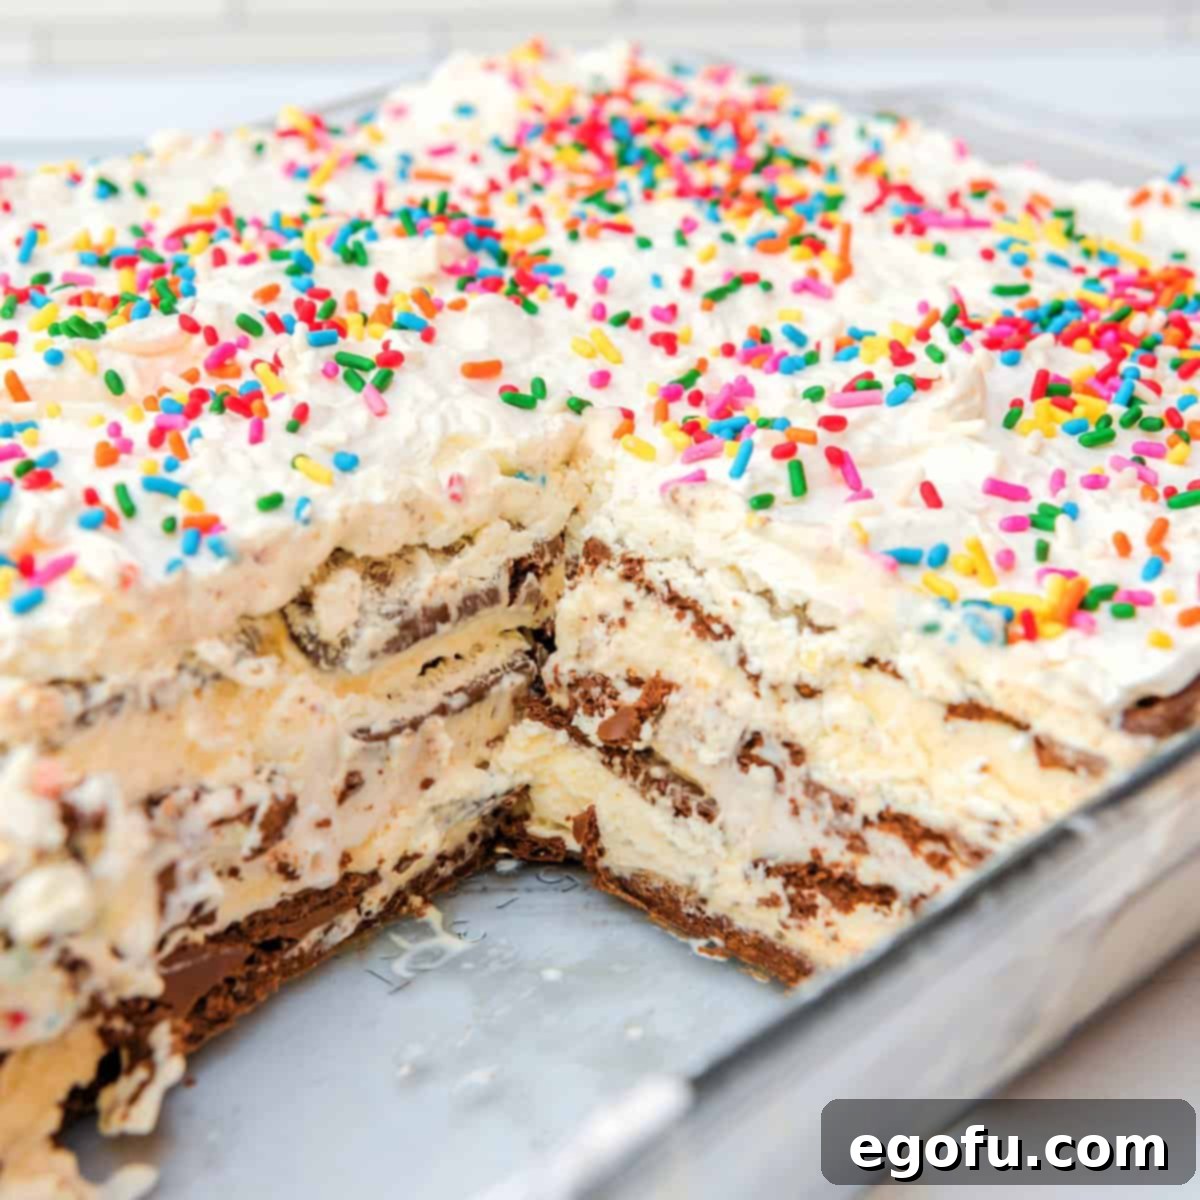
A delightful and effortless treat, this Ice Cream Sandwich Cake is the quintessential summertime dessert. It comes together quickly, offers a refreshing escape from the heat, and is guaranteed to satisfy every sweet craving. Prepare to impress your guests with minimal effort!
The Ultimate Easy Ice Cream Dessert: Ice Cream Sandwich Cake
You might look at this “cake” and think it’s almost too simple to be true, but trust me, this Ice Cream Sandwich Cake is an absolute showstopper. Every time I prepare it for friends and family, it disappears in record time! It’s the perfect dessert to whip up when you need something delicious and impressive without spending hours in the kitchen. On a scorching summer day, what could be better than a cool, creamy, and utterly delightful ice cream treat? Don’t let its straightforward ingredients and assembly method fool you; this recipe is a proven winner, offering maximum flavor with minimal fuss.
This no-bake wonder is a fantastic solution for unexpected guests, potlucks, or simply when you’re craving something sweet but don’t want to turn on the oven. Its layered structure of ice cream sandwiches, luscious ice cream, and a dreamy whipped topping creates a symphony of textures and flavors that everyone will adore. It’s also incredibly versatile, allowing you to customize it with your favorite ice cream and toppings, making it a unique creation every time. The convenience of using pre-made ice cream sandwiches means less prep and more enjoyment, making it a stress-free option for any occasion.
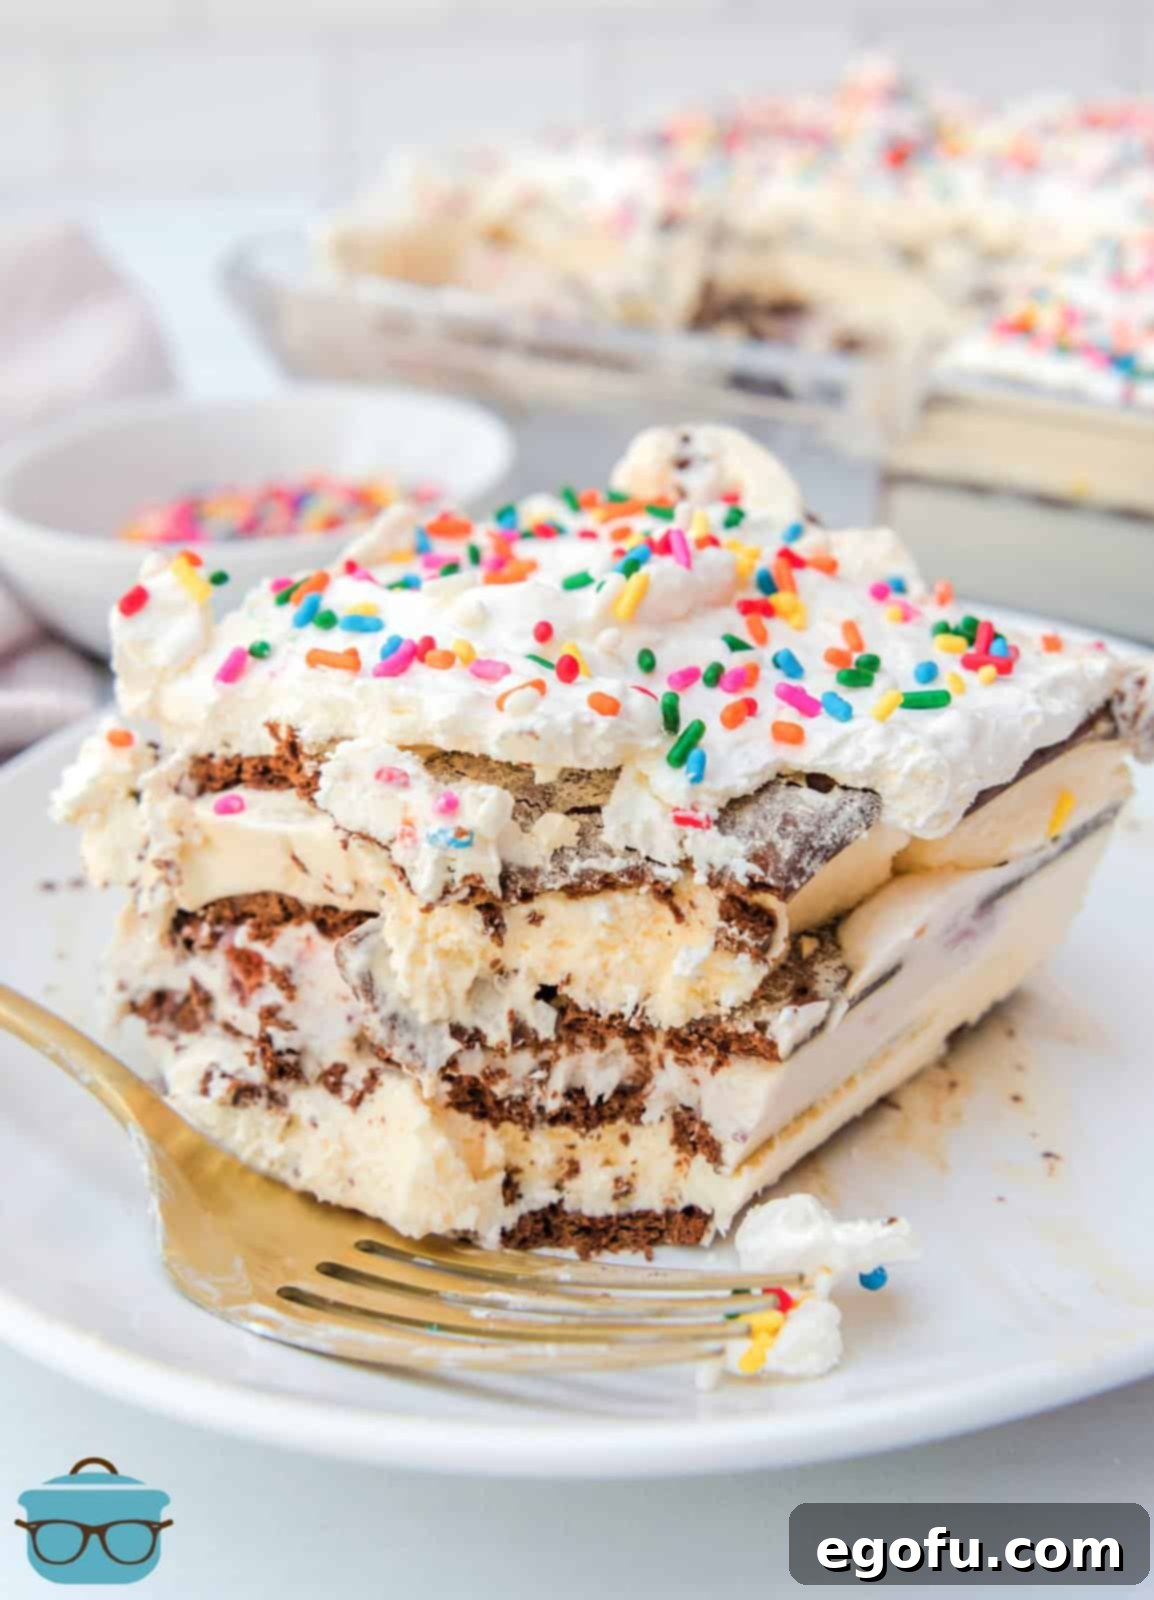
Frequently Asked Questions About Ice Cream Sandwich Cake
While I personally used strawberry ice cream for this particular recipe, the beauty of this Ice Cream Sandwich Cake lies in its versatility. You can truly use any ice cream flavor you adore! Popular choices include classic vanilla for a timeless appeal, rich chocolate for the chocoholics, fun cookie dough for a playful texture, creamy cookies and cream for a familiar favorite, rocky road for a delightful crunch, or even something adventurous like Cherry Garcia for a gourmet twist. Consider what flavors your family or guests enjoy most, or experiment with seasonal offerings to create a unique dessert every time. Just make sure the ice cream is slightly softened for easy spreading to ensure an even and cohesive layer.
Absolutely! Just like with the ice cream, feel free to get creative with your ice cream sandwiches. The key is to choose a flavor that complements the ice cream you’re using in the layers. For example, mint ice cream sandwiches paired with mint chocolate chip ice cream create a refreshing and cohesive flavor profile. Chocolate ice cream sandwiches are a safe and delicious bet with almost any ice cream flavor, from vanilla to coffee, providing a deeper, richer base. You could even use vanilla ice cream sandwiches with a fruit-flavored ice cream for a lighter taste. Don’t hesitate to mix and match to discover your new favorite combination – the possibilities are truly endless!
Yes, this recipe is easily adaptable to suit your needs. If you’re serving a smaller crowd, planning an intimate gathering, or simply want a more modest portion for yourself, you can effortlessly halve the ingredients. To do this, simply use approximately 12 ice cream sandwiches and reduce the ice cream and topping quantities accordingly. Prepare the Ice Cream Sandwich Cake in a 9×9-inch baking pan instead of a 9×13-inch pan. This adjustment will yield a perfectly sized dessert for smaller families or events, ensuring you still get to enjoy this delightful treat without too many leftovers.
For optimal firmness and structure, ensuring clean and beautiful slices, this Ice Cream Sandwich Cake requires at least 2 hours in the freezer to set completely. This chilling time is crucial as it allows the ice cream layers to firm up and meld together beautifully with the ice cream sandwiches and the creamy whipped topping. If you’re in a rush and cannot wait the full two hours, you can certainly serve it a bit sooner. However, be aware that the cake might be slightly softer and could be a little messier to slice and serve. Planning ahead ensures a perfectly solid and presentable cake every time.
The topping possibilities for this Ice Cream Sandwich Cake are truly endless and only limited by your imagination! Beyond the suggested rainbow sprinkles, consider drizzling with rich chocolate syrup, sweet strawberry syrup, or a tangy caramel sauce for an extra layer of flavor. For added texture and crunch, crushed cookies (like Oreos or chocolate chip cookies), chopped nuts (peanuts, pecans, walnuts), mini chocolate chips, or even a sprinkle of toasted coconut flakes would be fantastic. Fresh fruit such as sliced strawberries, blueberries, or raspberries can add a bright, refreshing contrast. Think about what you love on your regular ice cream sundae – chances are, it will be a perfect addition to this cake too! You can even offer a topping bar when serving for a fun, interactive dessert experience.
To keep any leftover Ice Cream Sandwich Cake fresh, delicious, and free from freezer burn, proper storage is crucial. First, cover the cake tightly with plastic wrap, ensuring no air can get to the surface of the cake. This barrier helps prevent ice crystals from forming. Then, add a second protective layer of aluminum foil over the plastic wrap for extra insulation and defense against freezer odors. Stored diligently in this manner, your Ice Cream Sandwich Cake will maintain its quality and delightful taste in the freezer for up to one week, allowing you to enjoy a convenient and refreshing slice whenever a craving strikes. Simply remove it a few minutes before serving to allow for easier slicing.
Essential Ingredients for Your Ice Cream Sandwich Cake
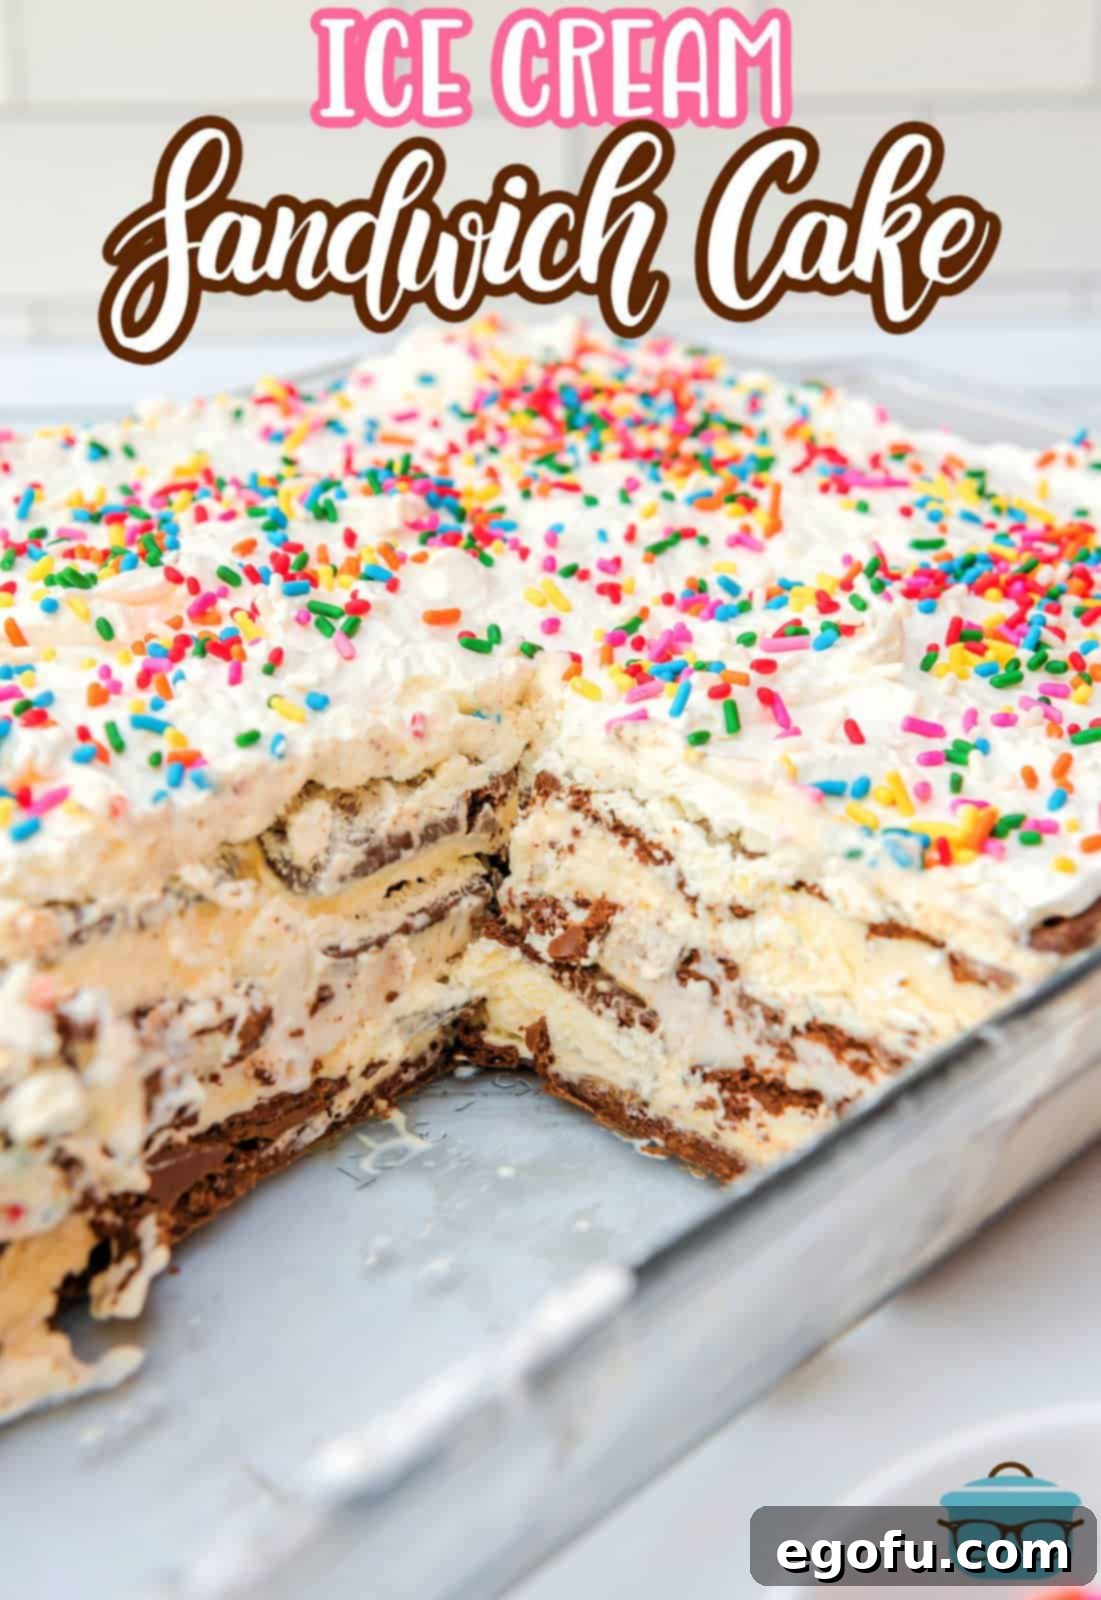
Gathering your ingredients is the straightforward first step to creating this unforgettable dessert. You’ll be delighted by how few items you need for such an impressive treat! Here’s what you’ll need to make a delicious 9×13 inch cake that generously serves approximately 24 people:
- Ice Cream Sandwiches: You’ll need about 24 standard-sized ice cream sandwiches. These form the cake’s foundational “layers” and provide a delightful, slightly chewy wafer crunch that contrasts beautifully with the creamy fillings. Choose classic vanilla or experiment with chocolate or even mint for different flavor profiles.
- Strawberry Ice Cream: Approximately ½ gallon (2 quarts) of your preferred ice cream. As mentioned, strawberry is a fantastic and popular choice, but feel free to choose any flavor that excites your palate! Just ensure it’s slightly softened for easy and even spreading, which is crucial for a smooth middle layer.
- Frozen Whipped Topping (Cool Whip): One 8-ounce container, thawed. This light and airy topping creates a fluffy, dreamy “frosting” that’s both sweet and complements the rich ice cream layers without being too heavy. Make sure it’s fully thawed but still chilled.
- Cream Cheese: One 8-ounce block, softened completely to room temperature. This is the secret ingredient for an incredibly creamy, stable, and slightly tangy “icing” that makes this cake truly stand out. Softening it ensures a lump-free, smooth mixture.
- Rainbow Sprinkles: An optional but highly recommended topping! These add a festive pop of color, a touch of whimsy, and a subtle textural crunch that makes the cake visually appealing and fun to eat. Feel free to substitute with other sprinkles or toppings.
The beauty of this recipe truly lies in its simplicity and accessibility. You don’t need fancy ingredients or gourmet shops; everything can be found readily at your local grocery store. Opt for quality ingredients you enjoy, as they will directly impact the final taste and overall experience of your spectacular, homemade-tasting dessert.
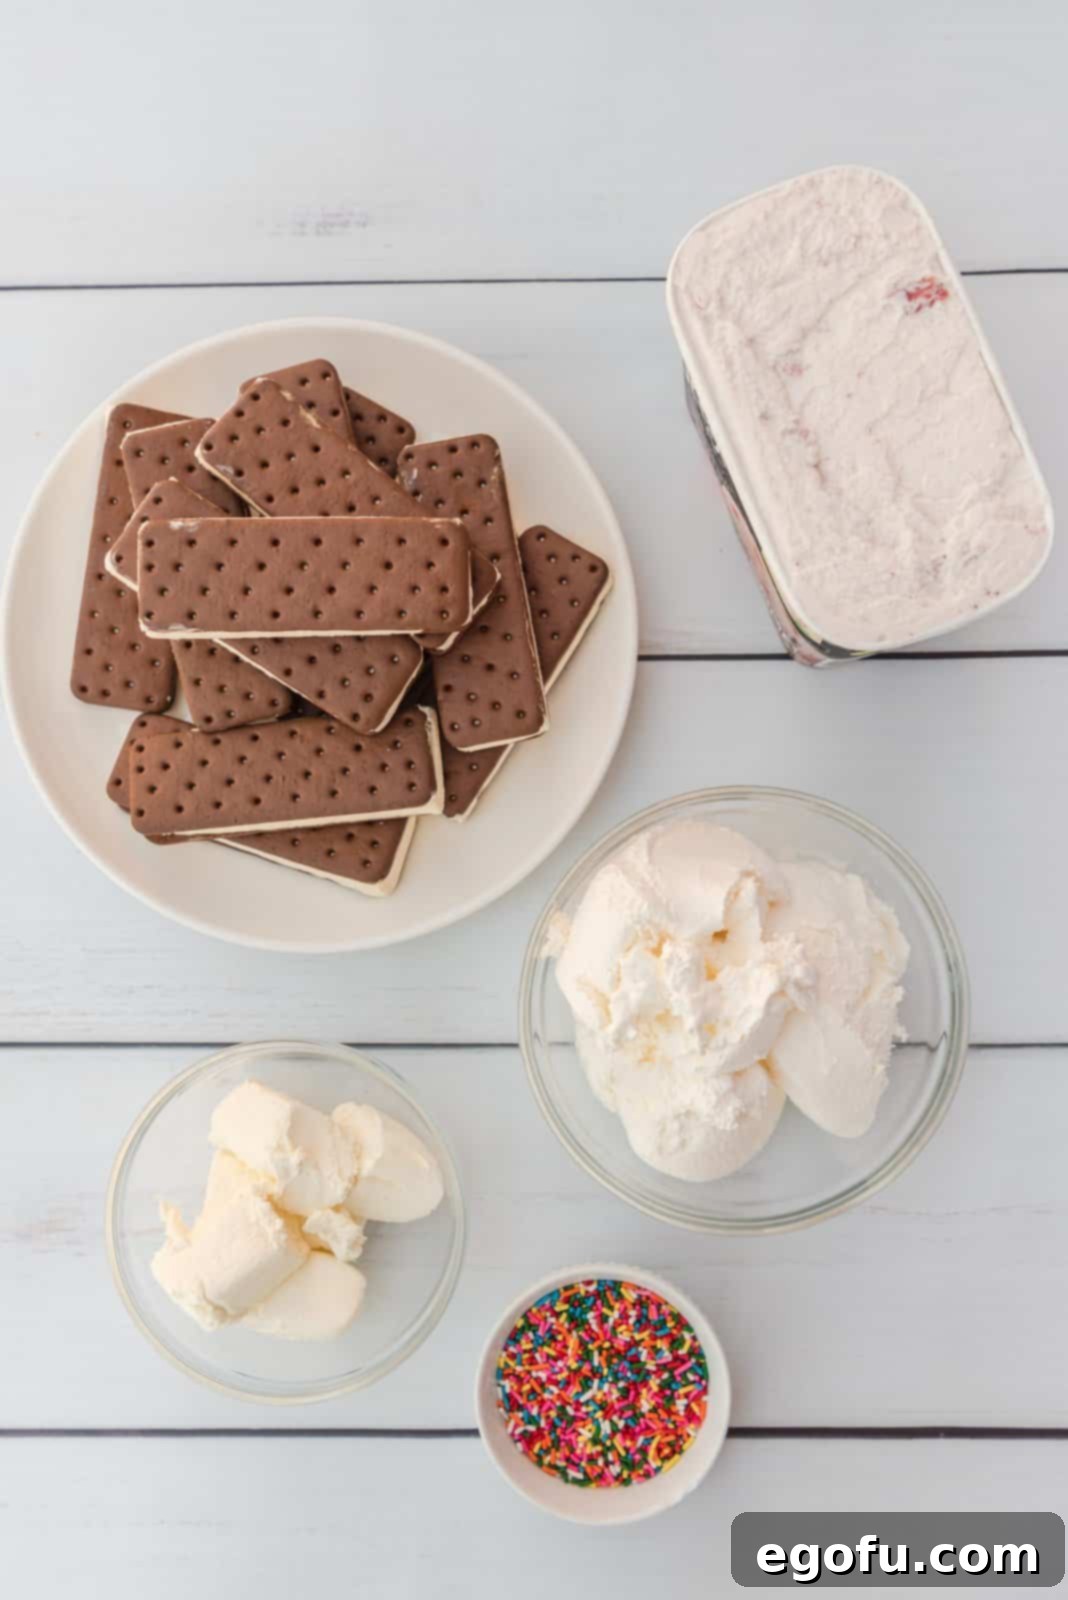
Step-by-Step Guide: How to Assemble Your Ice Cream Sandwich Cake
Making this ice cream cake is as enjoyable as eating it! Follow these simple steps for a perfectly layered, delicious, and easy-to-create dessert that will become a go-to for all your summer gatherings.
Step 1: Create the First Layer of Ice Cream Sandwiches
Begin by carefully lining the bottom of a 9×13-inch baking pan with 12 standard-sized ice cream sandwiches. Arrange them neatly, side-by-side, creating a solid base. You will likely find it necessary to cut some of the sandwiches in half or into smaller pieces to fill any small gaps and ensure the entire bottom of the pan is covered without large empty spaces. Press down firmly but gently on the sandwiches to create an even, compact base. This firm pressing helps ensure the cake holds together well when sliced. It’s important that all the sandwiches are touching and form a cohesive layer, as this will provide crucial stability for the subsequent creamy layers.
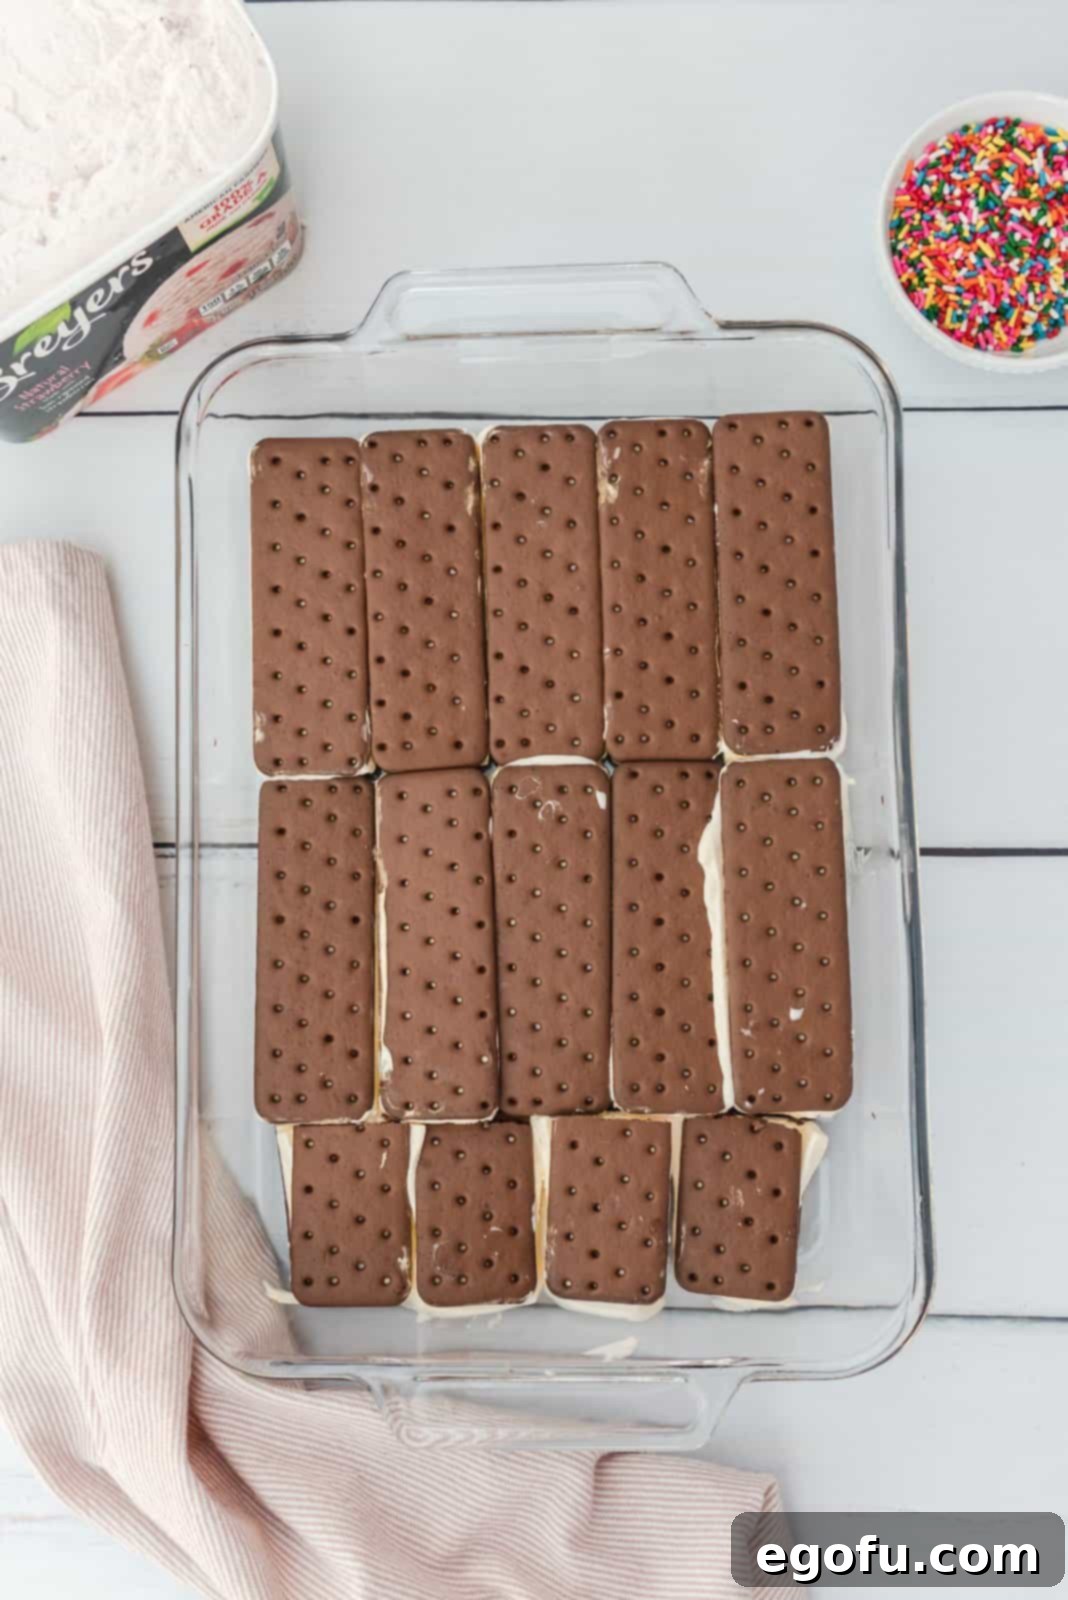
Step 2: Add the First Ice Cream Layer
Once your first layer of ice cream sandwiches is perfectly in place, retrieve your slightly softened ice cream. Begin adding generous dollops of your chosen ice cream directly on top of the sandwich layer. For the best results and easiest spreading, ensure your ice cream is indeed soft – not completely melted and soupy, but soft enough to scoop easily and spread without tearing the sandwiches below. From there, use an offset spatula or the back of a large spoon to gently and evenly spread the ice cream over the entire layer of sandwiches, making sure to reach all the way to the edges of the pan. The goal is a smooth, consistent, and full layer of ice cream.
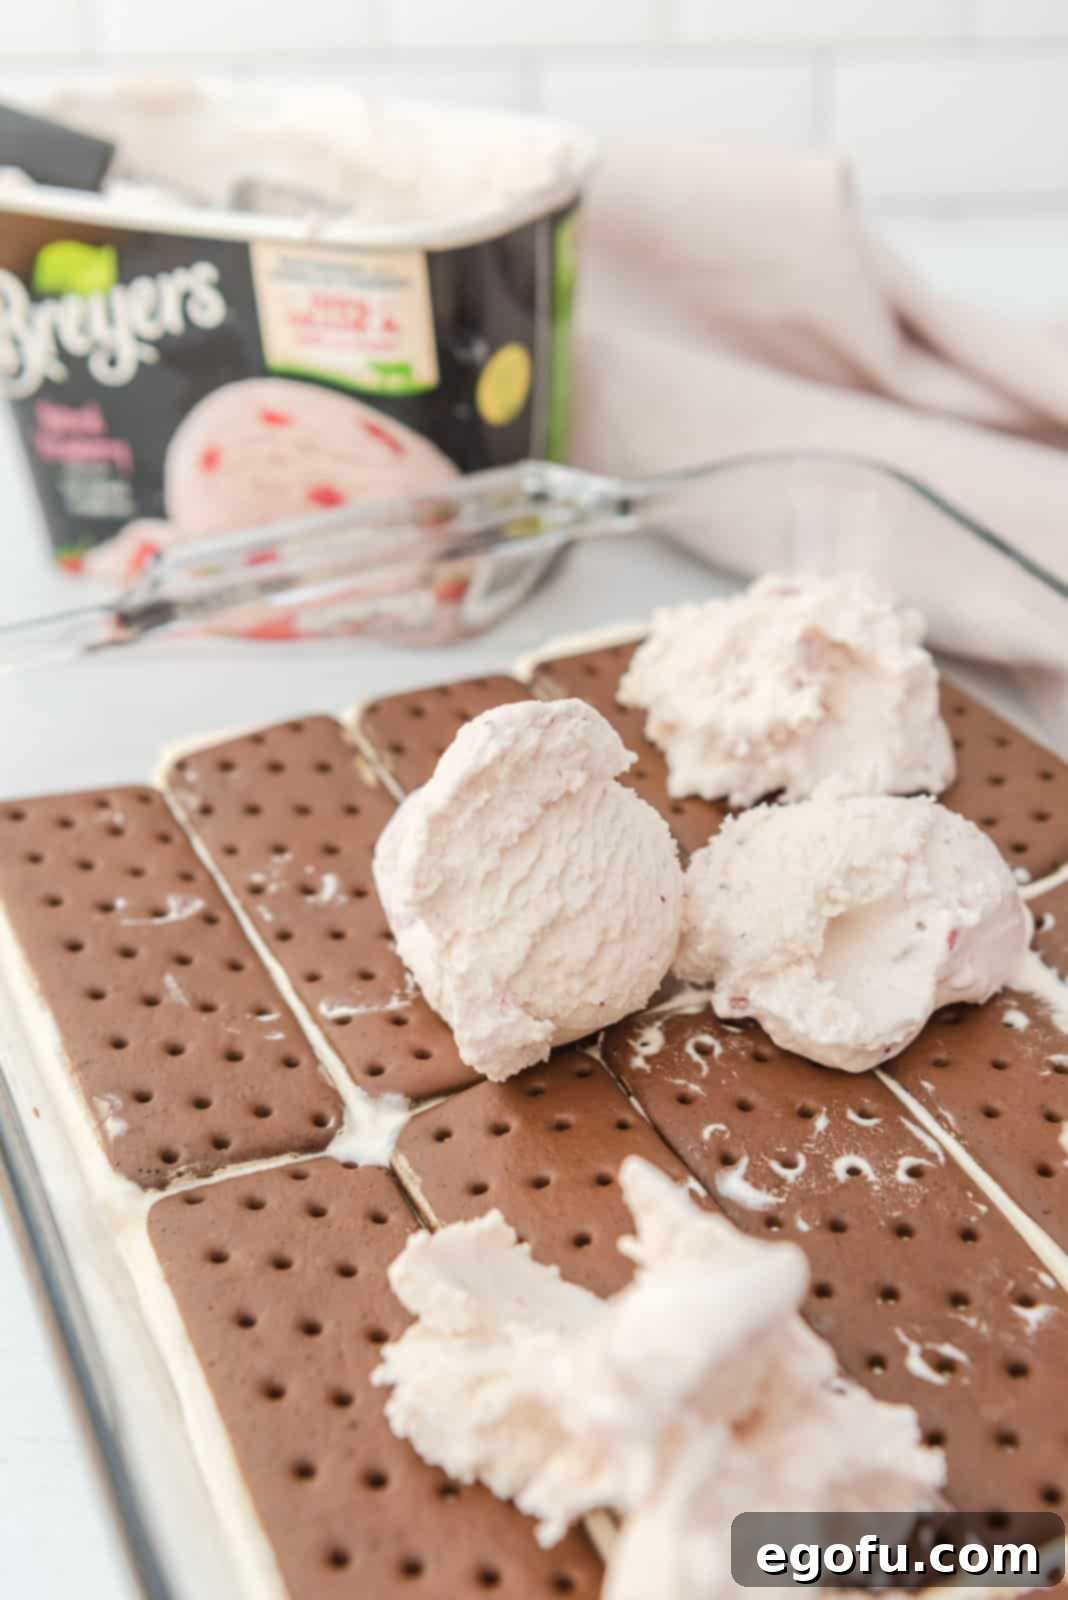
Step 3: Lay the Second Layer of Ice Cream Sandwiches
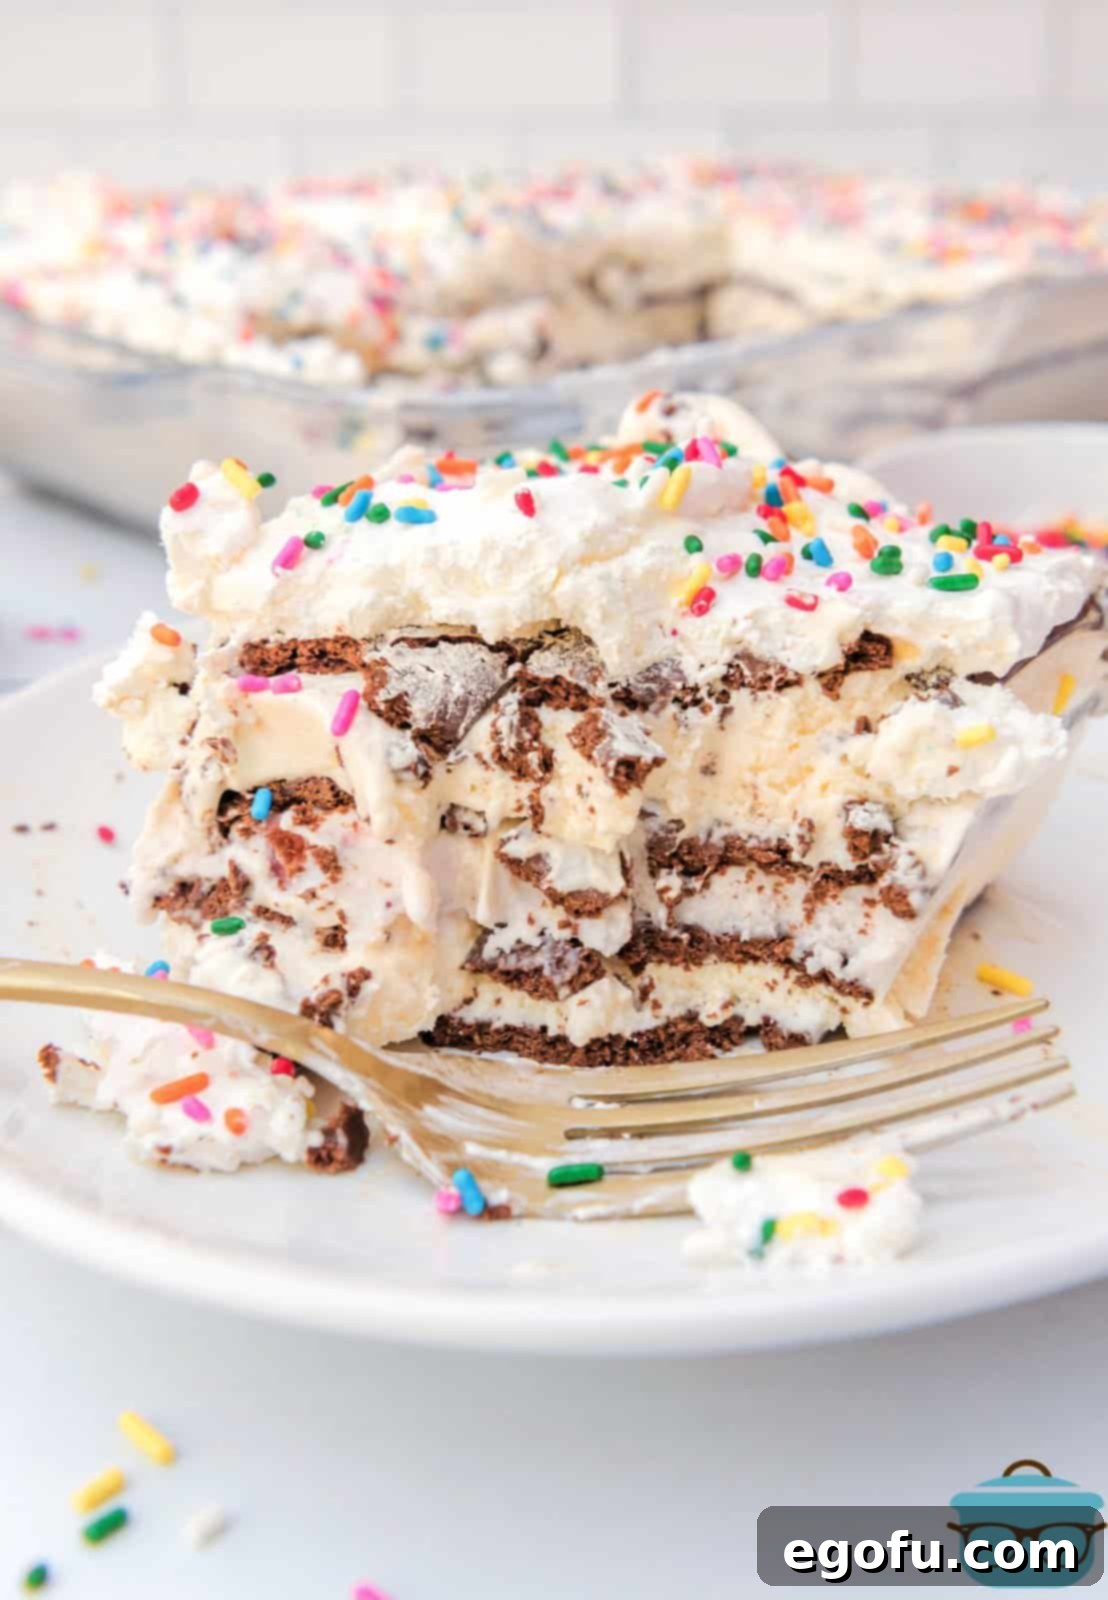
Carefully place your second layer of ice cream sandwiches directly over the spread-out ice cream. Just like with the first layer, you may find it necessary to cut some of the sandwiches into smaller pieces to ensure they fit perfectly and create a snug, flushed arrangement across the entire ice cream surface. This precise fitting prevents air pockets and ensures a stable structure. Press down firmly yet gently again on this layer to pack everything tightly. This layering technique creates the distinct visual appeal and delightful textural contrast that makes this cake so popular, with alternating creamy and biscuity layers. Ensure this layer is also compact and covers the ice cream entirely.
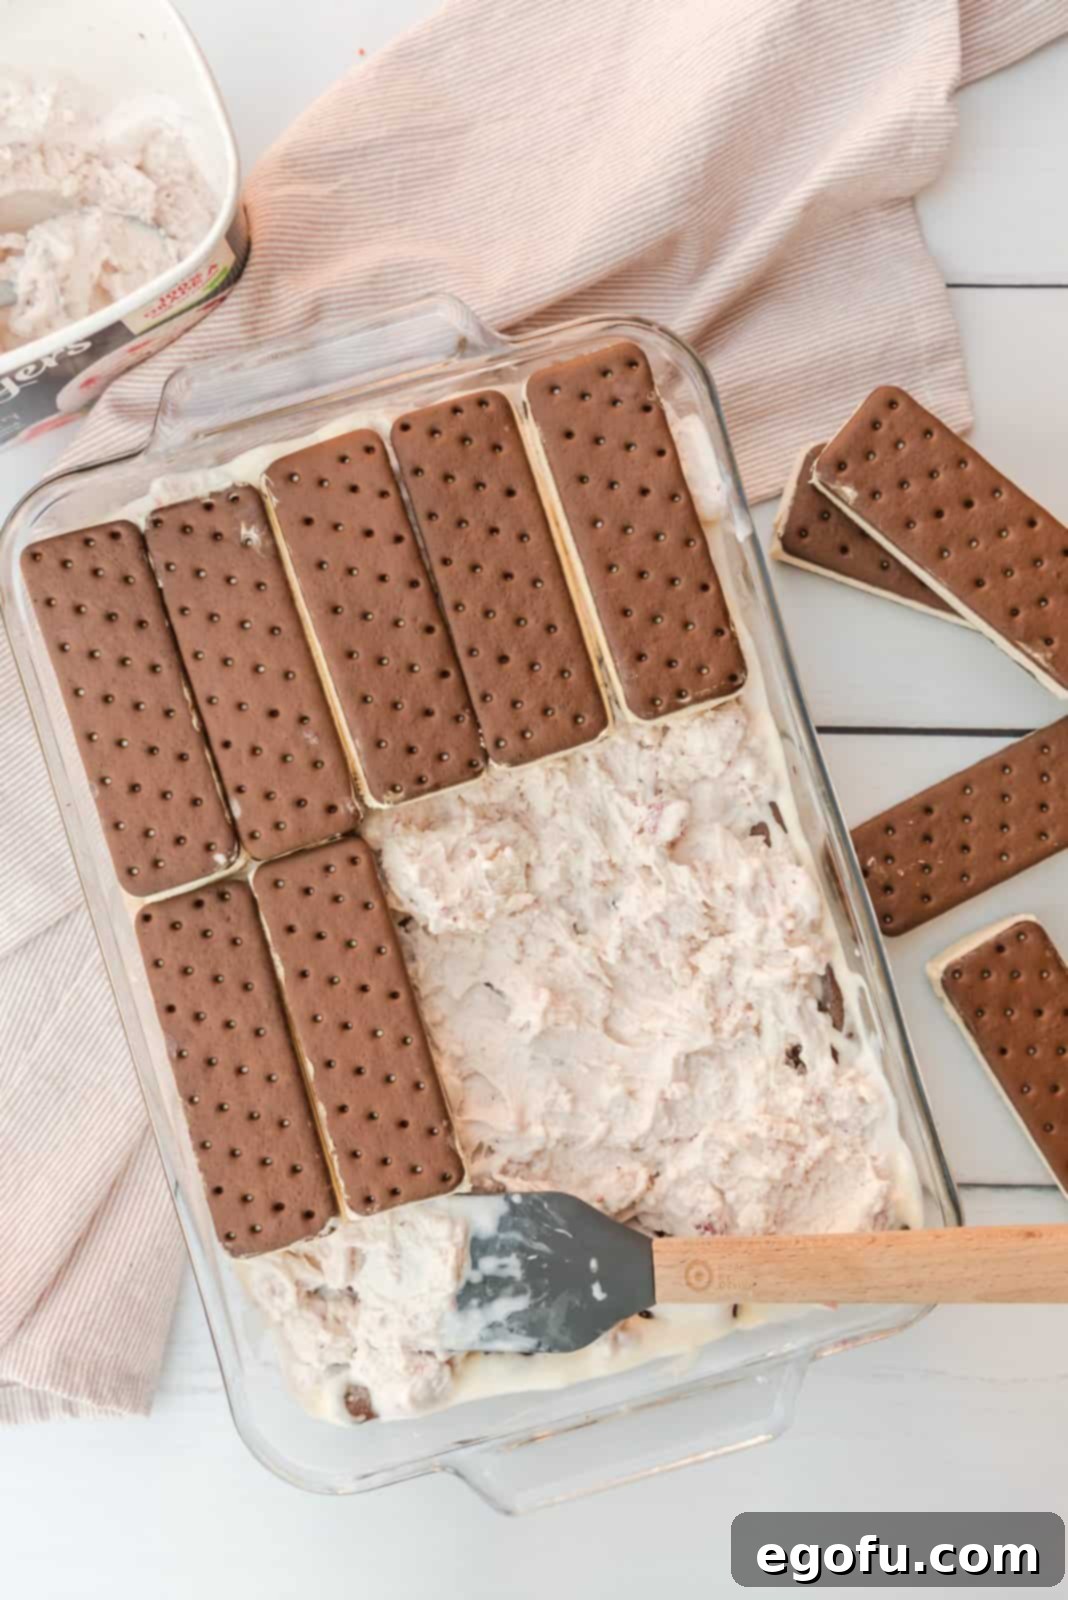
Step 4: Prepare the Creamy Whipped Topping “Icing”
In a medium-sized mixing bowl, combine your completely softened cream cheese with the thawed frozen whipped topping (Cool Whip). For the smoothest and most delightful “icing,” ensure the cream cheese is at room temperature; this prevents lumps. Using an electric mixer on medium speed (or a sturdy whisk and plenty of elbow grease), beat these two ingredients together until they are fully combined, smooth, and wonderfully light and fluffy. This creamy mixture will form your incredibly delicious and stable “icing” for the top of the cake, adding a rich yet airy texture that beautifully complements the layers of ice cream and sandwiches.
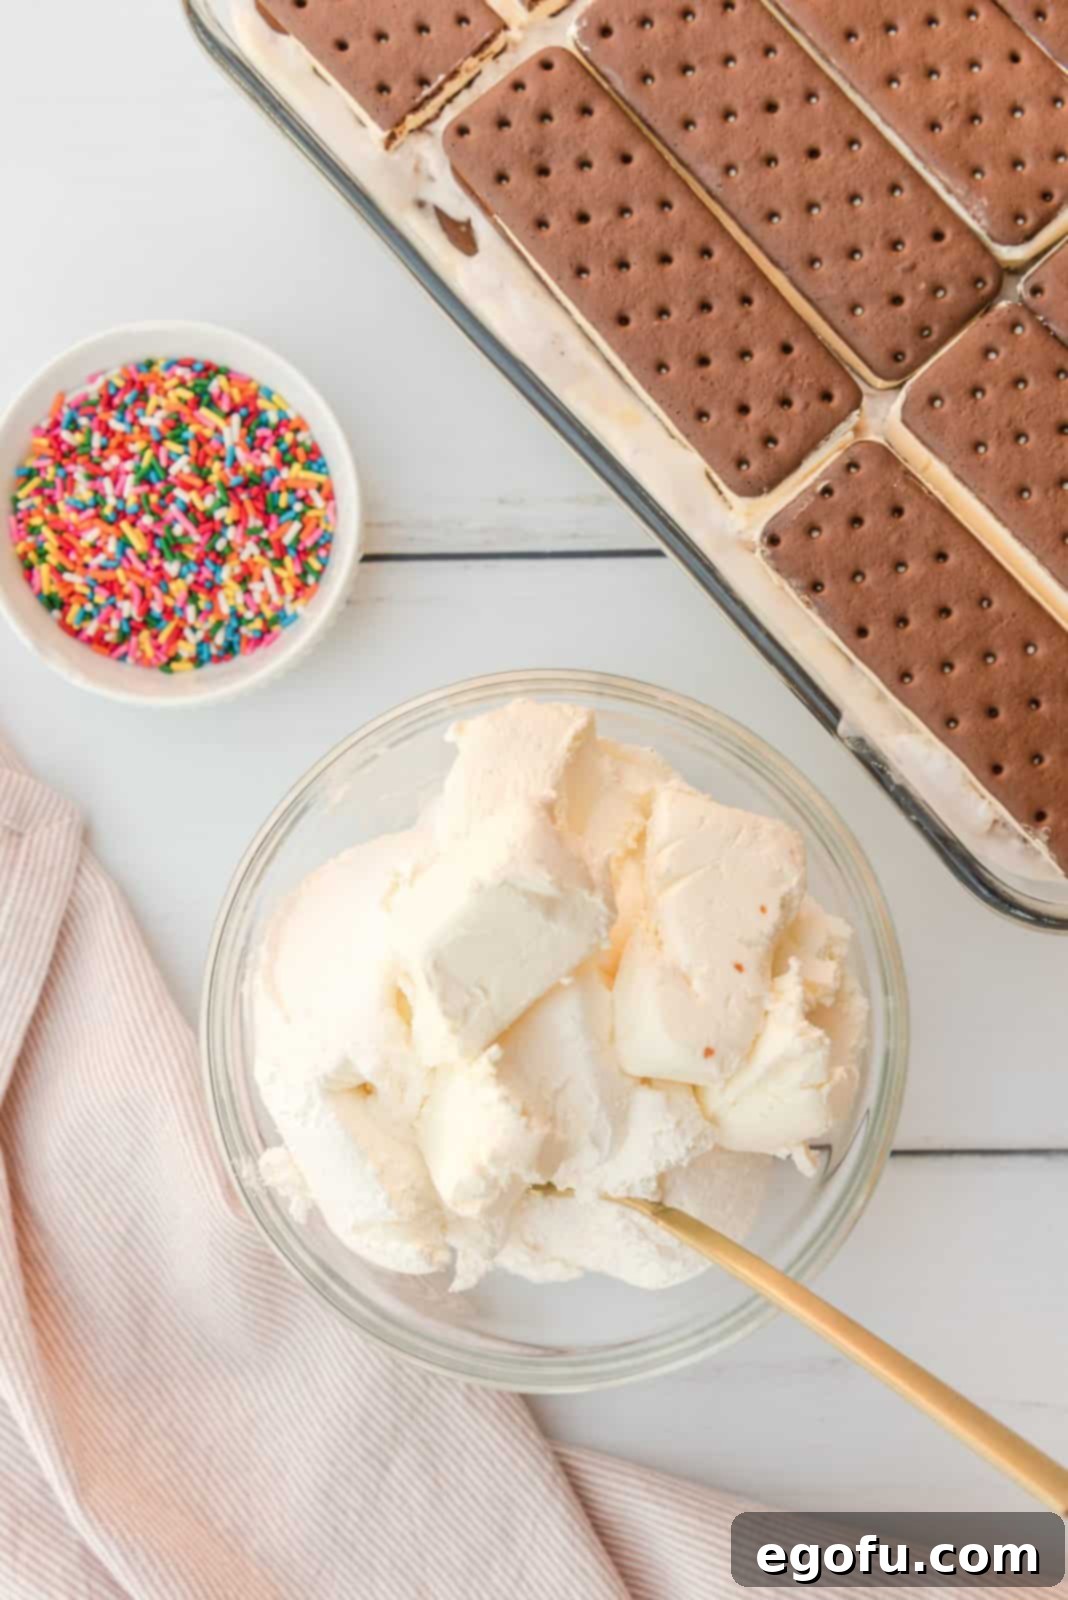
Step 5: Frost the Cake with Creamy Topping
Take the luxurious creamy mixture you just prepared and, using your offset spatula or the back of a spoon, gently spread it evenly over the top of the second layer of ice cream sandwiches. Work carefully to create a smooth, appealing finish across the entire surface of the cake, extending all the way to the edges of the pan. This final layer adds a delightful touch of sweetness and creaminess, making the cake not only taste incredible but also look as inviting and professionally made as it tastes. You can even create little swirls for a decorative touch.
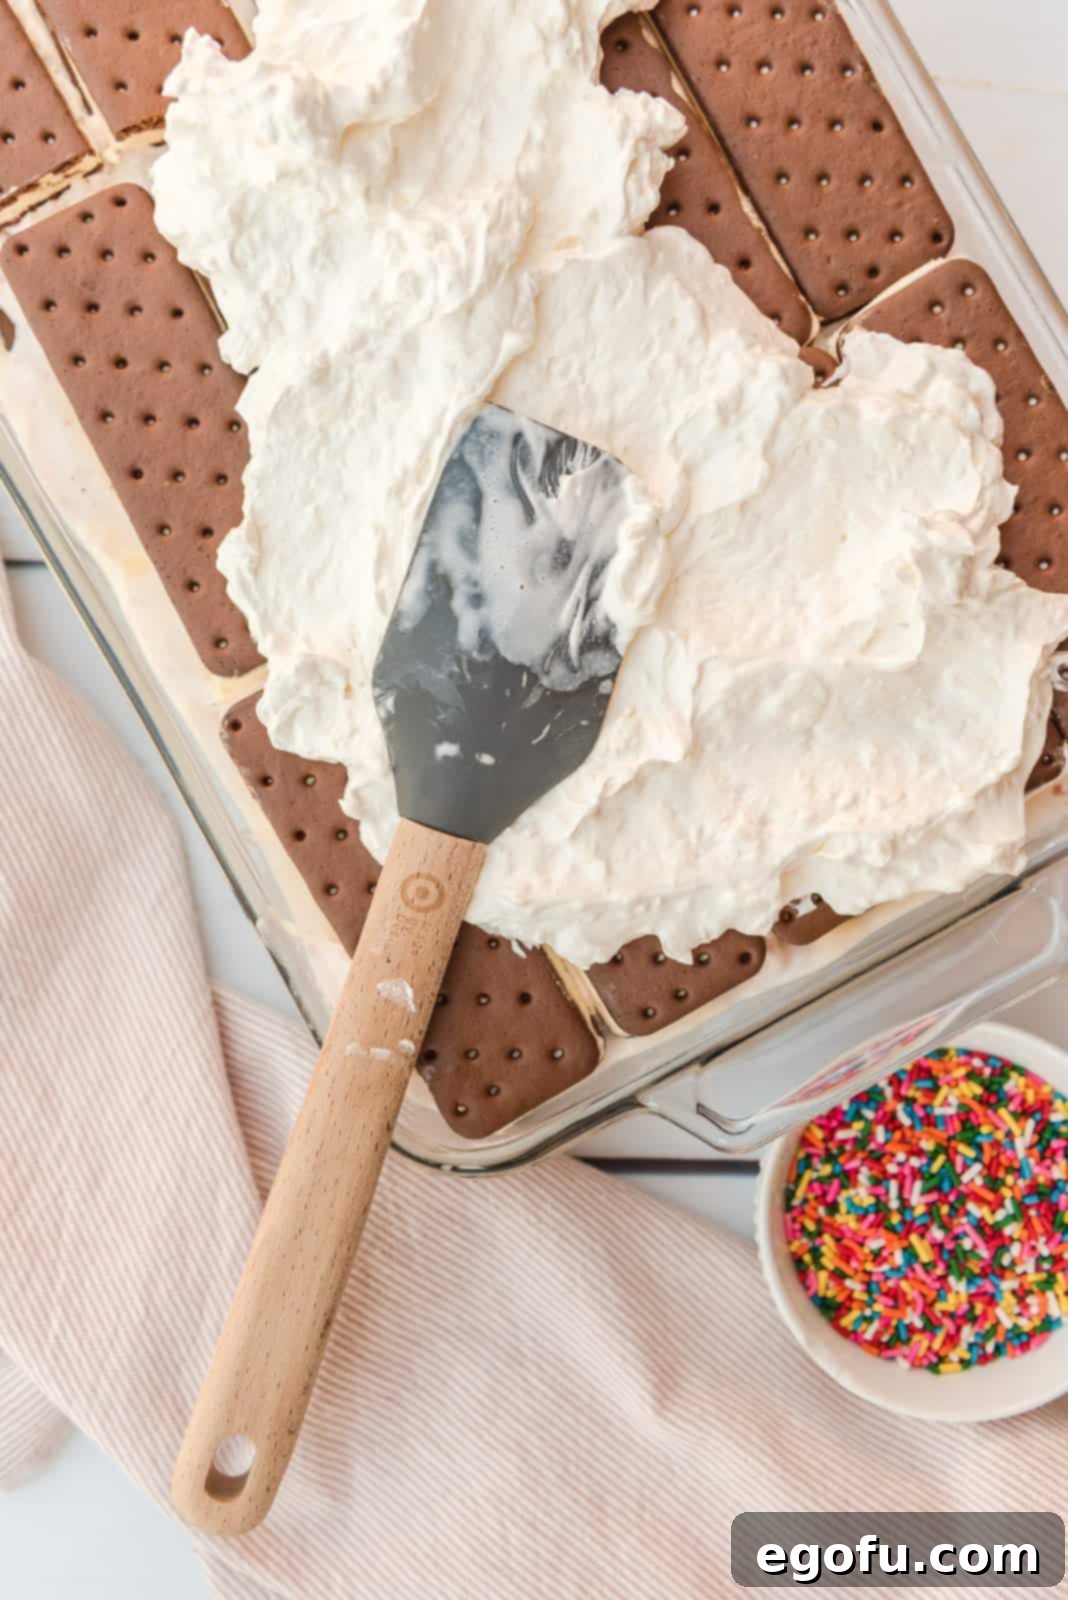
Step 6: Add Sprinkles and Freeze for Setting
Now for the fun part! Generously sprinkle your chosen toppings, such as vibrant rainbow sprinkles, over the creamy top layer. This instantly adds visual appeal, a festive pop of color, and a subtle textural crunch that enhances every bite. Once decorated to your liking, carefully place the entire baking pan into the freezer. Freeze for at least two hours, but ideally longer (up to overnight or even several hours), to ensure all the layers are completely solid and the cake is firm enough to slice cleanly and hold its shape. This crucial step guarantees the perfect ice cream cake consistency and makes serving a breeze.
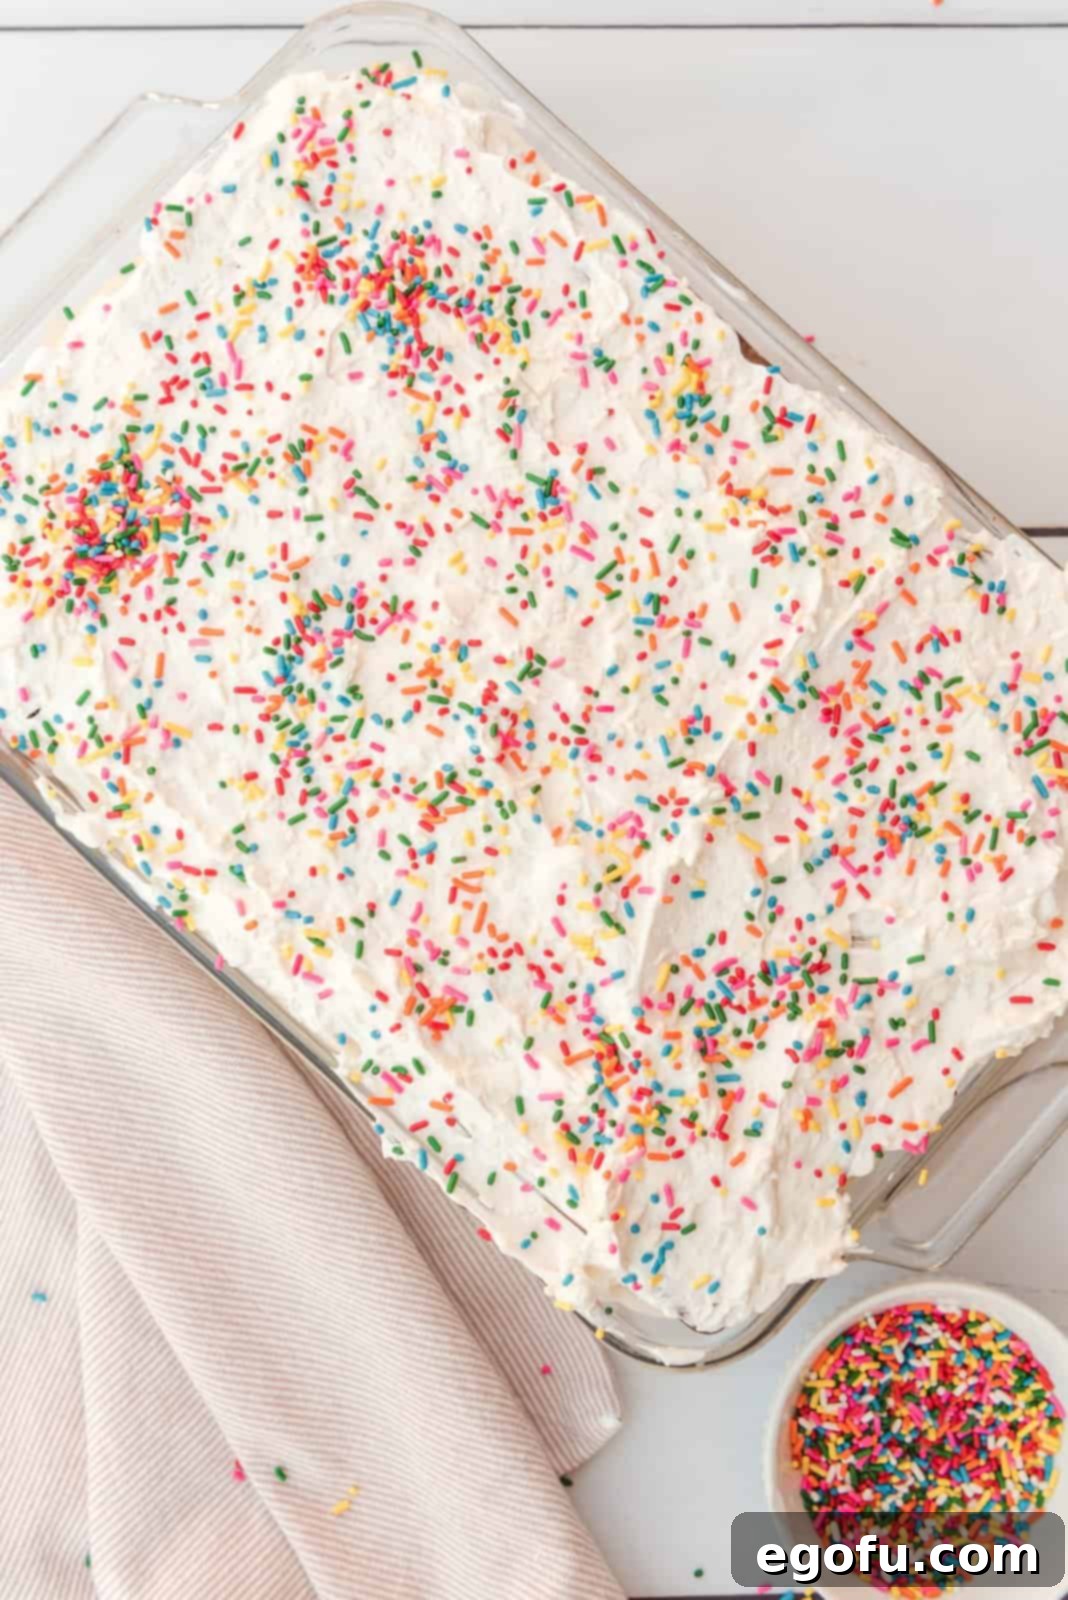
Once thoroughly chilled and firm, your magnificent Ice Cream Sandwich Cake is ready! Simply slice, serve, and watch it disappear as your family and friends enjoy this refreshingly easy and delicious homemade treat. Enjoy the applause!
Tips for the Perfect Ice Cream Sandwich Cake
To ensure your Ice Cream Sandwich Cake turns out perfectly every time, keep these helpful tips in mind:
- Optimal Ice Cream Softness: The consistency of your ice cream is paramount. It should be soft enough to spread easily and evenly without chunks or tearing the sandwiches, but not so melted that it’s soupy. If it’s too hard, let it sit on the counter for 10-15 minutes. If it’s too soft, pop it back in the freezer for a few minutes.
- Room Temperature Cream Cheese is a Must: For the smoothest, most lump-free whipped topping, make absolutely sure your cream cheese is completely softened to room temperature. This allows it to blend seamlessly with the whipped topping, creating a silky, professional-looking “frosting.”
- Press Gently but Firmly: When layering the ice cream sandwiches, a gentle but firm press helps to compact the layers. This not only creates a neat cake but also helps prevent it from falling apart when you slice into it. Avoid pressing too hard, which can squish the sandwiches.
- Get Creative with Flavors: Don’t be afraid to experiment! Try different ice cream sandwich flavors (chocolate, vanilla, mint) and pair them with complementary or even contrasting ice cream flavors. Vanilla ice cream with chocolate chip cookie dough sandwiches, or chocolate ice cream with caramel-swirl ice cream, can be delicious variations.
- Topping Extravaganza: While sprinkles are classic and festive, consider adding a variety of additional toppings just before serving for extra flair. Hot fudge, caramel sauce, chopped nuts (peanuts, pecans, walnuts), mini marshmallows, or fresh berries can elevate your cake and cater to different preferences.
- Freeze Time is Essential: Do not rush the freezing process. The minimum two hours is crucial for the cake to set properly and become easy to cut into clean slices. For the absolute best results and a truly firm cake, aim to freeze it for at least 4 hours or even better, overnight.
- Easy Slicing Technique: For perfectly clean and beautiful slices, a simple trick is to run your knife under hot water for a few seconds and then wipe it clean with a towel between each cut. The warm blade glides through the frozen layers effortlessly, preventing the cake from sticking to the knife.
Want More Delicious Recipes? You Must Try These!
- NO-CHURN CHERRY CHEESECAKE ICE CREAM
- NO-CHURN PEACH ICE CREAM
- MELTED ICE CREAM CAKE
- NO-CHURN MINT ICE CREAM
- FRIED ICE CREAM CAKE
- NO-CHURN STRAWBERRY ICE CREAM
- NO-CHURN BUTTER PECAN ICE CREAM

Ice Cream Sandwich Cake
A fun and easy summertime dessert, this Ice Cream Sandwich Cake comes together quickly and is an amazing dessert to cool you down and satisfy any sweet tooth!
Ingredients
- 24 ice cream sandwiches
- ½ gallon strawberry ice cream (or whatever flavor you prefer, slightly softened)
- 8 ounces frozen whipped topping (Cool Whip), thawed
- 8 ounces (1 block) cream cheese, softened to room temperature
- Rainbow sprinkles, for topping
Instructions
- Line the bottom of a 9×13 baking pan with 12 ice cream sandwiches. You will have to cut some in half to make all of them fit. Press down firmly but gently. All of your sandwiches should be touching.
- Start adding dollops of ice cream on top of the first layer of ice cream sandwiches. From there, spread out evenly (this works best when the ice cream is soft, semi-melted).
- Next add your second layer of ice cream sandwiches. Remember you may have to cut some sandwiches for all of them to fit, flushed together. Press down firmly yet gently to pack tightly.
- In a medium mixing bowl combine the cream cheese and whipped topping. Beat together until fully combined to create the icing.
- Spread the icing evenly over the top of the ice cream sandwiches.
- Top with sprinkles.
- Place in the freezer and freeze for at least two hours before serving.
Notes
- You can use any of your favorite ice cream.
- This is also great topped with chocolate or strawberry syrup.
- Make sure that your ice cream is soft, but not soupy before spreading onto the ice cream sandwiches.
- This needs to freeze for 2 hours before serving.
Nutrition
Calories: 372kcal |
Carbohydrates: 50g |
Protein: 6g |
Fat: 17g |
Sodium: 174mg |
Fiber: 1g |
Sugar: 16g
Nutritional Disclaimer
“The Country Cook” is not a dietician or nutritionist, and any nutritional information shared is an estimate. If calorie count and other nutritional values are important to you, we recommend running the ingredients through whichever online nutritional calculator you prefer. Calories and other nutritional values can vary quite a bit depending on which brands were used.
Did you make this recipe? Share it on Instagram @thecountrycook and mention us #thecountrycook!
