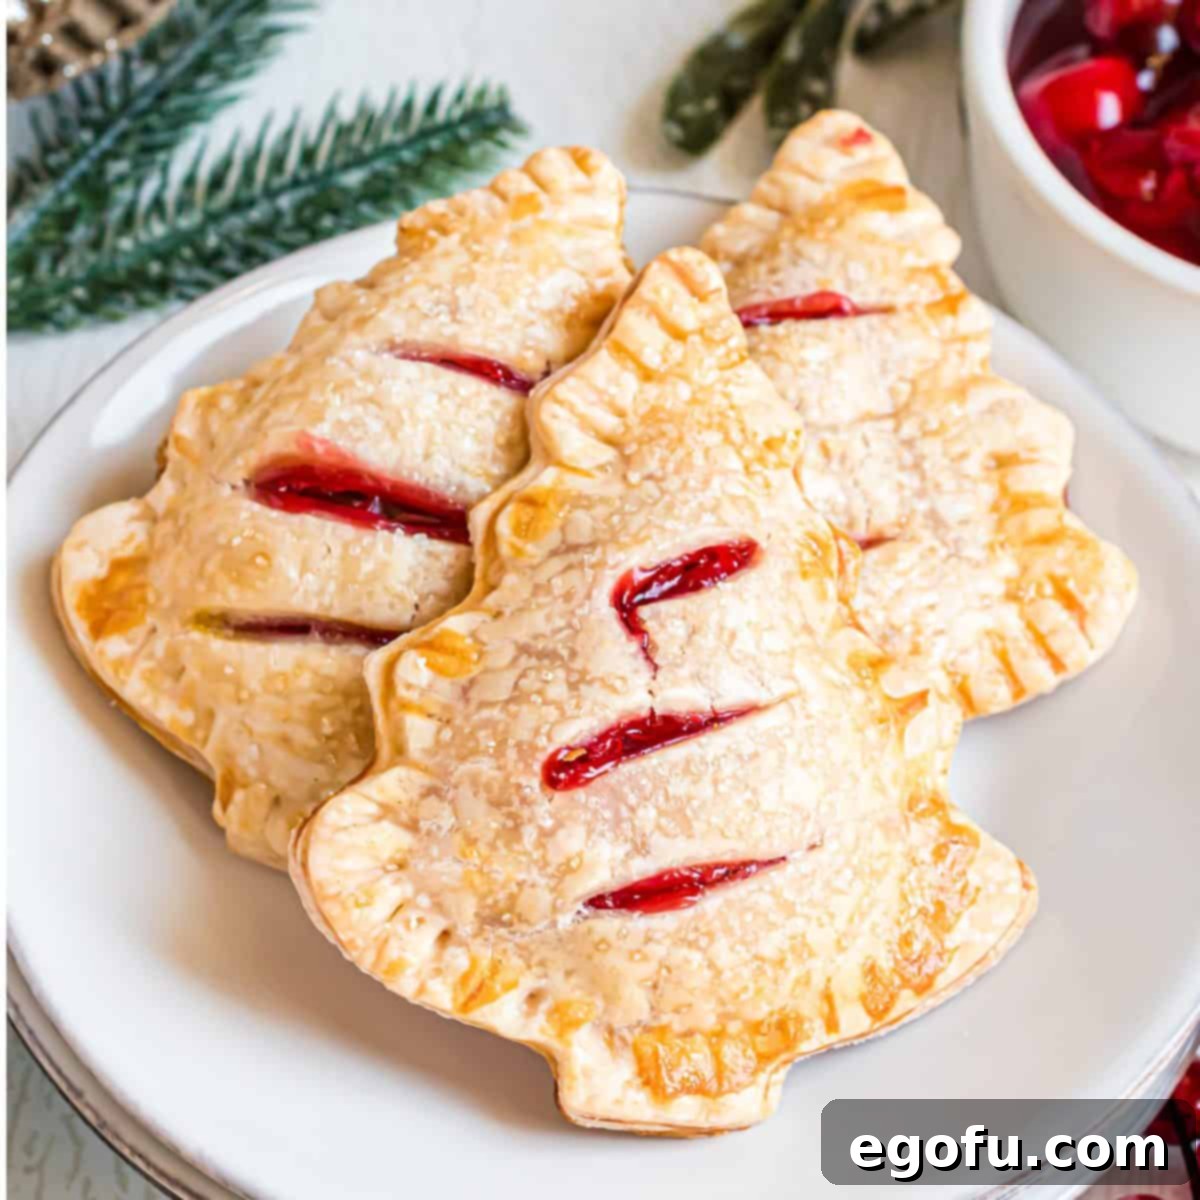
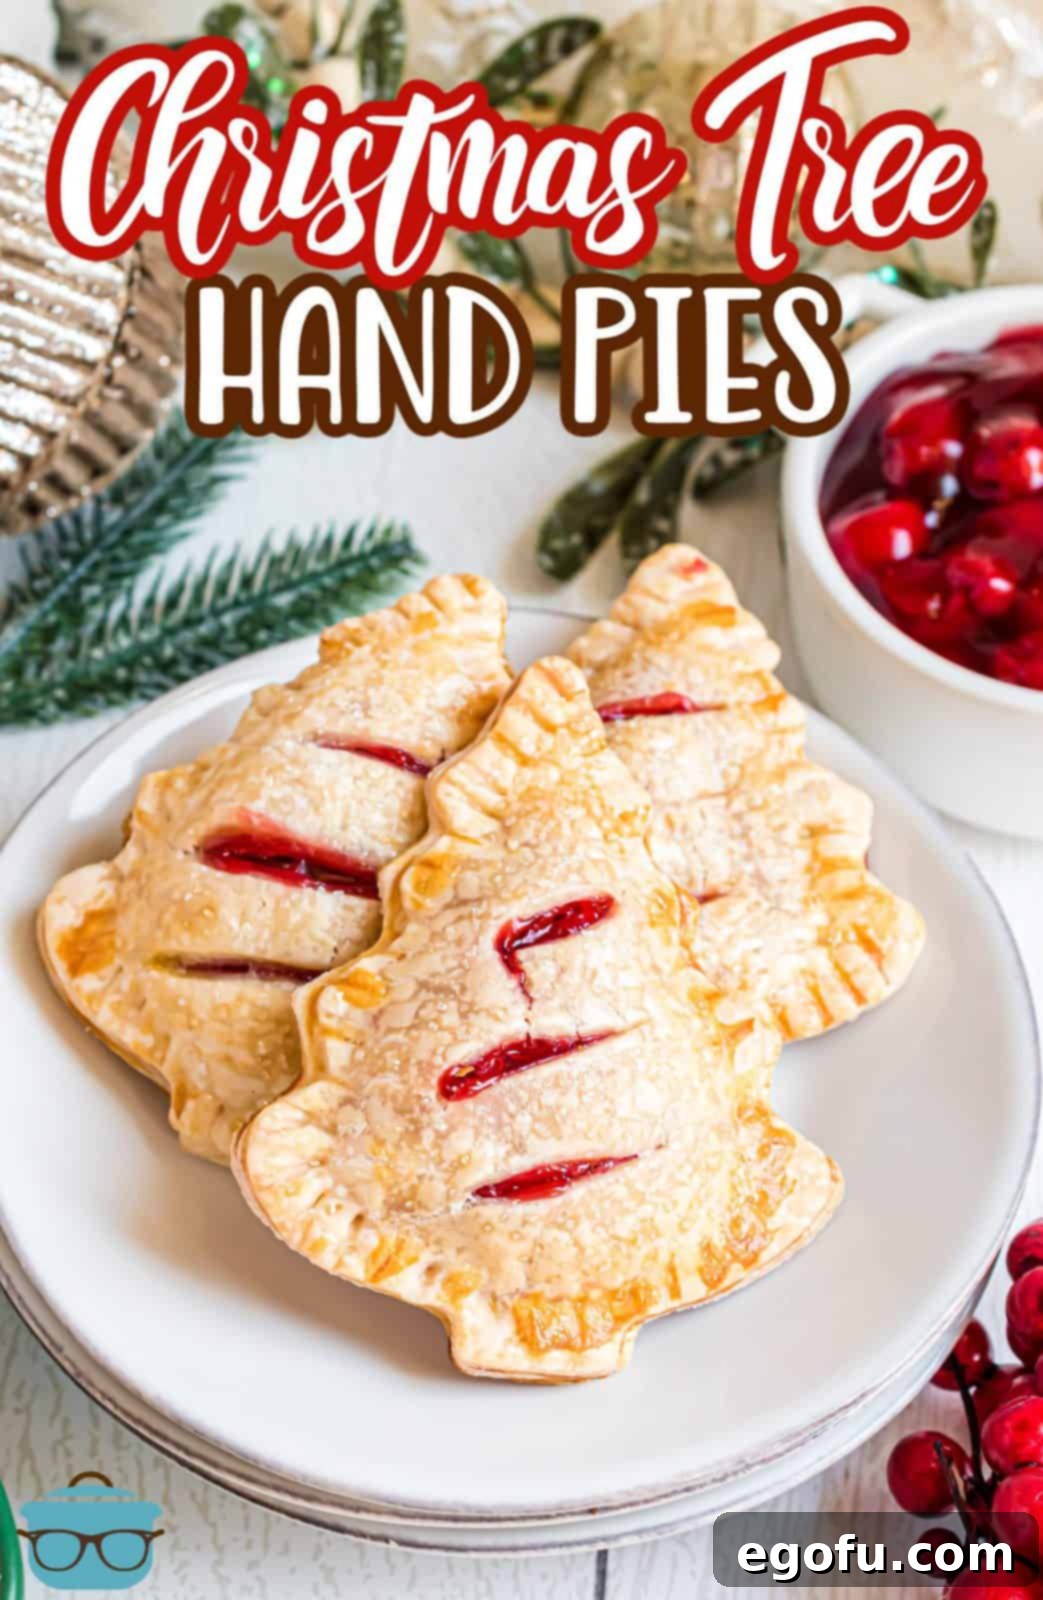
Welcome to the world of effortless holiday baking! These delightful Christmas Tree Hand Pies are not just an easy treat to whip up; they’re a joyous addition to any festive gathering. With minimal ingredients, a burst of delicious pie filling, and a whimsical shape, they promise fun for bakers of all ages and a truly satisfying bite for everyone. Get ready to create edible magic that captures the spirit of the season in every flaky, fruit-filled pastry.
A FESTIVE & FUN HOLIDAY TREAT
The holiday season is synonymous with warmth, joy, and, of course, delicious homemade treats. While a classic pie often takes center stage, there’s something undeniably charming and practical about hand pies. They offer all the beloved flavors of a traditional pie but in a convenient, portable, and less messy package. Our Christmas Tree Hand Pies elevate this concept, transforming simple ingredients into an enchanting dessert that embodies the festive spirit.
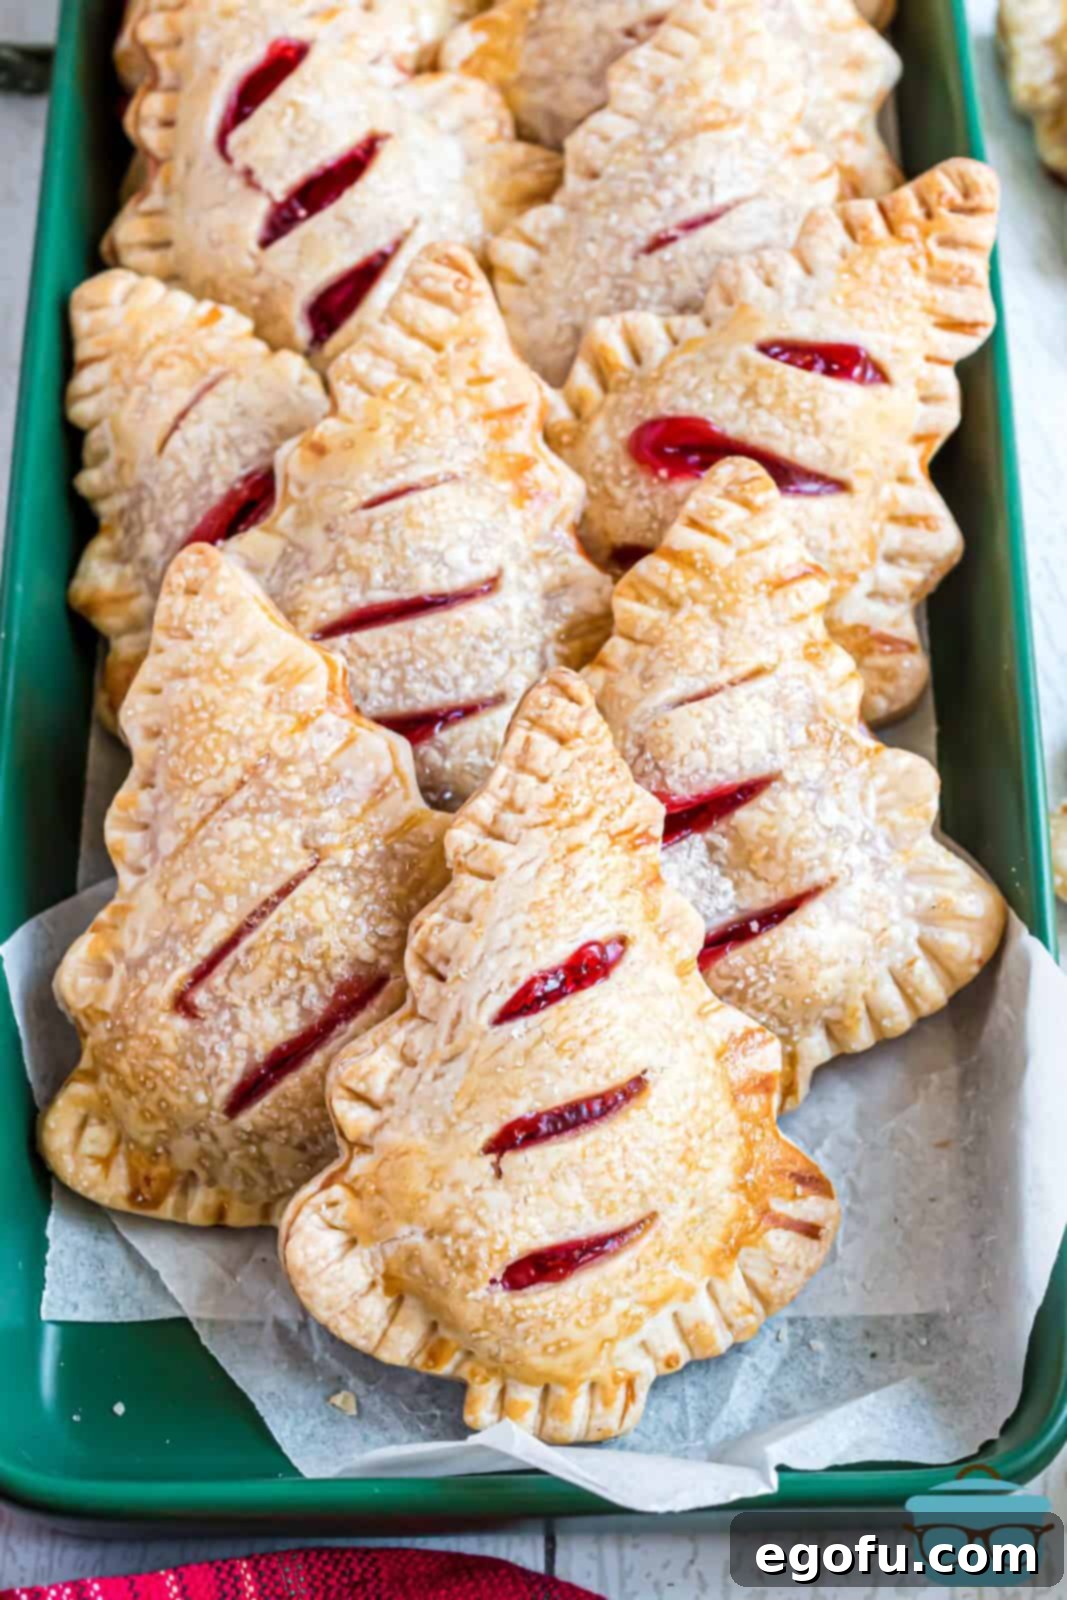
Imagine a spread of these golden, tree-shaped pastries, dusted with sparkling sugar, inviting guests to pick one up and enjoy. Their individual serving size makes them perfect for holiday parties, potlucks, or even as a delightful afternoon snack with a cup of cocoa. They’re incredibly versatile, easy to transport, and eliminate the need for plates and forks, making cleanup a breeze. Plus, they produce a generous batch, ensuring there’s plenty to share or even freeze for those unexpected holiday cravings. If you’re searching for a simple yet impressive dessert that brings smiles and cheer, this Christmas Tree Hand Pie recipe is an absolute must-try for your holiday baking repertoire.
FREQUENTLY ASKED QUESTIONS: YOUR HAND PIE QUERIES ANSWERED
A hand pie is essentially a miniature, self-contained version of a traditional pie, designed for individual servings and easy eating. Unlike a full-sized pie that requires slicing and a fork, hand pies are perfectly portioned and ready to grab and go. While many hand pies are typically circular or half-moon shaped (like a turnover), these festive treats are cut into charming Christmas tree shapes, adding to their holiday appeal. The delectable filling, which can be sweet or savory, is encased entirely within a flaky crust, sealed all around the edges. It’s distinct from a turnover, which is usually made by folding a piece of puff pastry over a filling, often resulting in a lighter, airier texture. Hand pies offer a more robust, traditional pie crust experience in a convenient format.
Absolutely! The beauty of hand pies lies in their versatility. While cherry pie filling offers a wonderfully vibrant, festive red hue perfect for the holidays, feel free to get creative with your favorite flavors. Other fantastic options include blueberry, apple, peach, or strawberry pie fillings. You can also experiment with homemade fillings, combining fresh or frozen fruits with a touch of sugar and cornstarch to thicken. For a unique twist, consider a mixed berry filling, or even a spiced pumpkin filling for a taste of autumn. The key is to ensure your chosen filling isn’t too runny, to prevent leakage during baking.
This recipe is designed to yield a generous batch, perfect for large gatherings or for freezing. Two boxes of refrigerated pie crusts (which typically contain two crusts each, totaling four crusts) will produce approximately 18-20 hand pies, depending on the size of your cookie cutter. You will likely have some leftover cherry pie filling if you halve the recipe, which can be used for other desserts or enjoyed on its own. If you prefer a smaller quantity, simply adjust the ingredients proportionally. However, we highly recommend making the full batch; these hand pies freeze beautifully, allowing you to enjoy a quick, homemade treat anytime the craving strikes.
An egg wash, a simple mixture of whisked eggs and a little water, serves multiple important purposes in baking. Primarily, it gives the pie crust that irresistible, rich golden-brown color and a beautiful, slightly glossy finish as it bakes. This enhances the visual appeal of your hand pies significantly. Beyond aesthetics, the egg wash also acts as a powerful adhesive, helping to seal the top and bottom crusts together, preventing the filling from leaking out during the baking process. It contributes to a crispier crust texture and can even help sanding sugar or other toppings adhere better to the pastry.
Cutting small slits, often called vents, into the top crust of your hand pies is a crucial step for a perfect bake. As the pie filling heats up in the oven, it releases steam. Without these vents, the steam would build up pressure inside the pie, causing the crust to puff up excessively, crack, or even burst open at the seams, leading to a messy and compromised appearance. The slits allow this steam to escape, ensuring that your pies bake evenly, maintain their beautiful shape, and develop a perfectly flaky crust without becoming soggy from trapped moisture. It’s a simple technique that makes a big difference in the final outcome.
No, the coarse sanding sugar is entirely optional, though it’s highly recommended for that extra touch of holiday sparkle and a delightful textural contrast. Sanding sugar adds a beautiful glistening finish that catches the light, making your Christmas Tree Hand Pies look even more festive and appealing. It also provides a subtle sweetness and a satisfying crunch with each bite. If you prefer not to use it, your hand pies will still be delicious and golden-brown thanks to the egg wash. Alternatively, for a different kind of sweetness, you could drizzle a simple powdered sugar glaze (made with powdered sugar and a little milk or lemon juice) over the cooled hand pies, or even sprinkle them with cinnamon sugar for a warm, spicy note.
While these hand pies are truly at their best when enjoyed fresh on the day they are baked, proper storage ensures you can savor them for a little longer. For short-term storage, you can keep them in an airtight container at room temperature for up to one day. For extended freshness, transfer them to the refrigerator, where they will remain delicious for up to three days. To freeze, arrange the cooled hand pies in a single layer on a baking sheet and flash-freeze them until solid. This prevents them from sticking together. Once frozen, transfer them to freezer-safe bags or containers, and they’ll keep well for up to two months. To serve frozen pies, thaw them in the refrigerator, then warm them gently in the microwave or a toaster oven/air fryer for a few minutes until heated through and the crust is crisp again. Serve at room temperature or warm for optimal enjoyment.
ESSENTIAL INGREDIENTS FOR YOUR HOLIDAY HAND PIES
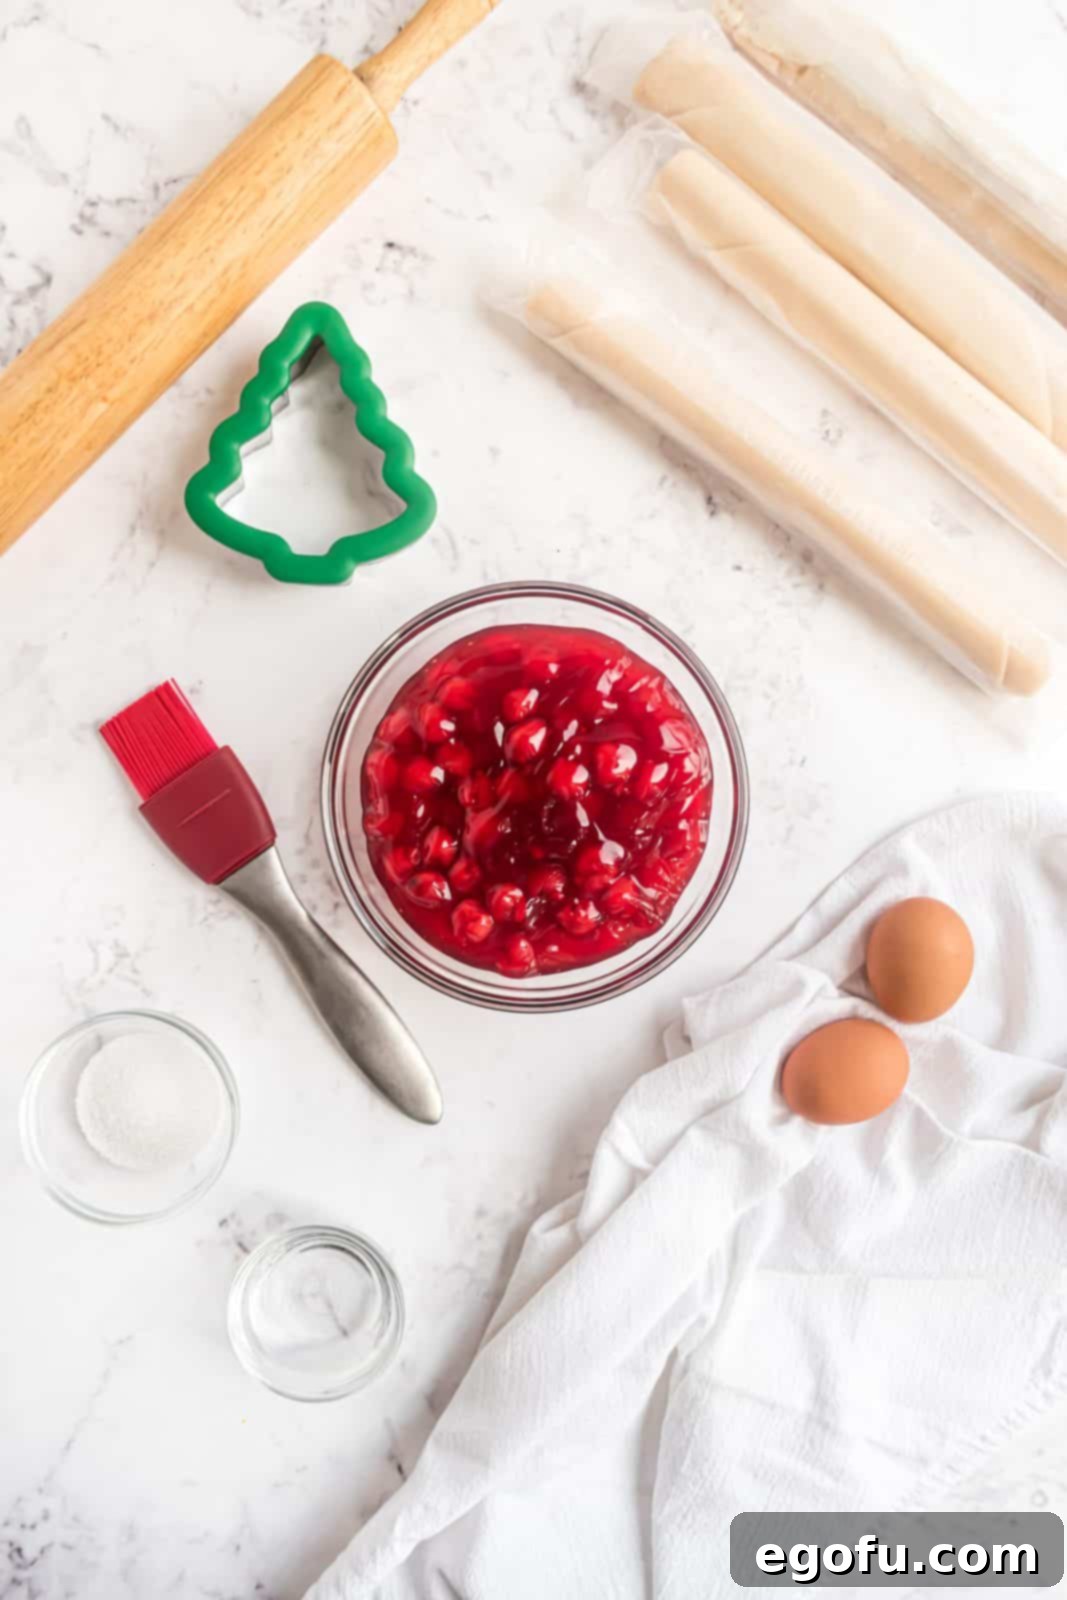
One of the many reasons these Christmas Tree Hand Pies are such a fantastic holiday treat is the simplicity of their ingredient list. You don’t need exotic items or extensive preparation; just a few quality components come together to create something truly special. Here’s what you’ll need to gather:
- Refrigerated Pie Crusts: The ultimate time-saver! Pre-made pie crusts ensure a consistently flaky base without the hassle of making dough from scratch. Look for brands with good reviews for flakiness.
- Cherry Pie Filling: The star of our show, providing that vibrant holiday color and sweet-tart flavor. A good quality canned filling makes preparation incredibly quick.
- Large Eggs: Essential for our golden egg wash, which gives the pies their beautiful sheen and helps seal the edges.
- Water: Used to thin out the egg for the perfect wash consistency.
- Coarse Sanding Sugar (optional): For that extra festive sparkle and a delightful crunch. While optional, it truly elevates the visual appeal and texture.
With these straightforward ingredients, you’re well on your way to creating a batch of festive hand pies that will be a hit with family and friends!
HOW TO MAKE CHRISTMAS TREE HAND PIES: A STEP-BY-STEP GUIDE
Making these festive hand pies is an enjoyable and relatively quick process. Follow these detailed steps to ensure your Christmas Tree Hand Pies turn out perfectly golden, flaky, and filled with holiday cheer.
Step 1: Prepare Your Workspace and Oven
First, preheat your oven to 350°F (175°C). While the oven heats, thaw your ready-made refrigerated pie crusts according to the package directions. It’s crucial for the dough to be pliable but still cool. Line a large baking sheet with parchment paper; this will prevent sticking and make cleanup easier. Set it aside. In a small bowl, whisk together the eggs and water to create your egg wash. This will be used for sealing and for that beautiful golden finish.
Step 2: Roll and Cut Your First Batch of Trees
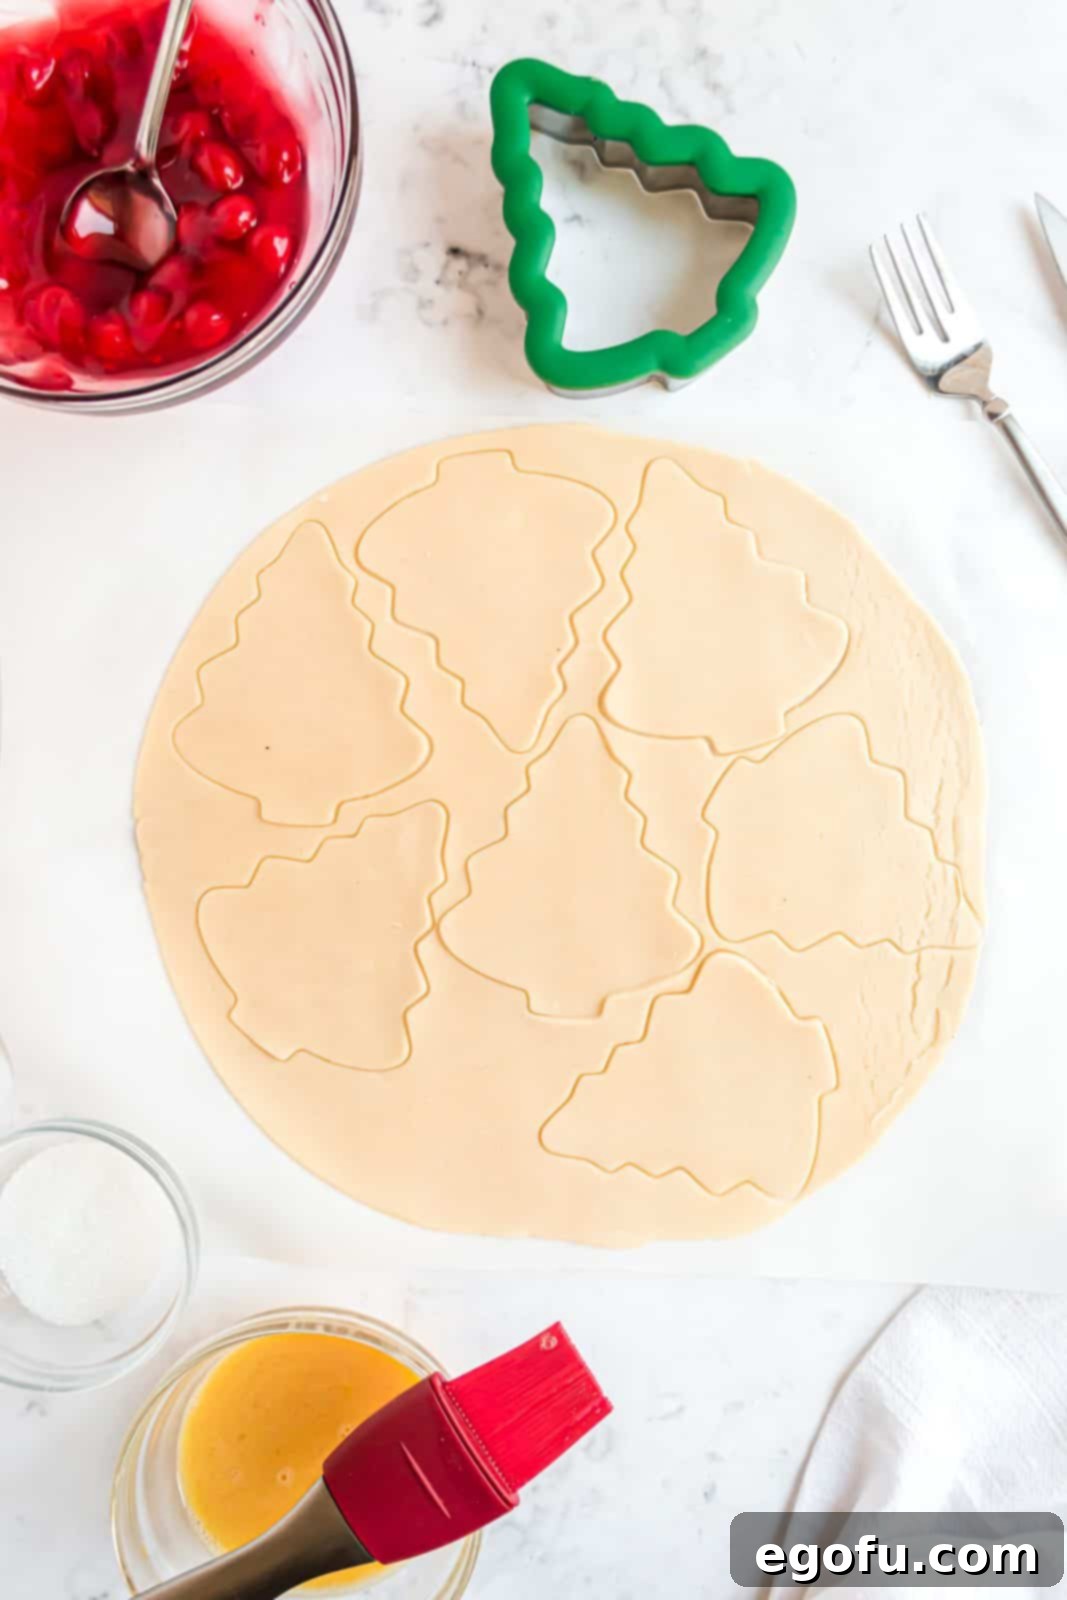
Carefully unroll one thawed pie crust on a lightly floured surface or a piece of parchment paper. Use a rolling pin to gently roll out the crust slightly, ensuring there are no cracks or holes and that it’s between ¼” and ⅛” thick. This helps to achieve an even thickness and allows for more cutouts. Using your holiday tree-shaped cookie cutter, cut out approximately 6-7 trees from the crust, depending on the size of your cutter. Place these cut-out trees on your prepared parchment-lined baking sheet. Don’t discard the excess dough; we’ll use it later!
Step 3: Fill the Bottom Crusts with Cherry Goodness
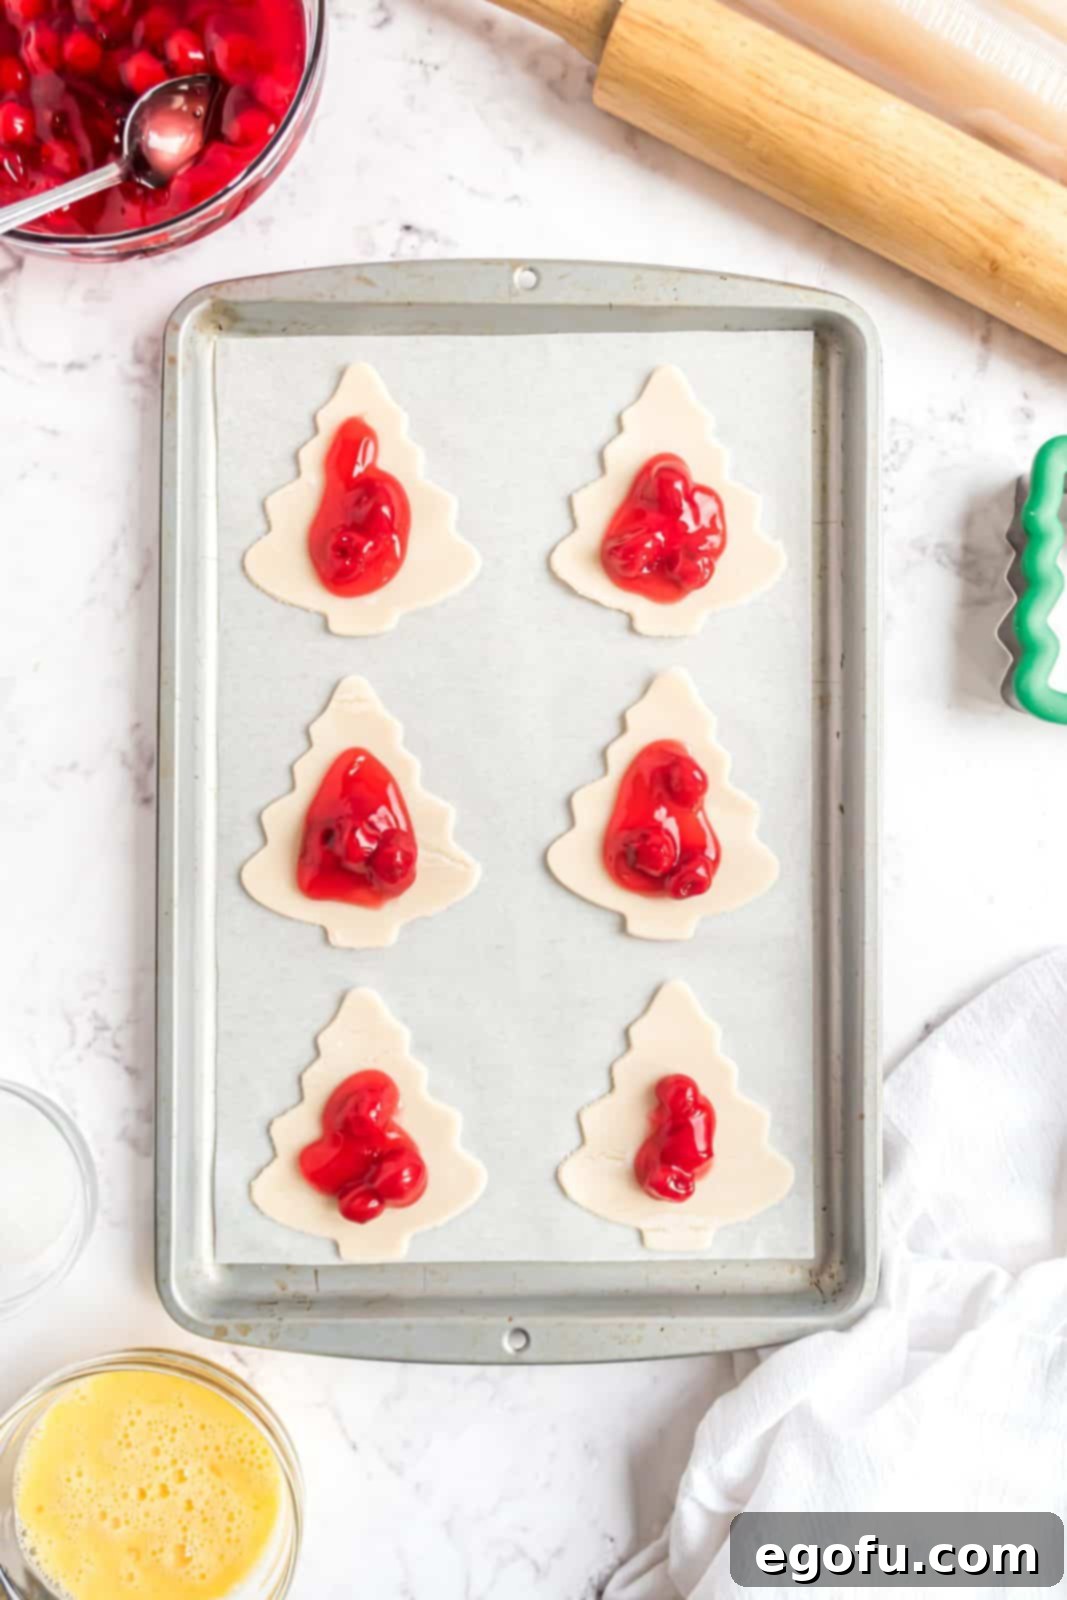
Once your first set of tree shapes is on the baking sheet, spoon about 1 to 1½ tablespoons of cherry pie filling into the center of each tree. Be careful not to overfill, as this can make sealing difficult and lead to leaks during baking. Leave a clear border around the edges for sealing.
Step 4: Apply Egg Wash for a Secure Seal
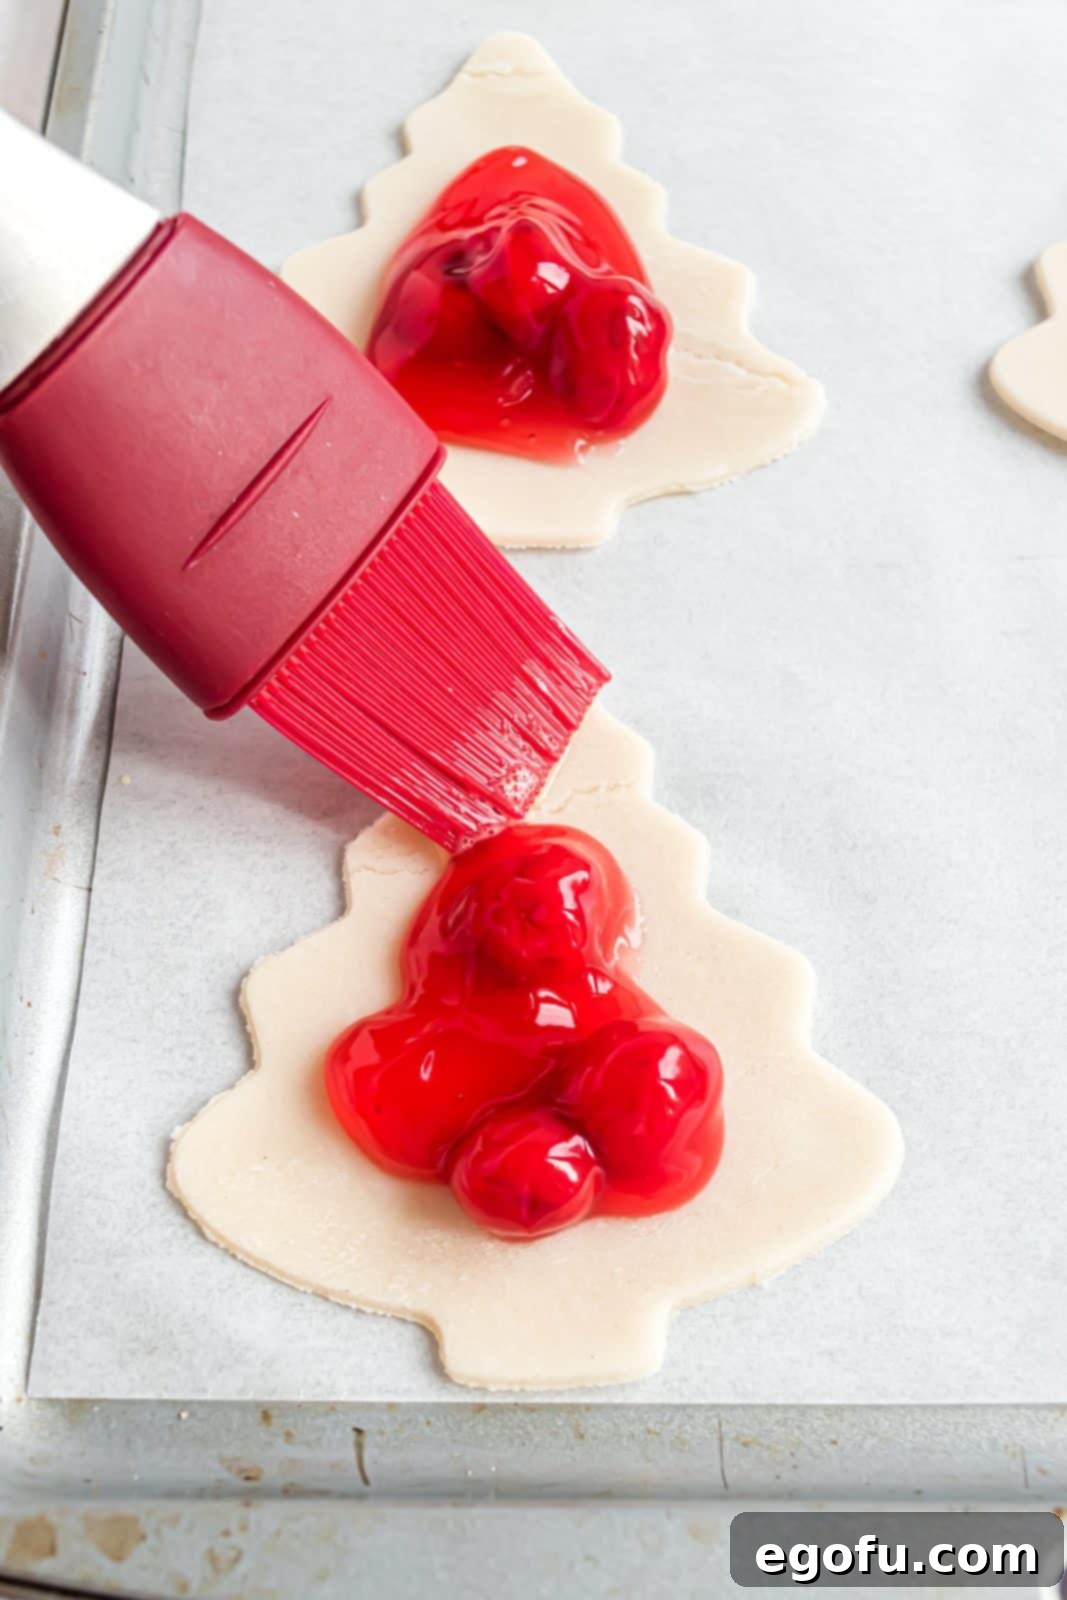
Using a pastry brush, lightly brush the border around the cherry pie filling on each tree with your prepared egg wash. This sticky layer acts like glue, helping the top crust adhere securely to the bottom crust, preventing the filling from bubbling out during baking.
Step 5: Top and Seal Your Hand Pies
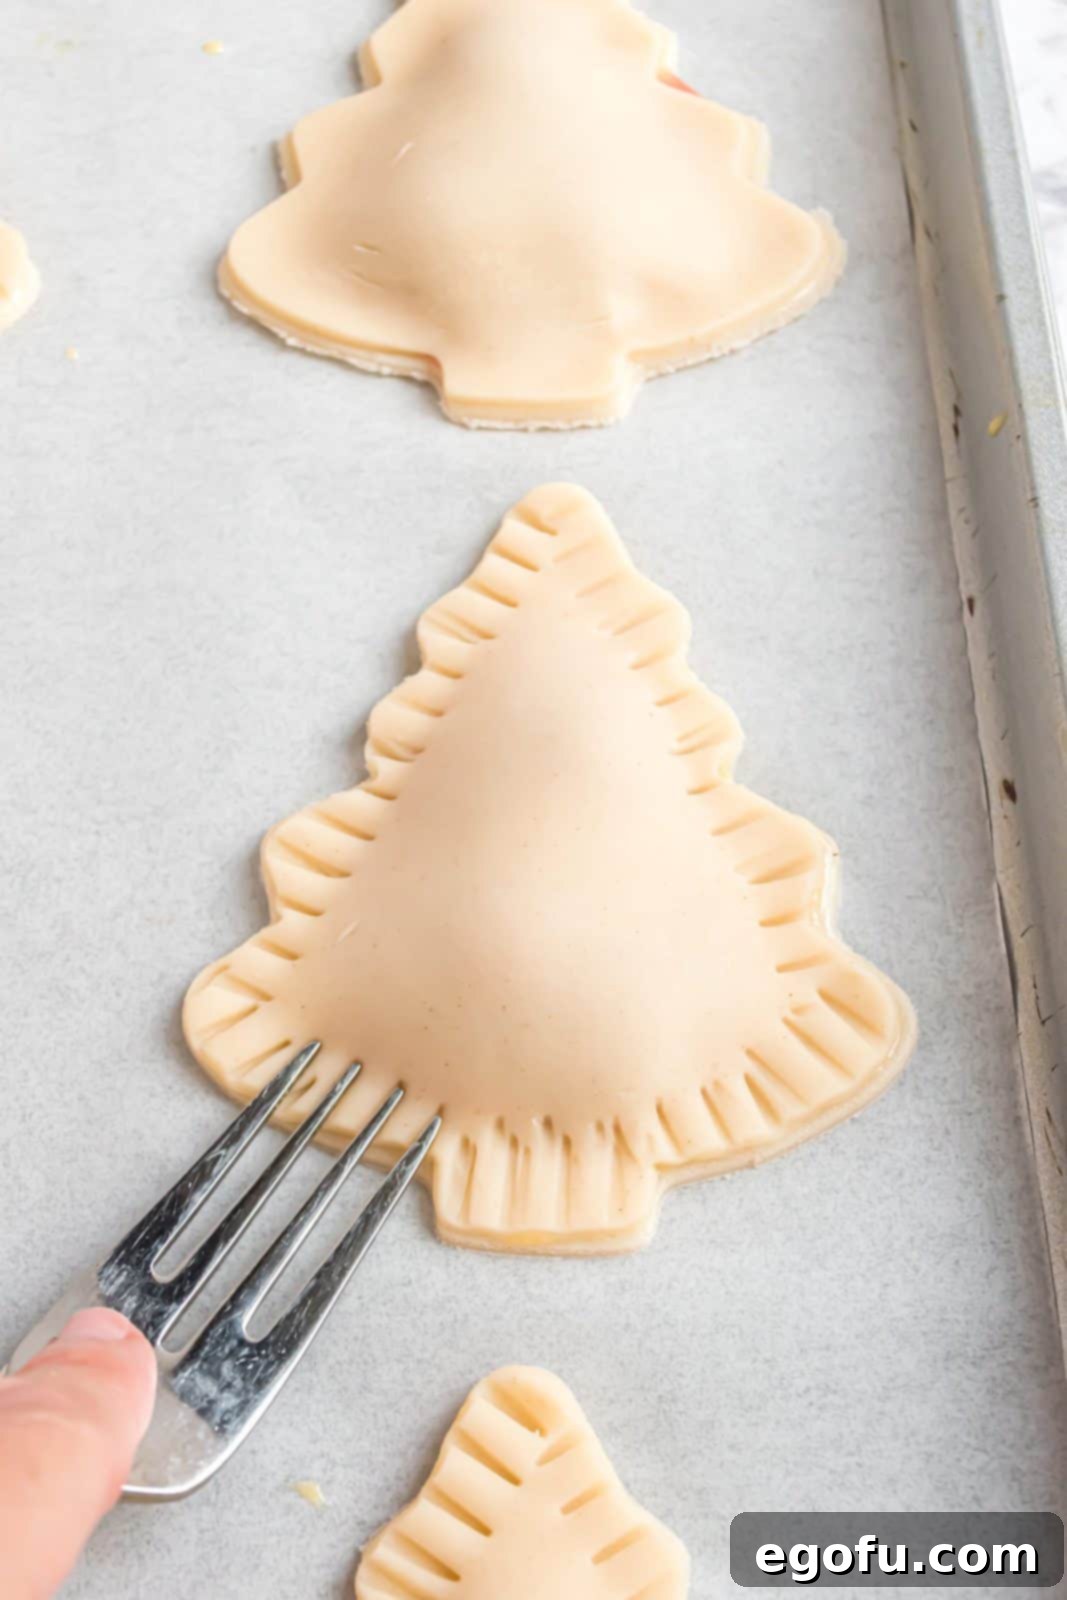
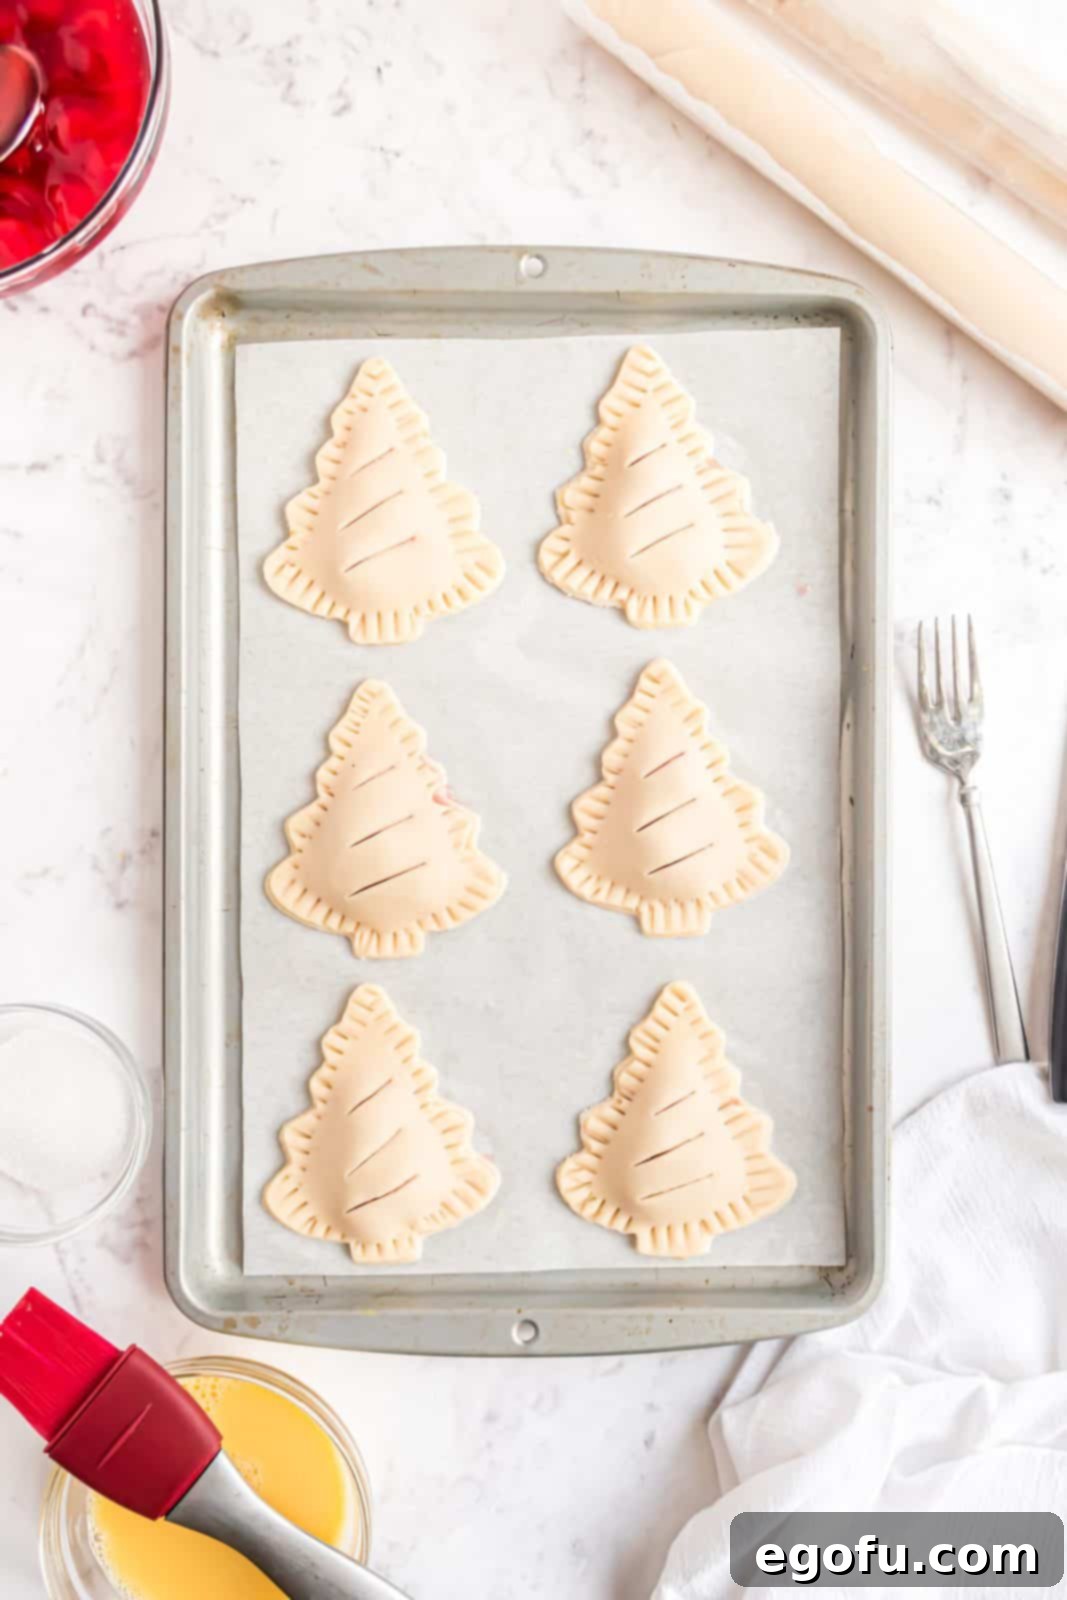
Roll out a second pie crust and cut out another 6-7 tree shapes. Gently place these new tree cutouts over the top of the filling on your baking sheet, aligning them carefully with the bottom crusts. Starting from the “trunk” of the tree and working your way up, lightly press the edges of the top and bottom crusts together. Be gentle to avoid pressing down on the filling. Then, take a fork and press the tines along the entire outline of each tree, creating a decorative and secure crimped edge. This step ensures a tight seal and adds a charming homemade touch.
Step 6: Vent and Decorate for Perfection
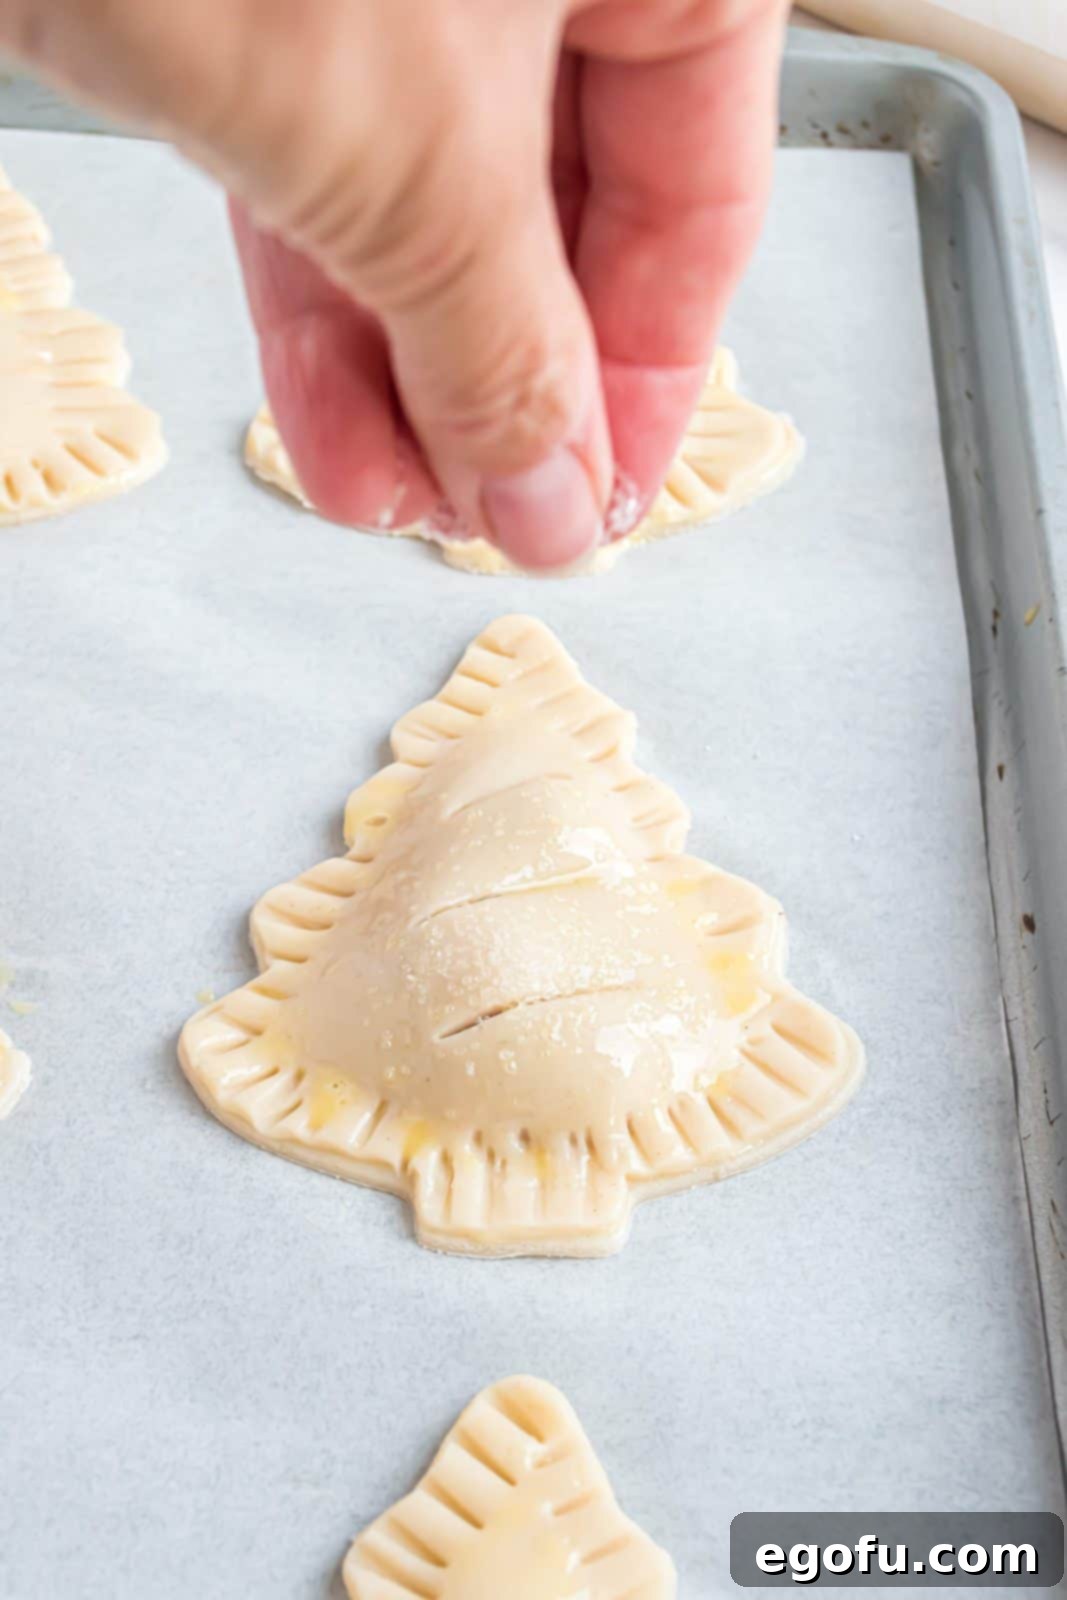
Using a sharp knife, carefully make three small diagonal slits on the top crust of each hand pie. These are essential vents that allow steam to escape during baking, preventing the pies from bursting and ensuring a perfectly flaky crust. After venting, brush the top crusts of all the pies with more egg wash. This will contribute to a beautiful golden sheen. If desired, sprinkle a generous amount of coarse sanding sugar over the top of each pie for a delightful sparkle and added texture. This step instantly makes them look more festive and appealing.
Step 7: Bake Until Golden
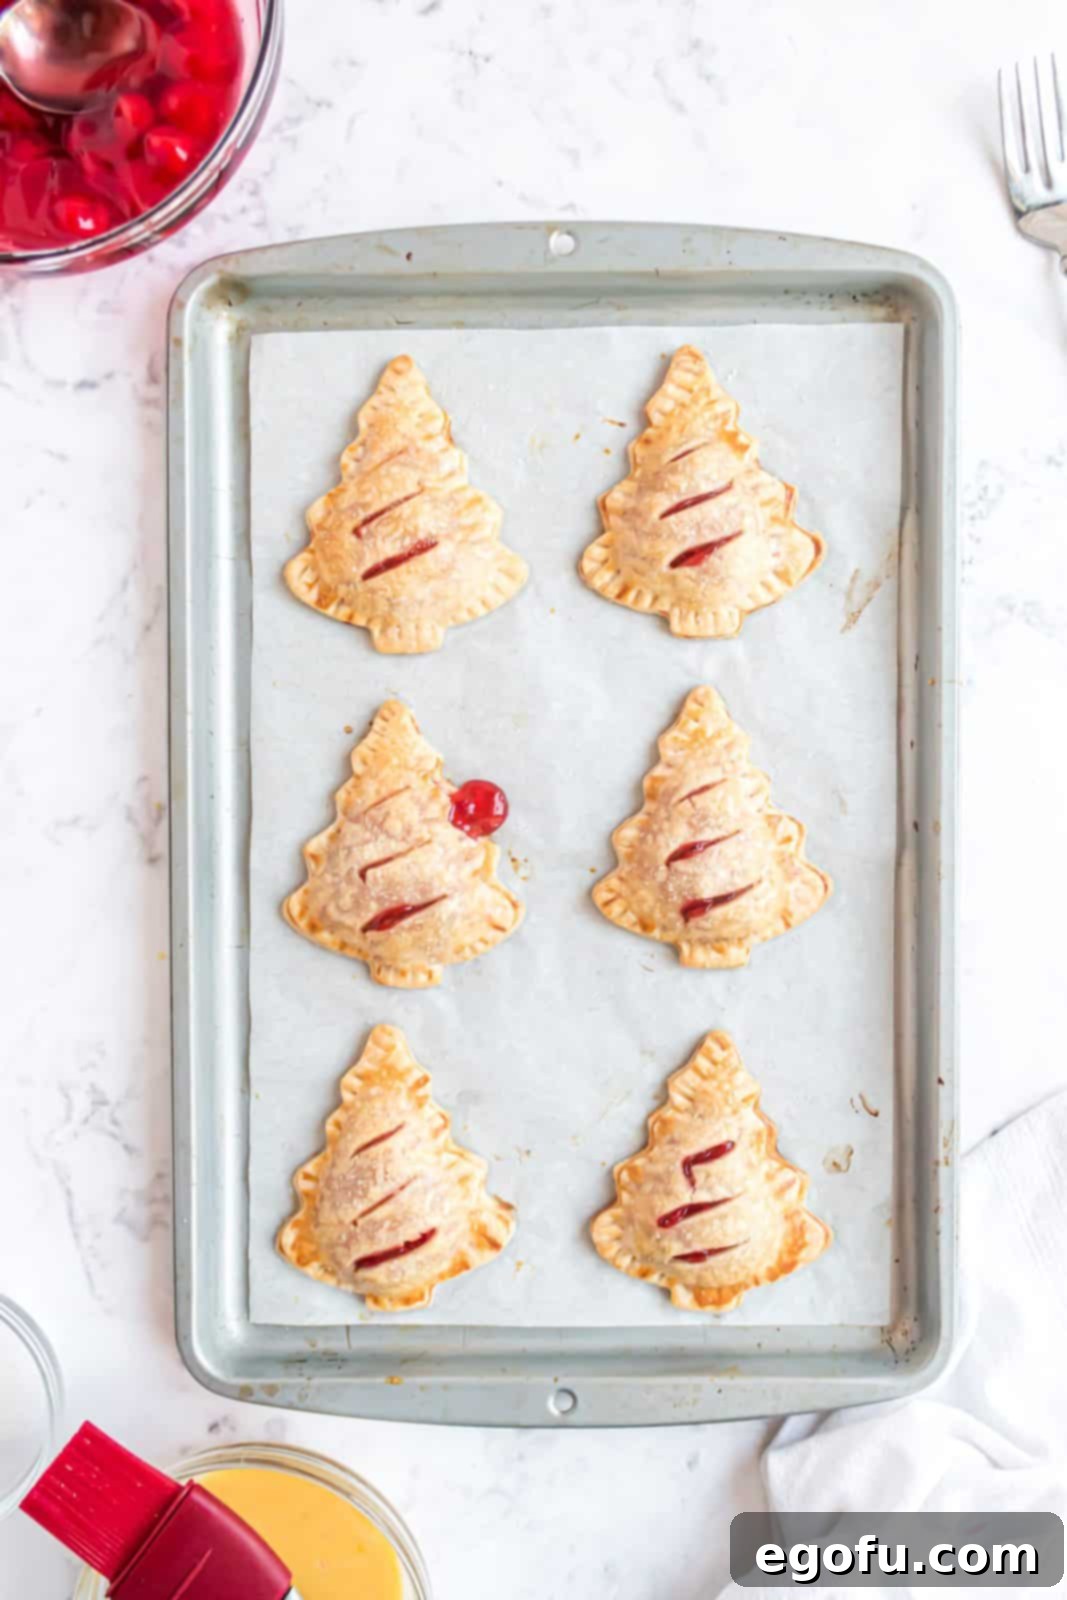
Place the baking sheet with your prepared Christmas Tree Hand Pies into the preheated oven. Bake for 20-25 minutes, or until the crusts are beautifully golden brown and the filling is bubbly. Baking times can vary slightly depending on your oven, so keep an eye on them towards the end.
Step 8: Cool and Serve
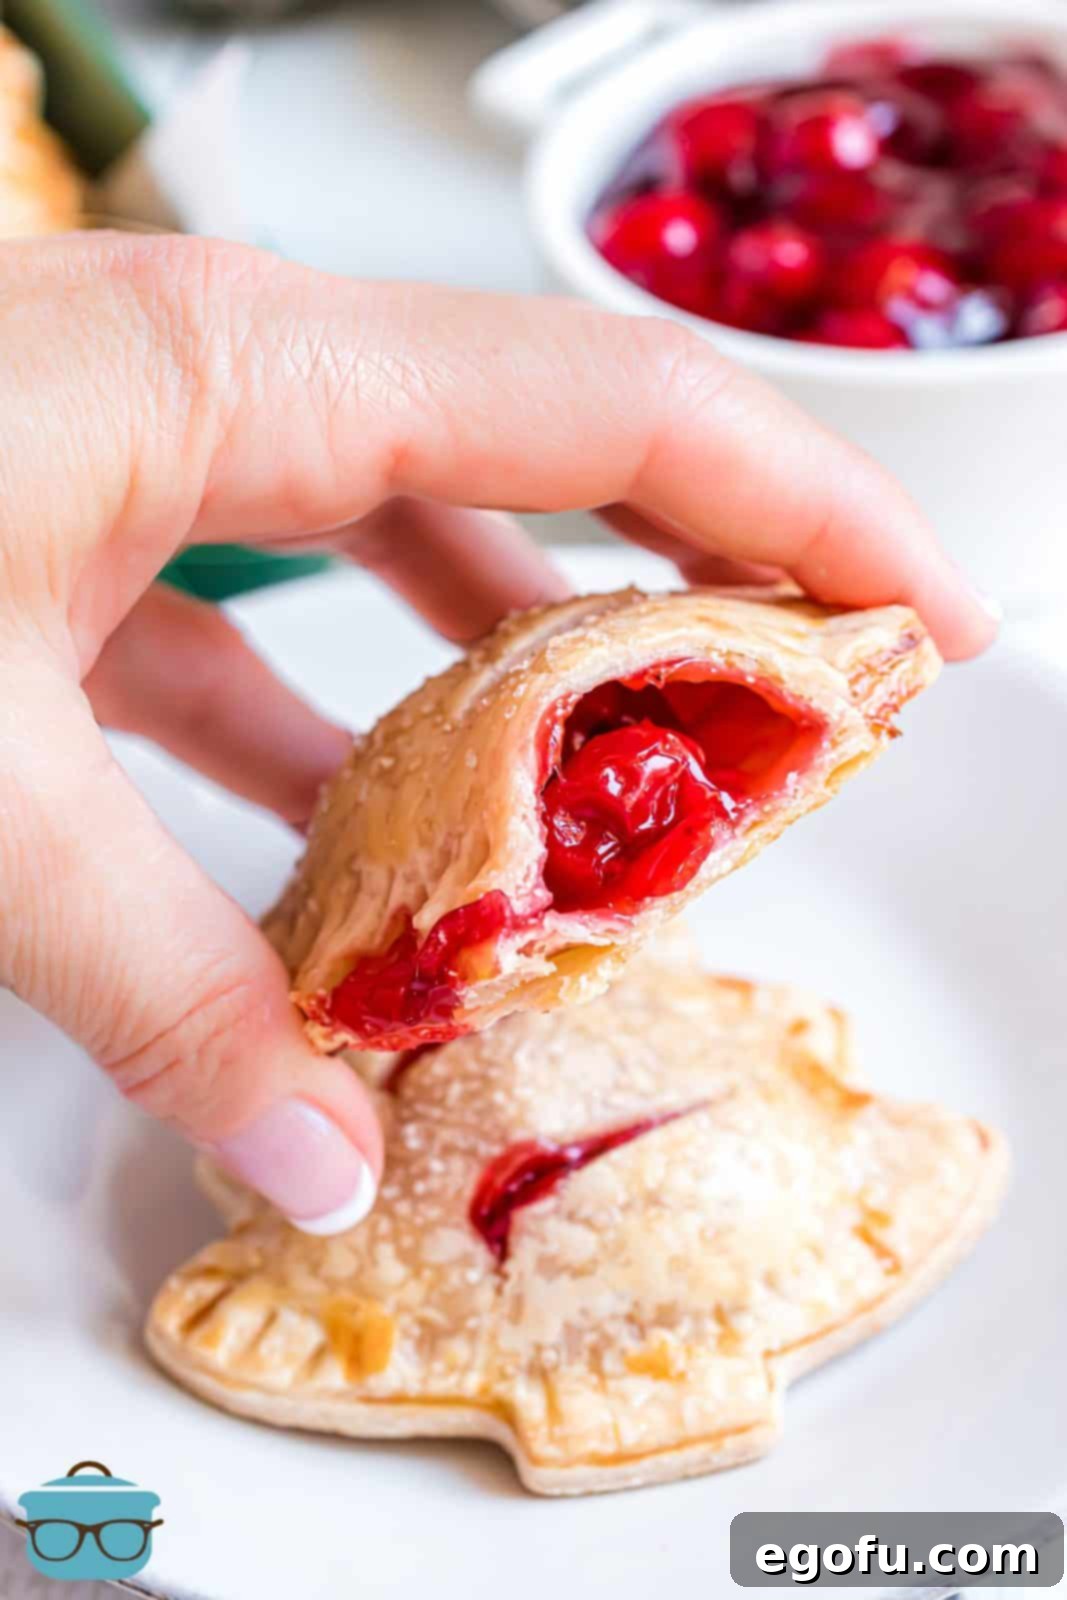
Once baked, carefully transfer the hot hand pies to a wire cooling rack. Allow them to cool for a bit; the filling will be very hot. Serve them warm for a comforting treat, or at room temperature for easy handling. These are truly delightful any way you enjoy them! Continue this process with the remaining pie crusts, gathering and re-rolling any excess dough to make as many hand pies as possible. This ensures you make the most of your ingredients and create a full batch of these charming holiday desserts.
Pro Tip: Utilizing Leftover Dough
Don’t let any pie crust go to waste! After cutting out all your initial tree shapes, gather the leftover scraps of dough. Gently press them together to form a ball, being careful not to overwork it. Roll it out again to the same thickness as your original crusts and cut out a few more hand pies. This method helps you maximize your yield and reduces waste, ensuring you get the most out of every package of pie crust.
WANT MORE DELICIOUS HOLIDAY RECIPES?
If these Christmas Tree Hand Pies have sparked your holiday baking enthusiasm, you’re in luck! We have an array of other festive and delicious recipes that are perfect for the season. From more hand-held delights to comforting pies, explore these related recipes:
- MINI CHERRY CHEESECAKE PIES
- APPLE SLAB PIE
- BLUEBERRY HAND PIES
- CHRISTMAS TREE POP TARTS

Christmas Tree Hand Pies
An easy holiday treat, these Christmas Tree Hand Pies use minimal ingredients, have a delicious pie filling, and are fun for everyone!
Rating: 5 out of 5 stars (9 Reviews)
Print Recipe Pin Recipe Rate This Recipe
30 minutes
20 minutes
50 minutes
26
Brandie Skibinski
Ingredients
- 3 boxes refrigerated pie crust (2 crusts in each box)
- 21 ounce can of cherry pie filling
- 2 large eggs
- 2 Tablespoons water
- Coarse sanding sugar, optional
Instructions
- Thaw the ready-made pie crust, according to package directions. Preheat oven to 350℉.
- Line a large baking sheet with parchment paper. Set aside.
- Using a rolling pin, roll out one thawed pie crust, ensuring there are no cracks or holes. The crust should be between ¼” and ⅛” thick.
- Using a holiday tree cookie cutter, cut out about 6-7 trees (depending on the exact size of your cookie cutter.)
- Place trees on the parchment lined baking sheet and spoon about 1 – 1 ½ Tablespoons of cherry pie filling into the center of each tree.
- In a small bowl, whisk eggs and water together, set aside.
- Brush the border around the filling with prepared egg wash. This is going to help the top crust stick to the bottom crust.
- Roll out a second pie crust and cut out 6-7 more trees. Gently place the trees over the top of the filling. Starting at the trunk, lightly press the edges together, making sure not to press down on the filling.
- Using the tines of a fork, press the seams together, working around the outline of the tree.
- Using a sharp knife, make 3 small diagonal slits in the top crust for venting.
- Brush the top crusts with more of the egg wash and sprinkle with coarse sanding sugar, if desired.
- Bake for 20-25 minutes or until golden brown.
- Transfer to a cooling rack. Serve warm or at room temperature.
- Repeat the above process with the remaining pie crusts. When all the ready-made pie crust has been used, and all that remains is the excess, combine it all and roll it out, the same thickness as the original crusts, to complete the remaining hand pies.
Video
Notes
- You can decrease this recipe if you’d like less pies. You will have a little pie filling leftover. Consider making the whole batch and freezing some for later!
- Use your favorite pie filling. I went with cherry because we felt it was more festive.
- Note: Save the excess pie crust and roll it out again to make a few more tree cutouts.
Dessert
American
Nutrition
Carbohydrates: 24g |
Protein: 3g |
Fat: 10g |
Sodium: 157mg |
Fiber: 1g |
Sugar: 1g
Nutritional Disclaimer
“The Country Cook” is not a dietician or nutritionist, and any nutritional information shared is an estimate. If calorie count and other nutritional values are important to you, we recommend running the ingredients through whichever online nutritional calculator you prefer. Calories and other nutritional values can vary quite a bit depending on which brands were used.
Share it on Instagram @thecountrycook and mention us #thecountrycook!
