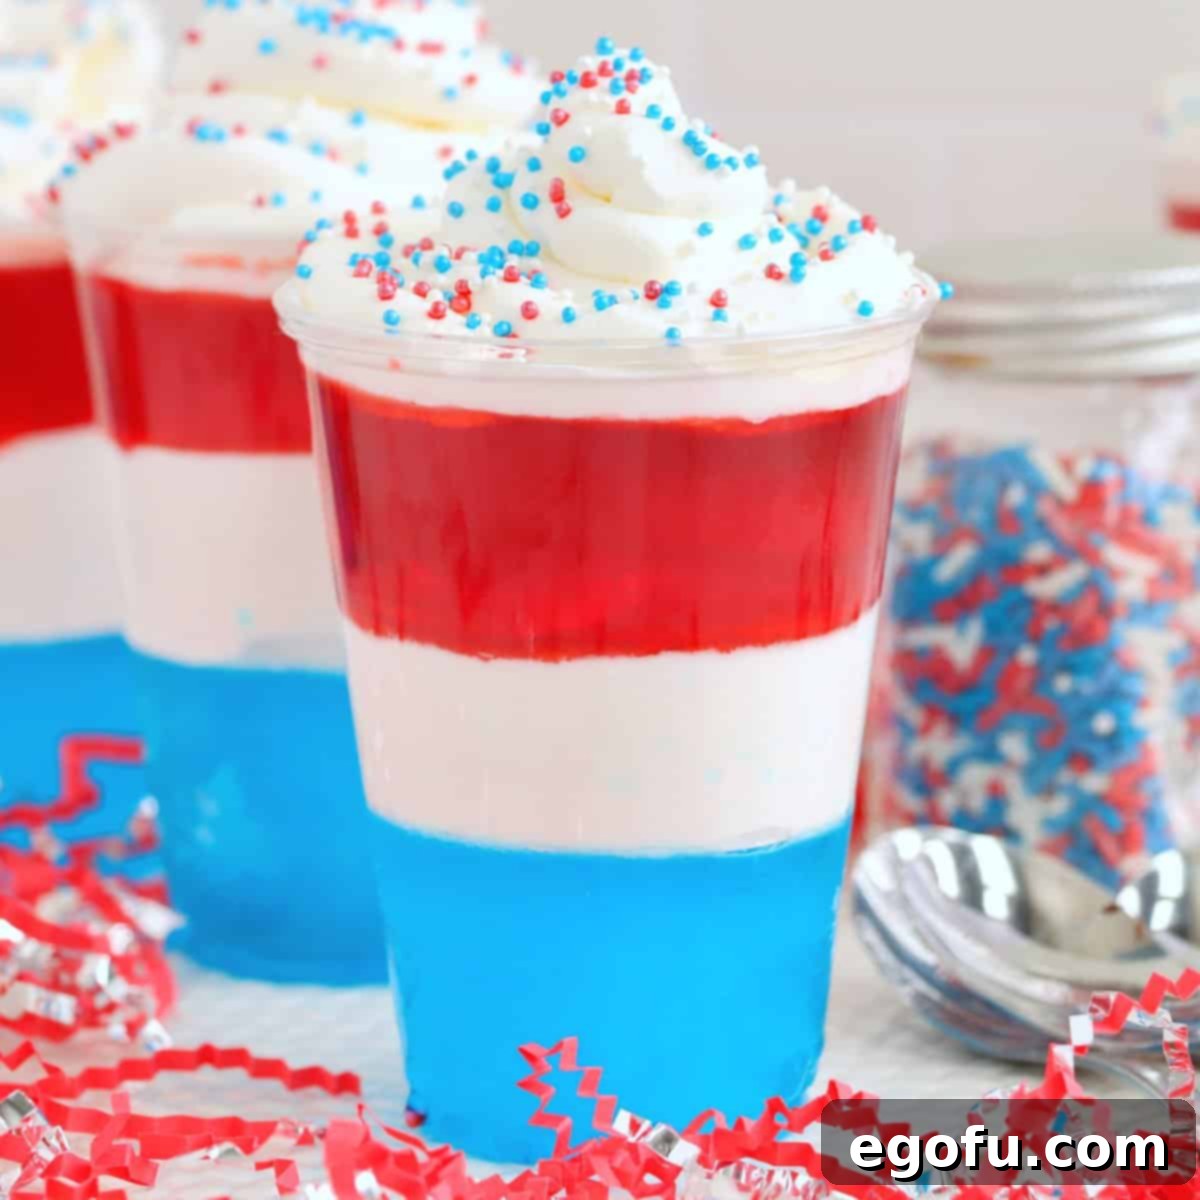
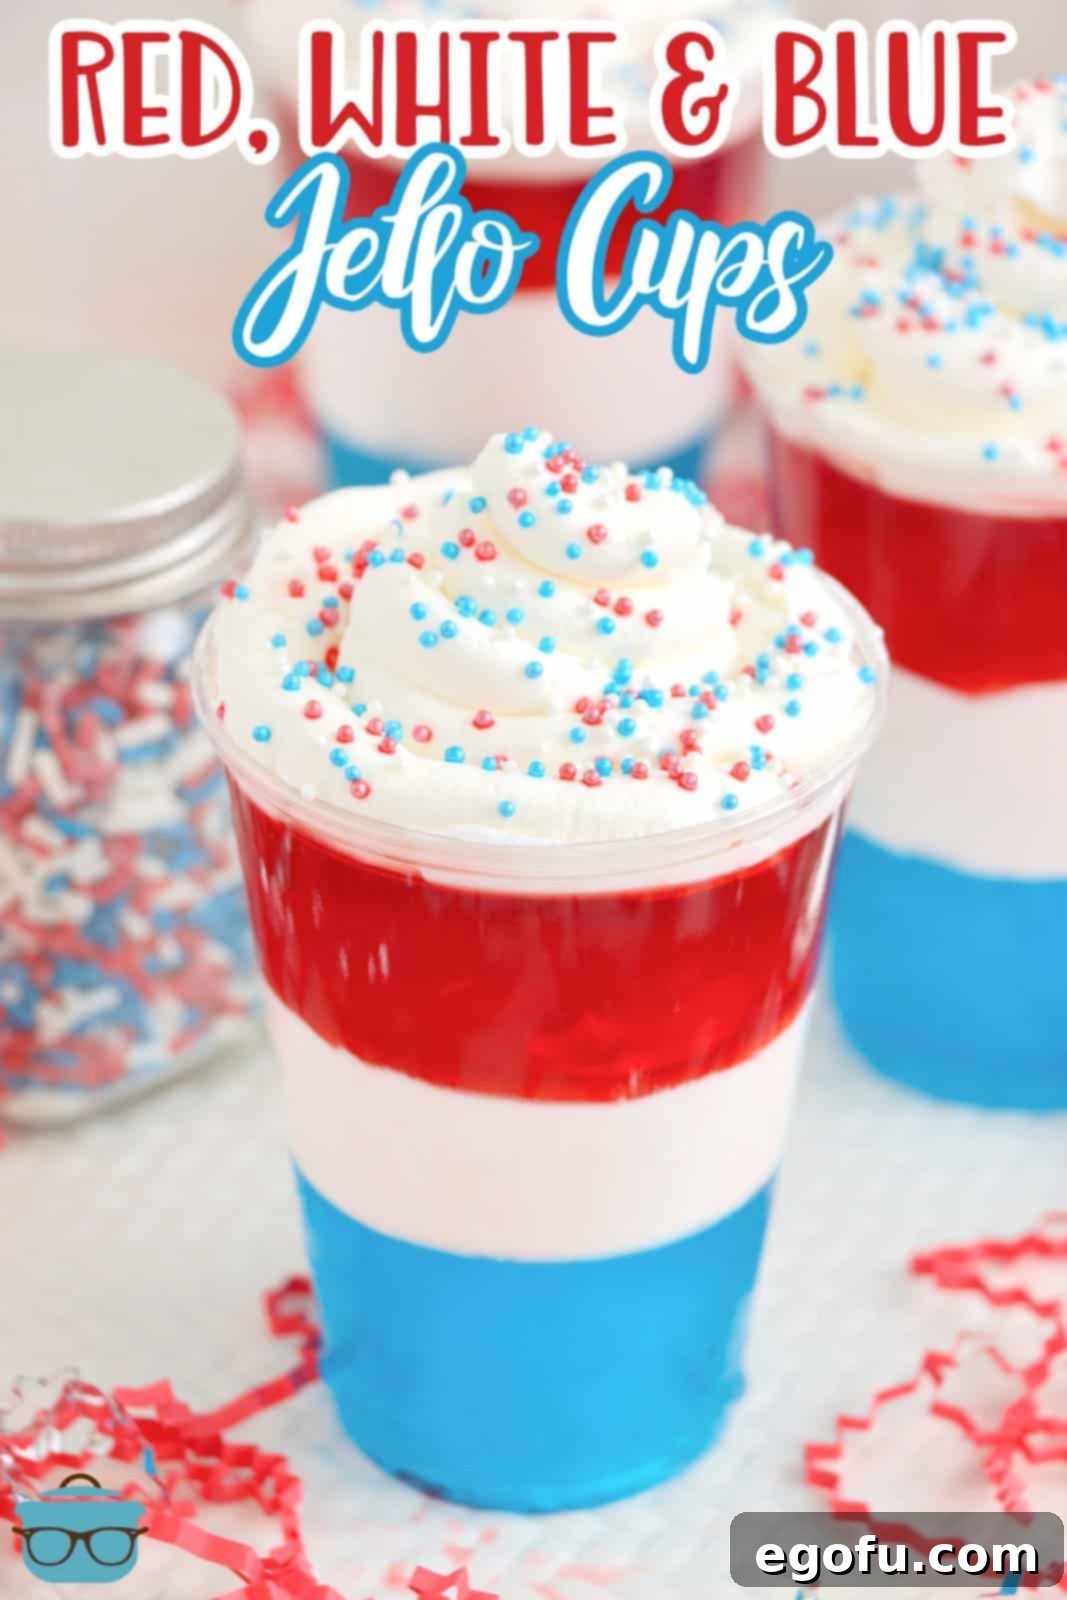
Looking for an effortlessly festive dessert that’s guaranteed to impress at your next patriotic celebration? These Red, White, and Blue Jell-O Cups are your answer! With vibrant layers and a refreshing taste, they are incredibly easy to make with just a handful of ingredients. Perfect for Independence Day, Memorial Day, or any occasion calling for a burst of national pride, this no-bake treat is a guaranteed crowd-pleaser that even the kids can help assemble.
Red White and Blue Jell-O Cups: Your Ultimate Patriotic Dessert
Celebrate with flair and flavor! These Red, White, and Blue Jell-O Cups stand out as a delightful centerpiece for any patriotic gathering. Each cup features perfectly distinct layers of red, white, and blue, creating a visually stunning dessert that’s as delicious as it is eye-catching. The jiggly texture of the Jell-O combined with the creamy sweetness of whipped topping creates a light, refreshing, and truly irresistible treat. Best of all, there’s no oven required, making it a stress-free option for hot summer days and busy holiday preparations. Get ready to wow your guests and create lasting memories with this iconic, easy-to-make dessert!
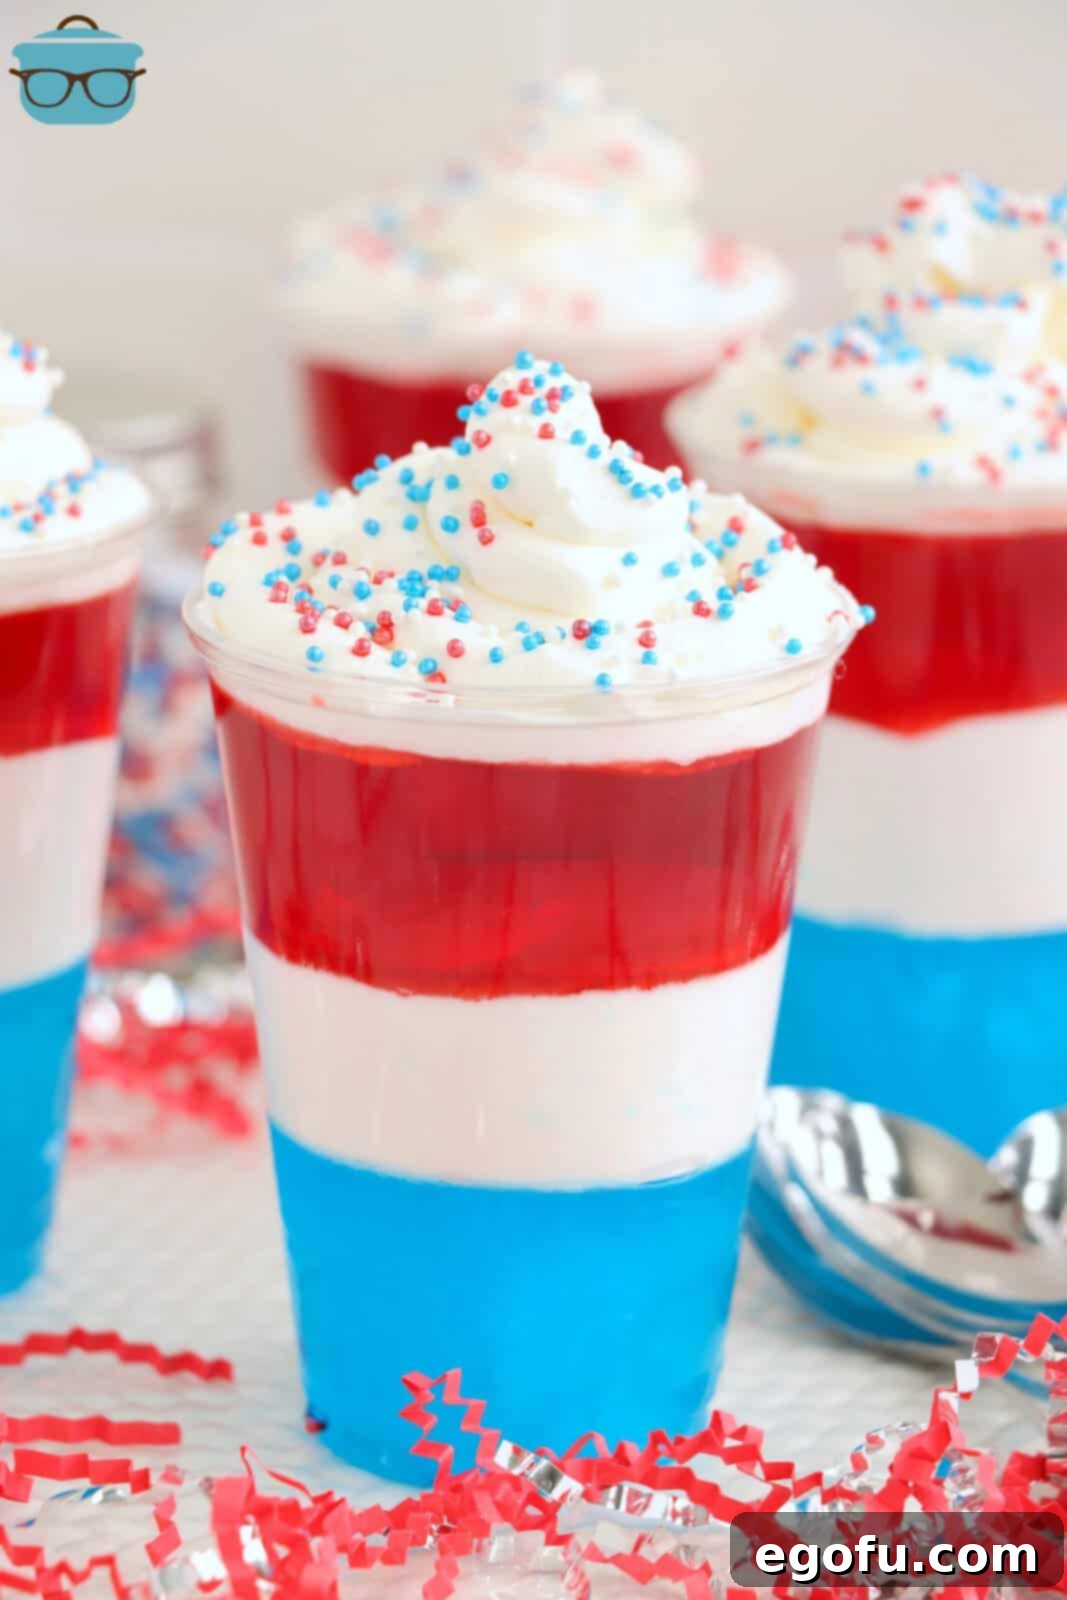
Why You’ll Adore These Layered Jell-O Cups
There’s so much to love about these vibrant Jell-O cups beyond their patriotic appeal. This recipe simplifies dessert making without compromising on taste or presentation, making it an ideal choice for a variety of reasons:
- **Effortlessly Festive:** Achieve a striking red, white, and blue aesthetic with minimal effort, perfect for holidays like the 4th of July, Memorial Day, or Labor Day.
- **No-Bake Wonder:** Keep your kitchen cool, especially during warm weather. This recipe requires no baking, just simple mixing and chilling.
- **Family-Friendly Fun:** Involve your children in the creation process. Layering Jell-O is a fun, hands-on activity that kids love, and the result is a treat everyone enjoys.
- **Light & Refreshing:** The combination of fruity Jell-O and airy whipped topping offers a light and cool dessert, ideal for summer picnics and BBQs.
- **Customizable Flavors:** While red and blue are key for the patriotic theme, you can easily adapt the Jell-O flavors to suit other occasions or personal preferences.
- **Budget-Friendly:** Made with readily available and inexpensive ingredients, this dessert is kind to your wallet while still delivering a big impact.
Essential Ingredients for Your Patriotic Jell-O Cups
Crafting these beautiful layered Jell-O cups requires only a few simple items, most of which you likely already have in your pantry or can easily find at any grocery store. The key is selecting the right colors and ensuring you have everything ready before you begin layering.
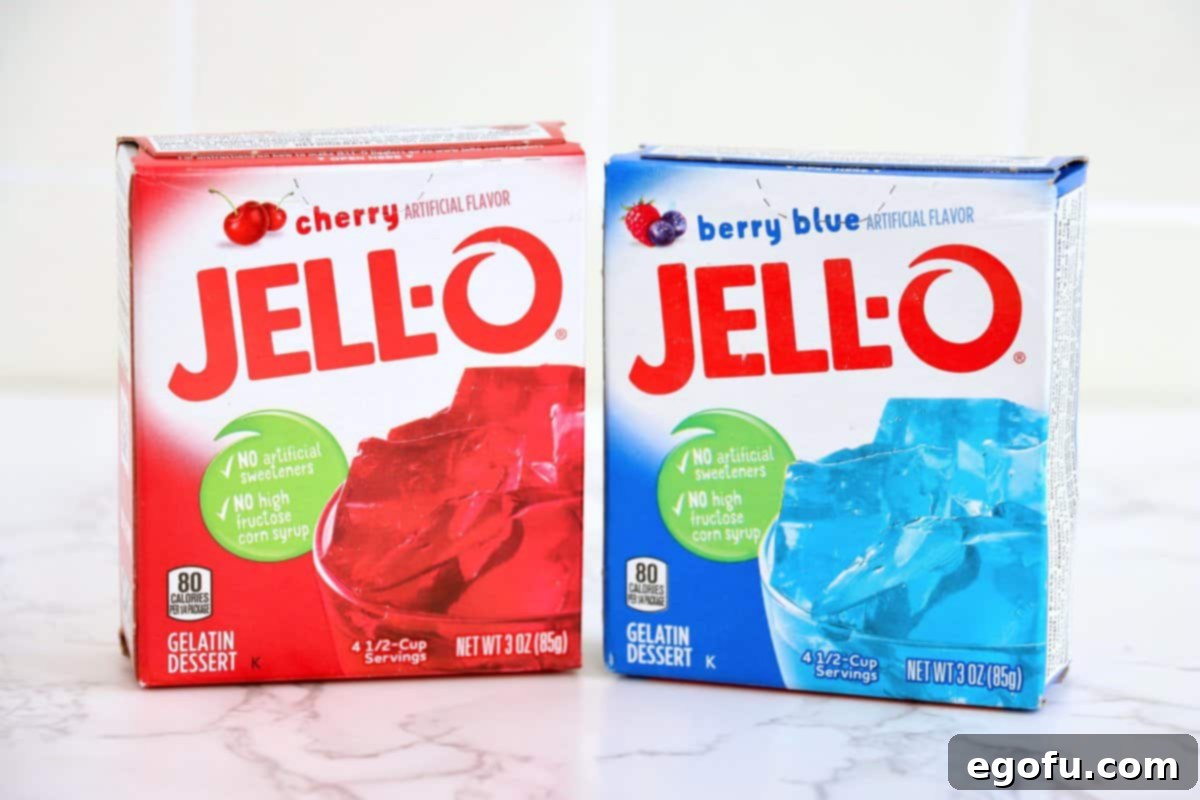
- Berry Blue Jell-O: This is crucial for the blue layer. Look for the standard 3-ounce box. It’s the most common blue gelatin flavor available and provides that perfect vibrant hue.
- Cherry Jell-O: For the red layer, Cherry Jell-O offers a classic sweet and tangy taste. Alternatively, you could use Strawberry Jell-O if you prefer that flavor profile, or even Raspberry Jell-O for a slightly deeper red.
- Boiling Water: Essential for properly dissolving the gelatin mixes. You’ll need it divided for each Jell-O flavor.
- Cold Water: Used in conjunction with ice cubes for the “Speed-Set” method, which significantly reduces chilling time and helps achieve firmer layers faster.
- Ice Cubes: A vital component of the speed-set method, allowing your Jell-O layers to firm up quickly without hours of waiting.
- Whipped Topping (Cool Whip): This forms the delightful white layer in the middle and also serves as a lovely garnish on top. You’ll find it in the frozen dessert section of your grocery store. Remember to thaw it thoroughly in the refrigerator overnight before you plan to use it. Do not thaw on the counter, as it may separate.
- Red, White, and Blue Sprinkles (Optional): A festive touch for garnishing. While not essential, they add extra visual appeal and a fun textural contrast. Use your judgment, as some people prefer the smooth texture of Jell-O without the crunch of sprinkles.
Equipment You’ll Need
Preparing these patriotic Jell-O cups doesn’t require any fancy kitchen gadgets. Here’s a list of the basic equipment that will make the process smooth and enjoyable:
- Clear Plastic Cups (9 ounce): Clear cups are essential to showcase the beautiful layered effect. While 9-ounce cups are recommended for this recipe, you can experiment with smaller 4-ounce or 6-ounce cups for mini servings, which will yield more cups per recipe.
- Mixing Bowls: At least two medium-sized bowls, one for each Jell-O flavor.
- Large Measuring Cup with a Spout: This is incredibly helpful for neatly pouring the Jell-O mixtures into the cups, minimizing spills and ensuring even distribution. Alternatively, a turkey baster can work wonders for precise layering.
- Whisk or Spoon: For dissolving the gelatin and stirring.
- Measuring Cups: For accurately measuring boiling and cold water.
- Baking Sheet: A baking sheet is highly recommended for easy transport of the cups to and from the refrigerator, ensuring they remain level while chilling.
- Plastic Wrap or Lids: For covering the Jell-O cups during storage to keep them fresh.
Crafting Your Red, White, and Blue Jell-O Cups: A Step-by-Step Guide
Creating these festive Jell-O cups is a straightforward process that builds layer by layer, with chilling time in between. The key to success is patience and following each step to ensure firm, distinct layers. Let’s dive into the simple instructions to bring your patriotic dessert to life.
Preparation is Key
- Prepare Your Workspace: First, ensure you have ample space in your refrigerator to comfortably fit all 6 of your Jell-O cups. Placing them on a sturdy baking sheet before you begin assembling makes moving them in and out of the fridge much easier and helps maintain their level during chilling.
The Blue Layer
- Making the Berry Blue Jell-O: Follow the package directions for Berry Blue Jell-O, opting for the “Speed-Set Method” if available, which uses ice cubes to accelerate the setting process. To do this, dissolve the entire gelatin mix in 1 ½ cups of boiling water, stirring thoroughly for at least 2 minutes until completely dissolved.
- Speed-Set Technique for Blue: Once the gelatin is dissolved, add ice to 1 cup of cold water to make 2 ½ cups (ensure you remove any excess water that melts from the ice to maintain the correct liquid volume). Stir this icy cold water mixture into the dissolved gelatin until it begins to thicken. Quickly remove any unmelted ice cubes using a spoon or slotted spoon. If you prefer, you can use the traditional chilling method, but be aware it will significantly extend the overall preparation time.
- Pouring the Blue Layer: Carefully transfer the prepared Berry Blue Jell-O mixture to a bowl or a large measuring cup with a spout. Alternatively, a turkey baster can be used for even greater precision. Distribute the blue Jell-O evenly among each of your 6 clear 9-ounce plastic cups, filling them approximately one-third of the way.
- Chill the Blue Layer: Place the cups on your baking sheet into the refrigerator. Allow them to chill for at least 1 hour, or until the blue Jell-O layer is firm to the touch. This step is crucial for preventing the layers from mixing.
The White Layer
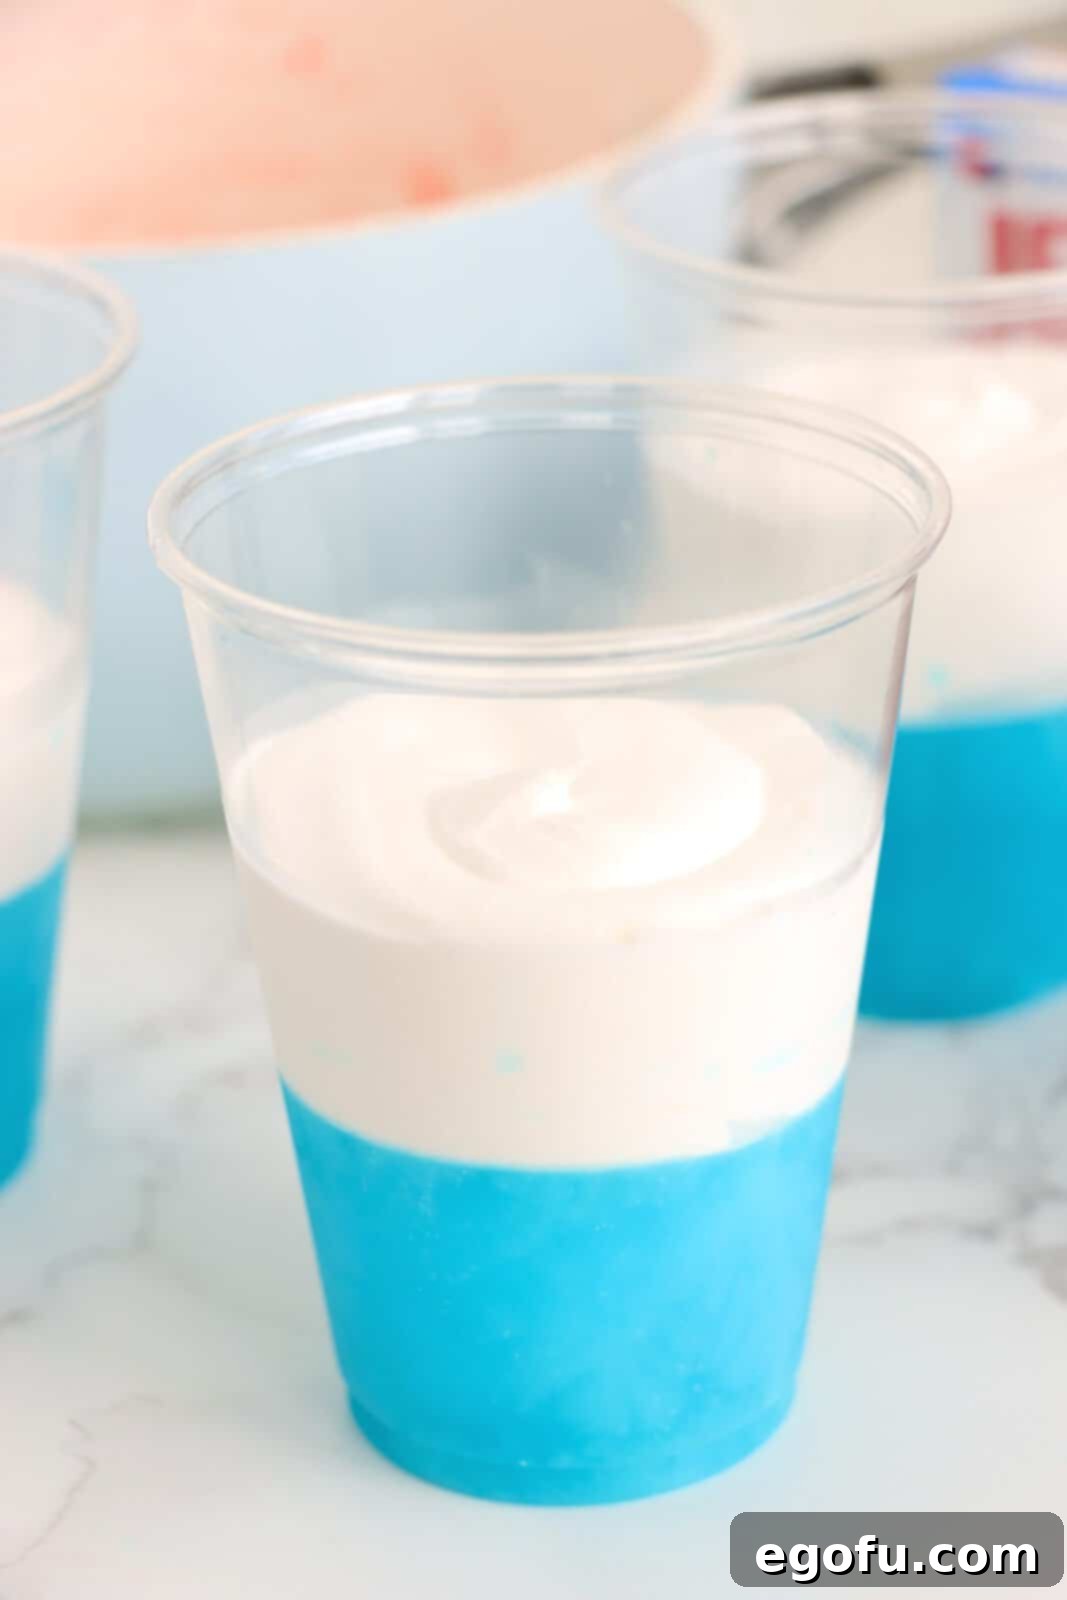
- Adding the Whipped Topping: Once the blue Jell-O is set, it’s time for the white layer. Spoon the thawed whipped topping evenly amongst all 6 cups, gently spreading it over the blue Jell-O. Be mindful to save a good portion of the whipped topping to use later for garnishing the top of your cups. Gently shake each cup or lightly tap it on the counter to help level the whipped topping layer.
- Freeze to Firm: To quickly set the whipped topping layer and prevent it from melting or mixing with the next Jell-O layer, place the cups in the freezer for 1 hour. This will make the whipped topping firm to the touch.
The Red Layer
- Making the Cherry Red Jell-O: Just as you prepared the Berry Blue Jell-O, make the Cherry Jell-O using the fast-set method. Dissolve the gelatin mix in 1 ½ cups of boiling water, stirring until no granules remain.
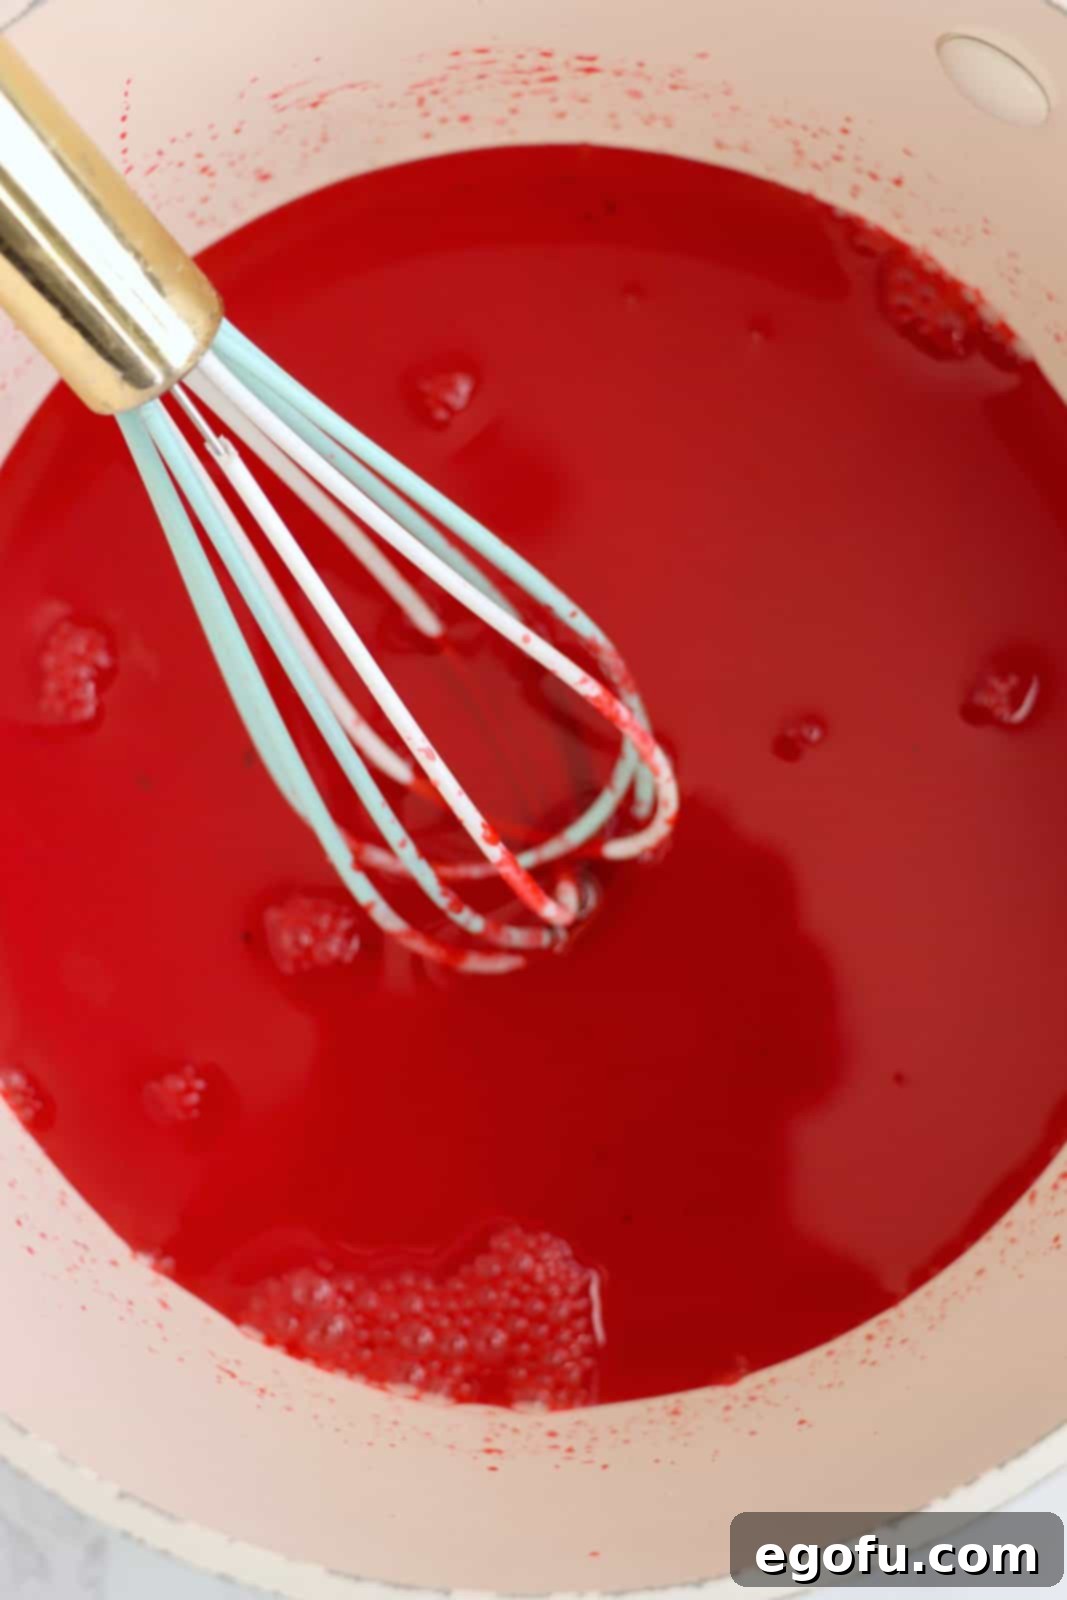
- Speed-Set Technique for Red: Add ice to 1 cup of cold water to create 2 ½ cups of icy cold water. Stir this into the dissolved cherry gelatin until it starts to thicken, then swiftly remove any unmelted ice.

- Removing Unmelted Ice: Use a spoon to carefully scoop out any ice that did not melt, ensuring your Jell-O mixture is smooth and consistent.

- Pouring the Red Layer: Once again, using a bowl with a spout or a turkey baster, evenly add the cherry gelatin mixture on top of the firm whipped topping layer in each cup. Be gentle to avoid disturbing the white layer beneath.
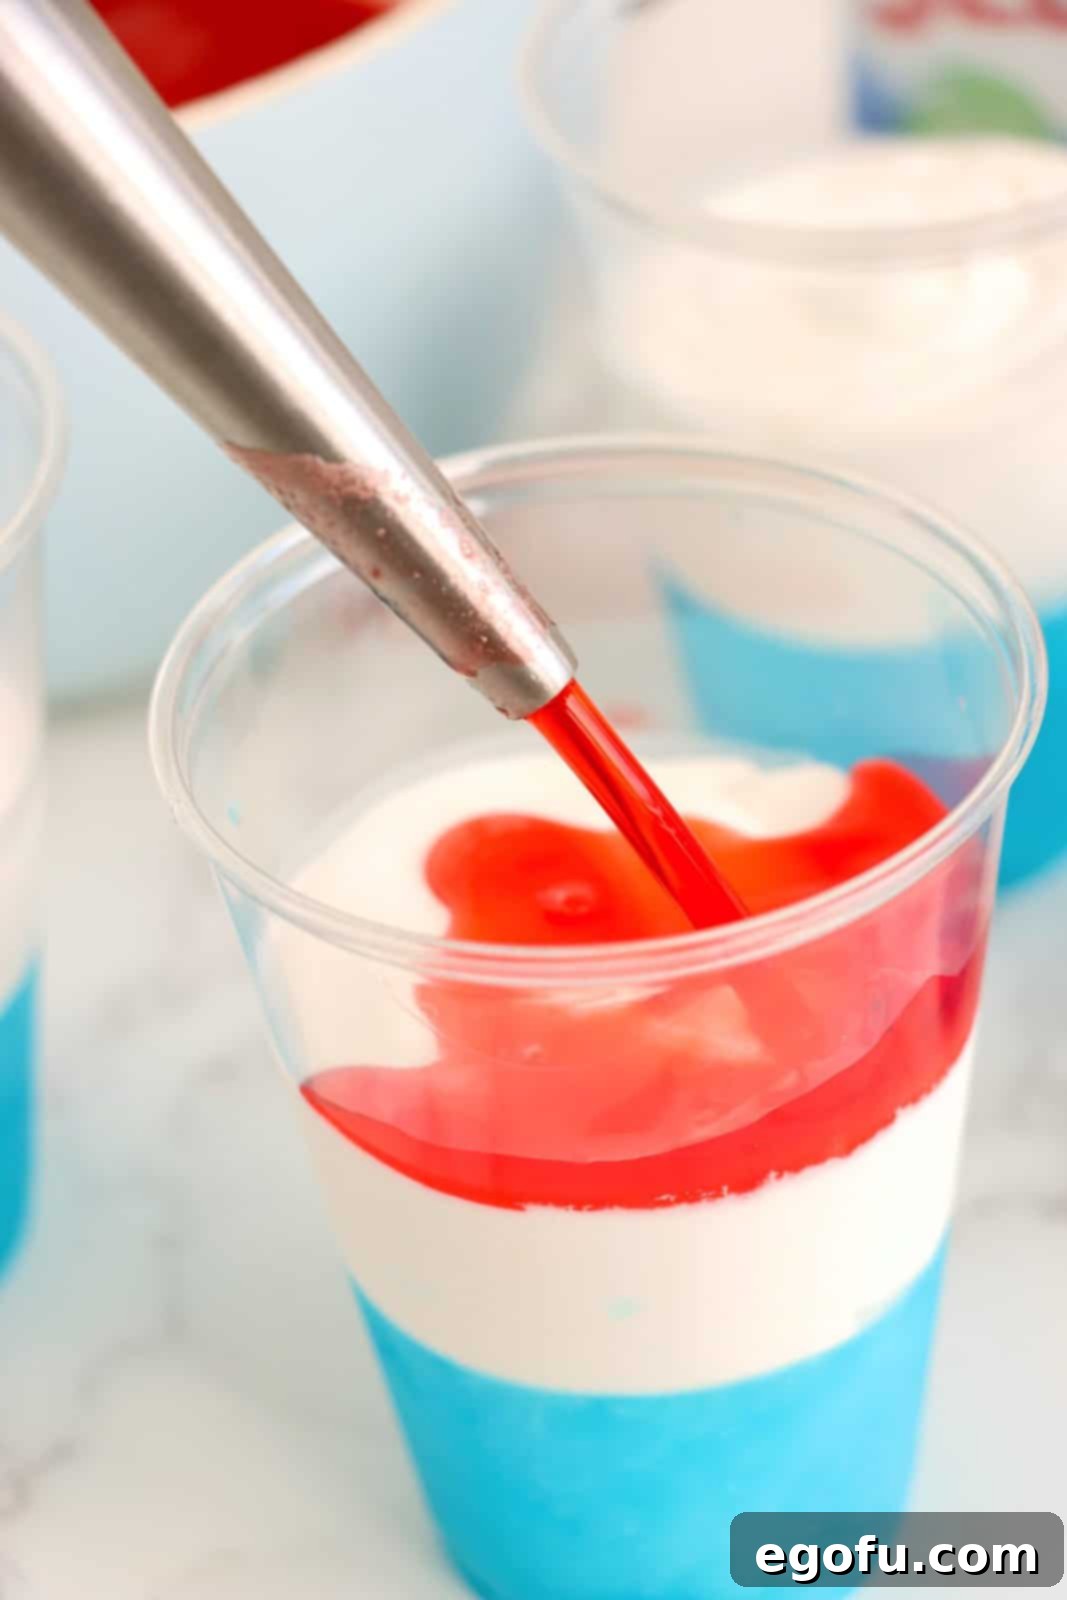
- Final Chill: Return the cups to the refrigerator for a final chill of at least 1 hour, or until the red Jell-O layer is completely set and firm.
Garnish and Serve
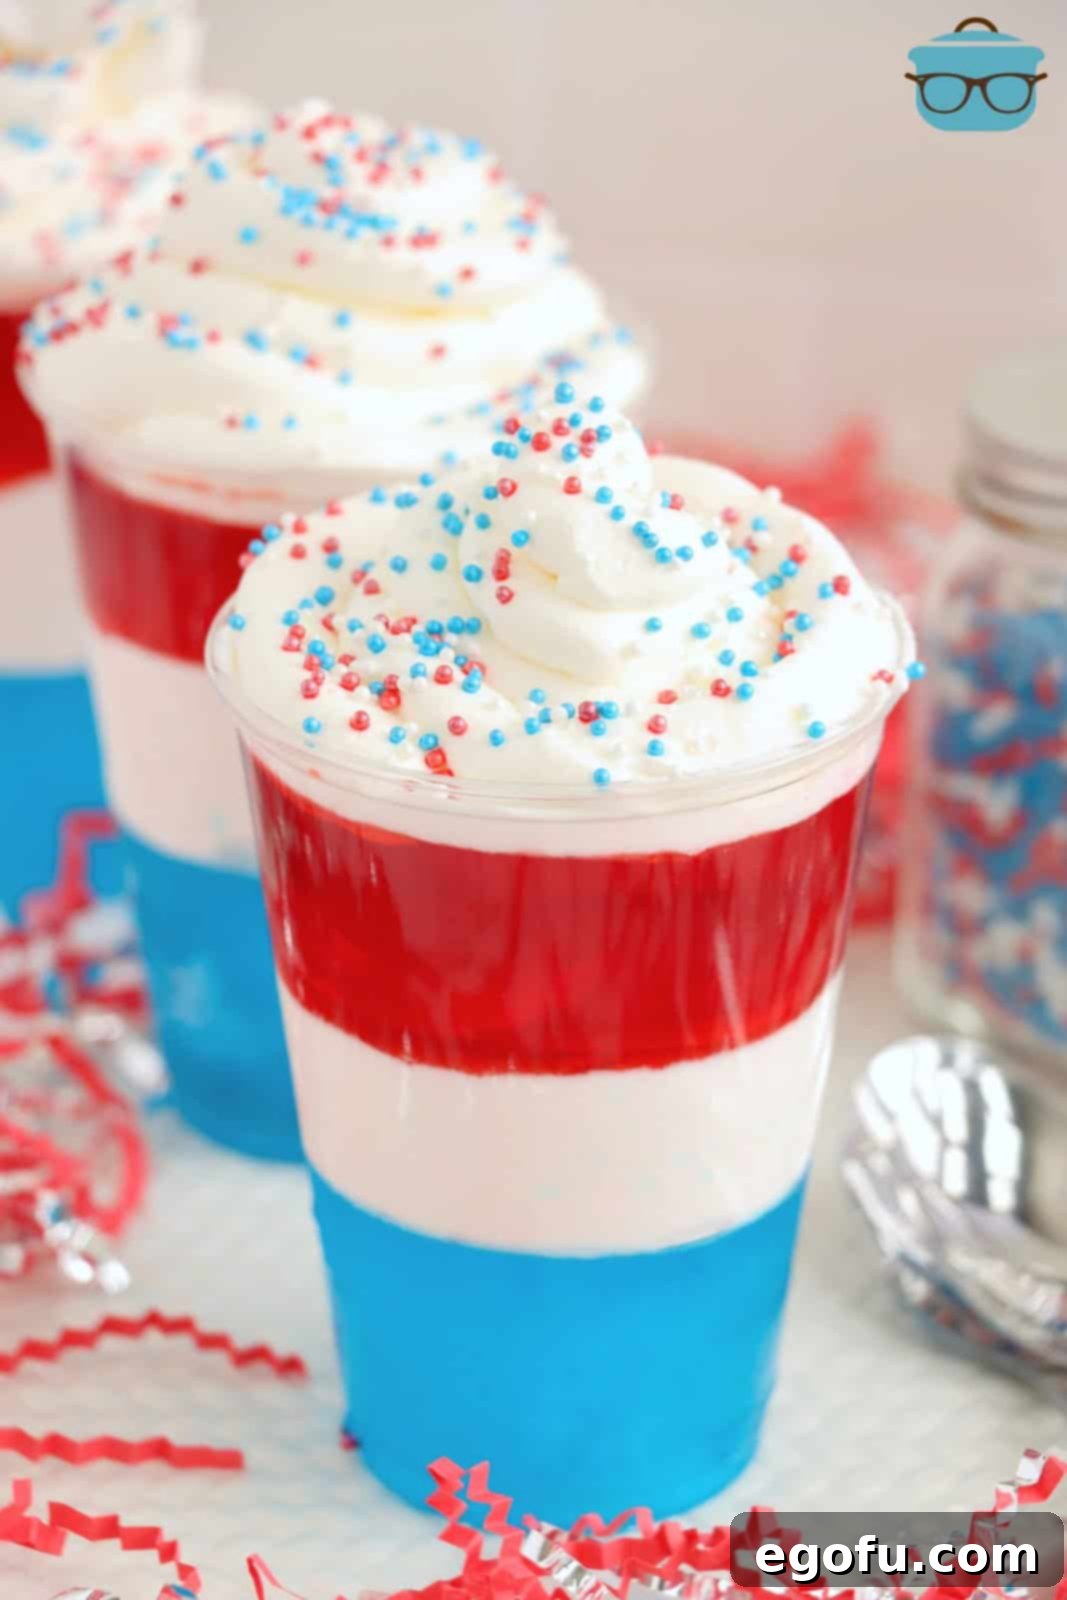
- The Grand Finale: Before serving, top each cup with the remaining whipped topping. If desired, scatter some festive red, white, and blue sprinkles over the whipped cream for that extra patriotic sparkle!
Tips for Achieving Picture-Perfect Layers
While making these Jell-O cups is easy, getting those perfectly distinct, crisp layers requires a little attention to detail. Here are some pro tips to ensure your dessert looks as amazing as it tastes:
- **Ensure Each Layer is Fully Set:** This is the most critical step. If a layer isn’t firm enough before adding the next, the colors will bleed and blend, ruining the clean look. Test by gently touching the surface; if it springs back without sticking, it’s ready.
- **Use the Speed-Set Method:** This technique, involving ice cubes, significantly reduces chilling time and helps firm up the Jell-O quicker and more effectively, minimizing the waiting period between layers.
- **Pour Gently:** When adding a new Jell-O layer, pour it very slowly over the already set layer. A large measuring cup with a spout or a turkey baster can help with precision and reduce the impact of the pour.
- **Chill Whipped Topping Firmly:** Freezing the whipped topping layer for an hour is essential. This prevents it from softening and mixing with the warm Jell-O solution you’re about to add, ensuring a crisp white line.
- **Don’t Overfill:** Leave enough room in your cups for all three layers plus a dollop of whipped cream on top. About one-third full for each Jell-O layer is a good guideline.
- **Level Your Cups:** Using a baking sheet helps keep the cups level while chilling, resulting in flat, even layers.
Variations and Customizations
While the classic red, white, and blue is perfect for patriotic holidays, don’t be afraid to get creative! These Jell-O cups are incredibly versatile. Here are some ideas to customize your treats:
- **Different Flavors & Colors:** Explore other Jell-O flavors to match different themes or simply your favorite tastes. Think green and red for Christmas, orange and black for Halloween, or school colors for a graduation party.
- **Fruit Additions:** Once a Jell-O layer is partially set (but not fully firm), you can gently fold in fresh berries (strawberries, blueberries), sliced kiwi, or other diced fruits that complement the Jell-O flavor. This adds an extra burst of freshness and texture.
- **Creamy White Layer Alternatives:** Instead of just whipped topping, consider a layer of vanilla pudding, yogurt, or a cream cheese mixture for a richer white layer. Ensure it’s thick enough to hold its shape.
- **Topping Transformations:** Beyond sprinkles, consider topping your finished cups with mini marshmallows, shredded coconut, chocolate shavings, or even a drizzle of fruit syrup.
- **Adult Versions (21+):** For a grown-up twist, carefully incorporate a small amount of clear alcohol (like vodka) into the Jell-O mixture after it has cooled but before it sets, to create Jell-O shots. Be mindful that alcohol can affect the setting time and consistency.
Serving Suggestions and Storage Tips
Serving
These Red, White, and Blue Jell-O Cups are best served chilled, directly from the refrigerator. Their vibrant colors make them a fantastic individual dessert for buffets, picnics, barbecues, or any party setting. Arrange them on a large platter for a stunning display. They are particularly popular at events where individual servings are convenient and mess-free.
Storage
For the best texture and flavor, these Jell-O cups are ideally enjoyed on the same day they are made. If you need to prepare them in advance, or if you have leftovers, they must be stored properly in the refrigerator.
- Refrigeration: Cover each cup tightly with a lid or plastic wrap to prevent them from absorbing refrigerator odors and to keep them fresh.
- Optimal Enjoyment: While they can last a day or two in the fridge, prolonged storage can affect the texture of the Jell-O, and the whipped topping may start to weep or change consistency, potentially altering the Jell-O below it. For the freshest taste and appearance, assemble them closer to your serving time.
- Freezing is Not Recommended: Freezing Jell-O will change its texture, making it less appealing when thawed. It’s best to avoid freezing these cups.
Frequently Asked Questions About Layered Jell-O Cups
Here are answers to some common questions about making and customizing your Red, White, and Blue Jell-O Cups:
This recipe is designed for 9-ounce clear plastic cups. However, you can certainly use other sizes. For smaller servings, 4-ounce or 6-ounce cups work wonderfully and will yield more individual desserts without needing to double the recipe. Just be aware that smaller cups will require less Jell-O per layer, so adjust your pouring accordingly.
Absolutely! The simplest way to increase the quantity is by using smaller cups, as mentioned above. If you wish to make more servings using the same size cups, simply double or triple the entire recipe, adjusting ingredient amounts proportionally.
Yes, you can substitute the Jell-O flavors. However, if you’re aiming for the patriotic red, white, and blue theme, ensure your chosen flavors still provide those distinct colors. For other occasions, feel free to get creative with any color combination!
Of course! If you prefer a homemade touch, you can absolutely use your favorite homemade whipped cream recipe instead of store-bought whipped topping. Ensure it’s stiffly whipped to maintain its structure between the Jell-O layers.
These cups are best enjoyed fresh. If you prepare them ahead of time or have leftovers, store them covered in the refrigerator. While they can last a day or two, the texture of Jell-O and whipped topping may change over time. Freezing is not recommended.
CRAVING MORE PATRIOTIC RECIPES?
If you loved these Red, White, and Blue Jell-O Cups and are looking for more festive treats, explore some of these delicious options:
- 4th of July Party Recipes
- Red, White and Blue Cupcakes
- Red, White and Blue Pinwheel Cookies
- Patriotic Mixed Berry Dessert
- 4th of July Cupcakes
- Red, White & Blue Jell-O Shots
- 4th of July Flag Dip
- Dirt Cups
Red White and Blue Jell-O Cups
These Red White and Blue Jell-O Cups are perfectly layered and only require just a handful of ingredients. They’re so easy to whip up too and perfect for Independence Day!
Print Recipe |
Pin Recipe
Prep Time: 20 minutes |
Chill Time: 3 hours |
Total Time: 3 hours 20 minutes
Servings: 6 servings |
Author: Brandie Skibinski
Ingredients
- 3 ounce box Berry Blue Jell-O
- 3 ounce box Cherry Jell-O
- 3 cups boiling water, divided use (to prepare the Jell-O)
- 2 cups cold water, divided use (to prepare the Jell-O)
- Ice cubes, divided use (to prepare the Jell-O)
- 8 ounce tub whipped topping, divided use (Cool Whip)
- Sprinkles, for garnishing (optional)
Instructions
- First, make sure you have enough room in the refrigerator to fit all 6 of these Jell-O Cups. I like to put mine on a baking sheet for easy moving.
- Next, prepare Berry Blue Jell-O according to the package directions. I used the Speed-Set Method (directions are also on the back of the Jell-O Box) with ice cubes to prepare this faster. Dissolve gelatin mix in 1 ½ cups boiling water. Add ice to 1 cup cold water to make 2 ½ cups. Stir into gelatin until thickened then remove any unmelted ice. You can also use the traditional method, although it will make this process just a bit longer.
- Transfer Jell-O to a bowl or large measuring cup with a spout or use a turkey baster to distribute Jell-O evenly among each of the 6 clear plastic cups.
- Place cups in the refrigerator for 1 hour or until set to the touch.
- When ready, spoon whipped topping evenly amongst all 6 cups (on top of the blue Jell-O layer). Be sure to save some of the whipped topping to top your cups with later. Gently shake to level the whipped topping layer.
- Place cups in the freezer for 1 hour or until whipped topping is firm to the touch.
- Prepare Cherry Jell-O as you did the Berry Blue Jell-O using the fast set method. Dissolve gelatin mix in 1 ½ cups boiling water. Add ice to 1 cup cold water to make 2 ½ cups. Stir into gelatin until thickened then remove any unmelted ice.
- Then add the cherry gelatin mix evenly on top of the whipped topping layer in each of the cups (either pouring it on using a bowl or large measuring cup with a spout or using a turkey baster to add it on).
- Place cups in the refrigerator for 1 hour or until set to the touch.
- Top each cup with remaining whipped topping and add sprinkles (if using).
Notes
- Please refer to my FAQ’s and ingredient list above for other substitutions or for the answers to the most common questions.
- This recipe uses 9 ounce cups, but you can use other sizes like 4 ounces or 6 ounce cups. This will change the quantity that you’re making.
- If changing the flavor, think about the theme of the cups and the visual layer you’re making.
- You can use homemade whipped cream in place of Cool Whip.
- Always store in the fridge and try to enjoy the same day that you make them.
Recipe Details
Course: Dessert |
Cuisine: American
Nutrition
Calories: 193kcal | Carbohydrates: 35g | Protein: 3g | Fat: 5g | Sodium: 169mg | Sugar: 33g
Nutritional Disclaimer
“The Country Cook” is not a dietician or nutritionist, and any nutritional information shared is an estimate. If calorie count and other nutritional values are important to you, we recommend running the ingredients through whichever online nutritional calculator you prefer. Calories and other nutritional values can vary quite a bit depending on which brands were used.
Did you make this recipe?
Share it on Instagram @thecountrycook and mention us #thecountrycook!
