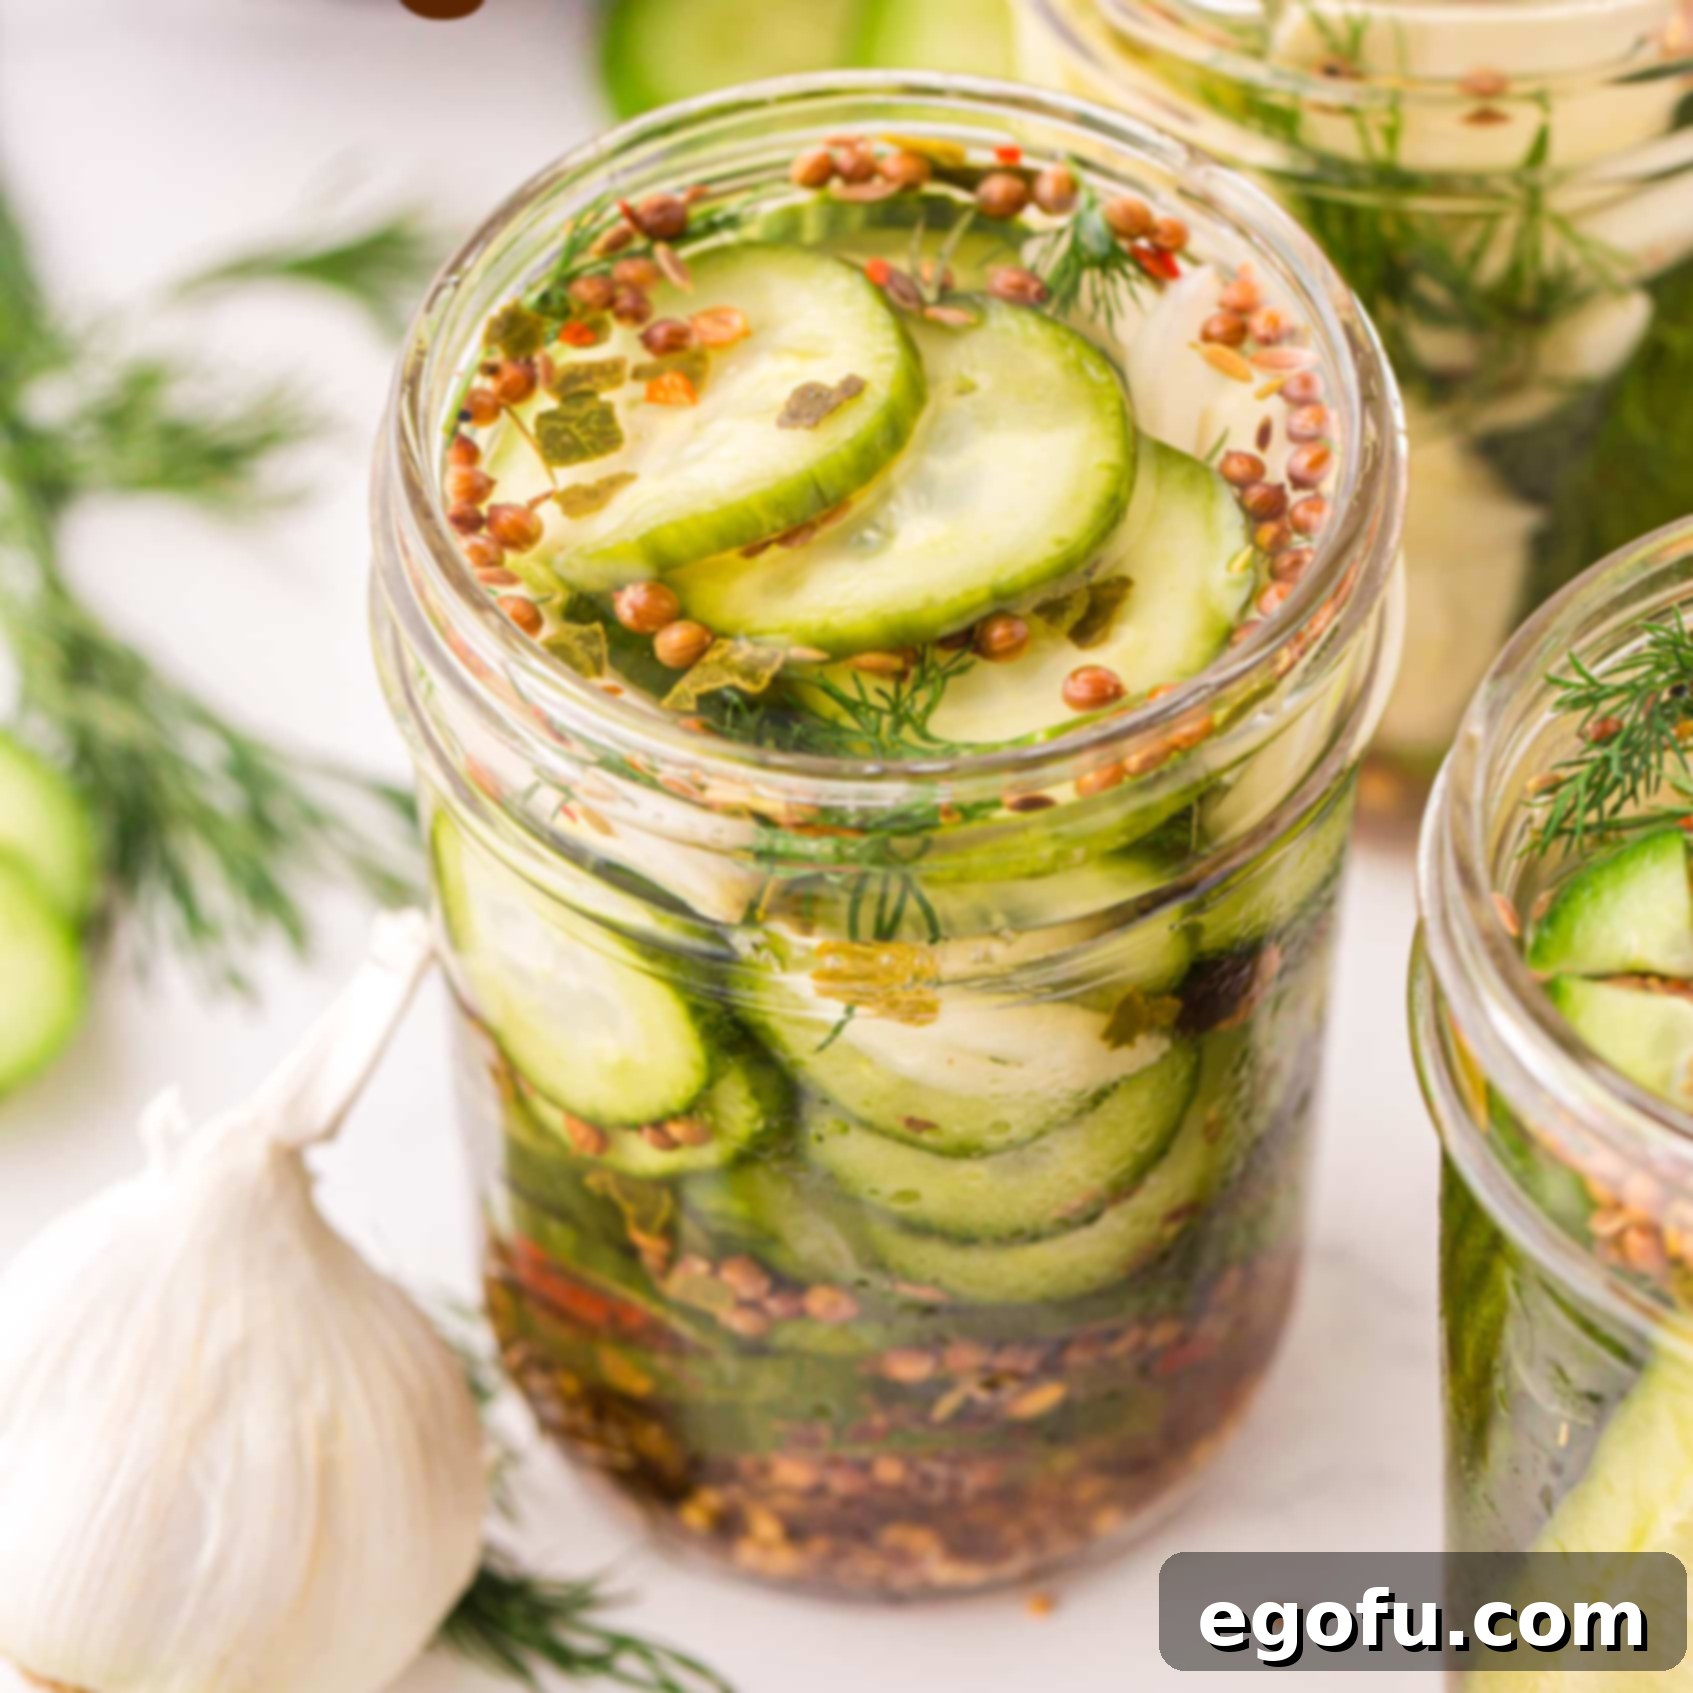
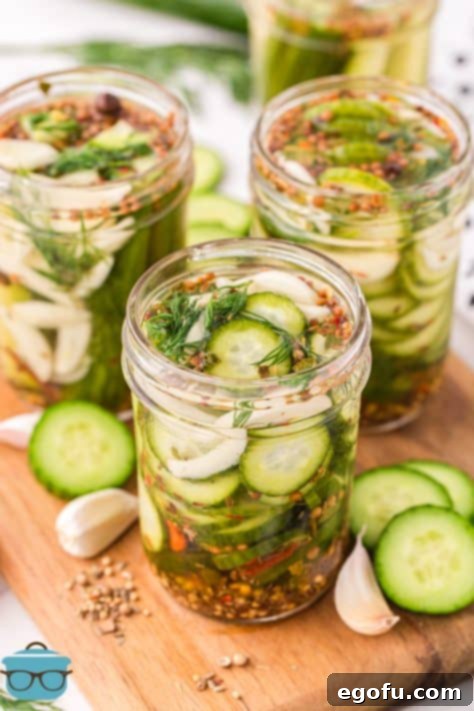
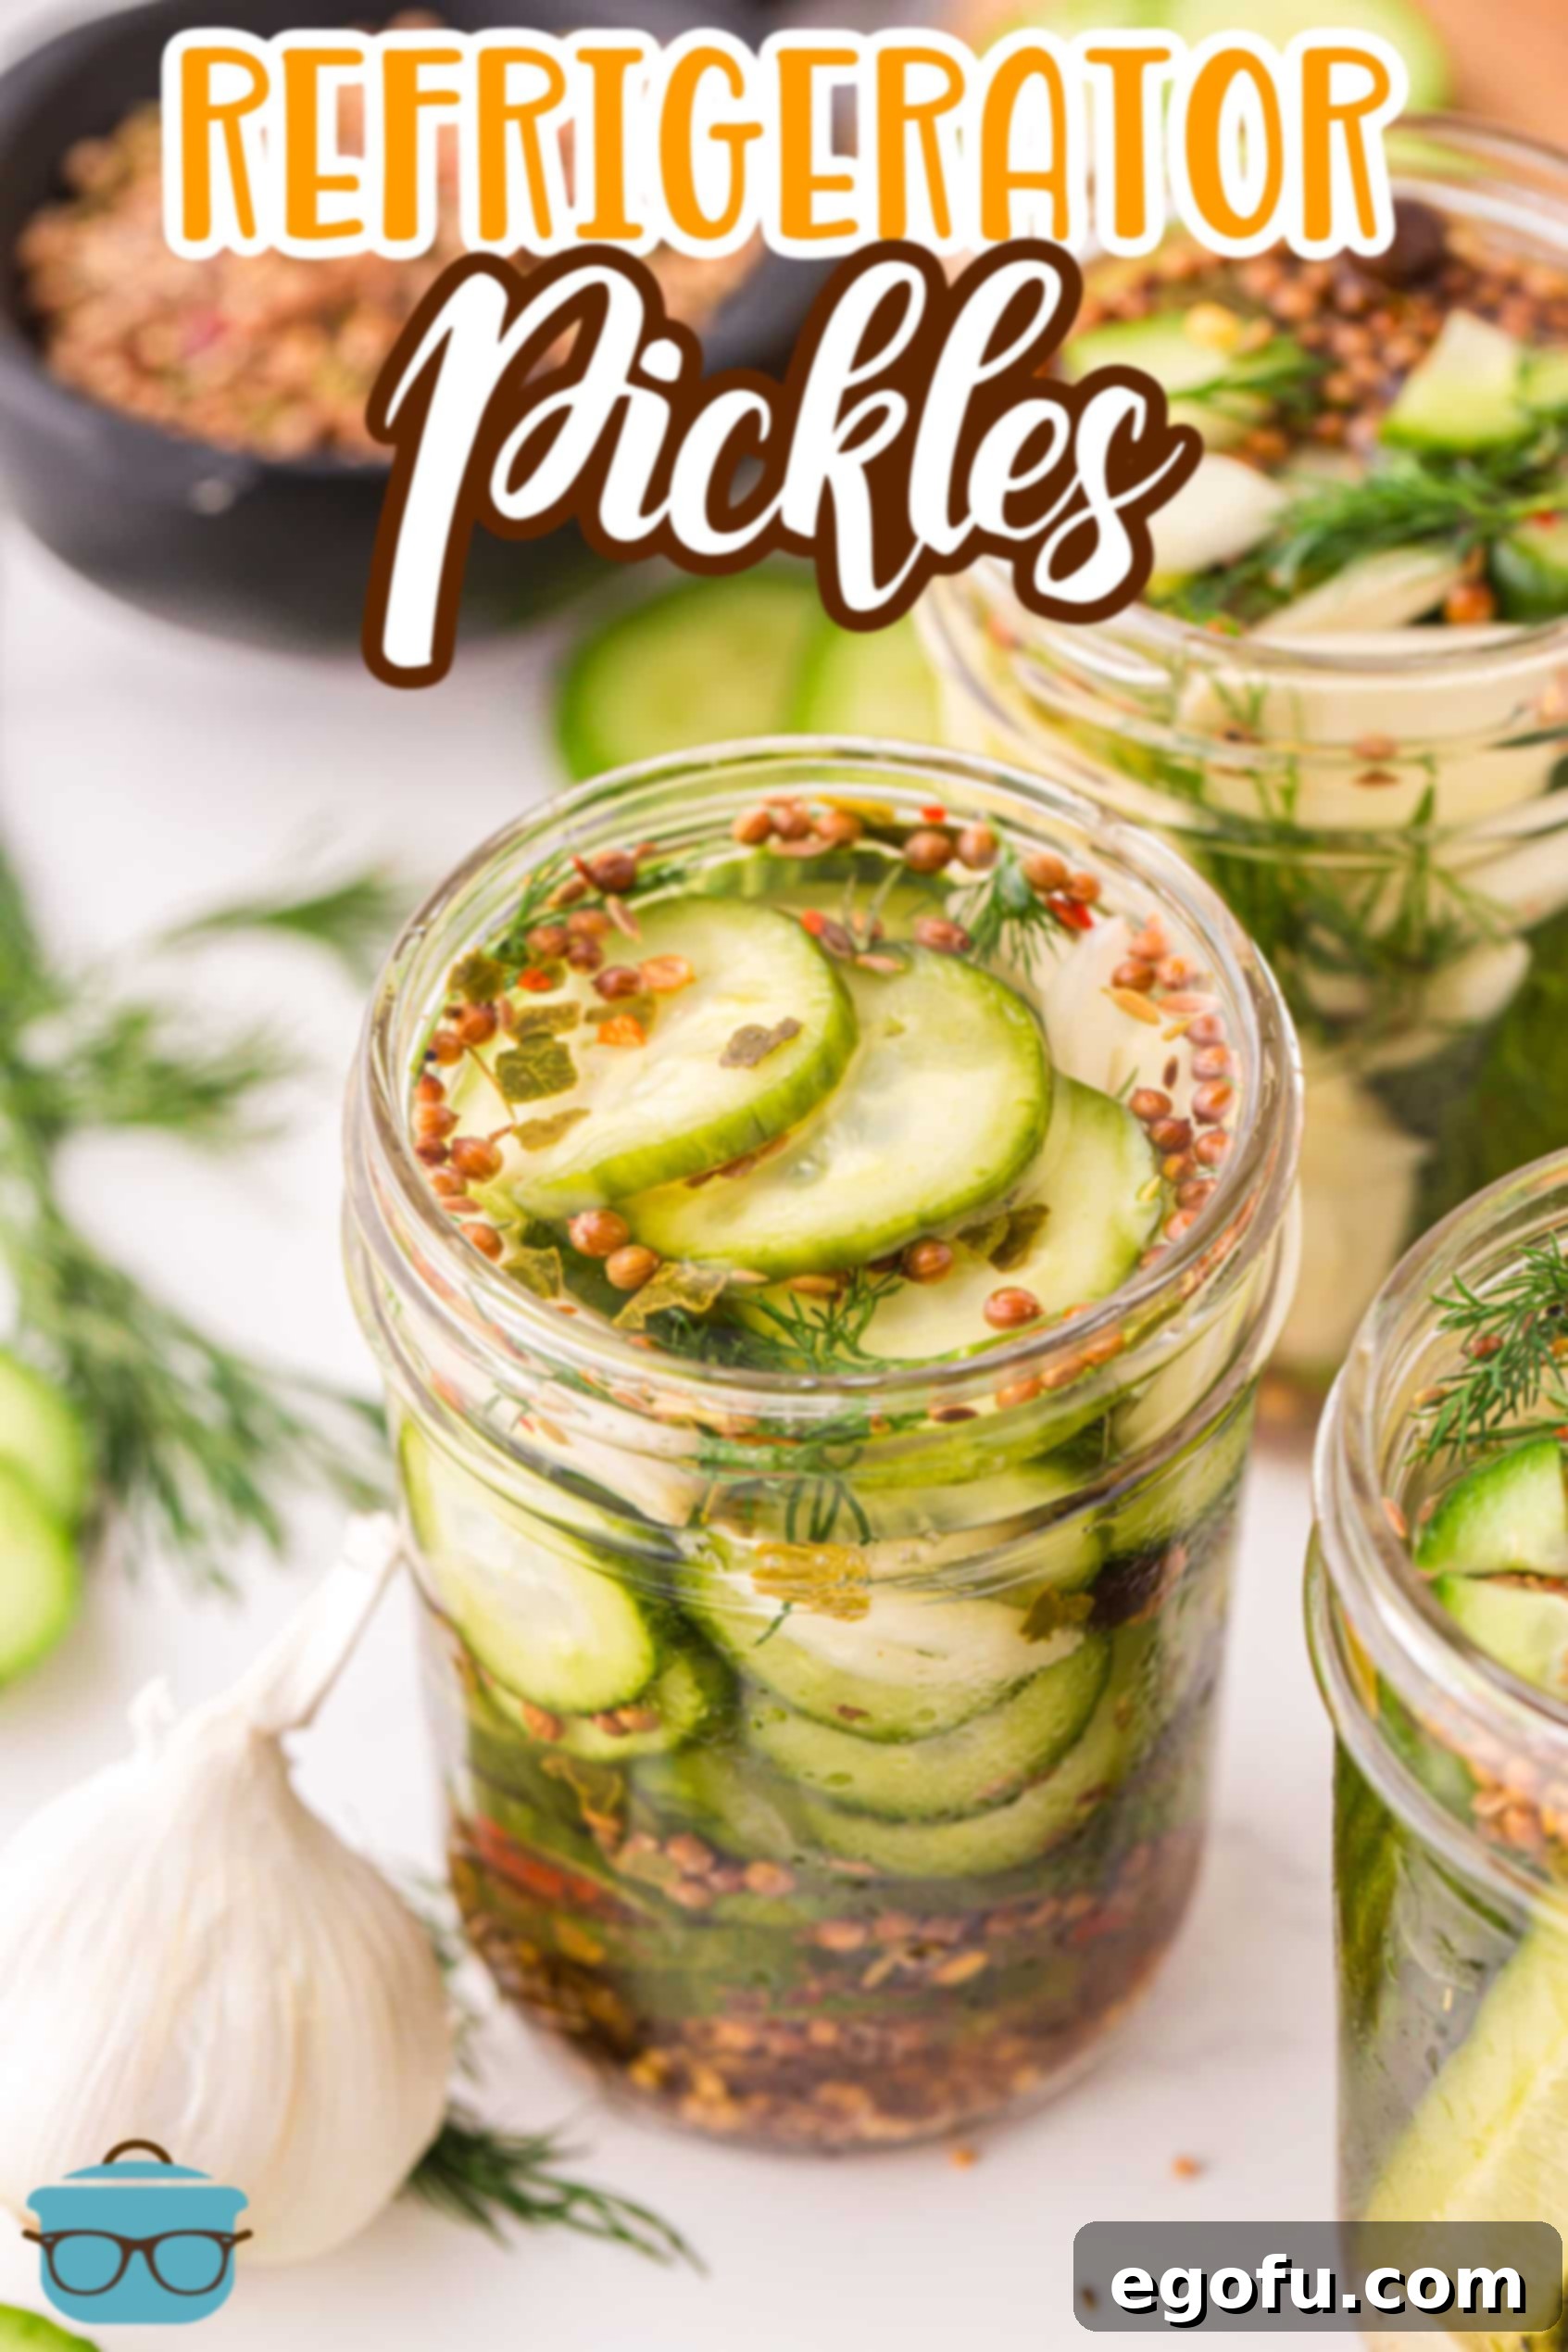
Craving crisp, tangy pickles that burst with fresh flavor without the hassle of traditional canning? These Refrigerator Pickles are your answer! Perfectly crunchy, delightfully tangy, and incredibly fresh, they require only 10 minutes of hands-on prep time and no special canning equipment. Get ready to enjoy homemade pickles that taste better than store-bought!
Your Guide to Super Simple Homemade Dill Pickles
Many home cooks dream of making their own pickles but are often deterred by the lengthy, complex process of traditional preservation. The thought of sterilization, water baths, and specialized equipment can feel overwhelming. But what if we told you there’s a brilliantly simple way to enjoy the vibrant taste and satisfying crunch of homemade pickles without any of that fuss? Our easy Refrigerator Pickles recipe offers just that – a straightforward path to fresh, flavorful pickles that you’ll be proud to share (or keep all to yourself!).
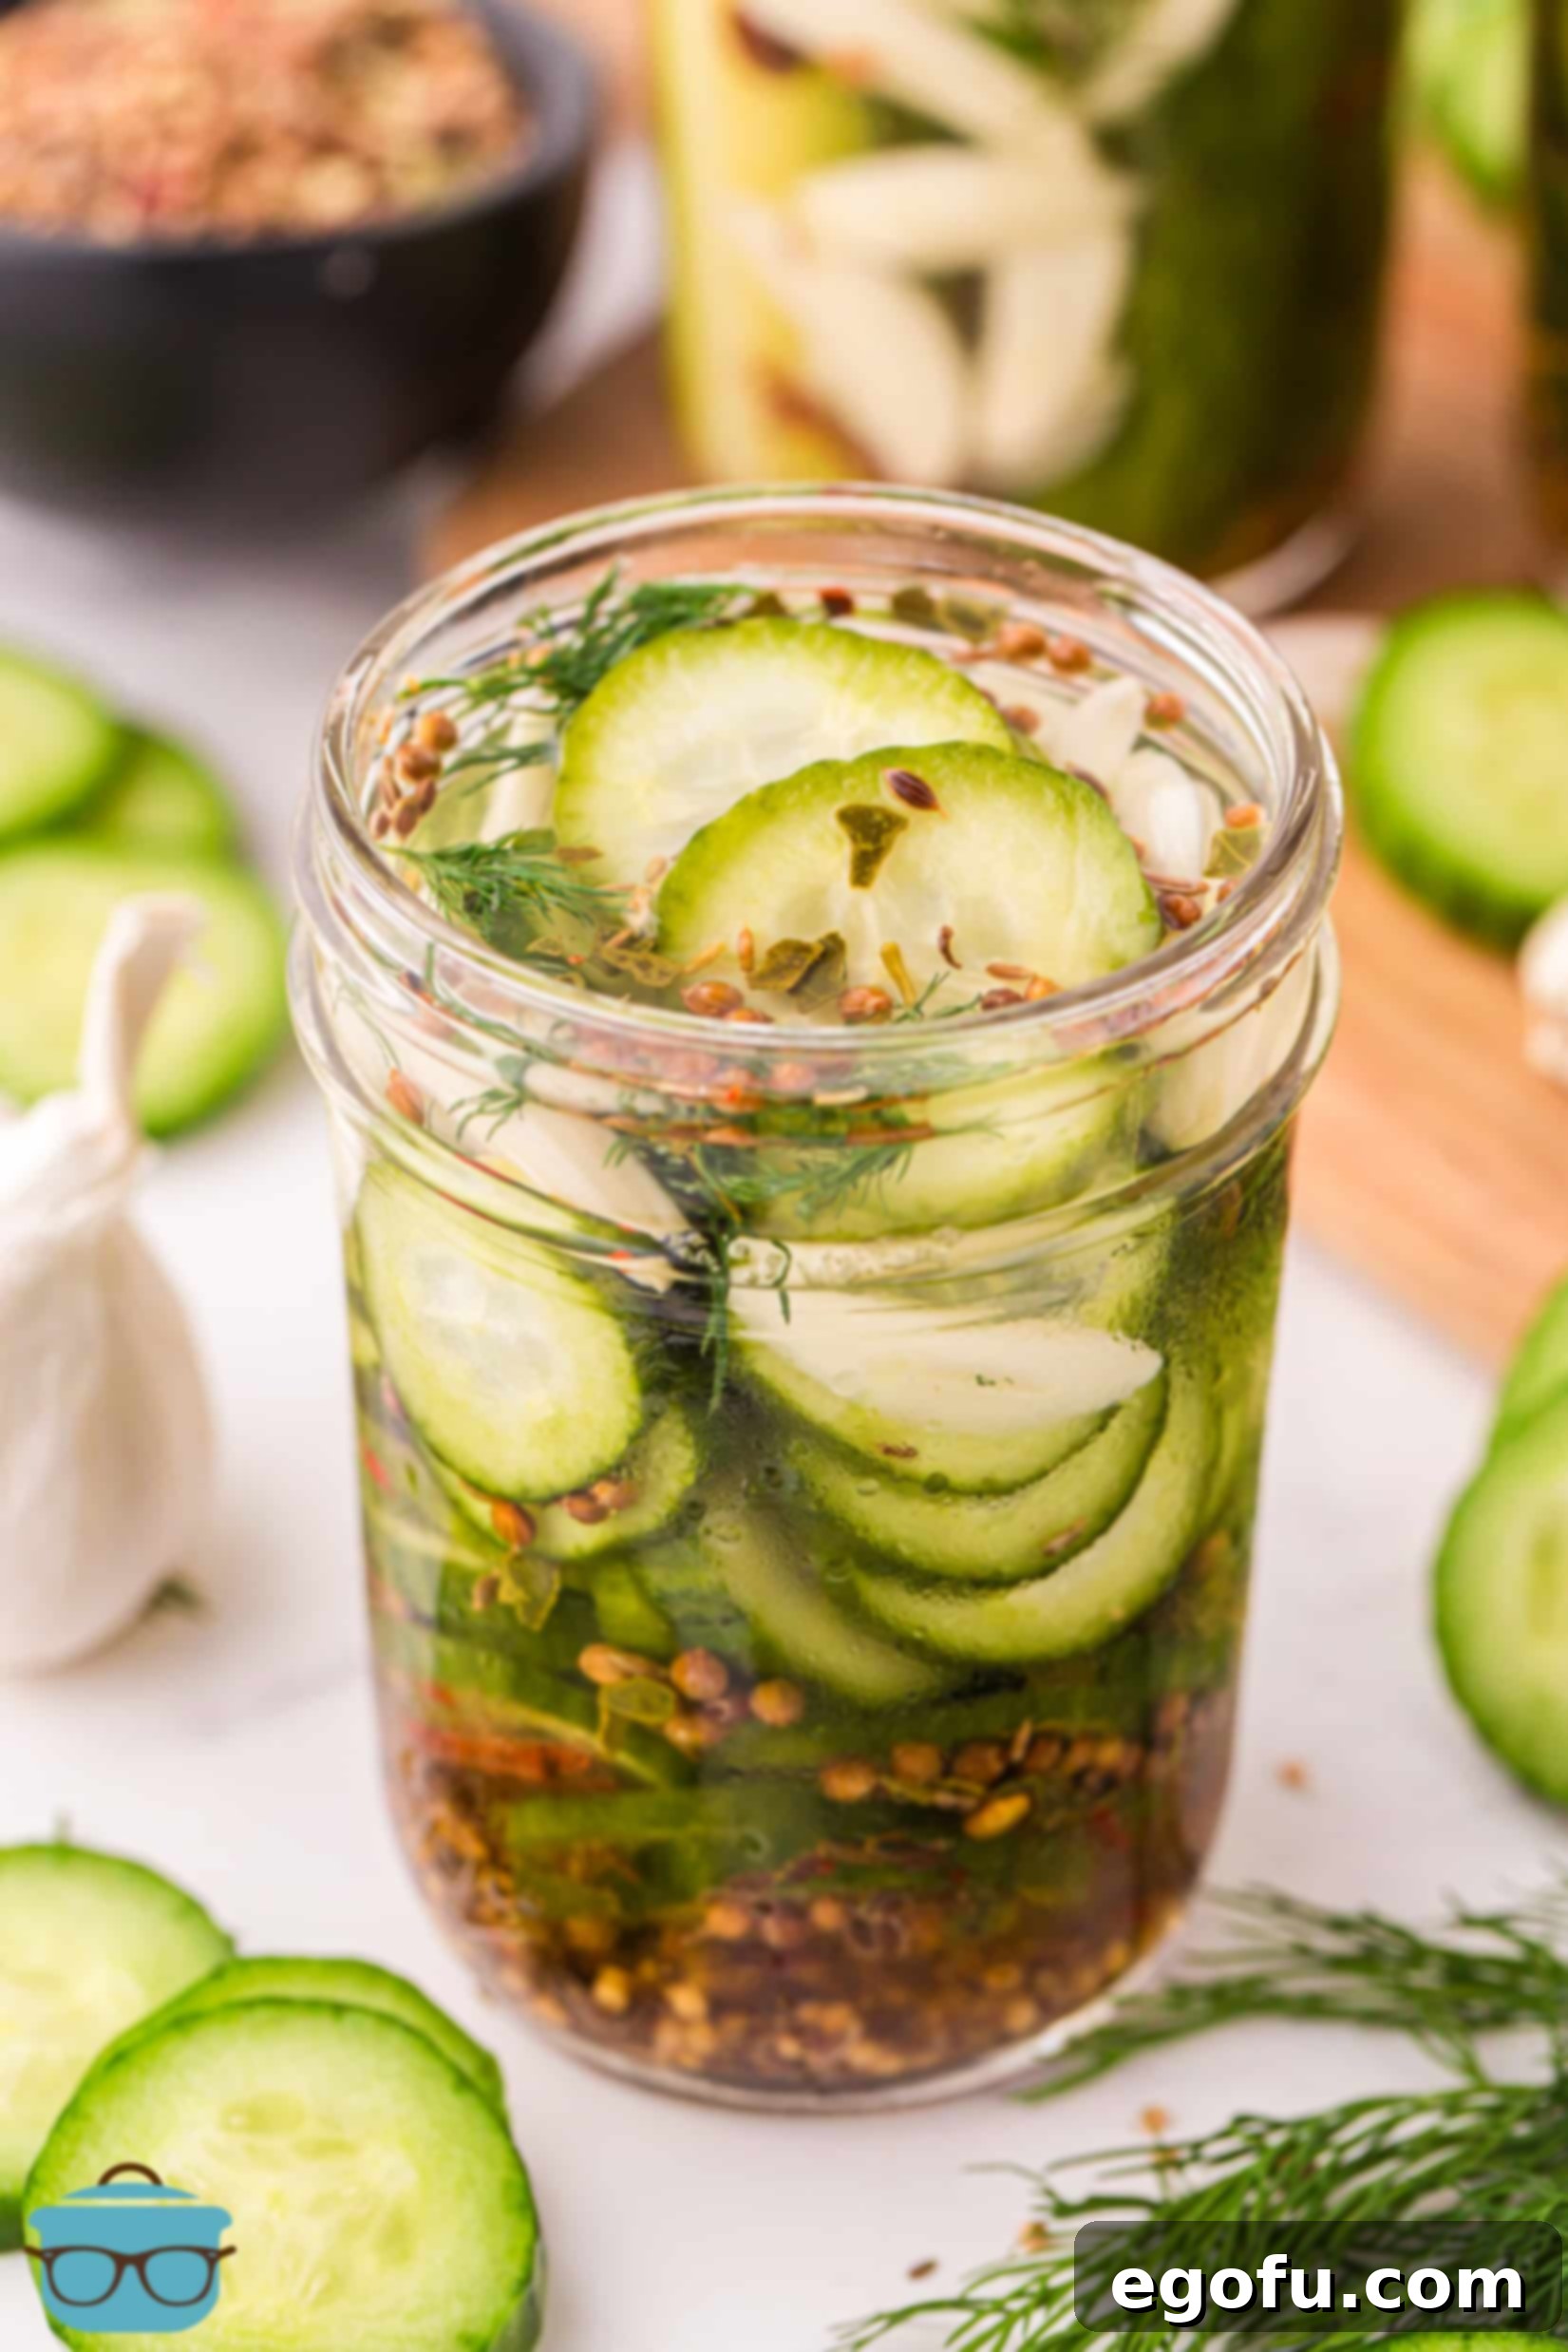
Unlike pickles preserved through traditional canning methods, which often result in a softer texture due to the heat processing, these refrigerator pickles maintain a superior crispness. They offer a bright, zesty tang that’s distinctly fresh, setting them apart from their sometimes softer, more vinegary canned counterparts. This method allows the cucumbers to retain their natural bite, soaking up the aromatic brine while staying wonderfully firm. It’s the perfect solution for anyone seeking convenience, incredible flavor, and that coveted pickle crunch.
The Undeniable Benefits of Quick Pickling
Before diving into our frequently asked questions, let’s highlight why refrigerator pickles are becoming a favorite for busy food enthusiasts and home chefs alike. Their appeal lies in a combination of factors that prioritize convenience, flavor, and texture:
- Unmatched Freshness and Crunch: Because these pickles aren’t subjected to high heat, the cucumbers retain their natural crispness, offering a satisfying bite with every piece. The flavors are bright and fresh, tasting truly homemade.
- Remarkable Speed: Forget days or weeks of waiting. With just 10 minutes of active prep and a quick 5-minute simmer for the brine, your pickles will be ready to enjoy in as little as 24 hours after chilling. The waiting time is minimal compared to traditional methods.
- Effortless Simplicity: No need for intimidating canning equipment, pressure canners, or extensive knowledge of food preservation. This recipe is beginner-friendly and requires only basic kitchen tools: jars, a saucepan, and a cutting board.
- Flavor Customization at Your Fingertips: The flexibility of refrigerator pickling allows for easy experimentation. Want more heat? Add extra red pepper flakes or jalapeños. Prefer a sweeter pickle? Adjust the sugar content. This method is forgiving and encourages culinary creativity.
- Ideal for Small Batches: Whether you have a surplus of garden cucumbers or simply want a fresh batch of pickles on hand, this recipe is perfect for making smaller quantities that fit your immediate needs, reducing waste and ensuring maximum freshness.
Frequently Asked Questions About Refrigerator Pickles
The primary distinction lies in their preservation method and shelf stability. “Regular pickles” are typically canned through a hot water bath or pressure canning process, which involves high heat to create a vacuum seal and inhibit bacterial growth. This makes them shelf-stable, meaning they can be stored at room temperature for extended periods, often for a year or more. However, this heat can soften the cucumbers. Refrigerator Pickles, on the other hand, are not heat-processed for preservation. They rely on the acidity of the vinegar and the cold temperature of your fridge to prevent spoilage. This means they are *not* shelf-stable and *must* be kept refrigerated. The trade-off for their shorter shelf life (typically up to a month) is a significantly crispier and fresher texture and taste, as the cucumbers aren’t cooked during the pickling process.
For the ultimate crunchy refrigerator pickles, selecting the right cucumbers is crucial. I highly recommend using smaller, firmer varieties specifically labeled as “pickling cucumbers.” These typically have thinner skins and fewer seeds, which contribute to a better texture. Varieties like Kirby or Boston cucumbers are excellent choices. Persian cucumbers and English cucumbers also work very well due to their naturally thin skins and minimal seed content. Avoid large, thick-skinned slicing cucumbers often found in grocery stores, as they tend to become soft and watery when pickled.
Whether to peel your cucumbers is largely a matter of personal preference. For small pickling cucumbers, Persian, or English cucumbers, peeling is generally not necessary. Their skins are thin and tender, and often contribute to the pickle’s crispness. In fact, I rarely peel them anymore. If you’re using a cucumber with a thicker or tougher skin, or if you simply prefer a smoother texture, you can certainly peel them. Just be aware that peeling might make the pickles slightly less crunchy, but it won’t affect the flavor significantly.
When you’re at the grocery store or farmer’s market, look for cucumbers that are fresh, firm, and free of soft spots or blemishes. A vibrant green color is a good indicator of freshness. Smaller cucumbers are generally preferred for pickling because they tend to have fewer seeds and a more uniform texture. Avoid any cucumbers that feel soft, look shriveled, or have yellowing skin, as these are signs of age and will result in a less desirable pickle. The fresher and firmer, the better!
No, these are specifically designed as “refrigerator pickles” and must be stored in the refrigerator. The brine ratios in this recipe are formulated for refrigerated storage, not for creating a shelf-stable product. Traditional canning recipes use precise acidity levels, salt concentrations, and heat processing to ensure safety for room temperature storage. If you want to make shelf-stable pickles, it is absolutely essential to follow a tested canning recipe that outlines the correct proportions and processing times for safe preservation. Attempting to can refrigerator pickles can lead to food safety risks. For tested canning recipes, consider my Bread and Butter Pickles or look for recipes specifically designed for canning.
When stored correctly in an airtight container in the coldest part of your refrigerator, these homemade pickles should maintain their quality and freshness for up to one month. To maximize their lifespan, always ensure the jars are sealed tightly to prevent air exposure. Before consuming any pickles that have been stored for a while, always perform a quick quality and safety check. Look for any signs of spoilage, such as unusual discoloration, cloudiness in the brine, a fuzzy appearance, or an off-smell. If you have any doubts about their freshness or safety, it’s always best to discard them.
Absolutely! While I often opt for the convenience of store-bought pickling spice (like the Great Value brand from Walmart), making your own blend is incredibly rewarding and allows for customization. It’s also a great solution if your local grocery store doesn’t stock it. Many people are unfamiliar with allspice berries, which are a common component. You might have better luck finding them in the international or Mexican spices section of your grocery store. If they’re completely unavailable, don’t worry – you can simply omit them without drastically altering the overall flavor. I also prefer whole mustard seeds over mustard powder for a clearer brine, as powder can make the liquid a bit more yellow and cloudy. Here’s a simple recipe for homemade pickling spice:
Homemade Pickling Spice Blend
- 2 Tablespoons black peppercorns
- 2 Tablespoons mustard seeds
- 2 Tablespoons coriander seeds
- 2 Tablespoons dill seeds (yes, I still add these even when using fresh dill for an extra layer of flavor!)
- 1 Tablespoon allspice berries
- 2 bay leaves, crumbled
Combine all these ingredients thoroughly. For this particular recipe, you will use approximately 3 to 3½ Tablespoons of your homemade blend. Store any excess in an airtight container in a cool, dark place for future pickling endeavors!
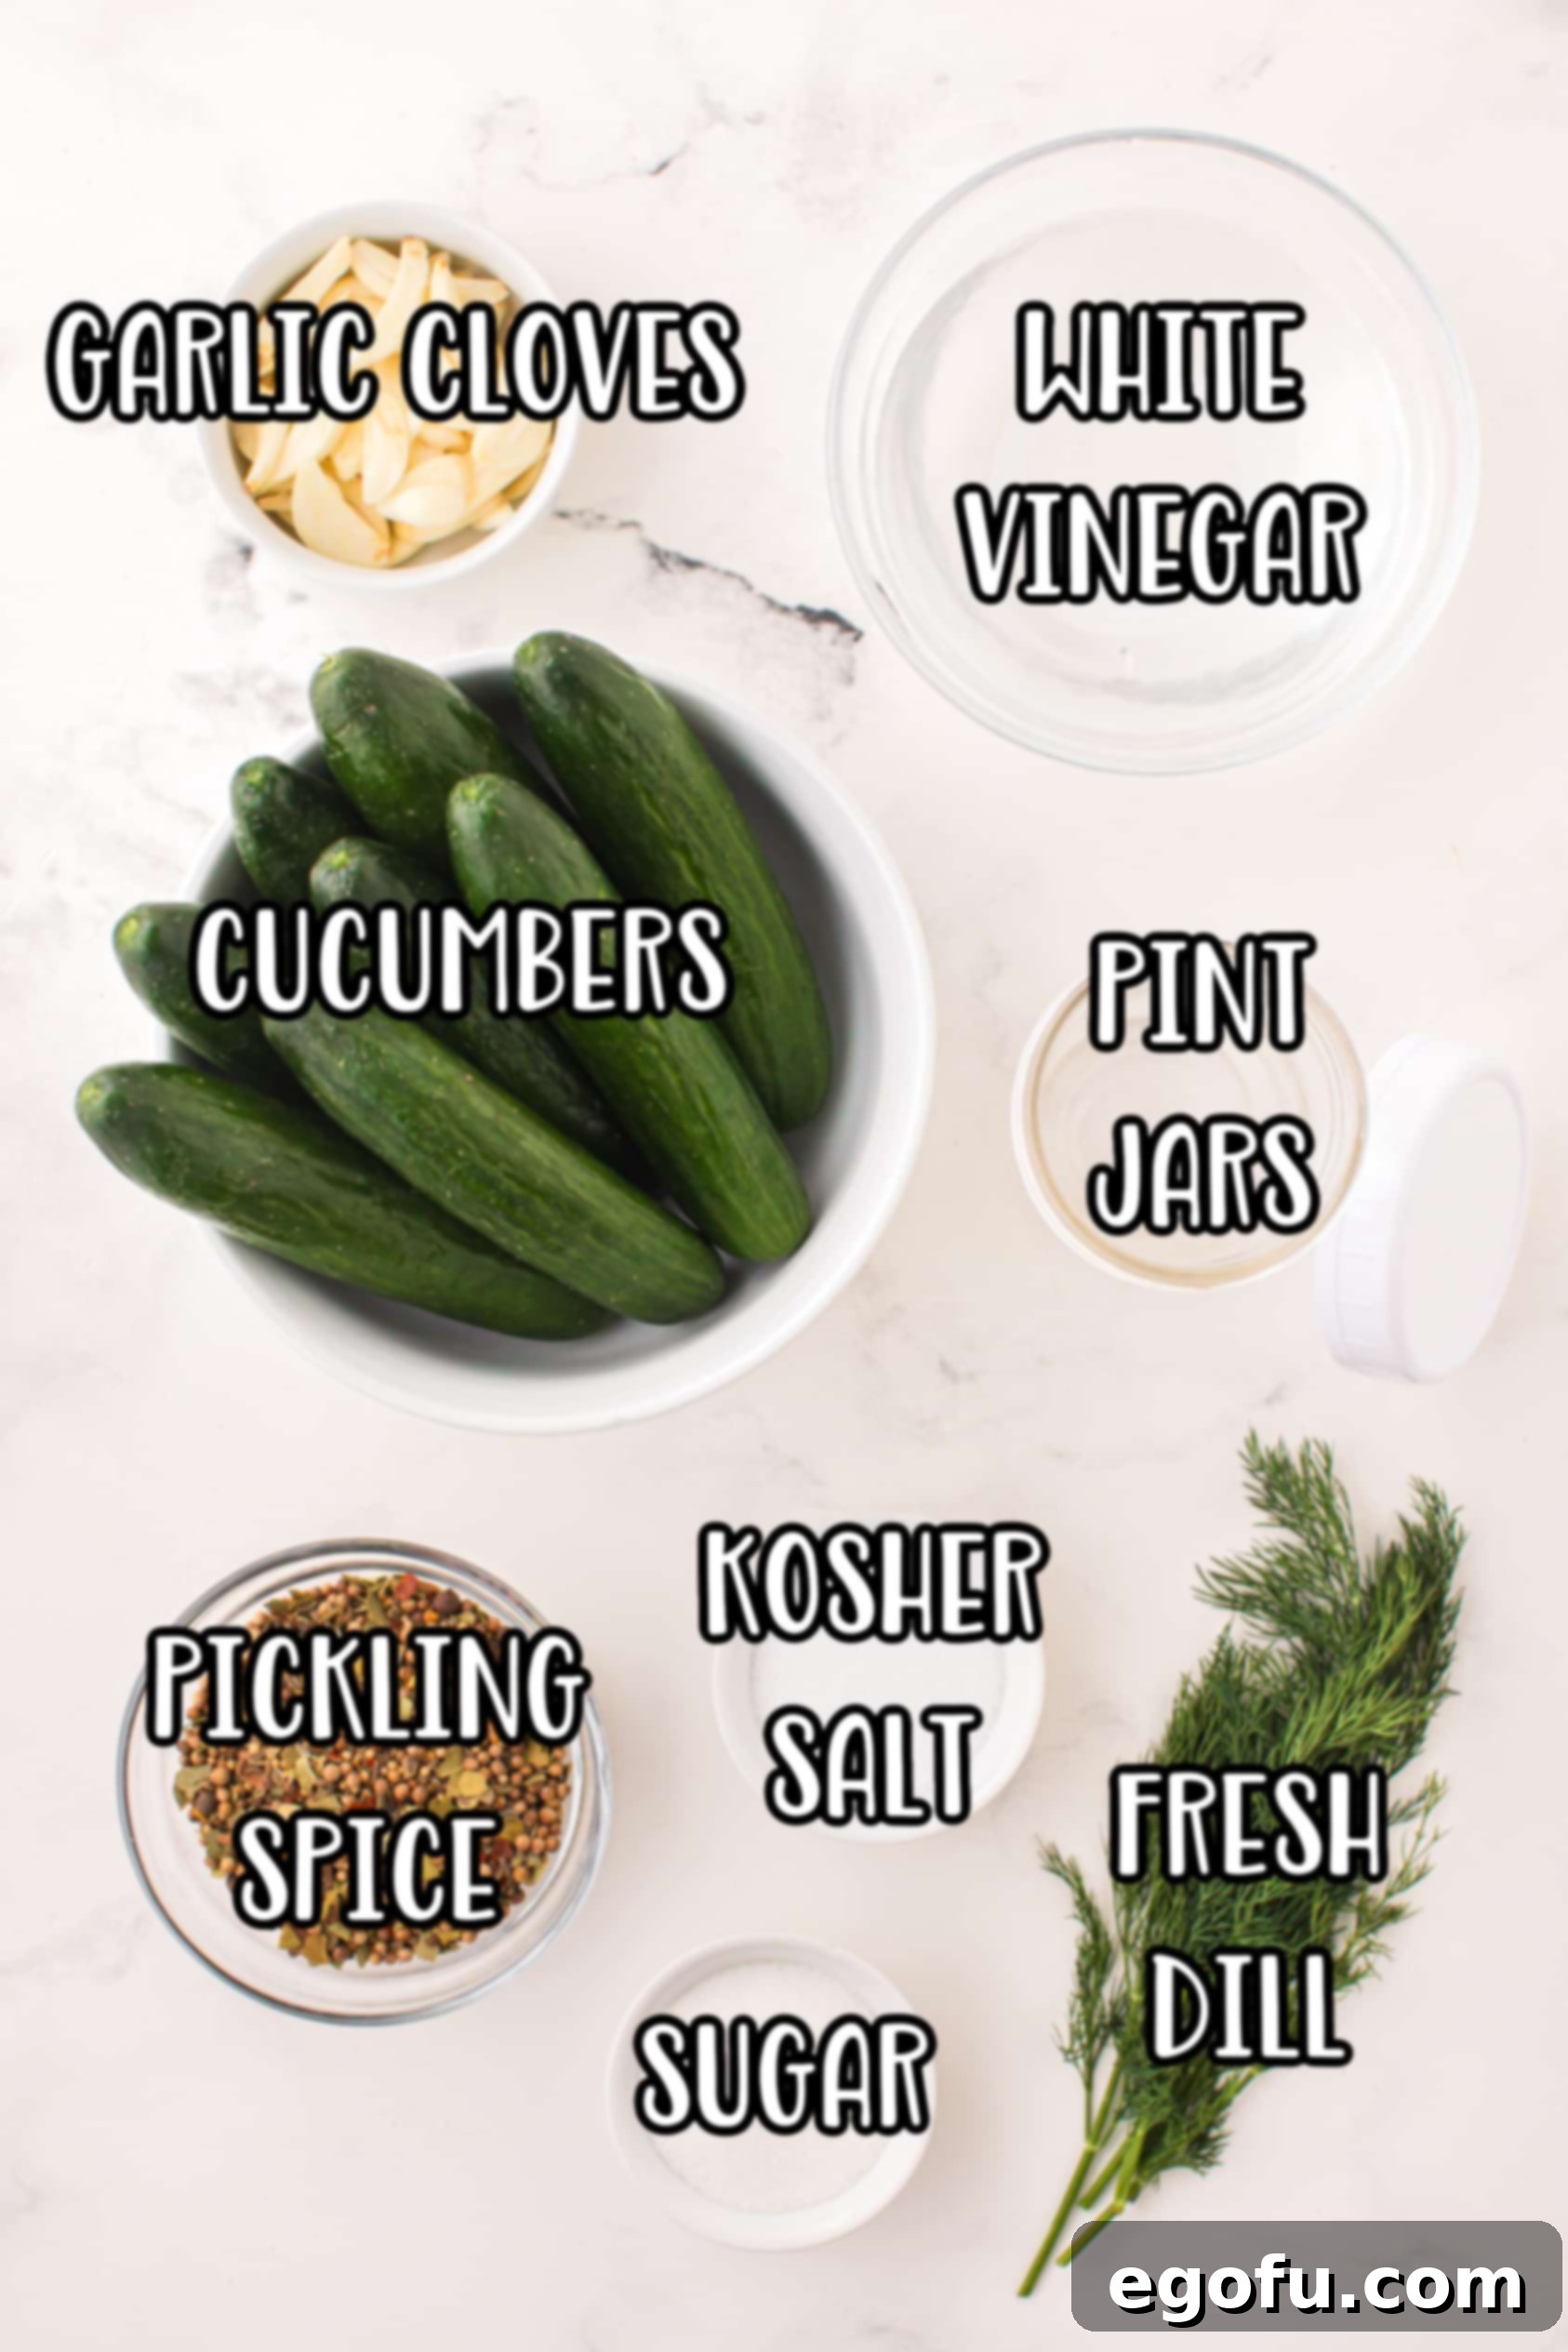
Essential Ingredients for Perfect Refrigerator Pickles
Crafting delicious refrigerator pickles starts with high-quality ingredients. Each component plays a vital role in achieving that perfect balance of crunch, tang, and aromatic flavor. Here’s a breakdown of what you’ll need and why:
- Wide Mouth Pint Jars (with Lids and Rings): While pint jars are ideal for individual servings and easy storage, the beauty of refrigerator pickles is their flexibility. You can use any clean, food-safe jar with a tight-fitting lid since we are not engaging in traditional canning. Wide-mouth jars are simply easier for packing cucumbers and retrieving pickles. Always ensure your jars are thoroughly cleaned and sterilized before use.
- White Distilled Vinegar: This is the backbone of your pickle brine, providing the signature tang and essential acidity for preservation in the refrigerator. White distilled vinegar is preferred for its neutral flavor profile, which allows the dill and spices to shine, and its clarity, keeping your brine beautifully transparent. For a slightly different flavor, you can experiment by swapping a portion (or all) of it for apple cider vinegar, which imparts a milder, subtly fruity tang, though it may make the brine appear a bit cloudier. Remember, the vinegar content is crucial for safety and flavor, so avoid significantly reducing its quantity.
- Kosher Salt: Opt for Kosher salt or coarse sea salt. These salts are free of anti-caking agents and iodine, which can sometimes turn pickles dark or create a cloudy brine. They also dissolve well and provide a clean, briny flavor. Table salt is much finer and denser, meaning a tablespoon of table salt is significantly saltier than a tablespoon of Kosher salt. If you must substitute with table salt, be mindful that you will need to use a lesser amount. (Note: I haven’t tested this recipe with table salt and cannot provide exact measurements for substitution, so proceed with caution if you choose to do so.)
- Granulated Sugar: A small amount of white granulated sugar is added to balance the sharp acidity of the vinegar, rounding out the flavors and preventing the pickles from being overly sour. For dill pickles, white granulated sugar is ideal for its neutral sweetness. While other sugars like brown sugar could be used, they would impart a molasses-like flavor more suitable for bread and butter pickles, altering the classic dill profile. The sugar primarily enhances flavor rather than acting as a preservative in this quick pickling method.
- Cucumbers (Small to Medium Sized): As discussed in the FAQs, fresh, firm pickling cucumbers (like Kirby or Boston) or thin-skinned varieties such as Persian or English cucumbers are best. Aim for small to medium sizes as they typically have fewer seeds and remain crispier. Wash them thoroughly and trim the ends before slicing into rounds or spears of your desired thickness.
- Large Bunch Fresh Dill: Fresh dill is absolutely essential for authentic dill pickle flavor. Its bright, herbaceous notes are irreplaceable. While many commercial pickling spice blends include dill seeds, pairing them with fresh dill sprigs creates a deeper, more aromatic dill profile that truly elevates the pickles. Don’t skimp on the fresh dill!
- Pickling Spice: This aromatic blend is what gives your pickles their complex, savory character. Whether you buy a pre-made jar (like Walmart’s Great Value Pickling Spice, which is readily available) or make your own from scratch (as detailed in the FAQs), it typically includes mustard seeds, coriander seeds, dill seeds, bay leaves, and peppercorns. You’ll usually find store-bought pickling spice in the spice aisle.
- Garlic Cloves (Peeled): Fresh garlic is non-negotiable for robust flavor. Avoid jarred, pre-minced garlic, as it lacks the pungent depth and freshness that whole cloves provide. If your garlic cloves are particularly large, you can slice them in half to maximize their surface area and infuse more flavor into the brine and cucumbers.
- Red Pepper Flakes (Optional): For those who enjoy a little kick, red pepper flakes add a subtle warmth and spice to the pickles. You can adjust the amount to your preference – add more for extra heat, or even throw in a few thin slices of fresh jalapeño or a pinch of cayenne pepper. If you prefer a milder pickle, simply omit them altogether.
Step-by-Step Guide: How to Make Irresistible Refrigerator Pickles
Making your own refrigerator pickles is an incredibly satisfying and straightforward process. Follow these simple steps to ensure crunchy, flavorful results every time:
- Prepare Your Jars: Begin by thoroughly washing and drying all your wide-mouth pint jars, their lids, and rings. You can do this in a dishwasher on a hot cycle or by hand with hot, soapy water. While traditional canning requires strict sterilization, ensuring your jars are scrupulously clean here helps inhibit unwanted bacterial growth and contributes to the pickles’ freshness. Set them aside to air dry or dry with a clean cloth.
- Craft the Flavorful Brine: In a medium to large saucepan, combine the water, white distilled vinegar, Kosher salt, and granulated sugar. Place the saucepan over medium heat and stir continuously until both the salt and sugar are completely dissolved into the liquid. This usually takes about 5 minutes. Once dissolved, remove the saucepan from the heat. This step is crucial: allow the brine to cool down completely to room temperature before proceeding. Pouring hot brine over the cucumbers will inevitably soften them, sacrificing that desirable crunch.
- Prepare the Cucumbers: While the brine cools, rinse your chosen cucumbers under cold running water. Place them on a large cutting board. Trim off both ends of each cucumber. Then, slice the cucumbers into ½-inch thick rounds or cut them into spears, depending on your preference. Uniform thickness helps ensure even pickling.
- Prepare the Fresh Dill: Gently remove the fresh dill sprigs from their main stems. Try to keep them in smaller, manageable bunches, as these will be layered into your jars. Set the dill aside.
- Assemble Your Pickle Jars – The Layering Method: This layering technique ensures that all the aromatic flavors are evenly distributed throughout your pickles. While you can simply dump everything into the jars, layering creates a more visually appealing pickle and guarantees a consistent flavor in every bite.
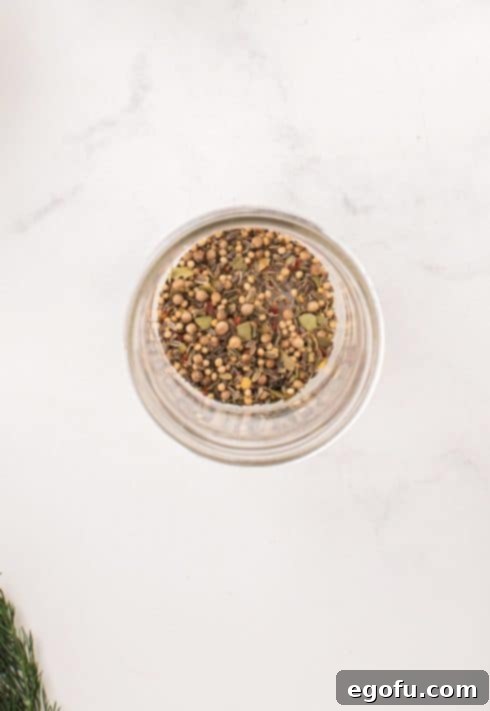
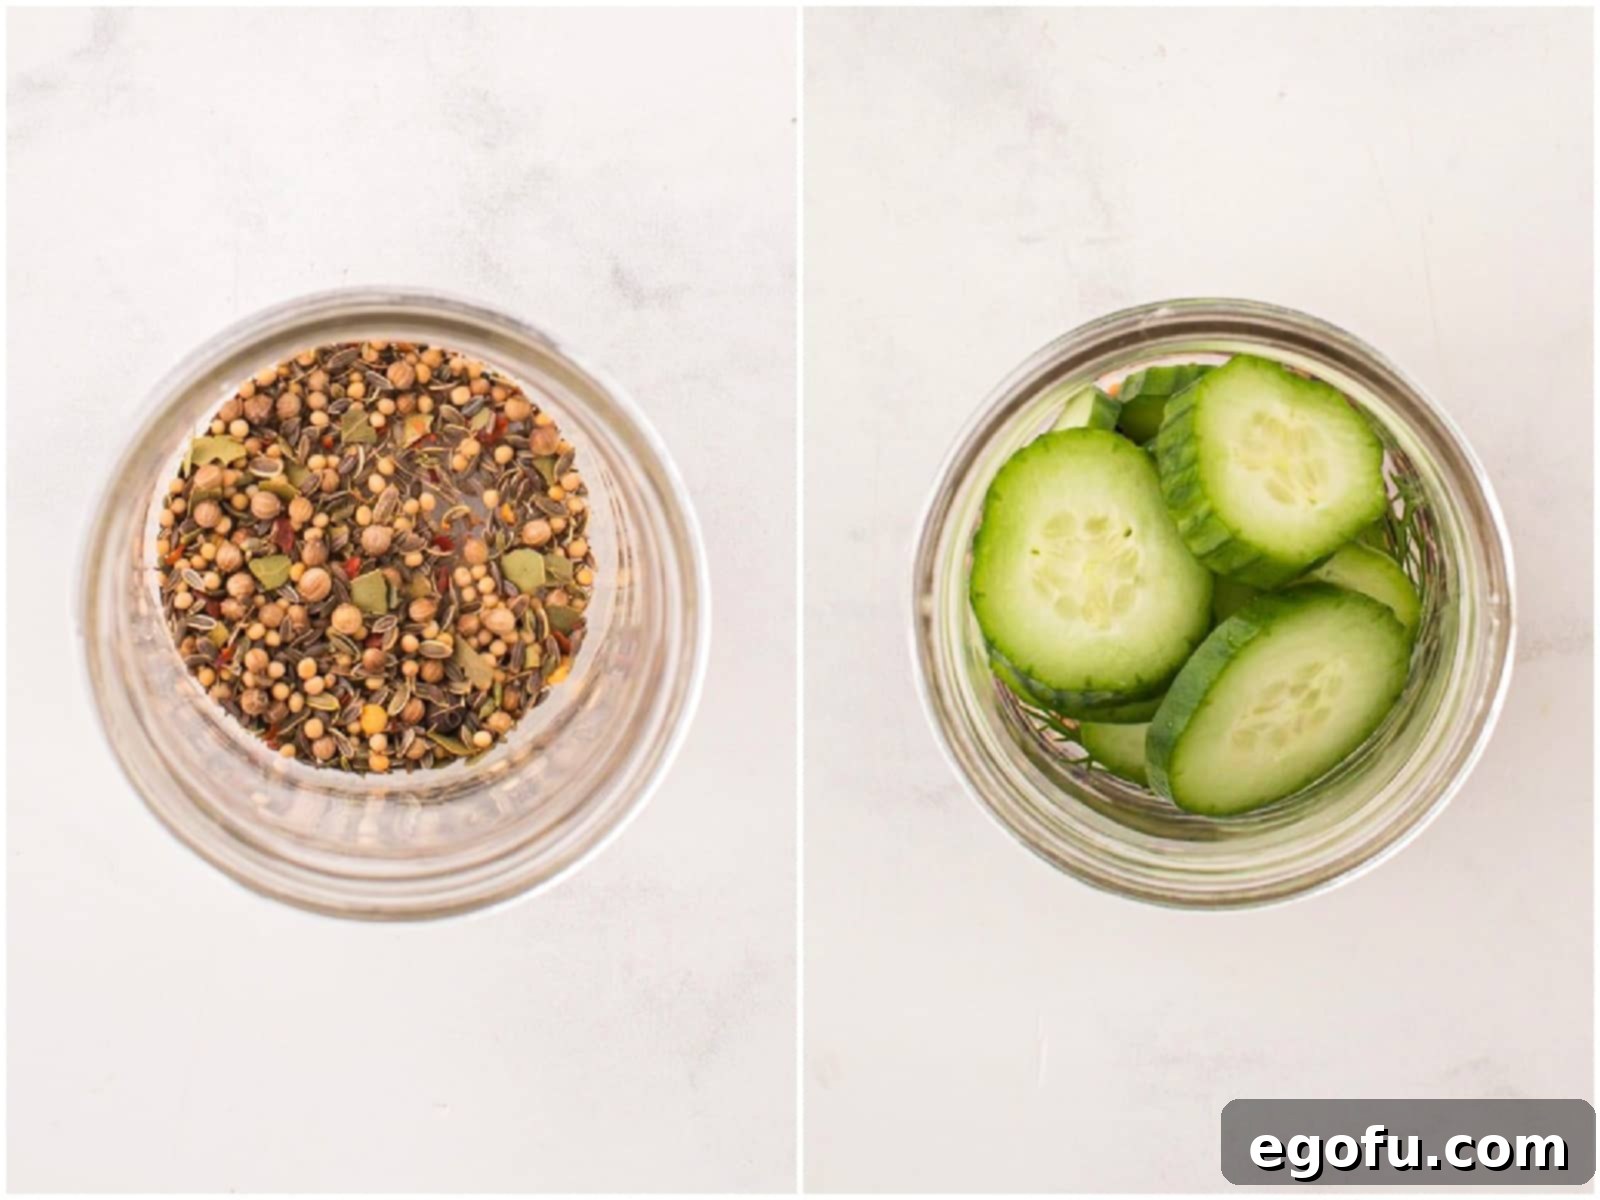
- Carefully spoon about 1½ teaspoons of your pickling spice blend into the very bottom of each clean jar.
- Add a small sprig or bunch of fresh dill on top of the pickling spice.
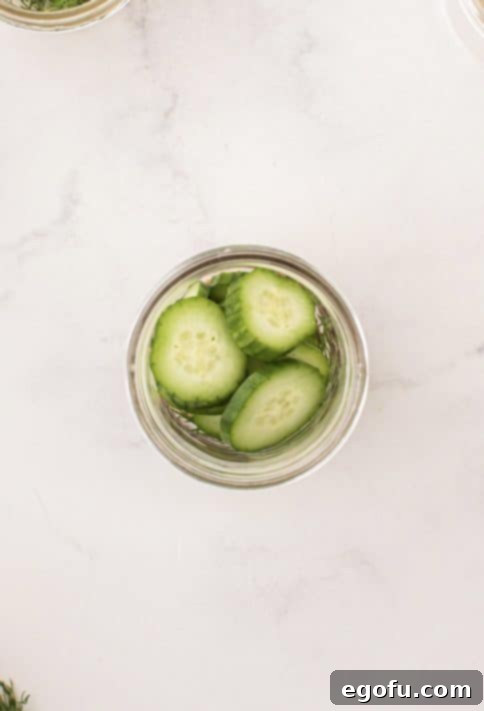
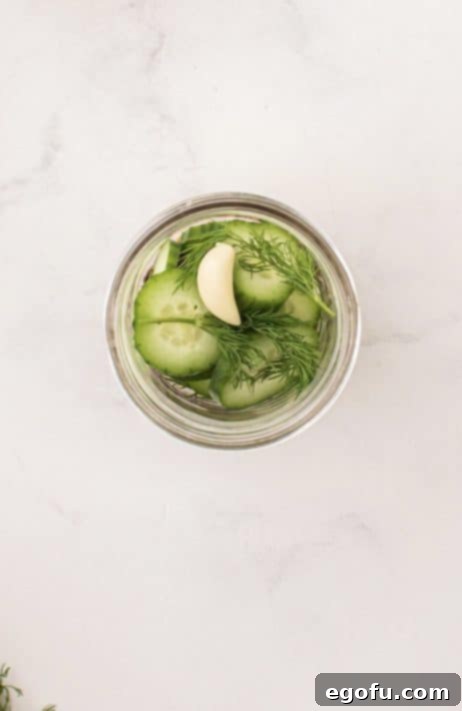
- First Cucumber Layer: Begin to add your sliced cucumbers into each jar, forming a snug layer on top of the dill. Do your best to distribute the cucumbers evenly among all the jars.
- Add More Aromatics:
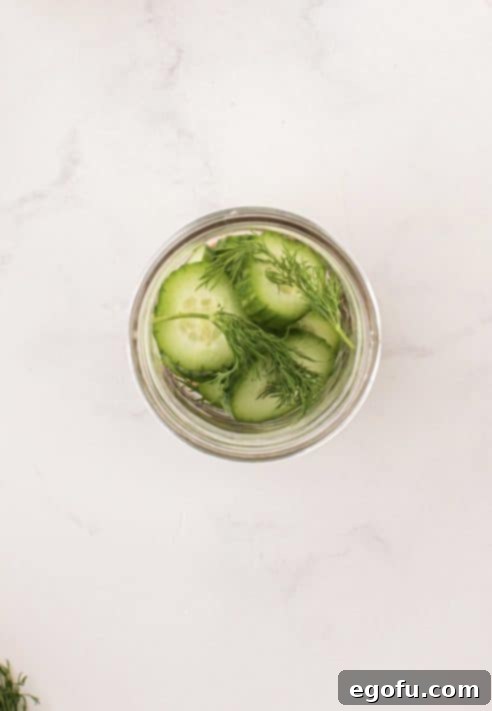
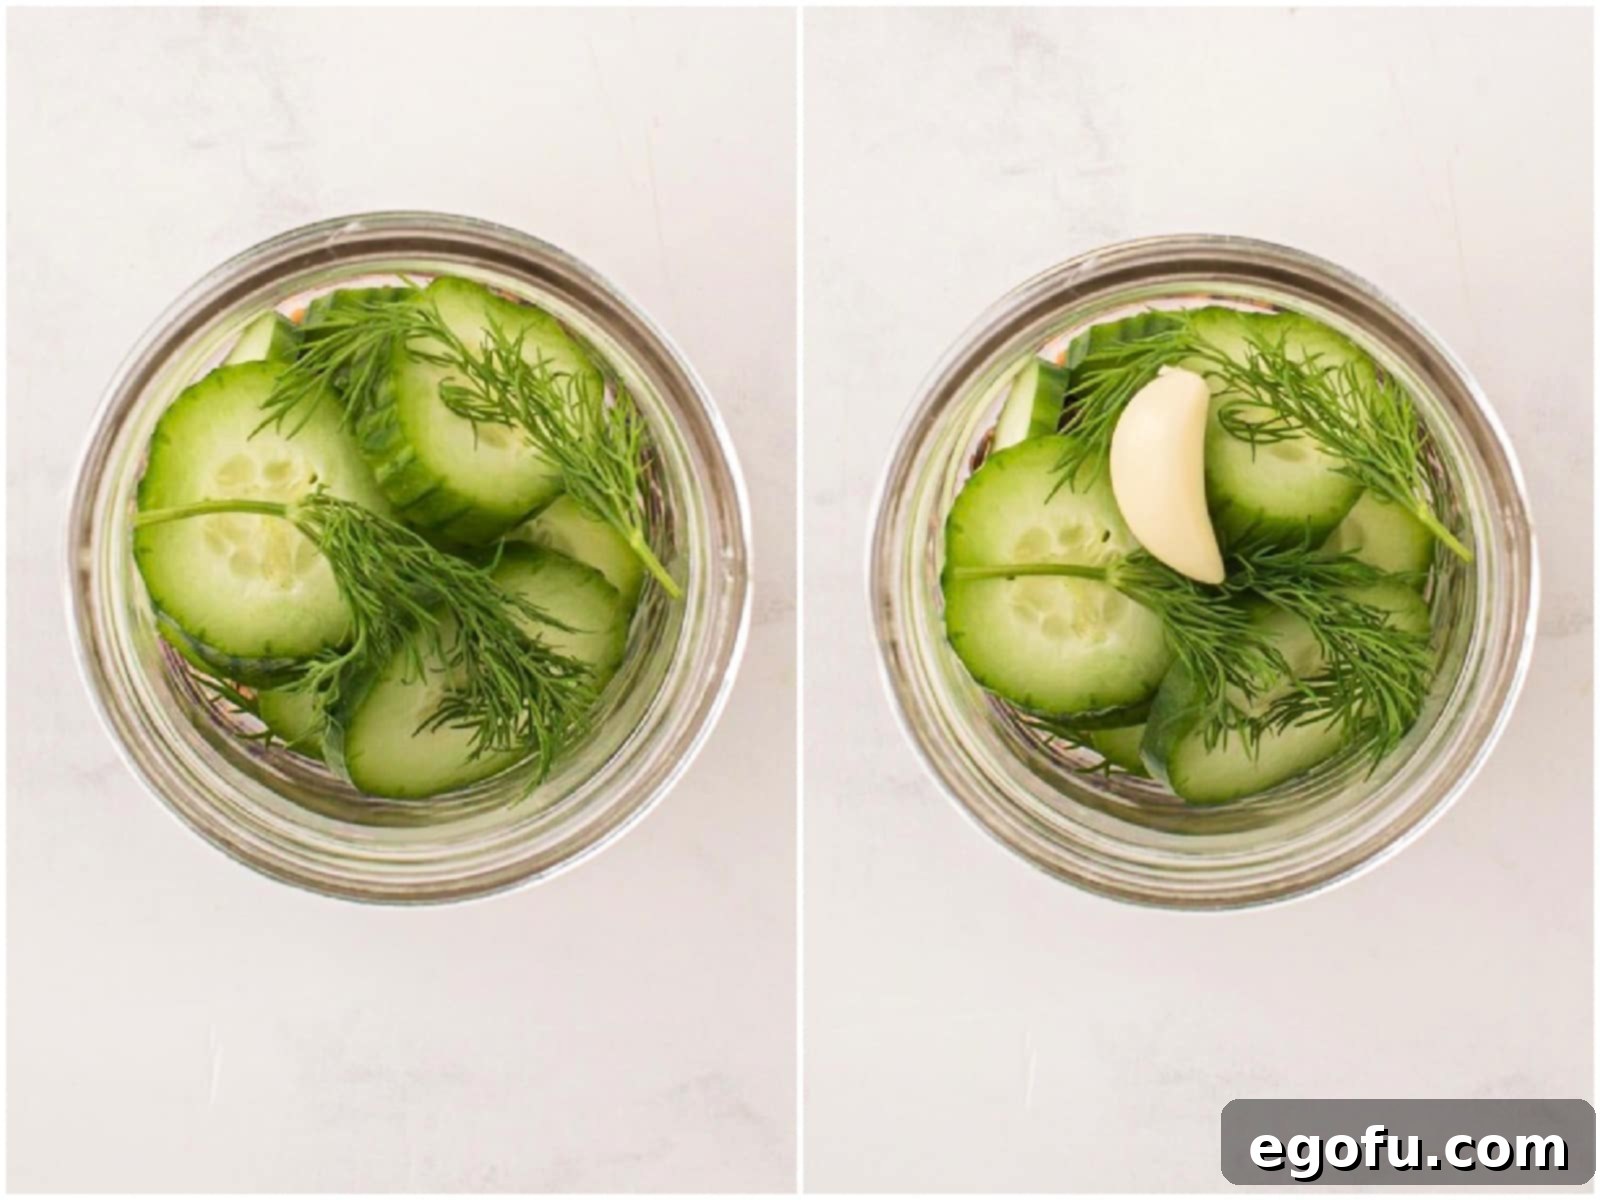
- Next, place another small sprig or bunch of fresh dill on top of the cucumber layer in each jar.
- Then, add one peeled garlic clove to each jar. If your garlic cloves are large, slice them in half to expose more surface area for flavor infusion.
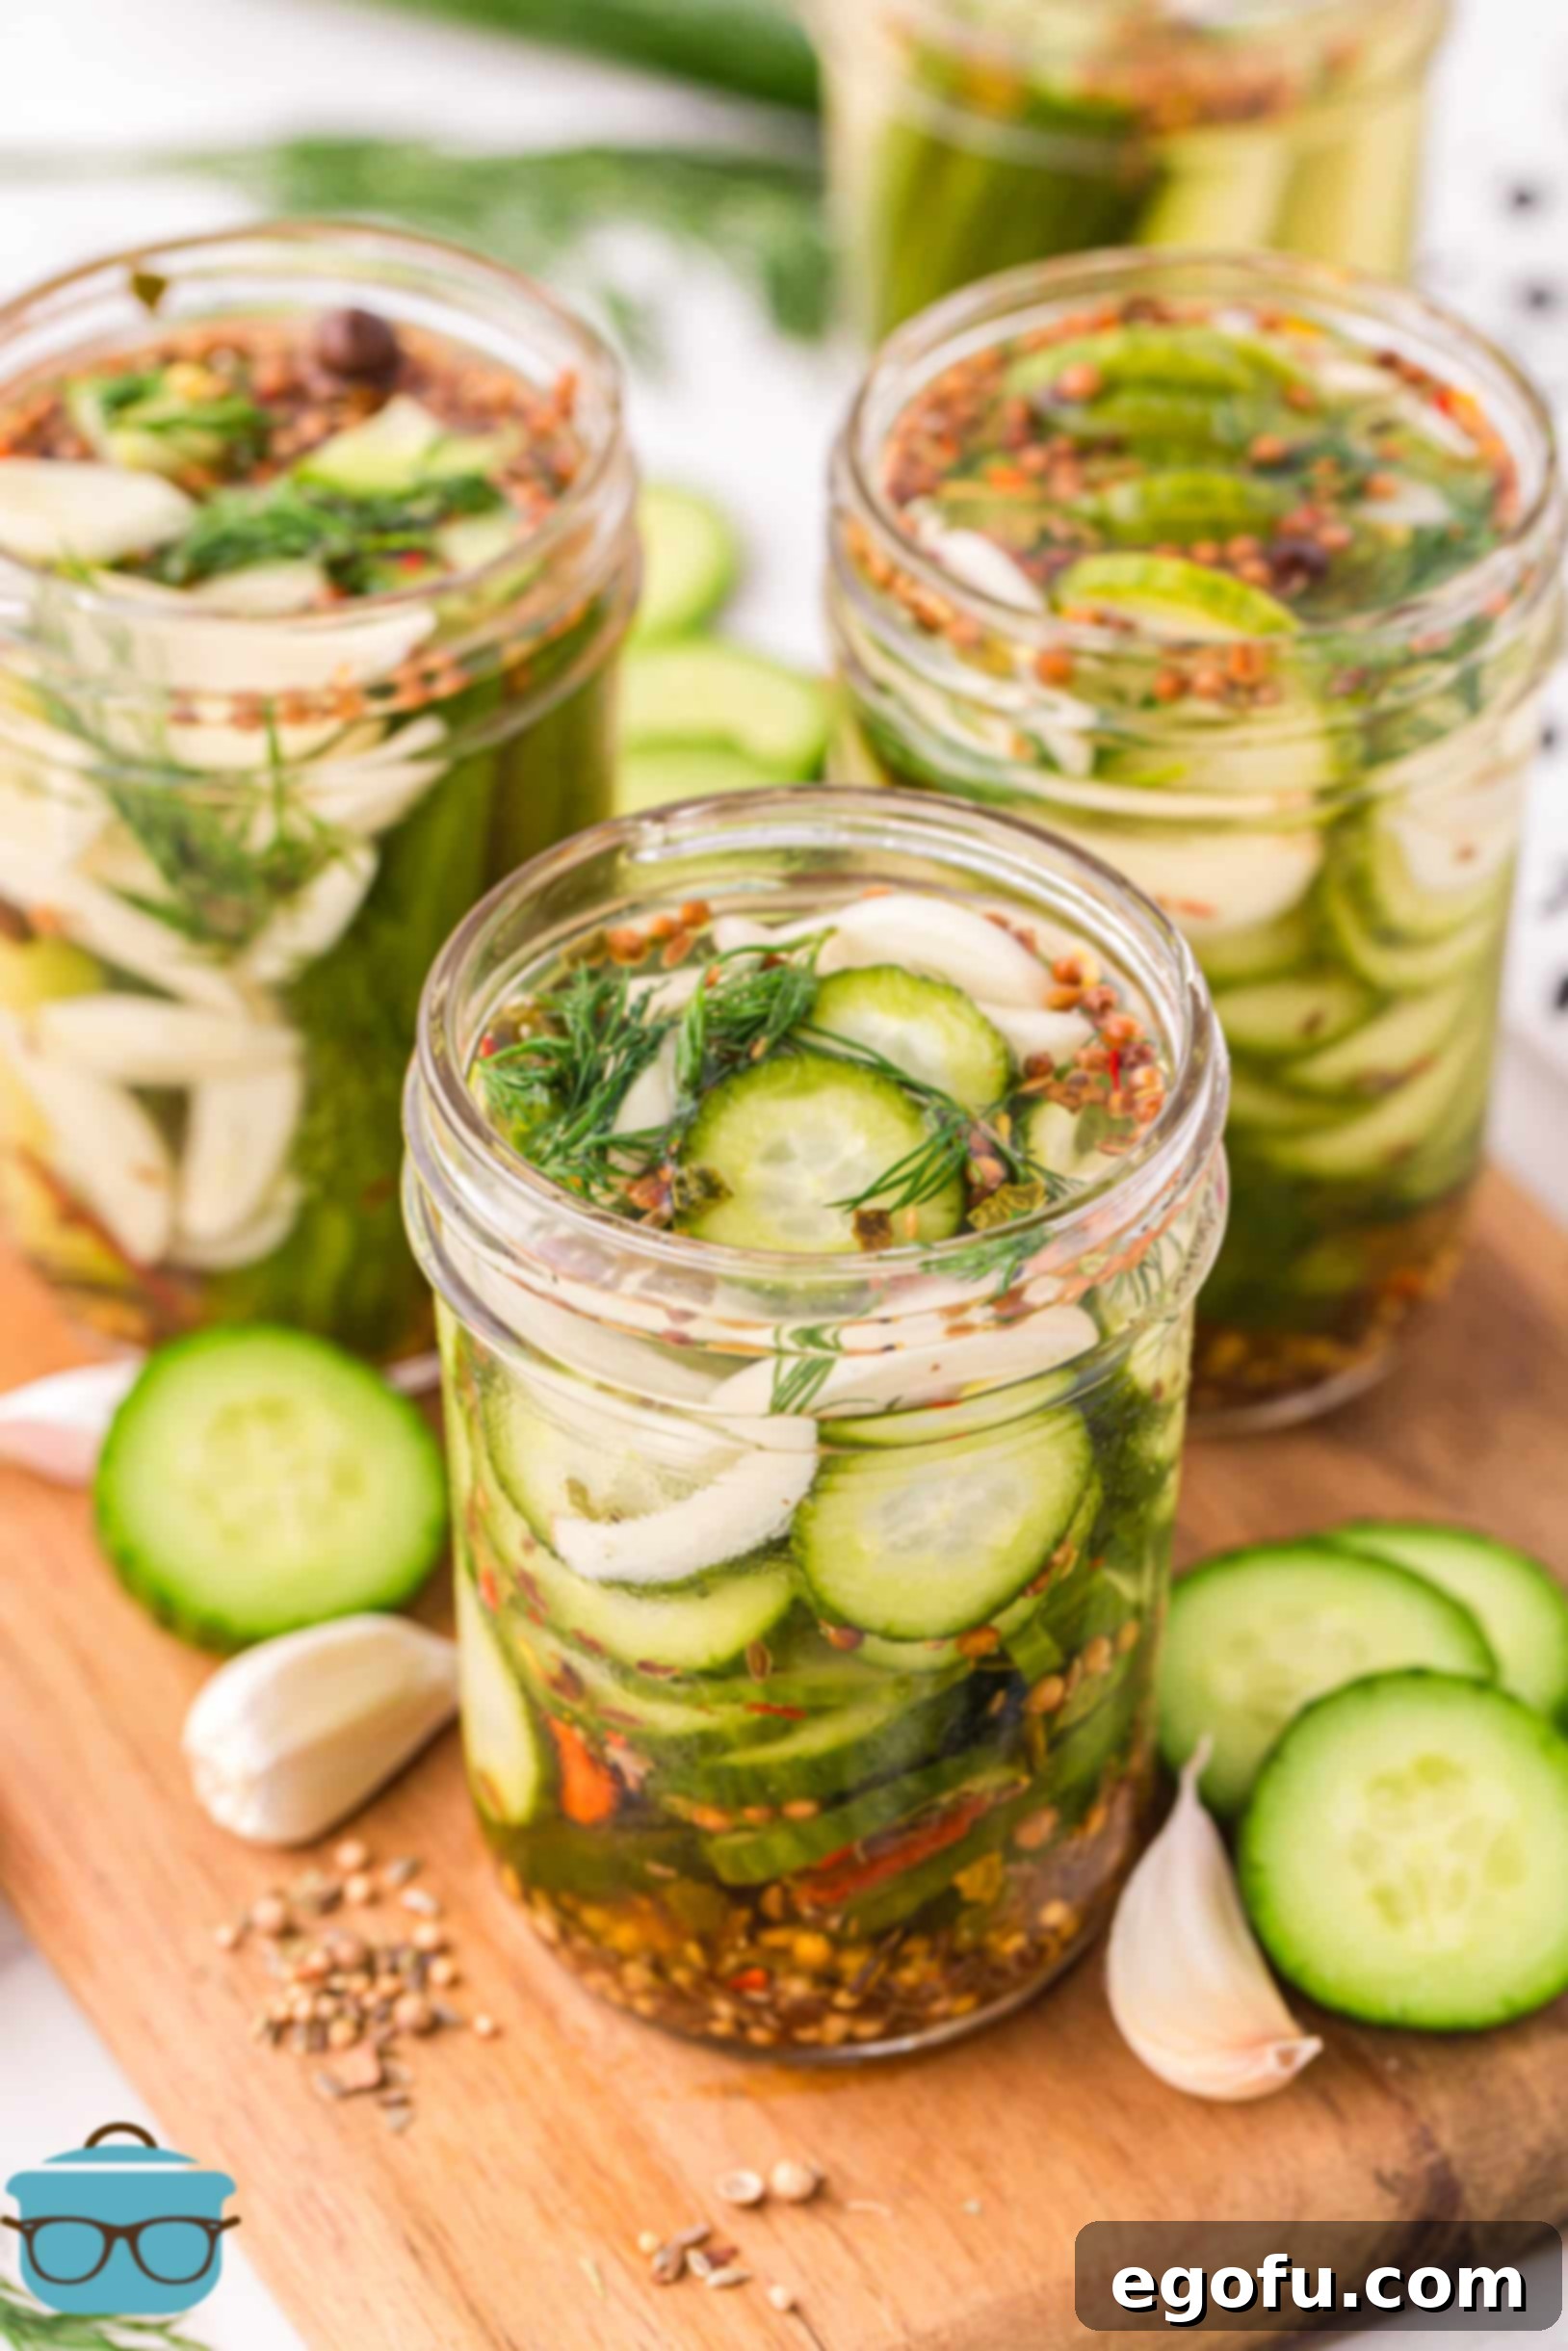
- Repeat the Layers: Continue this layering process, alternating cucumbers, dill, and garlic, until you have used all the sliced cucumbers and all the dill, ensuring each jar contains approximately three cloves of garlic distributed throughout its layers.
- Optional Spice Kick: Finish off the layering with a sprinkle of red pepper flakes on top of the last cucumber layer in each jar, if you desire a little heat.
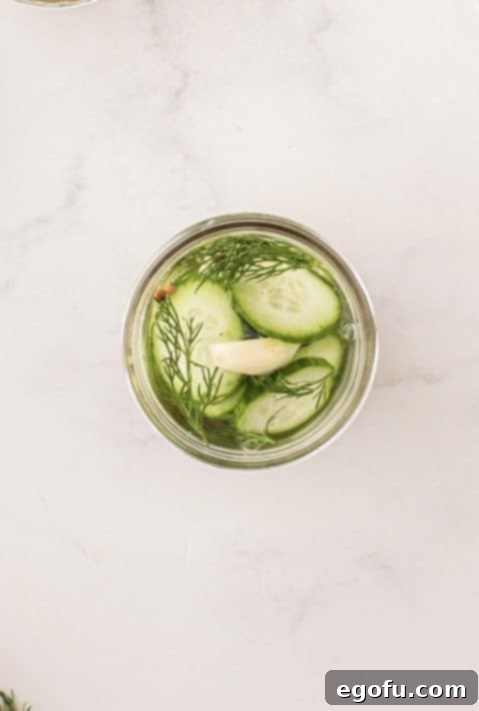
- Pour the Cooled Brine: Very carefully, pour the completely cooled vinegar mixture over the layered cucumbers in each jar. It’s essential to ensure that all the cucumbers are fully submerged in the brine. This is vital for proper pickling and to prevent any parts of the cucumber from spoiling.
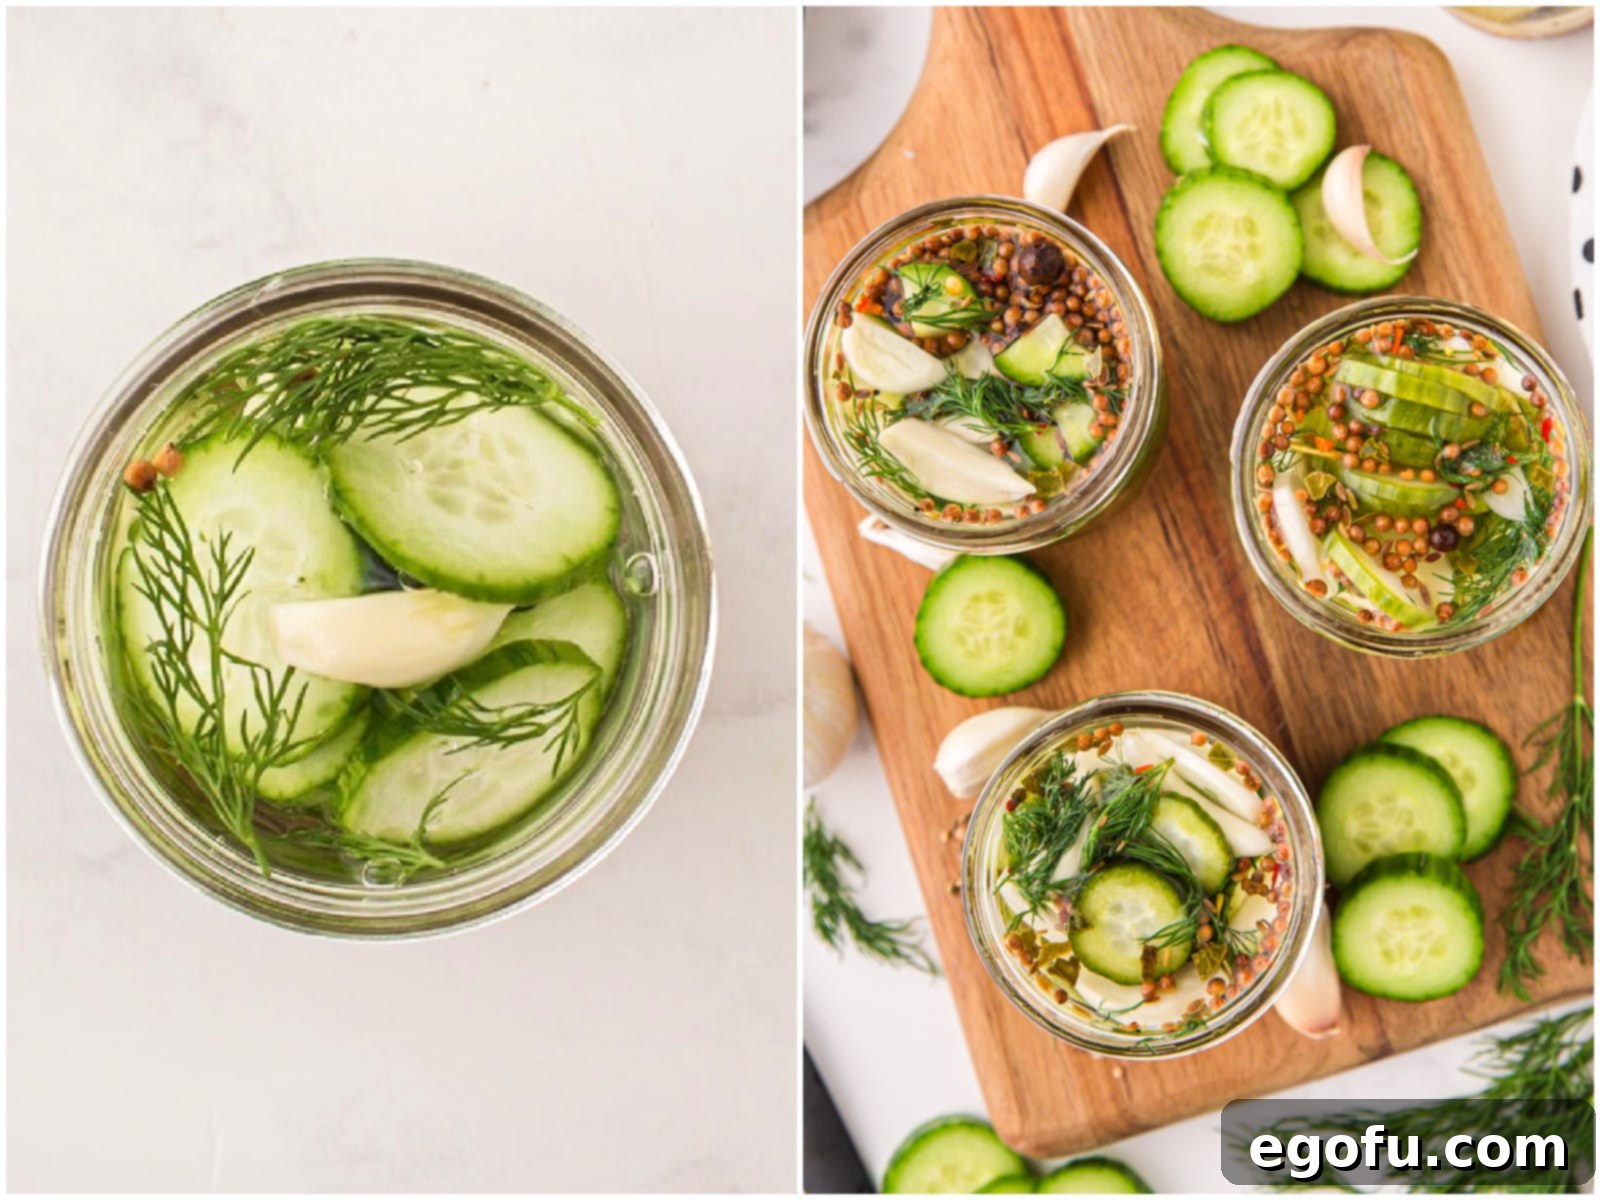
- Seal and Chill: Firmly seal each jar with its lid and ring. Once the jars are cool to the touch (if they weren’t already from the brine cooling), transfer them to the refrigerator. Your homemade refrigerator pickles will begin absorbing flavors immediately and will be ready to eat in about 24 hours. For the best, most developed flavor, allow them to chill and pickle for at least 2-3 days before enjoying.
Delightful Ways to Enjoy Your Refrigerator Pickles
Once your homemade refrigerator pickles have chilled and developed their fantastic flavor, the possibilities for enjoying them are endless! Here are some of our favorite serving suggestions:
- Classic Side Dish: Serve them alongside almost any meal, from grilled meats and sandwiches to hearty stews, for a refreshing, palate-cleansing crunch.
- Burgers and Sandwiches: Elevate your favorite burgers, hot dogs, and deli sandwiches with a few slices of these tangy pickles. Their crispness and bright flavor cut through richness perfectly.
- Salad Enhancer: Chop them up and add them to potato salad, tuna salad, chicken salad, or even green salads for an extra burst of zesty flavor and texture.
- Charcuterie Boards: Arrange them on a cheese and charcuterie board. Their acidity pairs wonderfully with rich cheeses, cured meats, and crusty bread.
- Snack Attack: Sometimes, the simplest way is the best! Enjoy them straight from the jar as a healthy, low-calorie, and incredibly satisfying snack.
- Garnish for Drinks: A spear of refrigerator pickle makes an excellent garnish for a Bloody Mary or a dirty martini, adding a unique savory twist.
Troubleshooting & Tips for Success
While refrigerator pickles are incredibly easy, a few tips can ensure your batches are consistently perfect:
- Soft Pickles: The most common culprit for soft pickles is using hot brine or older, softer cucumbers. Always ensure your brine is completely cooled before pouring it over the cucumbers. Use the freshest, firmest cucumbers you can find.
- Cloudy Brine: A slightly cloudy brine can be normal, especially if you leave the skins on your cucumbers or use certain spices (like mustard powder instead of seeds, as mentioned in the FAQs). If the cloudiness is accompanied by a foul smell, mold, or a slimy texture, discard the pickles immediately. Otherwise, it’s usually harmless.
- Flavor Not Strong Enough: Patience is key! While they’re edible after 24 hours, the flavors deepen significantly after 2-3 days, and they often peak around a week. If you prefer a more intense flavor, you can let them pickle for a bit longer. Ensure you’ve packed enough fresh dill and garlic.
- Keep Pickles Submerged: Always make sure all cucumber pieces are fully covered by the brine. Exposure to air can cause discoloration or spoilage. You can use a small glass weight or even a clean, heavy stone to keep them submerged if needed.
- Use Clean Utensils: When retrieving pickles from the jar, always use a clean fork or tongs to prevent introducing bacteria, which can shorten their shelf life.
Easy Refrigerator Pickles Recipe
These Refrigerator Pickles are crunchy, tangy, and fresh and only take 10 minutes of prep! No special equipment needed!
Pin Recipe
Rate this Recipe
Ingredients
- 4 wide mouth pint jars (with lids and rings)
- 4 cups water
- 2 cups white distilled vinegar
- 3 Tablespoons kosher salt
- 3 Tablespoons sugar
- 2 pounds small to medium sized cucumbers (they can be peeled if you prefer)
- 1 large bunch fresh dill
- 1.5 ounce jar pickling spice (divided use)
- 12 cloves peeled garlic (divided use)
- Red pepper flakes (optional)
Instructions
- Wash and dry all jars, lids and rings in the dishwasher or hand wash in hot water. Set aside.
- In a large saucepan, combine water, vinegar, Kosher salt and sugar together and simmer on medium heat until the salt and sugar have dissolved, about 5 minutes.
- Set it aside to cool completely.
- Rinse cucumbers and place on a large cutting board. Remove ends and cut cucumbers in ½ inch slices (or spears).
- Remove the dill from the stem. Try to keep them in their little bunches. Set aside.
- Assembling the jars: We’re going to be creating layers within each jar to make sure the cucumber slices are all evenly seasoned. You do not have to do this, you can just add everything into the jars then cover with the vinegar mixture.
- Carefully pour 1½ teaspoons of the pickling spice in the bottom of each jar. Add a small sprig of dill.

- Followed by a layer of cucumbers into each jar (do your best to evenly distribute the cucumbers into each jar.)

- Next add ¼ of the dill to each jar.

- Finally add a clove of garlic to each jar.

- Repeat this layering process until you have used all the sliced cucumbers, all the dill and have three cloves of garlic in each jar.
- Finish the layering with optional red pepper flakes on top.
- Very carefully, pour cooled vinegar mixture on top of the pickles. Make sure you are covering all the pickles.

- Seal the jar with the lid and ring.
- When the jars are cool to the touch, then they can be put into the refrigerator. The pickles will be ready to eat in about 24 hours.

Notes
- Please refer to my FAQ’s (Frequently Asked Questions) and ingredient list above for other substitutions or for the answers to the most common questions.
- This recipe makes about 4 pint sized jars of pickles and each jar has about 5-6 servings, so this recipe makes 20-24 servings of pickles.
Nutrition
Nutritional Disclaimer
“The Country Cook” is not a dietician or nutritionist, and any nutritional information shared is an estimate. If calorie count and other nutritional values are important to you, we recommend running the ingredients through whichever online nutritional calculator you prefer. Calories and other nutritional values can vary quite a bit depending on which brands were used.
Share it on Instagram @thecountrycook and mention us #thecountrycook!
Craving More Delicious Recipes?
If you loved making these easy refrigerator pickles, you’re sure to enjoy exploring more homemade delights. Here are some other fantastic recipes to inspire your culinary adventures:
- Sweet Pickle Relish
- Dill Pickle Relish
- Bread and Butter Pickles
- Pickles in a Blanket
- Fried Pickle Dip
- Easy Pickled Banana Peppers
- Quick Sauerkraut
- Homemade Sauerkraut (Fermented)
- Pickled Red Onions
- Fried Pickles
- Chow Chow
- Creamy Cucumber Salad
- Vinegar Cucumber Salad
- Dill Pickle Pasta Salad
