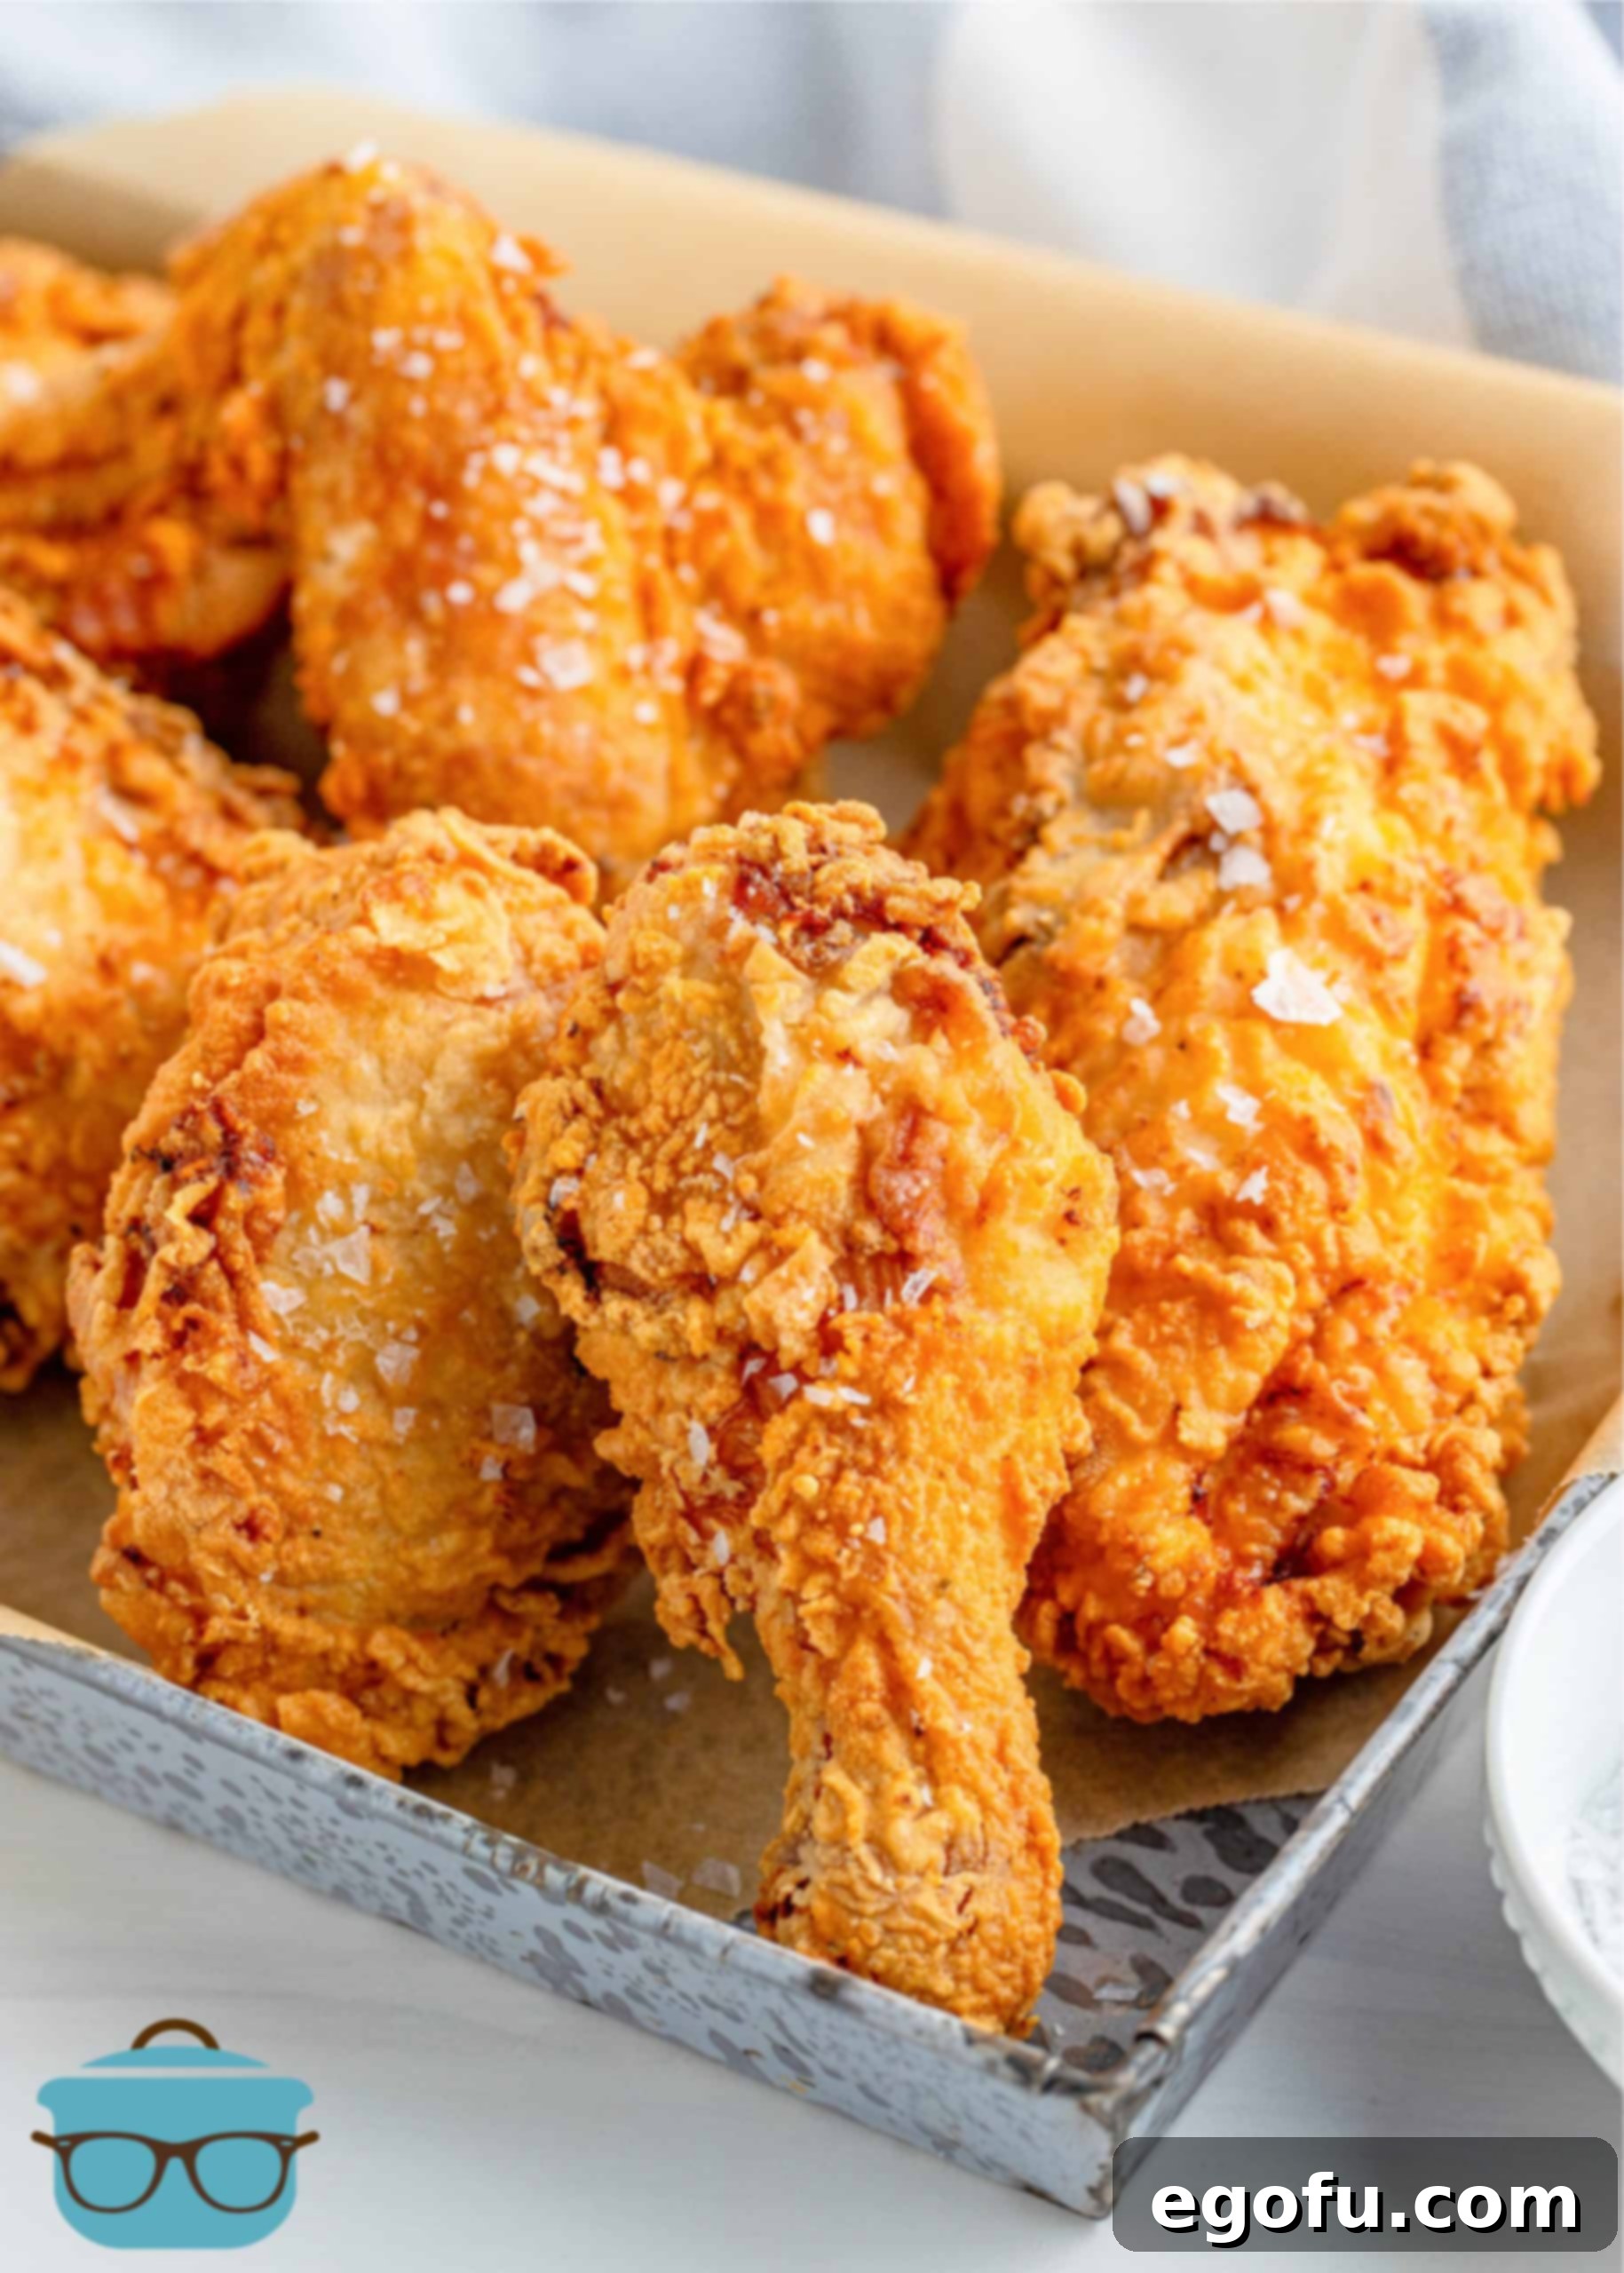
Craving the unparalleled taste of truly authentic Southern Fried Chicken? Look no further! This carefully perfected recipe delivers an absolutely divine experience, featuring a shatteringly crispy skin and incredibly tender, juicy meat that will transport your taste buds straight to the heart of the South. Get ready to master the art of homemade fried chicken!
The Ultimate Southern Fried Chicken Recipe: Crispy, Juicy, and Irresistible
Hailing from the heart of the American South, fried chicken isn’t just a meal; it’s a cherished tradition, a culinary cornerstone deeply woven into the fabric of Southern culture. For generations, this dish has graced family tables, community gatherings, and Sunday dinners, earning its place as a beloved staple. As a native of the South, I can attest that the love for fried chicken is practically ingrained from birth. It’s a dish that evokes warmth, comfort, and unparalleled flavor.
This particular recipe for “The Best Southern Fried Chicken” is the culmination of years of tireless experimentation and dedication. It wasn’t an overnight success; rather, it was a journey of fine-tuning ingredients, refining techniques, and patiently observing the subtle nuances that transform good fried chicken into truly exceptional fried chicken. My goal was always to achieve that elusive balance: a remarkably crunchy, golden-brown exterior that gives way to succulent, moist meat on the inside. Many recipes claim to offer the perfect fried chicken, but I genuinely believe this one achieves it. It requires a bit of patience and attention to detail, but the reward — that first glorious bite of perfectly cooked, flavorful fried chicken — is immeasurable. Don’t rush the process; allow the magic to unfold, and you’ll be rewarded with a dish that rivals any Southern grandma’s.
Frequently Asked Questions: Unlock the Secrets to Perfect Fried Chicken
For truly authentic and moist Southern Fried Chicken, I strongly advise against substituting real buttermilk if at all possible. Buttermilk plays a critical, multifaceted role in this recipe. Its natural acidity tenderizes the chicken meat by breaking down tough protein fibers, resulting in an incredibly juicy and tender interior. Beyond tenderization, buttermilk also imparts a distinct, tangy flavor that is characteristic of classic Southern fried chicken. This acidity reacts beautifully with the baking soda often found in self-rising flour (or added separately), contributing to a lighter, crispier coating. While you can make a “buttermilk substitute” using milk and vinegar or lemon juice for some baking recipes, it doesn’t quite replicate the consistency, acidity, or unique flavor profile of true cultured buttermilk, making it less ideal for achieving the optimal texture and taste in fried chicken. An overnight soak in real buttermilk is truly optimal for maximum juiciness and flavor penetration.
The addition of cornstarch to the flour mixture is a game-changer for achieving that coveted, extra-crispy exterior. Cornstarch contains less gluten than flour, which helps create a lighter, more delicate coating that fries up incredibly crunchy. It also aids in moisture absorption, forming a crispier crust that locks in the chicken’s juices. This blend prevents the coating from becoming too dense or tough, ensuring every bite delivers that satisfying crunch.
Absolutely! This recipe is versatile and works wonderfully with any cut of chicken you prefer, whether it’s breasts, thighs, wings, or legs. The key to success, regardless of the cut, is ensuring the chicken is cooked thoroughly to an internal temperature of 165°F (74°C). Keep in mind that different cuts will have varying cooking times; white meat like breasts and wings generally cook faster than dark meat like thighs and drumsticks. Using a reliable meat thermometer is essential for perfect results.
While you don’t *have* to use peanut oil, it is highly recommended for Southern Fried Chicken, and it’s my top choice. Peanut oil has a high smoke point, meaning it can reach the necessary high frying temperatures without breaking down or burning, which can impart off-flavors to your food. Crucially, it also has a very neutral flavor that won’t compromise or overpower the delicate spices and natural taste of the chicken. Canola oil or vegetable oil are excellent second choices, also offering high smoke points and neutral flavors. Avoid oils with strong flavors, like olive oil, as they will alter the taste of your fried chicken.
Many traditional Southern cooks indeed swear by cast iron skillets for frying, and they can produce fantastic results. I personally prefer a deep fryer for its consistent temperature control, which is crucial for even cooking and a consistent crisp. With a deep fryer, the oil temperature is much easier to monitor and maintain throughout the entire cooking process, reducing the risk of unevenly cooked chicken or burned spots on the crust. While a cast iron skillet or a deep, heavy-bottomed pot can certainly be used, they require more diligent monitoring of the oil temperature. Cast iron, in particular, retains heat extremely well, which can quickly lead to the oil getting too hot and causing the chicken to darken too quickly before the interior is fully cooked. If using cast iron, be extra careful and ready to adjust your heat frequently.
The iconic flavor of KFC’s fried chicken comes from their famous 11 herbs and spices, a secret blend known for its unique aromatic and savory profile. To achieve a similar taste, you can adapt this recipe by substituting the garlic powder, onion powder, salt, and pepper with a copycat spice blend. Instead of seasoning the individual chicken pieces directly with basic spices, you’ll incorporate this special blend into your flour/cornstarch mixture. While the exact KFC recipe remains a secret, this popular approximation will get you remarkably close.
**KFC-Style Spice Blend (for the flour mixture):**
Combine these ingredients in a separate bowl. You will use approximately 2 1/2 Tablespoons of this mixture per batch of flour/cornstarch dredge, replacing the individual salt, pepper, garlic powder, and onion powder in the main recipe.
- 2 teaspoons salt
- ½ Tablespoon dried thyme
- ½ Tablespoon dried basil
- 1 teaspoon dried oregano
- 1 teaspoon celery salt
- ½ Tablespoon black pepper
- 1 Tablespoon mustard powder
- 2 Tablespoons paprika
- 2 Tablespoons garlic salt
- 1 Tablespoon powdered ginger
- 1 Tablespoon white pepper (if available, otherwise use black pepper)
Mix these spices thoroughly to create your blend. Remember, you won’t use the entire amount for a single batch of chicken; incorporate about 2 1/2 Tablespoons into your dry flour mixture.
The beauty of Southern Fried Chicken is its versatility when it comes to side dishes. The possibilities for creating a complete, satisfying meal are truly endless! Some of our all-time favorites that perfectly complement the rich, crispy chicken include:
- Southern Fried Okra: Crispy, seasoned okra pods that offer a delightful textural contrast.
- Creamy Potato Salad: A cool, tangy, and rich potato salad to balance the warmth of the fried chicken.
- Classic Cole Slaw: A refreshing, crunchy side that cuts through the richness of the fried food.
- Fluffy Butter Swim Biscuits: Perfect for soaking up any delicious drippings or just enjoying on their own.
- Homemade Macaroni and Cheese: A creamy, cheesy, and utterly comforting classic that’s a staple for any Southern feast.
- Creamed Corn: Sweet and savory, offering a lovely sweetness.
- Green Beans with Bacon: A hearty, flavorful vegetable dish.
- Sweet Potato Casserole: For a touch of comforting sweetness.
Choose your favorites to build a truly memorable Southern spread!

Key Ingredients for the Best Southern Fried Chicken
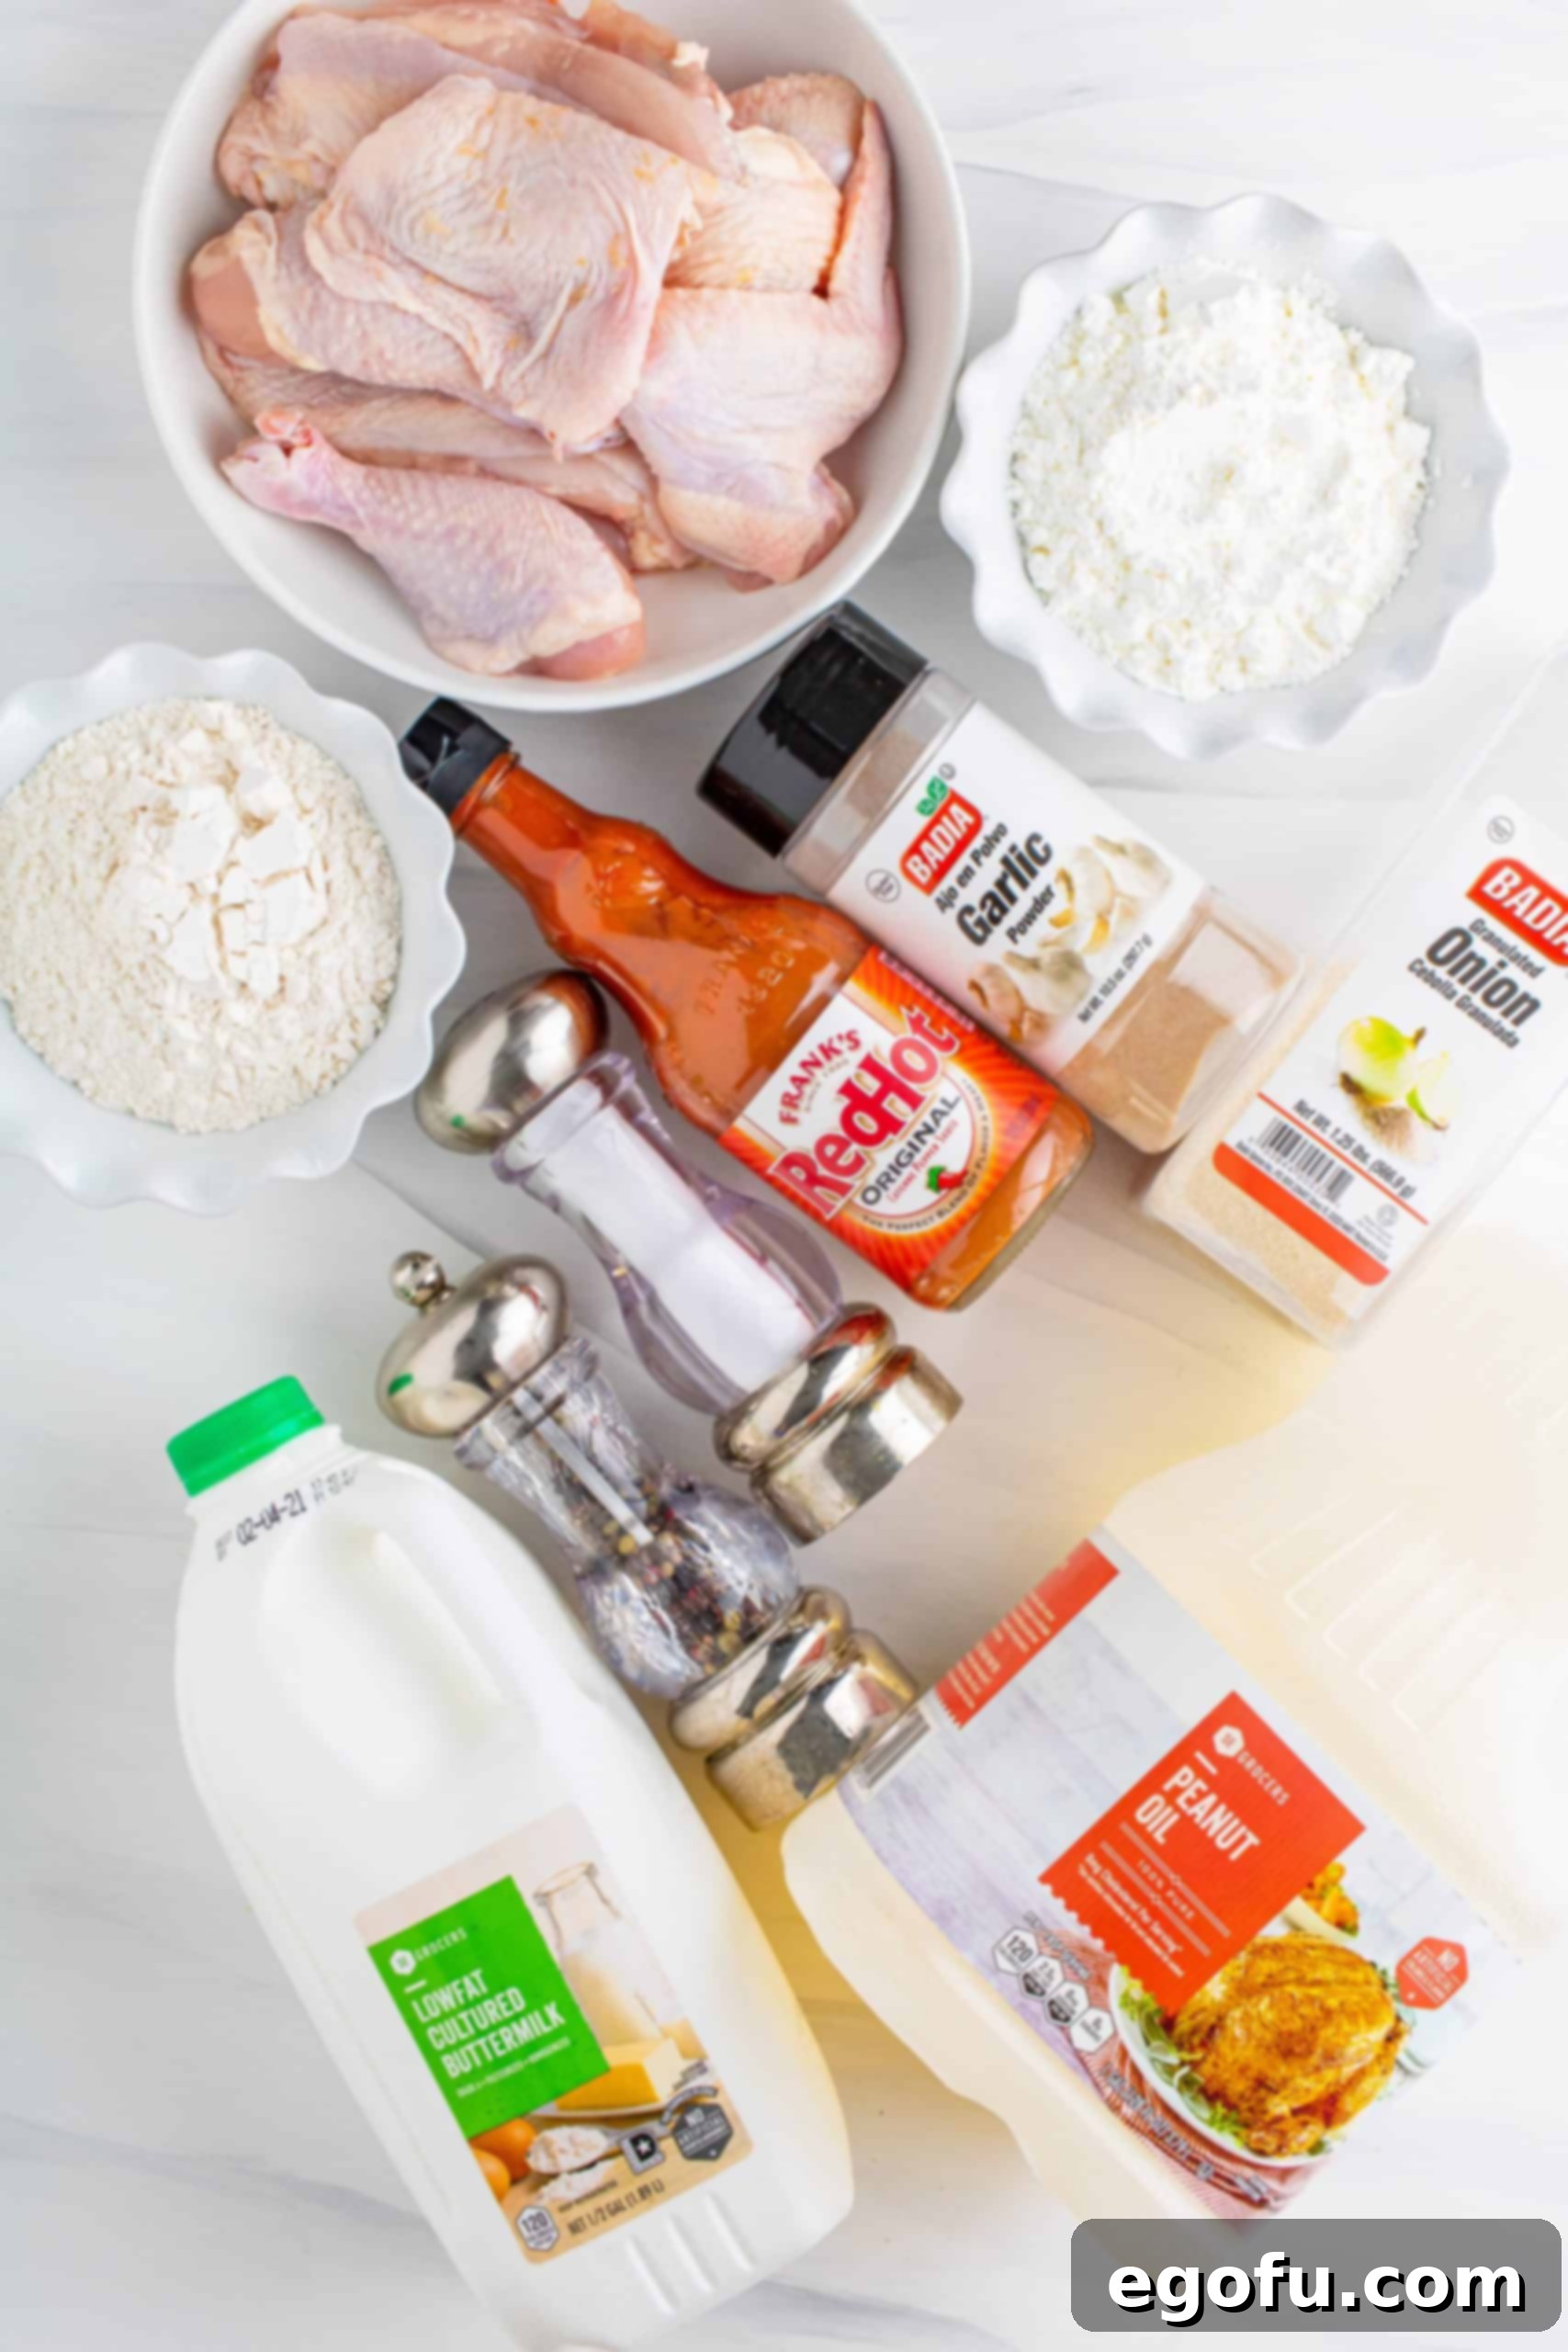
Crafting perfect Southern Fried Chicken begins with selecting the right ingredients. Each component plays a vital role in achieving that signature crispy, flavorful, and incredibly juicy result. Here’s a closer look at what you’ll need and why it’s important:
- Whole Chicken (cut up): While you can purchase pre-cut chicken pieces, using a whole chicken allows you to enjoy a variety of cuts (breasts, thighs, wings, legs) and often yields fresher, higher-quality meat. Ensure your chicken is fresh and, if possible, opt for bone-in, skin-on pieces for maximum flavor and moisture retention. Bone-in chicken tends to cook more evenly and stays juicier.
- Seasonings (Salt, Pepper, Garlic Powder, Onion Powder, Paprika): This foundational blend creates a robust, savory base for your fried chicken.
- Salt: Essential for enhancing all other flavors and helping to draw moisture into the chicken during brining.
- Black Pepper: Adds a subtle warmth and traditional kick.
- Garlic Powder & Onion Powder: These provide aromatic depth and umami, infusing the chicken with classic savory notes that are widely loved. They distribute evenly, ensuring consistent flavor throughout.
- Paprika: Contributes a mild, sweet pepper flavor and, more importantly, helps achieve that beautiful golden-brown color in the crust.
Feel free to adjust this blend to your personal taste, or use the copycat KFC seasoning blend detailed in the FAQ section above for a different flavor profile.
- Buttermilk: As discussed in the FAQs, real buttermilk is non-negotiable for this recipe. Its natural acidity tenderizes the meat, ensuring a moist and succulent interior, and imparts a distinct tangy flavor. It also helps the flour coating adhere better to the chicken. While I stress using the real deal, if you’re in an absolute bind, you can refer to my post on How to Make Buttermilk (but seriously, try to find genuine buttermilk!).
- Hot Sauce (Optional, but recommended): A dash of hot sauce in the buttermilk marinade adds a subtle kick and complexity without making the chicken overly spicy. It also contributes to the tenderizing effect of the buttermilk. Don’t worry, it won’t make your chicken fiery, but it will add an extra layer of flavor that’s hard to resist.
- Cornstarch: This is your secret weapon for an ultra-crispy crust! Mixed with flour, cornstarch helps to create a lighter, crispier coating that holds up beautifully during frying and prevents sogginess. Do not skip this ingredient if you desire that satisfying crunch.
- Peanut Oil: My preferred oil for frying. Its high smoke point and neutral flavor ensure your chicken fries perfectly without imparting any unwanted tastes. It allows the true flavors of the chicken and its seasoning to shine through. Canola oil or vegetable oil are acceptable alternatives.
- Flaked Salt (for serving, optional): A final sprinkle of flaky sea salt immediately after frying elevates the flavor, adds a delicate crunch, and enhances the overall experience of biting into freshly fried chicken.
How to Make the Best Southern Fried Chicken: Step-by-Step Guide
Follow these detailed steps to create perfectly crispy and tender Southern Fried Chicken right in your own kitchen. Patience is a virtue here, especially during the marinating and frying stages, but the results are absolutely worth the effort!
Step 1: Prepare and Season the Chicken
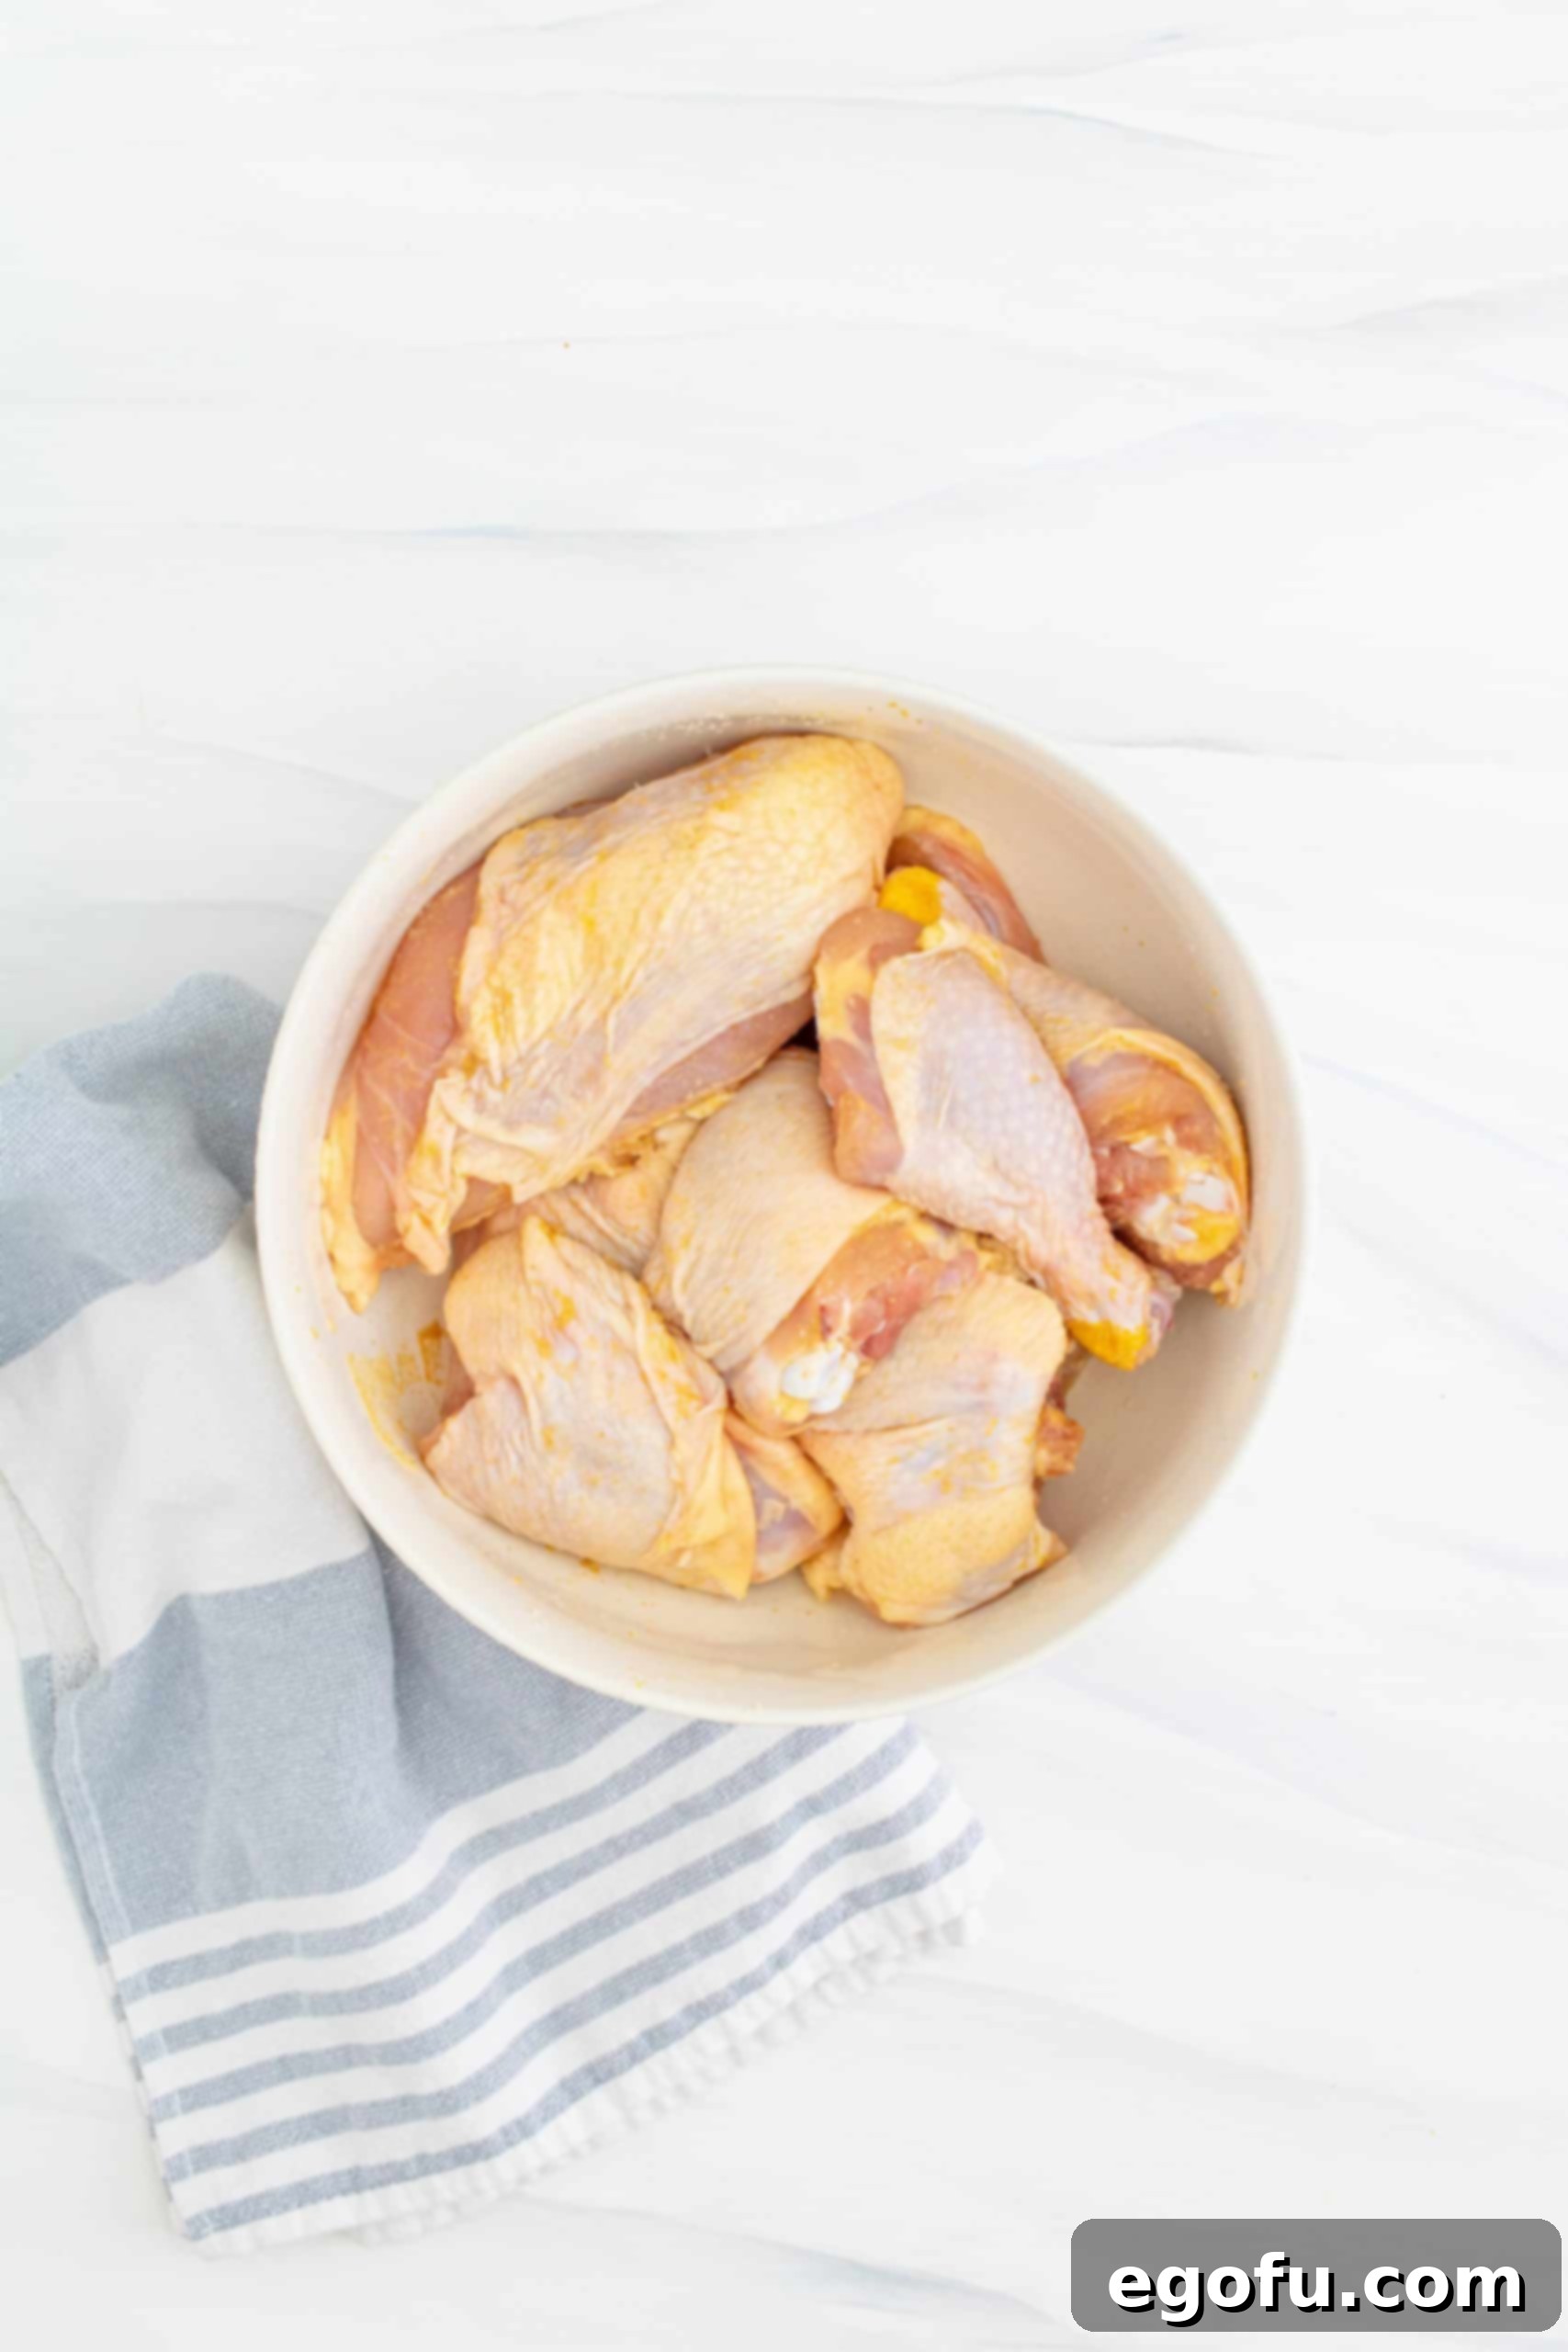
Begin by patting your cut-up chicken pieces thoroughly dry with paper towels. Removing excess moisture is crucial for achieving a crispy skin. In a large mixing bowl, arrange your chicken pieces. Generously season them with 2 teaspoons of kosher salt, 2 teaspoons of garlic powder, 2 teaspoons of onion powder, and 2 teaspoons of paprika. Using your hands, toss and massage the spices into every part of the chicken, ensuring an even and flavorful coating. This initial seasoning provides a deep, savory foundation for the overall flavor profile.
Step 2: Marinate in Buttermilk and Hot Sauce
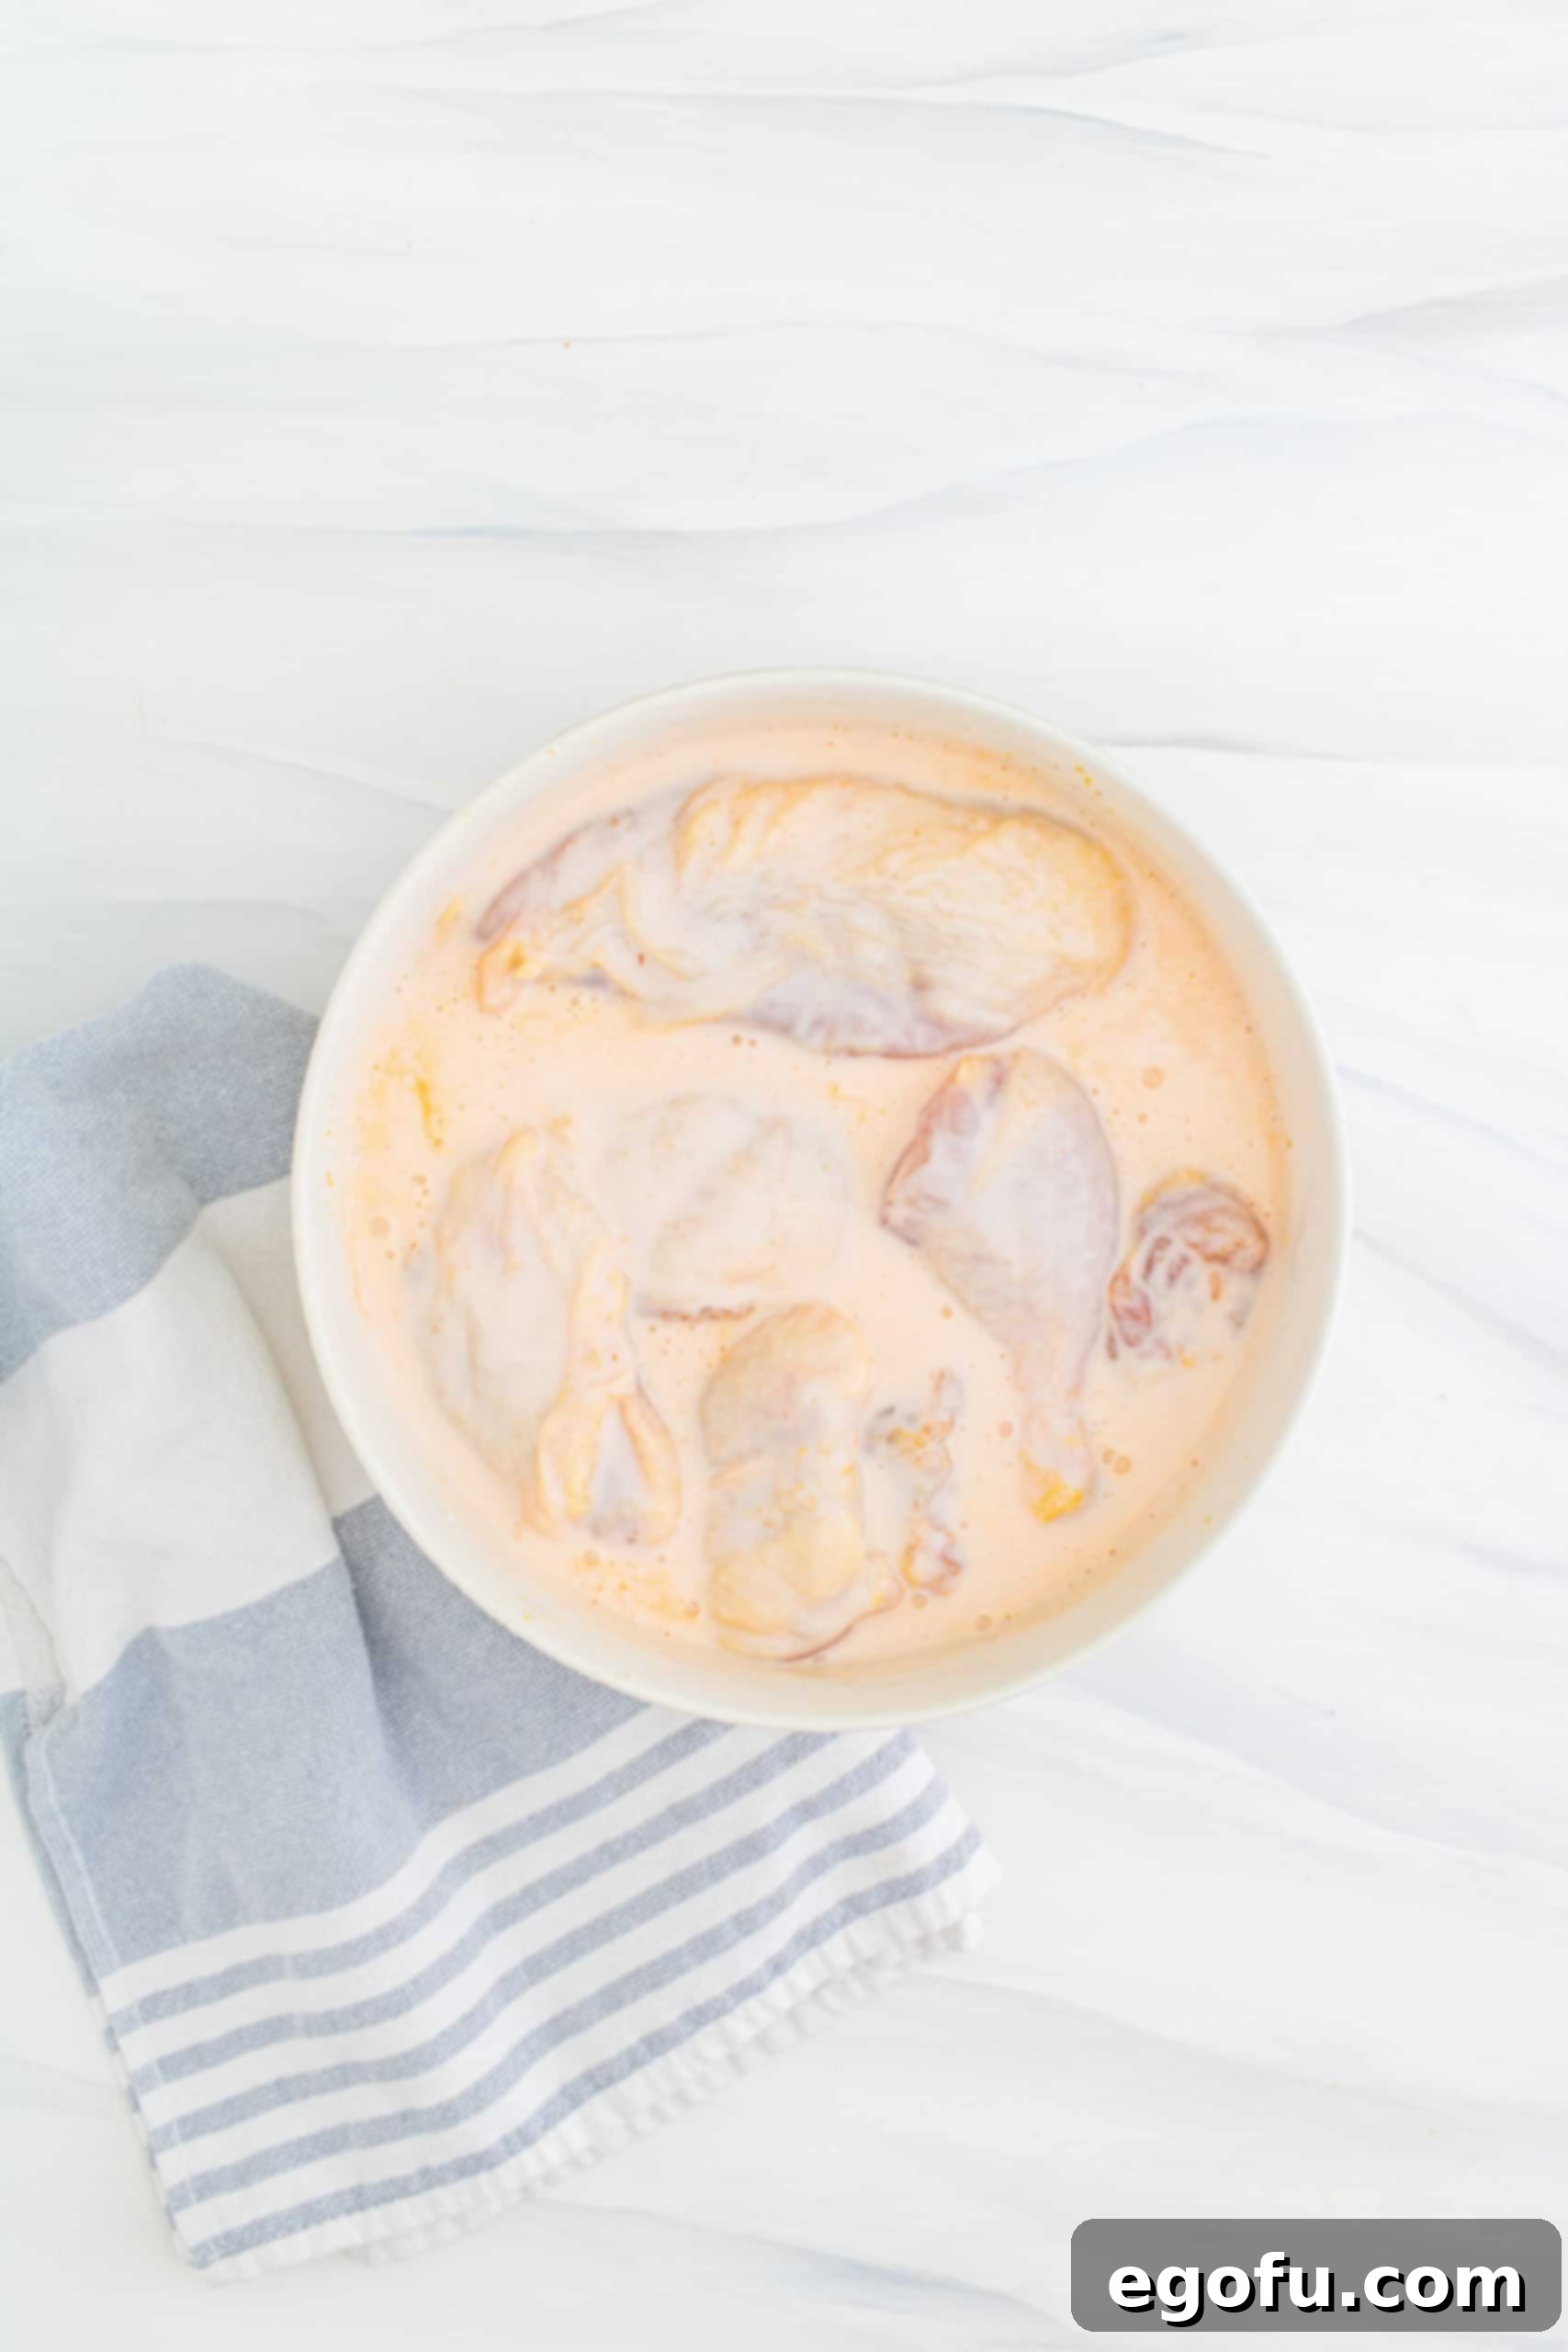
Pour 2 cups of buttermilk and 2 tablespoons of hot sauce (if using) over the seasoned chicken in the bowl. Stir everything gently until each piece of chicken is thoroughly coated in the creamy, tangy mixture. Cover the bowl tightly with plastic wrap and transfer it to the refrigerator. Allow the chicken to marinate for a minimum of 2 hours. For the absolute best flavor and tenderization, an overnight marination (8-12 hours) is highly recommended. The longer soak allows the buttermilk’s acidity to truly work its magic, resulting in exceptionally moist and flavorful chicken.
Step 3: Prepare the Dry Dredge
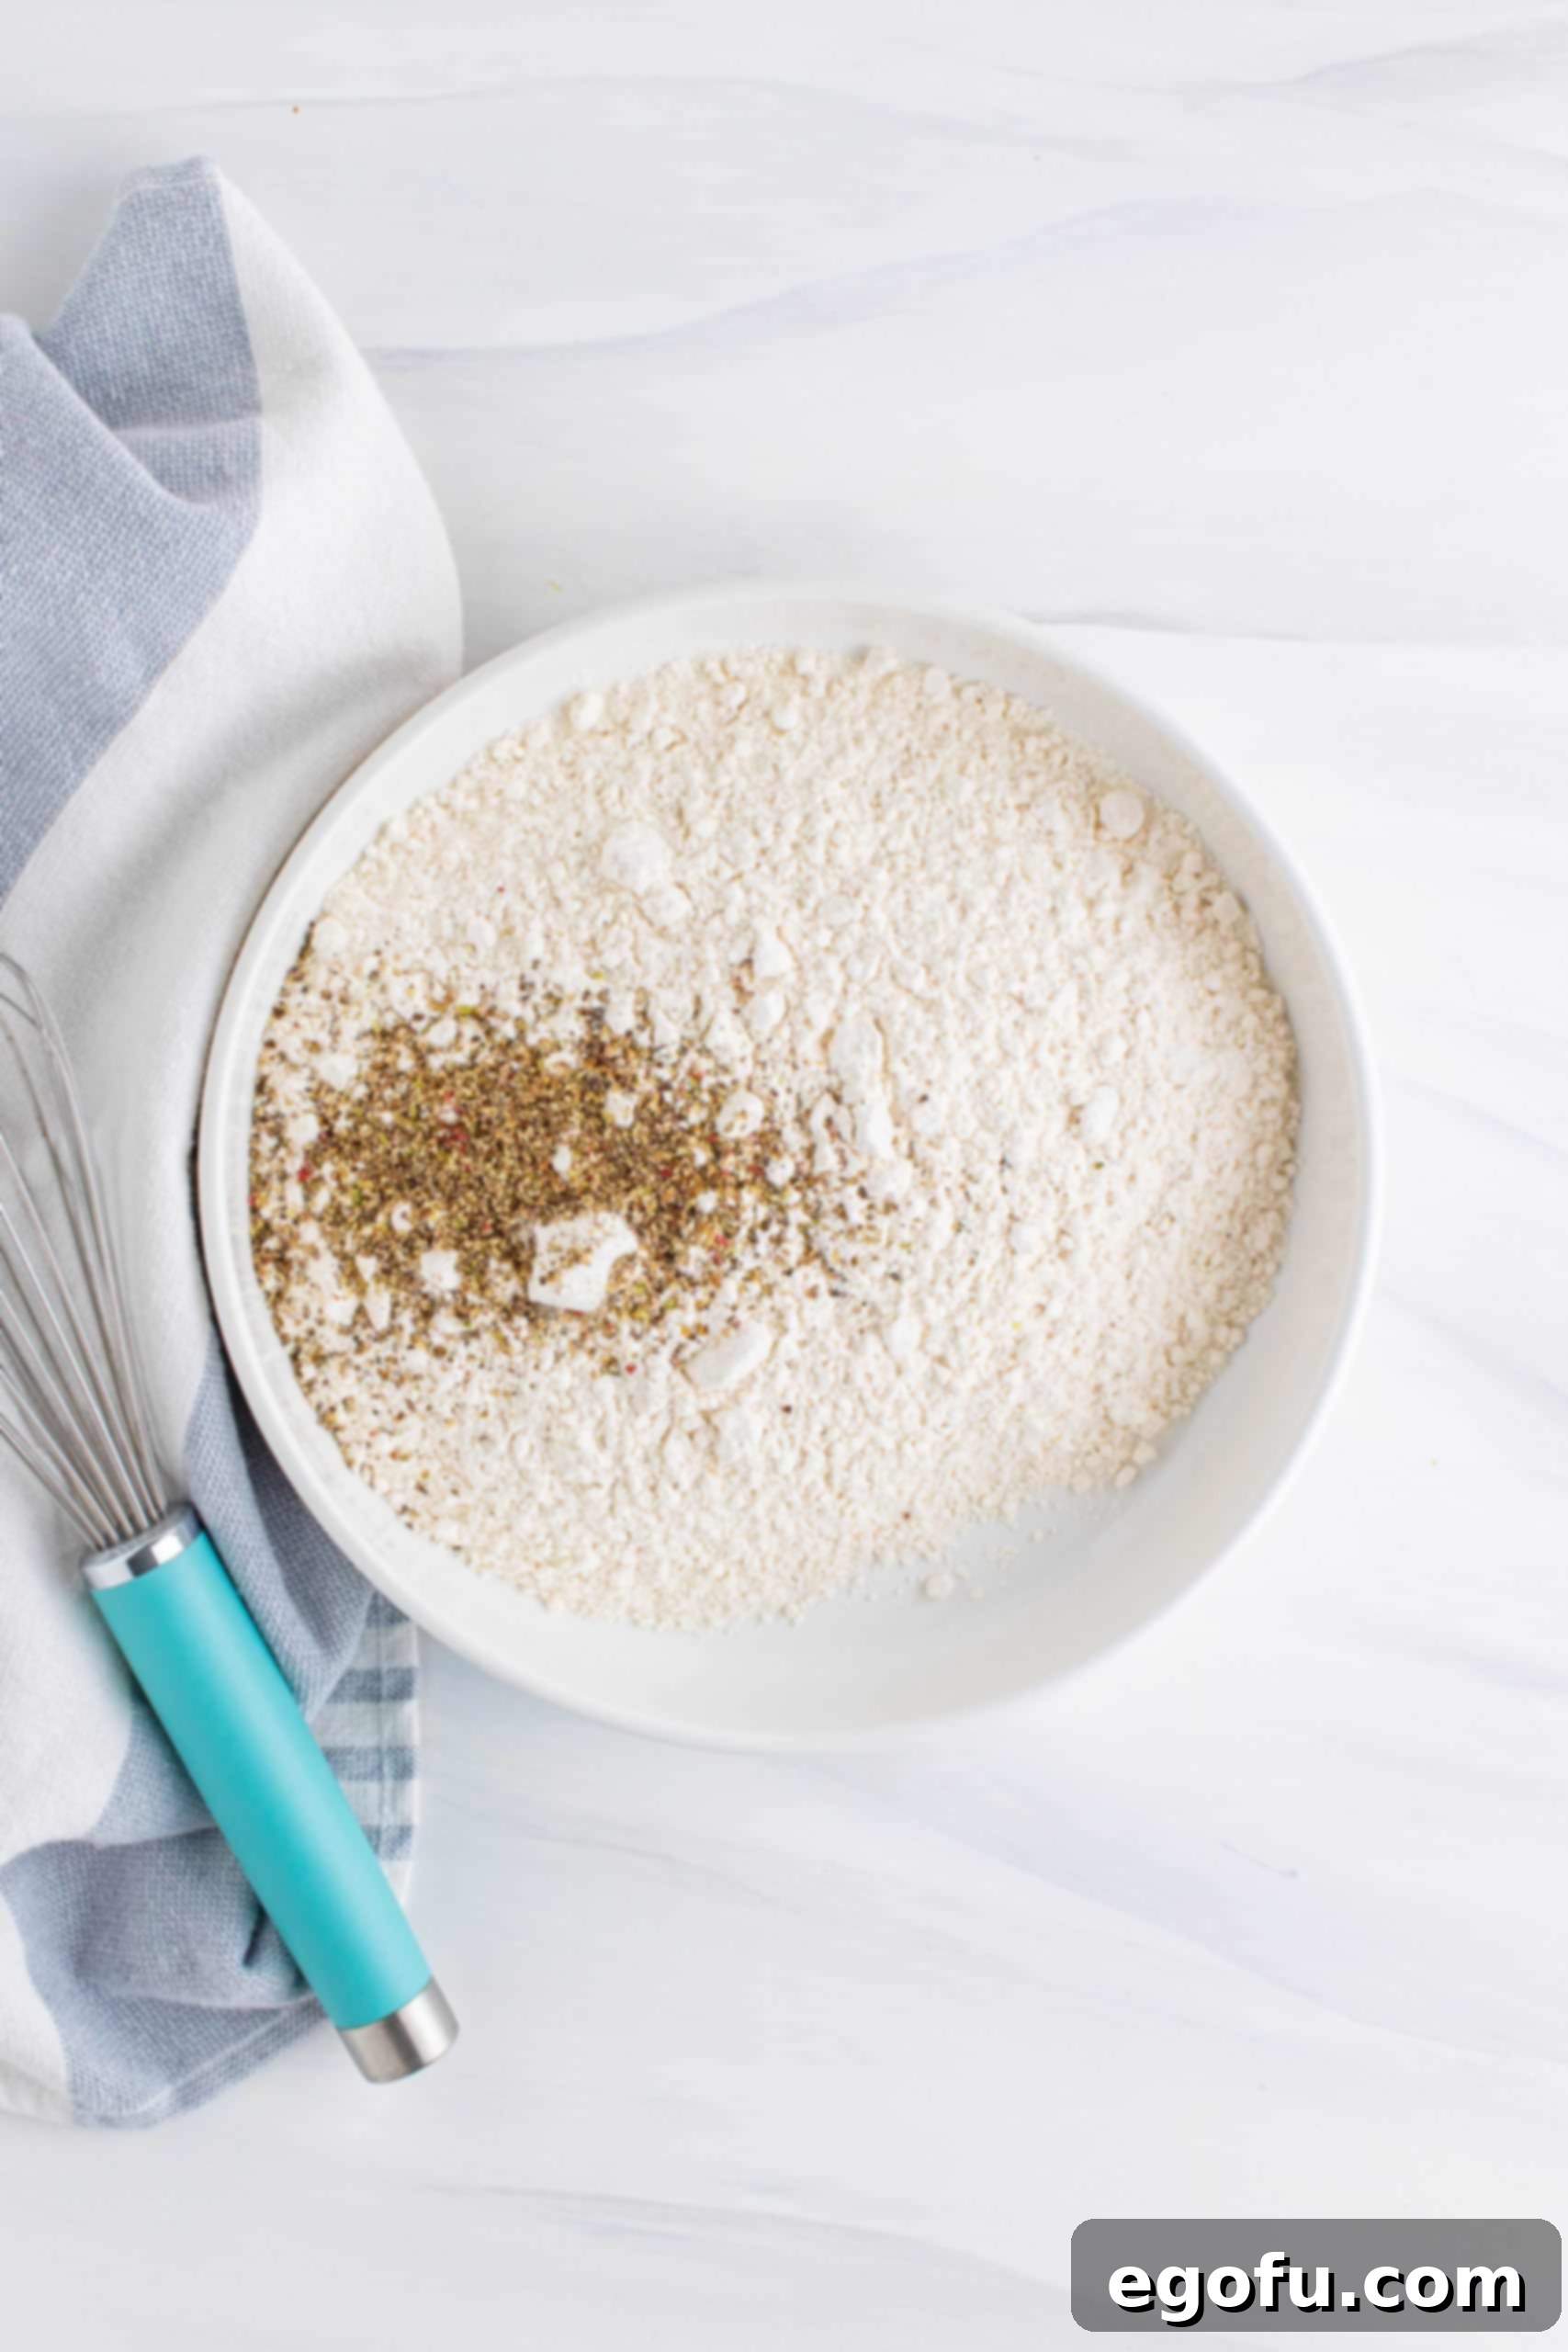
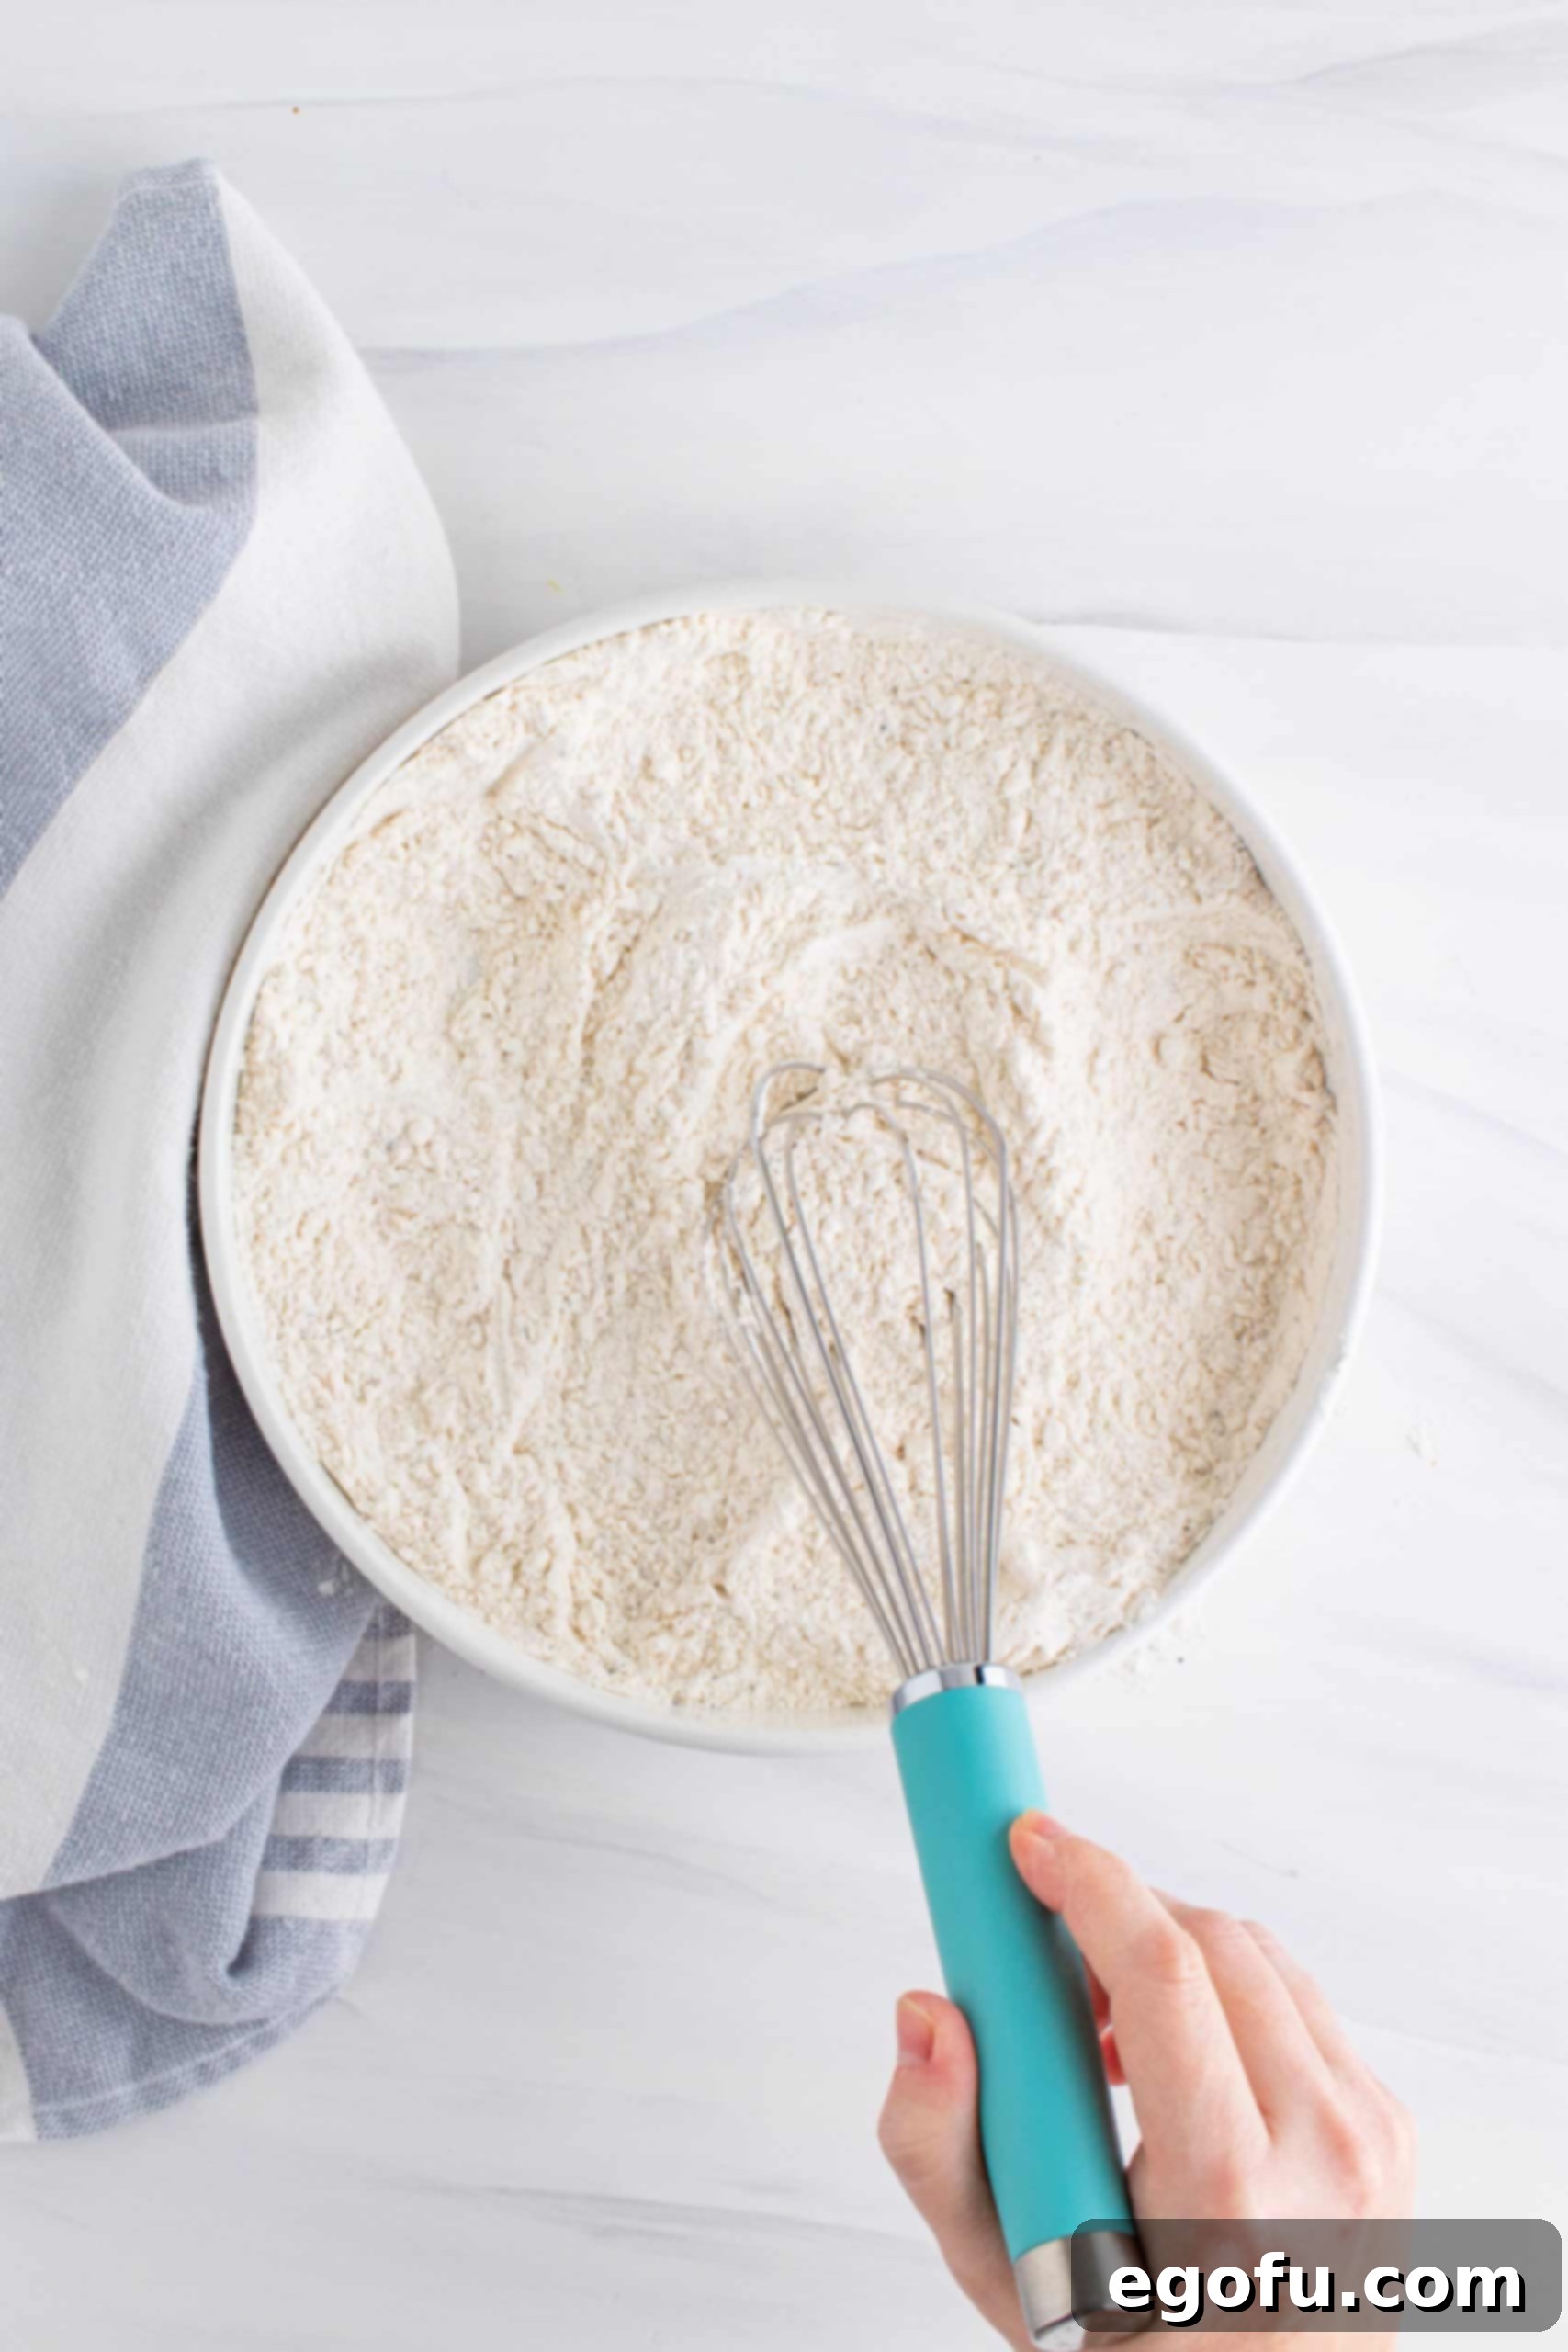
In a separate, medium-sized bowl, prepare your dry coating mixture. Whisk together 2 cups of all-purpose flour, 1 cup of cornstarch, 2 additional teaspoons of kosher salt, and 2 teaspoons of black pepper. Make sure to whisk thoroughly until all ingredients are completely combined and there are no lumps. This precise ratio of flour to cornstarch is essential for achieving that signature crispy, light crust. Set this mixture aside, ready for coating the chicken.
Step 4: Preheat the Frying Oil
Fill your deep fryer (or a deep, heavy-bottomed pot like a Dutch oven) with enough peanut oil (or your preferred neutral frying oil) to submerge the chicken pieces at least halfway. Preheat the oil to 325°F (163°C). If you are using a Dutch oven or cast iron skillet, I recommend starting at 300°F (149°C) to account for cast iron’s superior heat retention, which can cause the oil to overheat quickly. Always use a deep-fry thermometer to accurately monitor the oil temperature; consistency is key to perfectly cooked chicken and a golden, not burnt, crust. Proper temperature management prevents the chicken from cooking too fast on the outside and remaining raw inside, or cooking too slowly and becoming greasy.
Step 5: Coat the Chicken
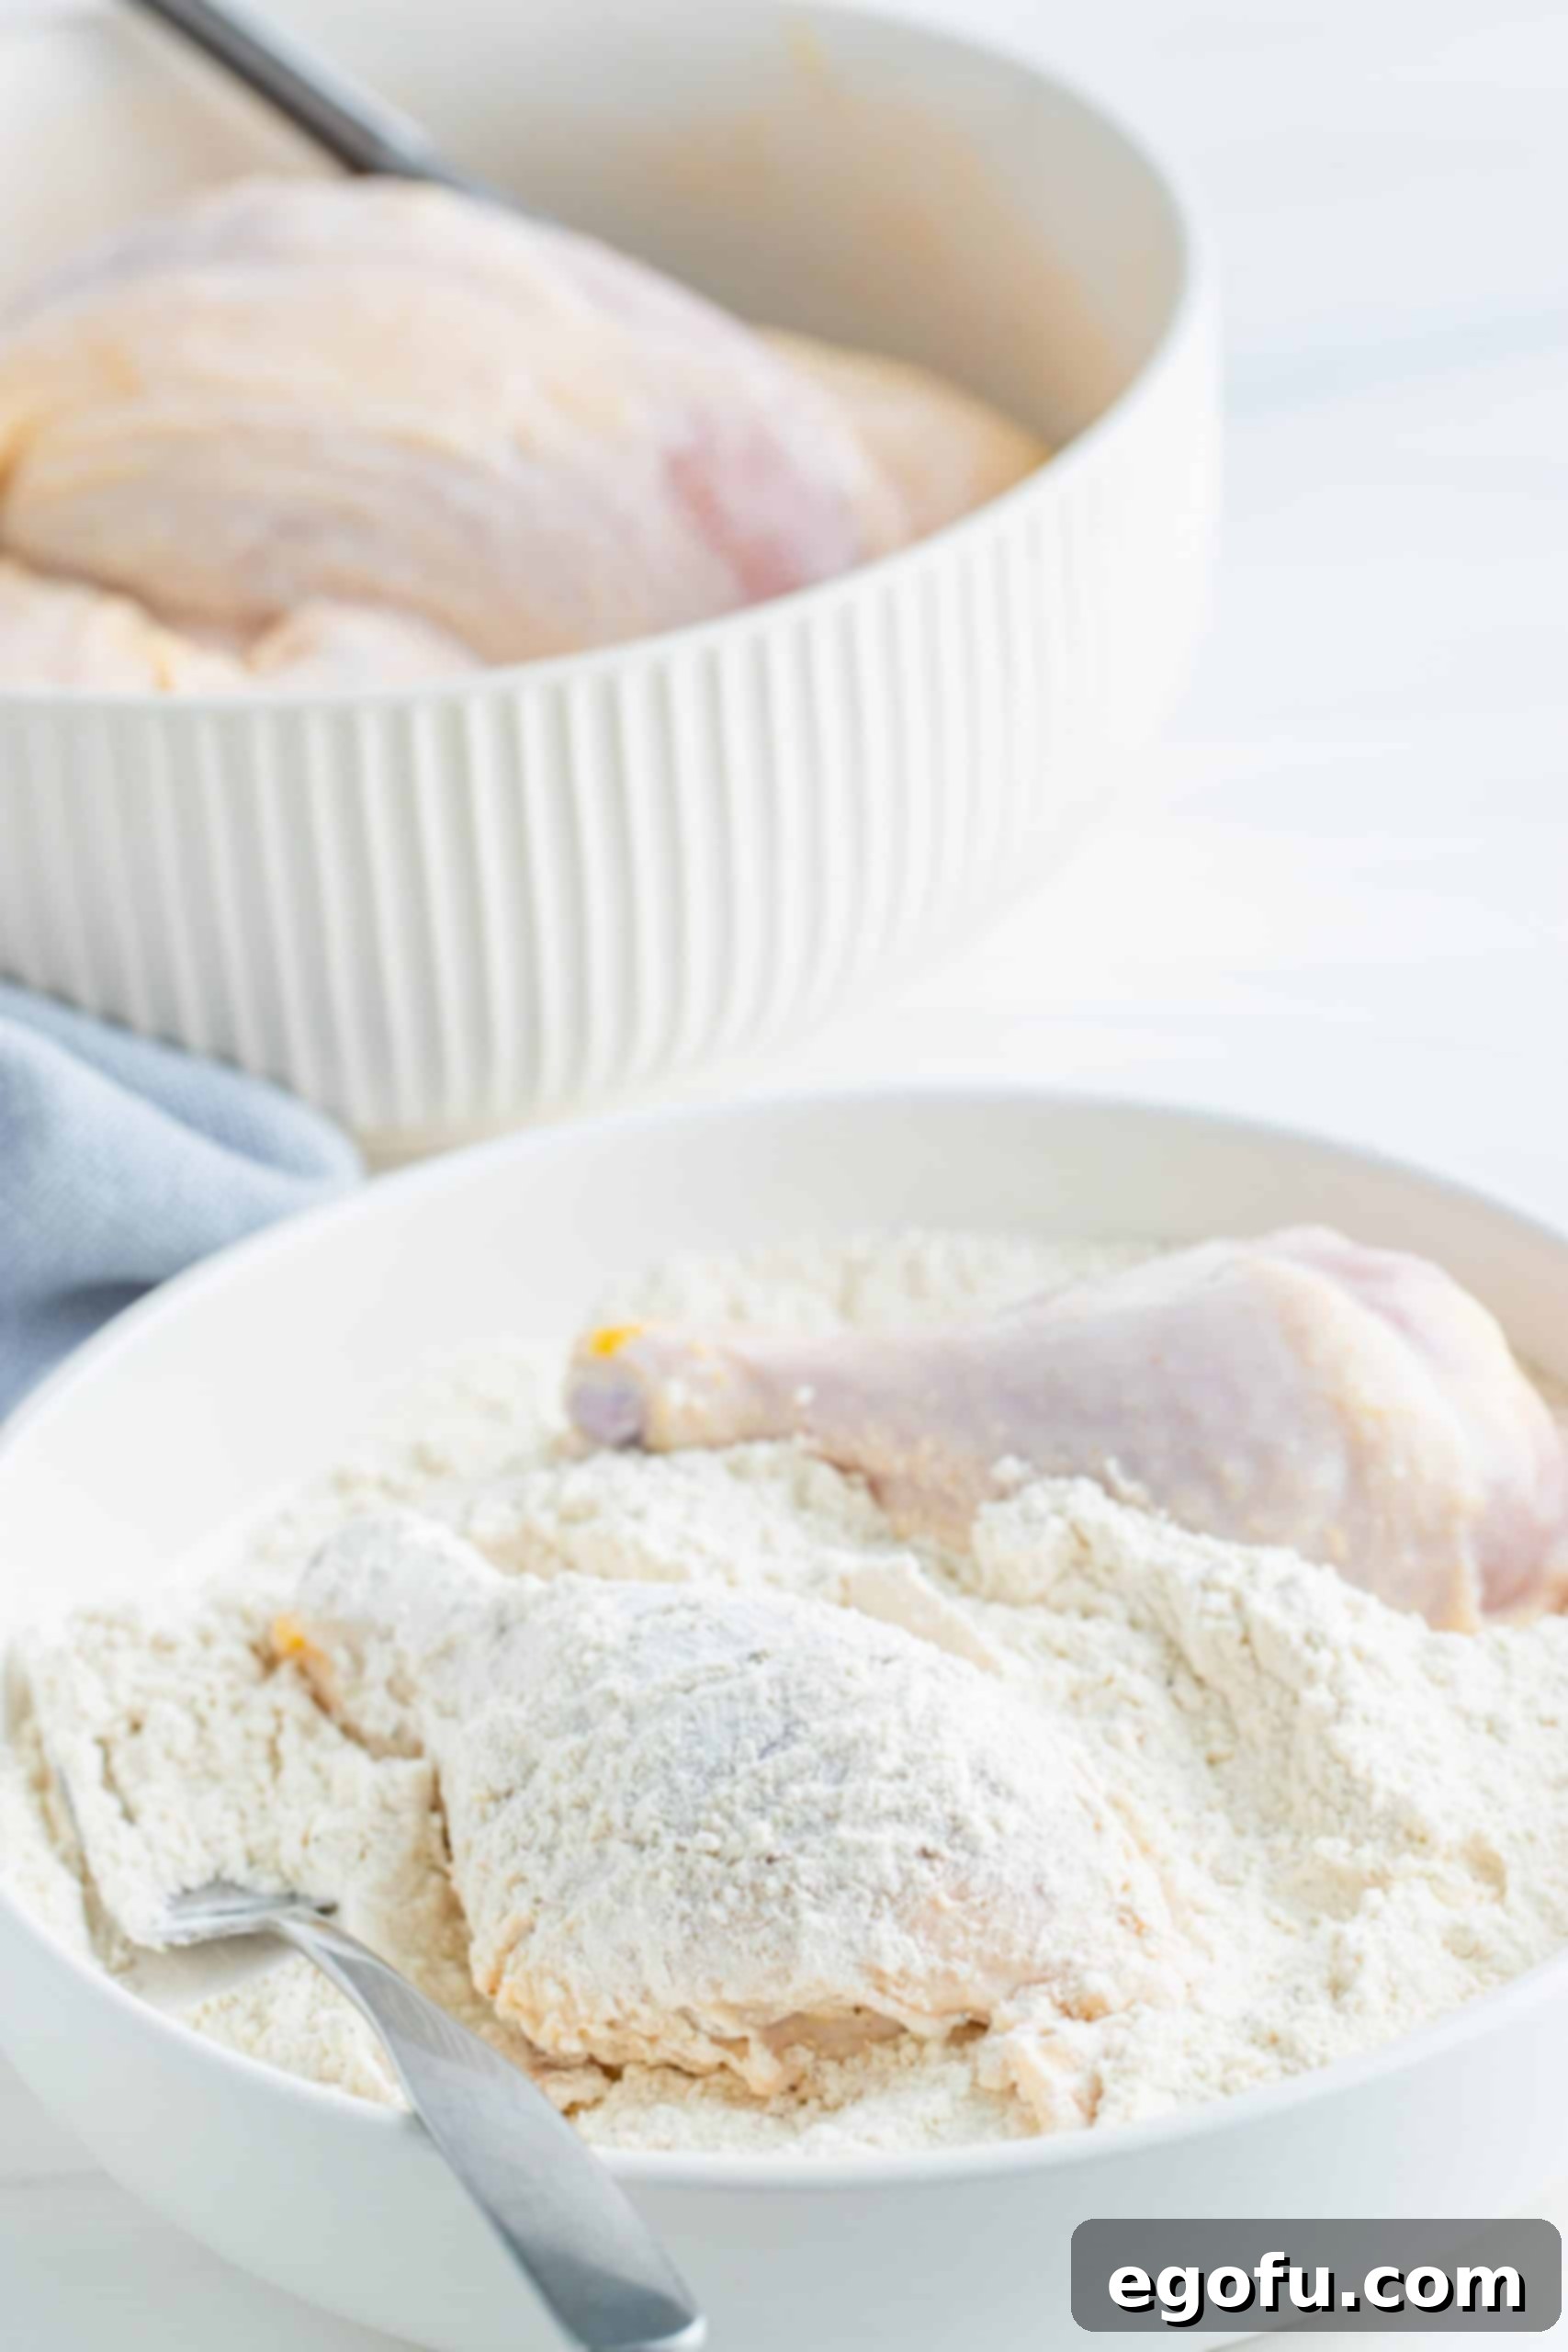
Once your oil is preheating, remove the chicken from the buttermilk marinade. Take one piece at a time, allowing any excess buttermilk to drip off. Transfer the chicken piece into the prepared flour and cornstarch mixture. Dredge thoroughly, pressing the coating firmly onto all surfaces of the chicken. Ensure it’s completely covered. Gently shake off any excess flour, then set the coated chicken piece aside on a wire rack over a baking sheet. Repeat this process for all chicken pieces. It’s important to let the coated chicken rest for a few minutes (about 5-10 minutes) before frying. This allows the coating to absorb some moisture from the chicken and adhere better, creating a slightly “pasty” appearance that will fry up incredibly crispy and less likely to fall off.
Step 6: Fry in Batches
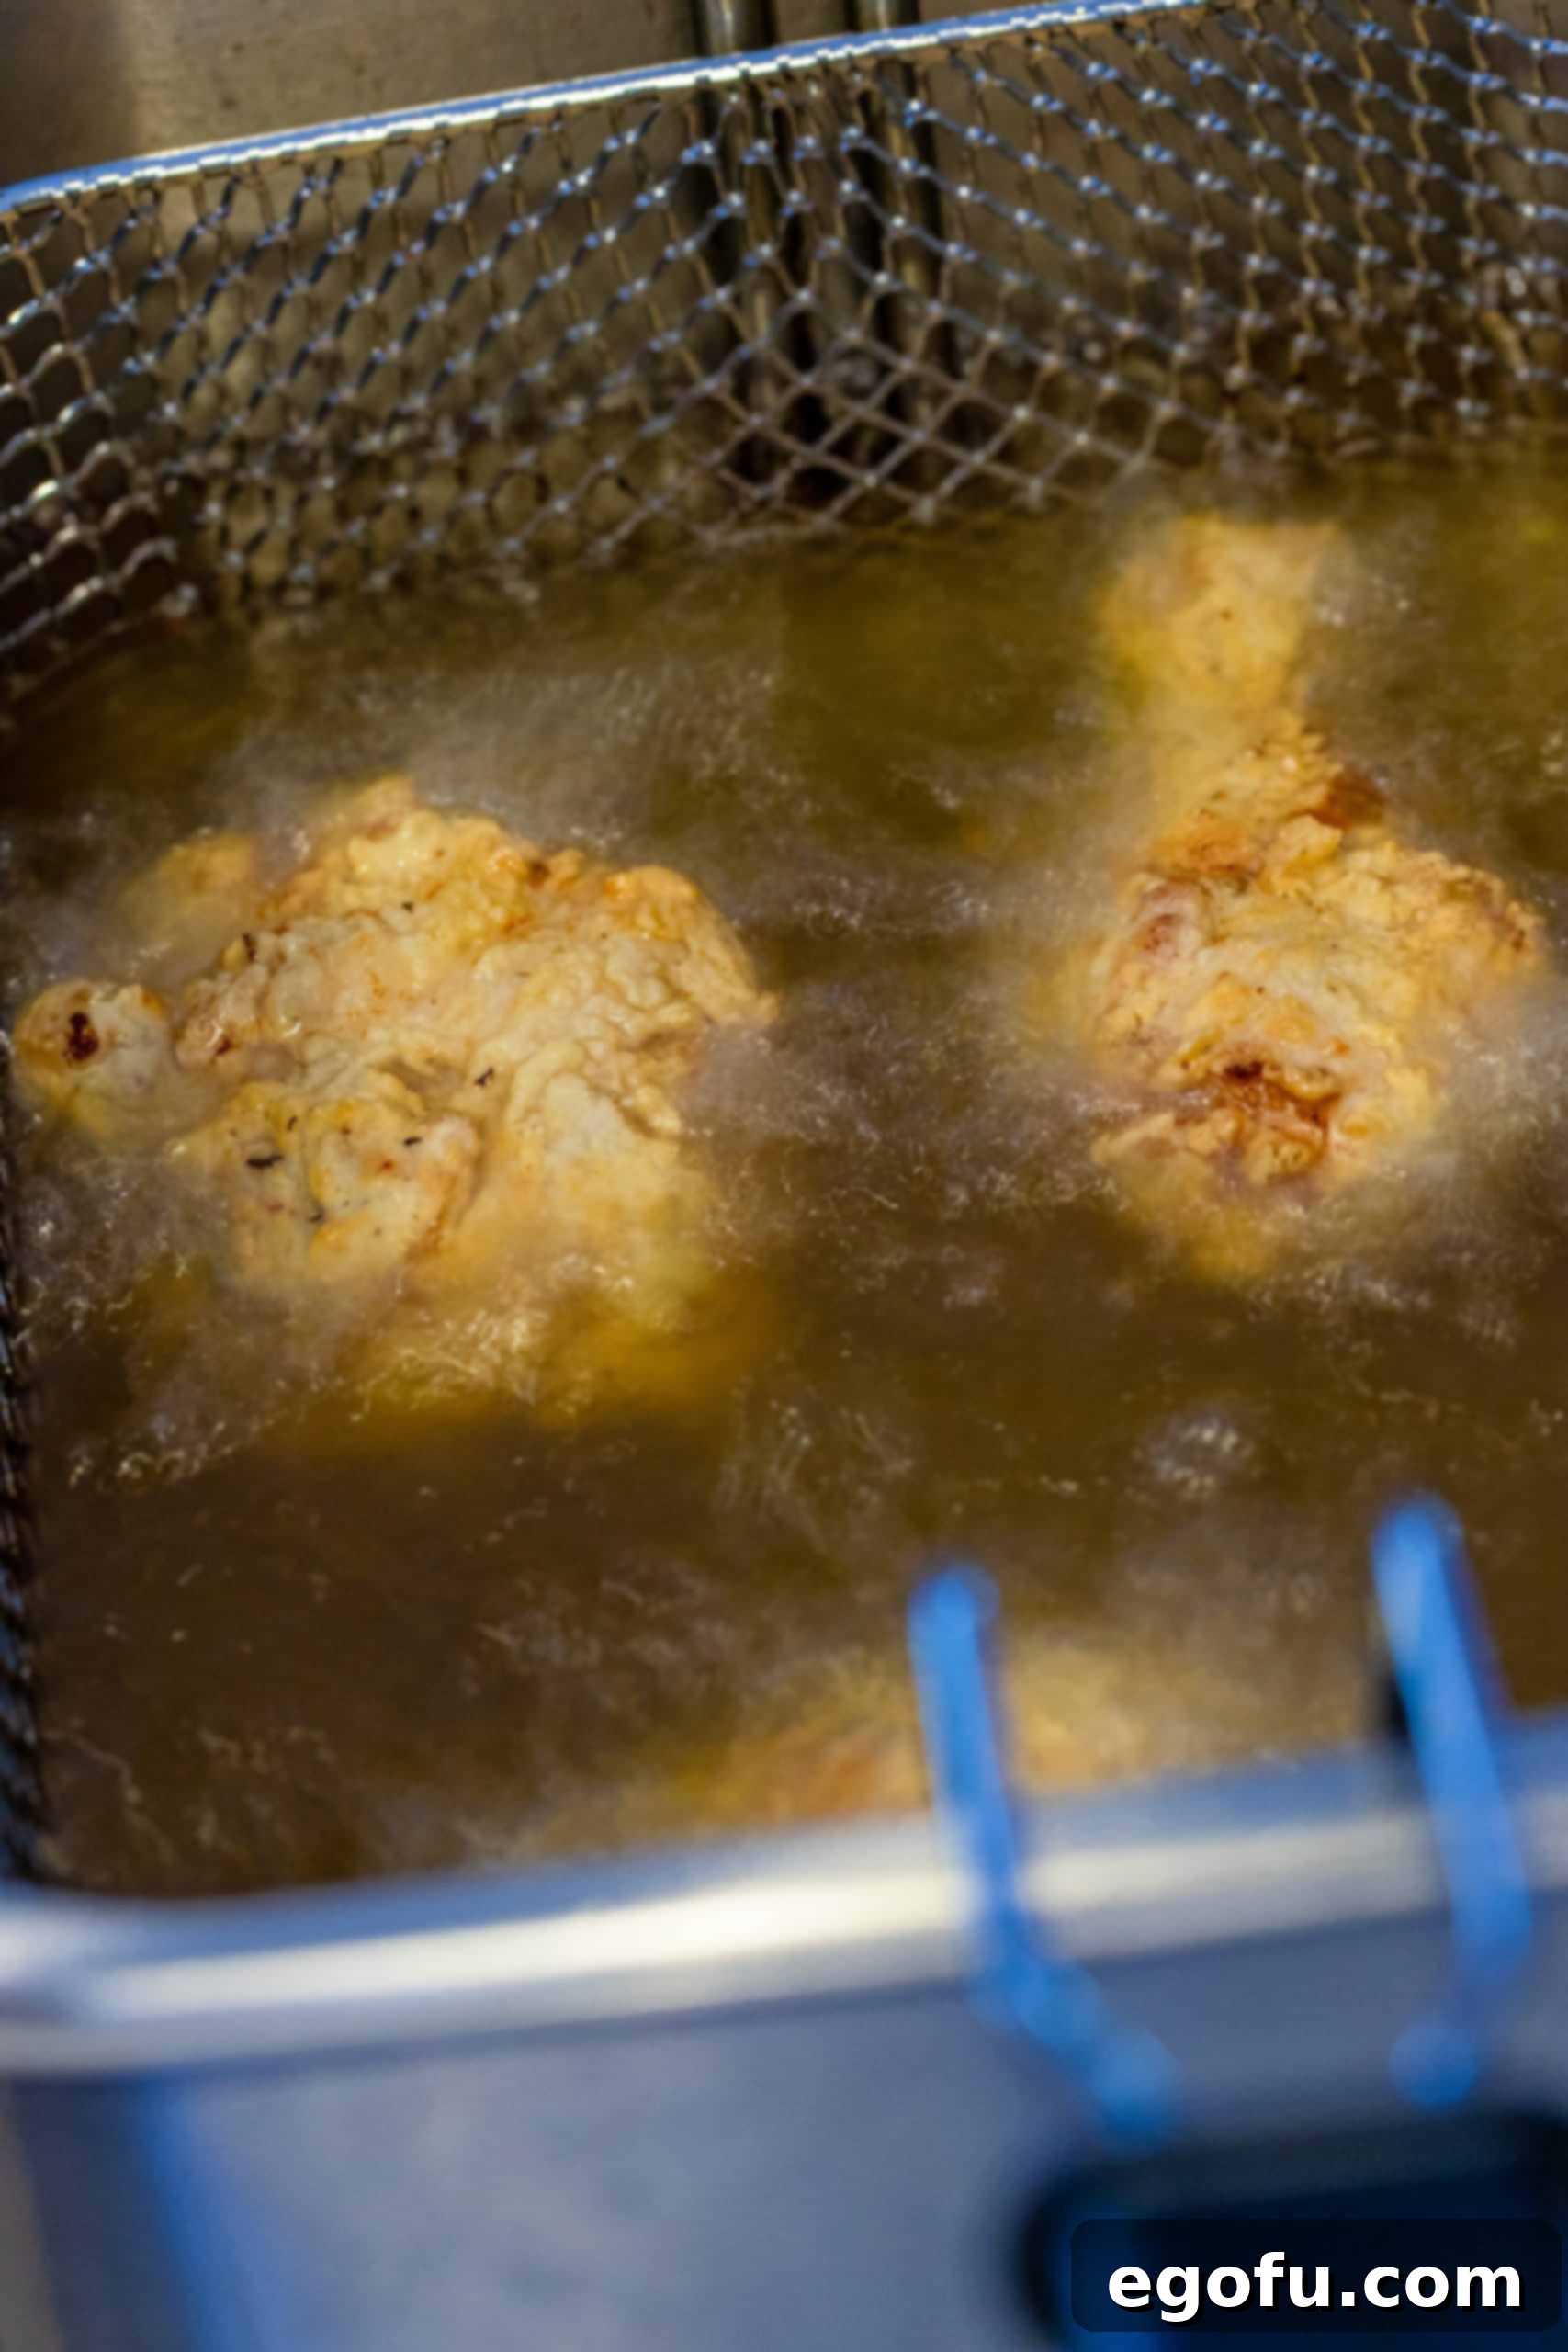
Carefully add the coated chicken pieces to the preheated deep fryer. It’s crucial to fry in small batches (typically 3-4 pieces at a time) to avoid overcrowding the fryer. Overcrowding will drastically lower the oil temperature, leading to greasy, soggy chicken. Fry until the chicken is a beautiful golden brown, turning every few minutes to ensure even cooking and browning on all sides. As the chicken fries, the oil temperature will naturally drop. Monitor your thermometer and adjust the heat as needed to maintain a consistent frying temperature, ideally between 300-325°F (149-163°C). If you notice the crust getting too dark too quickly, lower the heat slightly.
Step 7: Check for Doneness
The chicken is done when it is golden brown and, most importantly, when its internal temperature reaches 165°F (74°C) using a meat thermometer inserted into the thickest part of the meat, avoiding the bone. Cooking times vary depending on the size and cut of the chicken:
- Dark Meat (thighs, drumsticks): Generally takes about 12-14 minutes.
- White Meat (breasts, wings): Typically cooks faster, around 8-10 minutes.
These are estimates; always rely on your meat thermometer for accurate doneness to ensure safety and prevent overcooking, which can lead to dry chicken. A truly golden-brown color and juices running clear are also good visual indicators, but the thermometer is definitive.
Step 8: Season and Rest
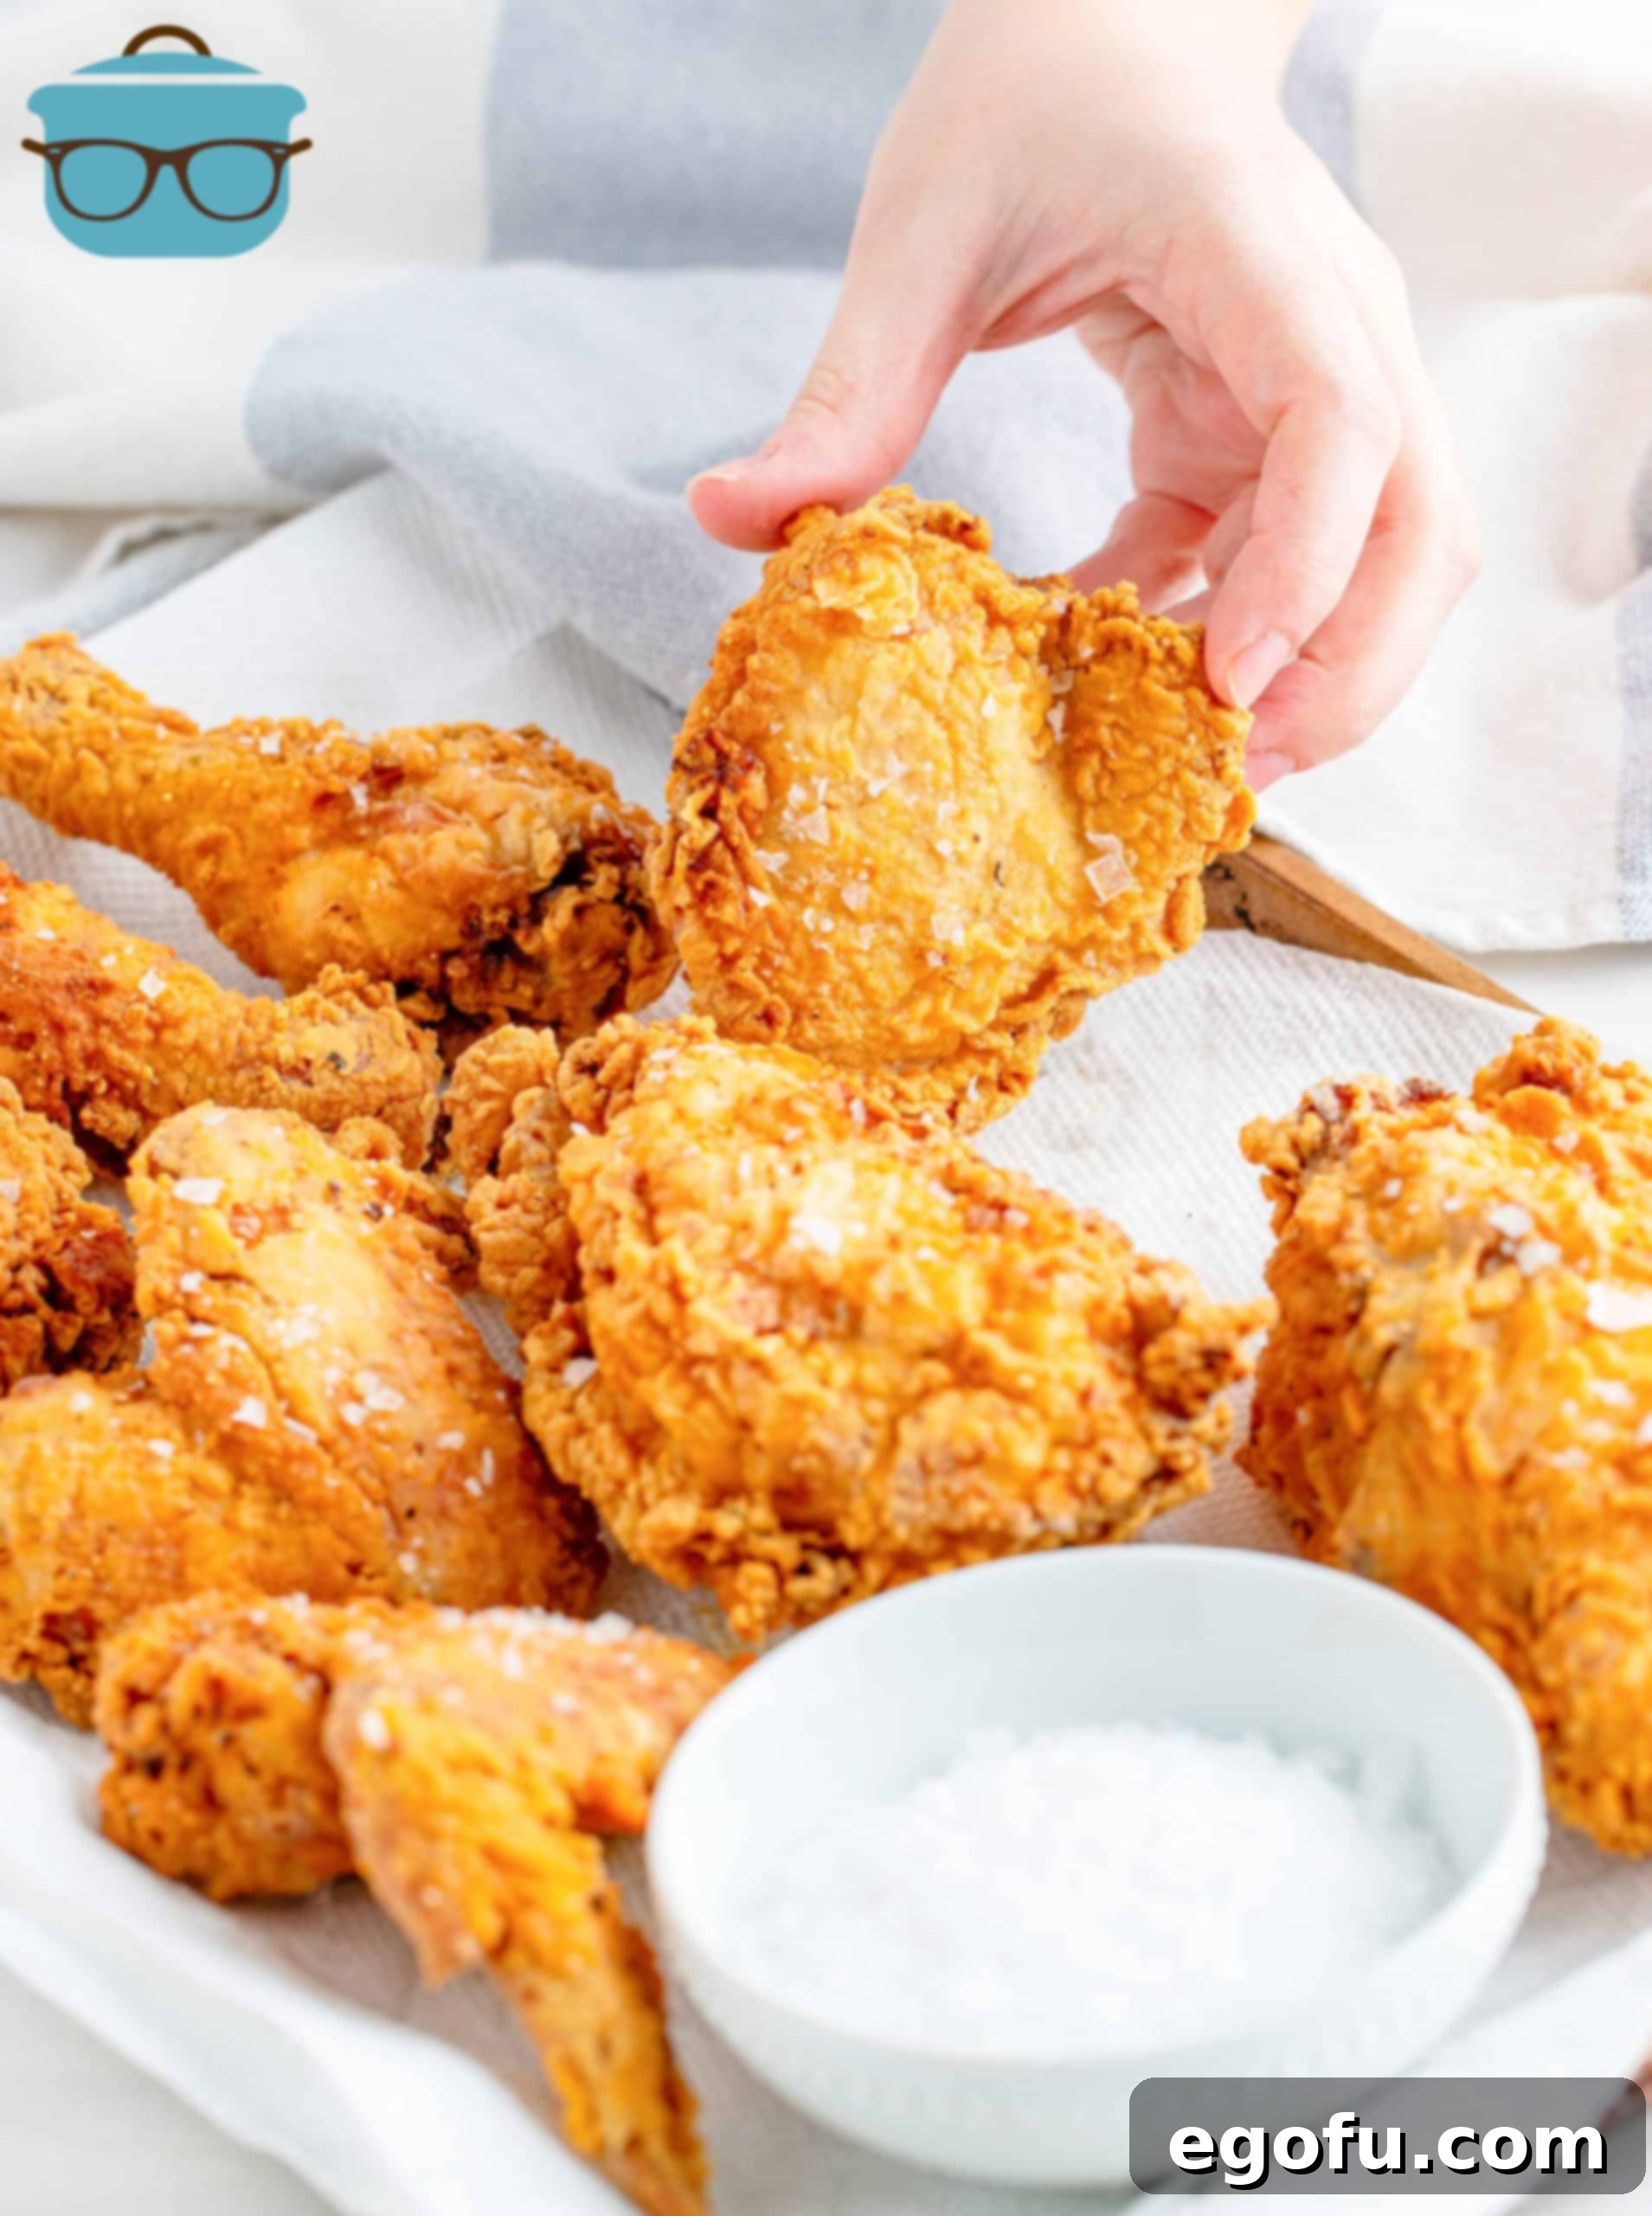
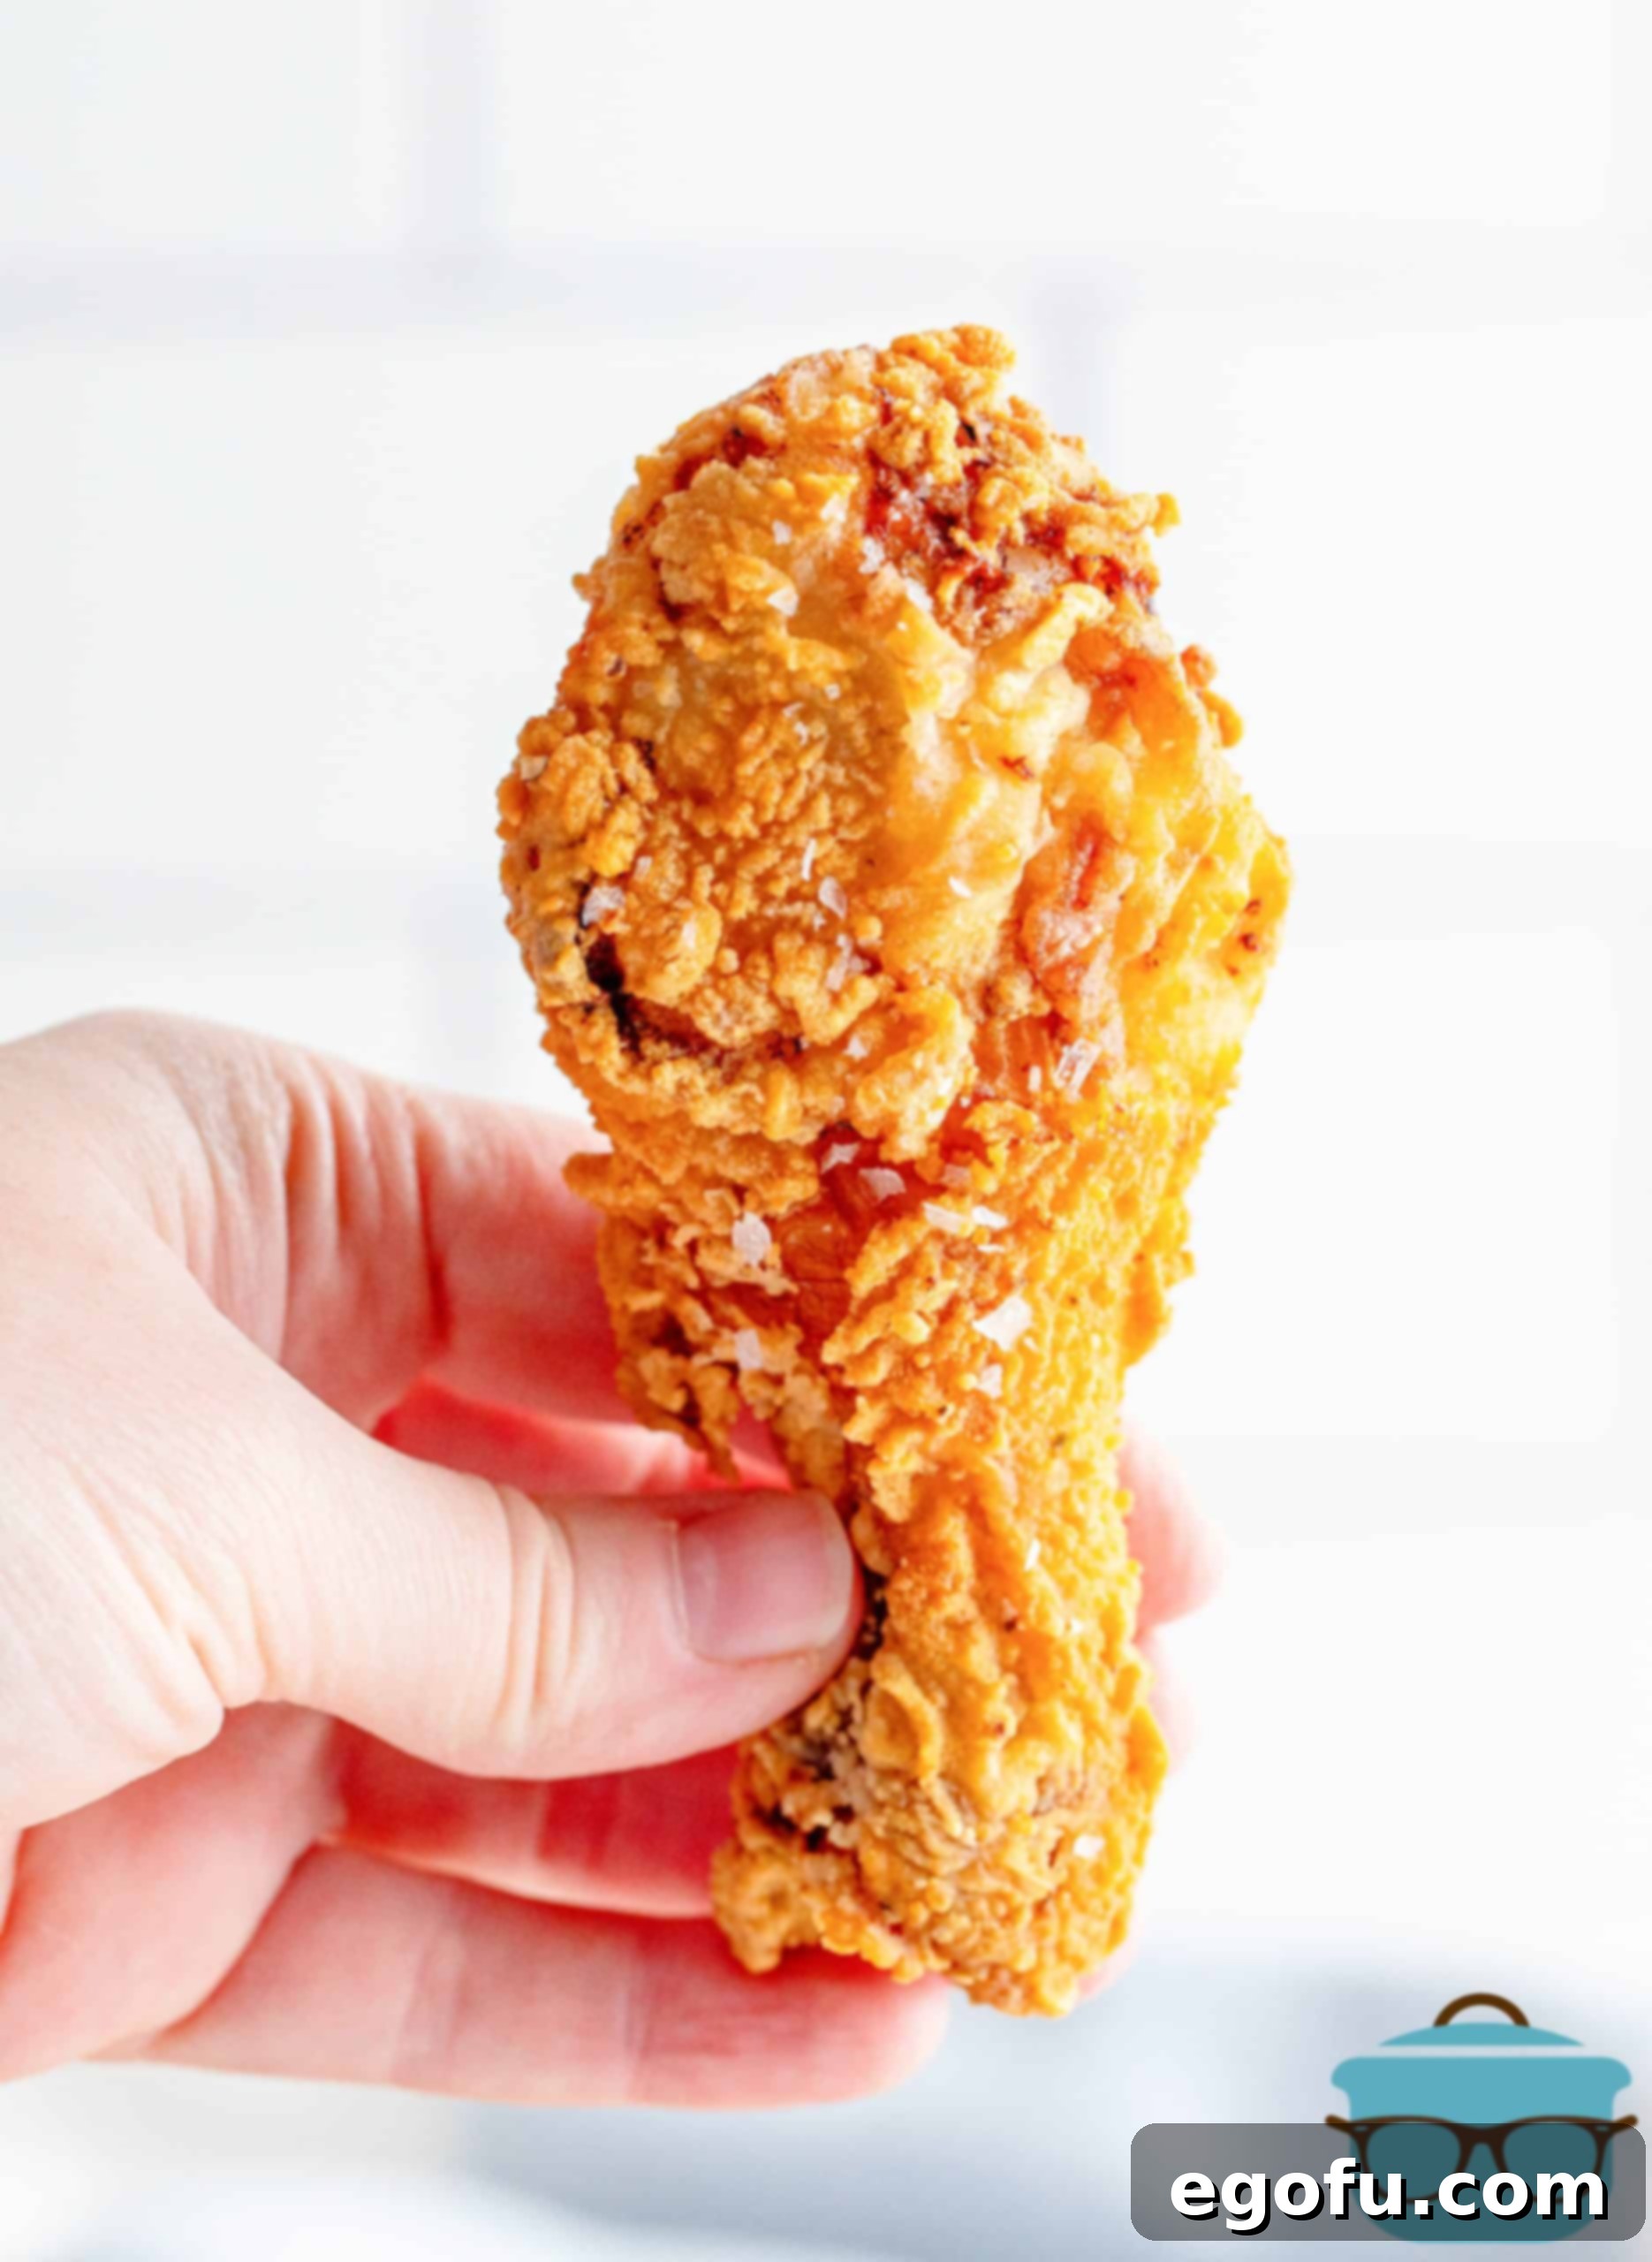
As each batch of chicken finishes frying, carefully remove it from the oil and place it on a paper towel-lined sheet tray or a wire rack set over a baking sheet. This allows excess oil to drain off, keeping the crust crisp. Immediately after removing from the oil, generously sprinkle a little flaked salt (such as sea salt flakes) over the hot chicken. This final seasoning adheres beautifully to the hot, fresh crust and enhances its flavor significantly. Continue with the remaining chicken pieces, ensuring each batch is seasoned right after frying. Allow the chicken to rest for a few minutes before serving; this allows the juices to redistribute throughout the meat, resulting in an even more tender and succulent bite.
How to Store and Reheat Fried Chicken for Best Results
Proper storage and reheating are key to enjoying leftover fried chicken while maintaining its delicious flavor and texture. Here’s how to do it right:
- Refrigeration: For optimal crispness, always allow the fried chicken to cool completely at room temperature before storing. This prevents condensation from building up in the container, which can make the coating soggy. Once cooled, place the chicken in an airtight container and store it in the refrigerator for up to 5 days.
- Reheating for Crispiness: To revive that delightful crunch, the oven or an air fryer are your best options.
- Oven: Preheat your oven to 400°F (200°C). Arrange the chicken pieces in a single layer on a baking sheet, ideally with a wire rack underneath for air circulation. Bake for 15-20 minutes, or until heated through and the skin is crispy again.
- Air Fryer: Preheat your air fryer to 375°F (190°C). Place chicken pieces in the air fryer basket in a single layer, ensuring not to overcrowd. Cook for 8-12 minutes, flipping halfway, until heated through and crisp.
- Microwave: While convenient, the microwave is generally not recommended as it tends to make the crust soggy. Use only if crispiness is not a priority.
- Freezing: Fried chicken freezes exceptionally well! Once completely cooled, wrap individual pieces tightly in plastic wrap, then place them in a freezer-safe airtight container or heavy-duty freezer bag. Store in the freezer for up to 6 months. This method preserves both flavor and texture for longer.
- Reheating from Frozen: To reheat frozen fried chicken, first allow it to thaw overnight in the refrigerator. Once thawed, follow the oven or air fryer instructions above until the chicken is thoroughly heated through and crisp. Avoid refrying thawed chicken in oil, as it can absorb too much grease.
Craving More Southern Recipes? Explore Our Favorites!
If you’ve enjoyed the rich flavors of this Southern Fried Chicken, you’re sure to love these other classic Southern comfort food recipes. Expand your culinary repertoire with these hearty and delicious dishes:
- KFC Style Gravy
- Southern Fried Catfish
- Chicken Fried Chicken
- Best Potato Salad Recipe
- Chicken Fried Steak with Sawmill Gravy
- Sweet Fried Apples
- Country Fried Pork Chops and Gravy
- Old-Fashioned Chicken and Dumplings
- Classic Southern Black Eyed Peas
- Crock Pot Mississippi Pot Roast
- Traditional Southern Pound Cake
- Creamy Banana Pudding
The Best Southern Fried Chicken
Experience the ultimate comfort food with this recipe for The Best Southern Fried Chicken. Achieve a golden, crispy exterior and incredibly juicy, flavorful meat every single time!
Prep Time: 10 minutes
Cook Time: 14 minutes
Chilling/Marination Time: 8 hours (minimum 2 hours)
Total Time: Approximately 8 hours 24 minutes (includes optimal marination)
Servings: 4
Author: Brandie Skibinski
Print Recipe | Pin Recipe
Ingredients
- 1 whole chicken, cut up (or 8 pieces of your favorite cuts of chicken)
- 2 teaspoons kosher salt (for chicken seasoning)
- 2 teaspoons garlic powder (for chicken seasoning)
- 2 teaspoons onion powder (for chicken seasoning)
- 2 cups buttermilk
- 2 Tablespoons hot sauce (optional)
- 2 cups all-purpose flour (for dredge)
- 1 cup cornstarch (for dredge)
- 2 teaspoons kosher salt (for dredge)
- 2 teaspoons paprika (for dredge)
- 2 teaspoons black pepper (for dredge)
- Peanut oil (for frying)
- Flaked salt (for serving, optional)
Instructions
- Place 1 whole chicken, cut up, in a large bowl. Sprinkle on top of the chicken: 2 teaspoons kosher salt, 2 teaspoons garlic powder, 2 teaspoons onion powder, and 2 teaspoons paprika. Toss to thoroughly coat the chicken in the spices.
- Add 2 cups buttermilk and 2 Tablespoons hot sauce (if using). Stir until everything is combined. Cover with plastic wrap and let marinate in the fridge for at least 2 hours, but it’s best if you can let it sit overnight (8+ hours) for maximum tenderness and flavor.
- In a medium-sized bowl, whisk together 2 cups all-purpose flour, 1 cup cornstarch, 2 teaspoons kosher salt, and 2 teaspoons black pepper. Whisk thoroughly until well combined. Set aside.
- Fill a deep fryer or a deep, heavy-bottomed pot (like a Dutch oven) with peanut oil (or neutral frying oil of your choice) to a depth of about 3-4 inches. Preheat the oil to 325°F (163°C). If using a cast iron skillet or Dutch oven, you may want to start at 300°F (149°C) and adjust as needed, as cast iron holds heat very well. Use a deep-fry thermometer to monitor the temperature.
- Taking the chicken pieces one at a time, let the excess buttermilk drip off. Coat each piece thoroughly in the flour mixture, ensuring it’s well-coated on all sides. Gently shake off any excess flour. Place the coated chicken on a wire rack and let it sit for a few minutes (about 5-10 minutes) until the coating starts to look slightly pasty. This helps the crust adhere better.
- Carefully add 3-4 pieces of chicken to the preheated oil, being careful not to overcrowd the fryer. Fry until golden brown, turning every few minutes to ensure even cooking. Monitor the oil temperature and adjust the heat to maintain a steady temperature between 300-325°F (149-163°C).
- Chicken is done when golden brown and the internal temperature reaches 165°F (74°C) when measured with a meat thermometer inserted into the thickest part of the meat (avoiding bone). Dark meat typically takes about 12-14 minutes, and white meat takes 8-10 minutes. These are estimates; always rely on a meat thermometer for accuracy.
- When the chicken is done frying, remove it from the oil and place it on a paper towel-lined sheet tray or a clean wire rack to drain excess oil. Immediately sprinkle a little flaked salt on top. Continue frying the remaining chicken pieces in batches. Allow the chicken to rest for a few minutes before serving.
Video
Notes and Expert Tips
- Marination Time is Key: While a minimum of 2 hours works, letting the chicken soak overnight in the buttermilk is truly transformative. It allows the buttermilk to deeply tenderize and flavor the meat, leading to an incredibly juicy result.
- The Power of Cornstarch: The blend of cornstarch and flour is your secret weapon for an extra-crispy exterior. If you prefer a less crunchy (though still delicious) crust, you can omit the cornstarch and use only flour, but the texture will be different.
- Choosing Your Chicken: We recommend a whole cut-up chicken for variety. You can buy it pre-cut or butcher your own. Ensure all pieces are roughly similar in size for even cooking.
- Oil Selection: Peanut oil is ideal due to its high smoke point and neutral flavor. However, canola oil or vegetable oil are excellent alternatives that will also yield great results.
- Frying Equipment & Temperature Control: An electric deep fryer offers the most consistent temperature control, which is crucial for perfect fried chicken. If using a large cast iron pan or Dutch oven, be diligent about monitoring oil temperature with a thermometer. If the chicken darkens too quickly, your oil is too hot; if it’s pale and greasy, your oil is too cool. Adjust heat gradually to maintain the ideal temperature. A meat thermometer is your best friend for ensuring doneness.
- Buttermilk Substitute (Last Resort): In an absolute pinch, you can make a quick buttermilk substitute by mixing 1 cup of regular milk with 1 tablespoon of white vinegar or lemon juice. Let it sit for 5-10 minutes until it slightly curdles, then stir. Remember, this substitute is not ideal for this recipe’s full flavor and tenderization potential.
Recipe Details
Course: Main Course
Cuisine: American, Southern
Nutrition (Estimated Per Serving)
Calories: 727 kcal | Carbohydrates: 61g | Protein: 43g | Fat: 33g | Sodium: 1598mg | Fiber: 2g | Sugar: 6g
Nutritional Disclaimer
Please note that this nutritional information is an estimate. “The Country Cook” is not a dietician or nutritionist. If calorie count and other nutritional values are important to you, we recommend calculating them using your preferred online nutritional calculator, as values can vary significantly based on specific brands and exact quantities of ingredients used.
Did you make this recipe? Share your creations on Instagram @thecountrycook and mention us #thecountrycook! We love seeing your delicious results!
