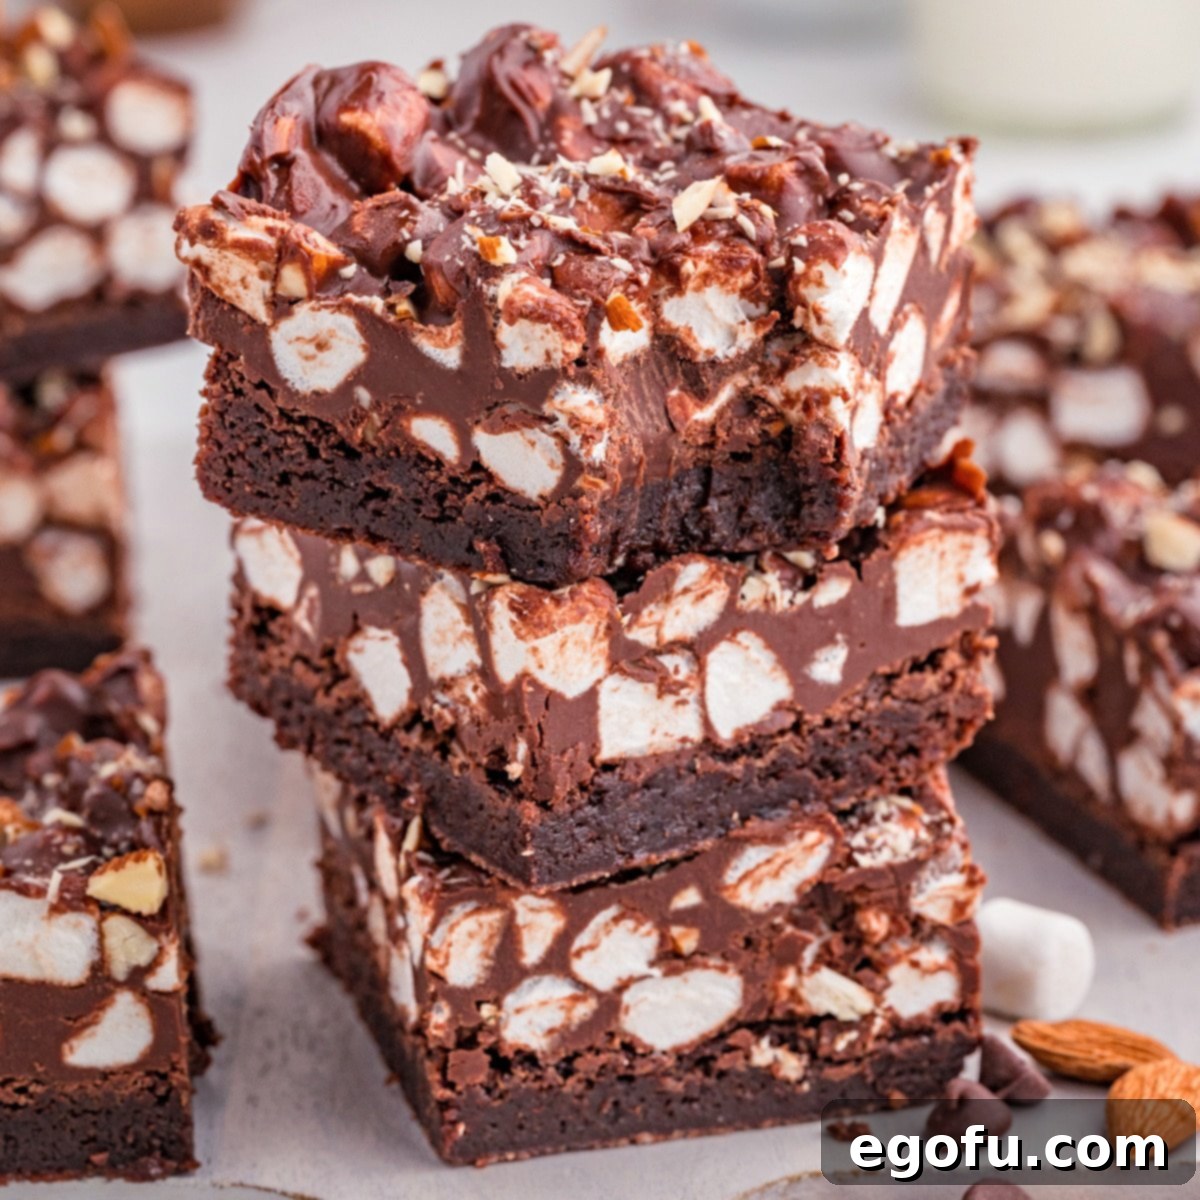
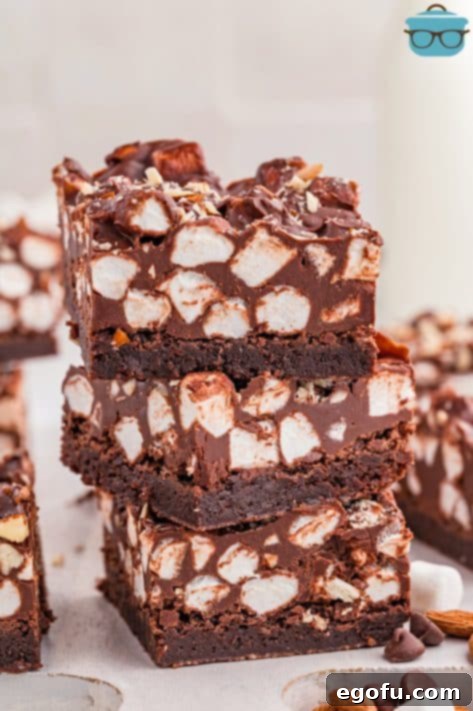
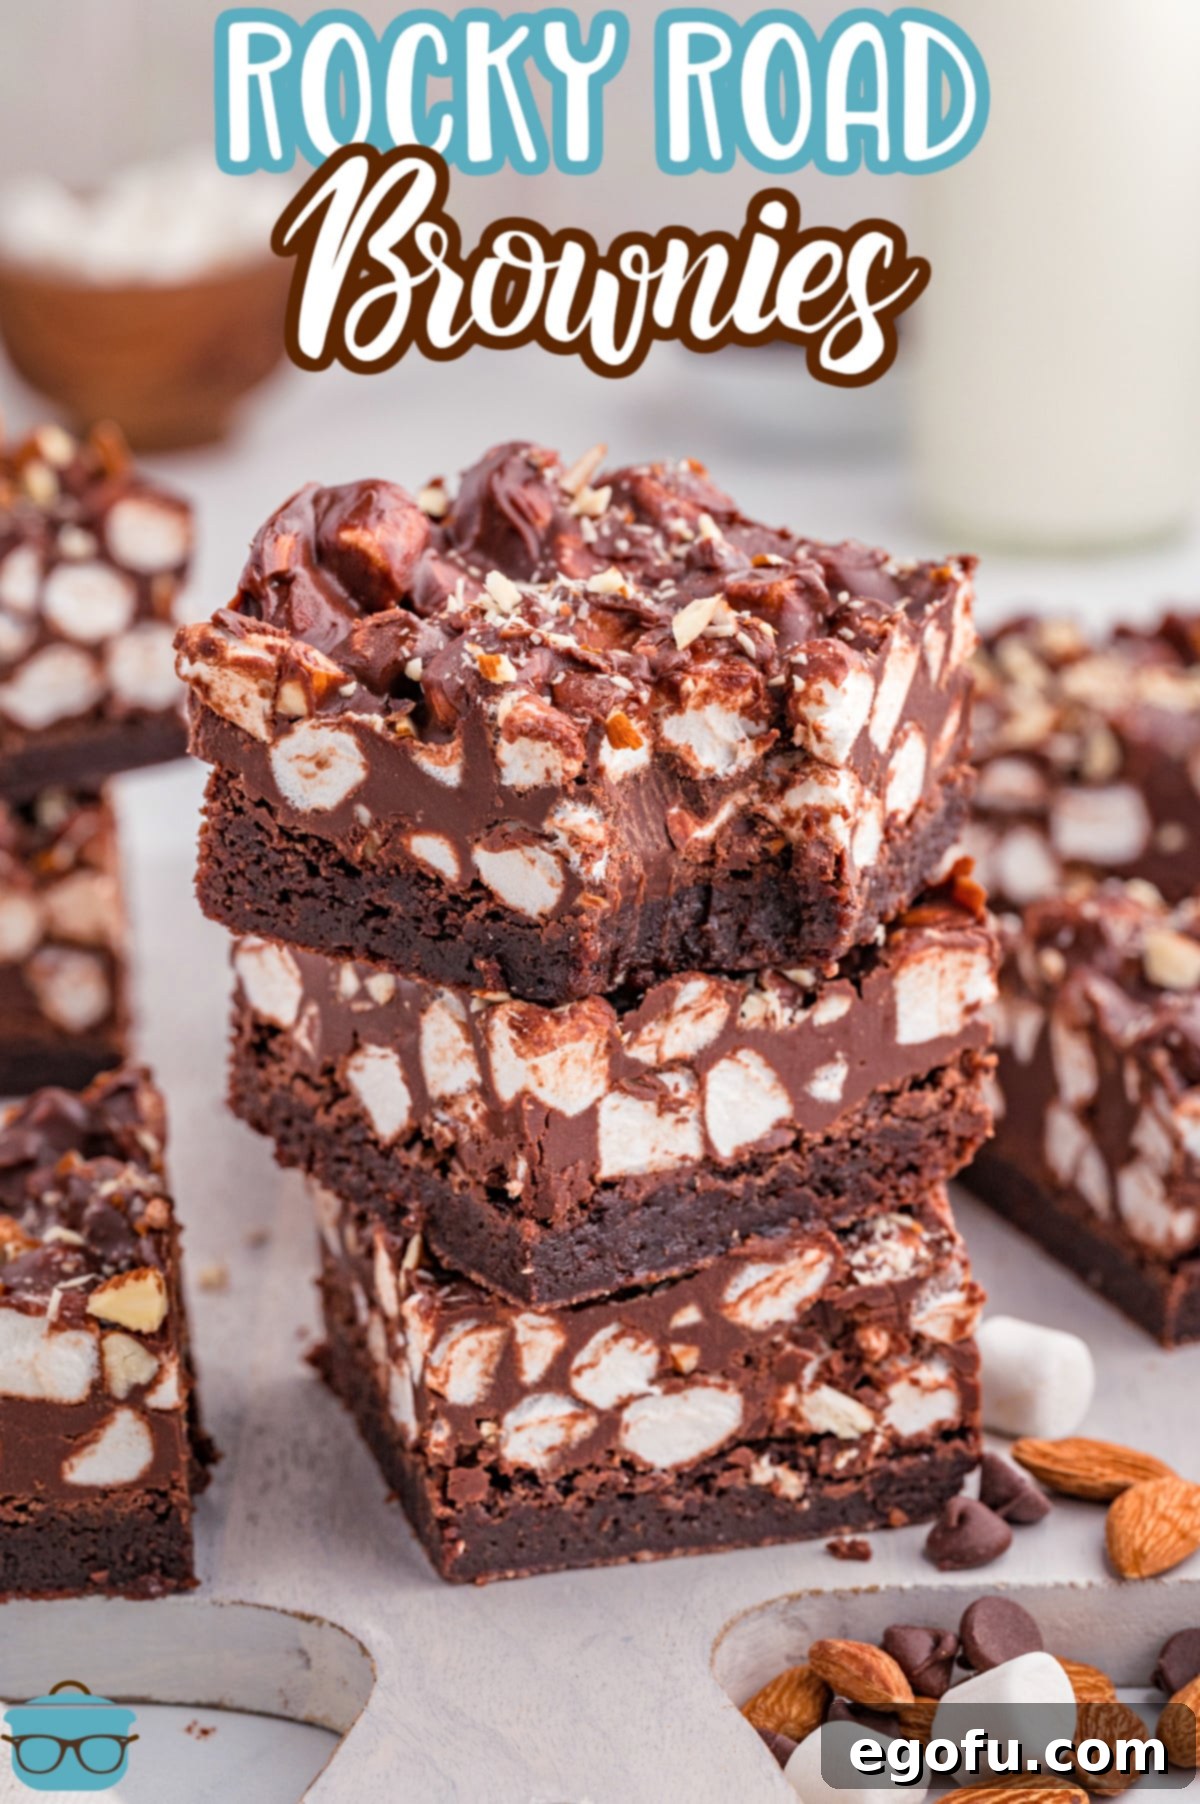
Indulge in the ultimate homemade sweet treat with these rich, fudgy Rocky Road Brownies! Each bite is a delightful fusion of intensely chocolatey brownie, sweet gooey marshmallows, perfectly roasted almonds, and an extra layer of chocolate chips, creating a texture and flavor explosion that’s simply irresistible.
Ultimate Rocky Road Brownies: Fudgy, Chewy, and Irresistible
For all my fellow rich, fudgy brownie lovers, get ready to experience a dessert sensation unlike any other. These Rocky Road Brownies are crafted especially for you, delivering an exquisite balance of tender chewiness, satisfying crunch, and irresistible gooey goodness. If you’re a fan of classic rocky road ice cream, then prepare to fall head over heels for this baked masterpiece! These brownies have quickly become a staple in my kitchen, a go-to dessert for any occasion that calls for something truly special.
Whether you’re searching for the perfect dish to bring to a gathering or potluck, or simply craving an indulgent treat to satisfy your sweet tooth, these Rocky Road Brownies are the answer. They’re more than just brownies; they’re an experience, blending a decadent chocolate base with a luscious peanut butter chocolate topping, studded with roasted almonds and fluffy marshmallows. Every bite offers a symphony of textures and flavors that will leave you wanting more.
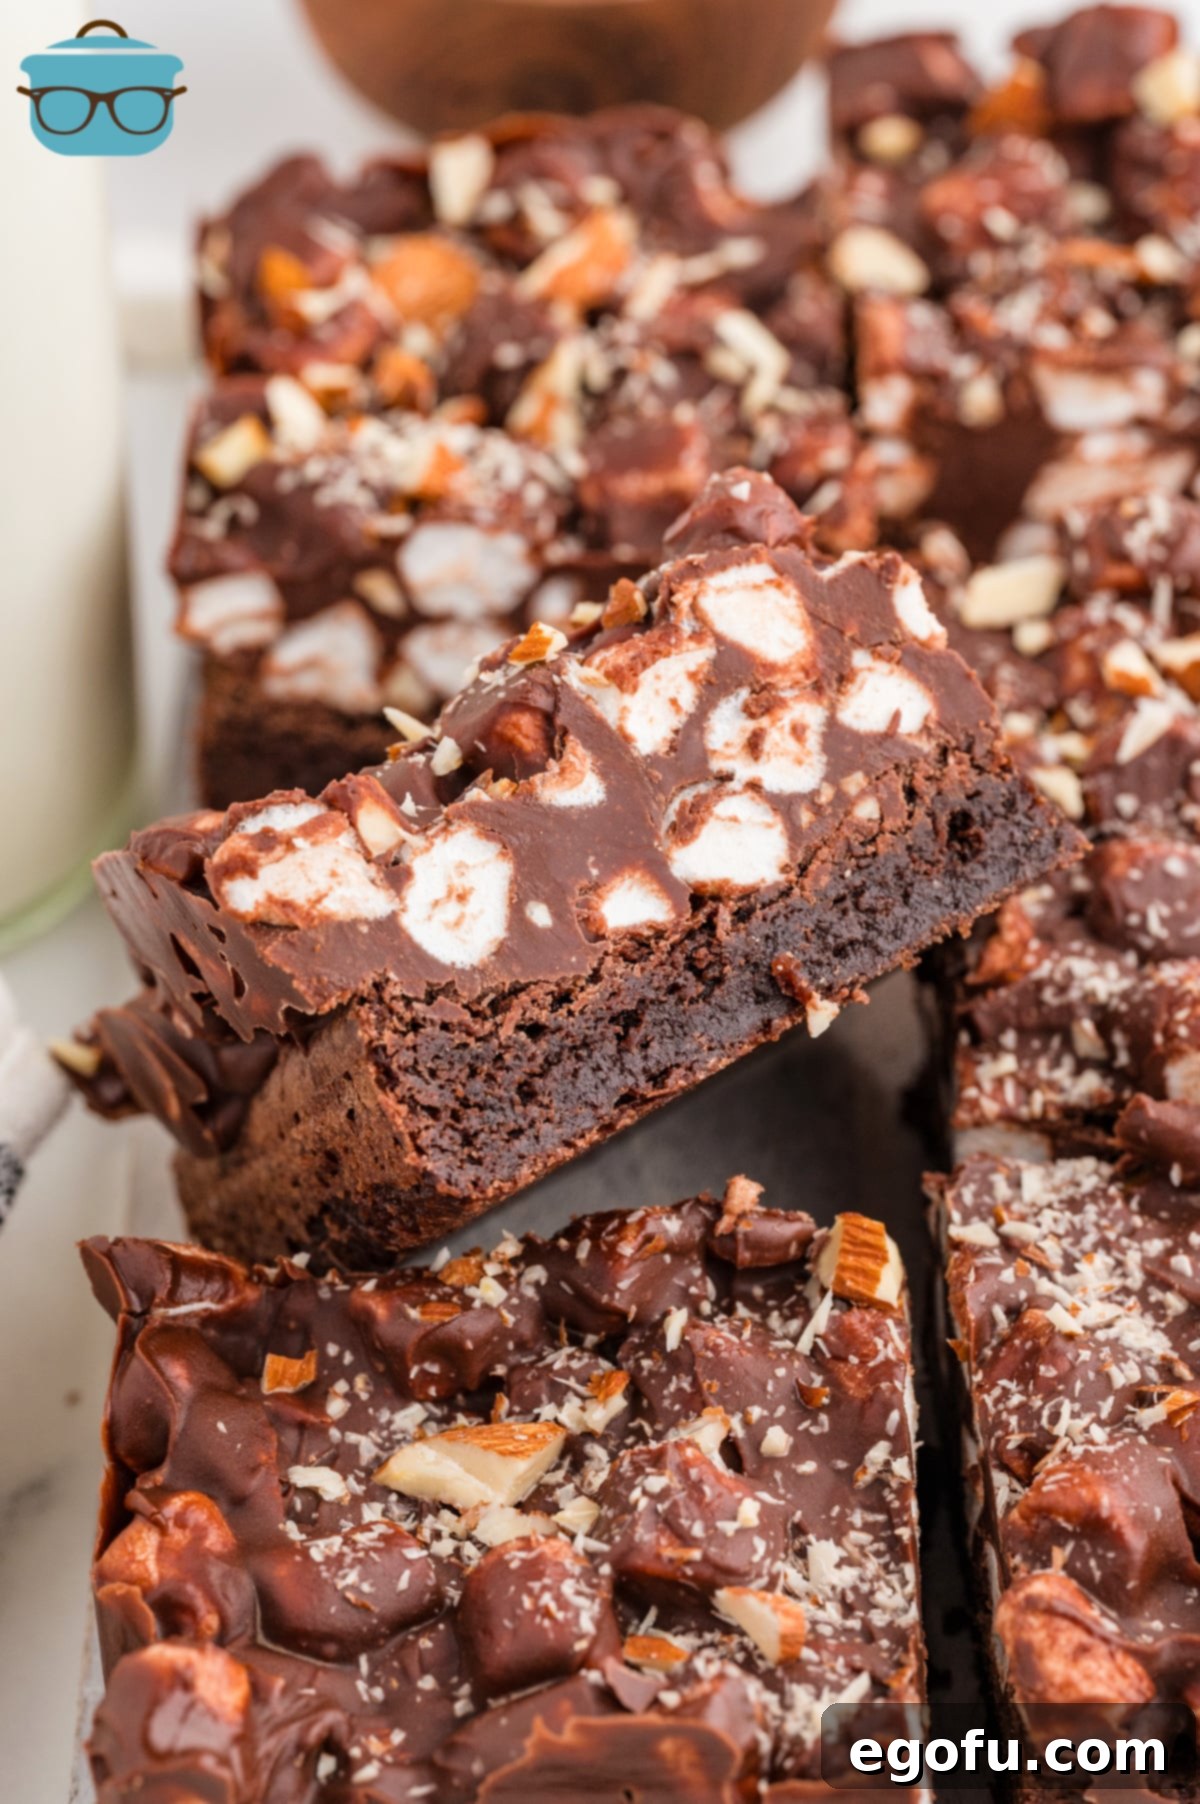
Why These Rocky Road Brownies Stand Out
What makes these Rocky Road Brownies truly exceptional? It starts with a perfectly thick, intensely fudgy brownie base – not too cakey, but dense and moist, packed with deep chocolate flavor. This is then crowned with a sensational topping that captures the essence of rocky road. A creamy, rich blend of chocolate and peanut butter forms the gooey foundation, into which a generous amount of toasted almonds and mini marshmallows are folded. The result is a multi-textured delight: the soft chew of the brownie, the melt-in-your-mouth sweetness of the marshmallows, and the satisfying crunch of the almonds, all coated in velvety chocolate.
This recipe is designed for ease and enjoyment, ensuring that even novice bakers can achieve spectacular results. We’ve fine-tuned every element to ensure maximum flavor and a delightful consistency that will make these brownies an instant classic in your household. Prepare to impress everyone with this fun, celebratory dessert that’s guaranteed to be a crowd-pleaser.
Frequently Asked Questions: Your Brownie Success Guide
Achieving the perfect Rocky Road Brownies means paying attention to a few key details. Here are some commonly asked questions and expert tips to ensure your brownies turn out perfectly every time.
Is using a metal pan required for brownies?
For the best brownies, metal baking pans are generally superior. They conduct heat more evenly and efficiently, resulting in a more consistent bake and a fudgier texture. If you opt for a glass or disposable baking pan, you’ll definitely need to adjust your baking time. Keep a toothpick handy: when inserted into the center, it should come out with only a few moist crumbs, indicating they are perfectly baked, not overdone.
Can I skip the cooling and refrigeration time?
I highly advise against it. Rushing the recommended cooling and refrigeration times will compromise the texture and overall quality of your Rocky Road Brownies. Proper cooling allows the brownies to set, enhancing their fudginess, while refrigeration helps the topping firm up for clean, beautiful slices. Patience truly pays off with this recipe!
How do I cut chilled brownies if the chocolate is too hard?
If your Rocky Road Brownies have been in the refrigerator for an extended period and the chocolate topping has become too hard to cut cleanly, don’t worry! The trick is to use a hot, dry knife. Run your knife under hot running water for a few seconds, then thoroughly dry it with a clean kitchen towel. The warmth from the knife will glide through the chocolate and brownies, allowing for perfectly neat and even slices.
Can I use a boxed brownie mix instead of making them from scratch?
Absolutely! If you’re short on time or prefer the convenience, using a high-quality boxed brownie mix as the base is a perfectly acceptable shortcut. Simply prepare the brownie mix according to its package instructions, then proceed with making and adding our signature Rocky Road topping as outlined in this recipe.
How many servings does this recipe make?
These Rocky Road Brownies are incredibly rich and decadent, so I recommend cutting them into smaller portions. You’ll get approximately 16 generously sized brownies. If you prefer larger, more substantial squares, you could certainly cut them into 9 brownies. Just be aware that they are quite indulgent, almost like a fudge, so smaller servings are often more appropriate.
How long do leftovers last and how should I store them?
Store any leftover Rocky Road Brownies in an airtight container to maintain their freshness. At room temperature, they will last for up to 3 days. If you prefer to store them in the refrigerator, they will remain delicious for up to 3 days as well. For best results and to prevent sticking, place parchment paper between layers of brownies.
Can I freeze Rocky Road Brownies?
While you technically can freeze these brownies, it’s important to note that the marshmallows may change texture after defrosting, becoming a bit chewier or slightly less fluffy. If you choose to freeze them, wrap individual brownies tightly in plastic wrap and then aluminum foil before placing them in a freezer-safe bag or container. Thaw them in the refrigerator overnight or at room temperature.
Essential Ingredients for Rocky Road Brownies
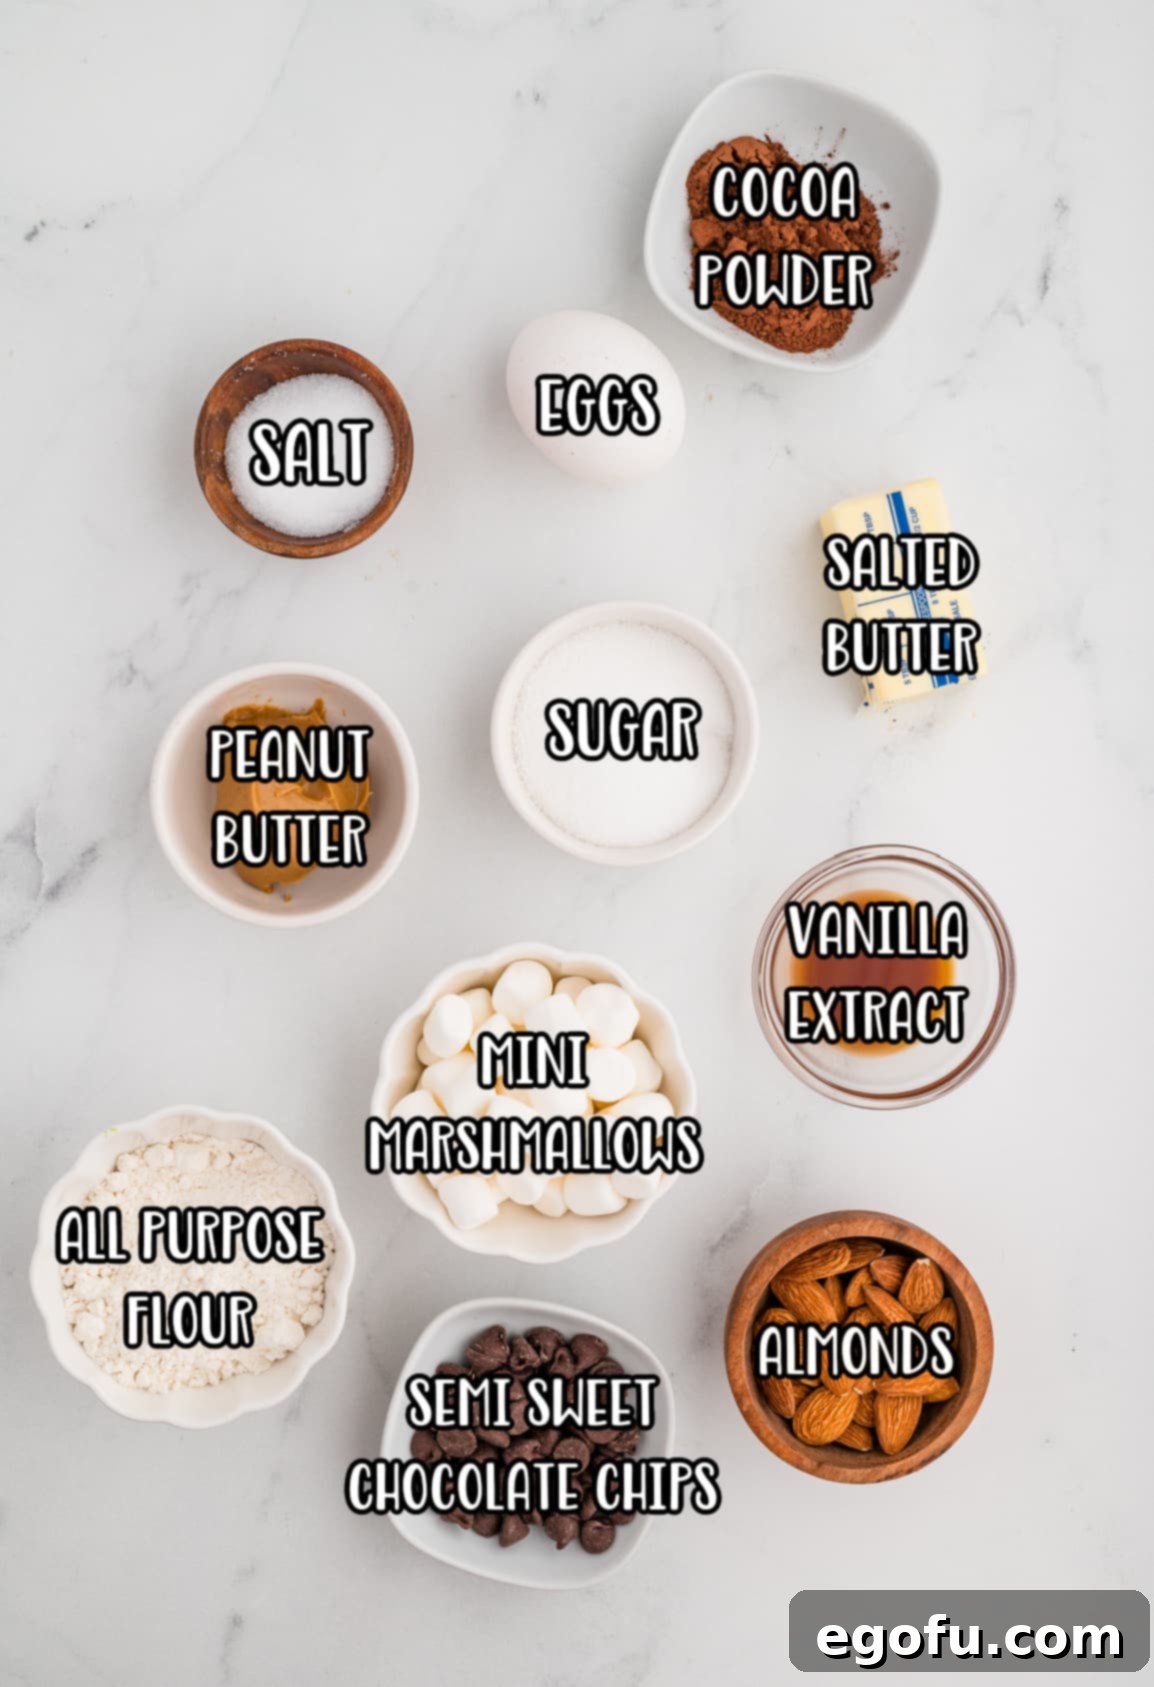
Crafting these extraordinary brownies requires a thoughtful selection of ingredients. Here’s a detailed look at what you’ll need and why each component is crucial for that perfect Rocky Road experience.
Ingredients Needed:
- Salted Butter: We use salted butter to add a subtle depth and balance to the overall sweetness. If you only have unsalted butter, simply add an additional ¼ teaspoon of salt to both the brownie batter and the topping mixture to achieve a similar flavor profile.
- Semi-Sweet Chocolate Chips: These are key for both the brownie base and the rich topping. Semi-sweet chocolate chips help to cut through some of the intense sweetness, providing a balanced chocolate flavor. Feel free to experiment with dark chocolate chips for a more intense cocoa experience or even white chocolate chips for a sweeter, creamier variation.
- Granulated Sugar: Provides sweetness and contributes to the moist, fudgy texture of the brownies.
- Large Eggs: Eggs are essential for structure and richness. For optimal mixing and a smoother batter, allow your eggs to come to room temperature before incorporating them. This helps them emulsify more evenly with the other ingredients.
- Vanilla Extract: A touch of pure vanilla extract enhances all the other flavors, adding warmth and complexity to the chocolate.
- All-Purpose Flour: Just enough flour to bind the ingredients without making the brownies cakey. We aim for a dense, fudgy consistency.
- Unsweetened Cocoa Powder: This provides the deep, intense chocolate flavor in the brownie base. Ensure you use good quality cocoa powder for the best results.
- Salt: A pinch of salt is crucial for balancing the sweetness and intensifying the chocolate flavor, especially if using unsalted butter.
- Creamy Peanut Butter: This is a secret ingredient for the topping, adding an incredible creaminess and a delightful nutty flavor that pairs perfectly with chocolate. While creamy is recommended for smoothness, crunchy peanut butter could be an interesting textural addition. I haven’t tested this with natural peanut butter, so I can’t guarantee the outcome.
- Salted and Roasted Almonds: These provide the signature crunch and nutty flavor of rocky road. Using salted and roasted almonds enhances their taste. While optional, they are highly recommended. You can substitute with other nuts like walnuts or pecans if preferred.
- Mini Marshmallows: The star of the rocky road topping! Mini marshmallows melt slightly into gooey pockets of sweetness. Stick to regular white mini marshmallows; colored varieties often contain additional flavors that might not complement the classic rocky road profile.
How to Make Rocky Road Brownies: A Step-by-Step Guide
Follow these detailed instructions to create your own batch of phenomenal Rocky Road Brownies. Precision and patience are key to achieving that perfect fudgy texture and delightful topping.
- Prepare Your Baking Dish: Begin by preheating your oven to 325°F (160°C). Line a 9×9-inch baking dish with parchment paper, leaving an overhang on the sides to create “handles.” This simple step is crucial for easy removal of the baked brownies and ensures clean, prettier cuts. Lightly spray the parchment paper and sides of the pan with baking spray to prevent any sticking.
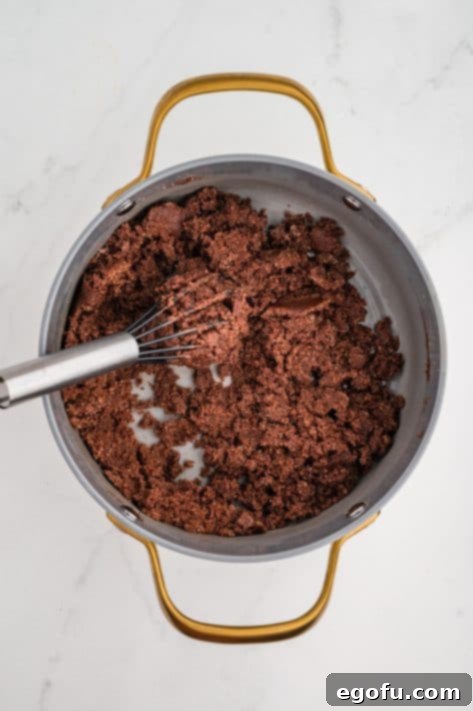
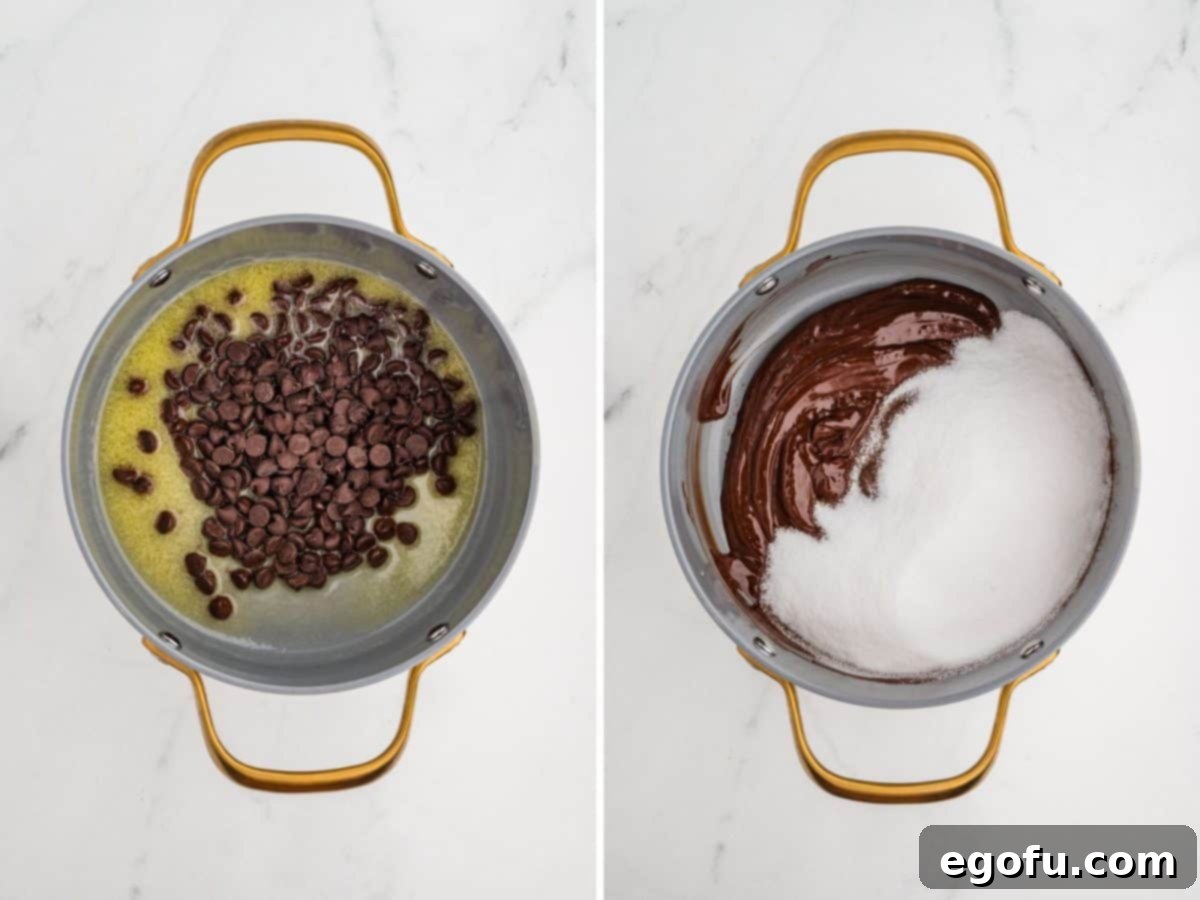
- Melt Butter and Chocolate: In a medium-sized saucepan, melt the salted butter over medium-low heat. Once the butter is mostly melted, add the semi-sweet chocolate chips. Stir continuously with a spatula or whisk until the butter and chocolate chips are fully melted and smoothly combined.
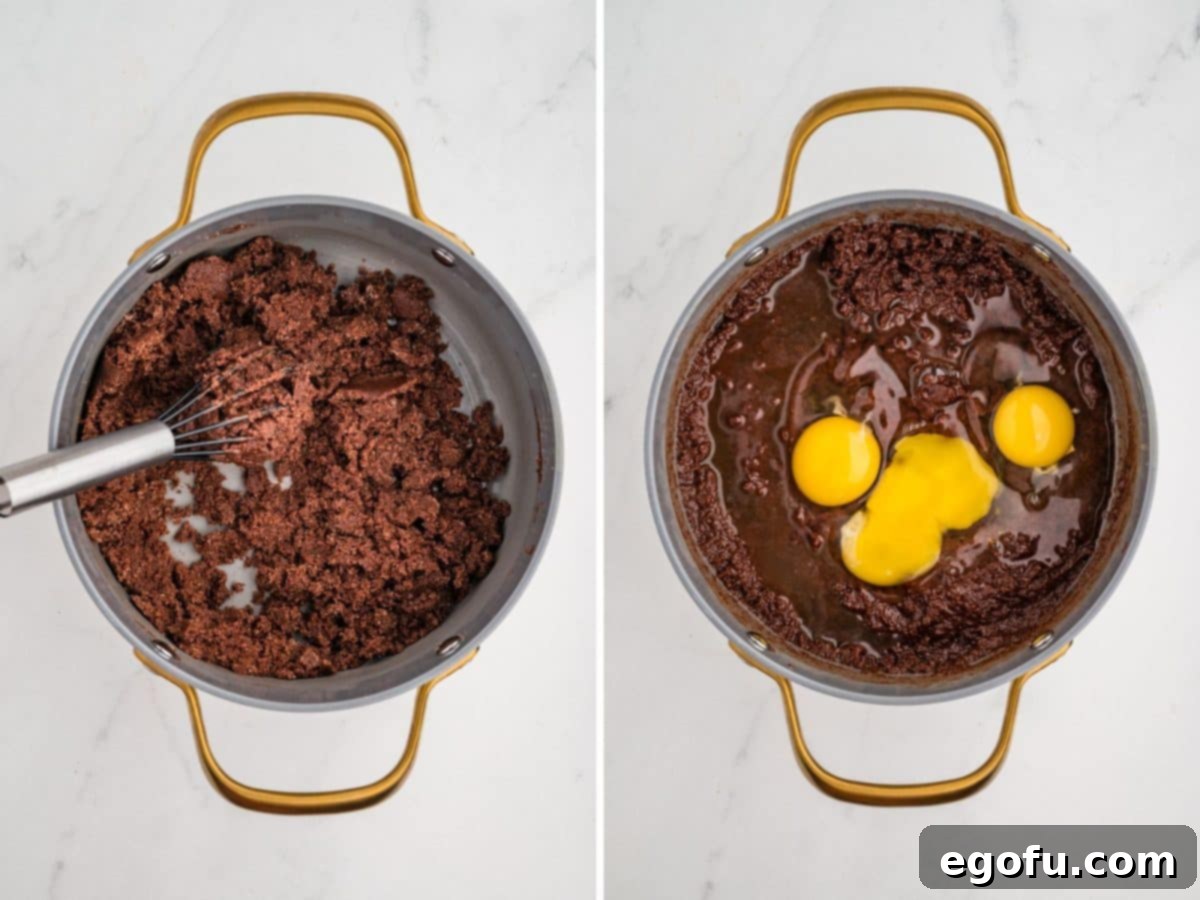
- Add Sugar and Cool: Remove the saucepan from the heat immediately. Stir in the granulated sugar until it is fully incorporated into the chocolate mixture. Allow this mixture to cool down for about 10 minutes. This cooling step is important to prevent the eggs from cooking when added.
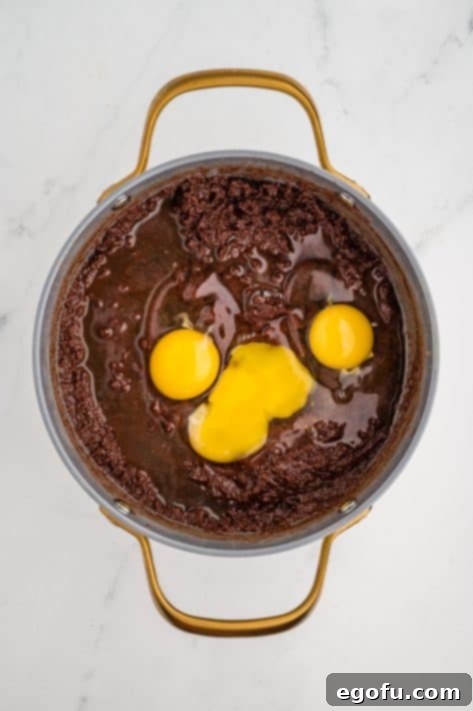
- Incorporate Wet Ingredients: After the mixture has cooled, add the room temperature large eggs one at a time, stirring well after each addition until fully combined. Then, stir in the vanilla extract. Mix until everything is just incorporated; avoid overmixing at this stage.
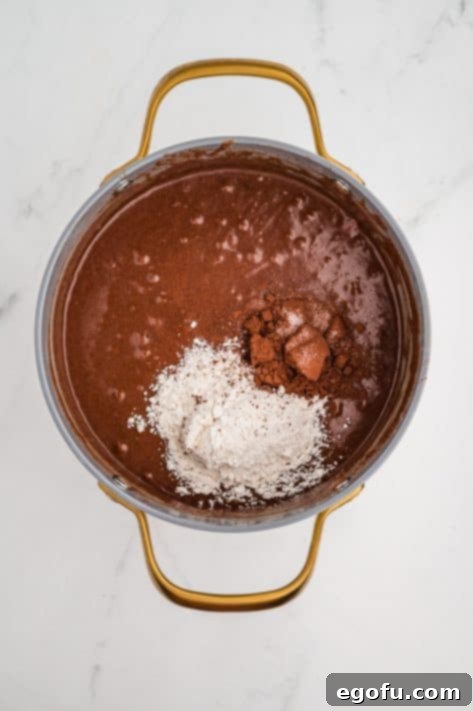
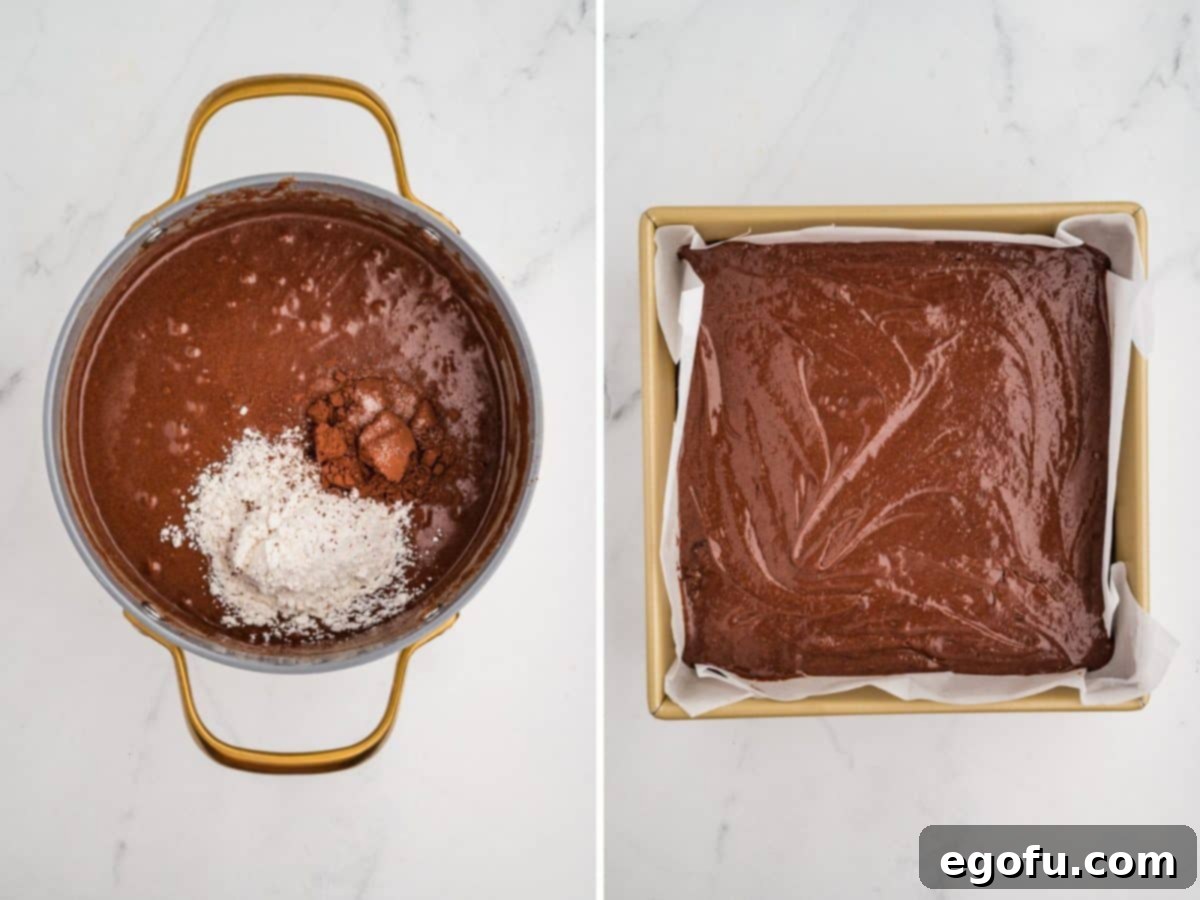
- Fold in Dry Ingredients: Gently fold in the all-purpose flour, cocoa powder, and salt into the wet ingredients. Mix until the dry ingredients are just barely combined and no streaks of flour remain. Overmixing the flour can lead to tougher brownies, so stop as soon as it’s blended.
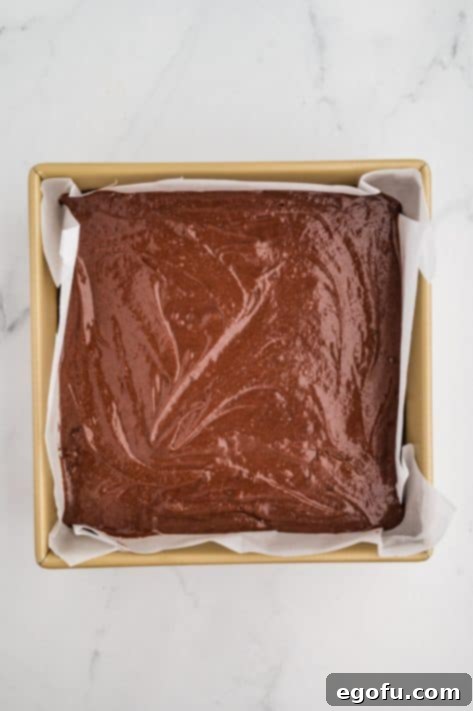
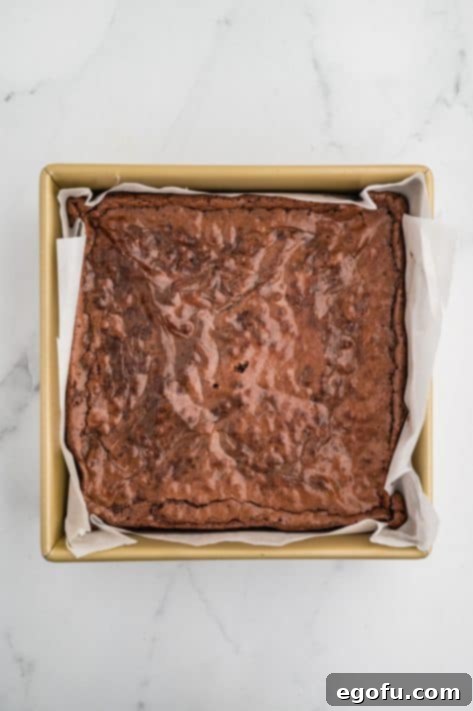
- Bake the Brownie Base: Pour the luscious brownie batter into your prepared 9×9-inch baking pan. Spread it evenly using a spatula. Bake for approximately 24-29 minutes. You’ll know they’re done when the center looks set and a toothpick inserted into the middle comes out with only a few moist crumbs clinging to it.
- Cool Slightly: Once baked, remove the brownies from the oven. Let them cool in the pan on a wire cooling rack for about 10-15 minutes. This allows the brownies to firm up slightly before you add the topping.
Crafting the Irresistible Rocky Road Topping
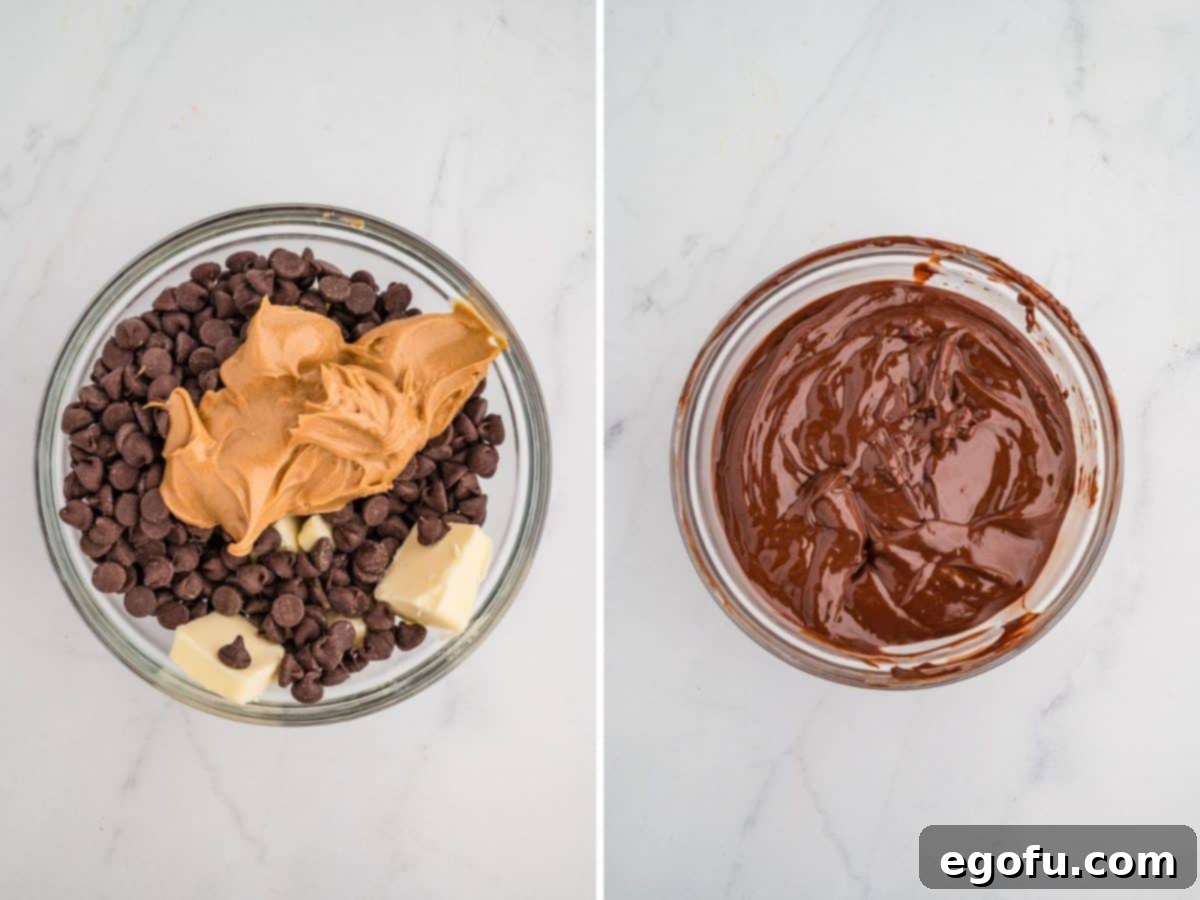
- Prepare the Topping Base: While the brownies are cooling, begin preparing the topping. In a microwave-safe bowl, combine the remaining salted butter, 2 cups of semi-sweet chocolate chips, and creamy peanut butter.
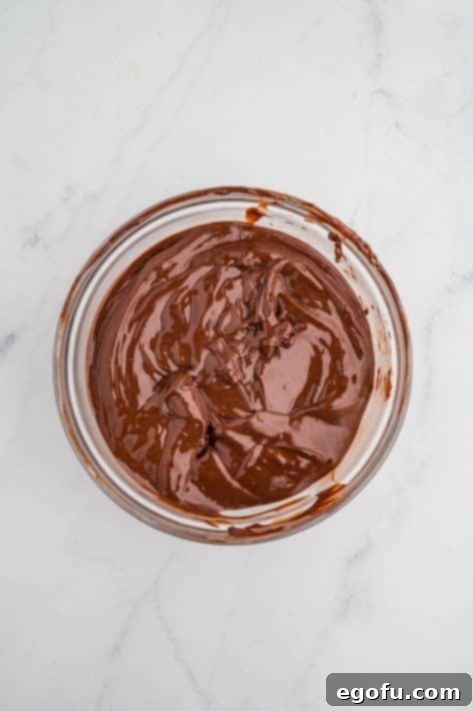
- Melt the Topping: Microwave the topping mixture on 50% power in 30-second increments, stirring thoroughly after each interval. This gentle melting process prevents the chocolate from seizing. It should take about 2 ½ minutes in total until completely smooth and melted.
- Cool the Topping: Let the melted chocolate and peanut butter mixture cool for 10-15 minutes. This cooling period is important as it prevents the marshmallows from melting completely when added.
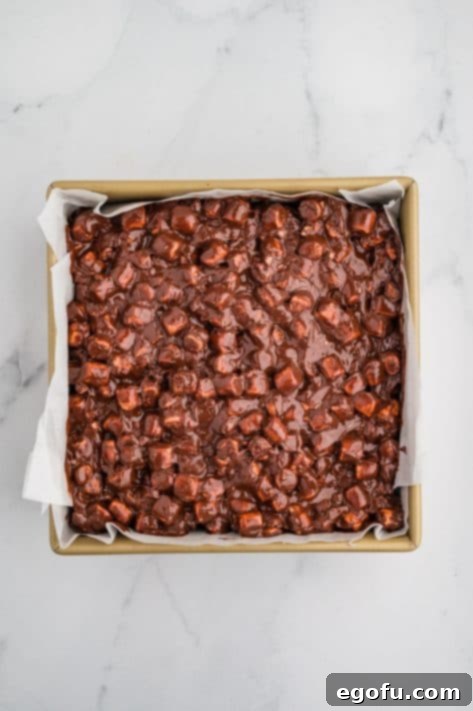
- Add Almonds and Marshmallows: Once the topping has cooled slightly, stir in the chopped salted and roasted almonds and the mini marshmallows. Make sure everything is well coated in the rich chocolate-peanut butter mixture. Before mixing them all in, set aside about 2 tablespoons of the finest almond pieces for a garnish.
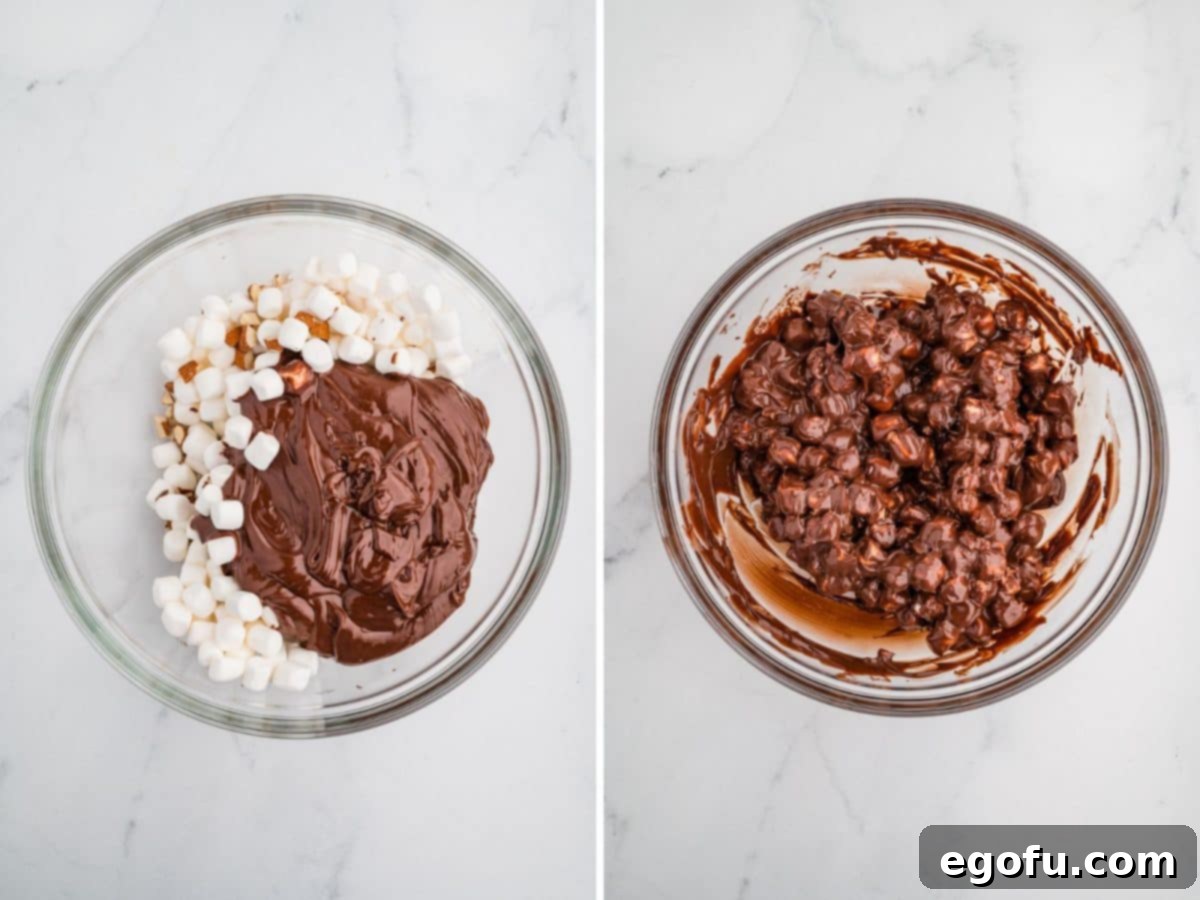
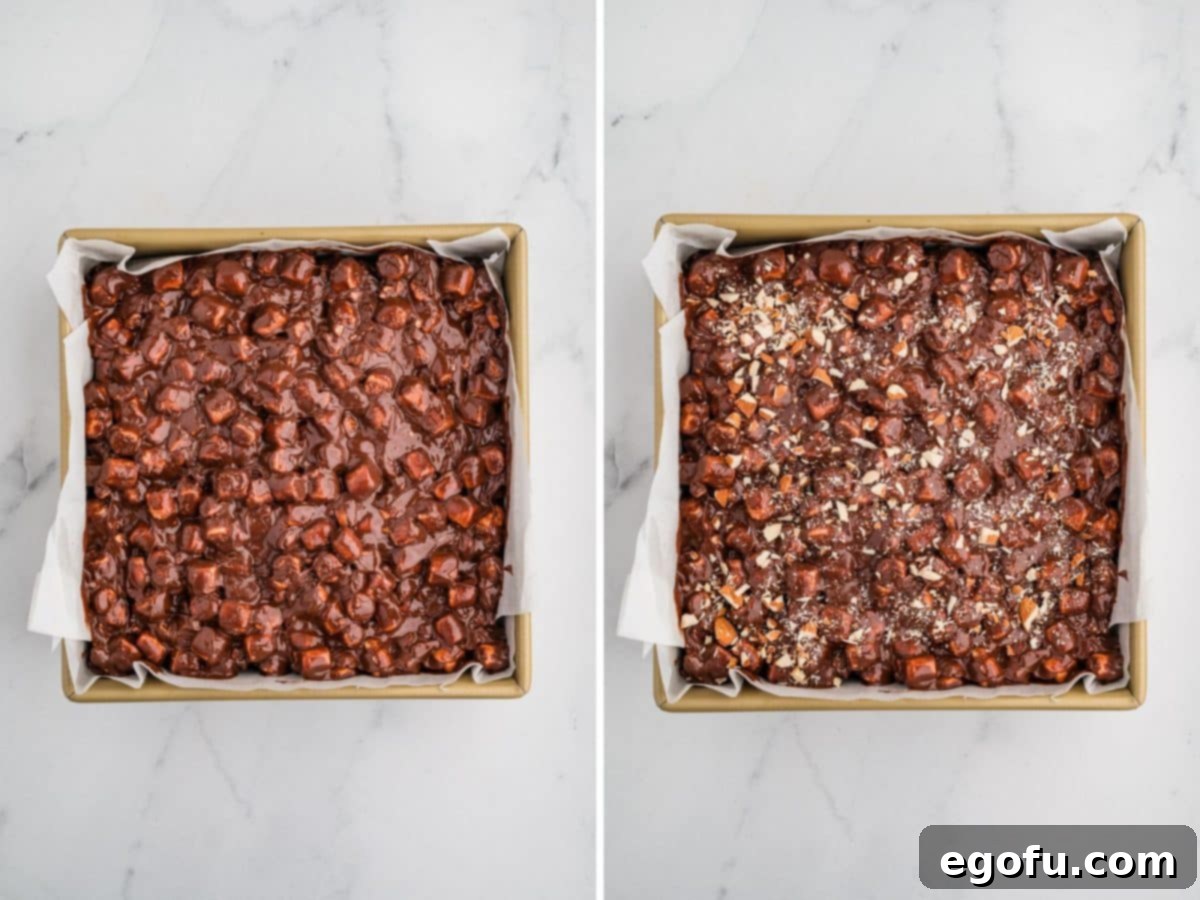
- Assemble and Chill: Spread the prepared rocky road topping evenly over the slightly cooled brownies in the pan. Immediately sprinkle the reserved small almond pieces over the top before the topping sets. Loosely cover the entire pan with plastic wrap and place it in the refrigerator for at least 1 hour. This chilling time is essential for the topping to firm up, making the brownies easier to cut and ensuring a clean presentation.
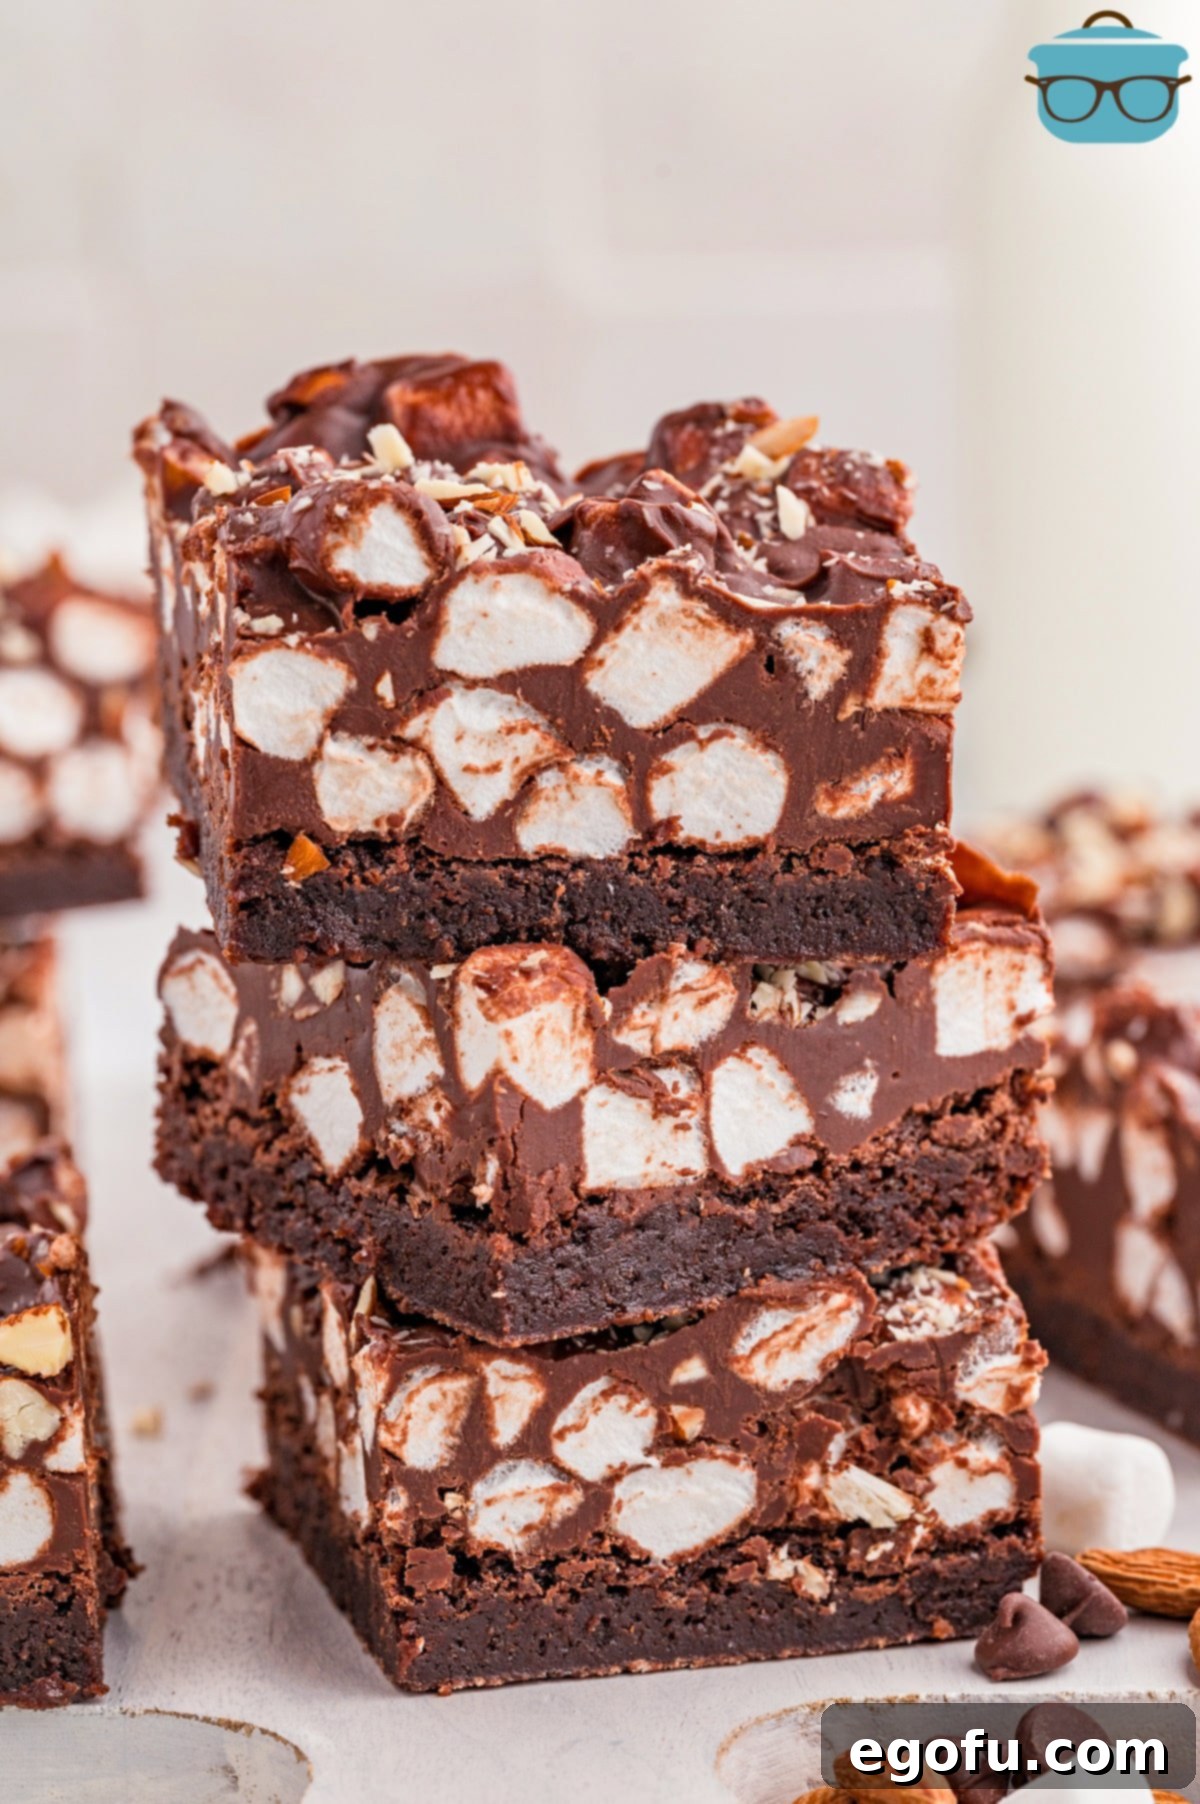
- Slice and Serve: Once thoroughly chilled, remove the pan from the refrigerator. Lift the brownies out of the pan using the parchment paper overhangs. Place them on a cutting board, slice into your desired size brownies (16 recommended for richness), and serve these magnificent Rocky Road Brownies!
Expert Tips for Flawless Rocky Road Brownies
- Don’t Overmix: When adding the dry ingredients, mix just until combined. Overmixing develops gluten in the flour, leading to tougher, more cake-like brownies instead of the desired fudgy texture.
- Room Temperature Eggs: As mentioned, room temperature eggs emulsify better, creating a smoother, more uniform batter for a better brownie texture.
- Quality Ingredients: Using good quality chocolate and cocoa powder makes a significant difference in the depth of flavor of your brownies.
- Parchment Paper is Your Friend: The parchment paper sling ensures effortless removal and cleaner cuts, making presentation a breeze.
- Cooling is Crucial: Resist the urge to cut into the brownies too soon. Proper cooling and chilling allow the brownies to set fully and the topping to firm up, resulting in perfectly structured, beautiful squares.
Serving Suggestions and Variations
These Rocky Road Brownies are fantastic on their own, but here are some ideas to elevate your dessert experience:
- Warm with Ice Cream: Serve a warm brownie square with a scoop of vanilla bean ice cream. The contrast of warm fudgy brownie and cold melting ice cream is divine.
- Coffee Companion: A rich brownie pairs wonderfully with a cup of hot coffee or a glass of cold milk.
- Chocolate Overload: Drizzle extra melted chocolate or a store-bought chocolate sauce over the top just before serving for an even more decadent treat.
- Nut Variations: Not a fan of almonds? Try walnuts, pecans, or even a mix of different nuts for the topping. Just make sure they are roasted for best flavor.
- Different Chocolates: Experiment with different types of chocolate chips in the brownie base or topping – milk chocolate for a sweeter profile, or dark chocolate for a deeper, more intense flavor.
Storage for Optimal Freshness
To keep your Rocky Road Brownies tasting their best, store them in an airtight container at room temperature for up to 3 days. If you prefer them chilled, they can be stored in the refrigerator for the same duration. For longer storage, while freezing is possible, be mindful that the marshmallows’ texture may change slightly. Always place parchment paper between layers of brownies to prevent them from sticking together.
Craving More Delicious Recipes?
If you’ve loved these Rocky Road Brownies, be sure to explore our other fantastic dessert recipes:
- Peanut Butter Pie Brownies
- The Best Turtle Brownies
- Homemade Rocky Road Fudge
- No-Churn Rocky Road Ice Cream
- Butterfinger Brownies
- Cosmic Brownies
- Lemon Brownies
- Strawberry Brownies
- Slutty Brownies
- Oreo Cheesecake Brownies
- The Best Zucchini Brownies
- Red Velvet Brownies
- German Chocolate Brownies
- Knock You Naked Brownies
- Mint Chocolate Chip Swirl Brownies
Rocky Road Brownies Recipe

Rich brownies with marshmallows, nuts, and tons of creamy peanut butter and chocolate.
Prep Time: 1 hour 40 minutes
Cook Time: 24 minutes
Total Time: 2 hours 4 minutes
Yields: 16 servings
Author: Brandie Skibinski
Ingredients
Brownies
- ½ cup (1 stick) salted butter (see note below if using unsalted)
- ¾ cup semi-sweet chocolate chips
- 1 ⅓ cup granulated sugar
- 3 large eggs
- 1 teaspoon vanilla extract
- ⅓ cup all-purpose flour
- 2 Tablespoons unsweetened cocoa powder
- ¼ teaspoon salt
Topping
- ½ cup (1 stick) salted butter
- 2 cups semi-sweet chocolate chips
- ½ cup creamy peanut butter
- ¾ cup salted and roasted almonds, measured then chopped roughly
- 4 cups mini marshmallows
Instructions
Brownies
- Preheat oven to 325°F (160°C). Line a 9×9-inch baking dish with parchment paper, leaving an overhang on the sides, and spray with baking spray.
- In a medium saucepan over medium-low heat, melt the butter and add ¾ cup chocolate chips. Stir continuously until melted. Add the sugar and stir until combined. Remove from heat and let cool for 10 minutes.

- Add the eggs and vanilla, stir until just combined.

- Add the flour, cocoa powder, and salt. Stir until just barely combined.

- Pour into the prepared pan and bake for 24-29 minutes until the center looks set and a toothpick inserted comes out with only a few moist crumbs.

- Remove from the oven and let cool in the pan on a wire cooling rack for 10-15 minutes before continuing.

Topping
- In a microwave-safe bowl, combine ½ cup butter, 2 cups chocolate chips, and peanut butter. Microwave on 50% power in 30-second increments, stirring in between, for about 2 ½ minutes. Let cool for 10-15 minutes before adding the almonds and marshmallows. Reserve about 2 tablespoons of the most finely chopped almond pieces for sprinkling on top.

- Once the almonds and marshmallows are mixed in, spread the topping evenly over the slightly cooled brownies. Sprinkle with the reserved small almond pieces before the topping sets. Cover loosely with plastic wrap and place the whole pan in the refrigerator for at least 1 hour.

- Remove from the pan, slice into desired size brownies, and serve.

Notes
- Please refer to the FAQs and ingredient list above for other substitutions or answers to common questions regarding ingredients and preparation.
Recipe Details
Course: Dessert
Cuisine: American
Nutrition (Estimated per serving)
Calories: 495 kcal | Carbohydrates: 49g | Protein: 7g | Fat: 32g | Sodium: 187mg | Fiber: 4g | Sugar: 36g
Nutritional Disclaimer
“The Country Cook” is not a dietician or nutritionist, and any nutritional information shared is an estimate. If calorie count and other nutritional values are important to you, we recommend running the ingredients through whichever online nutritional calculator you prefer. Calories and other nutritional values can vary quite a bit depending on which brands were used.
Did you make this recipe? Share it on Instagram @thecountrycook and mention us #thecountrycook!
