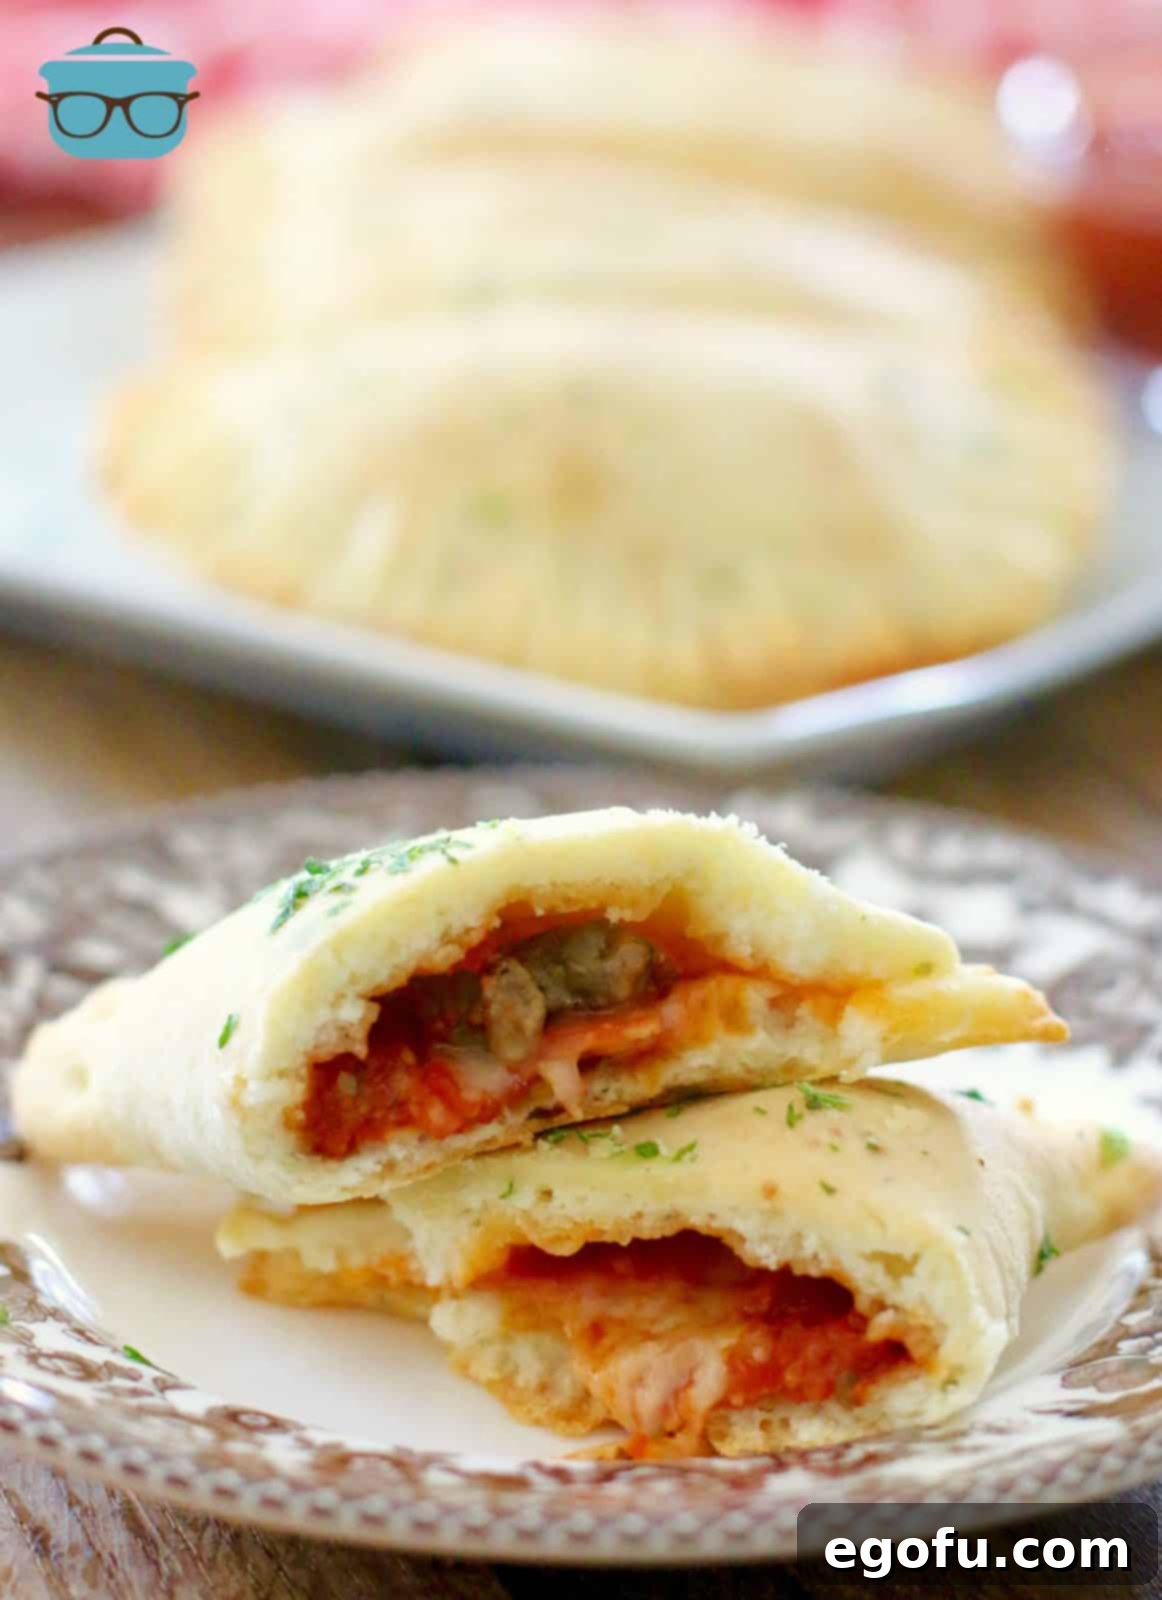
Delightful homemade pizza pockets crafted from a simple, soft dough, generously filled with savory sauce, pepperoni, sausage, and cheese. Pure comfort in every bite!
Homemade Pizza Pockets: The Ultimate Kid-Friendly Snack or Weeknight Dinner
Are you searching for a delicious, versatile, and freezable meal solution that both kids and adults will adore? Look no further than these incredible homemade pizza pockets! Perfect for a quick after-school snack, an easy lunchbox addition, or a hassle-free dinner on busy weeknights, these savory pockets are a game-changer for any mealtime routine. Forget the store-bought versions; making your own allows for customization, fresh ingredients, and a taste that simply can’t be beaten. Get ready to impress your family with these perfectly golden, cheesy, and meaty delights!

Crafting the Perfect Pizza Pocket Dough: Soft, Fluffy, and Flavorful
The secret to an exceptional pizza pocket lies in its dough. While many pizza dough recipes aim for a crisp, firm crust, for a handheld pocket, we want something softer and more yielding. That’s where a special twist comes in: adding eggs to your dough. Unlike a flaky pie crust, which relies solely on fat like butter or oil for its texture, incorporating eggs into pizza dough imparts a wonderful tenderness and fluffiness, making each bite incredibly satisfying. This slight alteration ensures your pizza pockets are soft on the outside and perfectly encase the rich, cheesy filling within.
Crafting this dough is a rewarding process. We start with basic pantry staples, transforming them into a pliable and flavorful base. The subtle addition of grated Parmesan cheese and Italian seasoning directly into the dough mix elevates the taste, giving every part of your pizza pocket an authentic Italian-inspired flavor. Don’t be intimidated by working with dough; with a few simple steps and perhaps the help of an electric mixer with a dough hook, you’ll have a beautifully soft dough ready for shaping and filling in no time.

“Hi, thank you for the lovely recipe. I doubled it and boy are they delicious! Huge hit with everyone and I will most definitely make again! – Marcia”
Freezing Homemade Pizza Pockets: Your Meal Prep Secret Weapon
One of the most appealing aspects of these homemade pizza pockets is their freezer-friendly nature. This recipe is perfect for meal prepping, allowing you to whip up a large batch and store them for future enjoyment. Imagine the convenience of having delicious, homemade meals ready to heat and eat on demand! When you’re already in the kitchen making a bit of a mess, it’s incredibly efficient to double or even triple the recipe. Dedicate an afternoon to this culinary endeavor, and you’ll be stocked with easy snacks and dinners for weeks or even months.
To freeze them effectively, allow your freshly baked pizza pockets to cool completely to room temperature. This step is crucial to prevent ice crystals from forming and affecting the texture. Once cooled, arrange 5 or 6 pockets in a single layer inside a freezer-safe gallon-size zip-top bag, squeezing out as much air as possible before sealing. Label the bags with the date for easy tracking. For best results, consume within 2-3 months.
Reheating is a breeze! From frozen, simply pop them into the microwave for about a minute, or until heated through. For a crispier crust, you can also reheat them in a preheated oven at 350°F (175°C) for 10-15 minutes, or in an air fryer at 325°F (160°C) for 5-8 minutes. This makes them ideal for last-minute dinners, packed lunches, or impromptu after-school cravings. These versatile pockets are a fantastic solution for those busy weeknights when cooking from scratch just isn’t an option.

Essential Ingredients for Irresistible Pizza Pockets
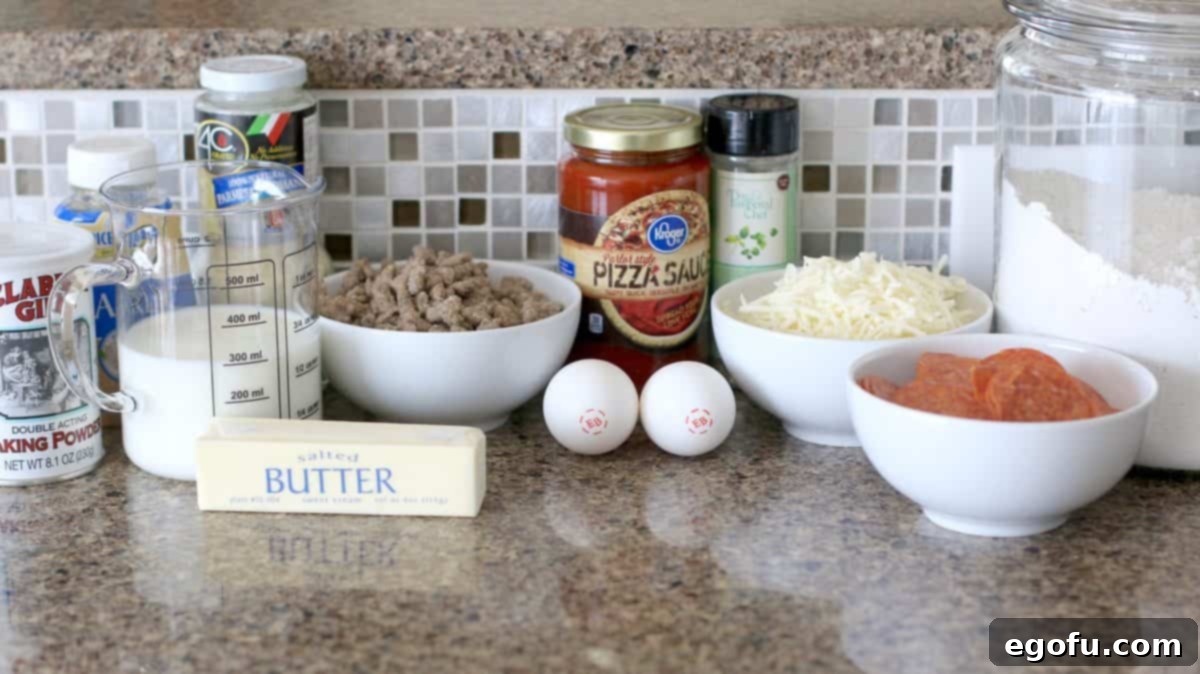
The beauty of homemade pizza pockets lies in their simple yet flavorful ingredients. Here’s a quick overview of what you’ll need, with the full recipe details available below:
- For the Dough: Eggs, milk, minced garlic, all-purpose flour, grated Parmesan cheese, salt, baking powder, Italian Seasoning, and cold salted butter. These components create the tender, savory crust that’s key to a great pizza pocket.
- For the Filling: Your favorite pizza sauce, shredded mozzarella cheese, pepperoni slices, and crumbled cooked sausage. This classic combination delivers that beloved pizza flavor in a convenient handheld form.
- Optional Crust Topping: Melted salted butter and dried parsley for an extra layer of flavor and a beautiful finish.
Feel free to customize your fillings! Consider diced bell peppers, sautéed mushrooms, cooked ground beef, or even a different blend of cheeses. The possibilities are endless, making these pockets adaptable to any preference.
Step-by-Step Guide: How to Make Homemade Pizza Pockets
Follow these detailed instructions to create your own batch of delicious pizza pockets. The process is straightforward, and the results are incredibly rewarding.
Prepare Your Workspace and Oven: Begin by preheating your oven to a hot 450°F (230°C). This high temperature is essential for a quick bake and a beautifully browned crust. While the oven heats, prepare two large baking sheets by spraying them generously with nonstick cooking spray or lining them with parchment paper. This will prevent sticking and make cleanup much easier.

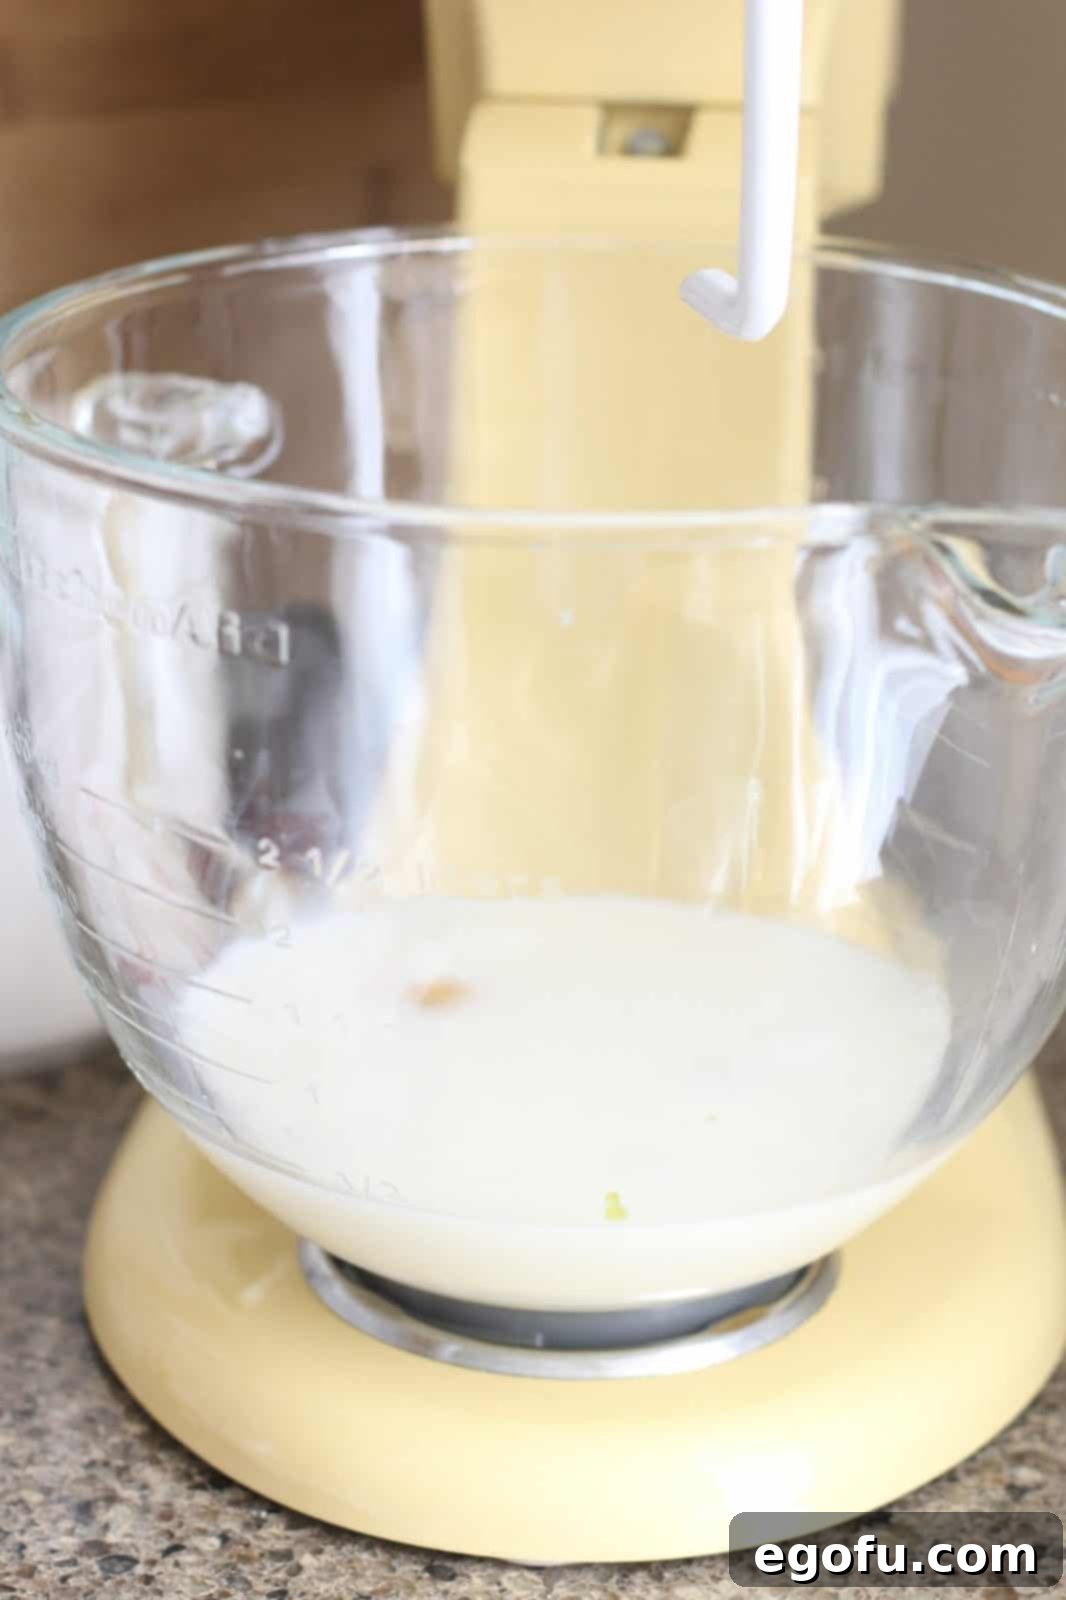
The wet ingredients: eggs, milk, and garlic in a mixing bowl. Combine Wet Ingredients: In a medium-sized bowl, whisk together the eggs, milk, and minced garlic until well combined. Set this mixture aside for a moment.

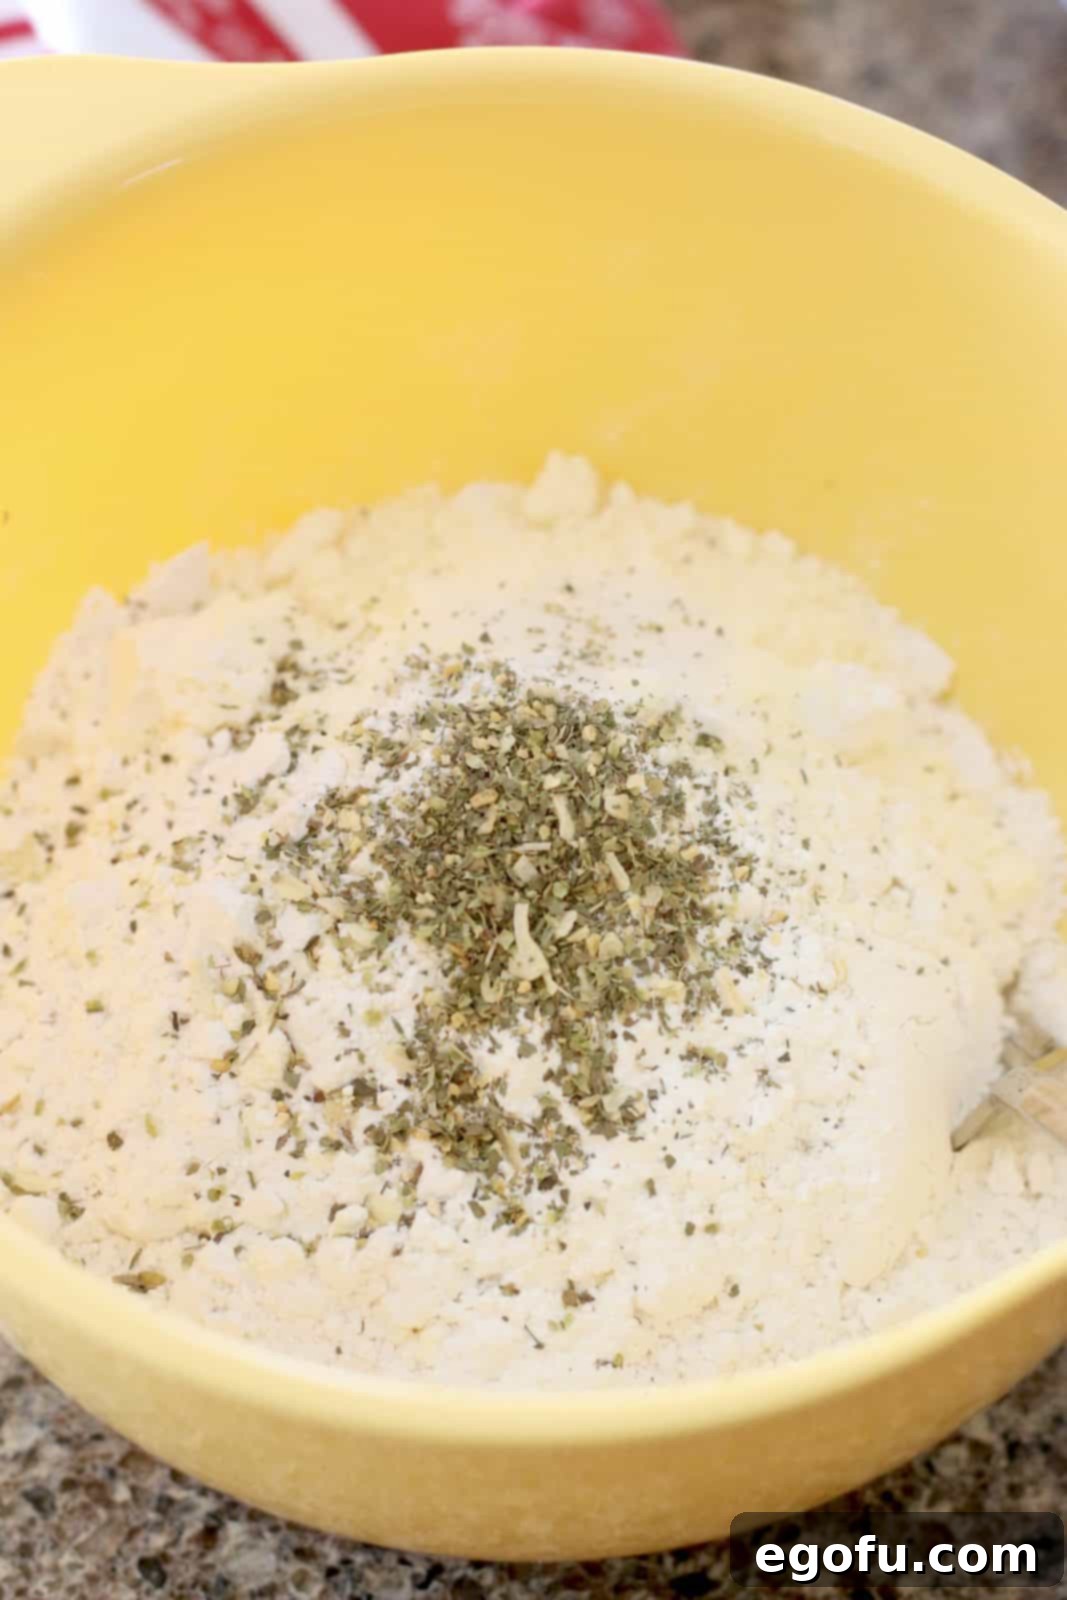
Dry ingredients are carefully measured and combined. Mix Dry Ingredients: In a separate, larger mixing bowl, combine the all-purpose flour, grated Parmesan cheese, salt, baking powder, and Italian seasoning. Whisk these dry ingredients together thoroughly to ensure they are evenly distributed.

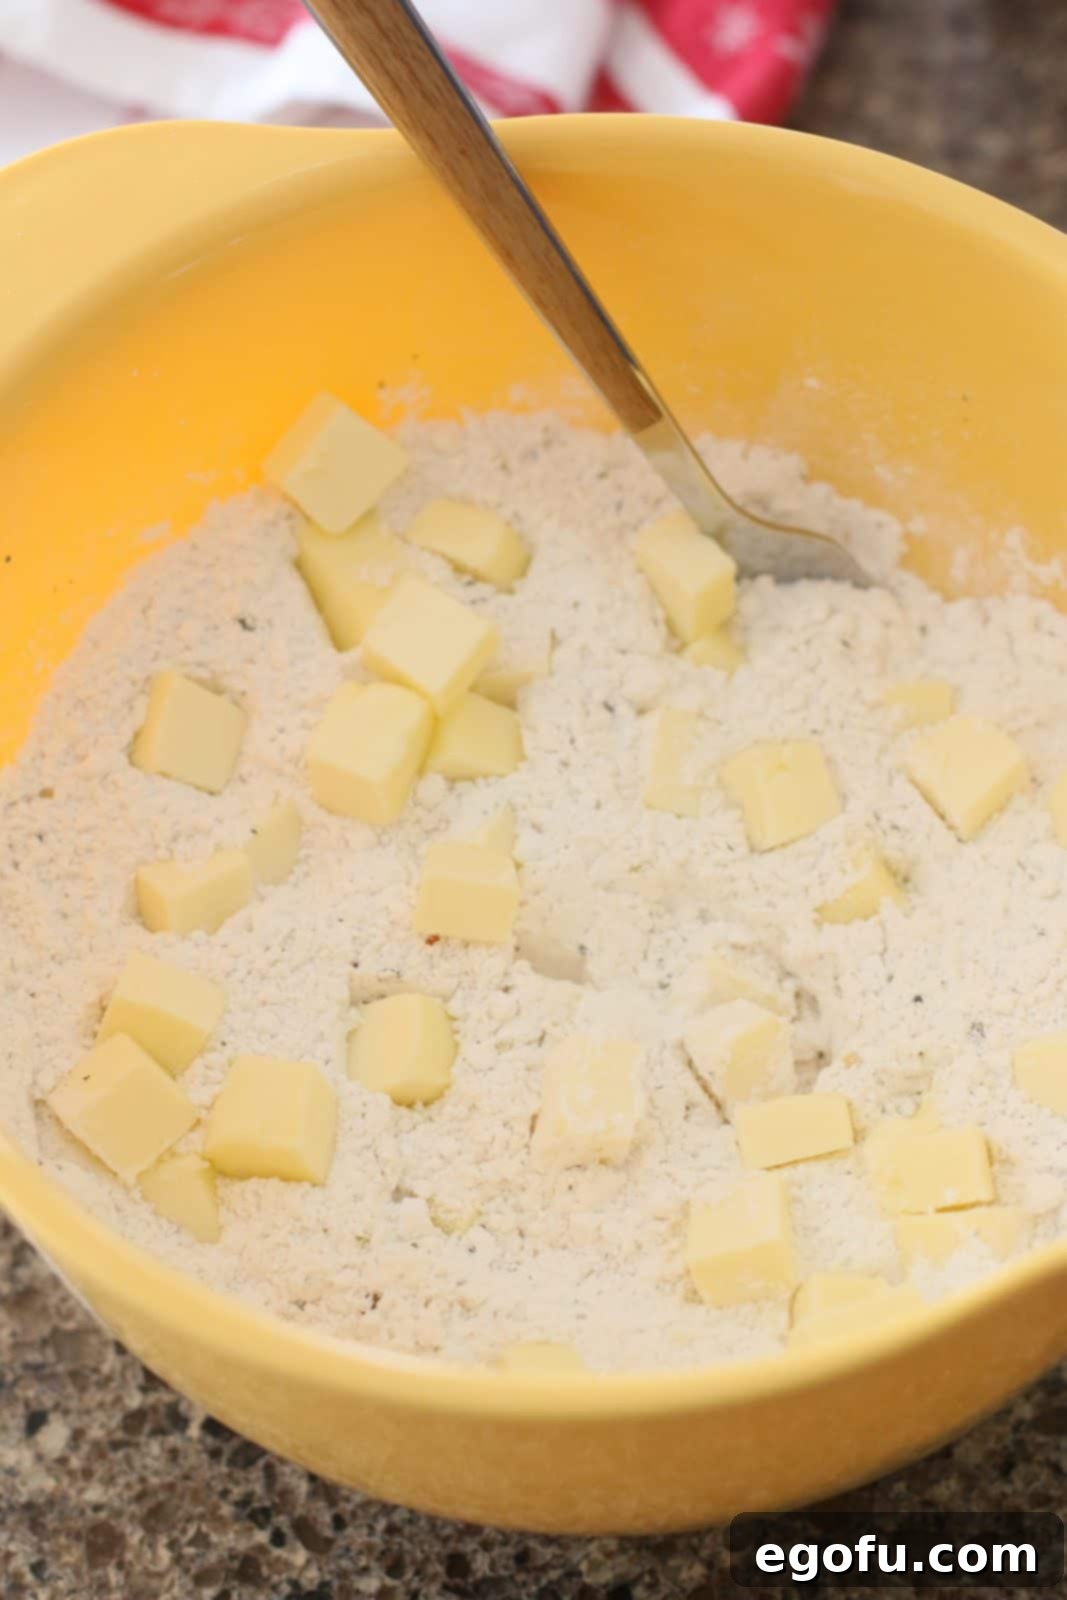
Cutting cold butter into the flour mixture for a tender dough. Incorporate the Butter: Add the cubed cold salted butter to the flour mixture. Using a fork or a pastry blender, cut the butter into the flour until the mixture resembles coarse crumbs with no large clumps of butter remaining. The cold butter helps create a tender texture in the final dough.
Combine Wet and Dry: Pour the whisked egg mixture into the flour and butter mixture. Stir everything together until a loose dough ball begins to form. For ease and efficiency, especially if making a large batch, an electric stand mixer fitted with a dough hook attachment can be very helpful here.

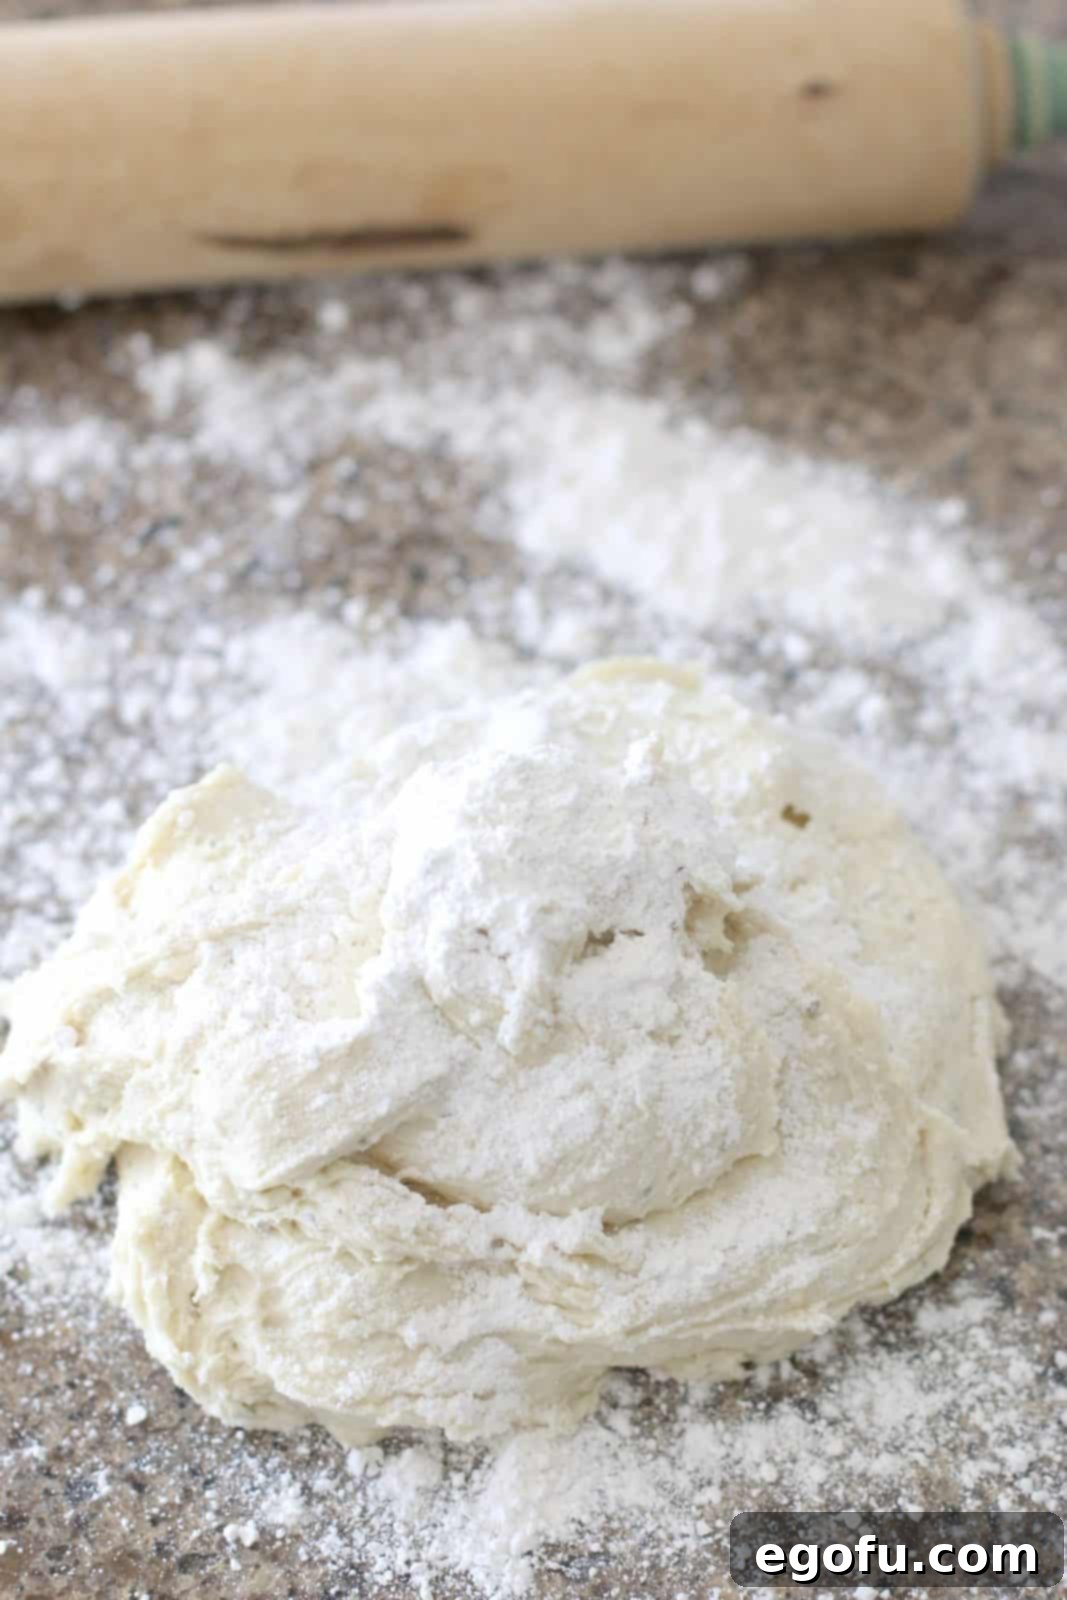
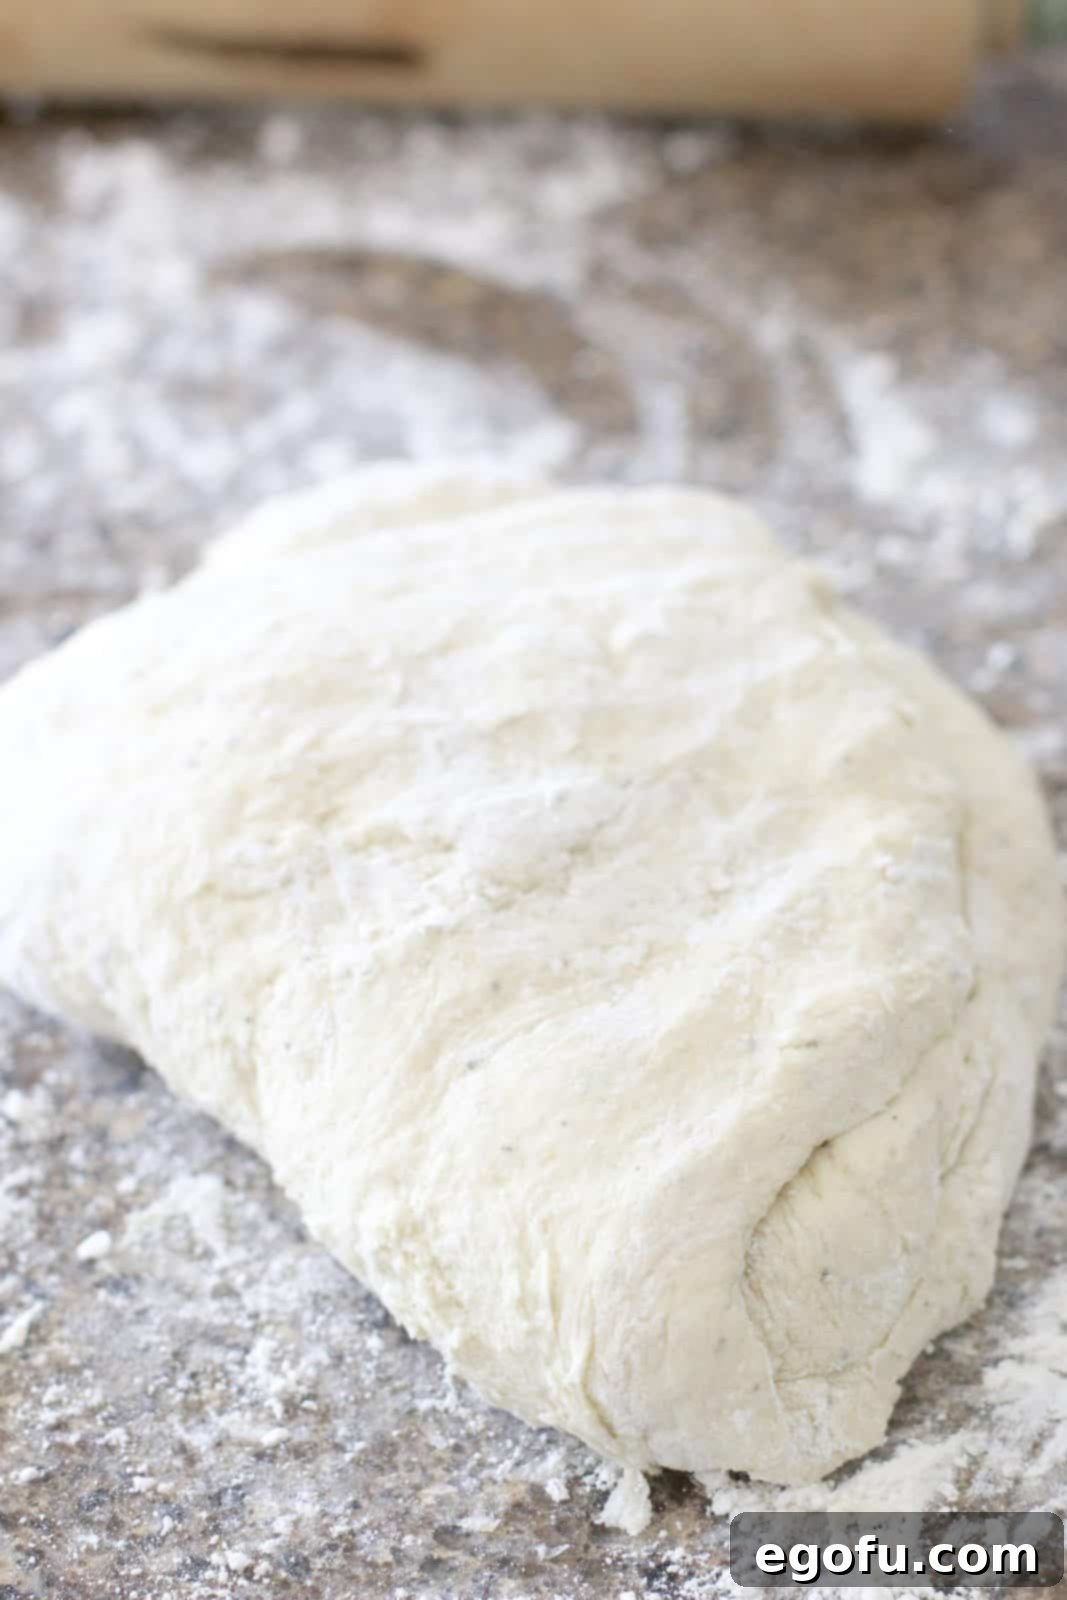
The dough ball is ready for kneading on a floured surface. Knead the Dough: Turn the dough ball out onto a clean, generously floured countertop. Knead the dough gently about ten times. To do this, fold the dough over onto itself, press down, and then turn it 90 degrees before repeating. Add additional flour as needed to prevent the dough from sticking to your hands or the counter. You want a soft, smooth, and pliable dough.

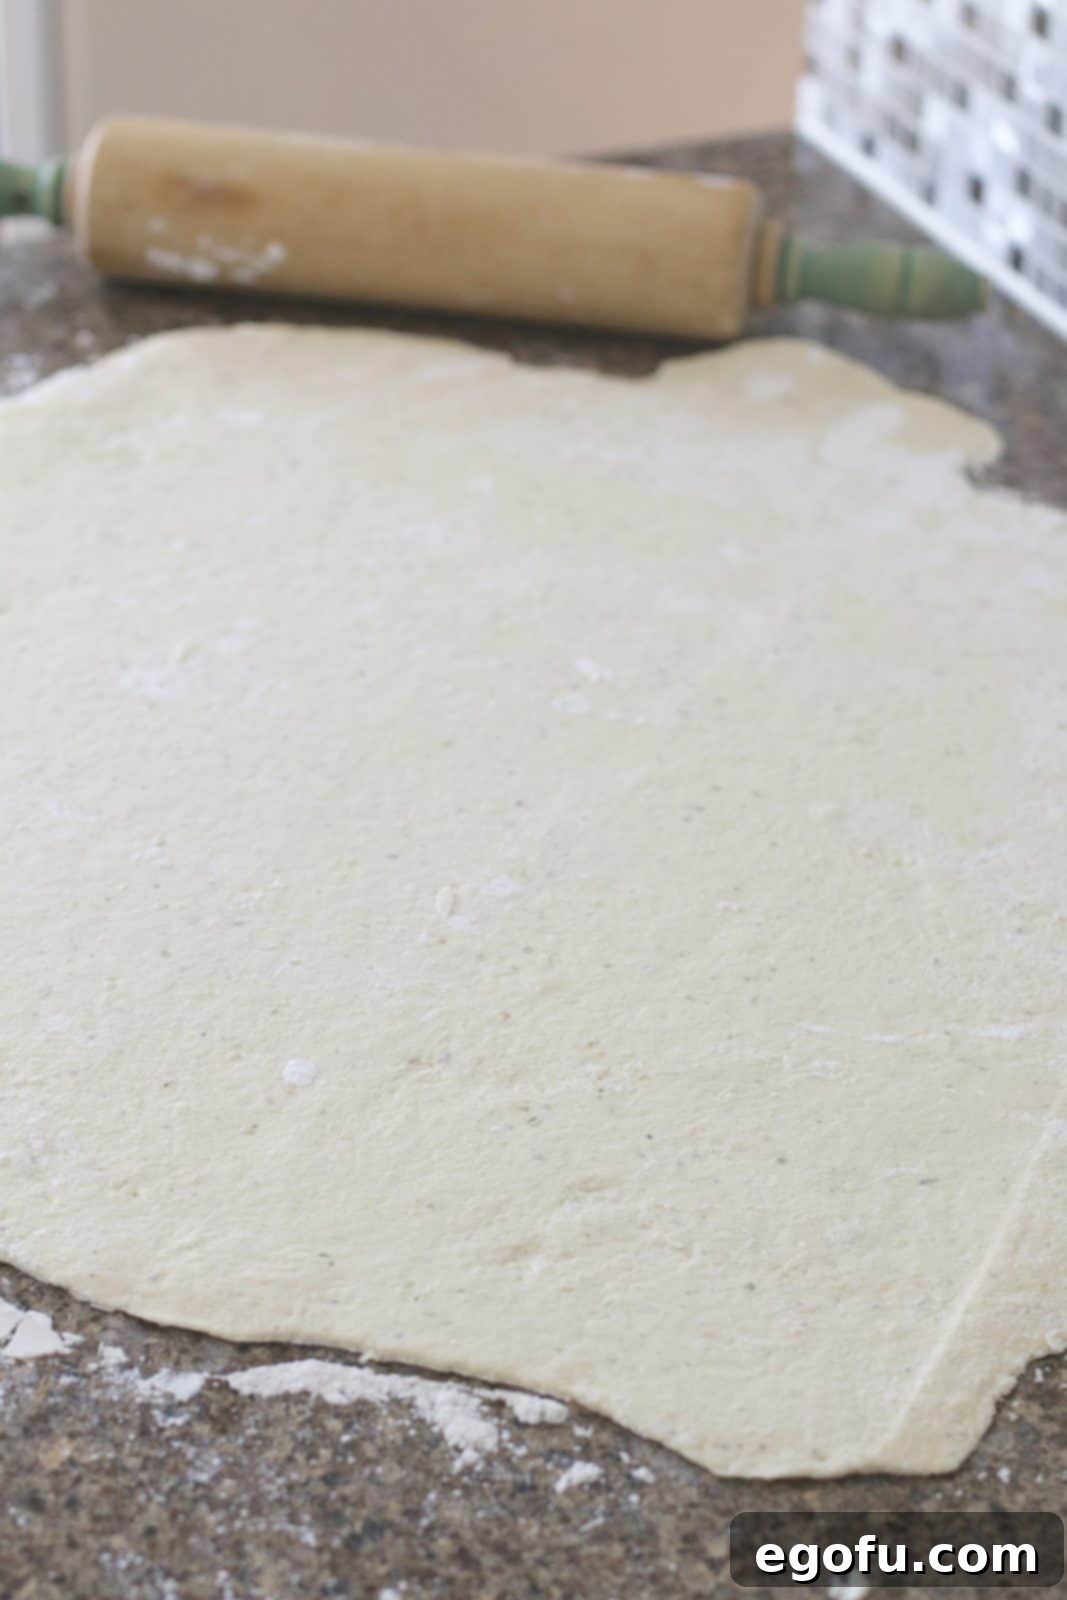
Gently kneading the dough to achieve the perfect consistency. Roll Out the Dough: Using a rolling pin, roll out the dough to an even thickness of approximately ½-inch. Aim for uniformity to ensure even baking. If the dough springs back too much, let it rest for a few minutes before continuing to roll.

Evenly rolled out dough, ready for cutting. Cut Out Circles: Take a 3-inch biscuit cutter, or a similarly sized drinking glass or bowl, and cut out as many dough circles as possible. Gather the scraps, gently re-knead them, and roll them out again to cut more circles until all the dough is used.

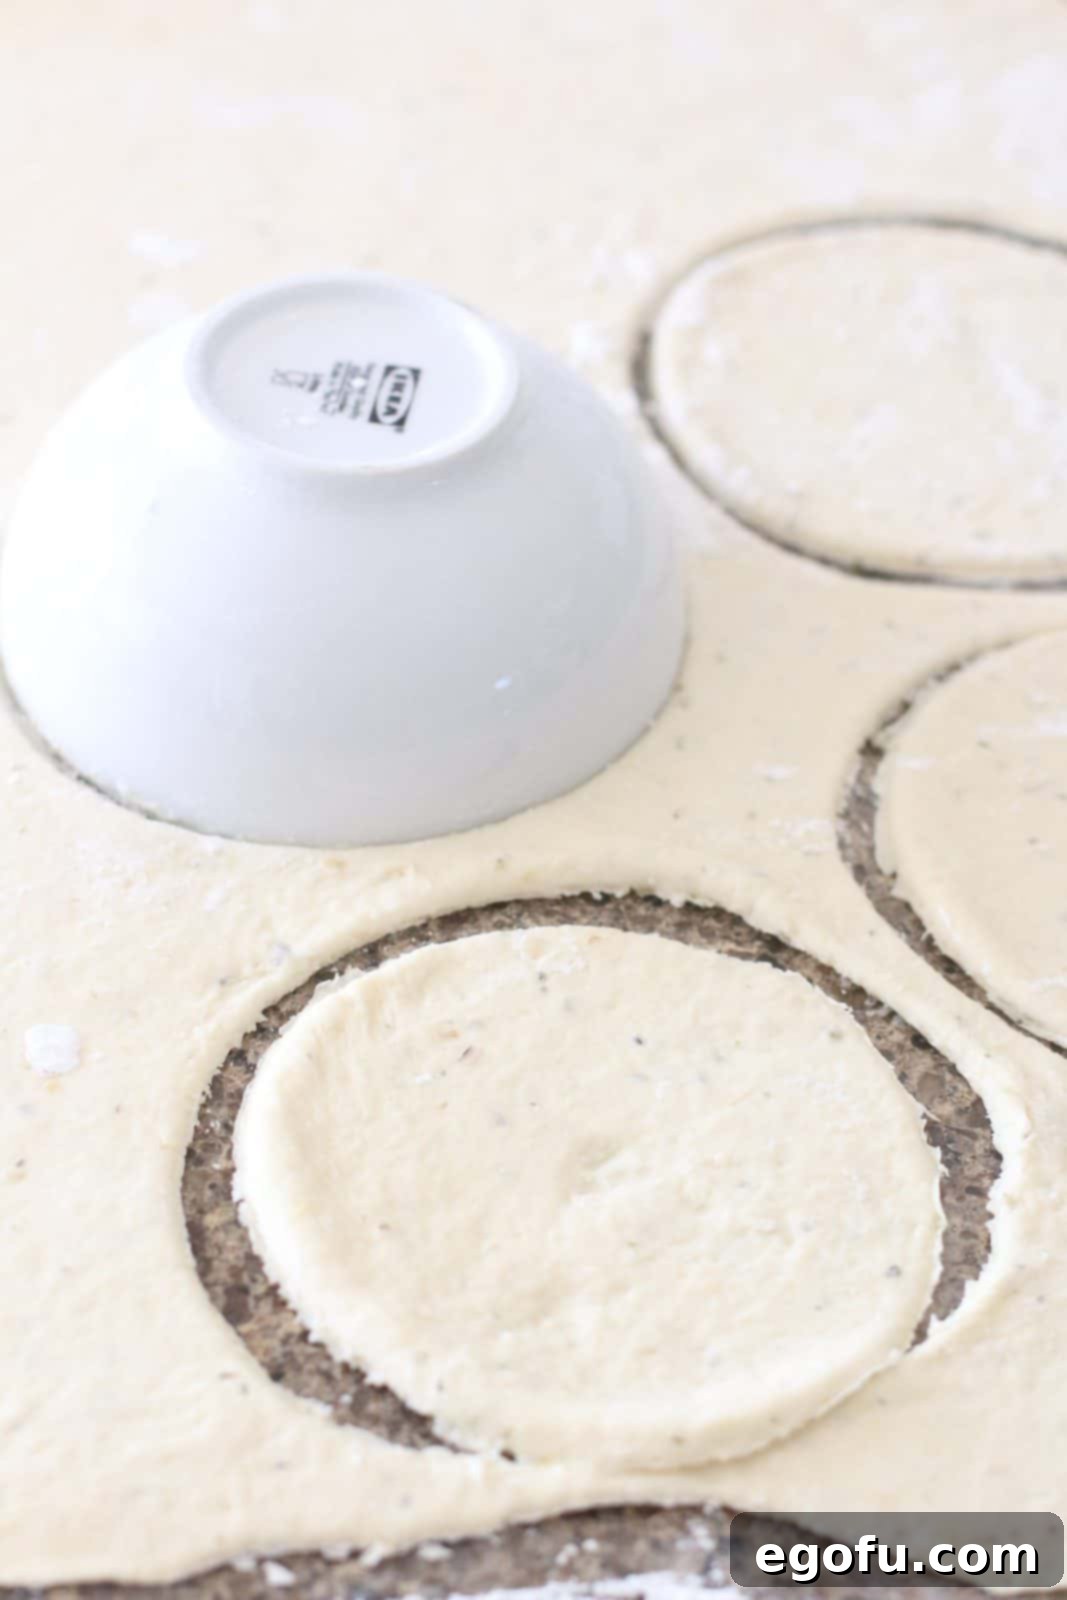
Using a biscuit cutter to create uniform dough circles. Prepare the Crust Circles: After cutting, you may need to gently press or roll out each individual dough circle a bit more to achieve a slightly larger, thinner base that can comfortably hold the fillings. The dough is quite stretchy, which will be helpful when sealing. Place these prepared crust circles onto your nonstick or parchment-lined baking sheets, leaving a little space between each.

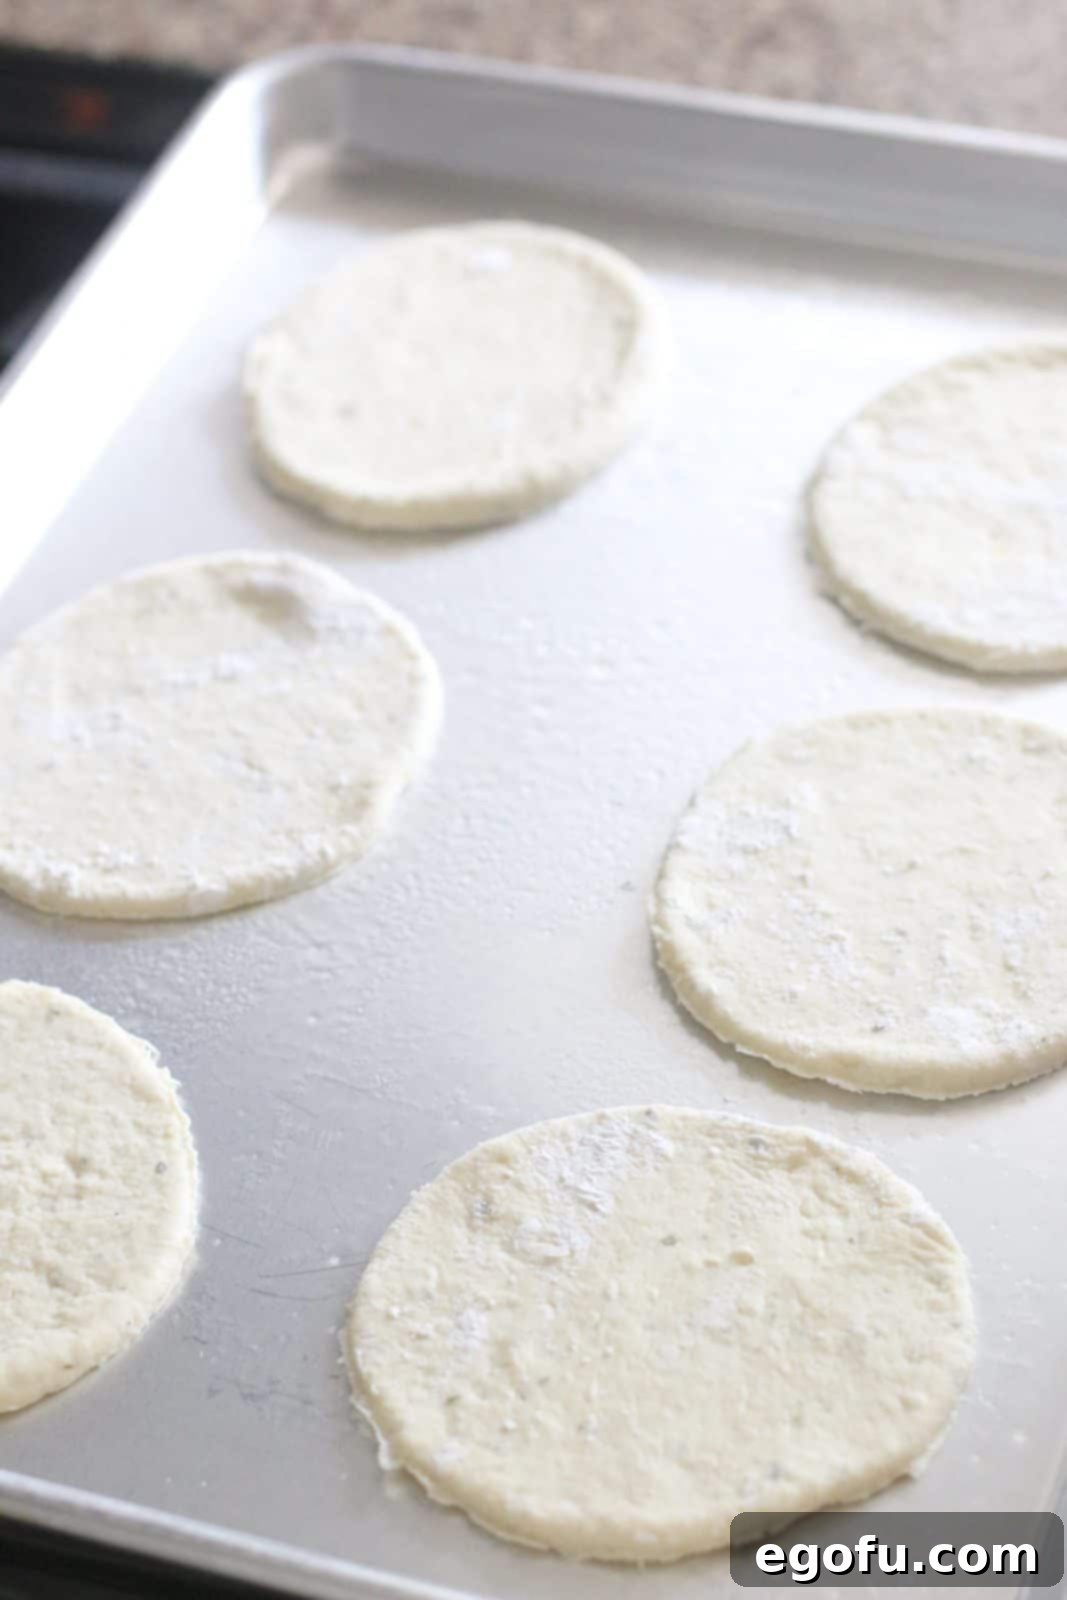
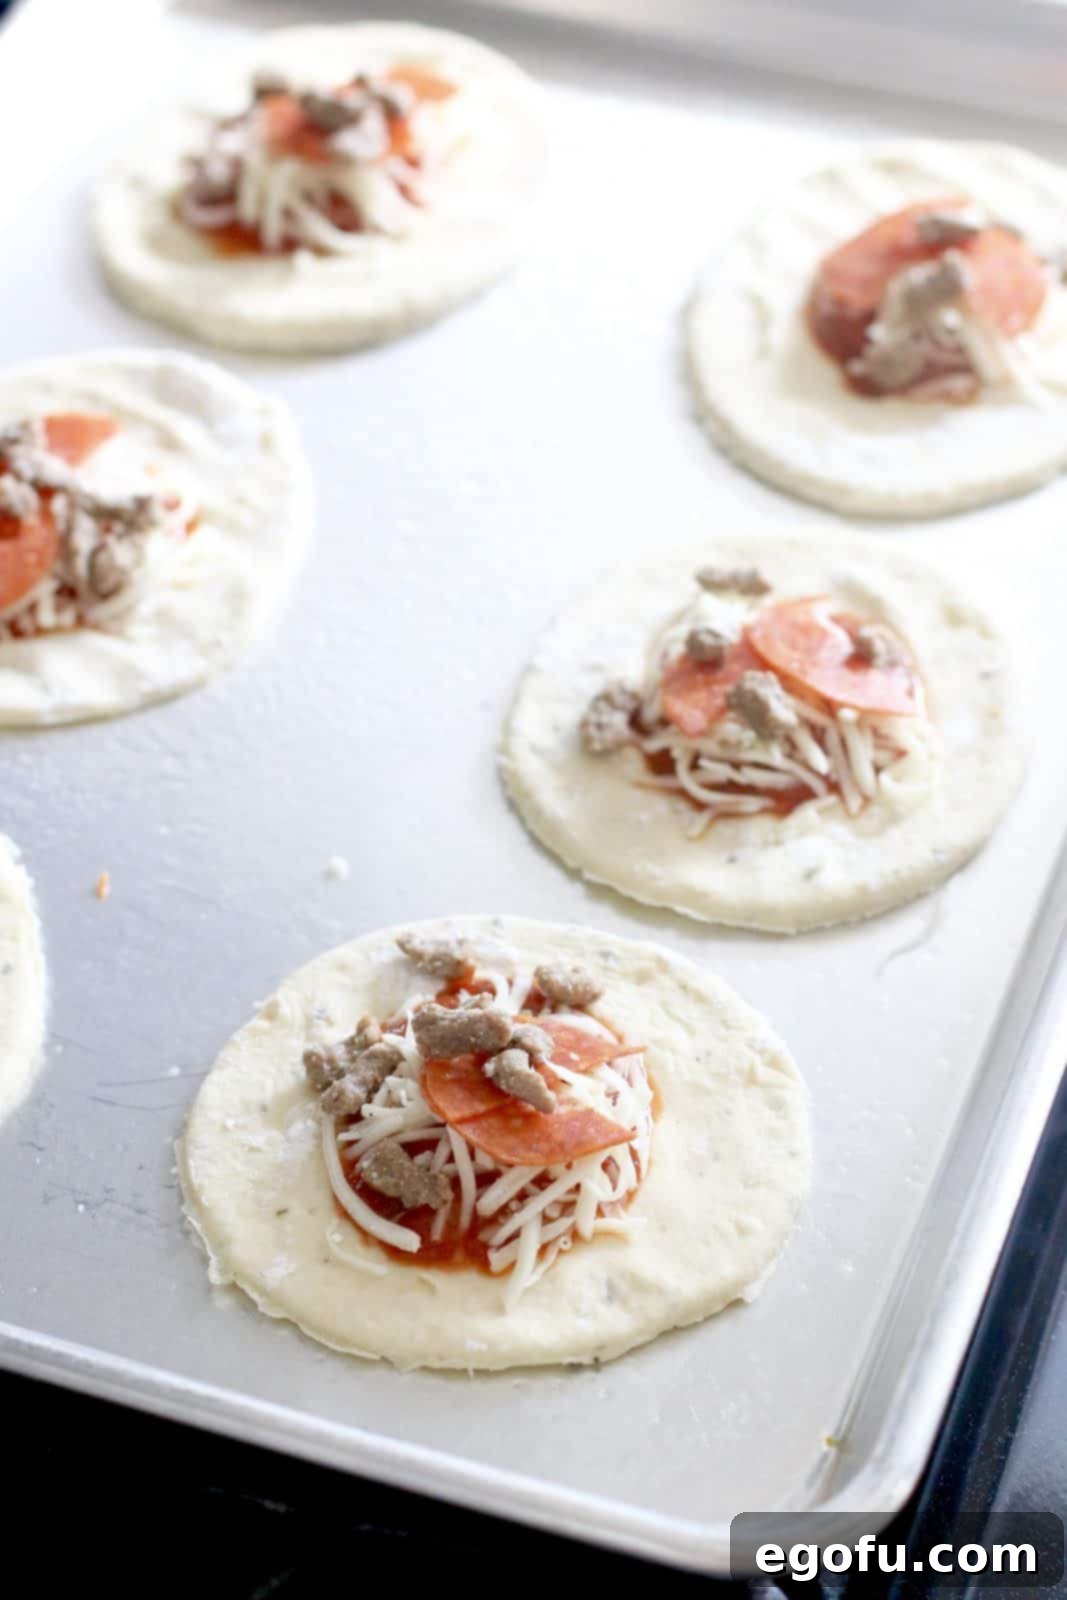
Dough circles are placed on a baking sheet, ready for their savory fillings. Add the Filling: Spoon about one tablespoon of pizza sauce onto the center of each dough circle. Be careful not to overfill, as this can make sealing difficult. Next, add approximately one tablespoon of shredded mozzarella cheese, followed by a slice of pepperoni, and finally, about one tablespoon of cooked and crumbled sausage.

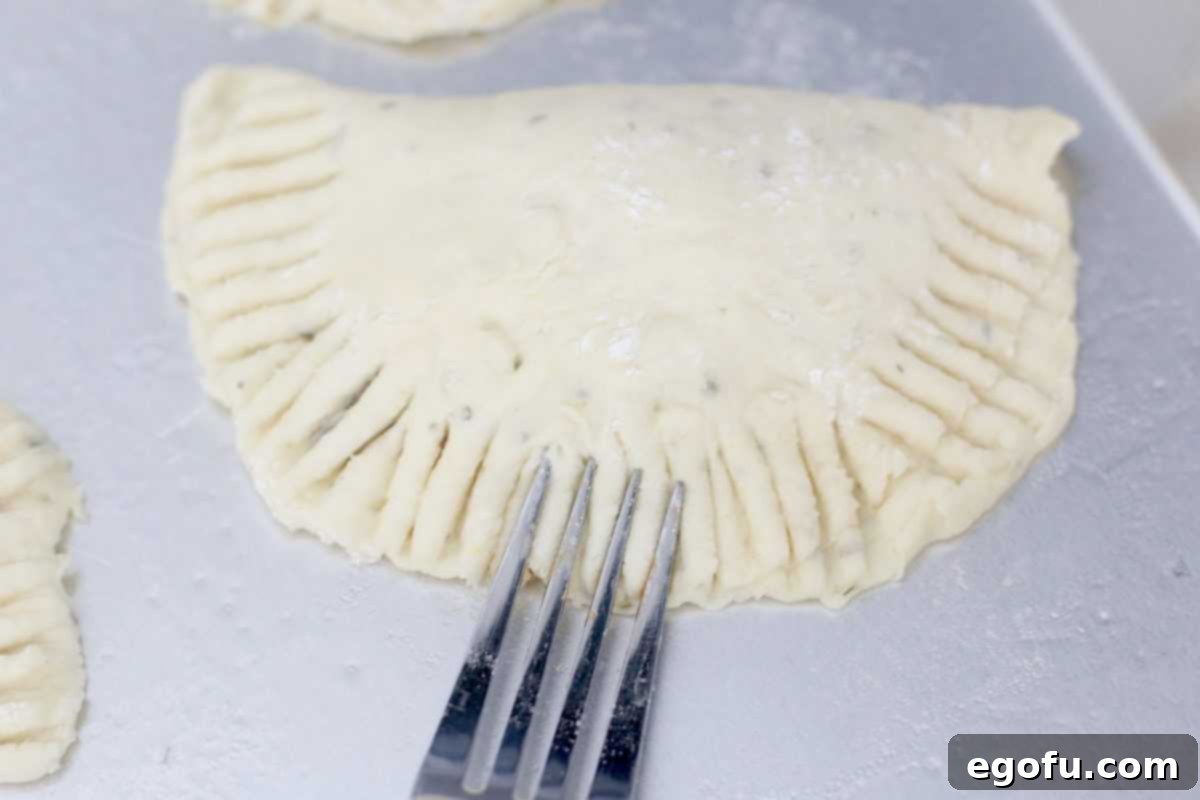
Filling the dough circles with delicious pizza toppings. Fold and Seal: Carefully fold each dough circle in half over the filling, creating a semi-circle. Gently press the edges together with your fingers to seal. To ensure a tight seal that will hold during baking, use the tines of a fork to crimp all around the curved edge of each pocket. If the dough seems dry and won’t seal, lightly dab your fingers with a little water before pressing the edges together.

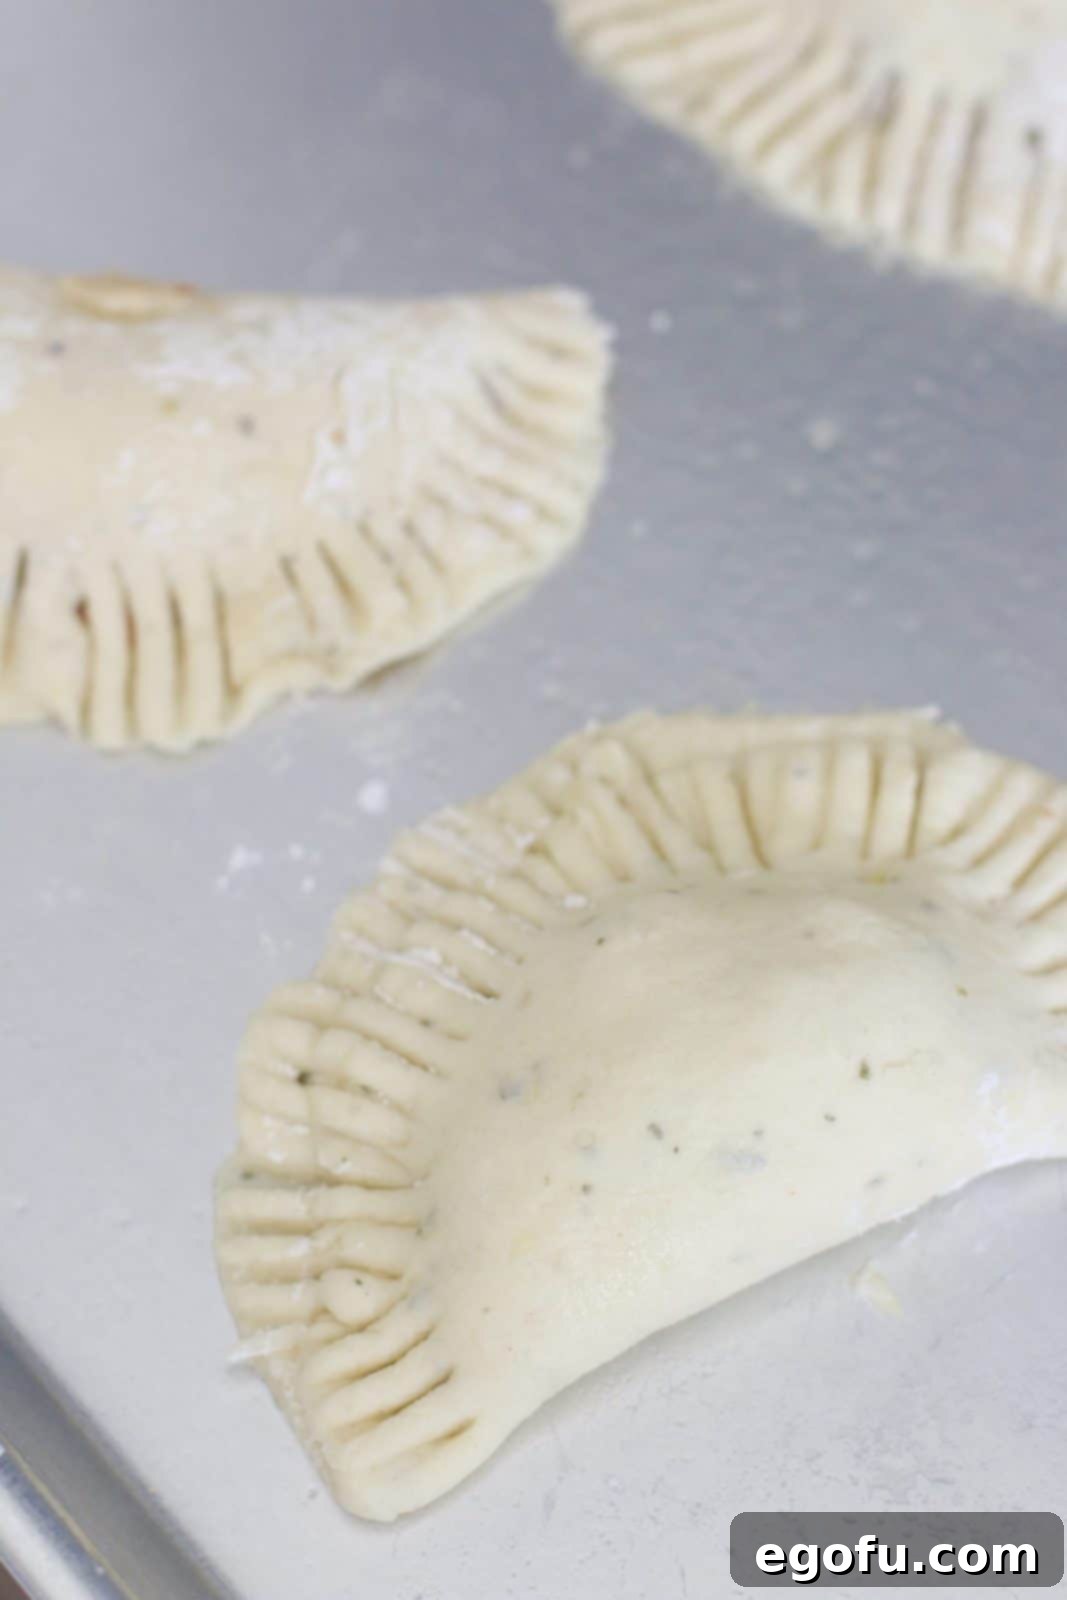
Using a fork to crimp and seal the edges of a pizza pocket. Ready for Baking: Once all your pizza pockets are filled and sealed, they are ready for the oven. Make sure they are arranged evenly on the baking sheets.

Prepared pizza pockets, waiting for their turn in the oven. Bake to Perfection: Bake the pizza pockets in the preheated 450°F (230°C) oven for 13-15 minutes, or until the crust is beautifully lightly browned and the filling is bubbling. The exact baking time may vary slightly depending on your oven. Once baked, remove them from the oven and transfer to a wire rack.

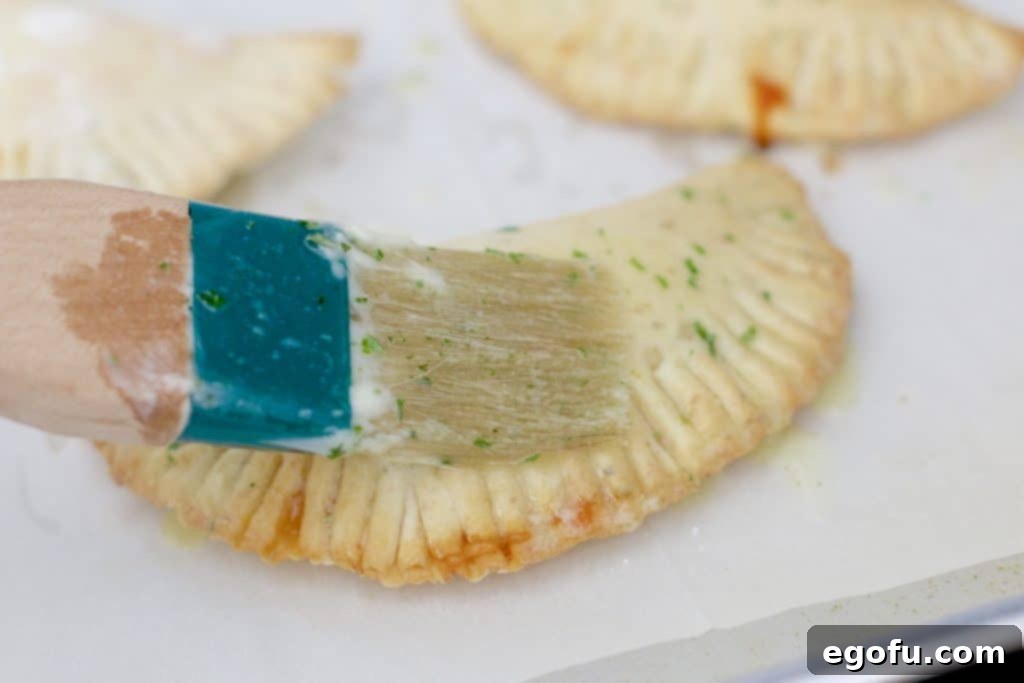
Brushing warm pizza pockets with melted butter for a golden sheen. Optional Finishing Touch: For an extra layer of flavor and a beautiful sheen, brush the tops of the warm pizza pockets with melted butter and sprinkle with dried parsley immediately after they come out of the oven. This step adds a lovely aroma and makes them even more appealing.

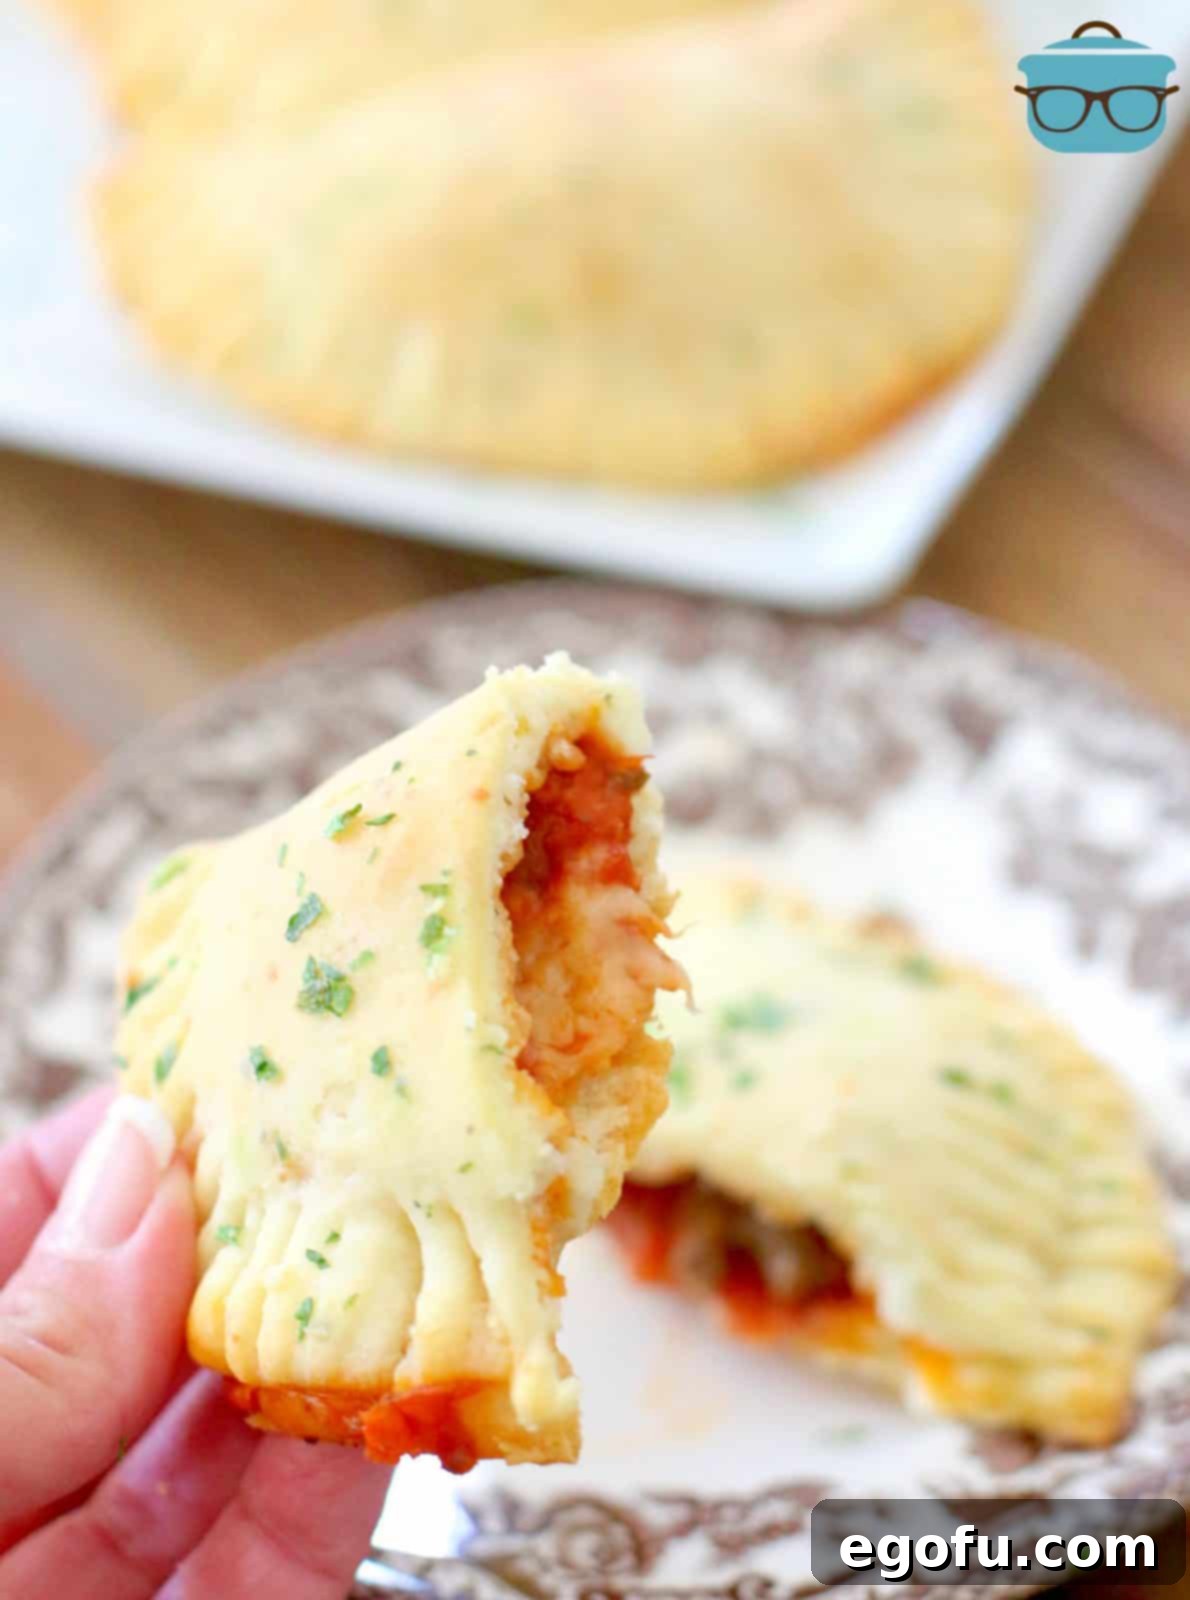
A cross-section revealing the irresistible, gooey filling. Serve and Enjoy: Serve your homemade pizza pockets warm, ideally with a side of warmed pizza sauce for dipping. This adds an extra burst of flavor and a fun element, especially for kids. Enjoy these fresh from the oven or follow the freezing instructions above for future meals!
Tips for Pizza Pocket Perfection & Customization
Achieving the perfect homemade pizza pocket is easier with a few expert tips:
- Don’t Overfill: While it’s tempting to cram in as much filling as possible, overfilling can lead to pockets bursting during baking or being difficult to seal. Stick to the suggested tablespoon amounts for a neat and secure pocket.
- Experiment with Fillings: The beauty of homemade is customization! Try different cheeses like provolone or a blend, various meats such as cooked ground beef, shredded chicken, or ham, and an array of vegetables like sautéed onions, bell peppers, or spinach (make sure veggies are cooked and excess moisture squeezed out).
- Spice It Up: Add a pinch of red pepper flakes to your pizza sauce for a bit of a kick, or incorporate different herbs like oregano or basil into your dough or topping.
- Vegan/Vegetarian Options: Easily adapt this recipe by using plant-based cheese, vegan pepperoni, and a variety of vegetables like roasted bell peppers, mushrooms, olives, or sun-dried tomatoes. Ensure your dough is also dairy and egg-free if going fully vegan (you’d need to adapt the dough recipe significantly, replacing eggs with a flax egg or similar, and dairy milk with plant-based milk).
- Storage & Reheating: Remember the detailed freezing instructions for meal prep. Always allow pockets to cool completely before freezing to maintain quality.
Craving More Delicious Recipes?
If you loved these homemade pizza pockets, explore these other fantastic recipes:
- Homemade Pizza Sauce
- Cheesy Pizza Skillet Dip
- Taco Pockets
- Disney World Pepperoni Spring Rolls
- Cheesy Pepperoni Pizza Bread
- Easy Pepperoni and Sausage Stromboli
- Pizza Pasta Bake
- Pizza Kabobs
- Easy Baked Spaghetti
- Bubble Up Pizza
- Pepperoni Chicken
- Homemade Spaghettios
- The Best Cheese Toast

Homemade Pizza Pockets
Homemade Pizza Pockets are made from a simple homemade pizza dough recipe filled with sauce, pepperoni, sausage and cheese. So good!
45 minutes
15 minutes
1 hour
9
Brandie Skibinski
Pin Recipe
Ingredients
For the dough:
- 2 eggs
- ¾ cup milk
- ½ teaspoon minced garlic
- 3 cups all-purpose flour
- ½ cup grated parmesan cheese
- ½ teaspoon salt
- 1 ½ Tablespoons baking powder
- 1 teaspoon Italian seasoning
- ½ cup cold salted butter (1 stick), cubed
For the filling:
- 14 ounce jar pizza sauce
- 1 ½ cups shredded mozzarella cheese
- 18 slices pepperoni
- 1 cup cooked and crumbled sausage
Optional crust topping:
- ½ cup salted butter (1 stick), melted
- 1 Tablespoon dried parsley
Instructions
- Preheat oven to 450°F (230°C). Spray two baking sheets with nonstick cooking spray (or line with parchment paper).
- In a small bowl, whisk together eggs, milk and garlic.
- In a separate larger bowl, combine flour, parmesan cheese, salt, baking powder and Italian seasoning.
- Using a fork or a pastry blender, begin cutting the cubed butter into the flour mixture until no large clumps remain.
- Stir the egg mixture into the flour mixture.
- Mix until dough comes together into a loose ball. (An electric mixture with a dough attachment can make this easier.)
- Dump the dough ball onto a large, floured countertop.
- Knead the dough ten times (turning it over onto itself and turning 90 degrees each time). Add additional flour as necessary to keep it from sticking.
- Using a rolling pin, roll out dough to about ½-inch thickness.
- Take a 3-inch biscuit cutter (or similar size glass or bowl), and cut out circles from the dough.
- After cutting out the circles, press them down or roll them out some more to make them large enough to hold all the fillings. (This dough stretches easily, which helps with closing it over the fillings.)
- Place the crust circles on prepared baking sheets.
- Spoon a tablespoon of pizza sauce onto the middle of the dough circles.
- Then add a tablespoon of shredded cheese, a slice of pepperoni and a tablespoon of crumbled sausage.
- Carefully fold the crust in half and press together the edges.
- Take a fork and go around the edges to make sure they seal closed. If necessary, add a bit of water to the seals with your finger to help them stay sealed.
- Bake at 450°F (230°C) for 13-15 minutes until the crust is lightly browned. Continue until all pizza pockets are made.
- Optional: Brush tops of warm pizza pockets with melted butter and sprinkle with dried parsley.
Notes
- Serve with warmed pizza sauce for dipping.
- These can be frozen after cooking and reheated in the microwave, oven, or air fryer as needed.
Main Course, Snack
American, Italian-American
Nutrition (Estimated per serving)
Calories: 500kcal | Carbohydrates: 35g | Protein: 16g | Fat: 33g | Sodium: 688mg | Fiber: 1g | Sugar: 1g
Nutritional Disclaimer: The nutritional information provided is an estimate. It can vary significantly based on specific brands used, preparation methods, and ingredient substitutions. For precise nutritional values, it is recommended to calculate them using your preferred online nutritional calculator.
Did you make this recipe?
Share it on Instagram @thecountrycook and mention us #thecountrycook!

