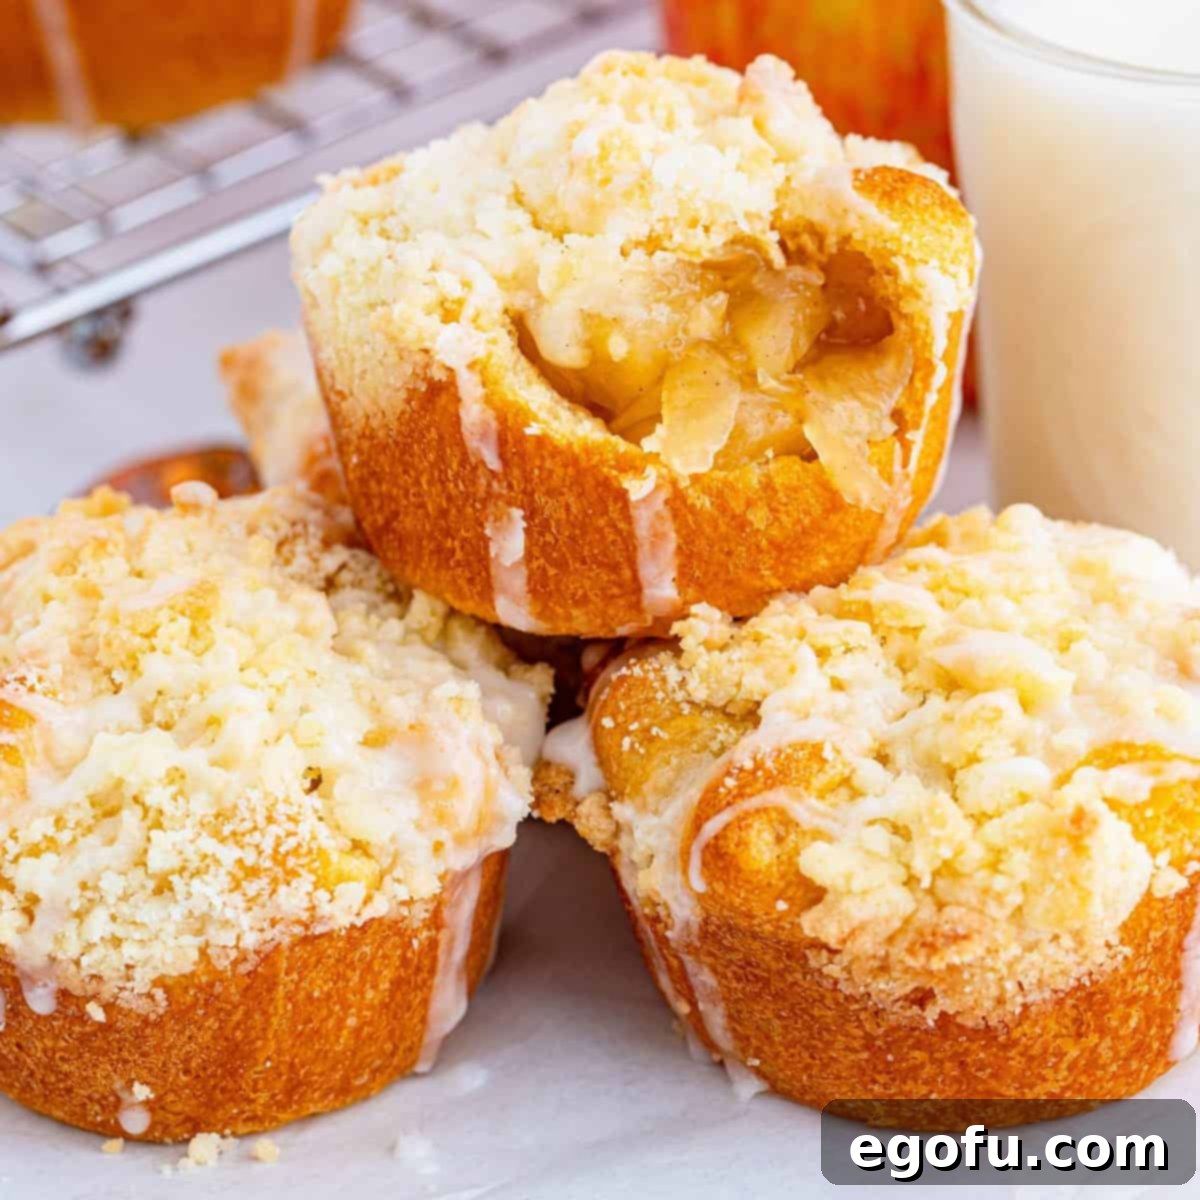
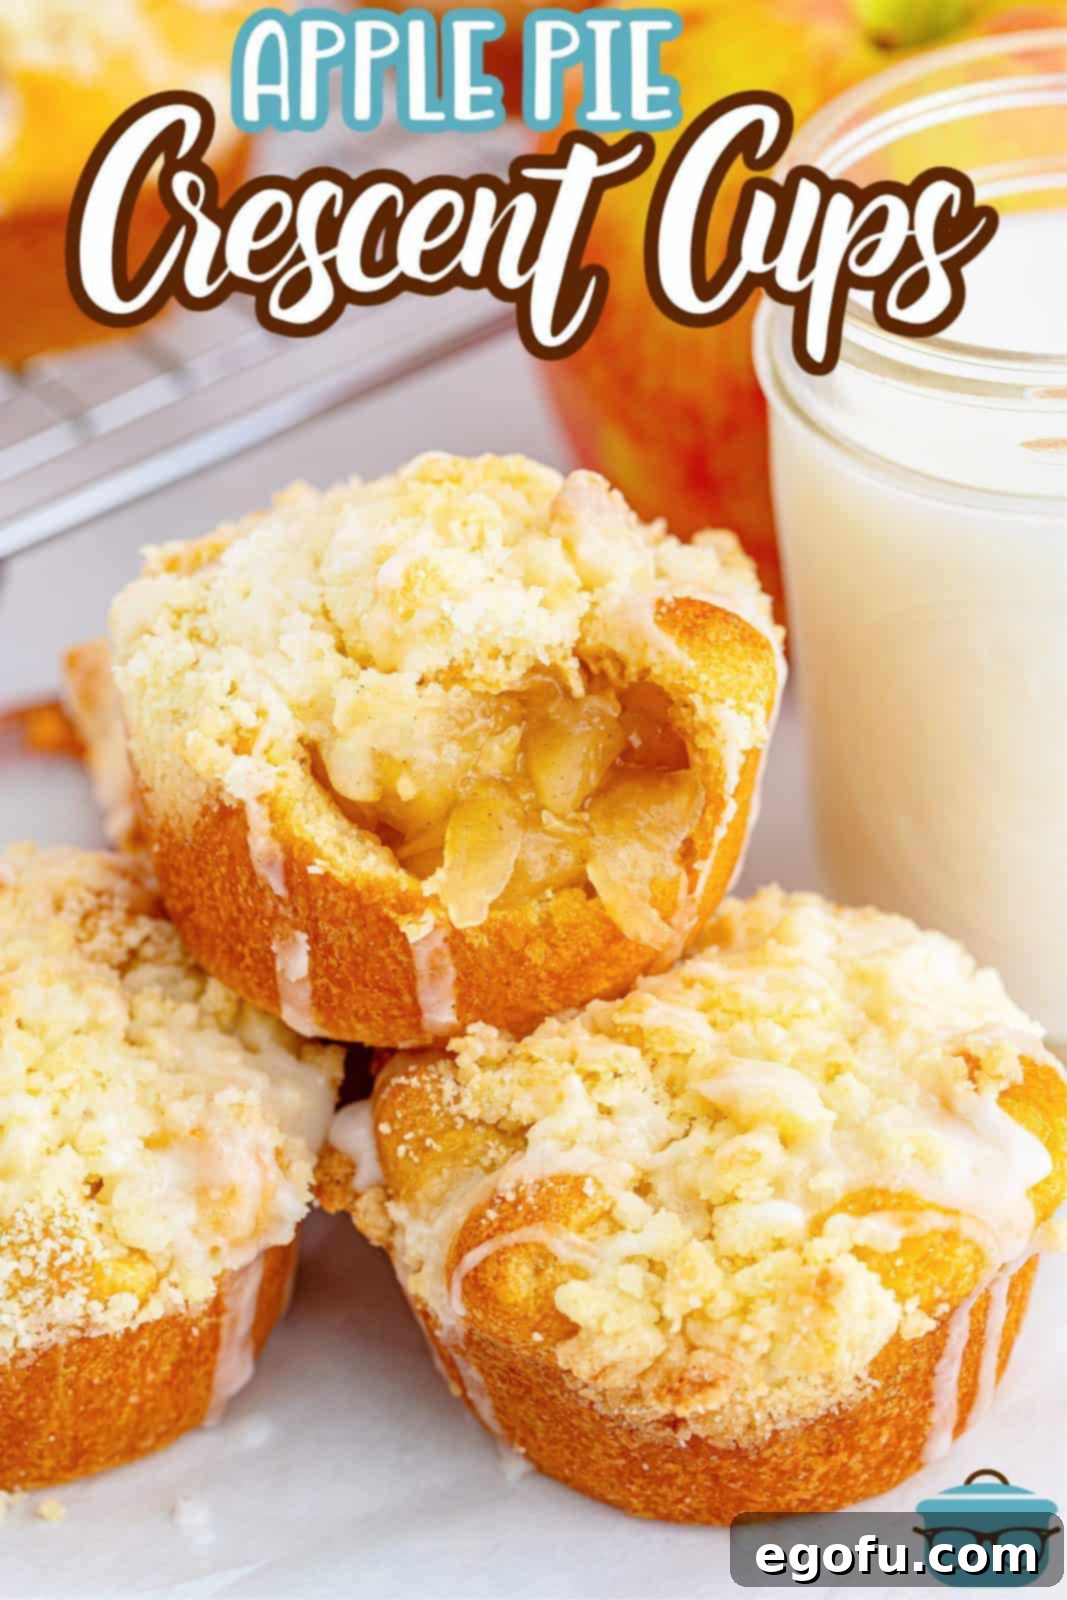
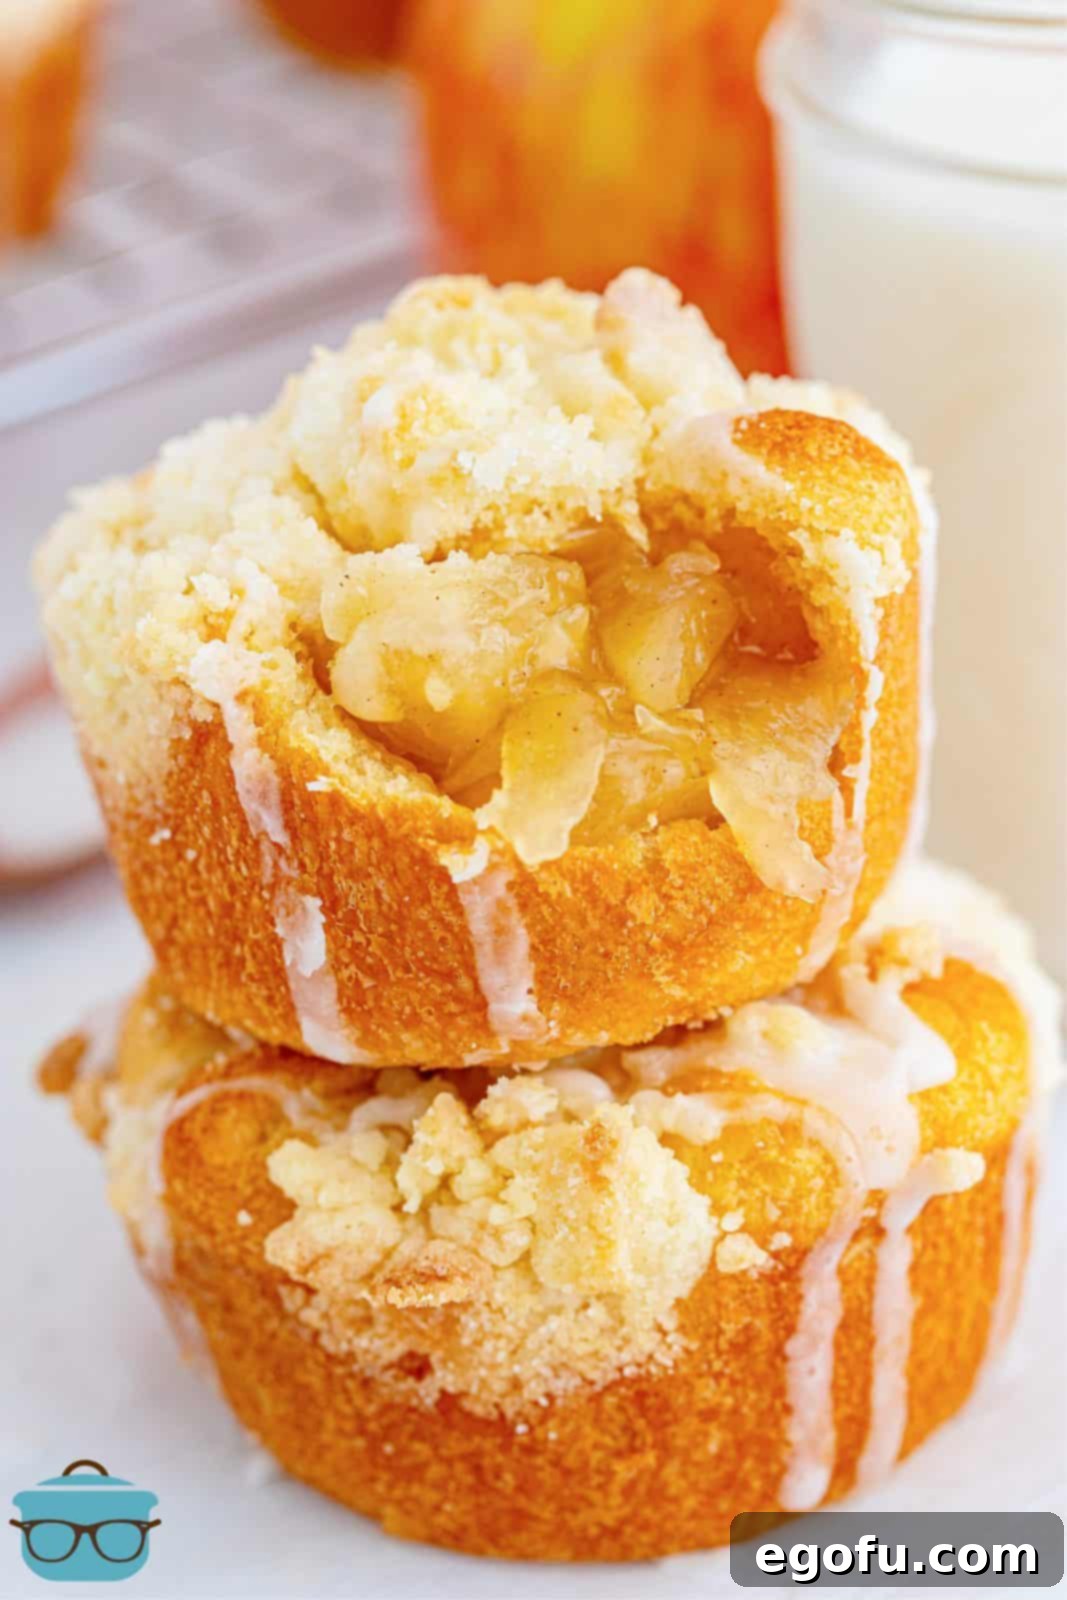
The irresistible scent of freshly baked apple pie often signals comfort, warmth, and the arrival of autumn. But what if you could enjoy all that classic flavor in a fraction of the time, in a perfectly portioned, handheld delight? Look no further than these Easy Apple Pie Cups! These delightful treats are a true game-changer for anyone craving a quick, satisfying dessert. They encapsulate the beloved taste of traditional apple pie, complete with a tender, flaky crust, sweet apple filling, and a delightful crumble topping, all finished with a smooth, sugary glaze. Designed for maximum flavor with minimal effort, these cups are destined to become your go-to recipe for fall gatherings, impromptu dessert cravings, or simply a cozy evening indulgence.
A Deliciously Simple Handheld Fall Treat
There’s something uniquely comforting about apple desserts, and I confess, I’m completely smitten with all things apple. My Butter Crumble Apple Pie holds a special place in my heart, and these Easy Apple Pie Cups are like its charming, miniature cousins. They capture the essence of that beloved pie but in a convenient, individual serving. With just a handful of everyday ingredients and minimal prep time, this recipe comes together in a snap, making it perfect for busy bakers. As soon as the leaves begin to change, my kitchen transforms into an apple haven. Having a reliable, easy apple recipe on hand is a must for the season, and if you’re searching for a scrumptious dessert that offers all the joy of apple pie without the extensive labor, these Easy Apple Pie Cups are an absolute must-try!
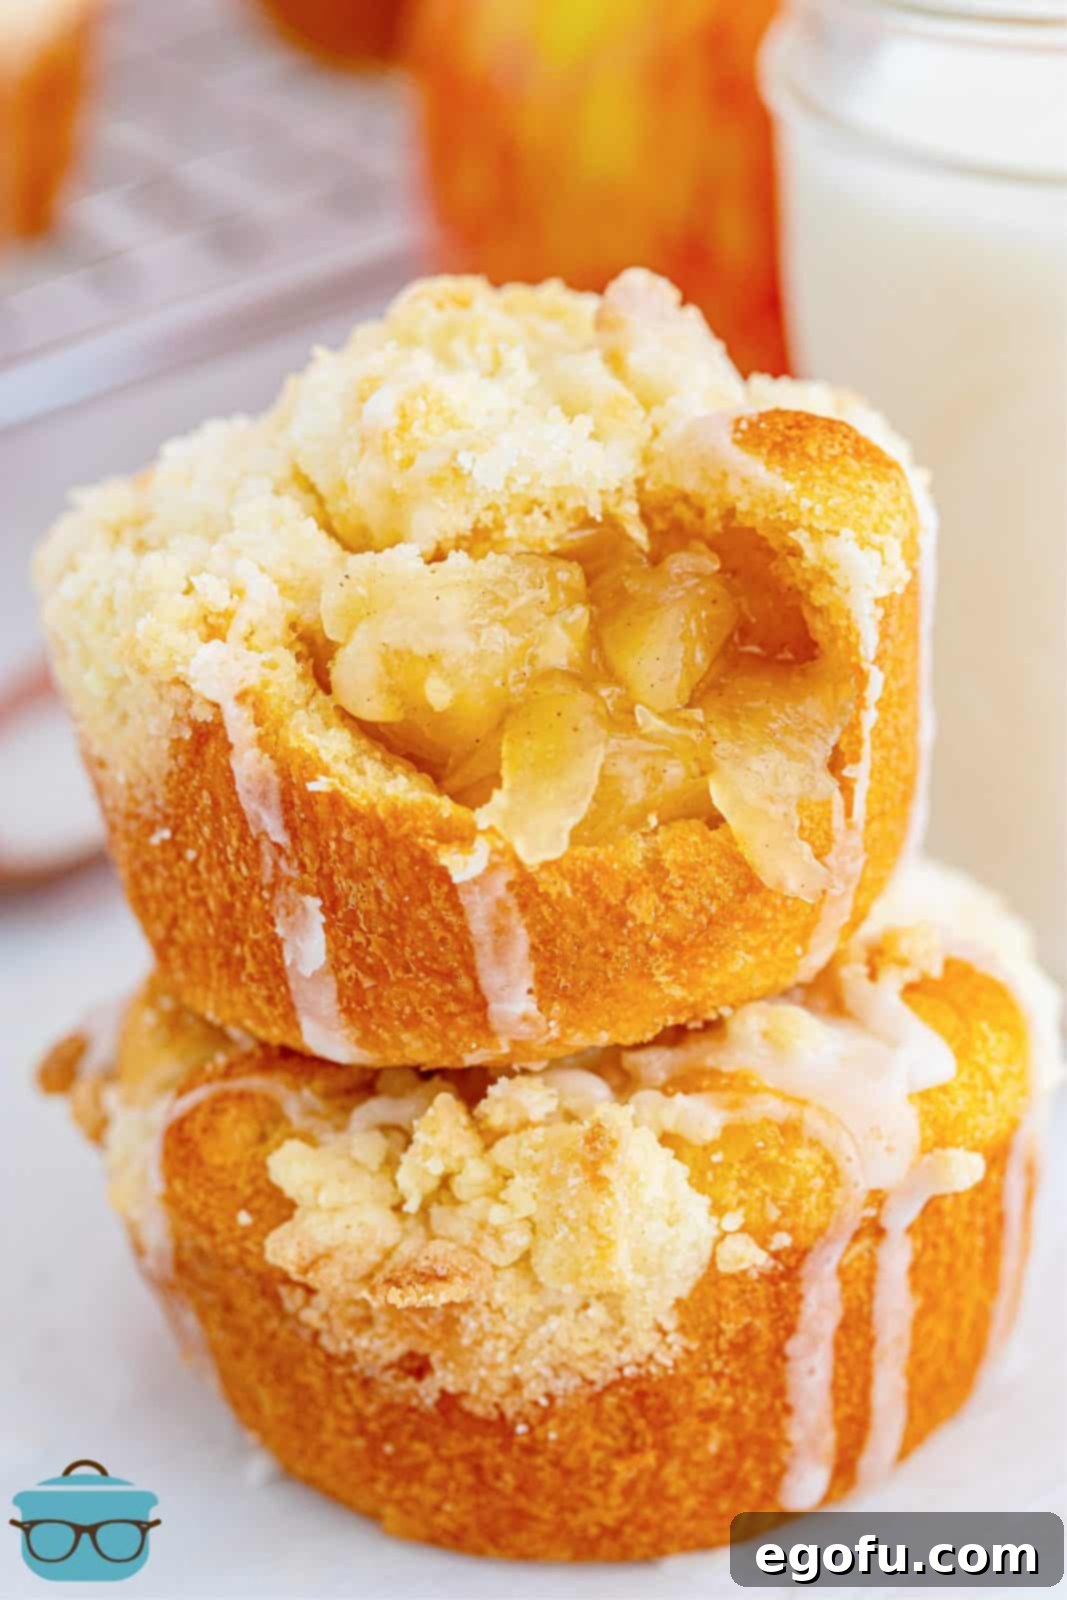
Frequently Asked Questions About Apple Pie Cups
While a food processor speeds up the process of chopping the apple pie filling, it’s certainly not essential. If you don’t own one, simply use a sharp knife to finely chop the canned apples directly in the can or transfer the filling to a bowl and use a potato masher to break down the larger apple chunks. The goal is to get smaller, more manageable pieces that fit neatly into your crescent dough cups. For a visual example of a similar technique, you can reference my Crescent Roll Apple Danishes recipe.
Absolutely! If crescent dough sheets aren’t available or you simply prefer using regular crescent rolls, they will work perfectly fine. The key is to unroll the crescent rolls and firmly pinch together all the perforations to create a solid sheet of dough before cutting it into sections. This ensures your apple pie cups hold their shape and the filling stays securely inside during baking.
To elevate the flavor profile, consider adding a sprinkle of ground cinnamon, a dash of nutmeg, or even a pinch of allspice to your apple pie filling before assembling the cups. These warm spices complement the apples beautifully. You can also incorporate a touch of cinnamon into the glaze for an extra layer of aromatic sweetness. Adjust the amount to your personal preference for a bolder or more subtle spice note.
Yes, this recipe is incredibly easy to scale up! You can effortlessly double or even triple the ingredients to make more apple pie cups for a crowd or for meal prepping. If you’re making a larger batch, you might need to use two muffin tins or bake them in batches, rotating the tins halfway through baking to ensure even browning. Always ensure each cup has enough space to bake properly.
Of course! If you have a cherished homemade apple pie filling recipe, feel free to use it. Using homemade filling allows for custom control over the apple variety, sweetness, and spice level, adding an extra personal touch to your apple pie cups. Just ensure your homemade filling has a similar consistency to canned filling for optimal results in the muffin tin.
To keep your apple pie cups fresh, store them in an airtight container at room temperature for up to 1-2 days. For longer storage, these cups freeze wonderfully. Place them in a freezer-safe container or bag, and they’ll remain good for up to 2 months. When ready to enjoy, simply defrost them in the refrigerator overnight. If you plan to freeze them, I highly recommend doing so before adding the glaze, then glaze them fresh after thawing for the best presentation and texture.
Essential Ingredients for Your Apple Pie Cups
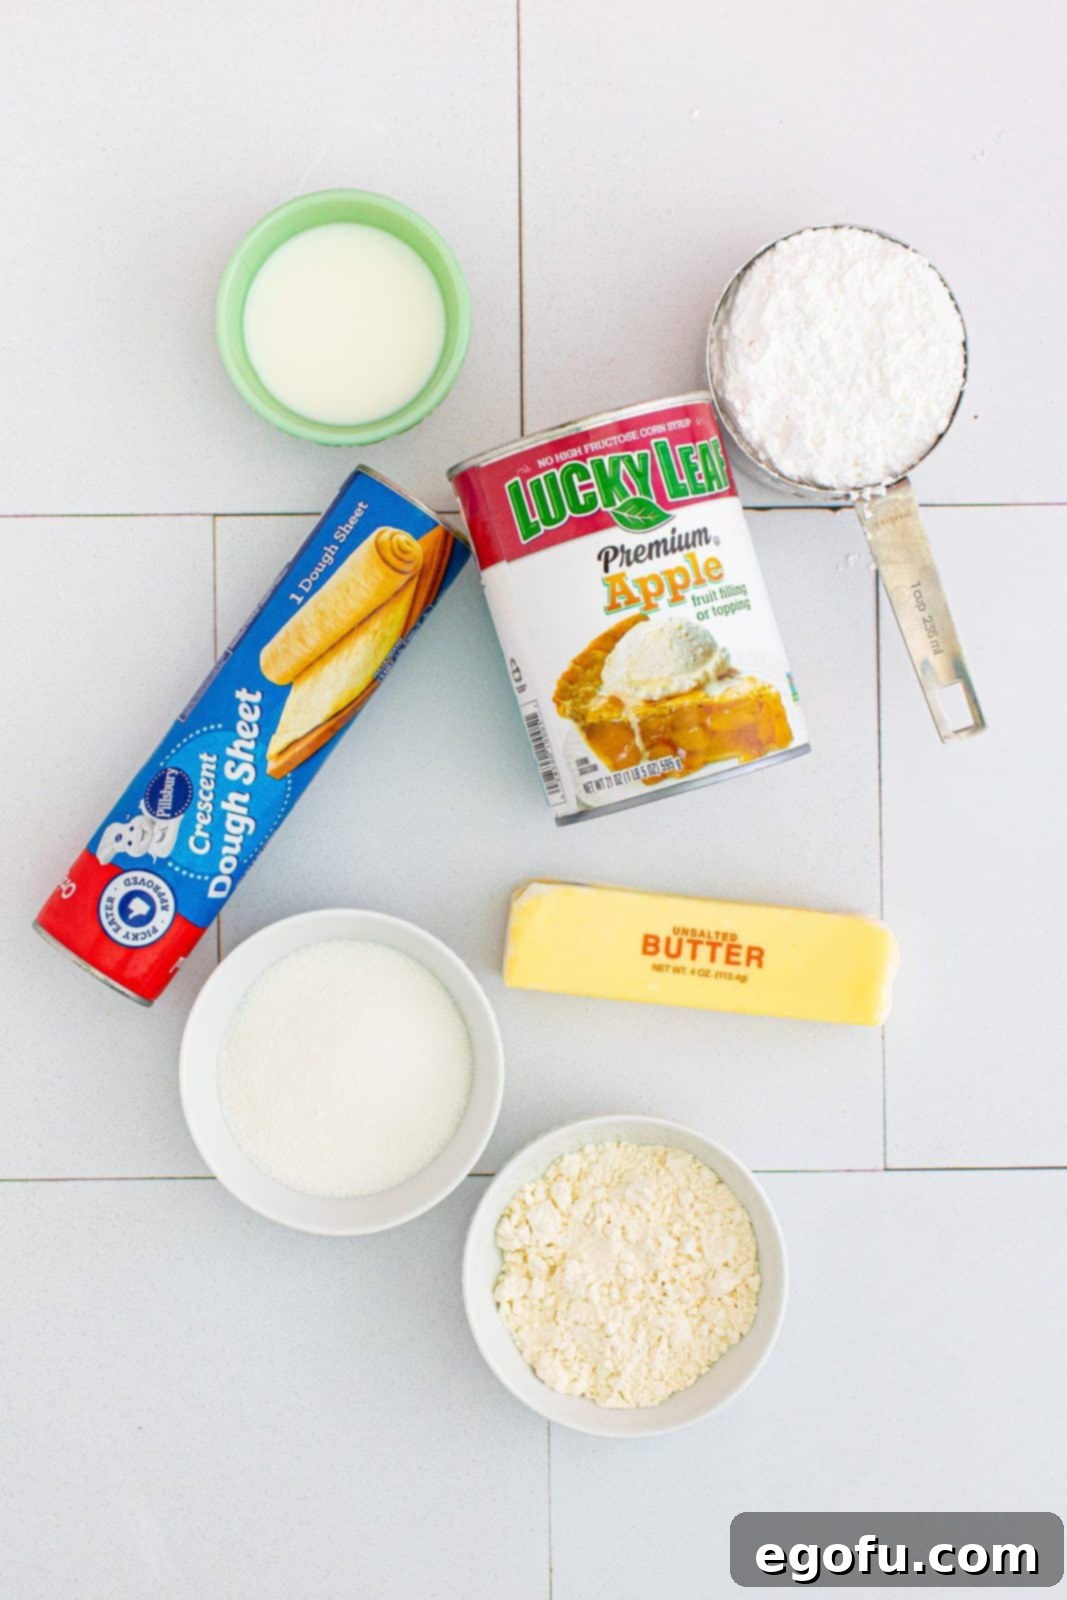
Gathering your ingredients is the first step to creating these delightful handheld treats. You’ll be surprised how few items you need to achieve such incredible flavor and texture. Here’s a quick overview of what you’ll need:
- Canned apple pie filling: The ultimate shortcut for quick prep.
- Granulated sugar: For the perfect crumble topping.
- All-purpose flour: The base for our irresistible crumb.
- Unsalted butter (cold): Crucial for a tender, flaky crumble.
- Crescent roll dough sheet: Provides the convenient and delicious “crust.”
- Powdered sugar: For the simple, sweet glaze.
- Whole milk: To create the smooth, pourable glaze.
How to Make Easy Apple Pie Cups: A Step-by-Step Guide
Creating these apple pie cups is a straightforward and enjoyable process. Follow these simple steps to bring your delicious dessert to life:
- Preheat your oven to 375°F (190°C). Prepare an 8-section muffin tin by generously spraying each cup with baking spray. Use a pastry brush to ensure the spray is evenly distributed and coats the entire inside of each cup. Set the prepared muffin tin aside.
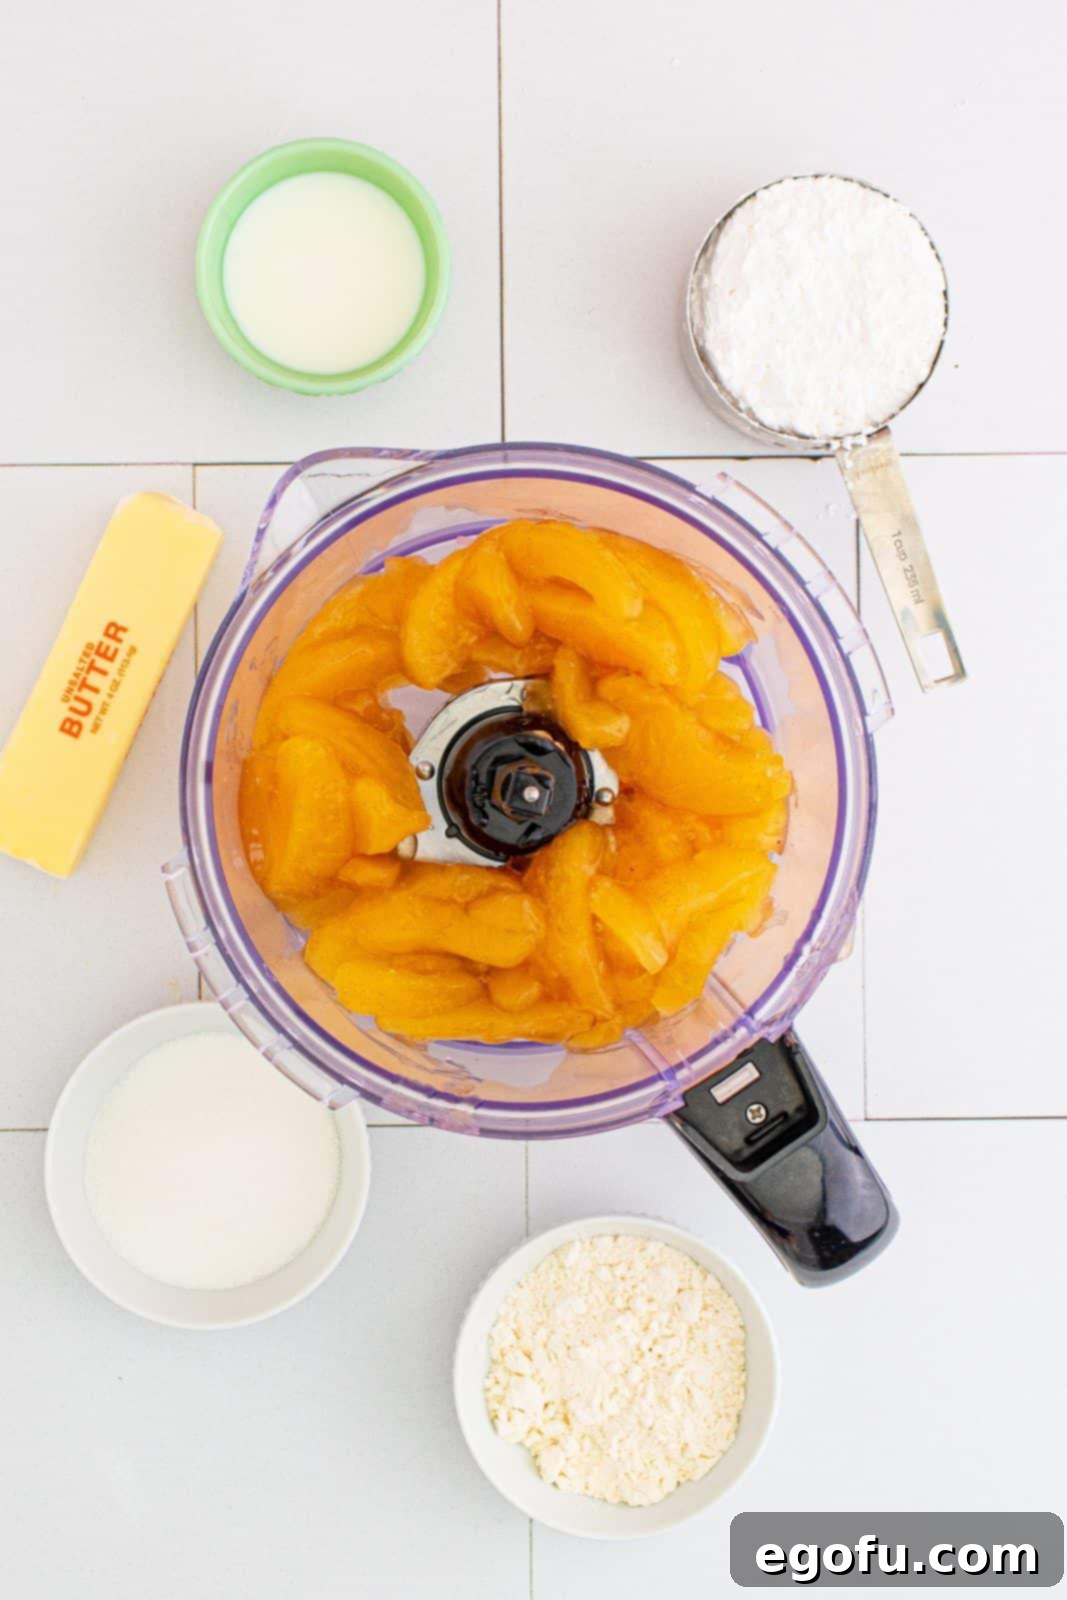
- Carefully open the can of apple pie filling and transfer its contents into a food processor.
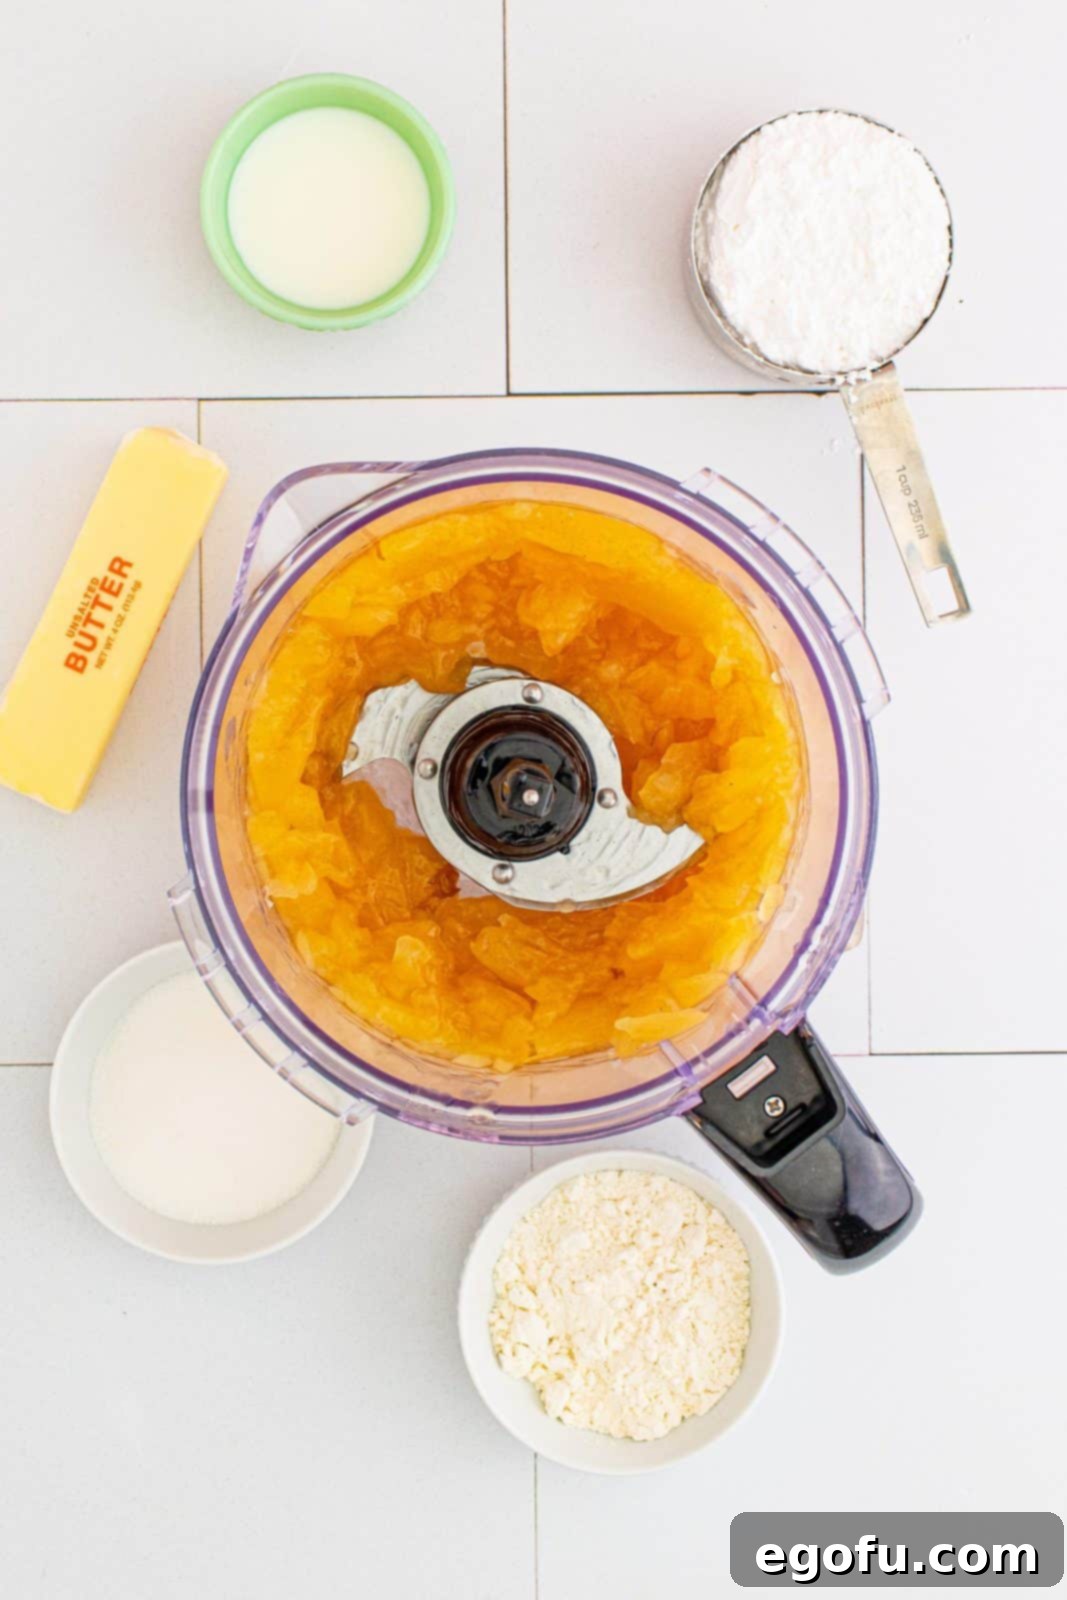
- Pulse the apple pie filling in the food processor about 8 times, or until the apples are roughly chopped into smaller, more uniform pieces. This creates a better texture for your cups. If you don’t have a food processor, use a sharp knife to chop the apples or a potato masher in a bowl. Set the chopped filling aside.
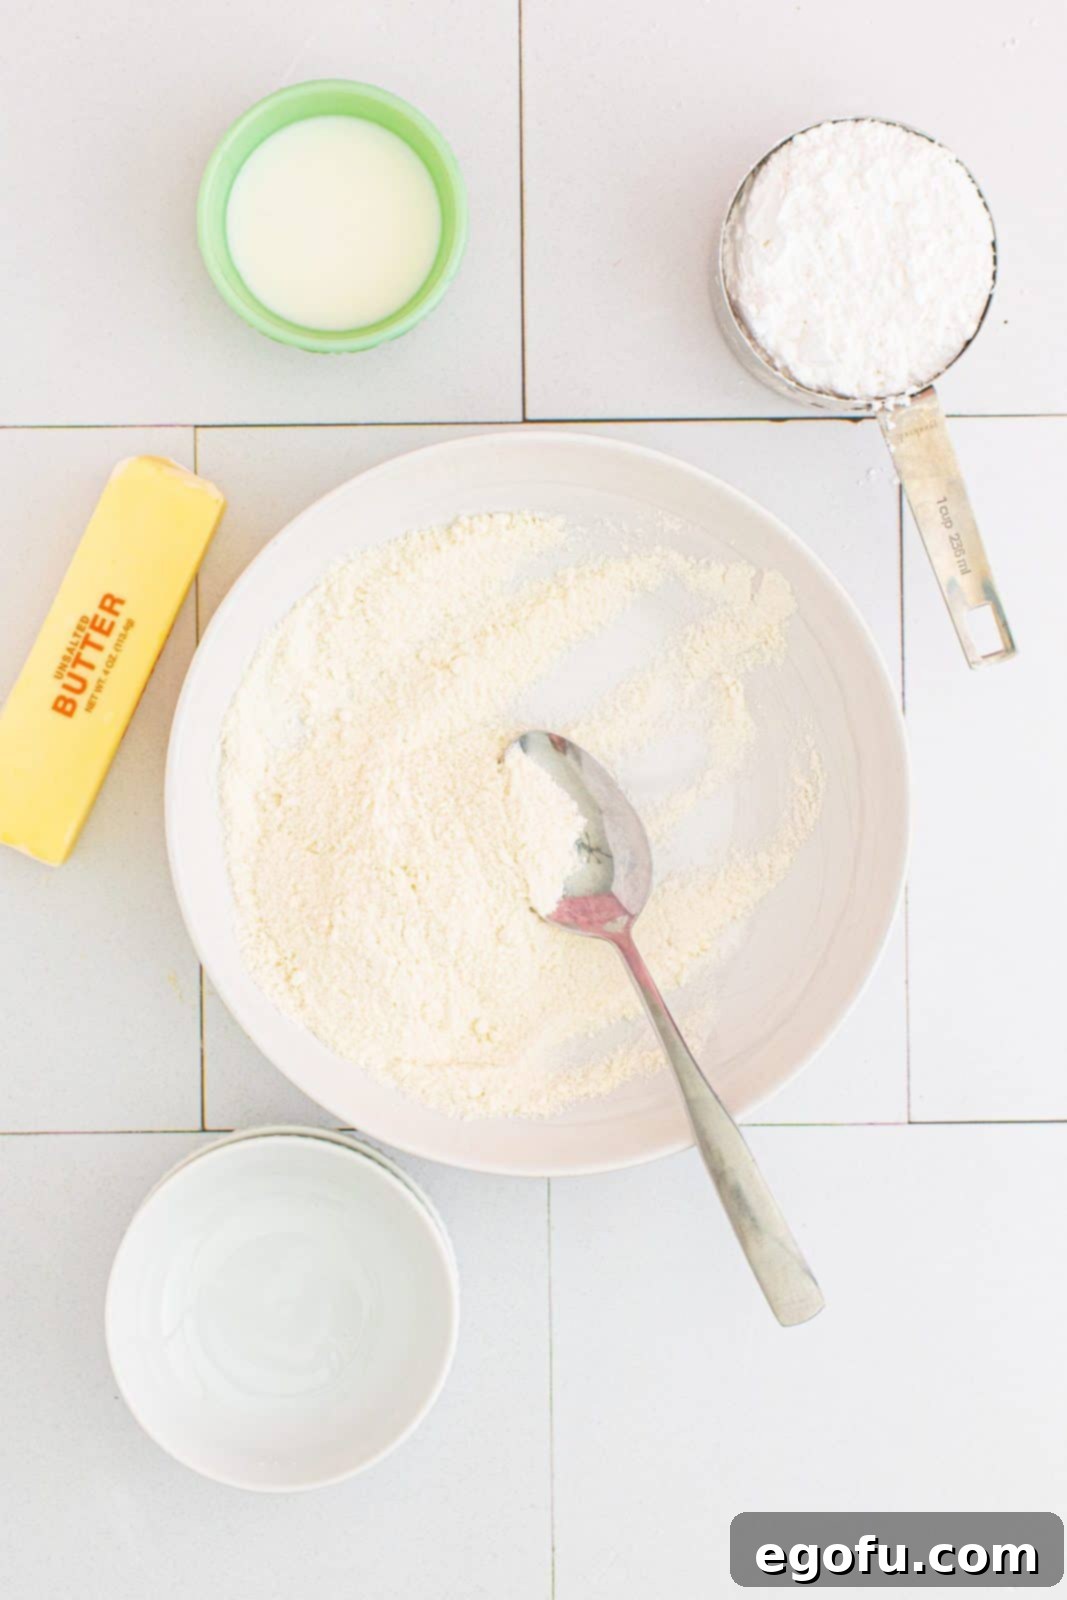
- In a medium-sized bowl, combine the granulated sugar and all-purpose flour for the crumble topping. Whisk them together until well integrated.
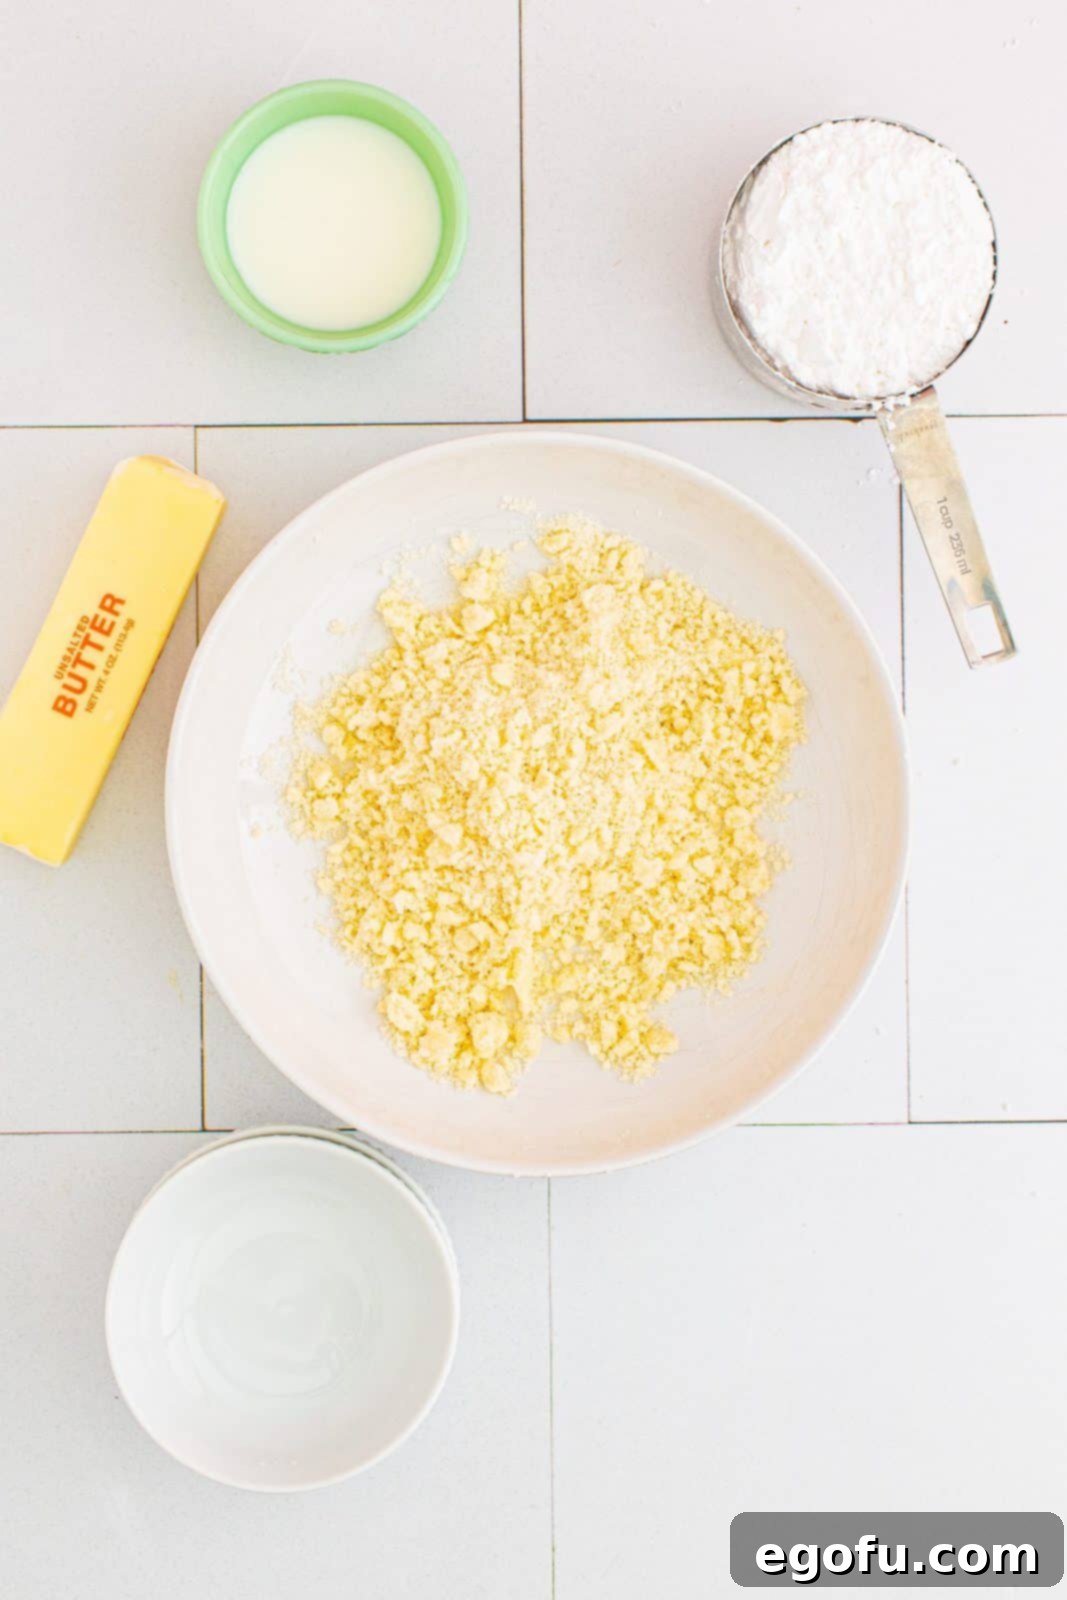
- Add the cold unsalted butter (grated or small diced) to the sugar and flour mixture. Using your fingertips or a pastry cutter, cut the butter into the dry ingredients until the mixture resembles wet sand with some pea-sized pieces of butter remaining. This technique is key for a truly crumbly topping. Set this mixture aside.
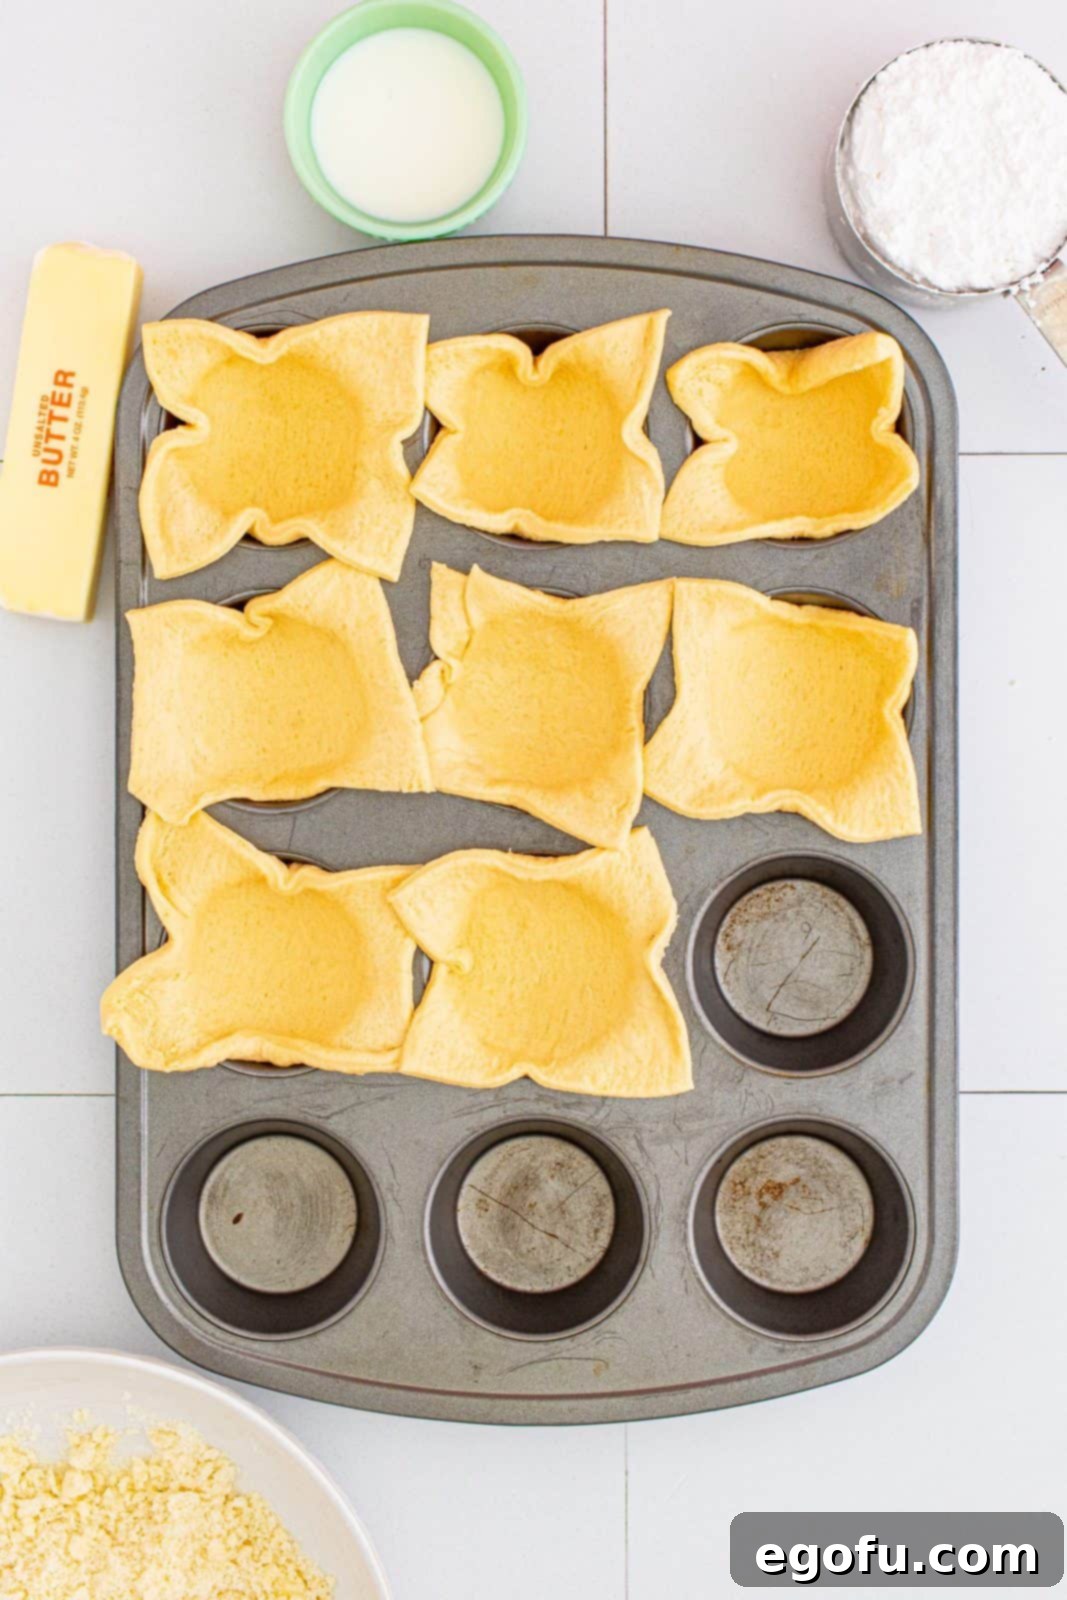
- Unroll the crescent roll dough sheet onto a clean work surface. Using a knife or pizza cutter, divide the dough into 8 equal sections. Gently press each dough section into the prepared muffin tin cups, allowing the corners to slightly overlap the edges of the cups to form a sturdy base.
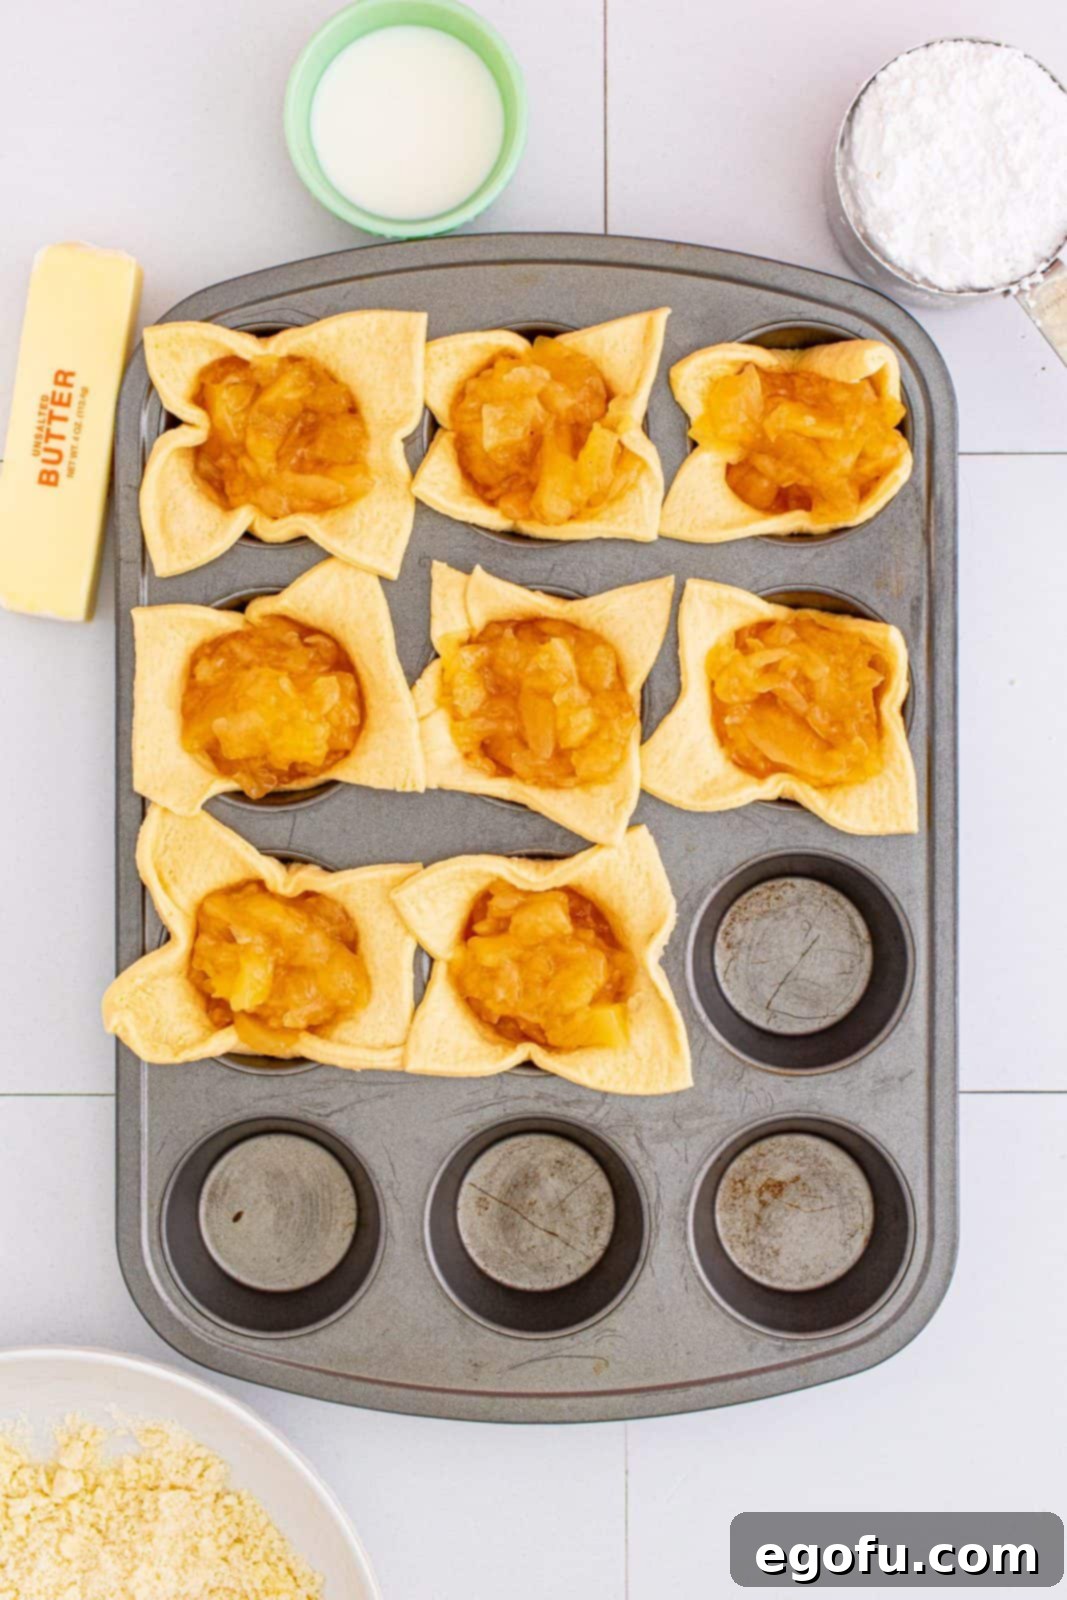
- Evenly distribute the chopped apple pie filling among the 8 crescent dough-lined muffin cups. Make sure each cup receives a generous portion.
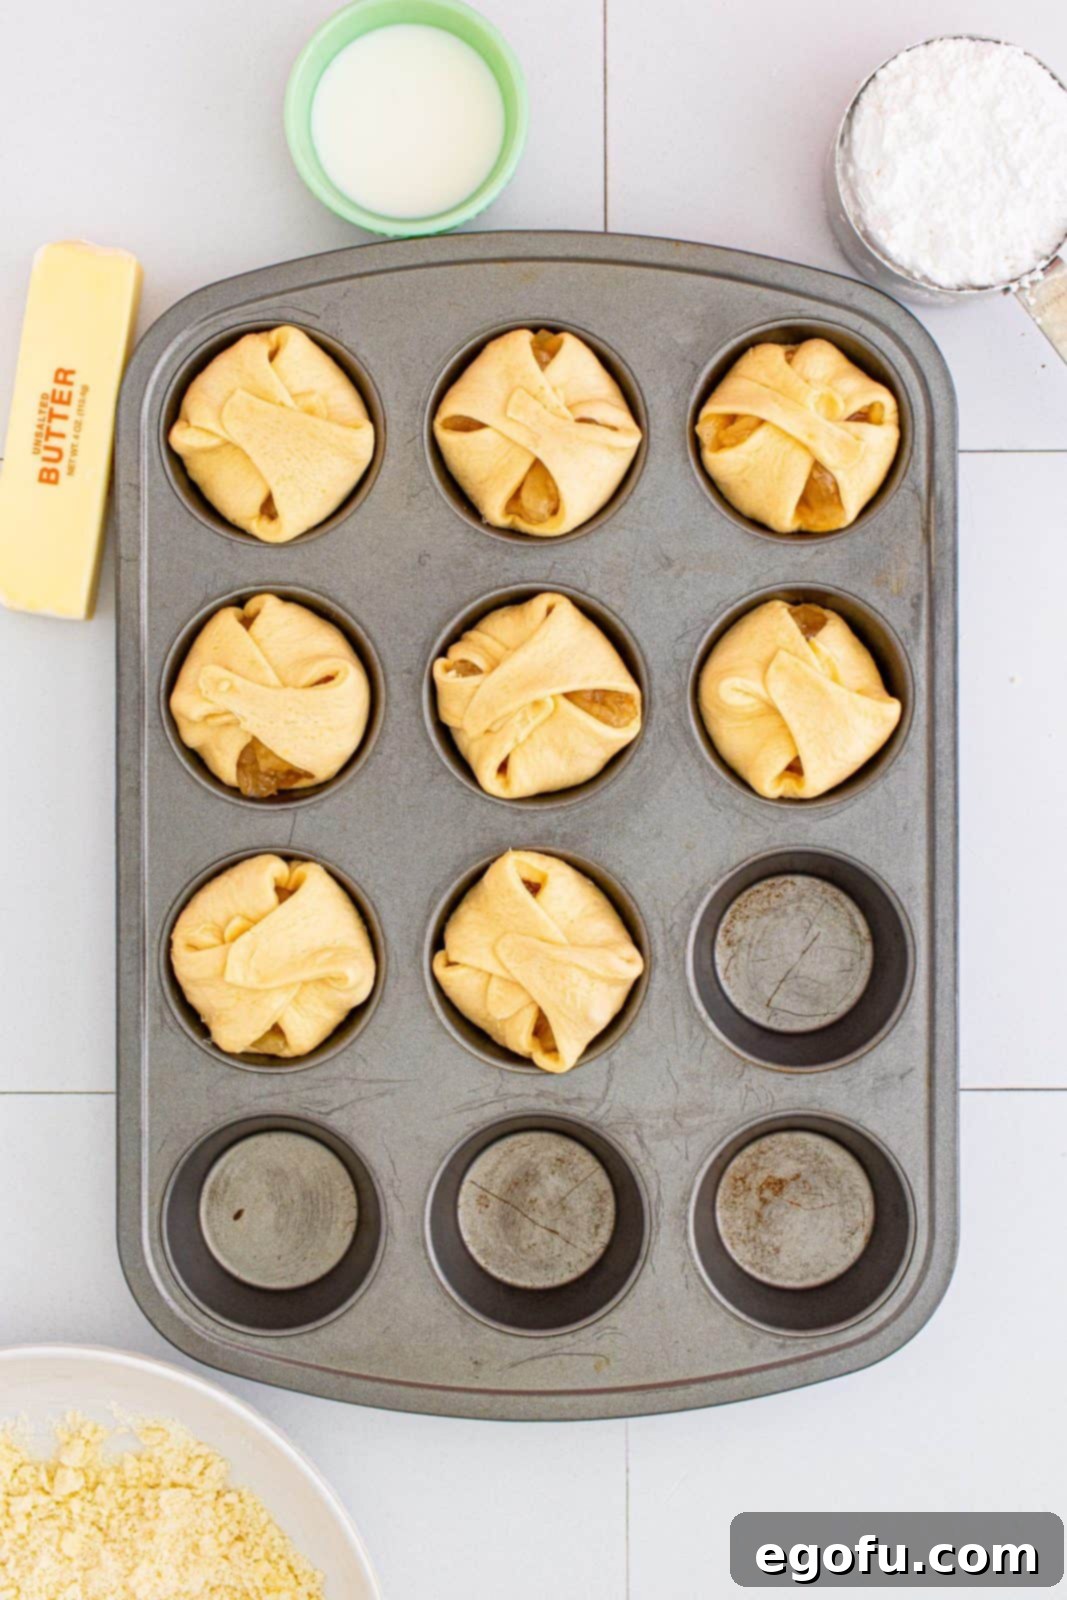
- Gently take the overlapping corners of the crescent dough and fold them inwards, over the apple filling, towards the center of each cup. This creates a charming cup shape and helps contain the filling.
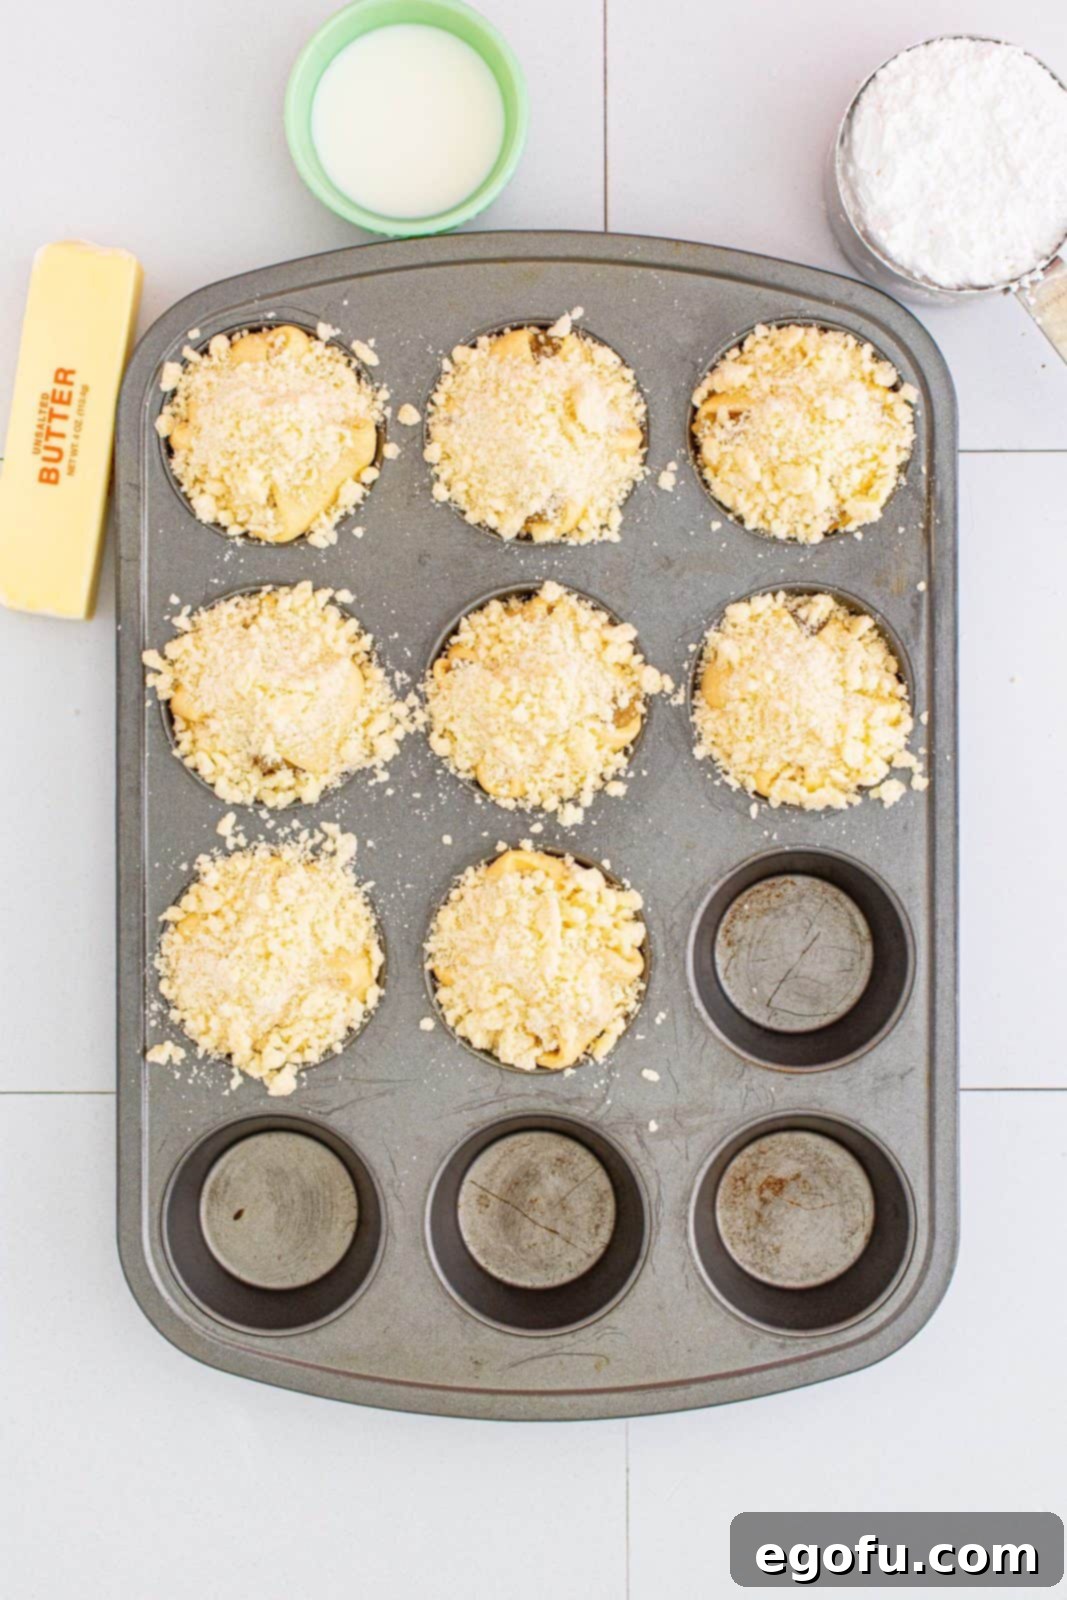
- Evenly sprinkle the prepared crumble mixture over the top of each folded apple pie cup. Ensure each cup has a good layer of the buttery crumble.
- Bake for 15 minutes, or until the tops are golden brown and the crescent dough is cooked through. Once baked, carefully remove the cups from the muffin tin and let them cool completely on a wire rack.
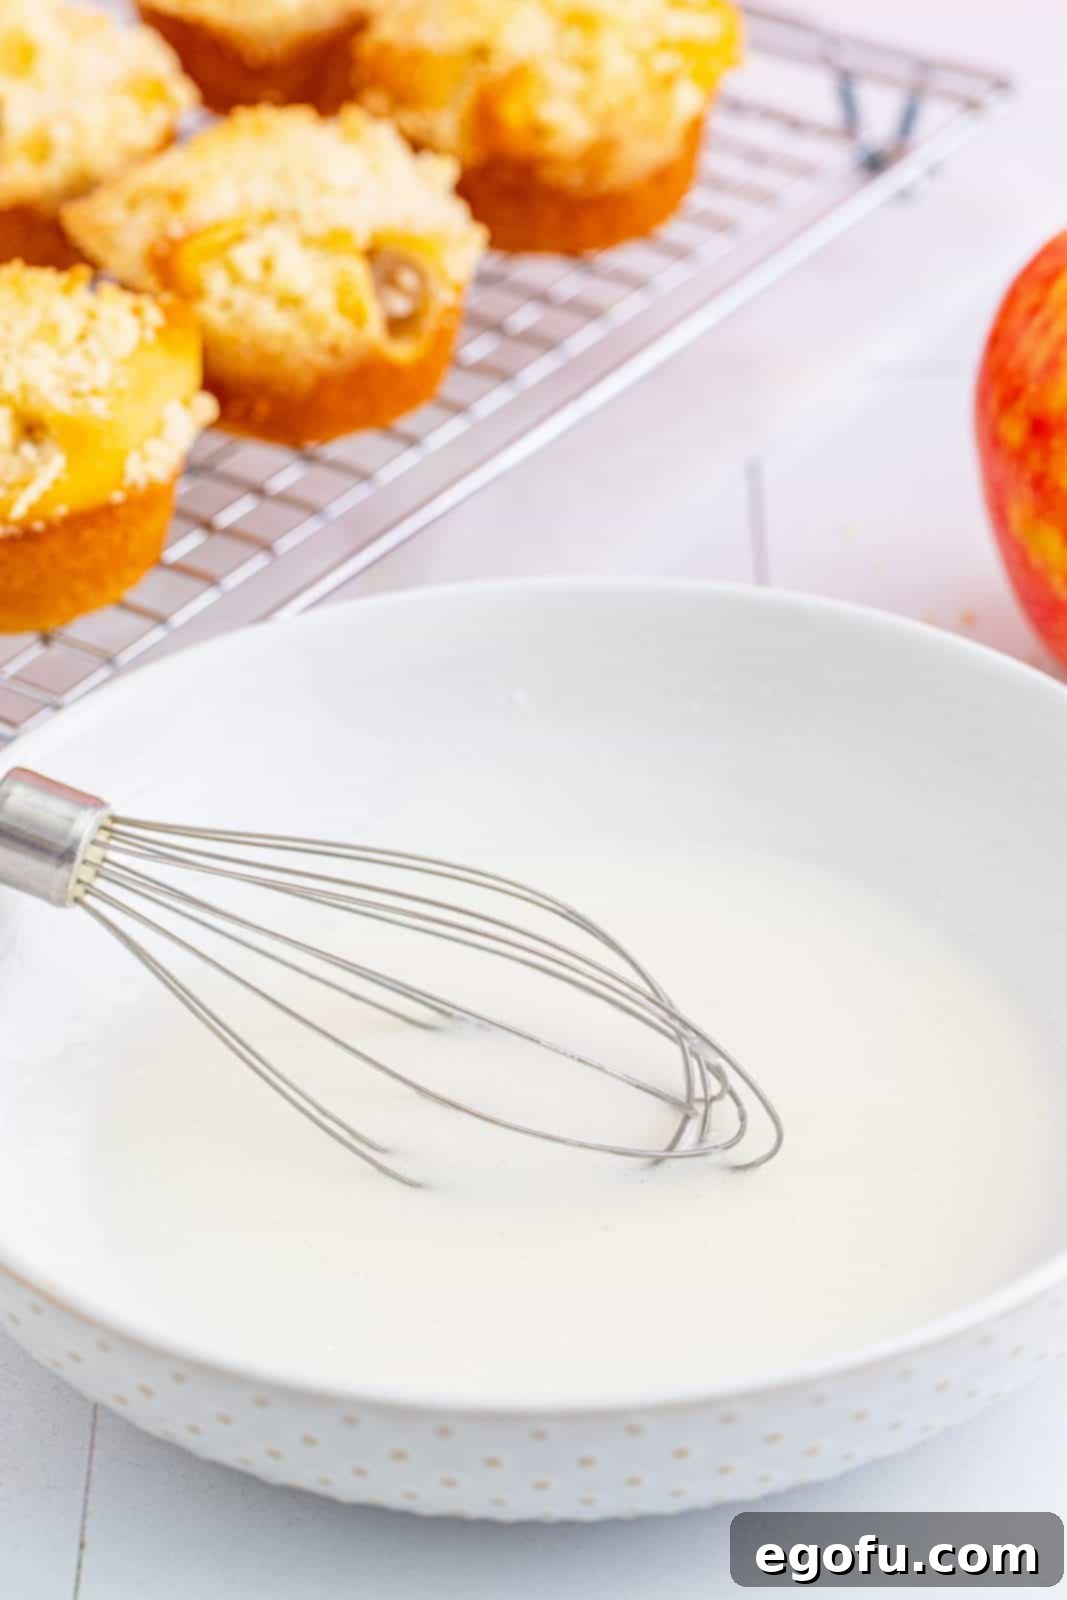
- While the apple pie cups are cooling, prepare the simple glaze. In a small bowl, whisk together the powdered sugar and 1 tablespoon of whole milk until smooth. If the glaze appears too thick to pour easily, add a tiny bit more milk, half a tablespoon at a time, until it reaches a thick yet pourable consistency.
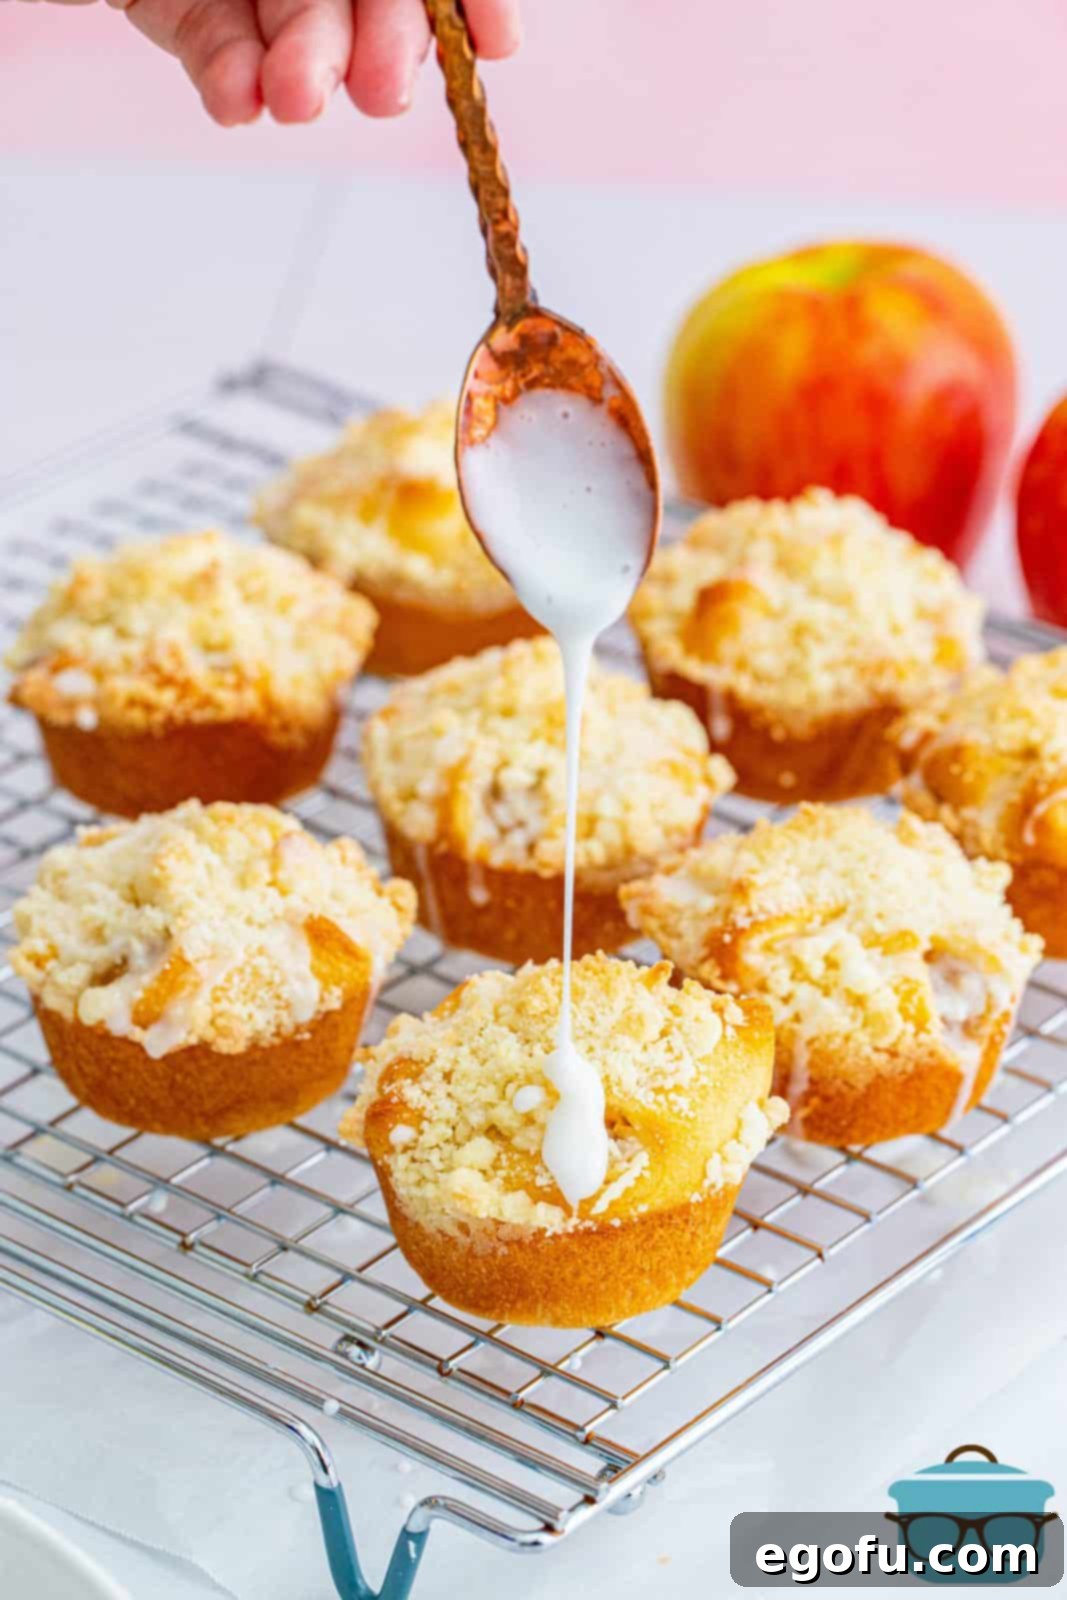
- Once the apple pie cups have cooled to room temperature, generously drizzle the prepared glaze over each one. The glaze will set nicely as it cools further.
- Allow the glaze to set for a few minutes before serving. This will prevent it from being too sticky and give it a beautiful finish.
- Serve your delicious Easy Apple Pie Cups and enjoy the wonderful flavors of fall!

Expert Tips for the Best Apple Pie Cups
While these apple pie cups are incredibly simple to make, a few expert tips can elevate your baking experience and ensure perfect results every time:
- **The Cold Butter Advantage:** Always use cold butter for your crumble topping. This ensures that the butter slowly melts during baking, creating pockets of steam that result in a perfectly tender and flaky crumble.
- **Gentle Dough Handling:** Crescent roll dough is delicate. Handle it gently when unrolling and pressing into the muffin tin to maintain its texture and avoid tearing.
- **Even Apple Distribution:** Make sure the chopped apple filling is evenly distributed among the cups to ensure uniform baking and consistent flavor in every bite.
- **Golden Brown Perfection:** Keep an eye on your cups during the last few minutes of baking. You want a beautiful golden-brown crust and crumble for optimal flavor and texture.
- **Achieving the Ideal Glaze:** When making the glaze, start with just one tablespoon of milk and add more very slowly, half a teaspoon at a time, until you reach a consistency that is thick enough to coat a spoon but still easily pourable. Too much milk will make it runny.
- **Cool Completely Before Glazing:** Patience is key! Glazing hot cups will cause the glaze to melt and run off. Allow them to cool fully on a wire rack for a smooth, set glaze.
Customization and Serving Suggestions
These Easy Apple Pie Cups are fantastic as they are, but they also serve as a wonderful canvas for customization. Feel free to experiment with different flavor combinations:
- **Spice Variations:** Beyond cinnamon, try adding a pinch of ground ginger, cardamom, or even a tiny bit of pumpkin pie spice to your apple filling for an extra layer of warmth.
- **Caramel Drizzle:** For an even more indulgent treat, lightly drizzle warm caramel sauce over the cups before or after the glaze sets.
- **Nutty Crunch:** Fold finely chopped pecans or walnuts into your crumble mixture for added texture and a rich, nutty flavor.
- **Pairing Perfection:** Serve these warm or at room temperature alongside a scoop of vanilla bean ice cream, a dollop of fresh whipped cream, or a cozy mug of coffee or tea. They are versatile enough for breakfast, brunch, or a delightful dessert.
Craving More Delicious Apple Recipes?
If these Easy Apple Pie Cups have ignited your love for apple desserts, you’re in luck! The autumn season offers an abundance of incredible apple-centric treats. Explore more delightful recipes from my collection:
- Apple Pie Egg Rolls
- The Best Apple Bread
- Apple Slab Pie
- Air Fryer Fried Apples
- Grammie’s Swedish Apple Pie
- Apple Dumplings
- Fried Apple Pies
- Apple Pie Bubble Up
- Fried Apples
- Apple Turnovers
- 40 Fall Apple Recipes

Apple Pie Cups
When it comes to fun, quick, tasty desserts, these Easy Apple Pie Cups are exactly what you need! These are the perfect handheld fall treat!
2 Reviews
Print
Pin
Rate
8 minutes
15 minutes
23 minutes
4
Brandie Skibinski
Ingredients
- 21 ounce can apple pie filling
- ¼ cup granulated sugar
- ¼ cup all-purpose flour
- 2 tablespoons cold unsalted butter, grated or small diced
- 1 tube crescent roll dough sheet
- 1 cup powdered sugar
- 1-2 tablespoons whole milk
Instructions
- Preheat the oven to 375°F. Spray 8 sections of a muffin tin with baking spray, use a pastry brush and brush the baking spray around the cups to make sure they are evenly coated, set aside.
- Place the 21 ounce can apple pie filling in a food processor.
- Pulse a few times or until roughly chopped, set aside. Note: if you don’t have a food processor just take a sharp knife and run it around inside the can to chop up the apples.
- Mix together ¼ cup granulated sugar and ¼ cup all-purpose flour in a medium-sized bowl.
- Add 2 tablespoons cold unsalted butter, grated or small diced and using your fingers or a pastry cutter, cut in the butter with the flour/sugar mixture until it resembles wet sand with a few larger pieces of butter mixed in no larger than peas, set aside.
- Roll out 1 tube crescent roll dough sheet on a clean work surface and cut it into 8 even sections. Gently press the dough into the sections of the muffin tin, making sure to overlap the corners.
- Evenly distribute the pie filling among the dough.
- Take the corners of the dough and fold them over themselves to form little cups.
- Top with the crumble mixture evenly.
- Bake for 15 minutes or until golden brown on top. Take them out of the cups and let them cool on a wire rack.
- While the cups cool, make the glaze by whisking together 1 cup powdered sugar and 1-2 tablespoons whole milk until smooth. Start with 1 tablespoon of the milk, if the glaze is not pourable, add a little more milk until it is thick yet pourable.
- Once the cups are cooled, drizzle with the glaze and serve.
Notes
- You can use crescent rolls instead of a dough sheet; just make sure you seal the perforations well.
- These can be frozen; see my tips above for detailed instructions.
- You can make your own apple pie filling if you’d like for a homemade touch.
- A food processor isn’t mandatory; you can chop the apples manually with a knife or potato masher.
- For extra flavor, sprinkle ground cinnamon on the apple filling or add some to the glaze.
Breakfast, Dessert
American
Nutrition
Carbohydrates: 110g |
Protein: 3g |
Fat: 18g |
Sodium: 518mg |
Fiber: 2g |
Sugar: 68g
Nutritional Disclaimer
“The Country Cook” is not a dietician or nutritionist, and any nutritional information shared is an estimate. If calorie count and other nutritional values are important to you, we recommend running the ingredients through whichever online nutritional calculator you prefer. Calories and other nutritional values can vary quite a bit depending on which brands were used.
Did you make this recipe?
Share it on Instagram @thecountrycook and mention us #thecountrycook!
There you have it – a perfectly delicious, easy-to-make, and incredibly satisfying dessert that brings all the warmth and flavor of a classic apple pie in a convenient cup. These Easy Apple Pie Cups are not just a treat; they’re an experience, ready to brighten any day, especially during the beautiful fall season. Whether you’re a seasoned baker or just starting, this recipe offers a foolproof path to a delightful homemade dessert. So, preheat your oven, gather your ingredients, and get ready to enjoy the ultimate handheld apple pie experience. Happy baking!
