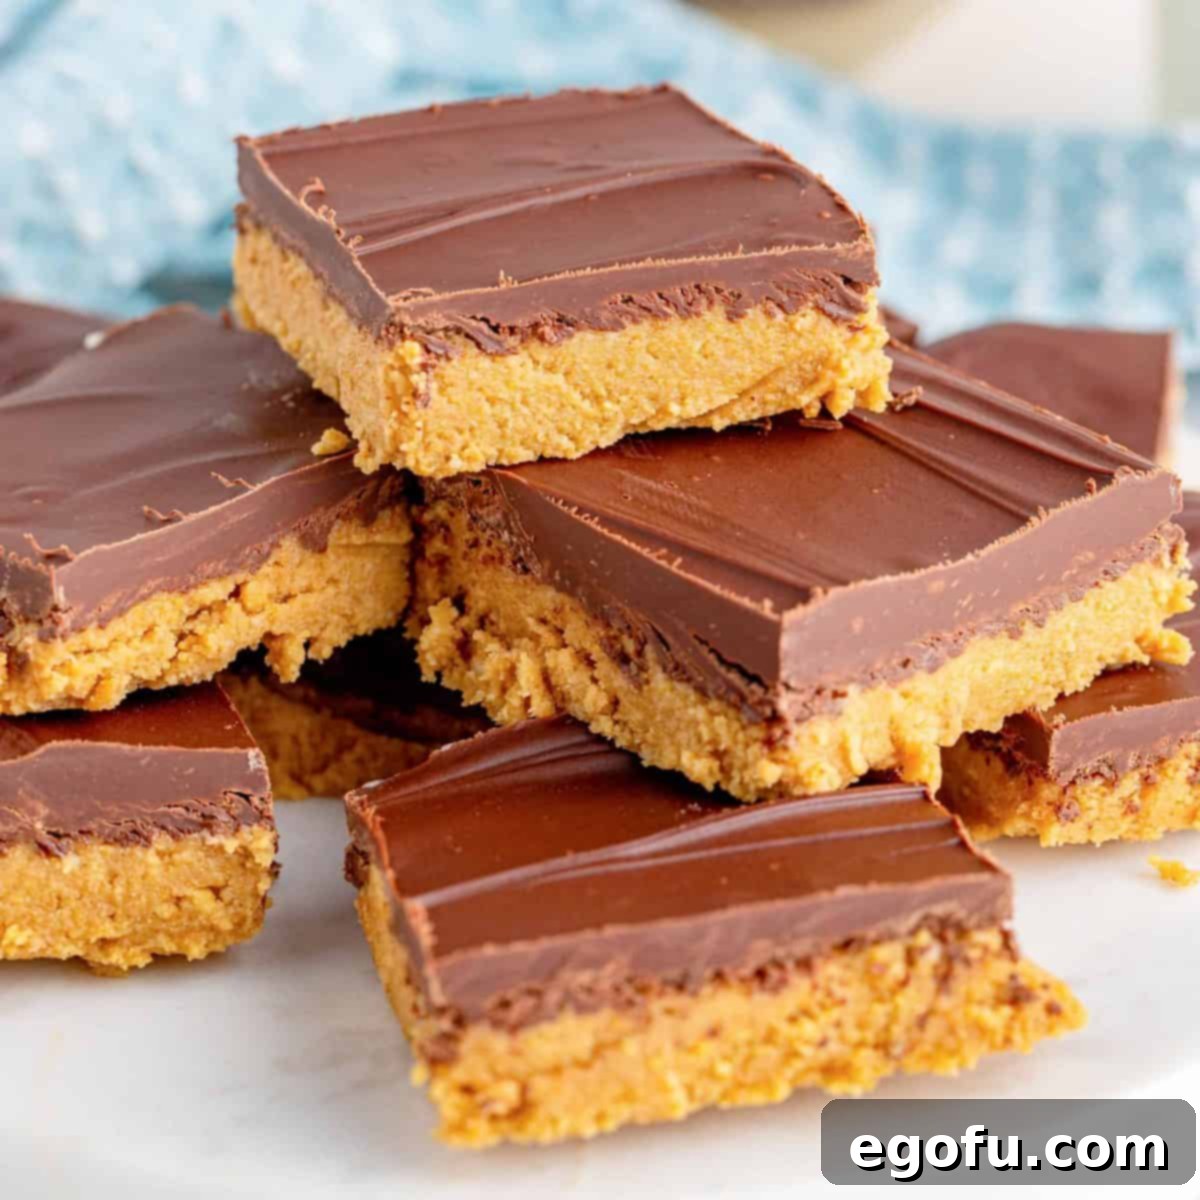
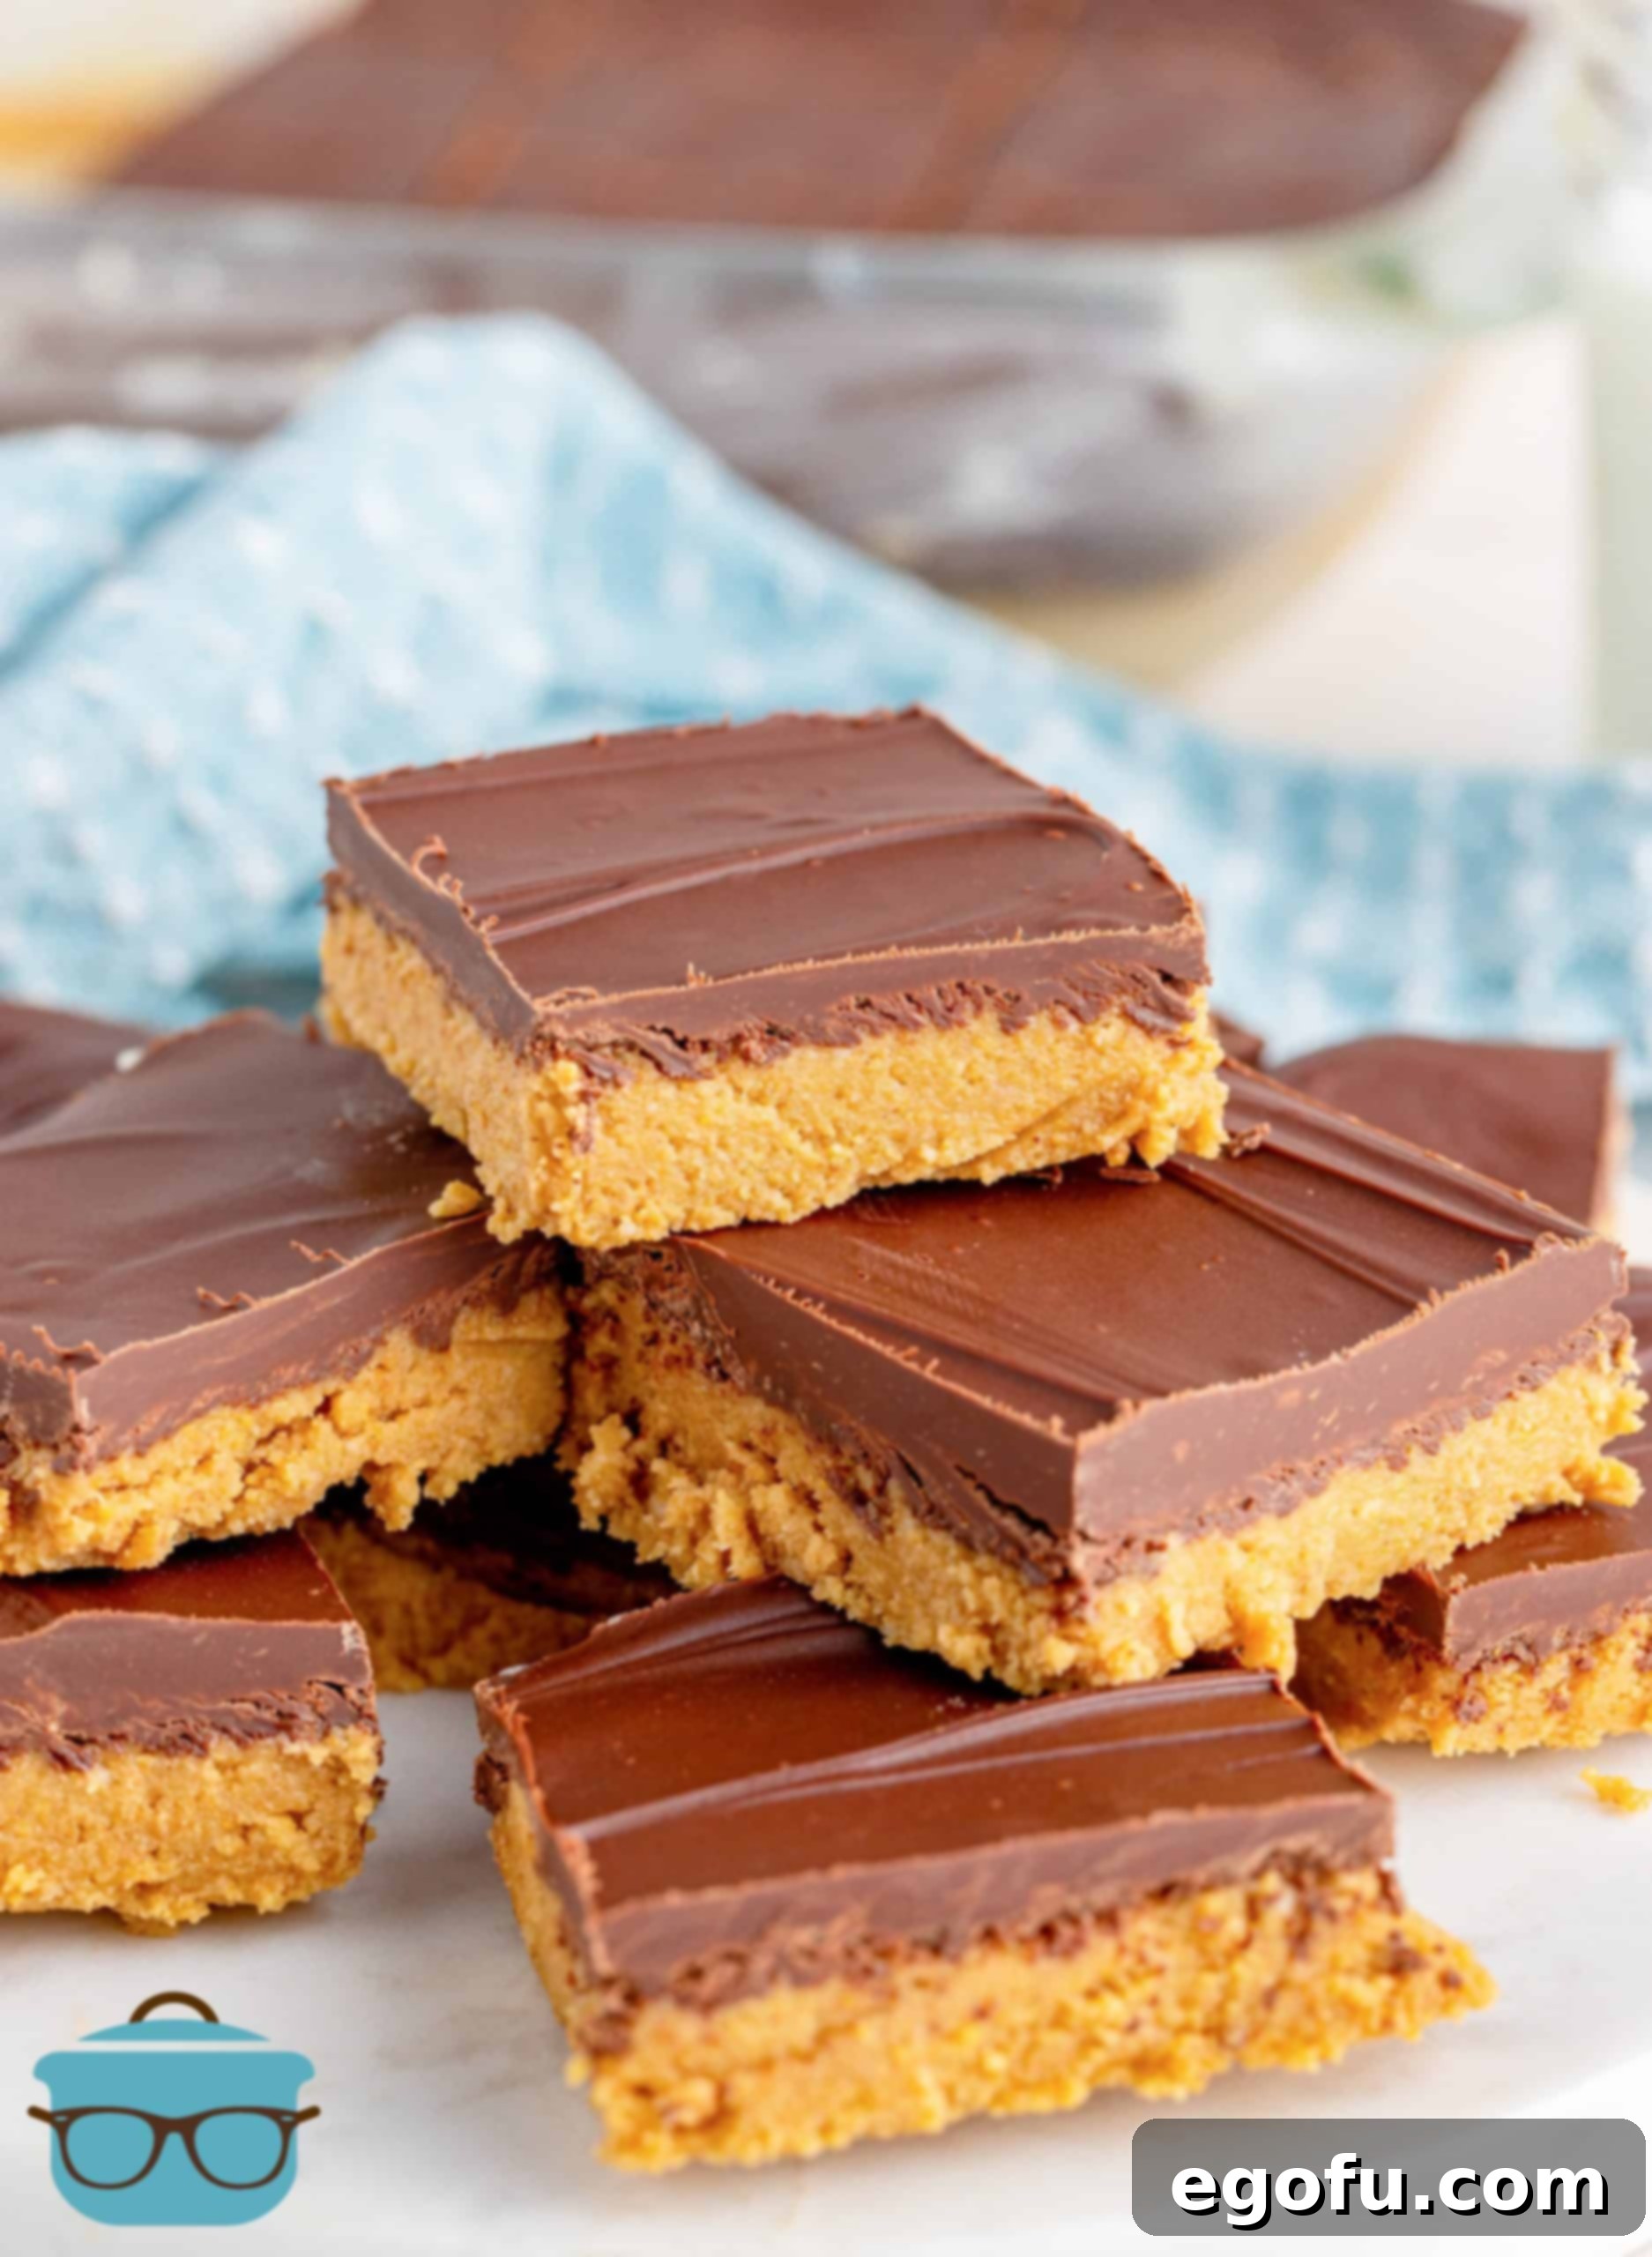
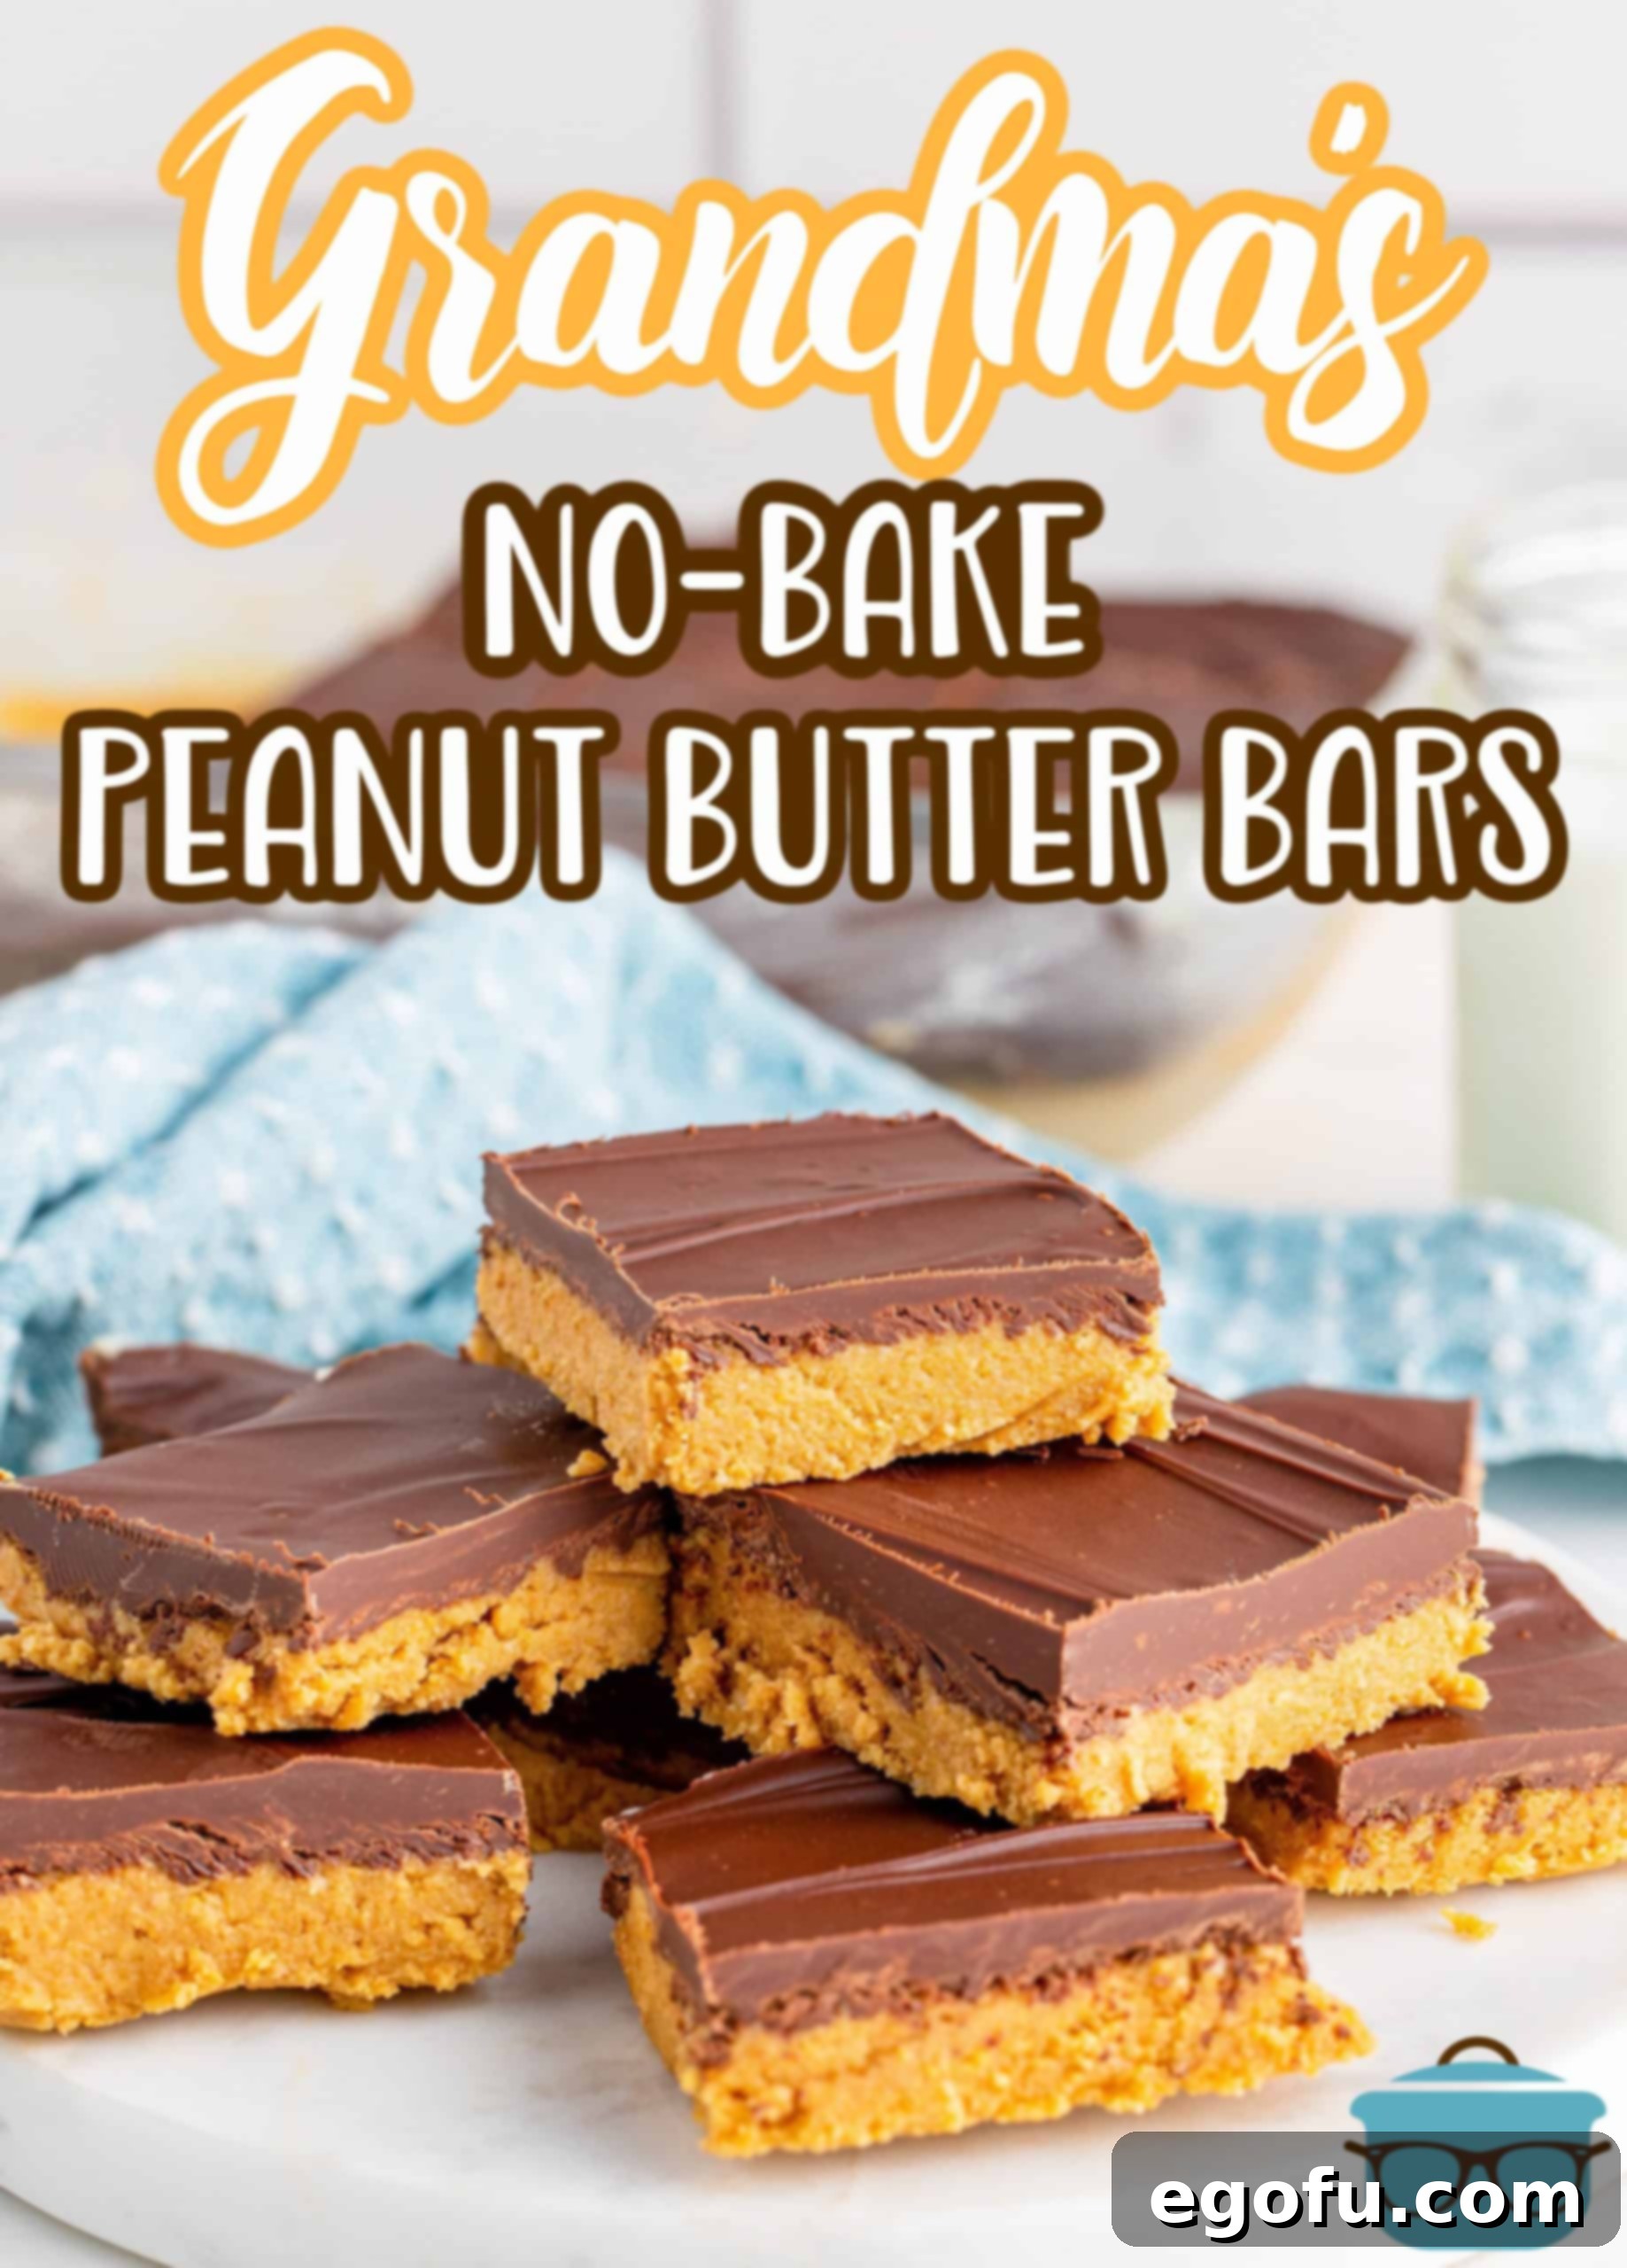
Welcome to a timeless classic that evokes sweet memories and brings simple joy to any gathering: Grandma’s No-Bake Peanut Butter Bars. This beloved recipe, requiring just five ingredients, tastes exactly like the irresistible treats served in school cafeterias, bringing a wave of delicious nostalgia with every bite. Easy to make and impossible to resist, these chocolate and peanut butter delights are a testament to the magic of uncomplicated baking.
The Ultimate No-Bake Chocolate and Peanut Butter Bar
There’s something uniquely comforting about a dessert recipe passed down through generations. Grandma’s Peanut Butter Bars are precisely that kind of treasure. Many of us fondly recall these rich, creamy, and chocolate-topped bars from our childhood lunchrooms, a sweet escape during the school day. Today, we’re thrilled to share this cherished recipe, thanks to the delightful Grammie Angel, who recently captivated audiences on TikTok with her effortless preparation. Seeing her whip up these bars, which she proudly declared her grandson’s favorite, immediately inspired us to recreate them.
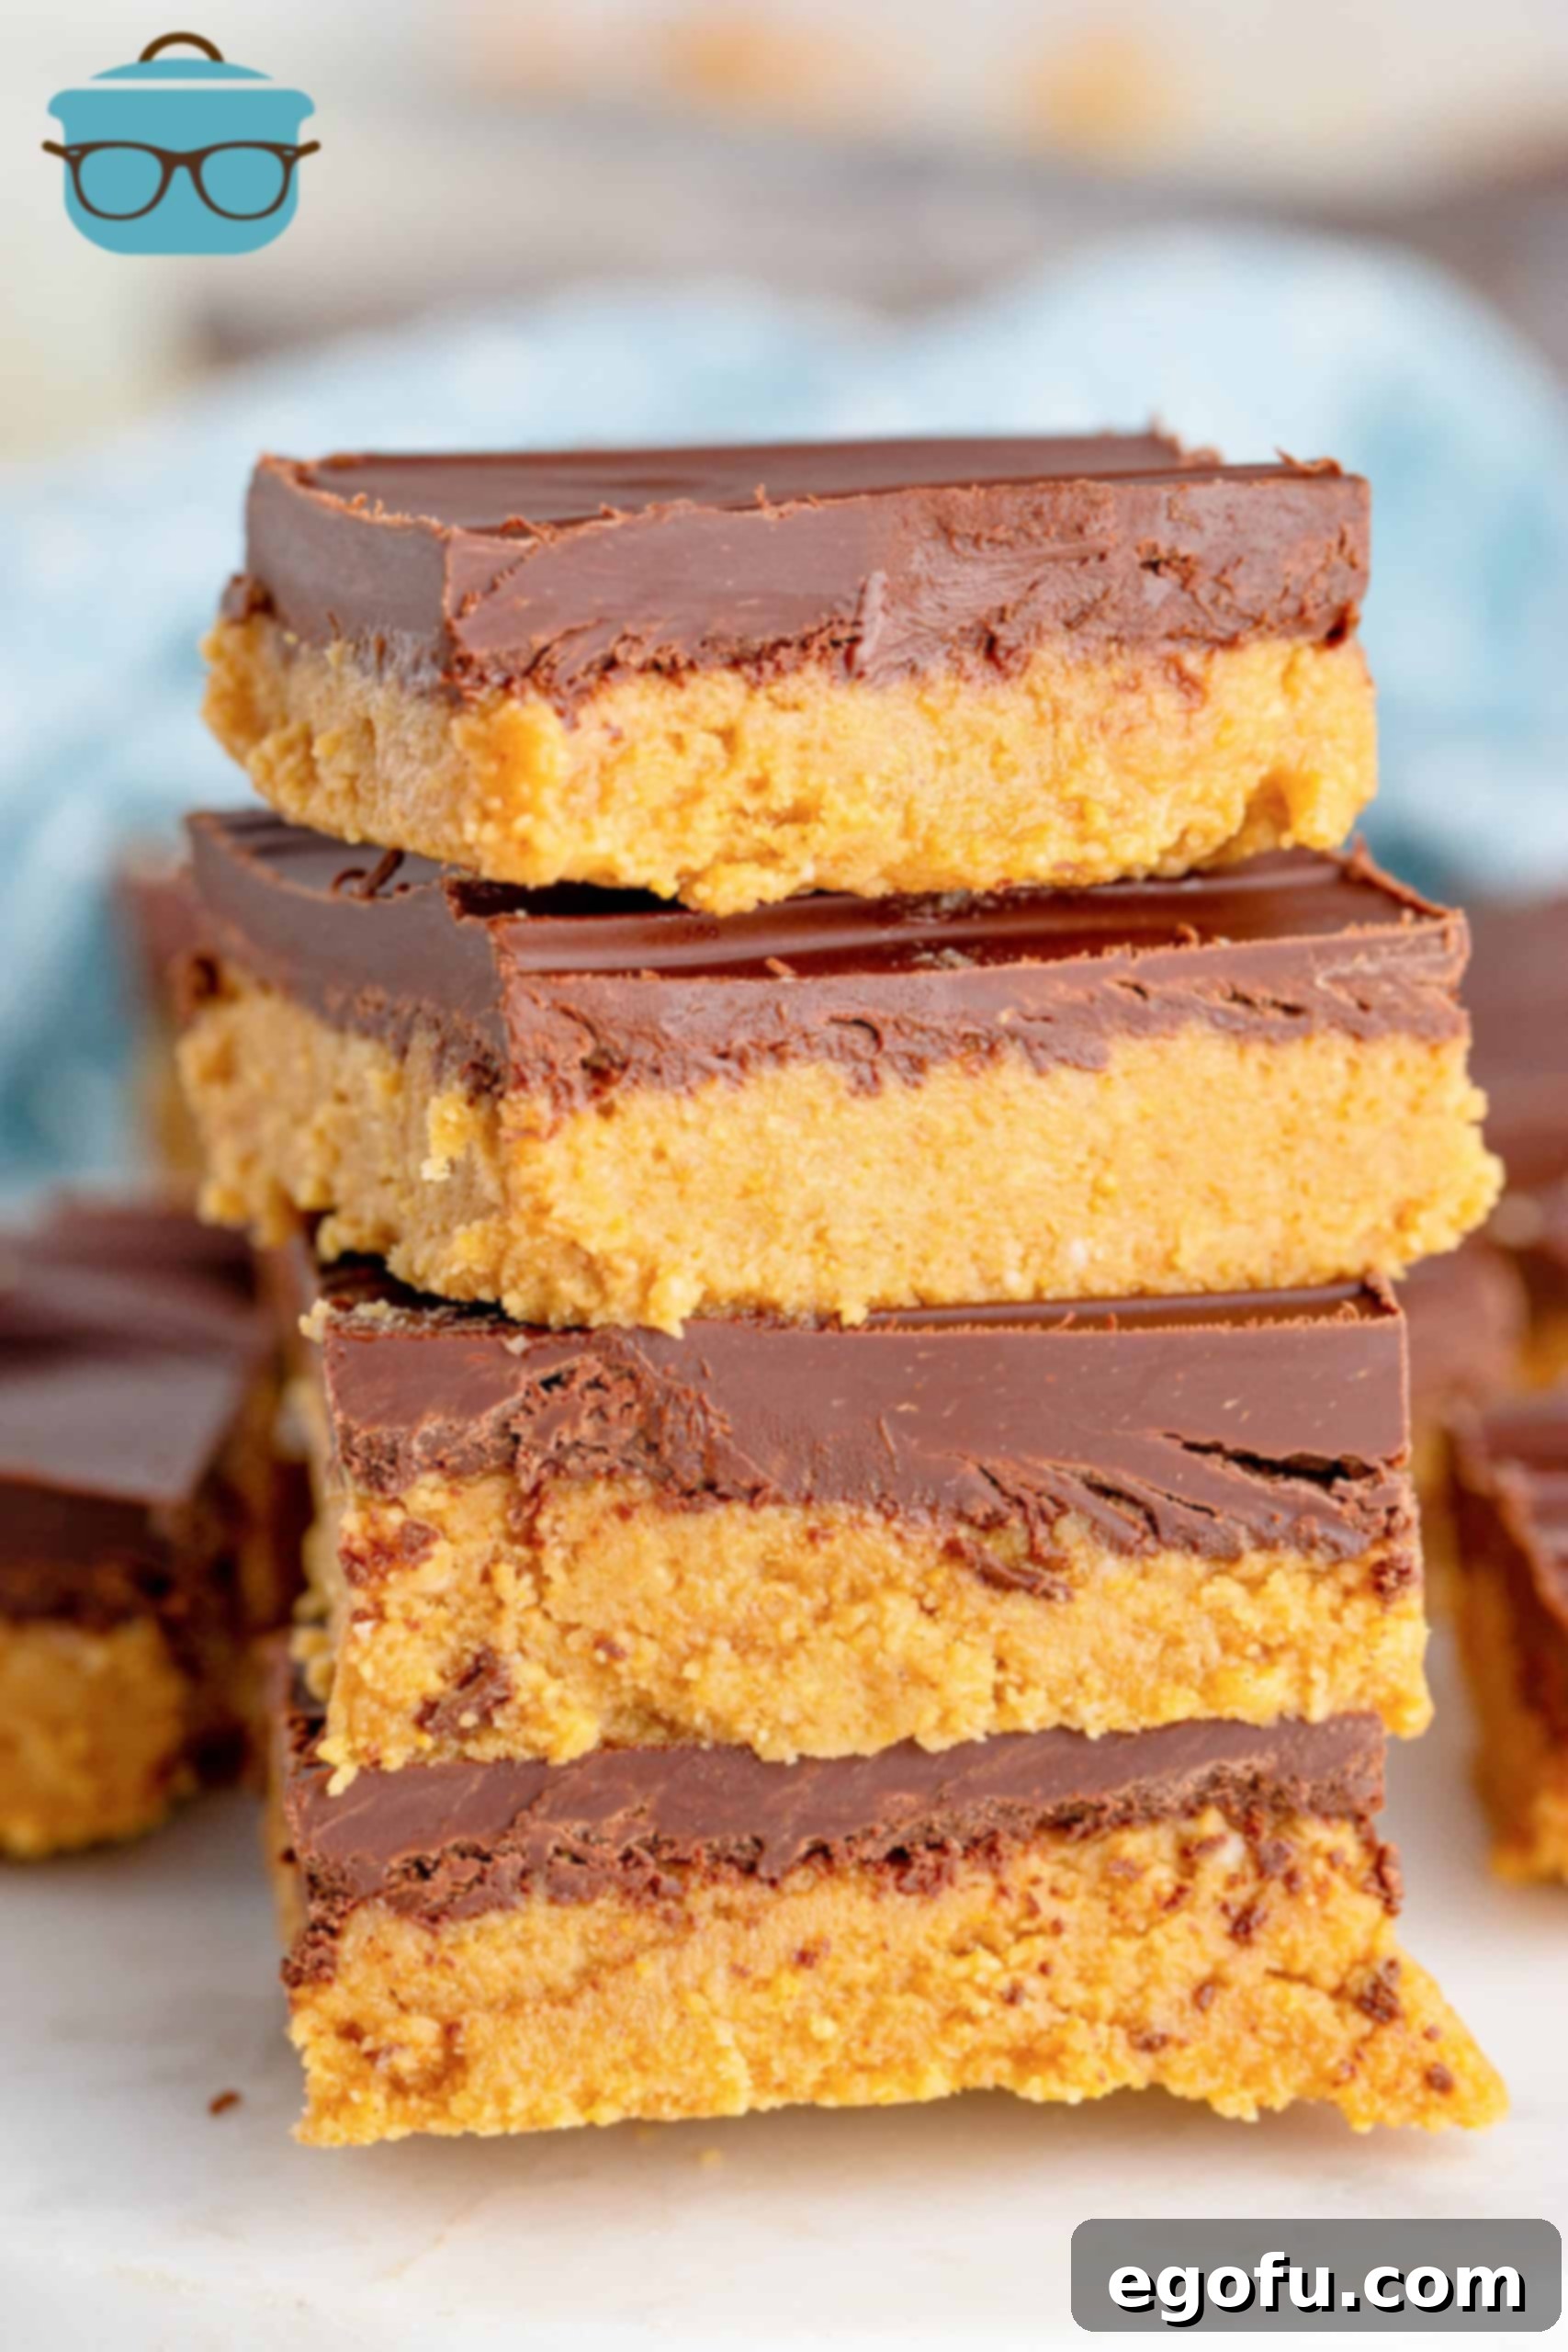
What makes these bars truly special is their incredible simplicity. They require no oven, making them perfect for hot summer days or when you need a quick dessert without fuss. The harmonious blend of salty peanut butter, sweet powdered sugar, crunchy graham crackers, and a decadent chocolate topping creates a flavor profile that is both familiar and utterly satisfying. Whether you’re an experienced baker or just starting, this recipe is incredibly forgiving and yields consistently delicious results.
We’ve gathered some essential tips below that will help ensure your peanut butter bars turn out perfectly every time. And for those who love Grammie Angel’s timeless recipes, don’t miss her Swedish Apple Pie – another fantastic classic!
Frequently Asked Questions About These Classic Peanut Butter Bars
Absolutely. For the best texture and to prevent them from becoming too soft, these bars must be refrigerated at all times. We find that they taste even better when chilled, offering a firm and delightful bite.
While we haven’t tested this recipe with all-natural peanut butter (which tends to be runnier and separates more), we recommend sticking to conventional creamy peanut butter for consistency. However, if you prefer a different texture, chunky peanut butter would be an amazing substitute, adding a delightful crunch to the bars!
No problem at all! The beauty of this recipe is its versatility. You can easily substitute semi-sweet chocolate chips with milk chocolate for a sweeter profile, or dark chocolate for a richer, more intense flavor. Choose whatever your chocolate preference dictates!
This recipe relies on powdered sugar for its specific texture and sweetness. We haven’t experimented with sugar substitutes, so you would need to test that at your own discretion. The results might vary significantly in taste and texture.
Chocolate can seize (become clumpy and unspreadable) if it gets too hot too quickly, especially in the microwave. If you’re concerned, a double boiler is a fail-safe method. Simply place chocolate chips in a heat-safe bowl (metal or high-temp glass) over a pot of simmering water, ensuring the bowl doesn’t touch the water. Stir constantly until the chocolate is smooth and melted, then proceed with the recipe. If using a microwave, use short intervals (15 seconds) and stir thoroughly after each burst to prevent overheating.
These delicious bars store beautifully in the refrigerator for up to a week, either kept in the baking pan covered tightly with plastic wrap or transferred to an airtight container. For longer storage, you can freeze them for up to 3 months. Cut the bars into squares, wrap them individually in plastic wrap, and then place them in an airtight container or freezer-safe bag. You can enjoy them straight from the freezer for a fudgier treat, or let them soften slightly in the refrigerator before serving.
Simple Ingredients for Irresistible Peanut Butter Bars
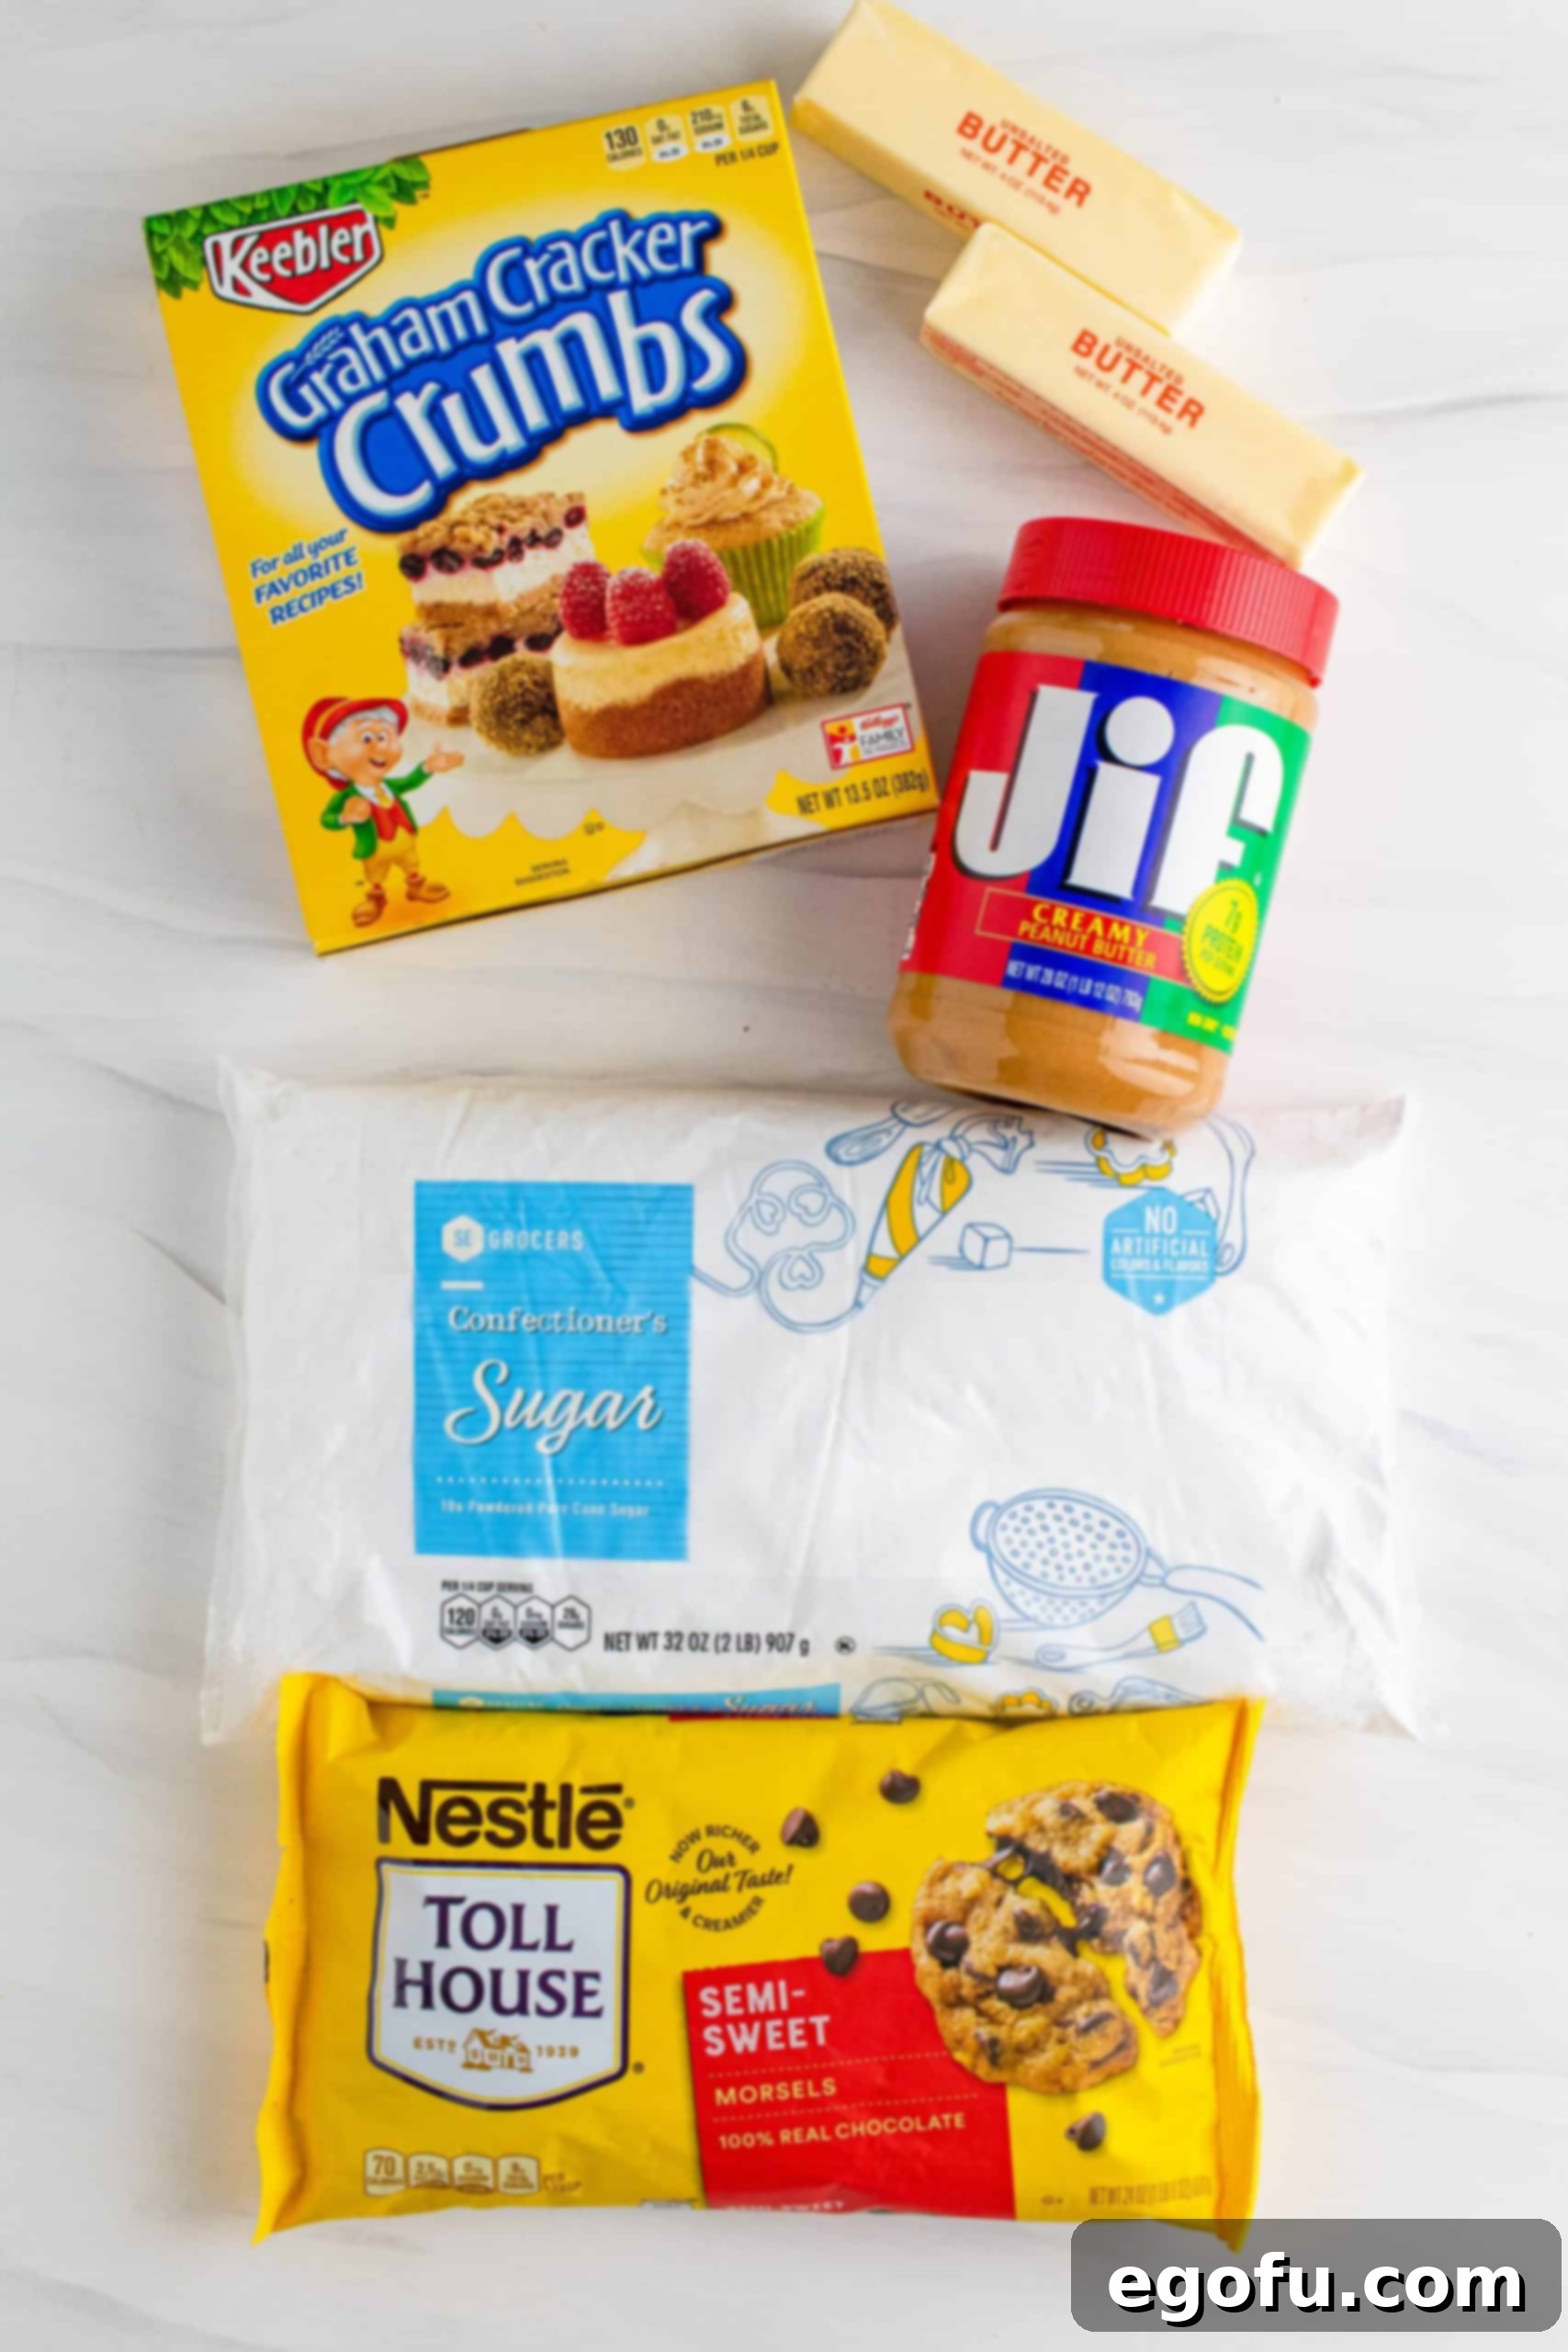
The magic of Grandma’s Peanut Butter Bars lies in their minimalist ingredient list. With just five common pantry staples, you can create a dessert that tastes far more elaborate than it is. Each ingredient plays a crucial role in building the perfect balance of flavor and texture.
- Butter: Provides richness and helps bind the base. Using salted butter can enhance the flavor, balancing the sweetness.
- Powdered Sugar: Crucial for the smooth, melt-in-your-mouth texture of the peanut butter layer. Its fine consistency ensures no gritty feel.
- Graham Cracker Crumbs: Forms the essential base, offering a subtle honey-graham flavor and a delightful crunch. If you can’t find pre-crushed, simply process whole graham crackers.
- Peanut Butter: The star of the show! Creamy peanut butter provides the classic, smooth texture. Don’t be afraid to experiment with your favorite brand.
- Chocolate Chips: The crowning glory. Semi-sweet chips offer a perfect counterpoint to the sweet peanut butter, but feel free to customize with milk or dark chocolate.
This short list proves that incredible flavor doesn’t require a complicated shopping trip. These readily available ingredients ensure that this delightful treat can be whipped up whenever a craving strikes!
How to Make Grandma’s No-Bake Peanut Butter Bars: Step-by-Step
Making these no-bake peanut butter bars is incredibly simple and requires minimal effort. Follow these easy steps to create a dessert that will have everyone asking for more!
-
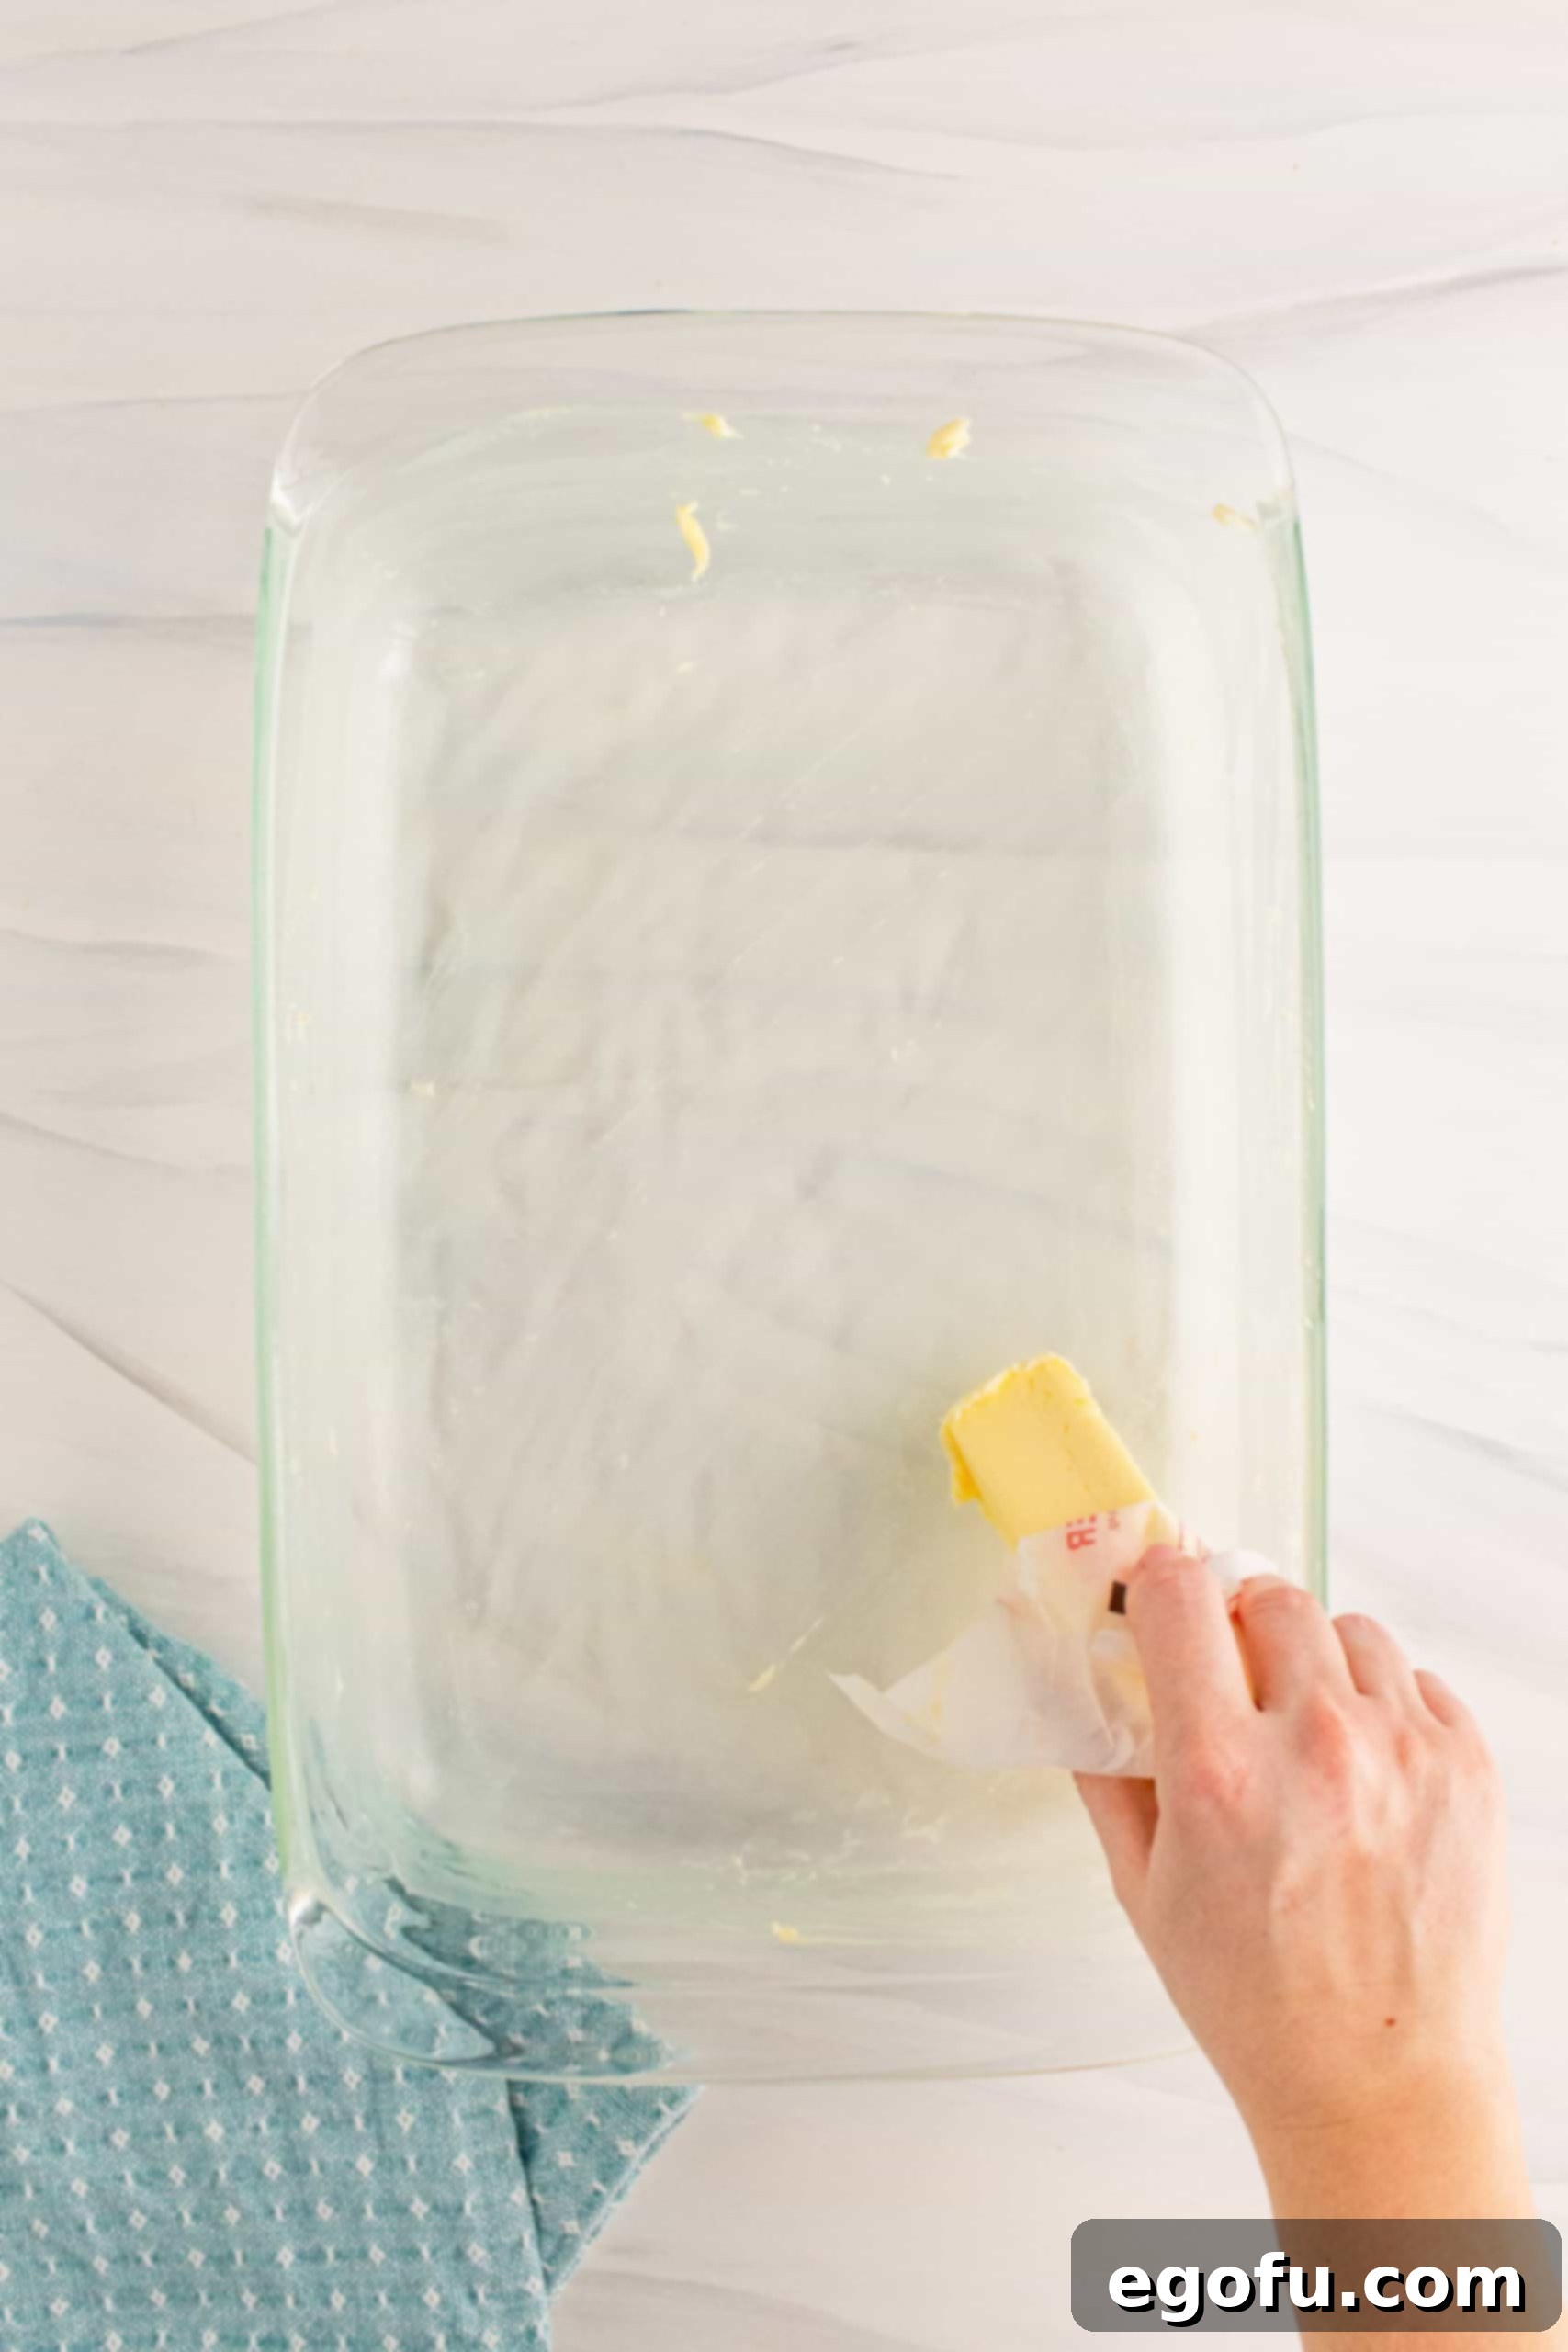
Prepare Your Baking Dish: Begin by lightly greasing a 9×13 inch baking dish with butter. This crucial step prevents sticking and ensures your bars release easily. Set it aside.

-
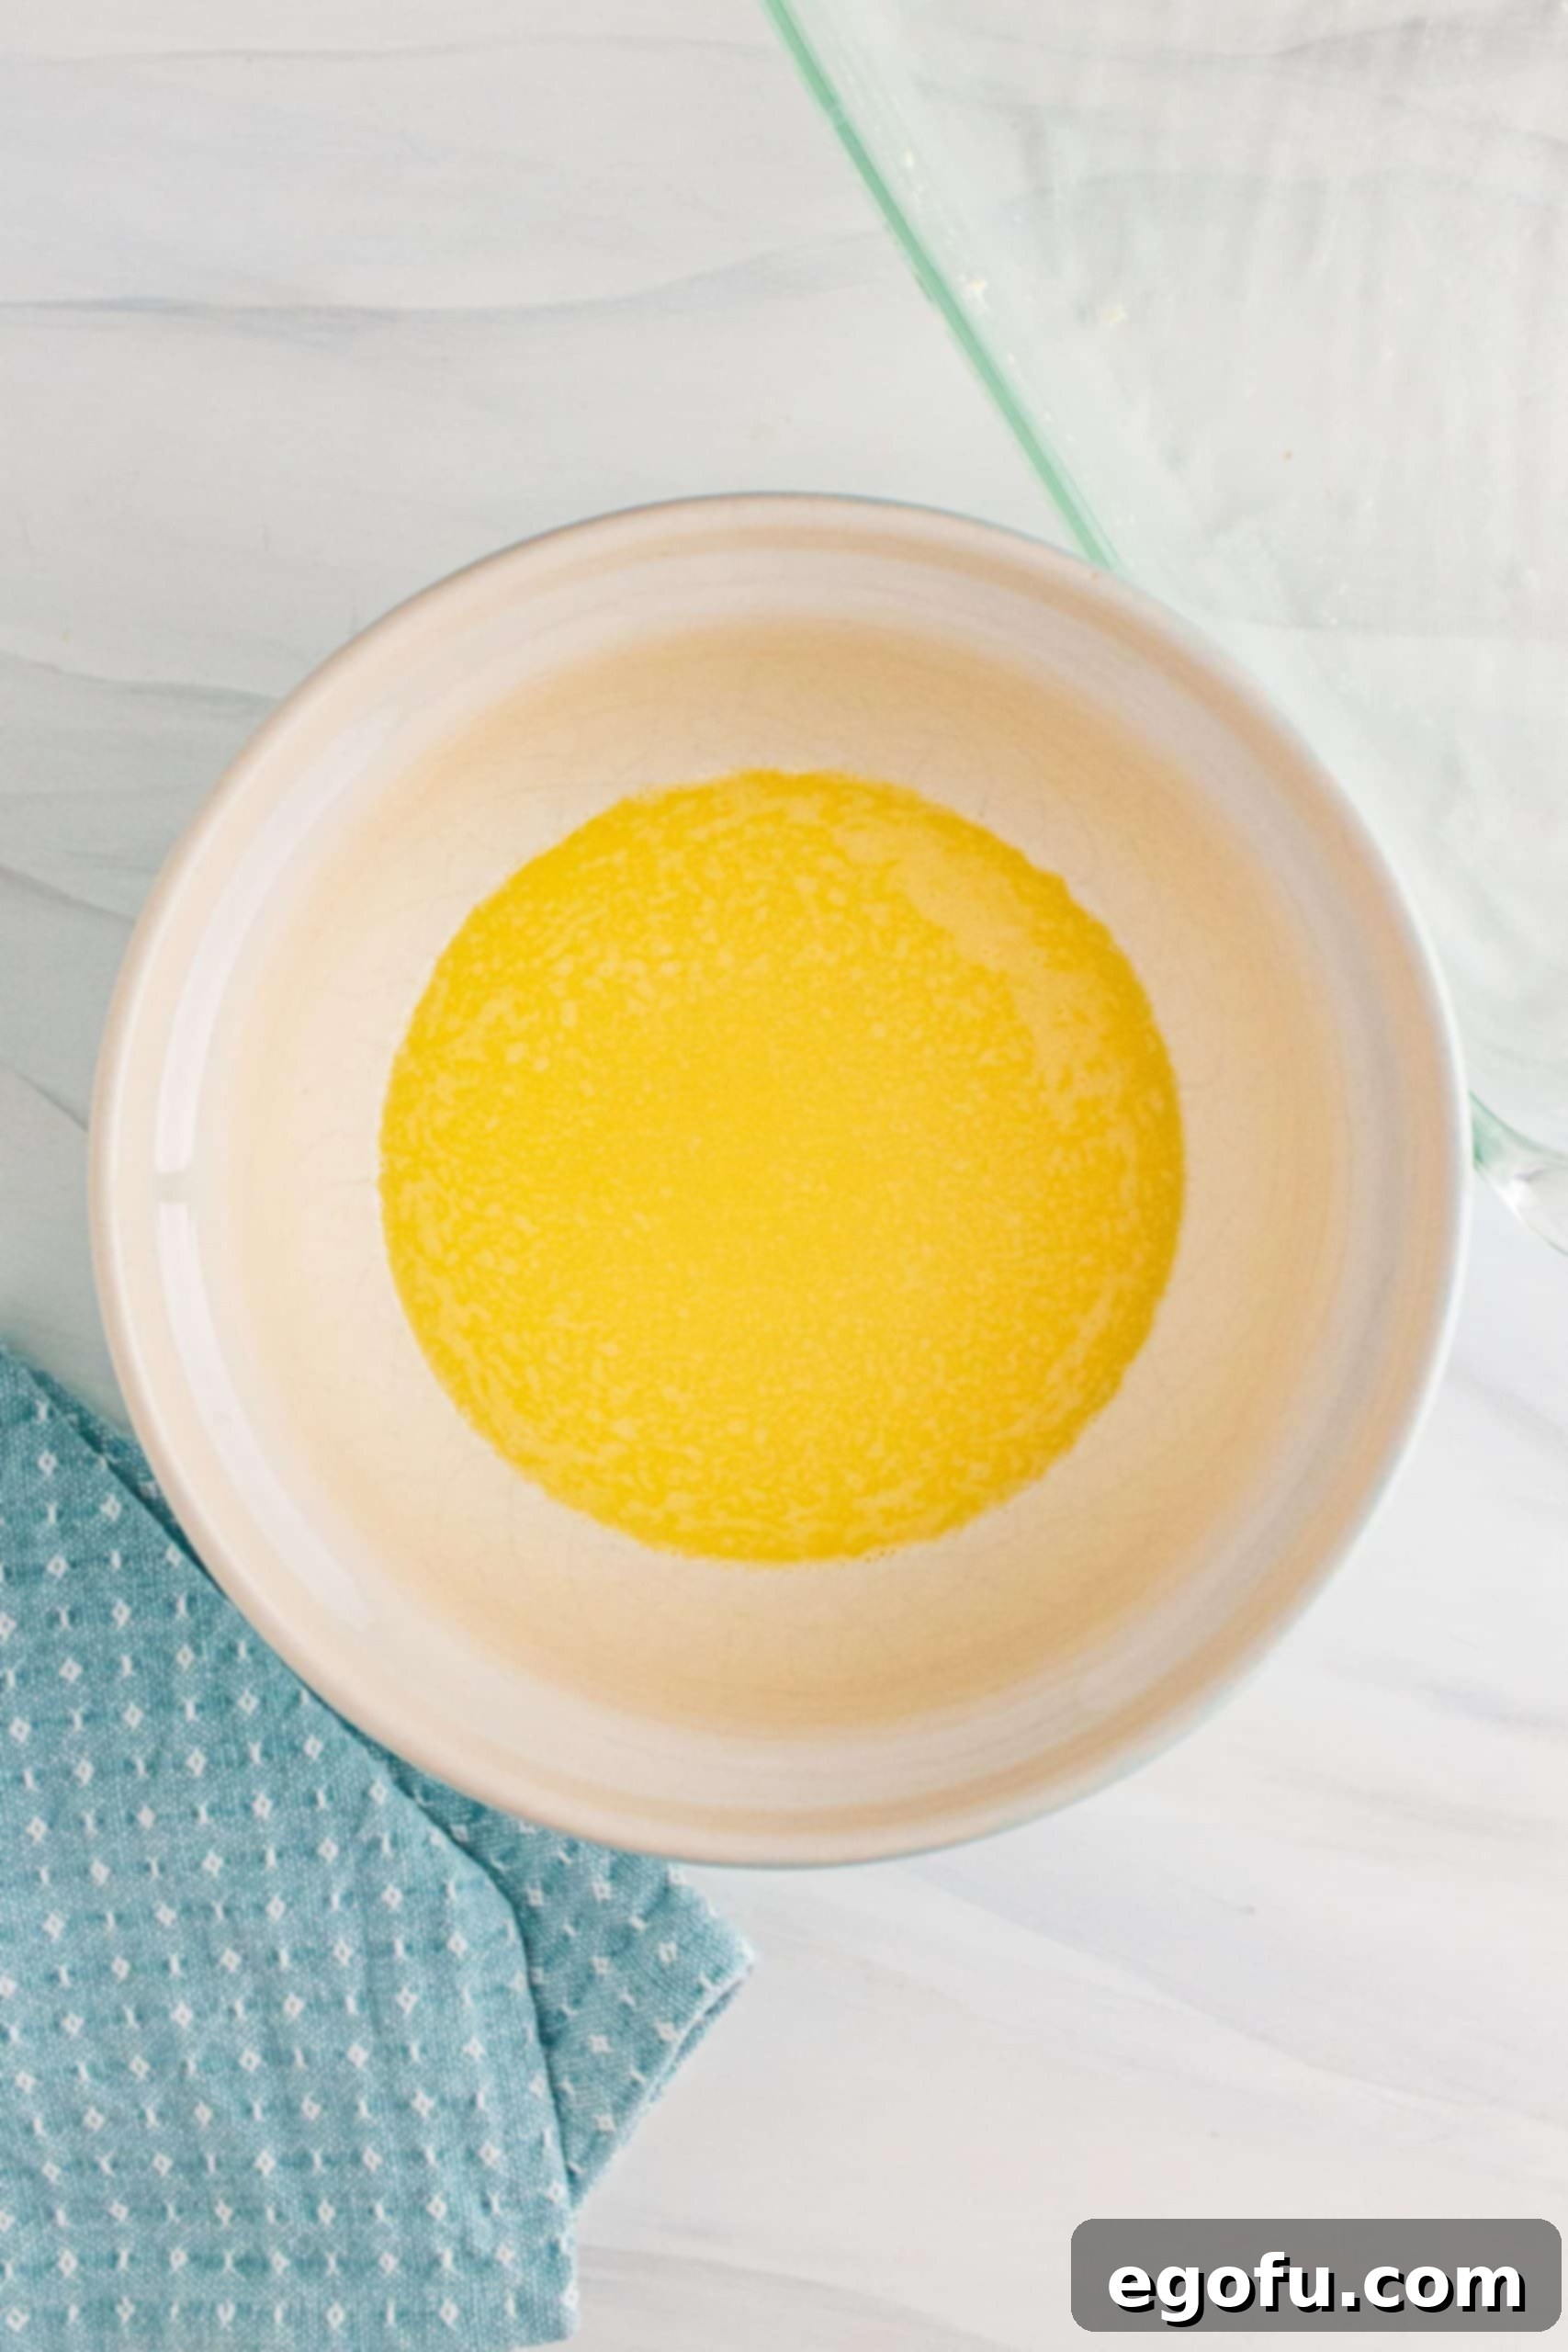
Melt the Butter: Take the remaining butter (including any used for greasing the pan) and the other stick of butter, and place them into a large microwave-safe bowl. Microwave for 30 seconds, then continue heating in 15-second intervals, stirring after each, until the butter is completely melted and smooth.

-
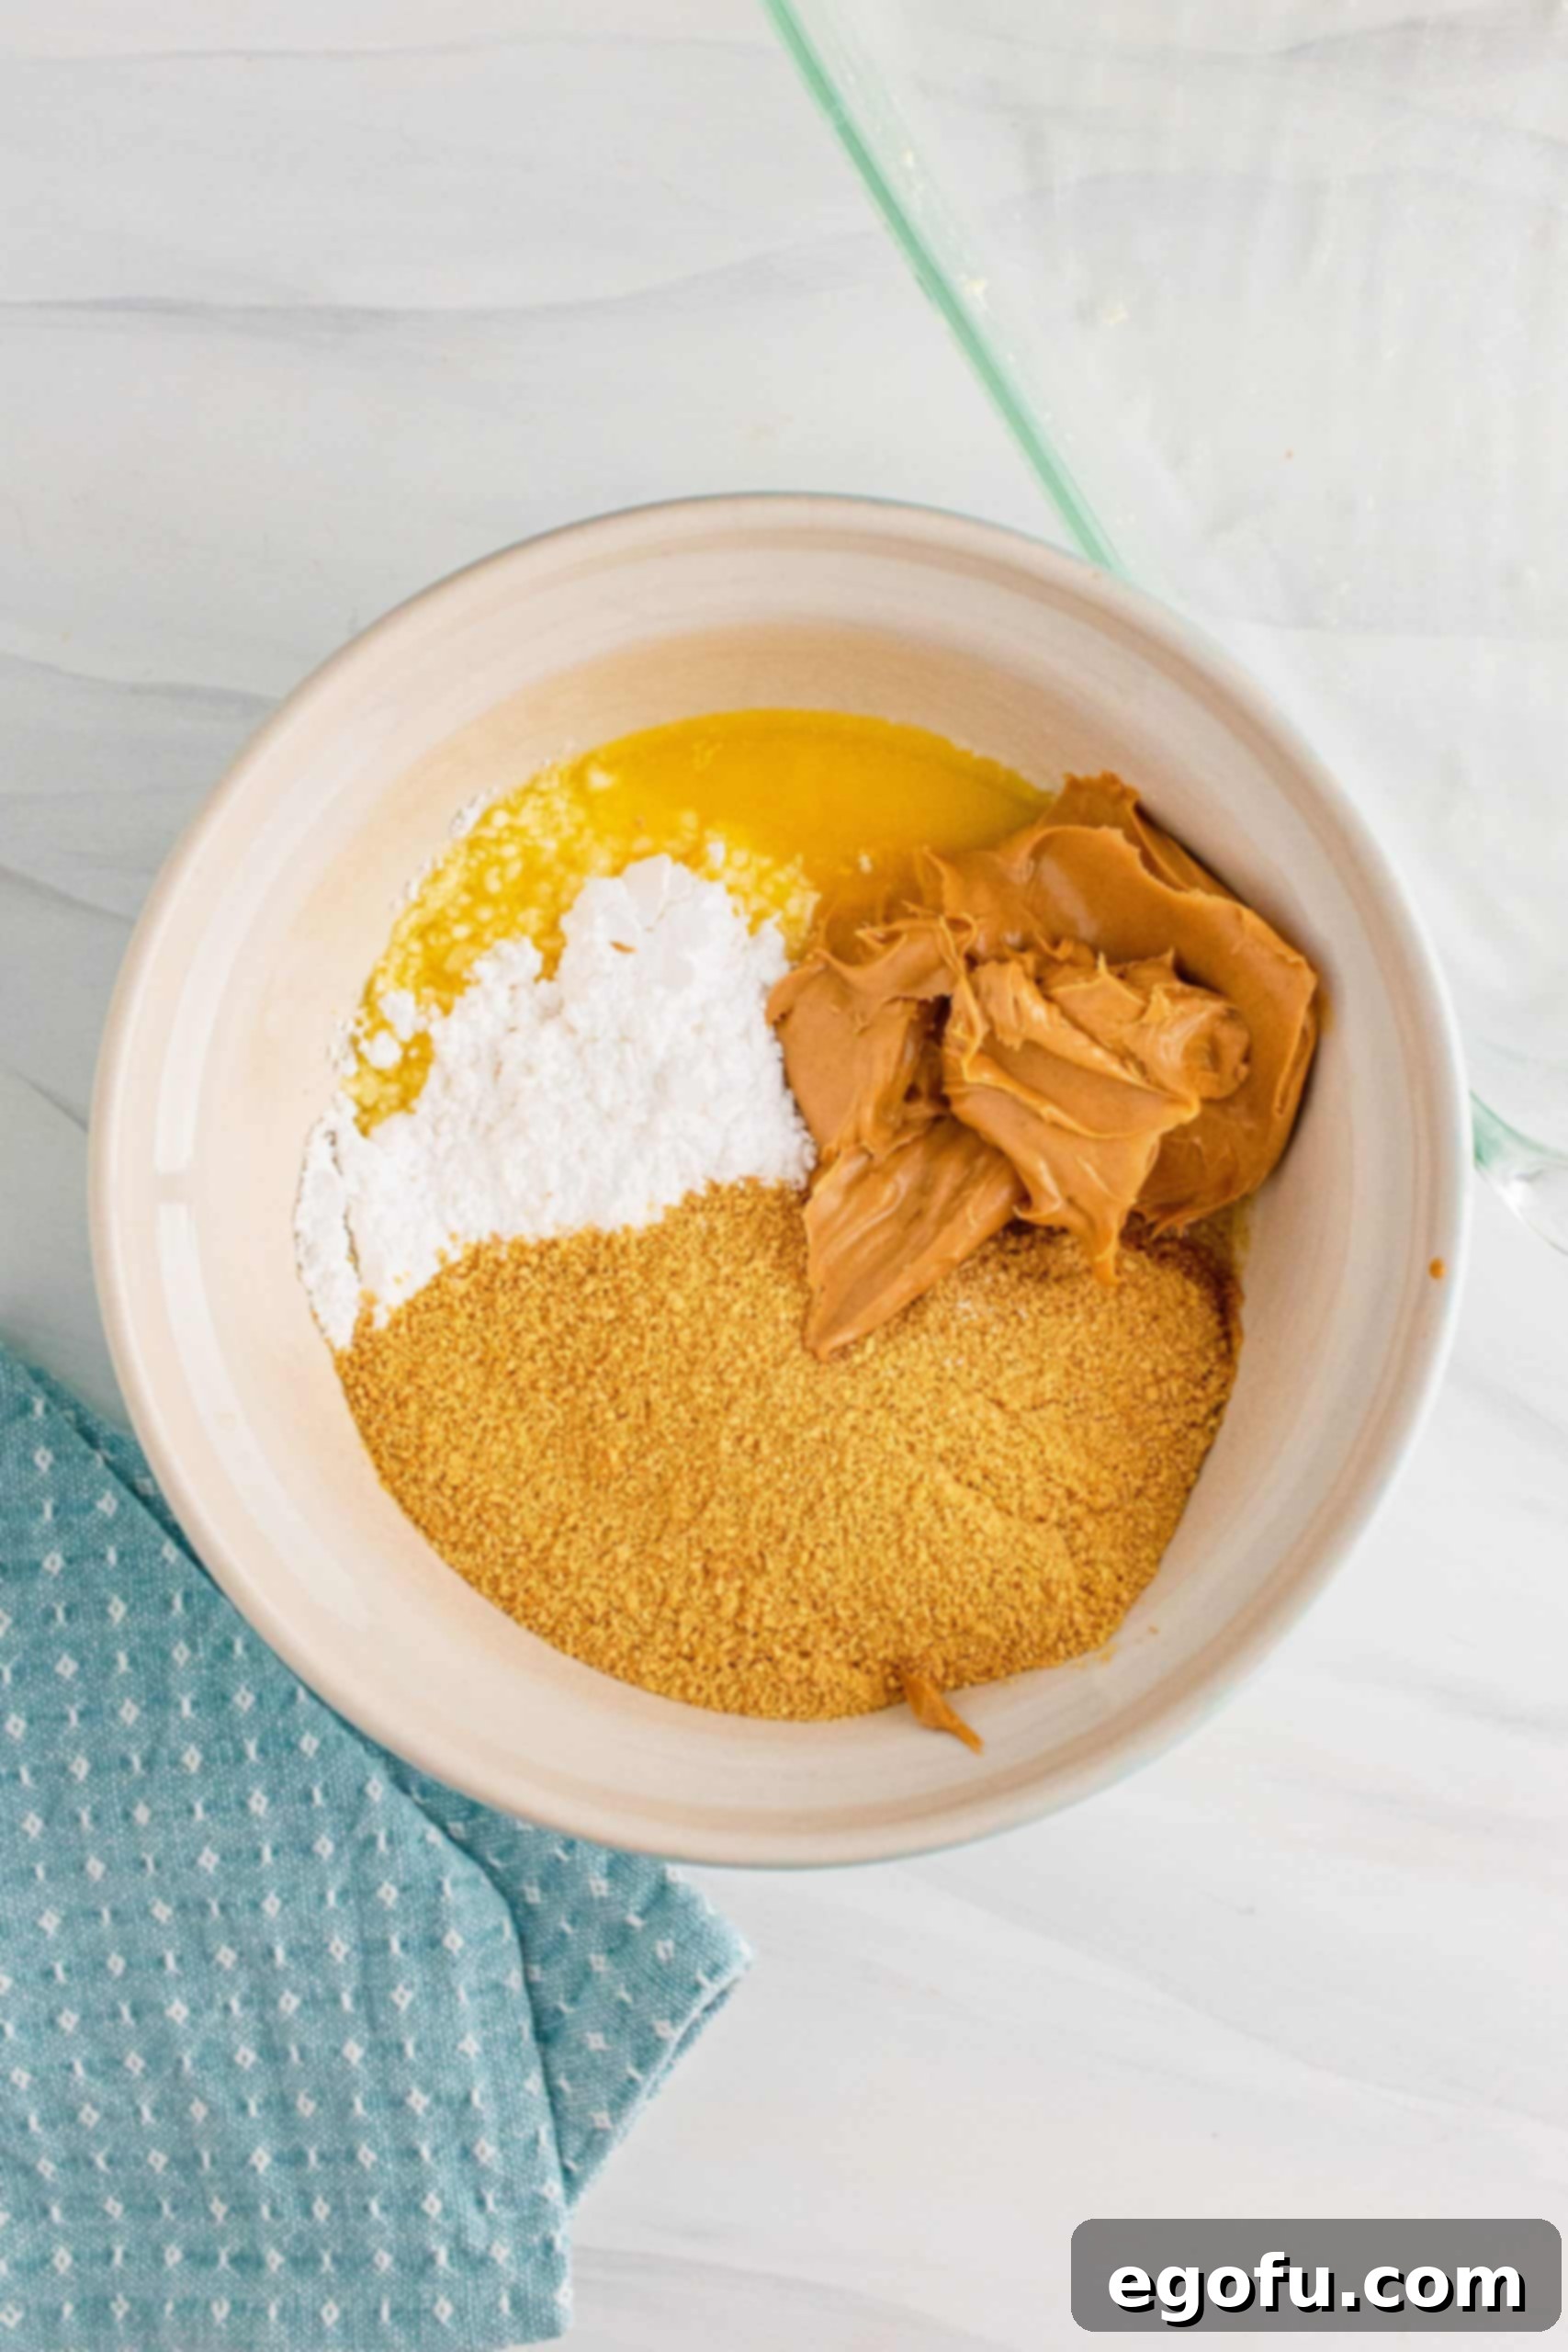
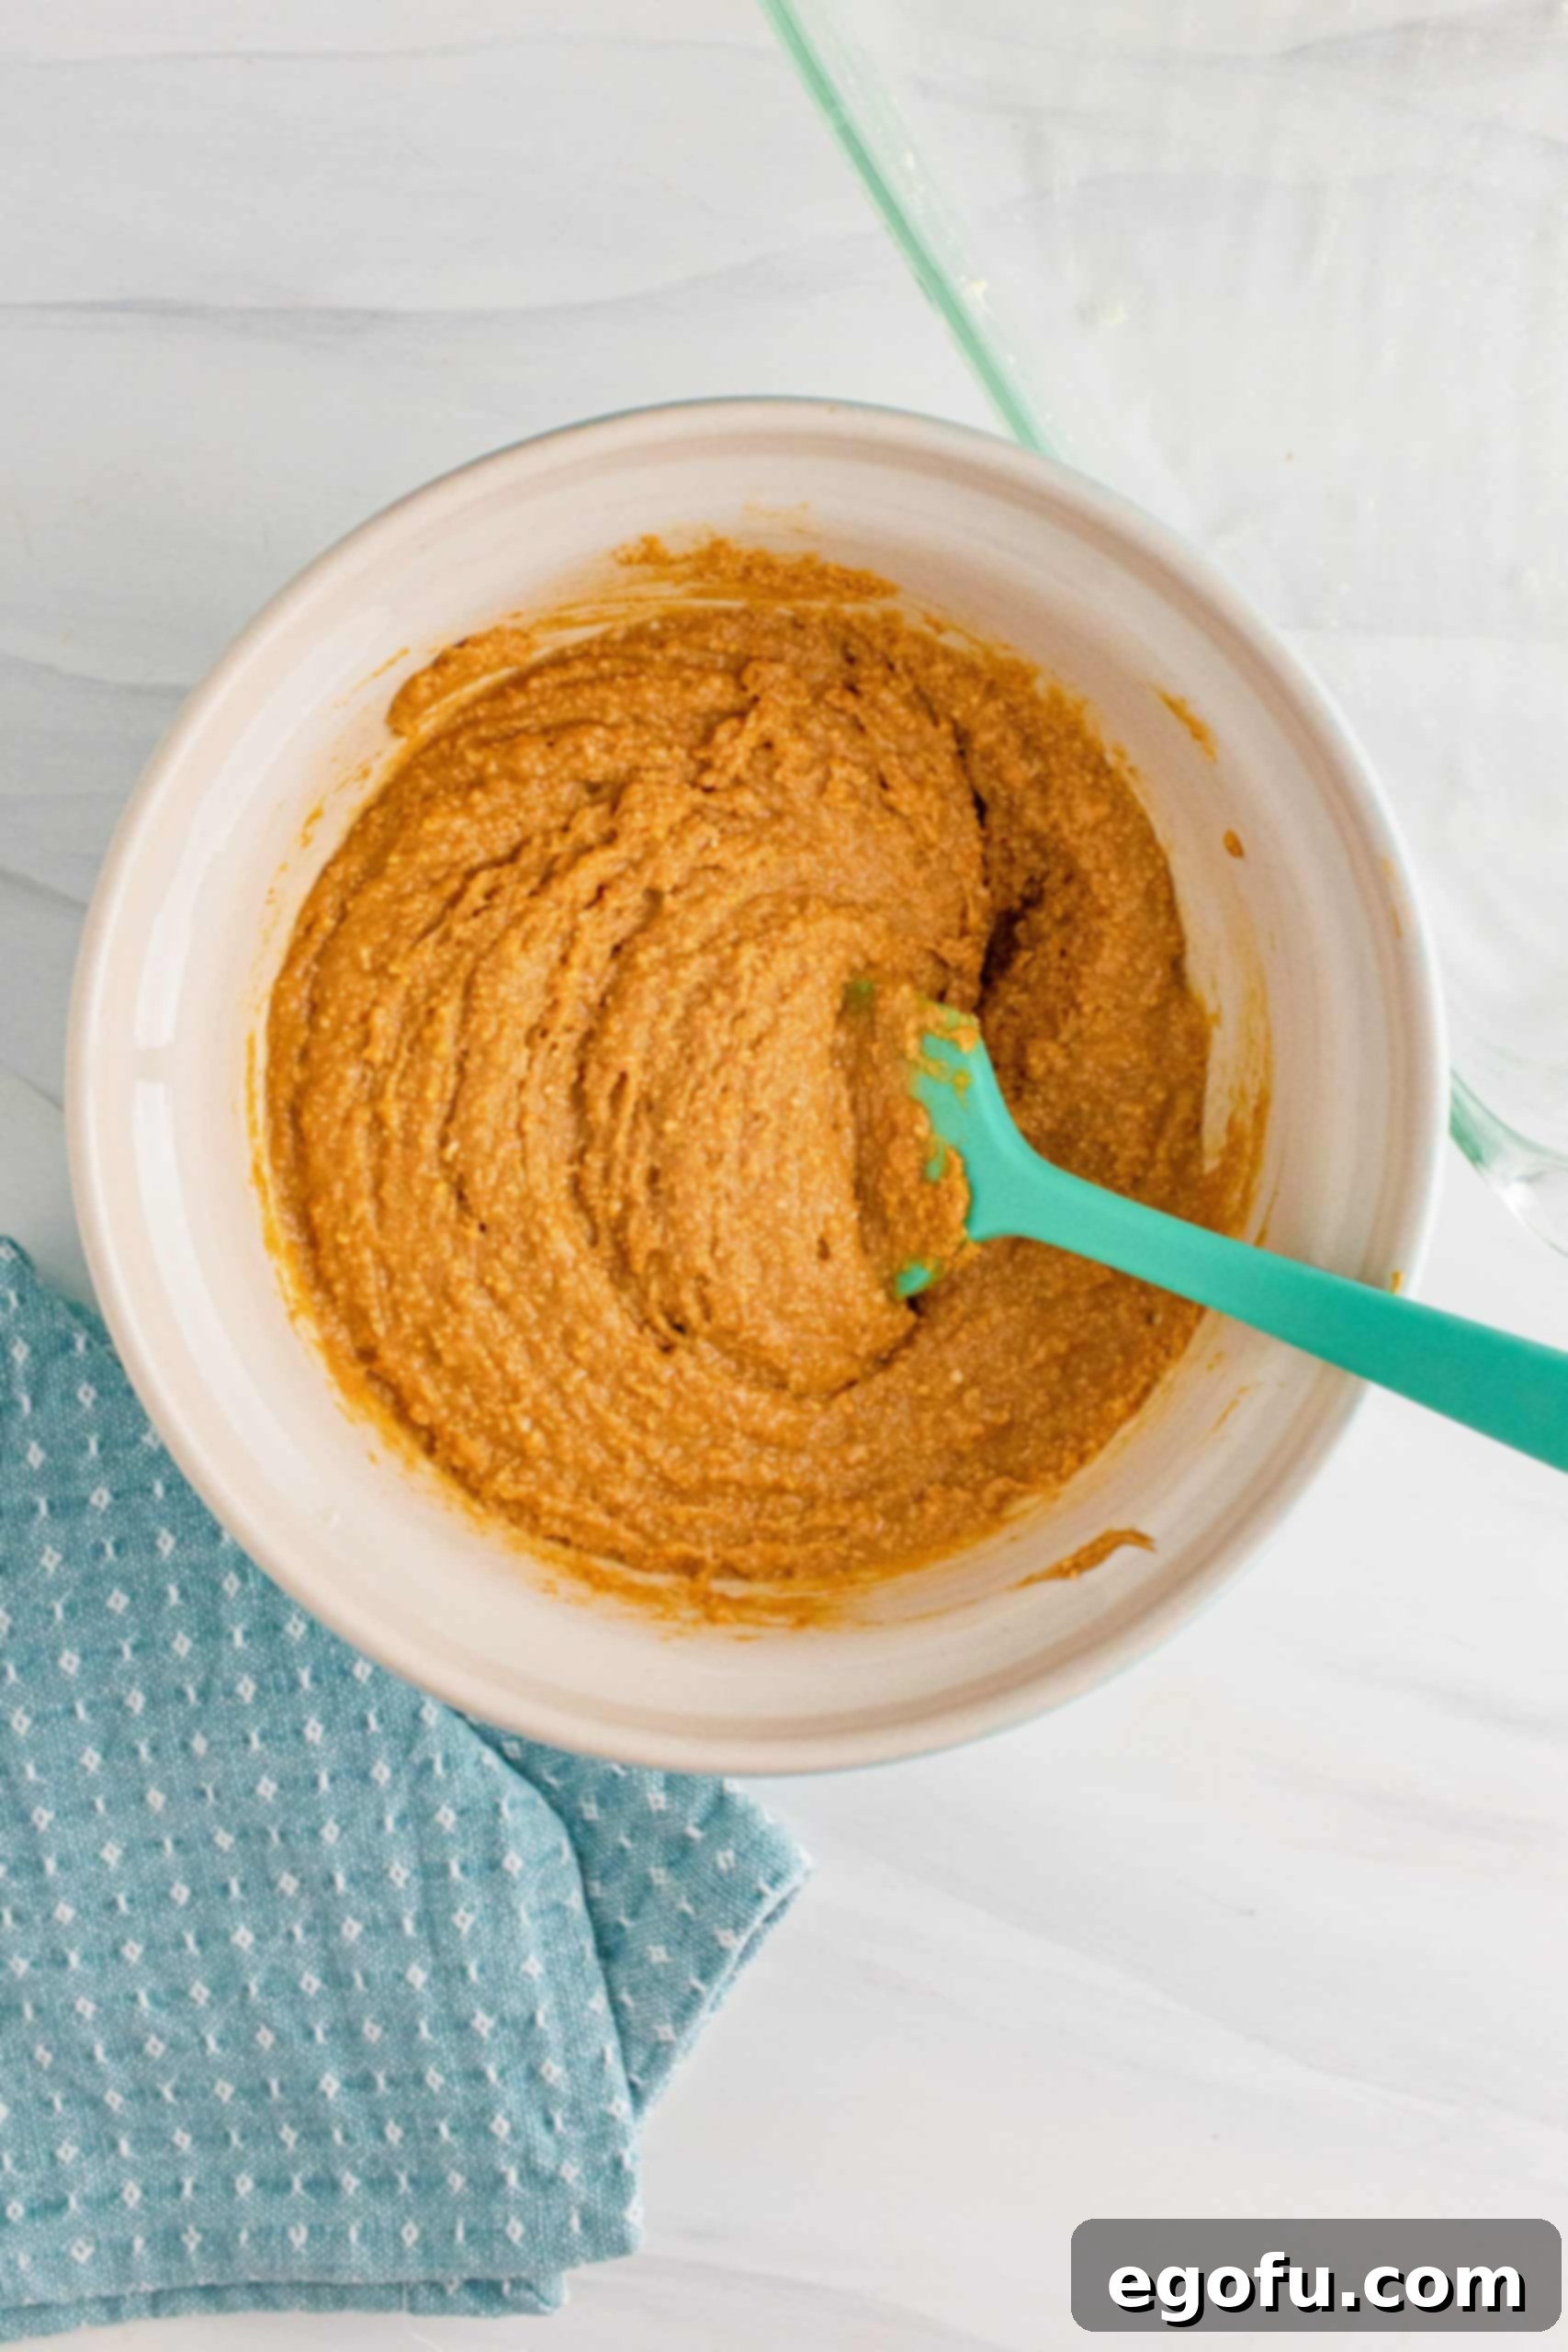
Combine Peanut Butter Layer Ingredients: Into the bowl with the melted butter, add the powdered sugar, graham cracker crumbs, and creamy peanut butter.

-
Mix Thoroughly: Stir the mixture vigorously until all ingredients are well combined and a thick, uniform peanut butter dough forms. Ensure there are no dry spots.

-
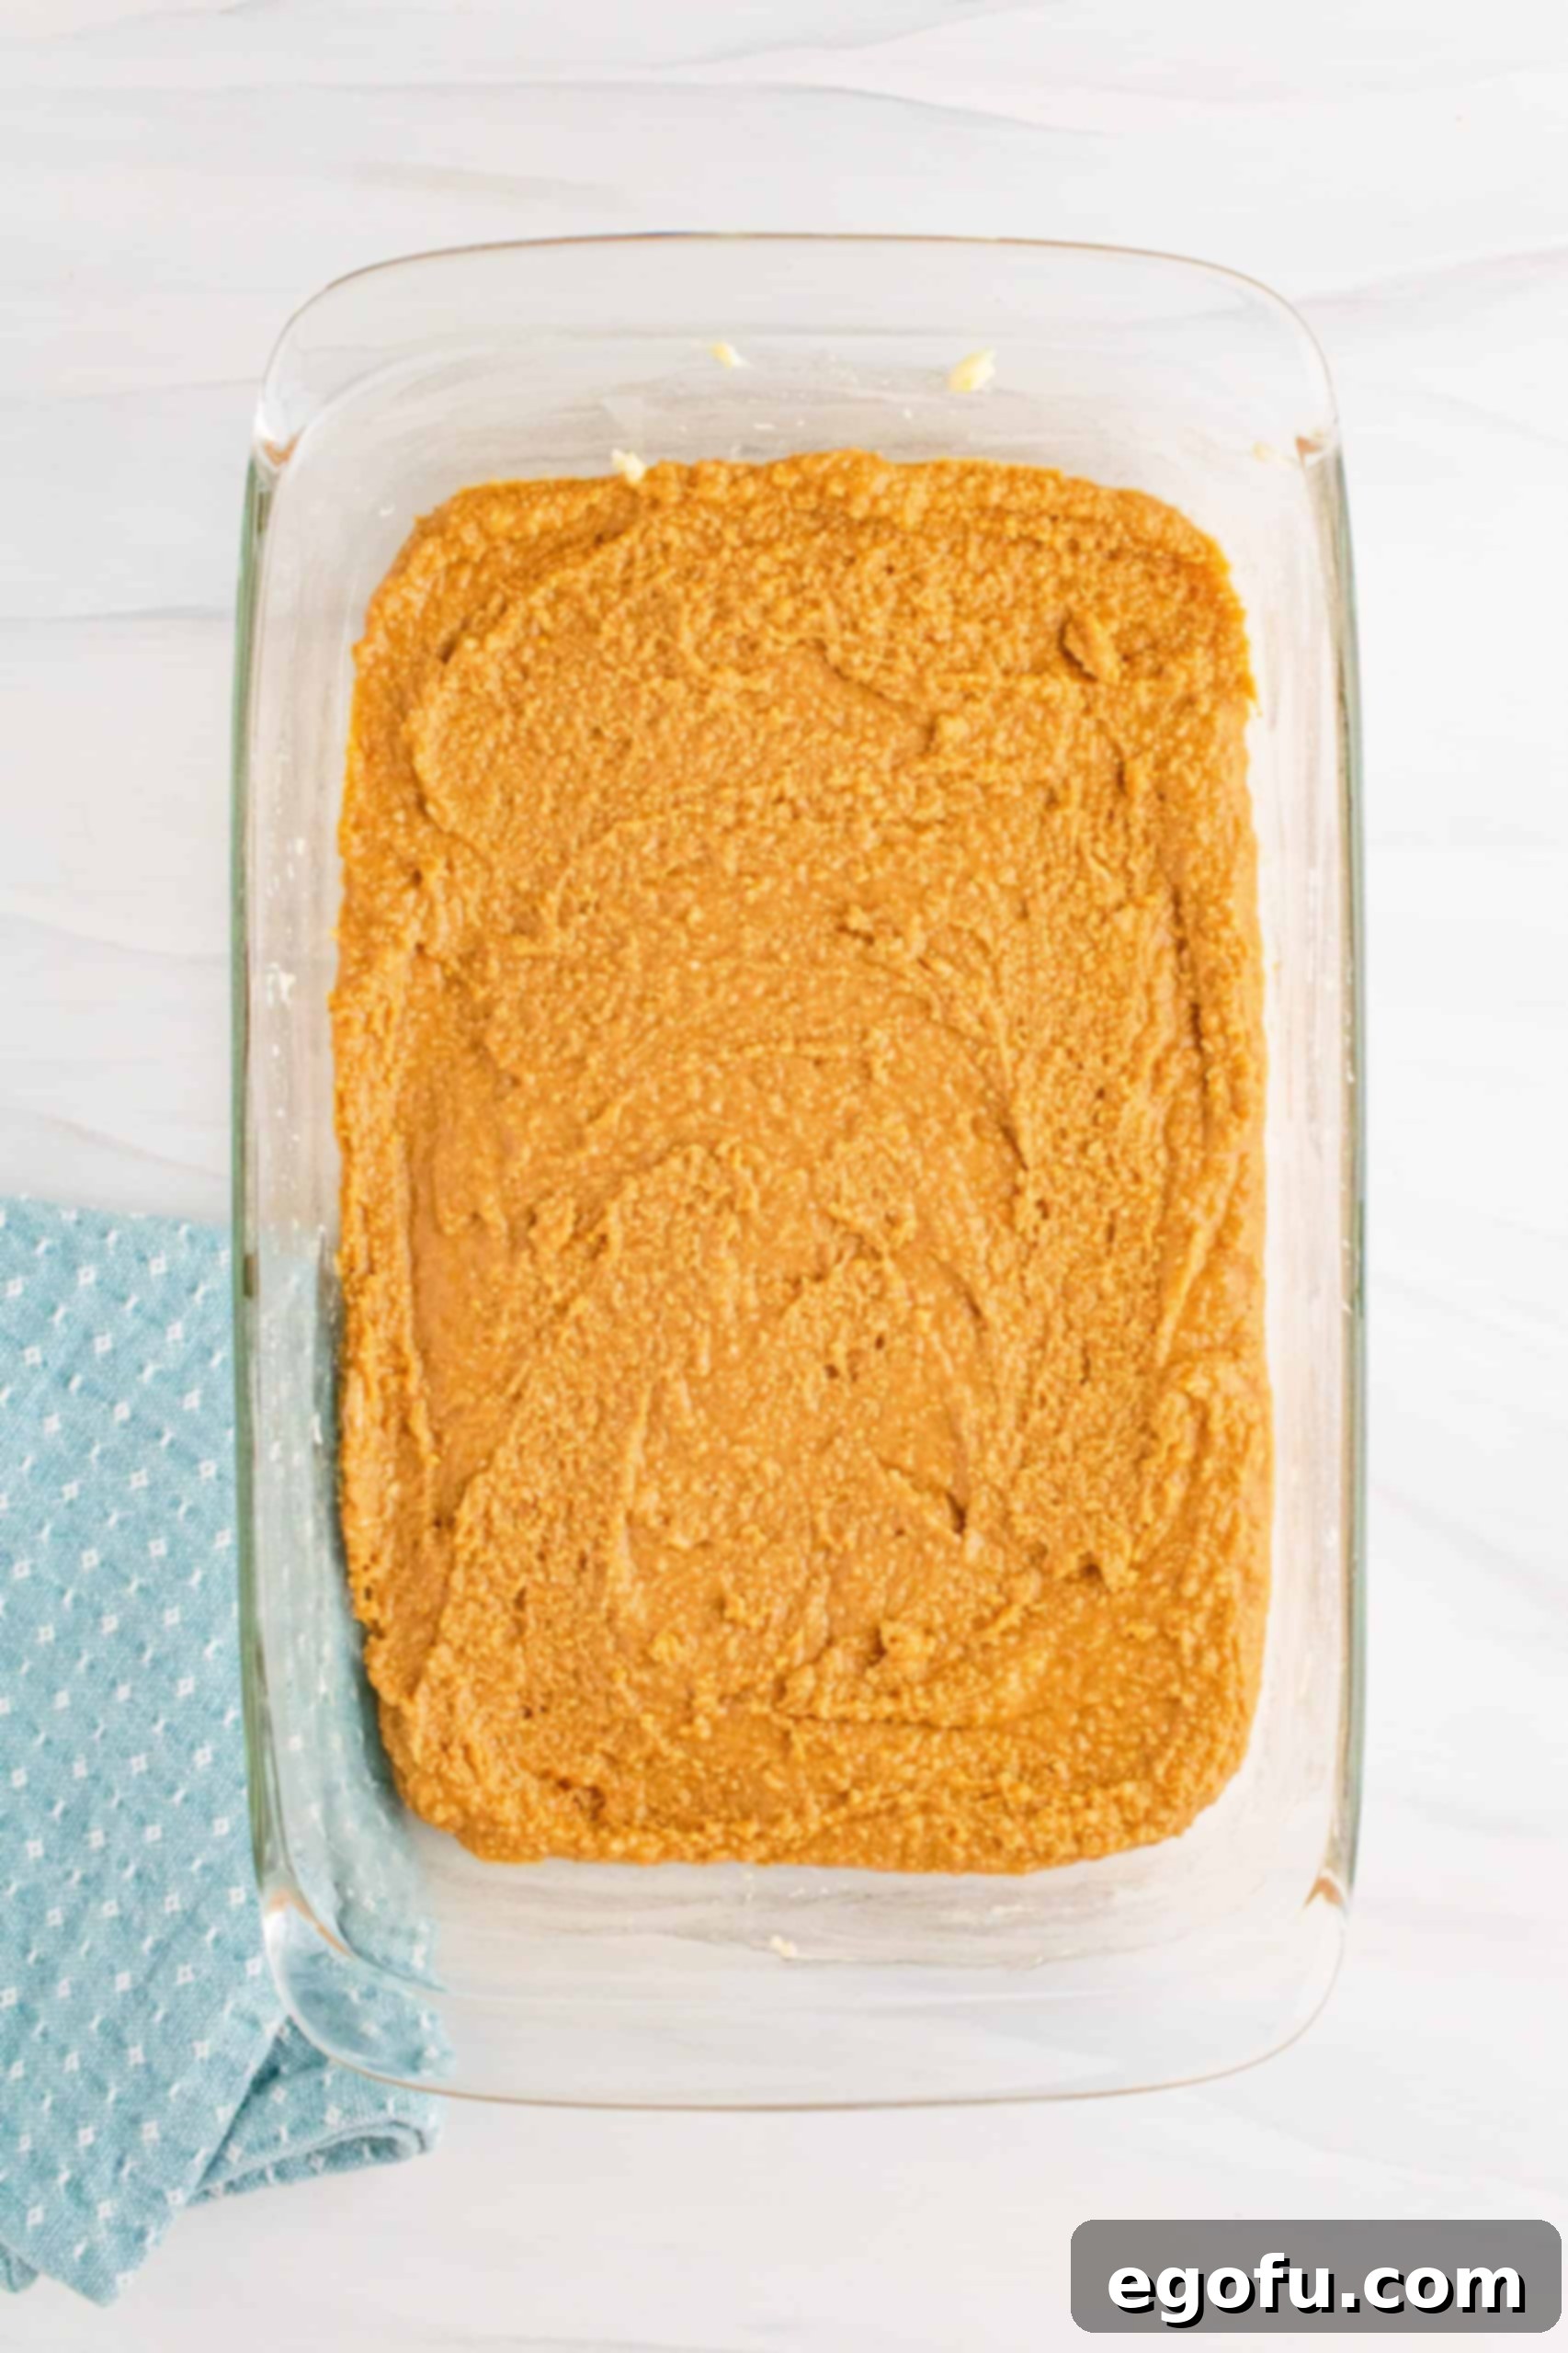
Press into Pan and Chill: Immediately pour the peanut butter mixture into the greased baking dish. Using a spatula or the back of a spoon, evenly spread and press the mixture firmly into the bottom of the pan. Place the dish in the freezer for 30 minutes to allow the peanut butter layer to set completely. This step is essential for creating a stable base.

-
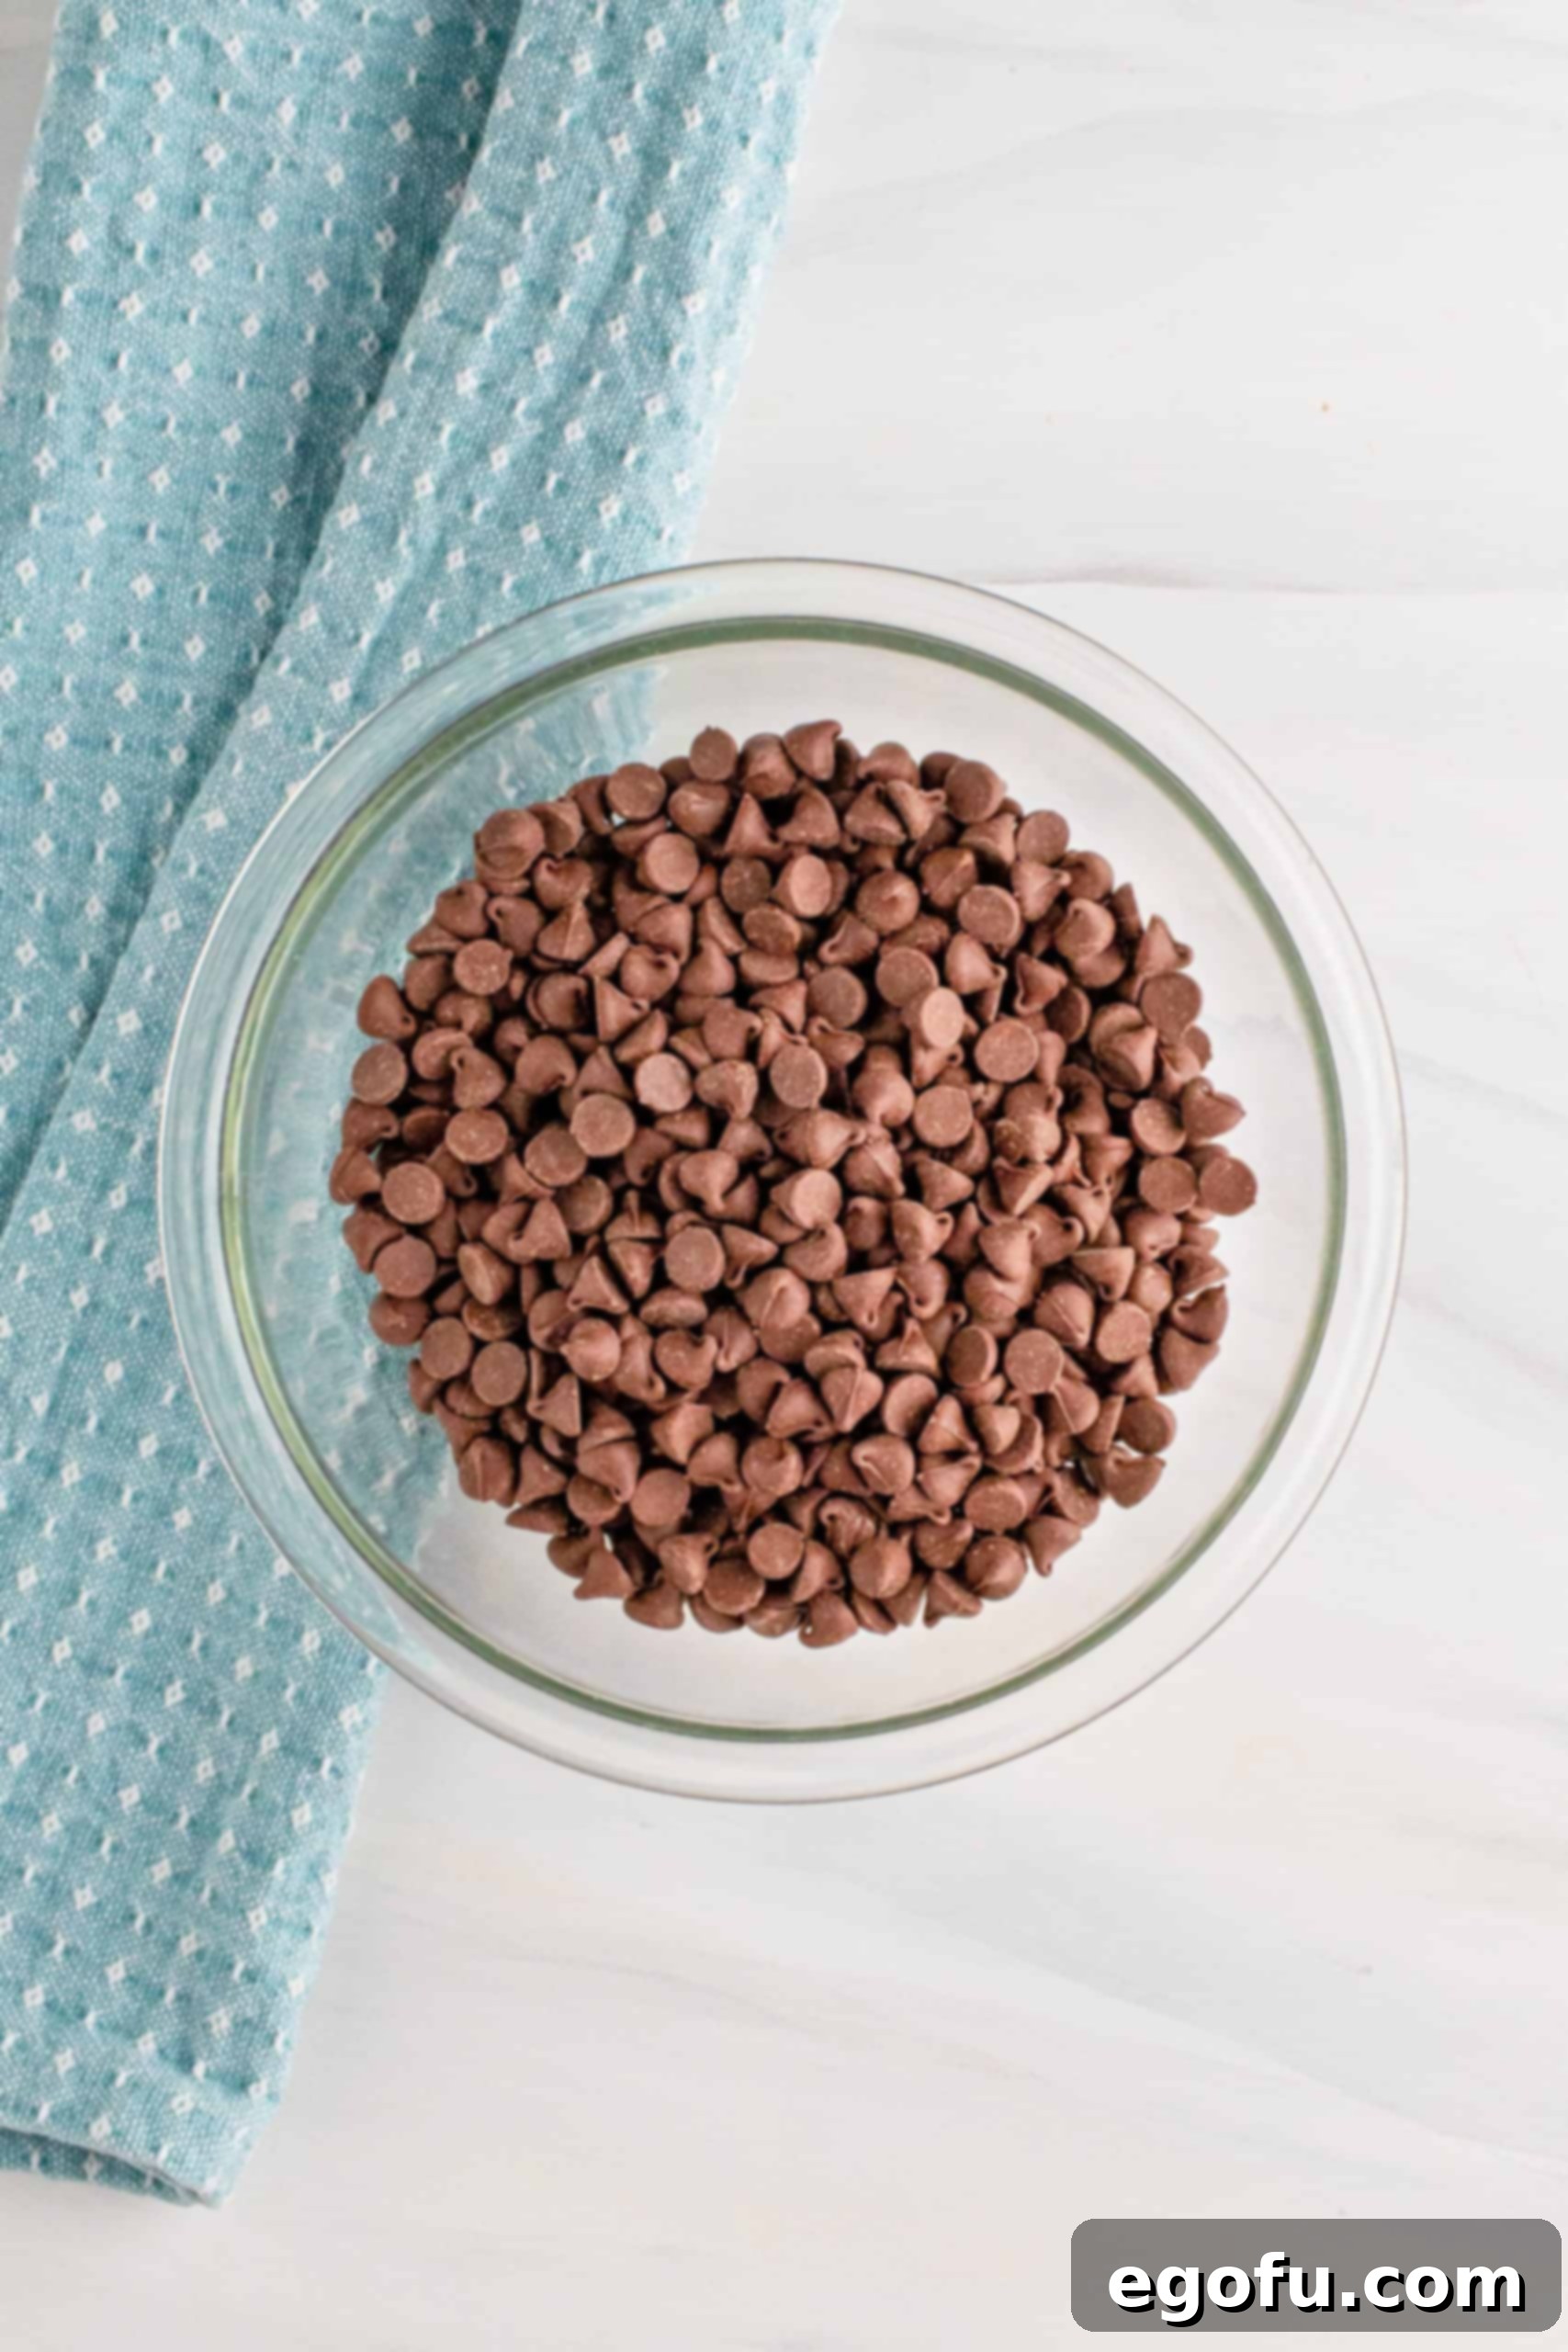
Melt the Chocolate Topping: While the peanut butter layer is chilling, place the chocolate chips into a separate microwave-safe bowl. Microwave in 15-second intervals, stirring thoroughly after each interval, until the chocolate is completely melted and smooth. Be careful not to overcook, as this can cause the chocolate to seize and become unusable. (Refer to the FAQ section for double boiler method if preferred.)

-
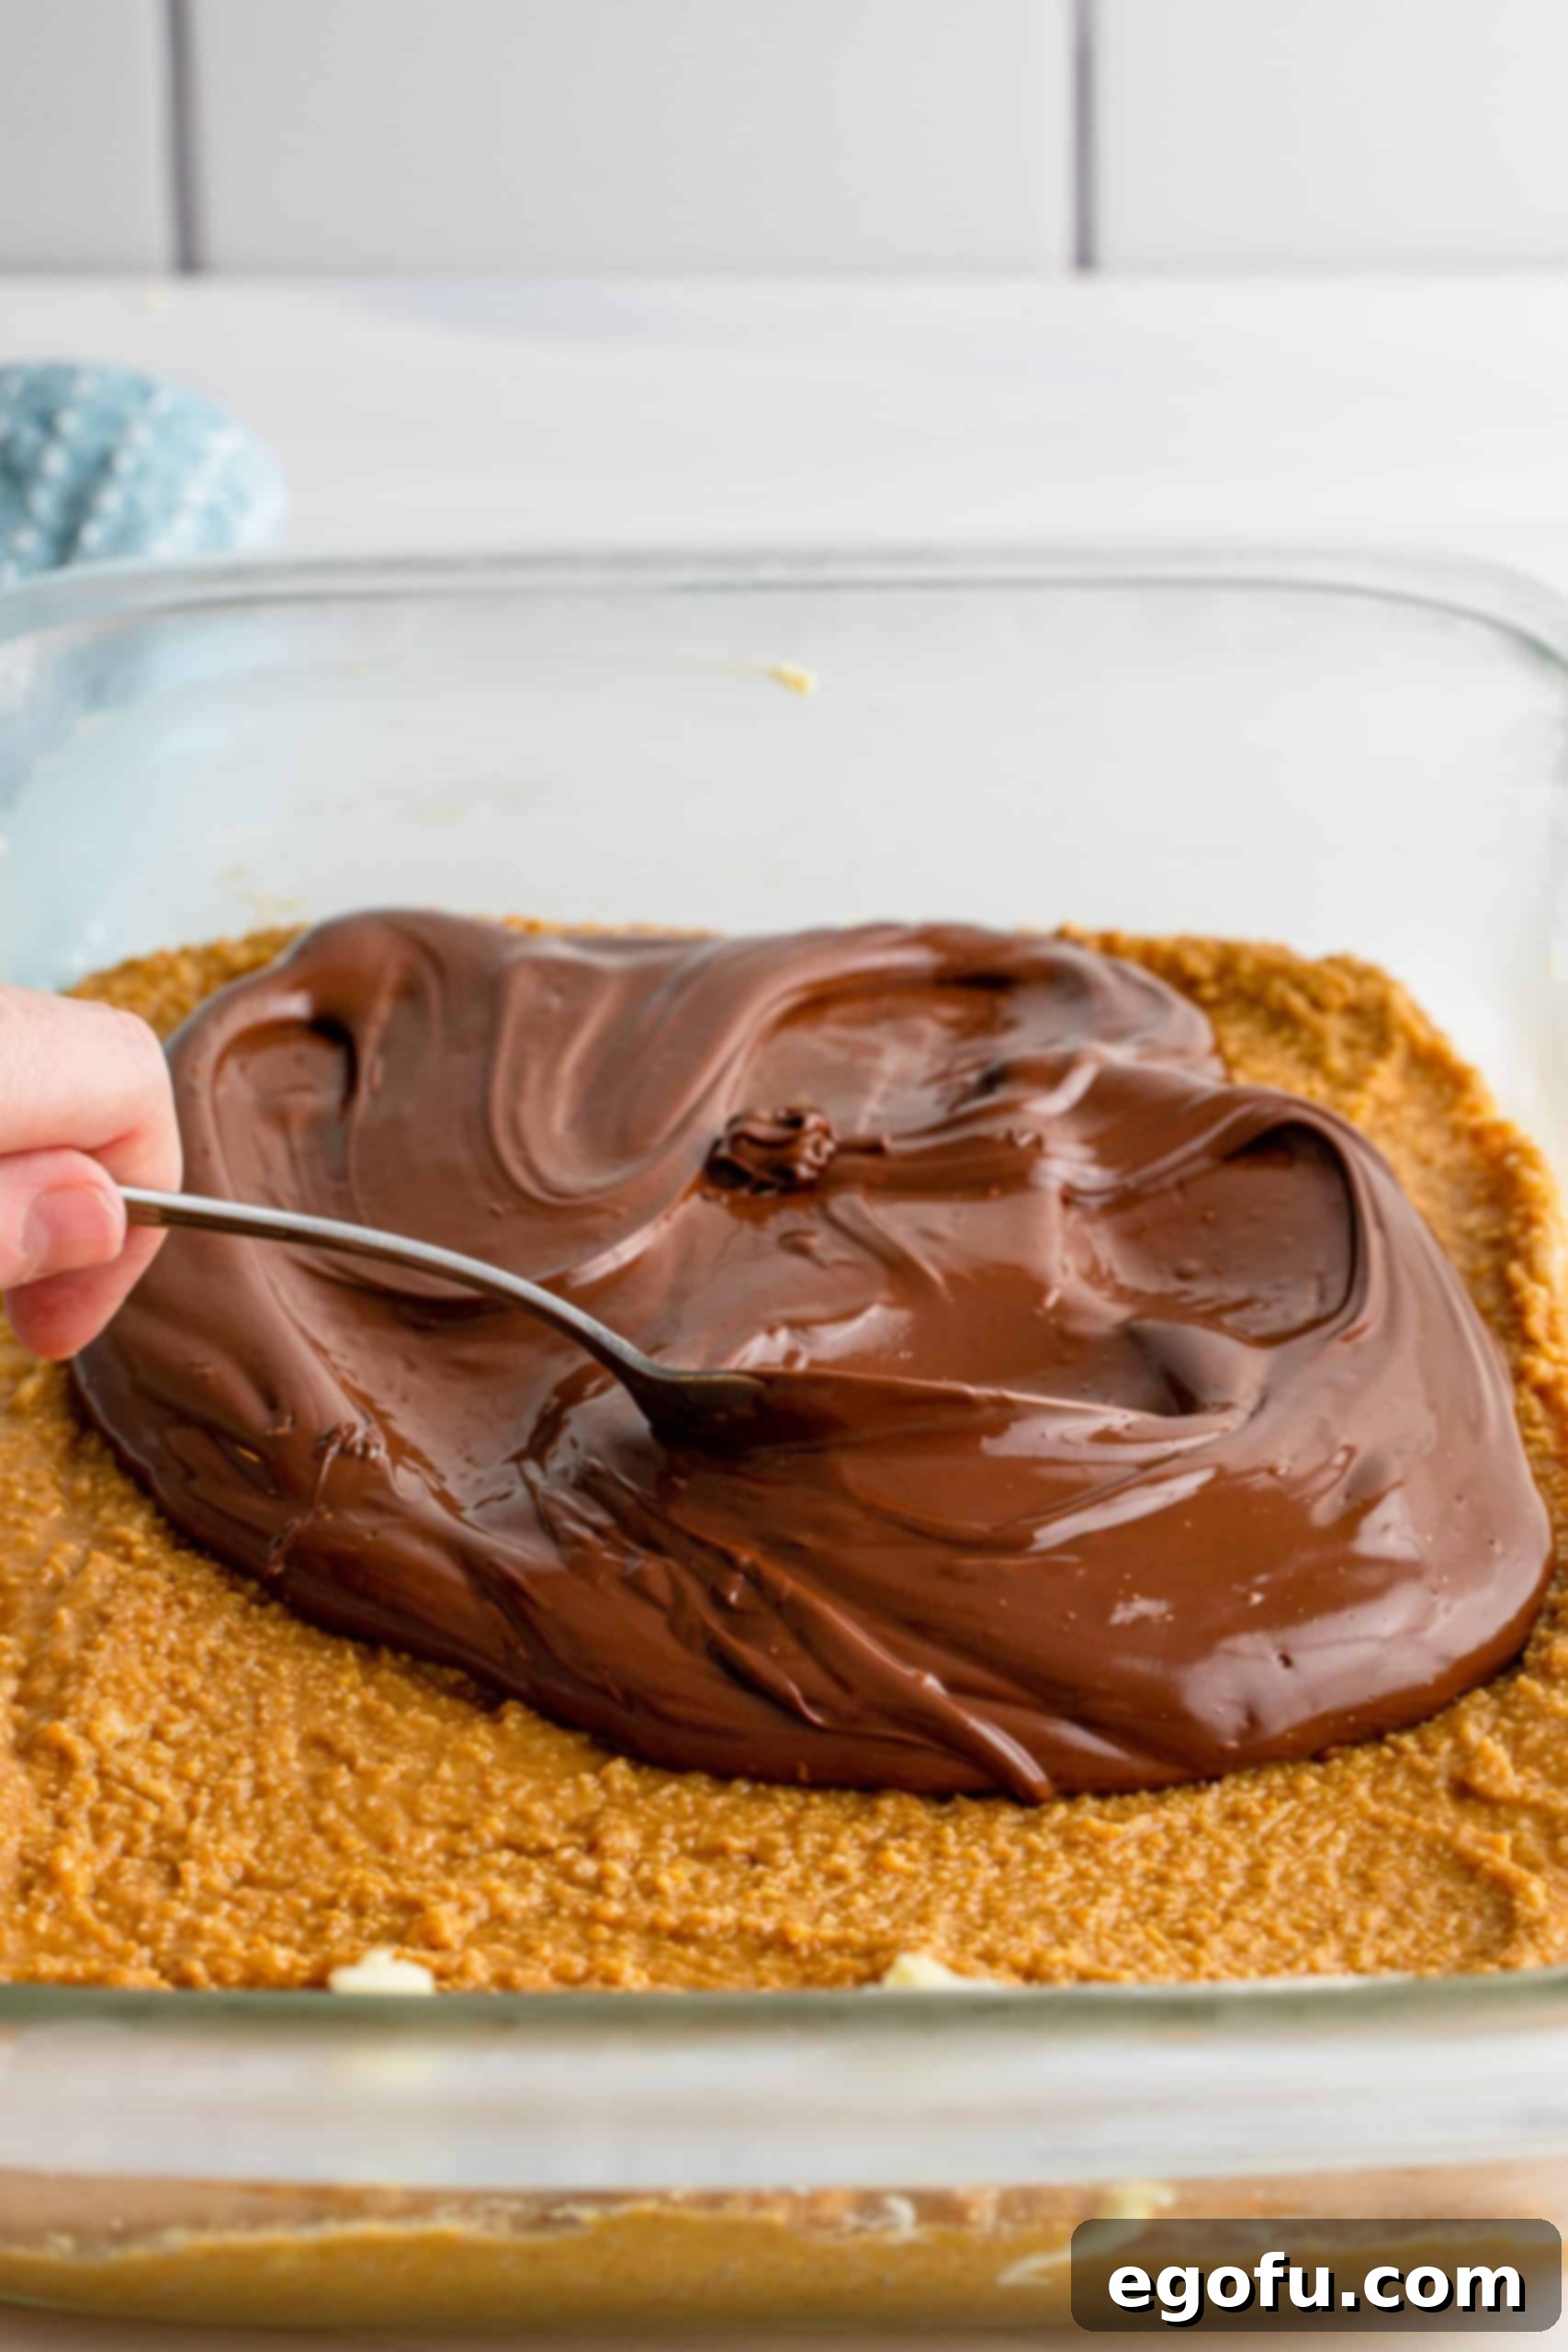
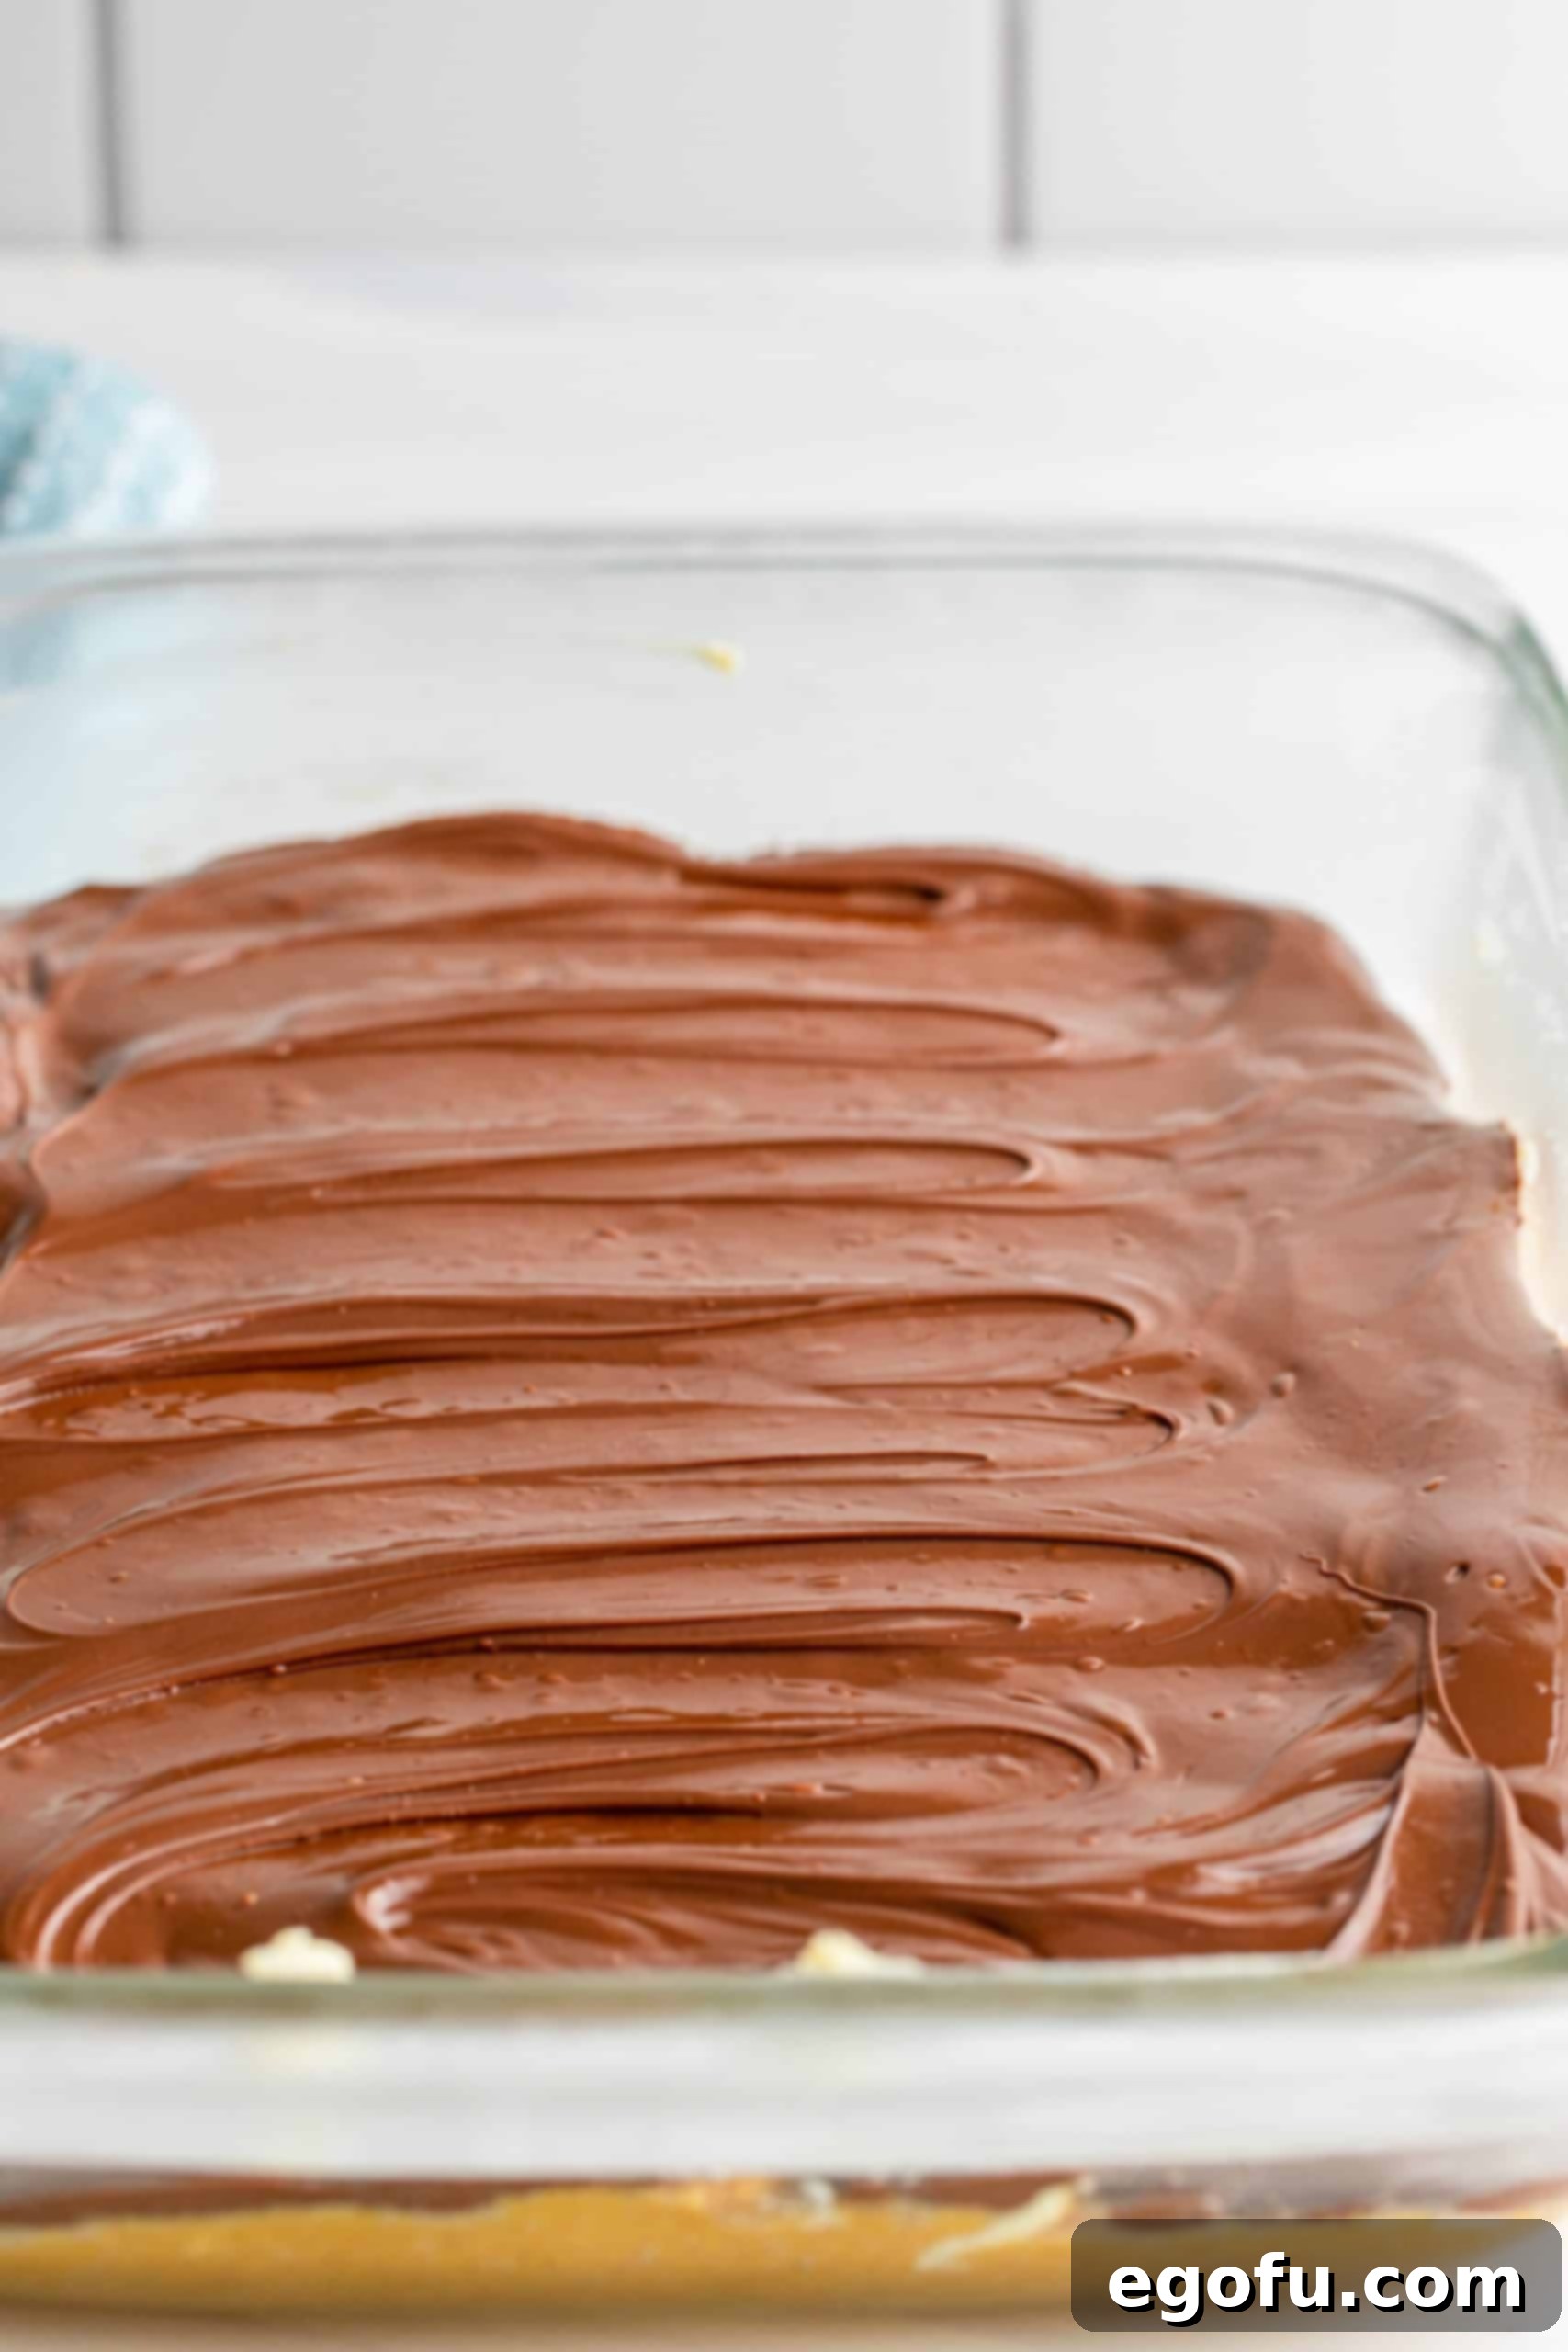
Apply Chocolate Layer: Once the peanut butter layer is firm from the freezer, retrieve the dish. Evenly spread the smooth, melted chocolate over the peanut butter mixture. Work quickly to ensure an even coating before the chocolate begins to set.

-
Chill Again: Place the dish back into the freezer for another 10-15 minutes, or until the chocolate is just set but not completely frozen hard. If the chocolate freezes too solid, it will be difficult to cut cleanly. The chocolate should be firm enough to touch without melting.

-
Cut and Serve: As soon as the chocolate is set, remove the dish from the freezer and immediately cut the bars into desired squares. Serving them slightly chilled is ideal. Enjoy these delightful, nostalgic treats!

Craving More Peanut Butter, Chocolate, and Classic Recipes?
If you’ve fallen in love with these easy no-bake peanut butter bars, you’re in for a treat! We have a treasure trove of similar indulgent and nostalgic recipes that are sure to satisfy your cravings. From more peanut butter and chocolate combinations to other classic homemade desserts, there’s something here for everyone. Explore these delightful options:
- No-Bake Chocolate Peanut Butter Pie
- Reese’s Peanut Butter Poke Cake
- Peanut Butter Rice Krispies Treats
- Peanut Butter Pie Brownies
- Scotcheroos
- Peanut Butter Cookie Bars
- Grandma’s Potato Candy
- Peanut Butter Bomb Cake
- Reese’s Peanut Butter Mini Cheesecakes
- Grandma’s Texas Sheet Cake
- Chocolate Peanut Butter Fudge
- Reese’s Peanut Butter Cake
- Homemade Kit Kat Bars
- Homemade 100 Grand Bars
- Homemade Twix Bars
- Snickers Bars
Grandma’s No-Bake Peanut Butter Bars
With only five ingredients, Grandma’s No-Bake Peanut Butter Bars are a nostalgic recipe and taste like the bars served in school cafeterias, bringing back cherished childhood memories.
Print Recipe
Pin Recipe
Rate This Recipe
15 minutes
0 minutes
45 minutes
1 hour
20 bars
Brandie Skibinski
Ingredients
- 1 cup (2 sticks) salted butter
- 2 cups powdered sugar
- 1 ½ cups graham cracker crumbs
- 1 cup creamy peanut butter
- 20 ounces semi-sweet chocolate chips
Instructions
- Grease a 9×13 baking dish with butter, set aside.
- Place the rest of the butter (that you used to grease the pan with) along with the other stick of butter into a large microwave-safe bowl. Microwave for 30 seconds. Continue to microwave in 15-second intervals until melted and smooth.
- Into the bowl with the melted butter, add the powdered sugar, graham cracker crumbs, and peanut butter.
- Stir until combined well and a thick mixture forms.
- Immediately spread the peanut butter mixture into the greased baking dish and smooth it out evenly. Place it in the freezer for 30 minutes to set.
- While the peanut butter layer sets in the freezer, place the chocolate chips into a microwave-safe bowl. Microwave in 15-second intervals, stirring each time until the chocolate is melted and smooth. Be careful not to overcook, or the chocolate will seize.
- Spread the melted chocolate evenly on top of the chilled peanut butter mixture.
- Place it back into the freezer until the chocolate is just set but not completely frozen (about 10-15 minutes). If they’re totally frozen, it becomes too hard to cut into bars neatly.
- Cut immediately into squares using a sharp knife and serve.
Video
Notes
- These bars require refrigeration at all times to maintain their firm texture. At room temperature, they will become too soft.
- While creamy peanut butter is recommended for the smoothest base, feel free to use chunky peanut butter for an added textural element. It makes for a great substitute!
- Customize the chocolate layer! Instead of semi-sweet, try milk chocolate for a sweeter treat or dark chocolate for a richer, more intense flavor.
- If you don’t have pre-packaged graham cracker crumbs, simply crush whole graham crackers in a food processor or by placing them in a sealed bag and crushing with a rolling pin.
- This recipe doubles beautifully, making it ideal for larger crowds, parties, or when you simply want more delicious bars on hand!
- To prevent chocolate from seizing when melting in the microwave, heat in short 15-second bursts, stirring vigorously after each. Alternatively, use a double boiler method: place a heat-safe bowl over a pot of simmering water (ensure bowl doesn’t touch water), add chocolate chips, and stir until smooth.
Dessert
American
Nutrition
Carbohydrates: 34g |
Protein: 6g |
Fat: 27g |
Sodium: 185mg |
Fiber: 3g |
Sugar: 25g
Nutritional Disclaimer
“The Country Cook” is not a dietician or nutritionist, and any nutritional information shared is an estimate. If calorie count and other nutritional values are important to you, we recommend running the ingredients through whichever online nutritional calculator you prefer. Calories and other nutritional values can vary quite a bit depending on which brands were used.
Did you make this recipe?
Share it on Instagram @thecountrycook and mention us #thecountrycook!
