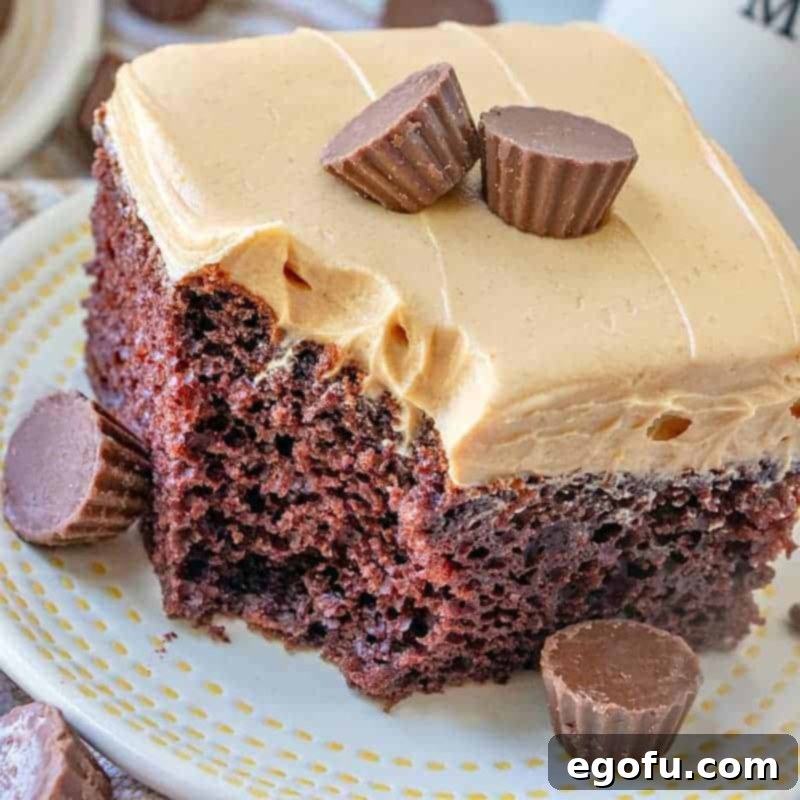
Irresistible Reese’s Peanut Butter Cup Cake: The Ultimate Chocolate and Peanut Butter Delight
There’s an undeniable magic in the combination of rich chocolate and creamy peanut butter, a duo that has captured hearts and taste buds for generations. Our Reese’s Peanut Butter Cup Cake celebrates this classic pairing, offering a decadent yet surprisingly easy-to-make dessert that’s perfect for any occasion. Starting with a humble boxed chocolate cake mix, this recipe transforms into a showstopper, crowned with the most amazing, velvety smooth Reese’s peanut butter frosting. Get ready to bake a cake that promises pure bliss in every single bite.
The Inspiration Behind This Decadent Delight
This journey to create the ultimate Reese’s Peanut Butter Cup Cake began with a delightful discovery at a charming local country restaurant. Renowned for their incredible homemade desserts, they always feature unique and inspiring sweet treats. On a memorable visit, they presented a simple yet profoundly delicious chocolate cake generously slathered with peanut butter frosting. It was love at first bite – a harmonious blend of flavors and textures that captivated everyone at our table. The experience immediately sparked a creative fire, compelling me to recreate that unforgettable taste with my own special touch, ensuring it was something anyone could easily whip up at home.

Why This Reese’s Peanut Butter Cake Will Be Your New Favorite
Beyond its incredible taste, this Reese’s Peanut Butter Cup Cake offers numerous reasons to earn a permanent spot in your recipe collection:
- Effortless Preparation: Don’t let the gourmet taste fool you. This recipe leverages the convenience of a boxed chocolate cake mix, significantly cutting down on prep time without compromising on flavor or texture. It’s perfect for busy bakers or those new to the kitchen.
- Unforgettable Flavor Profile: The cake delivers a rich, moist chocolate base that perfectly complements the sweet and slightly salty notes of the peanut butter frosting. The balance is exquisite, ensuring neither flavor overpowers the other.
- Crowd-Pleaser Guaranteed: Who doesn’t love the timeless combination of chocolate and peanut butter? This cake is a universal favorite, making it an ideal dessert for birthday parties, family gatherings, potlucks, or simply a weekend treat. Expect rave reviews and requests for the recipe!
- Customizable Fun: While the recipe is fantastic as is, it also offers plenty of room for personalization. Add chopped Reese’s Peanut Butter Cups on top for an extra layer of texture and flavor, or drizzle with chocolate ganache for an even more indulgent experience.
- Versatile Presentation: This recipe isn’t limited to sheet cakes. It adapts beautifully to cupcakes, making it easier to serve at larger events or for individual portions.
Essential Tips for Crafting the Perfect Reese’s Peanut Butter Frosting
The frosting is truly the star of this Reese’s Peanut Butter Cup Cake, and achieving that smooth, creamy consistency is key. Here are some indispensable tips to ensure your frosting turns out absolutely divine:
- Margarine vs. Butter: For this specific frosting, I prefer using margarine, and there’s a good reason why. Margarine, with its higher vegetable oil content, helps create a frosting that is incredibly soft, creamy, and spreadable, maintaining its delightful texture even when chilled. It contributes to a lighter feel compared to traditional buttercreams. However, if you have a strong preference for butter or simply don’t use margarine, unsalted real butter can absolutely be substituted. Just be aware that butter-based frosting might be slightly firmer when cold, so allow it to come to room temperature before serving for the best texture.
- Choosing Your Peanut Butter: While the recipe calls for Reese’s creamy peanut butter for that authentic flavor profile, any good quality creamy peanut butter will yield fantastic results. Avoid natural peanut butter that requires stirring, as its oil separation can affect the frosting’s consistency. Stick to conventional creamy brands for the smoothest finish.
- Room Temperature Ingredients are Non-Negotiable: Both your margarine (or butter) and peanut butter must be softened to room temperature. This is crucial for achieving a smooth, lump-free frosting. Cold ingredients will resist blending properly, resulting in a clumpy texture. Plan ahead and take them out of the refrigerator at least an hour before you begin.
- The Power of Powdered Sugar: Powdered sugar (also known as confectioners’ sugar) is essential for frosting, not granulated sugar. Its fine texture dissolves easily, creating a silky smooth consistency. Sifting your powdered sugar before adding it to the mixture can help prevent lumps, especially if it’s been sitting in your pantry for a while.
- Mixing for Perfection: When combining the margarine and peanut butter, mix them thoroughly until they are light and fluffy. If using a stand mixer, make sure to frequently scrape down the sides of the bowl with a spatula. This ensures all ingredients are uniformly incorporated and prevents pockets of unmixed ingredients. Once you add the powdered sugar, milk, and vanilla, continue mixing until just combined and smooth. Overmixing after adding the liquids can sometimes lead to a less airy texture.
- Adjusting Consistency: If your frosting seems too thick, add milk a teaspoon at a time until it reaches your desired spreadable consistency. If it’s too thin, gradually add more powdered sugar until it thickens up. Frosting consistency can vary slightly due to humidity and ingredient brands, so don’t be afraid to adjust.

Gather Your Ingredients: Simple Staples for Amazing Flavor
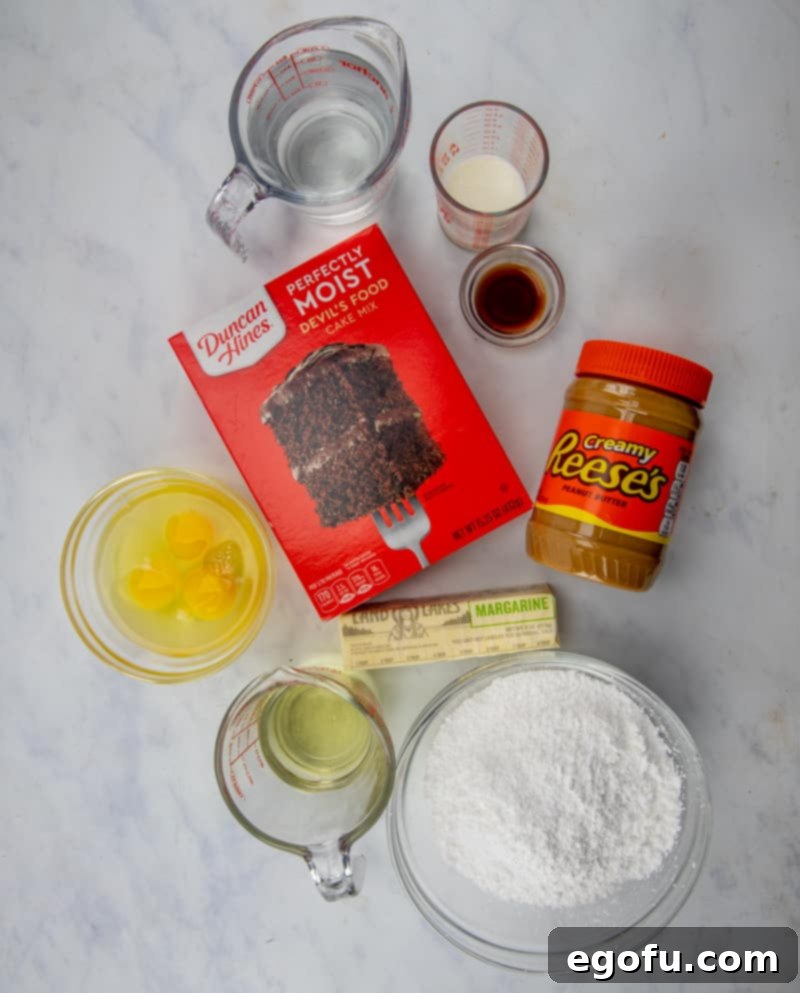
One of the beauties of this Reese’s Peanut Butter Cup Cake recipe is its reliance on readily available ingredients. You likely have most of these in your pantry already! Here’s what you’ll need to create this chocolate peanut butter dream:
- Chocolate Cake Mix: Any standard boxed chocolate cake mix will work perfectly. Choose your favorite brand – whether it’s devil’s food, milk chocolate, or dark chocolate, the rich flavor will complement the peanut butter frosting beautifully.
- Cake Mix Ingredients: Remember to have the additional ingredients required by your specific cake mix box on hand. This typically includes eggs, vegetable oil, and water. Follow the box instructions for the best cake base.
- Margarine: For that incredibly soft and creamy frosting texture, softened margarine is highly recommended. If you prefer, unsalted butter, softened to room temperature, can be used as a substitute, though the frosting’s texture might be slightly different.
- Reese’s Creamy Peanut Butter: This is the secret to getting that distinct Reese’s flavor in your frosting. Ensure it’s creamy, not crunchy, for a smooth frosting. If Reese’s brand isn’t available, your favorite creamy peanut butter will still make a delicious frosting.
- Powdered Sugar: Also known as confectioners’ sugar, this fine sugar is crucial for achieving a smooth, lump-free frosting that melts in your mouth.
- Milk: A small amount of milk helps to thin the frosting to a spreadable consistency and contributes to its creaminess. Whole milk is generally preferred for richness, but 2% or even skim milk can be used.
- Vanilla Extract: A touch of pure vanilla extract enhances all the flavors in the frosting, adding a warm, aromatic note that brings everything together.
Having all your ingredients measured and ready before you start baking (mise en place) will make the process even smoother and more enjoyable!
Step-by-Step Guide: How to Bake and Frost Your Reese’s Masterpiece
Creating this irresistible Reese’s Peanut Butter Cup Cake is a straightforward process, broken down into two main parts: baking the cake and making the glorious frosting. Follow these steps for a perfect dessert every time.
Preparing the Chocolate Cake Base
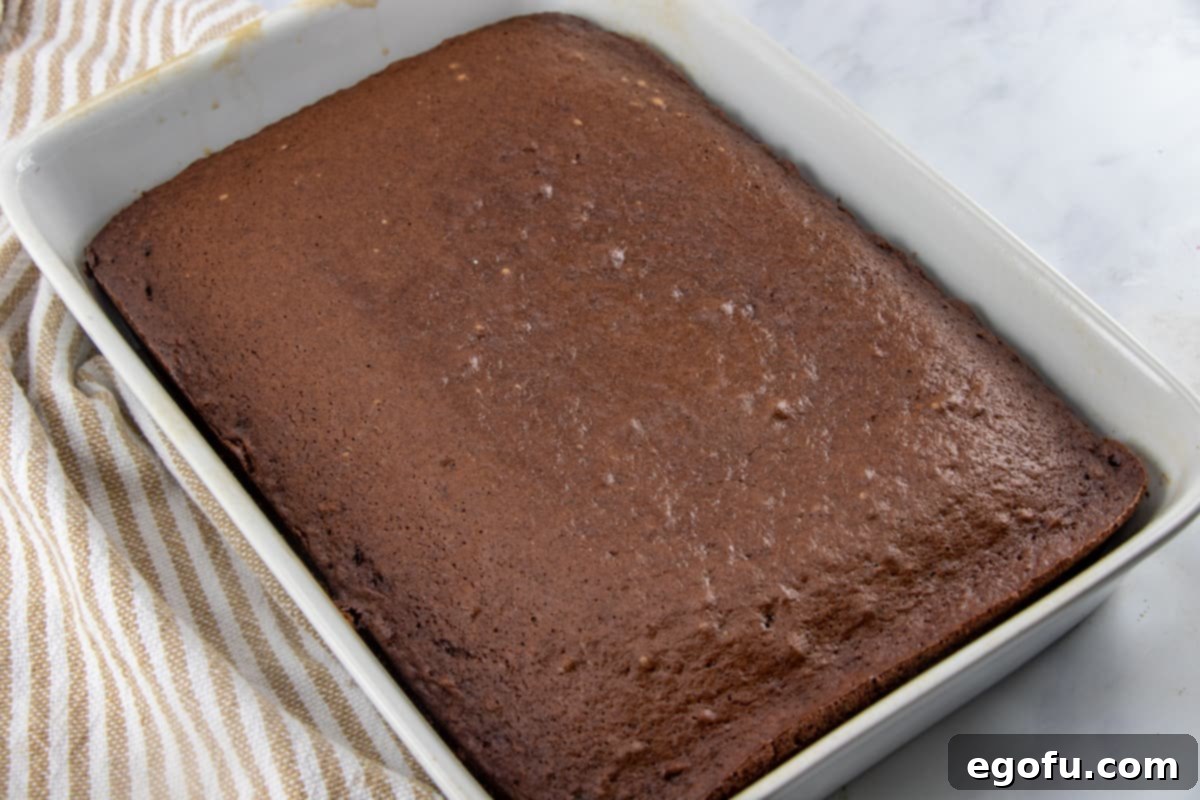
- Bake the Cake: Begin by preparing your chocolate cake mix according to the instructions provided on the back of the box. Most mixes call for eggs, oil, and water. Pour the batter into a greased and floured 9×13 inch baking pan (or two 8-inch round pans if you prefer a layered cake). Bake for the recommended time, usually around 30-35 minutes, or until a wooden skewer inserted into the center comes out clean.
- Cool Completely: This step is absolutely critical. Once baked, remove the cake from the oven and let it cool in the pan on a wire rack for about 10-15 minutes. Then, carefully invert the cake onto the wire rack to cool completely. It’s imperative that the cake is entirely cool before you even think about frosting it. Attempting to frost a warm cake will result in a melted, runny mess, as the heat will cause the frosting to liquefy. Patience here will be rewarded!
Whipping Up the Dreamy Peanut Butter Frosting
While your cake cools, you can begin preparing the star of the show – the creamy Reese’s peanut butter frosting!
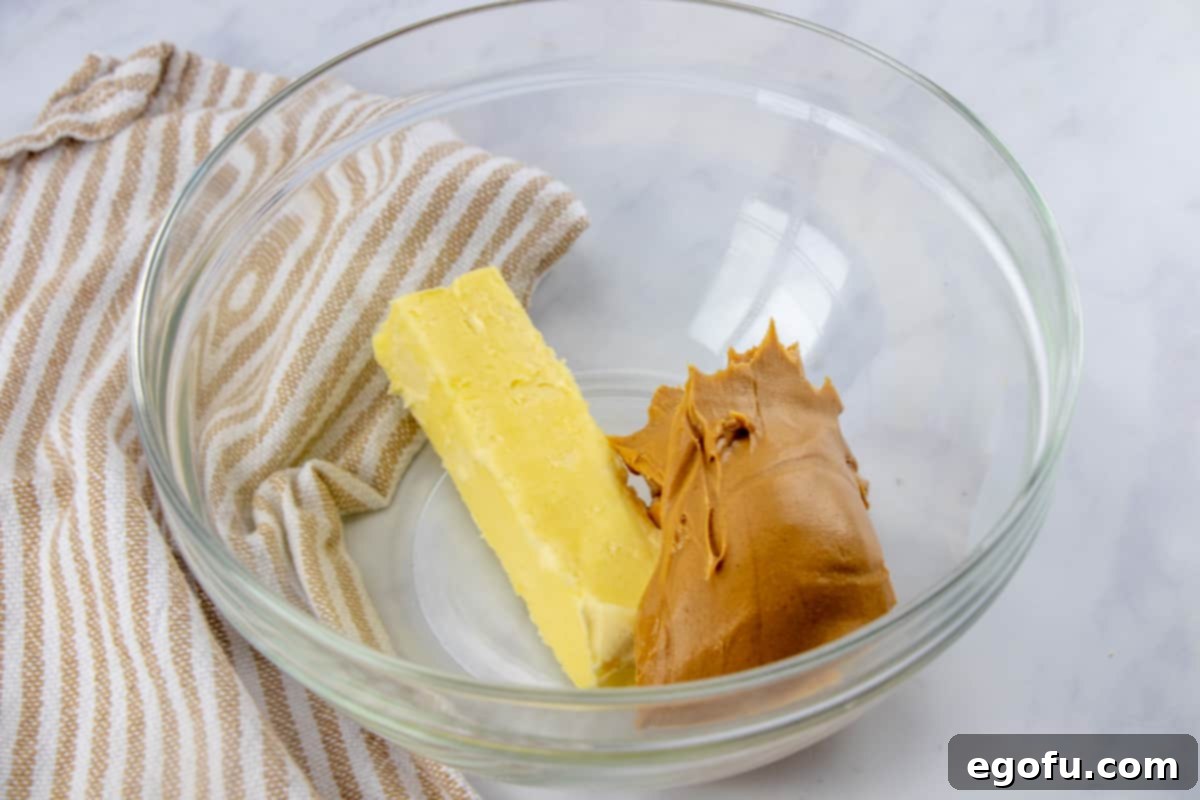
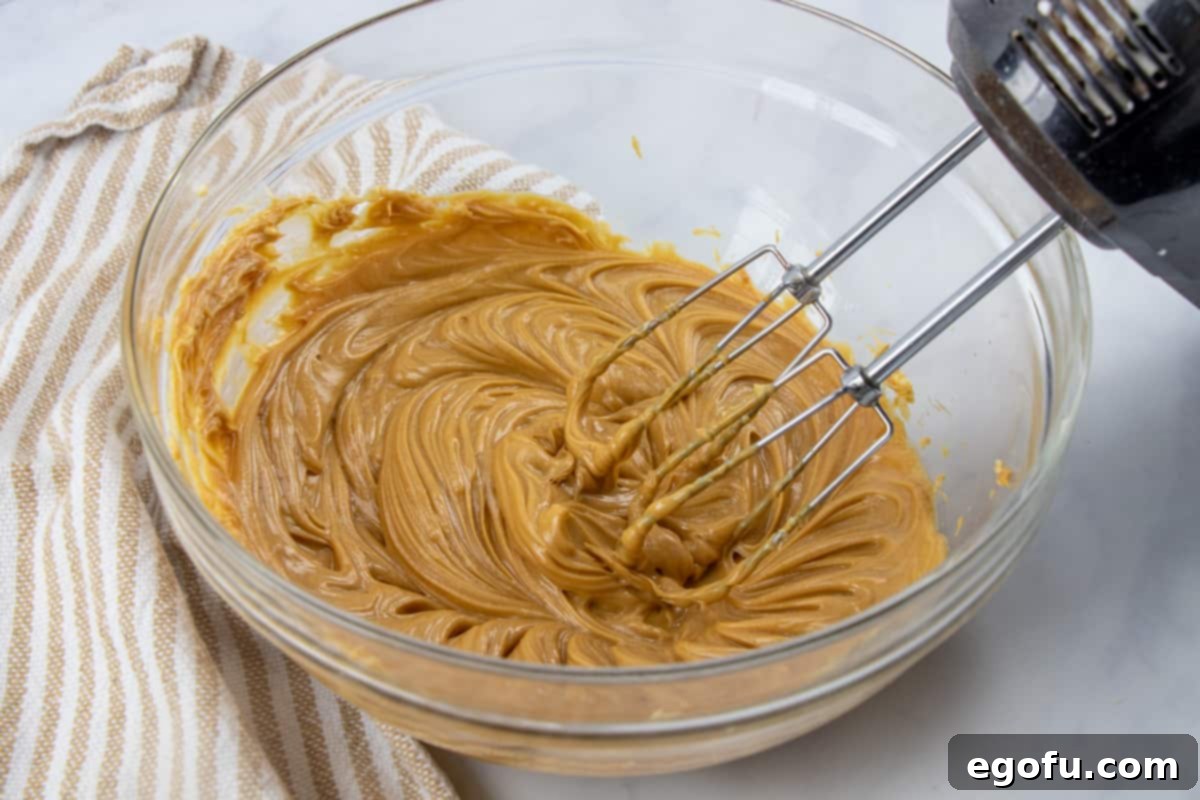
- Cream the Base: In a large mixing bowl, combine the softened margarine (or butter) and the Reese’s creamy peanut butter. It’s crucial that both are at room temperature to ensure a smooth blend.
- Mix Until Smooth: Using an electric mixer (either handheld or stand mixer), beat the margarine and peanut butter together until they are well combined, light, and fluffy. This should take about 2-3 minutes. If using a stand mixer, pause occasionally to scrape down the sides of the bowl with a spatula to ensure everything is thoroughly incorporated.
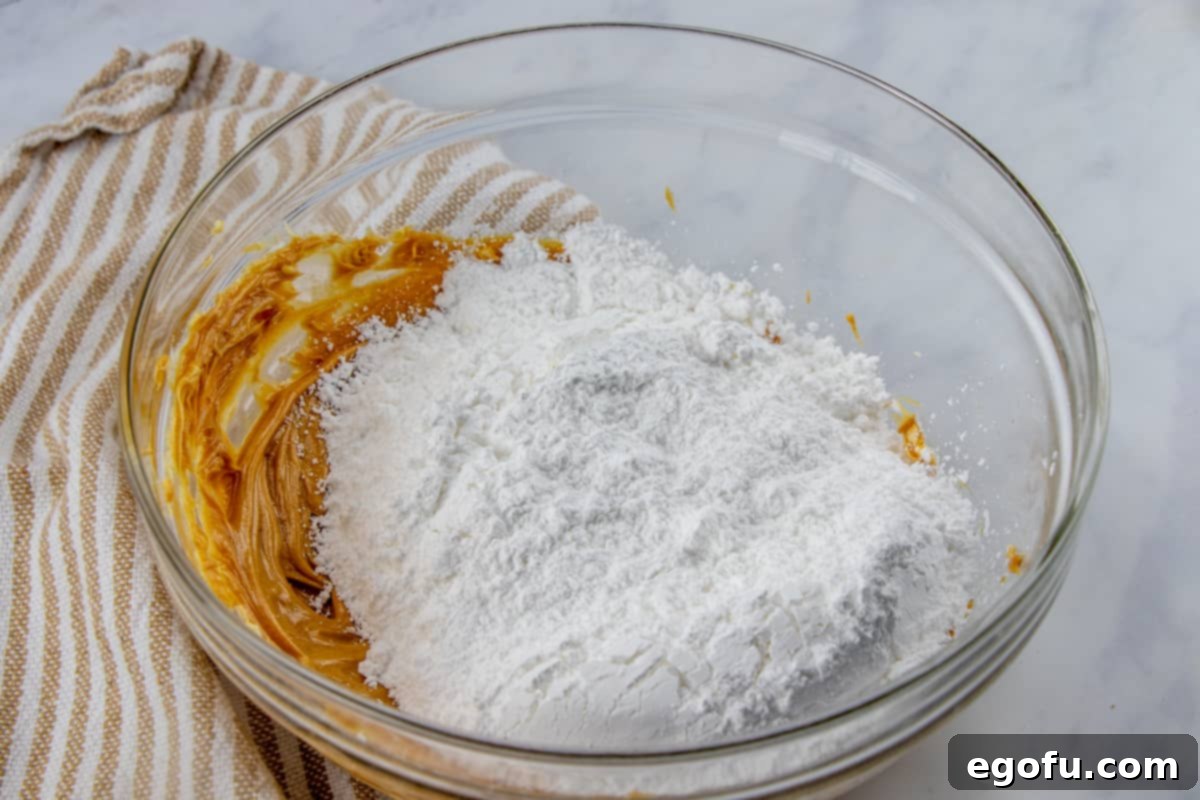
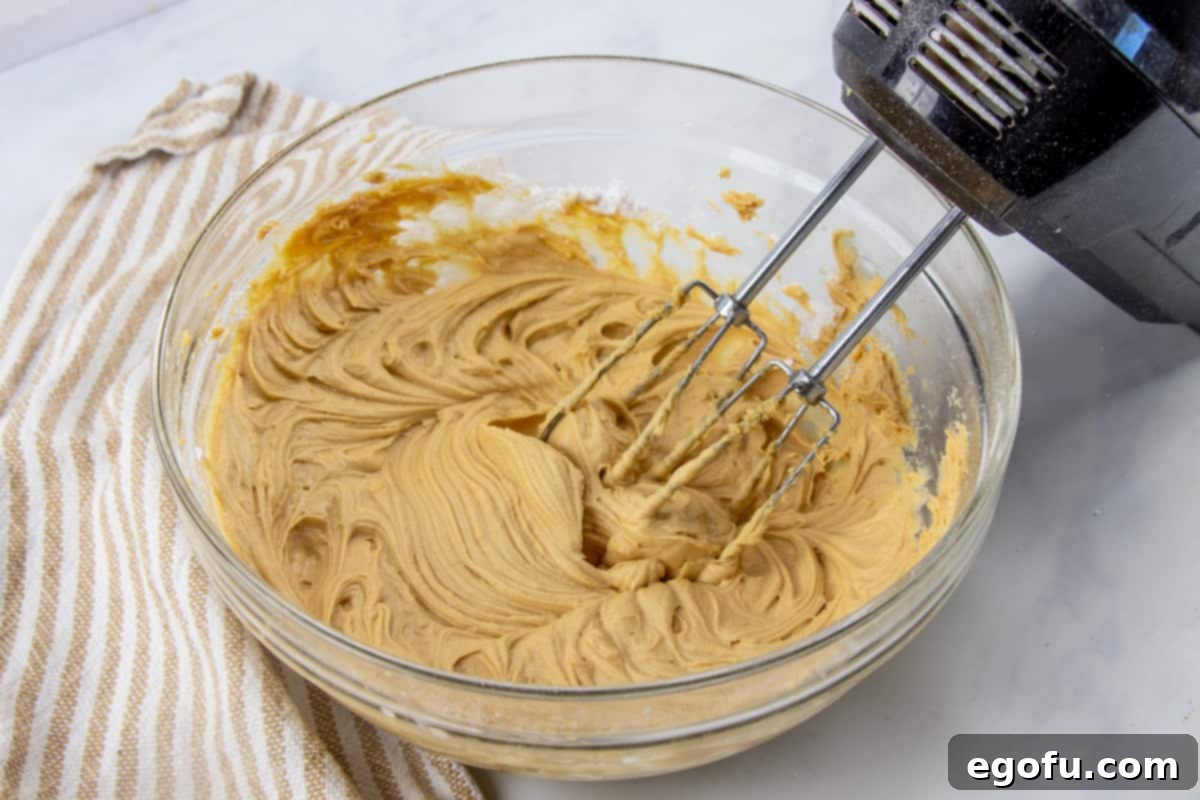
- Incorporate Powdered Sugar: Gradually add the powdered sugar to the peanut butter mixture, mixing on low speed until it is mostly incorporated. Once the sugar is no longer flying everywhere, increase the speed and beat until combined and fluffy.
- Add Liquids and Flavor: Pour in the milk and vanilla extract. Continue mixing until the frosting is perfectly smooth, creamy, and spreadable. If the frosting seems too thick, add a tiny bit more milk, half a teaspoon at a time, until it reaches your desired consistency. If it’s too thin, add a tablespoon of powdered sugar.
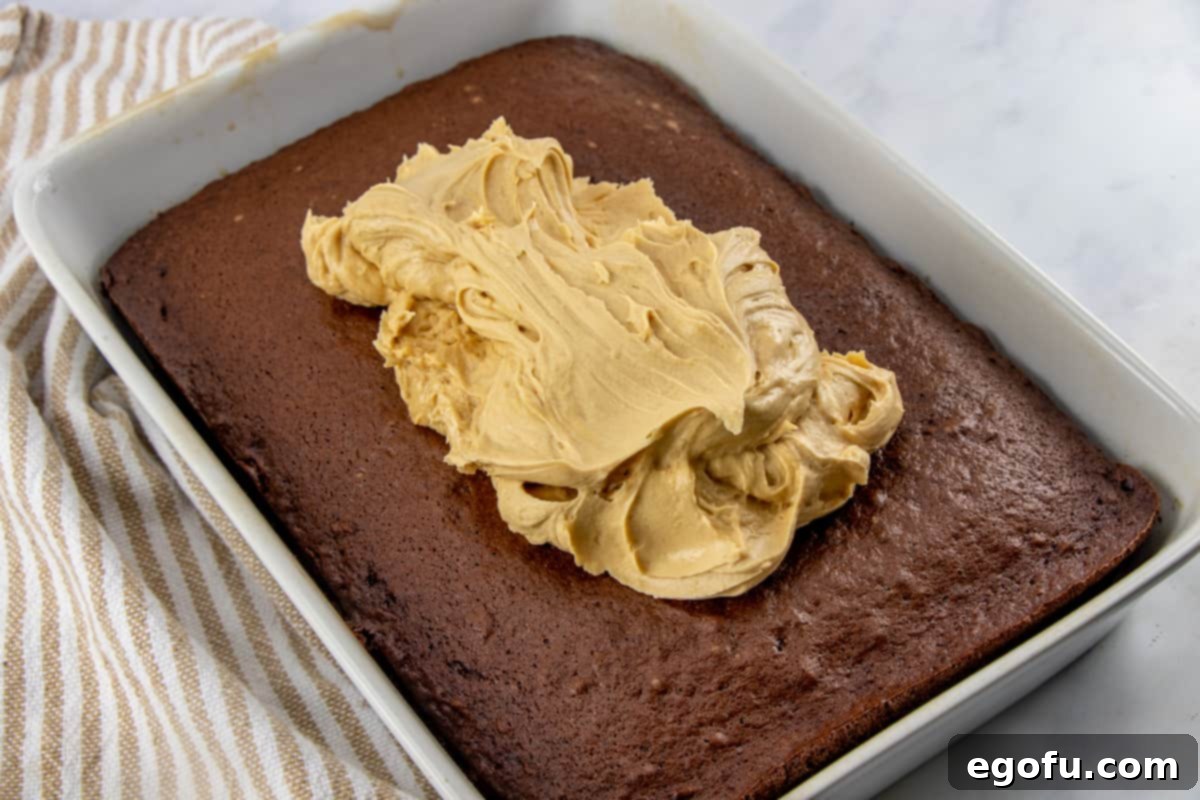
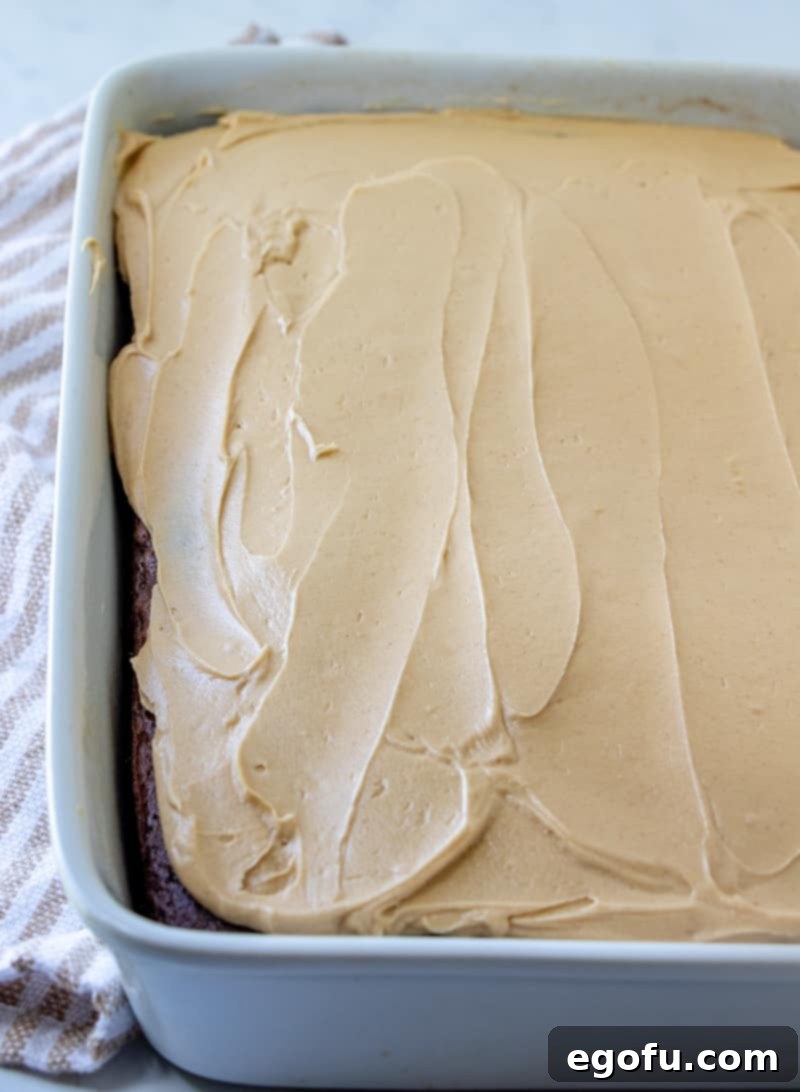
- Frost the Cake Gently: Once your cake is completely cooled, and your frosting is ready, it’s time to unite them. Gently spread the fluffy and creamy peanut butter frosting over the top of the cake. Use soft, even strokes to avoid tearing the moist cake beneath. Take your time to achieve a smooth and even layer.
Serving Your Irresistible Treat
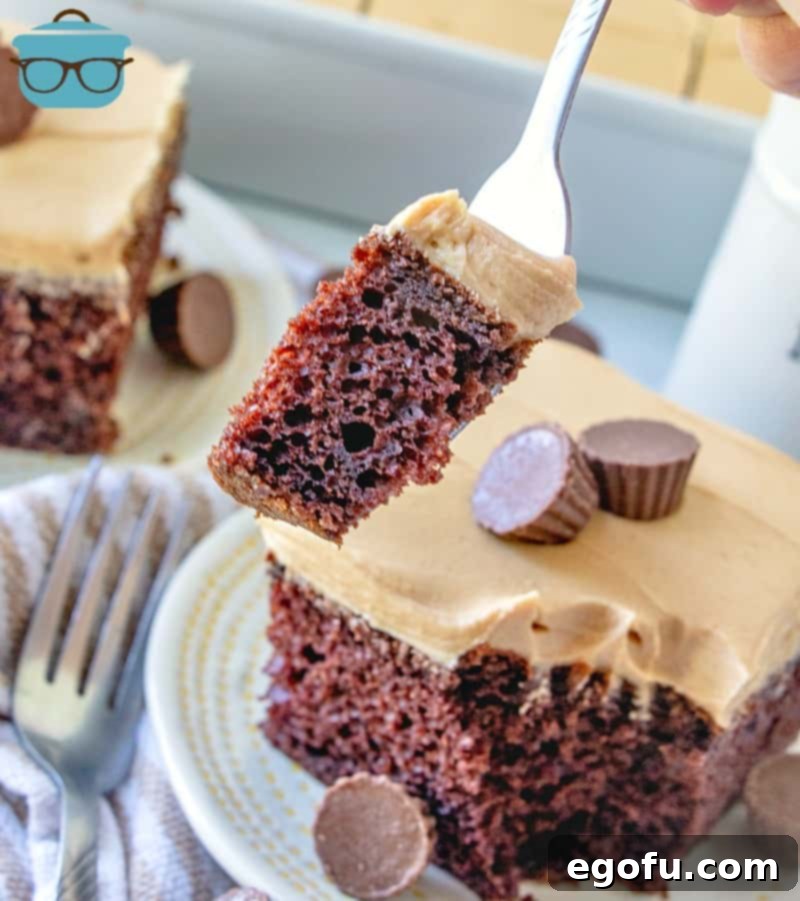
Once frosted, your Reese’s Peanut Butter Cup Cake is ready to be admired and devoured. Slice it into generous portions and serve. This recipe also works exceptionally well for cupcakes – simply bake your chocolate cake batter in cupcake liners and frost once cooled!
Variations and Customizations for Your Reese’s Cake
While this Reese’s Peanut Butter Cup Cake recipe is perfect as is, it also offers a fantastic canvas for your culinary creativity. Here are some ideas to customize your cake and make it uniquely yours:
- Add More Reese’s: For the ultimate Reese’s experience, chop up some full-sized or mini Reese’s Peanut Butter Cups and sprinkle them generously over the frosted cake before serving. This adds extra texture and a burst of that iconic flavor.
- Homemade Cake Base: If you’re feeling ambitious and prefer to bake from scratch, you can absolutely substitute the boxed mix with your favorite homemade chocolate cake recipe. My One Bowl Chocolate Cake Recipe would be a perfect complement to this frosting. Just ensure the homemade cake is fully cooled before frosting.
- Chocolate Drizzle: Elevate the presentation and flavor with a simple chocolate ganache or melted chocolate drizzle over the peanut butter frosting. A crisscross pattern or a free-form swirl can add an elegant touch.
- Salted Caramel Swirl: For an extra layer of decadence, gently swirl some store-bought or homemade salted caramel sauce into the frosting before spreading it on the cake, or drizzle it over the top.
- Peanut Butter Chips: Melted peanut butter chips can be drizzled over the cake for an extra dose of peanut buttery goodness.
- Miniature Masterpieces: As mentioned, this recipe is ideal for cupcakes. Simply bake the chocolate cake mix into cupcakes, let them cool, and then pipe or spread the peanut butter frosting on top. Adorn each cupcake with a mini Reese’s cup for a delightful individual treat.
Storing Your Delicious Leftovers
While it’s hard to imagine leftovers of such a delicious cake, if you do find yourself with extra slices, proper storage will keep them fresh and tasty for longer. Because of the dairy in the frosting, this cake should be refrigerated. Cover the cake tightly with plastic wrap or store slices in an airtight container to prevent them from drying out or absorbing odors from the refrigerator. The cake will stay fresh in the refrigerator for up to 3-4 days. For longer storage, you can freeze individual slices, tightly wrapped, for up to 2-3 months. Thaw frozen cake slices in the refrigerator overnight or at room temperature for a few hours before serving.
Frequently Asked Questions (FAQs)
To help ensure your Reese’s Peanut Butter Cup Cake baking experience is as smooth as your frosting, here are answers to some common questions:
- Q: Can I use natural peanut butter for the frosting?
A: It’s generally not recommended for frosting. Natural peanut butter tends to separate and can result in a grainy or oily frosting texture that’s harder to get smooth and stable. Stick to creamy, conventional peanut butter for the best results. - Q: My frosting seems too stiff/runny. How can I fix it?
A: If your frosting is too stiff, add milk one teaspoon at a time, mixing well after each addition, until it reaches a spreadable consistency. If it’s too runny, gradually add more powdered sugar, one tablespoon at a time, until it thickens up. Always mix thoroughly after each adjustment. - Q: Can I make the cake ahead of time?
A: Yes! You can bake the chocolate cake a day in advance. Once completely cooled, wrap it tightly in plastic wrap and store it at room temperature. You can also make the frosting a day ahead and store it in an airtight container in the refrigerator. Before frosting, let the frosting come to room temperature and give it a quick whip with your mixer to restore its creamy texture. - Q: Can I freeze the frosted cake?
A: Absolutely! For best results, freeze the cake unwrapped until the frosting is firm (about 1-2 hours). Then, wrap it tightly in several layers of plastic wrap and then in aluminum foil. It can be frozen for up to 2-3 months. Thaw in the refrigerator overnight before serving. - Q: What size pan should I use?
A: This recipe is designed for a 9×13 inch baking pan for a sheet cake. If you prefer a layered cake, you can divide the batter between two 8-inch round cake pans. Adjust baking time accordingly for different pan sizes.
Craving More Peanut Butter & Chocolate Desserts?
If you’re as enamored with the peanut butter and chocolate combination as we are, then you’re in for a treat! Explore these other delightful dessert recipes that celebrate this iconic pairing:
- Reese’s Cheesecake Bars
- Peanut Butter Pie
- Peanut Butter Fudge Bars
- Peanut Butter Bomb Cake
- Peanut Butter Cookie Bars
- Peanut Butter Earthquake Cake
- Peanut Butter Rice Krispies Treats
- Reese’s Peanut Butter Poke Cake
- Reese’s Peanut Butter Cup Mini Cheesecakes
- Buckeye Mini Pies
- Pistachio Cake
- Italian Love Cake
Recipe Card: Reese’s Peanut Butter Cup Cake
Reese’s Peanut Butter Cup Cake starts with a yummy chocolate boxed cake mix and topped with the most amazing Reese’s peanut butter frosting!
- Prep Time: 10 minutes
- Cook Time: 30 minutes
- Total Time: 40 minutes
- Servings: 12
- Author: Brandie Skibinski
Print Recipe | Pin Recipe
Ingredients
- 1 box chocolate cake mix
- Ingredients needed to make cake mix; eggs, oil and water
- ½ cup (1 stick) margarine, softened to room temperature
- ¾ cup Reese’s creamy peanut butter
- 2 cups powdered sugar
- 2 Tablespoons milk
- 1 teaspoon vanilla extract
Instructions
- Prepare 1 box chocolate cake mix along with ingredients needed to make cake mix; eggs, oil and water as directed on the back of the box for a 9×13-inch cake. Let it cool completely.
- Once cake has cooled, begin making frosting. In a mixing bowl, combine 1/2 cup (1 stick) margarine, softened to room temperature with 3/4 cup Reese’s creamy peanut butter. Mix until smooth.
- Add in 2 cups powdered sugar, 2 Tablespoons milk and 1 teaspoon vanilla extract until combined.
- Then start frosting the cake. Try not to yank it across your moist cake. Be soft handed and lightly spread.
- Slice and serve.
Video
Notes
- Top slices with mini Reese’s peanut butter cups for an extra touch.
- Want to make your chocolate cake from scratch? Try using my One Bowl Chocolate Cake Recipe.
- Refrigerate any leftovers in an airtight container to maintain freshness.
- If you cannot find Reese’s peanut butter, simply use your favorite creamy peanut butter; the cake will still turn out amazing!
Course and Cuisine
- Course: Dessert
- Cuisine: American
Nutrition (Estimated per serving)
- Calories: 415 kcal
- Carbohydrates: 49g
- Protein: 7g
- Fat: 22g
- Sodium: 481mg
- Fiber: 1g
- Sugar: 35g
Nutritional Disclaimer
“The Country Cook” is not a dietician or nutritionist, and any nutritional information shared is an estimate. If calorie count and other nutritional values are important to you, we recommend running the ingredients through whichever online nutritional calculator you prefer. Calories and other nutritional values can vary quite a bit depending on which brands were used.
Did you make this recipe? Share it on Instagram @thecountrycook and mention us #thecountrycook!
Conclusion: Indulge in Every Scrumptious Bite!
This Reese’s Peanut Butter Cup Cake is more than just a dessert; it’s a celebration of two beloved flavors coming together in perfect harmony. With its moist chocolate cake base and incredibly creamy peanut butter frosting, it promises to be a hit with anyone who tries it. Whether you’re baking for a special occasion or simply craving a sweet treat, this recipe delivers on ease, flavor, and pure indulgence. So go ahead, gather your ingredients, follow these simple steps, and prepare to delight your taste buds with this unforgettable chocolate and peanut butter masterpiece. Happy baking!
Originally published: February 2013
Updated & republished: August 2019
