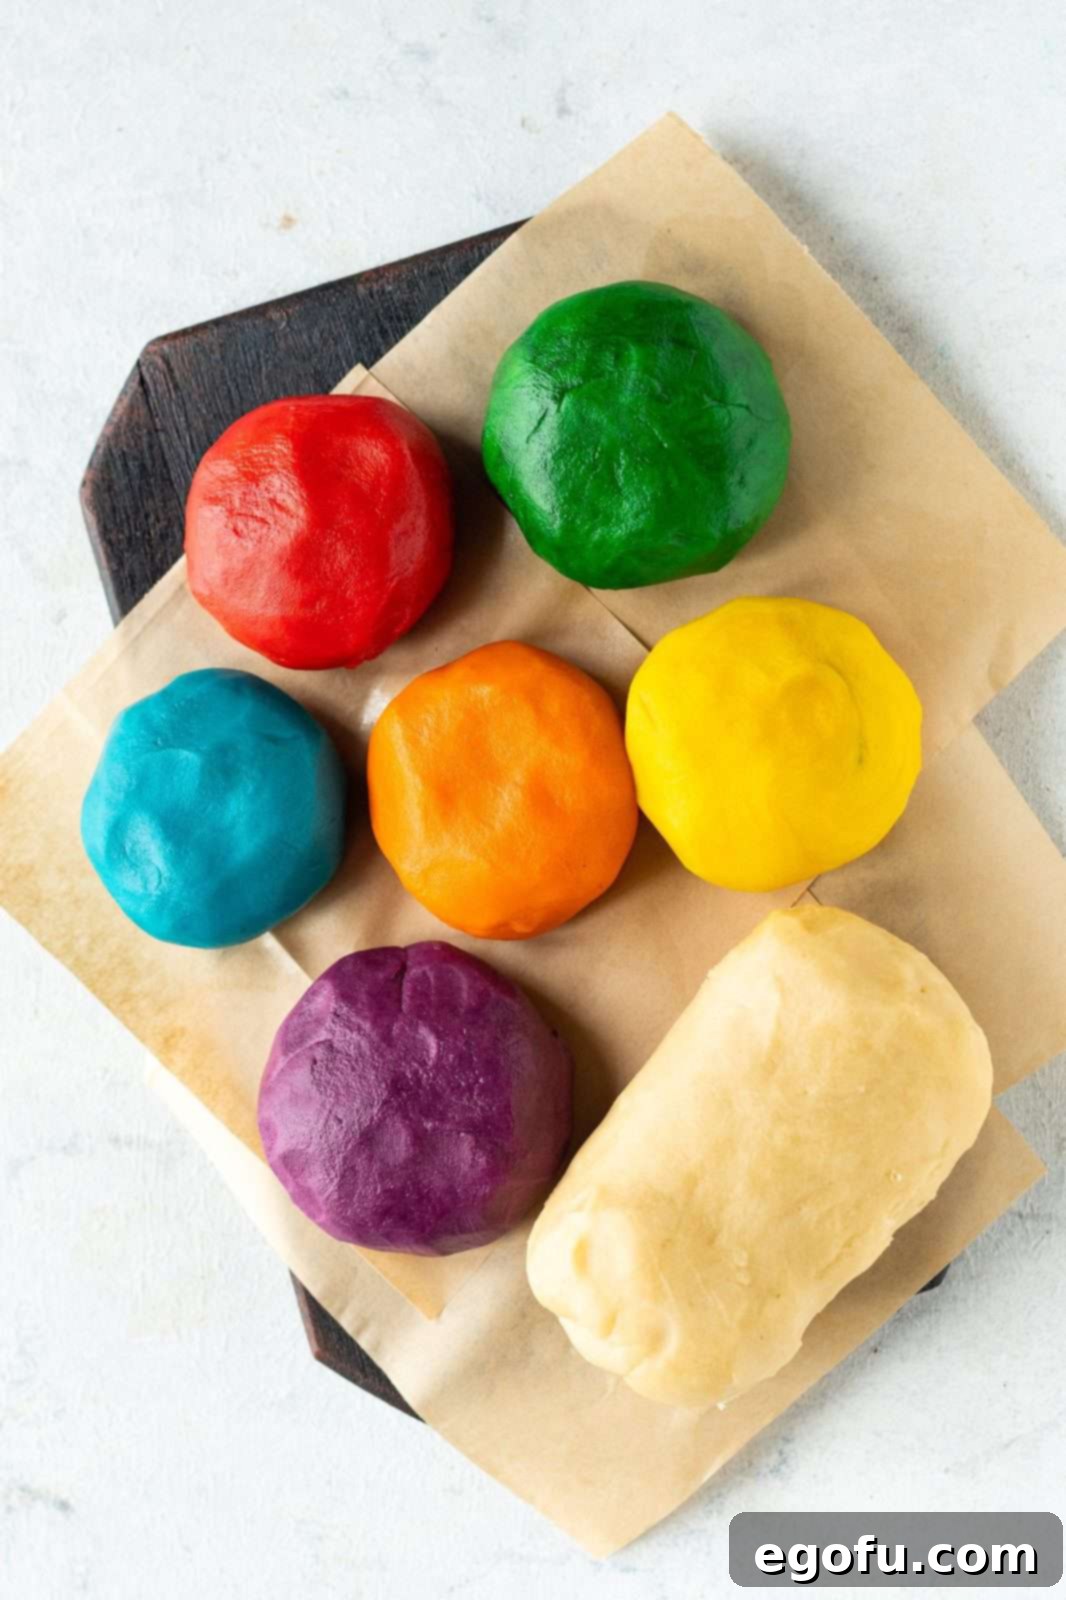
Experience the magic of Easter with these vibrantly colored Easter Surprise Cookies! Easy to make and incredibly fun, these egg-shaped delights feature a hidden rainbow within, making them the perfect festive treat for your holiday celebrations. Prepare to delight both young and old with their delicious taste and enchanting appearance.
Easter Surprise Cookies: A Kaleidoscope of Flavor and Fun
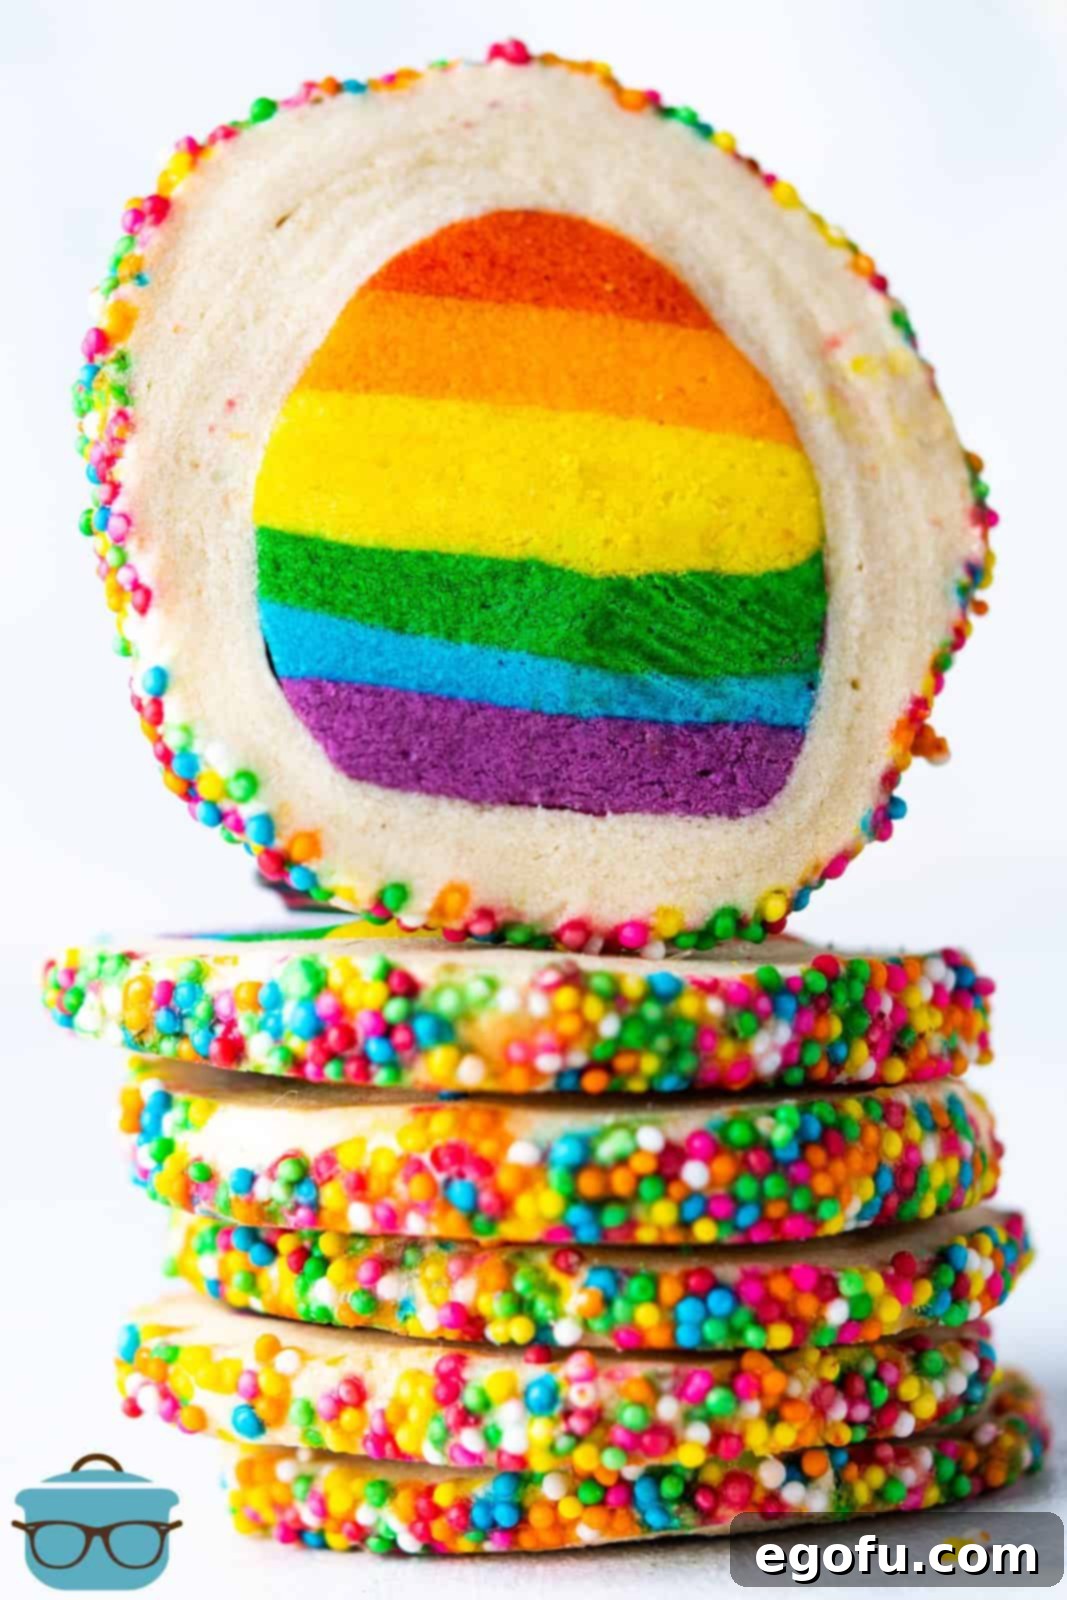
As Easter approaches, the air fills with anticipation for festive gatherings, joyous family moments, and, of course, delightful treats. This year, elevate your holiday dessert table with our incredible Easter Surprise Cookies. These aren’t just any cookies; they’re a vibrant celebration in edible form, each one shaped like a festive Easter egg and bursting with a captivating rainbow swirl inside. It’s the kind of whimsical dessert that instantly brings smiles and becomes the talking point of any celebration.
Our family adores these colorful cookies, and they’ve become a cherished tradition at our Easter get-togethers. We always make a big batch, yet they disappear so quickly, there’s never a crumb left to take home! The sheer joy on children’s faces when they bite into a cookie and discover the unexpected rainbow layers is truly priceless. If you’re searching for a unique, engaging, and utterly delicious treat to share this spring, look no further. This Easter Surprise Cookie recipe promises not only a memorable baking experience but also an unforgettable taste sensation that perfectly captures the spirit of the season.
Why These Easter Surprise Cookies Are a Must-Bake
What makes these colorful Easter cookies so special? Beyond their stunning visual appeal, they offer a delightful buttery flavor and a tender, melt-in-your-mouth texture. The “surprise” element of the rainbow interior transforms a simple cookie into a playful and exciting discovery for anyone who tries one. They’re ideal for Easter brunch, holiday parties, school events, or even as a cheerful homemade gift. Imagine the delight of friends and family receiving a plate of these intricately designed, joyous cookies! Plus, the hands-on process of creating the rainbow layers is an enjoyable activity that can involve the whole family, adding another layer of fun to your Easter preparations. These rainbow Easter cookies are more than just a dessert; they’re an experience, a conversation starter, and a true embodiment of holiday cheer.
Frequently Asked Questions About Making Easter Surprise Cookies
For the best results and the most vibrant colors in your Easter Surprise Cookies, we strongly recommend using gel or paste food coloring. Regular liquid food coloring is much less concentrated, meaning you would need to use a significantly larger amount to achieve the bright, distinct hues desired for the rainbow layers. Using too much liquid coloring can also alter the consistency of your dough, making it sticky or difficult to work with. Gel food coloring provides intense color with just a small amount, preserving the perfect dough texture. Remember to wear gloves when working with gel colors to prevent staining your hands!
Nonpareils, the small ball-shaped sprinkles, are ideal for coating these Easter egg cookies as they adhere well and provide a classic, festive look. However, if you can’t find them or prefer a different style, you certainly have options. Jimmies (the longer, thinner sprinkles) can be used, though they might not stick quite as uniformly due to their larger size. Another fantastic alternative is sanding sugar. You can use a single vibrant color for a monochromatic sparkle or mix several pastel shades together to create a custom blend that complements the rainbow inside. Experiment with what you have on hand or what best suits your aesthetic!
Yes, chilling the dough is absolutely crucial for the success of these layered Easter cookies, and this recipe involves several chilling stages. First, the initial dough needs to chill for at least 30 minutes before you divide and color it. This helps the butter solidify, making the dough easier to handle and preventing it from becoming too soft during coloring. Second, after assembling your colorful layers, the stacked dough requires at least an hour in the refrigerator. This firming-up period ensures clean, precise slices and helps maintain the distinct rainbow pattern when you cut out your egg shapes. Finally, after brushing the formed cookie rolls with egg white, a final 30-minute chill helps set the coating and prevents spreading during baking. Don’t skip these steps; they are key to achieving perfectly shaped and beautifully layered cookies!
Absolutely! While the rainbow spectrum is incredibly popular and vibrant, feel free to get creative with your color choices. Easter often brings to mind beautiful pastel shades, which would look stunning in these cookies – think soft pinks, blues, yellows, and greens. You could also choose a specific color scheme to match your party decorations or a particular theme. For instance, two-tone cookies, ombré effects with varying shades of one color, or even patriotic red, white, and blue for a different holiday could work with this versatile technique. The goal is to have fun and make these homemade Easter cookies uniquely yours!
Brushing the cookies with an egg white serves two important purposes. First, it gives the baked cookies a beautiful, subtle sheen, enhancing their presentation and making them look professionally finished. This glossy effect is especially lovely for holiday treats. Second, the egg white helps the exterior of the cookies achieve a delicate golden-brown hue during baking, adding to their appetizing appearance and providing a slight crispness to the outer layer, which contrasts wonderfully with the tender interior.
These delicious Easter cookies store very well! Once completely cooled, place them in an airtight container at room temperature, where they will stay fresh and flavorful for up to one week. For longer storage, these cookies freeze beautifully. Simply arrange the cooled cookies in a single layer in a freezer-safe bag or container, separating layers with parchment paper to prevent sticking. They will keep in the freezer for up to 6 months. To enjoy, just remove them from the freezer and let them thaw on the countertop or in the refrigerator until ready to eat. This makes them an excellent make-ahead option for busy holiday seasons.
No specific egg cutter? No problem! While an egg cutter gives these Easter cookies their iconic shape, you can absolutely use a round or oval cookie cutter for a similar effect. If you want to get creative, you can even freehand cut egg shapes using a sharp knife after chilling the layered dough. Alternatively, you can slice the rolled dough into small squares or rectangles for a colorful checkerboard effect. The surprise rainbow inside will still be the star of the show, regardless of the outer shape!

Essential Ingredients for Your Easter Masterpiece
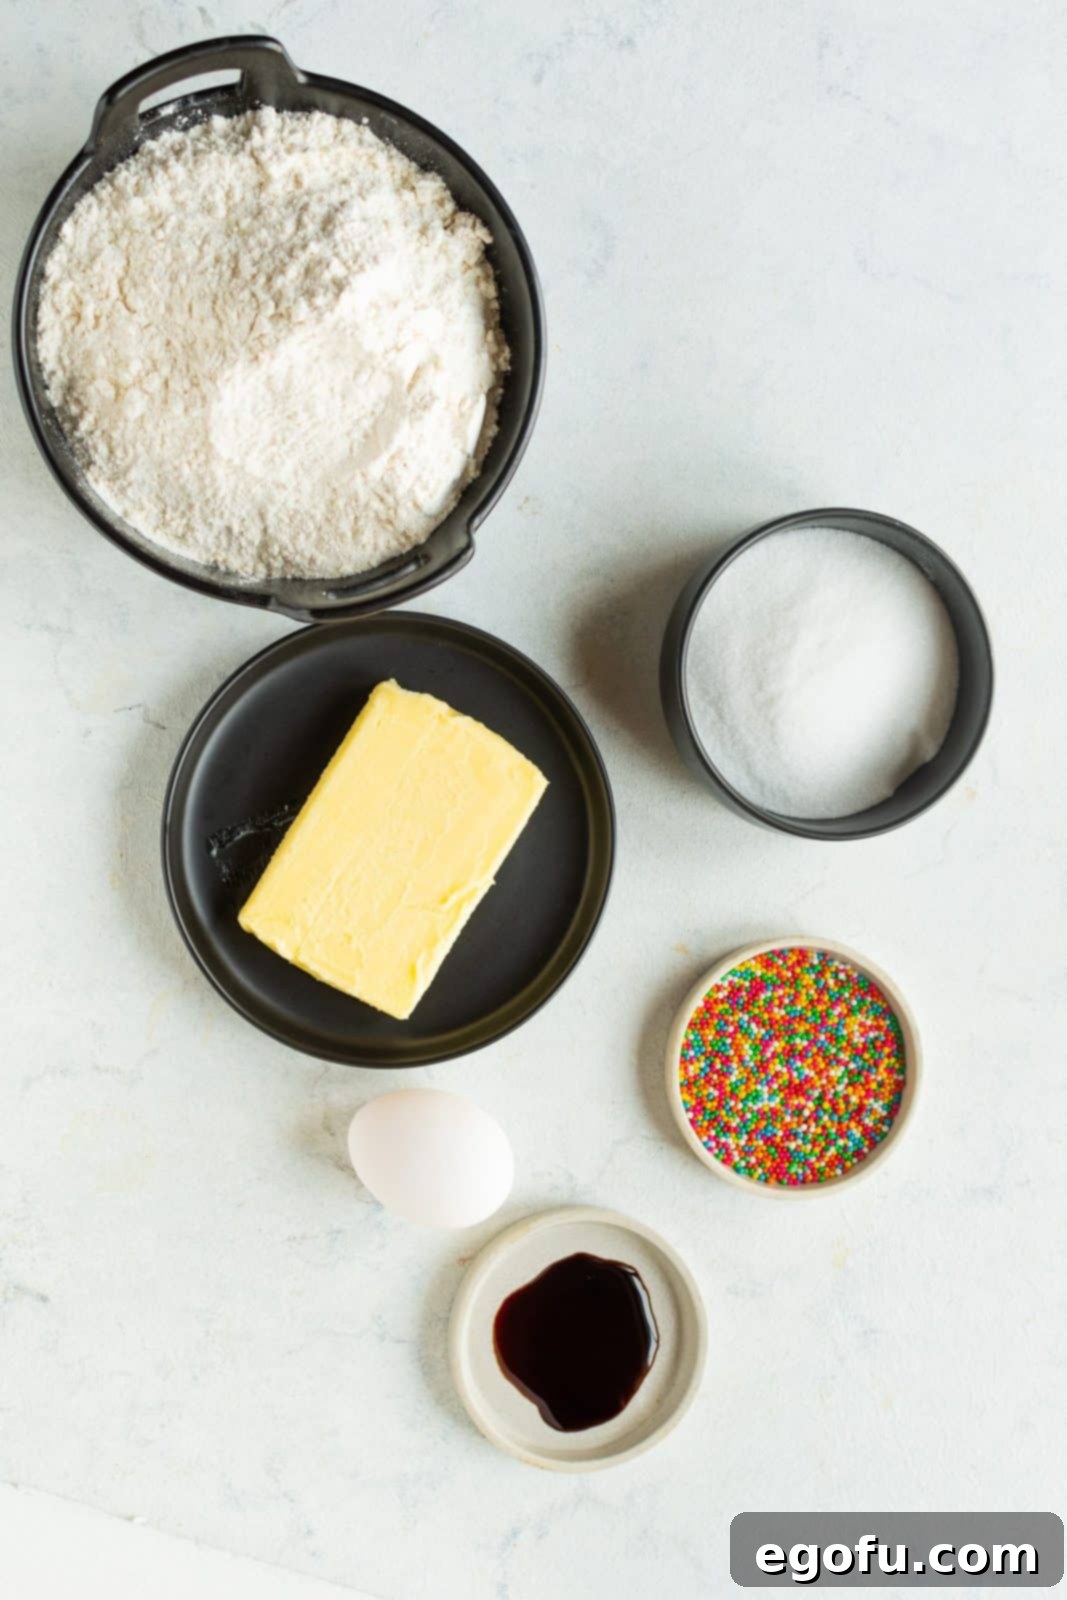
Crafting these beautiful Easter Surprise Cookies requires a few key ingredients, each playing an important role in achieving the perfect flavor, texture, and visual appeal. For the full, detailed recipe with exact measurements, please refer to the recipe card at the bottom of this post.
- Unsalted Butter: The foundation of our tender cookie dough, ensure it’s at room temperature for smooth creaming.
- Granulated Sugar: Sweetens the cookies and contributes to their delicate texture.
- Large Egg: Binds the ingredients together and adds richness.
- Vanilla Extract: A classic flavor enhancer that complements the buttery dough.
- All-Purpose Flour: Provides structure to our cookies.
- Pinch of Salt: Balances the sweetness and enhances all the flavors.
- Nonpareils (Rainbow or Assorted Colors): For coating the exterior, adding texture and a festive crunch.
- Gel Food Coloring (Purple, Yellow, Red, Orange, Blue, Green): Essential for creating the vibrant rainbow layers. Gel colors are highly concentrated and won’t thin your dough.
- Egg White: Used for brushing between layers to help them adhere and for coating the outside before sprinkling to create a shiny finish and help the sprinkles stick.
Step-by-Step Guide: Crafting Your Easter Surprise Cookies
Follow these detailed instructions to create stunning homemade Easter cookies that will impress everyone. Precision and patience, especially with chilling, are key to their success!
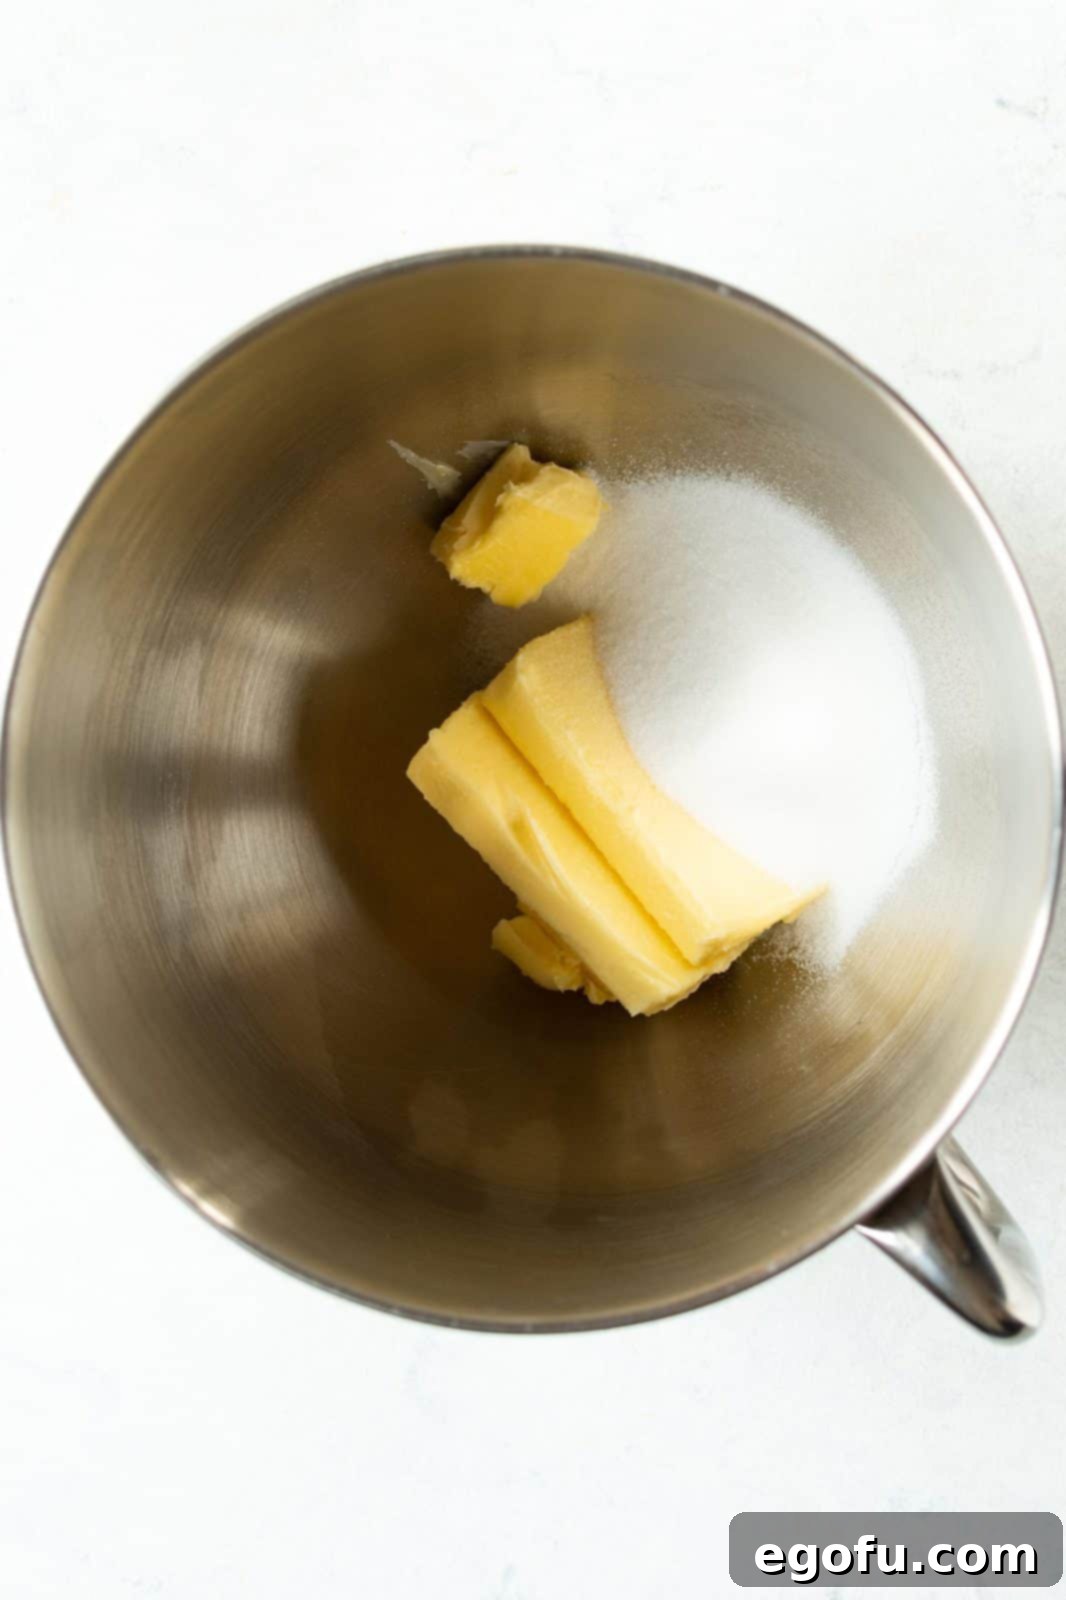
Cream Butter and Sugar: In the bowl of your stand mixer fitted with the paddle attachment (a hand mixer works well too), combine the softened unsalted butter and granulated sugar. Beat on medium speed until the mixture is light, fluffy, and creamy. This typically takes about 2-3 minutes, ensuring the sugar is well incorporated.

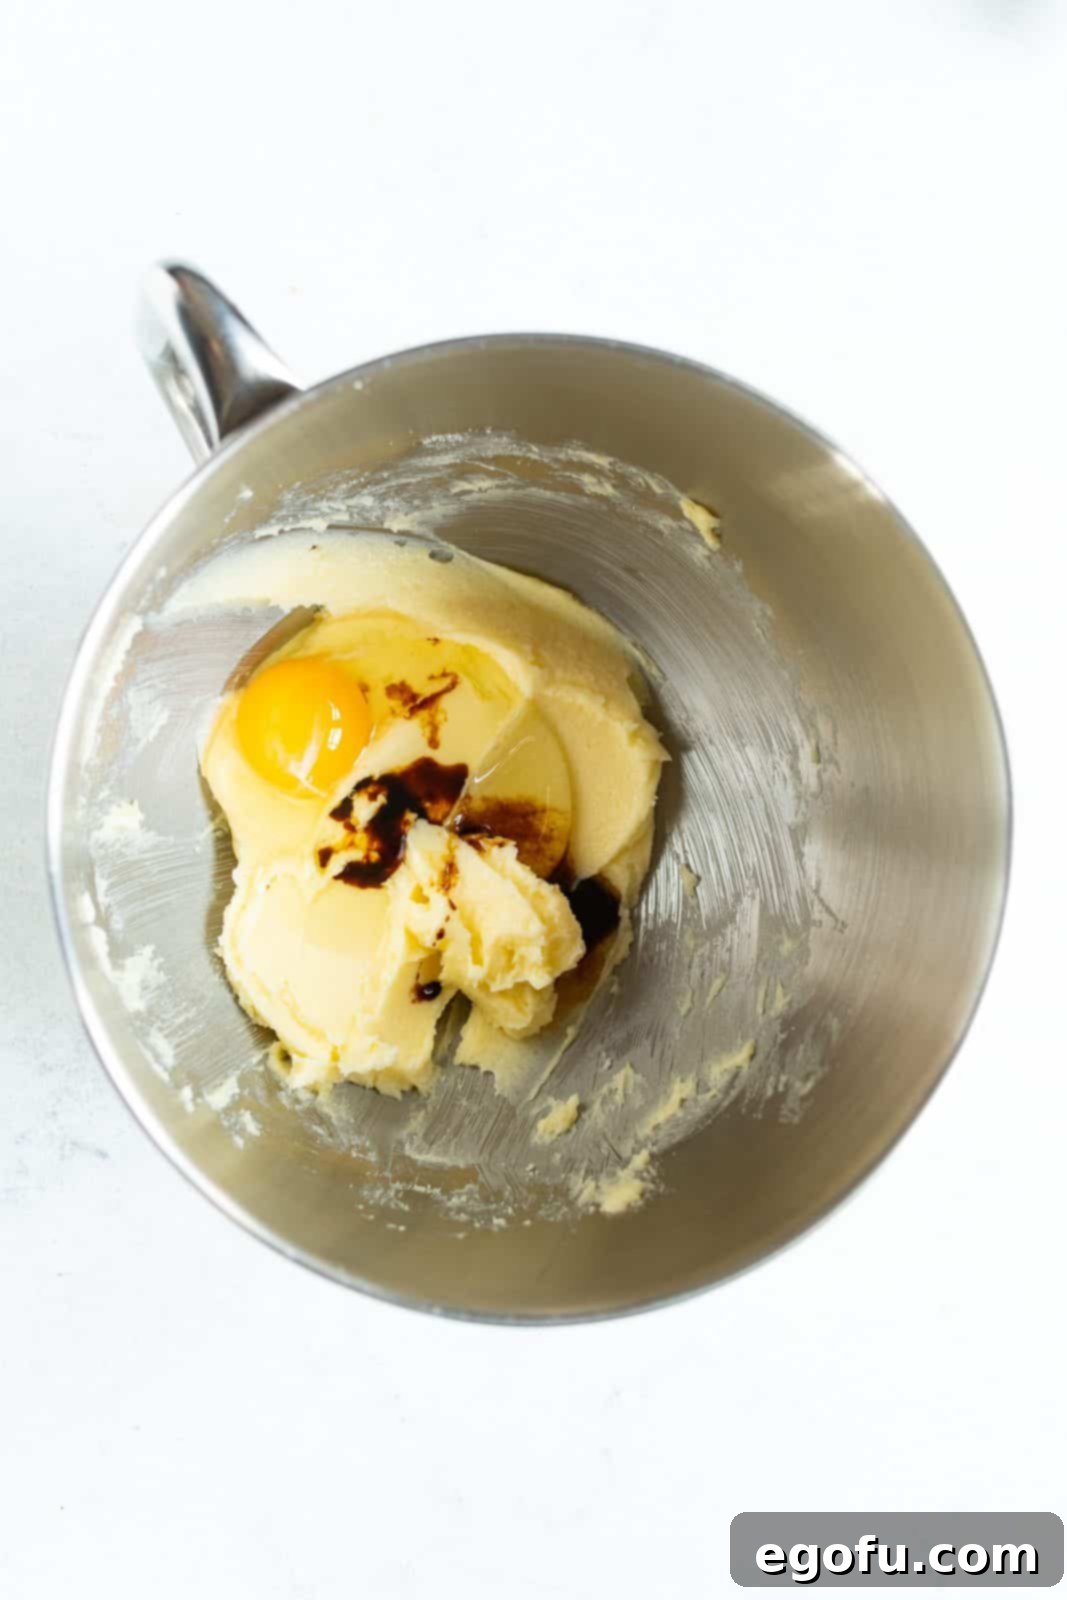
Add Wet Ingredients: Crack in the large egg and pour in the vanilla extract. Continue mixing on medium-low speed until the egg is fully incorporated into the butter mixture, scraping down the sides of the bowl as needed to ensure everything is well combined.

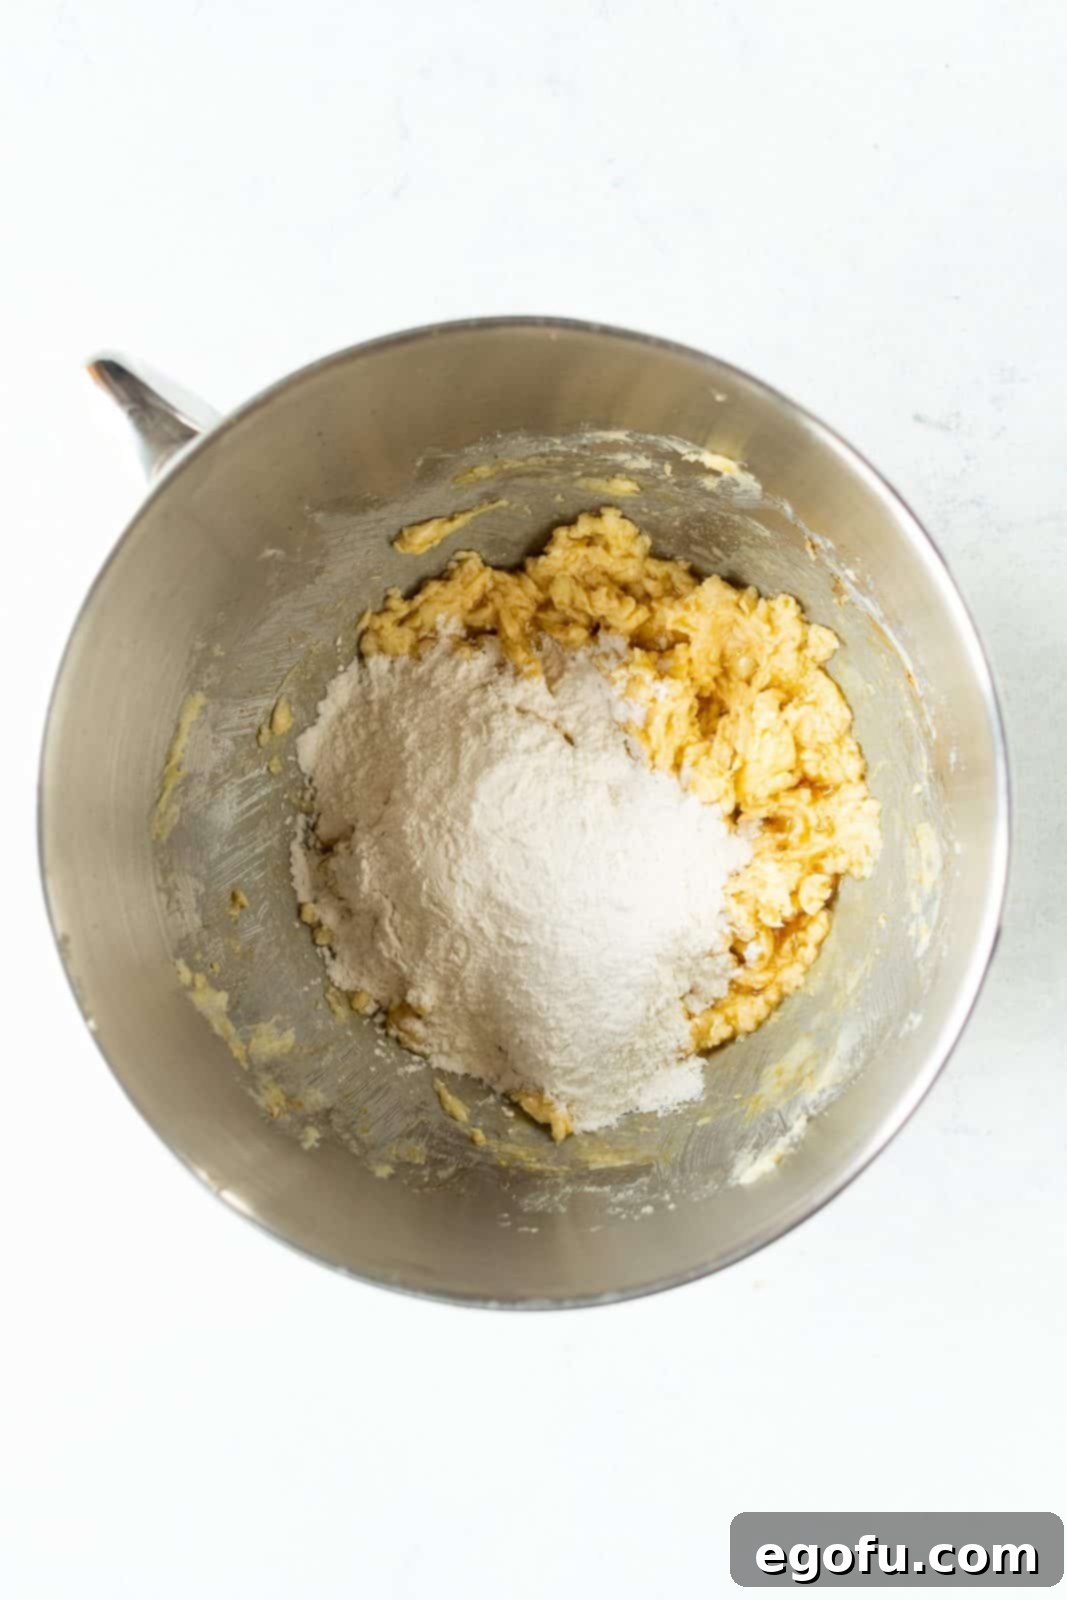
Incorporate Dry Ingredients: In a separate bowl, whisk together the all-purpose flour and a pinch of salt. Gradually add this dry mixture to the wet butter-egg batter, about a third at a time. Mix on low speed until the dough just comes together and forms a cohesive ball. Be careful not to overmix, as this can lead to tough cookies.

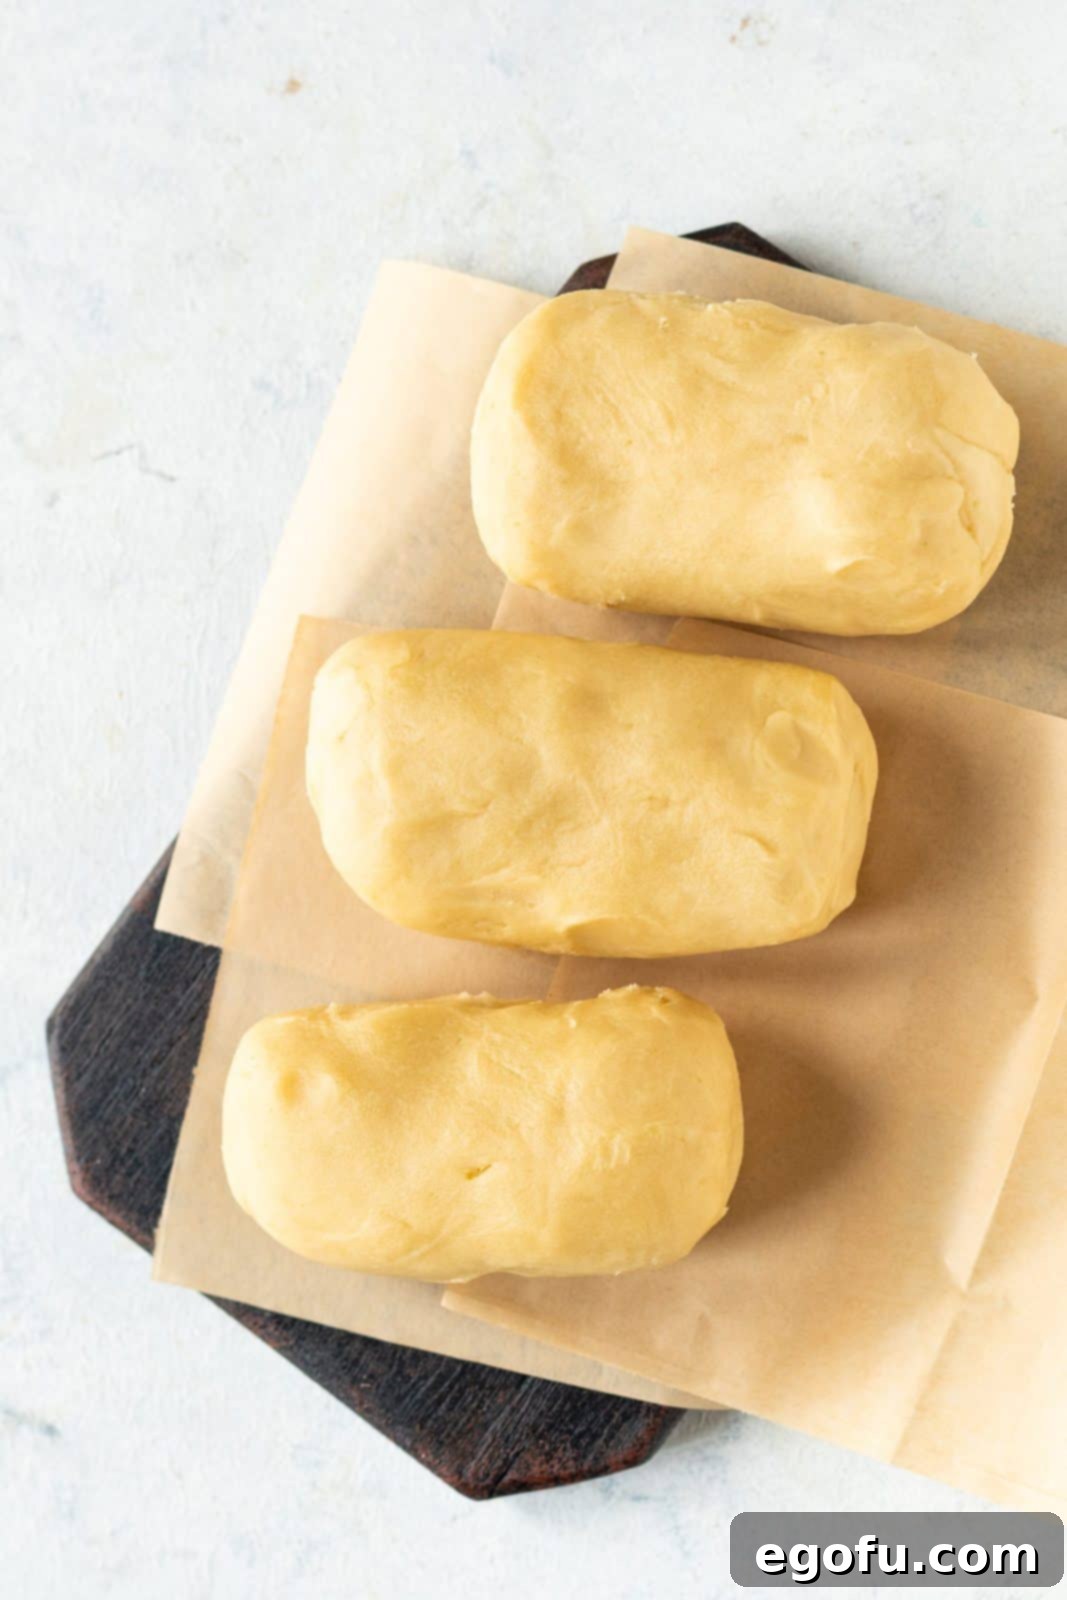
Initial Dough Division & Chill: Divide the cookie dough into three equal portions. Wrap one portion tightly in plastic wrap and refrigerate it. This uncolored dough will be used later for the outer layer of the cookies.

Further Division for Colors: Take the remaining two portions of dough and divide each of them into three equal parts. You should now have six smaller, equal portions of dough. These will be your rainbow colors.

Color the Dough: Use gel food coloring to tint each of the six smaller dough portions with a different color: purple, yellow, red, orange, blue, and green. Knead the color into each portion until it’s uniformly distributed. This may be easiest to do while wearing gloves to prevent staining your hands. Once colored, wrap each portion individually in plastic wrap.
Chill Colored Dough: Refrigerate all six colored dough portions for at least 30 minutes. This chilling period will make the dough much easier to roll out and prevent it from sticking.

Roll and Layer the Colors: Working on a piece of parchment paper, roll out each colored dough portion into a thin, even rectangle. Aim for uniform thickness across all colors. Once rolled, carefully stack these colorful dough rectangles on top of each other, brushing a thin layer of egg white between each layer. The egg white acts as a “glue” to ensure the layers stick together during baking. Ensure the total height of your stacked colored layers does not exceed the diameter of your chosen cookie cutter (e.g., if your cutter is 6cm in diameter, each rolled layer should be approximately 1cm thick).

Chill & Slice Layered Dough: Refrigerate the stacked colored dough layers for at least an hour to allow them to firm up significantly. This firming is crucial for clean cuts. Once chilled, carefully slice the stacked dough vertically into strips. You should now be able to see the beautiful, distinct rainbow layers. Use your egg-shaped cookie cutter to cut out individual cookies from these sliced portions.
Form & Chill Cookie Rolls: Take your cutout egg cookies and stack them on top of each other, brushing a little egg white between each cookie. This forms a colorful Easter egg cookie roll. Refrigerate this roll for another 30 minutes to ensure it’s firm for the next step.
Create the Outer Layer: While your colored roll chills, retrieve the uncolored portion of dough from the refrigerator (from step 4). Roll it out into a uniform sheet, thin enough to completely wrap around your chilled rainbow cookie roll, forming a cylinder. Gently press the edges to seal.
Coat with Sprinkles & Final Chill: Brush egg white all over the exterior of your cylinder-shaped dough. Then, roll the cylinder in a bed of rainbow nonpareils (or your chosen sprinkles), ensuring it’s completely covered. Slice the dough into individual cookies, each revealing a perfect rainbow interior. Place these sliced cookies on a baking sheet lined with parchment paper and refrigerate them once more while your oven preheats. This final chill helps prevent spreading and keeps the shape intact.

Bake to Perfection: Preheat your oven to 320°F (160°C). Bake the Easter Surprise Cookies for 18-20 minutes, or until the edges are lightly golden and the cookies are set. The low temperature helps maintain the vibrant colors.
Cool and Enjoy: Allow the cookies to cool on the baking pan for about 5 minutes after removing them from the oven. This allows them to firm up slightly before you transfer them carefully to a wire rack to cool completely. Once cooled, they are ready to be admired and enjoyed! Celebrate Easter with these wonderfully colorful and fun cookies!

Tips for Easter Surprise Cookie Success
- Room Temperature Ingredients: Ensure butter and eggs are at room temperature. This allows them to cream together properly, creating a smooth, emulsified batter that yields tender cookies.
- Don’t Skimp on Chilling: The multiple chilling stages are non-negotiable for these cookies. They prevent the dough from becoming too sticky to handle, ensure clean, defined layers, and help the cookies hold their shape during baking.
- Even Thickness is Key: When rolling out the colored dough layers, strive for consistent thickness. This ensures that your rainbow stripes are uniform and that the cookies bake evenly.
- Gentle Handling: Cookie dough, especially when colored, can be delicate. Handle it gently, especially when layering and forming the rolls, to avoid tearing or distorting the colors.
- Sharp Cookie Cutter: Use a sharp-edged cookie cutter for clean, precise egg shapes. If your cutter isn’t sharp, dip it in flour between cuts to prevent sticking.
- Parchment Paper is Your Friend: Rolling dough between two sheets of parchment paper makes cleanup a breeze and prevents the dough from sticking to your rolling pin or work surface.
- Storage for Freshness: As mentioned in the FAQ, store baked and cooled cookies in an airtight container at room temperature for up to a week, or freeze for longer enjoyment.
- Experiment with Flavors: While vanilla is a classic, consider adding a touch of almond extract or lemon zest to your dough for a subtle twist that complements the festive spring theme.
Want More Delicious Easter Recipes to Explore?
If you loved making these Easter Surprise Cookies and are looking for more festive treats, check out some of our other popular Easter and spring-themed recipes:
- Easter Egg Brownies
- Easter Egg Oreo Truffles
- Swirled Easter Cake
- Easter Egg Cupcakes
- Easter Banana Pudding Cups
- Easter Bunny Poke Cake
- Easter Bunny Rice Krispies Treats
- Classic Sprinkle Cookies
- Empty Tomb Rolls
- Traditional Hot Cross Buns
- 50+ Irresistible Easter Recipes
Easter Surprise Cookies
Colorful, easy, and super fun, these Easter Surprise Cookies are a tasty, bright cookie shaped like an egg that are perfect for the special holiday.
Prep Time: 2 hours
Cook Time: 20 minutes
Total Time: 2 hours 20 minutes
Servings: 12 cookies
Author: Brandie Skibinski
Ingredients
- 1 cup + 2 Tablespoons unsalted butter
- ¾ cup granulated sugar
- 1 large egg
- 1 Tablespoon vanilla extract
- 3 ¼ cups all-purpose flour
- Pinch of salt
- Nonpareils, for coating
- Purple, yellow, red, orange, blue, and green gel food coloring
- 1 egg white, for brushing the tops and layers
Instructions
- In your stand mixer (or using a hand mixer), add the butter and sugar, and mix until smooth and creamy in texture.
- To this mixture, add the egg and vanilla extract and mix until the egg is fully incorporated into the mixture.
- Now, add the salt into the flour and mix well. Add this to the butter-egg batter in batches and mix until the dough comes together.
- Make three equal portions of the dough. Keep one portion of the dough (uncolored) in the refrigerator until we proceed to the later step of forming the outer layer.
- Divide the remaining two portions into 3 equal portions each, so you should now have 6 equal portions of dough.
- Color each of these six dough portions with purple, yellow, red, orange, blue, and green gel food coloring.
- Refrigerate all colored dough portions for at least 30 minutes.
- Between two pieces of parchment paper, roll out each colored dough portion into a thin, even rectangle. Place each rolled colored dough on top of the other, brushing a thin layer of egg white in between the layers to help them adhere.
- The total height of the stacked colored layers should not exceed the diameter of your cookie cutter. For example, if your cookie cutter has a diameter of 6 cm, then the height of each rolled dough should approximately be 1 cm.
- Refrigerate the entire block of stacked dough layers for at least an hour to firm up. Then, start slicing them vertically into strips. You should be able to see beautiful uniform layers of colors after slicing. Using your egg cookie cutter, cut out individual cookies from these sliced portions.
- Stack the cutout egg cookies while brushing egg white between them to form a single, colored Easter egg cookie roll. Refrigerate this roll for another 30 minutes.
- Meanwhile, take out the uncolored portion of the dough (from step 4) from the refrigerator and roll it out into a uniform sheet, large enough to cover your stacked cookie roll, forming a cylinder.
- Apply egg white all over the cylinder-shaped dough and roll it in the rainbow nonpareils, making sure to cover it well. Slice the dough into individual cookies for baking. Refrigerate the sliced cookies on a baking sheet until your oven is fully preheated.
- Preheat the oven to 320°F (160°C) and bake for 18-20 minutes.
- Let the cookies cool on the pan for 5 minutes and then transfer them to a wire rack to cool completely. Enjoy these colorful Easter treats!
Notes
- Gel food coloring is essential to achieve the vibrant colors specified in this recipe without altering dough consistency.
- You can substitute nonpareils with jimmies or sanding sugar for coating, if preferred.
- These cookies are freezer-friendly; refer to the FAQs above for detailed storage instructions.
Course: Dessert
Cuisine: American
Nutrition
Calories: 315kcal | Carbohydrates: 38g | Protein: 4g | Fat: 16g | Sodium: 8mg | Fiber: 1g | Sugar: 13g
Nutritional Disclaimer
“The Country Cook” is not a dietician or nutritionist, and any nutritional information shared is an estimate. If calorie count and other nutritional values are important to you, we recommend running the ingredients through whichever online nutritional calculator you prefer. Calories and other nutritional values can vary quite a bit depending on which brands were used.
