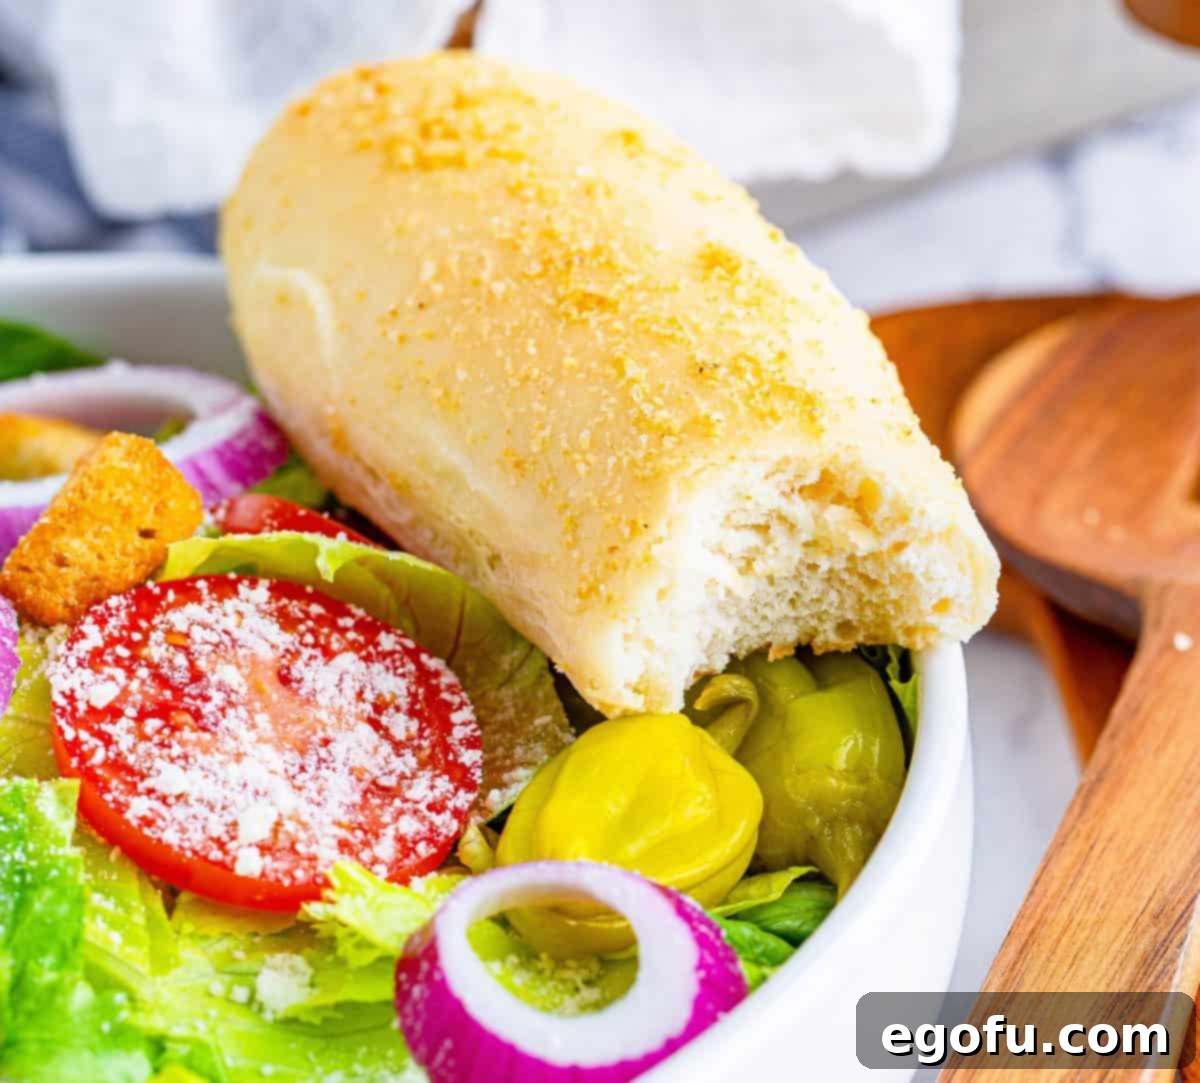
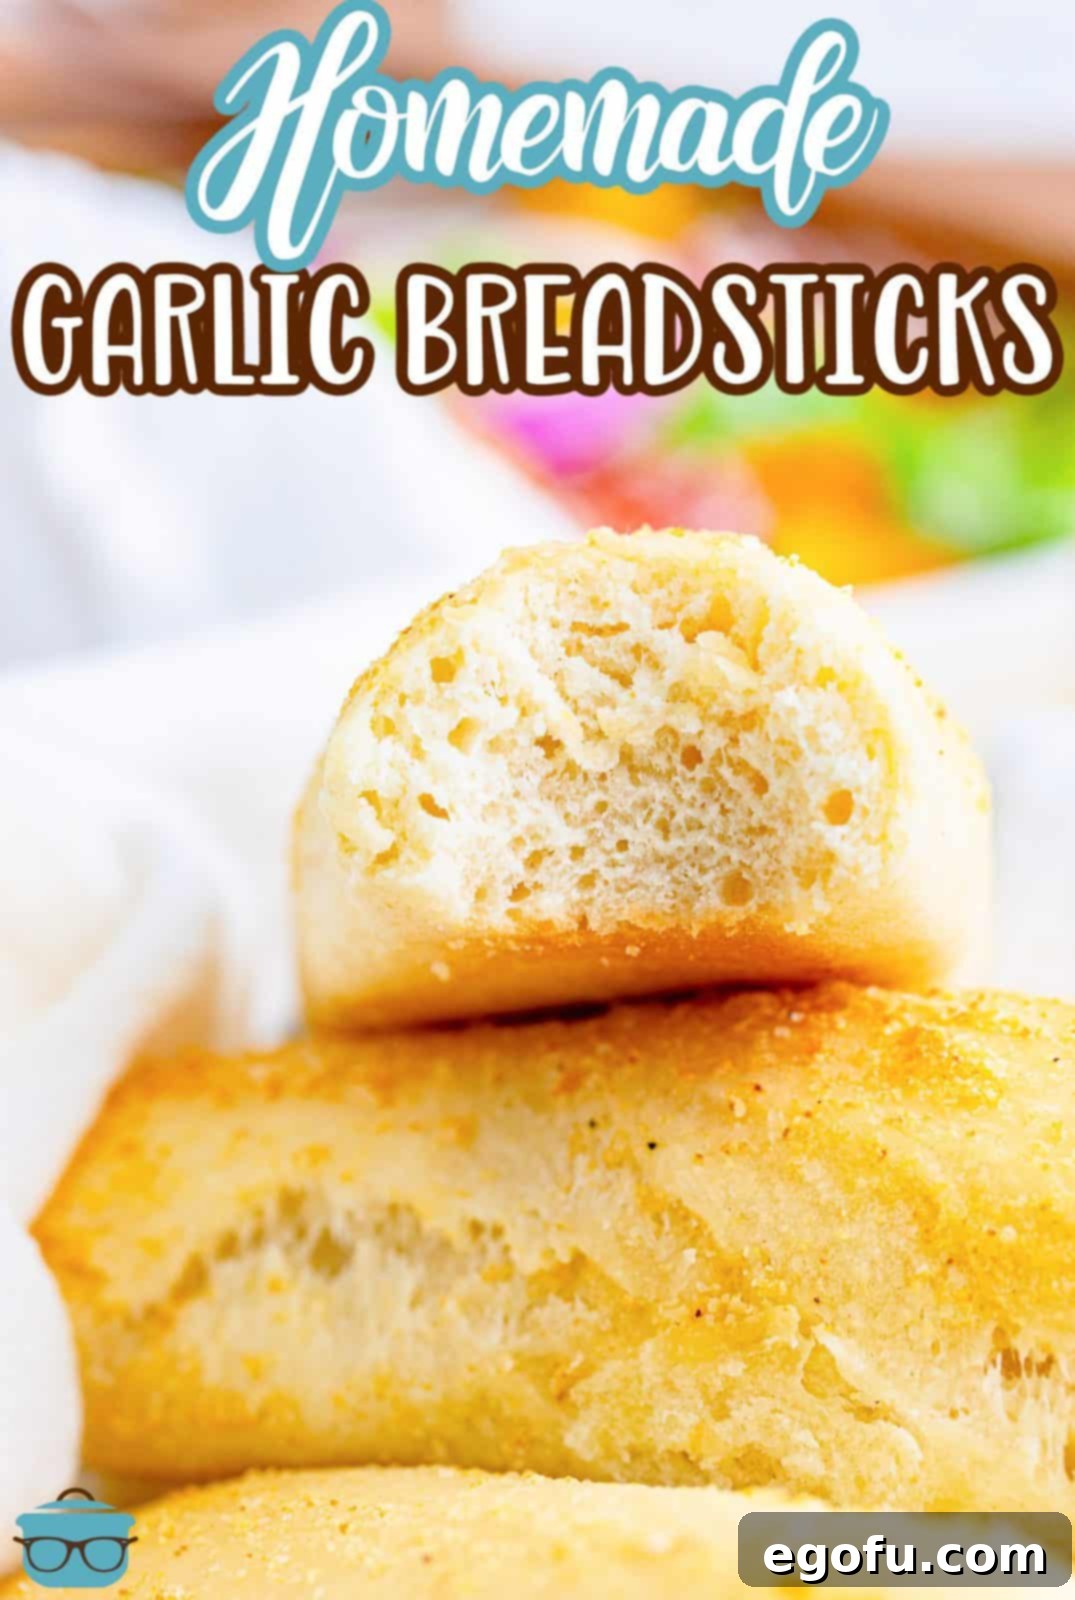
Welcome to the ultimate guide for crafting the most incredible homemade garlic breadsticks you’ve ever tasted! Forget everything you thought you knew about breadsticks, especially those thin, sometimes dry, restaurant versions. These are different. These are warm, pillow-soft, incredibly buttery, and bursting with rich garlic flavor, making them the perfect accompaniment to almost any meal. Prepare to amaze your family and friends with a recipe that is surprisingly simple to master, yielding results far superior to anything you can buy.
Irresistible Homemade Garlic Breadsticks: Your Ultimate Guide to Flavor and Freshness
There’s nothing quite like the aroma of freshly baked bread filling your home. And when that bread is transformed into tender, golden-brown breadsticks generously brushed with a savory garlic butter topping, it elevates the entire experience. While some might think of these as a copycat of famous restaurant breadsticks, we prefer to call them an enhancement. They boast a more substantial, satisfying texture, closer to mini loaves of artisanal bread, yet remain wonderfully light and airy. This recipe is designed to be straightforward, ensuring even novice bakers can achieve spectacular results with confidence. Dive in and discover how easy it is to create these delightful treats that will quickly become a staple in your kitchen.
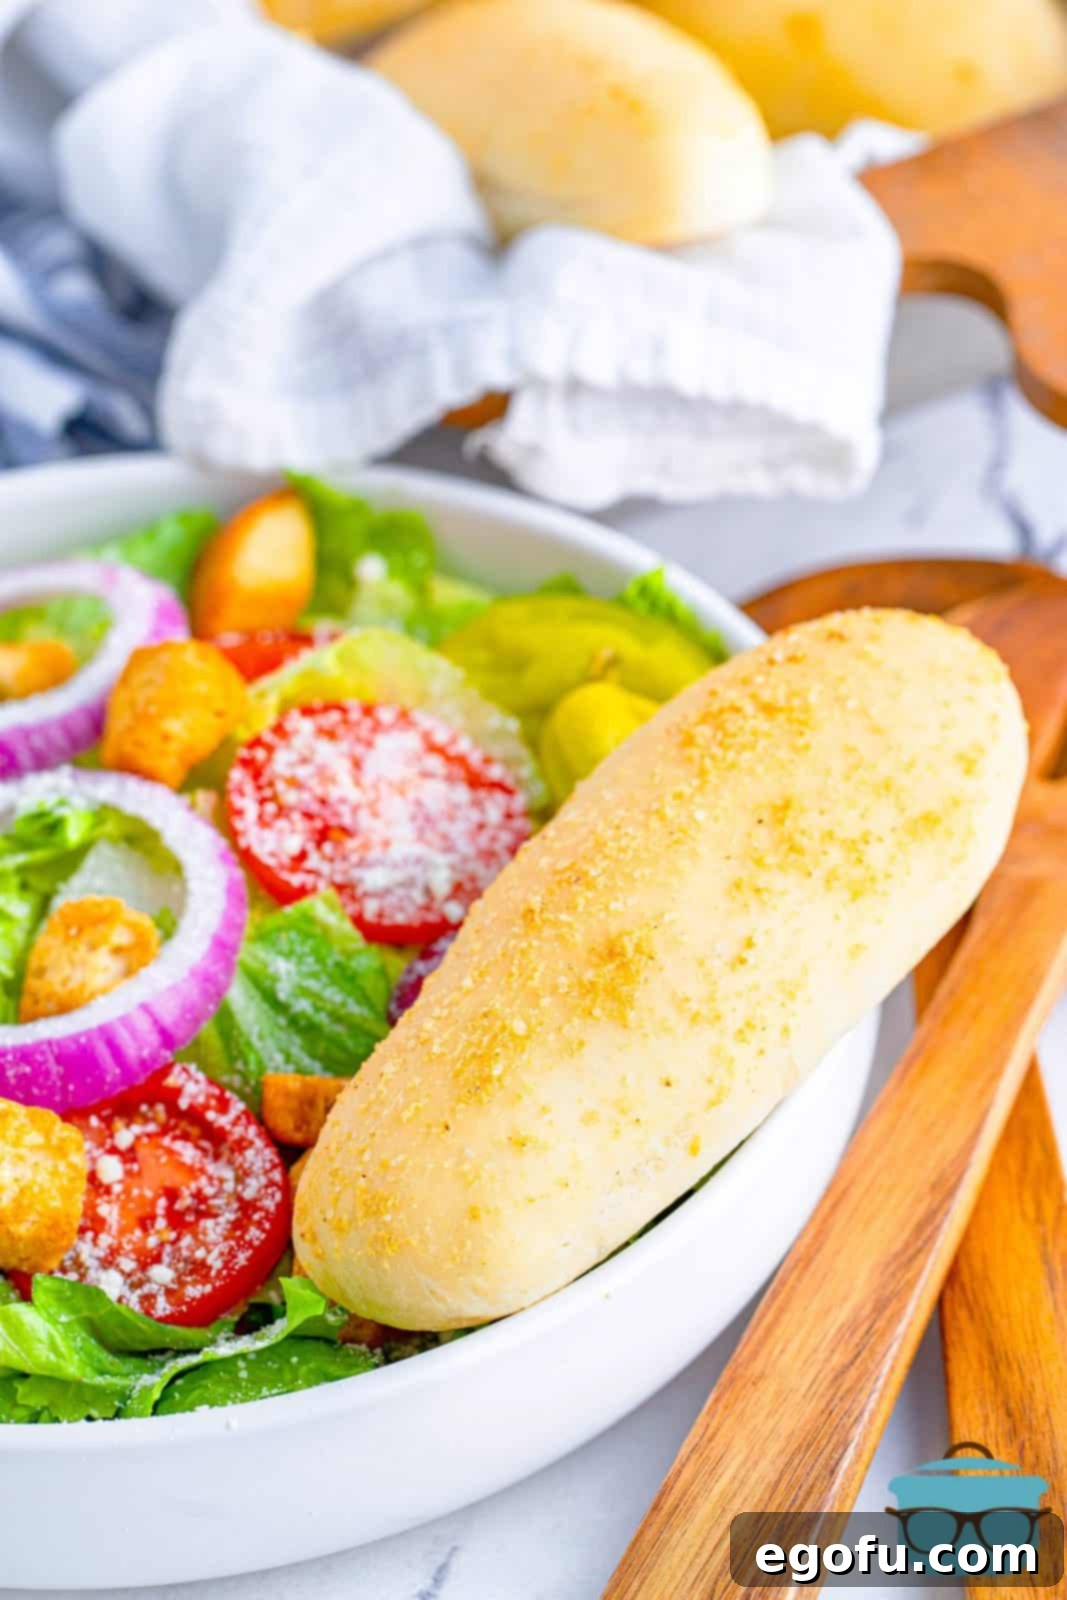
Why Homemade Garlic Breadsticks Are a Game-Changer
Choosing to bake your breadsticks at home opens up a world of freshness and flavor that pre-packaged or even many restaurant options simply can’t match. The difference is palpable from the very first bite. Here’s why these homemade garlic breadsticks are about to become your new favorite:
- Unmatched Freshness: There’s no substitute for bread baked moments before it’s served. The tender crumb and slight crispness of the crust, straight from your oven, are truly unparalleled.
- Superior Flavor Profile: Our recipe focuses on a rich, tender dough base that absorbs the garlic butter beautifully. The homemade garlic butter topping is where the magic truly happens, allowing you to control the quality and quantity of fresh, aromatic garlic and rich butter.
- Perfect Texture: Unlike some breadsticks that can be too dense or too airy, these strike the perfect balance – a fluffy interior with a delicate chew, offering a satisfying mouthfeel that complements their savory taste.
- Customization at Your Fingertips: Making them yourself means you can adjust the salt, garlic, or even add other herbs to suit your preference. Want extra garlicky? Go for it! A touch of parmesan? Easily done!
- A Warm Welcome: The enticing aroma of baking bread is universally comforting. These breadsticks not only taste incredible but also fill your home with a wonderful, inviting scent that makes any meal feel special.
Essential Tips for Perfect Homemade Breadsticks
While making bread might seem intimidating, these garlic breadsticks are surprisingly forgiving. The key to success lies in just a few fundamental techniques and high-quality ingredients. Master these, and you’ll be churning out bakery-quality breadsticks in no time:
- Active Yeast is Your Best Friend: The foundation of any great yeast bread is, of course, active yeast. Always ensure your yeast is fresh and active. You’ll know it’s working if, after mixing with warm water and a touch of sugar, the mixture becomes frothy within 5-10 minutes. If it doesn’t foam, your yeast might be old or the water temperature was off, and it’s best to start with a new packet. The warm water should be around 105-115°F (40-46°C) – warm to the touch, but not hot enough to kill the yeast.
- Kneading for Texture: Proper kneading is crucial for developing the gluten in the flour, which gives the breadsticks their structure and elasticity. Whether you use a stand mixer with a dough hook or knead by hand, aim for a dough that is smooth, pliable, and elastic. This usually takes about 8-10 minutes in a stand mixer or 10-15 minutes by hand. A good test for elasticity is the “windowpane test”: pull a small piece of dough apart gently; if you can stretch it thin enough to see light through it without tearing, it’s ready.
- The Magic of the Garlic Butter Topping: This isn’t just an afterthought; it’s a star player. Don’t be shy with the garlic butter! You can customize the intensity by adjusting the amount of garlic powder (or even fresh minced garlic for a bolder flavor) and salt. Brushing the breadsticks halfway through baking and again immediately after they come out of the oven ensures maximum flavor absorption and a beautiful, glistening finish.
- Achieving the Perfect Rise: Yeast dough loves warmth and a draft-free environment to rise. A common trick is to preheat your oven to its lowest setting (around 150°F or 65°C), then turn it off. Place your covered dough inside to rise. This creates a consistently warm and cozy spot, ensuring your breadsticks double in size beautifully. If your oven doesn’t go that low, a sunny spot near a window, or even on top of a warm appliance, can work.
- Don’t Overcrowd the Baking Sheet: Give your breadsticks room to grow! When shaping and placing them on the baking sheet, ensure they have enough space to double in size without touching. Overcrowding can lead to uneven baking and prevent them from getting that lovely golden crust on all sides.
Understanding Your Ingredients
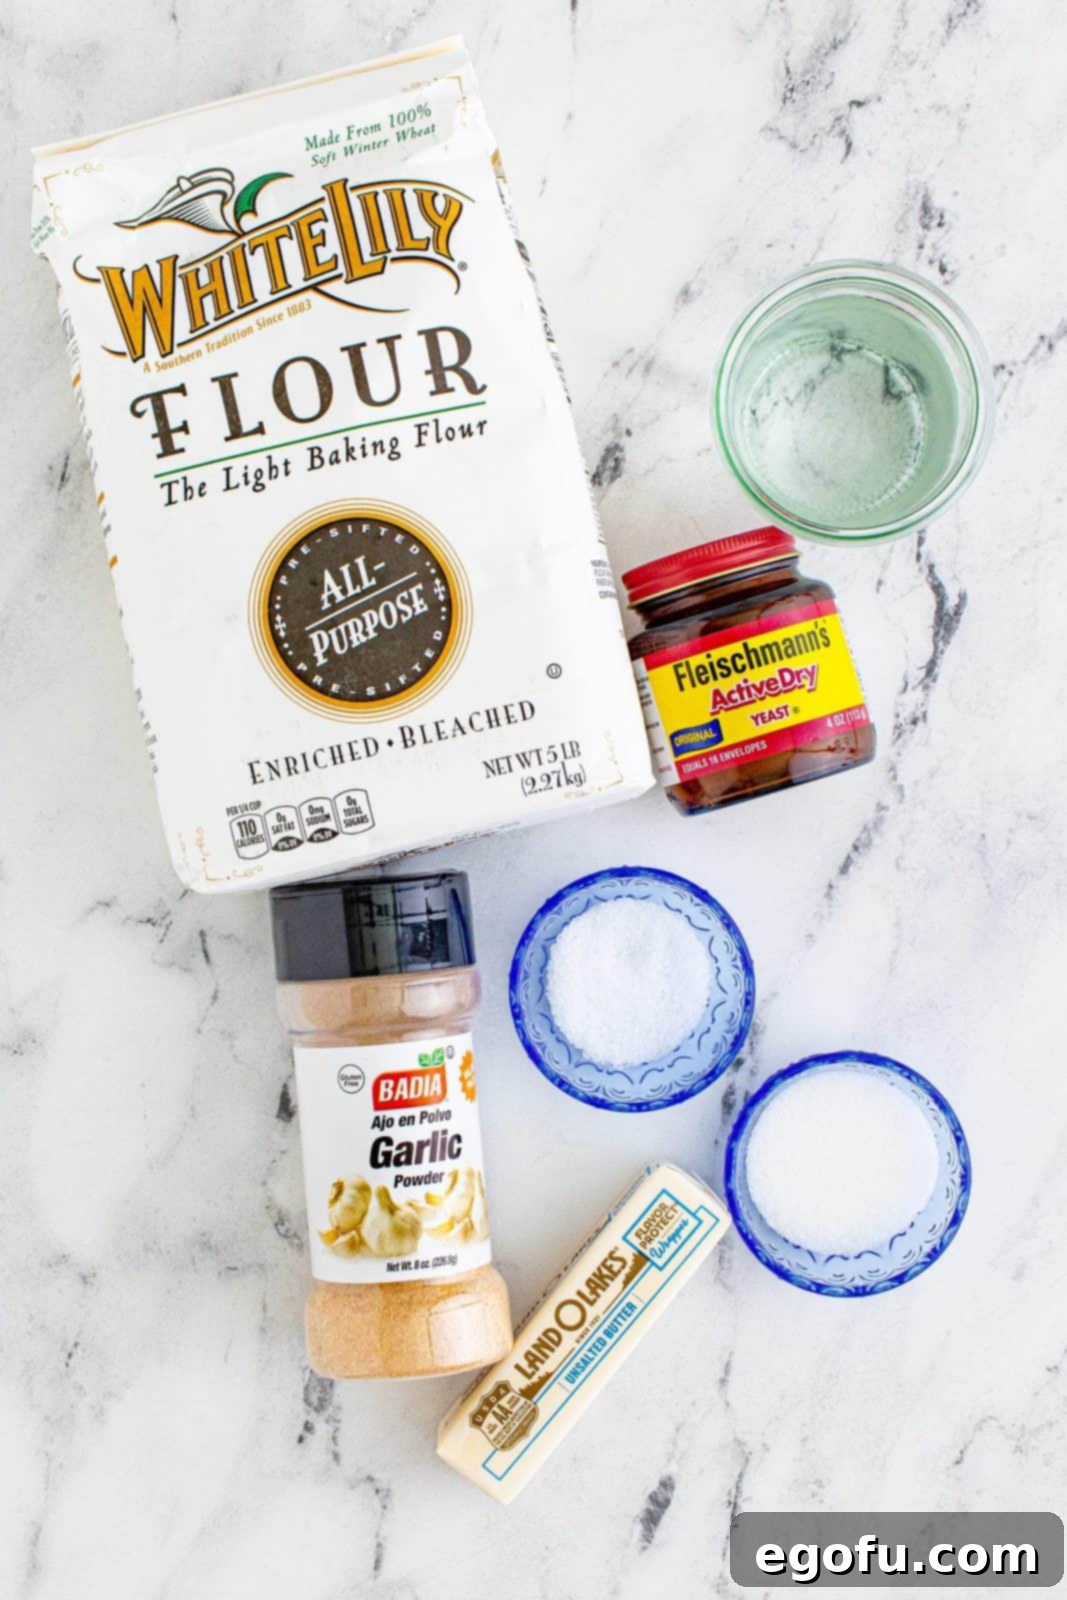
While the full recipe is detailed below, here’s a quick look at the core components and their importance:
- Very Warm Water: Crucial for activating the yeast.
- Active Dry Yeast: The leavening agent that makes your breadsticks rise and become airy.
- All-Purpose Flour: The primary structural component of the dough. Using a high-quality brand can make a noticeable difference in texture.
- Unsalted Butter: Adds richness and tenderness to both the dough and the garlic topping. Unsalted allows you to control the overall sodium content.
- Sugar: Feeds the yeast, helping it activate and promoting a good rise, while also contributing to a tender crumb and golden-brown crust.
- Salt: Essential for flavor balance, controlling yeast activity, and strengthening the gluten structure.
- Garlic Powder: For that irresistible garlicky aroma and taste in the topping.
Step-by-Step: Crafting Your Delicious Garlic Breadsticks
Follow these detailed steps to create tender, flavorful garlic breadsticks from scratch. Precision in these steps will ensure a perfect batch every time.
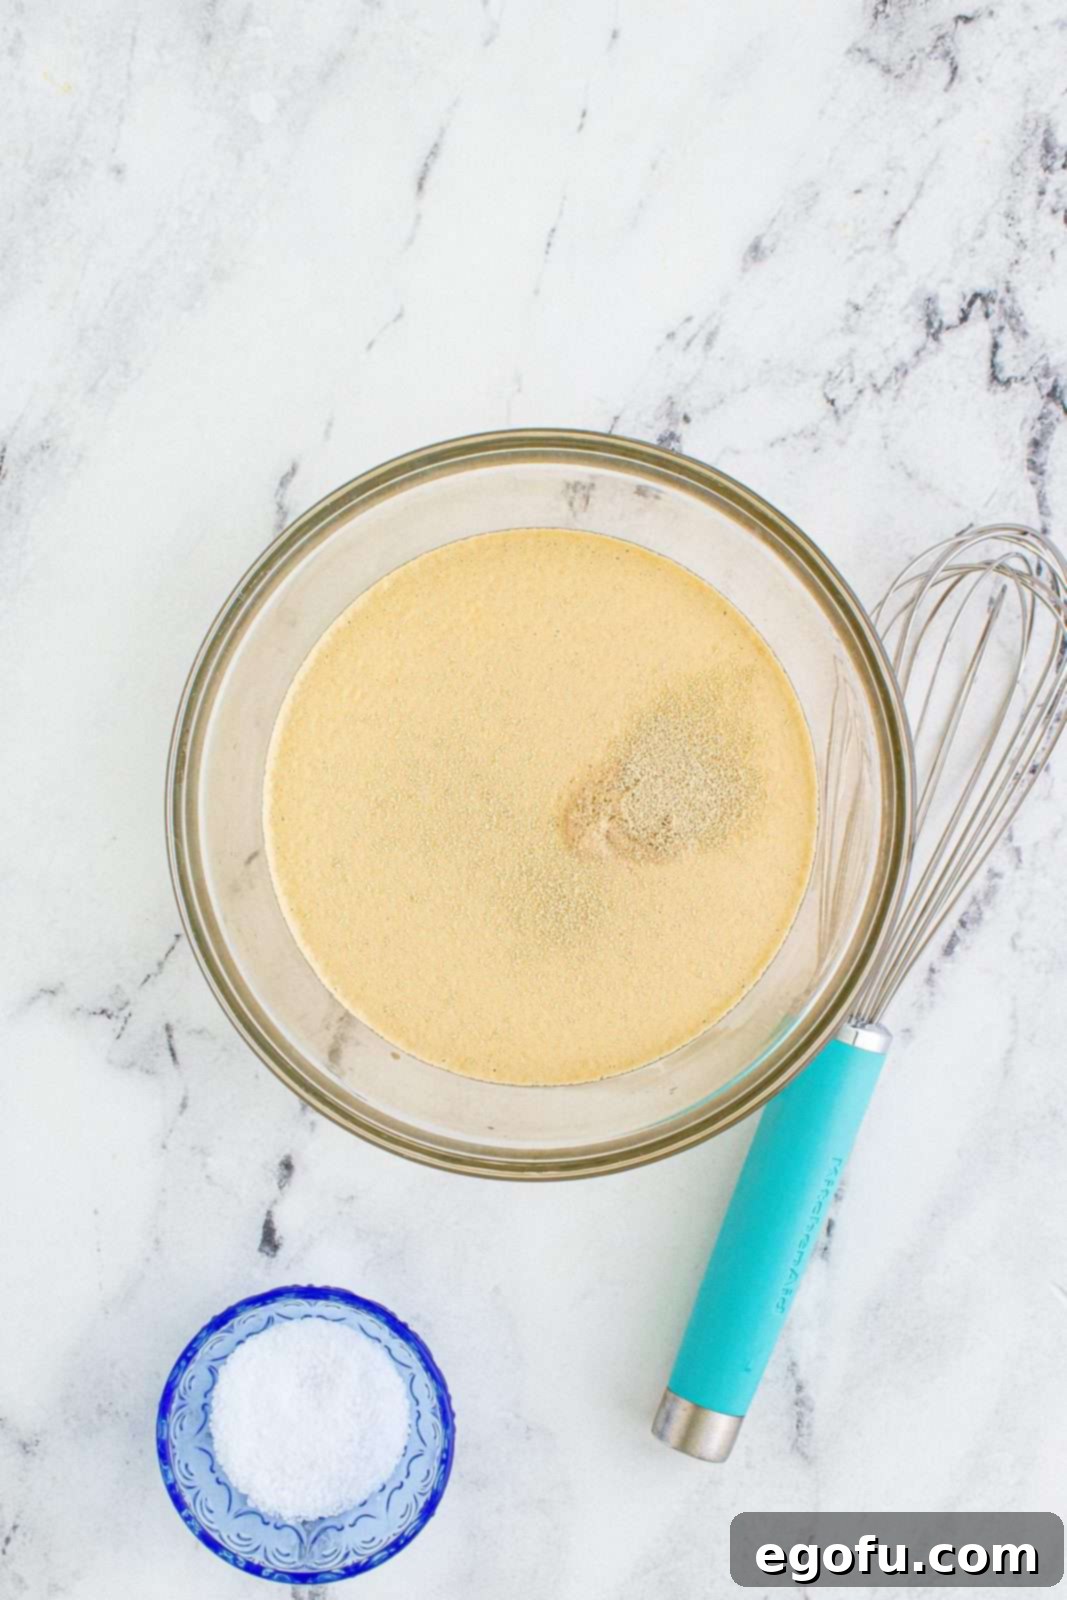
- Activate the Yeast: In a large mixing bowl, combine the very warm water with the sugar and sprinkle the active dry yeast over the top. Stir gently to dissolve. Cover the bowl loosely with plastic wrap or a clean kitchen towel and let it sit for about 10 minutes in a warm spot. During this time, the mixture should become visibly frothy and bubbly, indicating that your yeast is alive and ready to work its magic. This effervescent foam is a sign of a healthy, active yeast culture.
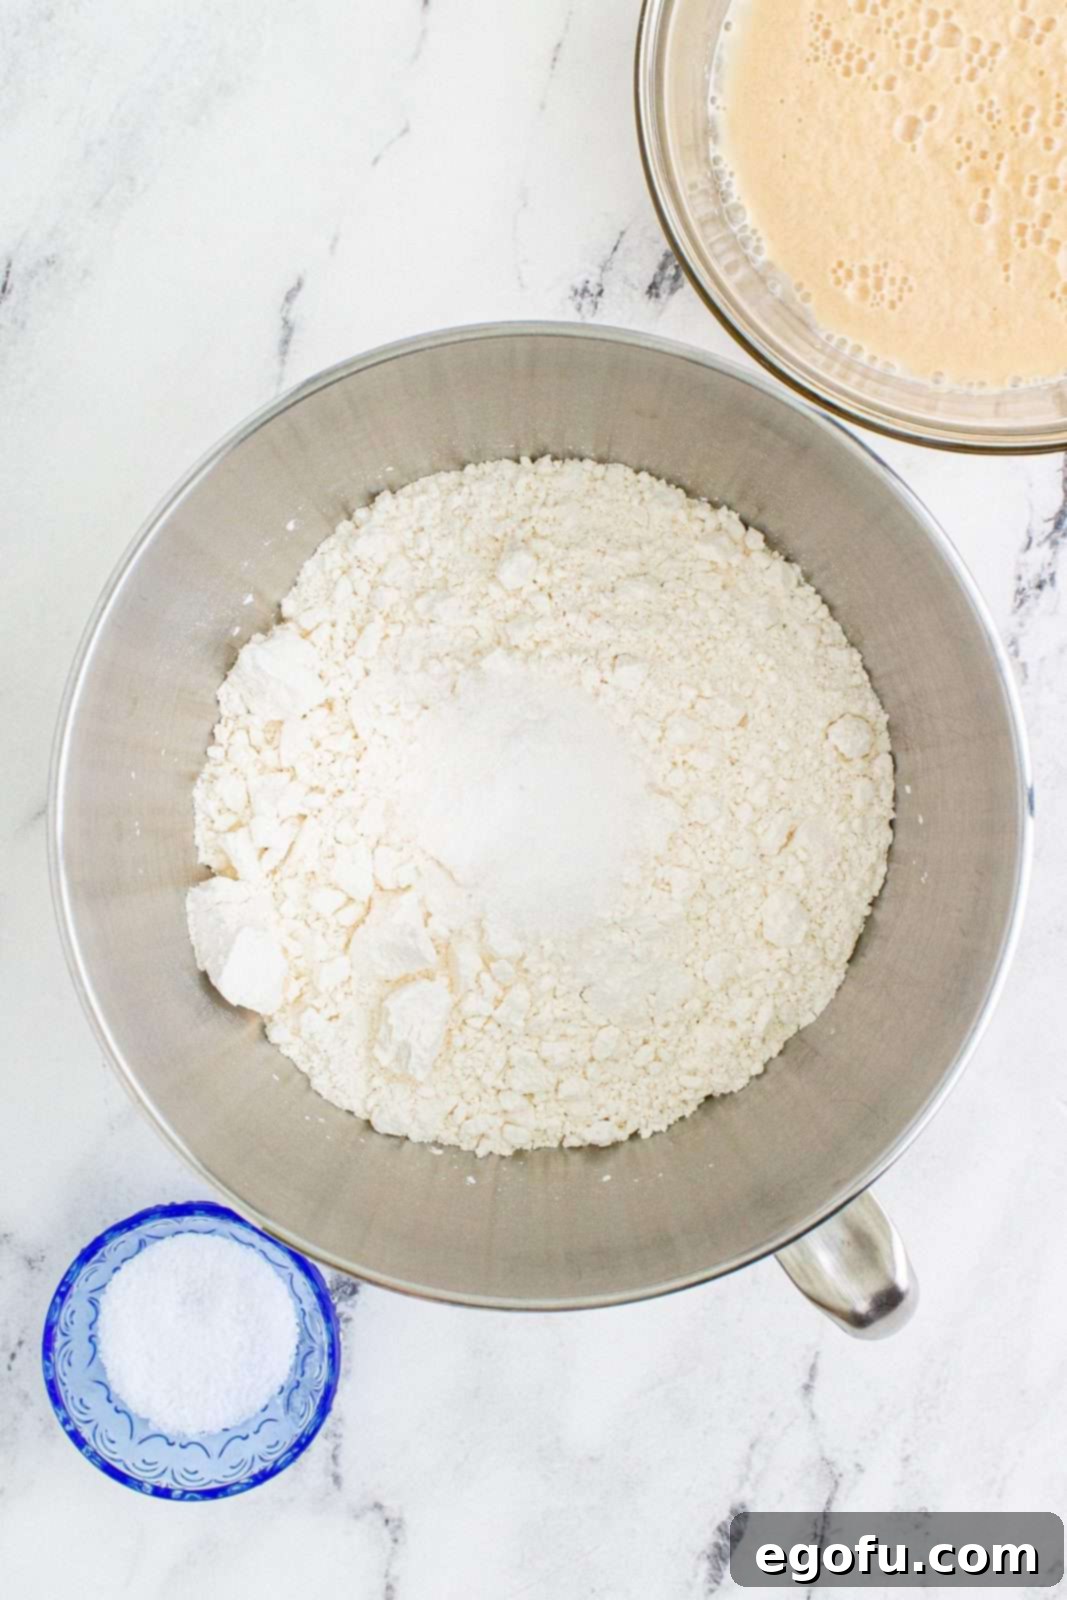
- Combine Dry Ingredients: In the bowl of your stand mixer (or a separate medium-sized bowl if kneading by hand), measure out the all-purpose flour and salt. Whisk them together briefly to ensure the salt is evenly distributed throughout the flour. This step prevents pockets of overly salty or bland dough.
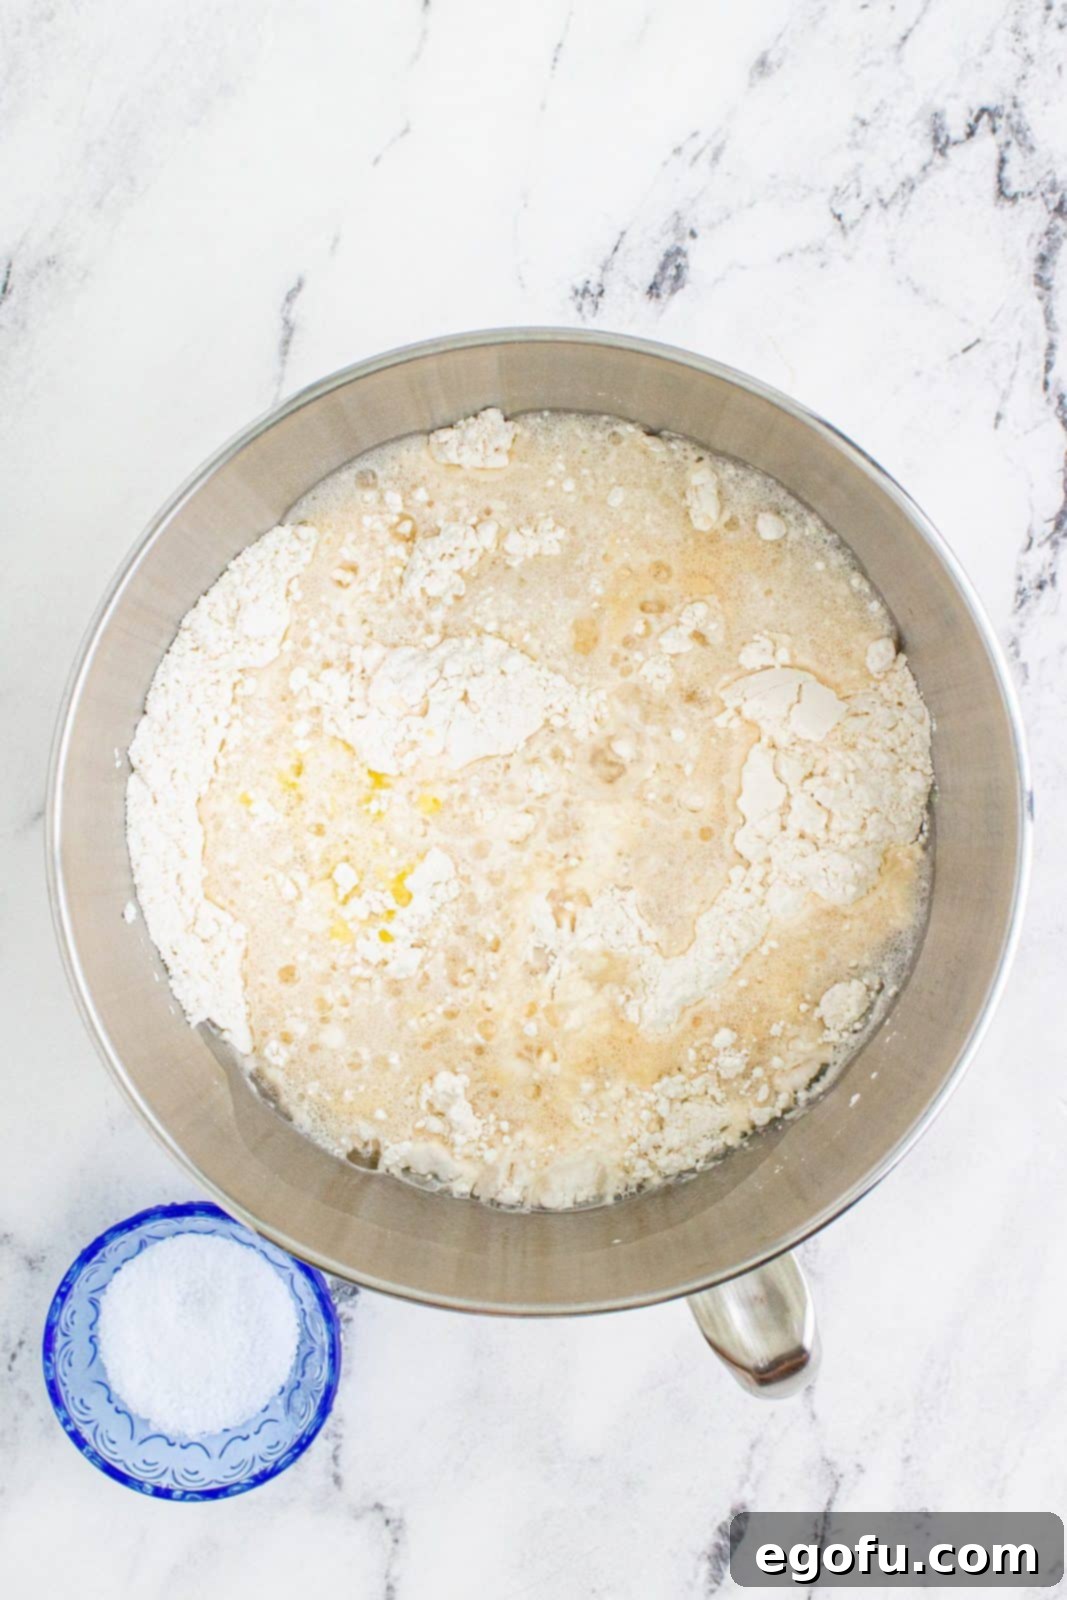
- Mix Wet and Dry: Pour the frothy yeast mixture and the two tablespoons of melted unsalted butter into the flour and salt mixture. Ensure the butter is melted but not hot, as excessive heat can harm the yeast.
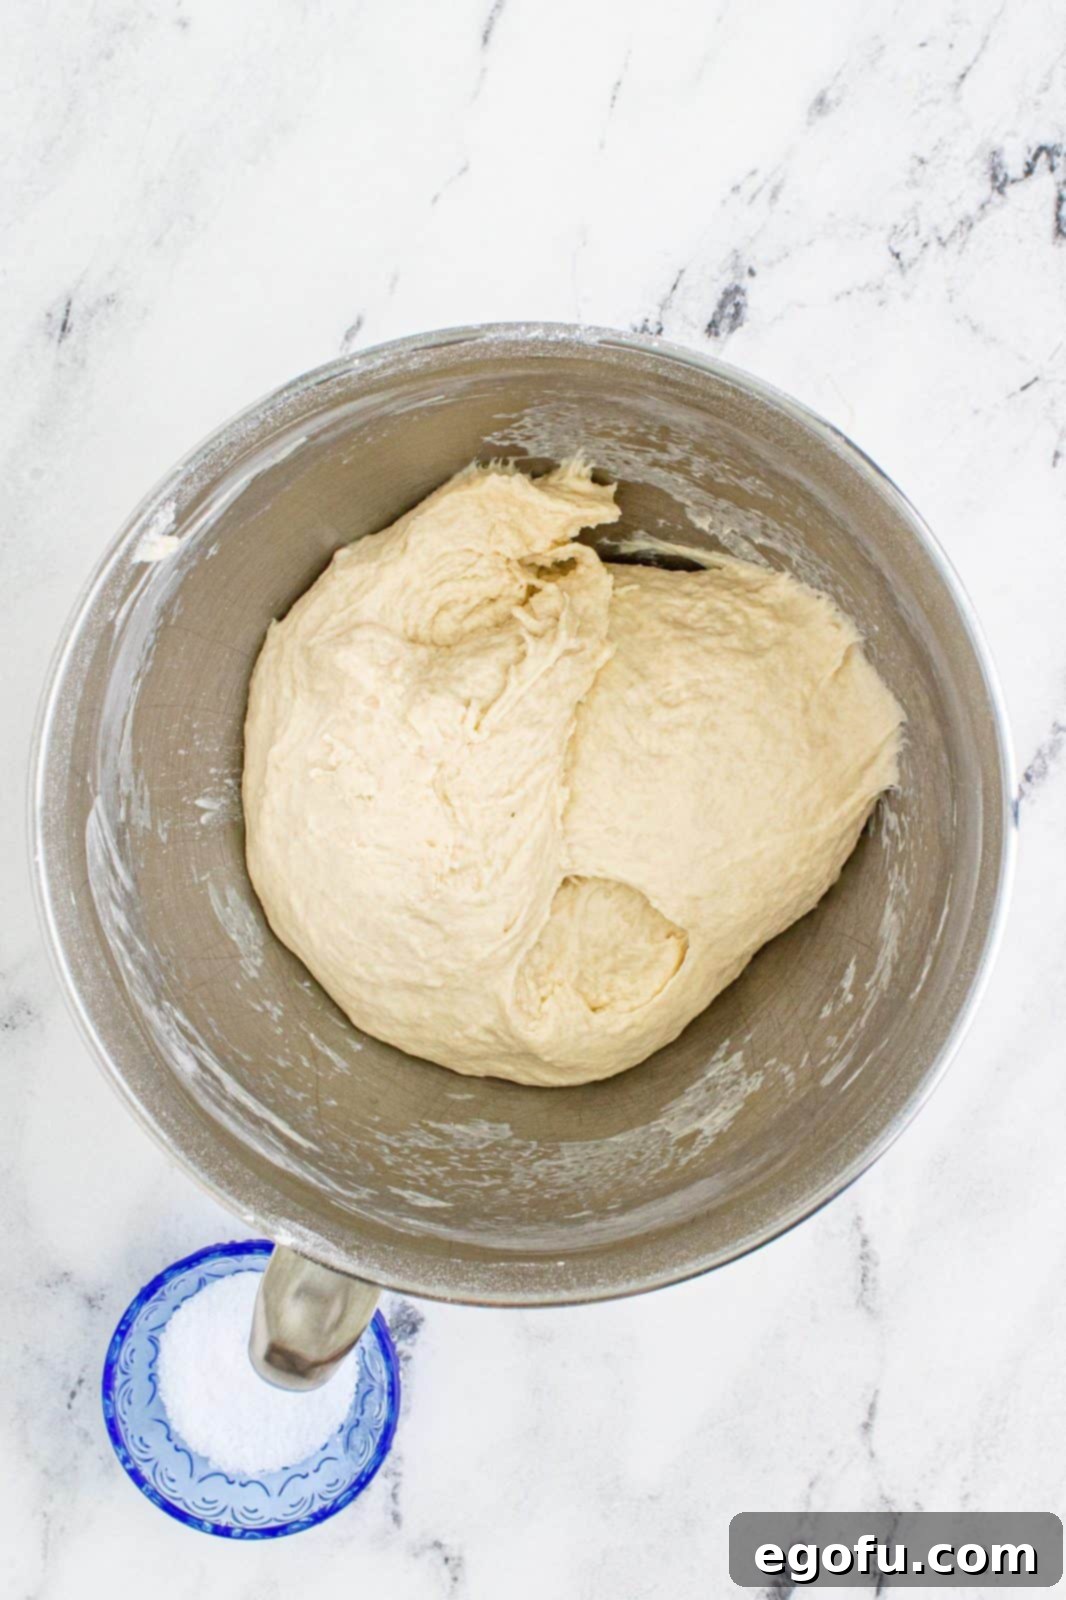
- Knead the Dough: Attach the dough hook to your stand mixer and mix on low speed until all ingredients are thoroughly combined and a shaggy dough forms. Increase the speed to medium-low and continue to knead for about 8-10 minutes. If kneading by hand, turn the dough out onto a lightly floured surface and knead for 10-15 minutes. The dough should transform into a smooth, supple, and elastic ball that springs back when gently poked. This extensive kneading develops the gluten, vital for the breadsticks’ signature chewiness.
- Prepare for Shaping: Lightly spray a large baking sheet with nonstick cooking spray, or line it with parchment paper for easy cleanup. This prevents the dough from sticking.
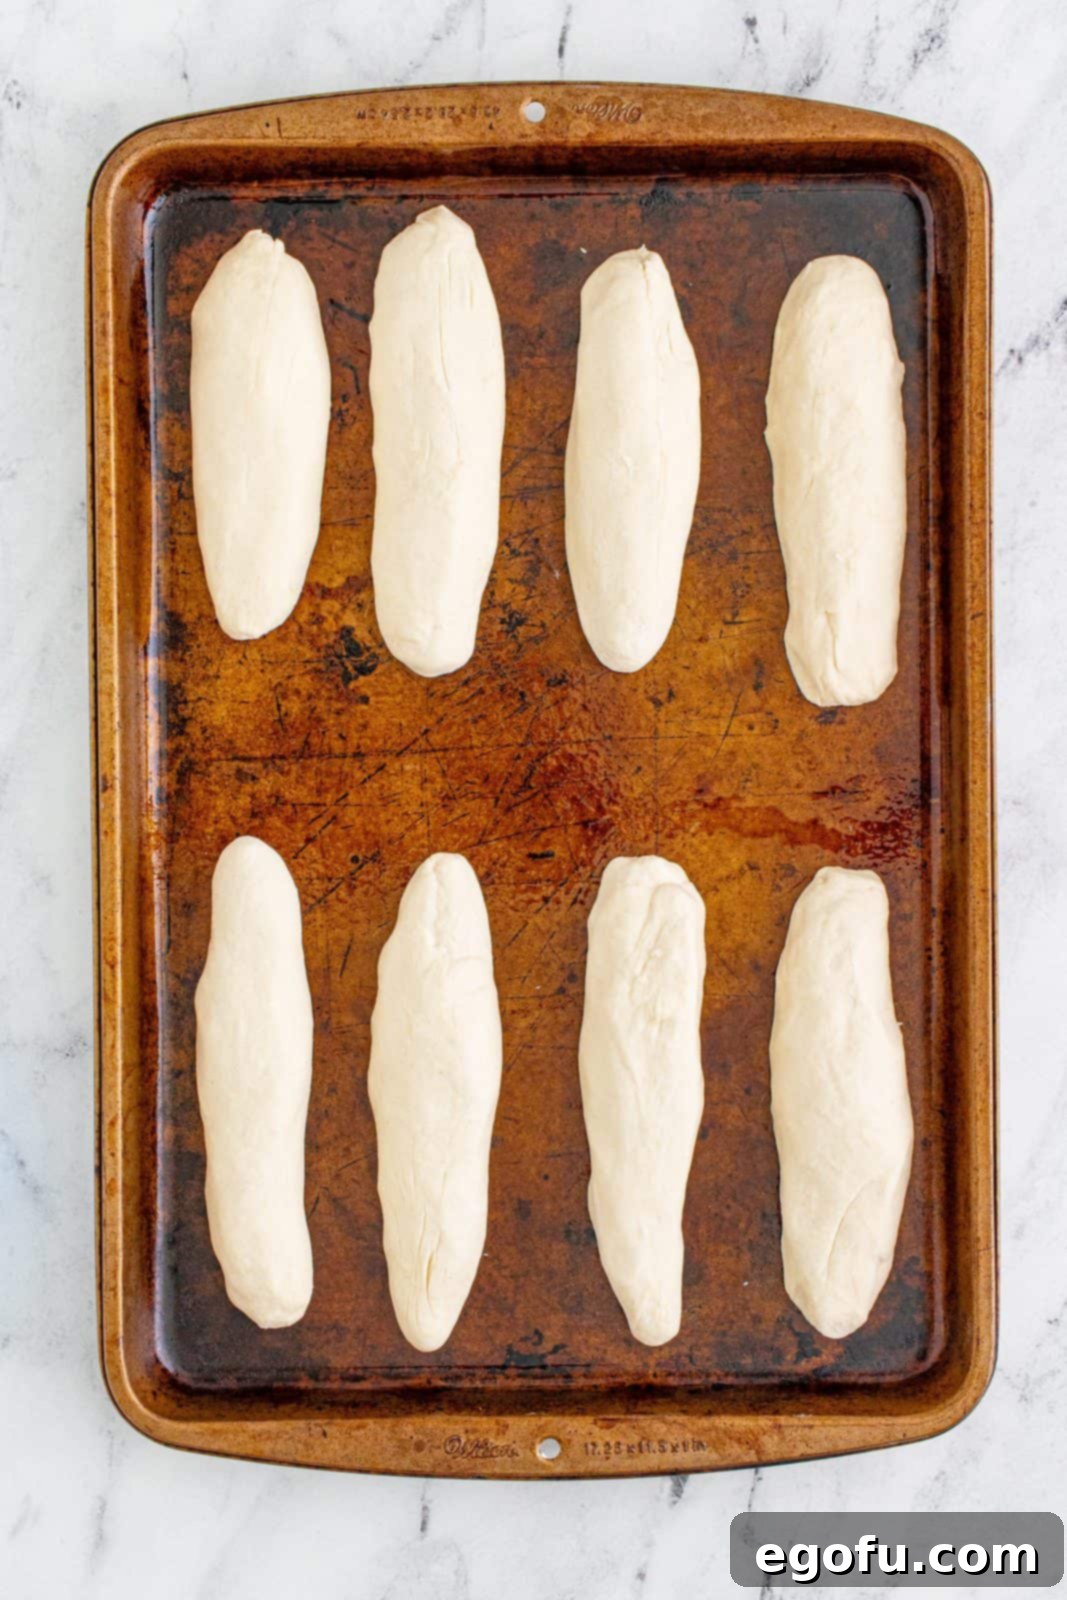
- Shape the Breadsticks: Pinch off small, golf-ball-sized pieces of dough. Remember that these breadsticks will double in size during the rising process, so smaller pieces are better than larger ones. Roll each piece into a strip approximately 6-8 inches long and about 1 inch thick. You can do this by rolling the dough between your palms or on a lightly floured countertop. Aim for relatively uniform sizes to ensure even baking.
- First Rise (Proofing): Arrange the shaped breadsticks on the prepared baking sheet, leaving ample space between each one. Lightly spray one side of a piece of plastic wrap with nonstick spray and use it to cover the breadsticks (sprayed side down to prevent sticking). Alternatively, cover them with a clean kitchen towel. Place the baking sheet in a warm, draft-free location for the dough to rise. A good trick is to preheat your oven to about 150°F (65°C) and then turn it off once it’s warm, placing the breadsticks inside. Let them rise until they have visibly doubled in size, which usually takes about 45-60 minutes, depending on the warmth of your environment.
- Preheat Oven & Bake: Once the breadsticks have doubled in size, carefully remove them from the oven (if using it for rising) and preheat your oven to 400°F (200°C). Once the oven reaches the target temperature, remove the plastic wrap or towel from the breadsticks and place the baking sheet in the preheated oven.
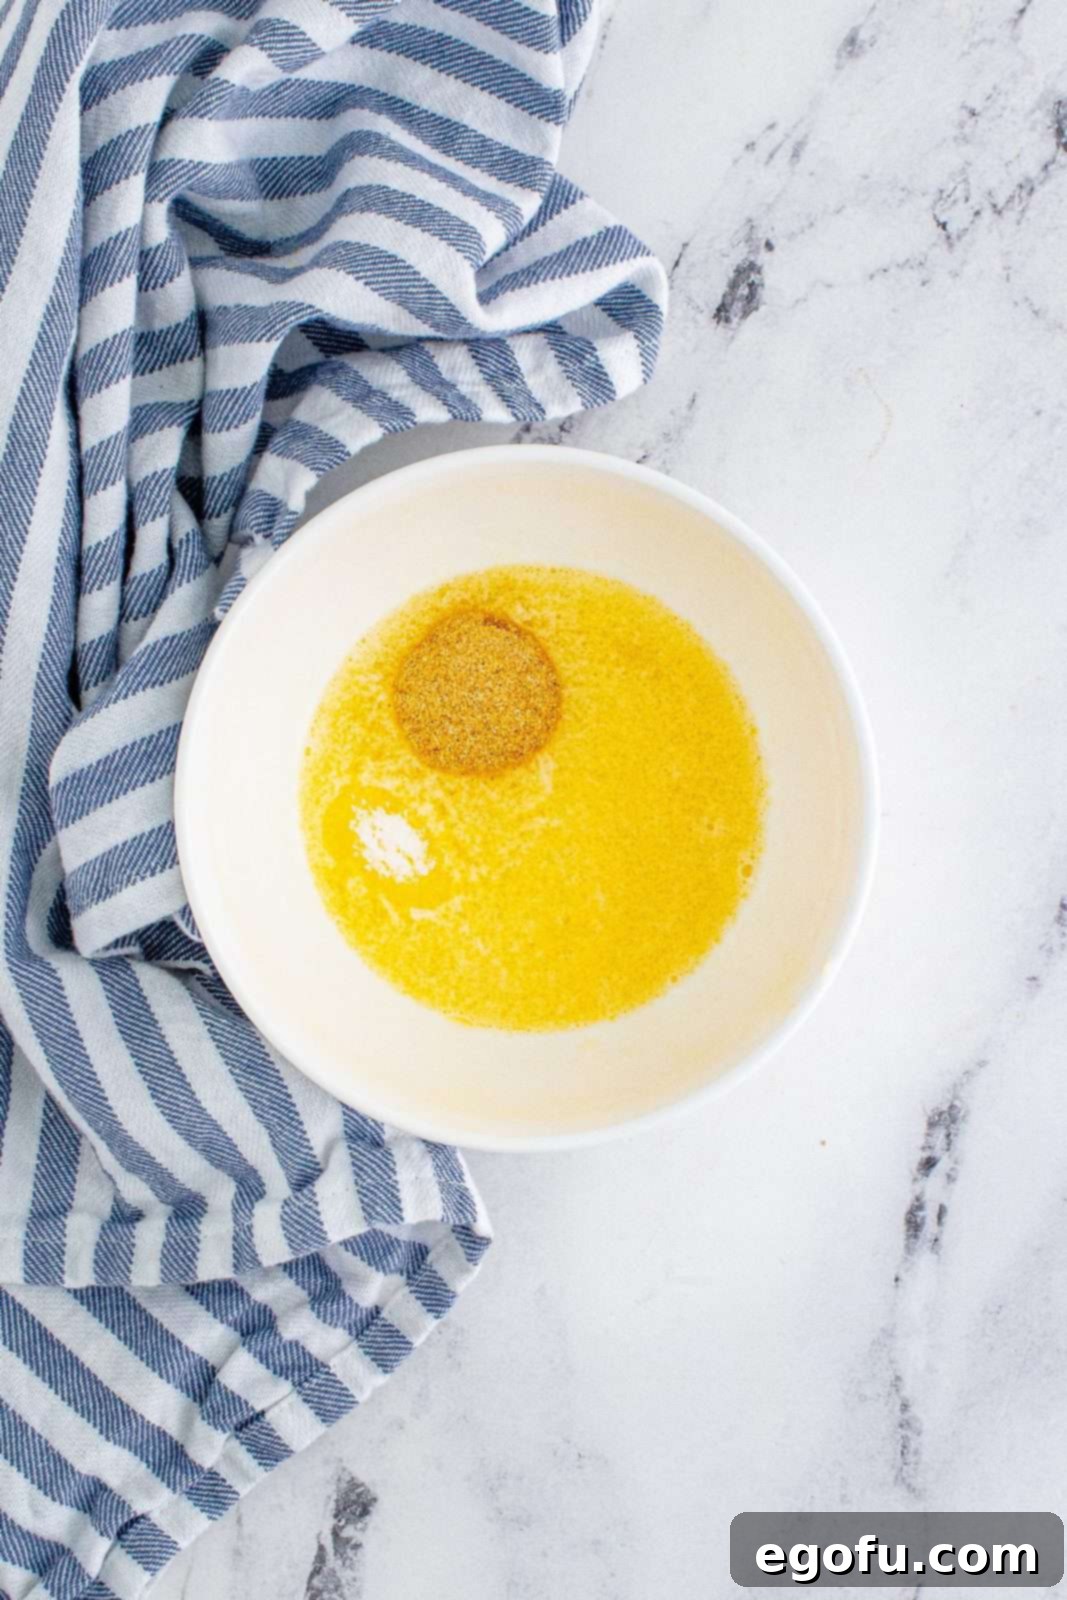
- Prepare Garlic Butter Topping: While the breadsticks are baking, melt the ¼ cup of unsalted butter in a small, microwave-safe bowl. Stir in the garlic powder and table salt until well combined. Set aside.
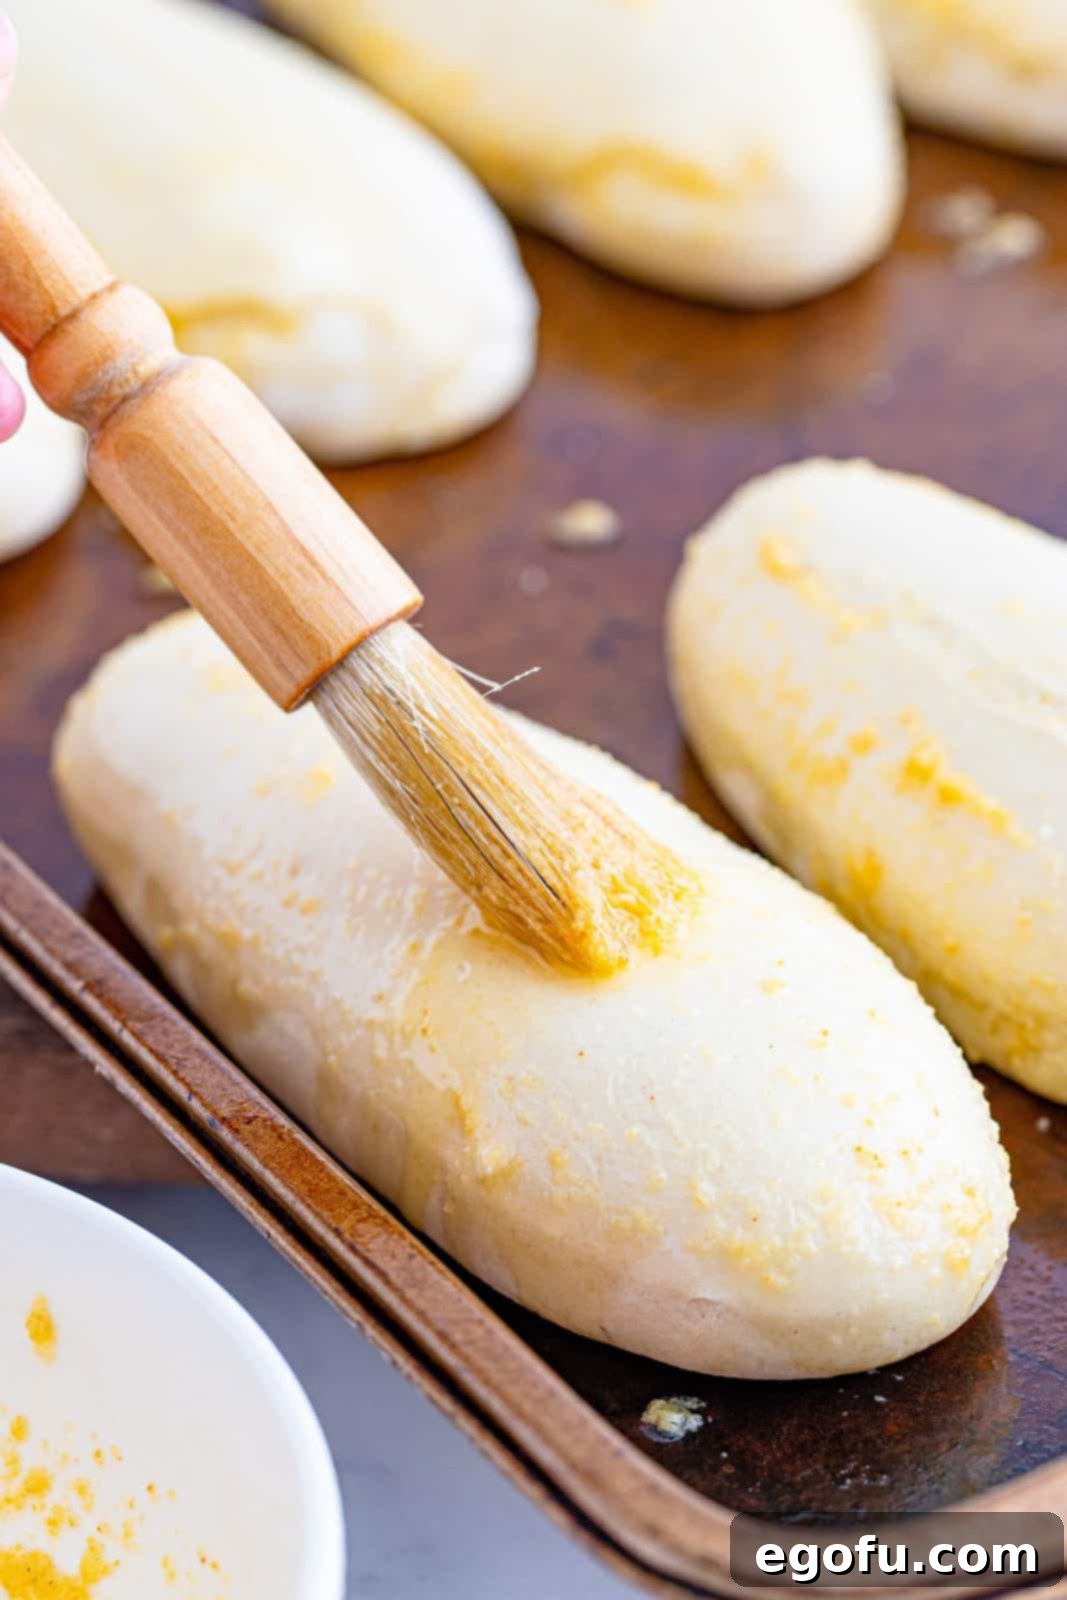
- First Butter Brush: After the breadsticks have baked for 6-7 minutes, carefully remove the baking sheet from the oven. Using a pastry brush, liberally brush half of the prepared garlic butter mixture over the tops and sides of the breadsticks. This initial brushing infuses them with flavor and helps achieve a beautiful golden crust.
- Continue Baking: Return the breadsticks to the oven and continue baking for another 6-7 minutes, or until they are golden brown and cooked through. Keep an eye on them to prevent over-browning.
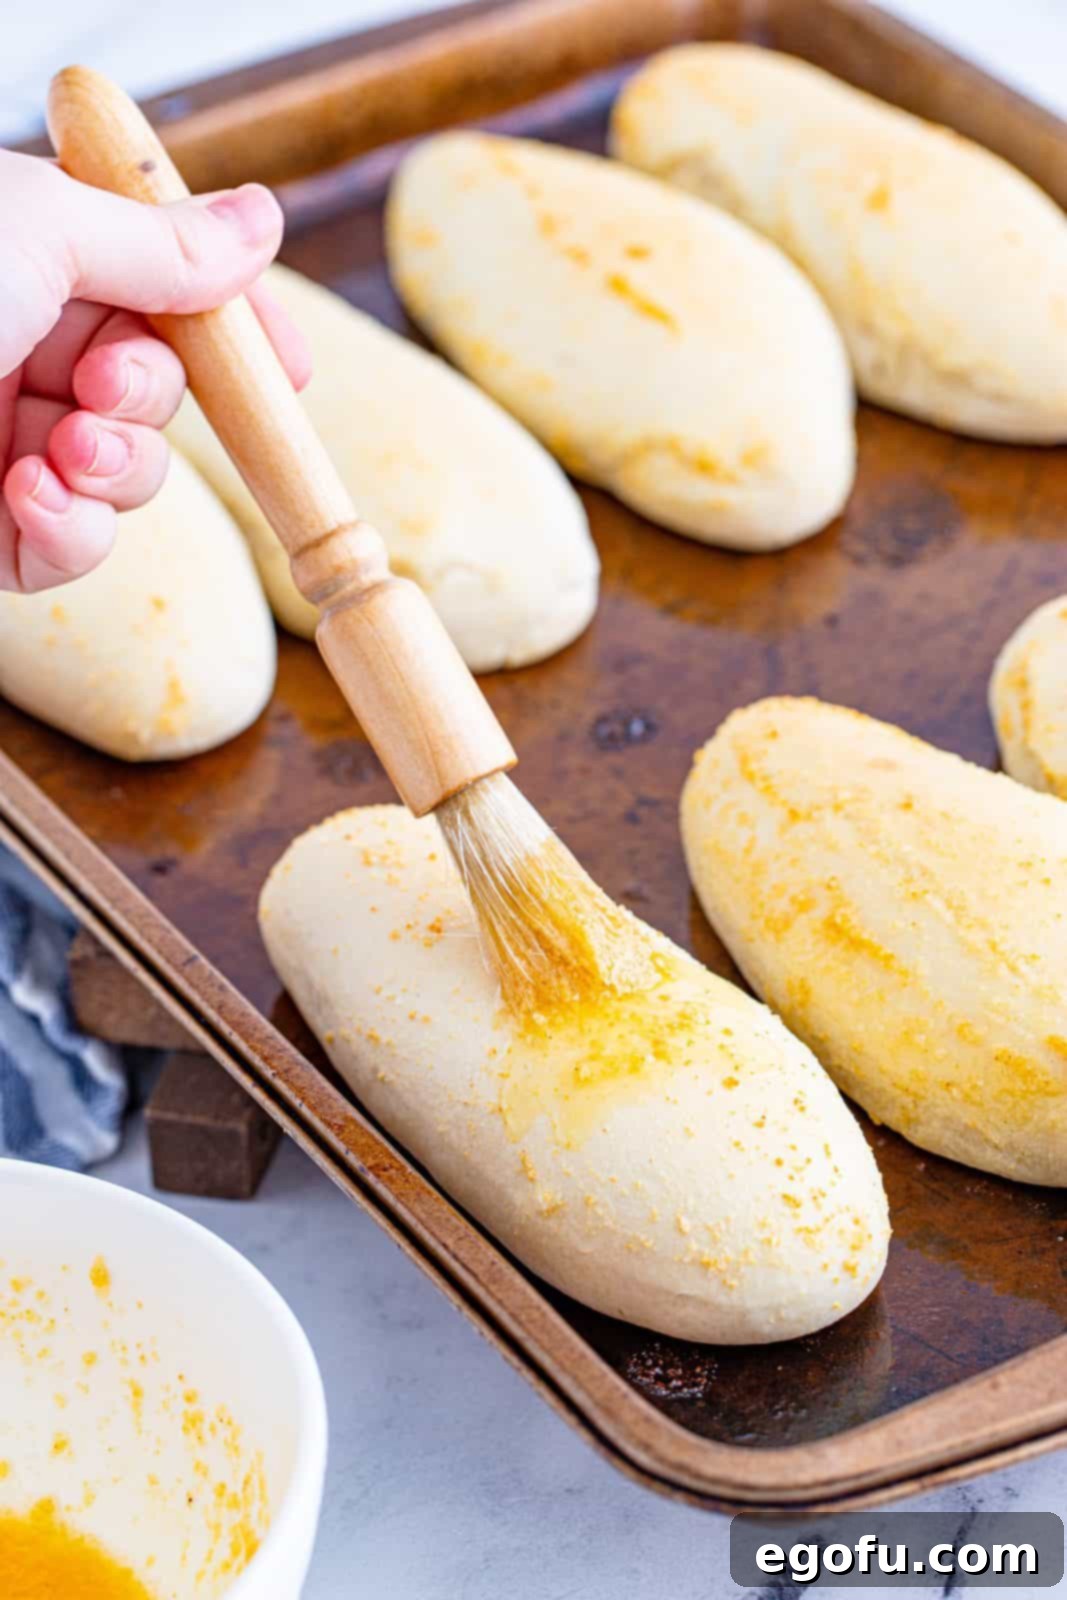
- Final Butter Brush & Serve: Immediately upon removing the breadsticks from the oven, generously brush them with the remaining half of the garlic butter mixture. The heat from the freshly baked breadsticks will absorb the butter, creating an incredibly rich and flavorful exterior. Allow them to cool on the baking sheet for just a minute or two before serving. Enjoy them warm!
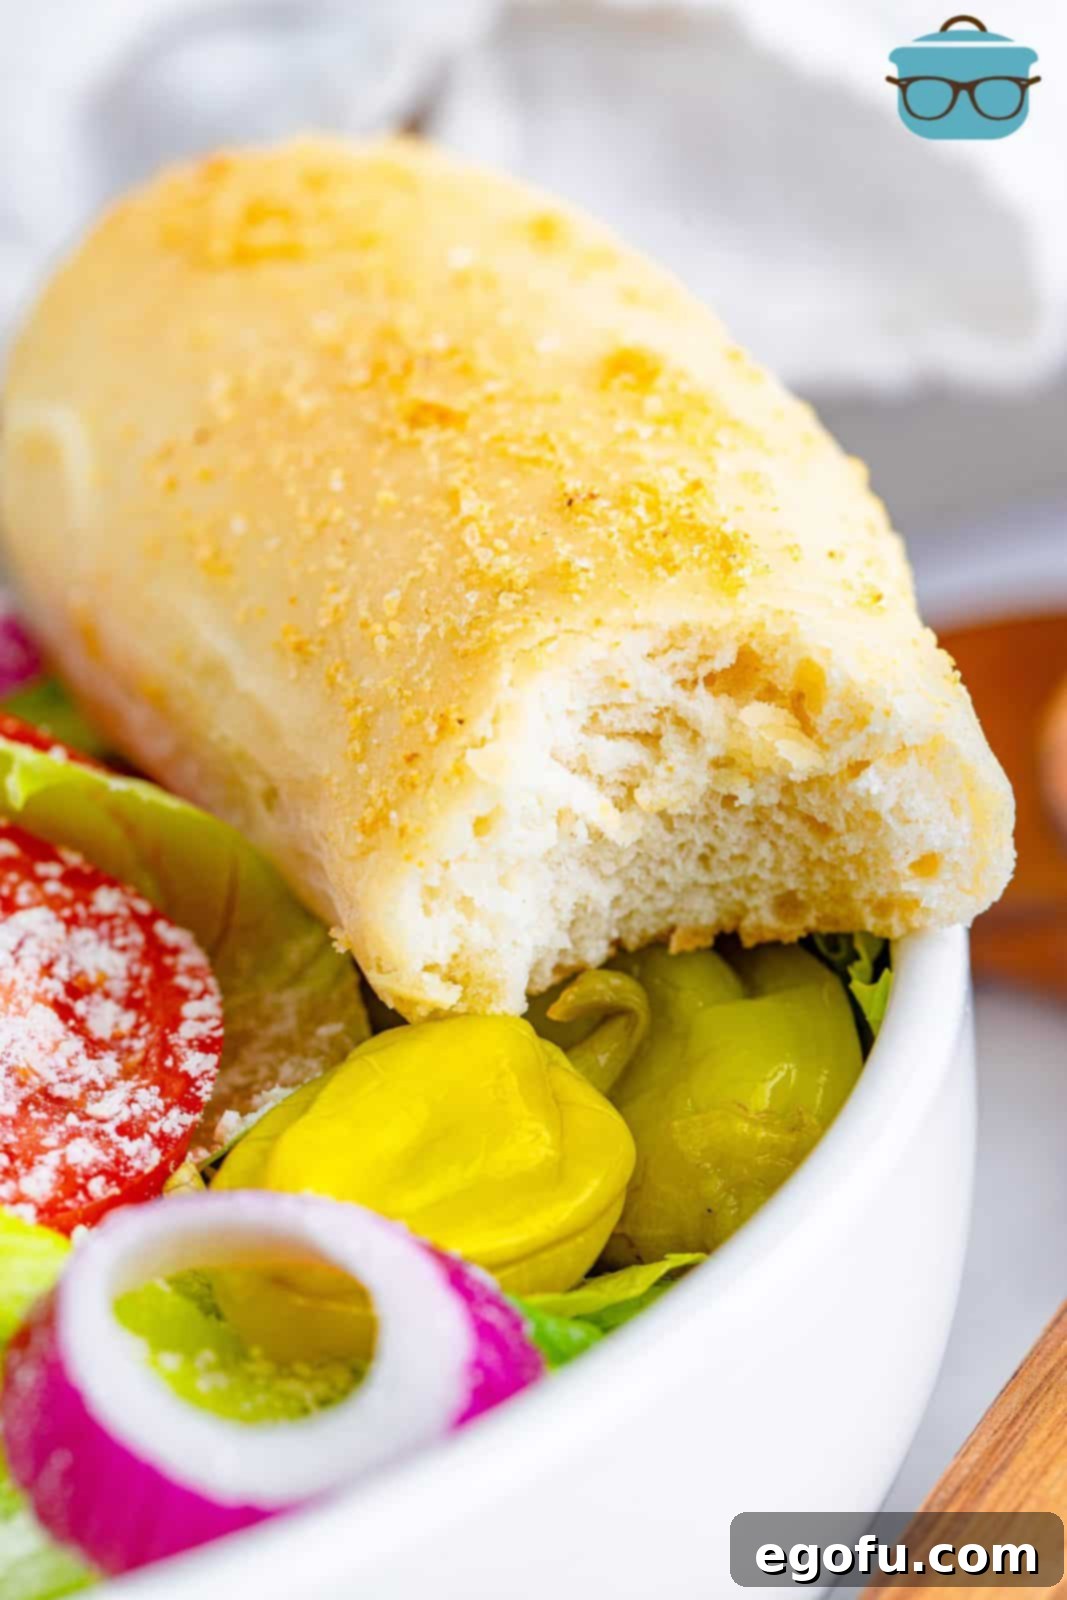
Serving Suggestions & Perfect Pairings
These garlic breadsticks are incredibly versatile and can elevate a wide range of meals. Their rich, savory flavor makes them a fantastic accompaniment, whether you’re serving a simple weeknight dinner or a special occasion feast. Here are some of our favorite ways to enjoy them:
- Classic Italian Fare: They are, of course, a quintessential pairing for any pasta dish, from a hearty lasagna to a delicate spaghetti aglio e olio. They are also perfect for soaking up the delicious sauces from dishes like chicken parmesan or shrimp scampi.
- Soups & Stews: Dunking a warm garlic breadstick into a comforting bowl of soup is pure bliss. Try them with creamy tomato soup, a robust minestrone, or our suggested Pasta e Fagioli or Zuppa Toscana. They add a delightful texture and garlicky kick.
- Salads: Pair them with a fresh, crisp salad for a light yet satisfying meal. The contrasting textures and flavors are a match made in heaven.
- Main Dishes: These breadsticks can stand proudly alongside grilled chicken, steak, roasted vegetables, or even a simple omelet. They add a touch of gourmet appeal to any plate.
- Appetizers: Serve them on their own with a side of marinara or your favorite dipping sauce for a crowd-pleasing appetizer. They disappear quickly at parties!
Storage and Reheating Tips
While these breadsticks are best enjoyed fresh from the oven, you can certainly make them ahead or store leftovers. To maintain their deliciousness:
- Storing Leftovers: Once completely cooled, store any leftover breadsticks in an airtight container or a resealable plastic bag at room temperature for up to 2-3 days. For longer storage, you can freeze them for up to 1 month. Wrap them tightly in plastic wrap, then place them in a freezer-safe bag or container.
- Reheating: To bring them back to life, preheat your oven to 350°F (175°C). If frozen, thaw them at room temperature first. Place the breadsticks on a baking sheet and reheat for 5-8 minutes, or until warmed through and slightly crisp on the outside. You can also quickly reheat them in a toaster oven. Avoid the microwave, as it can make them chewy.
Variations to Try
Once you’ve mastered the basic recipe, feel free to get creative with these delightful breadsticks:
- Cheesy Garlic Breadsticks: Sprinkle some grated Parmesan, mozzarella, or a blend of Italian cheeses on top of the breadsticks during the last 2-3 minutes of baking.
- Herb-Infused: Add a pinch of dried Italian herbs, oregano, or finely chopped fresh parsley or chives to your garlic butter topping for an extra layer of flavor.
- Spicy Kick: Mix a tiny pinch of red pepper flakes into the garlic butter for those who like a little heat.
- Sesame Seed Topping: Before baking, brush the unbaked breadsticks with a little egg wash (beaten egg with a splash of water) and sprinkle with sesame seeds for a nutty crunch.
Craving More Delectable Breads?
If you loved making these garlic breadsticks, you might also enjoy exploring these other fantastic bread recipes:
- Little Caesar’s Breadsticks
- Pizza Hut Garlic Cheese Bread
- Easy Cheese Stuffed Breadsticks
- Pizza Hut Breadsticks
- Homemade Pizza Dough
- Easy Garlic Bread
- Cheesy Garlic Bread
- Dinner Rolls
- Butter Swim Biscuits
Homemade Garlic Breadsticks
These homemade garlic breadsticks taste so fresh and absolutely delicious. A tender breadstick with an amazing garlic butter topping!
Cook Time: 20 minutes
Total Time: 50 minutes
Servings: 8
Author: Brandie Skibinski
Ingredients
For the breadsticks:
- 1 ½ cups very warm water
- 1 packet active dry yeast (2 ¼ teaspoons)
- 4 ¼ cups all-purpose flour (I like White Lily flour)
- 2 tablespoons unsalted butter, melted
- 2 tablespoons sugar
- 1 tablespoon salt
For the garlic butter topping:
- ¼ cup unsalted butter (1/2 stick)
- 1 teaspoon garlic powder
- 1 teaspoon table salt
Instructions
- In a large bowl, dissolve sugar and yeast in warm water and allow to sit for 10 minutes, covered. Mixture should be frothy.
- In the bowl of your stand mixer or medium-sized bowl, combine flour and salt.
- Add yeast mixture and melted butter to flour mixture.
- Mix with dough hook attachment on stand mixer or stir until fully combined.
- Knead dough for a few minutes (about 7-8 minutes) just until dough is smooth and elastic.
- Spray baking sheet with nonstick spray.
- Pull off pieces of dough and roll out into strips. Remember these are going to double in size!
- Cover the dough with plastic wrap sprayed with nonstick spray (so dough doesn’t stick to it from the inside) or cover with a clean kitchen towel and put in a warm place to rise.
- Once they have doubled in size (about an hour), preheat oven up to 400°F degrees.
- Once oven has reached temperature, take plastic wrap (or dish towel) off of breadsticks and put in the oven to bake.
- While they are baking, make butter topping. Microwave butter until melted and add garlic powder and salt, stir until combined.
- After 6 or 7 minutes of baking, brush the bread sticks with half the butter mixture.
- Then continue to bake for another 6-7 minutes.
- Immediately upon removal from the oven, brush the other half of the butter on the sticks.
Video
Course: Breads, Side Dish
Cuisine: American, Italian
Nutrition
Calories: 330kcal | Carbohydrates: 54g | Protein: 7g | Fat: 9g | Sodium: 1167mg | Fiber: 1g | Sugar: 3g
Nutritional Disclaimer
“The Country Cook” is not a dietician or nutritionist, and any nutritional information shared is an estimate. If calorie count and other nutritional values are important to you, we recommend running the ingredients through whichever online nutritional calculator you prefer. Calories and other nutritional values can vary quite a bit depending on which brands were used.
Did you make this recipe?
Share it on Instagram @thecountrycook and mention us #thecountrycook!
Originally published: August 2011
Updated & republished: January 2021
