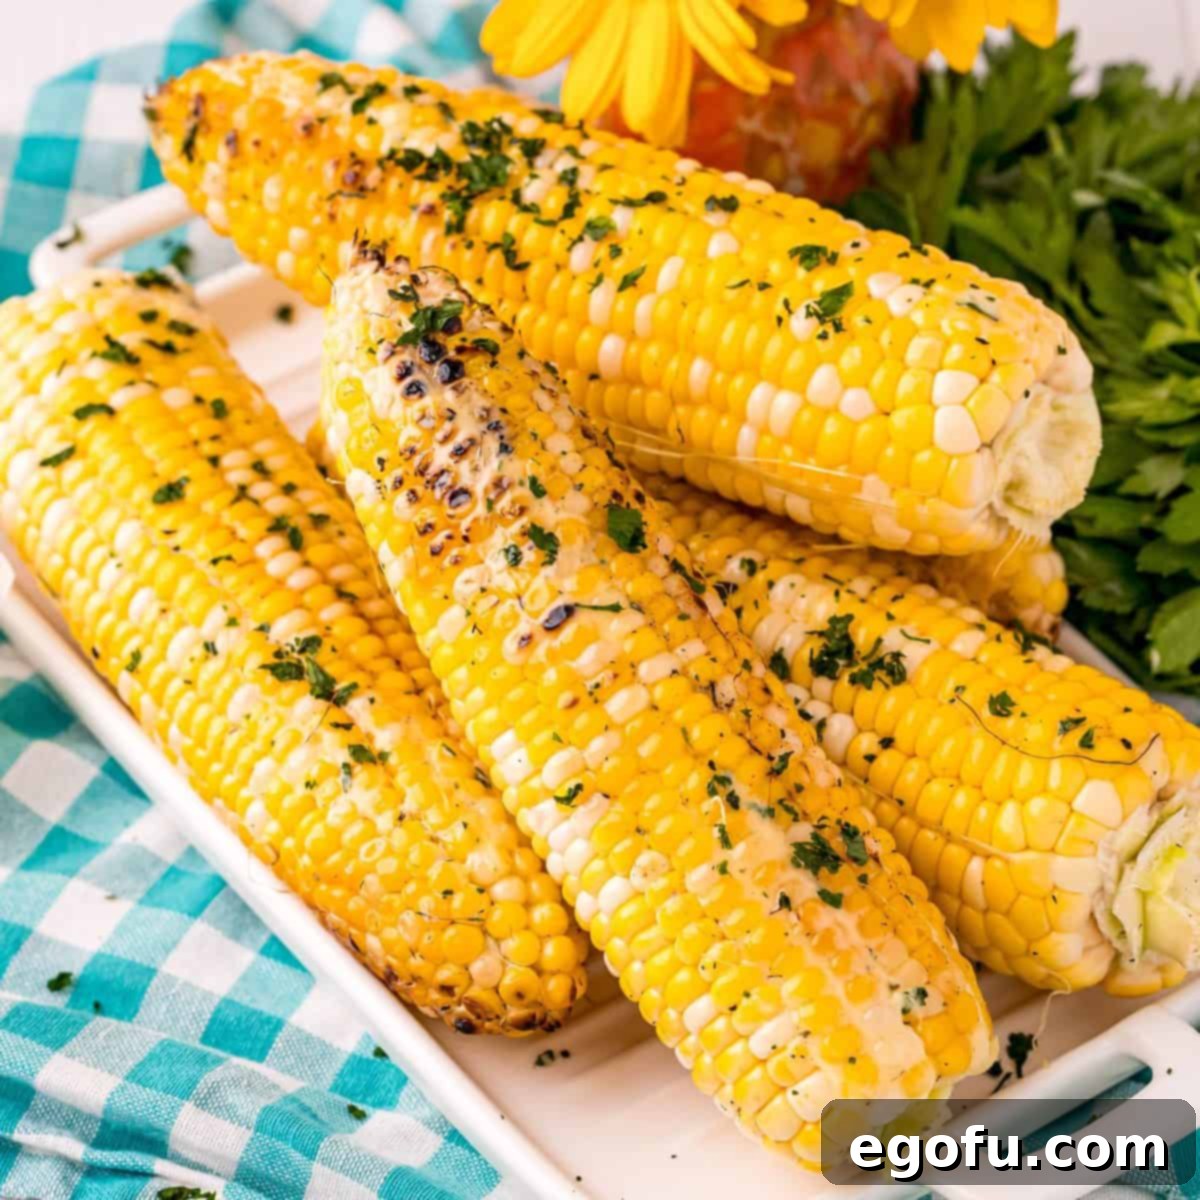
Grilled Corn on the Cob is an irresistible summer classic, offering a perfect blend of smoky sweetness and tender crunch. This super easy and quick recipe transforms fresh corn into a flavorful side dish that complements virtually any meal. Whether you’re hosting a backyard BBQ, enjoying a family dinner, or simply looking for a delightful snack, grilled corn is always a guaranteed hit! It’s incredibly versatile, allowing you to dress it up with gourmet toppings or keep it simple with classic butter and salt. Ready in just about 15 minutes, this recipe is your secret weapon for elevating your grilling game.
THE ULTIMATE EASY GRILLED CORN ON THE COB RECIPE
There are few things as satisfying as the taste of perfectly grilled corn. As a passionate home cook, I can confidently say that grilling is hands-down my favorite method for preparing corn on the cob. The high heat of the grill coaxes out an incredible depth of flavor, caramelizing the natural sugars in the kernels and giving them a delightful smoky char that you simply can’t achieve with boiling or steaming. This technique results in corn that is not only bursting with flavor but also wonderfully juicy and crisp with every bite.
This recipe is designed for maximum flavor with minimal effort. Forget complicated marinades or lengthy preparation; our approach keeps things straightforward, allowing the inherent deliciousness of fresh corn to shine through. In less than 20 minutes, you can have a batch of this golden goodness ready to serve. The beauty of grilled corn lies in its adaptability; it serves as a blank canvas for a myriad of toppings, from a simple pat of salted butter to an extravagant chili-lime crema. This makes it an ideal companion for a wide range of dishes, from grilled meats and poultry to lighter summer salads. If you’re ready to impress your family and friends with a side dish that’s both simple and spectacular, then this Grilled Corn on the Cob recipe is an absolute must-try for your next outdoor cooking adventure.
MASTERING GRILLED CORN: ANSWERS TO YOUR FREQUENTLY ASKED QUESTIONS
Leaving the husks on serves a dual purpose. Firstly, they act as a natural protective layer for the corn kernels, shielding them from direct, intense heat. This protection prevents the kernels from blackening too quickly or drying out, ensuring a more evenly cooked and tender result. Secondly, the husks help to create a steamy environment around the corn as it heats up, which contributes to its juicy texture. While the husks themselves might char and blacken, the kernels inside remain perfectly cooked and moist.
No, removing the corn silks beforehand is not strictly necessary for a successful grilled corn experience. Many people prefer to remove them prior to grilling to save time and effort later, as it makes the corn ready to eat immediately after the husks are pulled back. However, if you’re looking for an even quicker preparation time, you can certainly leave the silks on. They tend to crisp up and become easier to remove after the corn has been cooked on the grill.
Soaking corn involves submerging the entire ear of corn, husk and all, in water for a period before placing it on the grill. This method is often favored by those who wish to prevent the husks from burning significantly and who desire an even steamier effect on their corn. I’ve experimented with this technique extensively, and while it certainly yields fine results and can make the silks easier to remove post-grilling, I don’t consider it an essential step for delicious grilled corn. The natural moisture within the corn, combined with the protective husks, is usually sufficient to achieve tender, juicy kernels without the extra soaking time.
Determining the doneness of grilled corn is quite straightforward. The primary indicator is the visual change in the kernels. As the corn cooks through, the kernels will transform from a pale, somewhat translucent yellow to a vibrant, bright yellow color. You might also notice a slight plumping of the kernels and some light charring on the husks. If you’re unsure, you can carefully peel back a small section of husk and pierce a kernel with your fingernail or a small knife; it should be tender and juicy.
While a simple spread of regular butter with a sprinkle of salt and pepper is always a classic choice, you can truly elevate your grilled corn experience with a flavorful compound butter. My personal favorite is a homemade Garlic Herb Butter, which infuses the corn with savory garlic and aromatic herbs, adding an incredible depth of flavor. Other fantastic options include chili-lime butter for a zesty kick, honey-cinnamon butter for a sweet twist, or even a spicy sriracha-lime butter for those who enjoy a bit of heat. Don’t be afraid to get creative and experiment with your favorite flavor combinations!
Creating Mexican Street Corn, or “Elotes,” from your grilled corn is wonderfully simple and incredibly delicious. While your corn is cooking on the grill, prepare your creamy topping by thoroughly mixing together mayonnaise with either Mexican crema or sour cream. Once the corn is perfectly grilled and the husks have been pulled down, generously slather this rich mayonnaise mixture over each ear. Next, sprinkle liberally with crumbled cotija cheese, which provides a salty and tangy counterpoint. Finish by dusting with a little chili powder or Tajín seasoning for an authentic smoky and tangy spice. Serve immediately with a fresh lime wedge on the side for an added burst of citrusy flavor. This transformation takes your simple grilled corn to a whole new level of culinary delight.
ESSENTIAL INGREDIENTS FOR PERFECTLY GRILLED CORN
One of the many reasons grilled corn is such a beloved dish is its simplicity. You don’t need a long list of exotic ingredients to create something truly spectacular. The magic happens with just a few fresh items and the heat of your grill. Here’s what you’ll need to get started:
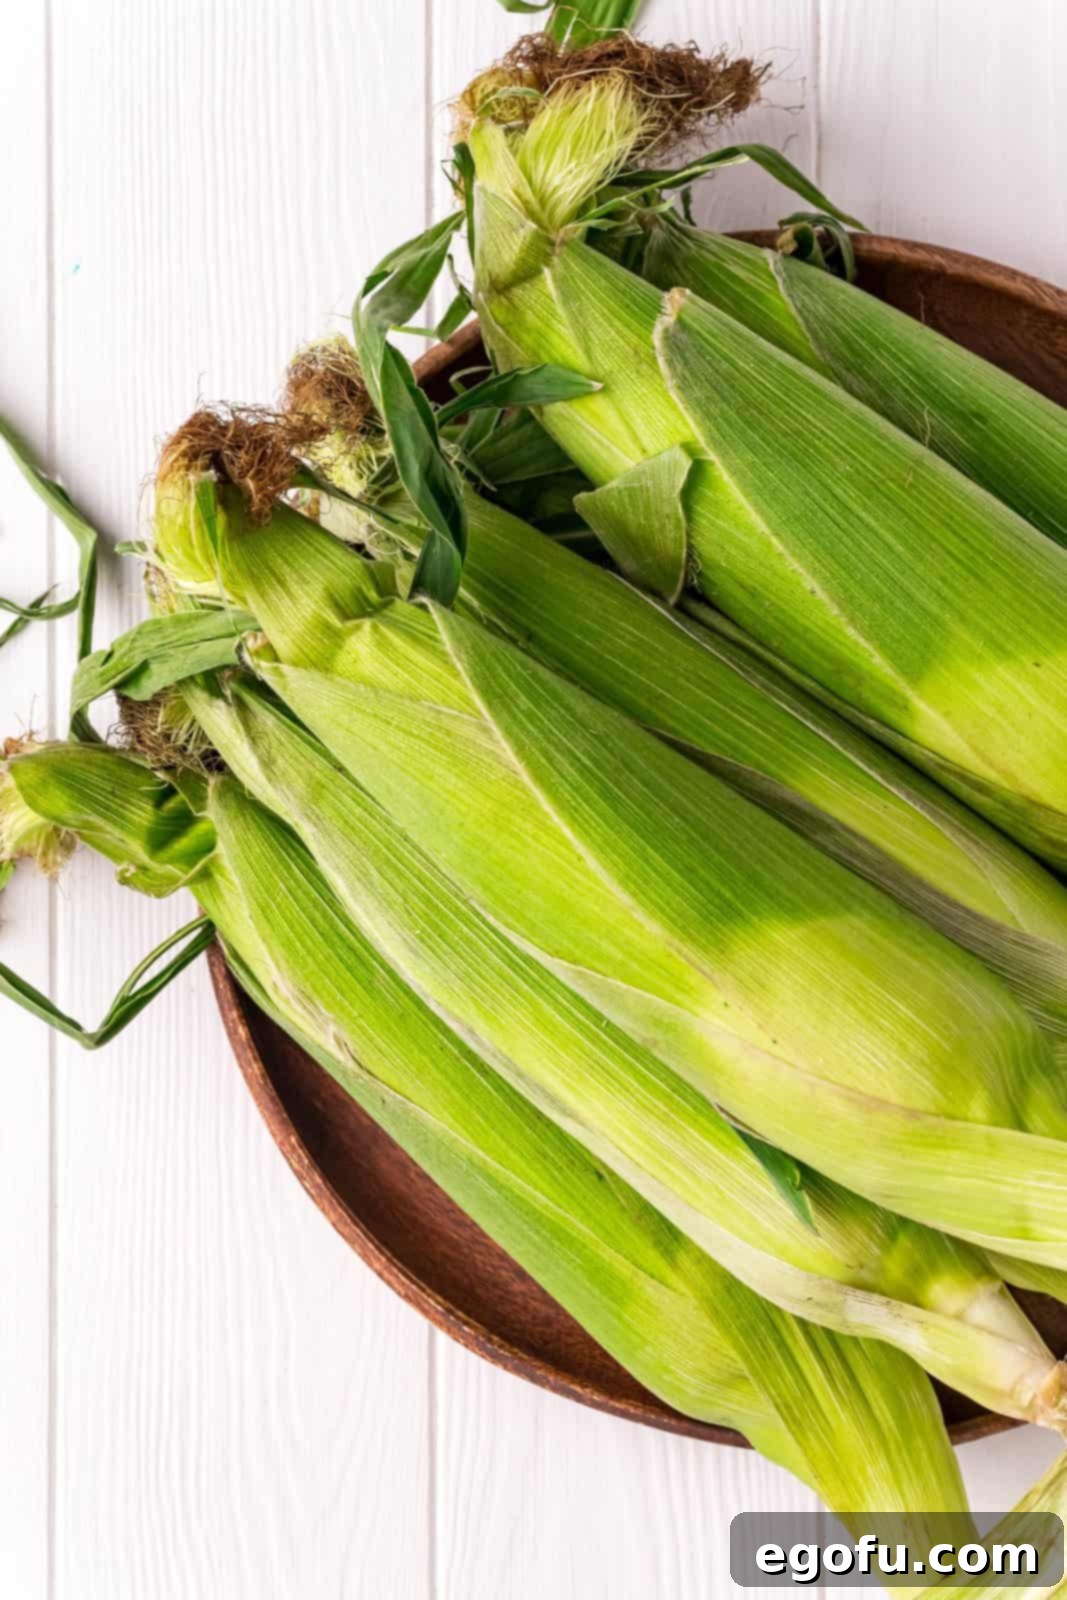
- Fresh Corn on the Cob: This is, of course, the star of the show. Look for ears with vibrant green husks that are tightly wrapped and feel firm to the touch. A good sign of freshness is when you can see plump kernels if you gently peel back a small section of the husk.
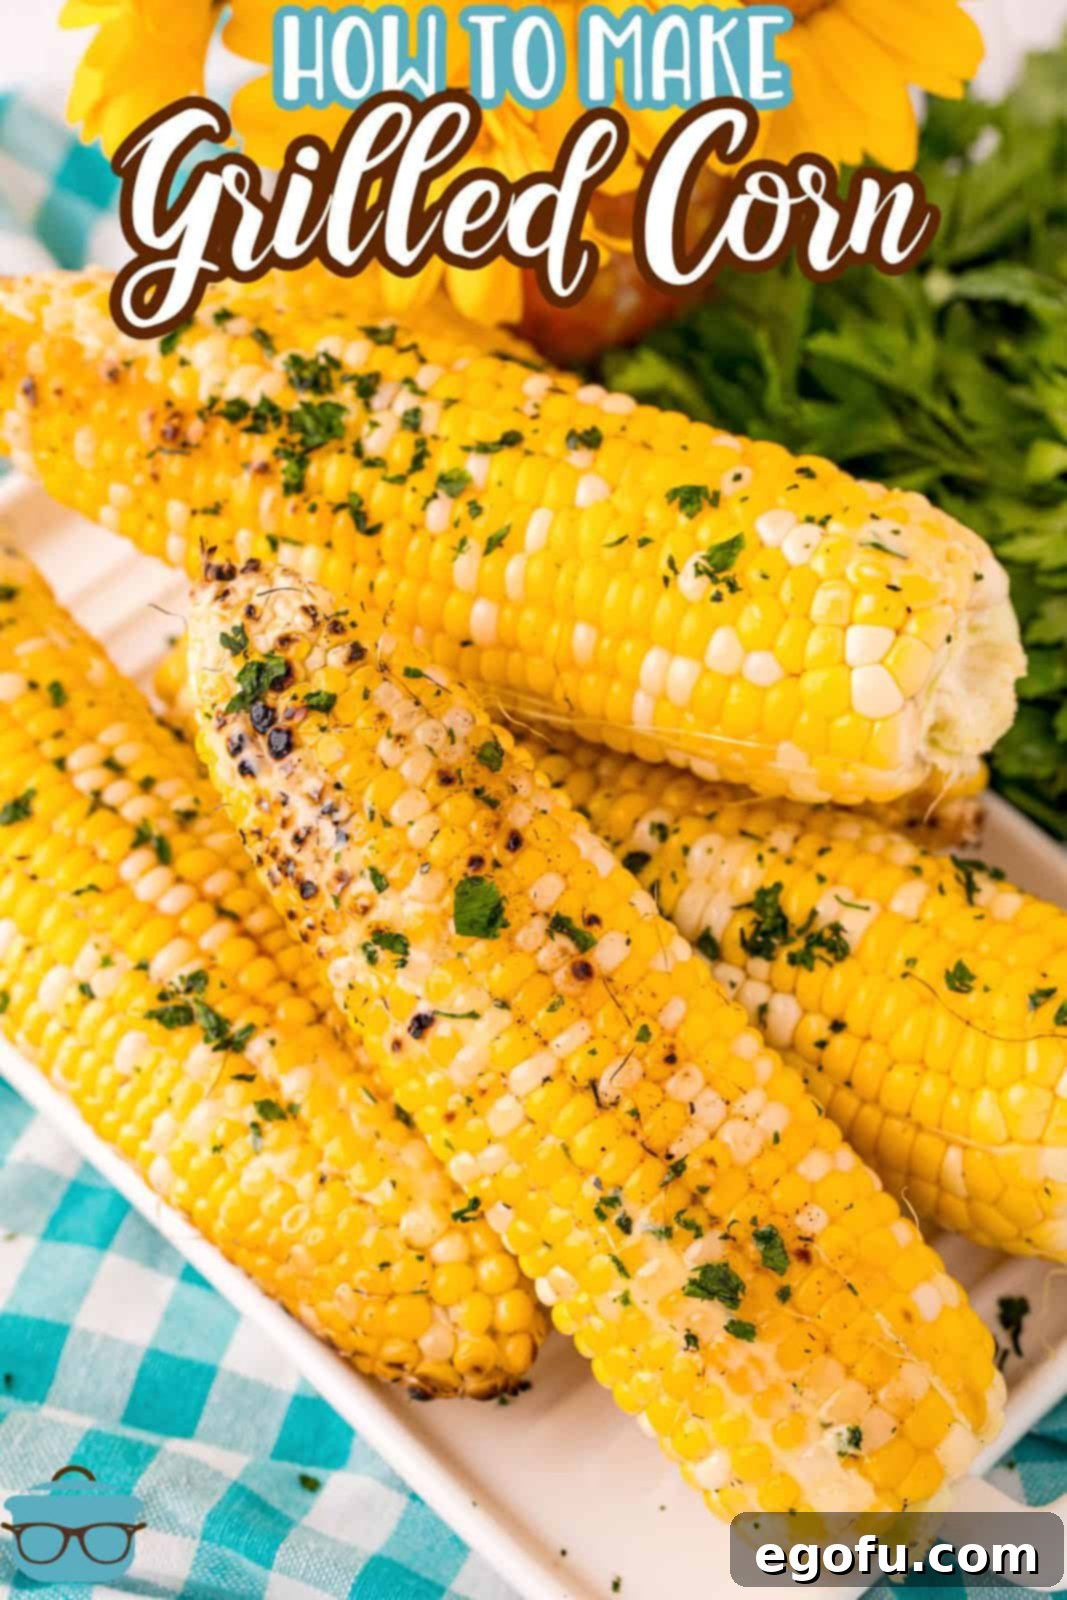
- Butter: Essential for that classic, rich flavor. Whether you use unsalted or salted butter is up to your preference, but good quality butter melts beautifully over the hot kernels.
- Fresh Parsley (Chopped): Adds a touch of fresh, herbaceous brightness and a pop of color. While optional, it elevates the presentation and offers a subtle counterpoint to the sweetness of the corn.
- Salt: A crucial seasoning that enhances the corn’s natural sweetness and savory notes. Flaky sea salt can add a nice textural crunch.
- Black Pepper: Provides a gentle warmth and aromatic depth. Freshly ground pepper is always recommended for the best flavor.
These basic ingredients lay the foundation for incredible grilled corn. From here, the possibilities for customization are endless!
STEP-BY-STEP GUIDE: HOW TO MAKE GRILLED CORN ON THE COB
Grilling corn on the cob is surprisingly simple, yielding results far superior to other cooking methods. Follow these easy steps to achieve perfectly tender, smoky, and sweet corn every time. Get ready to enjoy the quintessential taste of summer!
Preparation is Key
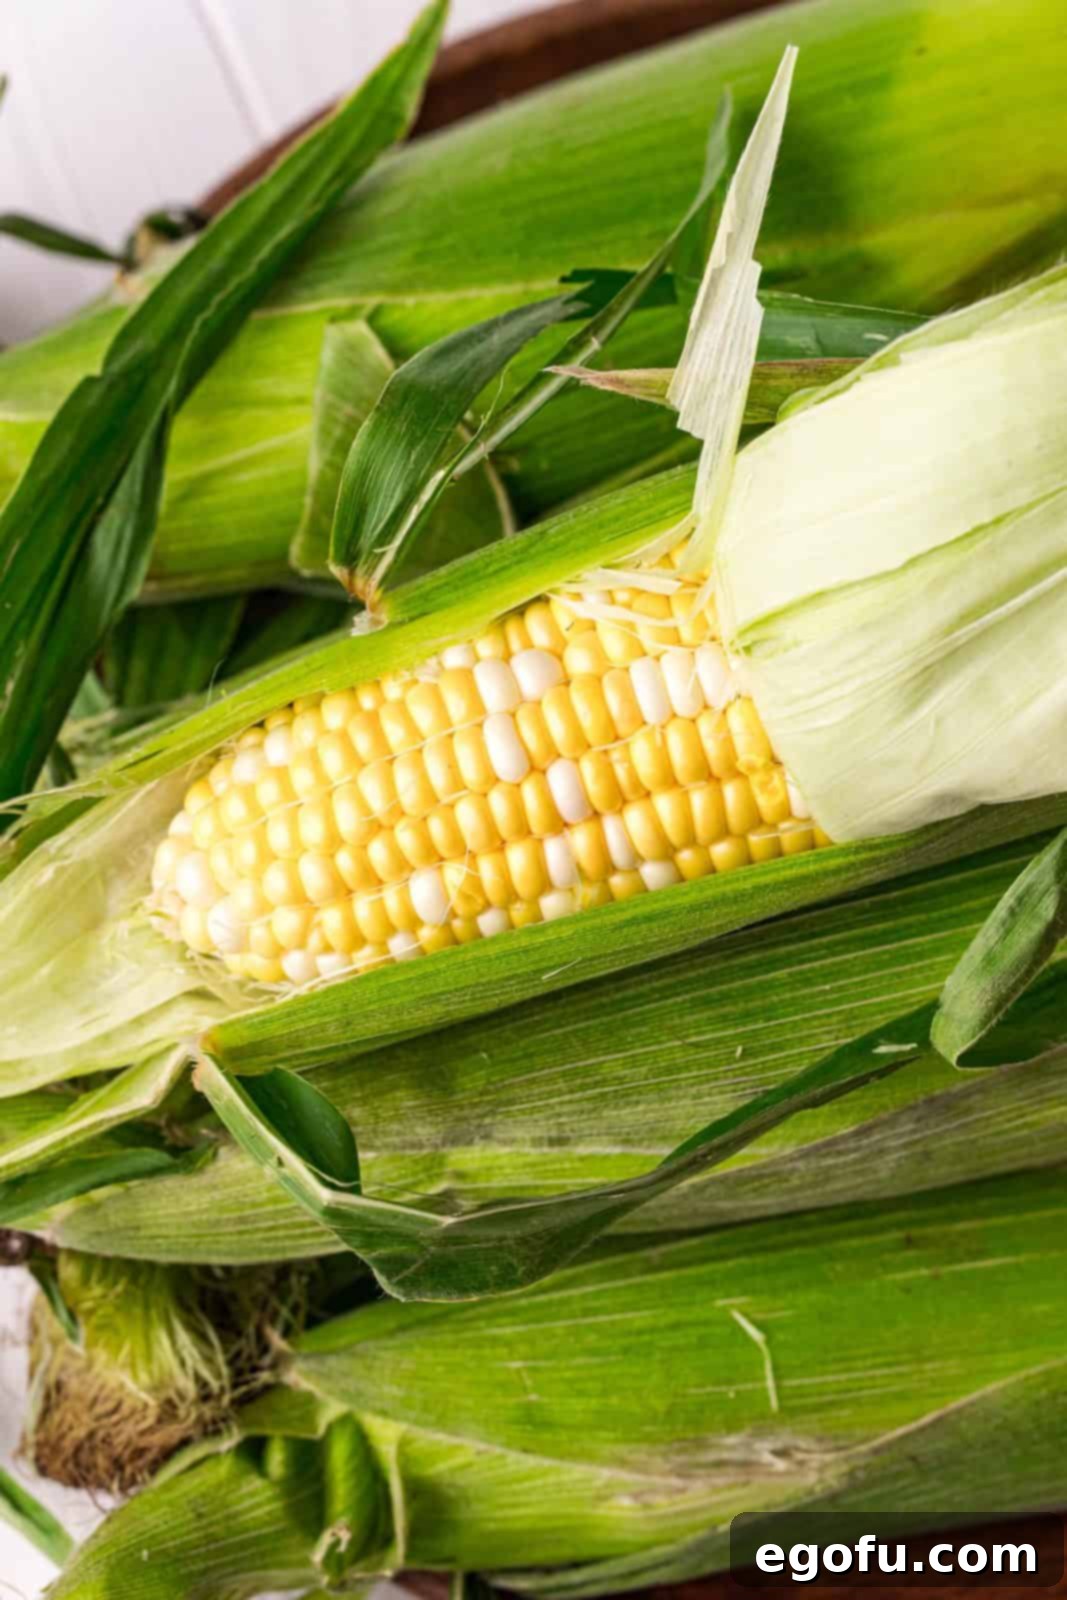
Start by preparing your corn. Gently peel back the husks from each ear of corn, pulling them down towards the base but being careful not to completely tear them off. The goal is to keep the husks attached so they can act as a protective sheath during grilling. Once the husks are pulled back, carefully remove all the fine silk strands from around the kernels. This is much easier to do now than after the corn is cooked. After the silk is removed, pull the husks back up to tightly wrap around the corn, covering the kernels completely. This method helps the corn steam within its natural wrapper, keeping it moist and preventing direct charring on the kernels.
Grilling to Perfection
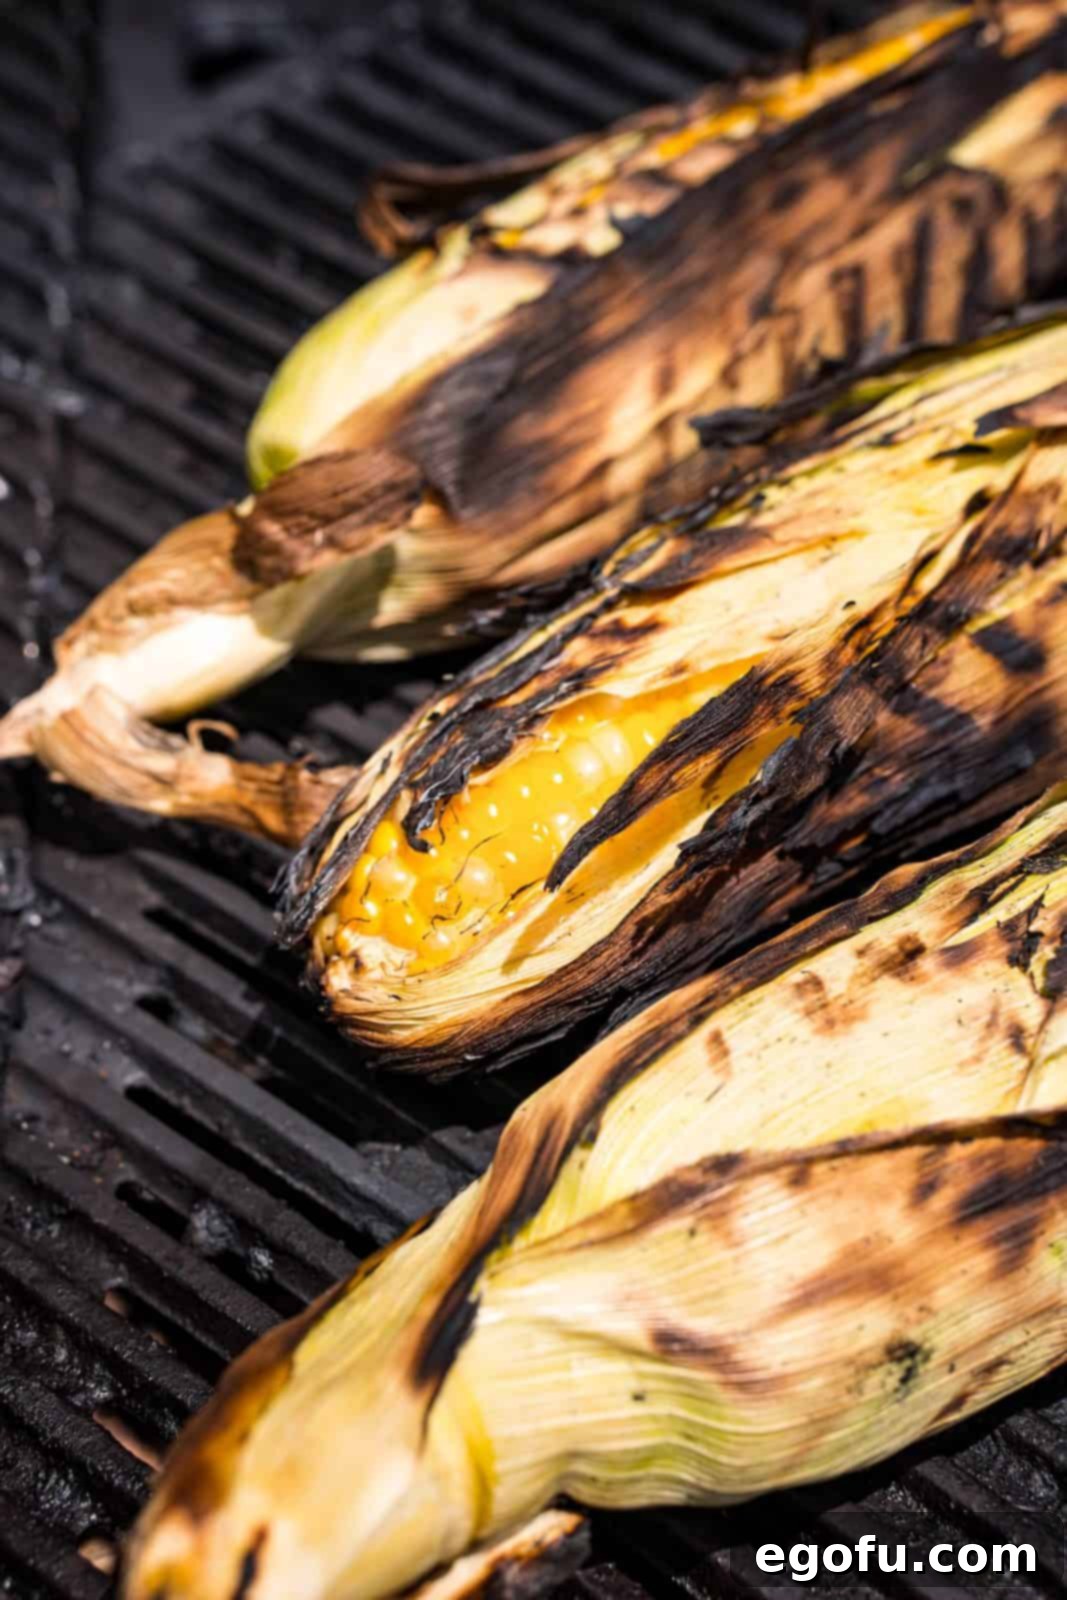
Preheat your grill to a medium-high heat (around 375-400°F or 190-200°C). Once hot, place the prepared corn directly onto the grill grates. Cook the corn for approximately 15 minutes, turning each ear every few minutes to ensure even cooking and to achieve a beautiful, subtle char on the husks. Don’t be alarmed if the husks begin to blacken or get crispy; this is perfectly normal and contributes to the smoky flavor. The corn is fully cooked when the kernels inside have turned a vibrant, bright yellow and are tender when pierced. Once done, carefully remove the ears from the grill. Pull back the charred husks (you can use them as a handle!) and prepare to serve your delicious grilled corn with your favorite toppings.
SERVING AND TOPPING YOUR GRILLED CORN
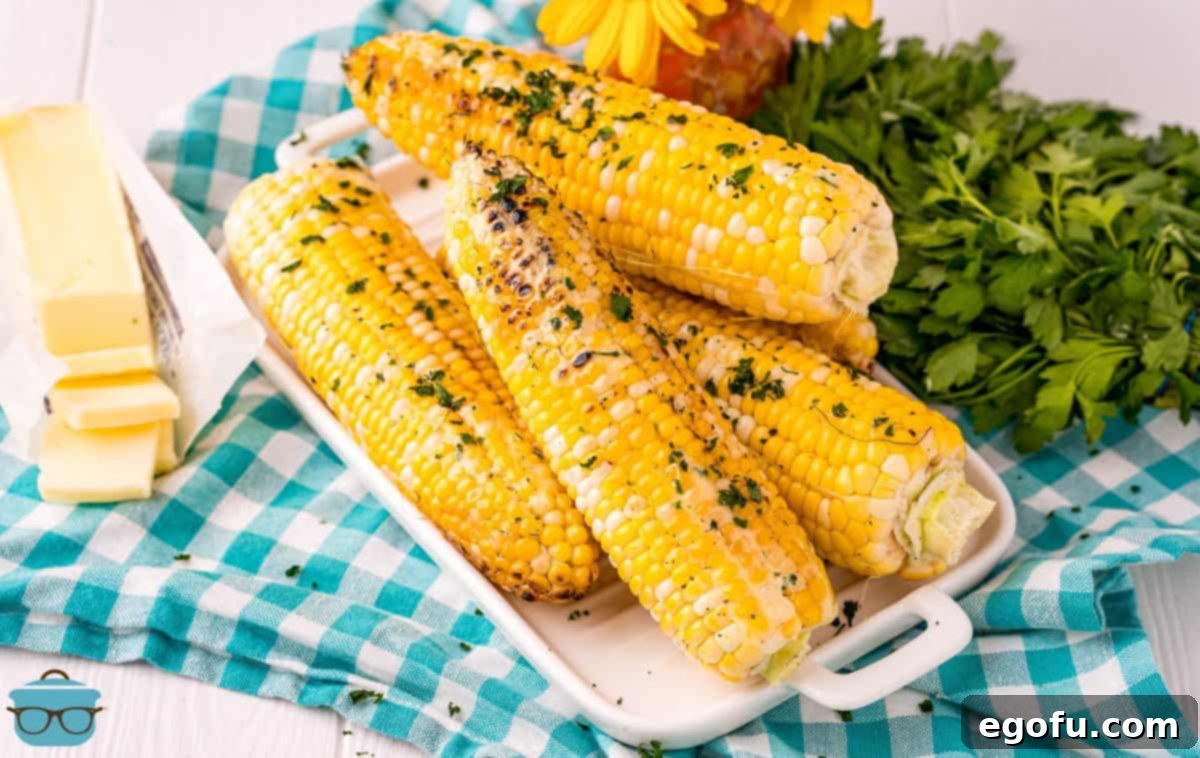
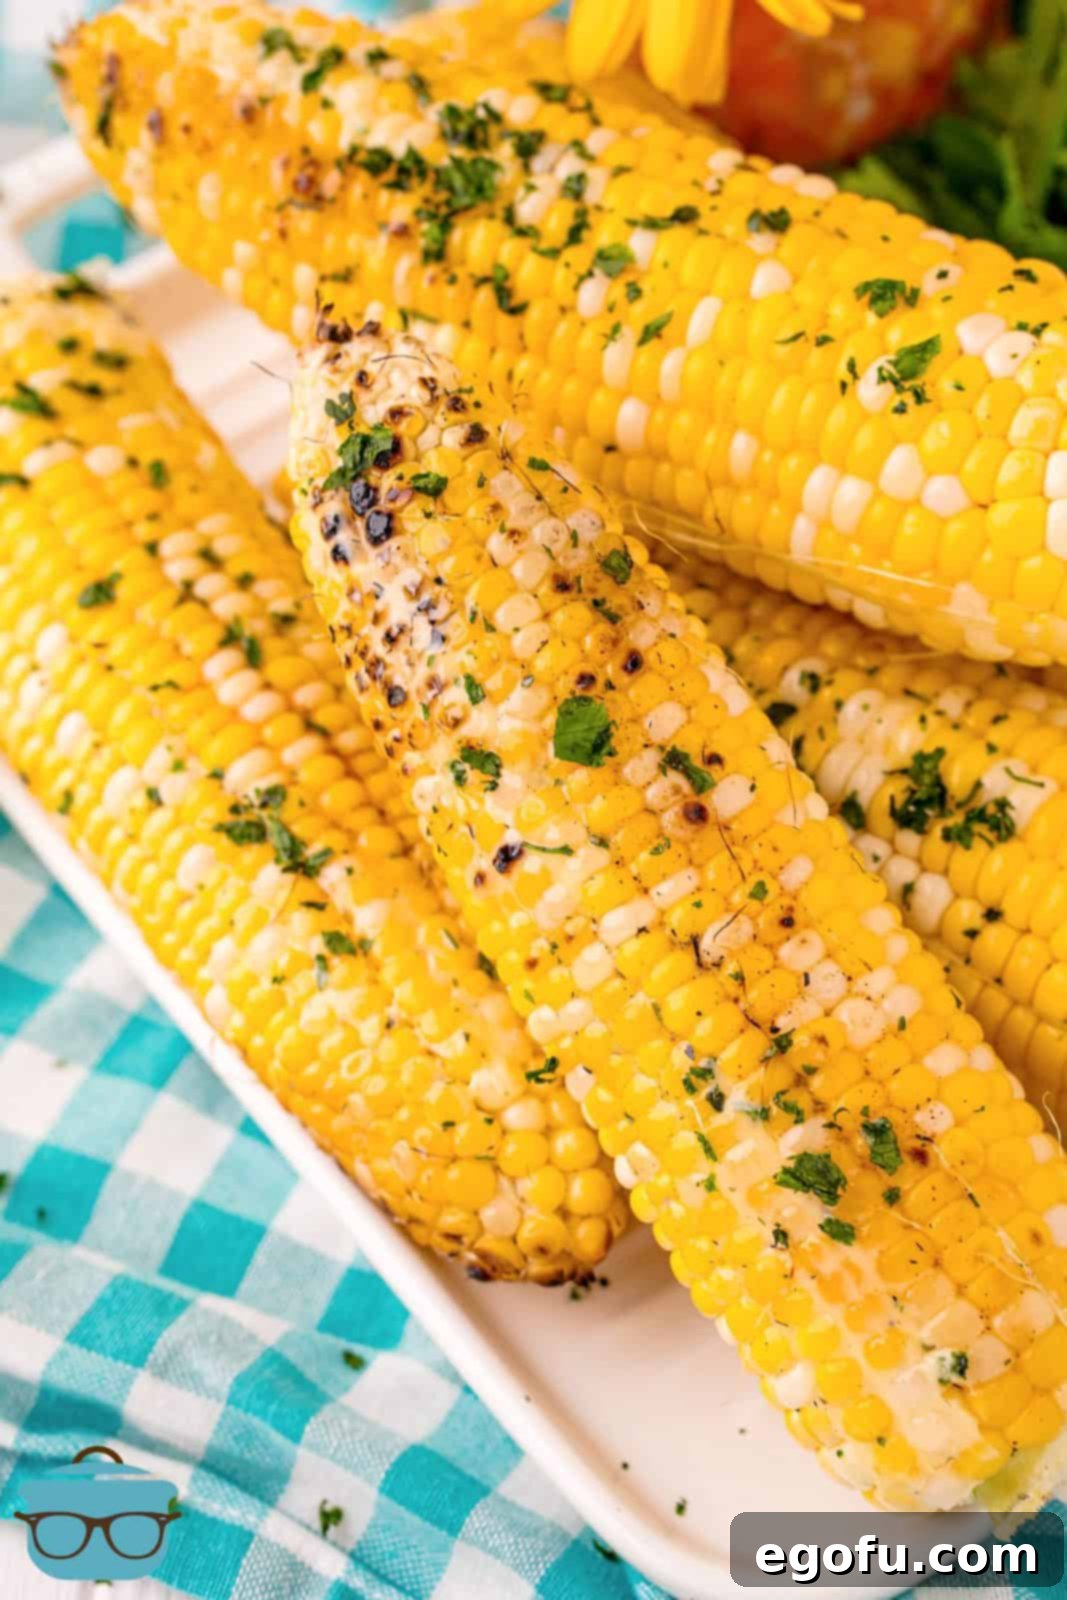
The beauty of grilled corn lies not just in its cooking but also in its presentation and customization. Once off the grill, the possibilities are endless. For a simple yet incredibly satisfying experience, rub each ear generously with a quality butter, then sprinkle with a pinch of sea salt and freshly cracked black pepper. For those looking to elevate the flavor, a homemade compound butter infused with garlic and fresh herbs like parsley, chives, or thyme can work wonders. You can also explore seasonings like smoked paprika, a dash of cayenne for heat, or even a specialized “elote” seasoning blend to capture that Mexican street corn essence. Don’t forget the fresh chopped parsley for an inviting visual and aromatic finish!
EXPLORE MORE DELICIOUS RECIPES
If you’re a fan of fresh, seasonal flavors and easy-to-make dishes, then you’ll love these other recipes. Expand your culinary repertoire with these fantastic options:
- Refreshing Summer Corn Salad
- Quick Air Fryer Mexican Street Corn
- Southern Style Fried Corn
- Sweet Grilled Peaches
- Flavorful Grilled BBQ Chicken Thighs
- Creamy & Cool Cucumber Salad
- Juicy Grilled Chicken Legs
- The Best Easy Grilled Pork Ribs
- Best Grilled Chicken Marinade
- Ultimate Grilled Steak Marinade
Grilled Corn on the Cob
Print
Pin
Rate
Ingredients
- 6 corn on the cob (do not remove the husks)
- butter, chopped parsley, salt and pepper (for topping)
Instructions
- Peel back the husks of the 6 corn on the cob but do not tear off completely. Remove the silk and then replace the husks to wrap around the corn.
- Place the corn on a preheated grill and cook for about 15 minutes, turning every few minutes. The husks may char, this is perfectly normal.
- The corn is done when the kernels are bright yellow. Remove husks and serve with butter, chopped parsley, salt and pepper.
Notes
- Nutritional value is just for the corn only.
- Add any butters that you’d like.
- You can make this into Mexican Street Corn (see my instructions above)
Nutrition
Nutritional Disclaimer
“The Country Cook” is not a dietician or nutritionist, and any nutritional information shared is an estimate. If calorie count and other nutritional values are important to you, we recommend running the ingredients through whichever online nutritional calculator you prefer. Calories and other nutritional values can vary quite a bit depending on which brands were used.
