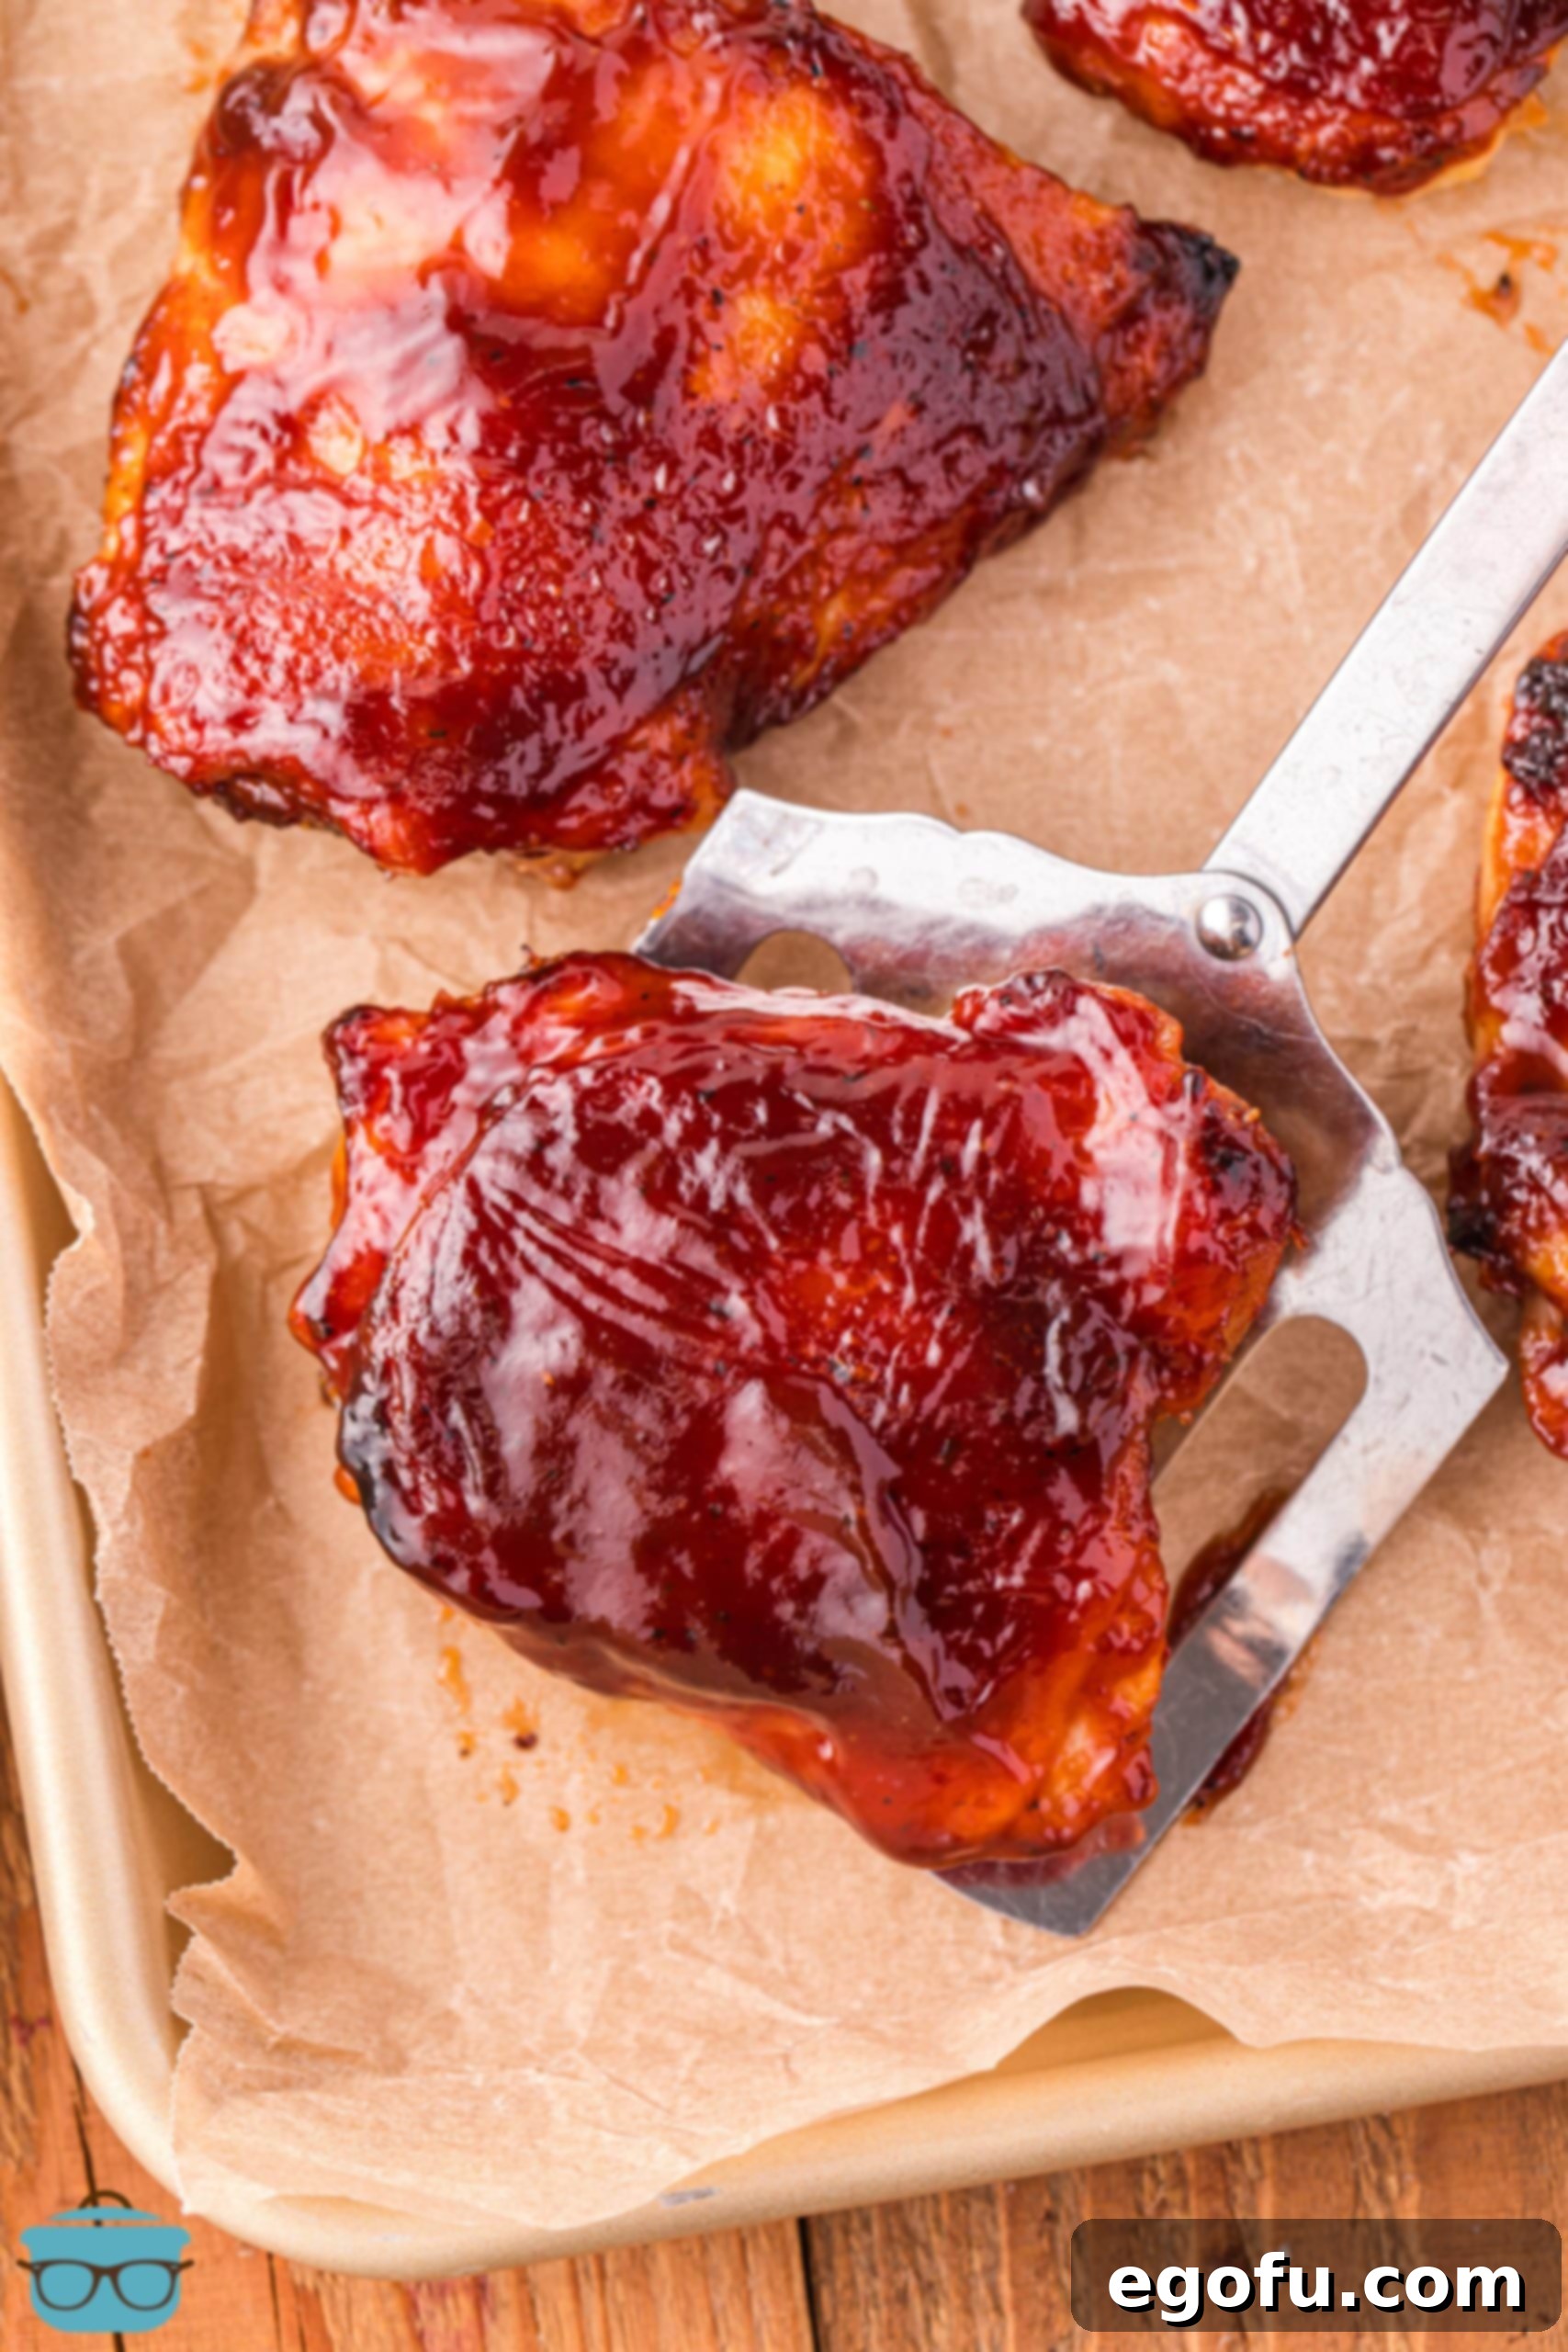
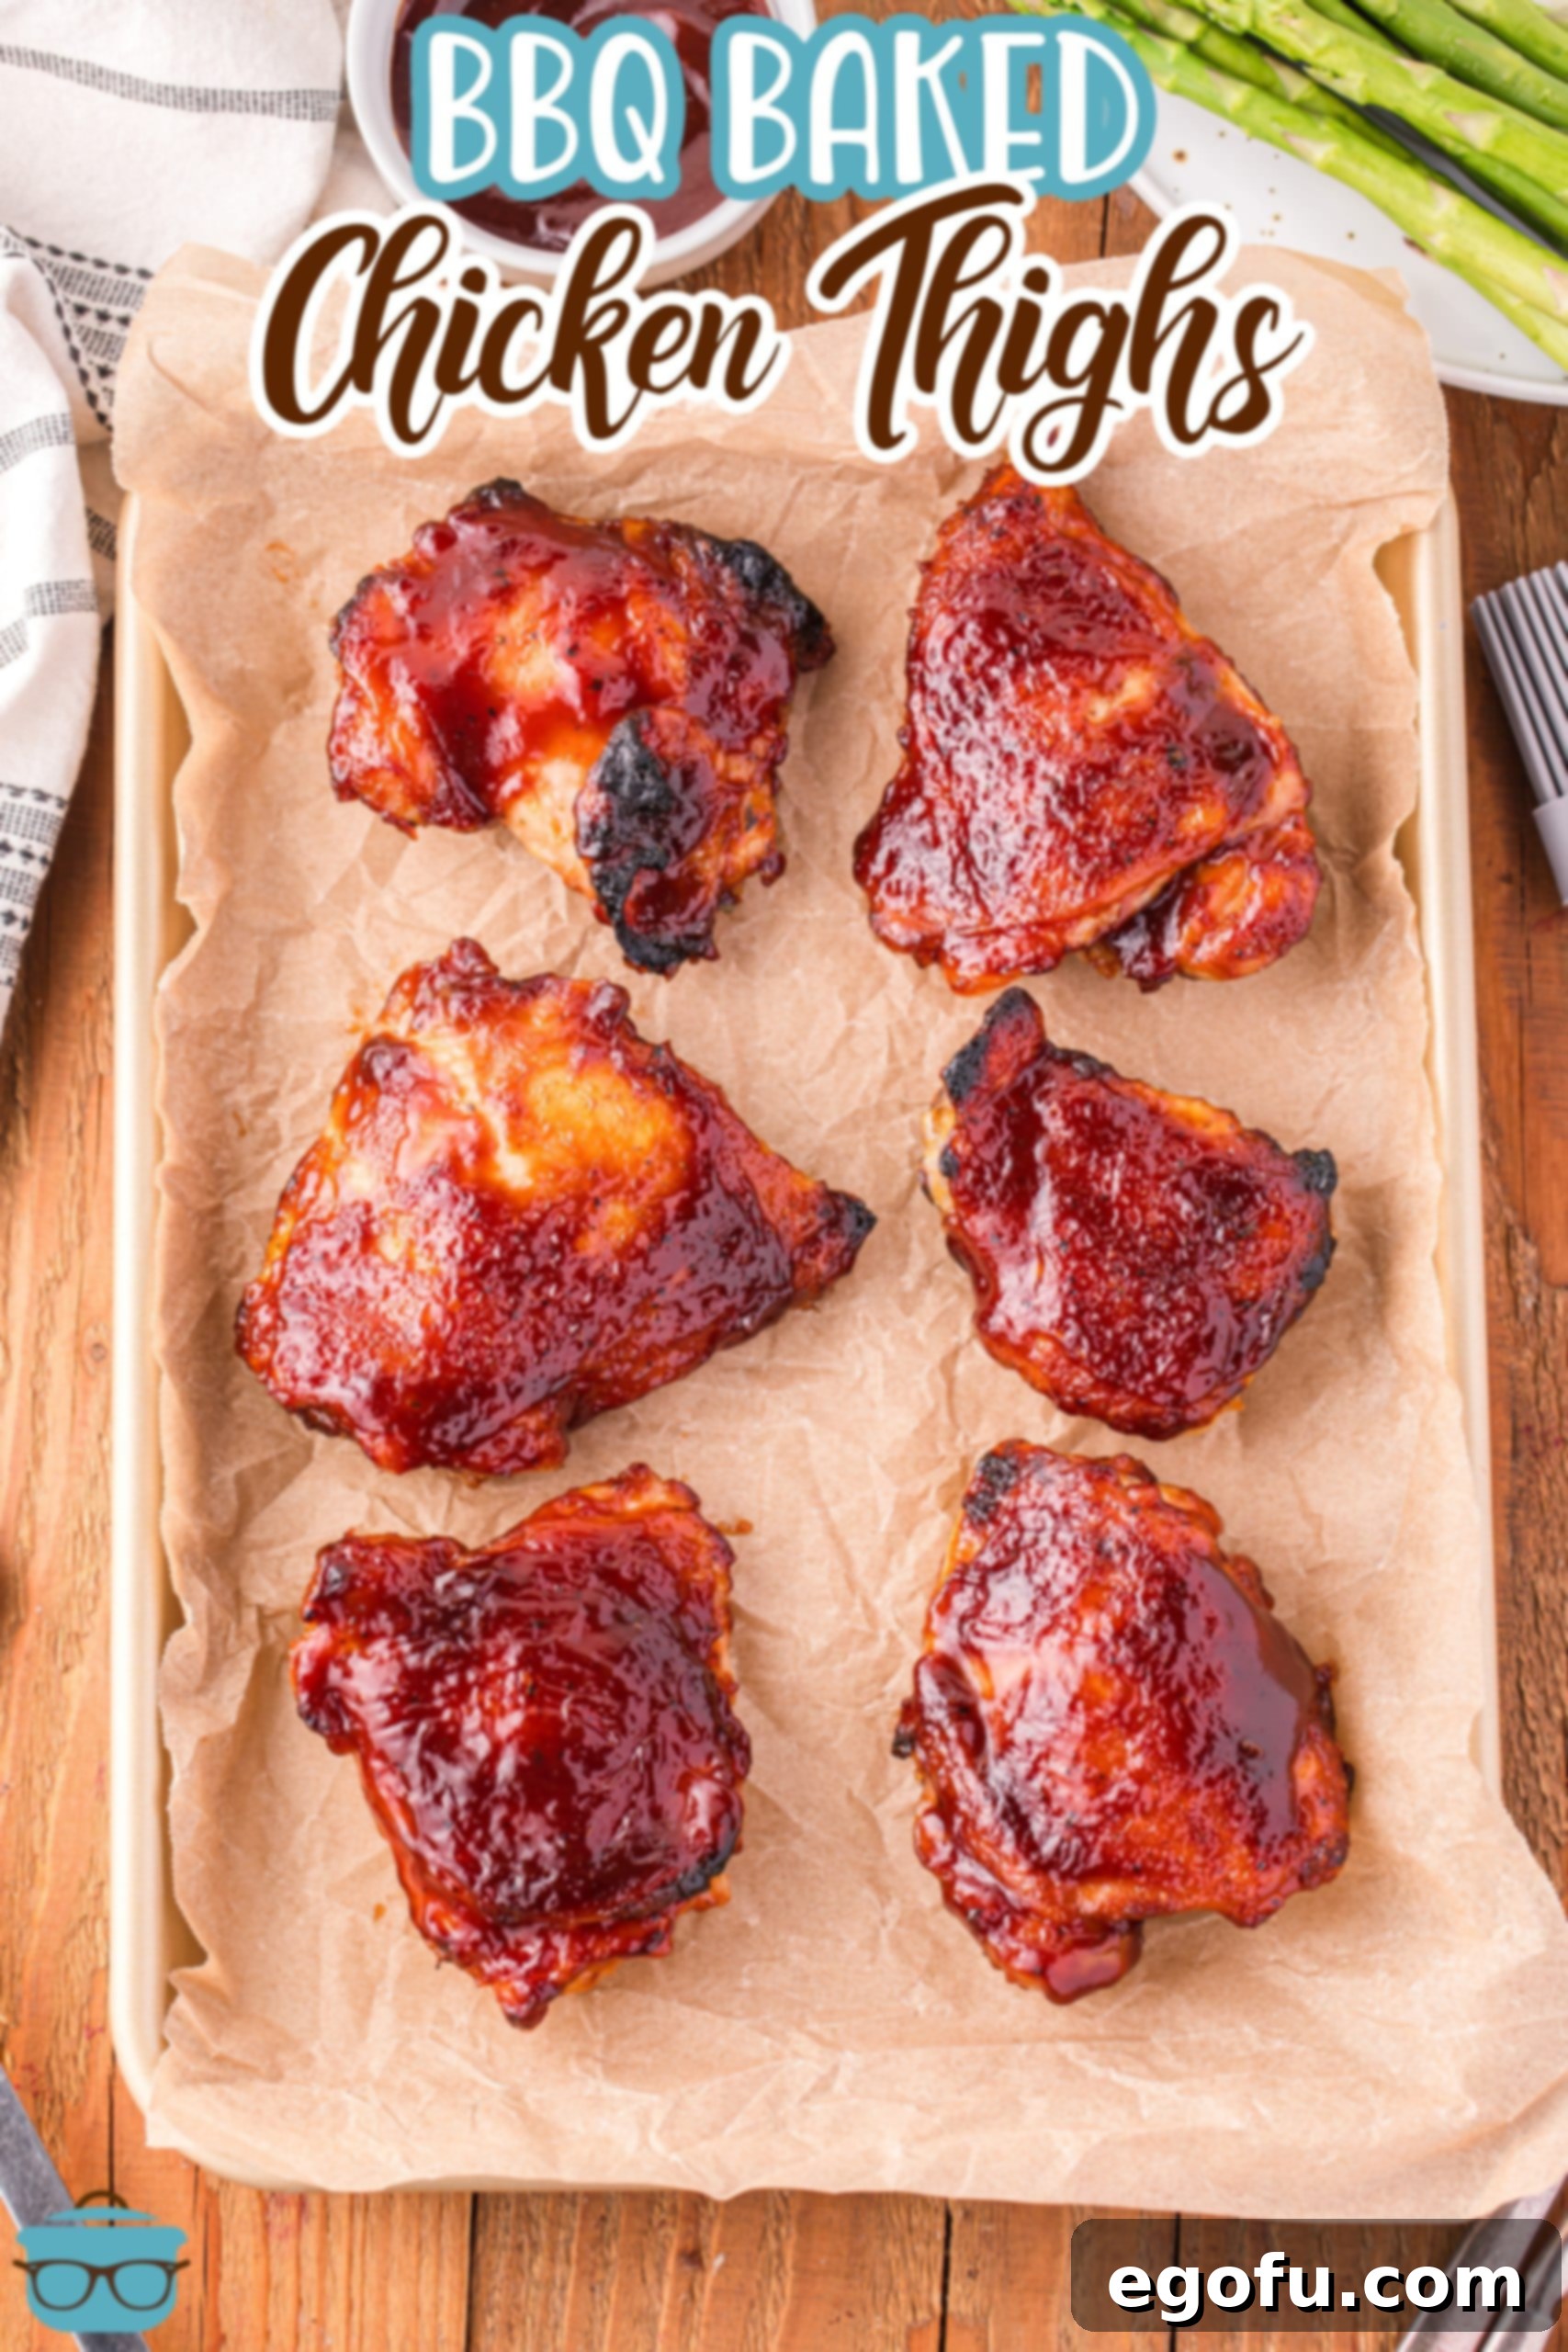
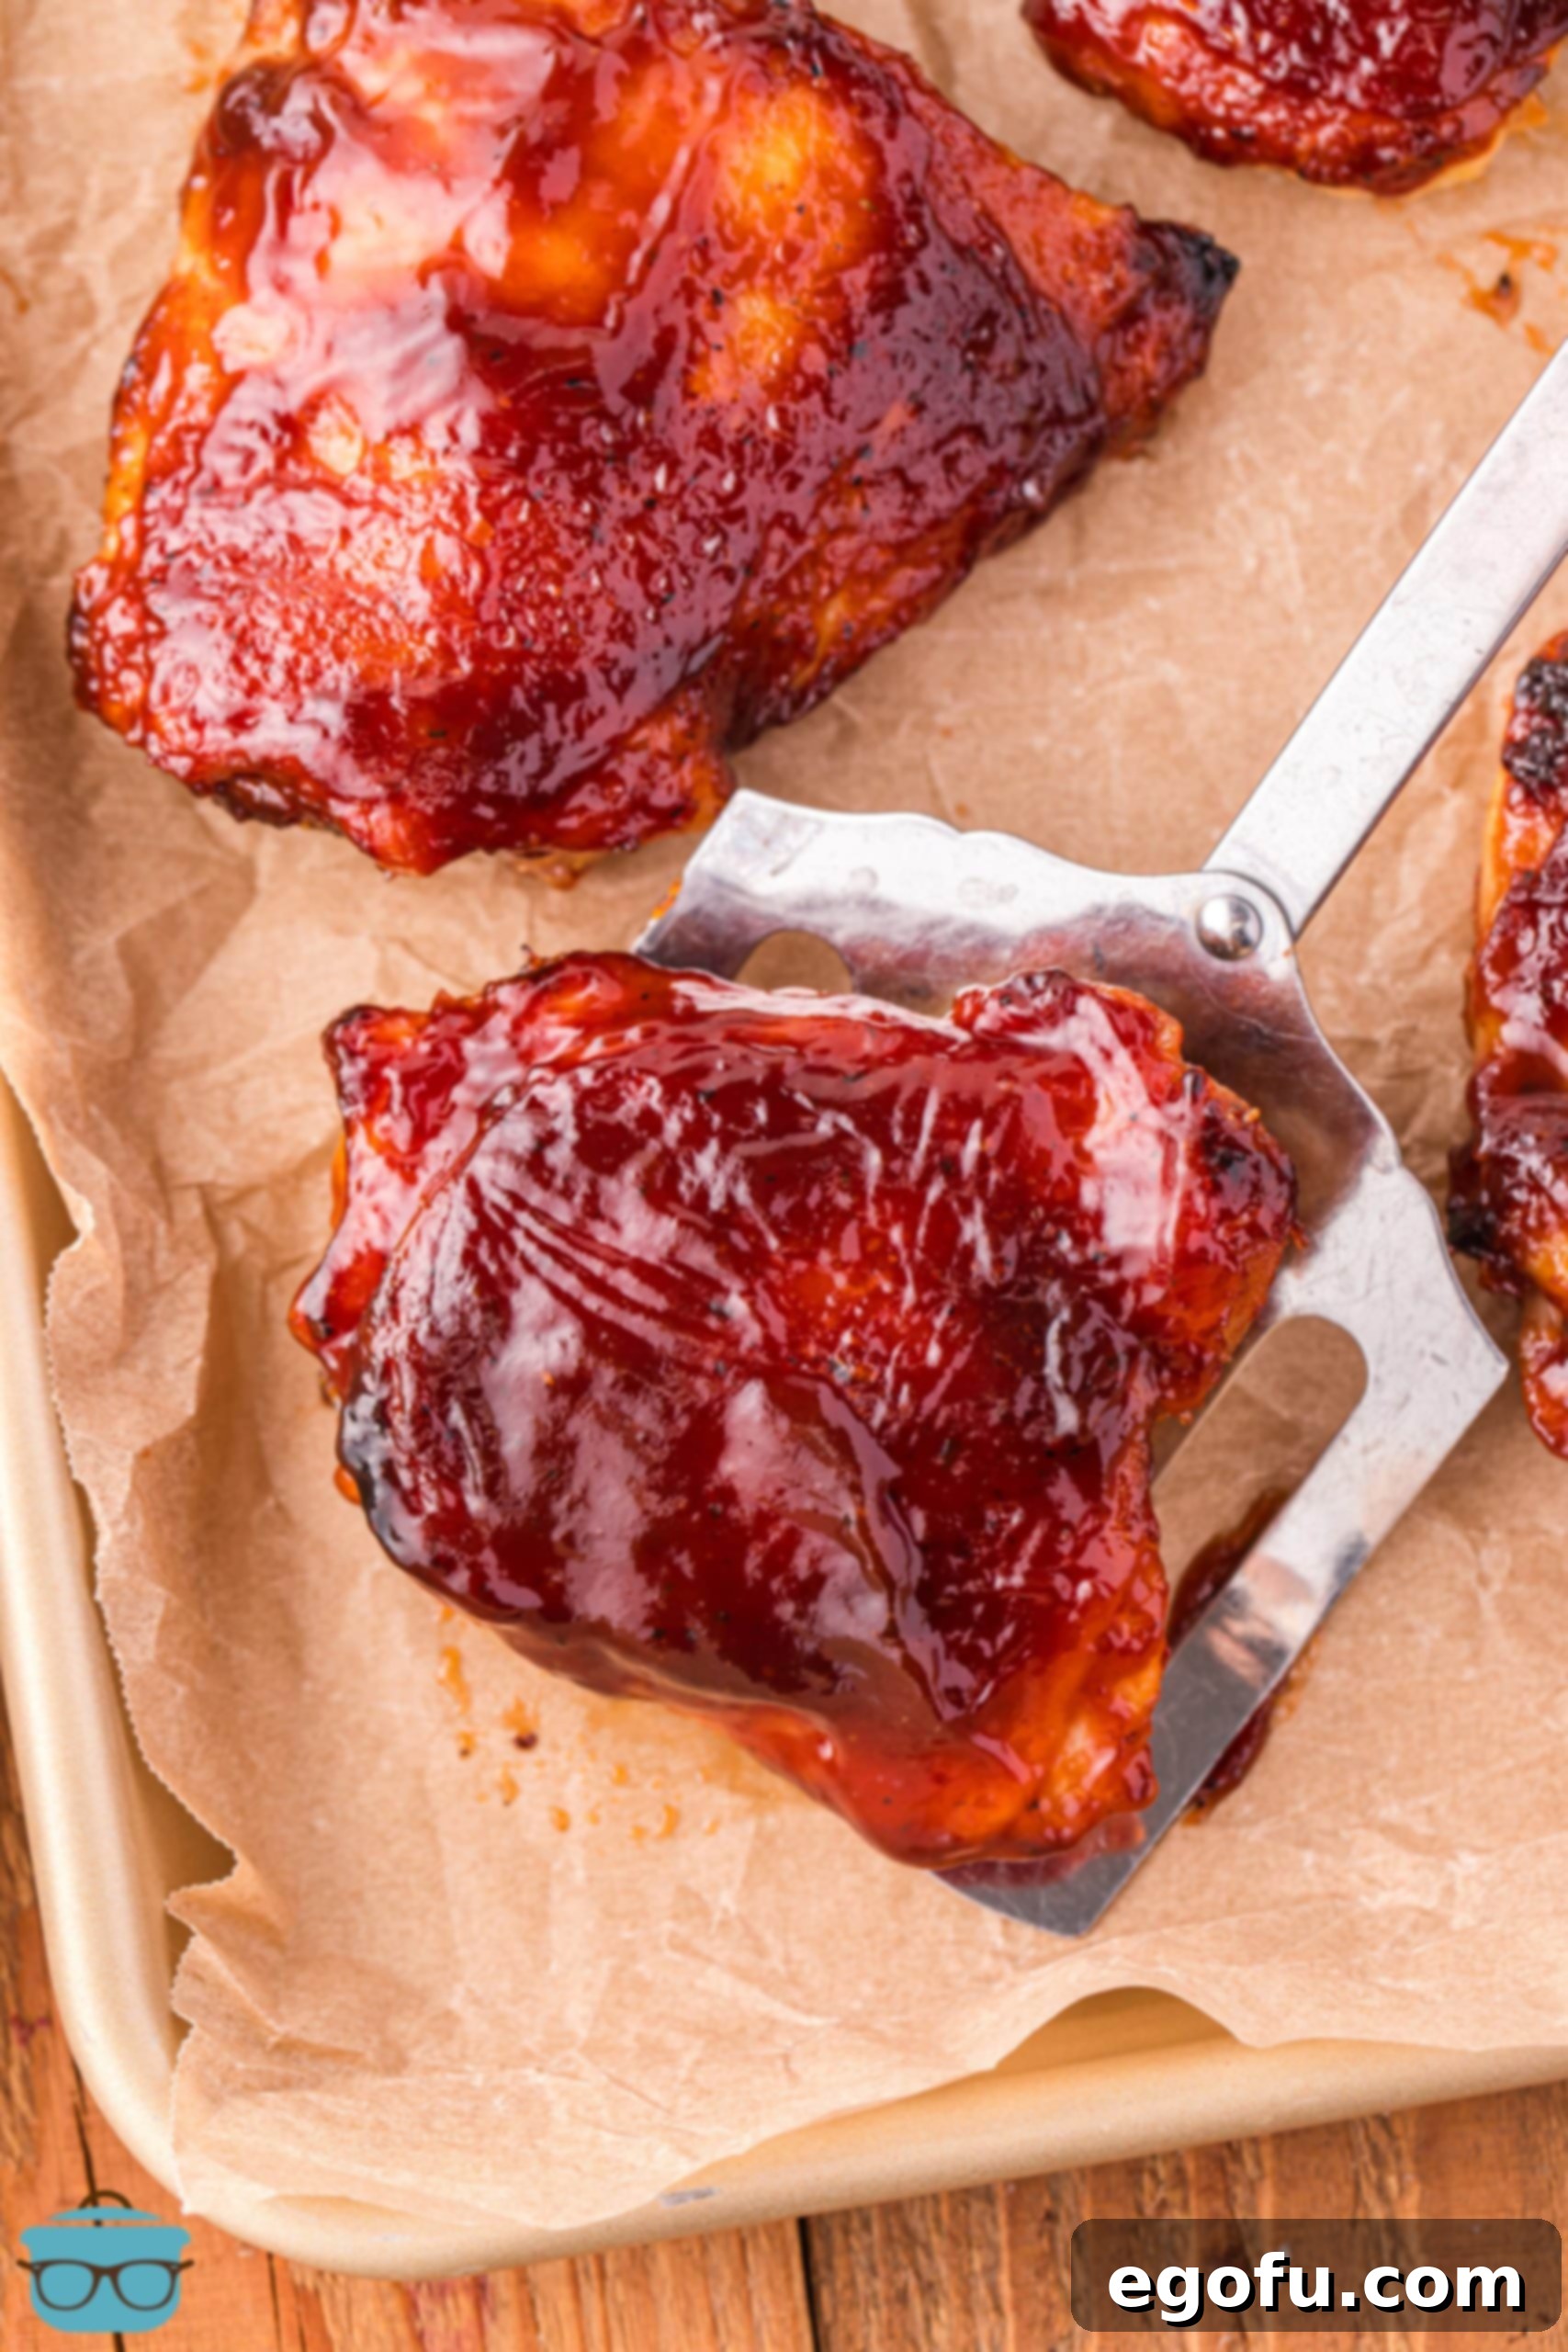
Ready in just 40 minutes and using only 3 simple ingredients, these BBQ Baked Chicken Thighs are so flavorful and finger-licking good!
A Deliciously Simple 3-Ingredient Baked BBQ Chicken Thigh Recipe
In today’s world, where grocery prices seem to climb higher with each visit to the supermarket, finding ways to enjoy hearty, flavorful meals without breaking the bank has become a top priority for many home cooks. For meat lovers, this often means getting creative with cuts that offer great value and even better taste. That’s where chicken thighs truly shine!
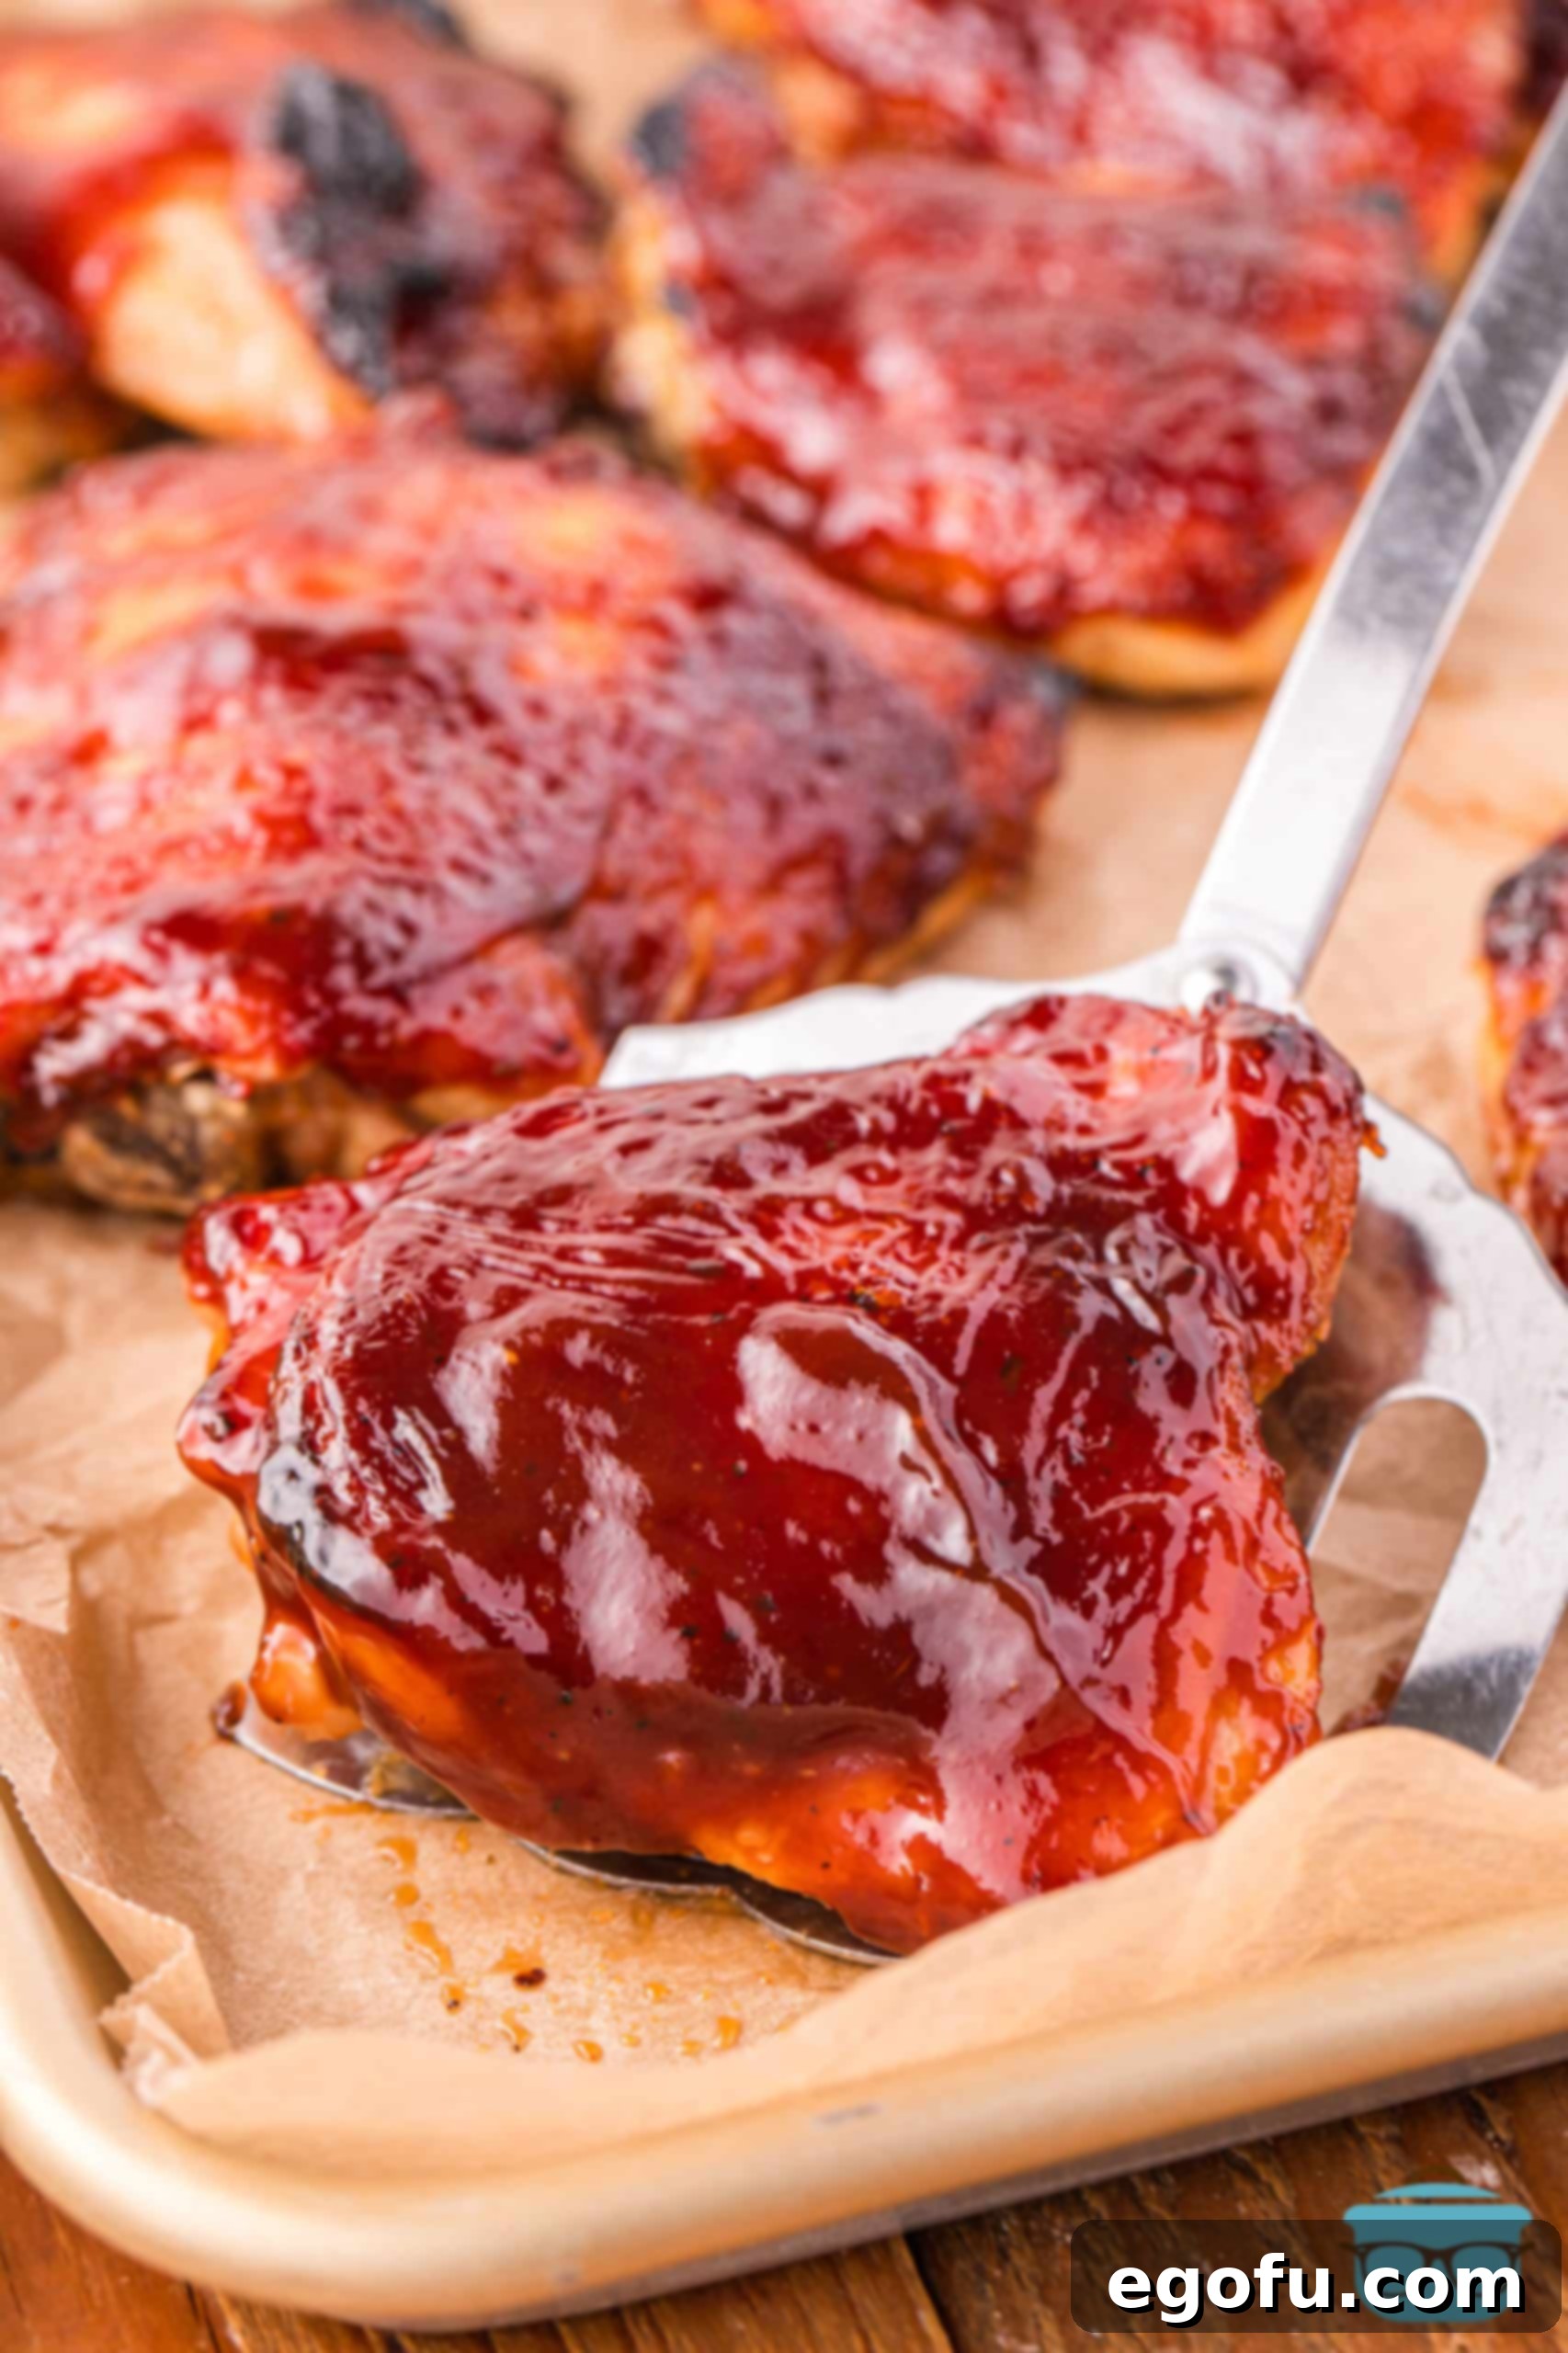
Chicken thighs, while not always the cheapest protein on the shelf, consistently offer a more budget-friendly alternative to chicken breasts, all while delivering superior flavor and moisture. This recipe for BBQ Baked Chicken Thighs is the perfect introduction to cooking with this versatile and economical cut. Requiring just three essential ingredients and ready in under an hour, it’s an effortless meal solution that promises tender, juicy chicken coated in a sticky, sweet, and savory barbecue glaze. Get ready to add a new family favorite to your weekly rotation!
Frequently Asked Questions: Mastering Your BBQ Baked Chicken Thighs
For achieving perfectly cooked and wonderfully crispy BBQ Baked Chicken Thighs, a good quality sheet pan and baking rack combo is invaluable. I personally use a set similar to this sheet pan and baking rack combo from Amazon, which consistently delivers excellent results. The key benefit of using a baking rack is that it elevates the chicken above the pan, allowing hot air to circulate completely around each piece. This airflow is crucial for preventing the bottom from getting soggy and for rendering the fat in the skin, resulting in that desirable crispy texture. This method works wonders not only for chicken but also for other items like oven-baked bacon, ensuring even crispness all around.
While store-bought BBQ rubs offer convenience, crafting your own spice blend is incredibly simple and allows you to customize the flavor profile to your liking. It’s a fantastic way to ensure you’re using fresh spices and avoiding any unwanted additives. To create a versatile and flavorful BBQ rub, simply combine the following ingredients:
1 teaspoon garlic powder
1/2 teaspoon red pepper flakes (adjust to your spice preference)
1/2 teaspoon paprika (smoked paprika can add depth)
1 teaspoon black pepper
1 teaspoon mustard powder
2 teaspoons salt
3 teaspoons brown sugar (for that perfect balance of sweet and savory)
Mix these ingredients thoroughly in a small bowl, then apply generously to your chicken thighs according to the recipe instructions. Store any leftover rub in an airtight container for future use.
Ensuring your chicken is safely and perfectly cooked is vital. I always advocate for using a good digital meat thermometer for accuracy and food safety; it’s an inexpensive tool that prevents both undercooked risks and dry, overcooked meat. However, if you don’t have one on hand, here are several reliable methods to check for doneness:
1. Visual Inspection: Make a small cut into the thickest part of one of the chicken thighs, ensuring you don’t hit the bone if it’s bone-in. The meat should be completely opaque white, with no signs of pinkness. More importantly, the juices that run out should be clear, not cloudy or reddish. If any pink or cloudy juices are present, the chicken needs more cooking time.
2. Texture Test: Carefully press the chicken thigh with tongs or the back of a spoon. Properly cooked chicken thighs should feel firm to the touch, with a slight springiness. If the meat still feels soft or squishy, it likely requires additional cooking time. Always exercise caution to avoid burns when using this method.
3. Bone Check (for bone-in thighs): If you’re cooking bone-in chicken thighs, the area closest to the bone is the last to cook through. Inspect the meat around the bone to ensure there’s no pinkness and that the juices are clear. You can also try to wiggle the bone; if it moves easily or separates slightly from the meat, the chicken is generally done.
4. Time as a Guideline: Always follow the recommended cooking times in the recipe as an initial estimate. Keep in mind that actual cooking times can vary based on the size and thickness of your chicken thighs, as well as the calibration and efficiency of your oven. Use the visual and texture tests to confirm doneness and adjust cooking time as needed.
For these BBQ Baked Chicken Thighs, it is absolutely not necessary to cover them with foil during baking. In fact, covering them would be counterproductive to achieving the desired crispy skin and beautifully caramelized barbecue sauce. Our goal is to allow the chicken thigh skin to crisp up nicely under the dry heat of the oven, enhanced by the spice rub. Later, when the BBQ sauce is brushed on, we want it to bubble and slightly char under the broiler, creating that irresistible sticky, glazed finish. Covering the chicken would trap steam, leading to a softer, less appealing skin texture rather than the crispy, flavorful result we’re aiming for.
While this recipe is specifically designed for baking, the flavors are undoubtedly fantastic on the grill too! If you’re craving grilled chicken thighs with a similar BBQ profile, I highly recommend checking out my dedicated Grilled BBQ Chicken Thighs recipe. It provides tailored instructions for achieving perfect tenderness and char on the grill, ensuring a delicious outcome specific to that cooking method.
BBQ chicken thighs are incredibly versatile and pair wonderfully with a wide array of classic comfort food sides. The options are truly limitless, allowing you to create a complete and satisfying meal. Here are some of my top recommendations that complement the rich, smoky-sweet flavor of the chicken perfectly:
– Creamy Potato Salad: A timeless pairing, offering a cool, tangy contrast.
– Classic Macaroni Salad: Another picnic favorite that’s easy to make and universally loved.
– Slow Cooker BBQ Baked Beans: Rich, sweet, and savory, these are a must-have.
– Hawaiian Mac Salad: A creamy, slightly sweet take that adds a tropical twist.
– Marinated Tomatoes and Cucumbers: Light, refreshing, and balances the richness of the chicken.
– Grilled Corn on the Cob: Sweet and smoky, perfect for a summer BBQ feel.
Proper storage is essential to keep your leftover BBQ Baked Chicken Thighs fresh and safe for future meals. Once cooked, allow the chicken to cool to room temperature within two hours. Then, transfer the thighs to an airtight container or a heavy-duty freezer bag. They can be stored in the refrigerator for 3-4 days. For longer storage, you can freeze them for 2-3 months. To reheat, you can use an oven (recommended for maintaining crispiness) set to 350°F (175°C) until heated through, a microwave for a quicker option, or an air fryer for renewed crispness. Always ensure that the internal temperature of the chicken reaches a minimum of 165°F (74°C) before serving to ensure food safety.
Essential Ingredients for Perfect Baked BBQ Chicken Thighs
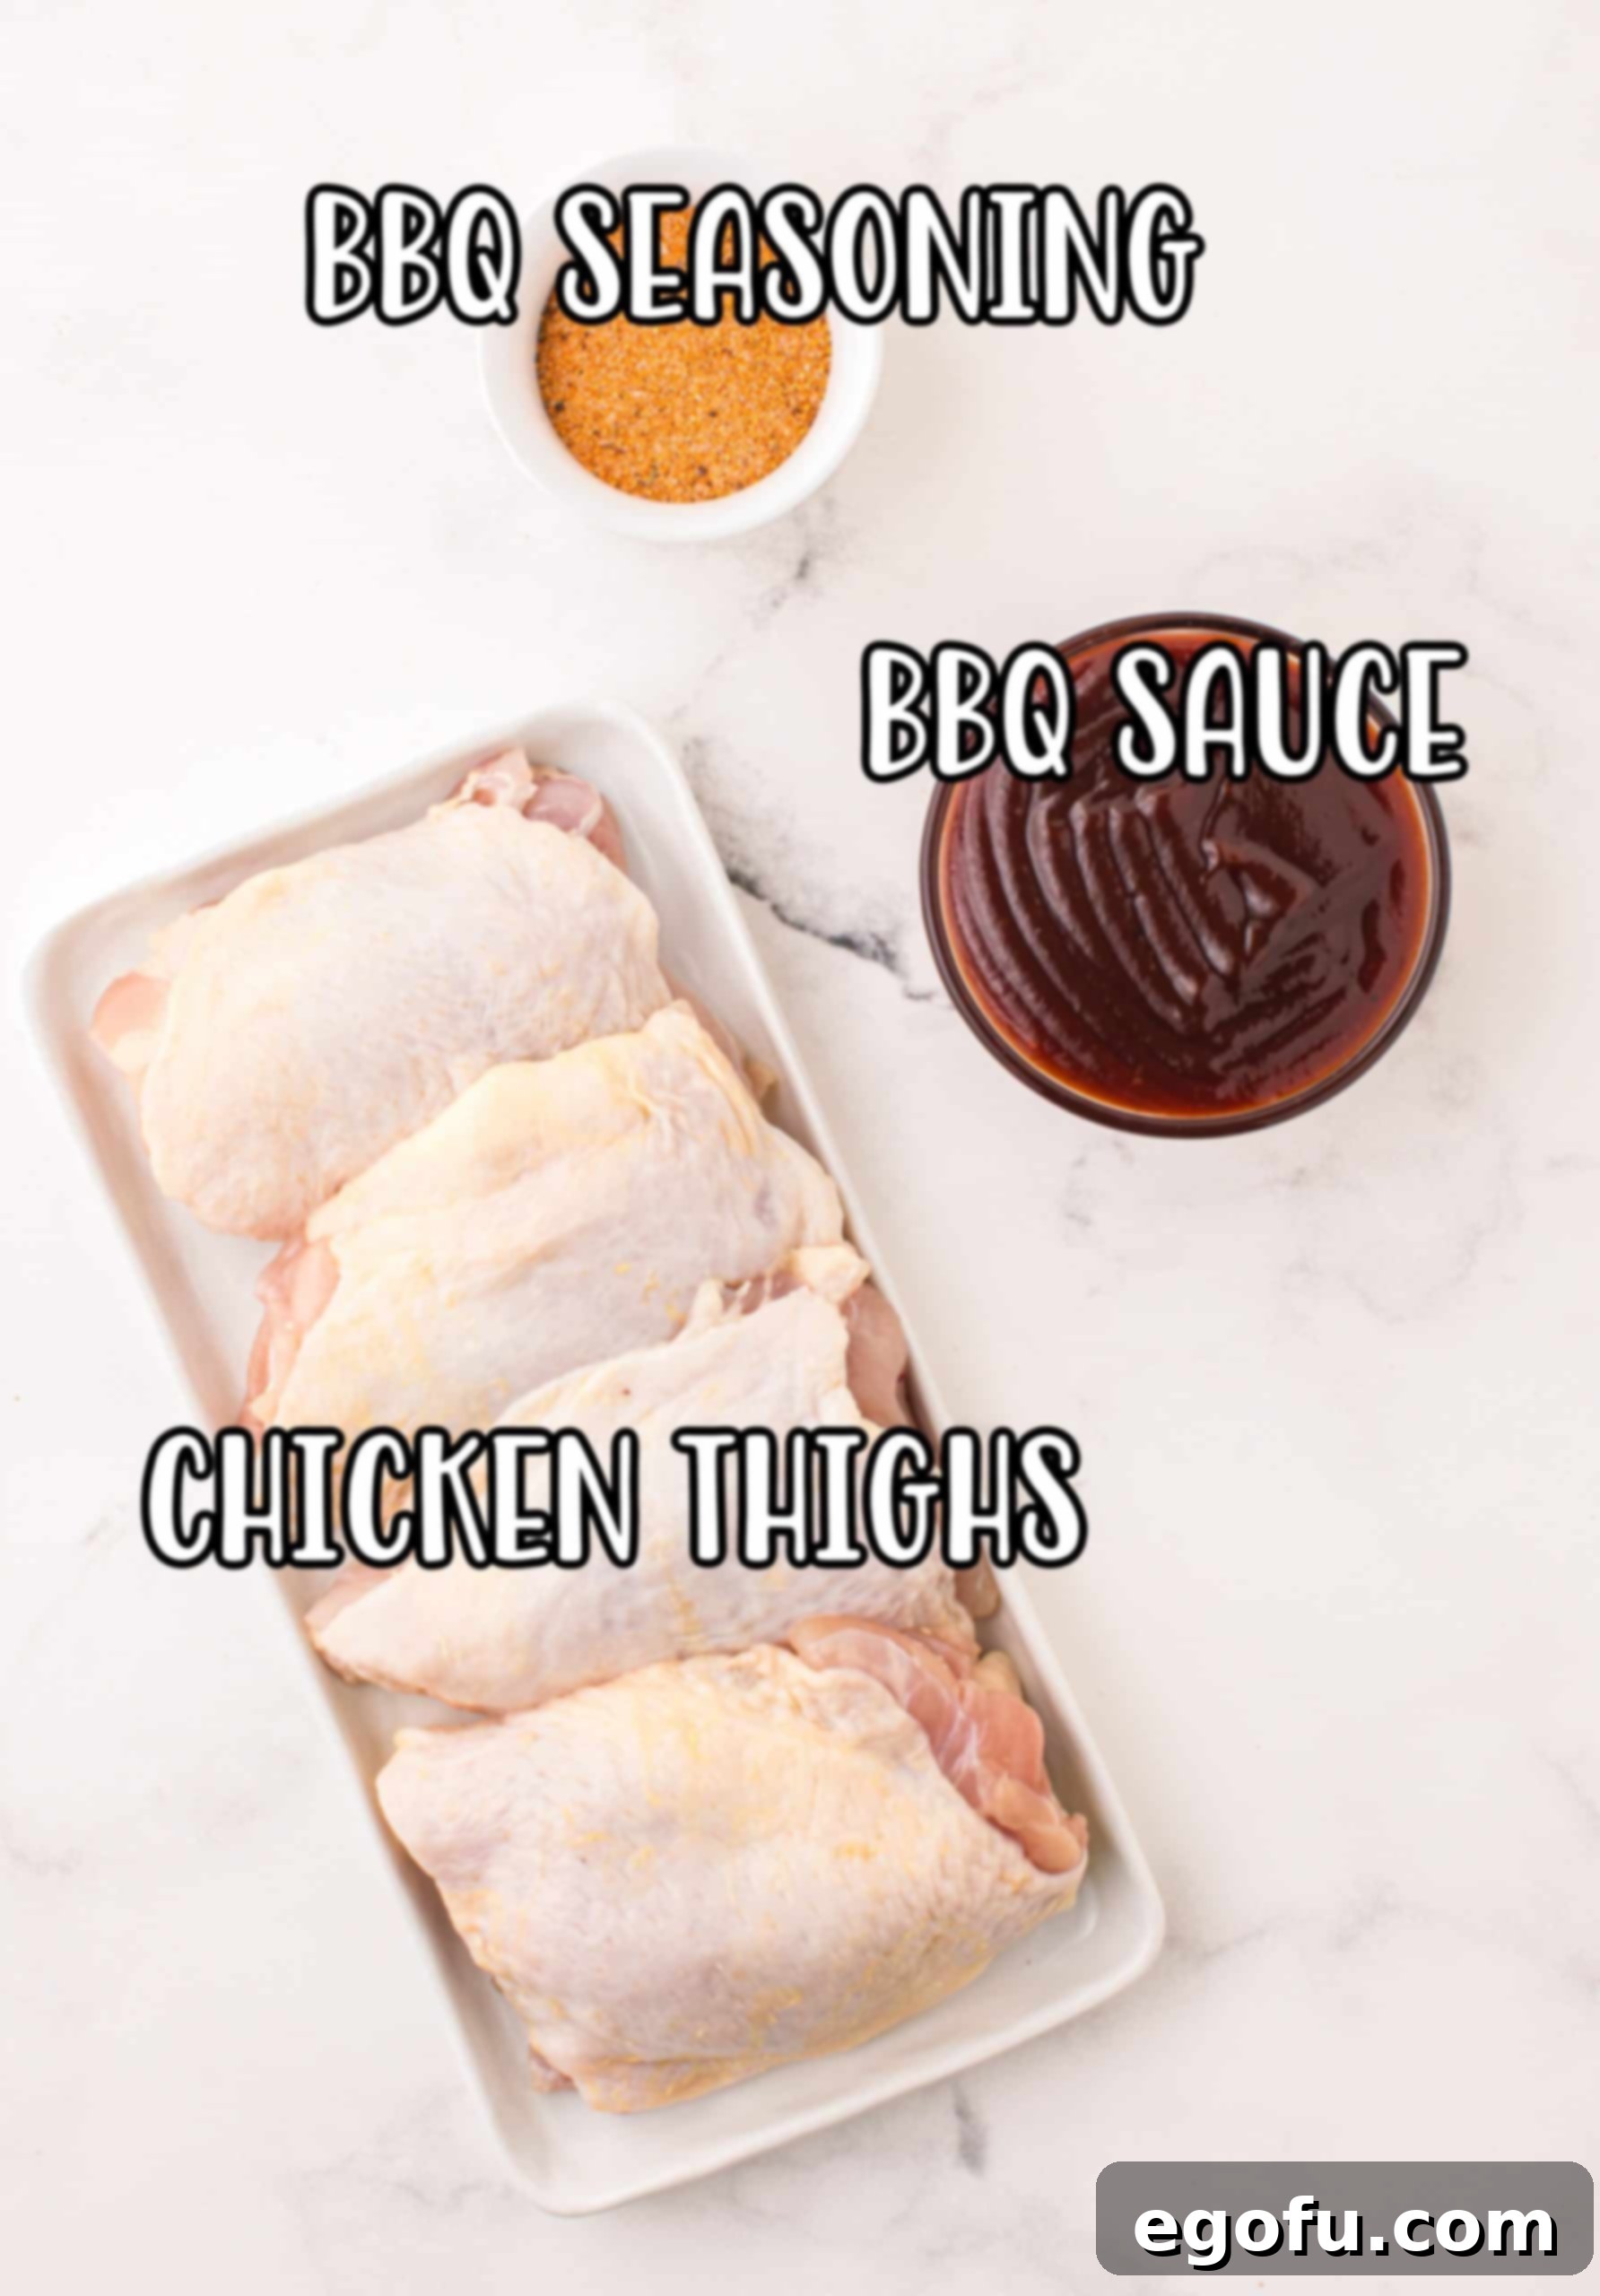
This recipe prides itself on its simplicity, requiring just three core ingredients to create an explosion of flavor. Choosing the right components ensures the best possible outcome.
- Bone-in, Skin-on Chicken Thighs: This is the star of our dish, and for good reason! While any cut of chicken can technically be used, bone-in, skin-on thighs offer distinct advantages. The bone helps conduct heat evenly, promoting thorough and tender cooking, resulting in meat that’s incredibly succulent. The skin, a natural barrier, locks in moisture and fat, preventing the chicken from drying out and rendering wonderfully crispy when baked. If you opt for boneless, skinless chicken, be aware that cooking times will need to be significantly adjusted (they cook faster), and you’ll need to be extra vigilant to avoid overcooking, which can lead to dry results. Chicken breasts, in particular, tend to dry out more quickly than thighs.
- BBQ Rub: The right BBQ rub lays the foundational flavor for these chicken thighs. For this recipe, I used Kinder’s “The BBQ Blend” rub, which I highly recommend and can often be found at Walmart or online. However, feel free to use your absolute favorite store-bought BBQ rub – one that you know and love will always yield a dish you enjoy. Alternatively, for a truly personalized touch, you can easily make a homemade version. (Refer to the Frequently Asked Questions section above for my simple homemade BBQ rub recipe!)
- BBQ Sauce: The finishing touch that brings everything together! My personal favorite for this dish is Sweet Baby Ray’s “Hickory and Brown Sugar” BBQ sauce, known for its rich, smoky, and perfectly sweet profile. However, the beauty of this recipe is its adaptability; any high-quality BBQ sauce you adore will work wonderfully. Don’t hesitate to experiment with different brands and flavors to find your perfect match. For those who enjoy crafting their own sauces, you might also consider making a homemade BBQ sauce for an even more unique flavor.
Step-by-Step Guide: Crafting Your Delicious BBQ Baked Chicken Thighs
Follow these simple steps to prepare flavorful and perfectly cooked BBQ Baked Chicken Thighs that your family will adore.
- Prepare Your Baking Setup: Begin by preheating your oven to a hot 425 degrees Fahrenheit (220°C). Line a large, sturdy baking sheet with parchment paper to ensure easy cleanup and prevent sticking. Next, place a wire baking rack directly on top of the parchment paper-lined baking sheet. Confirm that the baking rack fits securely within the edges of your baking sheet. This setup is crucial for allowing air circulation, which promotes crispy skin.
- Prepare the Chicken: Thoroughly pat the chicken thighs dry on all sides using paper towels. Removing excess moisture is a vital step for achieving crispy skin.
- Season with BBQ Rub: Generously sprinkle about 1½ tablespoons of your chosen BBQ rub over one side of all the chicken thighs. Ensure an even coating. Then, flip each thigh over and apply the remaining BBQ rub to the other side, rubbing it in gently to adhere to the skin. This dual-sided application guarantees maximum flavor.
- First Bake (Skin-Side Down): Arrange the seasoned chicken thighs on the prepared baking rack, placing them skin-side down. This initial bake helps to render some of the fat and start the crisping process on the skin. Bake for 10 minutes in the preheated oven.
- Second Bake (Skin-Side Up): After the initial 10 minutes, carefully flip each chicken thigh over so they are now skin-side up. Continue to bake for another 10 minutes. This allows the other side to cook evenly and the skin to continue crisping.
- Apply BBQ Sauce & Finish Baking: After the second 10-minute bake, brush your favorite BBQ sauce generously over the top (skin-side) of all the chicken thighs. Return them to the oven and continue baking, skin-side up, for an additional 7-10 minutes. The chicken is perfectly cooked when a digital meat thermometer inserted into the thickest part of the thigh (avoiding the bone) reads 165°F (74°C). The sauce should be warm and slightly caramelized.
- Optional Broil for Extra Crispness: For an exceptionally crispy skin and a beautifully caramelized, bubbly BBQ sauce glaze, brush the cooked chicken thighs with a bit more BBQ sauce. Then, carefully transfer the baking sheet to your oven’s broiler. Broil for 3-5 minutes, keeping a close eye on the chicken to prevent burning, until the skin is extra crispy and the sauce is bubbling and slightly charred. Serve immediately, with extra BBQ sauce on the side for dipping if desired!
Craving More Delicious Chicken Recipes?
If you loved these easy and flavorful BBQ Baked Chicken Thighs, you’re in luck! Chicken thighs are a fantastic, versatile, and budget-friendly protein that can be prepared in countless ways. Explore more delicious chicken creations to inspire your next meal:
- Crispy Oven Baked Chicken Wings
- Hearty Slow Cooker Chicken Thighs Meal
- Flavorful Air Fryer Lemon Pepper Chicken Thighs
- Classic Grilled BBQ Chicken Thighs
- Sweet & Tangy Honey Mustard Chicken Thighs
- Seasonal Air Fryer Cranberry Chicken Thighs
- Effortless BBQ Chicken Sheet Pan Meal
- Easy Crock Pot BBQ Shredded Chicken
- Fall-off-the-Bone Crock Pot BBQ Ribs
- Speedy Instant Pot BBQ Chicken
- Tropical Hawaiian BBQ Chicken
- Zesty BBQ Chicken Tostadas

BBQ Baked Chicken Thighs
Ready in just 40 minutes and using only 3 simple ingredients, these BBQ Baked Chicken Thighs are so flavorful and finger-licking good!
Prep Time: 5 minutes
Cook Time: 35 minutes
Total Time: 40 minutes
Servings: 4 servings
Author: Brandie Skibinski
Ingredients
- 2.5 pounds bone-in, skin-on chicken thighs
- 3 Tablespoons BBQ rub
- 1 cup BBQ sauce (plus more for serving)
Instructions
- Preheat the oven to 425°F (220°C) and line a large baking sheet with parchment paper. Place a baking rack on top of the parchment paper, ensuring it fits inside the baking sheet.
- Pat the chicken thighs thoroughly dry with paper towels.
- Sprinkle 1½ tablespoons of the BBQ rub all over one side of the chicken thighs. Flip them over and rub the remaining spice blend onto the other sides.
- Place the seasoned thighs on the prepared baking sheet, skin-side down.
- Bake for 10 minutes. Then, flip the chicken over (skin-side up) and bake for another 10 minutes.
- Brush BBQ sauce generously over the chicken thighs. Continue baking, skin-side up, for an additional 7-10 minutes, or until a digital thermometer inserted into the thickest part of the chicken (without touching the bone) reads 165°F (74°C).
- Optional: For extra crispy skin and a caramelized glaze, brush the cooked chicken again with BBQ sauce and broil for 3-5 minutes, watching closely until the skin is crispy and the sauce is bubbling. Serve immediately, with extra BBQ sauce on the side if desired.
Notes
- Please refer to the Frequently Asked Questions and ingredient list sections above for alternative substitutions, homemade recipes, and answers to common cooking queries.
Course: Main Course
Cuisine: American
Nutrition Facts (Estimated Per Serving)
Calories: 494kcal | Carbohydrates: 31g | Protein: 45g | Fat: 20g | Sodium: 854mg | Fiber: 1g | Sugar: 24g
Nutritional Disclaimer
“The Country Cook” is not a certified dietician or nutritionist, and any nutritional information shared in this recipe is an estimate. If calorie count and other nutritional values are crucial to your dietary needs, we strongly recommend running the ingredients through your preferred online nutritional calculator. Please note that actual calories and other nutritional values can vary significantly based on the specific brands and quantities of ingredients used.
Did you make this recipe?
We’d love to see your culinary creations! Share your photos on Instagram @thecountrycook and tag us using #thecountrycook!
