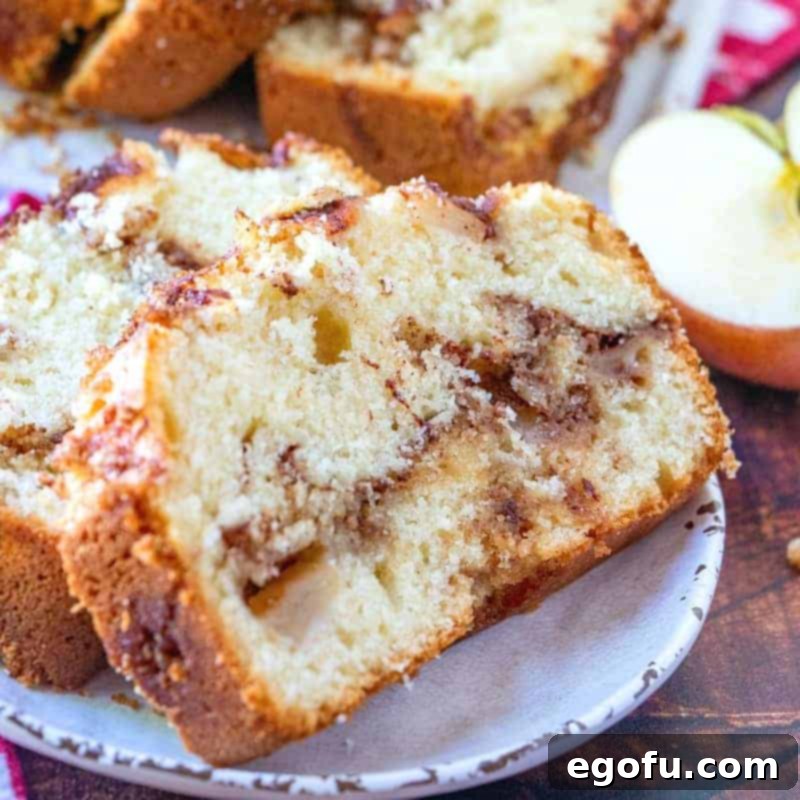
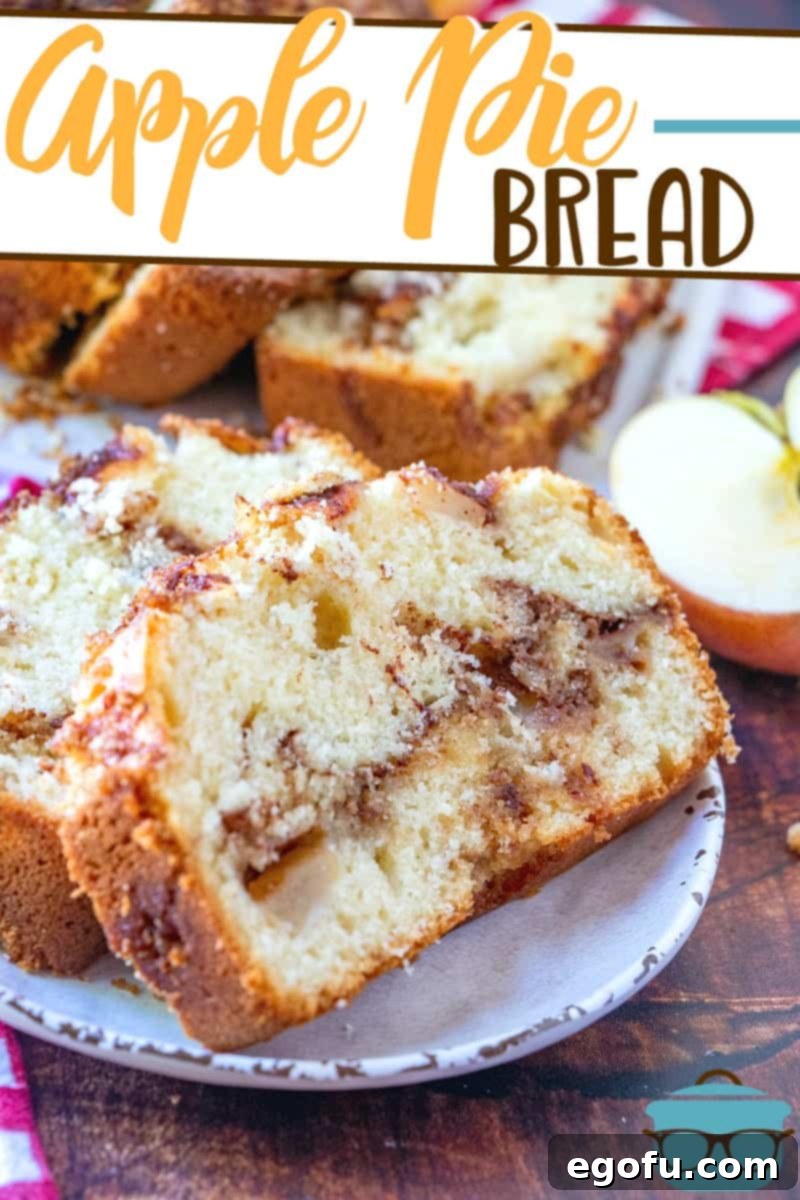
Dive into the comforting aroma and irresistible taste of homemade Apple Pie Bread – a sweet, moist, and utterly delightful dessert bread bursting with tender apple chunks and a hint of warm brown sugar and cinnamon.
Delicious Homemade Apple Pie Bread: A Taste of Comfort in Every Slice
Few things evoke the warmth and coziness of home quite like the smell of apples baking with cinnamon. This Apple Pie Bread isn’t just a recipe; it’s an experience. Imagine a moist, sweet bread, generously layered with aromatic cinnamon sugar and tender, fresh apple pieces, then baked to golden perfection. It’s so incredibly delicious, you might just find yourself making it every week – consider this your friendly warning! Perfectly capturing the essence of a classic apple pie in an easy-to-slice bread form, it’s an ideal treat for breakfast, an afternoon snack, or a delightful dessert that truly celebrates the flavors of the season.
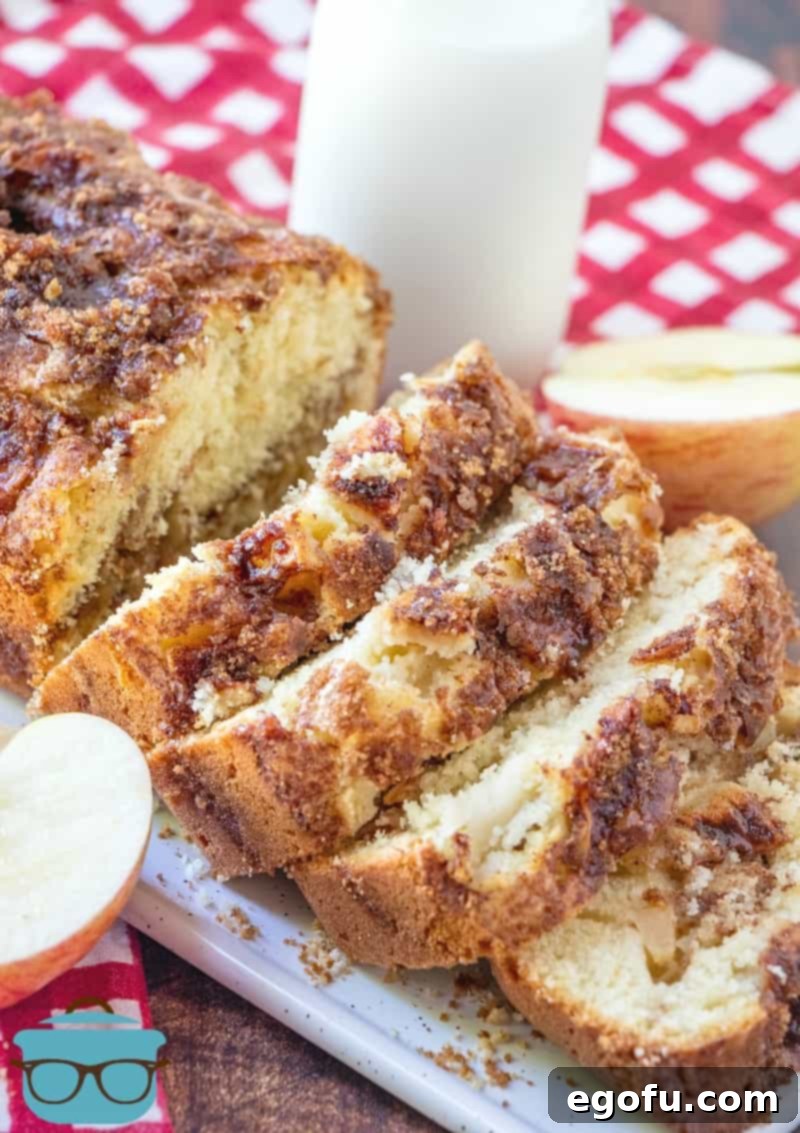
Why This Apple Pie Bread Stands Out
What makes this particular Apple Pie Bread recipe truly special? It’s the perfect blend of simplicity and indulgence, making it accessible for bakers of all skill levels. The bread itself boasts an incredibly moist, almost cake-like texture, a result of the carefully balanced ratio of wet and dry ingredients and the richness of brown sugar. But the real magic happens with the generous filling: a beautiful medley of fragrant cinnamon, rich brown sugar, and succulent apple chunks that caramelize slightly as they bake. These layers create delightful pockets of pure apple pie flavor, transforming a simple quick bread into an extraordinary treat. It offers all the comforting flavors of a traditional apple pie without the need for a complicated crust, making it a fuss-free yet deeply satisfying dessert, snack, or even a decadent breakfast option.
Expert Tips for Baking the Perfect Apple Bread
Achieving bakery-quality Apple Pie Bread at home is easier than you think, especially with these helpful tips designed to ensure your loaf turns out perfectly moist, flavorful, and irresistible every time:
- Choosing Your Apples: The type of apple you select plays a crucial role in the final flavor and texture of your bread. Rome apples are often recommended for baking due to their excellent balance of sweetness and tartness, and their ability to hold their shape during baking. If Rome apples aren’t readily available, fear not! Gala apples offer a sweeter profile, while Golden Delicious provides a mellow sweetness. For those who prefer a more tart contrast that brightens the overall taste, Granny Smith apples are an excellent choice. Feel free to experiment with a combination of your favorite baking apples to discover your perfect blend.
- Creative Fruit Swaps: While apples are undoubtedly the star, this recipe is wonderfully versatile. Don’t hesitate to explore other fruit possibilities. Try substituting an equal amount of firm pears for a subtle sweetness and softer texture, or use fresh, ripe peaches when they are in season for a delightful summery twist that’s equally comforting.
- Understanding Brown Sugar: Both light and dark brown sugar can be used in this recipe, each offering a slightly different nuance. Dark brown sugar contains a higher molasses content, which contributes a richer, deeper caramel-like flavor and often results in a bread with an even moister crumb. Light brown sugar provides a milder sweetness and a lighter overall flavor. Choose the one that best suits your desired intensity and sweetness.
- The Art of Cooling: We understand the temptation to slice into a warm loaf straight from the oven – the aroma alone is enough to make anyone impatient! However, for the cleanest cuts and optimal texture, it is highly recommended to allow your apple bread to cool completely. As it cools, the internal structure sets, making it less crumbly and much easier to slice neatly. If you absolutely can’t wait, be prepared for a slightly softer, more delicate, and potentially messier slice.
- Elevate Your Flavor Profile: To add an extra layer of complexity and texture to your apple bread, consider incorporating additional ingredients. Chopped nuts, such as walnuts or pecans, pair wonderfully with apples and cinnamon, adding a satisfying crunch. Plump raisins or tangy dried cranberries can also be stirred into the batter for bursts of chewiness and sweetness.
- Optimal Storage for Lasting Freshness: To maintain the bread’s delightful moisture and freshness, it’s best stored in an airtight container at room temperature for up to 3 days. If you wish to extend its shelf life, you can refrigerate it for up to 5 days. Always ensure it’s tightly sealed to prevent it from drying out and to lock in all those wonderful flavors.
Frequently Asked Questions: Apple Bread Edition
Here are answers to some common questions you might have while baking this delicious Apple Pie Bread:
How can I tell if my apple bread is done?
Baking times for quick breads can vary significantly due to many factors. Your specific oven (electric, gas, or convection), the material of your baking pan (metal, ceramic, or Pyrex), and even the rack position you use can influence the baking duration. The most reliable test for doneness is to insert a wooden skewer or toothpick into the very center of the loaf. If it comes out clean, with no wet batter attached, your bread is ready. Always start checking at the lowest recommended baking time and extend as needed, using your best judgment based on your personal knowledge of your particular oven.
Can this bread be frozen?
Yes, absolutely! Apple bread freezes beautifully, allowing you to enjoy a slice whenever a craving strikes. It can be frozen for up to 2 months without significant loss of quality. To freeze effectively, ensure the bread is completely cooled to room temperature first. Then, wrap the entire loaf or individual slices tightly in plastic wrap, followed by a layer of aluminum foil. This double wrapping helps prevent freezer burn. Place the wrapped bread into a freezer-safe bag or container. When you’re ready to enjoy, simply thaw it at room temperature, or gently reheat slices for a warm treat.
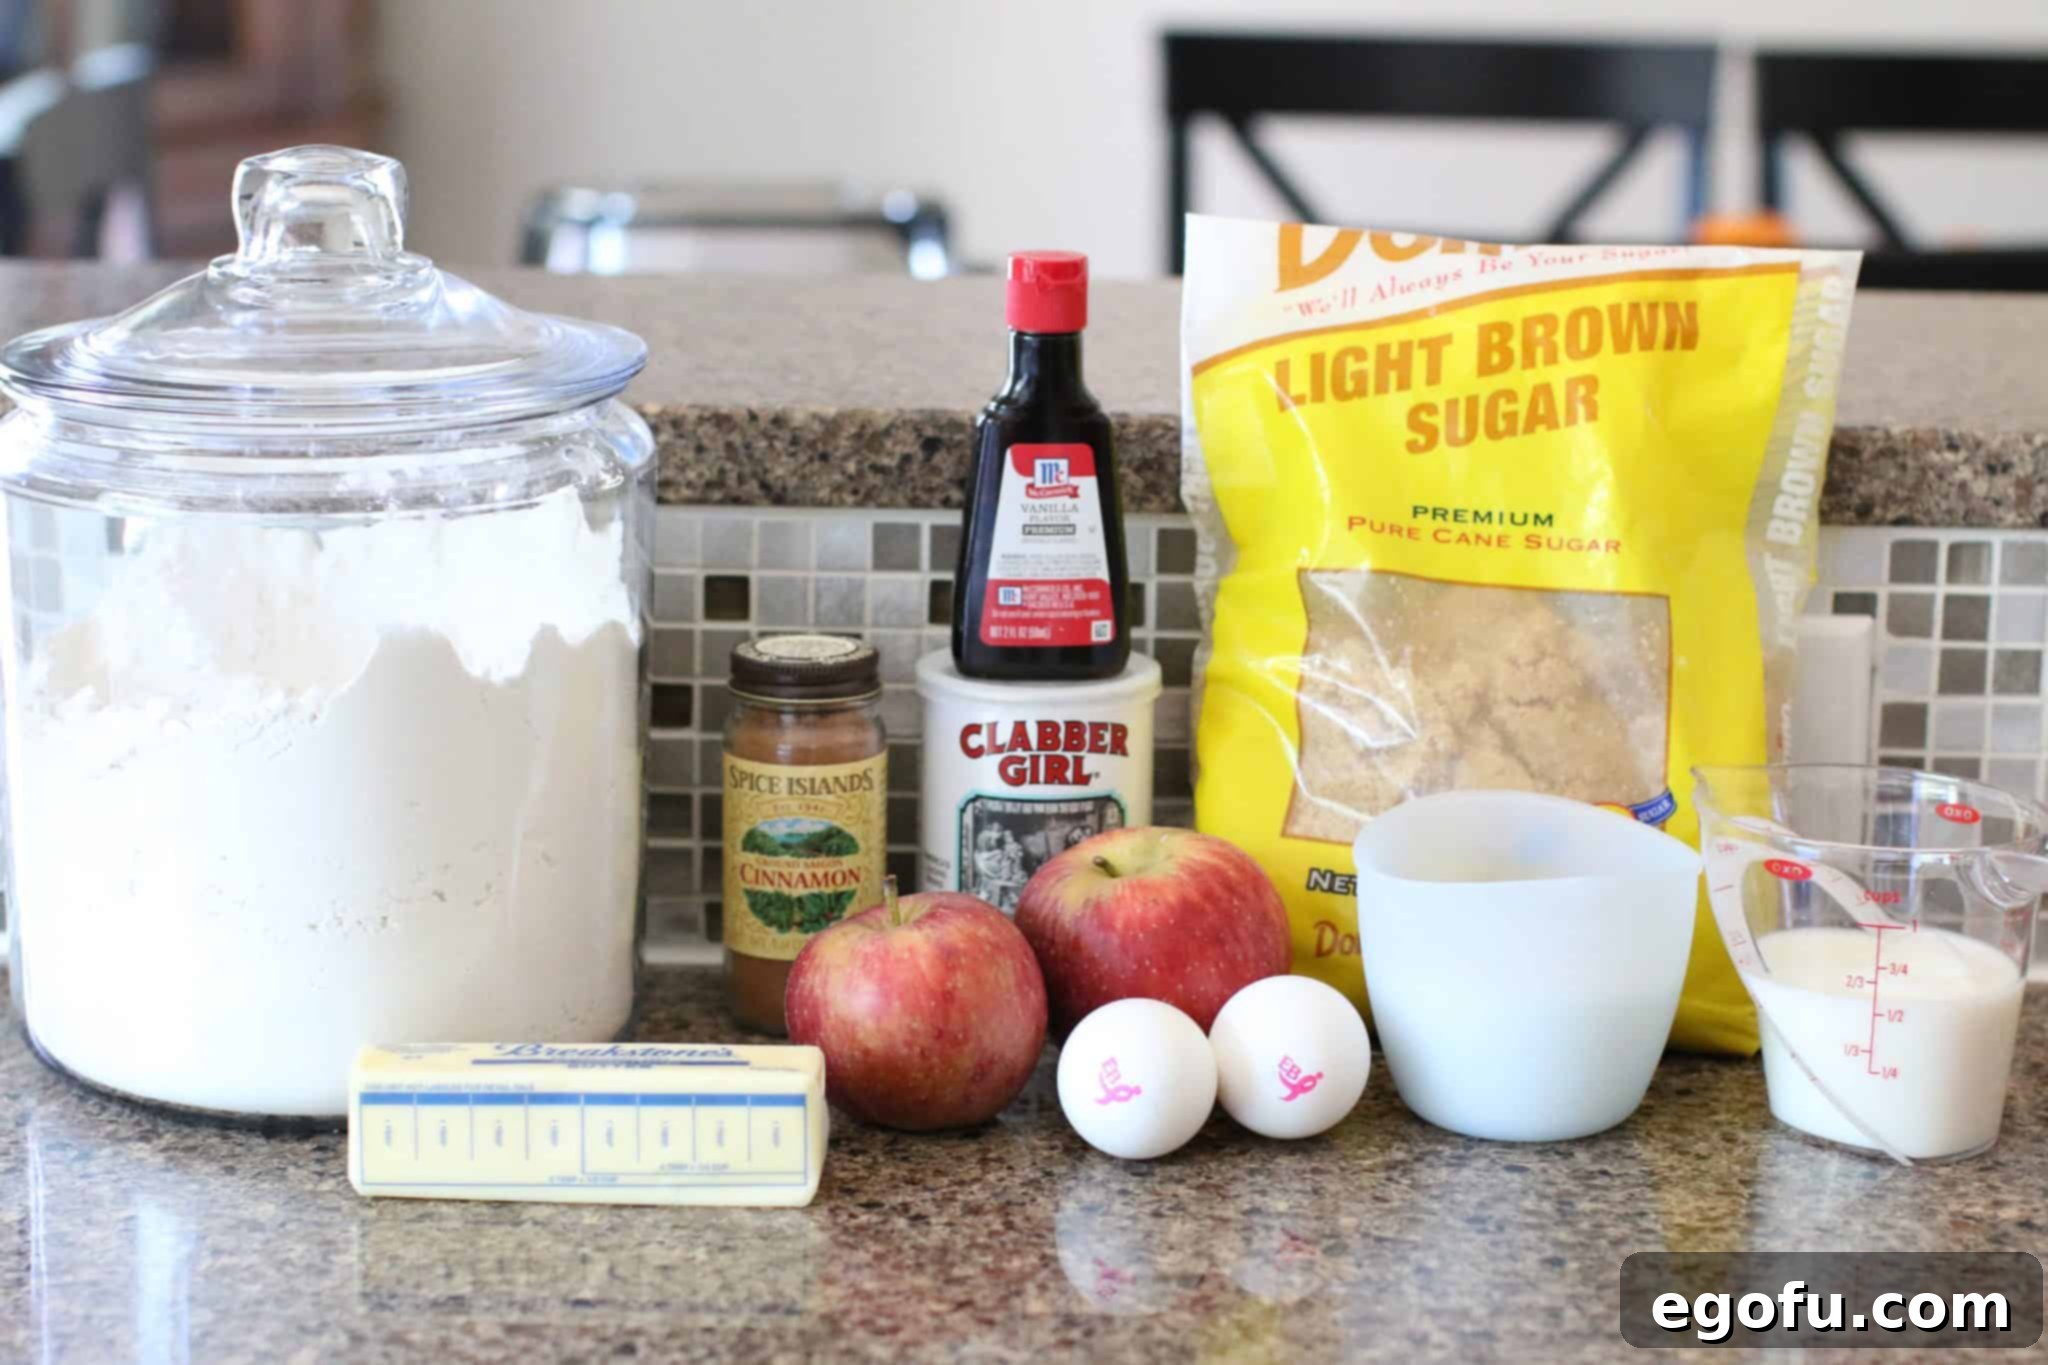
Essential Ingredients for Your Apple Pie Bread
Gathering your ingredients is the delightful first step to creating this comforting bread. The beauty of this recipe lies in its use of common pantry staples, transformed into something truly special. Here’s what you’ll need:
- Brown sugar (packed)
- Ground cinnamon
- Granulated sugar
- Salted butter (1 stick), softened to room temperature
- Large eggs
- Vanilla extract
- All-purpose flour
- Baking powder
- Milk (any kind will do, whole or 2% is ideal for richness)
- Fresh chopped apples (peeled and cut into approximately 2-inch chunks; Fuji or Granny Smith are highly recommended for their baking qualities)
Step-by-Step Guide: How to Make Apple Pie Bread
Follow these easy, detailed instructions to bake your own irresistible Apple Pie Bread. The layering technique is key to achieving its signature apple pie flavor:
- Prepare Your Oven and Pan: Begin by preheating your oven to a consistent 350°F (175°C). Next, prepare a standard 9×5-inch loaf pan by thoroughly spraying it with a nonstick cooking spray. For extra assurance against sticking, especially with quick breads, a spray that contains flour (like Baker’s Joy) works exceptionally well.
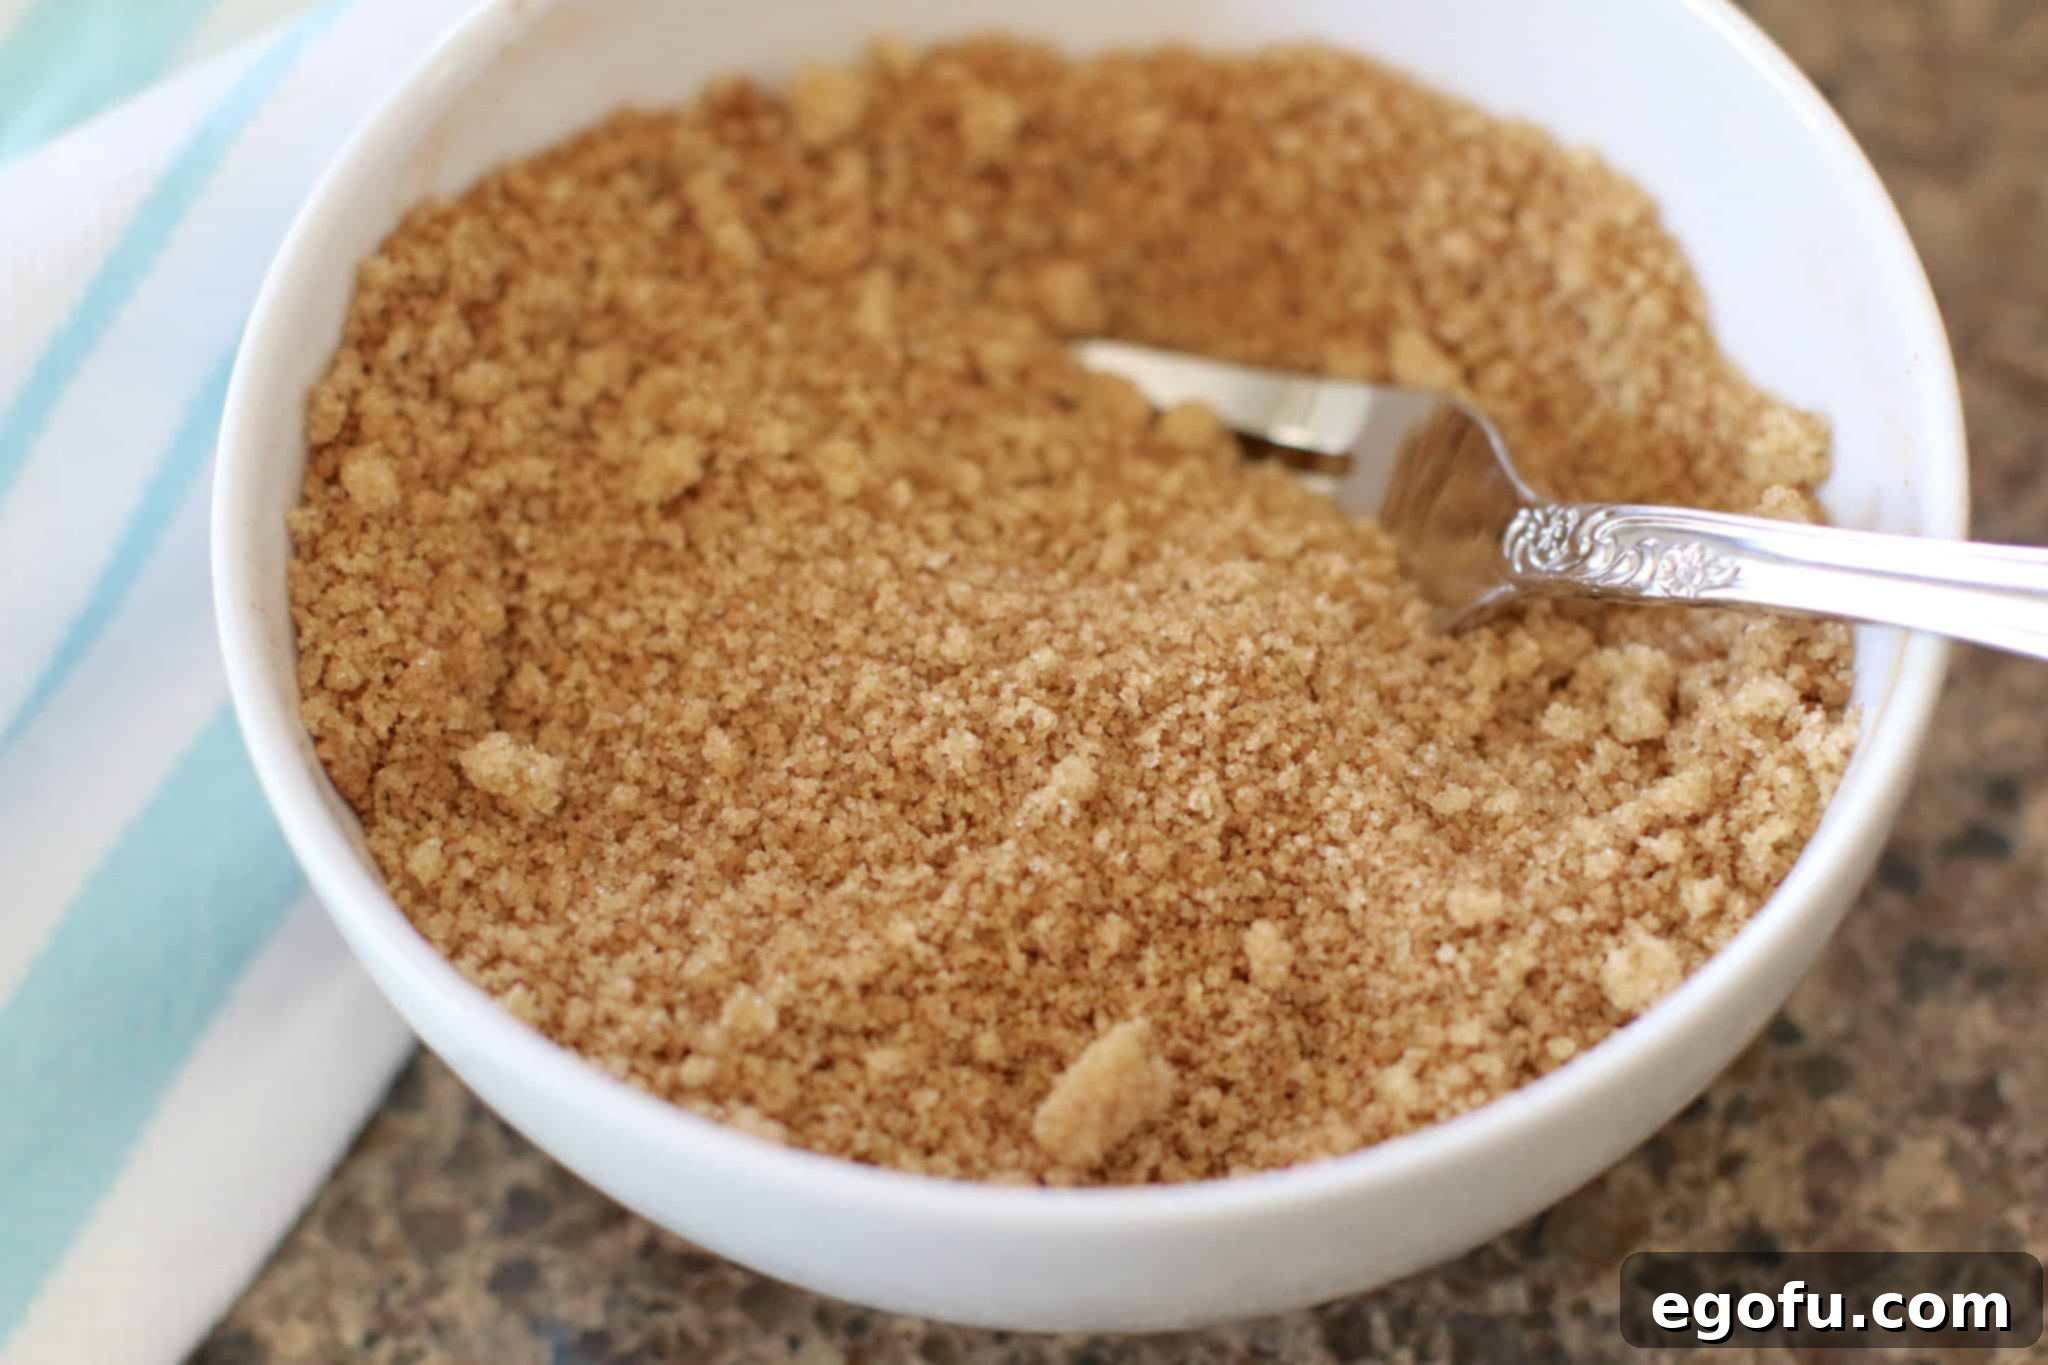
- Create the Cinnamon Sugar Mixture: In a small, separate bowl, combine the brown sugar and ground cinnamon. Stir these two fragrant ingredients together with a fork until they are perfectly mixed and no clumps remain. This mixture will be used to create delicious layers within the bread. Set it aside for later use.
- Cream Butter and Sugar: In a large mixing bowl, or the bowl of a stand mixer fitted with a paddle attachment, combine the granulated sugar and the softened salted butter. Beat these together on medium speed until the mixture is light, fluffy, and visibly smooth. This creaming process incorporates air, which contributes to the bread’s tender crumb.
- Incorporate Wet Ingredients: Add the large eggs to the creamed butter and sugar mixture, one at a time, beating well after each addition until fully incorporated. Then, stir in the vanilla extract, mixing until everything is smoothly combined and uniform in consistency.
- Add Dry Ingredients and Milk: Gradually add the all-purpose flour and baking powder to the wet ingredients. Alternate adding the dry mixture with the milk, beginning and ending with the flour. Mix on low speed until the ingredients are just combined. It’s crucial not to overmix the batter, as this can develop the gluten too much, resulting in a tough bread. A few small streaks of flour are acceptable.
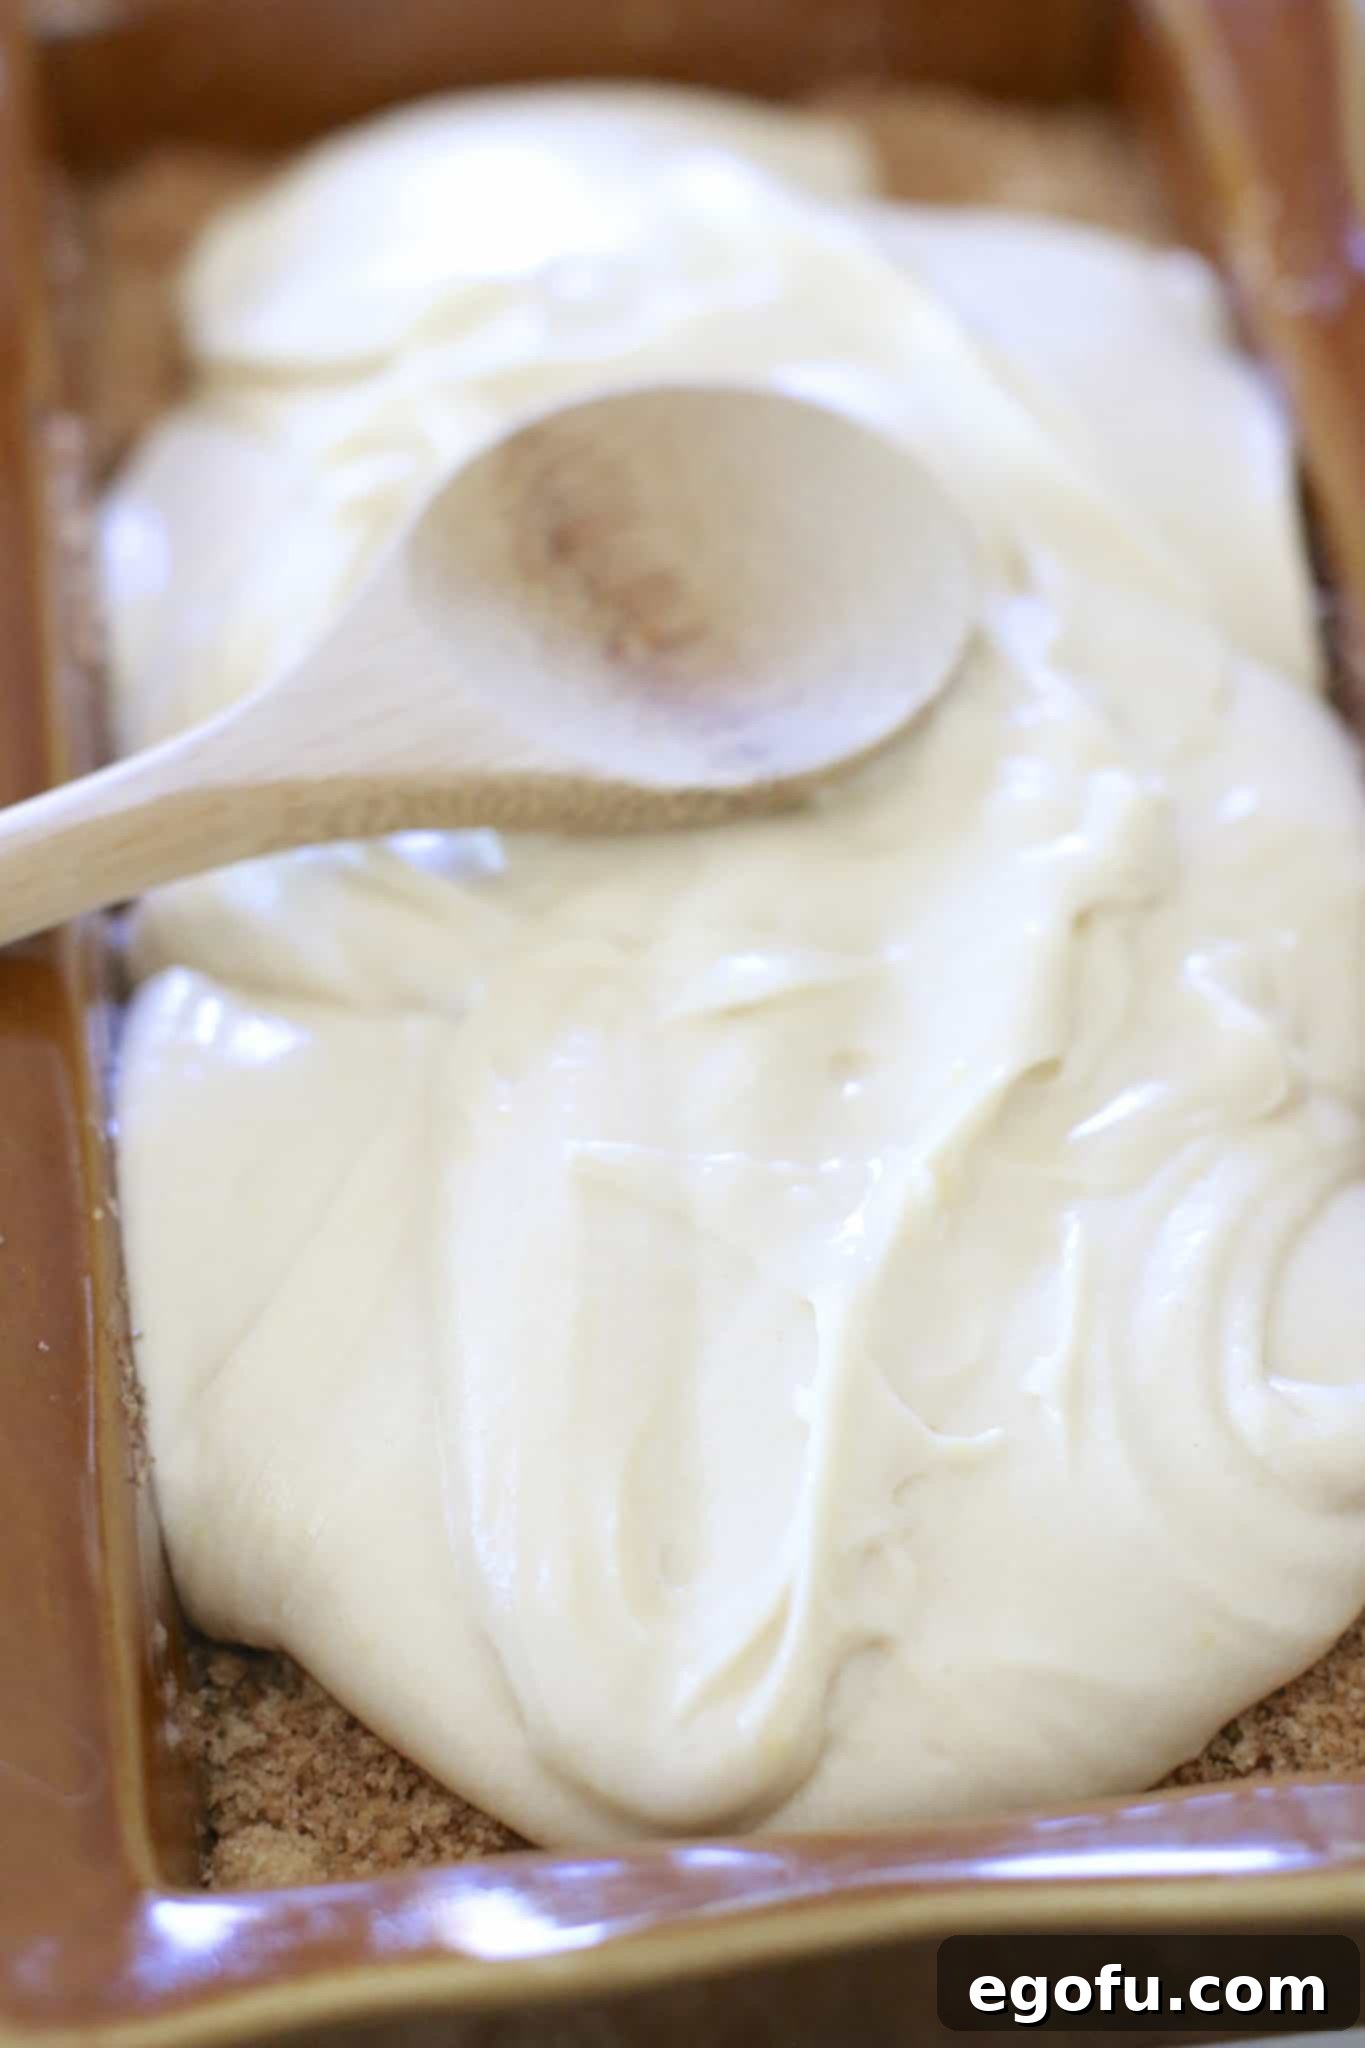
- First Batter Layer: Pour approximately half of the prepared bread batter evenly into the bottom of your greased loaf pan. Use a spatula to gently spread it to cover the base of the pan.
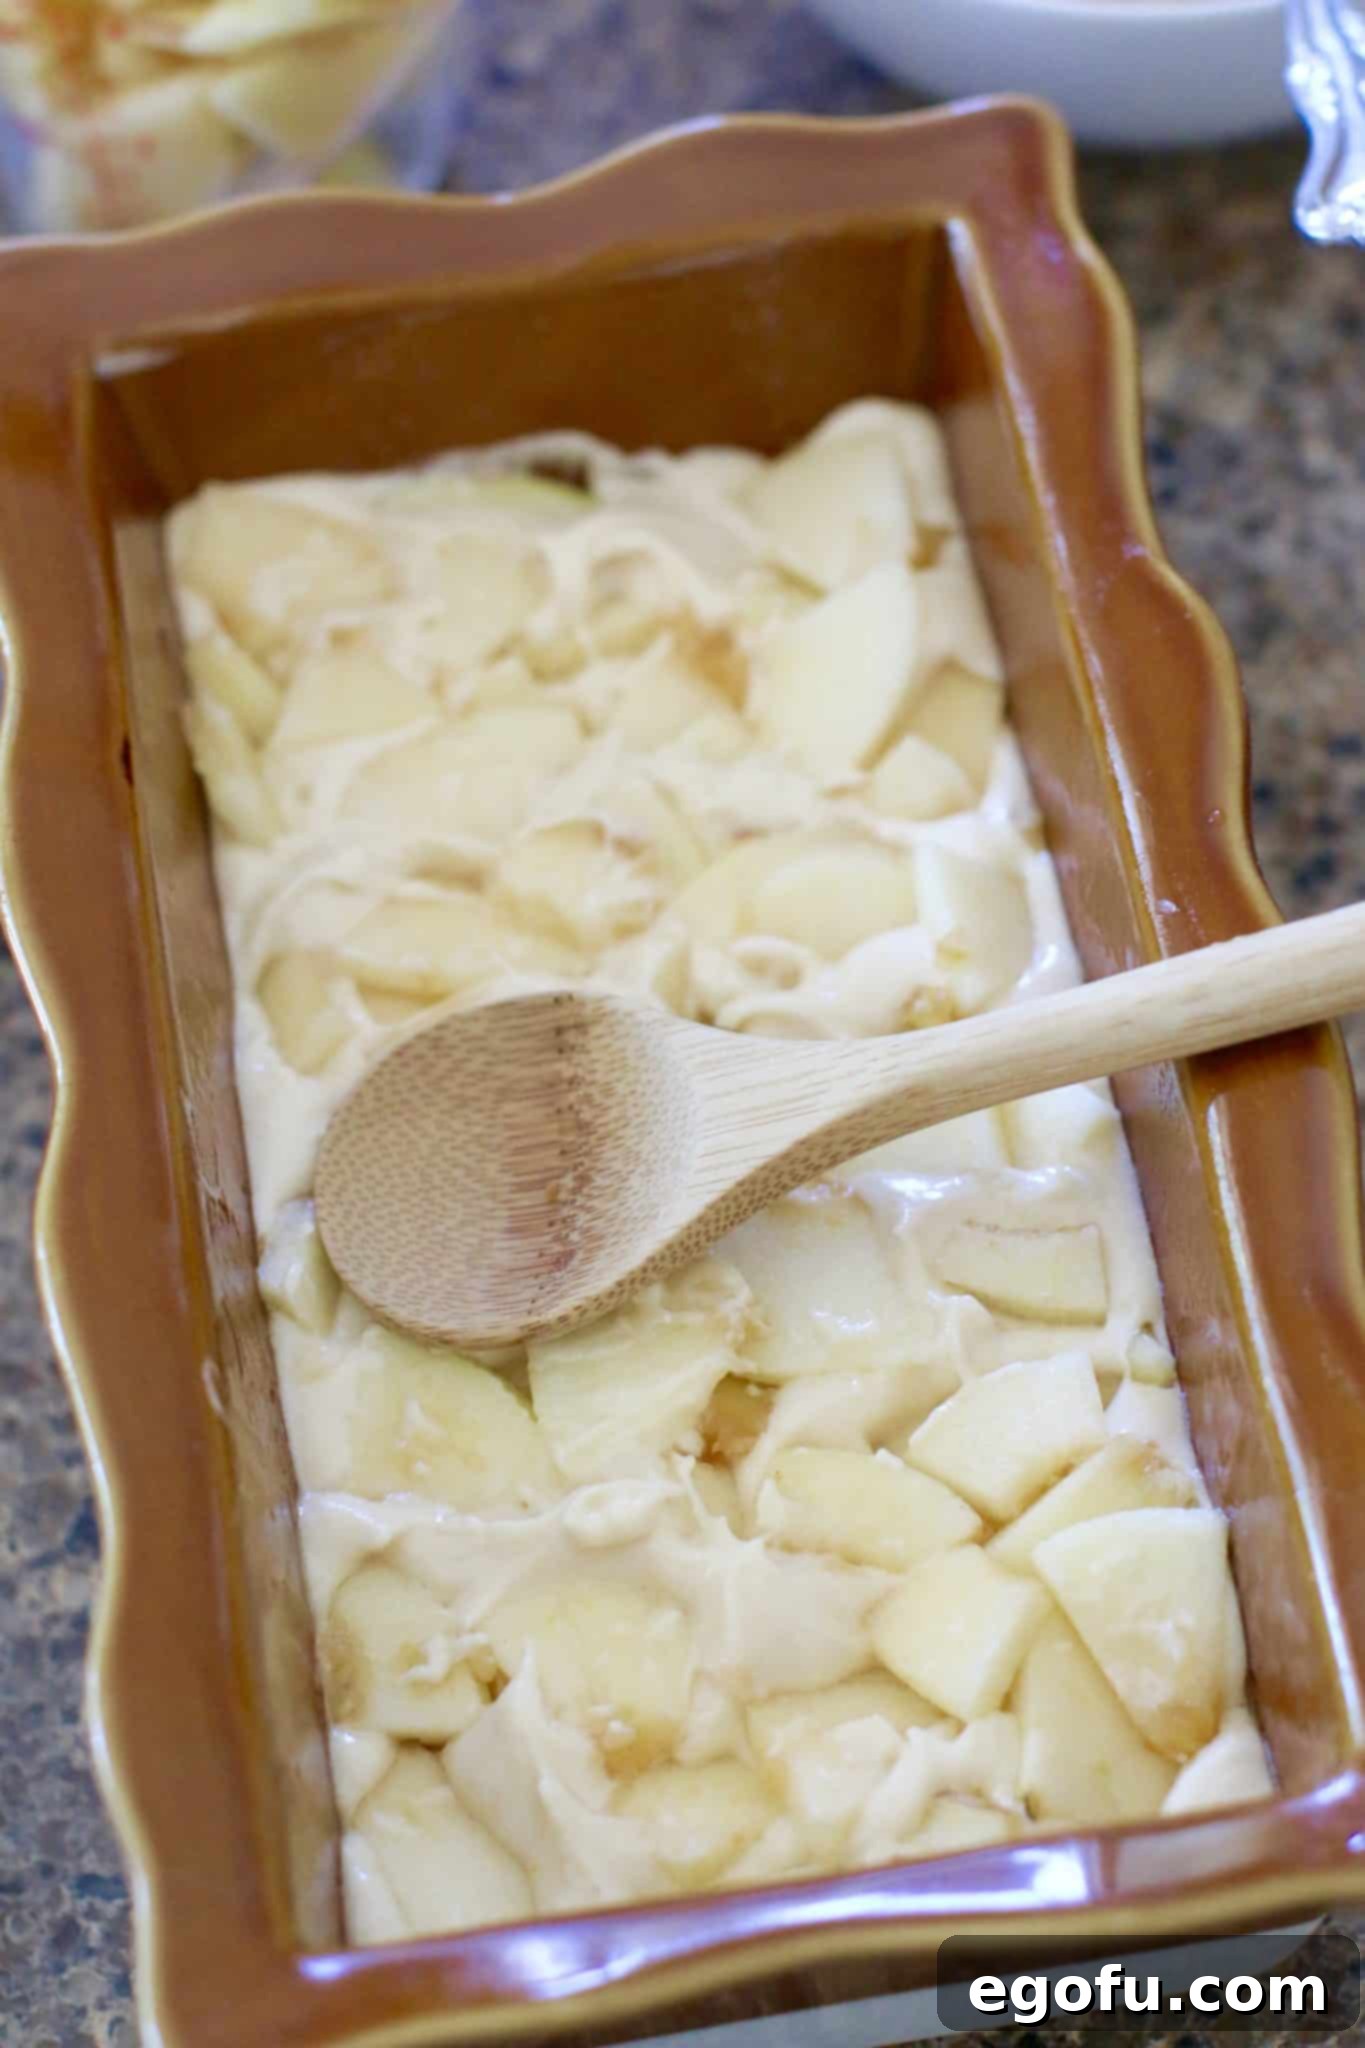
- First Apple Layer: Evenly scatter half of your peeled and diced apples over this first layer of batter. Gently press the apple pieces down slightly into the batter. This helps to embed them and prevents them from floating to the top during baking.
- First Cinnamon Sugar Layer: Generously sprinkle half of the cinnamon sugar mixture you prepared earlier over the apple layer. This creates a delightful ribbon of sweet, spiced flavor that will weave through your bread.
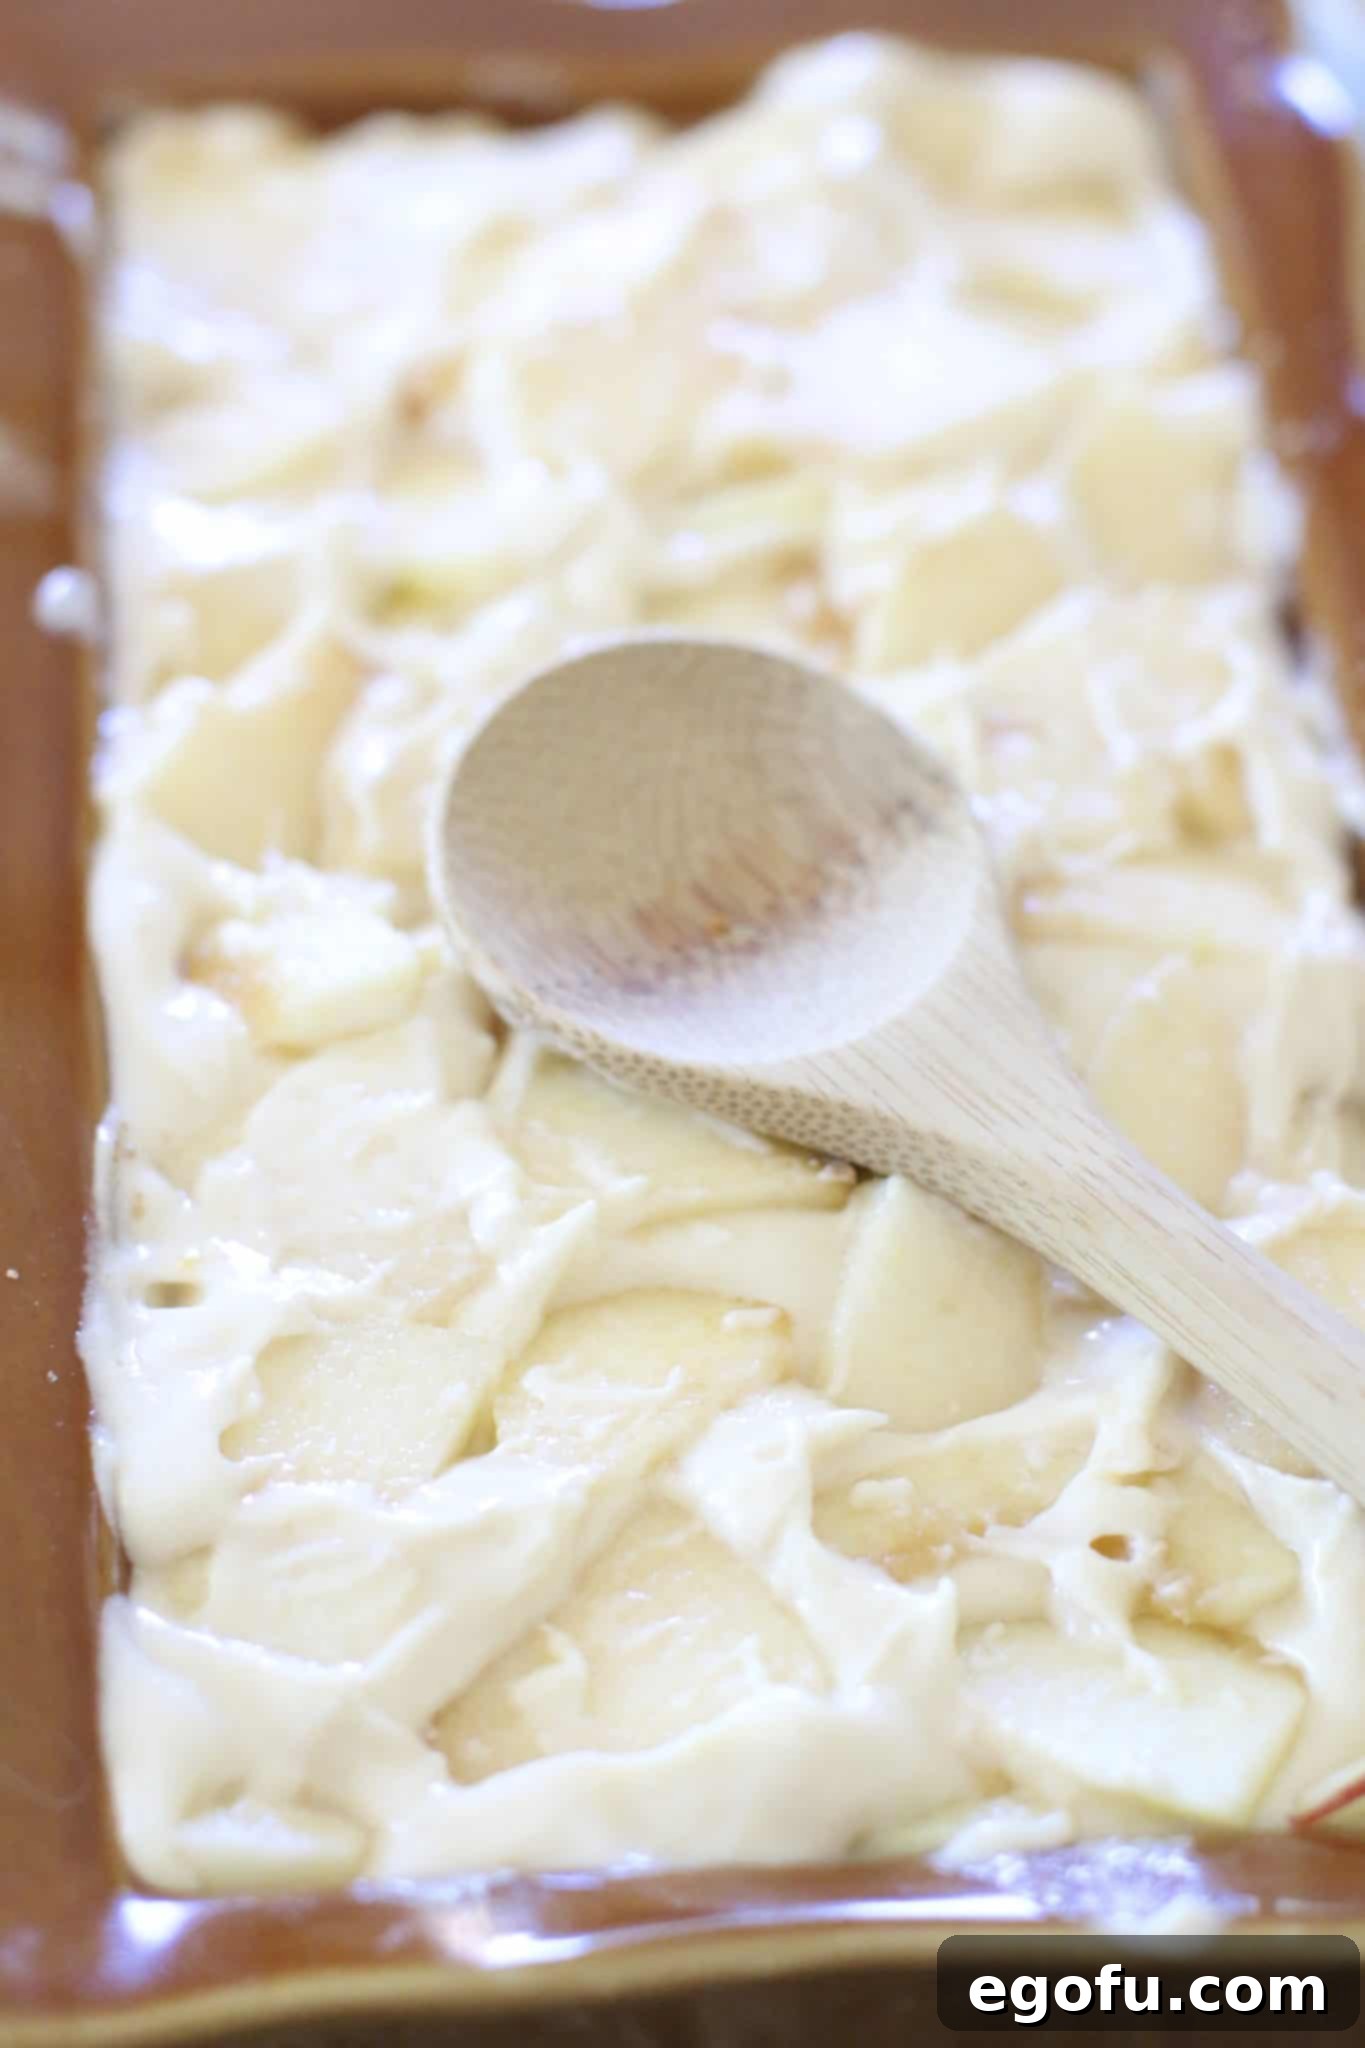
- Second Batter Layer: Carefully spoon the remaining half of the bread batter over the apple and cinnamon sugar layer. Gently spread it out to cover the filling evenly, trying not to disturb the layers below too much.
- Second Apple Layer: Top this final batter layer with the remaining diced apples. Again, gently press them into the surface of the batter. These apples will bake into tender, caramelized jewels on top of your loaf.
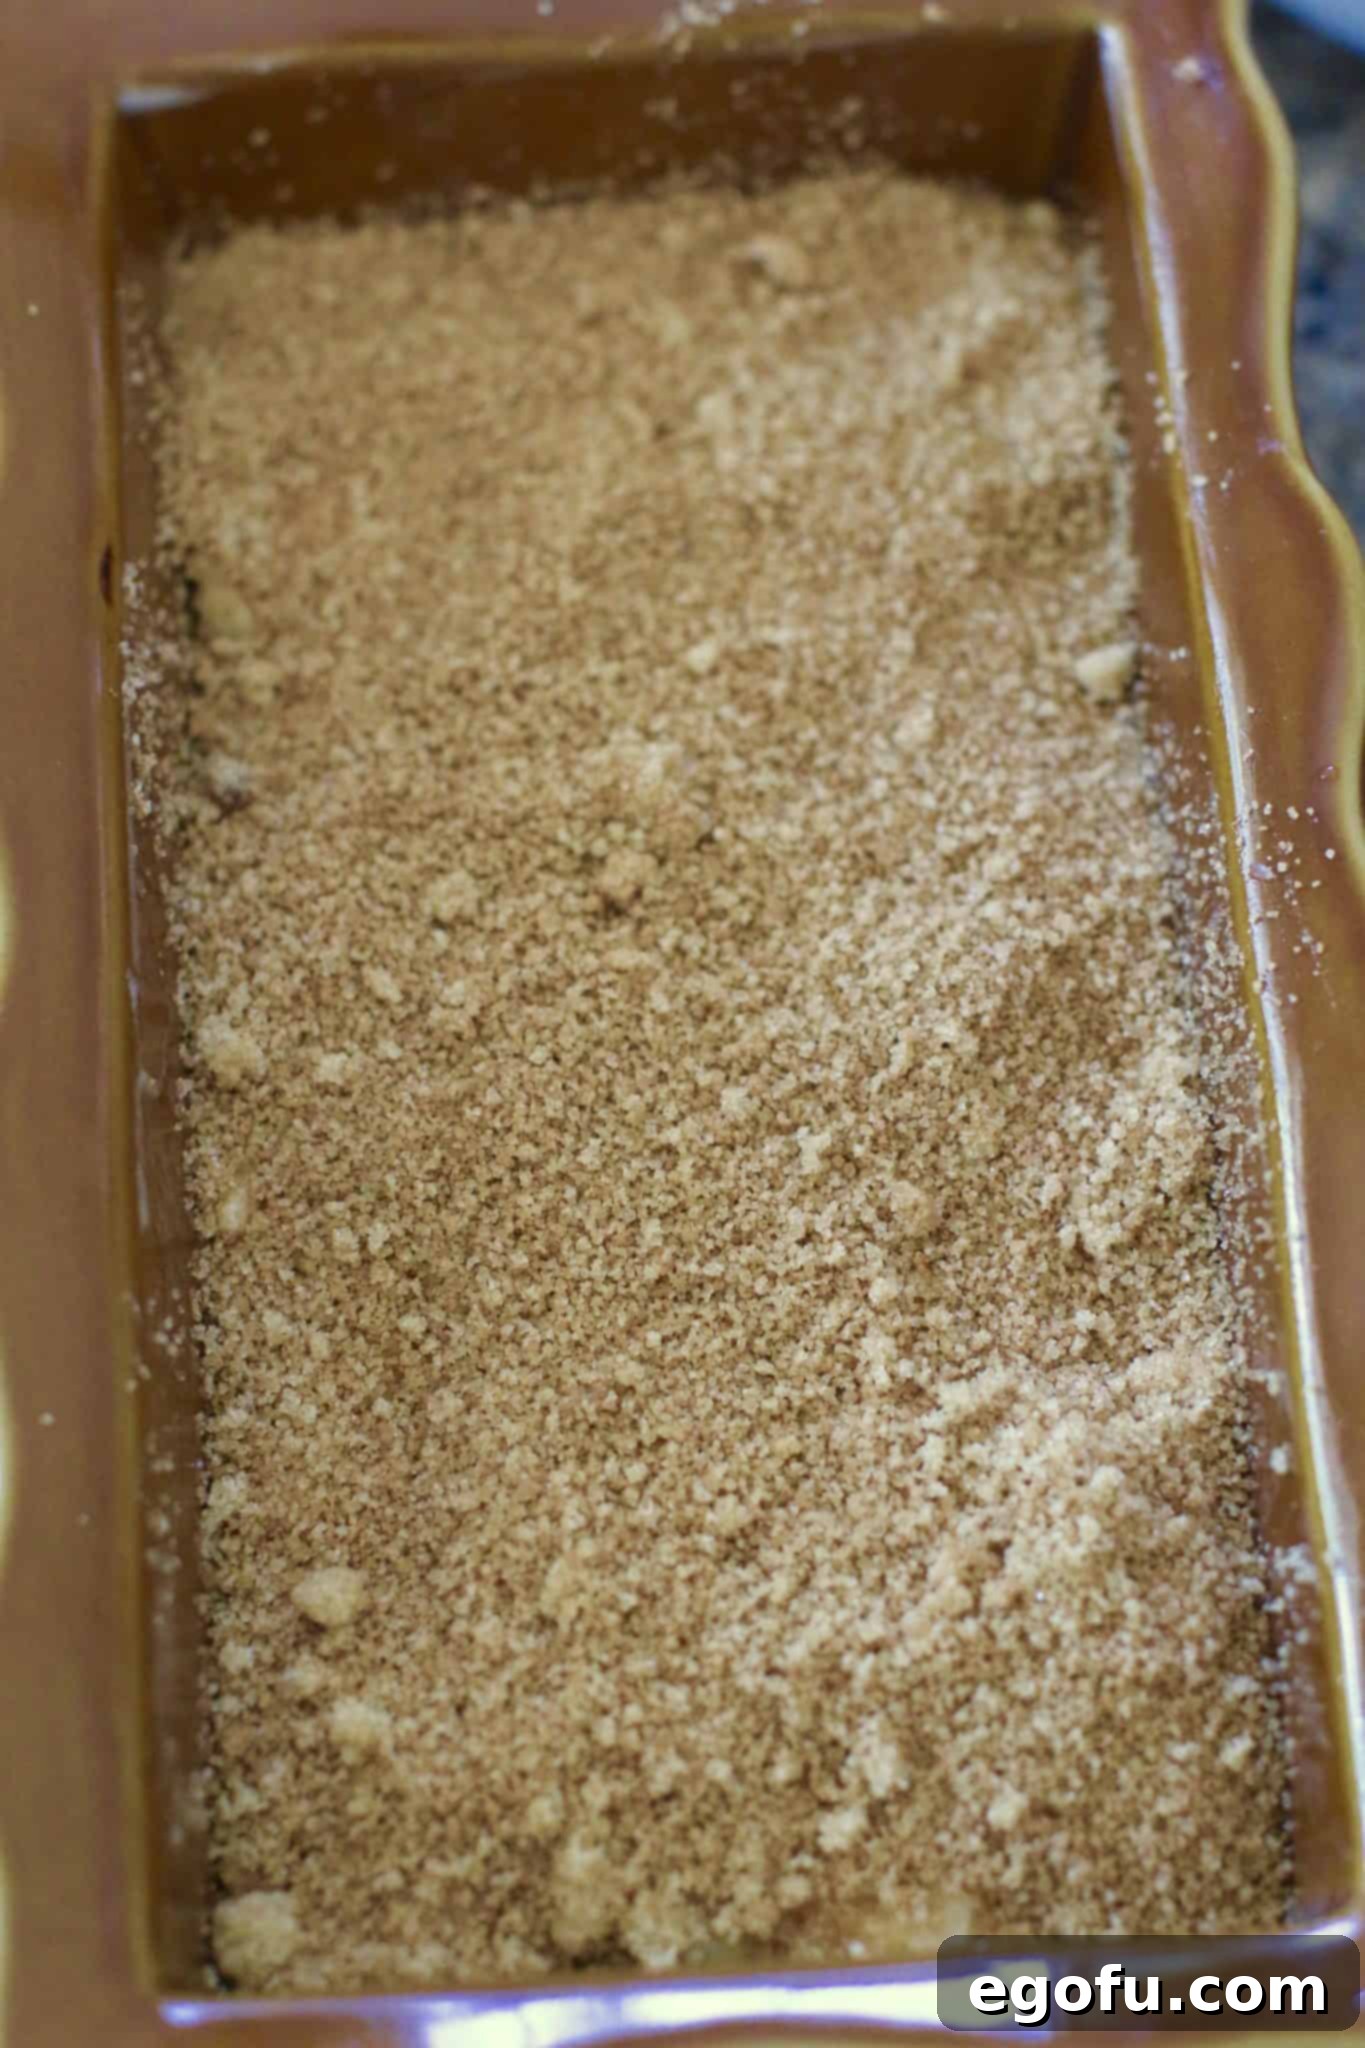
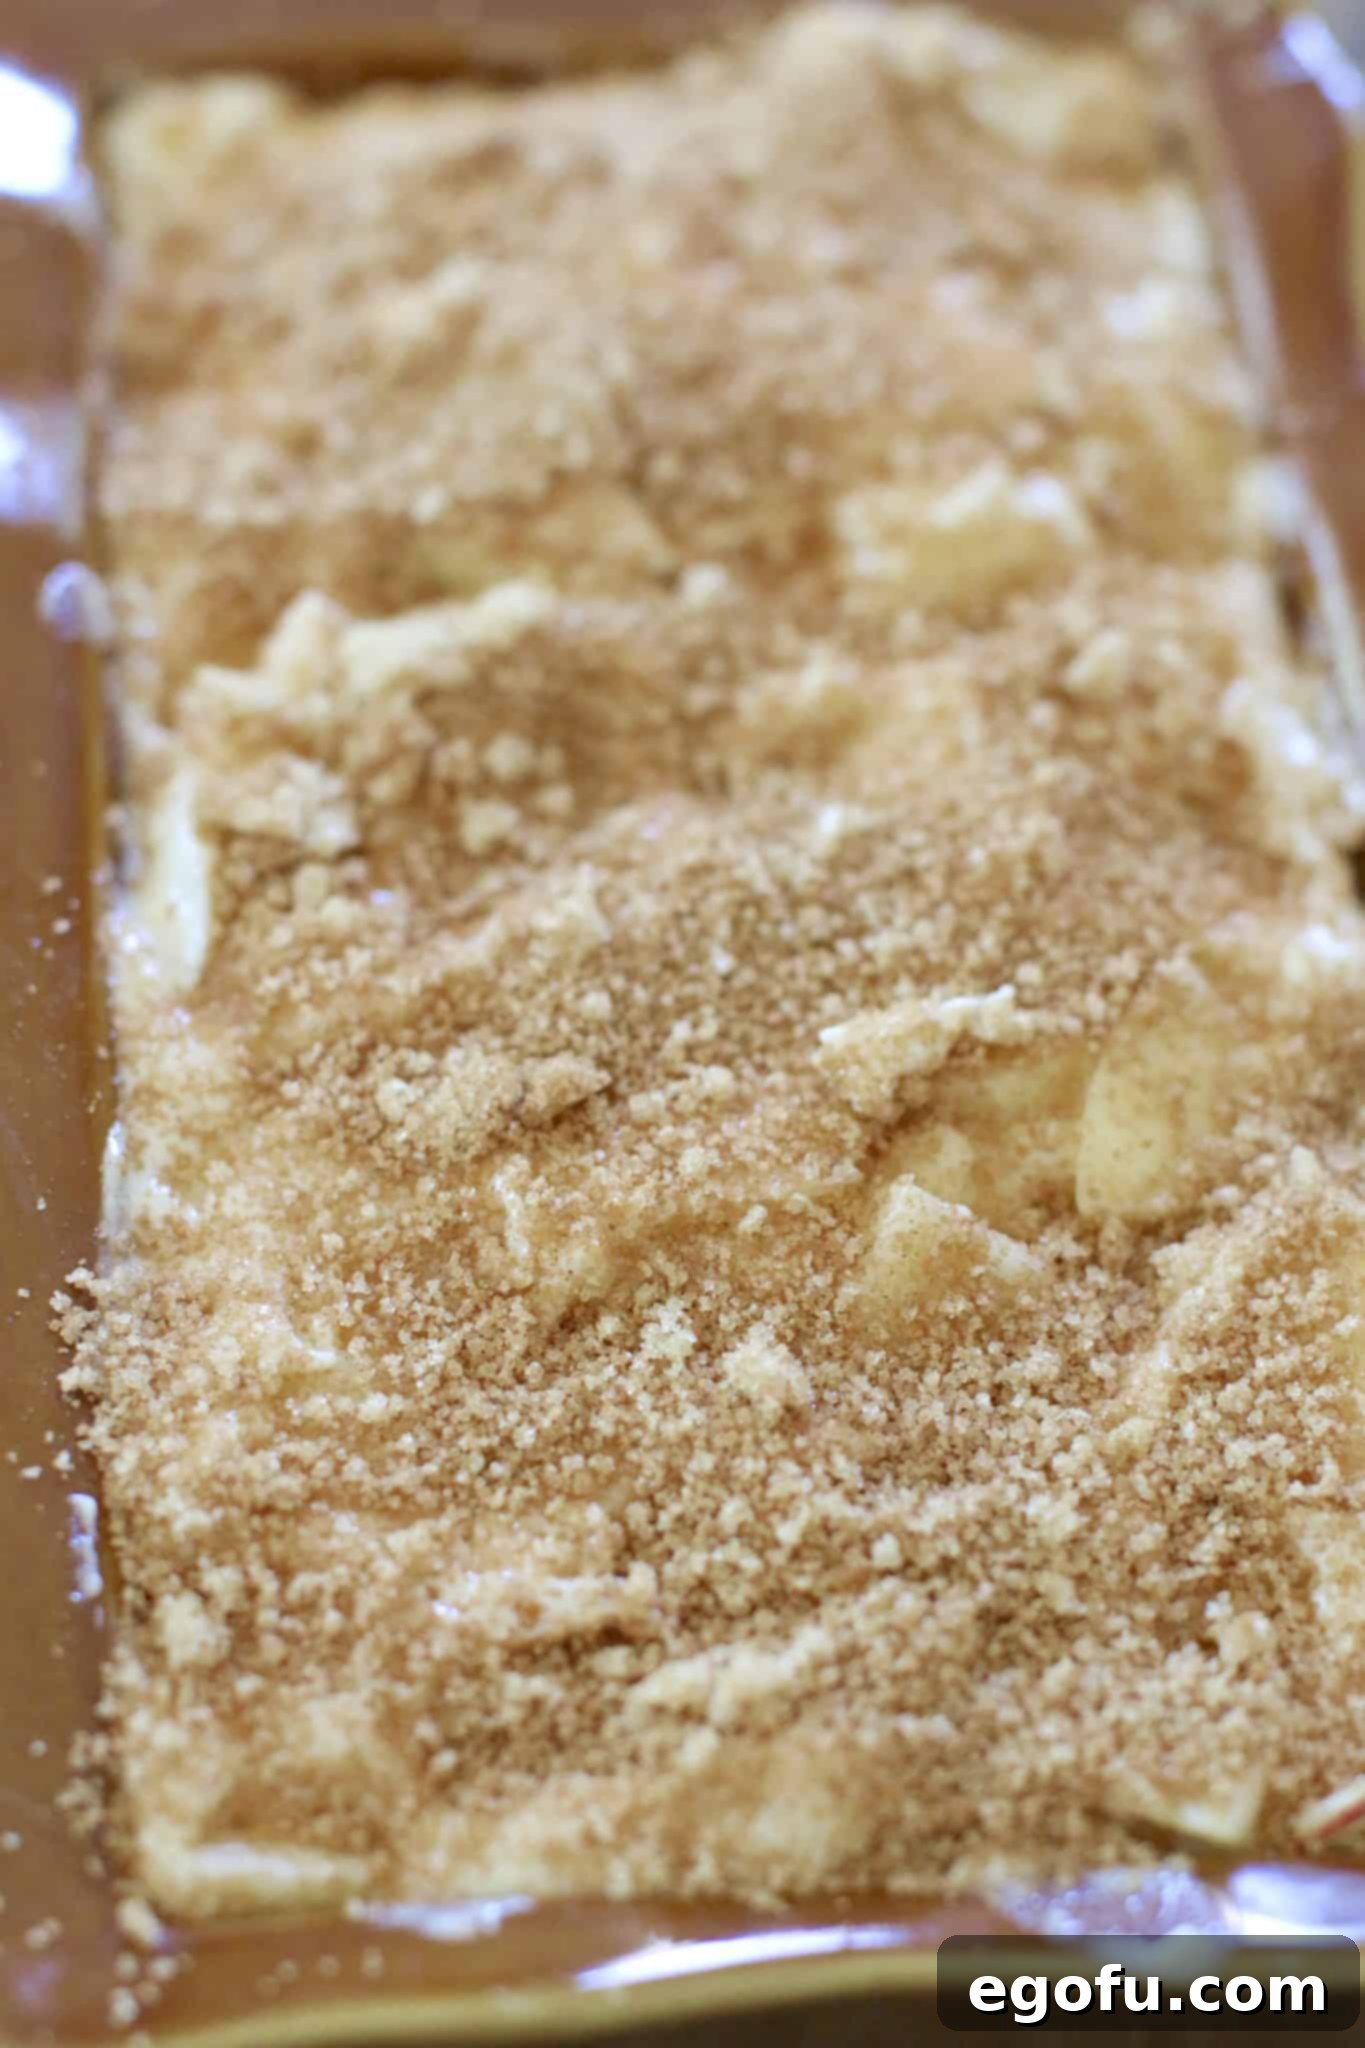
- Final Cinnamon Sugar Topping: Sprinkle the remaining cinnamon sugar mixture evenly over the very top of the loaf. This final dusting will create a beautiful, subtly crisp, and wonderfully sweet crust as it bakes.
- Bake to Perfection: Place the loaf pan into your preheated oven and bake for approximately 50-60 minutes. Begin checking for doneness around the 50-minute mark by inserting a wooden skewer or toothpick into the center of the loaf. It should come out clean. If the top begins to brown too quickly before the center is cooked, you can loosely tent the loaf with aluminum foil.
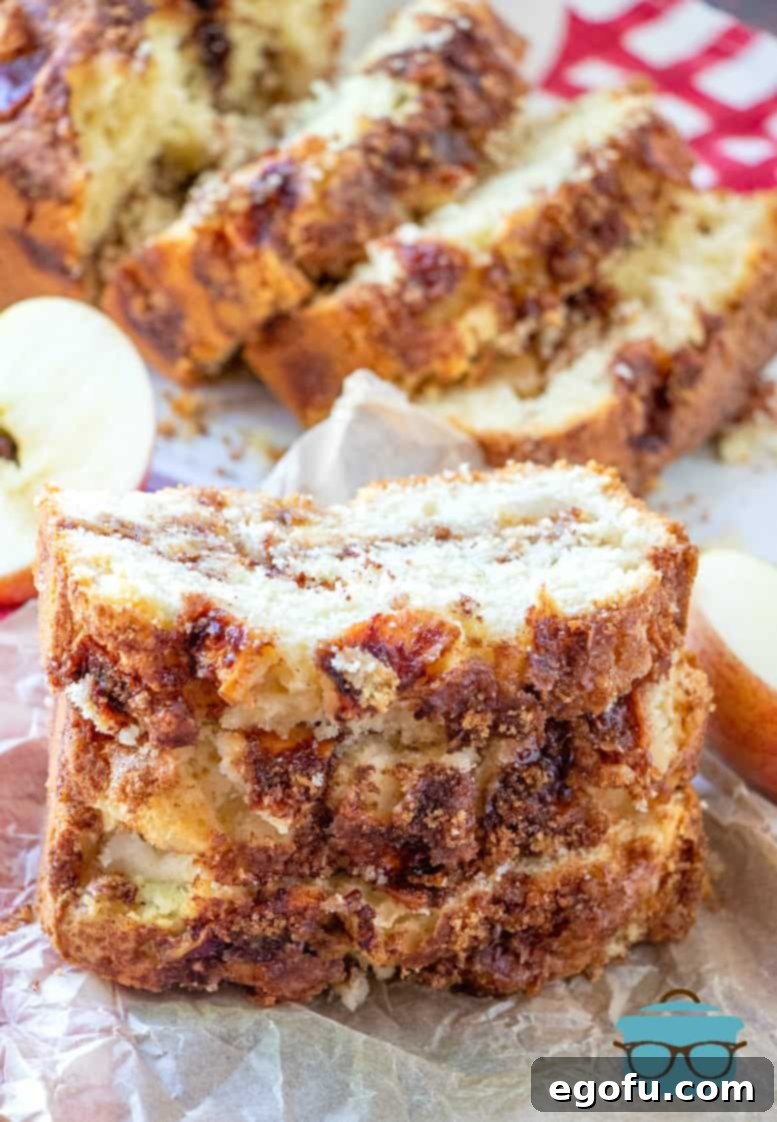
- Cooling is Key: Once baked, remove the bread from the oven and allow it to cool in the pan for at least 15-20 minutes on a wire rack. This critical step allows the bread to set and firm up, preventing it from collapsing and making it much easier to remove from the pan and slice cleanly. After this initial cooling, carefully invert the bread onto the wire rack to cool completely before slicing and serving.
Serving Suggestions for Your Apple Pie Bread
This Apple Pie Bread is a delight all on its own, but it also pairs beautifully with a variety of accompaniments. Here are a few ideas to make your experience even more special:
- Simple & Warm: A slice of warm bread with a dollop of salted butter is pure comfort. The butter melts into the soft crumb, enhancing its richness.
- Dessert A La Mode: For an indulgent dessert, serve a slightly warm slice with a scoop of creamy vanilla bean ice cream. The contrast of warm bread and cold ice cream is divine.
- Cream Cheese Glaze: Elevate it with a simple, sweet cream cheese glaze. Whisk together powdered sugar, a touch of milk, and a dollop of softened cream cheese for a decadent topping.
- Coffee or Tea Companion: It’s the perfect treat to enjoy with your morning coffee, an afternoon cup of tea, or a glass of cold milk.
- Breakfast Bliss: Enjoy it as a hearty breakfast, perhaps lightly toasted, for a sweet and satisfying start to your day.
More Delicious Apple and Cinnamon Recipes to Try
If you’re loving the comforting flavors of apple and cinnamon, you’ll definitely want to explore these other fantastic recipes that celebrate these seasonal favorites:
- Easy Apple Pie Cinnamon Rolls
- Instant Pot Southern Fried Apples
- Apple Dessert Pizza
- Apple Pie Poke Cake
- Crock Pot Caramel Apple Dip
- Upside Down Apple Cake
- Fried Apples
- Irish Apple Cake
- Apple Pie Bars
- Cinnamon Roll Cake
- Cinnamon Swirl Banana Bread
- Dollywood Cinnamon Bread
- Cinnamon Bread
- Coconut Bread
- Apple Spice Cake with Brown Sugar Frosting
- 40 Best Fall Apple Recipes
Recipe Card: Apple Pie Bread

The Best Apple Bread
This homemade Apple Pie Bread is a sweet, moist dessert bread featuring delightful layers of rich brown sugar and juicy chunks of fresh apples, creating a comforting treat perfect for any occasion.
- Prep Time: 15 minutes
- Cook Time: 55 minutes
- Total Time: 1 hour 10 minutes
- Yield: 8 servings
- Author: Brandie Skibinski
Ingredients
- ½ cup packed light brown sugar
- 1 ½ teaspoons ground cinnamon
- ⅔ cup granulated sugar
- ½ cup salted butter (1 stick), softened to room temperature
- 2 large eggs
- 2 teaspoons vanilla extract
- 1 ½ cups all-purpose flour
- 1 ½ teaspoon baking powder
- ½ cup milk
- 1 ¼ cup peeled and chopped apples (into 2-inch chunks) – about 2 small apples (Fuji or Granny Smith recommended)
Instructions
- Preheat oven to 350°F (175°C). Spray a 9×5-inch loaf pan with nonstick cooking spray.
- In a bowl, mix together ½ cup packed light brown sugar and 1 ½ teaspoons cinnamon. Set aside.
- Using a stand mixer or electric hand mixer, cream together ⅔ cup granulated sugar and ½ cup softened salted butter until smooth and fluffy.
- Mix in 2 large eggs and 2 teaspoons vanilla extract until fully combined.
- Stir in 1 ½ cups all-purpose flour, 1 ½ teaspoon baking powder, and ½ cup milk. Mix until just combined; avoid overmixing.
- Pour half of the batter into the prepared loaf pan.
- Cover this layer with half of the 1 ¼ cup chopped apples. Gently press the apples into the batter.
- Sprinkle the apples with half of the prepared cinnamon sugar mixture.
- Pour the remaining batter over the apple and cinnamon sugar layer, spreading evenly.
- Top with the remaining chopped apples, pressing them gently into the batter.
- Sprinkle the remaining cinnamon sugar mixture on top of the loaf.
- Bake for about 50-60 minutes, or until a toothpick inserted into the center comes out clean. If the top browns too quickly, tent loosely with foil.
- Allow the bread to cool completely in the pan for 15-20 minutes before removing it to a wire rack to cool fully before slicing.
Recipe Video
Notes from the Kitchen
Please remember that baking times can vary significantly depending on your specific oven (electric, gas, convection) and the type of baking pan used (metal, ceramic, Pyrex). Even the oven rack position can affect the outcome. Always rely on the toothpick test for doneness: a toothpick inserted into the center should come out clean. Start checking at the earliest recommended baking time and adjust as necessary. Your personal knowledge of your oven is your best guide!
- Course: Dessert
- Cuisine: American
Nutritional Information (Estimated)
Here’s an estimated nutritional breakdown per serving:
- Calories: 344 kcal
- Carbohydrates: 52g
- Protein: 4g
- Fat: 13g
- Sodium: 129mg
- Fiber: 1g
- Sugar: 33g
Nutritional Disclaimer
The nutritional information provided here is an estimate calculated based on the listed ingredients. As we are not registered dieticians or nutritionists, we strongly recommend running the ingredients through your preferred online nutritional calculator for precise values, especially if calorie count and other nutritional details are critical for your dietary needs. Please note that nutritional values can fluctuate based on the specific brands of ingredients used and any modifications made to the recipe.
Did you bake this delightful Apple Pie Bread? We’d love to see it! Share your creation on Instagram @thecountrycook and tag us with #thecountrycook!
Originally published: October 2016
Updated photos & republished: August 2020
