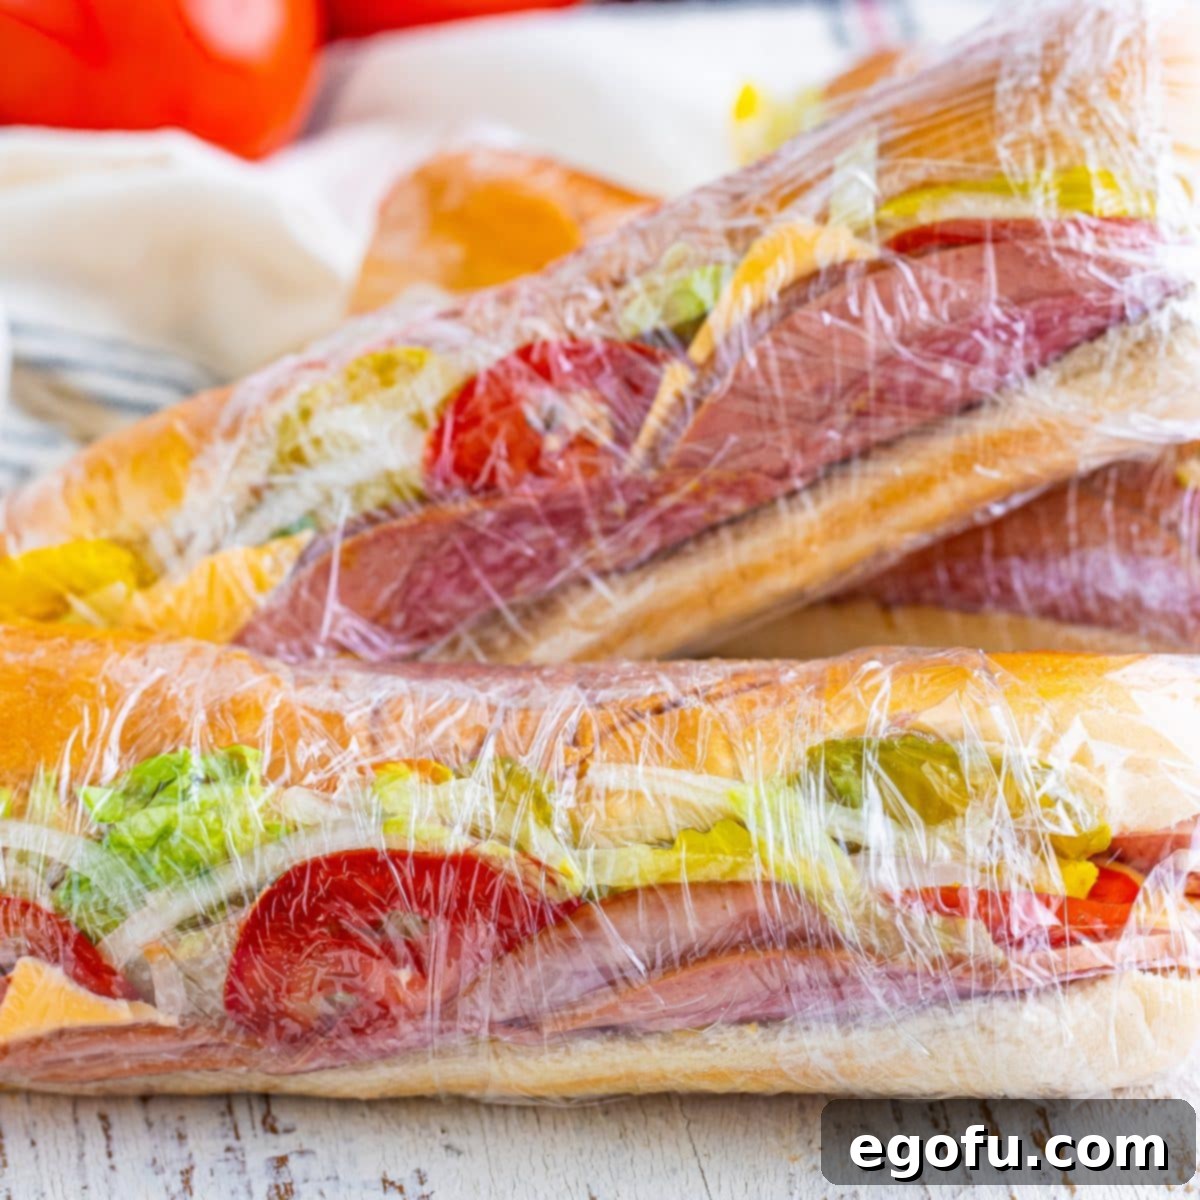
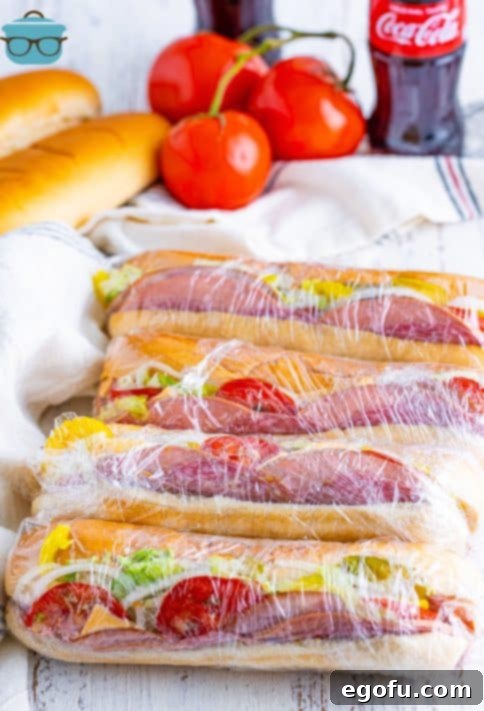
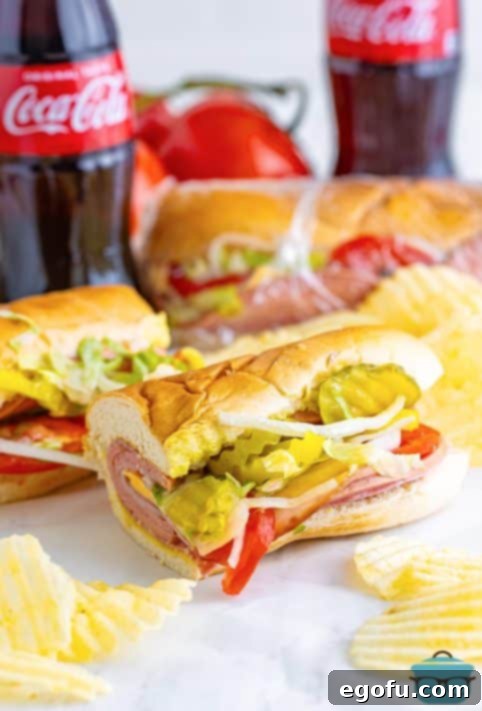
Step back in time and recreate a beloved lunch classic with these authentic copycat Kmart Subs. Featuring your favorite deli meats, crisp cheese, and fresh toppings, each sub is famously wrapped in plastic, allowing the flavors to meld beautifully – just like you remember!
Recreating a Culinary Icon: The Kmart Deli Sub
For many, the Kmart deli counter wasn’t just a place to grab a quick bite; it was an institution, a cherished stop for an affordable and satisfying lunch. The iconic Kmart Sub, with its generous fillings and distinctive plastic wrap, holds a special place in the hearts of those who remember it. This simple yet perfectly balanced sandwich was a lunchtime staple, a reliable and delicious option that fueled countless workdays and shopping trips. What made these subs truly stand out was not just their affordability – imagine a full meal with a sub, chips, and a drink for under three dollars! – but the unique way they were prepared. Made fresh each morning and then tightly swaddled in plastic wrap, they were left to chill, allowing all the ingredients to marry together in a harmonious blend of flavors. This method transformed a simple sandwich into something more, creating a symphony of tastes that was both refreshing and deeply satisfying. This recipe aims to bring that wonderful nostalgia right into your kitchen, allowing you to relive those memorable Kmart days bite by delicious bite.
Why the Kmart Sub Was So Special (And Why You’ll Love This Recipe)
The Kmart deli sub wasn’t a gourmet masterpiece, but its brilliance lay in its unpretentious simplicity and incredible value. It was the epitome of a grab-and-go lunch that didn’t compromise on flavor or satisfaction. The key elements that made it so memorable were a soft, fresh sub roll, a classic combination of deli meats, a slice of creamy American cheese, and a medley of fresh vegetables, all brought together with a generous slather of yellow mustard. But the true magic happened during its brief resting period. Wrapped tightly in plastic, the ingredients had time to “sweat” slightly and meld, creating a distinct taste profile that was more than the sum of its parts. The mustard permeated the bread just enough, the meats and cheese softened, and the veggies contributed their fresh crunch without becoming soggy too quickly. This copycat recipe captures that essence perfectly. It’s designed to bring you back to those simpler times, offering a make-ahead solution for busy days, picnics, or simply when you’re craving a taste of the past. The preparation is straightforward, making it an ideal choice for a quick family meal or for batch prepping lunches for the week. Embrace the nostalgia and discover why this humble sub remains a cherished memory for so many.
Frequently Asked Questions About Kmart Subs
Absolutely! While the original Kmart subs were typically kept simple with yellow mustard, you are welcome to customize your sandwich to your heart’s content. Many Kmart delis would offer mayo packets on the side, allowing customers to add it if they wished. Feel free to include mayonnaise, a splash of oil and vinegar, or even a sprinkle of Italian seasoning to enhance the flavors to your preference. The beauty of a homemade copycat recipe is the freedom to make it your own!
Yes, stacking all those delicious fillings into a sub roll can be a bit tricky, and keeping everything contained while closing it up is key. A helpful trick is to use a butter knife or spatula to gently hold the fillings in place as you bring the top half of the bun over. Once it’s initially closed, you can give it a gentle but firm “squish” to compact the ingredients, which also helps the plastic wrap adhere better and keep the sub together.
Yes, and it’s highly recommended! Just like the Kmart deli prepared their subs in the morning, making these a few hours in advance and storing them wrapped in the refrigerator allows the flavors to truly meld. This resting period is crucial for achieving that authentic Kmart sub taste, as the moisture from the ingredients and the mustard subtly infuse into the bread and each other, creating a more cohesive and delicious sandwich experience.
For the absolute best results and to prevent the fresh vegetables from becoming too soggy, I suggest enjoying these subs on the same day they are made, ideally within a few hours of assembly. If you do need to prepare them for the following day, consider adding the more moisture-rich ingredients like lettuce and tomatoes just before eating. This will help maintain their crispness and prevent the bread from becoming overly soft or mushy.
Absolutely! While this recipe aims for an authentic copycat experience using Genoa salami, bologna, and honey ham, feel free to personalize your subs with your preferred deli meats. Turkey, roast beef, pepperoni, or even a different type of ham would work wonderfully. The goal is to create a sandwich that you and your family will enjoy, so don’t hesitate to experiment with your favorite combinations!
These subs are truly at their peak enjoyment on the day they are assembled, especially after their recommended resting period. Due to the fresh ingredients, particularly the lettuce and tomatoes, they tend to lose their optimal texture if stored for too long. For this reason, it’s generally best to consume them within the same day. Freezing these subs is not recommended, as the fresh produce will not hold up well to the freezing and thawing process.
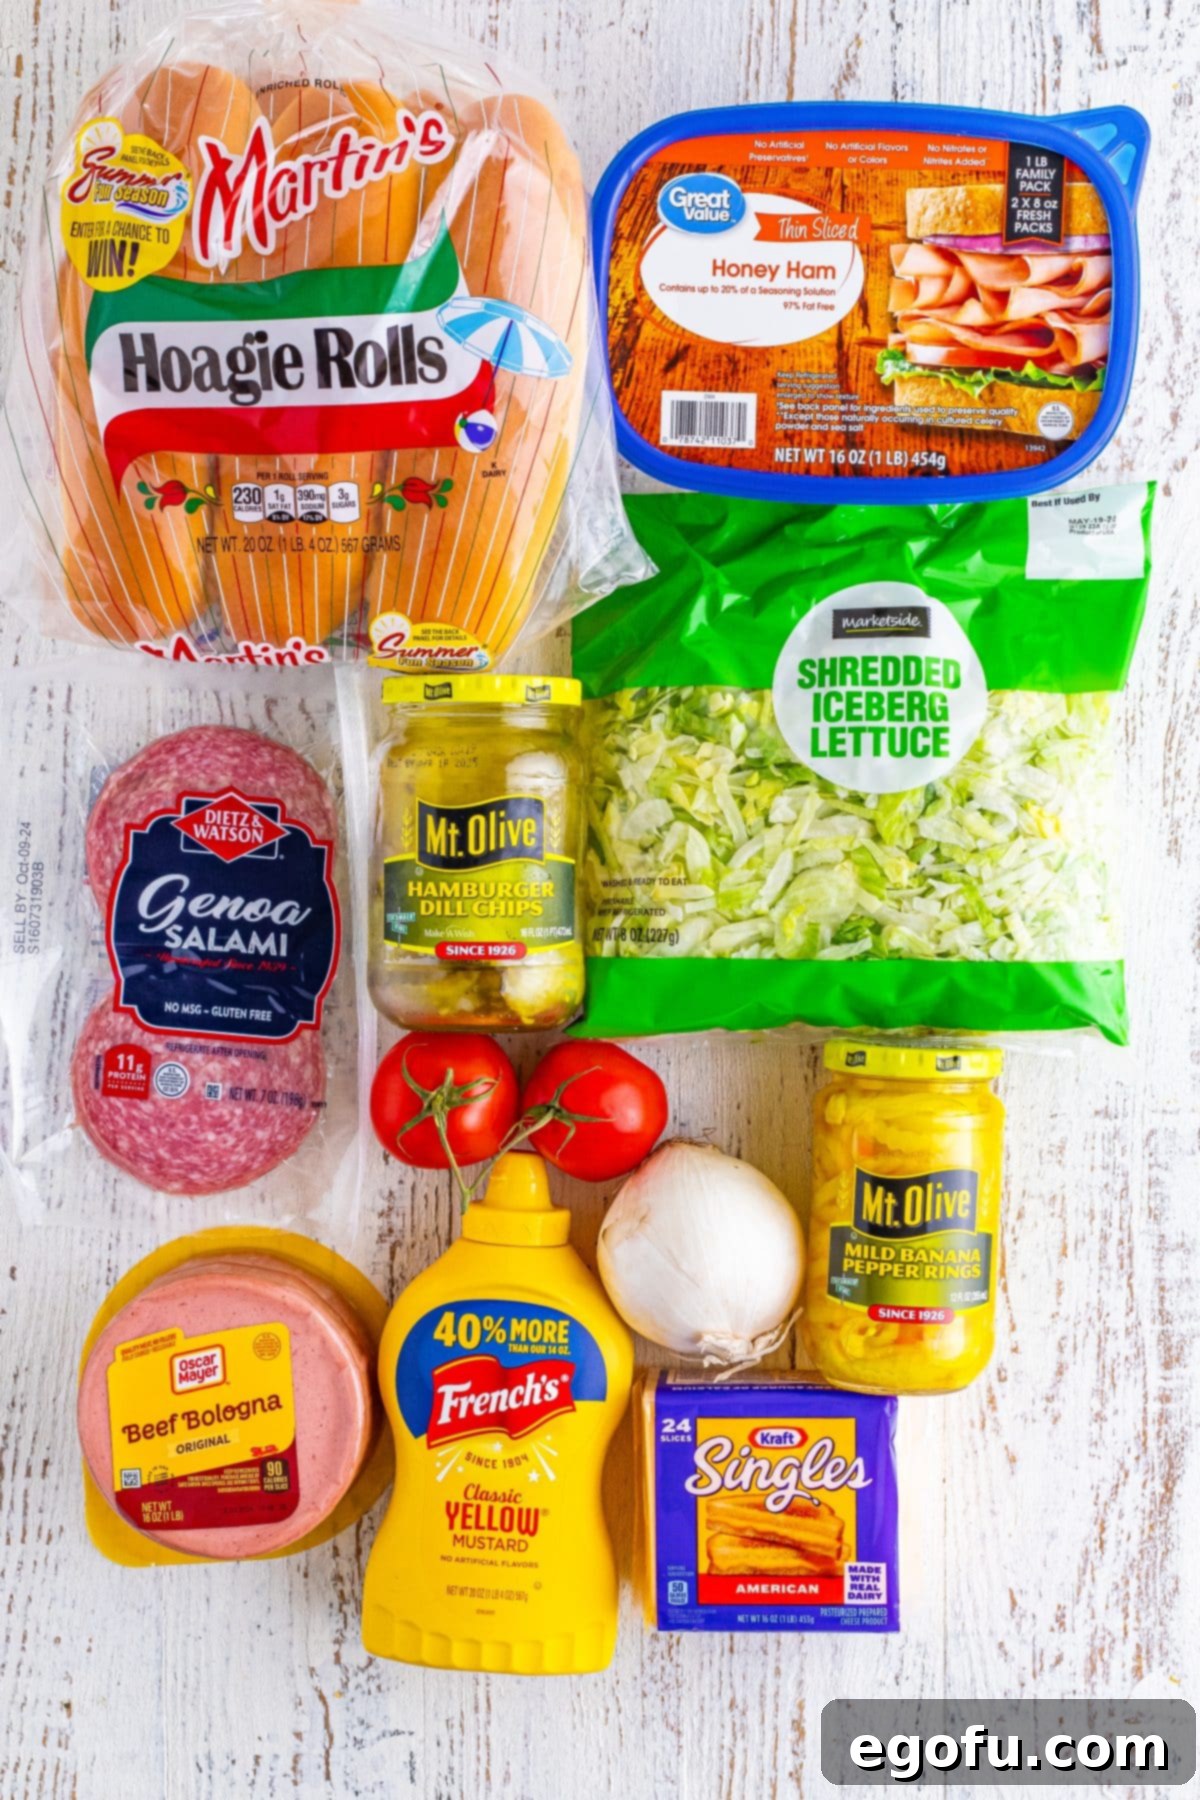
Ingredients Needed for Your Classic Kmart Subs
Creating these nostalgic subs requires a selection of fresh, simple ingredients that come together to form that unmistakable flavor profile. Here’s what you’ll need to gather:
- Soft Sub Rolls: The foundation of any great sub. Look for rolls that are fresh, soft, and have a good chew.
- Yellow Mustard: Essential for that classic Kmart taste. Don’t skimp on this!
- Genoa Salami: Adds a savory, slightly spicy kick that’s characteristic of deli subs.
- Bologna: A classic lunch meat that provides a mild, satisfying flavor and texture.
- Honey Ham: Offers a touch of sweetness that balances the other savory meats.
- American Cheese: Creamy and melts beautifully with the other ingredients, giving that classic deli feel.
- Tomatoes: Freshly sliced, adding juiciness and a hint of acidity.
- Shredded Lettuce: Provides a crisp, refreshing crunch.
- White Onion: Thinly sliced for a sharp, zesty bite.
- Banana Peppers: These add a tangy, mild heat that brightens the entire sandwich.
- Dill Pickle Chips: For that essential briny, crunchy contrast.
For precise measurements and detailed instructions, please refer to the comprehensive recipe card provided below.
Crafting Your Copycat Kmart Subs: A Step-by-Step Guide
Making these Kmart-style subs is a simple and rewarding process. The key is in the layering and the iconic plastic wrap finish. Follow these steps to assemble your delicious, nostalgic lunch:
Prepare the Rolls and Mustard Base
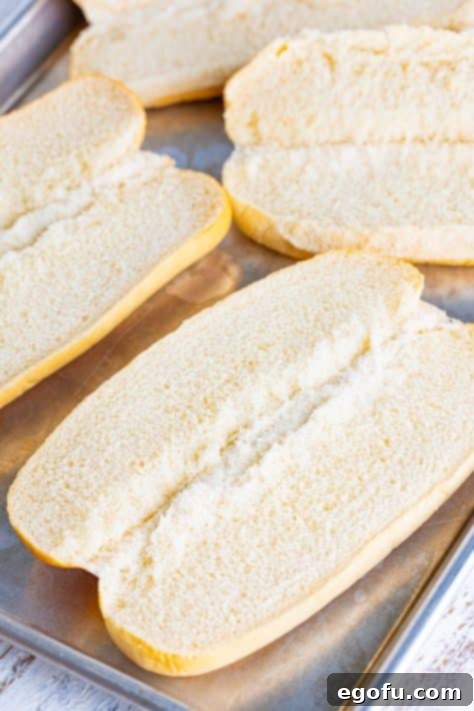
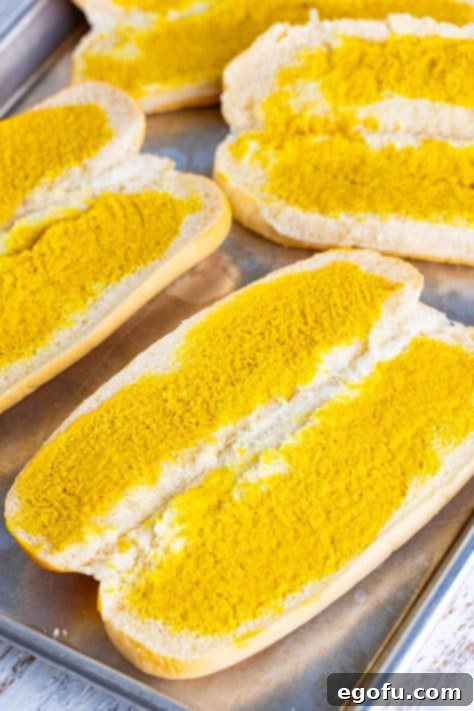
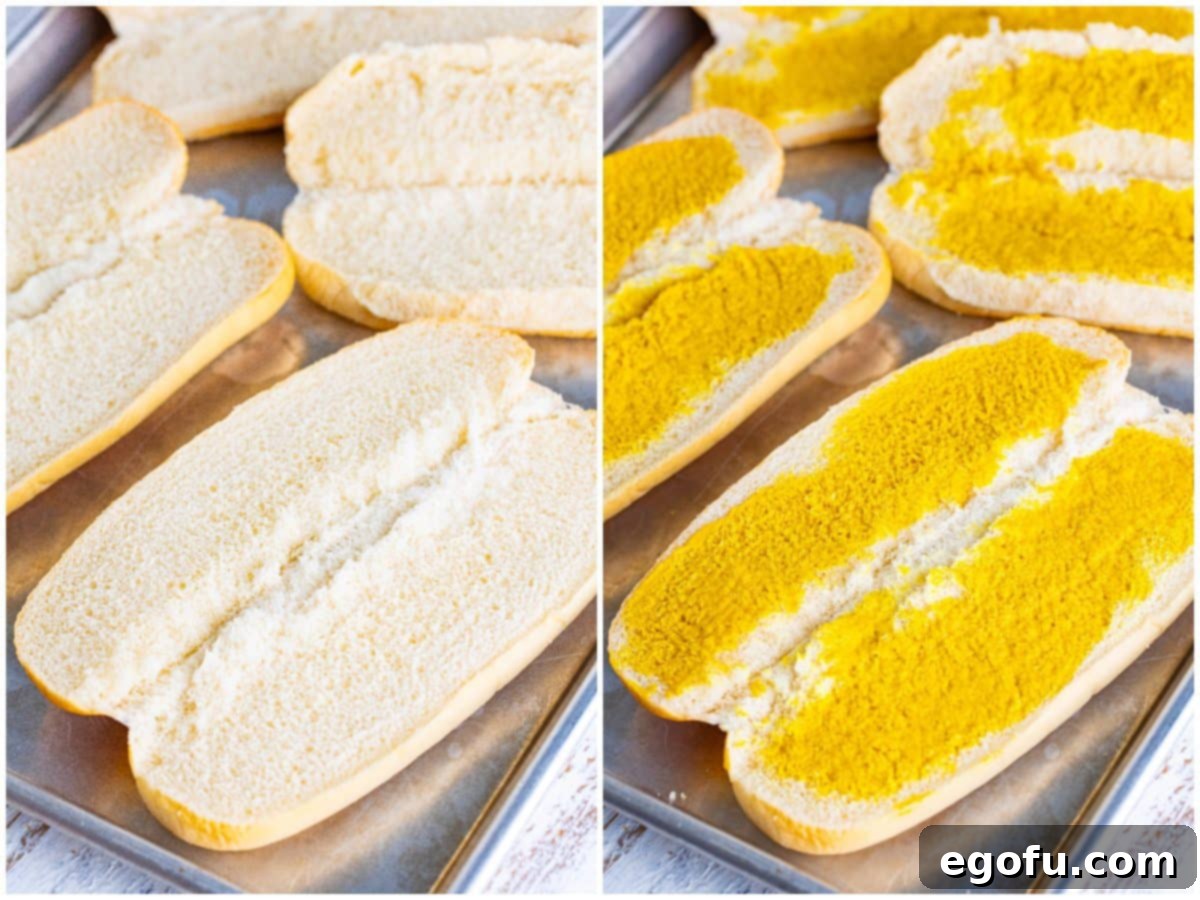
Begin by carefully opening your soft sub rolls. You want to make sure the bread remains largely intact at the seam, creating a hinge. Place the opened rolls, cut-side up, on a large baking sheet or clean work surface. Next, generously spread yellow mustard across both interior sides of each sub roll. This mustard not only adds essential flavor but also acts as a barrier, preventing the bread from becoming too soggy from the other ingredients.
Layer the Meats, Cheese, and Vegetables
Now comes the fun part: loading up your subs! Distribute the Genoa salami, bologna, and honey ham evenly across the mustard-coated rolls. Follow with the slices of American cheese, ensuring they are well-placed. Then, layer on the thinly sliced tomatoes, a generous amount of shredded lettuce, the sharp white onion, tangy banana peppers, and the crunchy dill pickle chips. Don’t be shy with the toppings, as the Kmart subs were known for their hearty fillings!
The Signature Wrap for Flavor Fusion
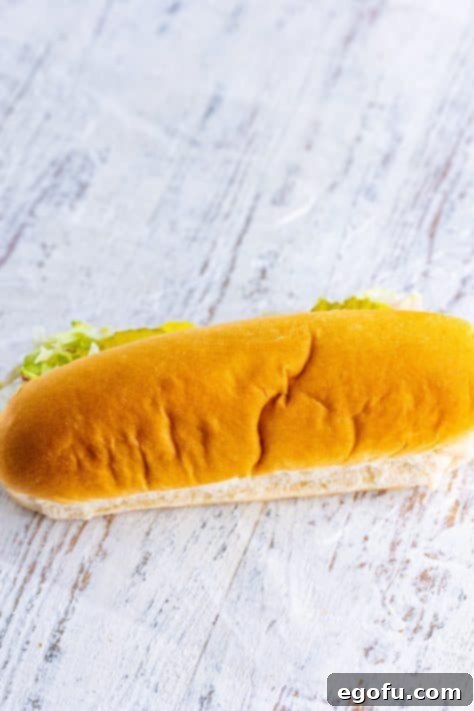
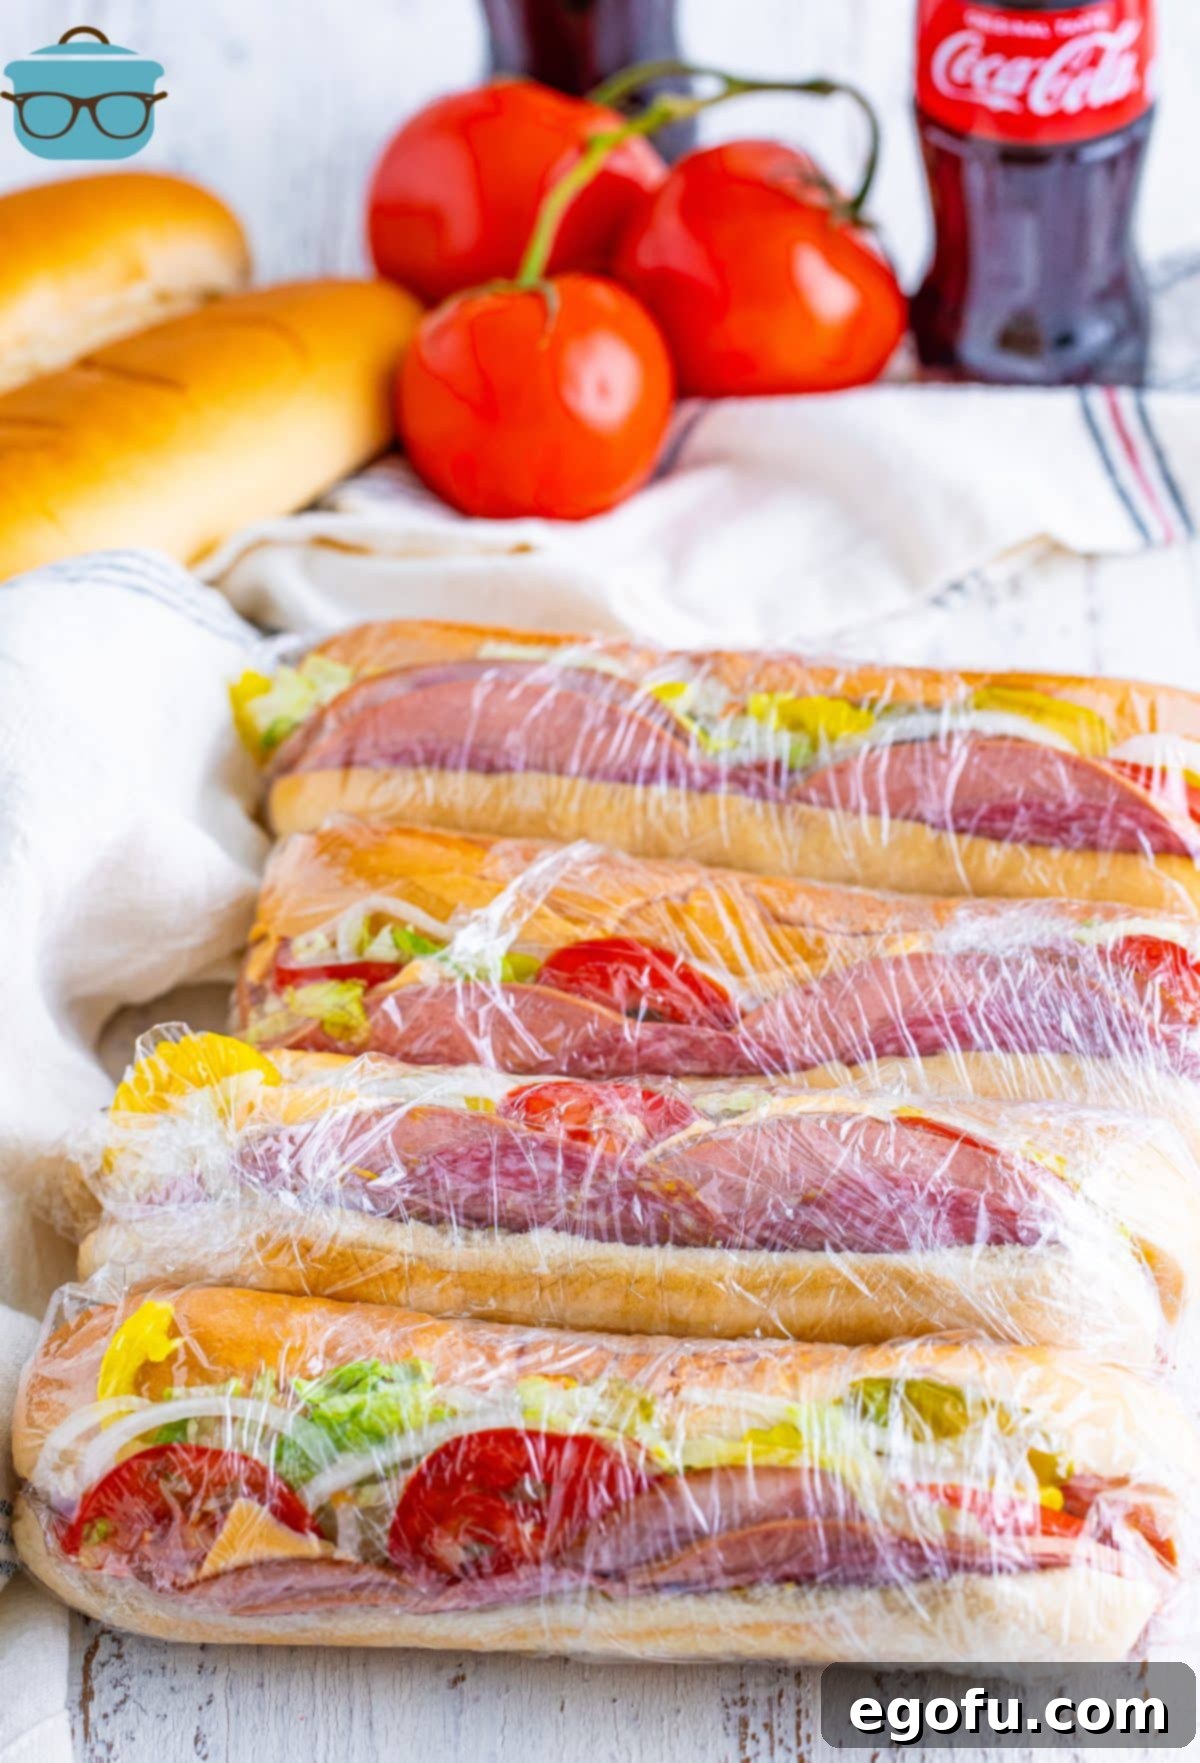
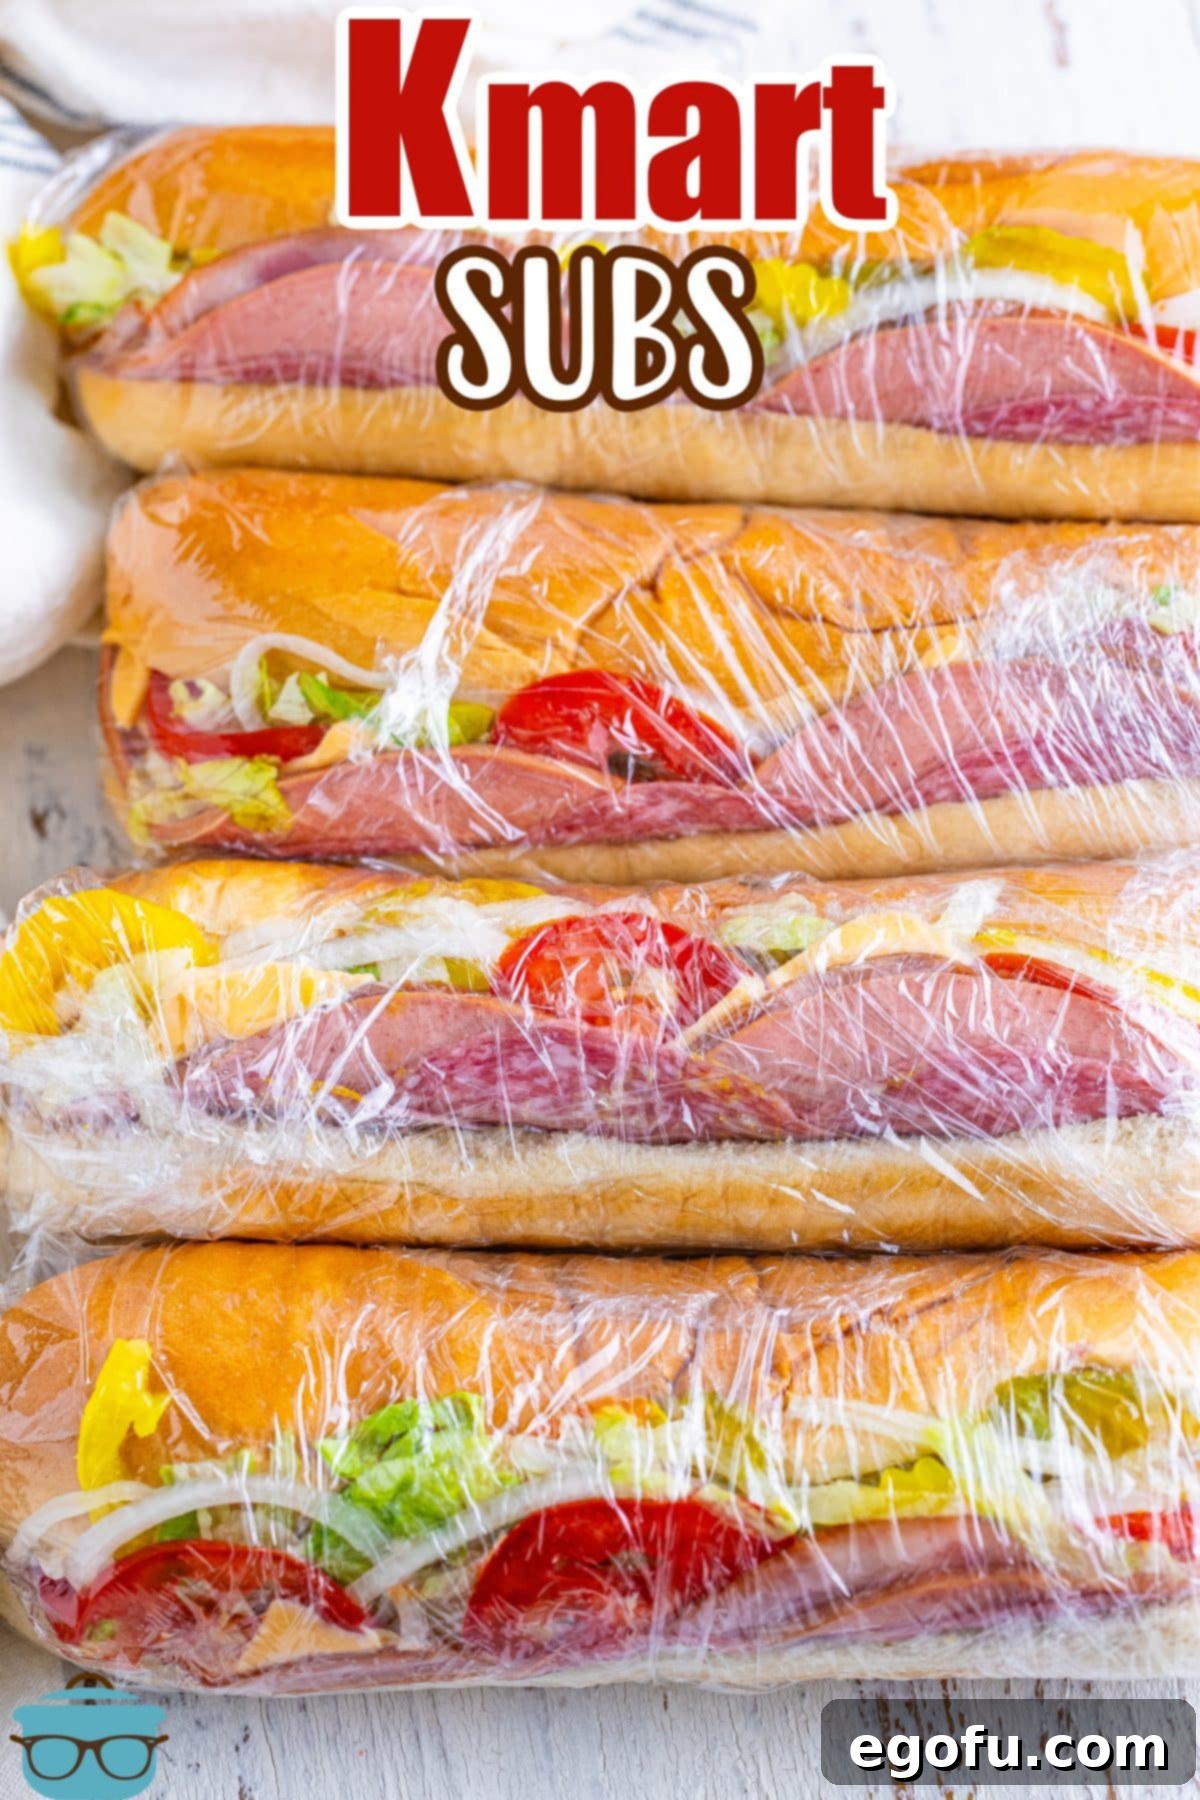
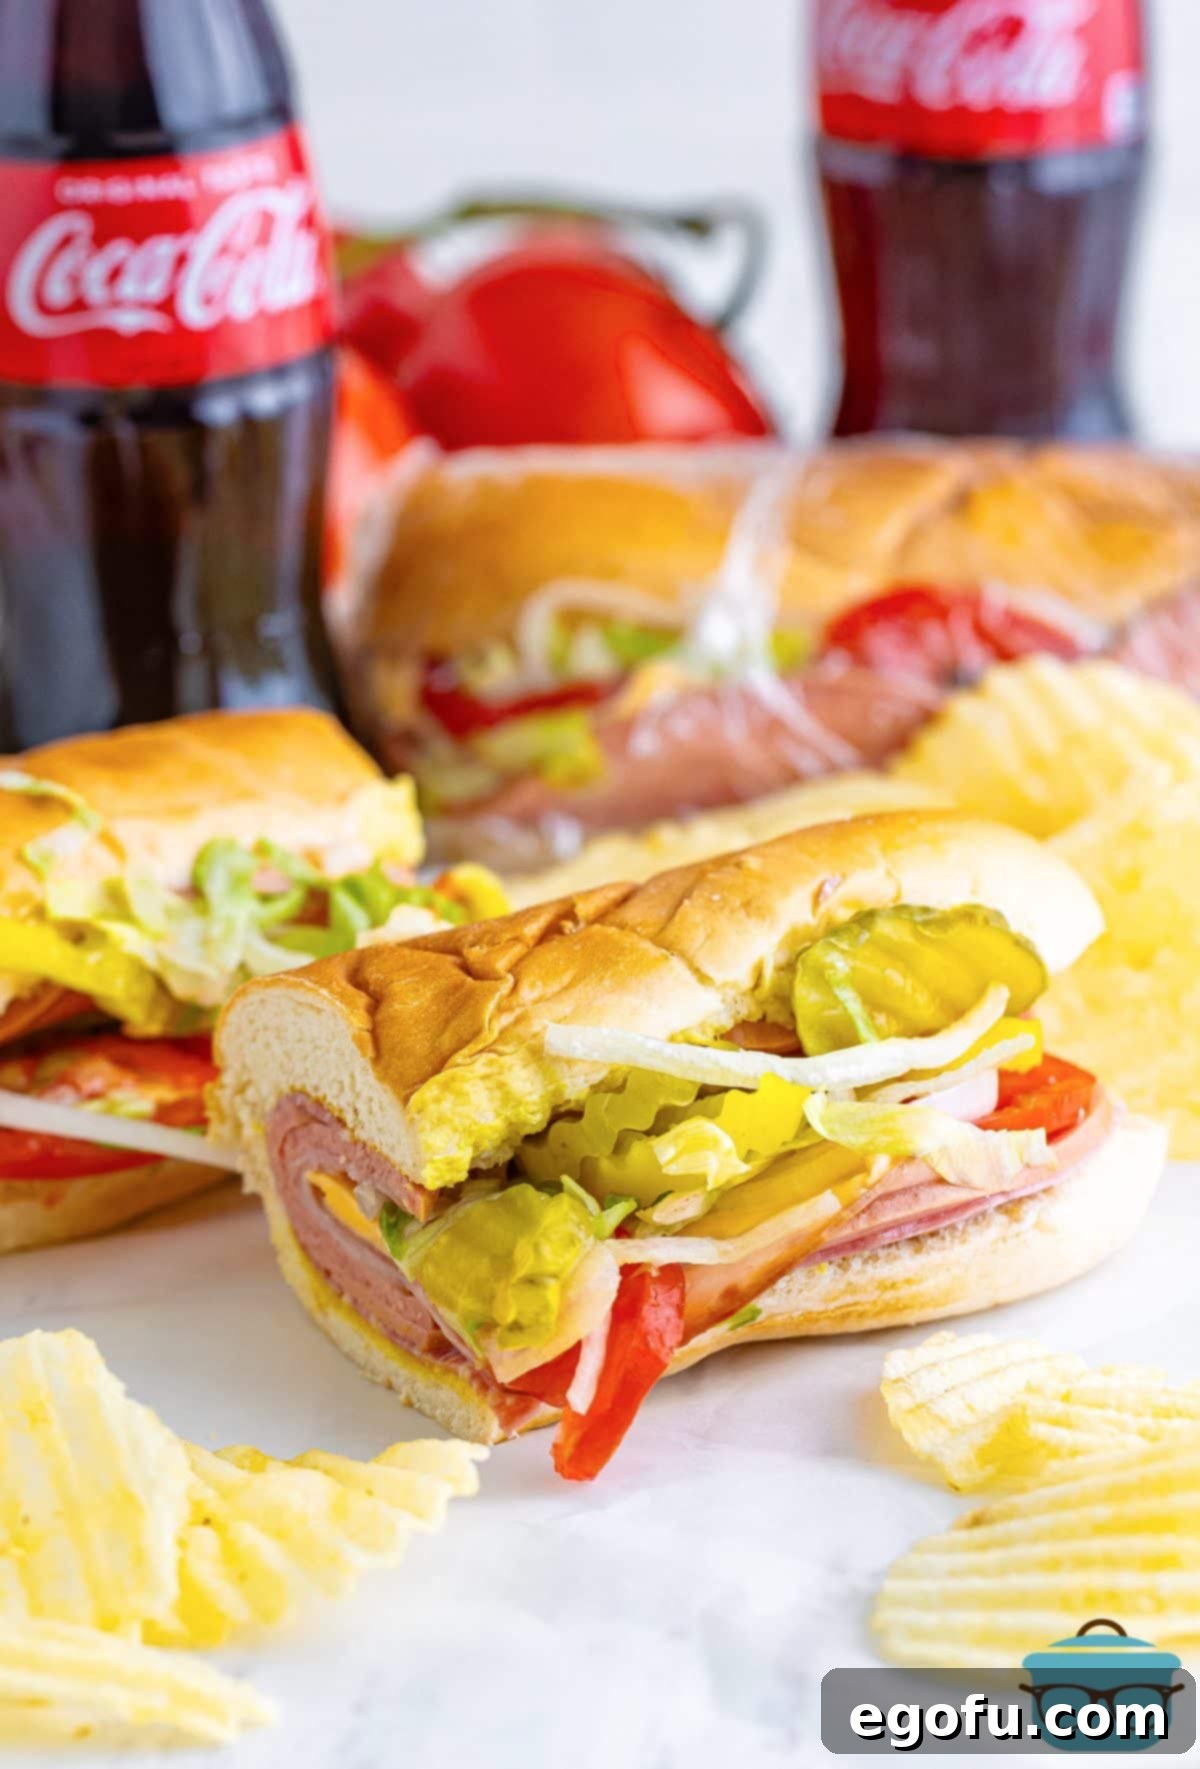
Once your sub is fully loaded, prepare a large piece of plastic wrap. Carefully close one of the subs, gently compacting the fillings to make it manageable. This “smushing” helps to create a uniform shape and allows the flavors to truly press together. Tightly wrap the sub in the plastic wrap, ensuring it’s completely sealed. This signature step is what allows the flavors to meld and develop that distinctive Kmart taste during its resting period. Repeat this process for all remaining subs.

Serve or Chill for Enhanced Flavor
Your Kmart Subs are now ready! While you can certainly serve them immediately, for the most authentic experience, I highly recommend placing them in the refrigerator for at least an hour or two before serving. This chilling time allows the flavors to deepen and meld, just as they did at the Kmart deli, resulting in a perfectly integrated and wonderfully nostalgic sandwich.
Explore More Delicious Sandwich and Sub Recipes!
If you’re a fan of hearty, flavorful sandwiches and subs, you’re in the right place! After enjoying these nostalgic Kmart Subs, you might be looking for your next culinary adventure. We’ve curated a list of other fantastic recipes that celebrate the art of the sandwich, ranging from classic Italian-inspired creations to unique regional specialties. Dive into these delicious options and expand your sandwich repertoire:
- Italian Sub Squares
- Grinder Salad Sandwich
- Italian Sub Skewers
- Italian Grinder Sliders
- Muffaletta Sandwich
- Fried Baloney Sandwich
- Shrimp Po Boys
- Kentucky Hot Brown Sliders
- Meatball Sub Cups
- Maid Rites (Loose Meat Sandwiches)
- Chicken Bacon Ranch Baked Subs

Kmart Subs
Print
Pin
Rate
Ingredients
- 4 soft sub rolls
- 4 Tablespoons yellow mustard (more or less to taste)
- 12 slices Genoa salami
- 8 slices bologna
- 8 slices honey ham
- 4 slices American cheese, cut in half
- 2 medium tomatoes, thinly sliced
- 2 cups shredded lettuce
- 1 white onion, thinly sliced
- banana peppers (to taste)
- dill pickle chips (to taste)
Instructions
- Open 4 soft sub rolls and place them (inside facing up) on a large sheet tray, try to keep the bread intact and not rip it down the seam.

- Spread 4 Tablespoons yellow mustard evenly on each side of all the buns (this is more or less to your tastes).

- Top each of the 4 subs evenly with 12 slices Genoa salami, 8 slices bologna, 8 slices honey ham, 4 slices American cheese, cut in half, 2 medium tomatoes, thinly sliced, 2 cups shredded lettuce, 1 white onion, thinly sliced and banana peppers and dill pickle chips.

- Lay out a large piece of plastic wrap.

- Close one of the subs, kind of smush it so it compacts, and wrap it tightly in the plastic wrap. Repeat with the other subs.

- Serve immediately or place in the fridge until ready to serve (I recommend this for best results).

Notes
- For more detailed insights on ingredient substitutions or answers to common questions, please refer to the Frequently Asked Questions section provided earlier in this article.
Nutrition
Nutritional Disclaimer
“The Country Cook” is not a dietician or nutritionist, and any nutritional information shared is an estimate. If calorie count and other nutritional values are important to you, we recommend running the ingredients through whichever online nutritional calculator you prefer. Calories and other nutritional values can vary quite a bit depending on which brands were used.
