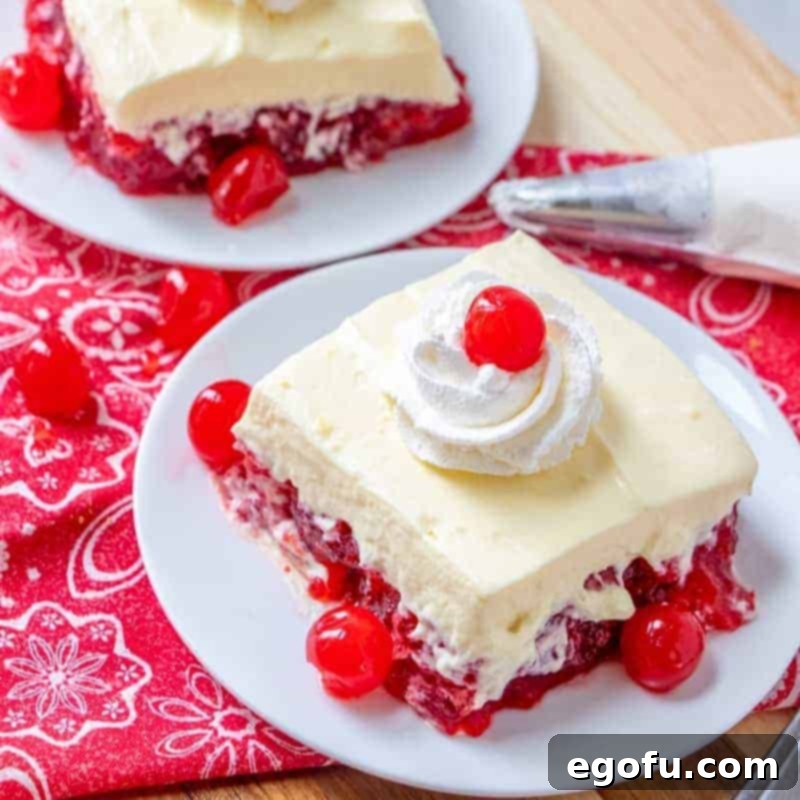
This No-Bake Cherry Jell-O Dessert is more than just a recipe; it’s a guaranteed showstopper at any gathering! Incredibly easy to prepare, this vibrant treat features a delightful blend of sweet cherry gelatin, luscious cherry pie filling, and a dreamy, airy whipped topping. Get ready to impress your guests with minimal effort and maximum flavor.
Effortless Elegance: Introducing Your New Favorite No-Bake Jell-O Dessert
We’re absolutely thrilled to finally share this incredible recipe for our No-Bake Cherry Jell-O Dessert. While it might seem like the quintessential light treat for a scorching summer day, don’t let its refreshing qualities limit your imagination – this dessert truly transcends seasonal boundaries. Its remarkable simplicity and delightful flavor profile make it a fantastic choice all year round, ready to brighten any table with its vibrant color and irresistible taste. Forget turning on the oven or spending hours in the kitchen; this dessert brings pure joy with just a few straightforward steps, making it accessible for even the most novice home cooks. Whether you’re planning a casual family meal or a festive holiday feast, this Jell-O dessert promises to be a memorable addition to your menu.
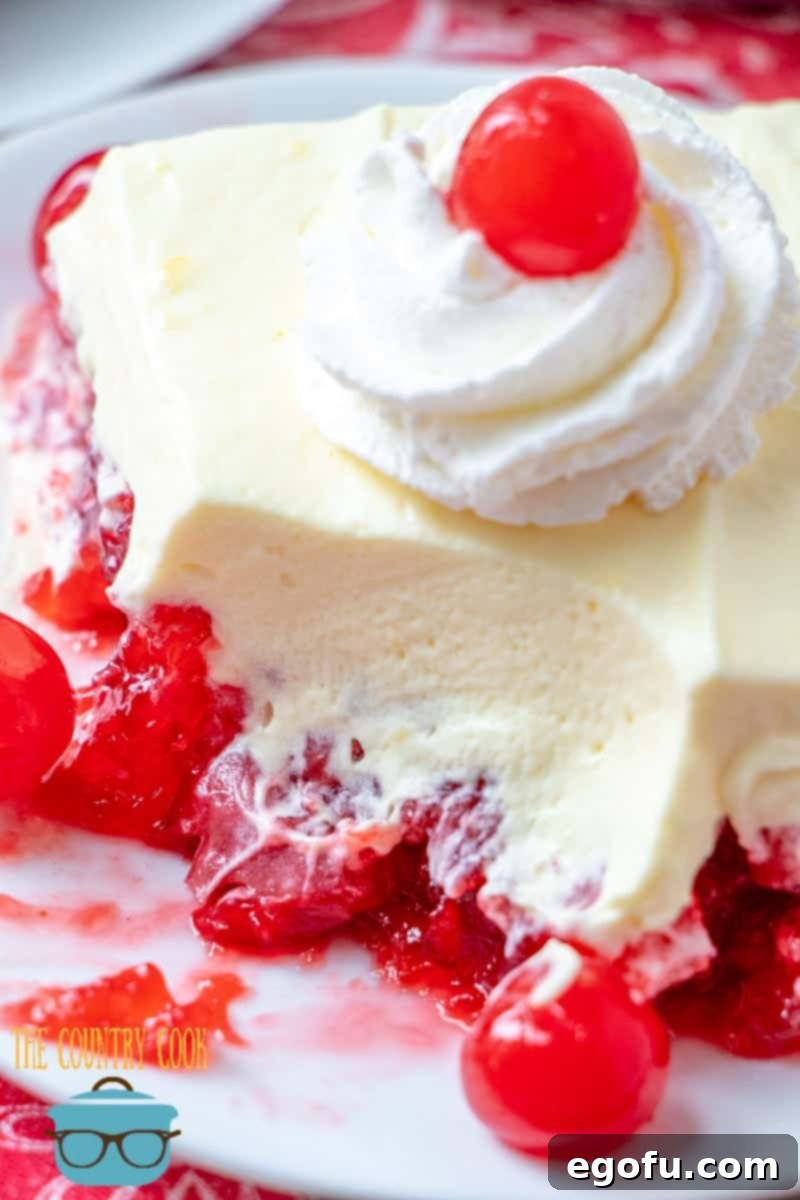
The Undeniable Charm of No-Bake Desserts: Why They’re a Culinary Lifesaver
In our increasingly busy lives, convenience in the kitchen is highly prized, and no-bake desserts perfectly embody this ethos. They liberate you from the confines of the oven, saving significant time and energy, which is particularly beneficial during hot summer months or when your oven is already occupied with other culinary creations. This inherent practicality makes them incredibly versatile and a go-to option for cooks of all skill levels. Beyond their functional advantages, no-bake treats often possess a unique and appealing texture – think light, airy, and wonderfully refreshing – providing a welcome contrast to heavier, baked confections. Our No-Bake Cherry Jell-O Dessert magnificently highlights these benefits, offering a fuss-free solution for satisfying your sweet cravings or serving as an impressive yet easy crowd-pleaser for any event. It’s the kind of dessert that feels special and indulgent but demands minimal kitchen prowess, allowing you to maximize your time enjoying the company of your loved ones rather than laboring over hot equipment.
A Versatile Delight: Perfect for Any Holiday or Gathering
While this No-Bake Cherry Jell-O Dessert might have initially been envisioned as a quintessential summer treat, its true brilliance lies in its remarkable adaptability. The dessert’s vivid red hue and refreshingly cool taste position it as an ideal candidate for almost any holiday celebration or family get-together throughout the year. Envision it beautifully adorning your Christmas or Valentine’s Day spread, contributing a festive splash of color that instantly elevates the mood. It’s equally at home at lively Fourth of July barbecues, casual family potlucks, or even as a wonderfully light counterpoint to the rich, hearty meals that are traditionally savored during the crisp days of fall and the cozy depths of winter. After indulging in a substantial holiday feast, a dessert that is light, bursting with fruit flavor, and deliciously cool is often precisely what everyone yearns for. The harmonious fusion of sweet cherries, the subtle tang of pineapple, and the velvety smoothness of the vanilla topping creates a perfectly balanced flavor profile that expertly cleanses the palate, leaving a pleasant, satisfying impression without any lingering heaviness. This ensures that your dessert dish will undoubtedly return home empty, a testament to its universal appeal and deliciousness.
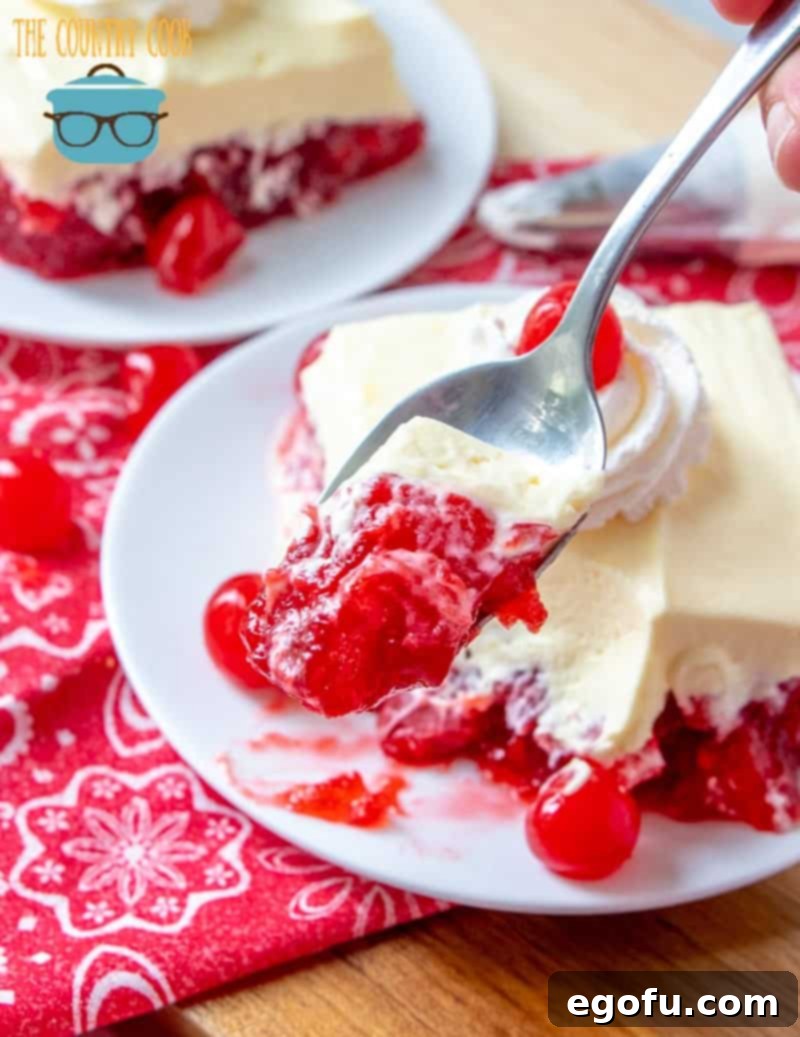
Unleash Your Inner Chef: Customizing Your Jell-O Dessert with Endless Variations
One of the most thrilling and enjoyable aspects of this no-bake gelatin dessert is its incredible flexibility, inviting you to unleash your culinary creativity. While our cherry version stands as a timeless and beloved classic, the potential for customization is truly boundless. You have the freedom to transform this recipe into a unique creation that perfectly suits your taste or the occasion by experimenting with various Jell-O flavors and their complementary pie fillings. Strawberry Jell-O expertly paired with strawberry pie filling is another perennially popular choice, delivering a familiar yet equally delightful experience that consistently earns rave reviews. But why limit yourself? Dare to explore beyond the traditional with these exciting combinations:
- Mixed Berry Medley: Opt for raspberry Jell-O combined with a rich mixed berry pie filling to achieve a deeper, more sophisticated berry profile that’s both sweet and tart.
- Exotic Tropical Escape: Choose orange or vibrant pineapple Jell-O, then complement it with a luscious peach or exotic mango pie filling for a truly tropical sensation that transports you to sunnier climes.
- Zesty Apple Delight: For a refreshing contrast, pair tangy lime Jell-O with classic apple pie filling. The zestiness of the lime perfectly balances the sweet warmth of the apple.
- Grape & Berry Fusion: Venture into unique territory with grape Jell-O alongside a sweet blueberry pie filling for a distinctively fruity treat that surprises and delights.
Beyond flavor pairings, you can introduce other elements to further enhance the dessert’s texture and overall appeal. Consider gently folding in a handful of fresh, seasonal berries such as sliced strawberries, plump blueberries, or juicy raspberries into the Jell-O layer just before it sets. A delicate sprinkle of toasted shredded coconut or finely chopped nuts, like pecans or walnuts, on top of the creamy whipped layer can add a wonderful textural crunch and depth of flavor. For those seeking an extra touch of indulgence, a drizzle of rich chocolate syrup or a scattering of elegant chocolate shavings can transform this delightful dessert into an even more decadent experience. This versatile recipe is designed not only to satisfy your sweet tooth but also to evoke a charming sense of childlike joy, delivering a light and refreshing dessert that everyone, regardless of age, will absolutely adore. The inherent beauty of its simplicity ensures that you can continually invent new variations, perfectly tailored to any preference or event. No matter what creative combination you ultimately choose, you are absolutely guaranteed to produce a dessert that will vanish from the serving dish in record time!
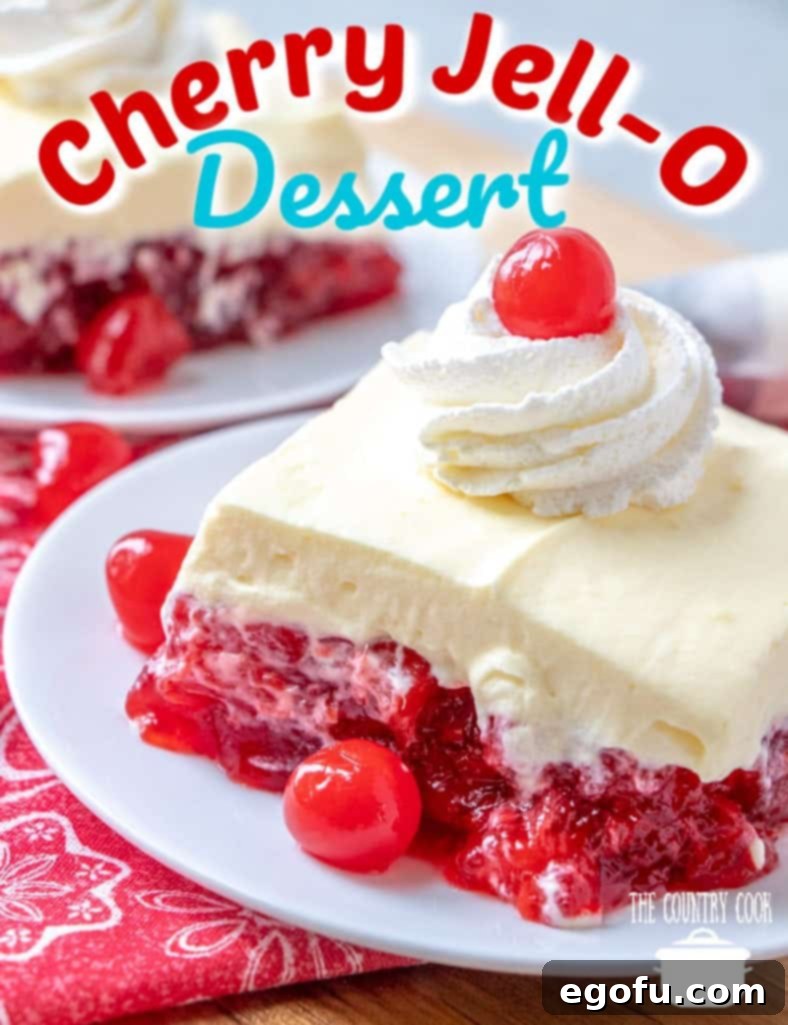
Essential Ingredients for Your No-Bake Masterpiece:
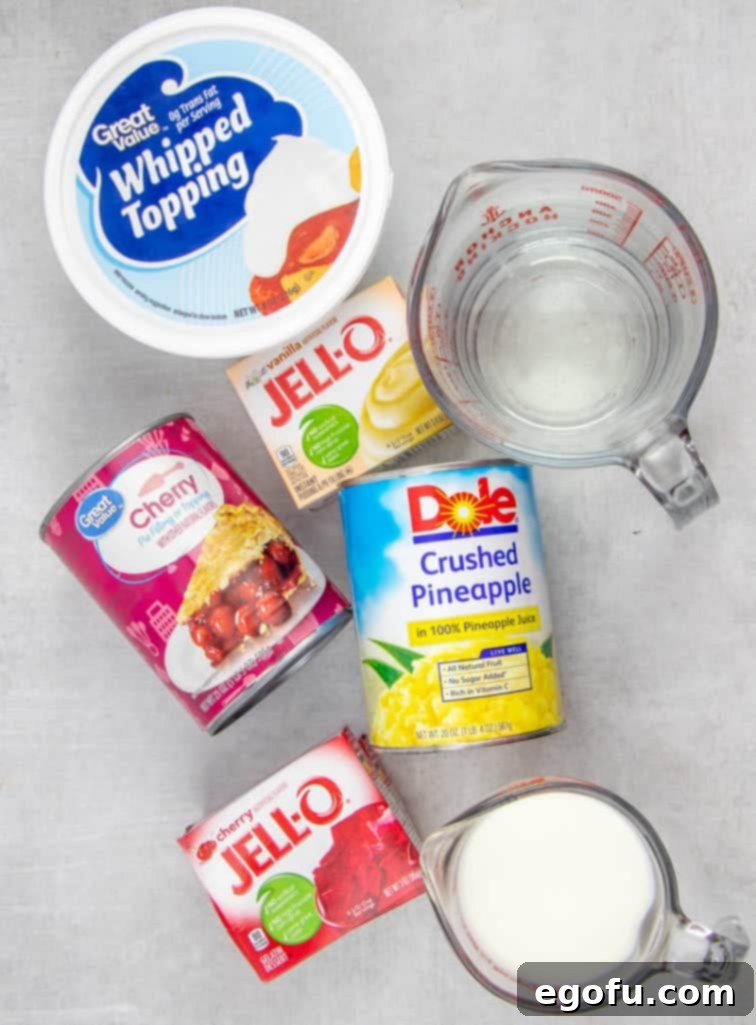
Crafting this fantastic and visually stunning dessert requires just a handful of readily available ingredients, most of which you likely already have in your pantry or can easily find at any grocery store. Here’s a detailed look at what you’ll need and precisely why each component plays a vital role in achieving the perfect balance of flavor and texture:
- Cherry Gelatin (Jell-O): A 6-ounce box, which is typically the larger size available, forms the vibrant, fruit-flavored foundation of our dessert. Its characteristic sweet and tangy cherry flavor is undeniably the star, providing that nostalgic taste everyone loves.
- Boiling Water: This is a critically important ingredient for completely dissolving the gelatin crystals. Using boiling water ensures that the Jell-O sets smoothly and without any granular texture, which is essential for the overall quality of the first layer.
- Crushed Pineapple in Juice (Do Not Drain): This ingredient is an absolute game-changer, adding an unexpected but delightful dimension! The pineapple not only introduces a wonderful, bright tropical tang that beautifully complements the sweet cherry, but crucially, leaving all its natural juice in provides essential extra liquid and a pleasant pulpy texture, preventing the Jell-O from becoming overly firm or rubbery.
- Cherry Pie Filling: This component works double duty by delivering an intensified cherry flavor and providing delightful, tender fruit chunks throughout the Jell-O layer. It adds a rich, homemade quality and satisfying mouthfeel without the need for any additional preparation.
- Instant Vanilla Pudding: This is the secret weapon for creating our dreamy, stable, and irresistibly creamy topping. Instant pudding mix quickly thickens when combined with cold milk, forming the perfect light yet substantial base for the final layer.
- Cold Milk: Just like with any instant pudding, cold milk is essential. It efficiently activates the thickening agents in the instant pudding mix, allowing it to set up rapidly and create a smooth, rich, and velvety consistency for the topping.
- Whipped Topping (COOL WHIP): The final flourish that ties everything together! Thawed store-bought whipped topping provides a wonderfully light, airy, and incredibly creamy layer that perfectly balances the intense fruitiness of the Jell-O below. Its inherent stability also ensures that your beautiful dessert holds its shape and structure flawlessly, especially when made ahead of time.
Crafting Your Delightful Cherry Jell-O Dessert: A Simple Step-by-Step Guide
Follow these straightforward instructions carefully to create a truly show-stopping dessert that tastes as magnificent as it looks. Remember, the ultimate key to success with any no-bake dessert, especially one featuring gelatin, is allowing ample chilling time for each layer to set properly!
For the Jell-O Filling:
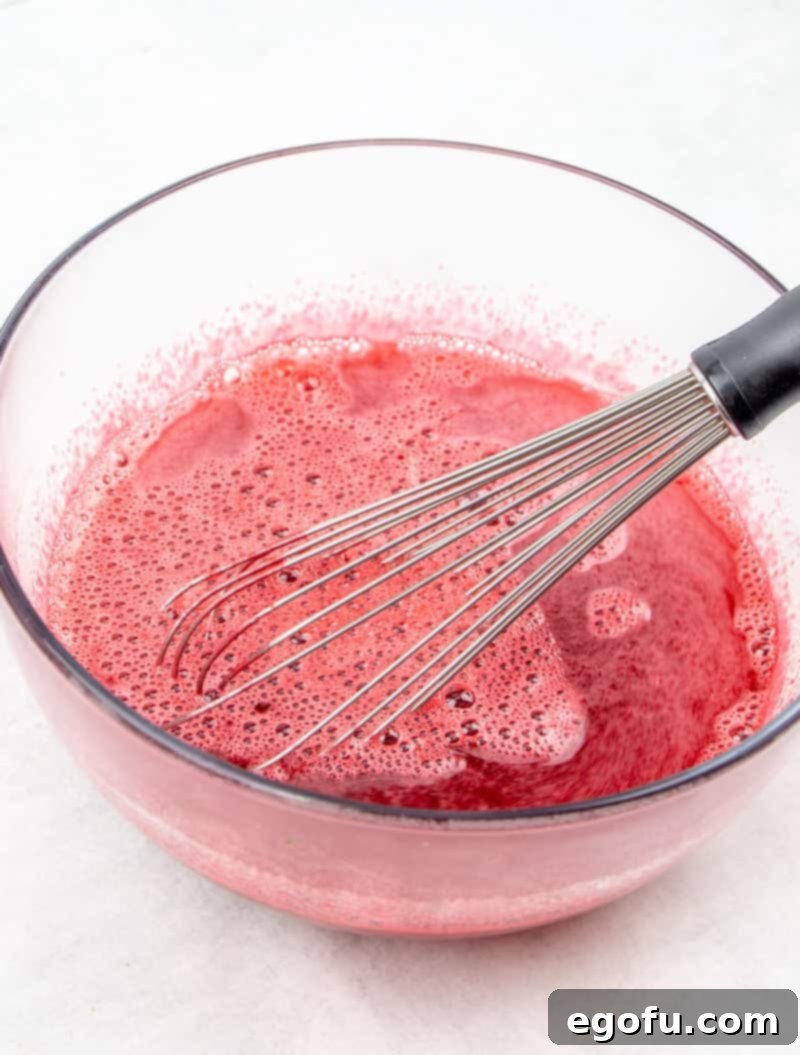
Begin by taking a large mixing bowl. Into this bowl, empty the entire contents of the 6-ounce box of cherry Jell-O gelatin powder. Carefully pour in exactly 2 cups of freshly boiling water. Now, using a sturdy whisk, stir the mixture vigorously for a full 2 minutes, or even slightly longer, ensuring that every single gelatin crystal is completely dissolved. It is crucial that there is absolutely no granular residue visible at the bottom of your bowl, as thorough dissolution is fundamental for the Jell-O to set correctly and achieve its signature smooth, shimmering texture.
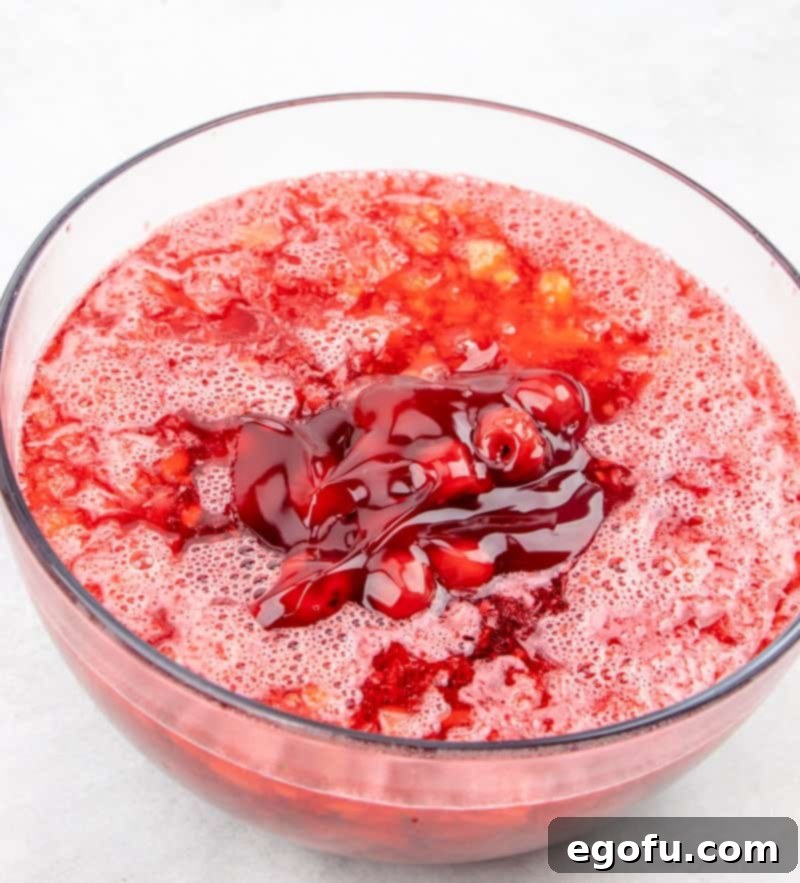
Next, gently introduce the entire 20-ounce can of crushed pineapple into the gelatin mixture. This includes all of its natural juice – it is very important not to drain the pineapple, as the juice significantly contributes to the dessert’s overall moisture content, vibrant flavor, and delightful texture. Immediately after, add the full 21-ounce can of cherry pie filling. Using a spatula or a large spoon, carefully fold these ingredients together until they are thoroughly combined and evenly distributed throughout the luscious cherry gelatin mixture. You’ll particularly appreciate how the succulent chunks of cherry and tangy pineapple add wonderful bursts of flavor and varied texture in every spoonful.
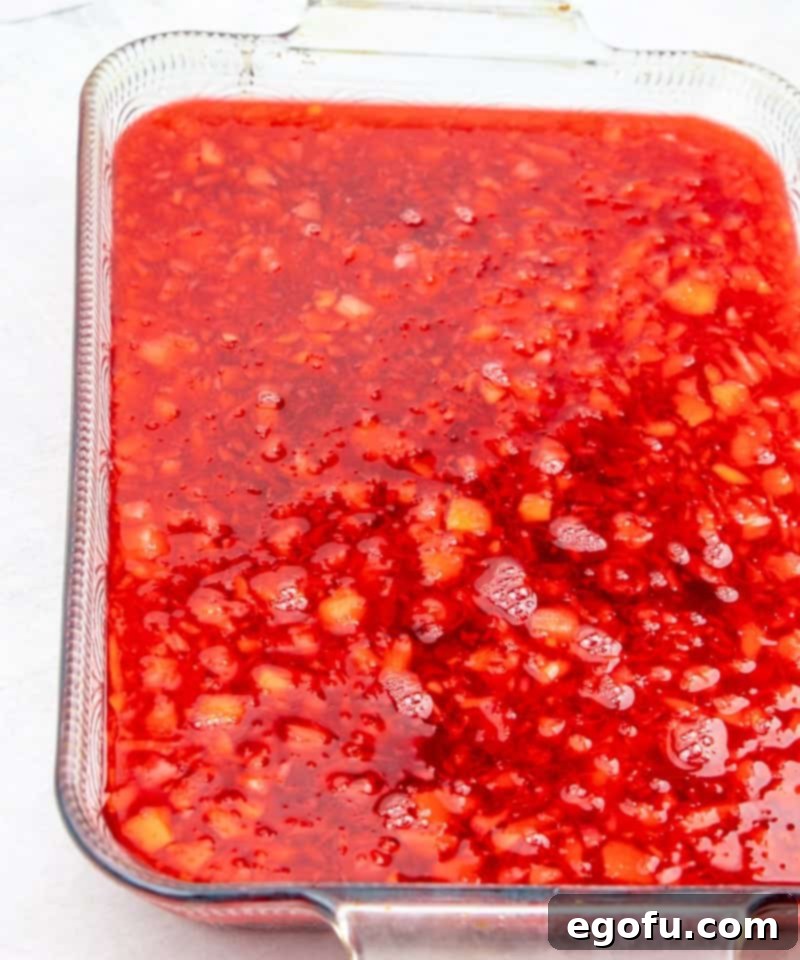
Once your mixture is perfectly combined, carefully pour this vibrant, fruity liquid evenly into a standard 9×13-inch baking dish. Take care to spread it so the thickness is consistent across the dish. Then, cover the dish tightly with plastic wrap. This is an important step to prevent any undesirable “skin” from forming on the surface of the gelatin as it chills and also to shield it from absorbing any unwanted odors from other items in your refrigerator. Transfer the covered dish to the refrigerator and allow it to chill for a minimum of 4 hours, or until the Jell-O layer is completely set and feels firm and resilient to the touch. Exercising patience during this chilling period ensures a perfectly solid and stable foundation for your exquisite creamy topping.
For the Creamy Topping:
After your Jell-O filling has had sufficient time to thoroughly set and firm up, it’s time to prepare the delectable and airy topping. In a clean, medium-sized mixing bowl, whisk together the contents of the 3.4-ounce box of instant vanilla pudding mix with precisely 1 cup of cold milk. Continue whisking diligently until the mixture is completely smooth and all the pudding powder is fully integrated. Allow this mixture to stand undisturbed for 1 to 2 minutes. During this brief resting period, you will observe the instant pudding beginning to thicken noticeably, transforming into a rich, luscious, and custard-like base.
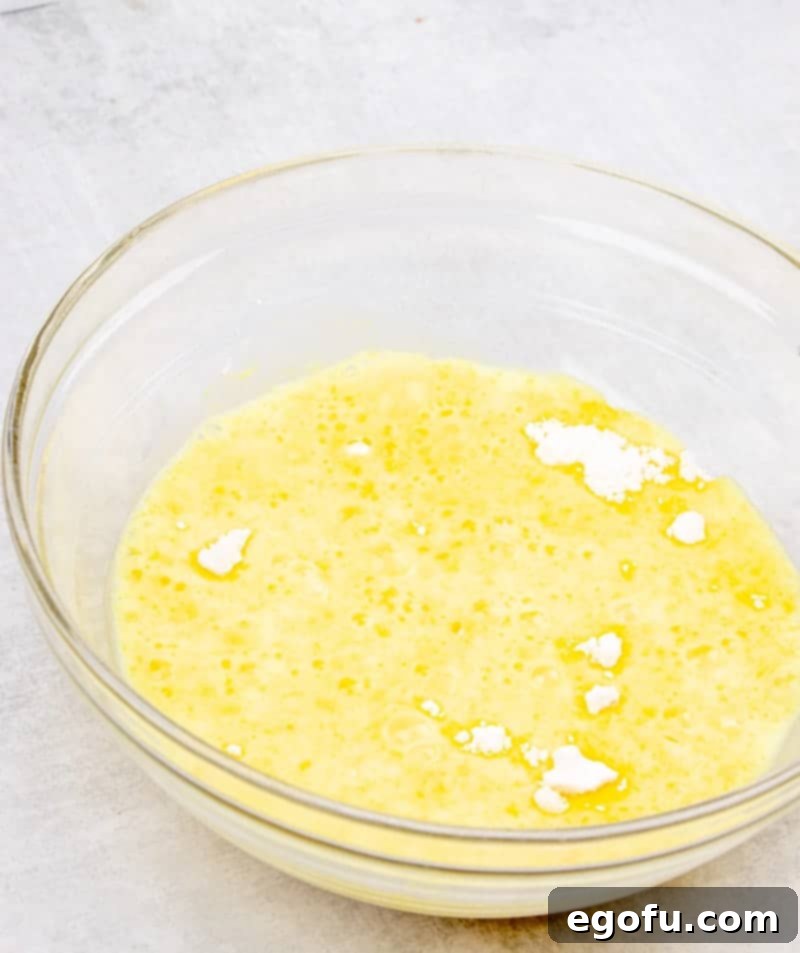
Finally, with gentle movements, fold in 2 cups of thawed whipped topping (such as COOL WHIP) into your thickened vanilla pudding mixture. Use a spatula to carefully incorporate the whipped topping, striving to maintain as much of its inherent airiness and volume as possible. The objective here is to achieve a light, fluffy, and uniformly blended topping that presents a wonderfully creamy contrast to the intensely fruity Jell-O layer beneath. Overmixing can deflate the topping, so work gently but efficiently.
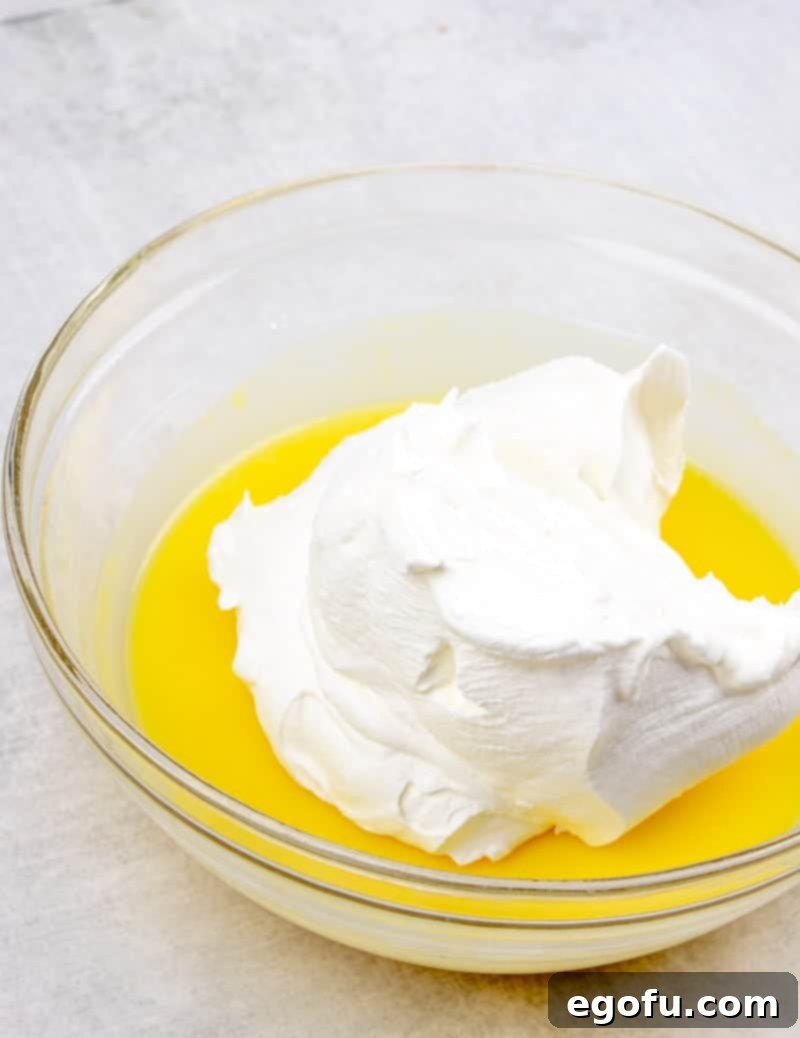
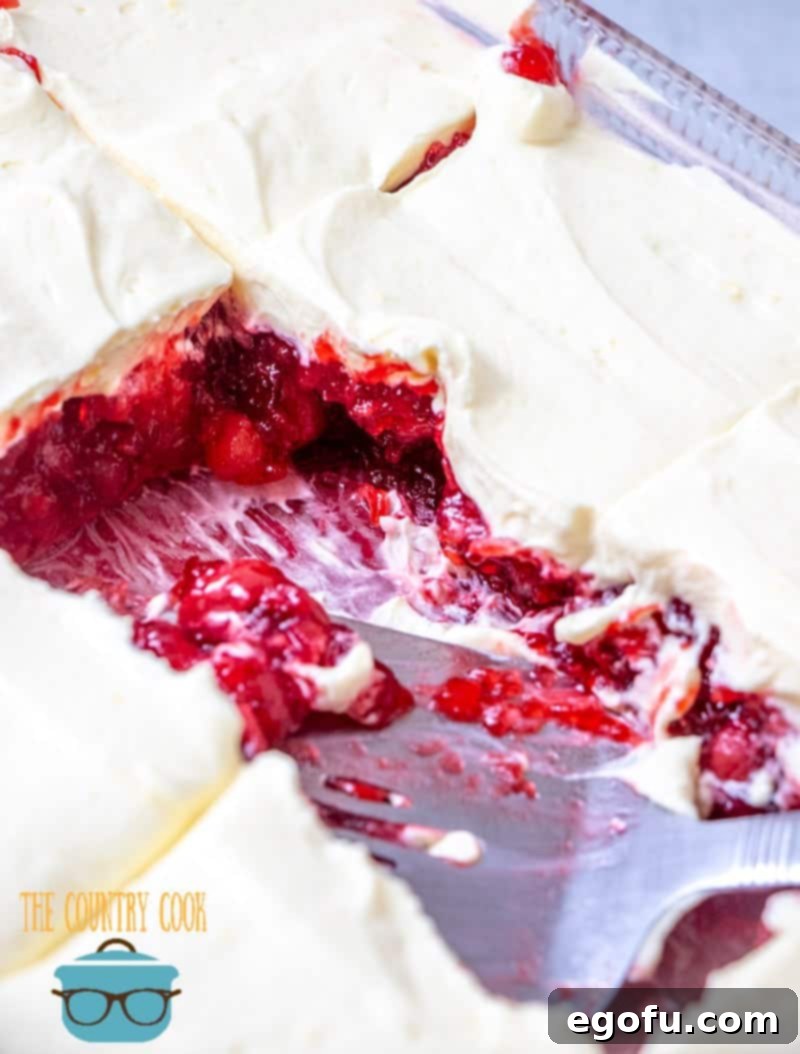
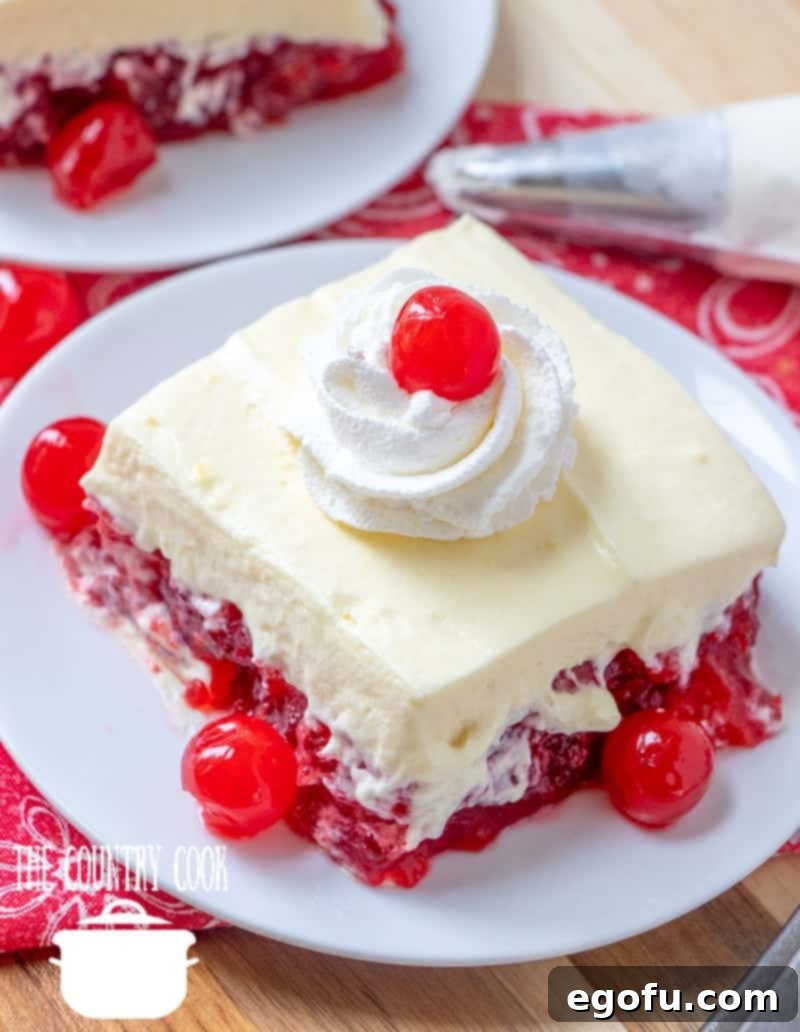
Once the topping is perfectly prepared, carefully and evenly spread this luscious, creamy layer over the thoroughly chilled and firmly set cherry gelatin mixture in your baking dish. Strive for a smooth, consistent layer that extends from one edge of the dish to the other, creating a clean and appealing finish. After the topping is applied, cover the dish once again tightly with plastic wrap and return it to the refrigerator. Allow it to chill for at least another hour (or even longer if your schedule permits) before you plan to serve it. This final chilling period is essential for allowing the topping to firm up slightly and for all the delightful flavors to meld together beautifully, resulting in a perfectly integrated and irresistible dessert. When you are ready to serve, simply slice the dessert into neat squares and prepare for a chorus of rave reviews from your delighted guests!
Pro Tips for a Flawless Jell-O Dessert Every Time
Achieving perfection with this No-Bake Cherry Jell-O Dessert is simple with a few expert tips:
- Ensure Full Dissolution: The most common misstep is not completely dissolving the Jell-O powder. Whisk until no granules are visible on the bottom of the bowl. This ensures a smooth, uniformly set gelatin layer.
- Cold Milk is Key: For the instant pudding, always use thoroughly chilled milk. Cold temperatures are crucial for activating the pudding’s thickening agents quickly and ensuring it sets properly to a firm, creamy consistency.
- Gentle Folding: When incorporating the whipped topping into the pudding, use a gentle folding motion with a spatula. This technique helps to maintain the airy, light texture of the whipped topping, preventing it from deflating.
- Patience with Chilling: Adequate chilling time is absolutely non-negotiable for both layers. Rushing this step will inevitably result in a dessert that is runny, soft, and lacks the desired structure. Allow ample time for each layer to set completely.
- Garnish for Elegance: For an extra touch of sophistication and visual appeal, consider garnishing individual servings. A few fresh cherries, a vibrant sprig of mint, or an additional dollop of whipped cream can elevate the presentation dramatically.
Storage and Make-Ahead Suggestions for Convenience
This No-Bake Cherry Jell-O Dessert is an exceptionally convenient make-ahead option, making it absolutely perfect for busy hosts who want to prepare in advance! You can effortlessly prepare the entire dessert a full day ahead of your event. Simply ensure it is covered tightly with plastic wrap to prevent any drying or absorption of refrigerator odors, and store it in the refrigerator. It will maintain its freshness, delightful texture, and exquisite flavor for up to 3 to 4 days when stored correctly in the refrigerator. While the Jell-O might begin to lose a minuscule amount of its initial firmness after a few days, the flavors will remain wonderfully vibrant and appealing, making it a fantastic choice for enjoying over several days.
Frequently Asked Questions (FAQs) About Your Jell-O Dessert
Here are some common questions and helpful answers to ensure your No-Bake Cherry Jell-O Dessert is a resounding success:
- Can I use sugar-free Jell-O and instant pudding for this recipe?
- Absolutely! You can easily substitute sugar-free cherry Jell-O and instant sugar-free vanilla pudding for their regular counterparts. This is a great way to create a lighter version of this delicious dessert. Do note that the texture might be subtly different, but the flavor profile will still be wonderfully satisfying.
- What if I want to use fresh or frozen cherries instead of canned pie filling?
- While it’s possible, the canned cherry pie filling offers a specific, consistent sweetness, thickness, and pre-cooked texture that is crucial for the dessert’s consistency and rich, robust cherry flavor. If you choose to use fresh or frozen cherries, you would likely need to cook them down with sugar and a thickening agent (like cornstarch) to achieve a similar consistency, which would add extra steps and complexity to this intentionally “no-bake” recipe.
- Is it possible to make my own whipped cream from scratch instead of using store-bought whipped topping?
- Yes, you certainly can for a homemade touch! To do so, whip 1 cup of cold heavy cream with 2-3 tablespoons of powdered sugar and 1 teaspoon of vanilla extract until stiff peaks form. However, commercially prepared whipped topping, such as Cool Whip, generally offers superior stability for layered desserts of this kind, especially if you plan to make it ahead of time or transport it.
- My Jell-O layer didn’t set properly. What might have gone wrong?
- The two most common reasons for Jell-O not setting are not using enough boiling water to fully dissolve the gelatin powder, or not allowing it sufficient time to chill. Always ensure every granule of Jell-O is completely dissolved, and then patiently give it at least 4 hours (or even more if necessary) in the refrigerator to set firmly and completely.
- Can this dessert be prepared in individual serving portions?
- Absolutely! For an elegant presentation of individual portions, you can simply layer the prepared Jell-O mixture and then the creamy whipped topping into clear parfait glasses, small dessert cups, or even mason jars. This method creates a visually stunning dessert that is perfect for parties, brunches, or portion control.
The Grand Finale: A No-Bake Dessert That Always Delights!
This No-Bake Cherry Jell-O Dessert is truly more than just a collection of ingredients; it’s an experience in delightful simplicity and refreshing flavor. It is the wonderfully easy-to-make treat that consistently brings smiles to every face and is absolutely certain to be the star attraction at your very next get-together. Its captivatingly vibrant color, the irresistible interplay of fruity gelatin and a creamy, cloud-like topping, and its incredibly refreshing taste combine to make it universally appealing. Whether you consider yourself a seasoned baking enthusiast or a complete kitchen novice, this straightforward recipe empowers you to create something genuinely special and impressive with an absolute minimum of fuss. So go ahead, gather your ingredients with enthusiasm, and prepare to craft a culinary masterpiece that is so delicious, everyone will be eagerly asking for your secret recipe!
Explore More Irresistible Recipes from Our Kitchen:
- Easy Strawberry Cake
- Homemade Cherry Pie Bars
- Cherry Pie Bites
- Cherry 7-Up Fluff
- Strawberry Kool-Aid Pie
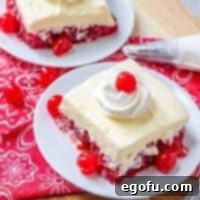
Cherry Jell-O Dessert
This No-Bake Cherry Jell-O Dessert is always a huge hit! It’s so easy to make with cherry gelatin, pie filling and a creamy whipped topping!
Rating: 4.88 out of 5 stars (8 Reviews)
Print Recipe | Pin Recipe
Prep Time: 25 minutes
Cooling Time: 4 hours
Total Time: 4 hours 25 minutes
Servings: 12
Author: Brandie Skibinski
Ingredients
For the filling:
- 6 ounce box cherry Jell-O (larger box)
- 2 cups boiling water
- 20 ounce can crushed pineapple in juice, do not drain
- 21 ounce can cherry pie filling
For the topping:
- 3.4 ounce box instant vanilla pudding
- 1 cup cold milk
- 2 cups whipped topping (COOL WHIP, thawed)
Instructions
For the filling:
- In a large bowl, combine 6 ounce box cherry Jell-O with 2 cups boiling water. Whisk until completely dissolved.
- Stir in 20 ounce can crushed pineapple in juice (do not drain) and 21 ounce can cherry pie filling. Mix well.
- Pour this mixture into a 9×13-inch baking dish. Cover and refrigerate for at least 4 hours (until set).
For the topping:
- In a medium bowl, whisk together 3.4 ounce box instant vanilla pudding with 1 cup cold milk. Let set for 1-2 minutes until slightly thick.
- Finally, stir in 2 cups whipped topping. Fold gently until fully combined.
- Spread evenly on top of the chilled cherry gelatin mixture.
- Cover and refrigerate until ready to serve.
Course: Dessert
Cuisine: American
Nutrition
Calories: 207kcal | Carbohydrates: 45g | Protein: 2g | Fat: 2g | Sodium: 146mg | Sugar: 29g
Nutritional Disclaimer
“The Country Cook” is not a dietician or nutritionist, and any nutritional information shared is an estimate. If calorie count and other nutritional values are important to you, we recommend running the ingredients through whichever online nutritional calculator you prefer. Calories and other nutritional values can vary quite a bit depending on which brands were used.
Did you make this recipe?
Share it on Instagram @thecountrycook and mention us #thecountrycook!
