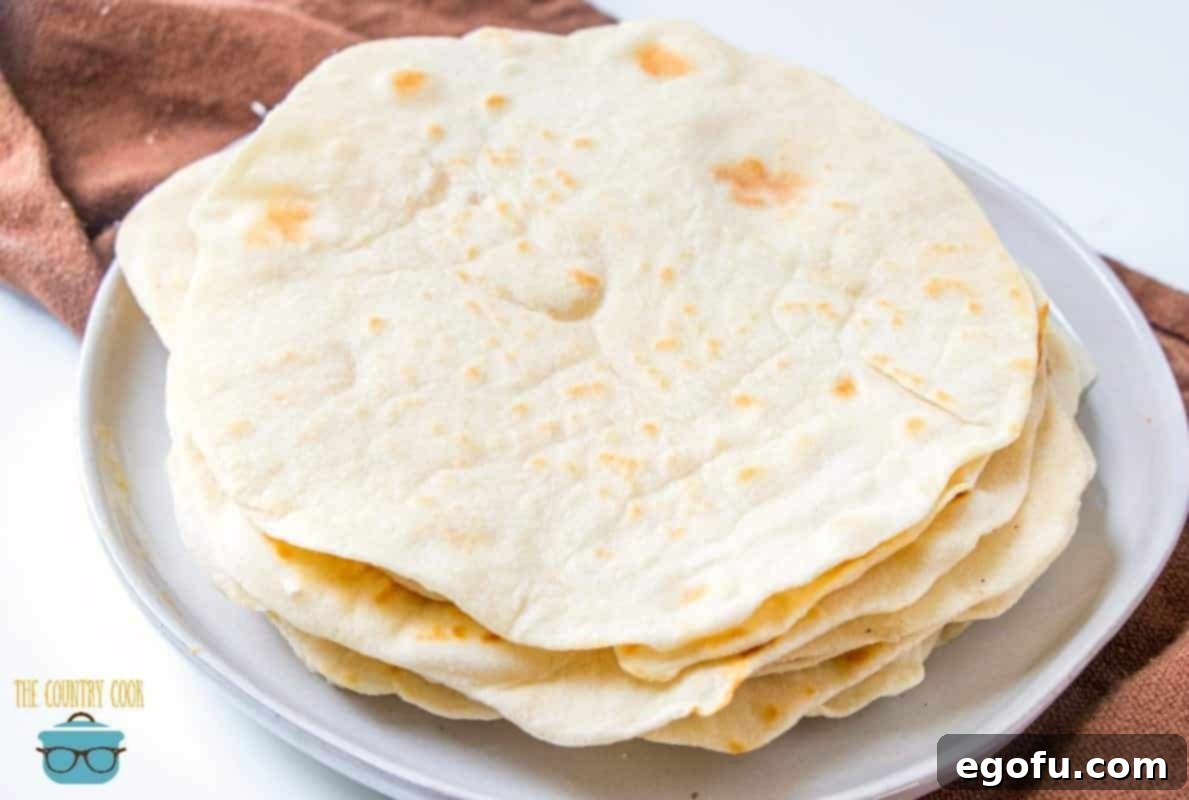
Experience the unparalleled joy of freshly made homemade flour tortillas! Remarkably easy to craft with just a handful of basic ingredients and no specialized equipment, these tortillas are guaranteed to be incredibly tender, soft, and bursting with flavor. Once you try them, you’ll never go back to store-bought!
Homemade Flour Tortillas: Your Easy Path to Soft & Flavorful Wraps
There’s a special kind of magic that happens when you make flour tortillas from scratch. The aroma filling your kitchen, the soft, pliable texture, and the rich, authentic flavor are simply unmatched by anything you can buy in a package. For many families, once they’ve tasted these homemade delights, store-bought tortillas become a distant memory. The difference is truly remarkable – a revelation that transforms ordinary meals into extraordinary culinary experiences.
Why Homemade Tortillas Are a Game Changer
Beyond the simple fact that they taste infinitely better, making your own flour tortillas offers several compelling advantages:
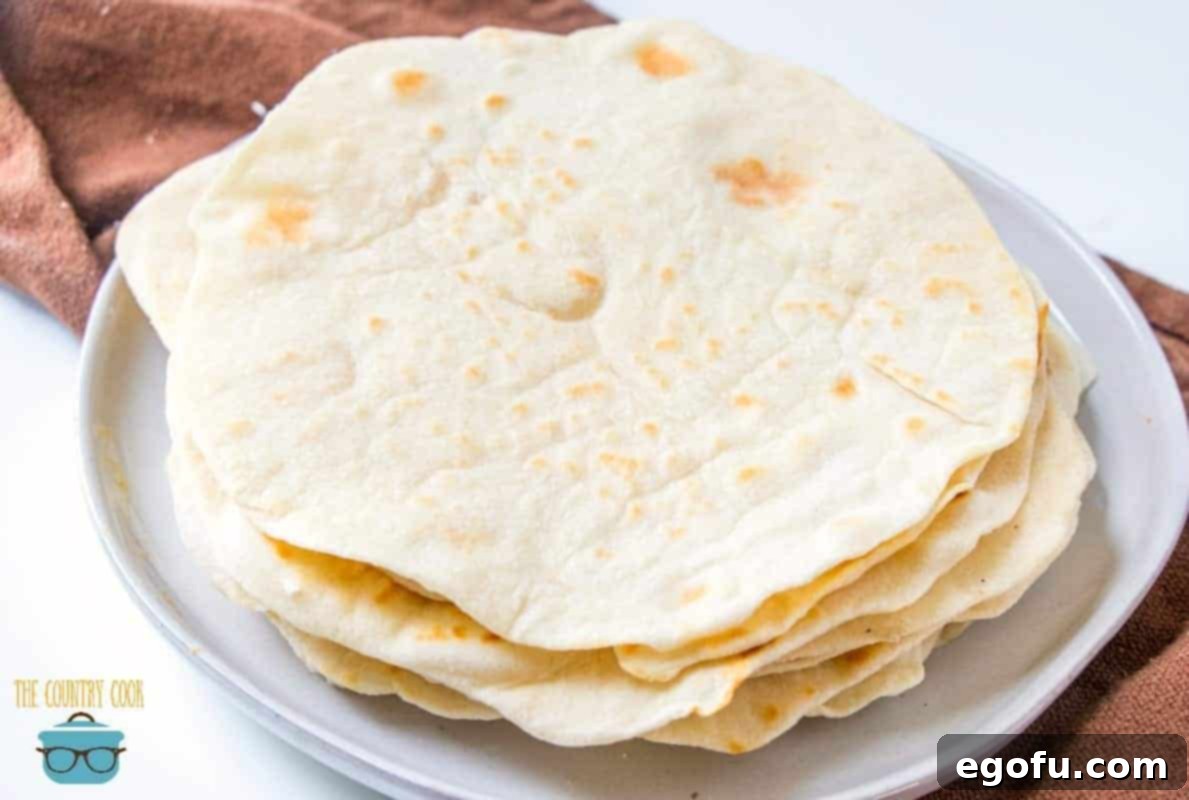
- Unbeatable Freshness: The moment a homemade tortilla comes off the griddle, its freshness is undeniable. It’s warm, pliable, and has a delightful elasticity that ready-made versions simply can’t replicate. This freshness elevates any dish, from simple tacos to elaborate burritos.
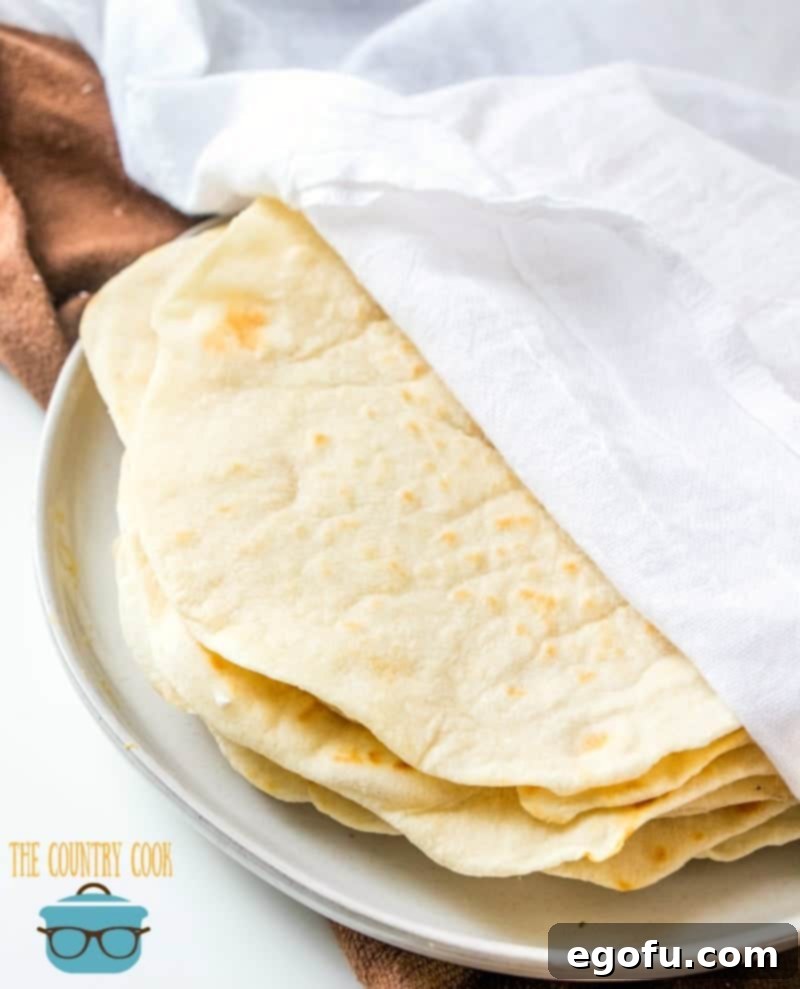
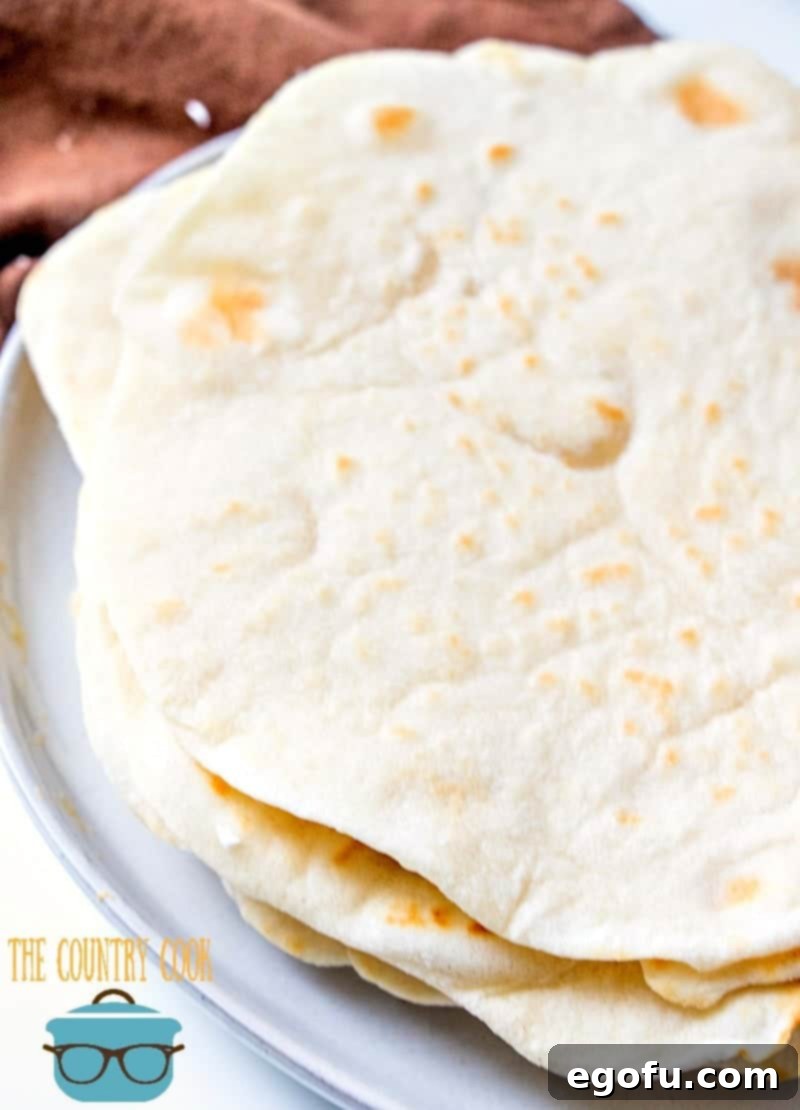
- Superior Texture: Homemade tortillas boast a light, fluffy, and tender texture that cradles your fillings perfectly. They have that wonderful ability to puff up on the griddle, indicating a well-made, airy dough.
- Control Over Ingredients: You know exactly what goes into your tortillas. No preservatives, artificial flavors, or unnecessary additives. This is especially beneficial for those with dietary concerns or who prefer clean eating.
- Economical: The core ingredients for flour tortillas are inexpensive pantry staples, making homemade tortillas a cost-effective alternative to continually buying packaged ones.
- Rewarding Experience: There’s immense satisfaction in creating something delicious from scratch. It’s a fun project for individuals and families, transforming a basic staple into a culinary craft.
Essential Ingredients for Perfect Tortillas
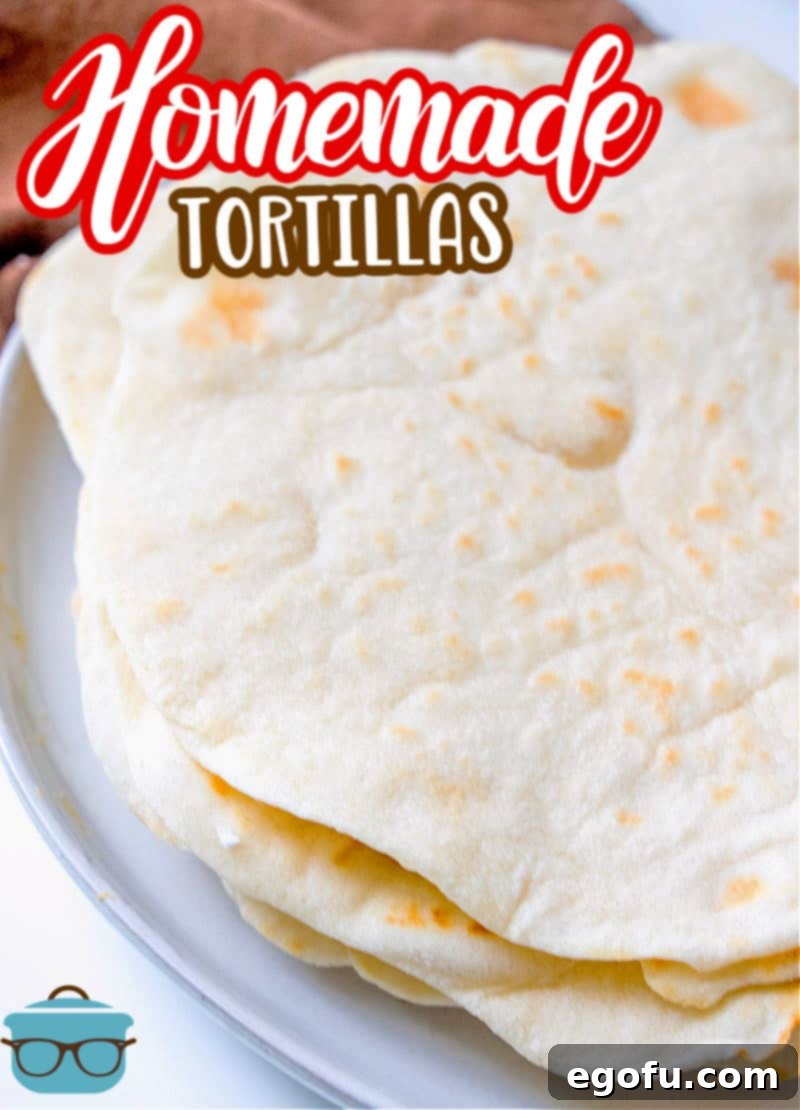
The beauty of this recipe lies in its simplicity. You’ll only need a few common ingredients:
- All-Purpose Flour: The foundation of our tortillas. While other flours can be used for variations, all-purpose flour provides the ideal structure and tenderness for classic flour tortillas.
- Baking Powder: This leavening agent contributes to the tortillas’ soft, slightly puffy texture as they cook.
- Salt: Essential for enhancing the overall flavor of the tortillas. Don’t skip it!
- Lard (Recommended) or Vegetable Shortening: The fat component is crucial for tenderizing the dough and giving the tortillas their characteristic pliability. Lard, or “manteca,” is traditionally preferred for its superior flavor and texture contribution, resulting in truly authentic and tender tortillas. However, vegetable shortening like Crisco works wonderfully as a substitute, yielding excellent results.
- Hot Water: Using hot water helps to activate the gluten in the flour more quickly and effectively, making the dough easier to work with and more pliable. It also helps melt the fat more evenly.
Step-by-Step Guide to Making Flour Tortillas
Follow these detailed instructions to create your own batch of delicious, soft flour tortillas:
Step 1: Combine Dry Ingredients and Fat
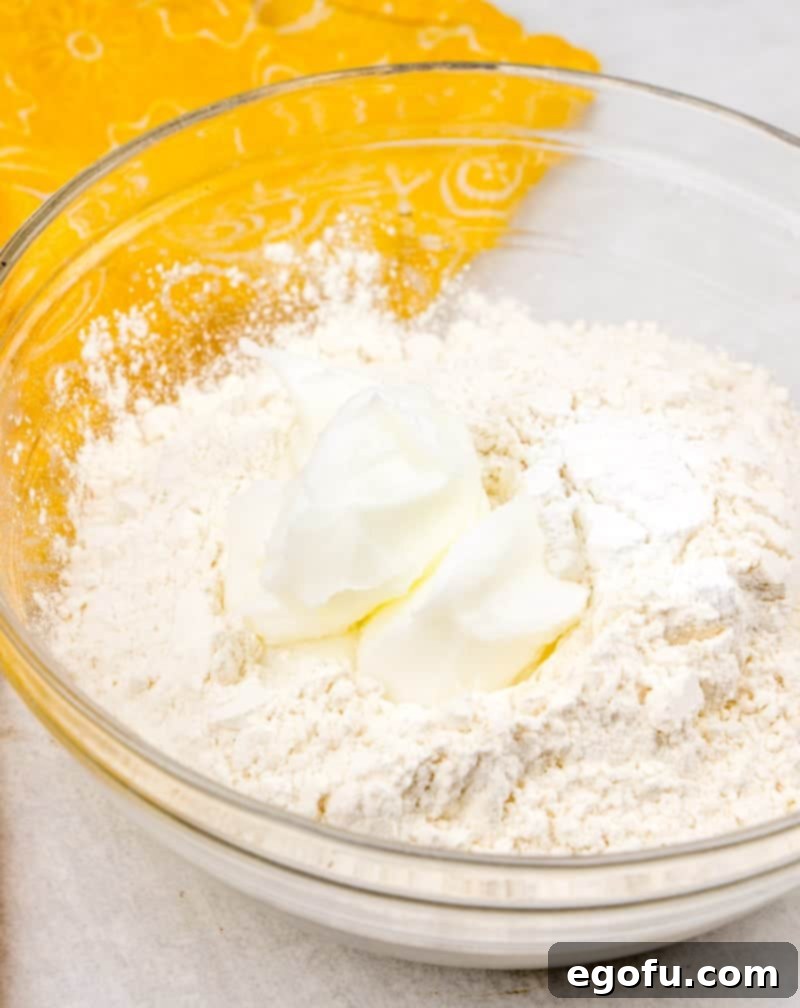
In a large mixing bowl, combine the all-purpose flour, salt, and baking powder. Whisk them together briefly to ensure they are well combined. Next, add the lard or vegetable shortening to the bowl. The fat should be solid and at room temperature, making it easier to work into the flour mixture.
Step 2: Cut in the Fat
Using your fingertips, a pastry cutter, or a fork, work the lard or shortening into the flour mixture. The goal is to break down the fat into small, pea-sized pieces and distribute it evenly throughout the flour. This process is crucial for creating tender tortillas, as the fat inhibits excessive gluten development, preventing a tough texture. Continue until the mixture resembles coarse crumbs with small, visible pieces of fat.
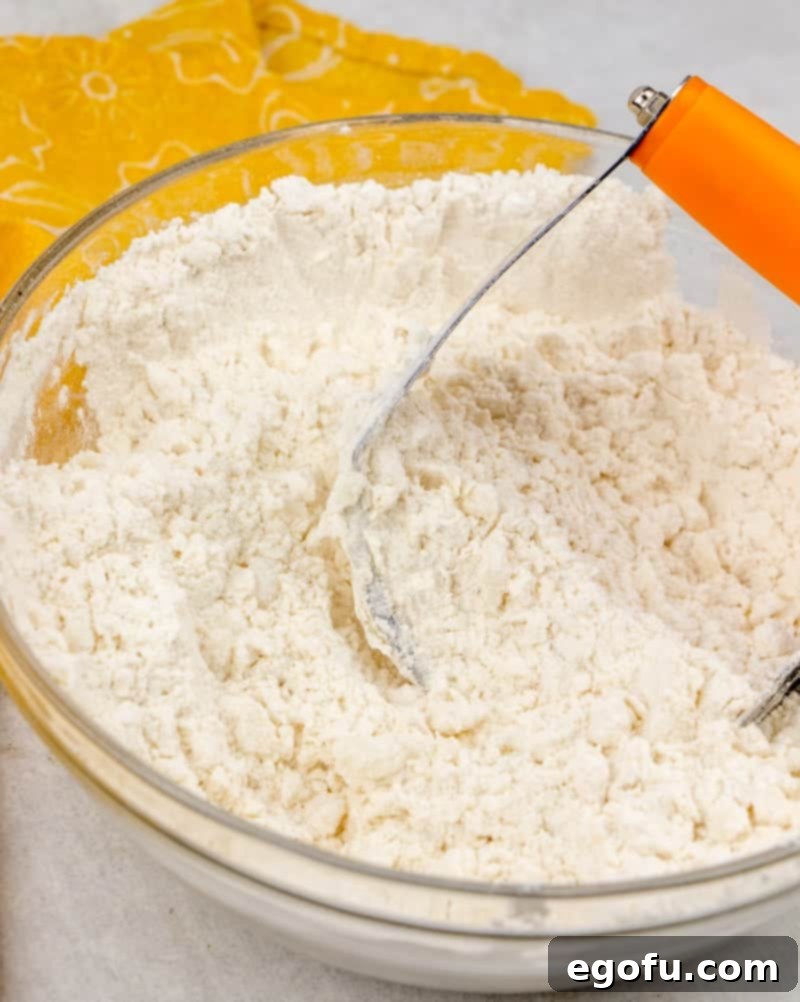
Step 3: Add Water and Knead the Dough
Gradually add the hot water to the flour and fat mixture. Begin mixing with your hands or a wooden spoon until the ingredients start to come together and form a cohesive dough. Once a shaggy ball forms, transfer the dough to a lightly floured surface. Knead the dough for 5 to 10 minutes. This kneading develops the gluten, creating a smooth, elastic, and pliable dough that will be easy to roll out and will result in tender tortillas. The dough should feel soft and slightly springy when ready.
Step 4: Rest the Dough
Form the kneaded dough into a smooth ball. Place it back into the bowl, cover it with a clean kitchen towel or plastic wrap, and let it rest at room temperature for at least 10 minutes. This resting period is vital: it allows the gluten to relax, which makes the dough much easier to roll out thinly without springing back. It also helps the flour fully hydrate, contributing to a softer texture.
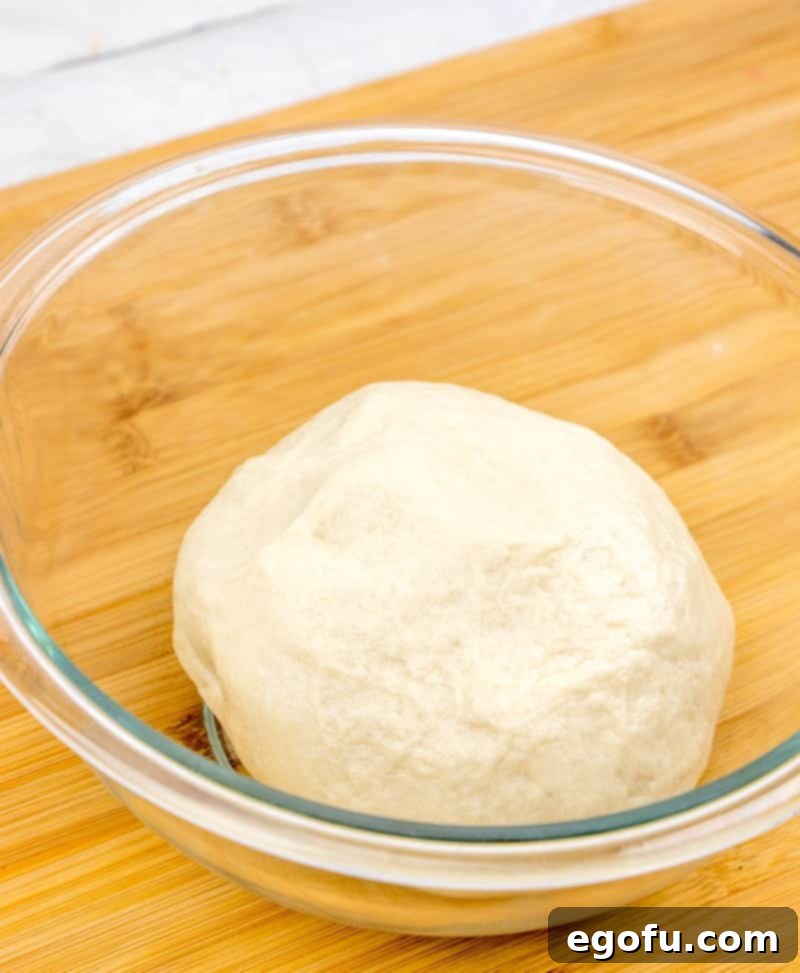
Step 5: Divide and Roll into Balls
After resting, divide the dough into 12 equal pieces. The easiest way to do this is to roll the dough into a log, then cut it into even sections. Take each piece and roll it into a smooth, golf ball-sized sphere. This uniformity ensures that all your tortillas will be roughly the same size and cook evenly.
Step 6: Preheat Griddle and Roll Tortillas Thinly
While you begin rolling, preheat your cooking surface. A griddle, a nonstick pan, or a cast iron skillet works perfectly. Heat it over medium-high heat. Take one dough ball, flatten it slightly with your palm, then place it on a lightly floured surface. Using a rolling pin, roll the dough out into a thin circle. The key to round tortillas is to roll outwards from the center, then give the dough a quarter turn, and repeat. Continue rolling and turning until the dough is about 1/8 inch thick. You truly want them to be *very* thin, almost like tissue paper, as they will puff up significantly during cooking. Thinness is paramount for a soft, pliable, and delicious tortilla.
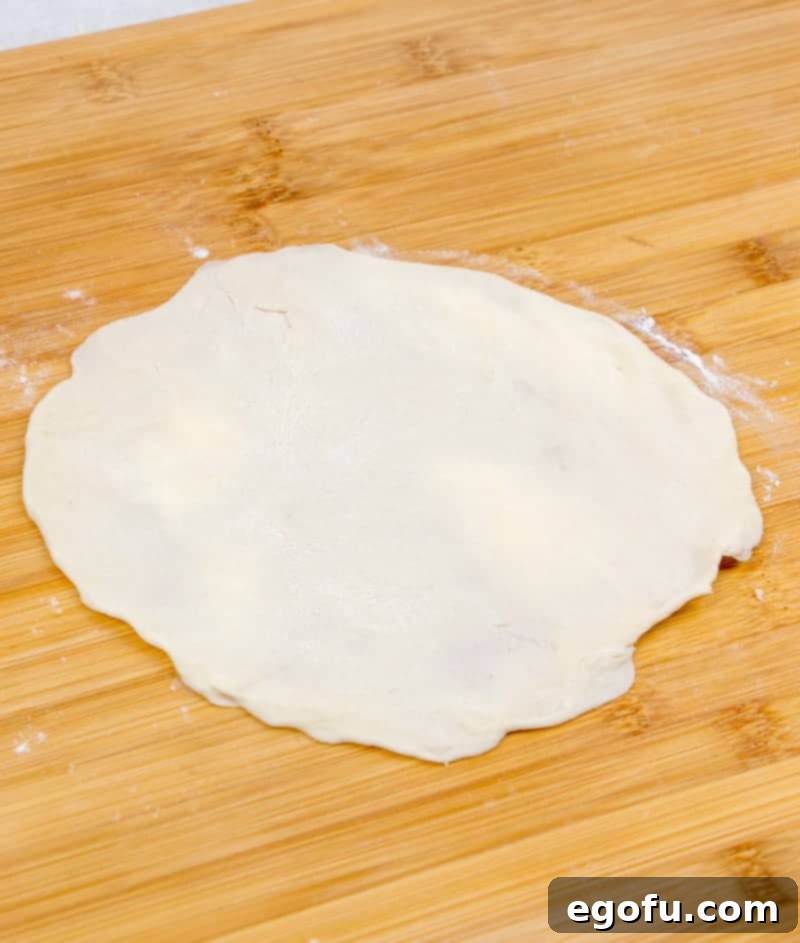
Step 7: Cook the Tortillas
Carefully place one rolled tortilla onto the hot, preheated skillet. Cook for approximately 30 seconds, or until you see bubbles forming on the surface and the edges begin to look dry. Then, flip the tortilla with a spatula and cook the other side for another 20-30 seconds, or until light brown spots appear. The tortillas should puff up nicely – a sign of successful thin rolling and proper heat.
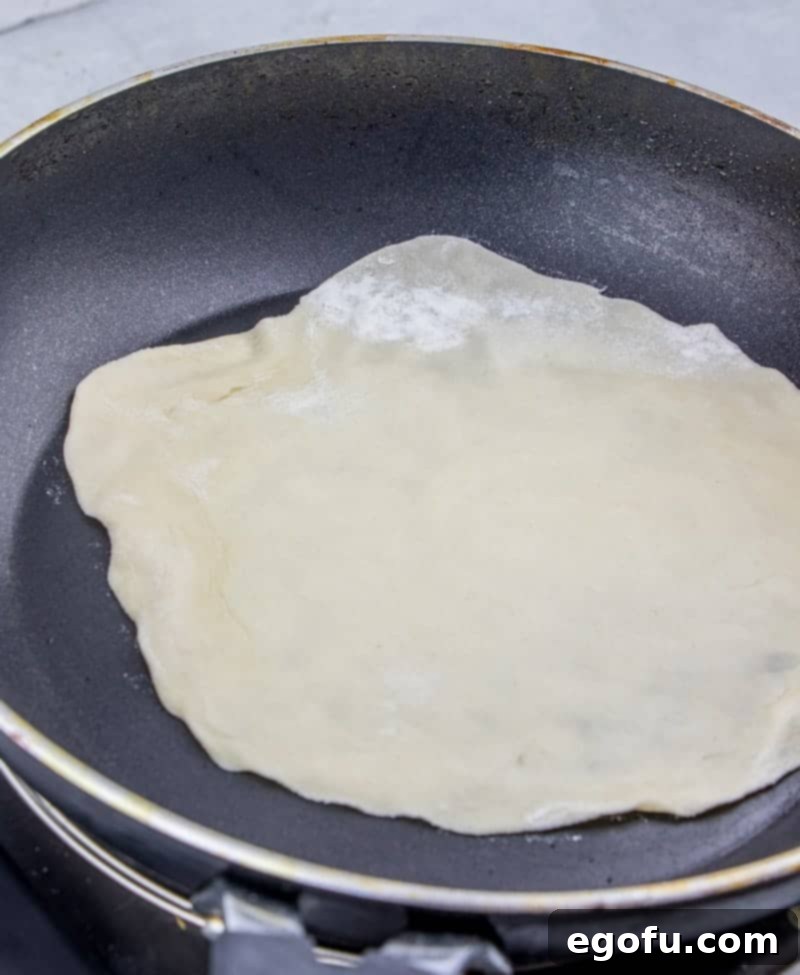
Step 8: Keep Tortillas Warm
As each tortilla finishes cooking, immediately transfer it to a plate and cover it with a clean kitchen towel or stack them between paper towels. This helps to trap the steam, keeping them warm, soft, and pliable while you continue to roll and cook the remaining dough. This step is essential to prevent them from drying out and becoming stiff.
Expert Tips for Tortilla Perfection
- Don’t Be Afraid to Get Thin: This is arguably the most crucial tip. Many people stop rolling too soon. Remember the “tissue paper” analogy – the thinner, the better. This allows them to puff up beautifully and achieve that delicate, tender texture.
- Lard vs. Shortening: While vegetable shortening works well, using lard (manteca) is highly recommended for the most authentic taste and an incredibly tender texture. It simply adds an extra layer of richness and flakiness that’s hard to beat.
- Practice Makes Perfect: Don’t get discouraged if your first few tortillas aren’t perfectly round. The rolling process takes a little practice, but you’ll get the hang of it quickly. The taste will be amazing regardless of the shape!
- Heat Matters: Ensure your griddle is at the right temperature (medium-high). If it’s too low, the tortillas will dry out; if it’s too high, they’ll burn before cooking through.
- Resting is Key: Don’t skip the dough resting time. It’s what makes the dough pliable and easy to roll.
Serving and Storage Suggestions
These homemade flour tortillas are truly at their best the day they are made, enjoyed warm and fresh off the griddle. They are incredibly versatile and can elevate almost any meal. Here are some ideas:
- Taco and Burrito Bar: The ultimate crowd-pleaser for parties like Cinco De Mayo. Set up a spread of fillings, and let guests assemble their own custom tacos and burritos with your fresh tortillas.
- Quesadillas and Enchiladas: Their superior texture makes them perfect for cheesy quesadillas or flavorful enchiladas.
- Simple Wraps: Use them for everyday lunch wraps with your favorite deli meats, veggies, and spreads.
- Sweet Treat: For a delightful dessert, cut leftover tortillas into triangles, fry them until crispy, and sprinkle with cinnamon sugar. A simple, delicious treat!
- Homemade Chips/Tostadas: If you find yourself with a few leftover tortillas the next day, don’t let them go to waste! Simply fry them up until crispy to make delicious tostadas or cut them into triangles for fresh tortilla chips to enjoy with salsa or guacamole.
If you happen to have any leftovers, allow them to cool completely, then place them in a ziploc bag or an airtight container and store them in the refrigerator for up to 3-4 days. To reheat, simply warm them gently on a dry skillet for a few seconds per side, or microwave them briefly until soft again.
Frequently Asked Questions (FAQs)
Q: Why are my homemade tortillas tough?
A: Several factors can lead to tough tortillas: too much flour when kneading or rolling, not enough fat in the dough, over-kneading (which develops too much gluten), or not allowing the dough to rest sufficiently. Ensure you measure ingredients accurately, knead until elastic but not overworked, and always allow the dough to rest.
Q: My tortillas don’t puff up on the griddle, why?
A: The most common reasons are not rolling the dough thin enough or the griddle not being hot enough. Ensure your tortillas are rolled to about 1/8 inch thickness and that your cooking surface is adequately preheated to medium-high heat. The rapid heat creates steam, causing them to puff.
Q: Can I use a tortilla press for this recipe?
A: While a tortilla press is fantastic for corn tortillas, it might not get flour tortillas thin enough on its own. You can use it to flatten the dough balls initially, but you’ll likely need to finish rolling them with a rolling pin to achieve the desired thinness for the best results.
Q: Can I make the dough ahead of time?
A: Yes! You can prepare the dough, form it into a ball, and store it in an airtight container or plastic wrap in the refrigerator for up to 2-3 days. Bring it to room temperature for about 30 minutes before dividing and rolling to make it more pliable.
Q: How do I reheat leftover tortillas?
A: The best way to reheat is on a dry skillet over medium heat for about 15-20 seconds per side, until they are soft and pliable again. You can also stack them, wrap in a damp paper towel, and microwave for 10-15 seconds.
Craving More Delicious Recipes?
- White Chicken Enchiladas
- Homemade White Bread
- Crock Pot Chicken Tortilla Soup
- Chicken Enchiladas with Red Sauce
- Ground Beef Enchiladas
The Best Homemade Flour Tortillas Recipe
This recipe for homemade flour tortillas yields incredibly soft, tender, and flavorful tortillas that are perfect for tacos, burritos, or just enjoying plain. Say goodbye to bland, store-bought options!
- Prep Time: 25 minutes
- Cook Time: 30 minutes
- Total Time: 55 minutes
- Servings: 12 tortillas
- Author: Brandie Skibinski
Ingredients
- 2 cups all-purpose flour
- 1 teaspoon baking powder
- ½ teaspoon salt
- 5 tablespoons lard (recommended) or vegetable shortening (Crisco)
- ¾ cup hot water
Instructions
- In a large bowl, combine the flour, salt, and baking powder.
- Add the lard (or shortening) to the bowl. Using your fingers or a pastry cutter, cut in the fat until the mixture resembles pea-sized pieces.
- Gradually add the hot water and mix together with your hands or a wooden spoon until the mixture starts to form a dough.
- Transfer the dough to a lightly floured surface and knead for 5-10 minutes, or until the dough is smooth and elastic.
- Form the dough into a ball.
- Place the dough into a covered bowl and let it rest for 10 minutes. This is crucial for a pliable dough.
- Divide the dough into 12 equal pieces and roll each piece into smooth, golf ball-sized balls.
- Preheat your griddle, nonstick pan, or cast iron pan over medium-high heat.
- Take one dough ball, flatten it slightly, and roll it out on a lightly floured surface into a thin circle, about 1/8 inch thick. Roll from the center outwards, turning the dough 1/4 turn after each roll to maintain a round shape. Remember, roll them very thin!
- Place one rolled tortilla onto the hot skillet. Cook for about 30 seconds until bubbles appear on the surface.
- Flip the tortilla and cook the other side for another 20-30 seconds, until light brown spots appear and the tortilla is cooked through.
- As each tortilla finishes cooking, immediately transfer it to a plate and cover it with a clean kitchen towel or paper towels to keep them warm and soft while you cook the remaining tortillas.
Video Tutorial
Categories
- Course: Breads
- Cuisine: American (often refers to Tex-Mex or general North American adaptation)
Nutrition
(Estimated per serving)
- Calories: 123 kcal
- Carbohydrates: 16g
- Protein: 2g
- Fat: 5g
- Sodium: 98mg
Nutritional Disclaimer
“The Country Cook” is not a dietician or nutritionist, and any nutritional information shared is an estimate. If calorie count and other nutritional values are important to you, we recommend running the ingredients through whichever online nutritional calculator you prefer. Calories and other nutritional values can vary quite a bit depending on which brands were used.
Did you make this recipe?
Share it on Instagram @thecountrycook and mention us #thecountrycook!
Originally published: May 2011
Updated and republished: May 2022
