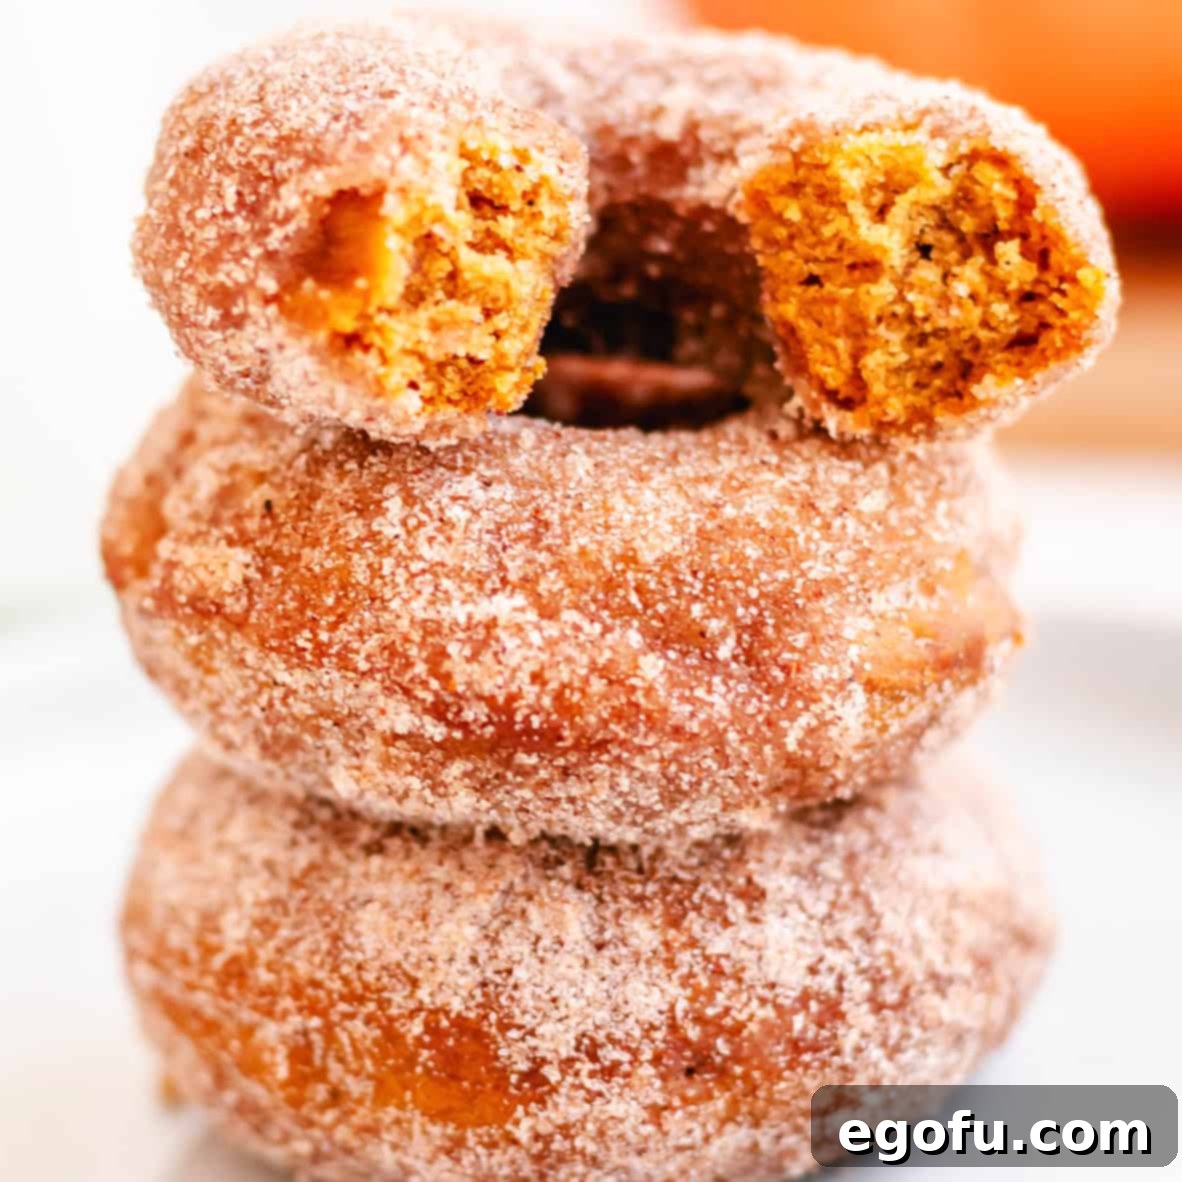
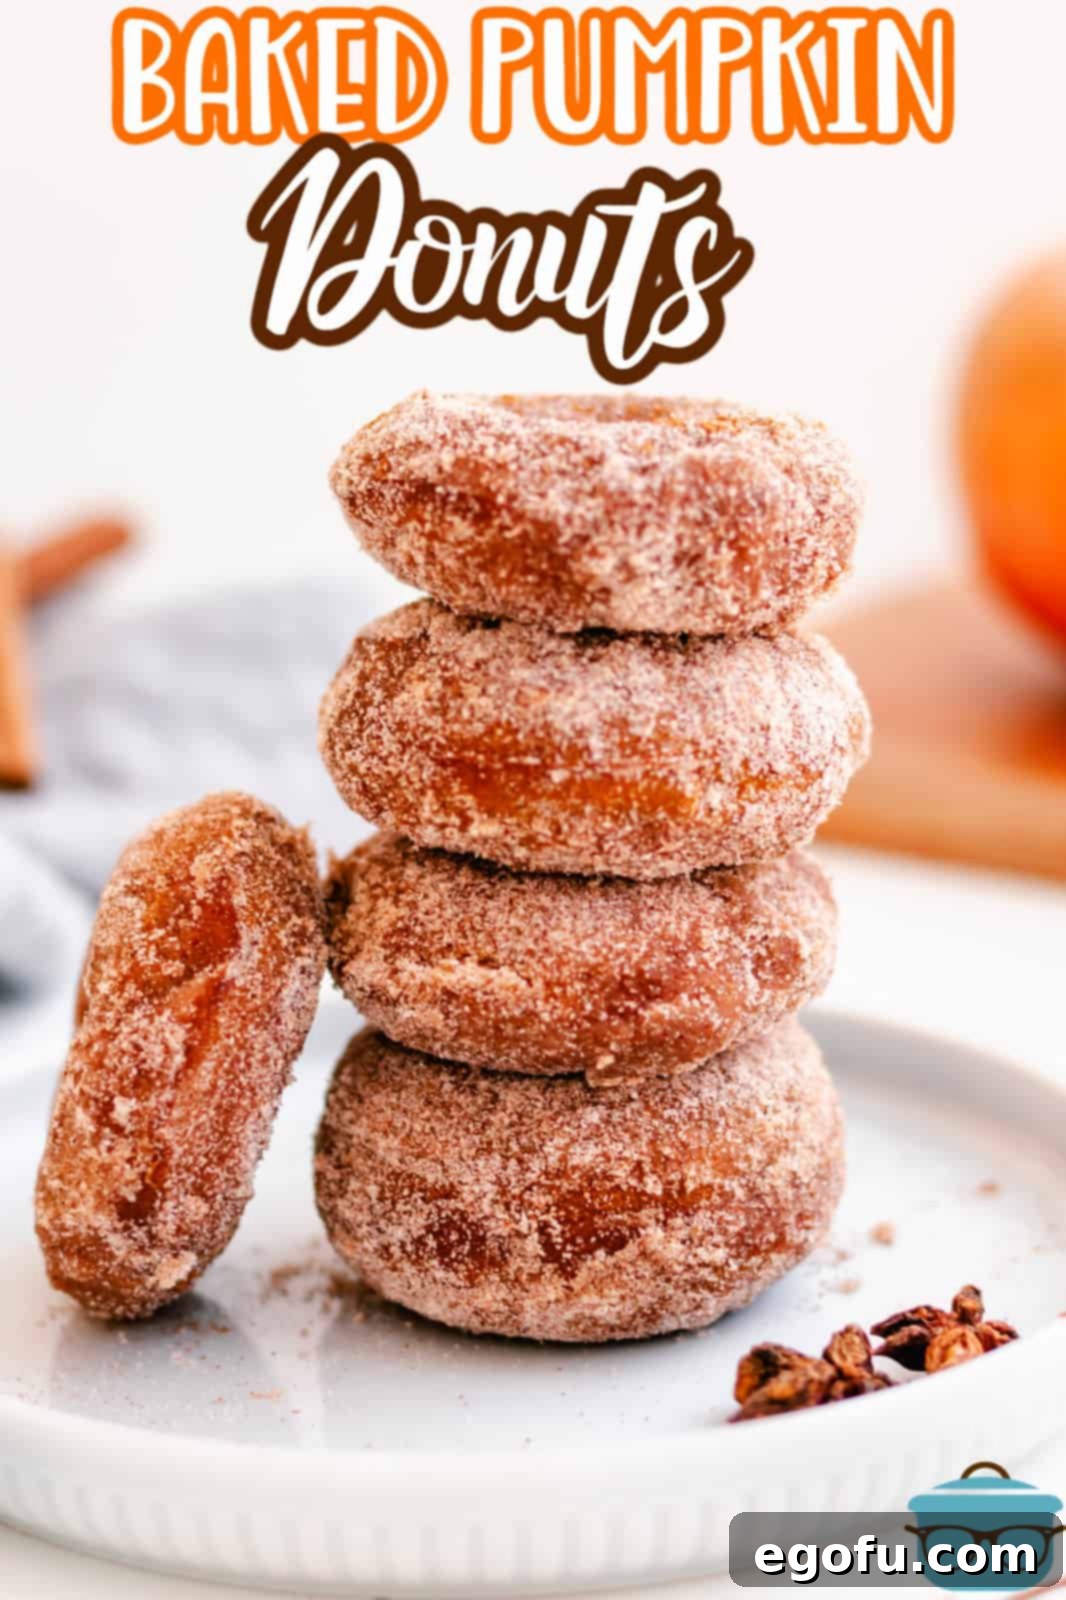
Indulge in the quintessential taste of autumn with these delightful, cake-like Baked Pumpkin Donuts. Coated generously in a warm cinnamon sugar, they offer a comforting treat perfect for breakfast, brunch, or a satisfying dessert. These homemade pumpkin donuts capture the essence of fall in every soft, perfectly spiced bite, making them an irresistible addition to your seasonal baking repertoire.
Embrace Autumn Flavors: A Versatile Pumpkin Donut Recipe
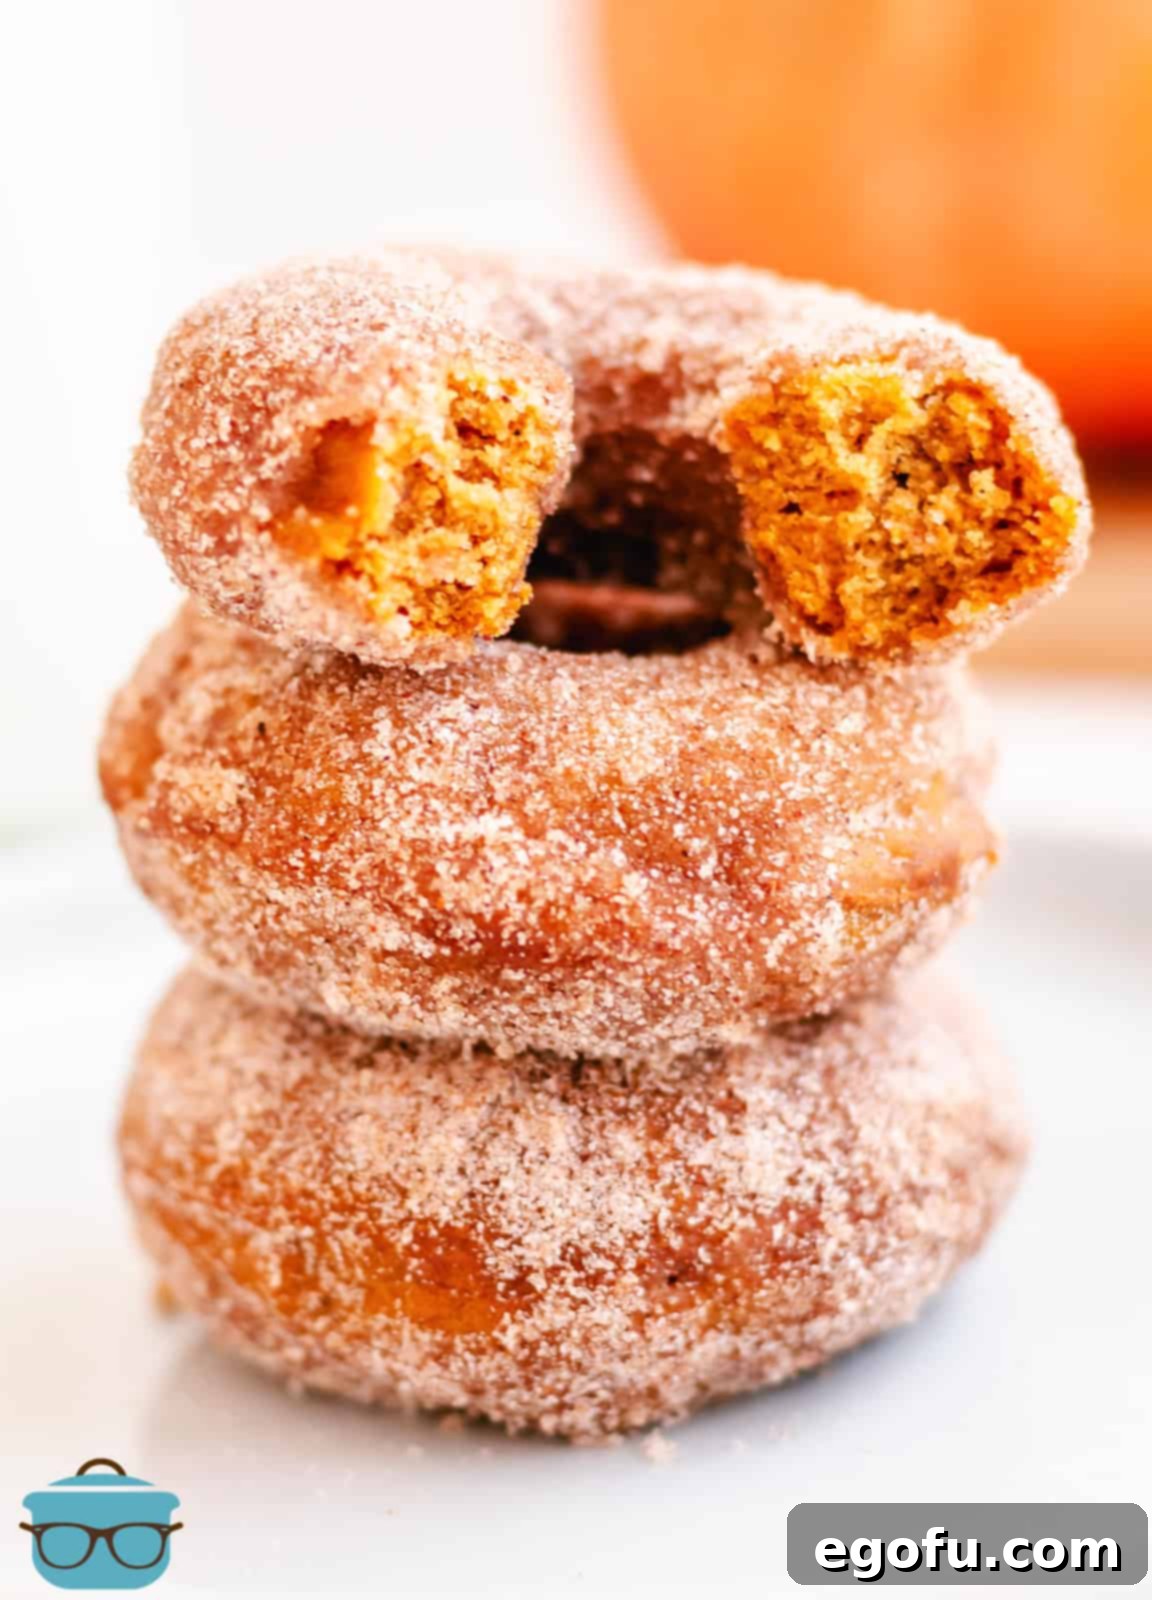
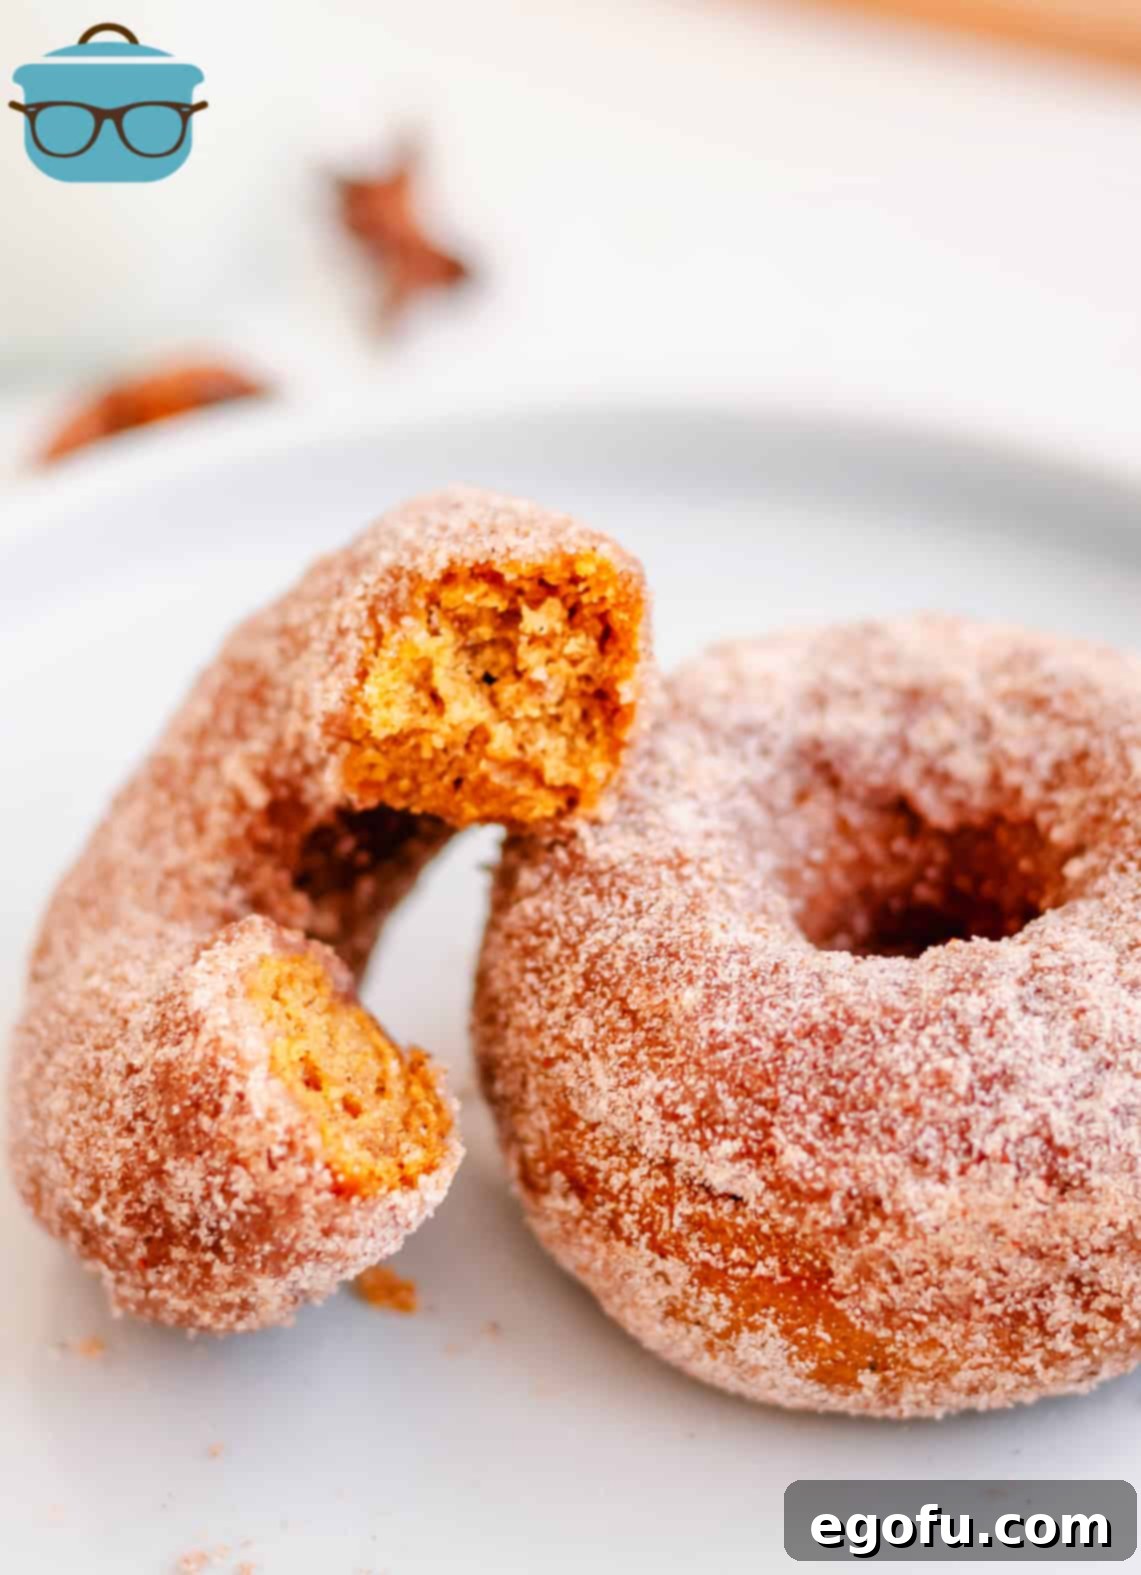
There’s something uniquely comforting about the arrival of autumn, and nothing says fall quite like the warm, inviting aroma of pumpkin and cinnamon. These Baked Pumpkin Donuts are the epitome of seasonal indulgence, offering a harmonious blend of flavors and textures that will delight your senses. Unlike their fried counterparts, these donuts are baked to a tender, cake-like perfection, creating a lighter treat that doesn’t skimp on flavor. Each donut is then lovingly dipped in rich melted butter, followed by a generous coating of a fragrant cinnamon sugar mixture. The result is a wonderfully soft interior contrasted with a subtly crunchy exterior, a textural symphony in every single bite.
What makes this pumpkin donut recipe truly exceptional is its remarkable versatility. Imagine starting your crisp autumn morning with one of these alongside a steaming cup of coffee, or perhaps enjoying it as a cozy afternoon snack. They also make for an impressive, yet easy, dessert after dinner, ideally paired with a cold glass of milk. Whether you’re seeking a special breakfast item, a charming brunch addition, or a satisfying sweet ending to your day, these homemade pumpkin donuts fit every occasion. They are incredibly easy to make, even for novice bakers, promising a gratifying baking experience and a delicious outcome. Don’t let another fall season pass without experiencing the simple joy of these magnificent Baked Pumpkin Donuts.
Why Choose Baked Donuts Over Fried? The Healthier, Easier Alternative
When it comes to donuts, many people automatically think of deep-fried indulgence. However, baking your donuts offers a myriad of benefits that make them a superior choice for many home cooks. Firstly, baked donuts are inherently lighter and often considered a healthier option. By avoiding excessive oil, you significantly reduce the fat and calorie content without sacrificing flavor. This allows you to enjoy a delicious treat with less guilt, perfect for a balanced diet.
Beyond the health aspect, baking donuts is incredibly convenient and mess-free. Deep-frying requires a substantial amount of oil, specialized equipment, and can leave your kitchen smelling of grease for hours. The process is often intimidating and can be dangerous due to hot oil. Baked donuts, on the other hand, only require a donut pan and a standard oven. This simplifies cleanup dramatically and makes the entire baking process much more enjoyable and accessible for everyone. You won’t have to worry about oil splatter, disposal of used oil, or the lingering greasy smell.
Furthermore, baked donuts tend to have a cake-like texture that is wonderfully soft and moist, akin to a tender muffin or a rich slice of cake. This contrasts with the often chewier, sometimes greasy texture of fried donuts. The baking method allows the subtle flavors of pumpkin and spices to truly shine through, unmasked by the heavy taste of frying oil. This particular recipe for Baked Pumpkin Donuts is a prime example, delivering a comforting, tender crumb that melts in your mouth, perfectly complemented by the sweet crunch of cinnamon sugar. For those seeking a delicious, convenient, and slightly lighter donut experience, baking is undoubtedly the way to go.
Frequently Asked Questions About Our Baked Pumpkin Donuts
No donut pan? No problem! You can easily adapt this recipe to make delicious pumpkin muffins instead. Simply grease a muffin tin and fill the cavities about two-thirds full with the donut batter. Bake for approximately 15-18 minutes, or until a toothpick inserted into the center comes out clean and the tops are lightly golden brown. You can still coat them in cinnamon sugar after baking for that classic donut experience!
While the cinnamon sugar coating adds a delightful texture and flavor, it’s entirely optional. If you prefer not to use it or are looking for an alternative, you have a few choices. You can simply toss the baked donuts in powdered sugar for a classic, sweet finish. Another popular option is to create a simple glaze by whisking powdered sugar with a little milk (and a touch of vanilla, if desired) and dipping the tops of your cooled donuts into it. Feel free to experiment with what you love!
Absolutely! This recipe is easily scalable. Doubling the ingredients will allow you to make a larger quantity without any issues. Keep in mind that you will likely need to bake the donuts in multiple batches, depending on the size of your donut pan, so factor in a little extra time for the baking process. The preparation steps remain the same, just with more ingredients to mix.
No, it’s crucial to use plain pumpkin puree for this recipe, not pumpkin pie filling. Pumpkin pie filling contains added sugars and spices, which would significantly alter the flavor and texture of your donuts, potentially making them overly sweet or causing them to bake improperly. Always check the label to ensure you’re using 100% pure pumpkin puree for the best results.
The primary difference between light and dark brown sugar lies in their molasses content. Dark brown sugar contains more molasses, giving it a deeper color, a stronger caramel-like flavor, and a slightly moister texture compared to light brown sugar. For this recipe, you can use either light or dark brown sugar. Dark brown sugar will impart a richer, more profound flavor to your pumpkin donuts, which is why I often prefer it. However, if light brown sugar is what you have on hand, it will still yield delicious results.
To maintain their freshness, store any leftover baked pumpkin donuts in an airtight container or a re-sealable plastic bag. They will stay fresh at room temperature for up to 2 days, or you can extend their life by storing them in the refrigerator for up to one week. If you want to enjoy them for even longer, these donuts freeze beautifully. Place them in a single layer in an airtight freezer-safe container or bag for up to 2 months. When ready to eat, thaw them overnight in the refrigerator and warm them slightly in the microwave for a fresh-out-of-the-oven experience.
Essential Ingredients for Your Homemade Pumpkin Donuts
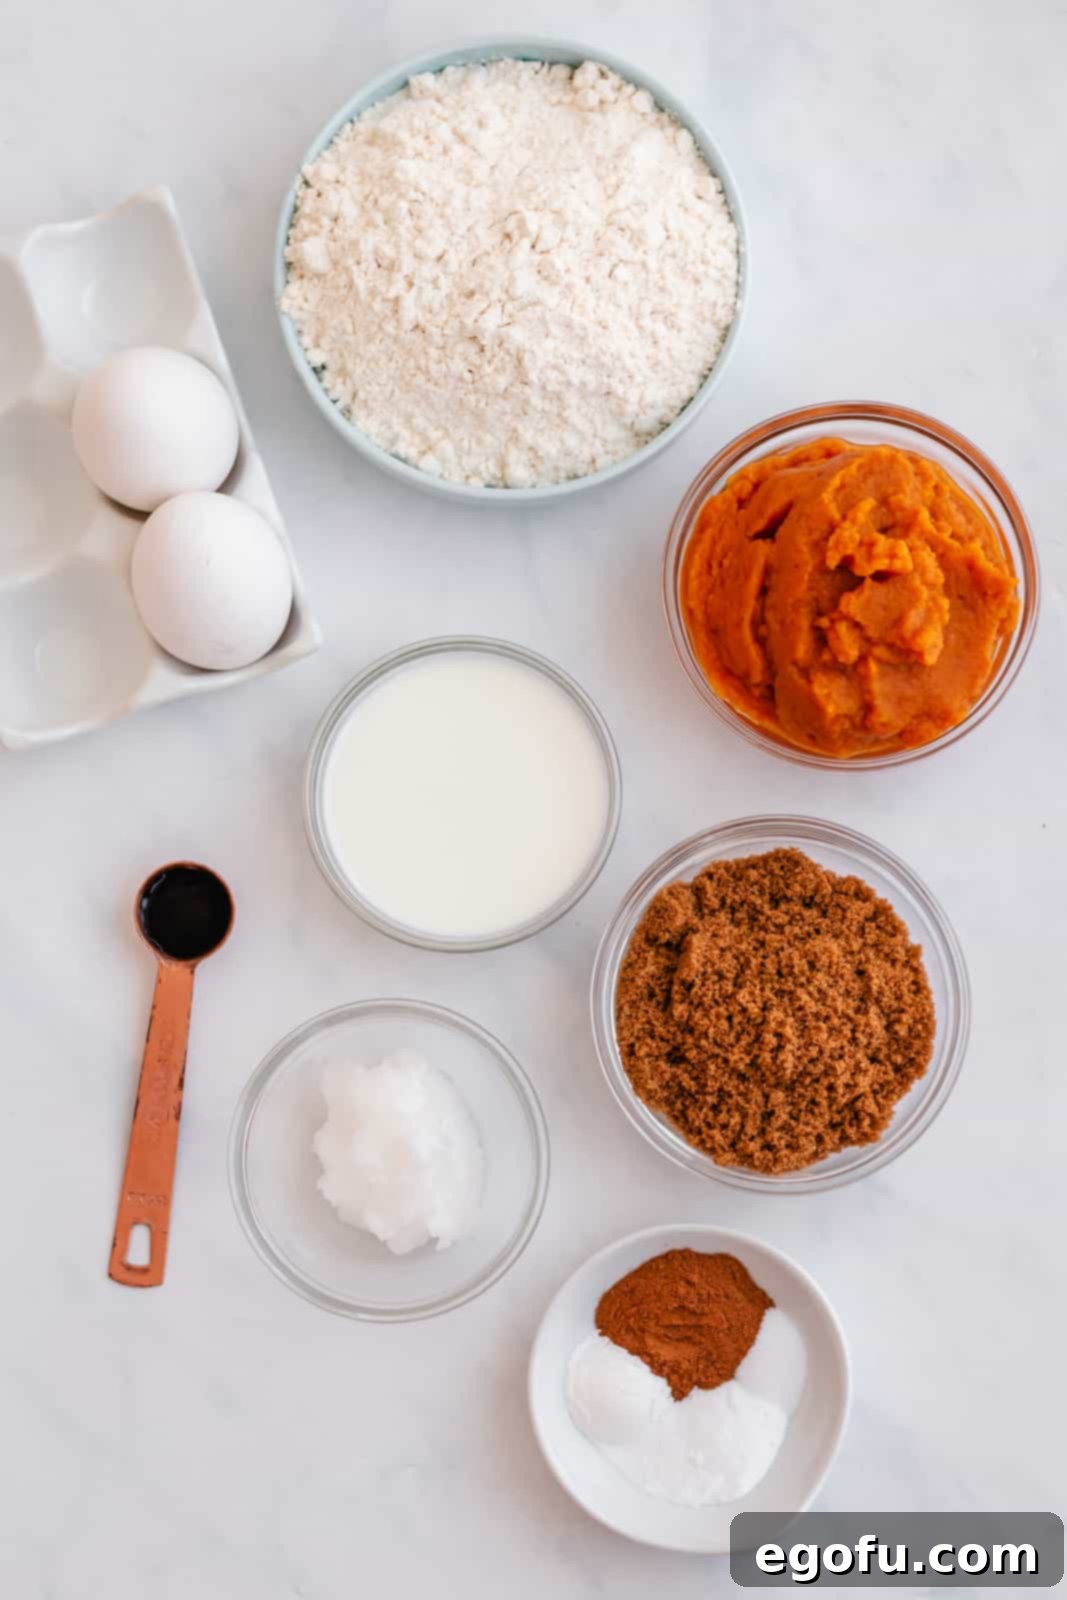
Crafting these delectable baked pumpkin donuts requires a simple list of pantry staples, combined with the star ingredient: pumpkin puree. The careful selection of these components ensures the perfect balance of flavor, moisture, and texture in every bite. Here’s what you’ll need to gather:
- All-purpose flour
- Baking powder
- Baking soda
- Salt
- Ground cinnamon
- Pumpkin pie spice (for that quintessential fall flavor)
- Vegetable oil (or melted butter for a richer crumb)
- Brown sugar (light or dark, packed)
- Large eggs (at room temperature for better emulsion)
- Pumpkin puree (100% pure, not pie filling)
- Milk (whole milk recommended for richness)
- Pure vanilla extract
For the Irresistible Cinnamon Sugar Topping:
- Granulated sugar
- Ground cinnamon
- Unsalted butter, melted (for dipping)
Having these ingredients ready will streamline your baking process and bring you one step closer to enjoying warm, homemade pumpkin donuts.
Step-by-Step Guide: How to Make Irresistible Baked Pumpkin Donuts
Creating these delightful baked pumpkin donuts is a straightforward and rewarding process. Follow these detailed instructions to achieve perfectly moist and flavorful treats that will become a fall favorite in your home.
Preparing Your Batter: Dry and Wet Ingredients
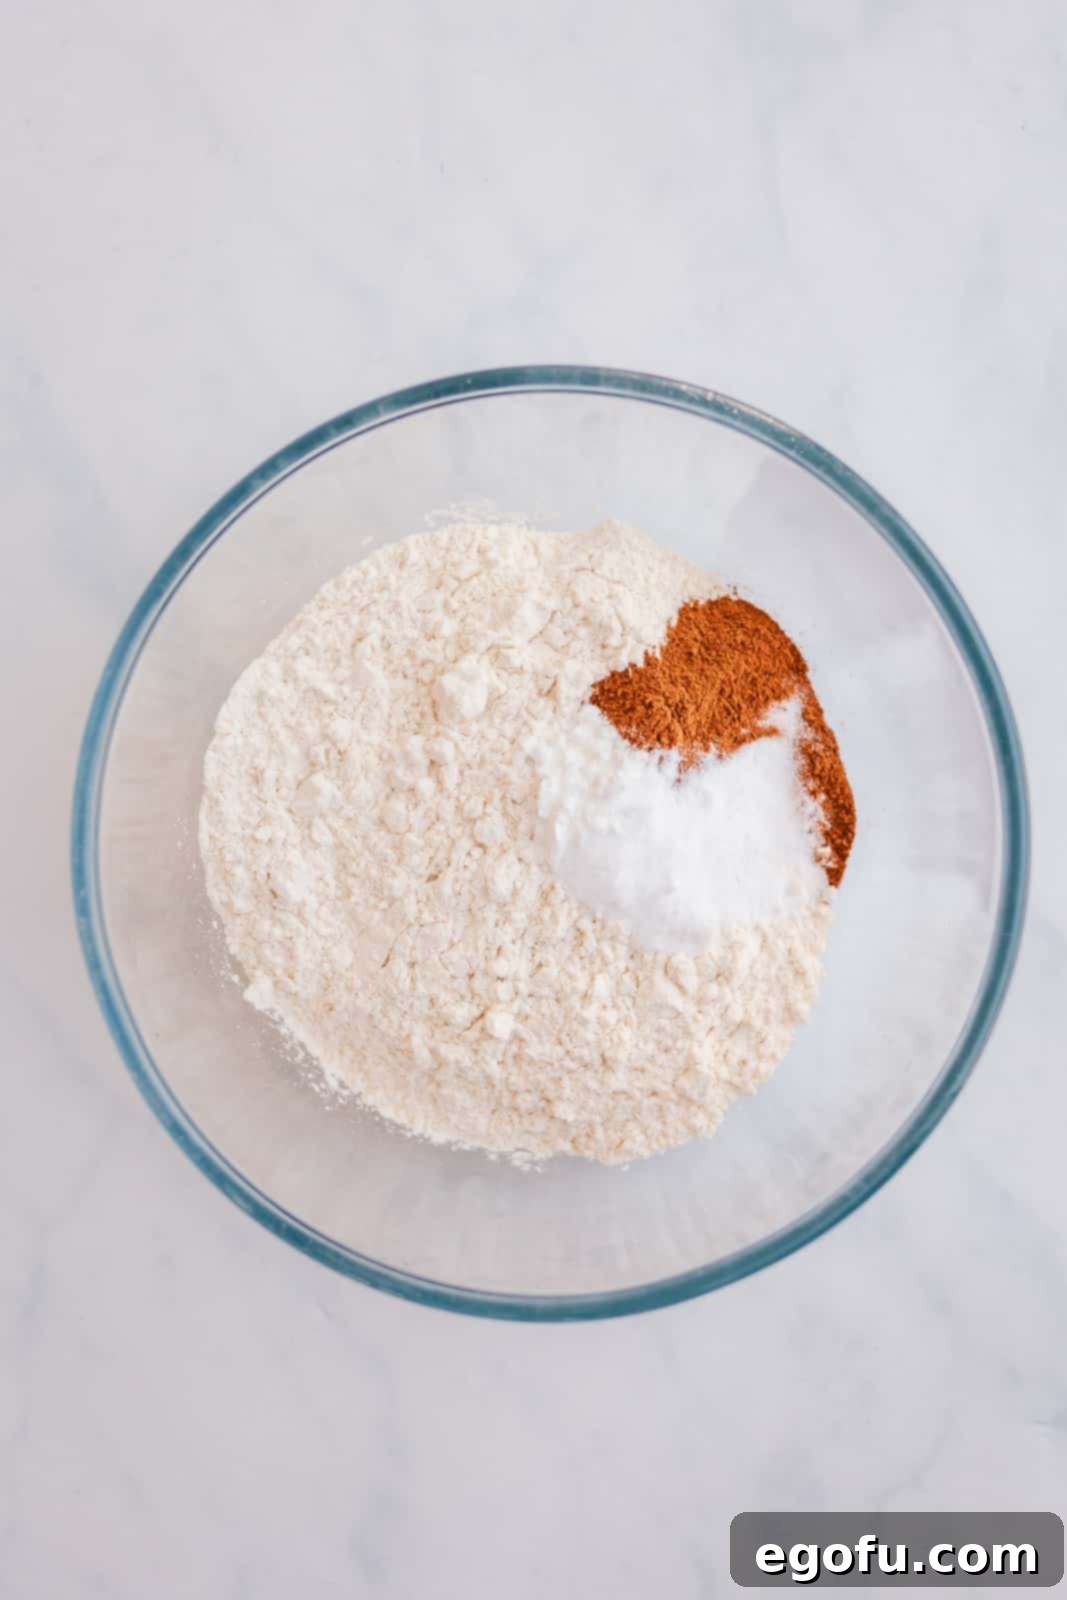
First things first, preheat your oven to 350ºF (175ºC). Lightly spray a donut pan with non-stick cooking spray, ensuring every cavity is well-coated to prevent sticking, then set it aside. In a large mixing bowl, combine all your dry ingredients: the all-purpose flour, baking powder, baking soda, salt, ground cinnamon, and pumpkin pie spice. Whisk these together thoroughly until they are uniformly combined. This step ensures that the leavening agents and spices are evenly distributed throughout the batter, leading to a consistent rise and flavor in your donuts. Once whisked, set this bowl aside.
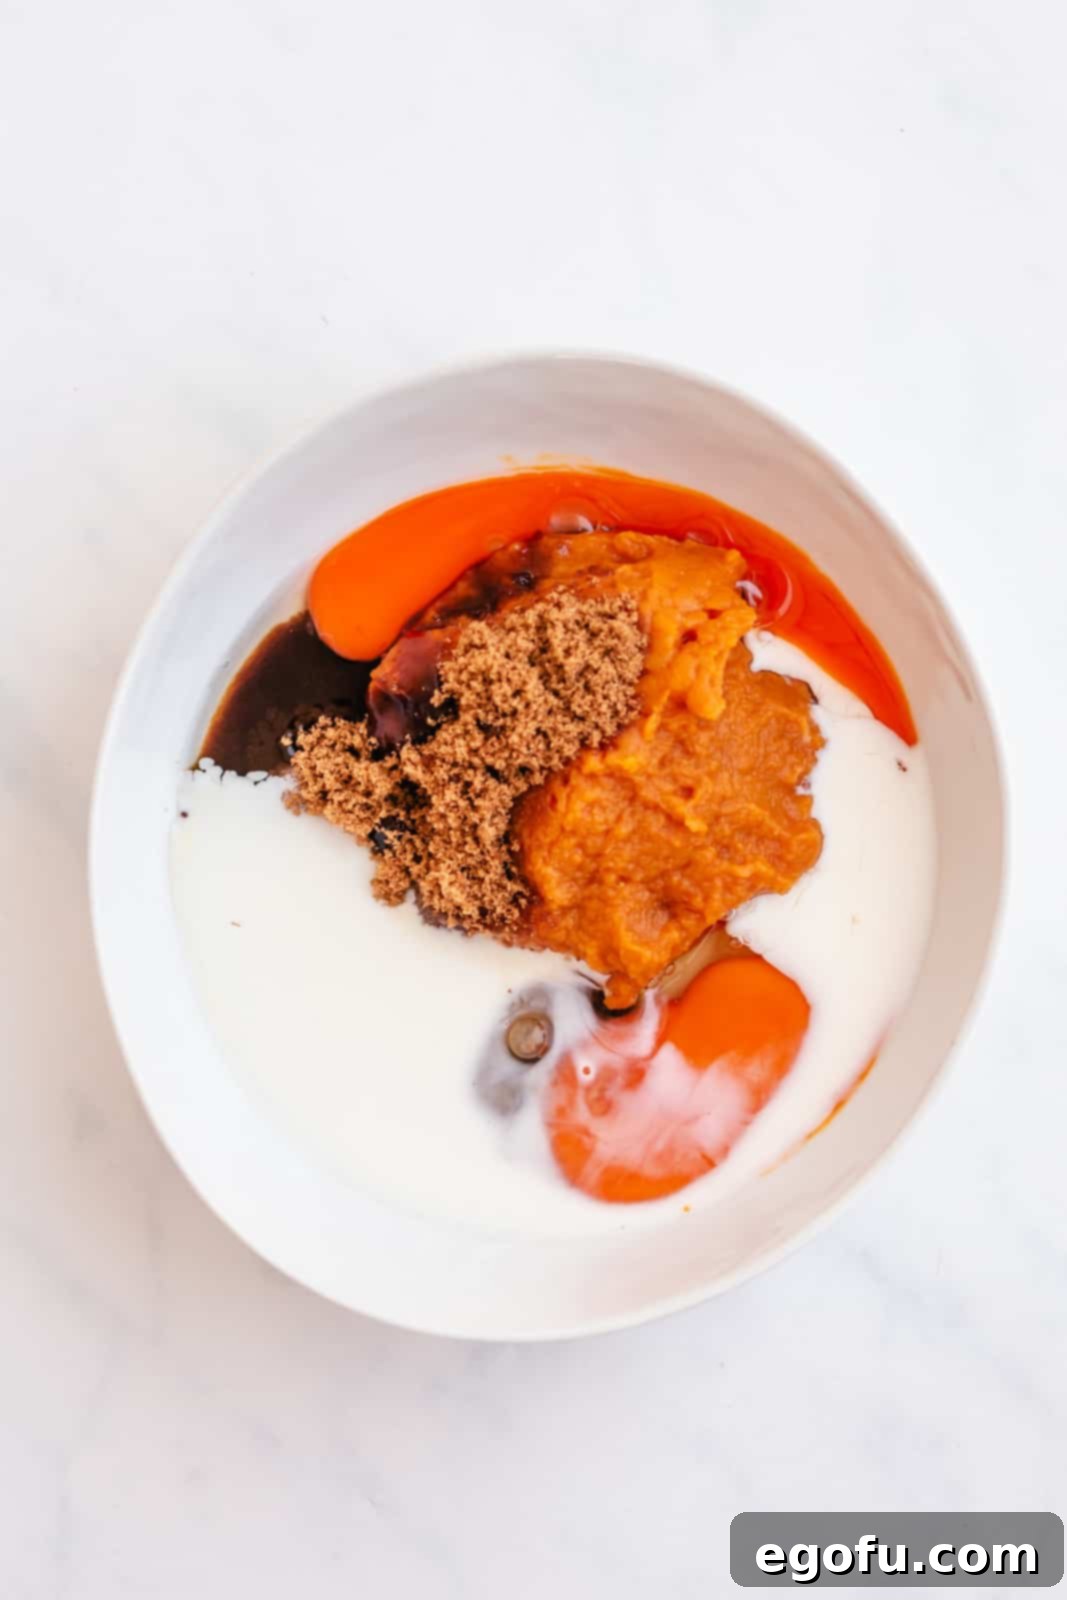
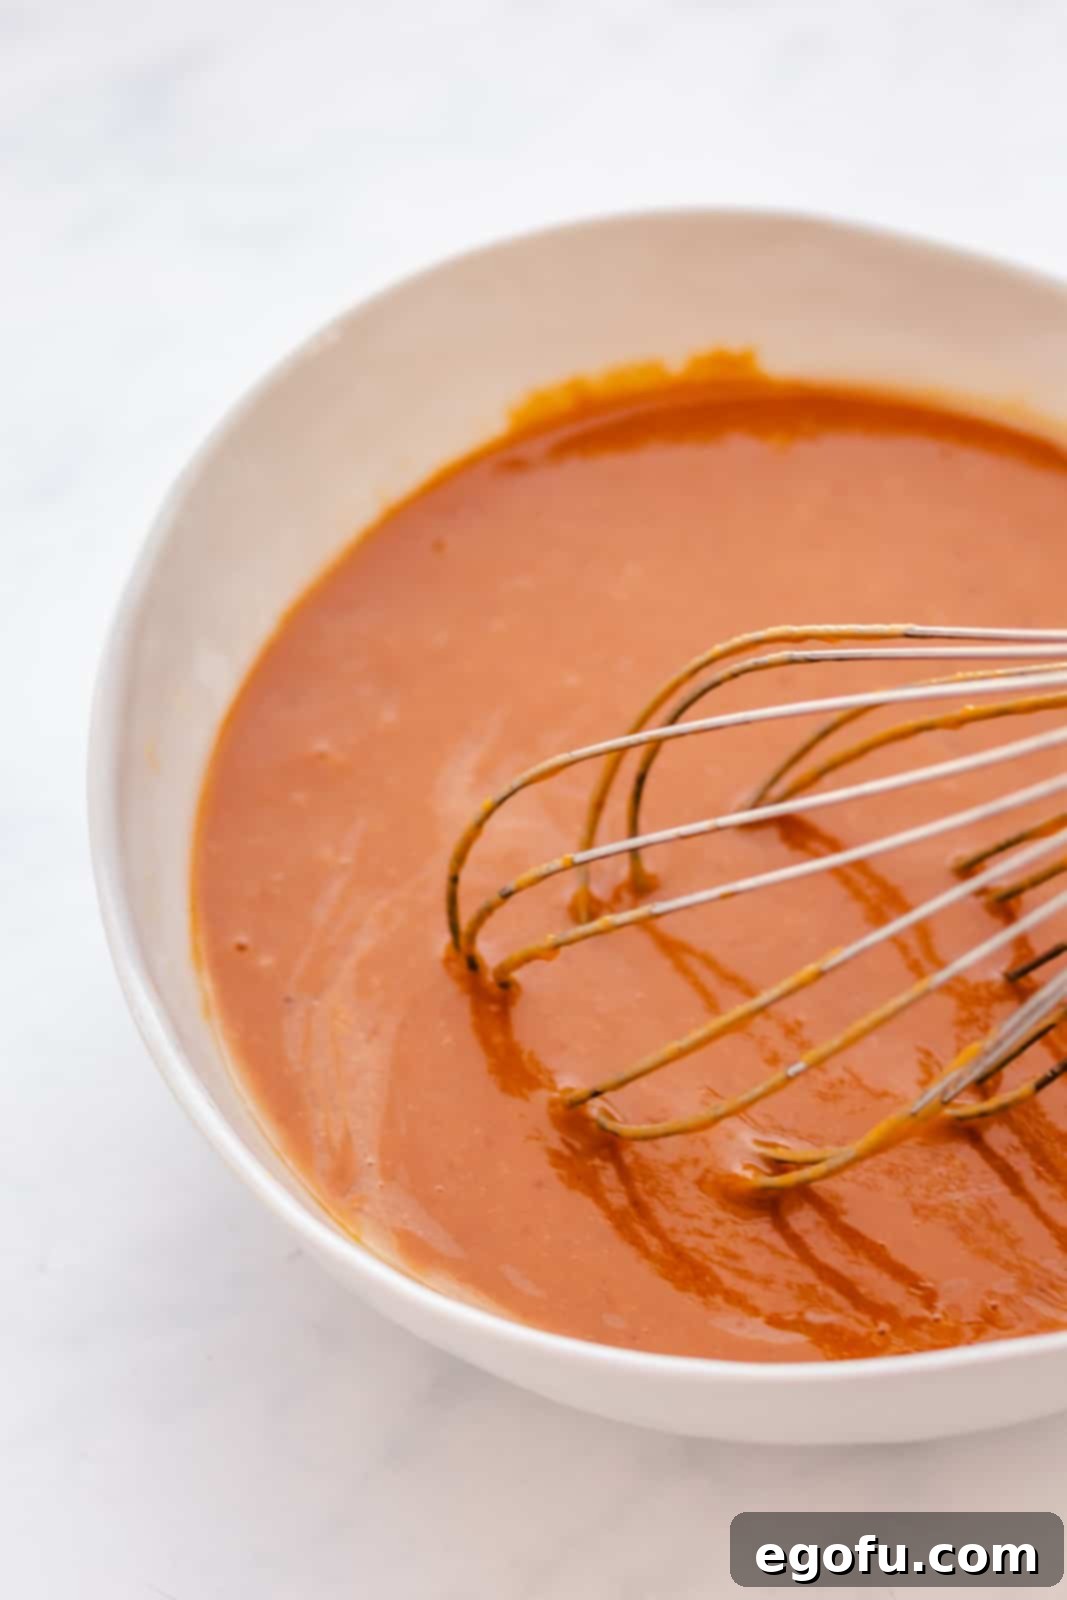
In a separate, medium-sized bowl, it’s time to prepare your wet ingredients. Whisk together the vegetable oil (or melted butter for a richer flavor), packed brown sugar, two large eggs (ideally at room temperature), pumpkin puree, milk, and pure vanilla extract. Continue whisking until the mixture is smooth and all ingredients are fully incorporated. This creates a rich, flavorful base for your pumpkin donuts.
Combining and Baking Your Donut Batter
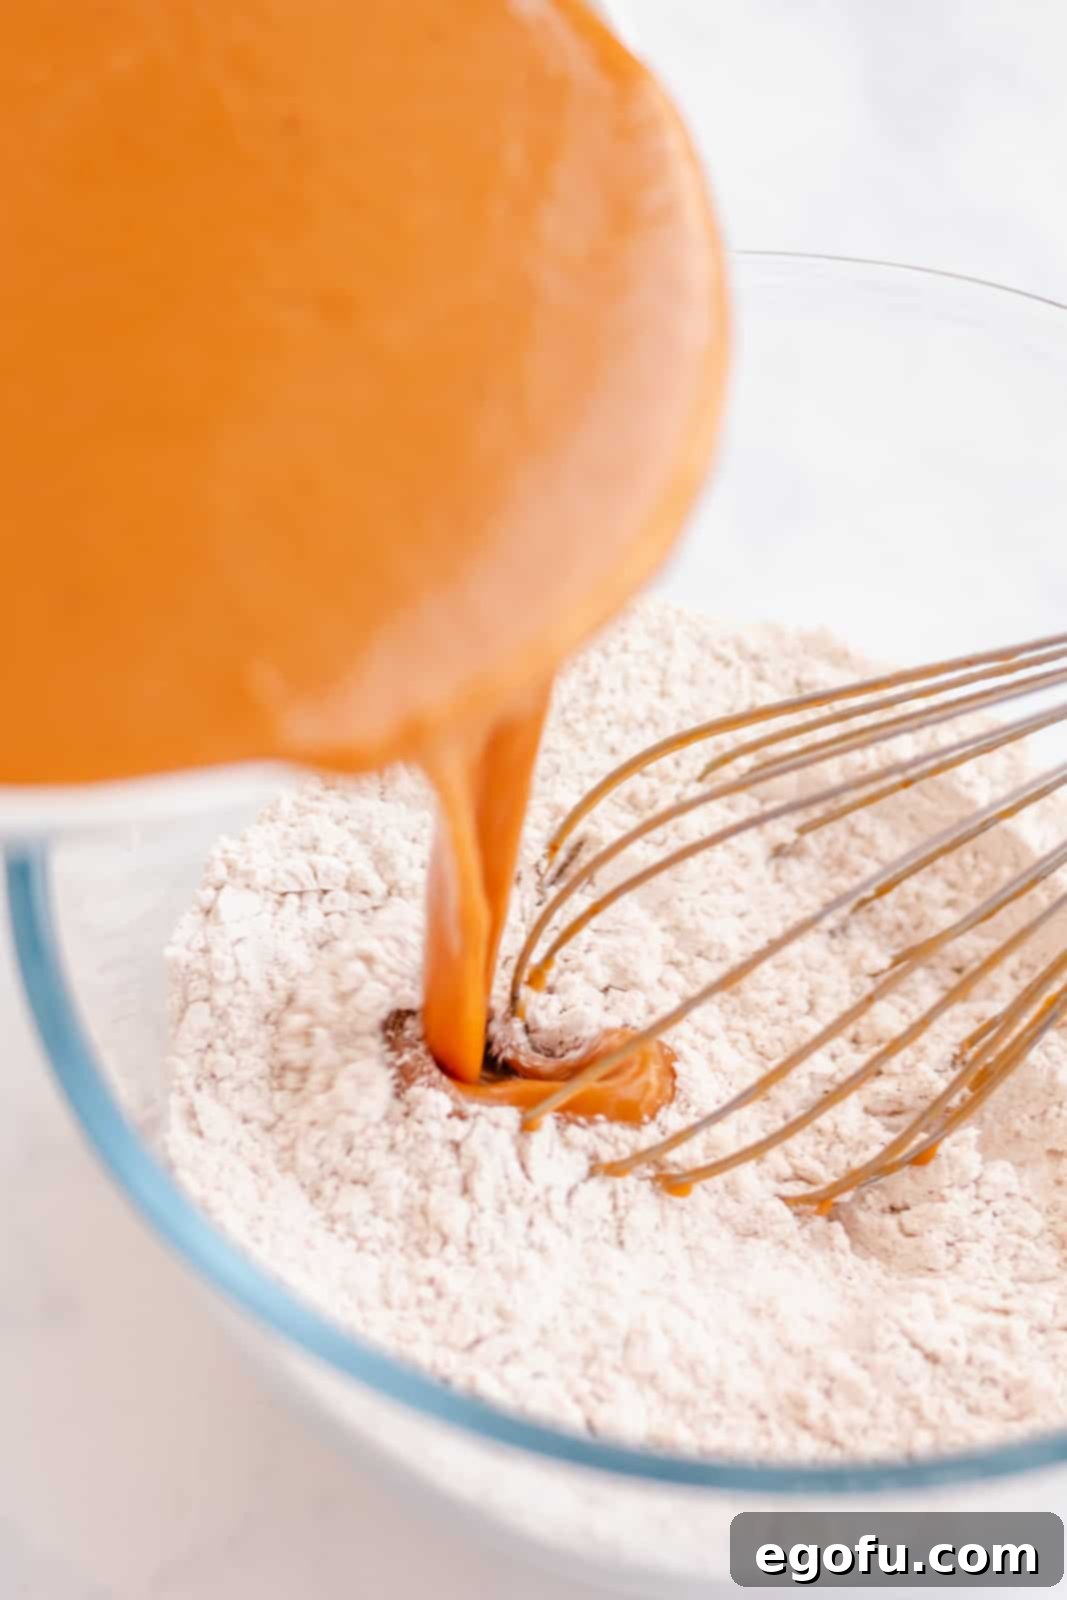
Now, gently pour the wet ingredients mixture into the bowl containing your dry ingredients. Using a spatula or whisk, mix everything until just combined. Be careful not to overmix the batter; overmixing can lead to tough donuts. A few lumps are perfectly fine and often result in a tenderer crumb.
To fill your donut pan, you have a couple of easy options. You can carefully spoon the batter into each donut cavity, or for a cleaner and more precise method, use a large piping bag (or a sturdy zip-top bag with one corner snipped off). Fill each donut hole about halfway with batter. If using the piping bag method, cut off a reasonable corner to allow the batter to flow smoothly. After filling, lightly dampen your fingertips and gently press the batter to smooth out the tops. This not only creates a more uniform donut but also helps prevent the tops from browning too quickly during baking.
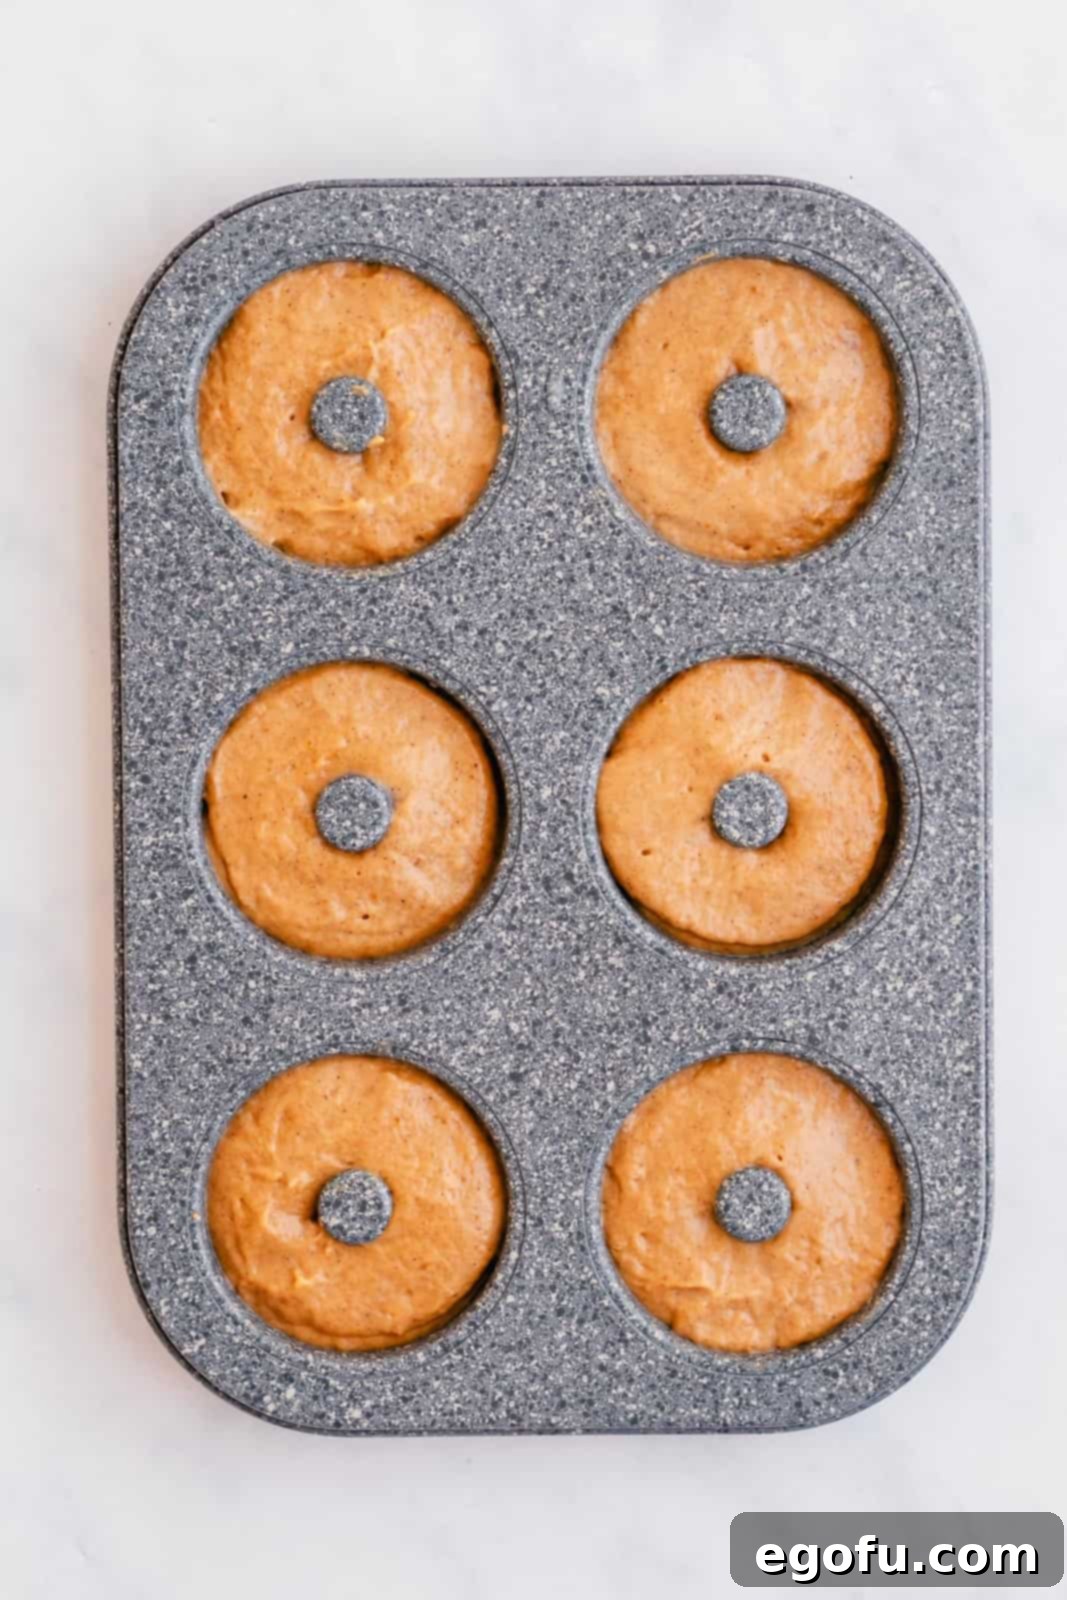
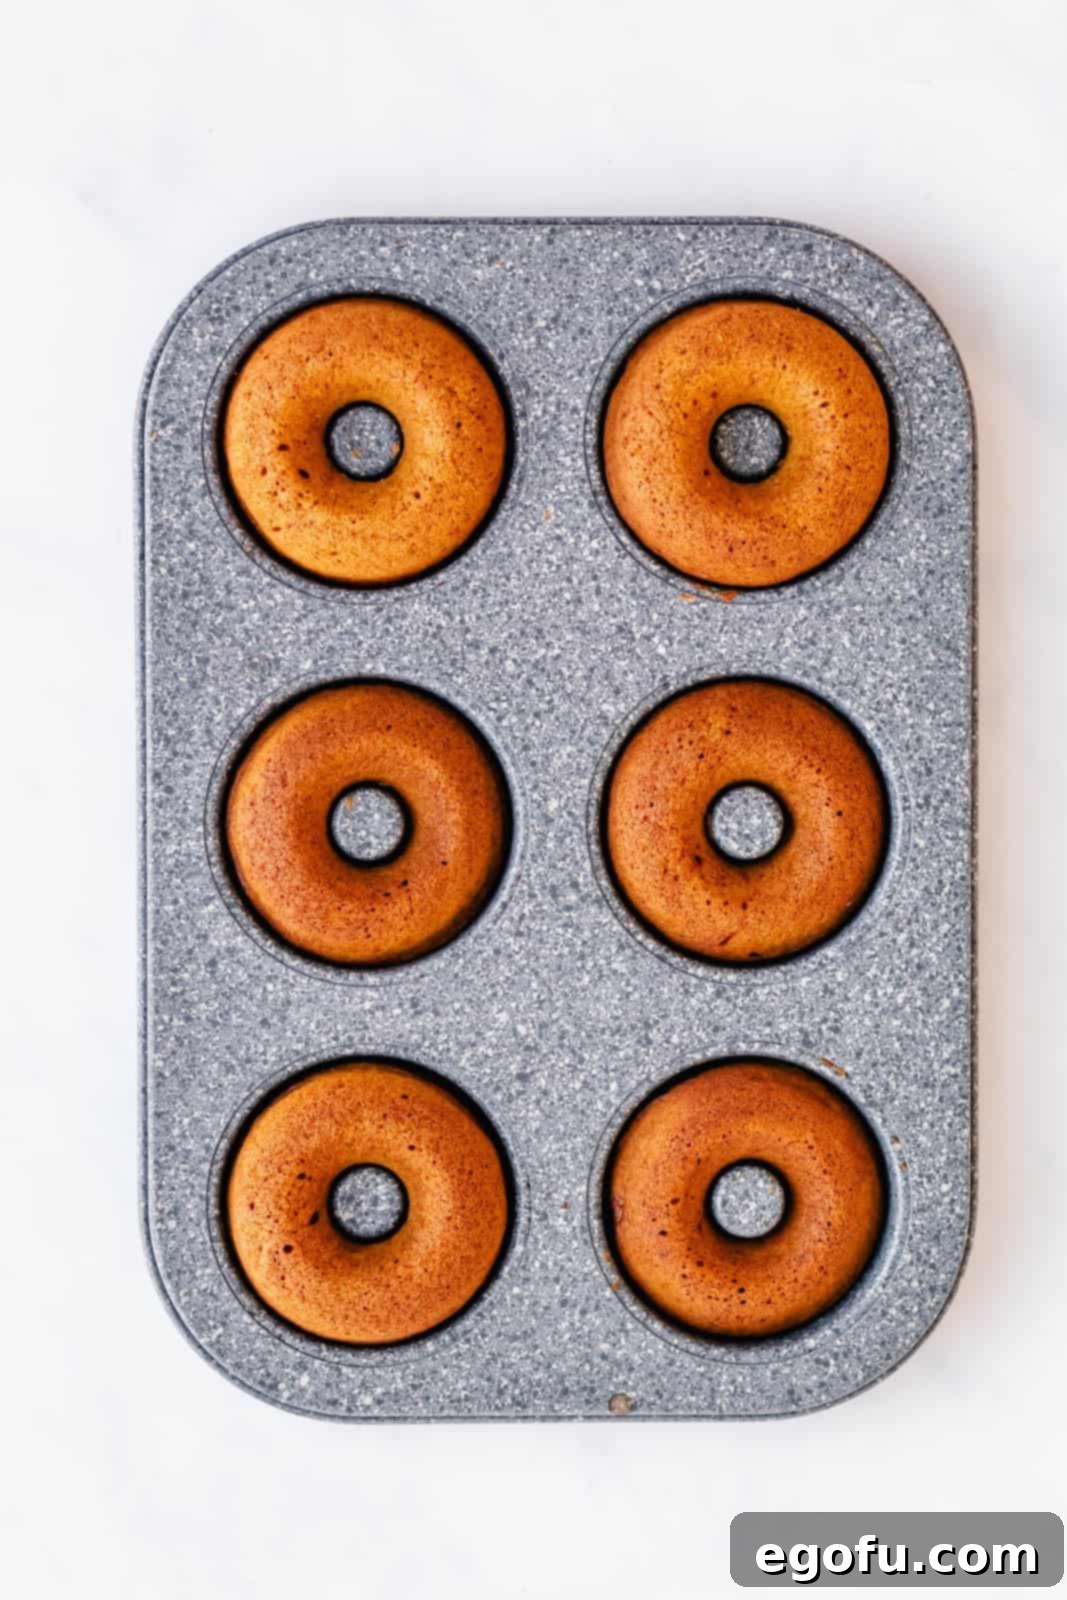
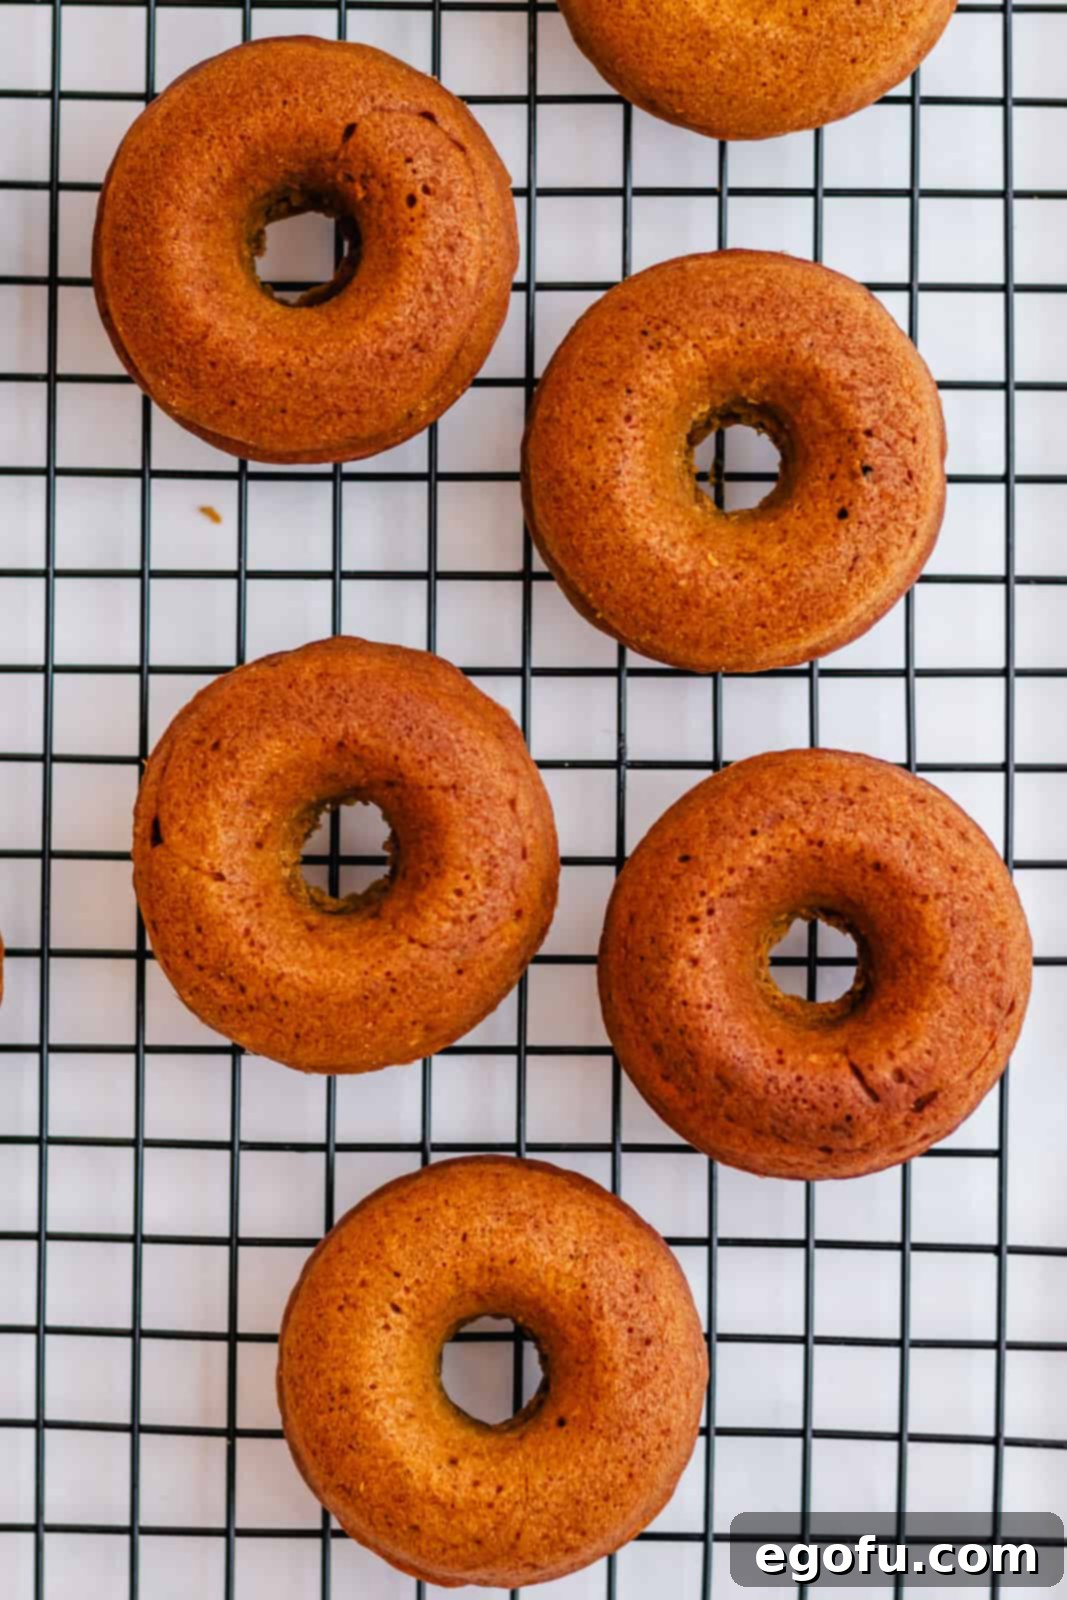
Place the donut pan in the preheated oven and bake for 10-12 minutes. The donuts are ready when the edges and tops are lightly golden brown and a gentle touch springs back. Be careful not to overbake, as this can dry them out. Once baked, remove the pan from the oven and let the donuts cool in the pan for about 5 minutes. This cooling time allows them to firm up slightly, making them easier to handle. After 5 minutes, carefully transfer the warm donuts to a wire cooling rack to cool completely. Repeat this process with any remaining batter until all your delicious pumpkin donuts are baked.
The Perfect Cinnamon Sugar Coating
While your donuts are cooling, prepare the glorious cinnamon sugar topping. In a medium-sized bowl, whisk together the granulated sugar and ground cinnamon until they are thoroughly blended. In a separate shallow bowl, melt the unsalted butter until it’s liquid and ready for dipping.
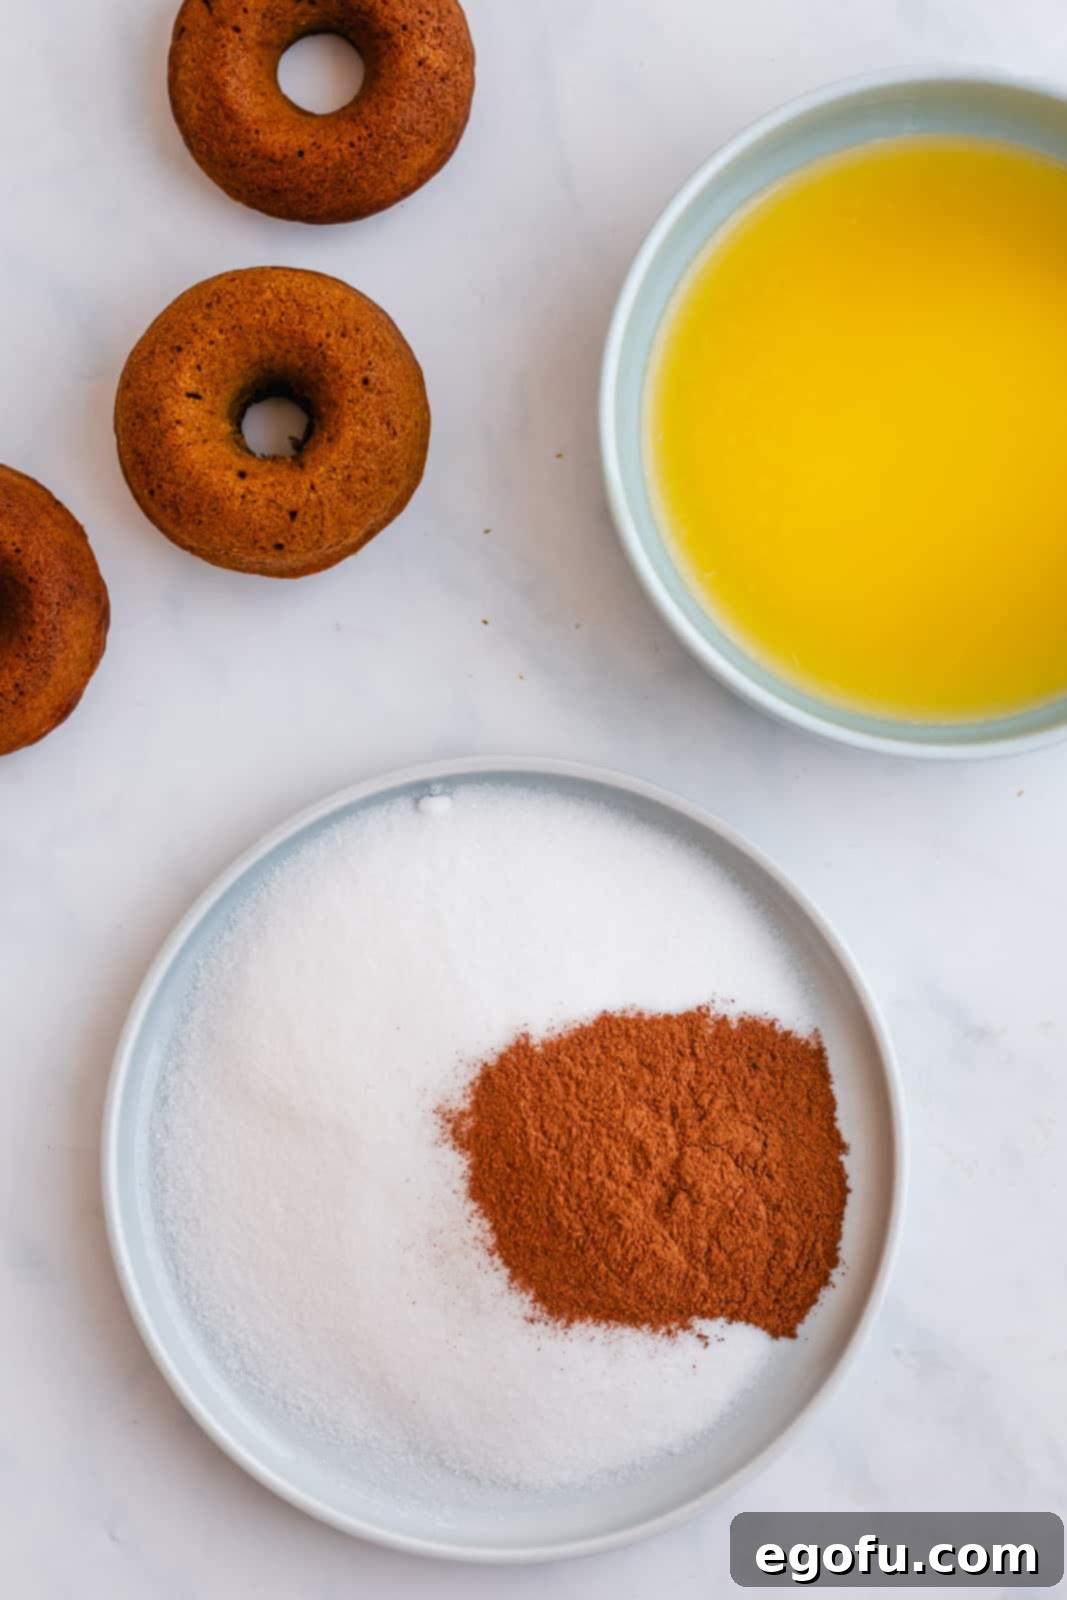
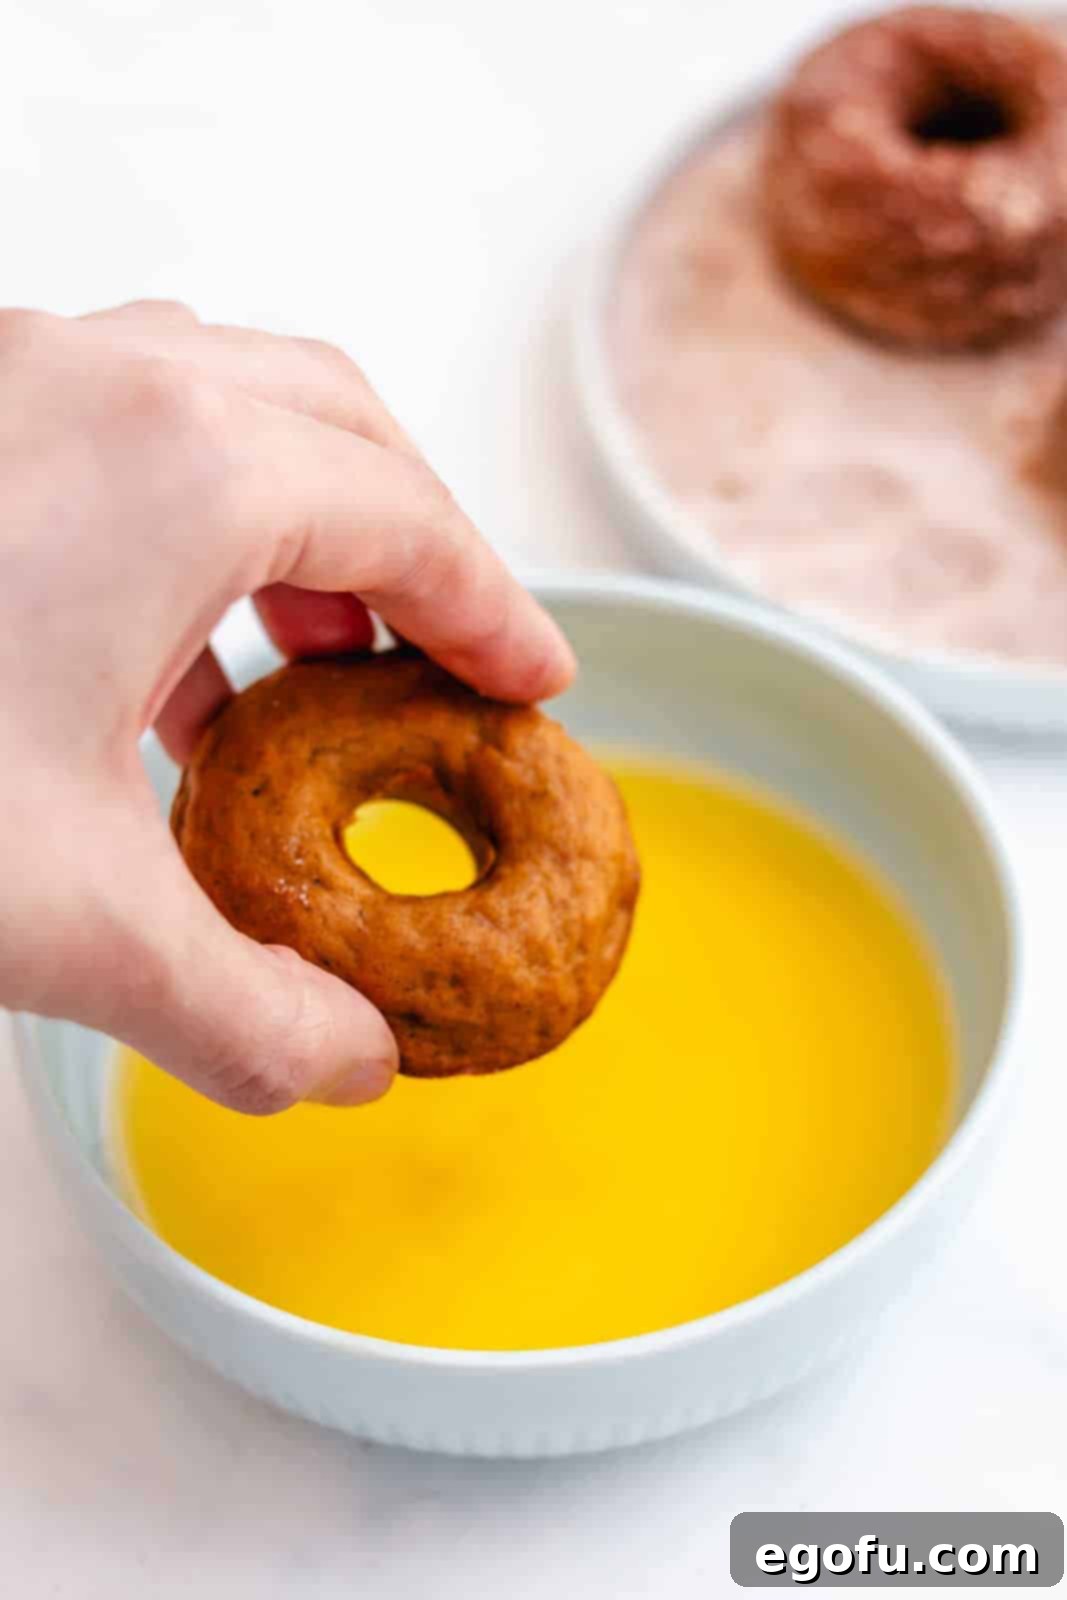
Once the donuts are cool enough to handle but still warm, take each donut and dip it generously into the melted butter, ensuring all sides are coated. The butter acts as the perfect adhesive for the cinnamon sugar. Immediately after the butter dip, transfer the donut to the cinnamon sugar mixture and roll it around, making sure every surface is coated evenly. This step is where the magic happens, transforming simple pumpkin donuts into an irresistible treat with a beautiful, sparkling finish.
Serve your freshly coated Baked Pumpkin Donuts immediately to enjoy them at their absolute best – warm, soft, and perfectly spiced. They are a true embodiment of autumn comfort!
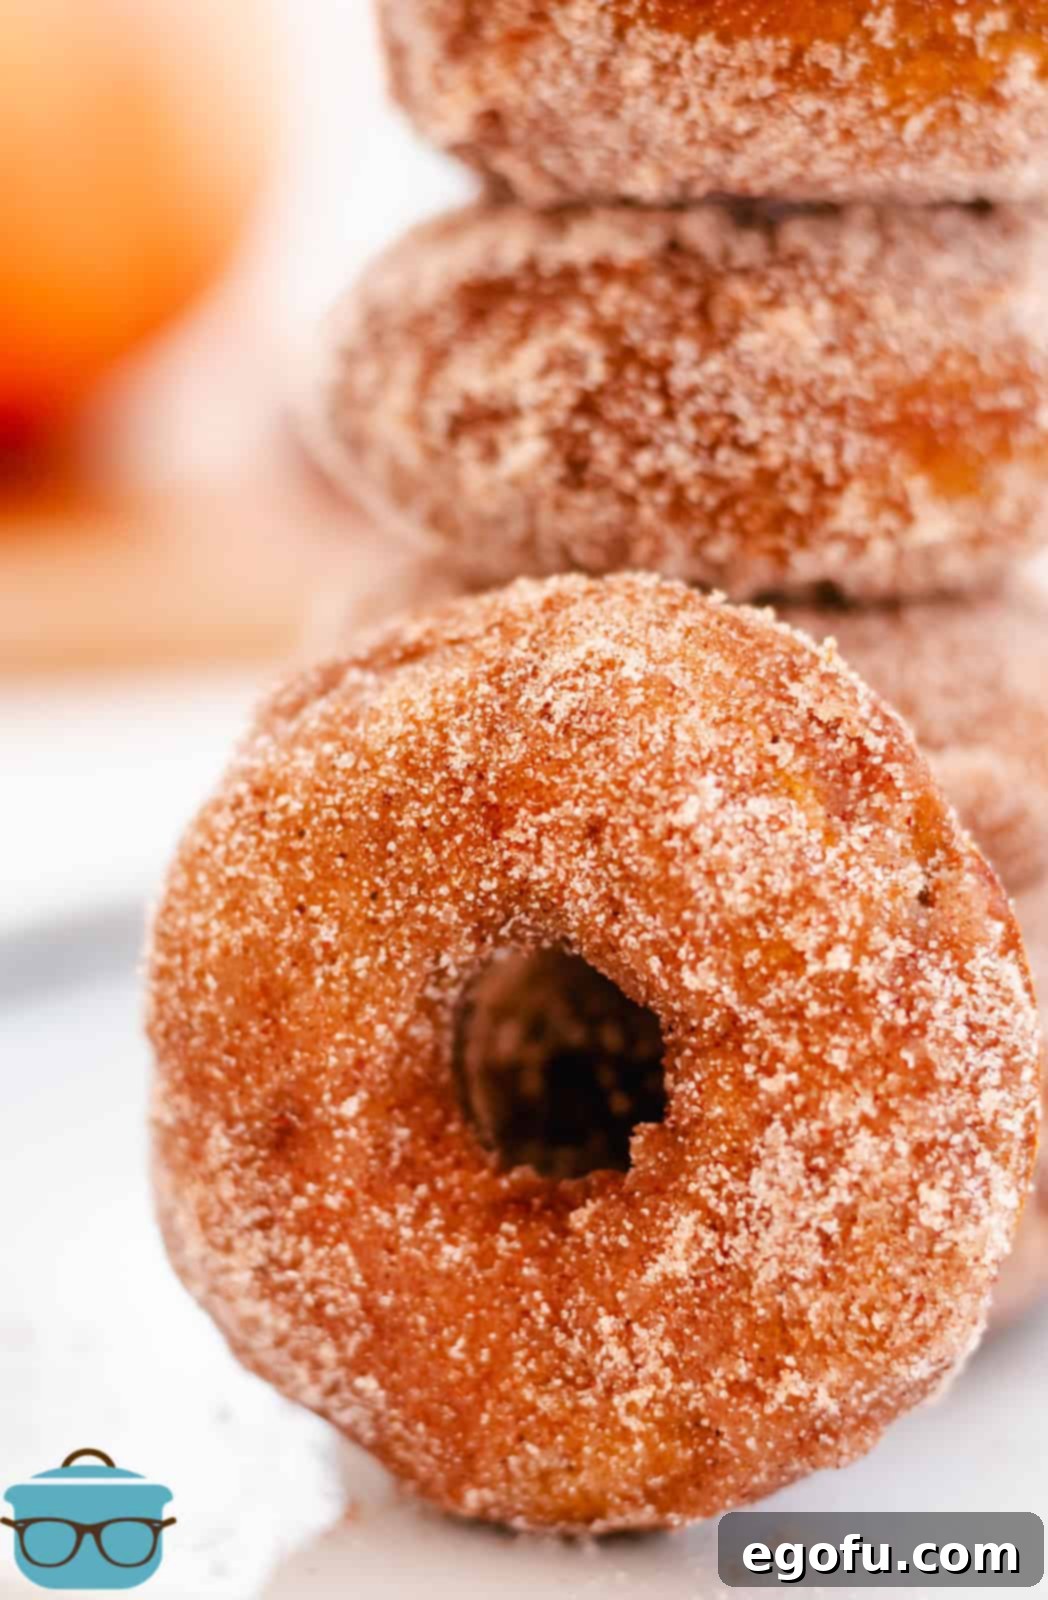
Enjoy every delightful bite!
Tips for Achieving Perfect Baked Pumpkin Donuts Every Time
While this recipe is designed to be straightforward, a few key tips can elevate your baking experience and ensure your pumpkin donuts turn out perfectly moist, flavorful, and beautifully coated:
- Don’t Overmix the Batter: This is a golden rule in baking, especially for cakes and donuts. Mix the wet and dry ingredients only until they are just combined. Overmixing develops the gluten in the flour, leading to a tougher, chewier donut instead of the desired tender, cake-like texture.
- Room Temperature Ingredients: Ensure your eggs and milk are at room temperature. This allows them to incorporate more smoothly into the batter, creating a more uniform emulsion and a better overall texture.
- Proper Donut Pan Preparation: Even if your donut pan is non-stick, a light spray with cooking oil or butter is highly recommended. This extra step guarantees easy release and helps achieve that lovely golden exterior.
- Filling the Pan: Using a piping bag (or a zip-top bag with the corner snipped off) is truly the easiest and cleanest way to fill the donut cavities. It allows for even distribution and prevents messy spills. Fill each cavity only about halfway to three-quarters full; this allows room for the donuts to rise without overflowing.
- Preventing Overbrowning: Gently pressing the batter with damp fingers after filling the pan helps create a smooth top and can prevent the donuts from browning too quickly on top. Keep an eye on them during the last few minutes of baking to ensure they don’t get too dark.
- Coating While Warm: The best time to apply the cinnamon sugar coating is when the donuts are still warm but cool enough to handle. The warmth of the donut helps the melted butter adhere better, which in turn allows the cinnamon sugar to stick perfectly.
- Even Coating is Key: Don’t rush the coating process. Ensure each donut is fully submerged in butter and then thoroughly rolled in the cinnamon sugar mixture for that signature, irresistible finish.
Serving Suggestions and Flavor Variations
These Baked Pumpkin Donuts are delicious on their own, but don’t hesitate to get creative with how you serve and customize them!
- Beyond Coffee and Milk: While a classic pairing, consider serving these donuts with a dollop of fresh whipped cream, a scoop of vanilla bean ice cream, or a drizzle of caramel sauce for an extra touch of decadence.
- Glaze Alternatives: If cinnamon sugar isn’t your only preference, explore other glazes. A simple powdered sugar glaze (powdered sugar + milk/water + vanilla extract) or a maple glaze (powdered sugar + maple syrup + milk) would be fantastic. You could even make a cream cheese glaze for a richer flavor.
- Add-ins: For an extra layer of flavor and texture, try folding in a handful of mini chocolate chips, chopped pecans, or walnuts into the batter before baking. These additions complement the pumpkin and spice beautifully.
- Seasonal Decor: For a festive touch, sprinkle a tiny amount of extra pumpkin pie spice over the cinnamon-sugar coated donuts, or pipe a small design with a contrasting glaze.
Want More Delicious Fall & Donut Recipes?
- Air Fryer Biscuit Donuts
- Baked Apple Cider Donuts
- Baked Red Velvet Donuts
- Apple Cider Donut Holes
- Pumpkin Pop Tarts
- Strawberry Jelly Filled Biscuit Donuts
- Pumpkin Poke Cake
- Pumpkin Danishes
- Pumpkin Bundt Cake
Baked Pumpkin Donuts
Covered in cinnamon sugar, these cake-like Baked Pumpkin Donuts are a delicious fall recipe that can be enjoyed for breakfast or dessert!
Prep Time: 20 minutes
Cook Time: 10 minutes
Total Time: 30 minutes
Servings: 16 donuts
Author: Brandie Skibinski
Pin Recipe
Ingredients
For the Donuts:
- 2 cups all-purpose flour
- 1 teaspoon baking powder
- 1 teaspoon baking soda
- ½ teaspoon salt
- 2 teaspoons ground cinnamon
- 1 teaspoon pumpkin pie spice
- ½ cup vegetable oil
- ¾ cup packed brown sugar (light or dark brown sugar can be used)
- 2 large eggs at room temperature
- 1 cup fresh or canned pumpkin puree
- ⅓ cup milk (whole milk recommended)
- 1 teaspoon pure vanilla extract
For the Topping:
- 1 cup granulated sugar
- 1 teaspoon ground cinnamon
- ½ cup unsalted butter, melted
Instructions
- Preheat your oven to 350ºF (175ºC). Lightly spray a donut pan with non-stick cooking spray and set it aside.
- In a large mixing bowl, whisk together the flour, baking powder, baking soda, salt, cinnamon, and pumpkin pie spice. Set this dry mixture aside.
- In a separate bowl, whisk together the vegetable oil (or melted butter), brown sugar, eggs, pumpkin puree, milk, and vanilla extract until well combined.
- Pour the wet ingredients into the dry ingredients. Mix gently until just combined; do not overmix.
- Spoon the batter into the prepared donut pan cavities, filling each about halfway. For cleaner results, you can use a large piping bag or a zip-top bag with a corner snipped off. With damp hands, gently smooth the tops of the batter to prevent over-browning.
- Bake for 10-12 minutes, or until the edges and tops are lightly browned and a toothpick inserted comes out clean.
- Allow the donuts to cool in the pan for 5 minutes before carefully transferring them to a wire rack to cool completely. Repeat with any remaining batter.
- While the donuts cool slightly, prepare the topping. In a medium bowl, combine the granulated sugar and ground cinnamon. Melt the unsalted butter in a separate shallow dish.
- Once the donuts are warm but cool enough to handle, dip each donut into the melted butter, ensuring all sides are coated. Immediately transfer to the cinnamon sugar mixture and roll to coat thoroughly.
- Serve your delicious Baked Pumpkin Donuts immediately and enjoy!
Notes
- This recipe can easily be doubled to make a larger batch.
- If you don’t own a donut pan, you can make these into delicious pumpkin muffins instead. Refer to the FAQ section for baking instructions.
- For those who prefer a different topping, you can toss the baked donuts in powdered sugar or dip them in a simple glaze made from powdered sugar and milk.
- These donuts freeze well. Consult the FAQ section for detailed storage instructions.
Course: Breakfast, Dessert
Cuisine: American
Nutrition Information (Estimated Per Donut)
Calories: 234kcal | Carbohydrates: 27g | Protein: 3g | Fat: 13g | Sodium: 154mg | Fiber: 1g | Sugar: 13g
Nutritional Disclaimer: The nutritional information provided is an estimate. This calculation is based on standard ingredient values and may vary depending on specific brands used, preparation methods, and serving sizes. It is not intended as professional dietary advice. If precise nutritional values are crucial for your dietary needs, we recommend calculating them using your preferred online nutritional calculator and specific ingredients.
Did you make this delicious recipe?
We’d love to see your creations! Share your photos on Instagram @thecountrycook and tag us using #thecountrycook!
