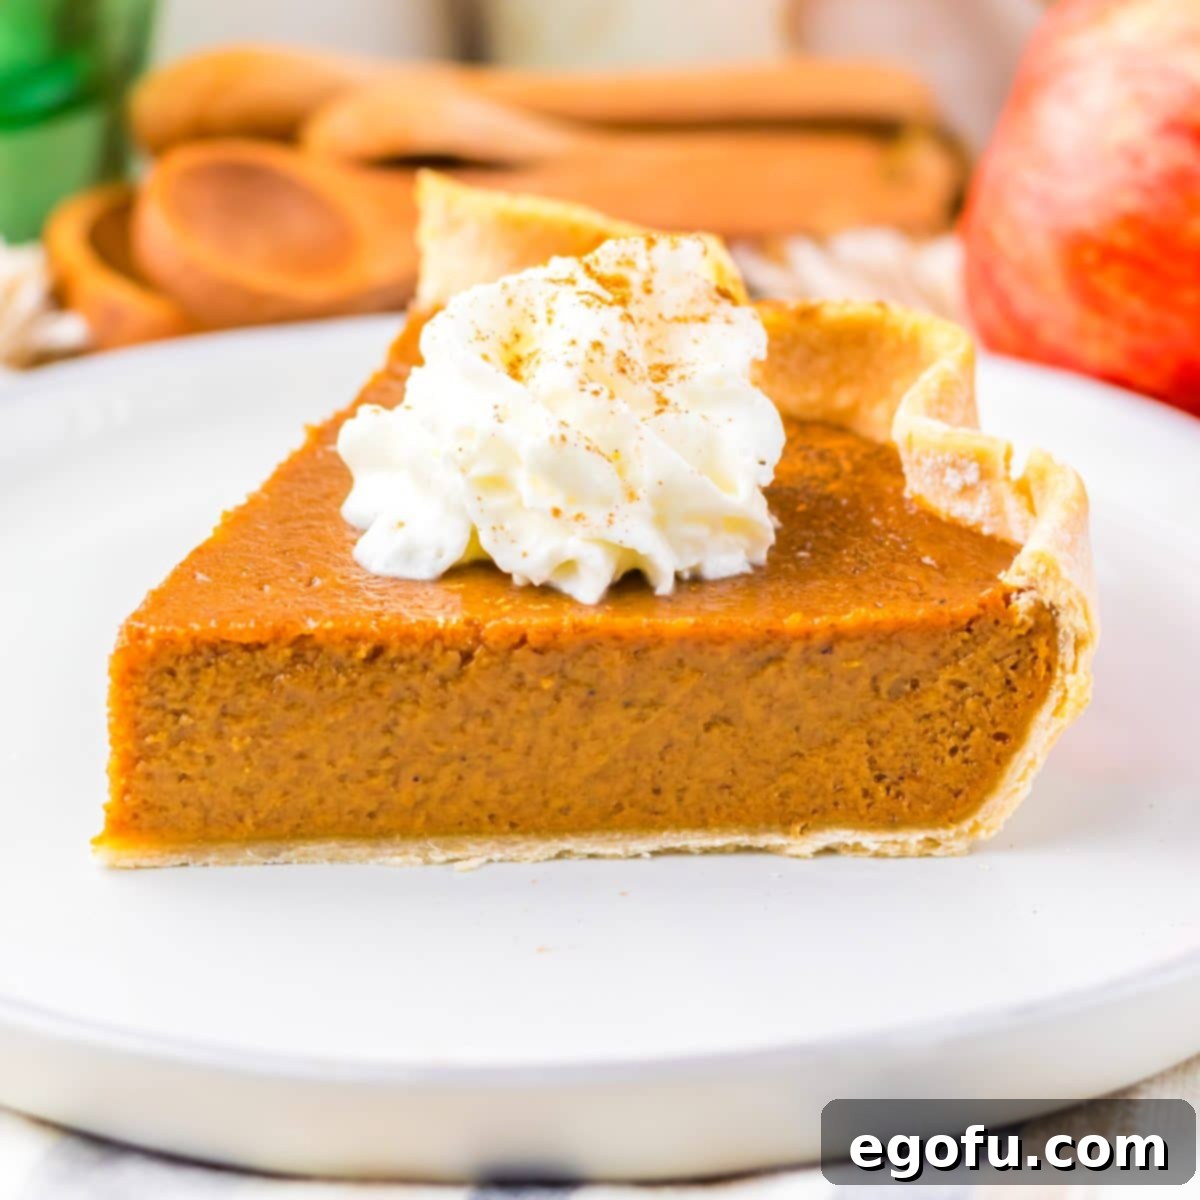
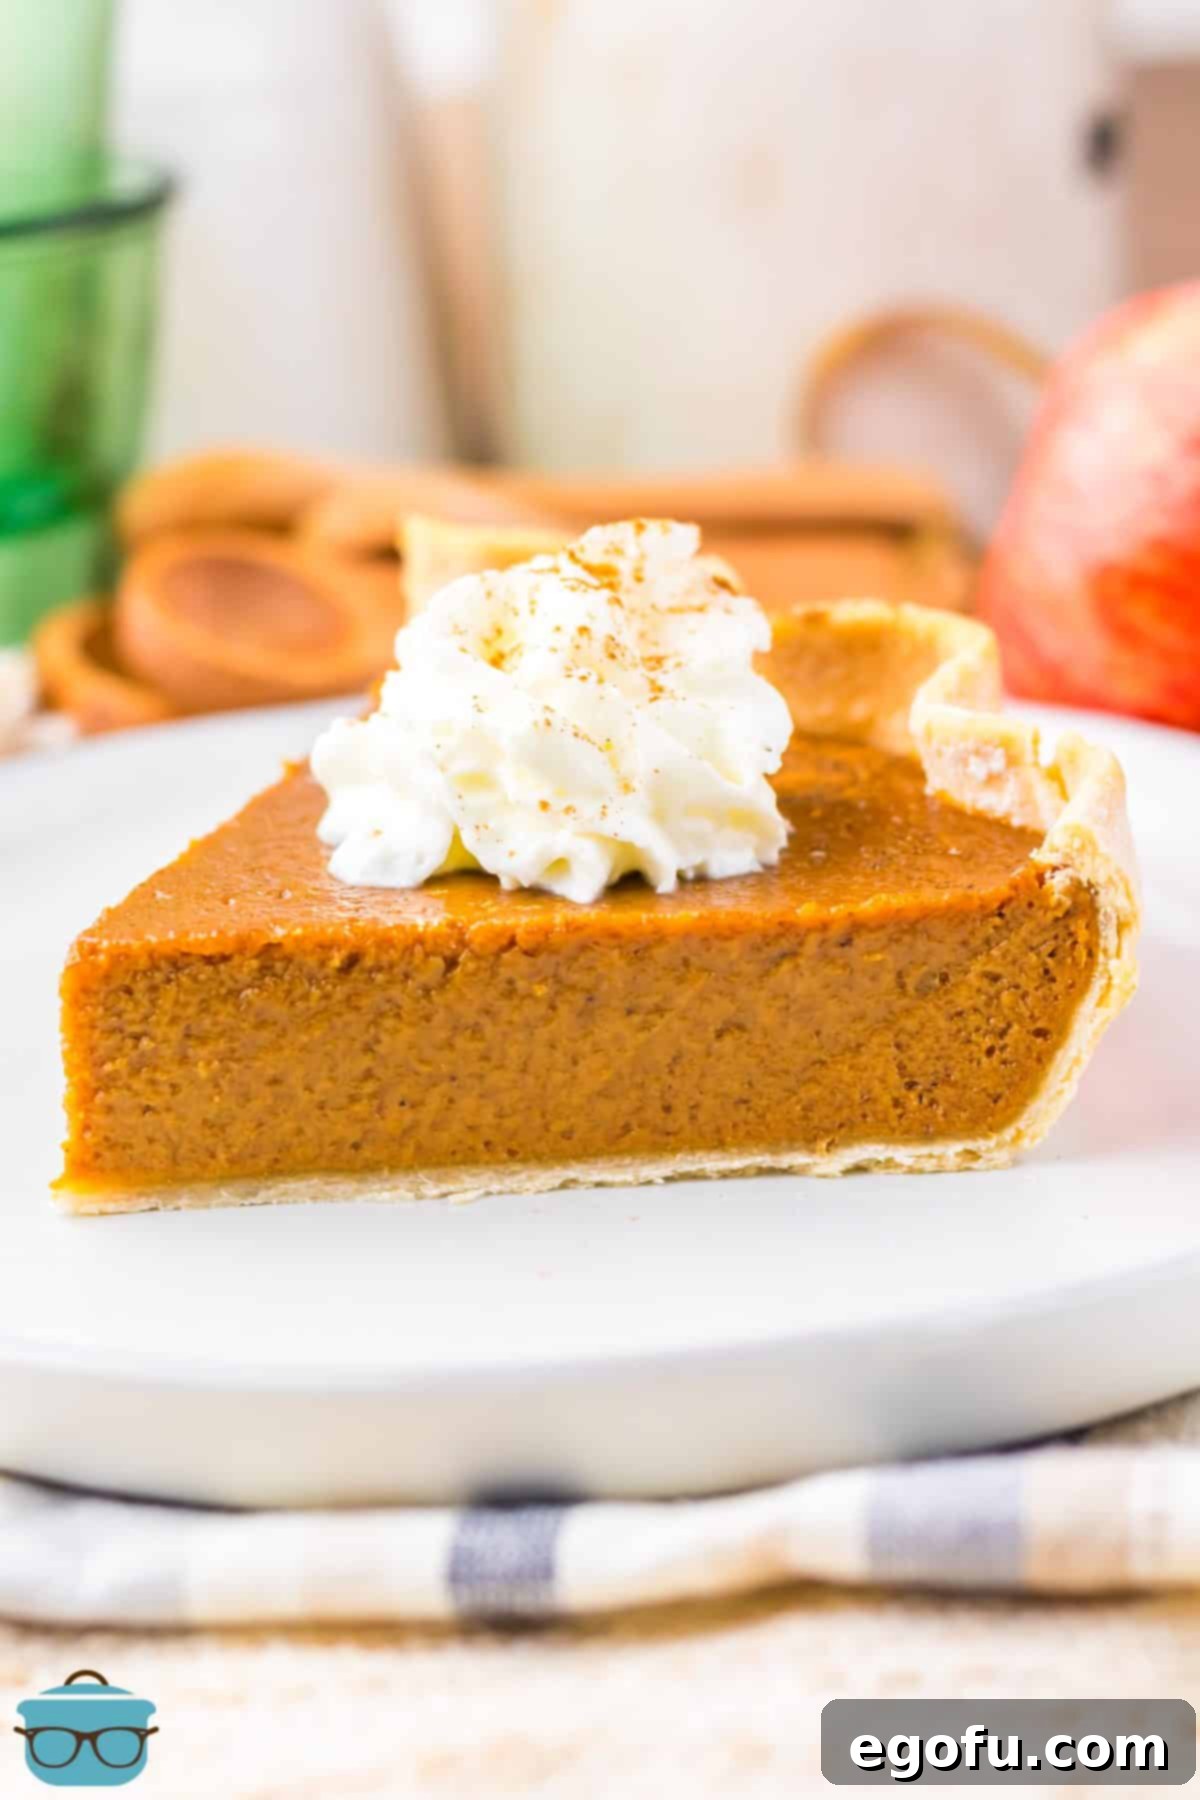
Indulge in the rich, comforting flavors of our homemade Apple Butter Pie. This easy-to-make dessert features a creamy, spiced filling bursting with deep apple essence, all nestled within a perfectly flaky, golden crust. Ideal for cozy autumn evenings or a show-stopping holiday centerpiece, this pie is guaranteed to become a new family favorite.
Discover the Simplicity: An Exquisite Apple Butter Pie with Only 6 Ingredients
Forget complicated baking. Our Apple Butter Pie recipe simplifies the art of dessert-making, bringing together everything you adore about classic fall treats in one delightful package. Imagine the warm, inviting aroma of cinnamon, nutmeg, and cloves, combined with a smooth, custard-style filling that melts in your mouth, all encased in a tender, buttery crust. What truly sets this pie apart is the star ingredient: apple butter. Unlike traditional apple pies that rely on sliced fresh apples, apple butter provides an unparalleled depth of flavor and natural sweetness, creating a richer, more concentrated apple experience. This unique element elevates it above typical pumpkin or classic apple pies, offering a distinct and memorable taste that will have everyone asking for your secret recipe. Its straightforward approach makes it accessible for bakers of all skill levels, ensuring a flawless result every time.
Frequently Asked Questions About Apple Butter Pie
Lumpy filling often results from ingredients that are too cold. For a perfectly smooth and creamy texture, ensure all your wet ingredients, especially eggs and sweetened condensed milk, are at room temperature before you begin mixing. This allows them to blend seamlessly with the apple butter and flour, creating a uniform and luscious filling.
Knowing when your pie is done is crucial to achieving the ideal creamy set without overbaking. The edges of the pie should appear set and slightly golden, while the very center should still have a slight, delicate jiggle when gently shaken. This indicates that the custard is cooked through but will continue to firm up beautifully as it cools. Avoid baking until the center is completely firm, as this can lead to a dry or cracked filling.
If you notice the edges of your pie crust are browning faster than the rest of the pie, don’t worry! You can easily prevent over-browning by covering the exposed edges with strips of aluminum foil or by using a reusable pie shield. This protects the crust while allowing the filling to continue baking to perfection.
Patience is key for perfectly sliced pie! The absolute best way to achieve neat, attractive slices is to allow the pie to cool completely, preferably for several hours or even overnight, before attempting to cut into it. As the pie cools, the filling fully sets, making it much easier to slice without crumbling or sticking. Resist the urge to dig in too soon!
Apple Butter Pie is incredibly versatile and can be enjoyed in a couple of ways. You can serve it at room temperature, which allows the subtle spice notes to truly shine, or chilled for a firmer, refreshing dessert. Both methods offer a delightful experience, so choose whichever you prefer based on your taste and the occasion. Don’t forget a dollop of whipped cream or a scoop of vanilla ice cream for the ultimate indulgence!
This recipe is wonderfully adaptable to your preferences! For an added textural crunch and spice, consider sprinkling a cinnamon-pecan streusel topping over the filling before baking. You can also create individual mini pies by using small tart pans or a muffin tin for charming single servings. To introduce a delightful tang, swirl a few dollops of sweetened cream cheese into the apple butter filling just before it goes into the oven. Amp up the autumnal flavors even further by adding extra pinches of ground cinnamon, nutmeg, or cloves to the filling. Instead of plain whipped cream, try a cinnamon-spiced version or a decadent caramel drizzle as a garnish. A scoop of maple walnut ice cream also makes a fantastic accompaniment.
To keep any leftover pie fresh, store it in an airtight container or tightly covered with plastic wrap in the refrigerator for up to 4-5 days. If you’d like to enjoy it for longer, this pie freezes beautifully. Simply wrap individual slices or the entire cooled pie securely in plastic wrap, then in aluminum foil, and freeze for up to 3 months. Thaw frozen pie overnight in the refrigerator before serving.
Absolutely! Using a frozen pie crust is a convenient shortcut that works perfectly. To parbake a frozen pie crust, first preheat your oven to 375°F (190°C). Allow the crust to thaw for about 15 minutes at room temperature, then prick the bottom generously with a fork. Bake for 10-15 minutes, or until the edges just begin to turn a light golden color. Then proceed with the recipe as directed.
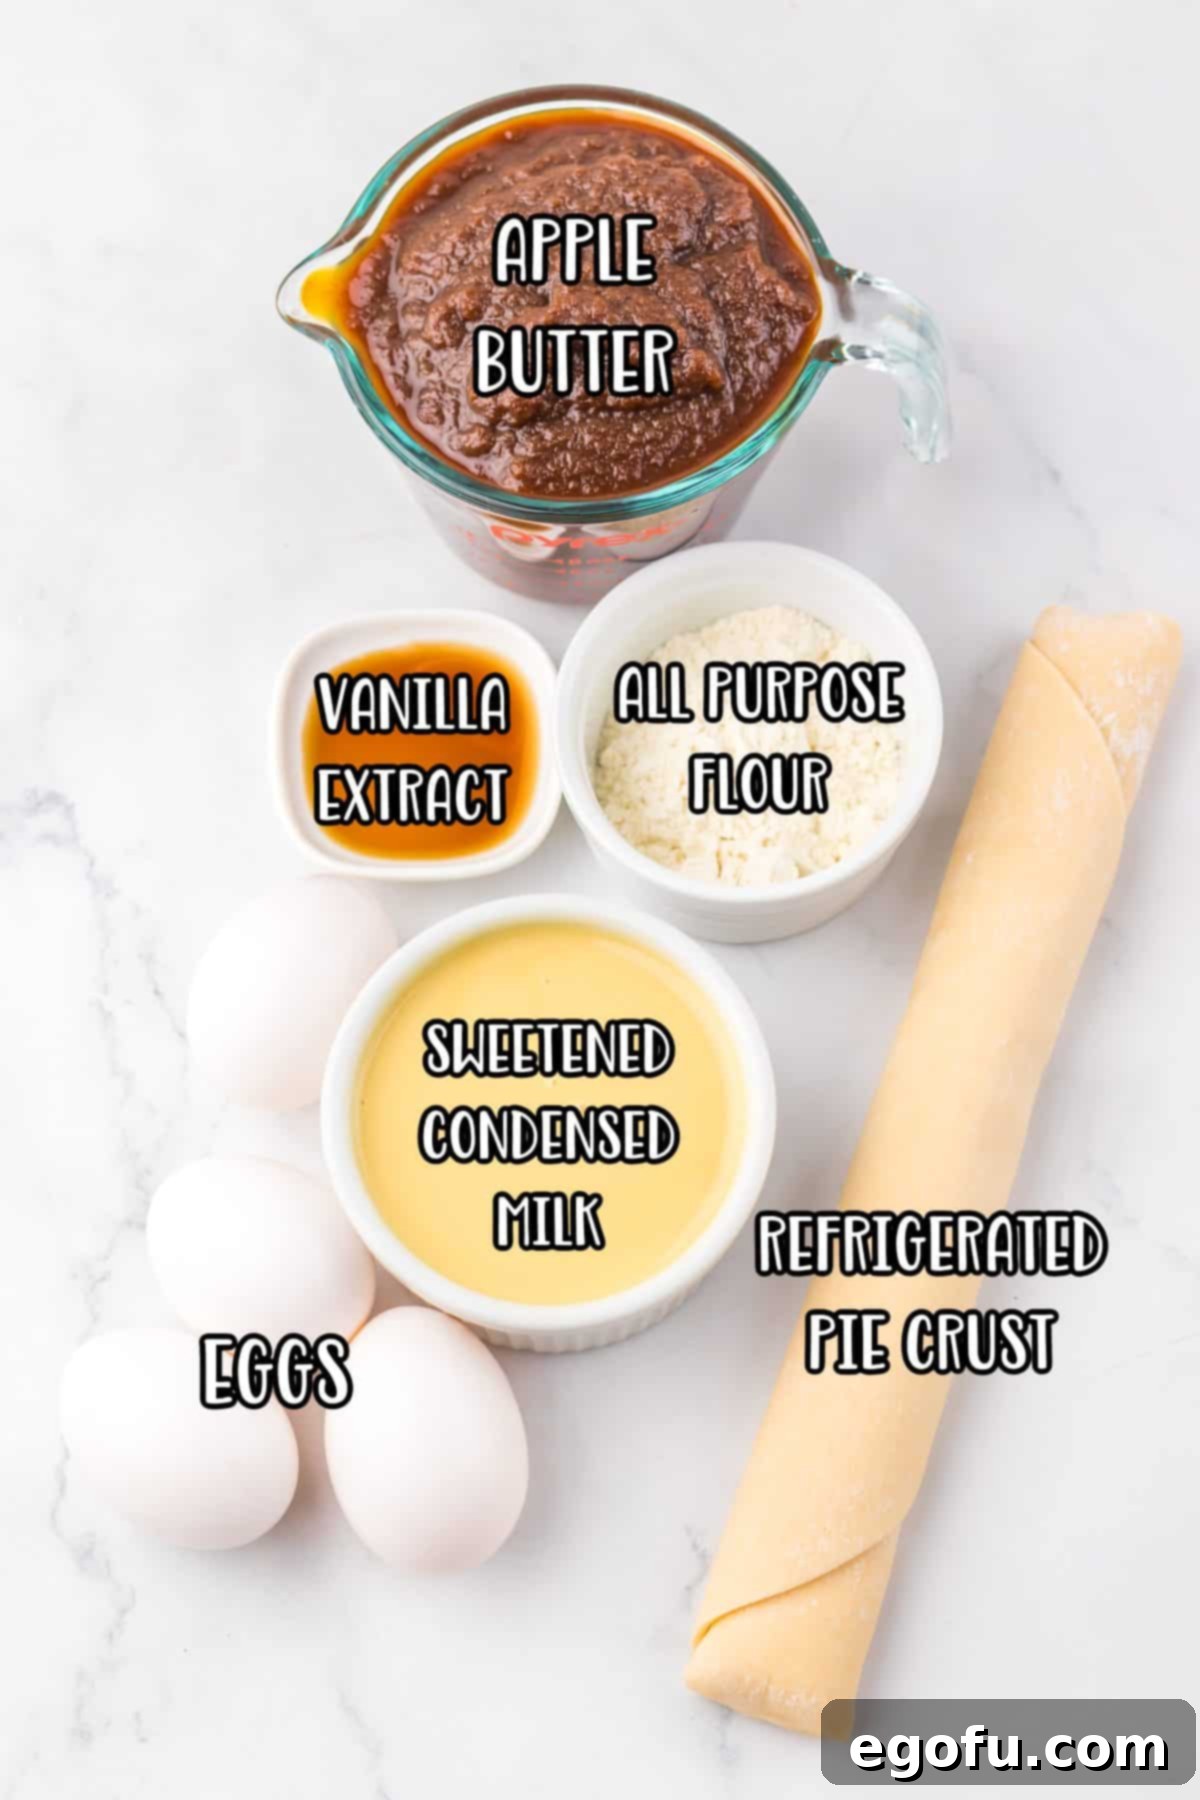
Essential Ingredients for Your Apple Butter Pie (Full Recipe Details Below)
Crafting this delightful Apple Butter Pie requires just a handful of readily available ingredients. Each component plays a crucial role in creating the pie’s signature creamy texture and rich, spiced apple flavor. Here’s what you’ll need, along with some helpful tips and substitutions:
- Refrigerated Pie Crust: This convenient option makes pie-making quick and easy. For a unique twist, consider a ginger snap crust for a spicy kick, a gingerbread crust for holiday flair, or even a homemade pie crust for a truly from-scratch experience. As mentioned in our FAQs, a frozen pie crust can also be used with simple parbaking steps.
- Apple Butter: The star of the show! Apple butter brings an intense, caramelized apple flavor that is both deep and naturally sweet, setting this pie apart from others. If you don’t have a jar on hand, making Homemade Apple Butter is surprisingly simple. For adventurous bakers, pumpkin butter or pear butter can offer equally delicious alternative flavor profiles.
- Large Eggs: These are essential for creating the creamy custard-like consistency of the filling. They act as a binder, ensuring the pie sets beautifully while remaining smooth and luscious.
- Sweetened Condensed Milk: This ingredient is key to the pie’s luxurious creaminess and sweet base. It contributes a rich, milky sweetness that perfectly complements the apple butter. If you find yourself without it, a combination of evaporated milk and about ½ cup of granulated sugar can work, though the final set might be slightly softer.
- Vanilla Extract: A splash of vanilla extract enhances all the other flavors in the pie, adding a warm, aromatic depth that completes the dessert’s profile.
- All-Purpose Flour: Just a couple of tablespoons of all-purpose flour provide a touch of structure and help to thicken the filling, ensuring it sets properly without being too runny.
Crafting Your Perfect Apple Butter Pie: A Step-by-Step Guide
Follow these simple instructions to create an unforgettable Apple Butter Pie that will impress your family and friends. This recipe breaks down the process into easy, manageable steps, ensuring a smooth baking experience from start to finish.
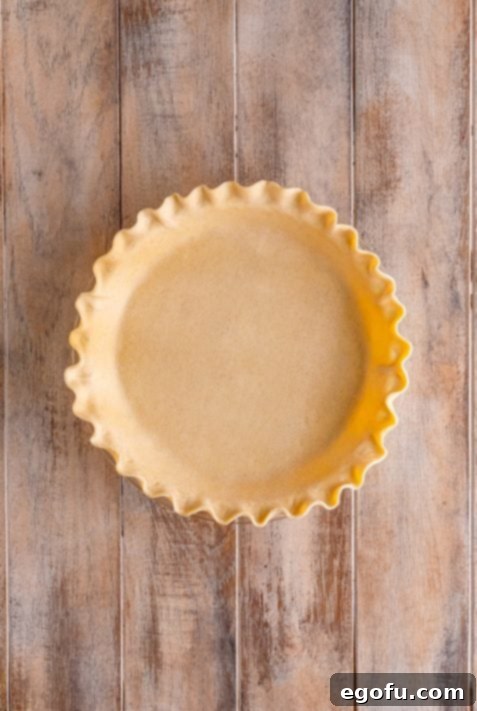
- Prepare Your Crust: Begin by preheating your oven to 350°F (175°C). Carefully unroll your refrigerated pie crust and fit it into a standard 9-inch pie pan. For an appealing presentation, you can crimp the edges of the crust decoratively. Then, prick the bottom of the crust thoroughly with a fork.
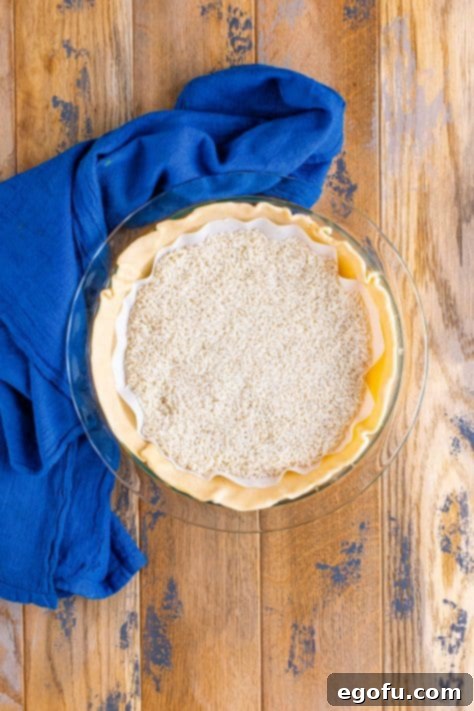
- Parbake the Crust: To prevent a soggy bottom and ensure a crisp crust, we’ll parbake it. Line the pie crust with parchment paper or aluminum foil, then fill it with pie weights, dry beans, or uncooked rice. These weights help to keep the crust from puffing up. Bake on the middle rack for 10–12 minutes.
- Second Parbake (Optional, for crispier crust): Gently remove the parchment paper and pie weights from the crust. Return the crust to the oven for an additional 5–7 minutes, or until the bottom appears dry and has a very light golden hue. This extra step ensures a wonderfully flaky and sturdy base for your pie. Remove from the oven and allow the parbaked crust to cool slightly on a wire rack while you prepare the filling.
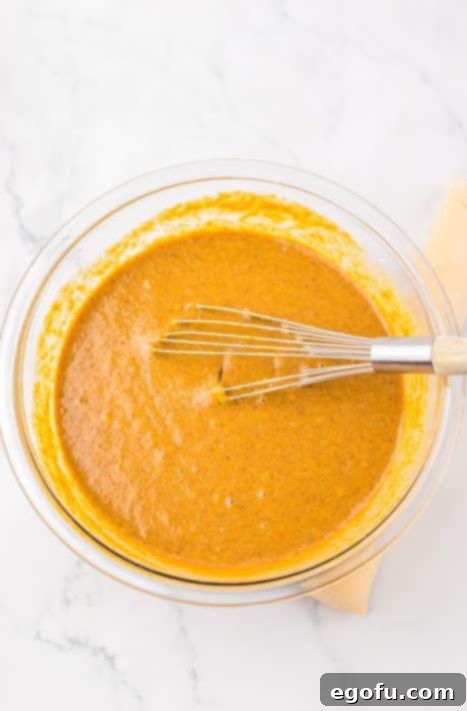
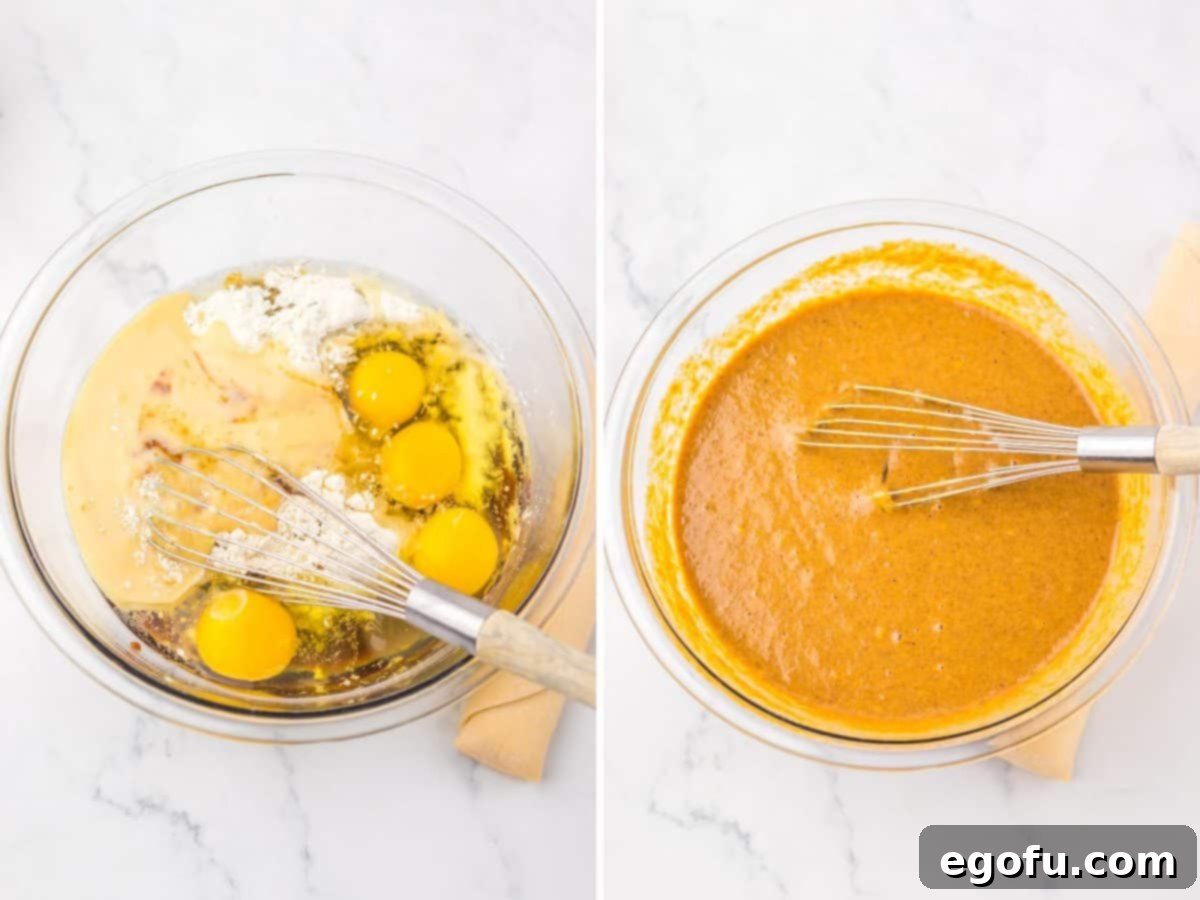
- Prepare the Velvety Filling: In a large mixing bowl, combine the apple butter, large eggs, sweetened condensed milk, vanilla extract, and all-purpose flour. Whisk these ingredients together thoroughly until the mixture is completely smooth and well combined, with no lumps remaining. The filling should be uniform and velvety.
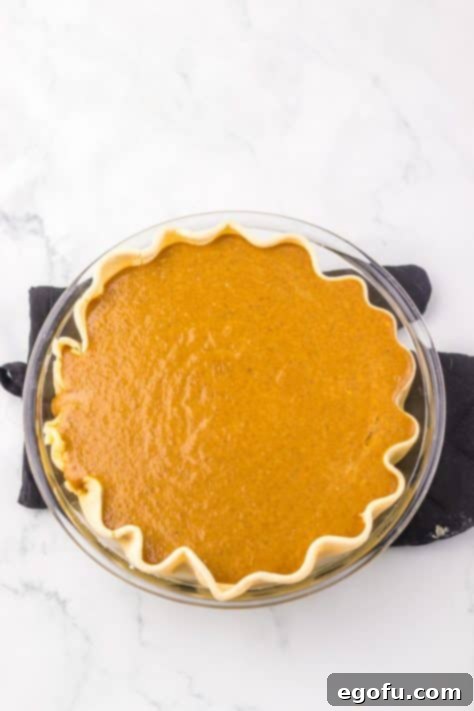
- Fill the Crust: Pour the luscious apple butter mixture into the prepared, slightly cooled pie crust. Use a spatula to gently smooth out the top of the filling, ensuring an even layer.
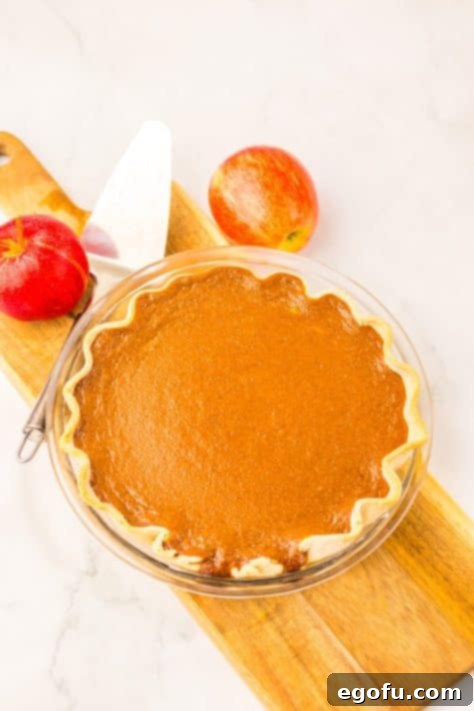
- Bake to Perfection: Place the pie back into the preheated 350°F (175°C) oven, positioning it on the middle rack. Bake for approximately 35–40 minutes. The pie is done when the edges are set and firm, but the center still exhibits a very slight, delicate jiggle when you gently move the pan. Remember that oven temperatures can vary, so always assess doneness by visual cues rather than strictly adhering to the time. If the crust edges start to brown too much, cover them with foil as described in the FAQ section.
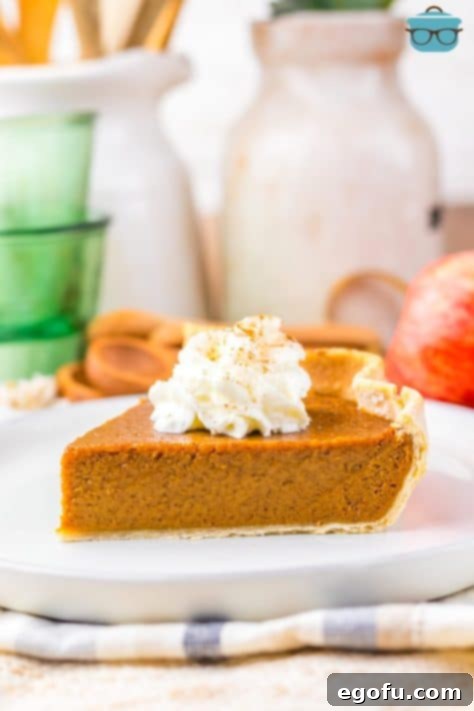
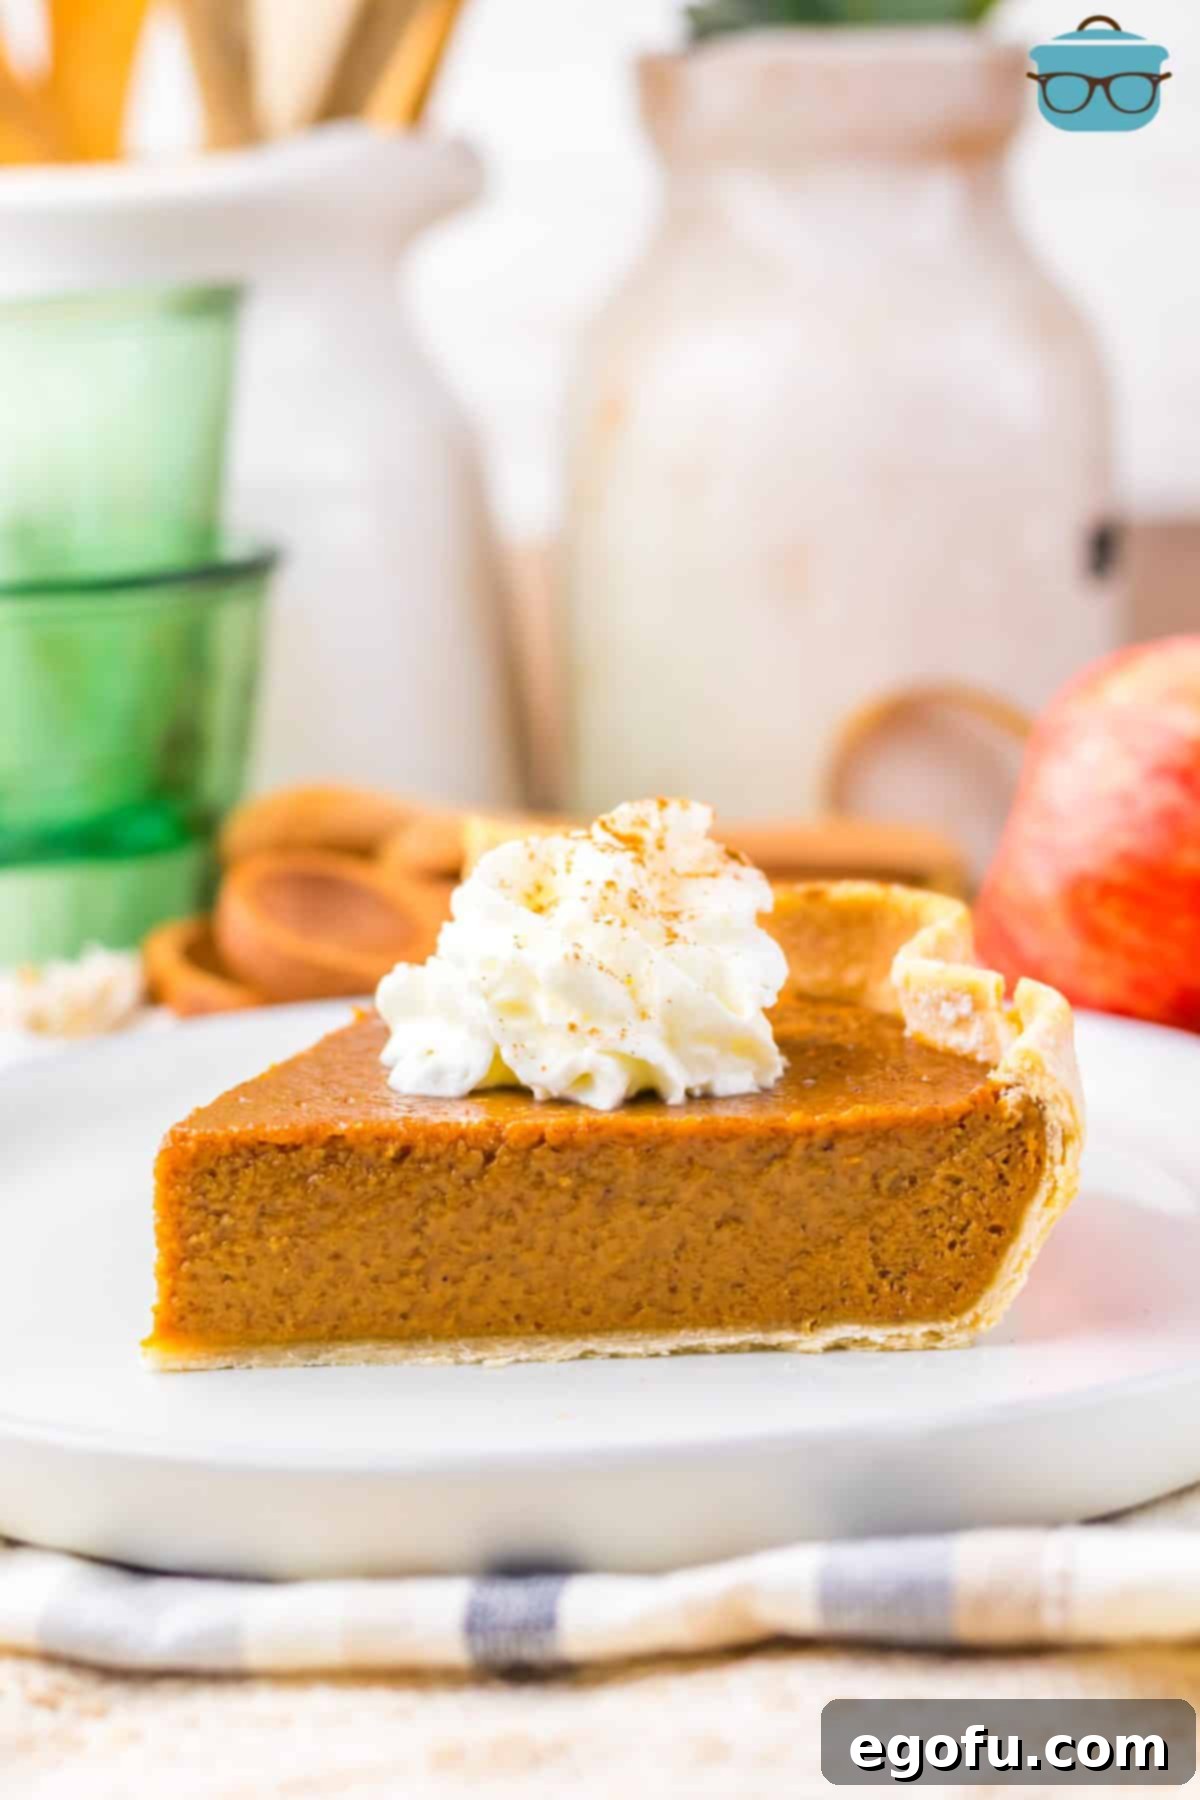
- Cool and Serve: Once baked, carefully remove the Apple Butter Pie from the oven and transfer it to a wire rack. It is crucial to let the pie cool completely at room temperature before attempting to slice it. This allows the filling to fully set, ensuring clean, beautiful slices. For an extra touch of elegance and flavor, top each slice with a dollop of fresh whipped cream and a sprinkle of ground cinnamon before serving.
Pour mixture into the prepared crust, smoothing out the top.
Bake at 350°F, on the middle rack, for about 35–40 minutes, or until the pie is set around the edges but the center still has a very slight jiggle. Note: oven times can vary so it is important to go by doneness, not just the time.
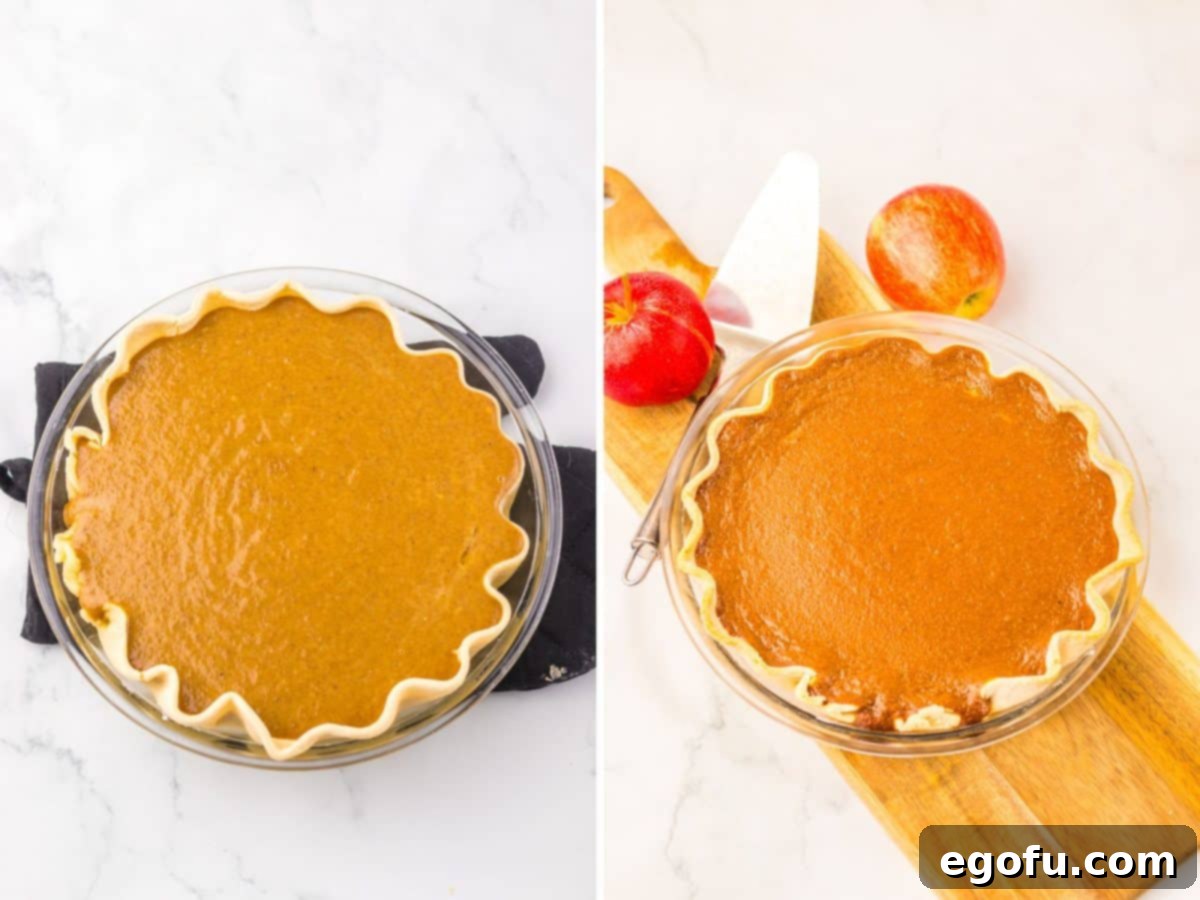
Remove from the oven and let cool completely on a wire rack before slicing.
Craving More Apple-Inspired Recipes?
If you’ve fallen in love with the comforting flavors of apple in this pie, you’ll be thrilled to explore more delicious apple-centric recipes. From bars to cakes, these treats celebrate the versatility of apples and are perfect for any occasion:
- Easy Apple Pie Bars
- Classic Southern Fried Apples
- The Best Apple Bread Loaf
- Fresh Apple Cake with Decadent Caramel Glaze
- Quick Apple Pie Cinnamon Rolls
Apple Butter Pie
A smooth, rich, and intensely apple-flavored pie made with apple butter and a handful of other simple ingredients. Perfect for any gathering.
Print Recipe
Pin Recipe
10 minutes
40 minutes
50 minutes
8
Brandie Skibinski
Ingredients
- 1 (9-inch) refrigerated pie crust
- 2 cups apple butter (store-bought or homemade, see notes below)
- 4 large eggs
- 14 ounce can sweetened condensed milk
- 1 teaspoon vanilla extract
- 2 Tablespoons all purpose flour
Instructions
- Preheat oven to 350°F. Line a 9-inch pie pan with 1 (9-inch) refrigerated pie crust, crimping the edges if you prefer.

- Prick the bottom of the crust with a fork. Top the pie crust with parchment paper or foil and fill it with pie weights, dry beans, or uncooked rice (see example photo). You want something oven safe that will help keep the crust from puffing up too much while baking. Bake on the middle rack for 10–12 minutes.

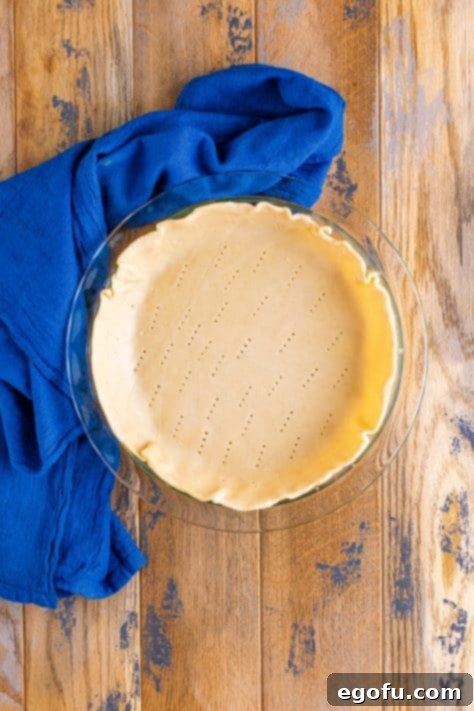
- Note: If you don’t have anything that will work for weights, prick the pie crust with a fork really well (see example photo). This will help to keep it from puffing up too much (it doesn’t work as well as something weighted in it but it will do the job). If doing this, you will skip the next step and just par-bake the crust for a total of about 15 minutes.

- Carefully remove the parchment and weights, then return the crust to the oven for another 5–7 minutes until the bottom looks dry. Remove from the oven and let it cool slightly while preparing the filling.
- In a large mixing bowl, whisk together 2 cups apple butter, 4 large eggs, 14 ounce can sweetened condensed milk, 1 teaspoon vanilla extract and 2 Tablespoons all purpose flour until smooth and combined.

- Pour mixture into the prepared crust, smoothing out the top.

- Bake at 350°F, on the middle rack, for about 35–40 minutes, or until the pie is set around the edges but the center still has a very slight jiggle.
Note: oven times can vary so it is important to go by doneness, not just the time.
- Remove from the oven and let cool completely on a wire rack before slicing.
Optional: Top each slice with a little whipped cream and some ground cinnamon.
Notes
- Please refer to my FAQs (Frequently Asked Questions) and ingredient list above for other substitutions or for the answers to the most common questions.
- Here is a recipe for Homemade Apple Butter. It is so easy to make and adds an extra layer of homemade goodness!
Dessert
American
Nutrition
Calories:
418kcal
|
Carbohydrates:
69g
|
Protein:
8g
|
Fat:
12g
|
Sodium:
192mg
|
Fiber:
2g
|
Sugar:
52g
Nutritional Disclaimer
“The Country Cook” is not a dietician or nutritionist, and any nutritional information shared is an estimate. If calorie count and other nutritional values are important to you, we recommend running the ingredients through whichever online nutritional calculator you prefer. Calories and other nutritional values can vary quite a bit depending on which brands were used.
Did you make this recipe?
Share it on Instagram @thecountrycook and mention us #thecountrycook!
