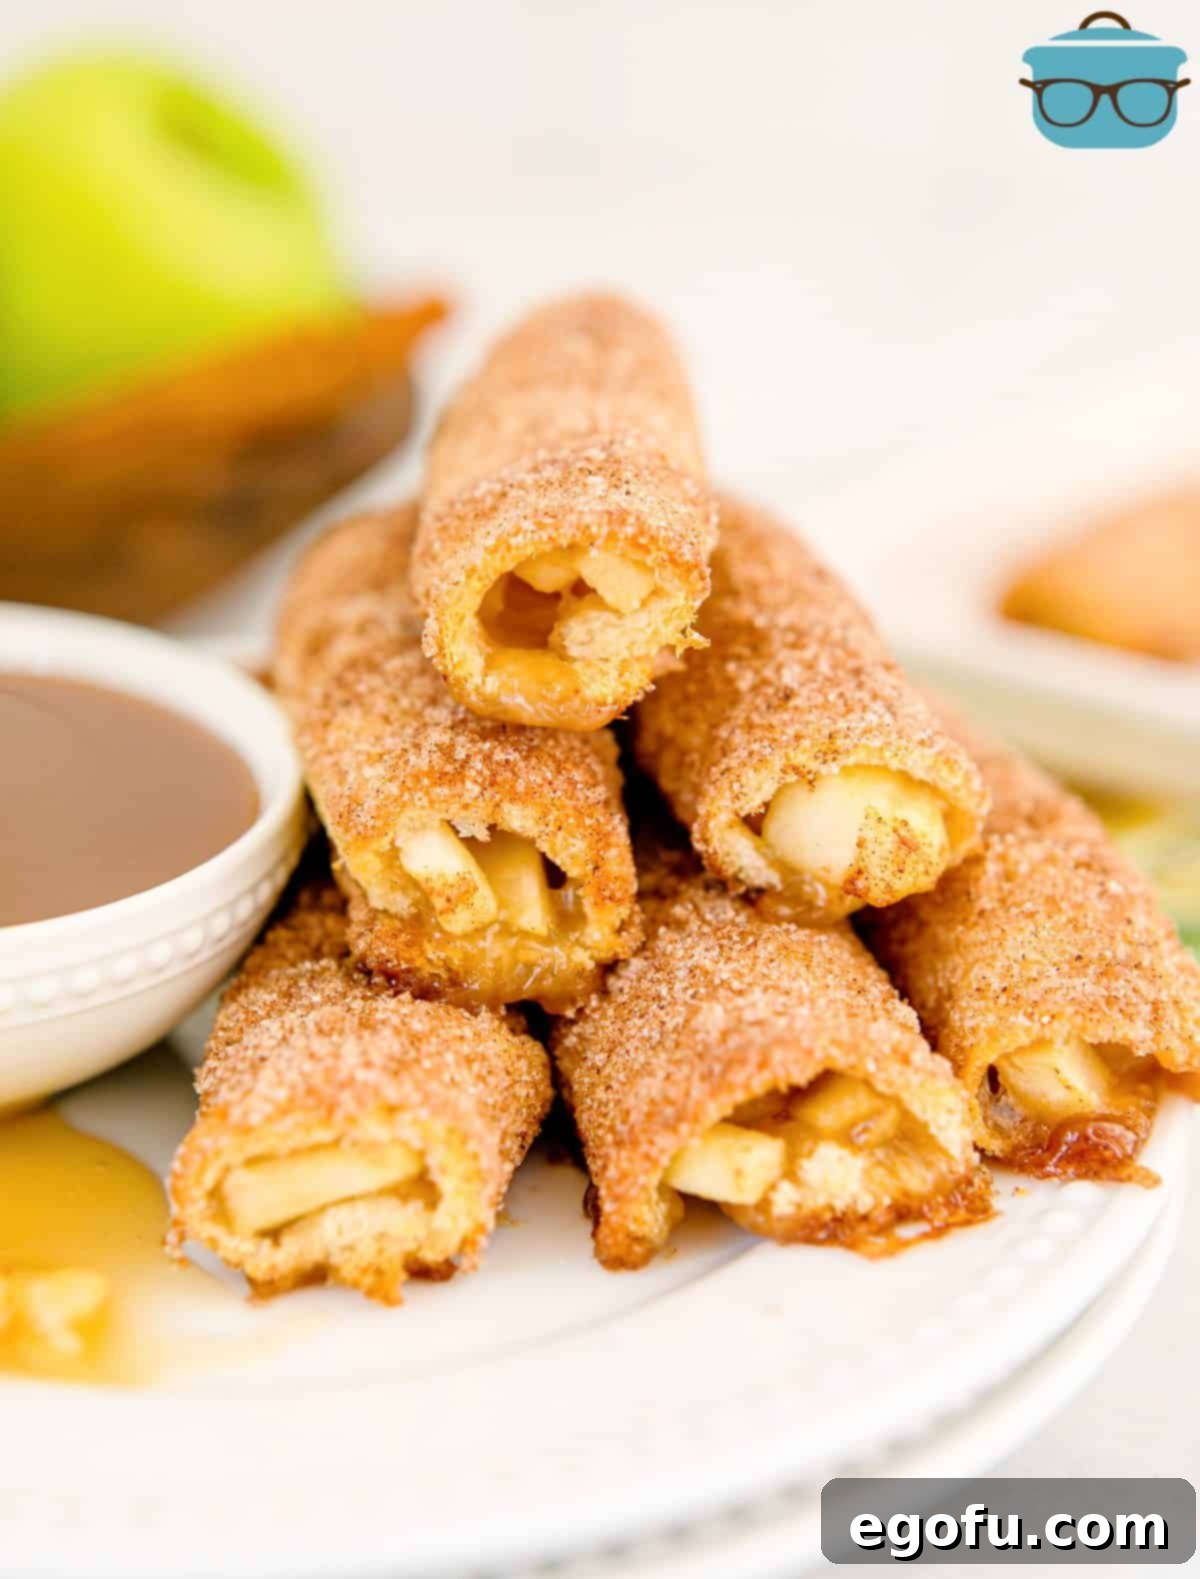
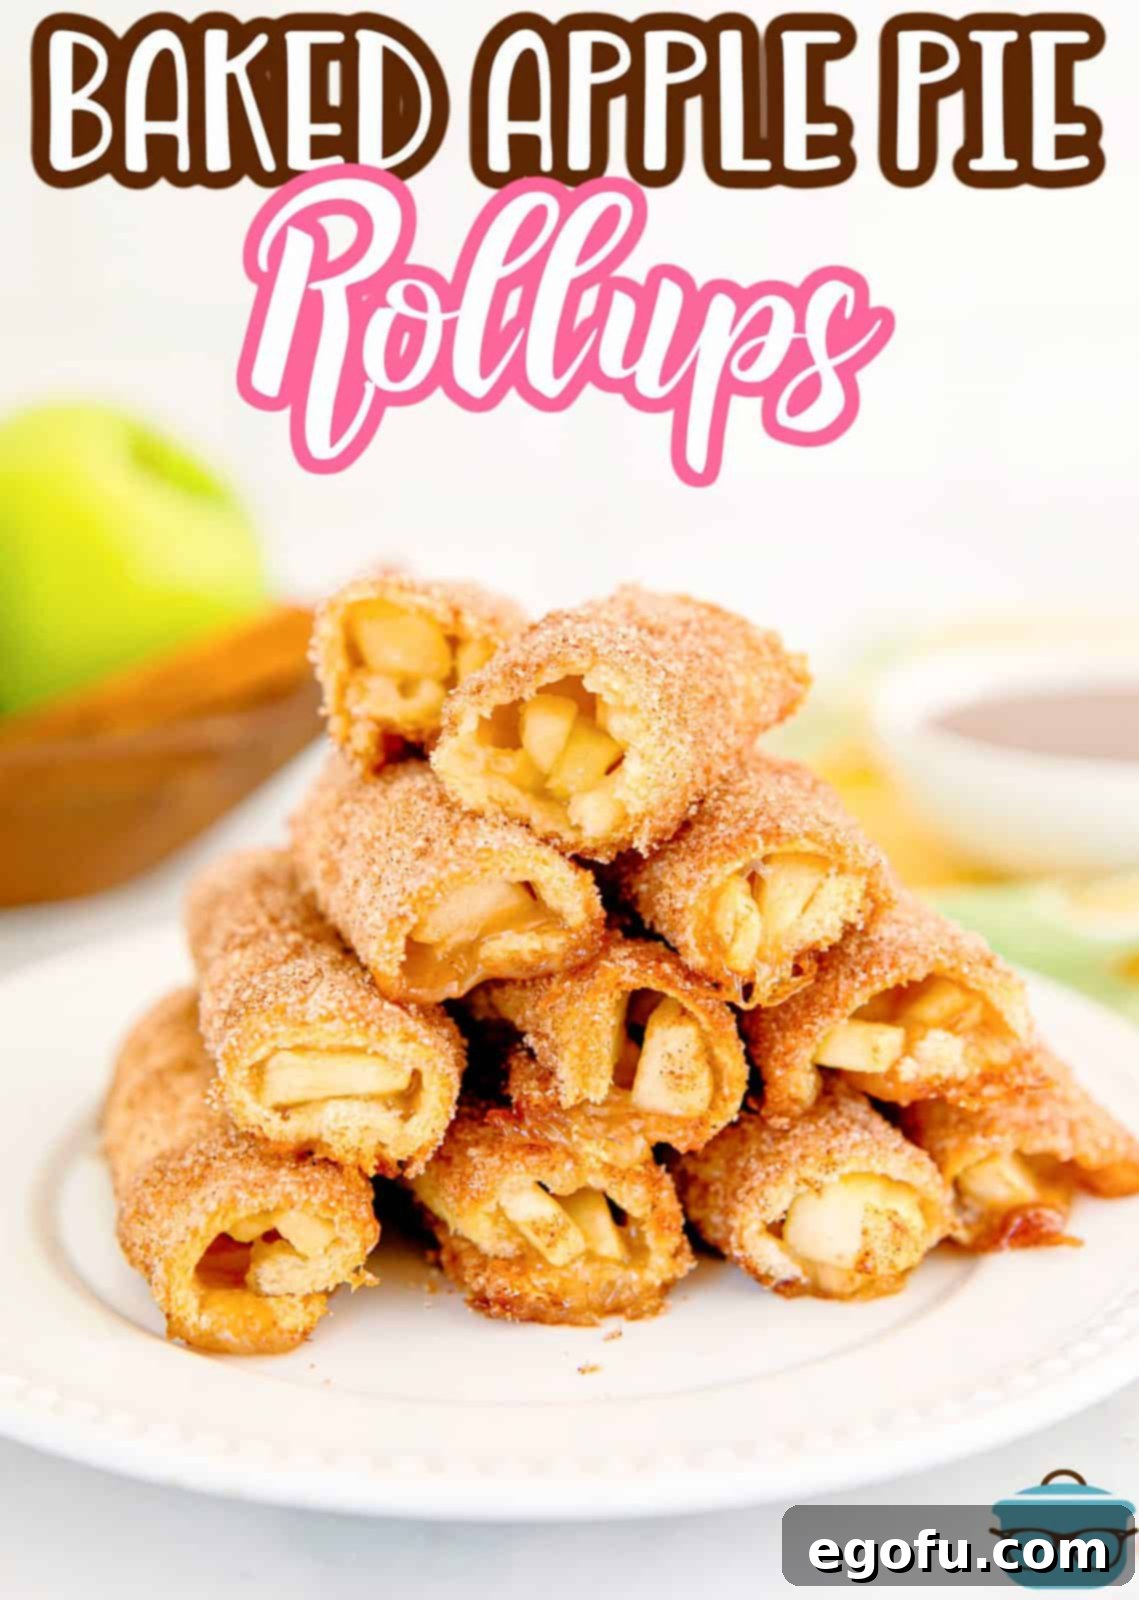
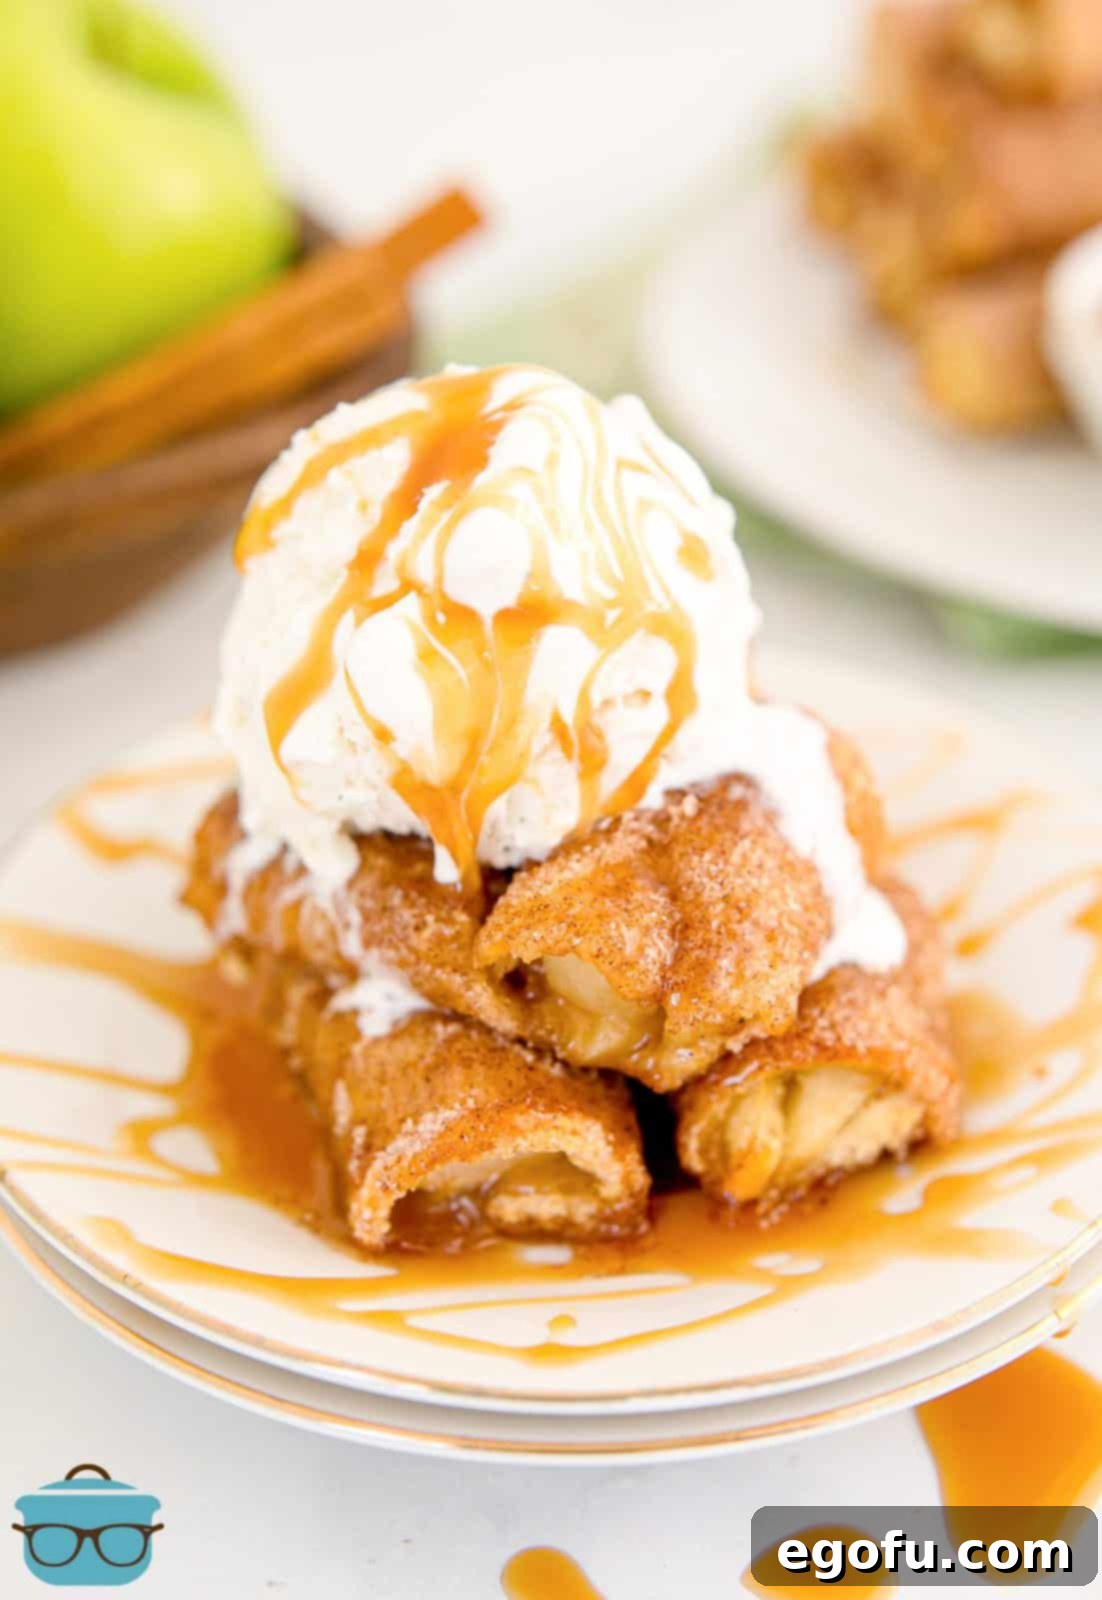
Indulge in a delightful sweet treat that captures the essence of homemade comfort: these irresistible Baked Apple Pie Rollups. Crafted with tender, sweetened apples lovingly encased in soft bread, then coated in a warm, fragrant cinnamon sugar mixture and baked to golden perfection, they promise a taste of pure bliss in every bite. Perfect for any occasion, these handheld delights are sure to become a cherished favorite.
Baked Apple Pie Rollups: Your New Favorite Apple Snack
As autumn leaves begin to turn and the air grows crisp, there’s nothing quite like the comforting aroma of baked apples filling your home. These Baked Apple Pie Rollups offer a remarkably simple yet utterly delicious way to savor the bounty of fall’s most iconic fruit. Far more than just a snack, they can effortlessly transform into a wholesome breakfast, a delightful dessert, or a charming treat for any time of day. Each rollup is generously filled with a luscious apple pie filling, expertly seasoned with spices, then enveloped in bread, brushed with butter, and rolled in an aromatic cinnamon sugar blend. Baked until wonderfully crispy and golden, these individual portions are a joy to behold and even more delightful to eat.
This recipe isn’t just easy; it’s a fantastic opportunity for the entire family to get involved in the kitchen, from preparing the apples to rolling the bread. Imagine the laughter and shared moments as you create these golden-brown treasures together. If your recent apple-picking adventures have left you with an abundance of fresh apples and a desire for innovative ways to enjoy them beyond traditional pies, then these Baked Apple Pie Rollups are an absolute must-try. They offer all the beloved flavors of classic apple pie in a convenient, mess-free format, making them ideal for gatherings, school lunches, or simply a cozy evening at home.
Why You’ll Adore These Baked Apple Pie Rollups
Beyond their undeniable deliciousness, these Baked Apple Pie Rollups offer a multitude of reasons to fall in love with them:
- Effortlessly Easy: Forget complicated crusts and intricate baking techniques. This recipe simplifies the apple pie experience, making it accessible for even novice bakers.
- Kid-Friendly Fun: The hands-on nature of preparing these rollups makes them a fantastic activity for children. They’ll love flattening the bread and rolling the apple-filled treats.
- Versatile Delight: Serve them warm for breakfast, as an afternoon snack, or as a comforting dessert. They’re also perfect for potlucks, brunches, or holiday spreads.
- Portable Perfection: Their individual size makes them ideal for on-the-go enjoyment. Pack them in lunchboxes or take them to picnics without the fuss of slicing a whole pie.
- Seasonal Celebration: A wonderful way to celebrate the harvest season, utilizing fresh, crisp apples to their fullest potential.
- Irresistible Flavor Profile: The classic combination of sweet, tender apples, warm cinnamon, and a hint of nutmeg, all wrapped in a buttery, crispy crust, creates an unforgettable taste sensation.
- Customizable: Easily adapt the filling with your favorite spices or try different apple varieties to suit your preference.
Frequently Asked Questions About Apple Pie Rollups
For this recipe, I highly recommend using Granny Smith apples. Their firm texture allows them to hold up beautifully during baking, preventing them from becoming mushy. Crucially, their inherent tartness provides a perfect balance to the sweetness of the other ingredients, creating a well-rounded and delightful flavor profile. However, if Granny Smiths aren’t available or you prefer other options, varieties like Jonagold, Gala, Honeycrisp, Golden Delicious, and Fuji also perform exceptionally well in baked desserts. The key is to select an apple that offers a good balance of firmness and tartness to avoid an overly sweet or bland end result. Experiment with your favorite baking apples to find your perfect match!
Absolutely! While making your own apple pie filling from scratch adds a wonderful homemade touch and allows for customization, using store-bought apple pie filling is a fantastic shortcut that can save you a significant amount of time. It’s especially useful when you’re short on time but still craving a delicious apple treat. Simply ensure that the filling isn’t overly watery, as this could cause the rollups to become soggy. You could even explore using other favorite fruit pie fillings with this versatile recipe, such as cherry, blueberry, or peach, to create different variations of these delightful rollups.
No, you don’t have to stick exclusively to white sandwich bread. While white bread is traditionally used for its softness and ability to roll thinly without tearing, whole wheat bread can also be a wonderful alternative. If you prefer a slightly heartier texture and flavor, whole wheat bread will work very well. It offers a subtle nutty taste that can complement the apple and cinnamon flavors beautifully. However, I would caution against straying too far from a standard soft sandwich bread (white or wheat) for this particular recipe. Breads that are too dense, crusty, or have a very strong flavor might not provide the same tender interior and crispy exterior that makes these rollups so special. The goal is a bread that can be easily flattened and baked to a pleasant crispness.
Achieving the correct consistency for your apple pie filling is crucial for successful rollups. If the filling is too thin and watery, it will inevitably leak out during baking, leading to a messy and less enjoyable result. To prevent this, ensure you thoroughly whisk the cornstarch into your liquid mixture before bringing it to a boil. Cornstarch acts as a thickener, and proper incorporation is key. After whisking, let the sauce simmer gently for approximately 4-8 minutes. During this time, the cornstarch will activate, and the sauce will gradually thicken. You’re looking for a consistency that is thick enough to coat the back of a spoon and hold the apple pieces when poured over the bread. It should be easily spreadable but not so runny that it seeps into the bread or oozes out of the rollups once assembled. If it seems too thin after simmering, you can add a tiny bit more cornstarch mixed with a small amount of cold water (a slurry) and bring it back to a gentle simmer for another minute or two, stirring constantly.
Proper storage ensures your delicious Baked Apple Pie Rollups stay fresh for as long as possible. Once completely cooled, place any leftover rollups in an airtight container. At room temperature, they will keep well for 2-3 days, perfect for a quick snack. For extended freshness, store them in the refrigerator, where they will remain delicious for 4-5 days. If you plan to enjoy them beyond that timeframe, these rollups can also be frozen for up to 1-2 months. To freeze, arrange them in a single layer on a baking sheet and freeze until solid, then transfer them to a freezer-safe bag or container, separating layers with parchment paper to prevent sticking.
To reheat, place refrigerated rollups on a baking sheet and warm them in a preheated oven at 350°F (175°C) for 5-10 minutes, or until heated through and slightly crispy again. From frozen, you can reheat them in a similar manner, adding a few extra minutes to the baking time, or defrost them in the refrigerator overnight before warming. A microwave can also be used for quick reheating, but it may result in a softer texture rather than the desired crispness.
Ingredients You’ll Need for These Golden Delights
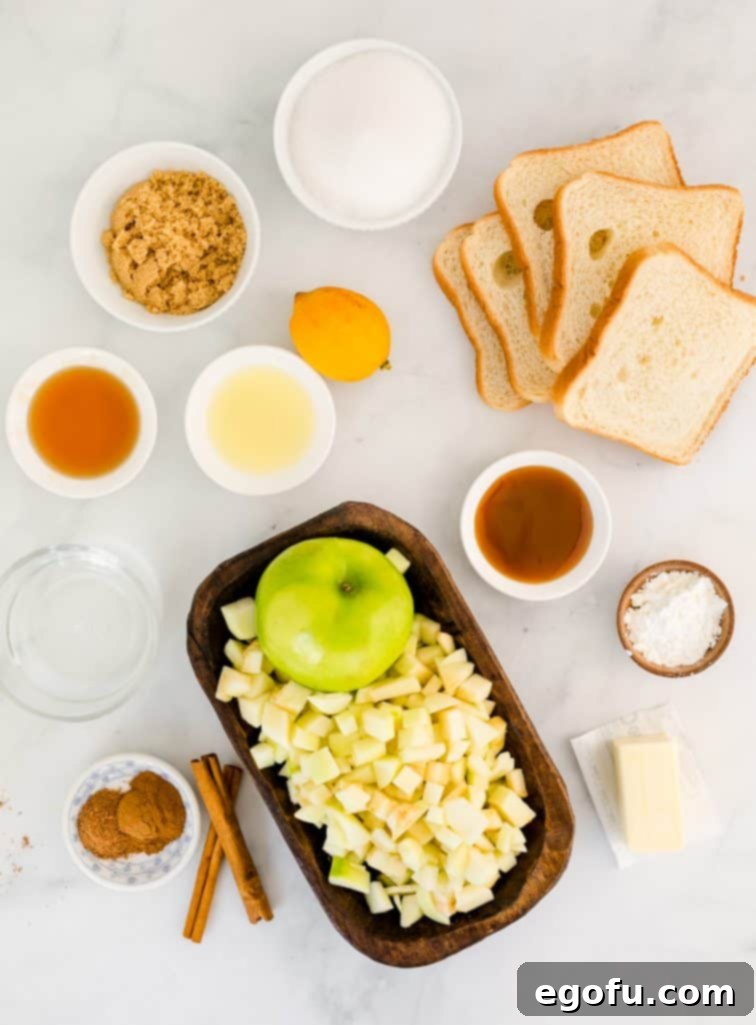
Gathering your ingredients is the first step towards creating these delectable Baked Apple Pie Rollups. You’ll find that many of these items are pantry staples, making this a convenient recipe to whip up whenever a craving strikes. For precise measurements and detailed instructions, be sure to check the full recipe card below.
- Water
- Brown Sugar
- Maple Syrup
- Caramel Syrup
- Lemon Juice (freshly squeezed for best flavor)
- Cornstarch
- Apples (preferably a firm, tart variety like Granny Smith)
- Soft Sandwich Bread
- Granulated Sugar
- Ground Cinnamon
- Ground Nutmeg
- Salted Butter (melted)
Step-by-Step: How to Make Baked Apple Pie Rollups
Follow these straightforward steps to create your own batch of mouthwatering Baked Apple Pie Rollups. The process is designed to be easy and enjoyable, yielding perfectly crispy and flavorful results every time.
Creating the Irresistible Apple Pie Filling:
- Begin by preparing your apple pie filling. Place a medium saucepan over medium-high heat on your stovetop.
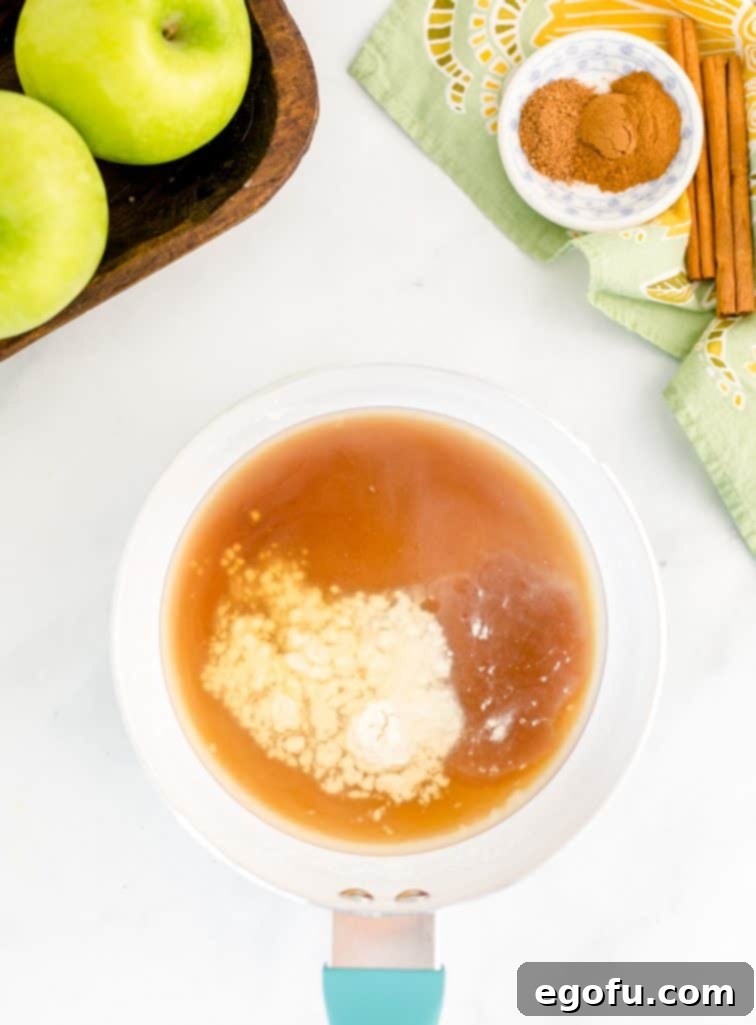
- Carefully pour in the water, brown sugar, maple syrup, caramel syrup, fresh lemon juice, and cornstarch into the saucepan. Whisk all the ingredients together thoroughly until the cornstarch is fully dissolved and no lumps remain.
- Bring this mixture to a rolling boil, stirring occasionally. Once boiling, reduce the heat to a gentle simmer. Continue to simmer, whisking intermittently, for approximately 4-8 minutes. The sauce should visibly thicken to a consistency that will cling to the apples without being overly thin or watery.
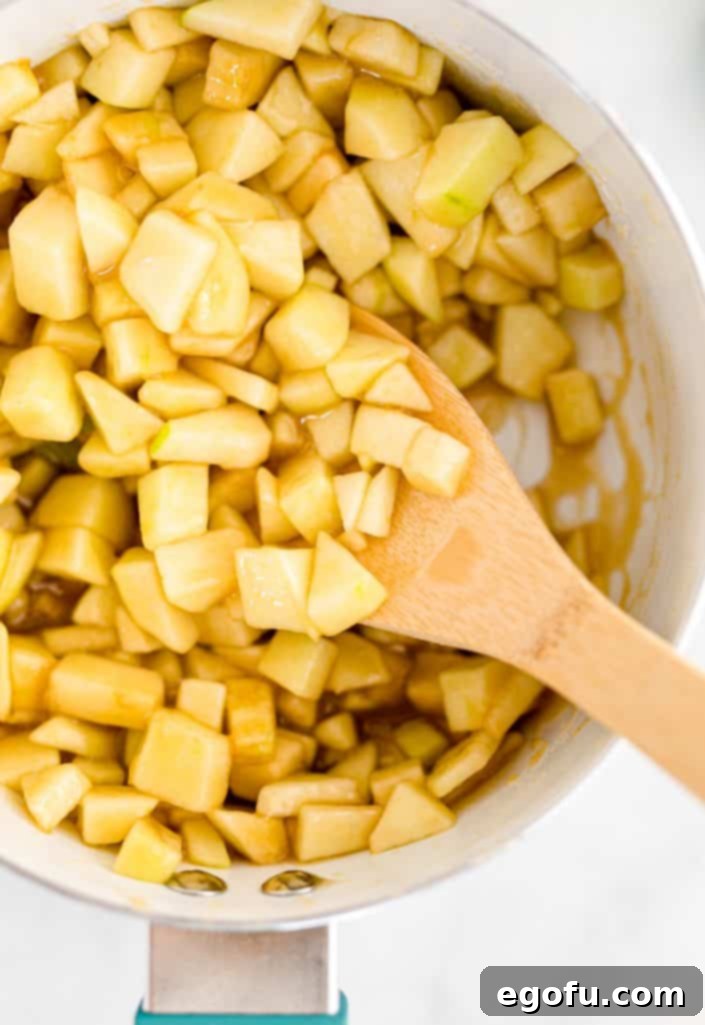
- Once your sauce has reached the desired thickness, add the diced apples to the saucepan. Stir gently to coat all the apple pieces evenly with the rich, thickened sauce. Allow the apples to cook in the sauce for about another 5 minutes. The goal is for the apples to soften slightly, but still retain a pleasant, tender-crisp texture.
- Remove the saucepan from the heat and set the apple pie filling aside to cool slightly while you prepare the bread.
Assembling Your Delicious Rollups:
- Preheat your oven to 350°F (175°C). Line a large baking sheet with parchment paper to prevent sticking and ensure easy cleanup. Set this aside.
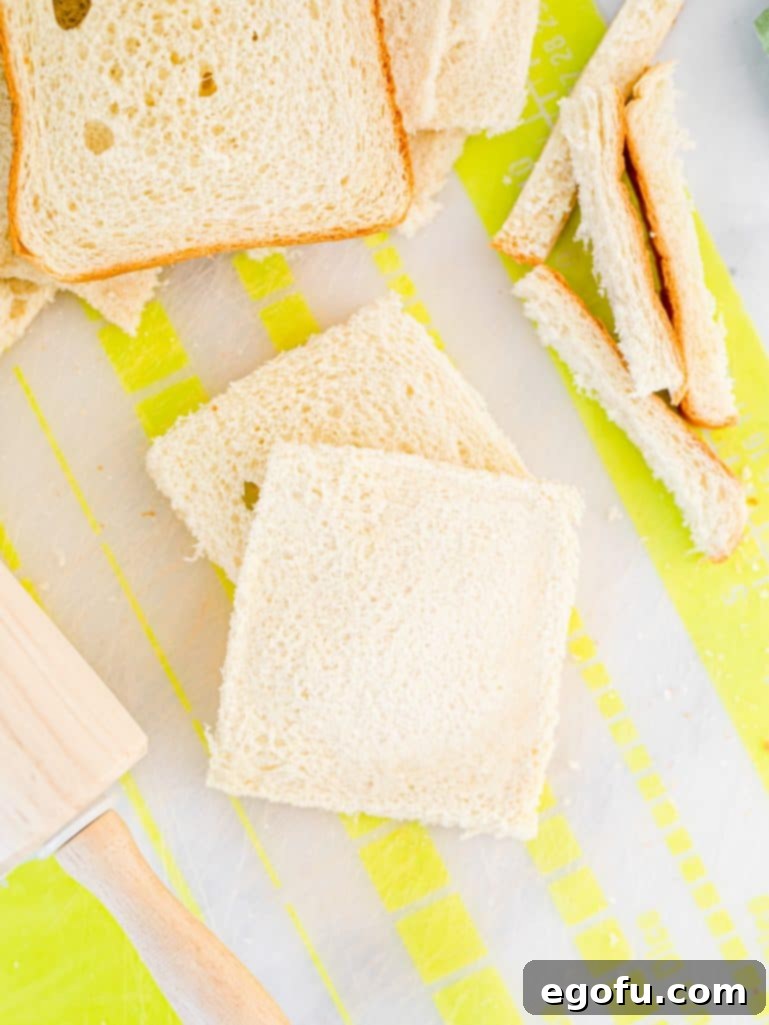
- Take each slice of sandwich bread and carefully remove the crusts. This step helps the bread roll more smoothly.
- Using a rolling pin, flatten each de-crusted bread slice as much as possible. Aim for a thin, pliable sheet of bread that will roll up easily without cracking.
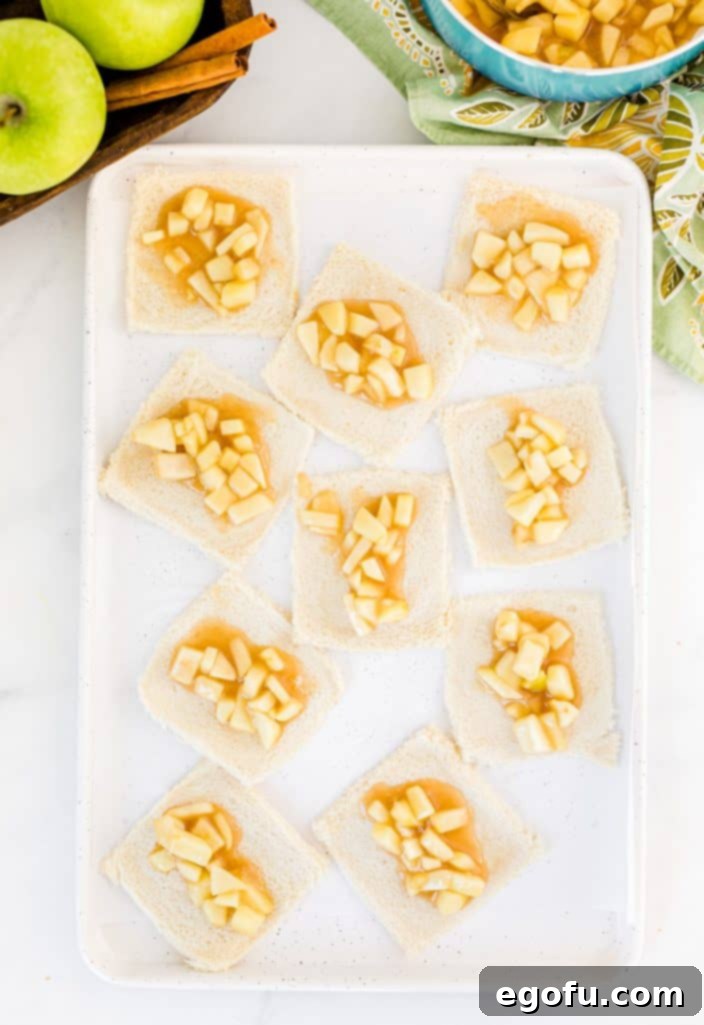
- Scoop approximately 2 tablespoons of the prepared apple pie filling onto one end of each flattened bread slice. Be careful not to overfill, as this can make rolling difficult and lead to leakage.
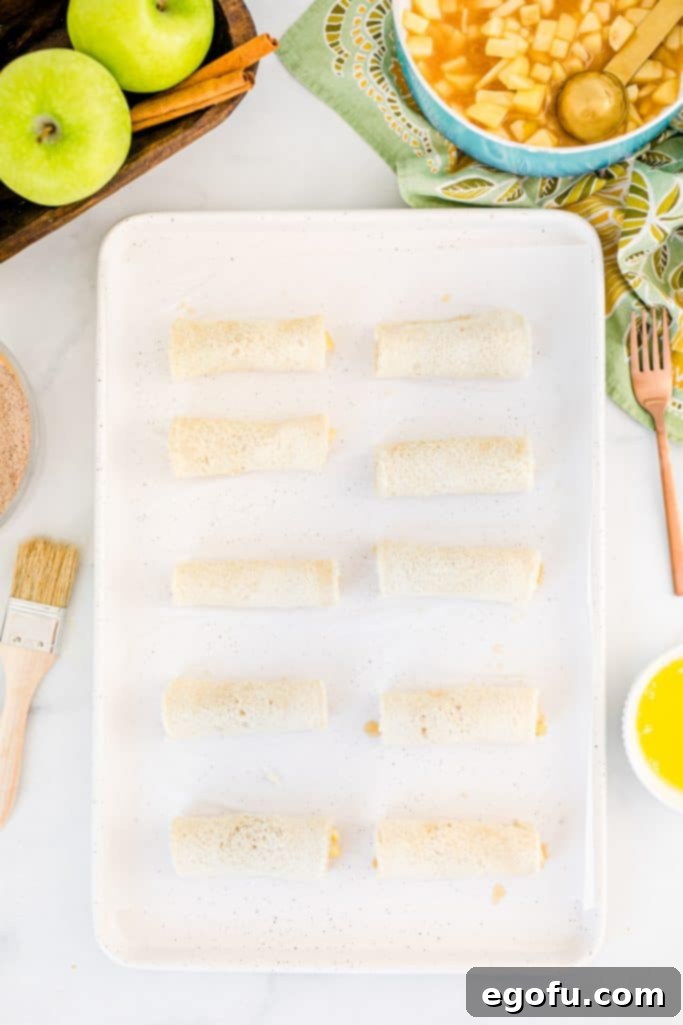
- Carefully roll up each bread slice, starting from the end with the apple filling, creating a neat, compact cylinder. Set the rolled-up bread aside as you complete the remaining pieces.
Coating and Baking to Golden Perfection:
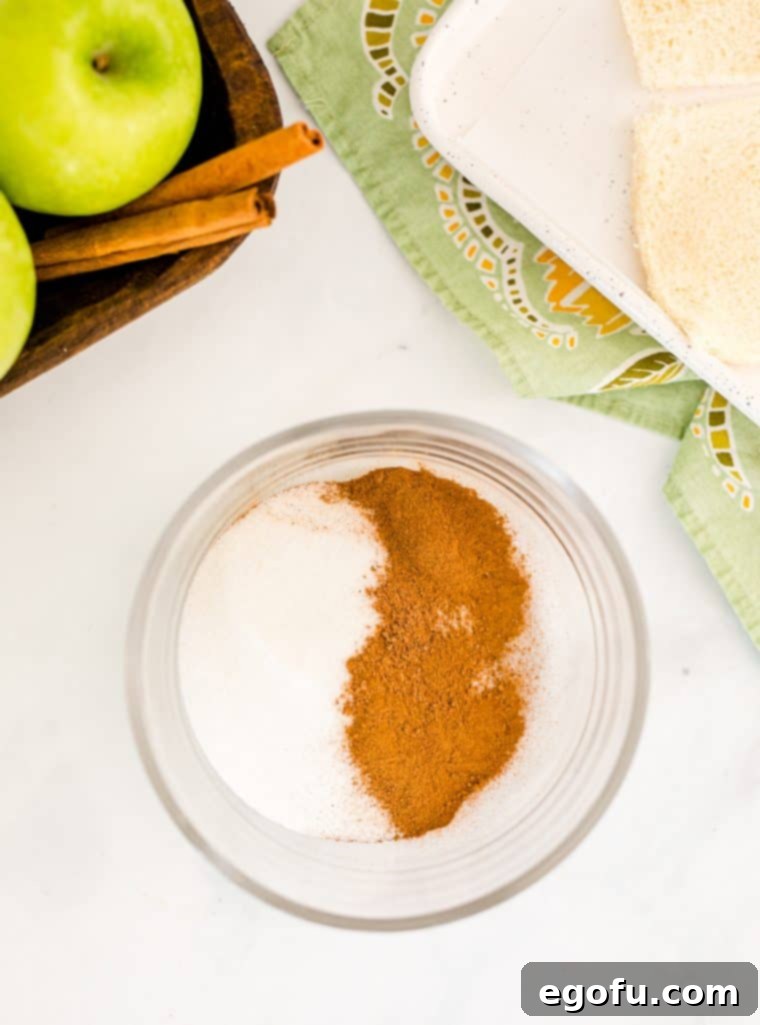
- In a medium bowl, combine the granulated white sugar, ground cinnamon, and ground nutmeg. Stir these spices and sugar together thoroughly until they are evenly mixed. This creates the aromatic coating that will give your rollups their signature flavor and crisp exterior.
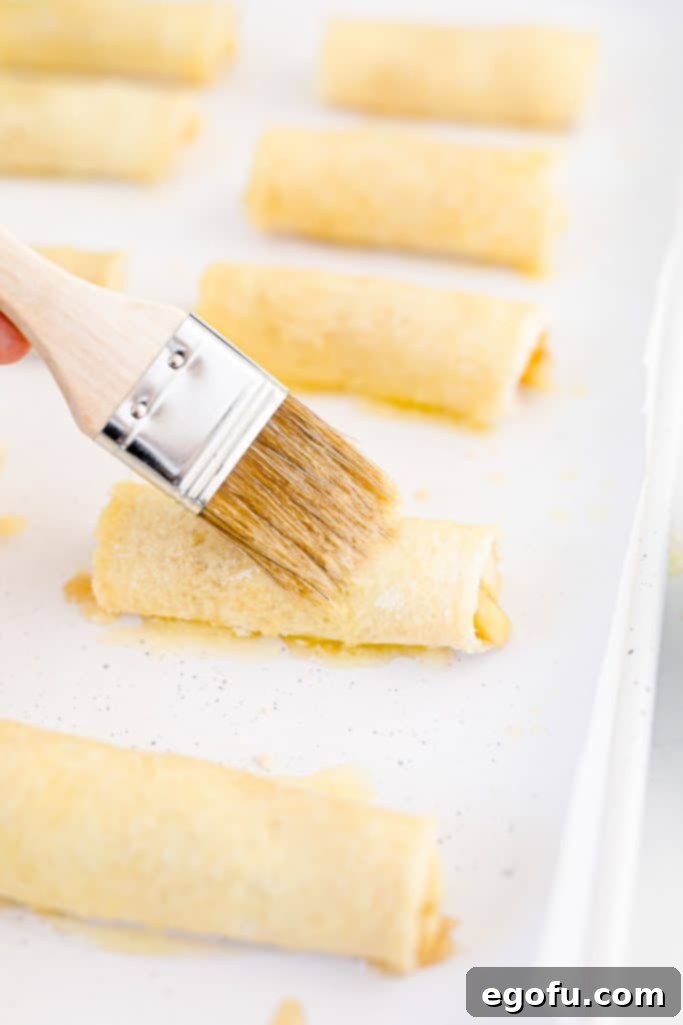
- Melt the salted butter in a separate small bowl. Using a pastry brush, generously coat the outside of each apple pie rollup with the melted butter. Ensure every surface is brushed, as this helps the cinnamon sugar mixture adhere and promotes even browning.
- Immediately after brushing with butter, roll each coated rollup into the cinnamon sugar mixture. Make sure they are thoroughly covered on all sides, ensuring a delightful crunch and burst of flavor in every bite.
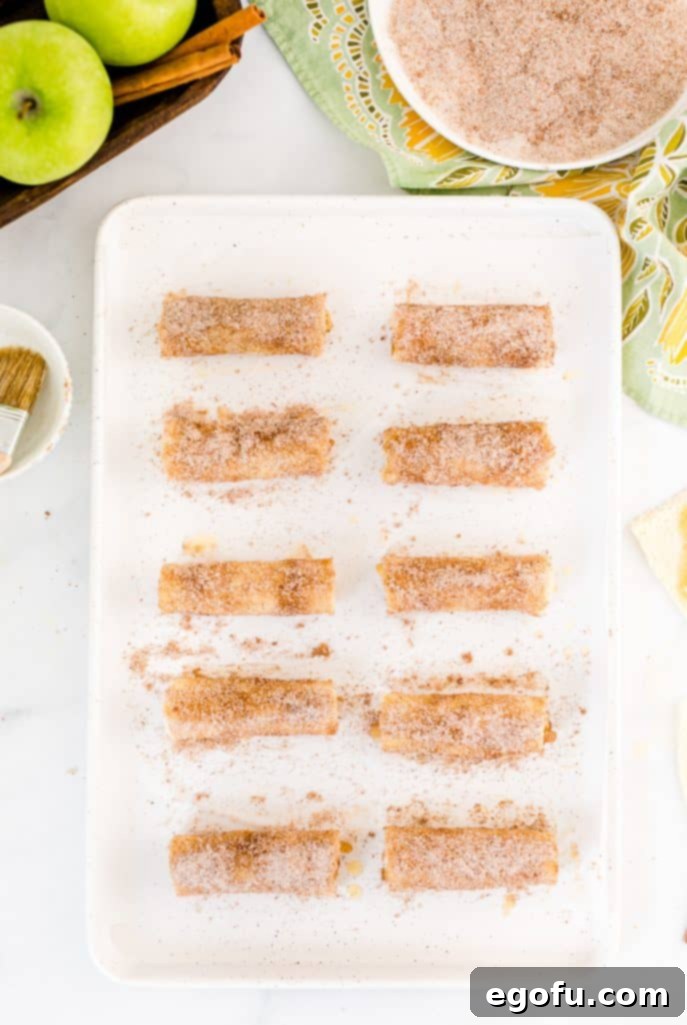
- Once all the rollups are coated and sparkling with cinnamon sugar, transfer them to the prepared baking pan, leaving a little space between each one to ensure even cooking.
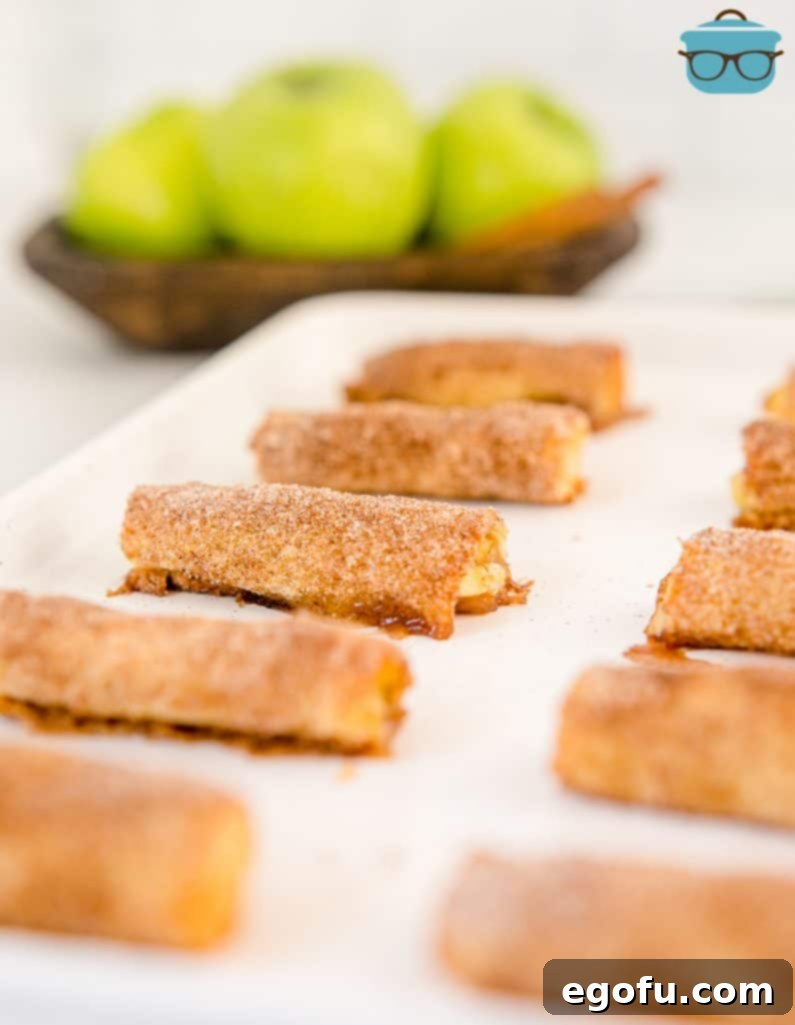
- Bake for 15 minutes, or until the edges are beautifully golden brown and the rollups are crispy to the touch. Keep an eye on them, as oven temperatures can vary.
- Once baked, carefully remove the pan from the oven. Serve these delightful Baked Apple Pie Rollups warm, either on their own or with your favorite optional toppings and a drizzle of syrup. Enjoy!
Serving Suggestions & Creative Variations
These Baked Apple Pie Rollups are fantastic on their own, but a few additions can elevate them to an even more indulgent experience:
- Classic Toppings: Serve warm with a scoop of vanilla bean ice cream, a dollop of whipped cream, or a generous drizzle of caramel sauce or chocolate syrup. A dusting of powdered sugar also adds a simple elegance.
- Breakfast Boost: Pair them with a side of scrambled eggs and bacon for a sweet and savory breakfast, or alongside yogurt and fresh fruit for a lighter morning meal.
- Spice It Up: Enhance the filling with a pinch of allspice or cardamom for a more complex flavor profile.
- Nutty Crunch: Before rolling, sprinkle some finely chopped walnuts or pecans over the apple filling for added texture and flavor.
- Cream Cheese Swirl: For an extra decadent touch, spread a thin layer of softened cream cheese onto the bread before adding the apple filling.
More Delicious Apple Recipes to Explore
If you loved these Baked Apple Pie Rollups, you’ll surely enjoy these other fantastic apple-inspired treats. Perfect for any time of year, these recipes showcase the versatility and deliciousness of apples in various forms:
- Easy Apple Pie Cinnamon Rolls
- The Best Apple Bread
- Apple Pie Egg Rolls
- Air Fryer Fried Apples
- Apple Pie Dip
- Easy Apple Dessert Pizza
- Fried Apples
- Fried Apple Pies
- Apple Turnovers
- 40 Fall Apple Recipes

Baked Apple Pie Rollups
A fun sweet treat, these Baked Apple Pie Rollups are made with sweetened apples that are rolled in bread and coated in a cinnamon sugar mixture then baked!
Ingredients
Apple Pie Filling:
- 6 Tablespoons water
- 2 Tablespoons brown sugar
- 1 Tablespoon maple syrup
- 1 Tablespoon caramel syrup
- 1 Tablespoon fresh lemon juice (about 1/2 a lemon)
- 1 Tablespoon cornstarch
- 2 large Granny Smith apples (peeled, cored and diced)
Bread Rollups:
- 10 slices of sandwich bread
- ½ cup granulated sugar
- 1 ½ Tablespoons cinnamon
- ¾ teaspoon nutmeg
- ¼ cup (½ stick) salted butter, melted
Instructions
For the apple pie filling:
- In a medium saucepan over medium-high heat, combine 6 Tablespoons water, 2 Tablespoons brown sugar, 1 Tablespoon maple syrup, 1 Tablespoon caramel syrup, 1 Tablespoon fresh lemon juice, and 1 Tablespoon cornstarch. Whisk well until combined. Bring the sauce to a boil, then reduce heat to a simmer, whisking occasionally, until it thickens.
- Once the sauce has thickened, add 2 large Granny Smith apples (peeled, cored, and diced) and cook for another 5 minutes, allowing them to soften slightly while still retaining a slight crunch. Remove from heat and set aside.
- Preheat your oven to 350°F (175°C) and line a baking sheet with parchment paper. Set aside.
To make the rollups:
- Remove the crusts from each of the 10 slices of sandwich bread, then roll them out with a rolling pin as flat as possible.
- Scoop about 2 Tablespoons of the prepared apple pie filling onto each flattened bread slice. Roll them up tightly and set them aside.
- In a medium bowl, combine ½ cup granulated sugar, 1 ½ Tablespoons cinnamon, and ¾ teaspoon nutmeg. Stir until everything is evenly combined.
- Using a pastry brush, evenly coat each rollup with ¼ cup (½ stick) melted salted butter.
- Immediately roll the buttered rollups into the cinnamon sugar mixture, ensuring they are well coated on all sides.
- Once all rollups are coated, transfer them to the prepared baking pan and bake for 15 minutes, or until golden brown around the edges.
- Serve warm with your favorite toppings and/or caramel syrup (optional).
Notes
- This recipe can easily be doubled to feed a larger crowd or for more leftovers.
- For the best flavor, use fresh lemon juice rather than bottled, which can have an artificial taste.
- Choose your favorite firm, tart baking apple. Granny Smith is highly recommended for its texture and balance of flavor.
- Whole wheat bread can be used as an alternative to white sandwich bread if preferred.
Nutrition
Nutritional Disclaimer
“The Country Cook” is not a dietician or nutritionist, and any nutritional information shared is an estimate. If calorie count and other nutritional values are important to you, we recommend running the ingredients through whichever online nutritional calculator you prefer. Calories and other nutritional values can vary quite a bit depending on which brands were used.
Did you make this recipe?
Share it on Instagram @thecountrycook and mention us #thecountrycook!
