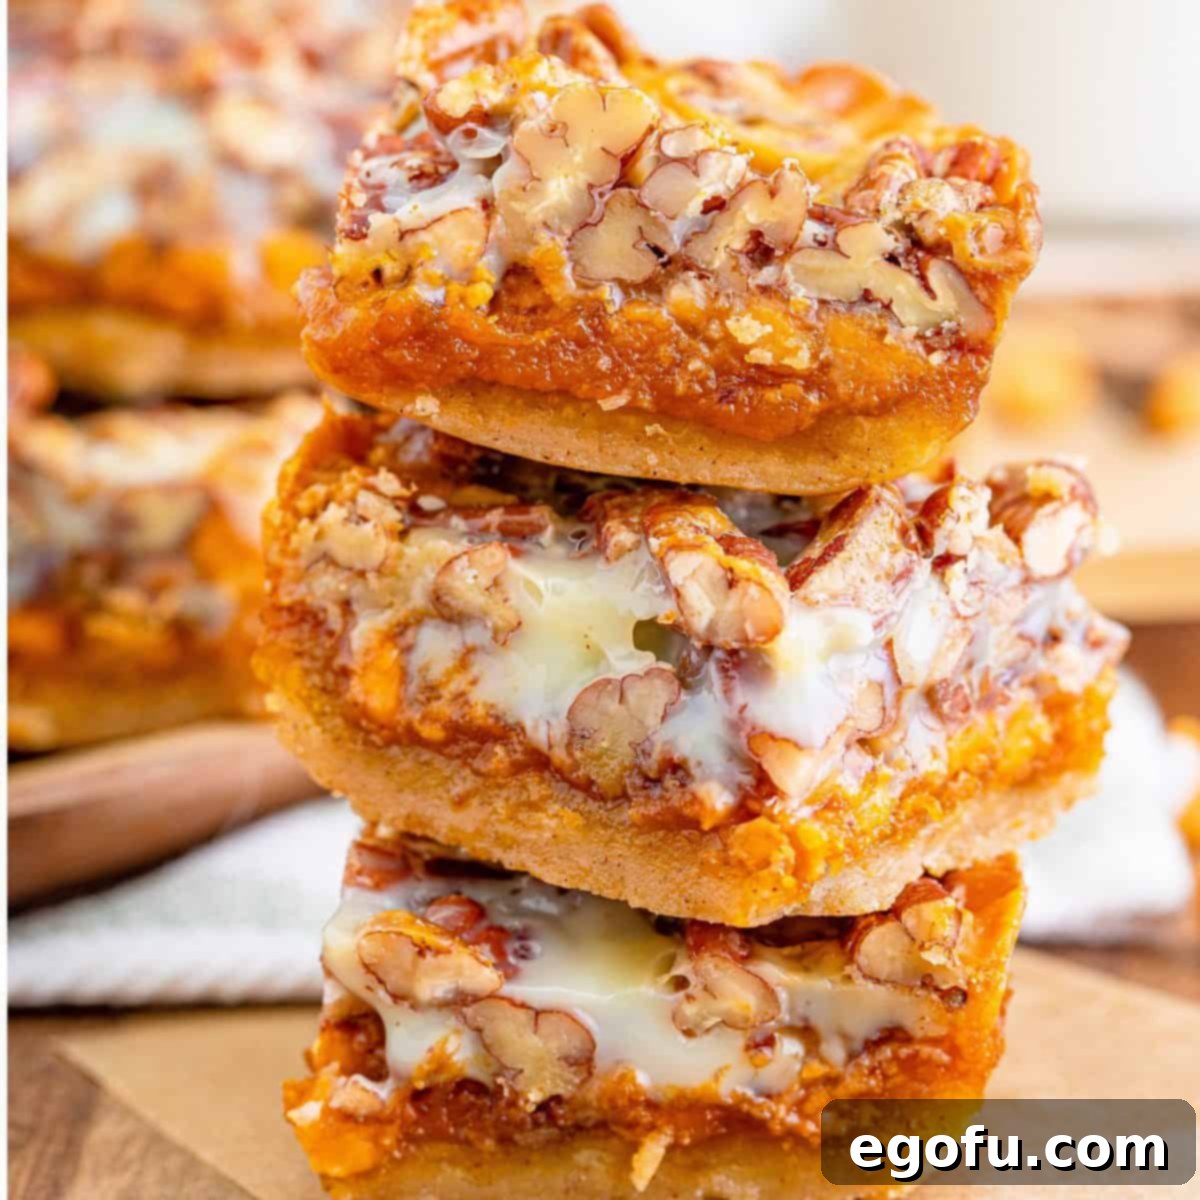
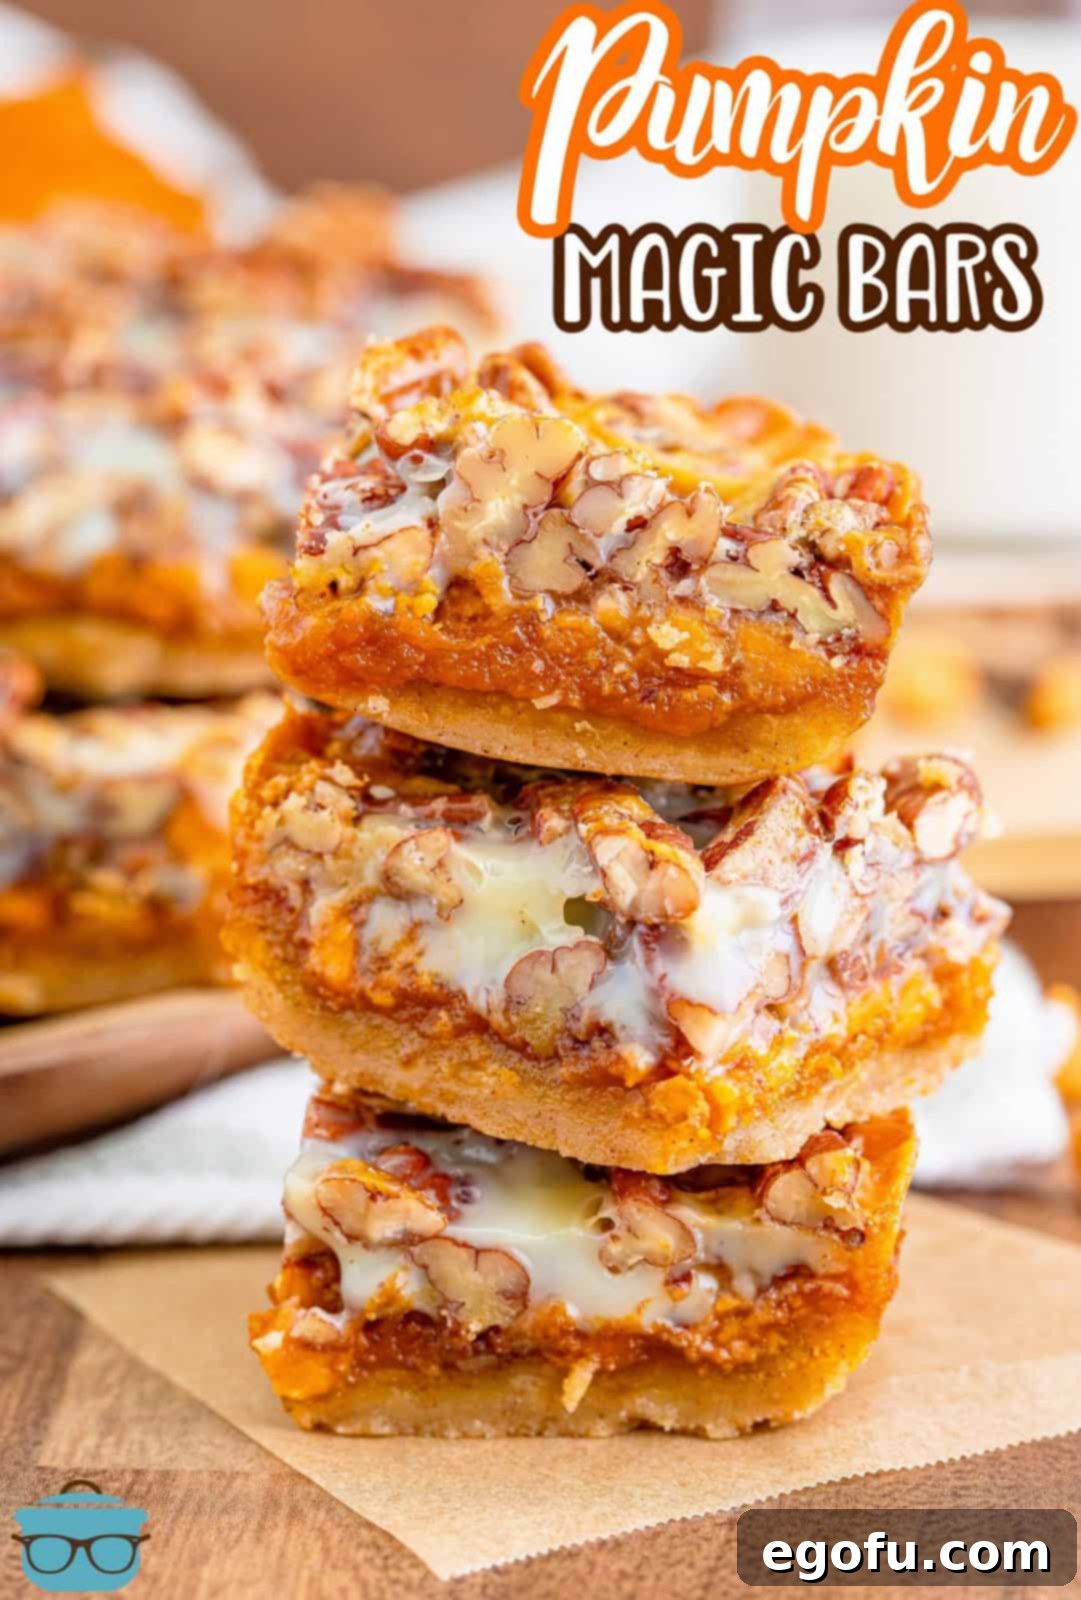
As the crisp air of autumn sweeps in, there’s nothing quite as comforting as the warm, inviting aroma of pumpkin spice filling your home. If you’re searching for that quintessential fall dessert that promises both ease and exceptional flavor, look no further than these incredible Pumpkin Magic Bars. Each bite is a symphony of textures and tastes, a truly magical experience that captures the essence of the season.
The Ultimate Autumn Indulgence: Irresistible Pumpkin Magic Bars
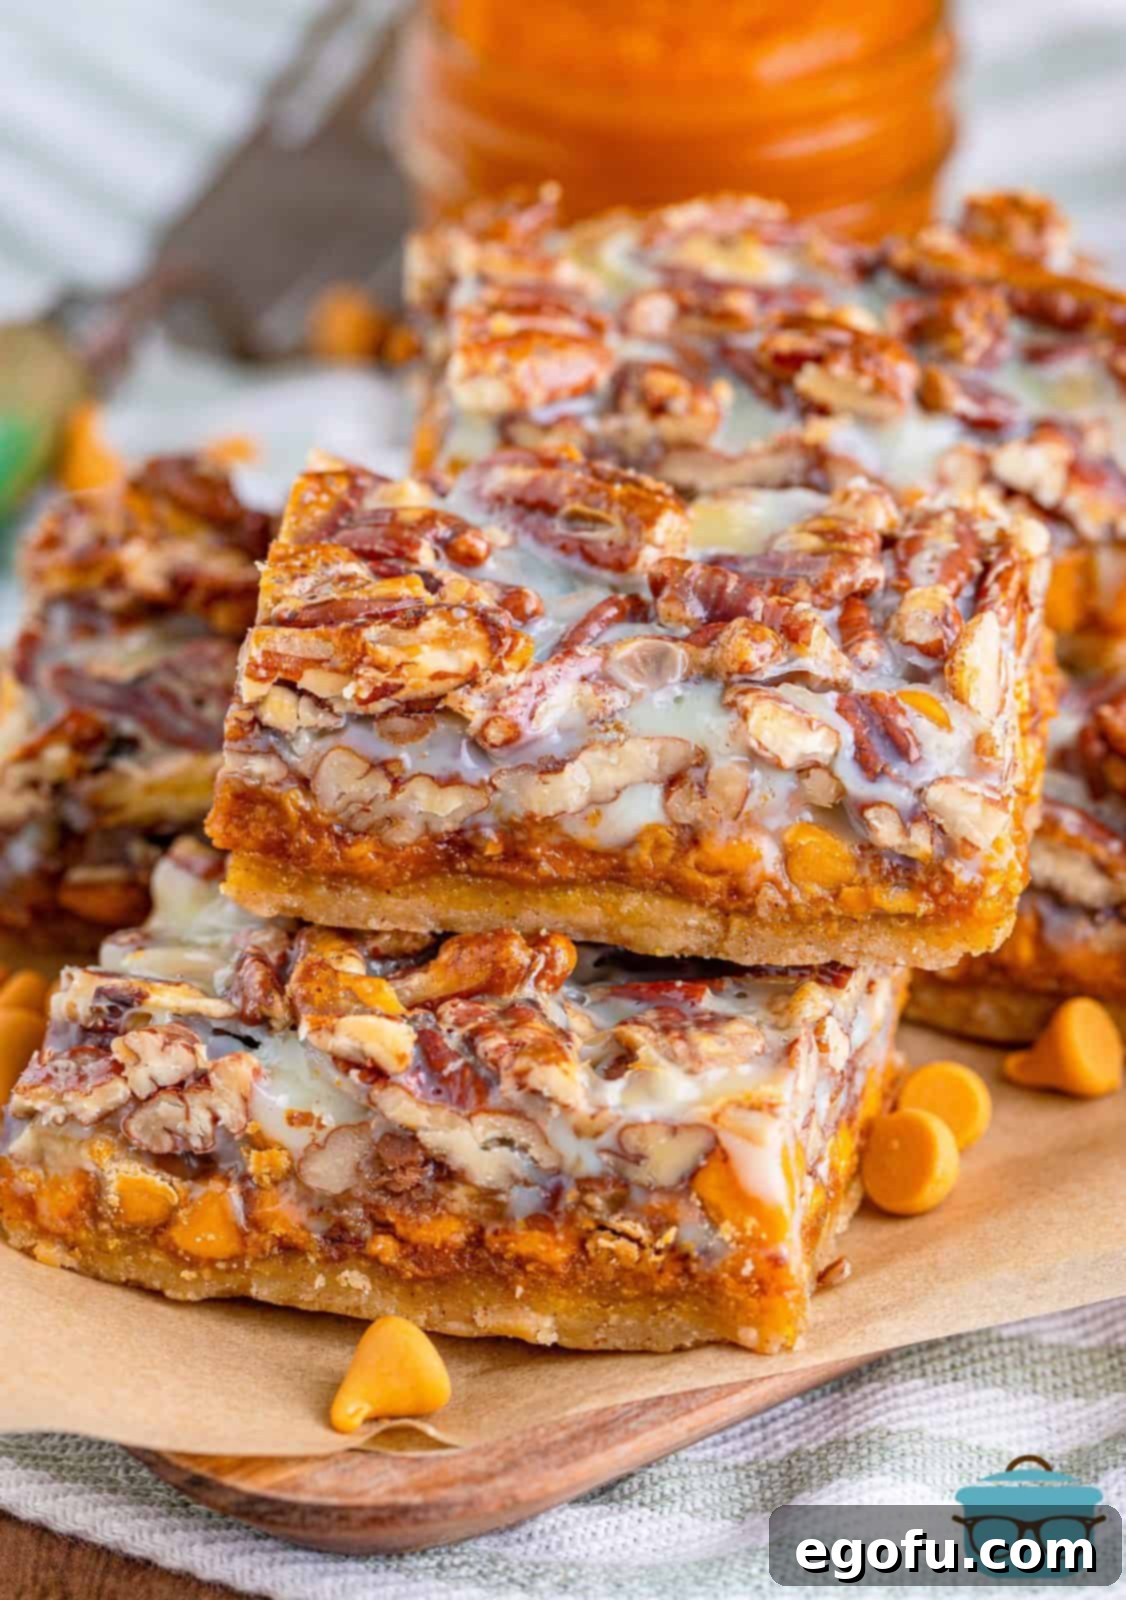
Bar recipes are a baker’s dream, offering boundless opportunities for creativity and flavor combinations built upon a simple, versatile foundation. If you’re already a devotee of the classic Magic Bar, with its signature layers of sweetness and crunch, then prepare to be utterly charmed by this seasonal twist. Our Pumpkin Magic Bars take everything you love about the original and infuse it with the rich, autumnal notes of pumpkin, perfectly complemented by a delightful medley of butterscotch chips, crunchy pecans, and buttery toffee bits, all bound together with luscious sweetened condensed milk.
What makes these bars truly stand out? It’s the harmonious interplay of ingredients that creates a uniquely satisfying experience. You’ll discover a tender, slightly chewy base, a wonderfully gooey pumpkin layer, and delightful bursts of crunch from the nuts and candy. This combination is not just delicious; it’s an ode to autumn, bringing together all your favorite fall flavors in one perfectly portioned treat. Beyond their exquisite taste and texture, these Pumpkin Magic Bars boast an elegant presentation, slicing beautifully into individual servings, making them ideal for holiday gatherings, potlucks, or simply enjoying with a warm cup of coffee on a chilly afternoon.
Frequently Asked Questions About Pumpkin Magic Bars
The intriguing name “Magic Bars” is believed to have originated with the Eagle Brand condensed milk company. Legend has it that the recipe was first printed on the back of their condensed milk cans, and the catchy name was coined by Gail Borden, the company’s owner. The bars quickly soared in popularity, leading other companies to create their own versions. To distinguish themselves while capitalizing on the dessert’s fame, these competing brands often gave them different names, such as “Hello Dolly Bars” (named after a popular Broadway musical of the era) and “Seven Layer Bars,” reflecting the distinct layers of ingredients. Regardless of the name, the core concept of a simple, layered, and utterly irresistible dessert remains, making them feel truly “magical” in their ease and deliciousness.
Yes, you are absolutely right! The traditional, classic Magic Bar recipe famously features a layer of shredded sweetened coconut. However, for these Pumpkin Magic Bars, I intentionally omitted the coconut. My reasoning was purely based on flavor compatibility; I felt that the strong, tropical flavor of coconut might not harmonize as beautifully with the distinct autumnal notes of pumpkin and pumpkin pie spice. The goal was to let the pumpkin shine through, complemented by other fall-friendly additions like butterscotch, toffee, and pecans. Therefore, while these are inspired by Magic Bars, they technically boast six delicious layers instead of the conventional seven. If you’re a coconut enthusiast and wish to experiment, you could certainly try adding a layer, perhaps reducing another ingredient slightly to maintain balance.
Not at all! While butterscotch chips are often a classic component of many Magic Bar variations and they pair wonderfully with pumpkin, this recipe is quite flexible. You can easily swap them out for other chocolate or flavored chips based on your personal preference or what you have on hand. Semi-sweet chocolate chips would offer a rich, classic contrast to the pumpkin. White chocolate chips would lend a creamy, sweet note and a beautiful aesthetic. For an extra touch of autumn spice, if you can find Hershey’s Cinnamon Chips, they would be an absolutely excellent and highly recommended alternative, enhancing the warm, spiced flavors of the pumpkin. Feel free to experiment and find your favorite combination!
Yes, this step is absolutely crucial and cannot be rushed! Allowing the Pumpkin Magic Bars to cool completely, preferably for several hours or even overnight, is vital for their structure and overall enjoyment. During the cooling process, the sweetened condensed milk and pumpkin pie filling continue to set and firm up. If you attempt to cut into them while they are still warm or even slightly warm, you’ll find them excessively gooey, difficult to slice cleanly, and they might fall apart. A properly cooled bar will hold its shape beautifully, offering that ideal chewy yet firm texture that makes Magic Bars so delightful. Patience truly is a virtue in this final stage of baking.
For this specific recipe, it is essential to use canned pumpkin pie filling, not plain pumpkin puree. The distinction between the two is very important for the success of these bars. Pumpkin pie filling is a pre-seasoned and pre-sweetened product that already contains spices like cinnamon, ginger, nutmeg, and allspice, as well as sugar and often thickeners. These additional ingredients are critical for the filling to set properly and contribute to the rich, spiced flavor profile of the bars. Plain pumpkin puree, on the other hand, is just cooked and mashed pumpkin, with no added sugar or spices, and a higher moisture content. Using puree would result in a runny, less flavorful layer that might not set correctly, compromising the texture and taste of your Magic Bars.
No, there’s no need to let the crust cool down before proceeding with the rest of the layers. The initial baking step for the crust serves primarily to set it and give it a slight crispness, ensuring it forms a sturdy foundation for the gooey layers to come. Since the entire pan of bars will be going back into a hot oven immediately after the toppings are added, any slight warmth from the pre-baked crust is perfectly fine. This means you can swiftly move from one step to the next, saving you time without compromising the final quality of your delicious Pumpkin Magic Bars.
Absolutely, you can definitely use salted butter if that’s what you have on hand! In most baking recipes that call for unsalted butter, salted butter can be a perfectly acceptable substitute. The main difference lies in the salt content. If you opt for salted butter, simply omit or significantly reduce any additional salt that is listed in the recipe’s ingredient list. For example, if the recipe calls for a pinch of salt, you can skip it entirely. This small adjustment ensures that your final product isn’t overly salty, maintaining the intended flavor balance of the Pumpkin Magic Bars. It’s a common and easy workaround for home bakers.
No worries if you don’t have the exact 11″ x 7″ baking dish specified in the recipe. A standard 9″ square baking dish is a fantastic alternative and will work beautifully. When using a smaller pan, your bars will naturally be slightly thicker than if baked in the larger rectangular pan. This is a minor difference, but it does mean you might need to adjust the baking time slightly. Keep a close eye on your bars during the final baking stage. Look for a golden-brown top and a firm, set center. You may need to add an extra 5-10 minutes to the total baking time to ensure they are cooked through and properly set, especially in the middle. Always perform a toothpick test in the center if unsure.
Given that these Pumpkin Magic Bars contain pumpkin pie filling and sweetened condensed milk, proper storage is key to maintaining their freshness and safety. It is highly recommended to refrigerate them. Once completely cooled and cut, you can store the bars directly in the baking pan, tightly covered with plastic wrap or aluminum foil. Alternatively, transfer them to an airtight container. When refrigerated, these delicious bars will stay fresh and enjoyable for up to one week. For longer storage, Pumpkin Magic Bars freeze exceptionally well! To freeze, wrap individual bars tightly in plastic wrap, then place them in a freezer-safe bag or airtight container. They will keep frozen for up to three months. To enjoy, simply defrost the bars in the refrigerator overnight, and then allow them to come to room temperature for the best texture and flavor before serving.
Essential Ingredients for Your Fall Baking Adventure
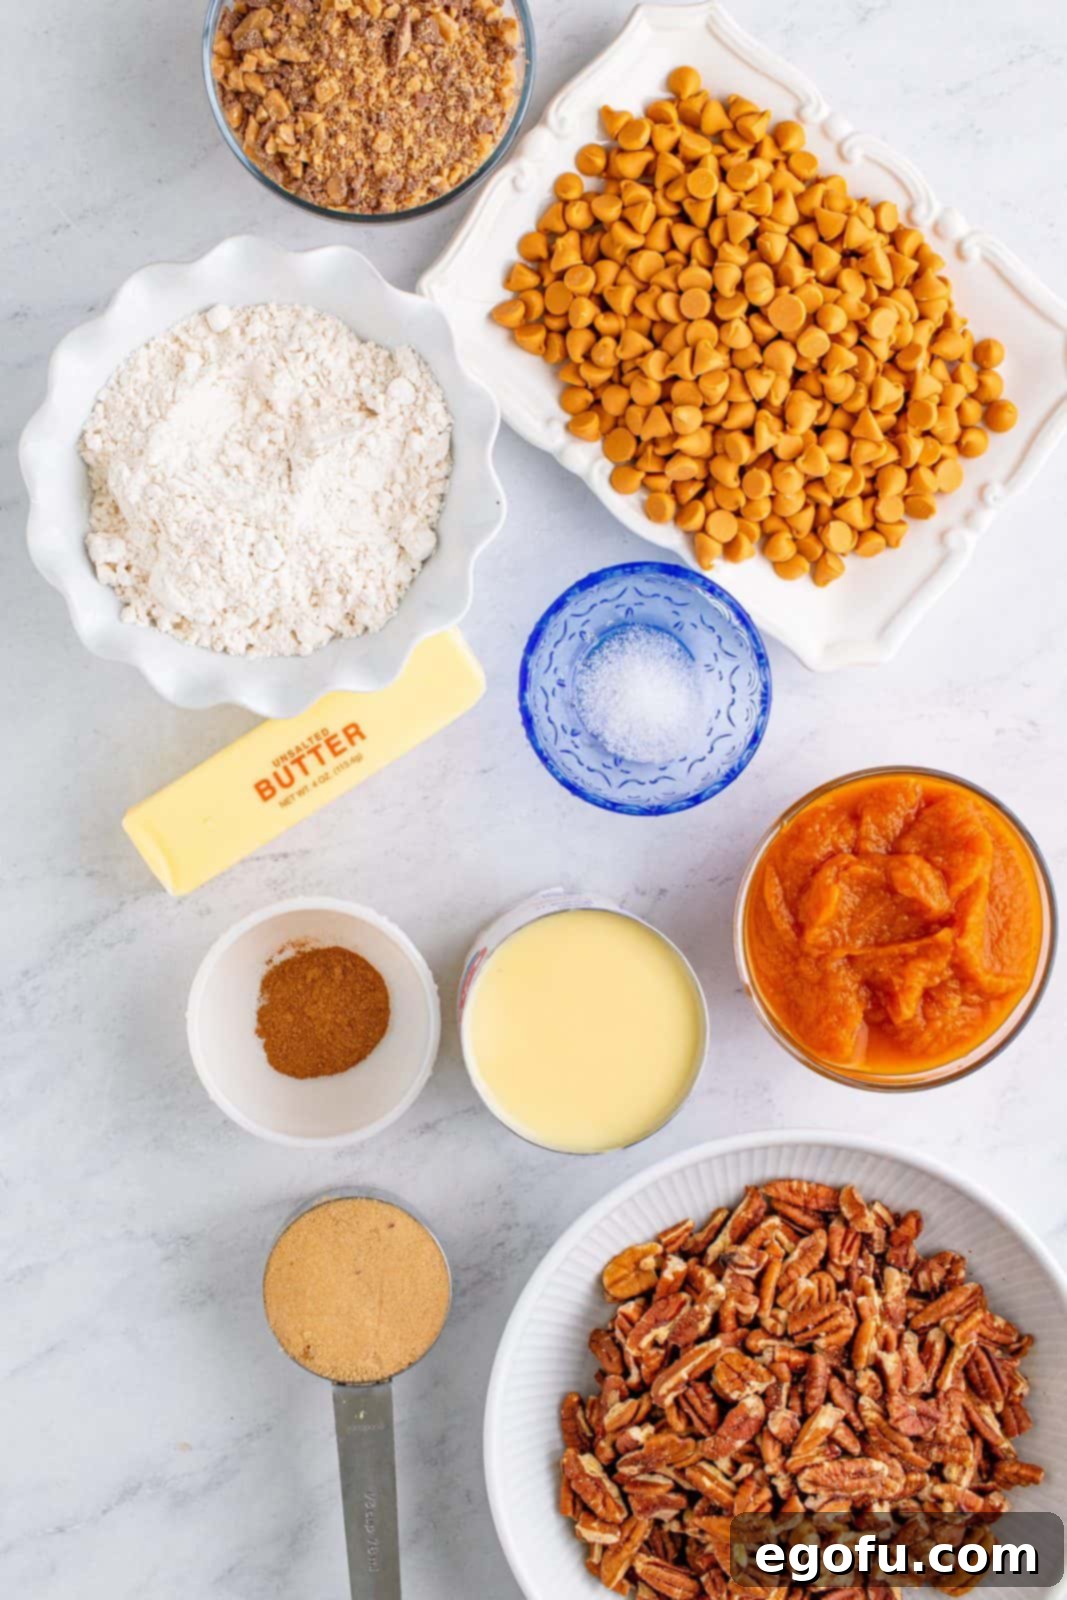
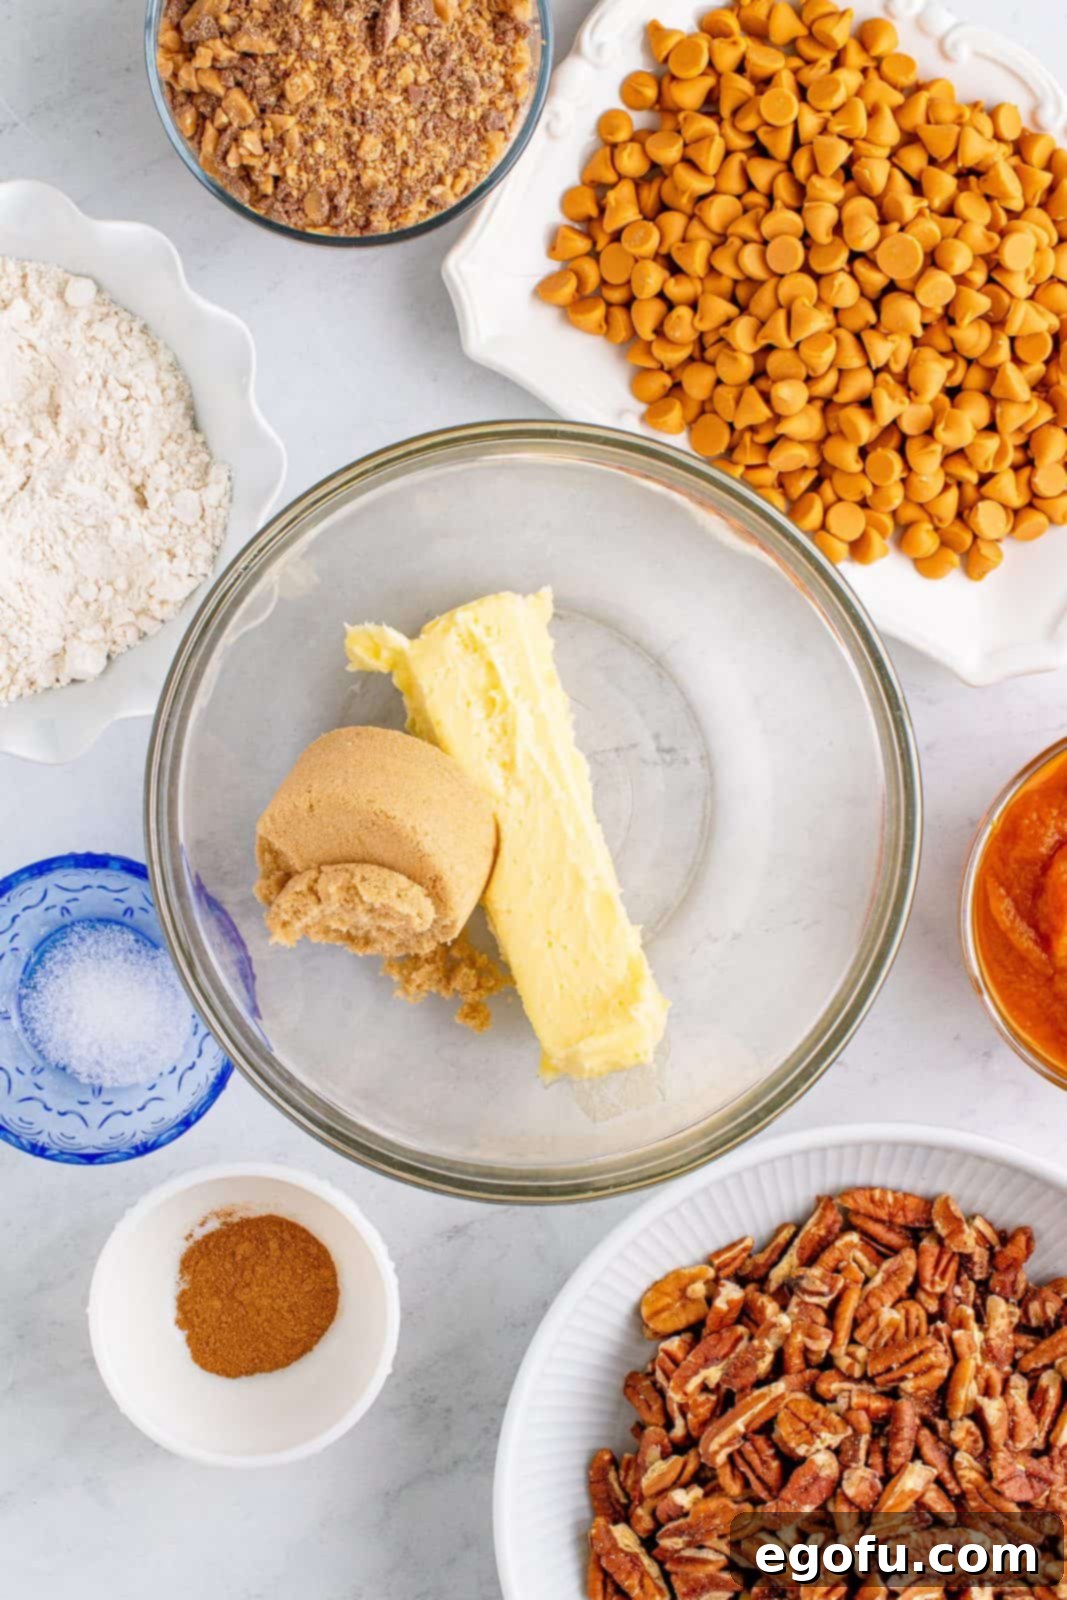
Crafting these delectable Pumpkin Magic Bars requires a thoughtful selection of ingredients, each playing a crucial role in creating their signature taste and texture. Below is a concise list of what you’ll need to gather:
- Unsalted butter, softened
- Light brown sugar, packed
- All-purpose flour
- Pumpkin pie spice
- A pinch of salt (regular table salt)
- Canned pumpkin pie filling (not pumpkin puree)
- Butterscotch chips
- Toffee bits
- Chopped pecans
- Sweetened condensed milk
For precise measurements and the full, detailed recipe, please refer to the recipe card located further down this page.
How to Make Luscious Pumpkin Magic Bars: Step-by-Step Guide
Get ready to transform simple ingredients into an extraordinary fall dessert! Follow these easy steps to create your own batch of Pumpkin Magic Bars:
Preheat your oven to 350°F (175°C). Prepare an 11×7-inch baking dish by lining it with aluminum foil, ensuring a generous overhang on the sides for easy lifting later. Lightly spray the foil with cooking spray to prevent sticking. Set this prepared pan aside.
In a large mixing bowl, combine the softened unsalted butter and packed light brown sugar. Cream these two ingredients together using an electric mixer until the mixture becomes light, fluffy, and well-combined. This usually takes about 2 minutes, ensuring a smooth base for your crust.
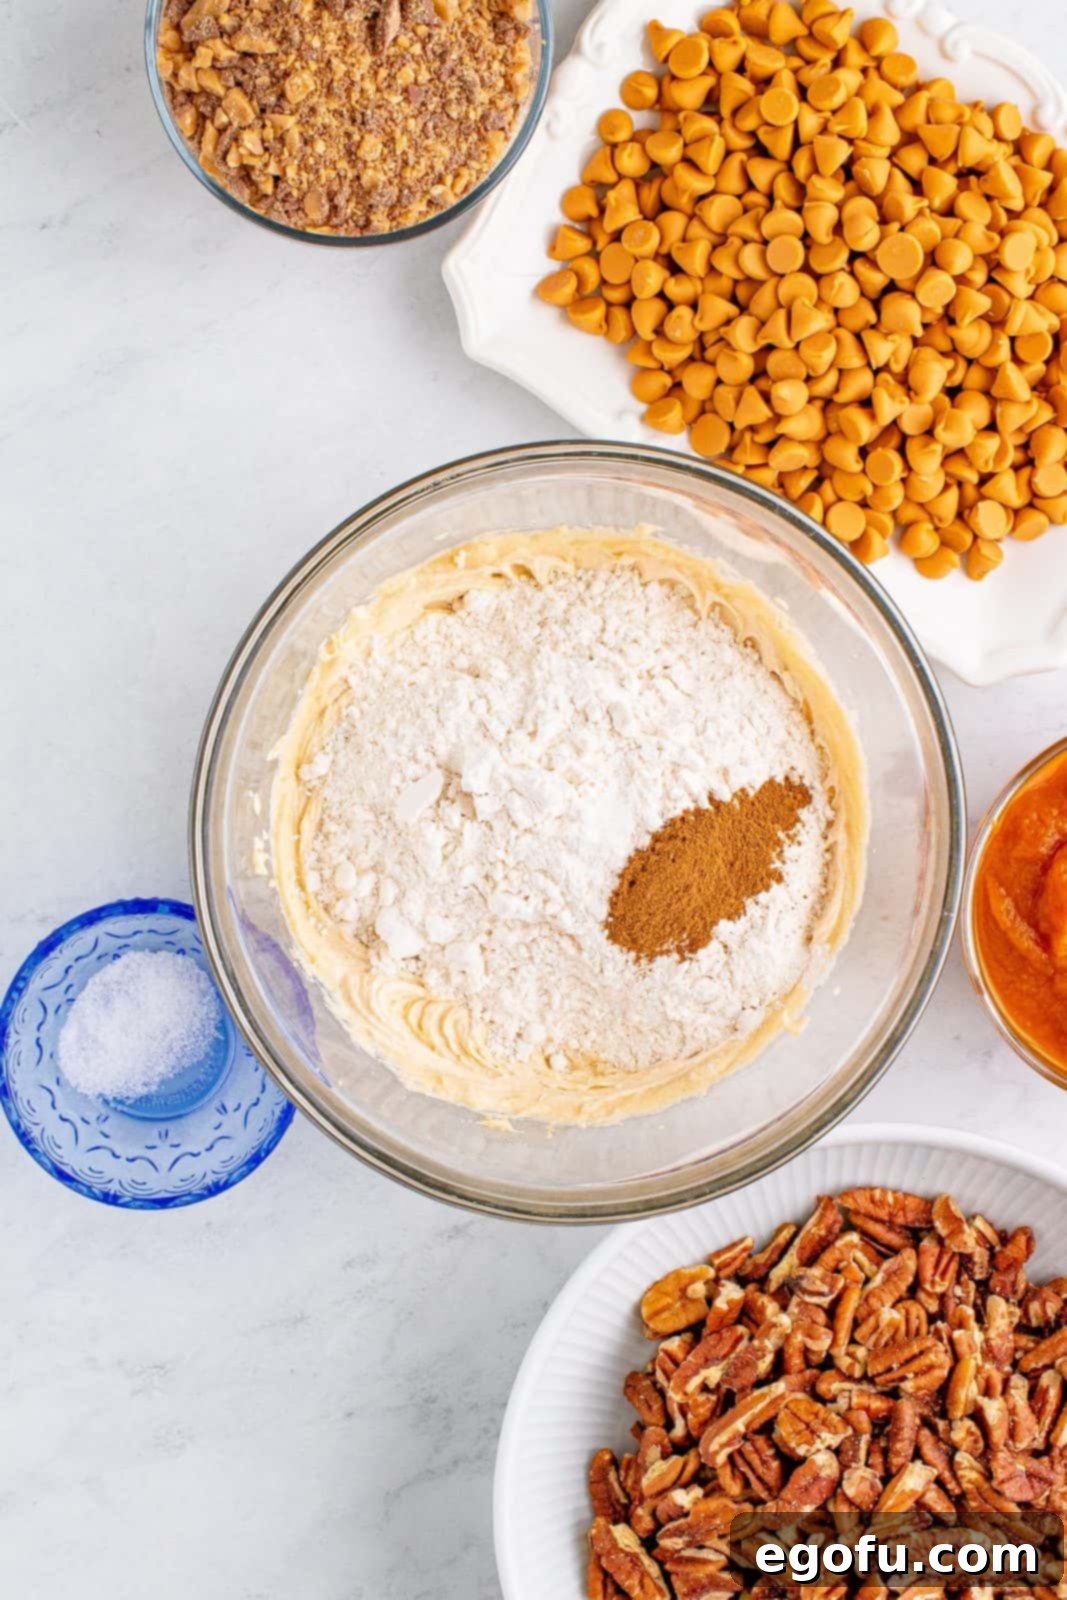
To the creamed butter and sugar mixture, add the all-purpose flour, pumpkin pie spice, and a pinch of salt. Mix these dry ingredients into the wet mixture until just combined, being careful not to overmix. Ensure there are no visible streaks of dry flour remaining in the dough.
Evenly press this prepared crust mixture into the bottom of your foil-lined baking dish. Use the back of a spoon or your fingers to create a compact, uniform layer. Bake this crust in the preheated oven for 15 minutes, or until it appears lightly browned around the edges and no longer looks raw in the center.

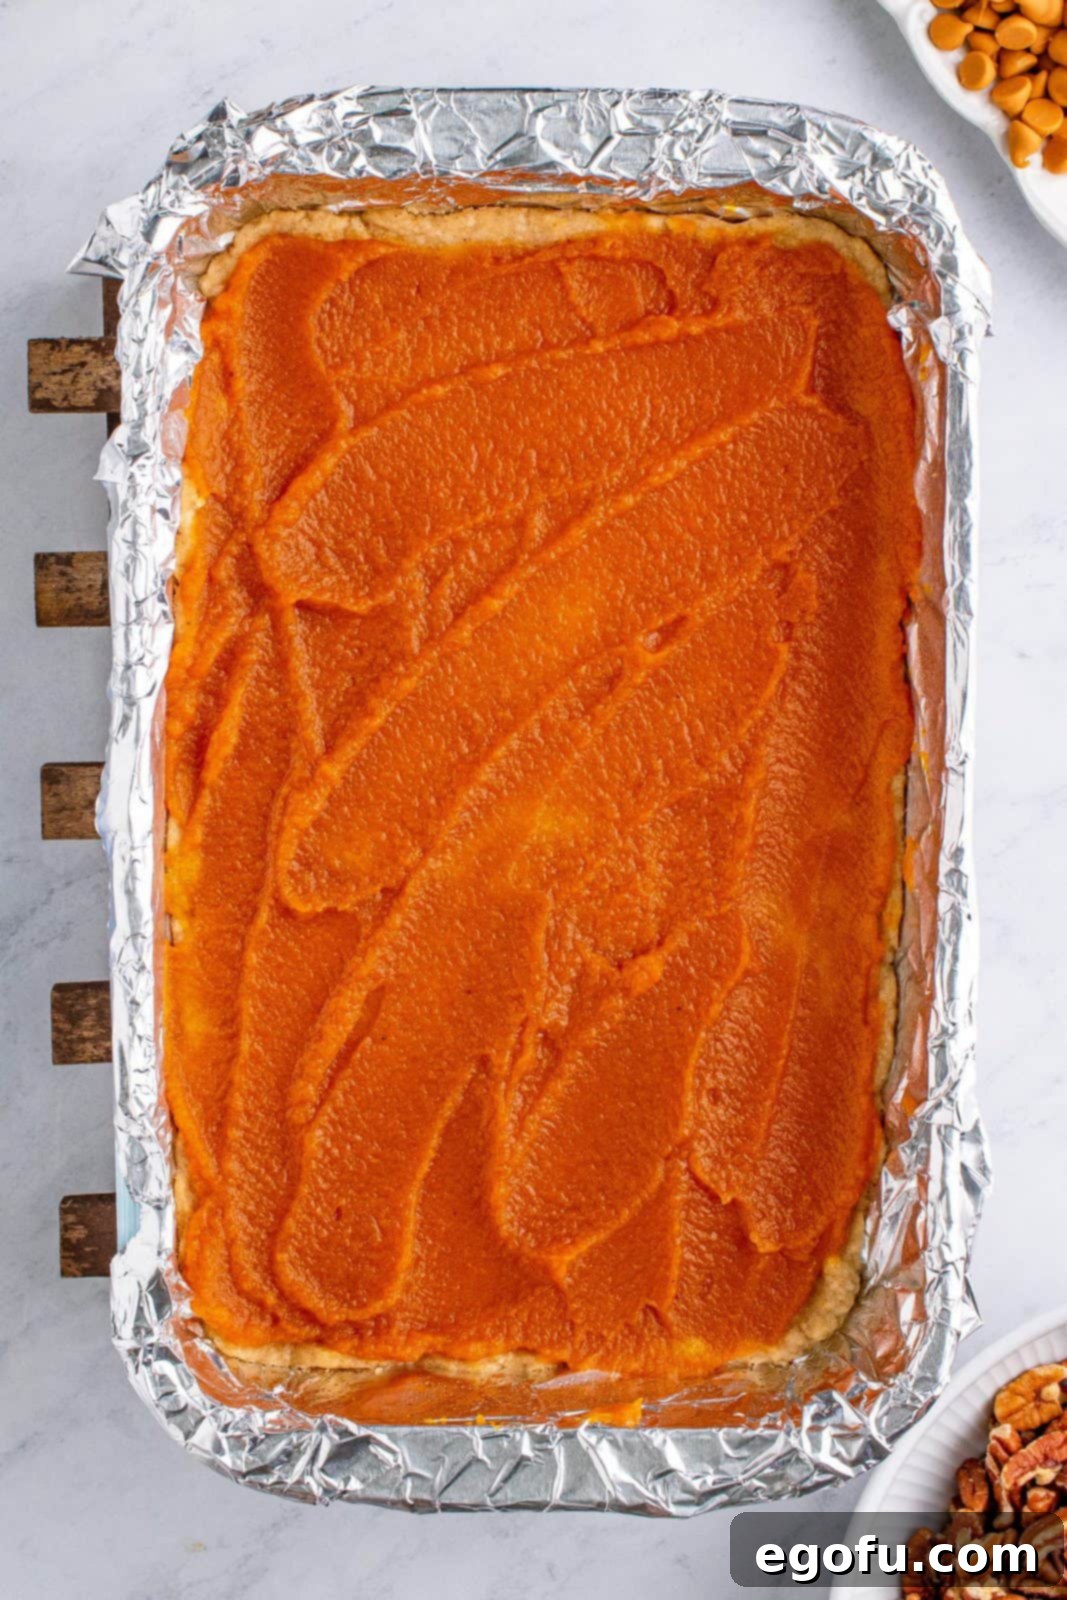
Carefully remove the partially baked crust from the oven. Evenly spread the canned pumpkin pie filling over the warm crust. Use an offset spatula or the back of a spoon to create a smooth, consistent layer.
Now it’s time to layer on the delicious toppings! Evenly sprinkle the butterscotch chips over the pumpkin pie filling. Follow with an even distribution of the toffee bits, and finally, scatter the chopped pecans across the top. These layers will create a beautiful mosaic of flavors and textures.
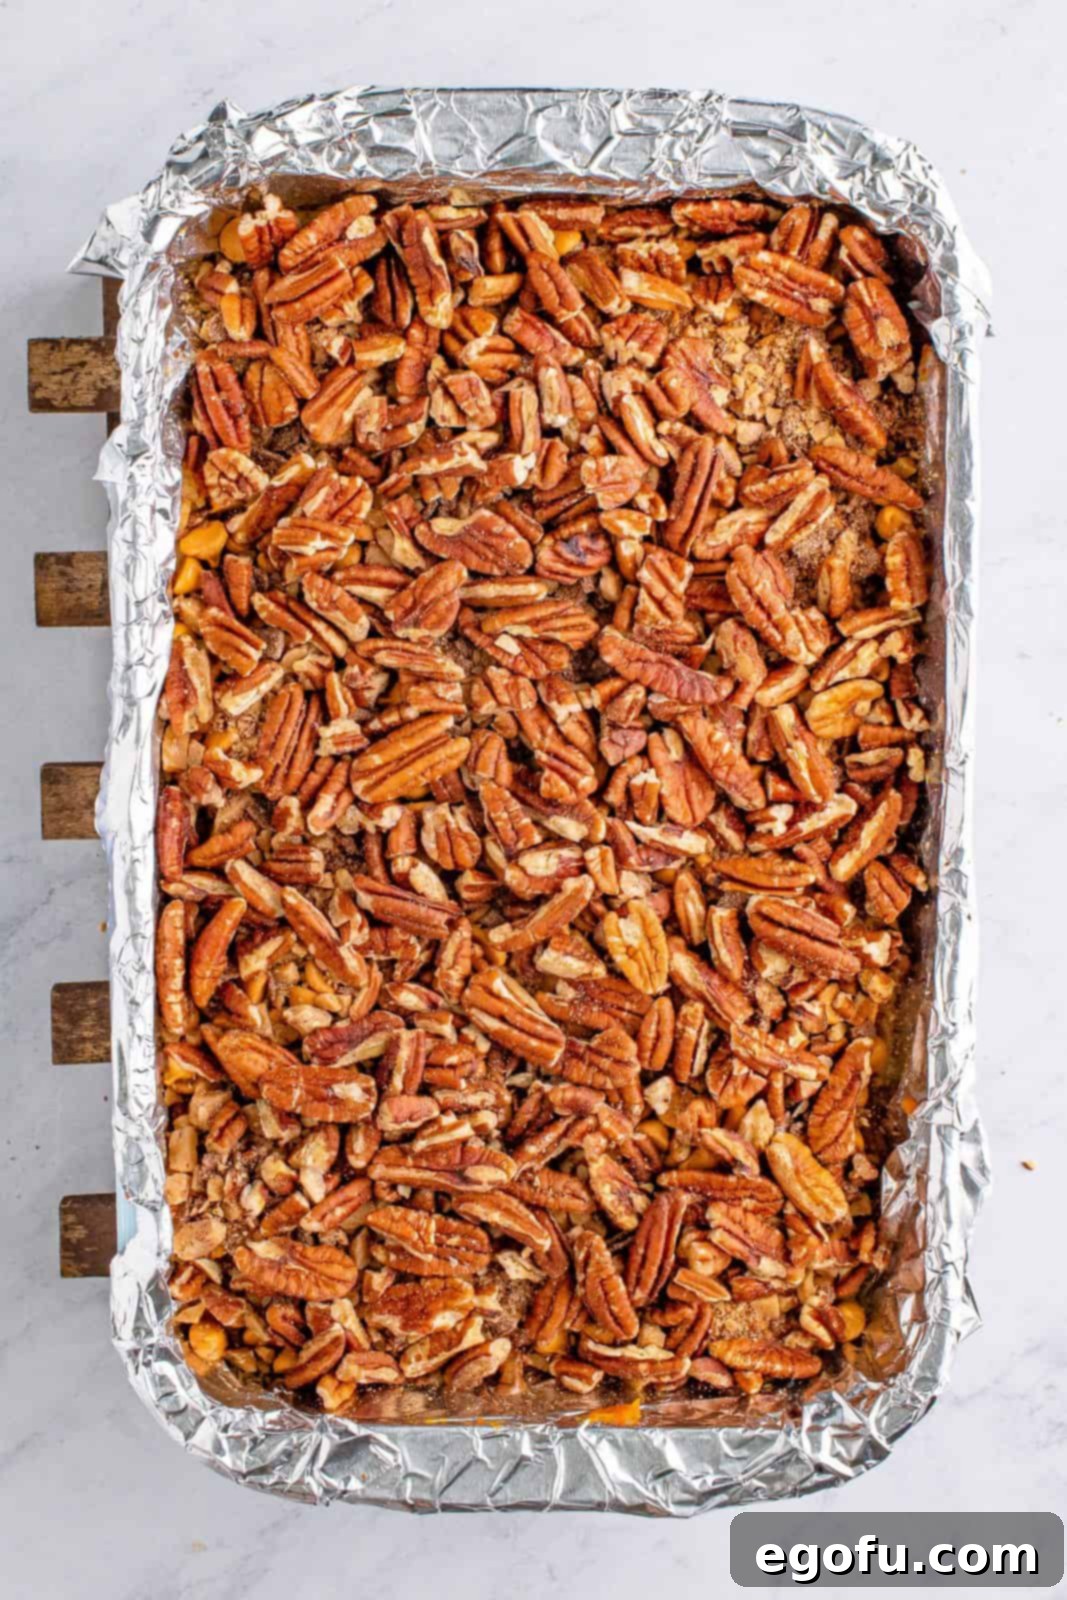
Carefully and evenly pour the entire can of sweetened condensed milk over all the layered toppings. This milk acts as a magical binder, seeping through the layers and creating that signature gooey texture. Return the dish to the oven and bake for an additional 30-35 minutes, or until the top is beautifully browned and the filling is set.
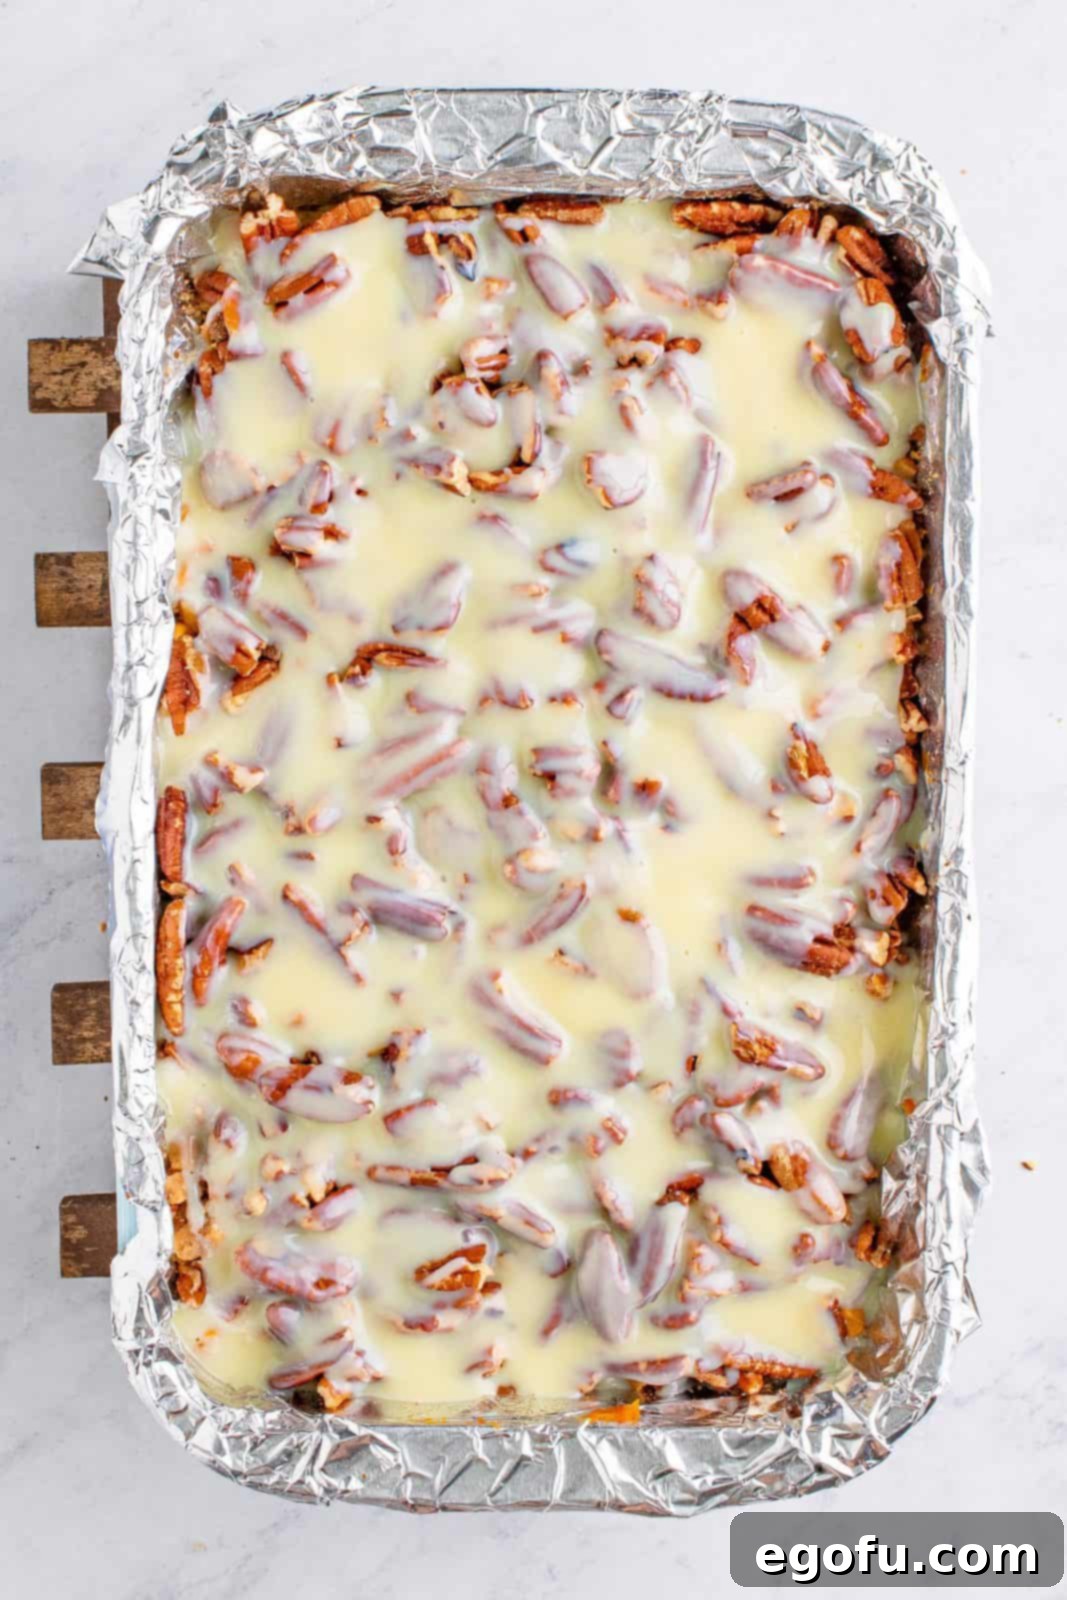
Once baked, remove the pan from the oven and place it on a wire rack. It is absolutely essential to let the bars cool completely in the pan. This process allows the condensed milk and pumpkin filling to fully set, ensuring clean and beautiful slices. This can take several hours, or you can even let them cool overnight.

After the bars have completely cooled and set, use the foil overhangs to lift the entire slab out of the baking dish. Transfer it to a cutting board and slice into individual bars of your desired size. For best results, chill the bars slightly before cutting.
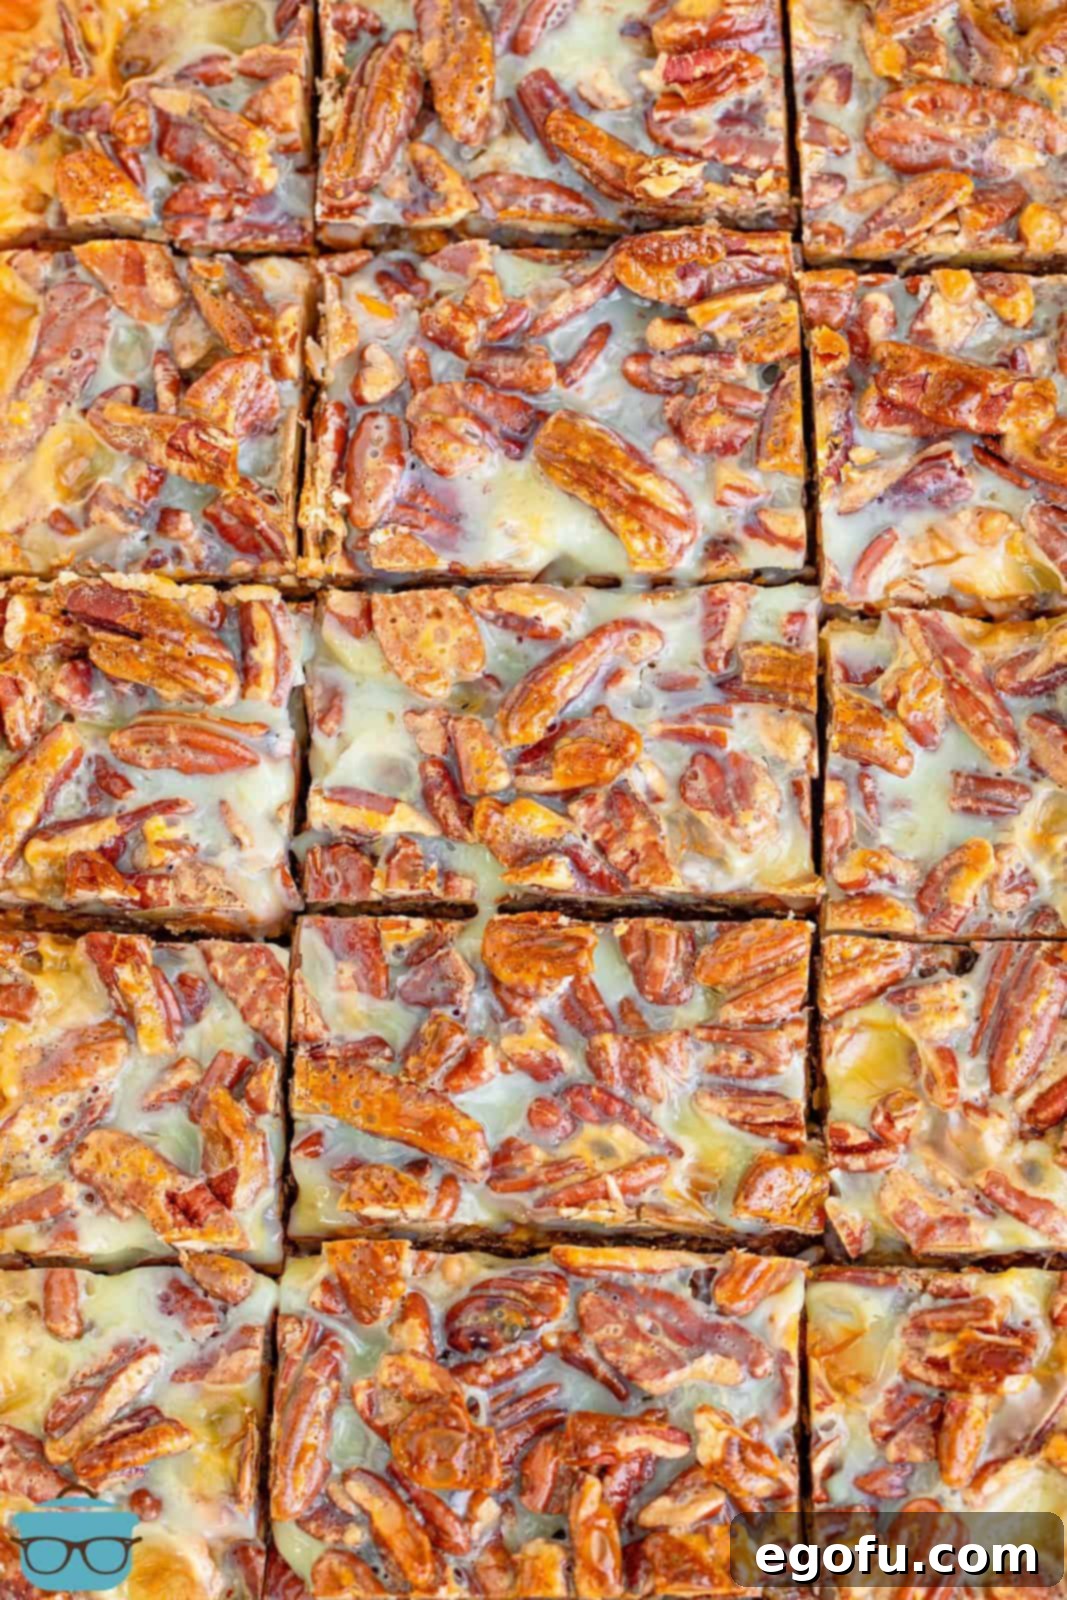
Store any leftover bars in an airtight container in the refrigerator until you are ready to serve them. Enjoy the magical taste of fall!

Craving More Delicious Fall Recipes?
If these Pumpkin Magic Bars have sparked your autumn baking inspiration, you’re in for a treat! Explore some of our other beloved fall and bar recipes that are sure to delight:
- Pumpkin Pie Magic Cake
- Pumpkin Chocolate Chip Bars
- Magic Pumpkin Cake
- Classic Magic Cookie Bars
- Peanut Butter Chocolate Chip Bars
- Homemade Magic Shell
- Turtle Magic Bars
- No Bake Pumpkin Cheesecake
Pumpkin Magic Bars
Rating: 5 out of 5 stars (13 Reviews)
Print
Pin
Rate
10 minutes
50 minutes
1 hour
15
Brandie Skibinski
Ingredients
For the crust:
- ½ cup unsalted butter, softened to room temperature
- ⅓ cup packed light brown sugar
- 1 cup all-purpose flour
- ½ teaspoon pumpkin pie spice
- pinch of salt (regular table salt)
For the toppings:
- 1 cup canned pumpkin pie filling
- 11 ounce bag of butterscotch chips
- 1 cup toffee bits
- 2 cups chopped pecans
- 14 ounce can of sweetened condensed milk
Instructions
- Preheat the oven to 350°F (175°C). Line an 11×7-inch baking dish with foil and spray it with cooking spray, then set aside.
- In a large bowl, cream together ½ cup unsalted butter, softened to room temperature, and ⅓ cup packed light brown sugar until light and fluffy, about 2 minutes.
- Add 1 cup all-purpose flour, ½ teaspoon pumpkin pie spice, and a pinch of salt. Mix until combined with no dry patches.
- Press the mixture into the bottom of the prepared baking dish and bake for 15 minutes until it no longer looks raw and is lightly browned.
- Spread 1 cup canned pumpkin pie filling on top.
- Layer 11 ounce bag of butterscotch chips, then 1 cup toffee bits, then 2 cups chopped pecans.
- Pour the 14 ounce can of sweetened condensed milk on top and bake for an additional 30-35 minutes until browned on top.
- Let the bars cool in the pan completely.
- Once they are completely cool, cut them into bars. Store in the refrigerator until serving.
Notes
- You can substitute the butterscotch chips with semi-sweet chocolate chips, white chocolate chips, or cinnamon chips if you’d like to customize the flavor.
- These bars freeze wonderfully for longer storage; refer to the “How do I store leftovers?” FAQ section above for detailed freezing instructions.
- It is crucial to use canned pumpkin pie filling for this recipe, not plain pumpkin puree, as the pie filling contains necessary spices and sweeteners for proper setting and flavor.
- For perfectly clean and firm slices, ensure the bars are fully cooled and set before attempting to cut them. Rushing this step will result in a messy presentation.
- If you don’t have an 11″ x 7″ pan, a 9″ square pan can be used as a substitute. Be aware that the bars will be slightly thicker, and you may need to increase the baking time by a few minutes. Always check for a set center.
Dessert
American
Nutrition
|
Carbohydrates: 61g
|
Protein: 5g
|
Fat: 25g
|
Sodium: 176mg
|
Fiber: 3g
|
Sugar: 46g
Nutritional Disclaimer
“The Country Cook” is not a dietician or nutritionist, and any nutritional information shared is an estimate. If calorie count and other nutritional values are important to you, we recommend running the ingredients through whichever online nutritional calculator you prefer. Calories and other nutritional values can vary quite a bit depending on which brands were used.
Did you make this recipe?
Share it on Instagram @thecountrycook and mention us #thecountrycook!
