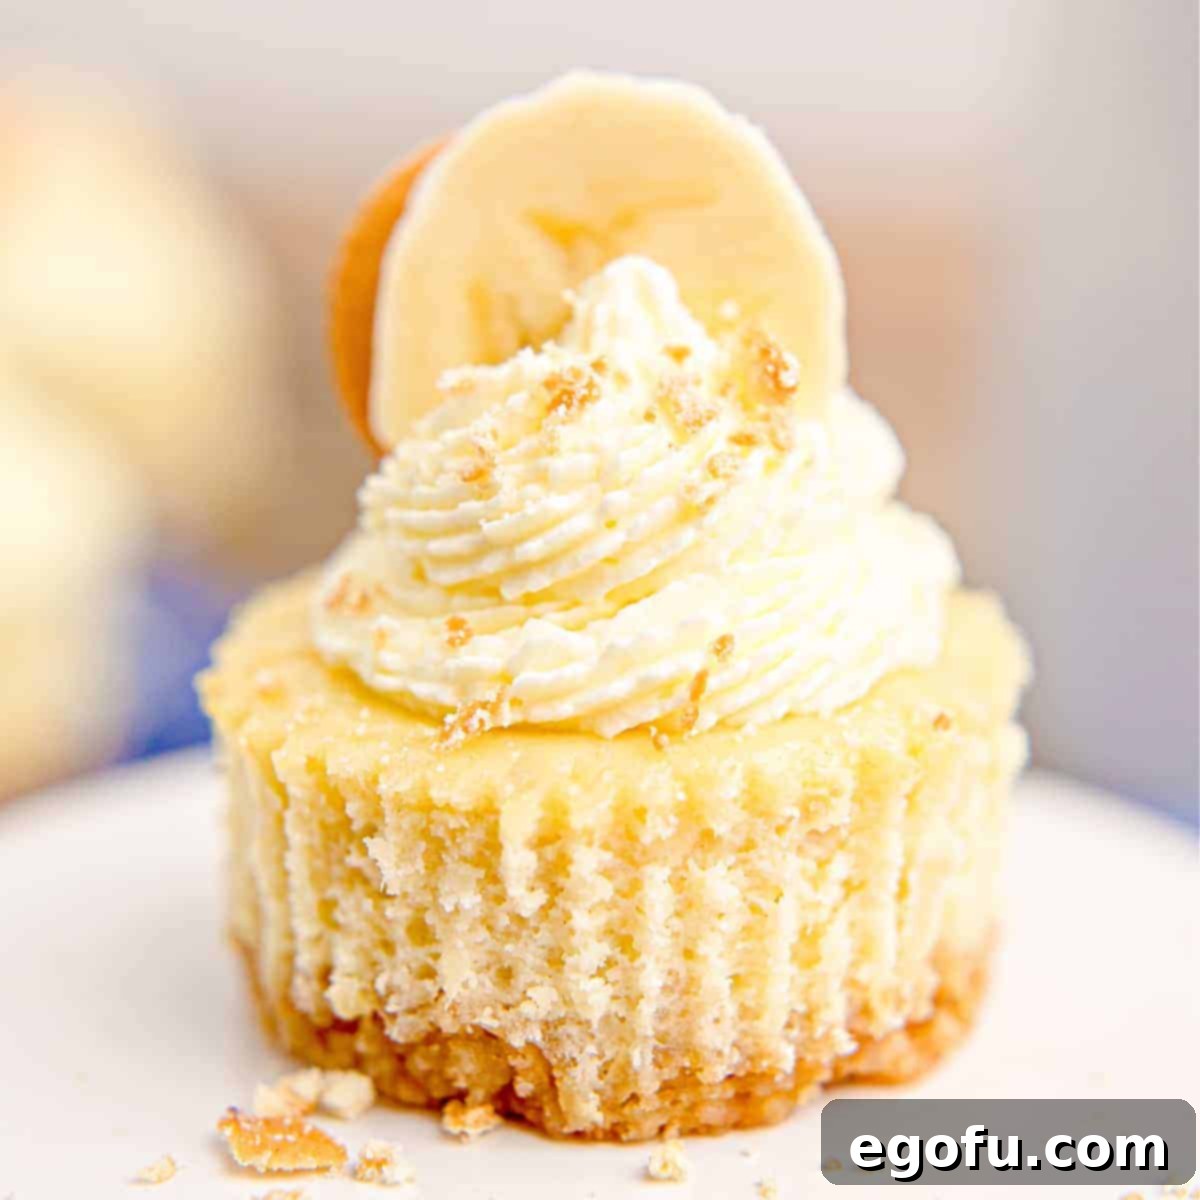
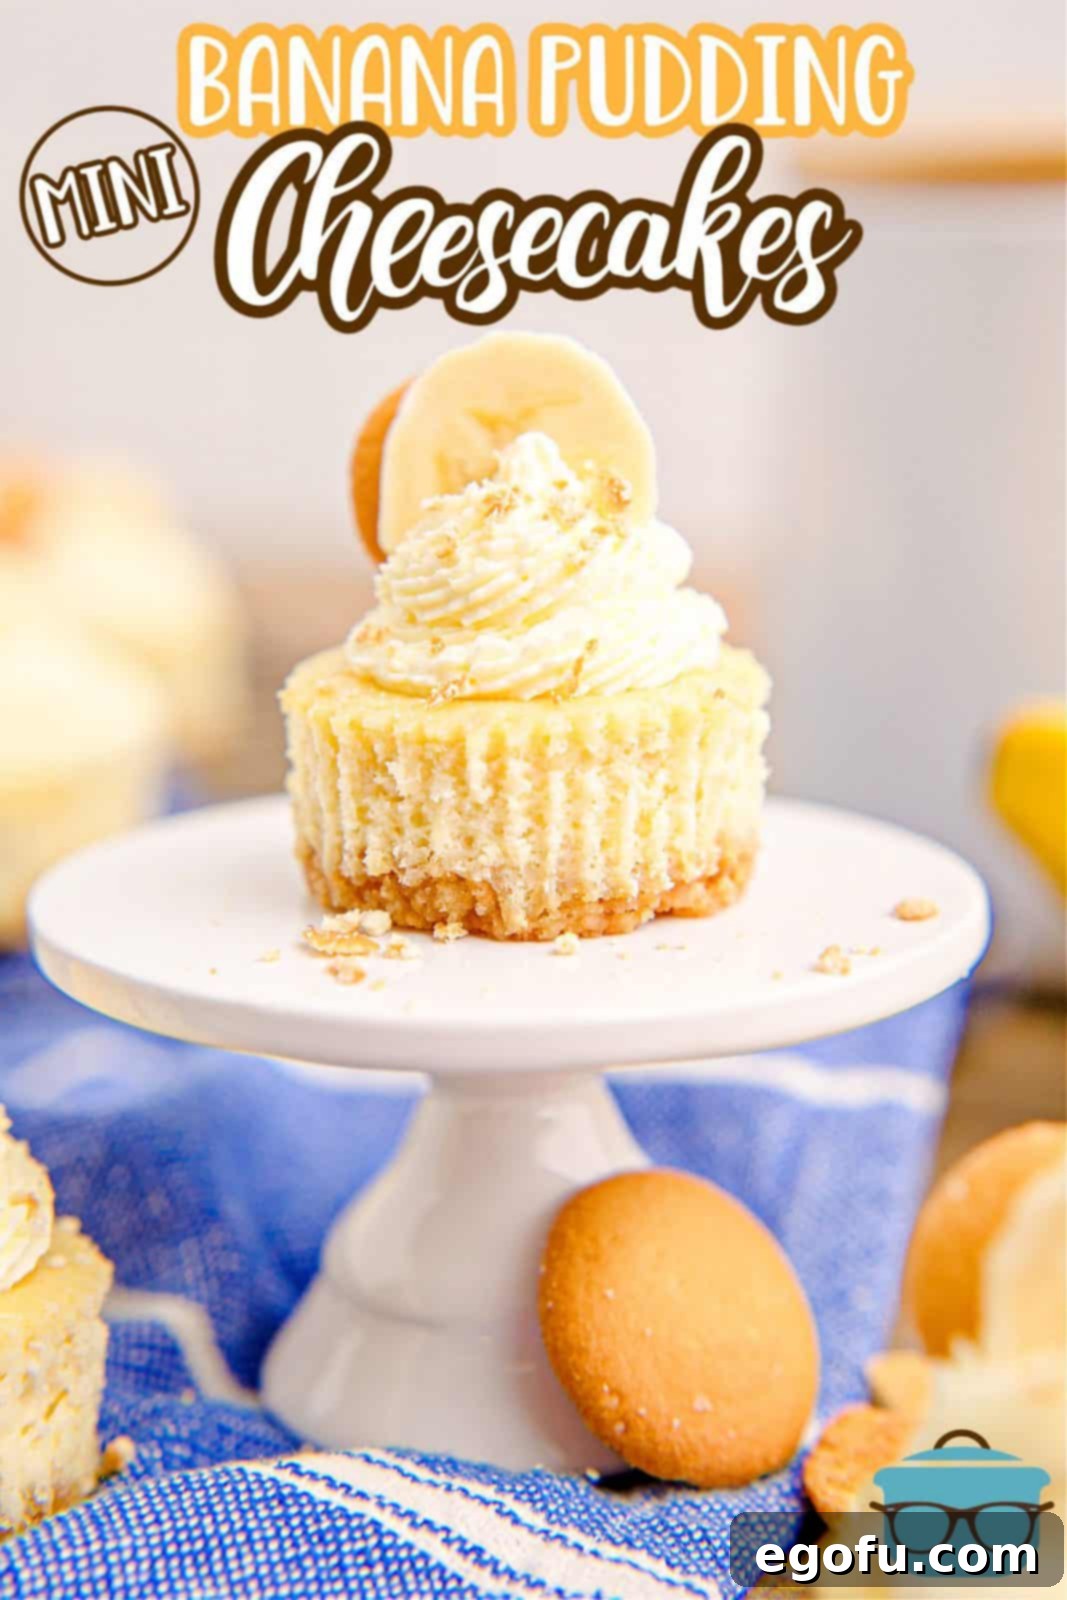
Fun, flavorful, creamy, and wonderfully easy, these Mini Banana Pudding Cheesecakes are the quintessential handheld treat, perfect for any season and every gathering. Combining two beloved dessert classics, they offer a delightful experience in every bite.
Indulge in the Perfect Handheld Banana Pudding Cheesecake Experience
There’s something uniquely comforting and utterly delicious about banana-flavored desserts. From the classic Banana Pudding to a moist Banana Cake or even a rich Banana Bread, I simply adore them all! My passion for homemade desserts extends deeply to Creamy Cheesecakes, especially when they feature that incredible banana flavor profile, like our much-loved Banana Pudding Cheesecake. This recipe truly marries the best of both worlds, bringing together the nostalgic charm of banana pudding with the luscious richness of cheesecake.
These mini cheesecakes offer several advantages over their full-sized counterparts. Not only are they significantly quicker to prepare and bake, but their individual portions make them an ideal choice for serving a crowd. No slicing, no messy plates – just pure, portable dessert bliss! Whether you’re hosting a party, planning a potluck, or simply craving a delightful individual treat, this Mini Banana Pudding Cheesecake recipe is incredibly simple to follow and is guaranteed to become a new family favorite. Get ready to impress with these charming and undeniably delicious bites!
Your Top Questions Answered About Mini Banana Pudding Cheesecakes
Absolutely not! While classic vanilla wafers provide that quintessential banana pudding flavor, feel free to get creative or use what you have on hand. If vanilla wafers are hard to find or you prefer an alternative, graham cracker crumbs make an excellent substitute, offering a slightly different but equally delicious base. For an extra touch of indulgence, crushed Golden Oreos also work wonderfully, adding a rich, buttery flavor that complements the banana cheesecake filling perfectly. Experiment with your favorite cookie to find your ideal crust!
Proper chilling is crucial for achieving that perfect cheesecake texture and ensuring they set up beautifully. After baking, allow your mini cheesecakes to cool completely on the countertop for approximately 30 minutes. This gradual cooling prevents cracking and helps them transition smoothly. Once they’ve reached room temperature, transfer them to the refrigerator for at least an hour. For the very best results and a truly firm, sliceable (or rather, peel-able!) consistency, an overnight chill is highly recommended. Patience truly pays off with cheesecakes!
Yes, absolutely! While vanilla extract is a timeless classic and pairs beautifully with banana, feel free to explore other flavor profiles to customize your cheesecakes. For an intensified banana flavor, a few drops of banana extract can provide an incredible “banana kick.” Other delightful options include rum extract, which adds a warm, sophisticated note, almond extract for a subtle nutty undertone, or even maple extract for a cozy, autumnal twist. Remember that extracts can be quite potent, so start with smaller amounts and adjust to taste.
Pre-baking the crust is a vital step for any cheesecake, especially when working with fruit fillings that release moisture. This initial bake serves a dual purpose: it helps to toast the crumbs, enhancing their flavor and aroma, and more importantly, it creates a barrier. By partially baking the crust, you prevent it from absorbing too much moisture from the cheesecake filling during the second bake. This results in a sturdy, crisp crust that won’t become soggy, providing the perfect textural contrast to the creamy cheesecake filling. It’s a small step that makes a big difference in the final outcome!
Proper storage ensures your delicious mini cheesecakes remain fresh and delightful for as long as possible. If undecorated, leftovers can be stored in an airtight container in the refrigerator for up to 5 days. For longer storage, these cheesecakes freeze exceptionally well! To freeze, bake and cool the cheesecakes completely as directed, but do not decorate them. Place them in a single layer in a freezer-safe container or on a baking sheet to flash freeze until firm, then transfer them to an airtight freezer bag or container. They will keep beautifully for up to 6 months. When you’re ready to enjoy them, simply defrost them in the refrigerator overnight before decorating with whipped cream, banana slices, and mini wafers, then serve.
Essential Ingredients for Your Mini Banana Pudding Cheesecakes
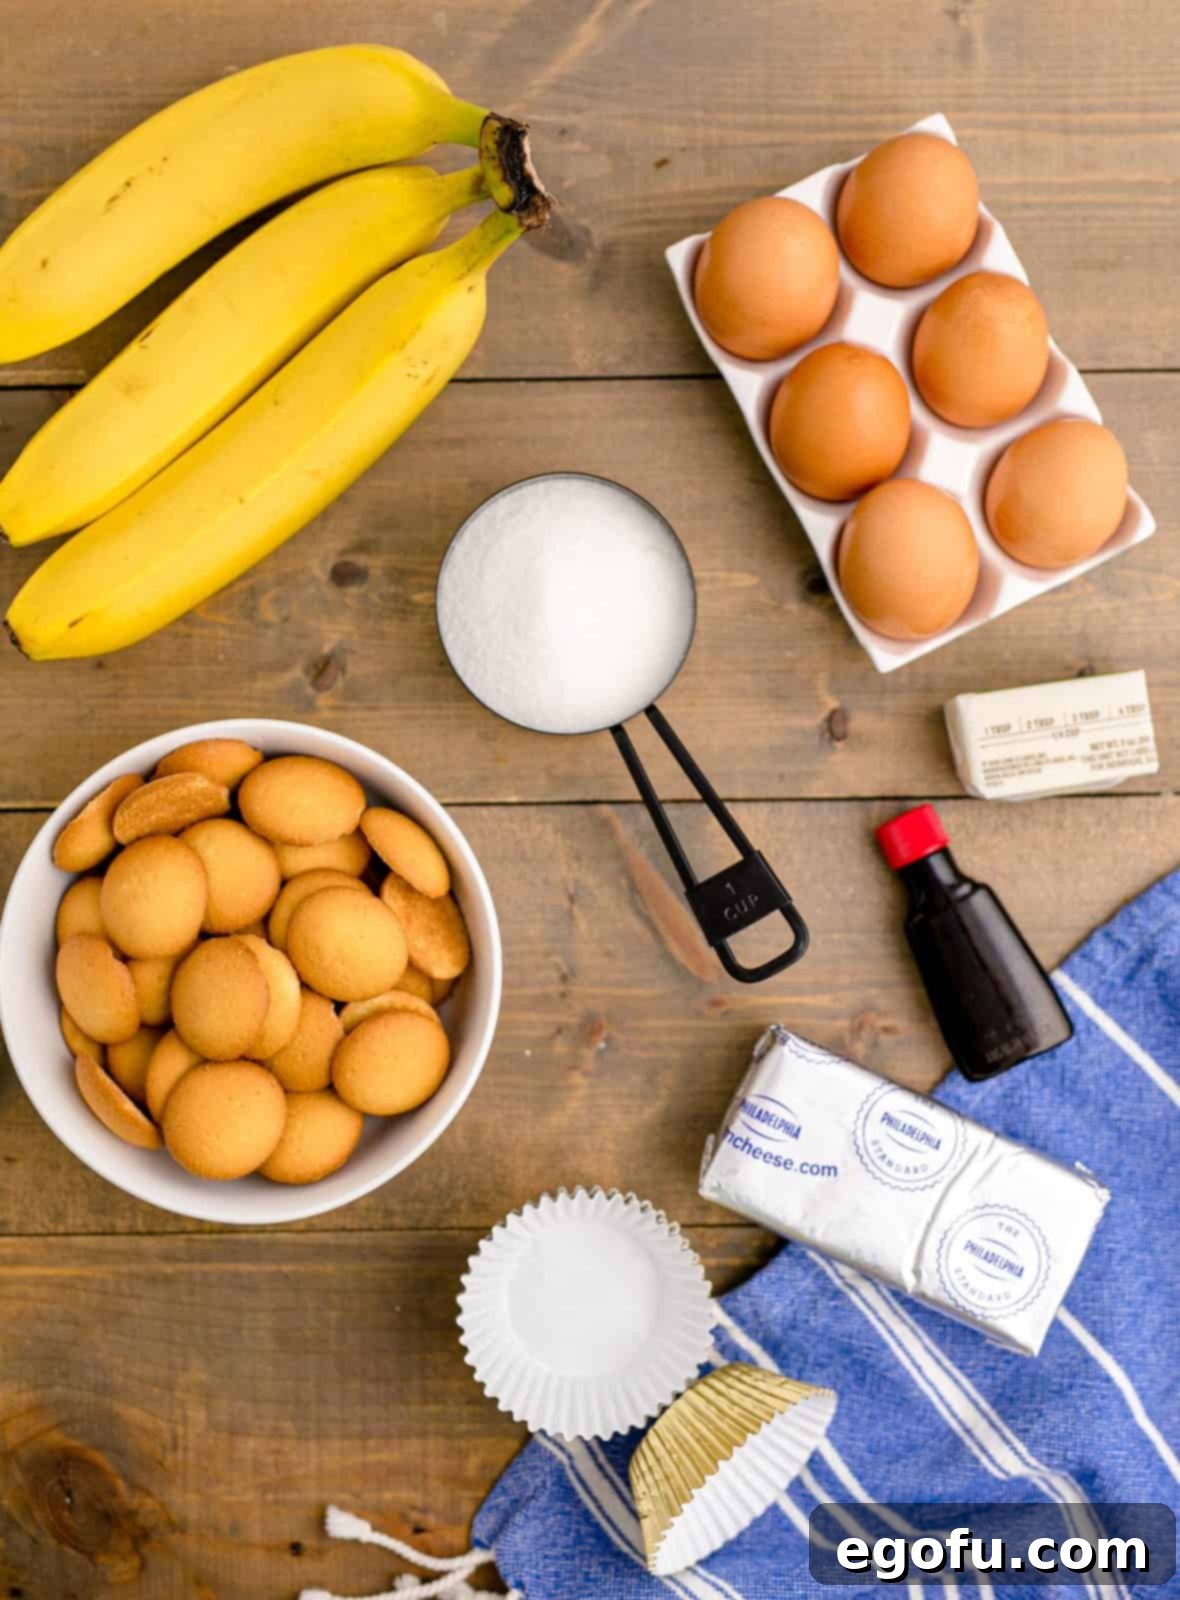
Crafting these delectable mini cheesecakes requires a few simple, high-quality ingredients. Ensure your cream cheese is softened to room temperature for a smooth, lump-free filling, and use ripe bananas for the best flavor. Find the full, detailed recipe with exact measurements further down the page.
- Vanilla wafer cookies
- Salted butter
- Cream cheese
- Granulated sugar
- Eggs
- Vanilla extract
- Ripe bananas
- Whipped cream (optional, for garnish)
Step-by-Step Guide: How to Make Irresistible Mini Banana Pudding Cheesecakes
Creating these mini delights is simpler than you might think! Follow these detailed steps to ensure a perfect batch of creamy, flavorful banana pudding cheesecakes.
Prepare Your Oven and Muffin Tin: Begin by preheating your oven to 325 degrees F (160 degrees C). Line 18 medium muffin cups with paper liners. This step is essential for easy removal and serving of your mini cheesecakes.
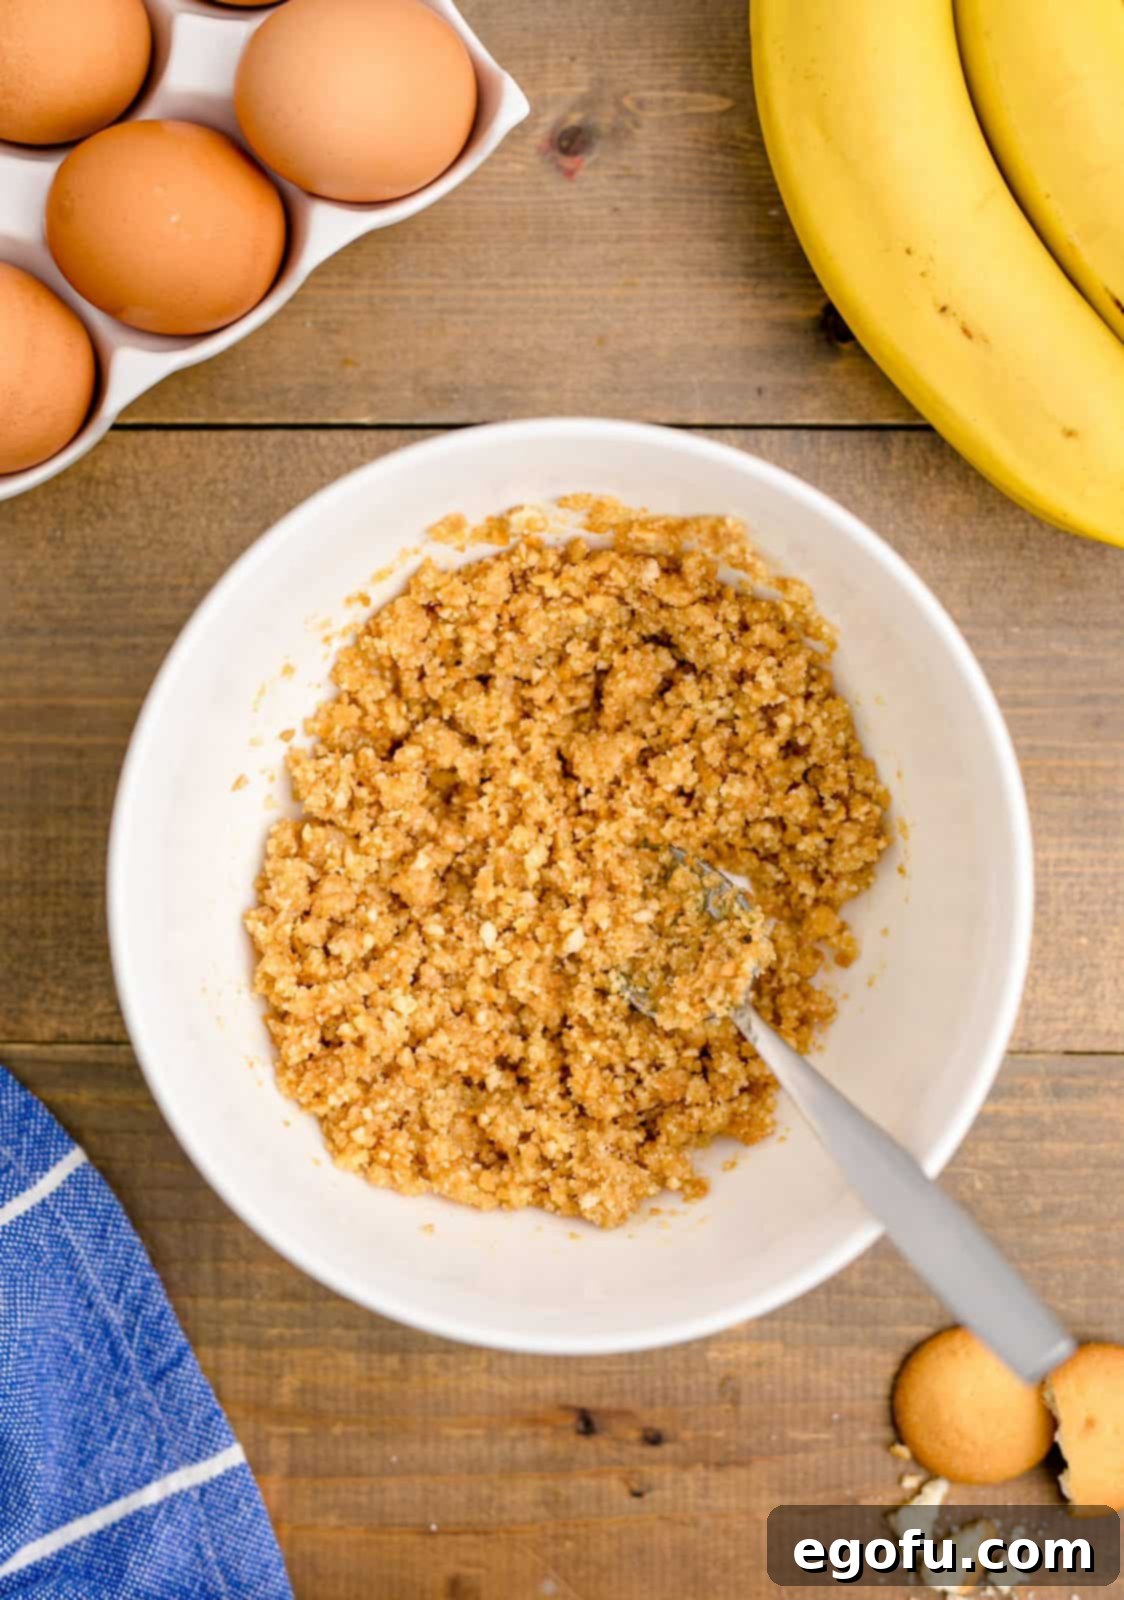
Craft the Vanilla Wafer Crust: In a small bowl, combine your finely crushed vanilla wafer crumbs with the melted salted butter. Mix thoroughly until the crumbs are evenly moistened and resemble wet sand. This forms the flavorful base of your cheesecakes.
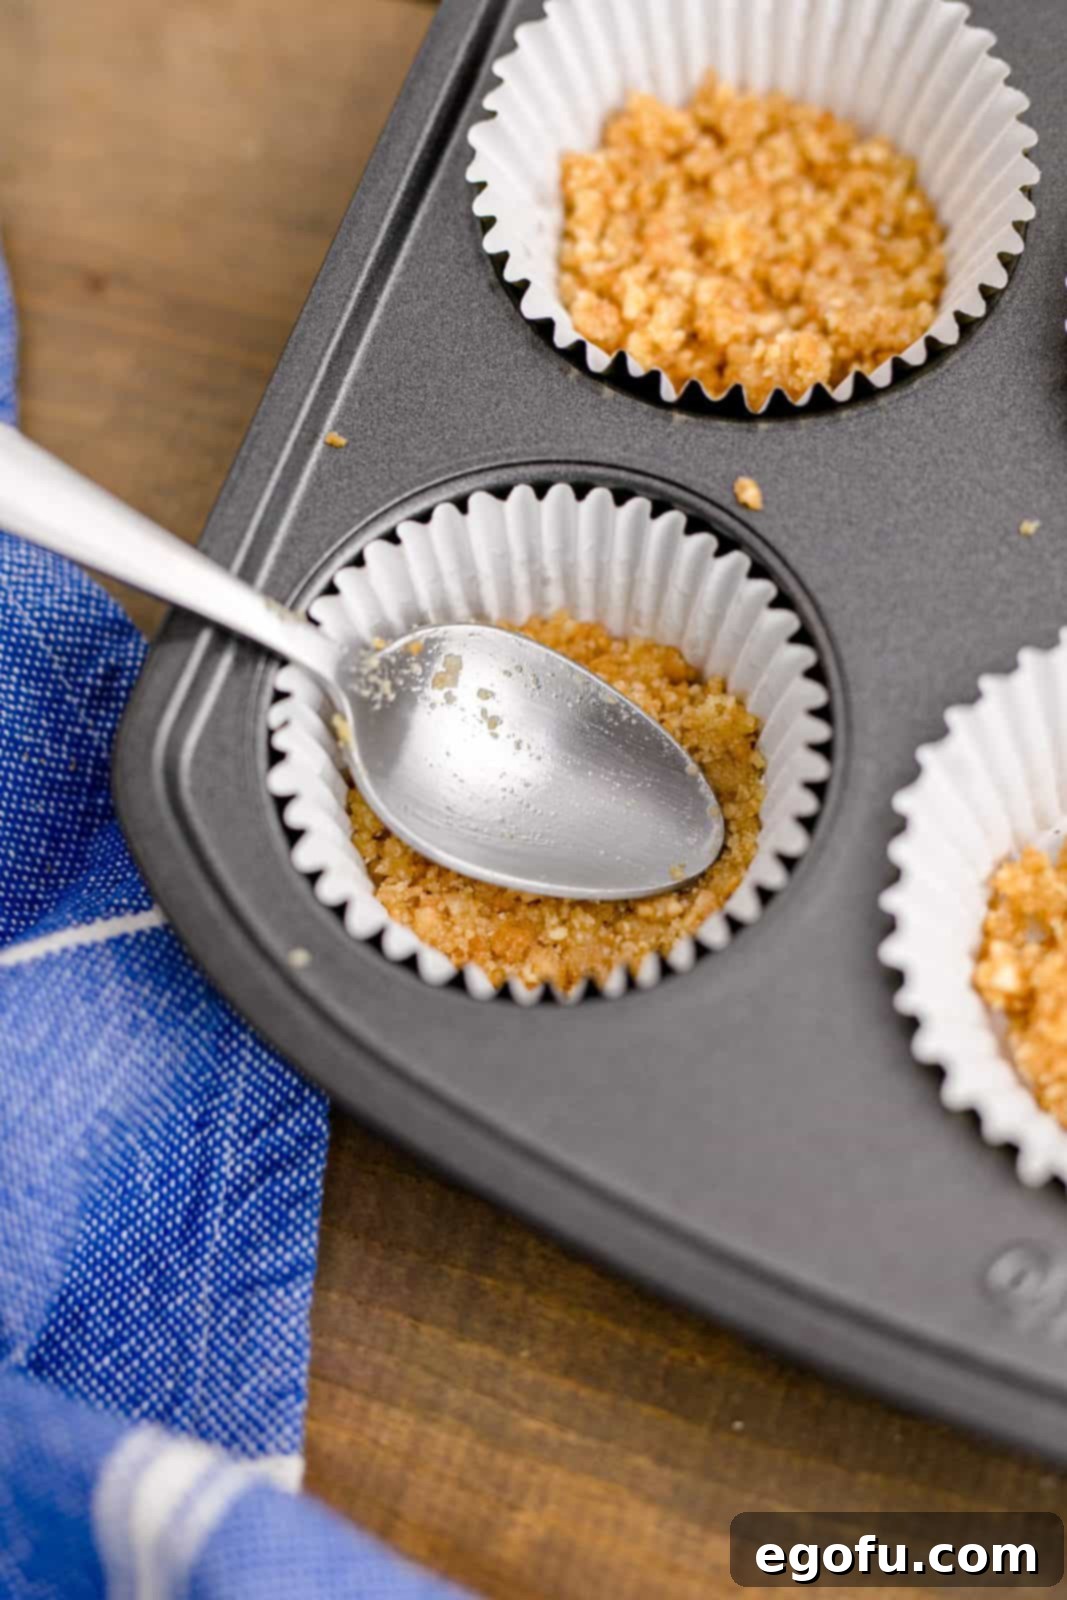
Form and Bake the Crusts: Spoon a heaping tablespoon of the crumb mixture into the bottom of each prepared muffin cup. Using the back of a spoon or a small tamper, firmly press the crusts down to create an even, compact layer. Bake these crusts in the preheated oven for 5 minutes. This crucial pre-bake step helps prevent the crusts from becoming soggy. After 5 minutes, remove the muffin tin from the oven and allow the crusts to cool slightly while you prepare the filling.
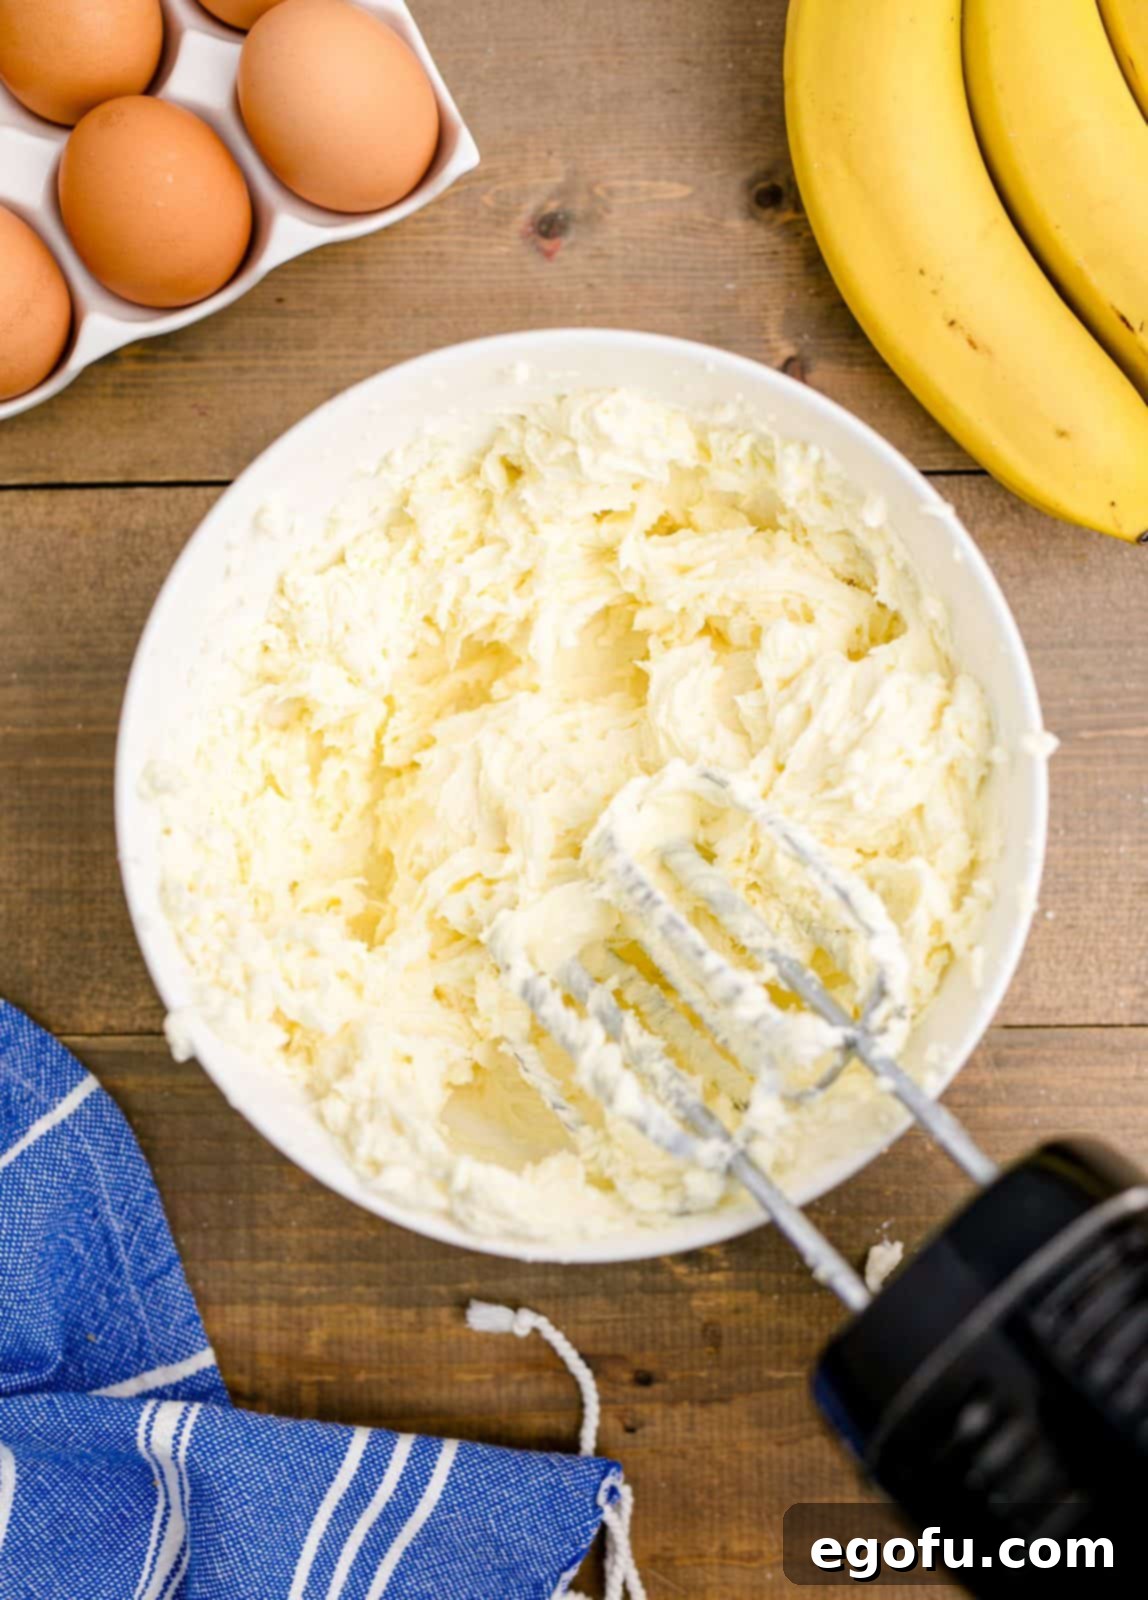
Prepare the Cream Cheese Base: While your crusts are cooling, begin preparing the luscious cheesecake filling. In a large mixing bowl, using an electric mixer, beat the softened cream cheese until it’s light and fluffy. Gradually add the granulated sugar, continuing to beat until the mixture is smooth and well combined, with no lumps remaining.
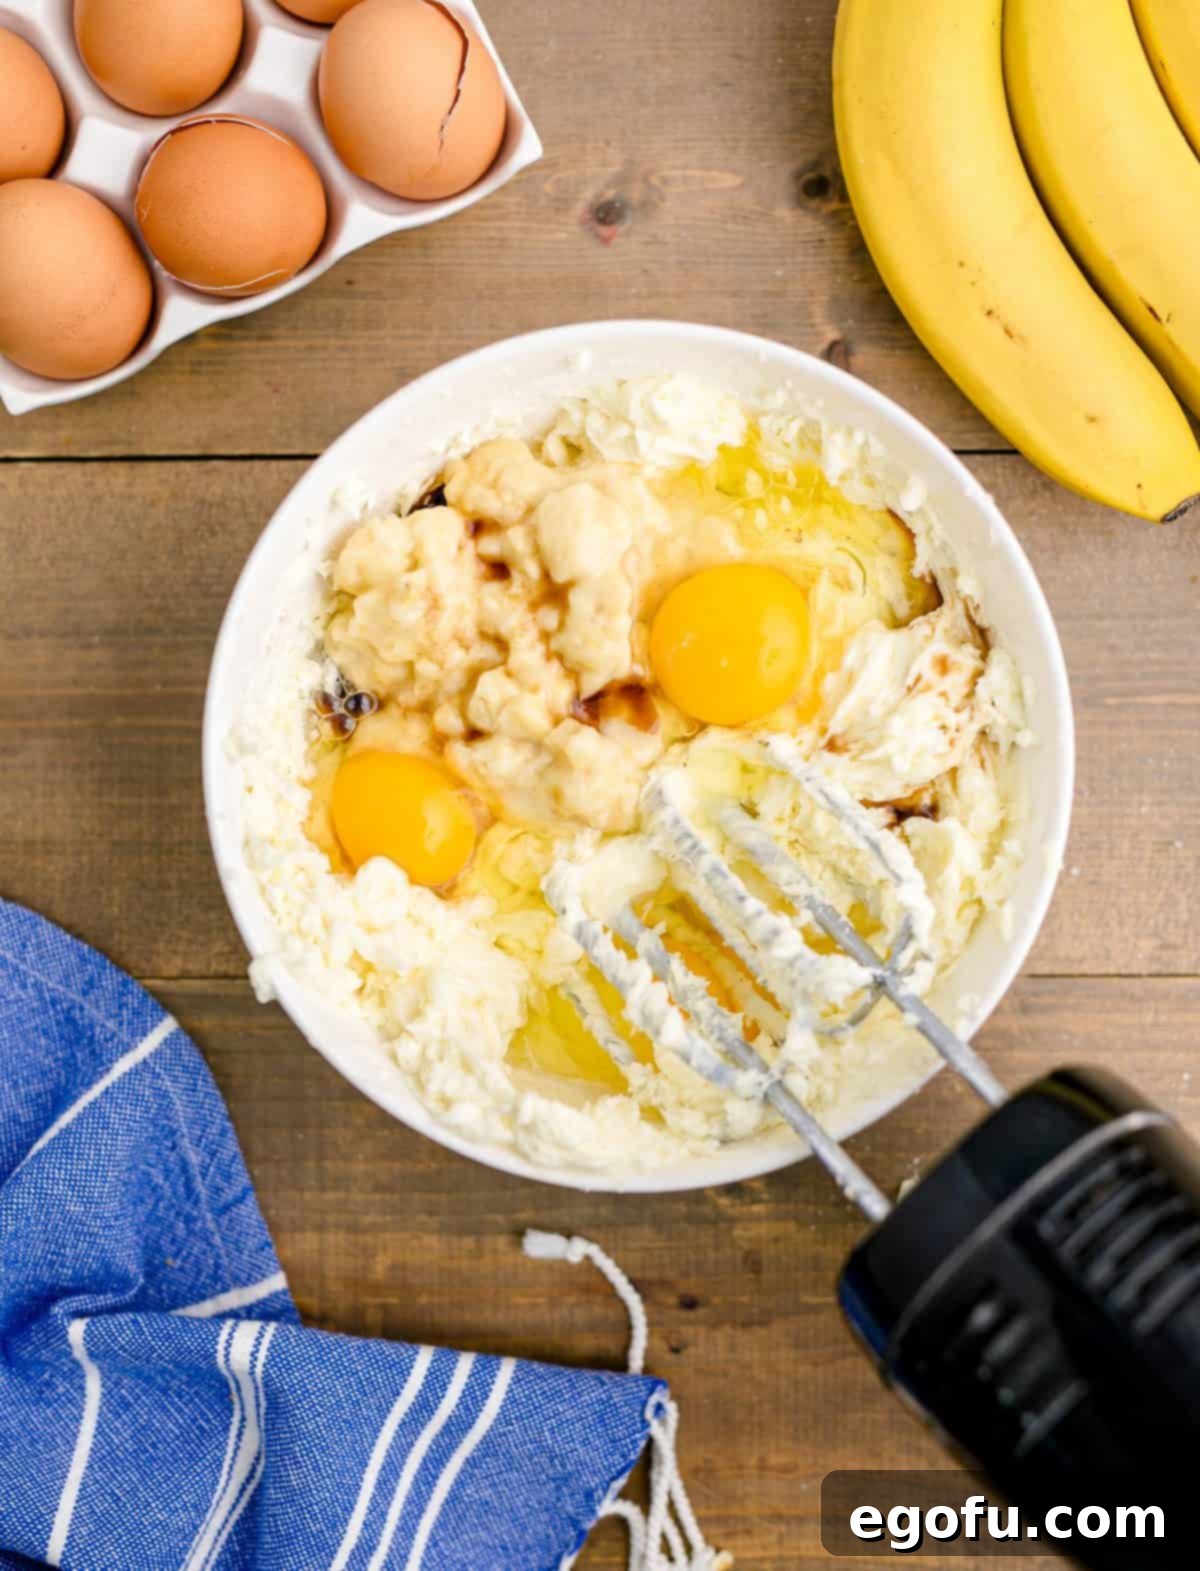
Incorporate Eggs and Flavorings: Next, beat in the eggs one at a time, ensuring each egg is fully incorporated before adding the next. Then, mix in the vanilla extract and the mashed ripe bananas. It’s important to mix just until combined; try not to overmix the batter once the eggs are added, as this can introduce too much air, leading to cracks in the finished cheesecakes. A smooth, creamy batter with visible flecks of banana is what you’re aiming for.
Fill the Muffin Cups: Carefully spoon about 3 tablespoons of the cheesecake filling into each muffin cup, directly on top of the pre-baked cookie crust. You can fill them almost to the top, as mini cheesecakes don’t rise significantly during baking. Just remember to leave a small gap at the very top to allow for easy peeling of the muffin liner once they’re cooled.
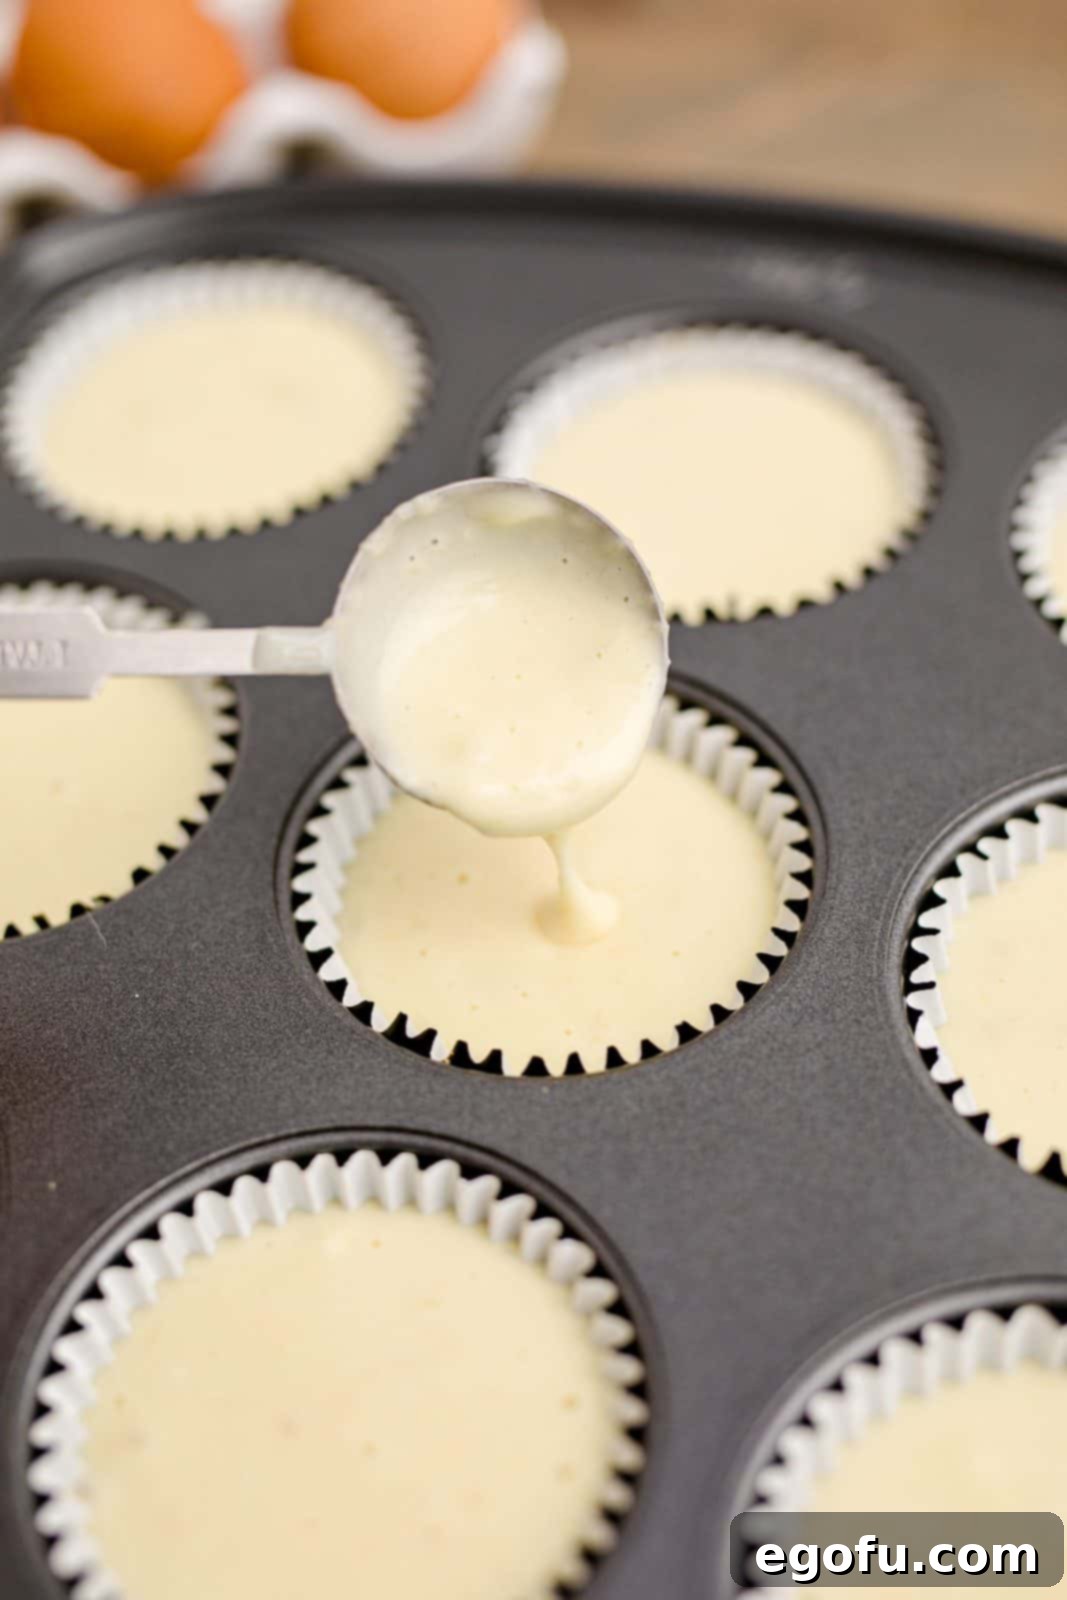
Bake and Cool the Cheesecakes: Place the muffin tin back into the 325-degree F (160 degrees C) oven and bake for 20 minutes. After 20 minutes, turn off the oven heat, but do not remove the cheesecakes. Instead, prop the oven door open slightly and allow the cheesecakes to remain in the warm oven for an additional 10 minutes. This gentle, gradual cooling inside the oven helps prevent the cheesecakes from cracking. Once removed from the oven, allow them to cool completely at room temperature for at least 30 minutes, then transfer them to the refrigerator to chill for a minimum of 1 hour, or preferably longer, until fully set.
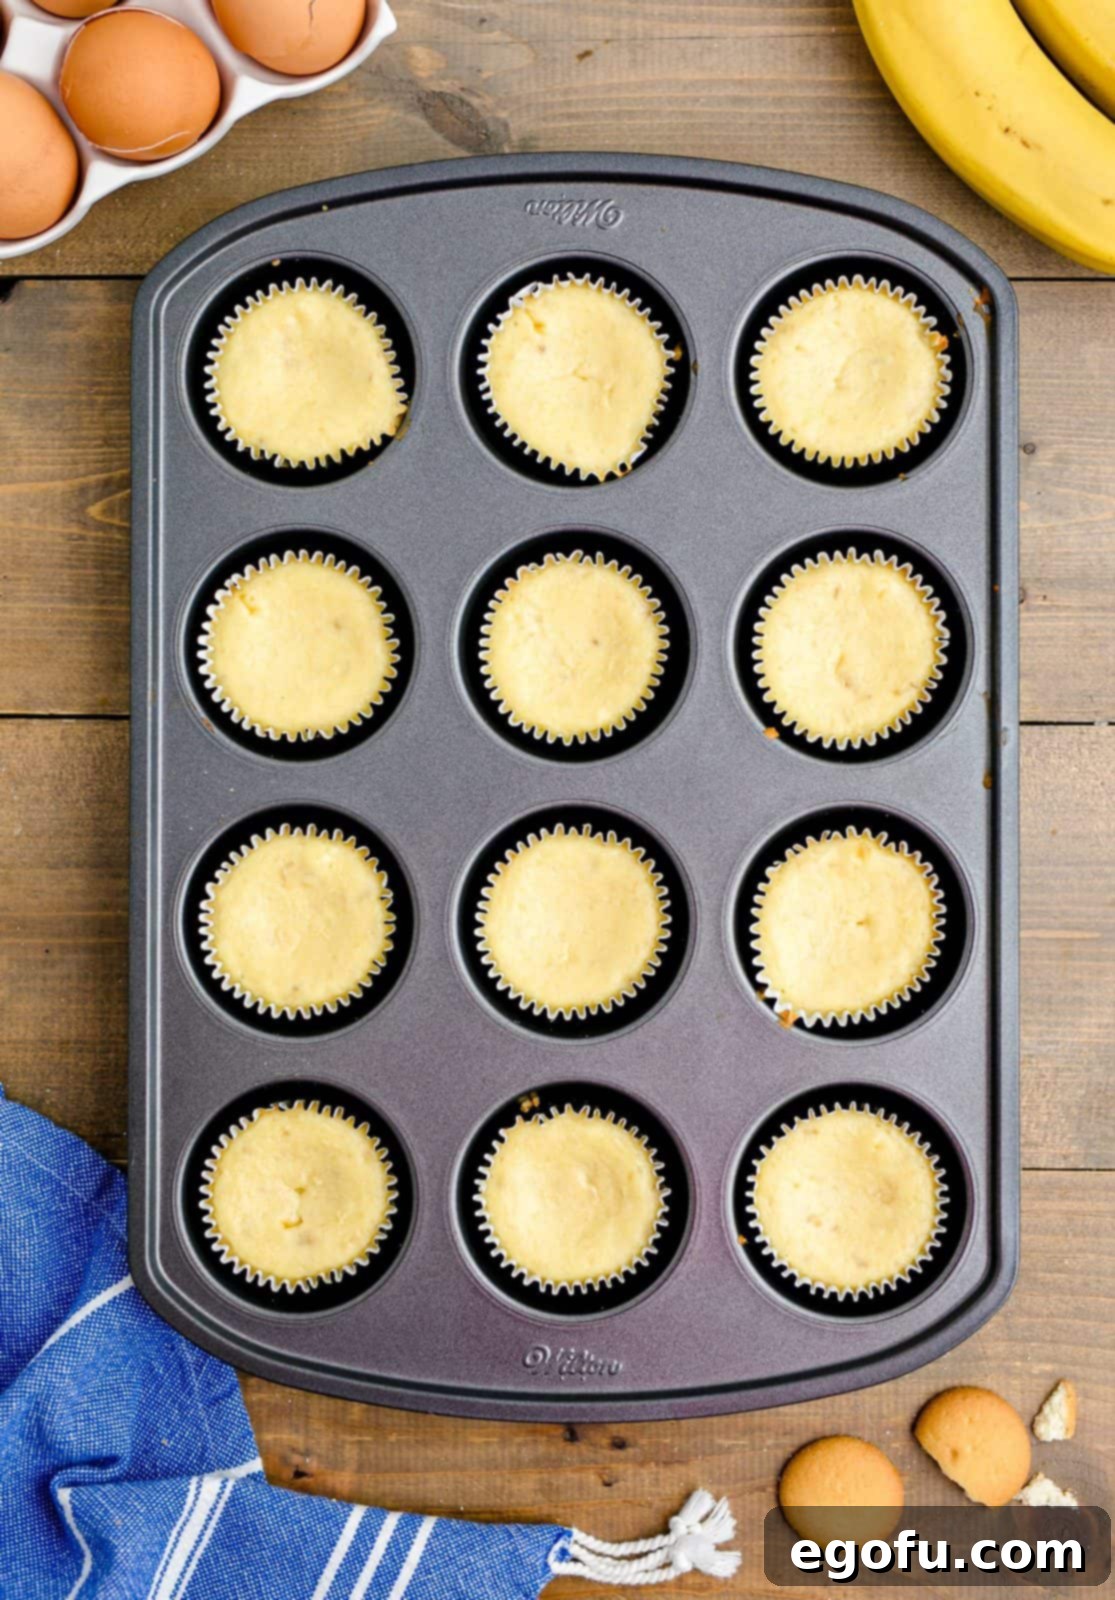
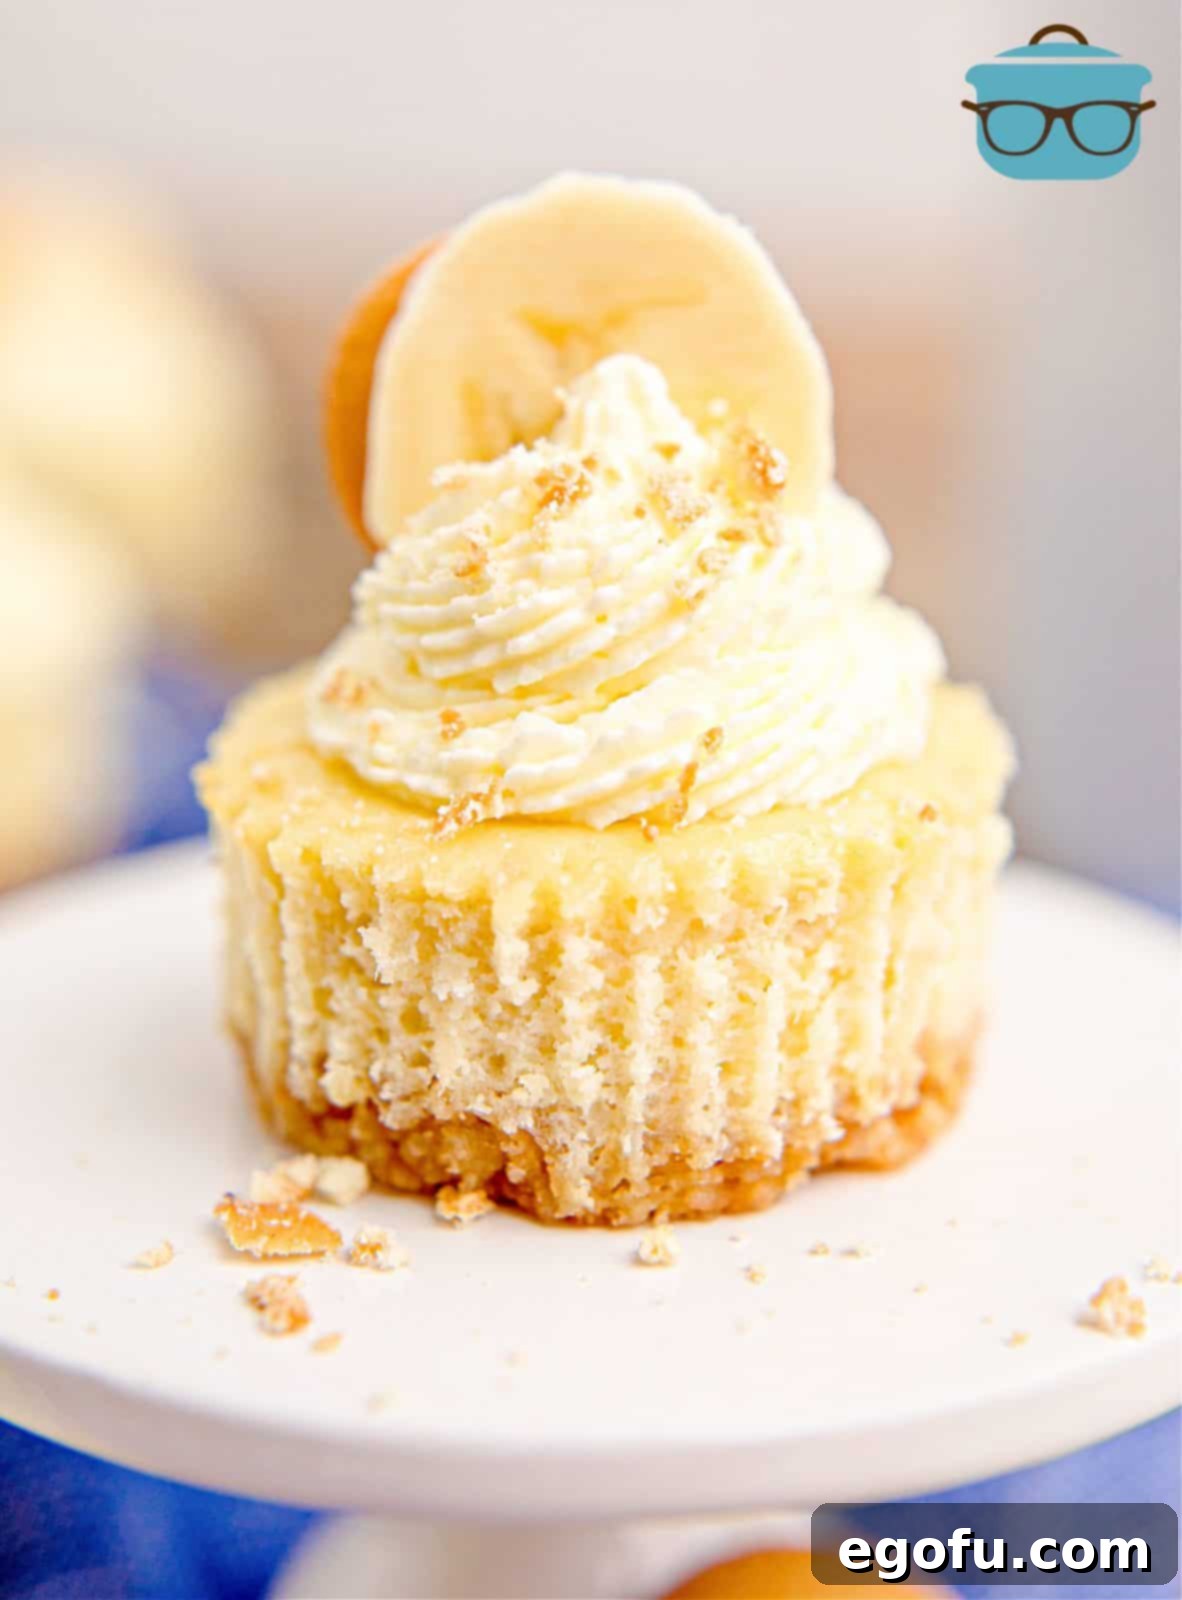
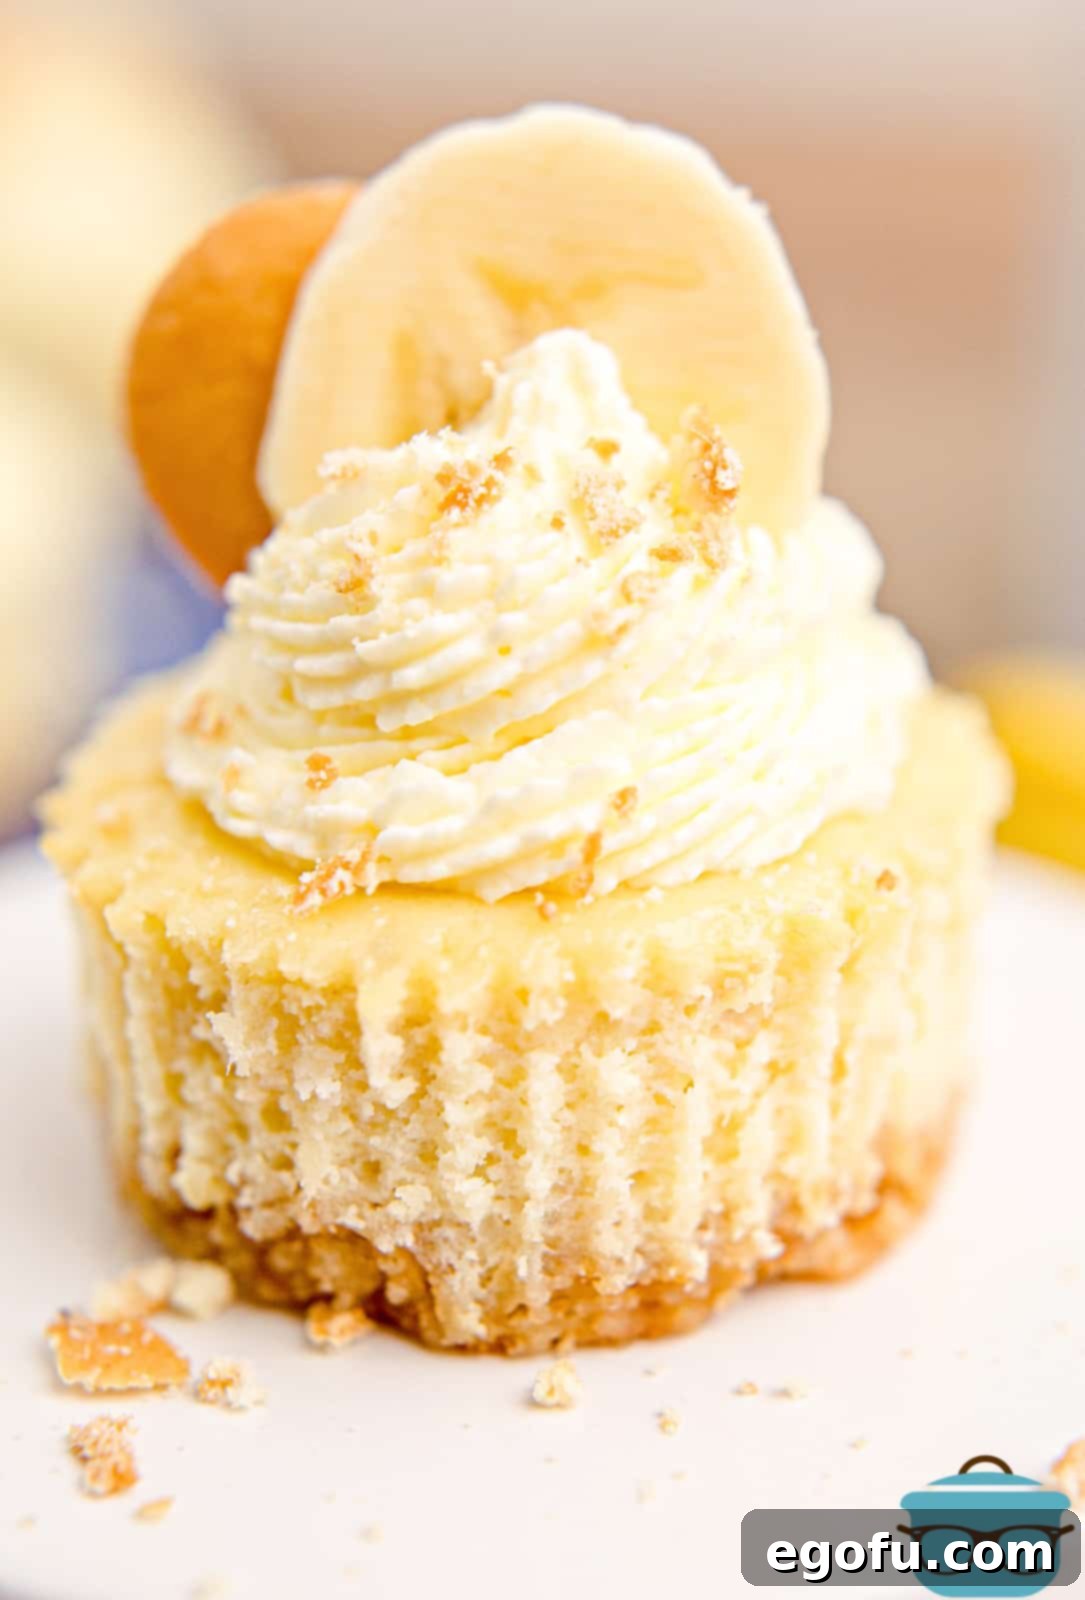
Garnish and Serve: Once your mini banana pudding cheesecakes are thoroughly chilled and set, it’s time for the finishing touches! Top each cheesecake with an optional swirl of fresh whipped cream, a delicate slice of fresh banana (toss in a little lemon juice to prevent browning if garnishing ahead of time), and a mini Nilla wafer cookie for that authentic banana pudding appeal. These garnishes not only add to the visual appeal but also enhance the overall flavor and texture experience.
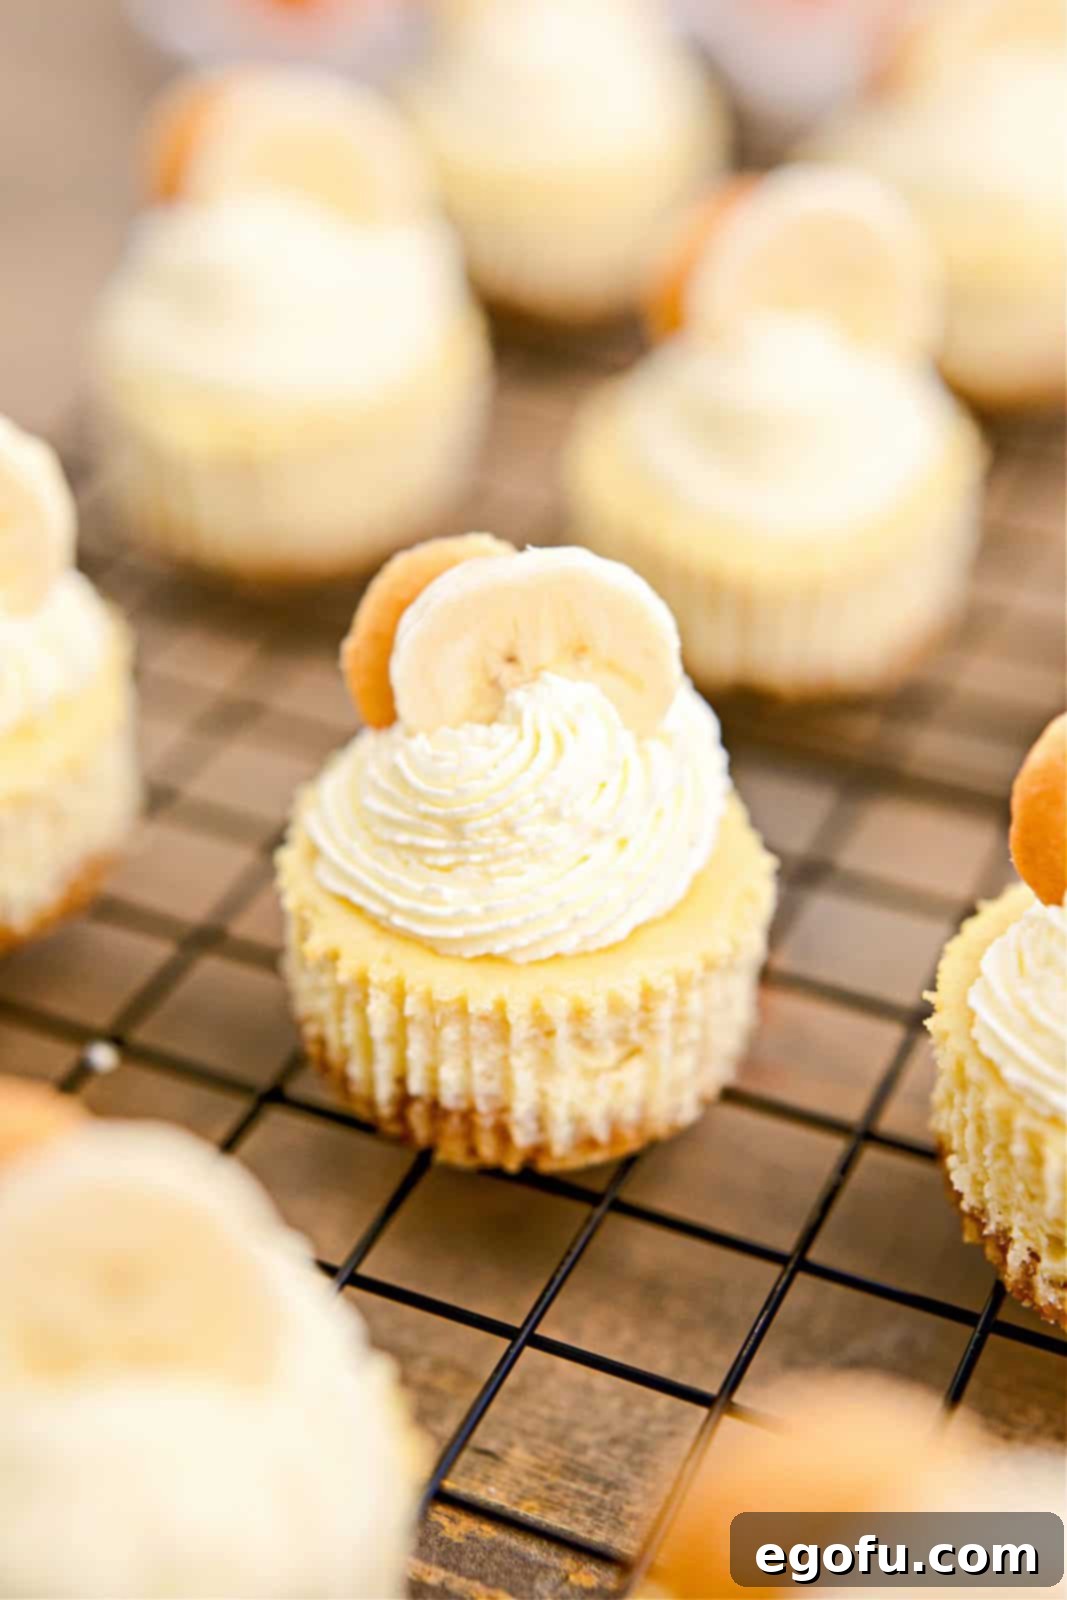
Enjoy Your Delicious Creation: Serve your beautiful mini banana pudding cheesecakes and watch them disappear! They are truly a crowd-pleaser and a perfect ending to any meal or a delightful treat any time of day.
Craving More Delicious Recipes?
If you’ve fallen in love with these mini cheesecakes, you’ll surely enjoy exploring more of our delightful dessert creations. Here are some other favorites to inspire your next baking adventure:
- Mini Mint Chocolate Cheesecakes
- Walking Banana Pudding
- Banana Pudding Cupcakes
- Banana Pudding Poke Cake
- New York Banana Cream Pie
- Best Banana Pudding
- Banana Pudding Fluff
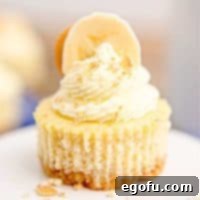
Mini Banana Pudding Cheesecakes
Fun, flavorful, creamy, and easy, these Mini Banana Pudding Cheesecakes are the perfect handheld treat for any time of the year!
Pin Recipe
Ingredients
- 22 vanilla wafer cookies, crushed (about 1 cup of crumbs)
- ¼ cup salted butter, melted
- 16 ounce cream cheese, softened
- ¾ cup granulated sugar
- 3 large eggs
- 2 teaspoons vanilla extract
- ½ cup mashed banana (approximately 1 large, or 2 small ripe bananas)
- Optional garnishes: swirl of whipped cream, slice of banana, mini nilla wafer cookie
Instructions
- Preheat the oven to 325 degrees F (160°C). Line 18 medium muffin cups with paper liners.
- In a small bowl, mix together the vanilla wafer crumbs and melted butter until well combined.
- Spoon a heaping tablespoon of this crumb mixture into each muffin cup. Press the crusts down well using the back of a spoon. Bake the crusts for 5 minutes, then remove from the oven and allow to cool slightly.
- While the wafer crusts are cooling, in a large bowl, blend the softened cream cheese with the granulated sugar using an electric mixer until smooth and creamy.
- Beat in the eggs one at a time, followed by the vanilla extract and mashed bananas. Mix until just combined, being careful not to overmix.
- Place about 3 tablespoons of the cheesecake filling into each muffin cup, on top of the cookie crust. You can fill them almost to the top as they don’t rise much, just leave a little room for easy liner removal.
- Bake at 325 degrees F (160°C) for 20 minutes. After 20 minutes, turn off the heat, prop the oven door open, and leave the cheesecakes in the oven for another 10 minutes to cool gradually.
- After removing from the oven, allow to cool completely at room temperature for at least 30 minutes, then move them to the refrigerator to fully chill and set for at least 1 hour (preferably longer).
- Top with an optional garnish of whipped cream, fresh banana slices, and mini nilla wafers before serving.
Notes
- These mini cheesecakes can be frozen for up to 6 months. For best results, freeze undecorated and defrost in the refrigerator before serving and garnishing.
- If you prefer larger cheesecakes, you can make 12 cheesecakes using approximately 3 tablespoons of filling per cup.
- For alternative crusts, consider using graham cracker crumbs or crushed Golden Oreo cookies in place of vanilla wafers.
Cuisine: American
Nutrition Information
Calories: 192 kcal |
Carbohydrates: 16g |
Protein: 3g |
Fat: 13g |
Sodium: 143mg |
Fiber: 1g |
Sugar: 12g
Nutritional Disclaimer
“The Country Cook” is not a dietician or nutritionist, and any nutritional information shared is an estimate. If calorie count and other nutritional values are important to you, we recommend running the ingredients through whichever online nutritional calculator you prefer. Calories and other nutritional values can vary quite a bit depending on which brands were used.
Did you make this recipe?
Share it on Instagram @thecountrycook and mention us #thecountrycook!
