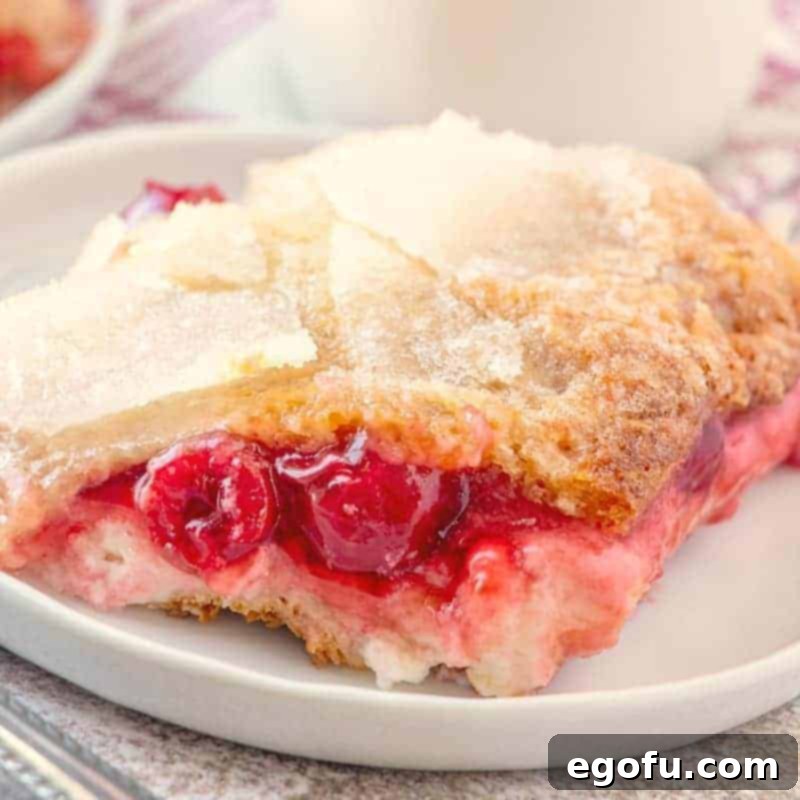
Crescent Cherry Cheesecake Cobbler: An Irresistibly Easy Dessert Recipe
Prepare to tantalize your taste buds with our sensational Crescent Cherry Cheesecake Cobbler! This dessert is a symphony of textures and flavors, featuring luscious layers of flaky crescent rolls, rich and creamy cheesecake, and vibrant, sweet cherry pie filling. It’s a recipe that effortlessly combines the comfort of a classic cobbler with the indulgence of cheesecake, all made incredibly simple with the magic of crescent rolls. While cherry is a timeless favorite, the beauty of this recipe lies in its adaptability – feel free to experiment with any pie filling flavor that captures your craving!
Why You’ll Love This Easy Crescent Cherry Cheesecake Cobbler
Some recipes just click, and this Crescent Cherry Cheesecake Cobbler is definitely one of them. It’s not just a dessert; it’s an experience that’s surprisingly easy to achieve, delivering maximum flavor with minimal fuss. Here’s why this cobbler will quickly become a staple in your recipe collection:
- Effortlessly Simple: Don’t let the impressive layers fool you; this cobbler is designed for ease. Using store-bought crescent rolls and canned pie filling drastically cuts down on prep time, making it perfect for busy weeknights or unexpected guests.
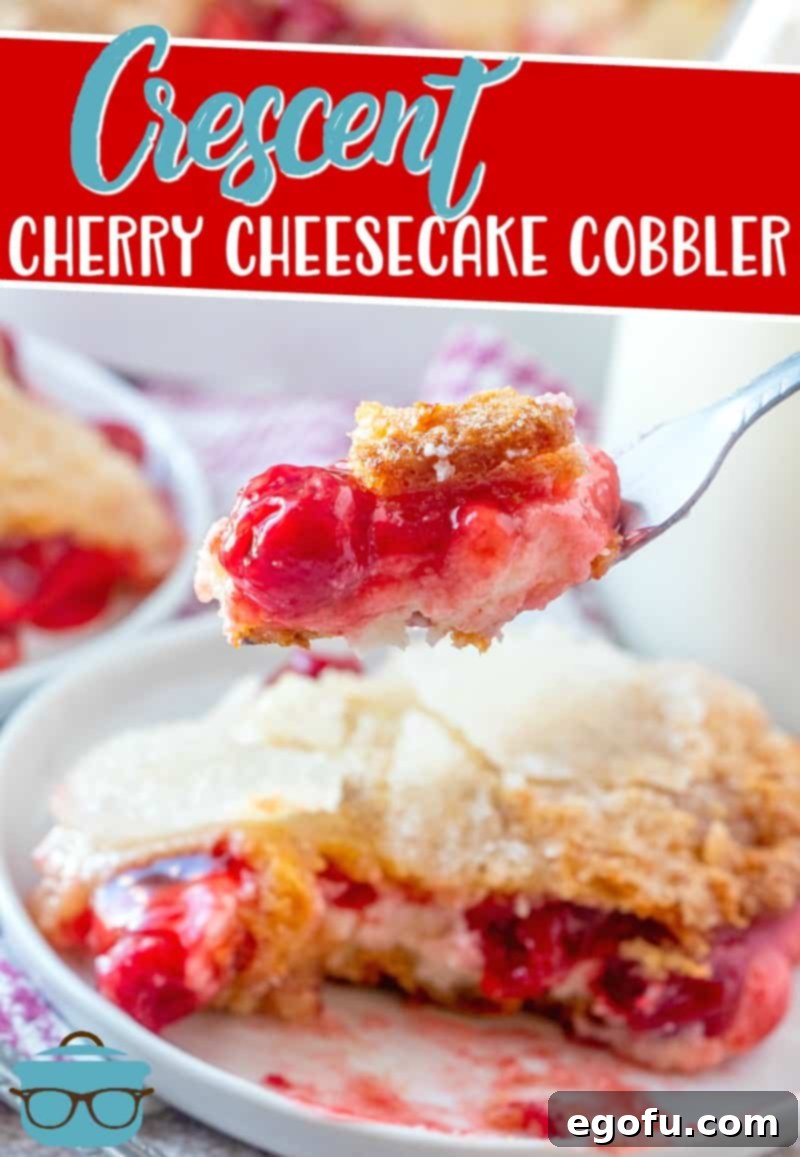
- Irresistibly Delicious: Each bite offers a delightful contrast – the tender, buttery crescent crust, the smooth and tangy cheesecake filling, and the burst of sweet fruit. It’s a harmonious blend that satisfies every dessert craving.
- Versatile and Adaptable: While cherry is a classic choice, this recipe is a blank canvas for your creativity. Strawberry, blueberry, peach, apple, or even mixed berry pie fillings work wonderfully, allowing you to customize it for any season or preference.
- Kid-Friendly Baking: As you’ll see from a delightful testimonial below, this recipe is so straightforward that even young chefs can take the lead. It’s a fantastic way to introduce kids to the joys of baking.
- A Crowd-Pleaser: Whether you’re hosting a dinner party, bringing a dish to a potluck, or simply treating your family, this cobbler is guaranteed to impress. It looks stunning and tastes even better.
- Comfort Food at its Best: There’s something inherently comforting about a warm, bubbly cobbler, fresh from the oven. This recipe delivers that cozy, homemade feeling without hours of effort.
What Makes This Cobbler So Simple?
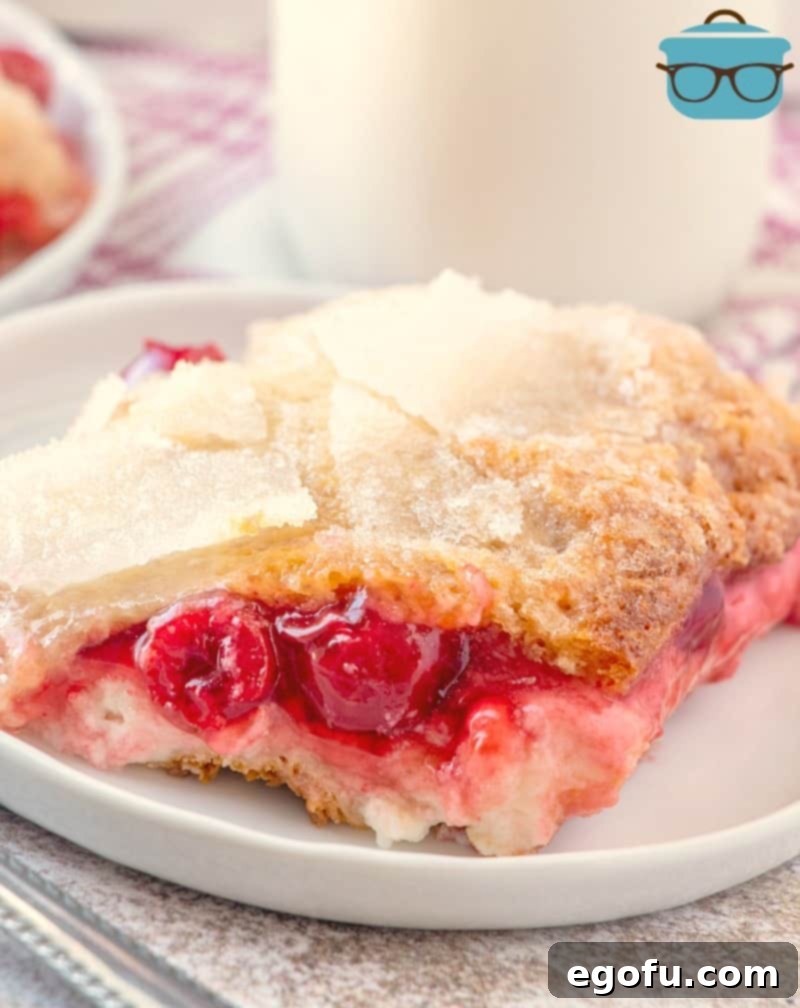
The title of this recipe, “Crescent Cherry Cheesecake Cobbler,” might make you think it involves intricate crescent-shaped baking or complicated techniques. Not at all! The “crescent” refers to the star ingredient: easy-to-use crescent rolls. These pre-made dough sheets are a game-changer, transforming into a tender, buttery crust that serves as both the base and the topping for this incredible dessert. It’s these ingenious little rolls that elevate a simple fruit filling and creamy cheesecake layer into something truly special and sweet.

“My 10-year-old made this after seeing it on Pinterest. It turned out so good and he did a fantastic job. Your instructions and step-by-step photos were so helpful. I wish I could post a picture on here! We all loved the taste too!”
– Katie
Essential Tips for Baking the Perfect Cheesecake Cobbler
Even with a simple recipe, a few key tips can elevate your baking from good to extraordinary. Follow these pointers to ensure your Crescent Cherry Cheesecake Cobbler turns out perfectly golden, creamy, and utterly delicious every time:
- Flavor Versatility: Don’t limit yourself to cherry! This cobbler is incredibly adaptable. Explore other canned pie fillings like sweet strawberry, tangy blueberry, juicy peach, classic apple, or rich blackberry. Each will offer a unique and delightful twist on the original.
- Monitor Oven Times Closely: Baking times can vary depending on your oven and baking dish. The primary goal is to ensure your crescent roll dough is thoroughly cooked through, transforming into a golden, flaky crust. If you notice the top browning too quickly while the bottom dough still seems soft, loosely cover the baking dish with aluminum foil for the remainder of the baking time. This prevents over-browning while allowing the lower layers to cook properly. As an alternative, you can pre-bake the bottom crescent roll dough layer for about 8 minutes before adding the fillings to give it a head start.
- Butter is Best: For that rich, authentic flavor and crisp texture, always opt for real butter. Margarine, with its higher water and oil content, can lead to a soggy crust rather than the desirable flaky and crisp result.
- Softened Cream Cheese is a Must: To achieve a perfectly smooth and lump-free cheesecake layer, it’s crucial to use cream cheese that has been softened to room temperature. This allows it to blend seamlessly with the sugar and vanilla, creating that signature creamy consistency. Plan ahead and take it out of the refrigerator at least 30 minutes to an hour before you start baking.
- Seamless Crescent Roll Sheets: If you can find crescent roll dough that comes in seamless sheets, grab them! These will make the initial step of lining the baking dish and creating the top crust even easier, as you won’t need to pinch together seams. If not available, regular crescent rolls work perfectly fine; just be diligent about sealing the perforations.
- The Right Baking Dish: A 2-quart (8x8x3-inch) baking dish is ideal for this recipe, ensuring enough depth for all the delicious layers. If you don’t have an 8×8-inch pan with at least 3-inch high sides, a 9×9-inch baking dish can also work, though your layers might be slightly thinner, potentially reducing the baking time by a few minutes.
- Cool Before Slicing: While it’s tempting to dig in immediately, allowing the cobbler to cool for at least 15-20 minutes after baking will help the cheesecake layer set, making it much easier to slice and serve neatly.
Ingredients You’ll Need for This Delightful Cobbler
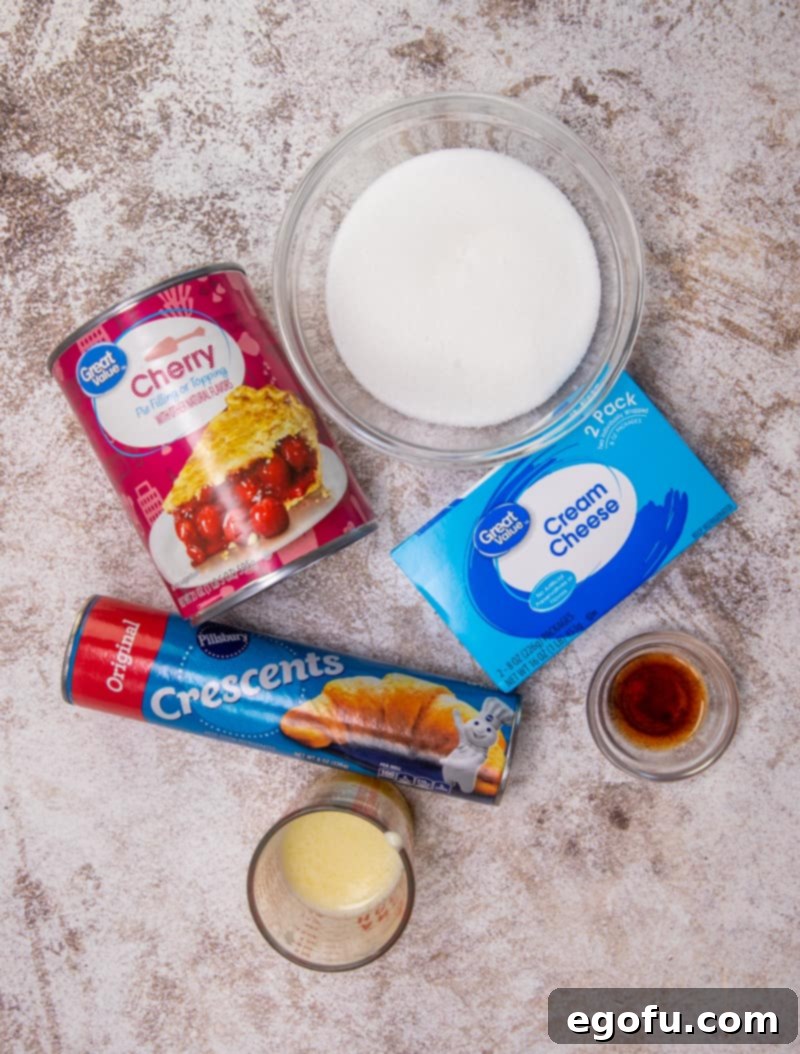
Gathering your ingredients is the first step to creating this mouth-watering dessert. The beauty of this recipe lies in its simplicity, utilizing readily available pantry staples to create something truly special. Here’s what you’ll need:
- Crescent rolls (an 8-ounce tube or seamless crescent roll dough sheet)
- Cream cheese (12 ounces, softened to room temperature, which is typically 1 1/2 blocks)
- Granulated sugar (¾ cup, divided for the cheesecake mixture and topping)
- Vanilla extract (1 teaspoon, for that warm, aromatic touch in the cheesecake)
- Cherry pie filling (one 21-ounce can, the star fruit layer)
- Unsalted butter (¼ cup or 1/2 stick, melted, for drizzling over the top crust)
Make sure your cream cheese is properly softened for the creamiest result!
Step-by-Step: How to Make Crescent Cherry Cheesecake Cobbler
Creating this irresistible cobbler is a straightforward process. Follow these easy steps to layer your way to a perfect dessert:
- Prepare Your Oven and Dish: Begin by preheating your oven to 350°F (175°C). Lightly spray a 2-quart baking dish (an 8x8x3-inch square pan is ideal) with nonstick cooking spray to prevent sticking.
- Lay the Bottom Crust: Unroll your crescent rolls. If using traditional crescent rolls, separate them into triangles. Arrange four of these rolls or half of a seamless sheet in the bottom of your prepared baking dish. Gently press and seal any seams together to form a solid base. Ensure the entire bottom of the dish is covered.
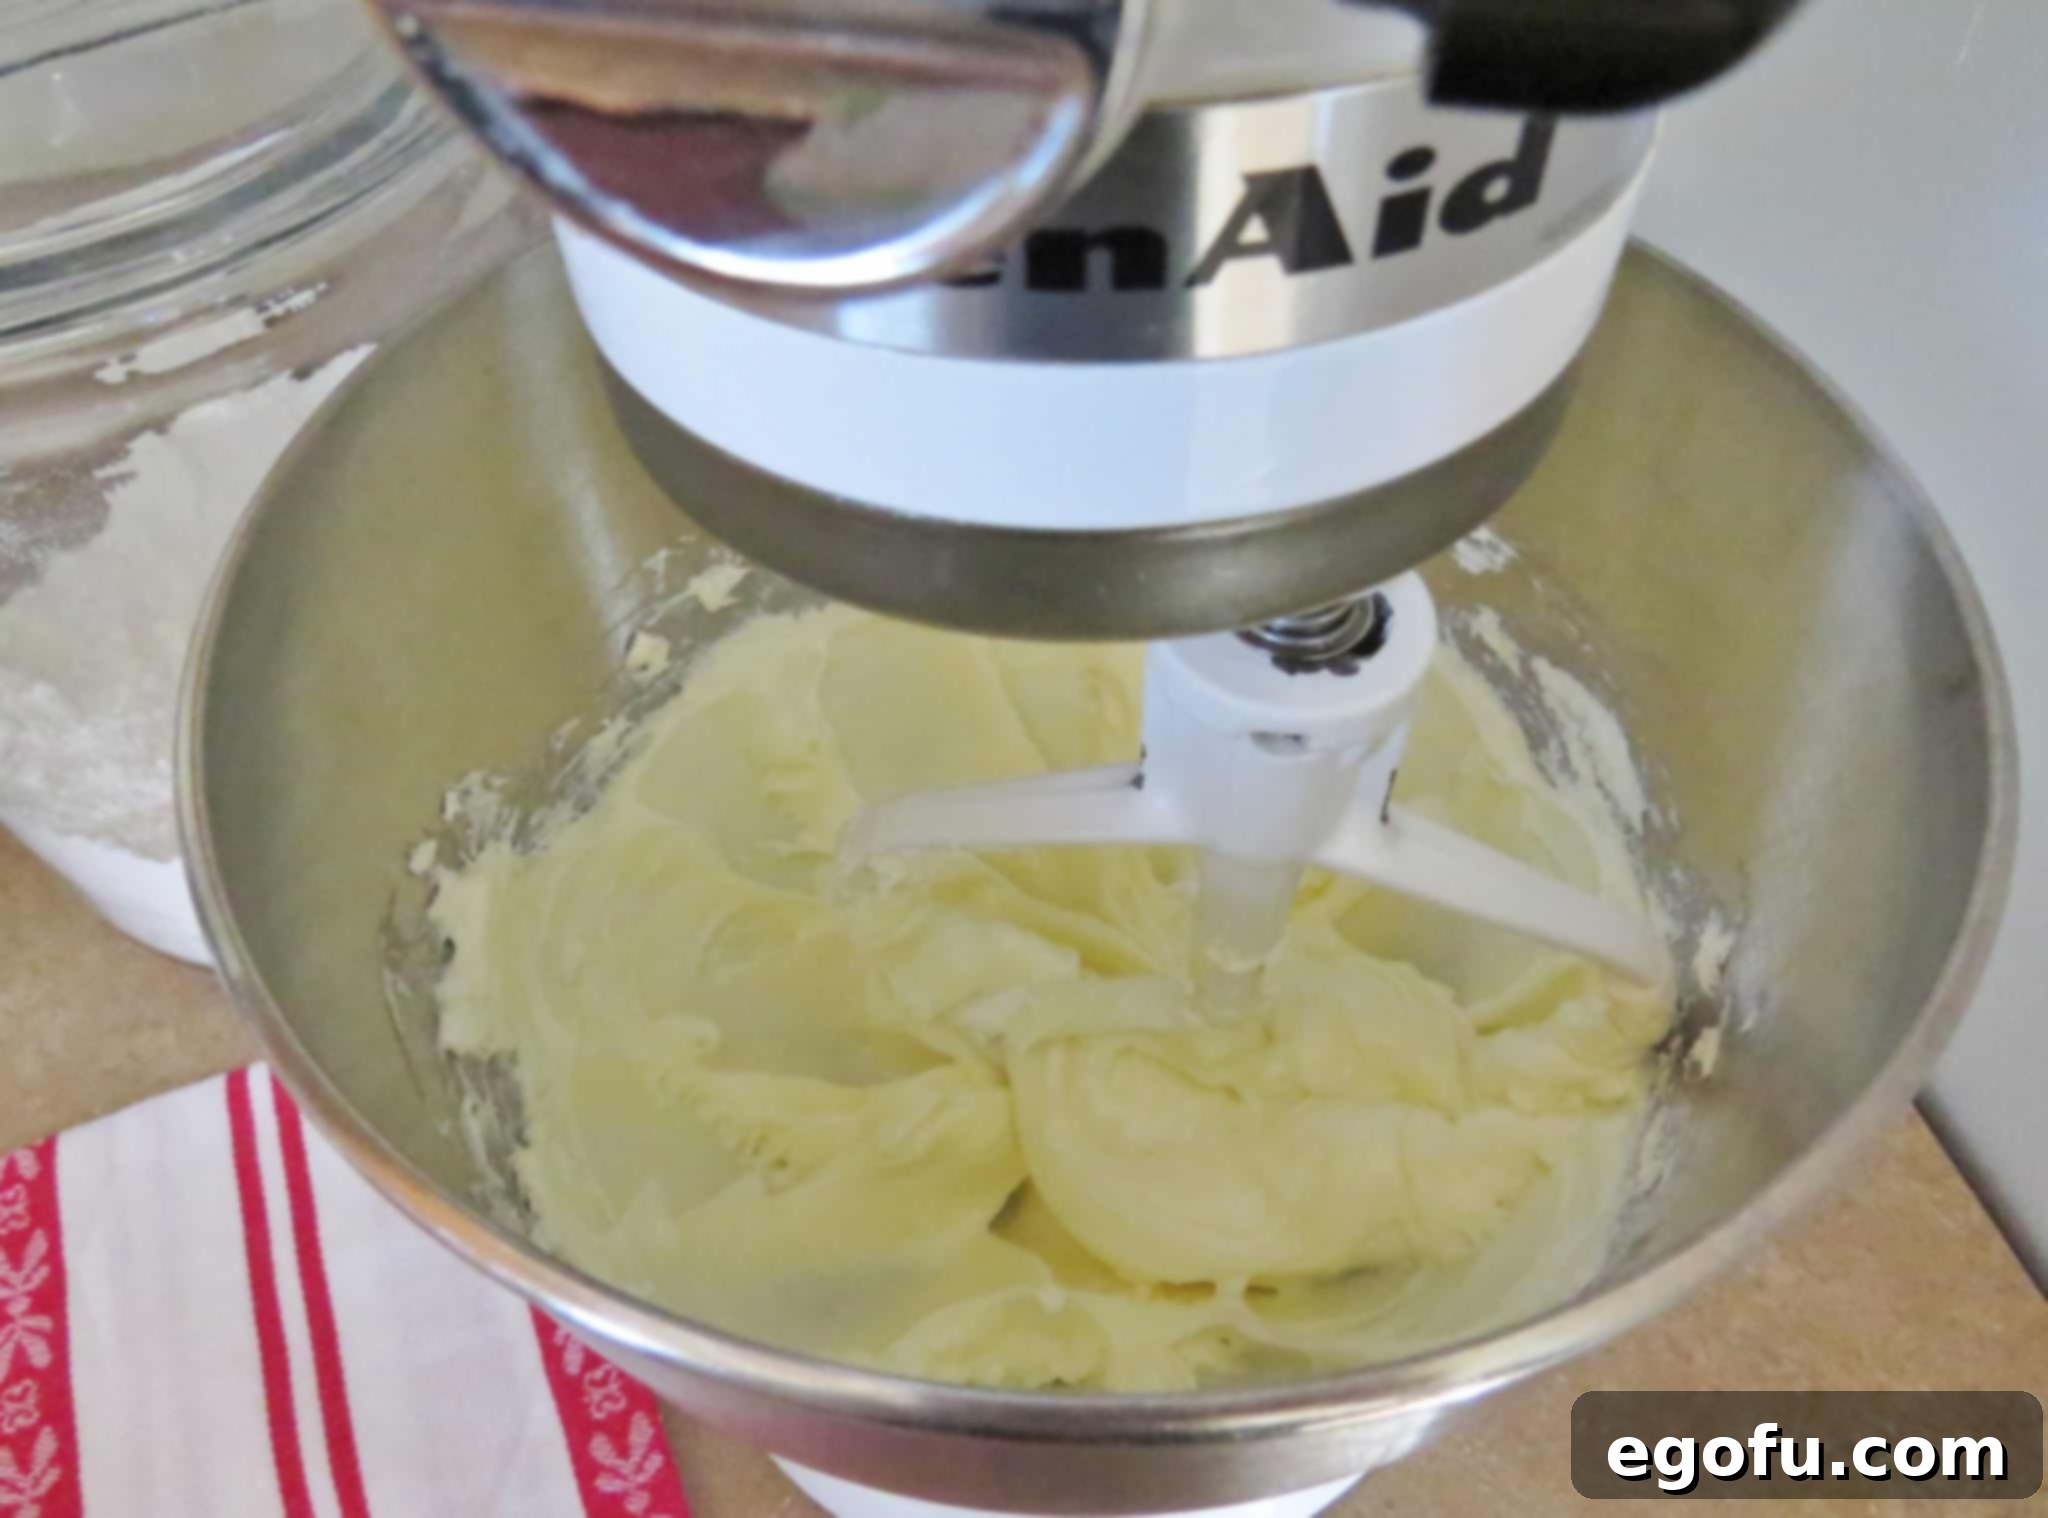
- Prepare the Cheesecake Filling: In a medium bowl, combine the softened cream cheese with ½ cup of granulated sugar. Beat with an electric mixer on medium speed until the mixture is smooth and creamy, with no lumps remaining. Stir in the vanilla extract until just combined. Set this delightful mixture aside.
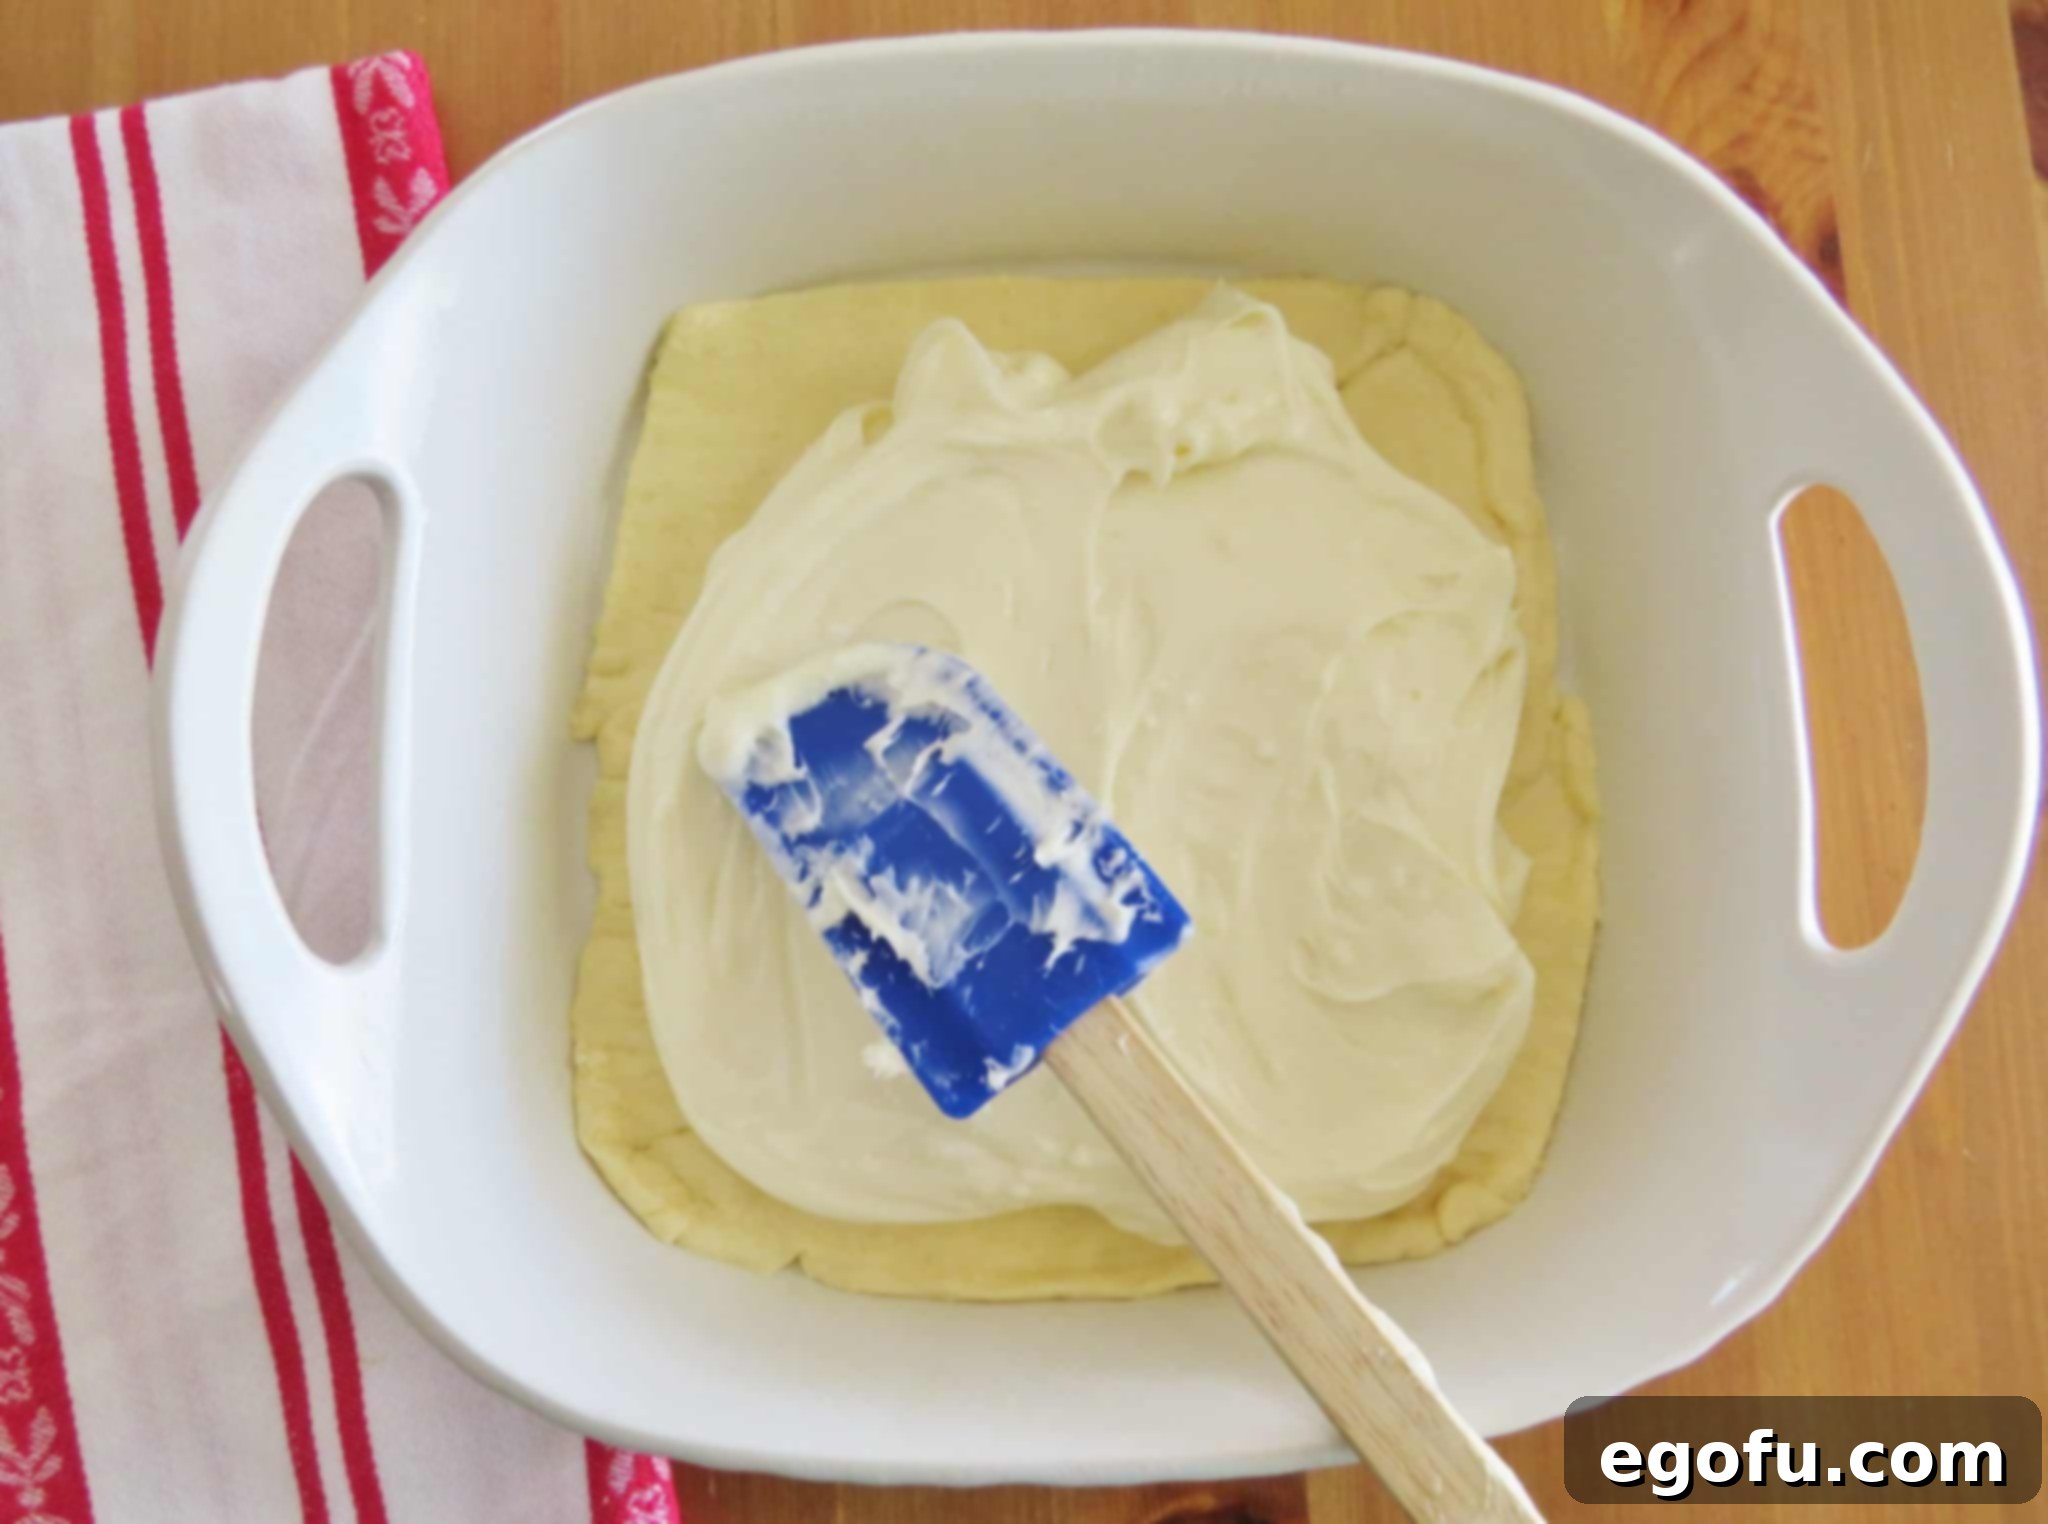
- Add the Cheesecake Layer: Carefully spoon the prepared cream cheese mixture over the crescent roll base in the baking dish. Use an offset spatula or the back of a spoon to spread it out evenly from edge to edge.
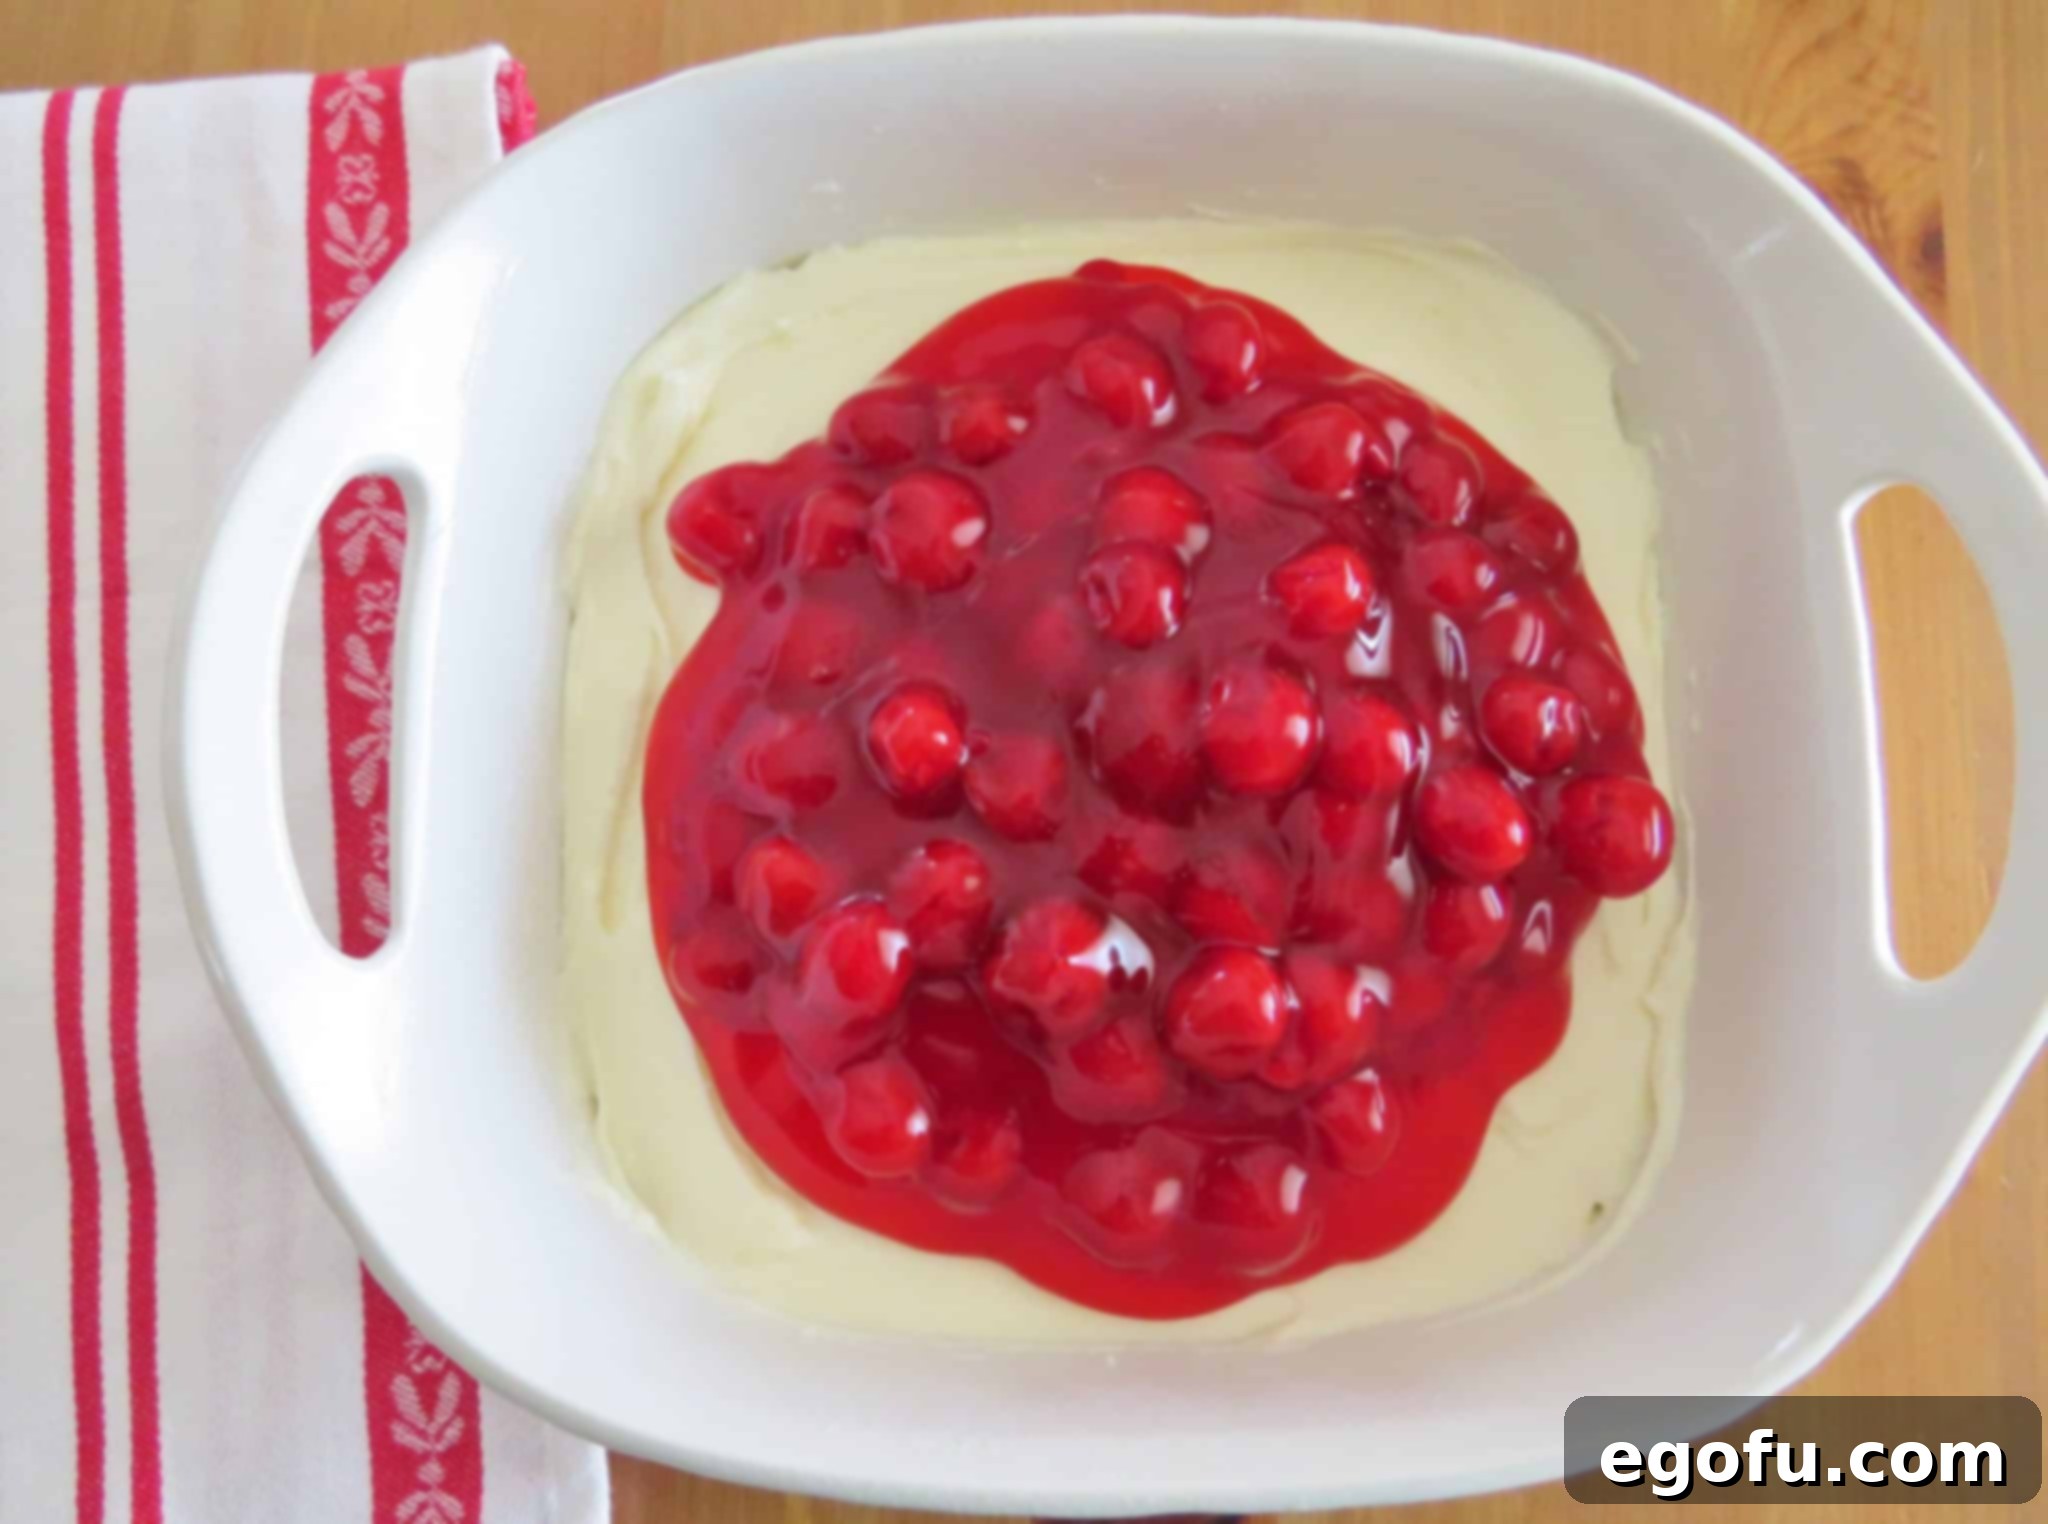
- Top with Pie Filling: Next, pour the entire can of cherry pie filling directly on top of the cream cheese layer. Gently spread the filling around with your spatula to ensure an even distribution over the cheesecake.
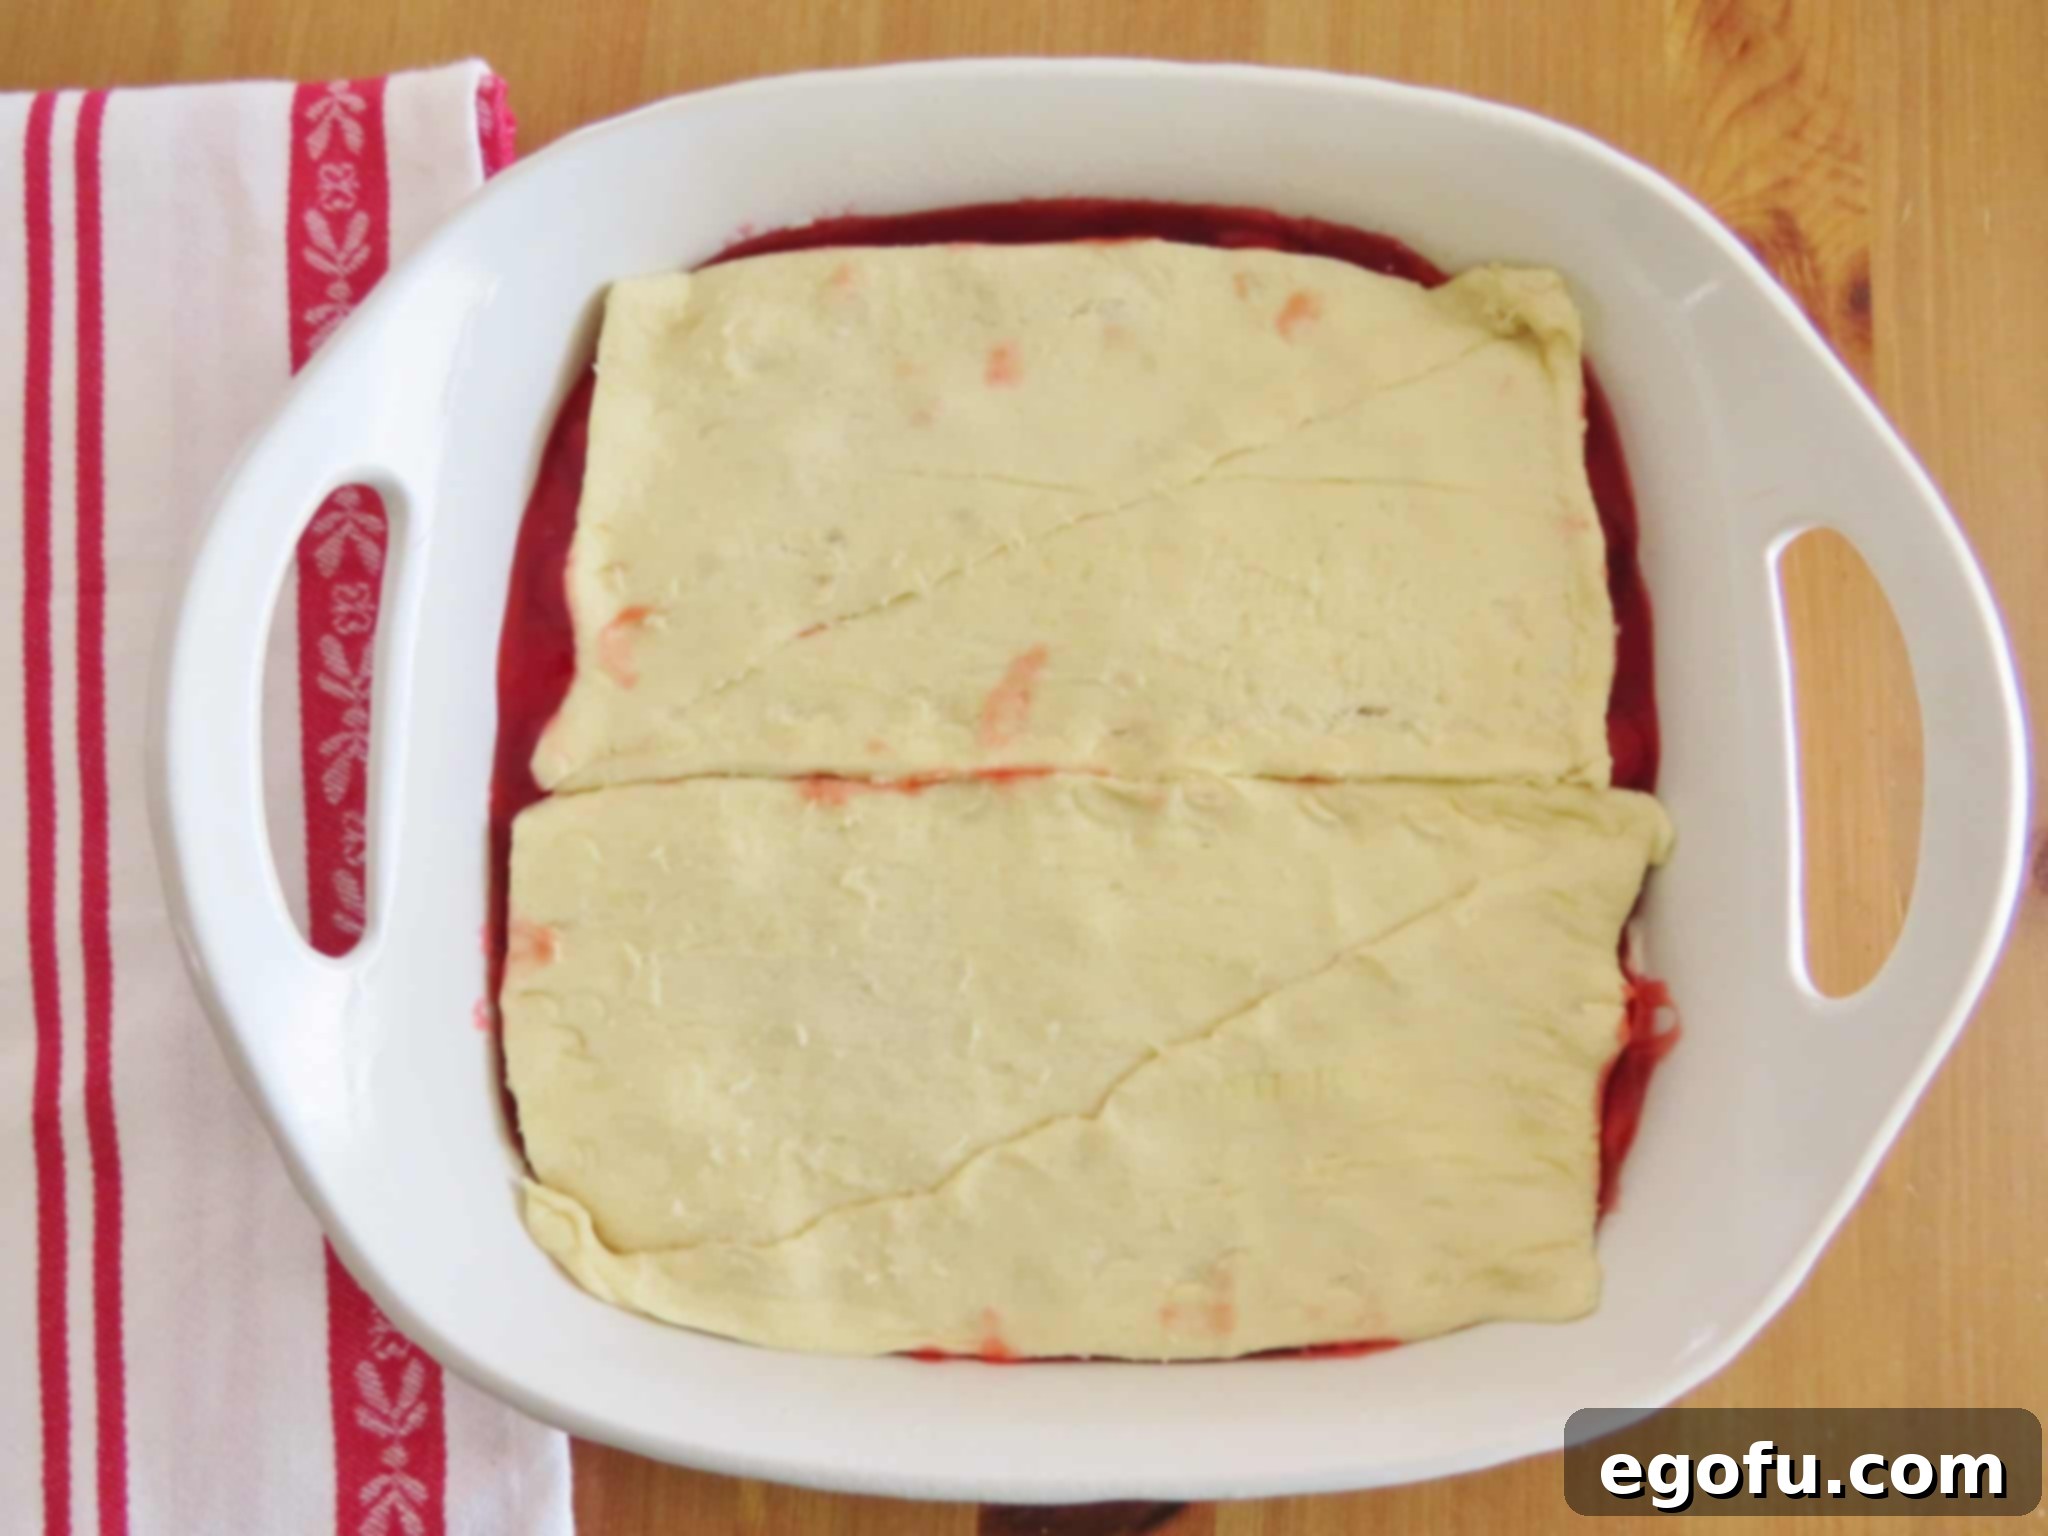
- Add the Top Crust: Take the remaining four crescent rolls (or the other half of your seamless dough sheet) and carefully place them on top of the cherry pie filling. Do your best to stretch the dough to cover the entire surface, pressing seams together where necessary to create a cohesive top crust.
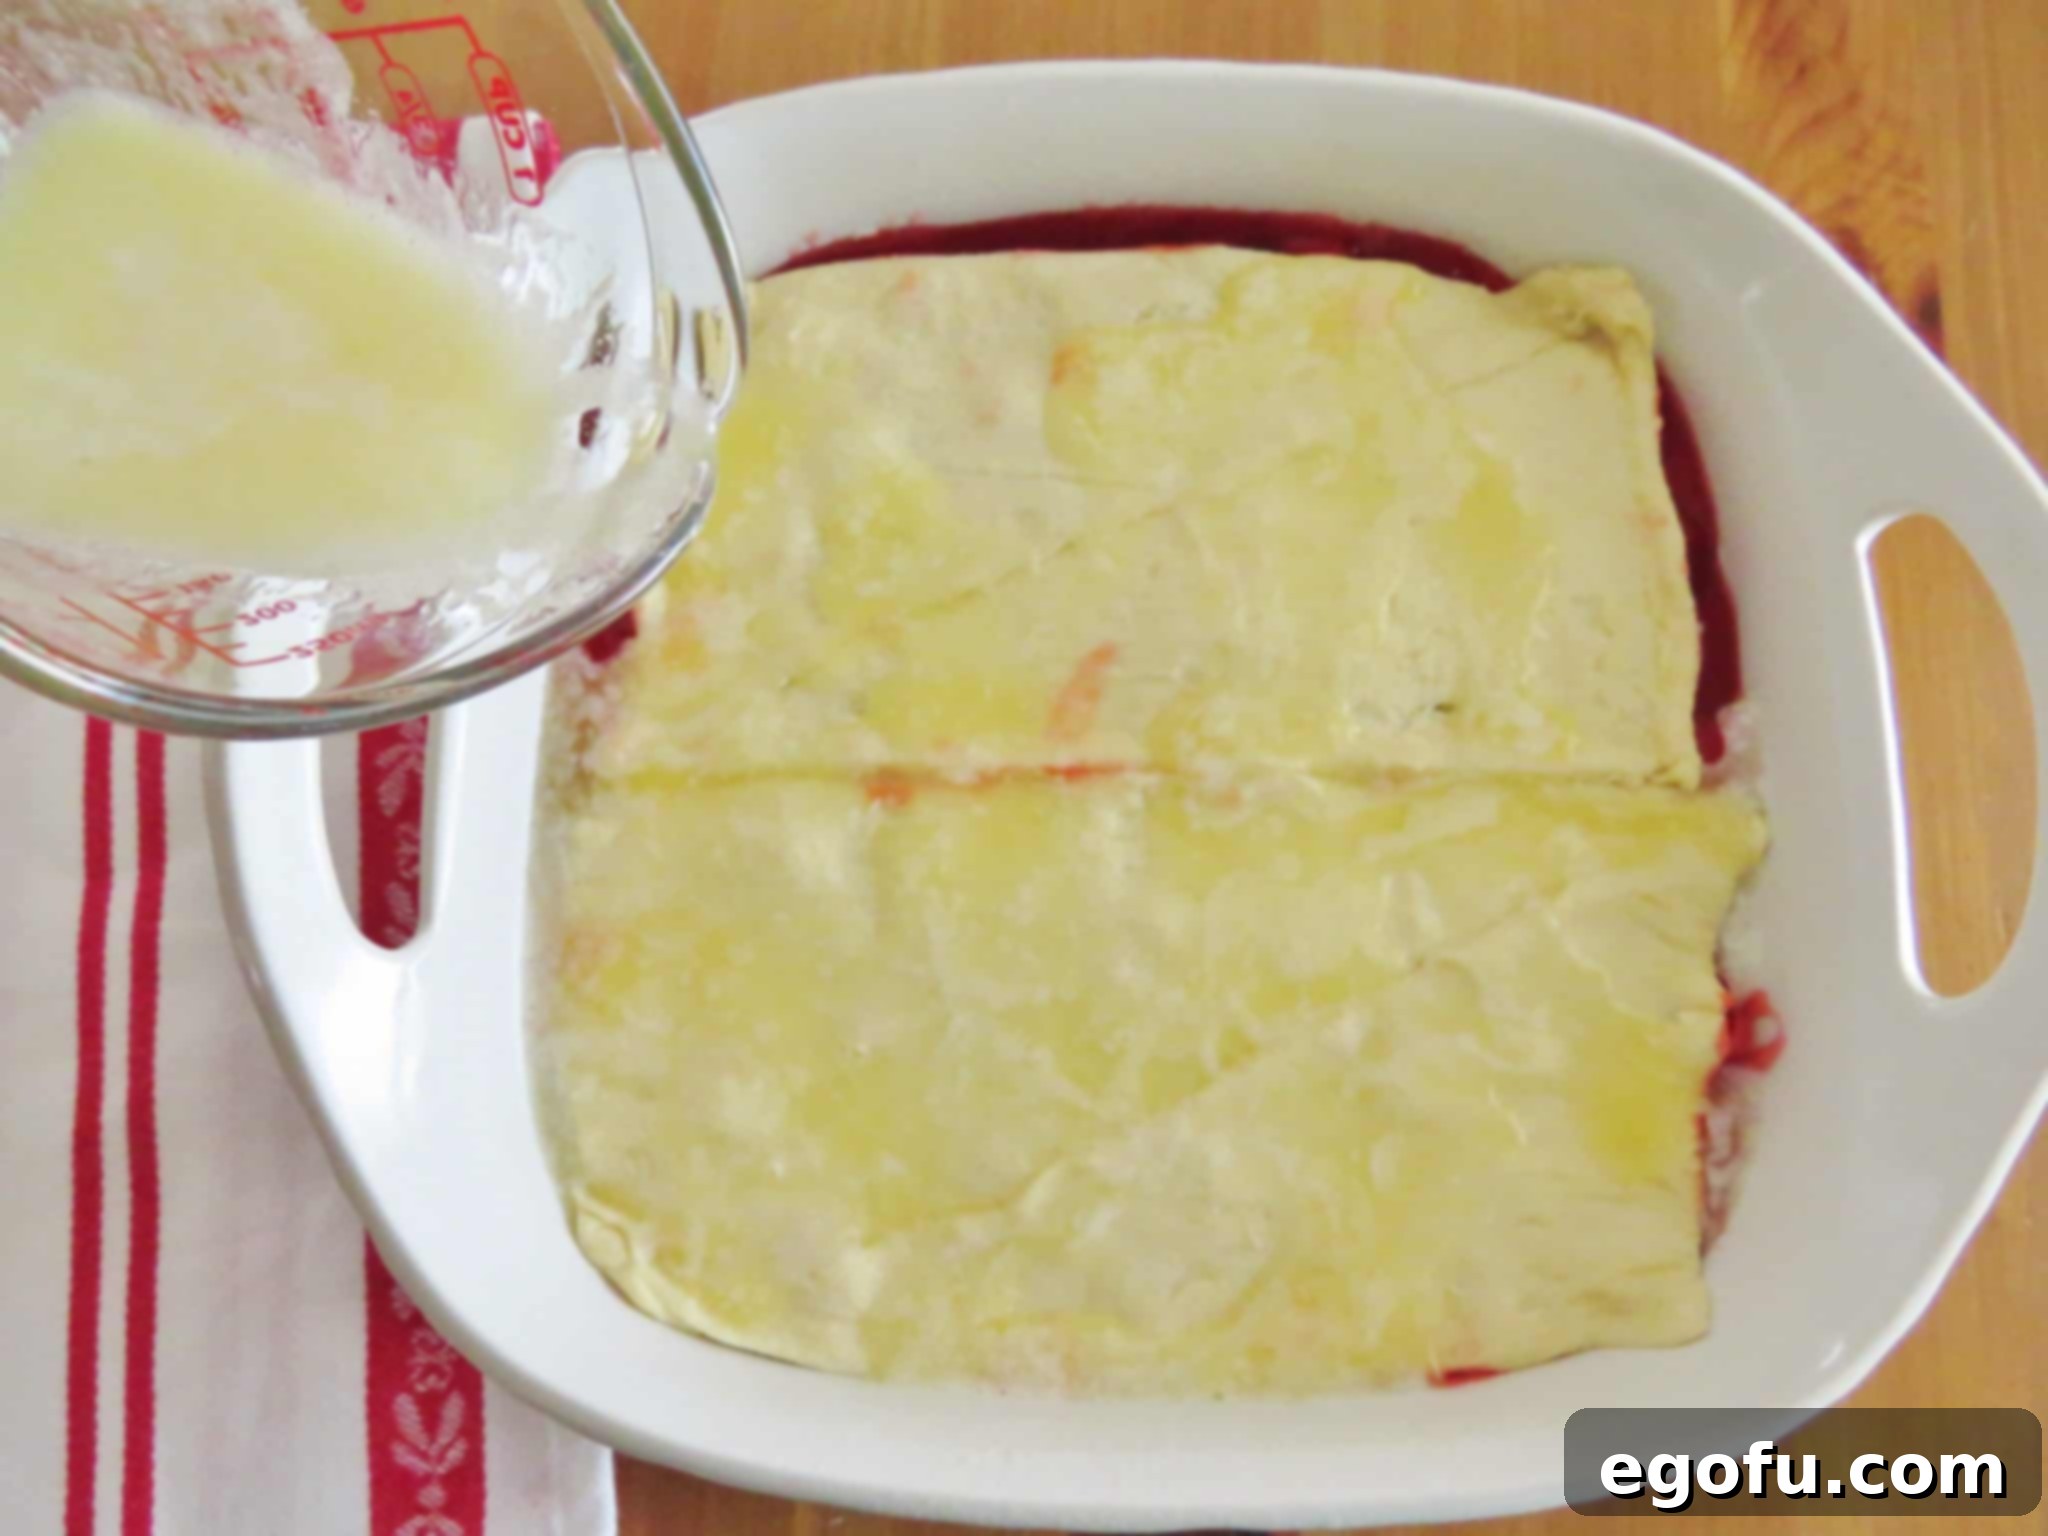
- Drizzle with Butter: Pour the melted butter evenly over the entire surface of the top crescent roll layer. Make sure the butter covers all the dough, as this will contribute to a golden, crispy crust.
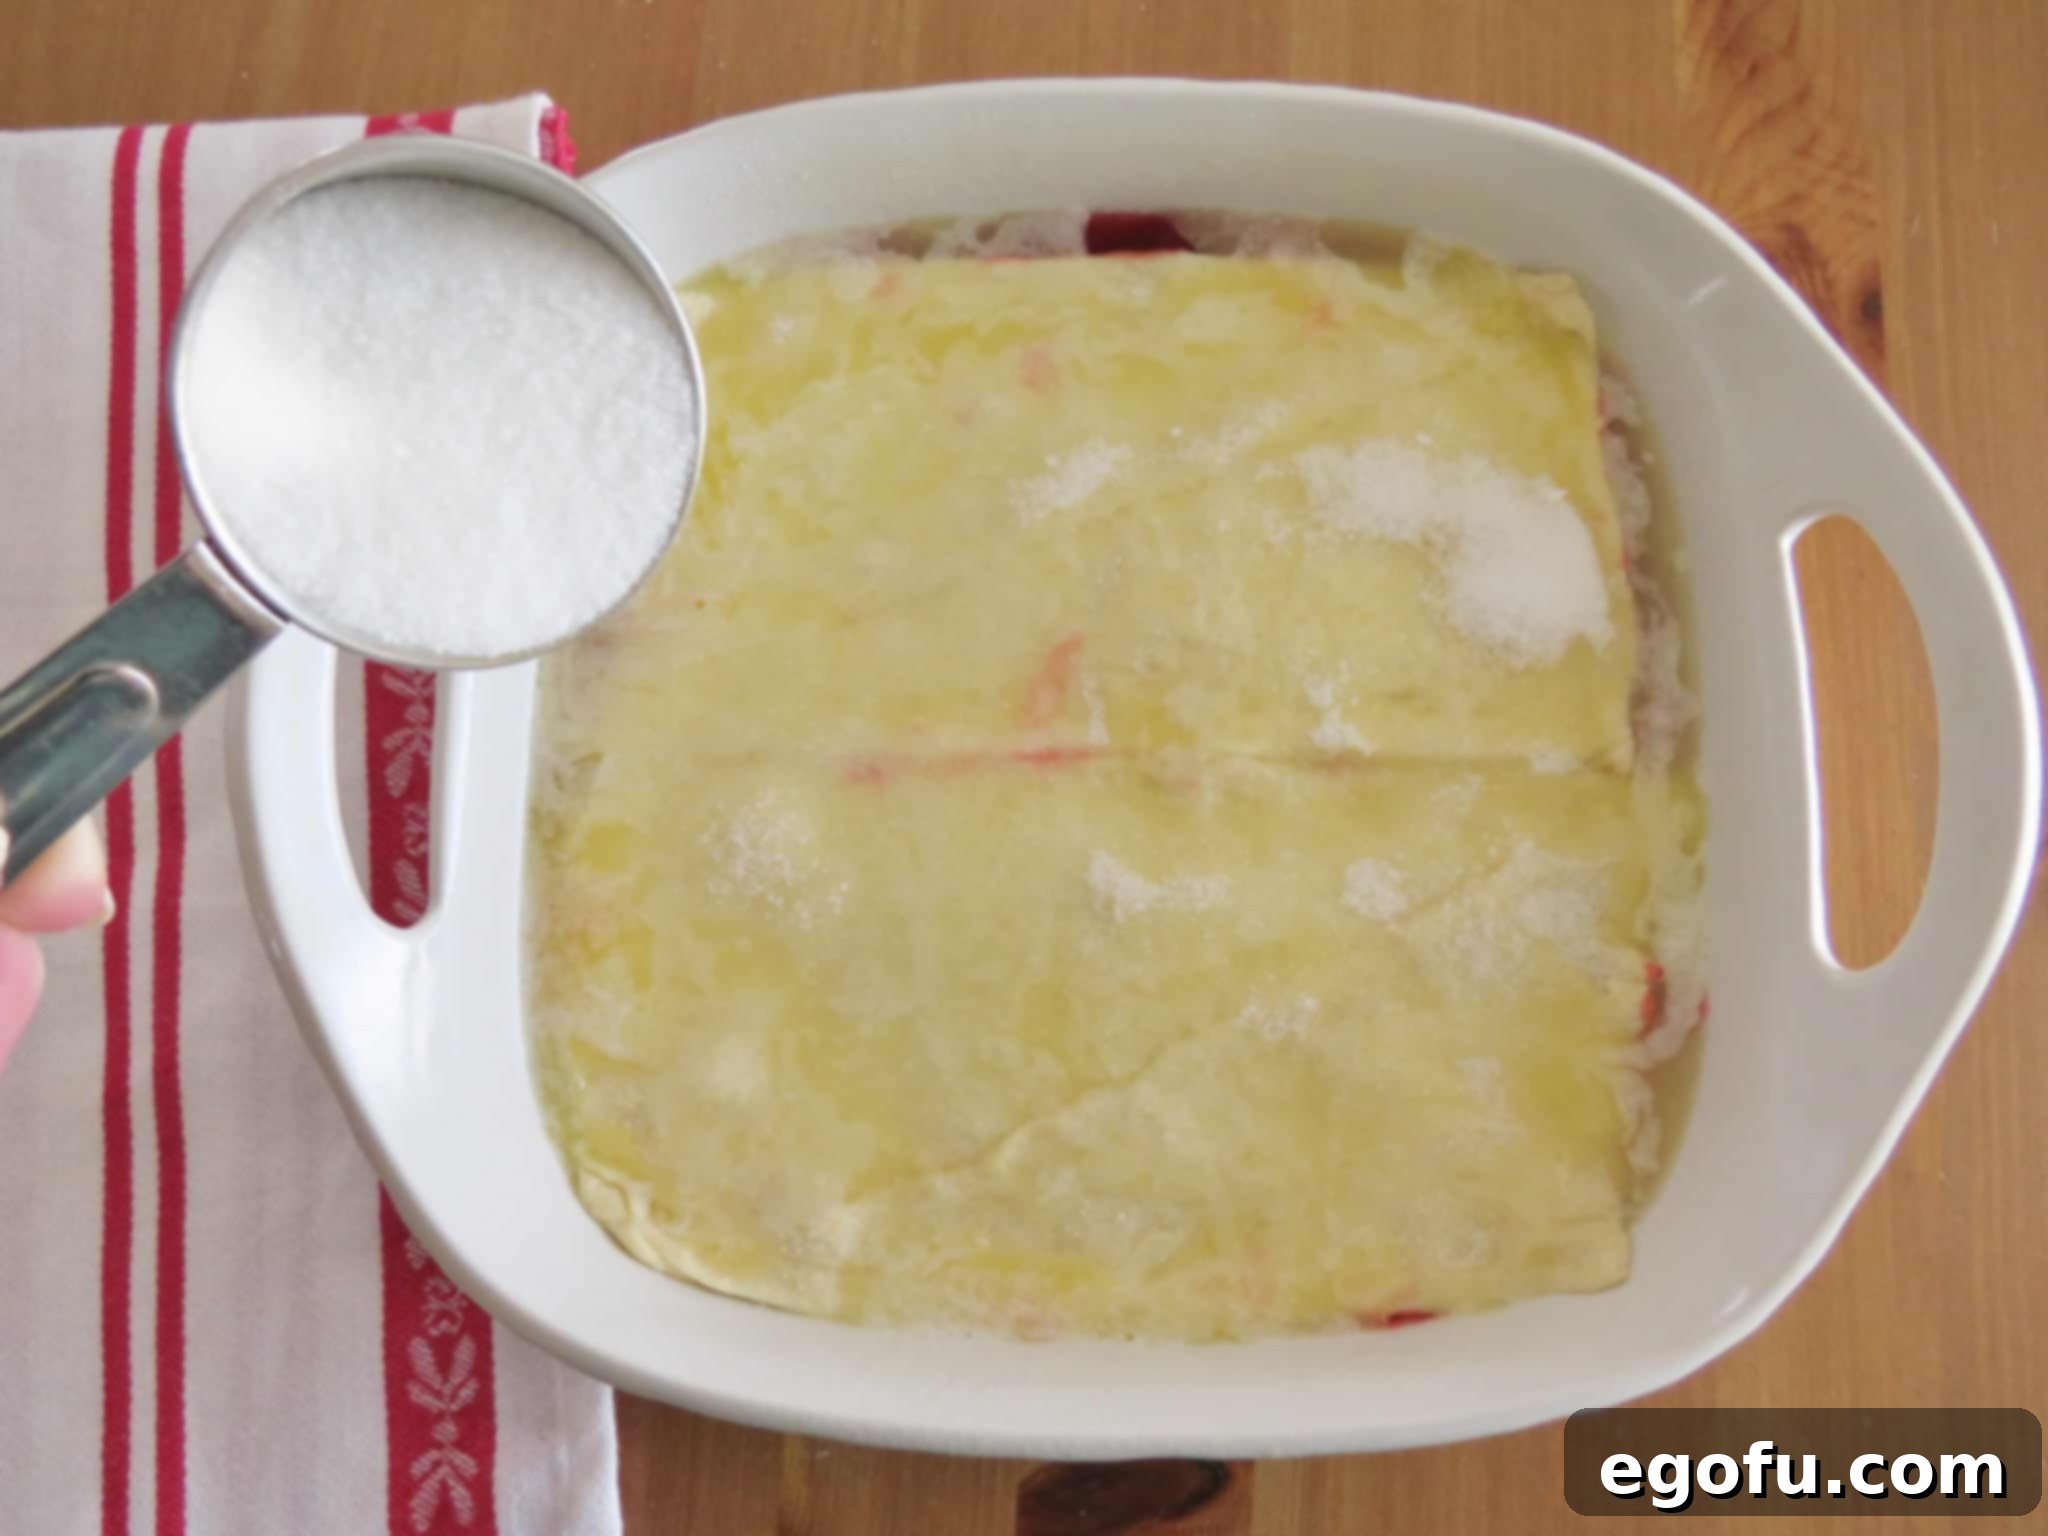
- Sweeten the Top: Sprinkle the remaining ¼ cup of granulated sugar evenly over the melted butter. This creates a sweet, caramelized topping as it bakes.
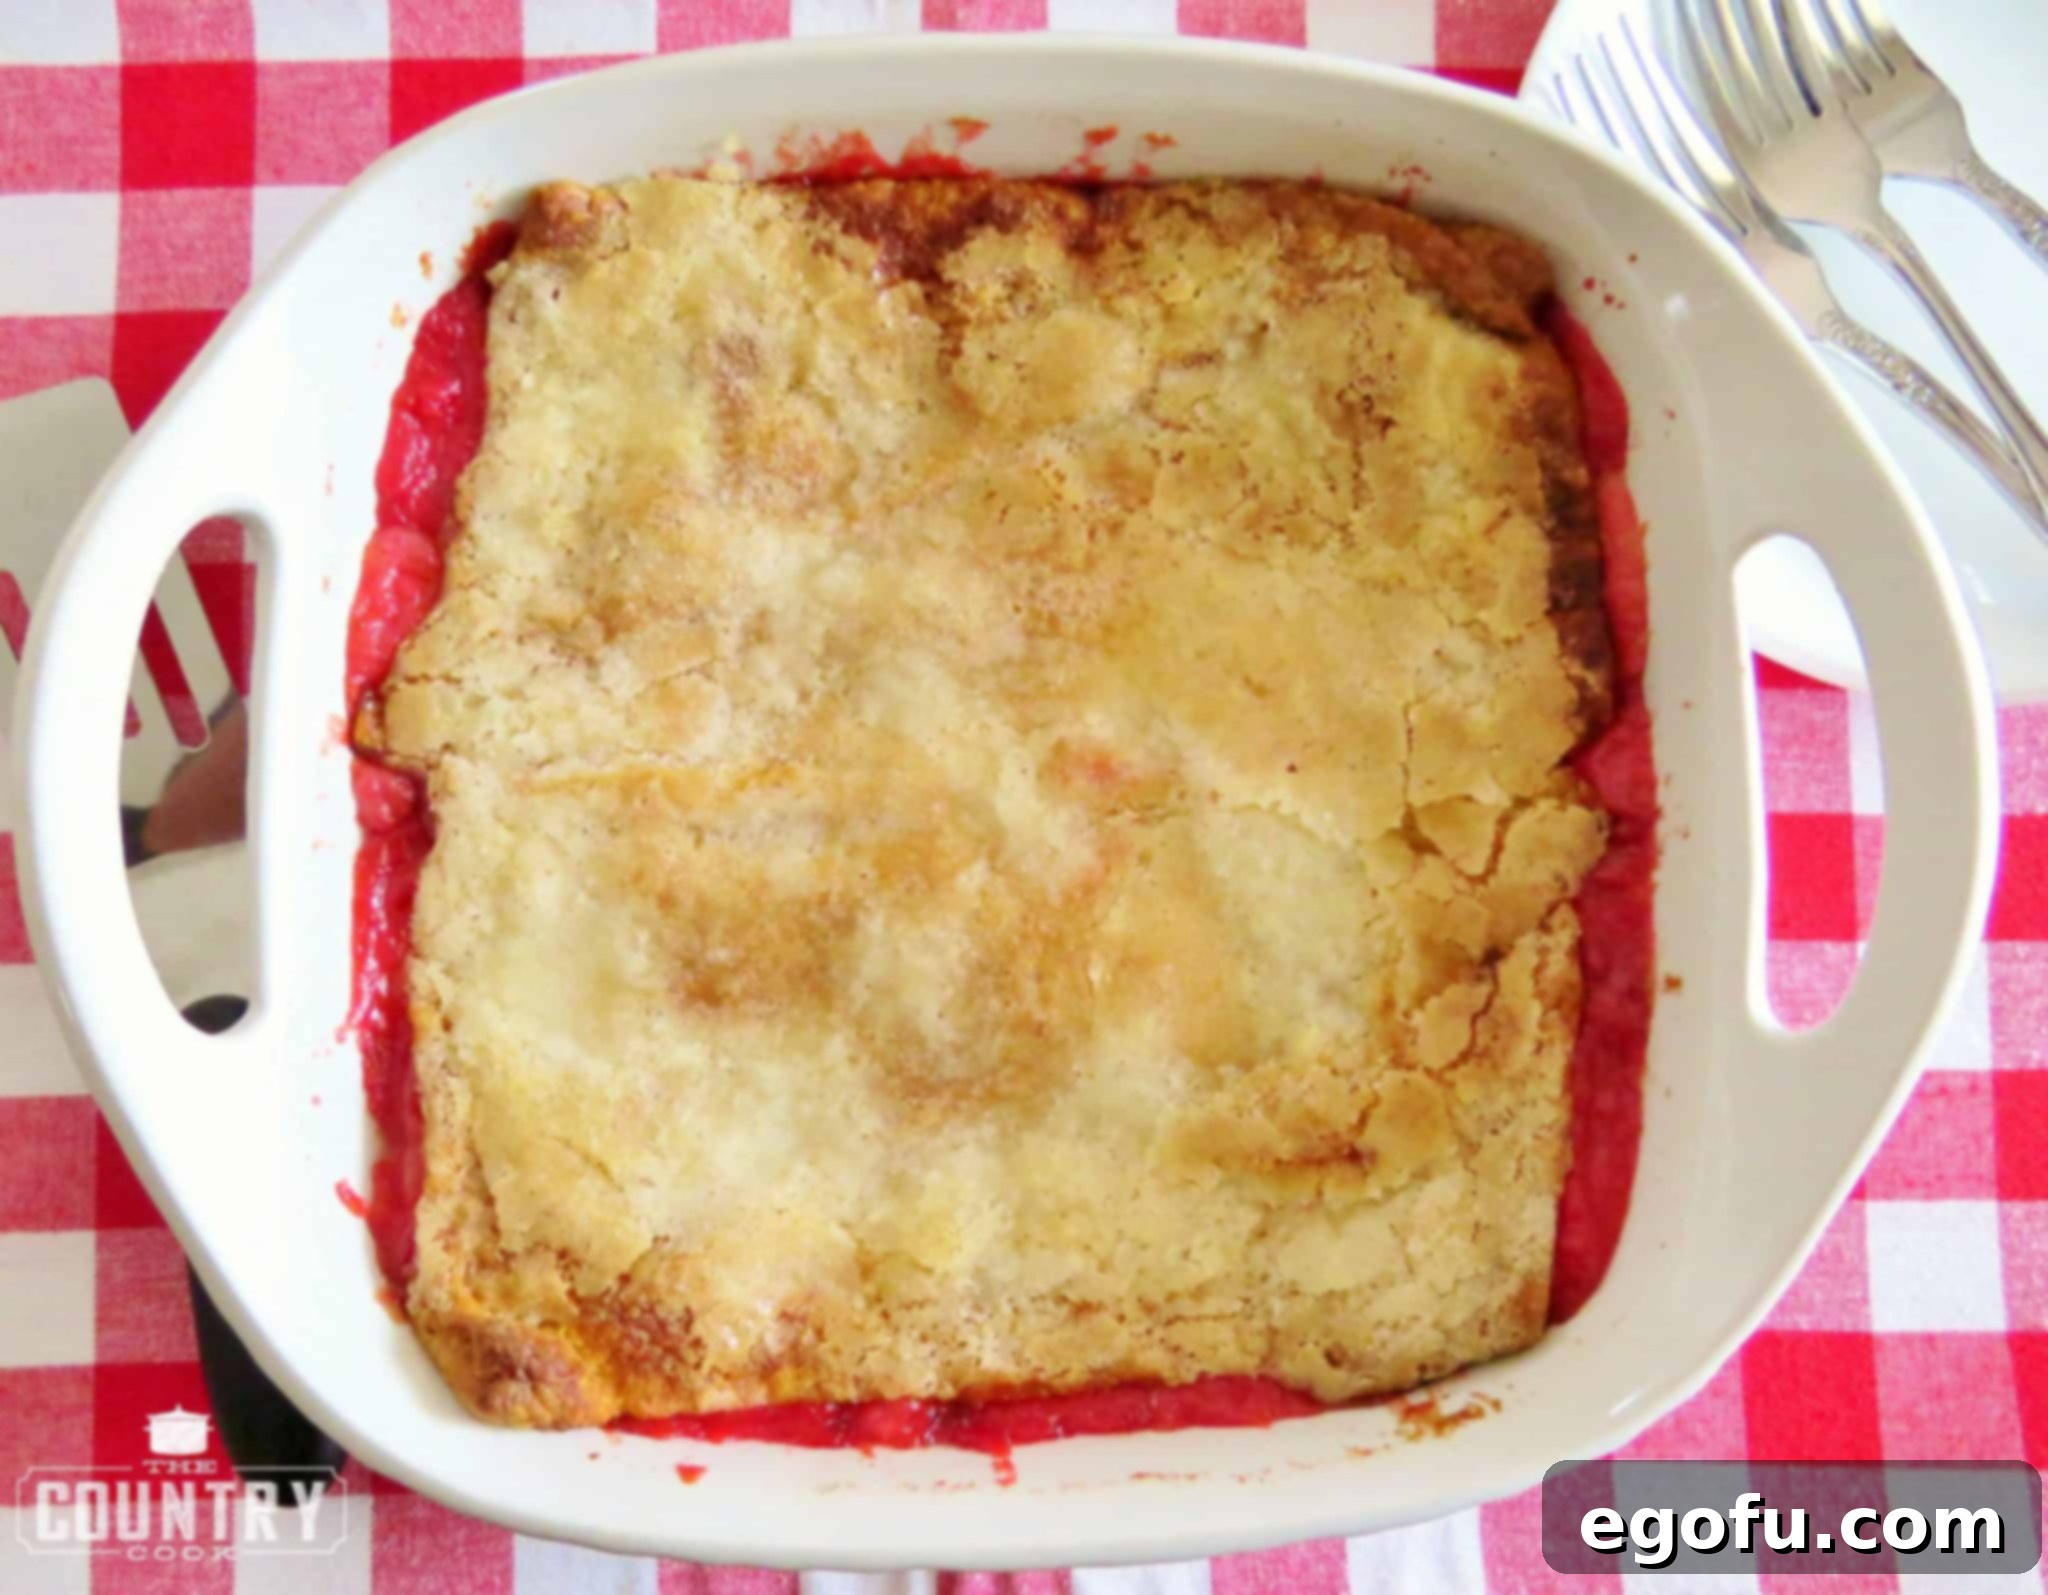
- Bake to Golden Perfection: Place the baking dish in your preheated oven and bake for approximately 35-45 minutes. The baking time can vary, so keep an eye on it. The cobbler is ready when the top crust is beautifully golden brown and looks crusty, and the filling is bubbly.

Once baked, your kitchen will be filled with an enticing aroma. The top crust should be a beautiful golden brown, indicating a perfectly cooked and flaky dessert.
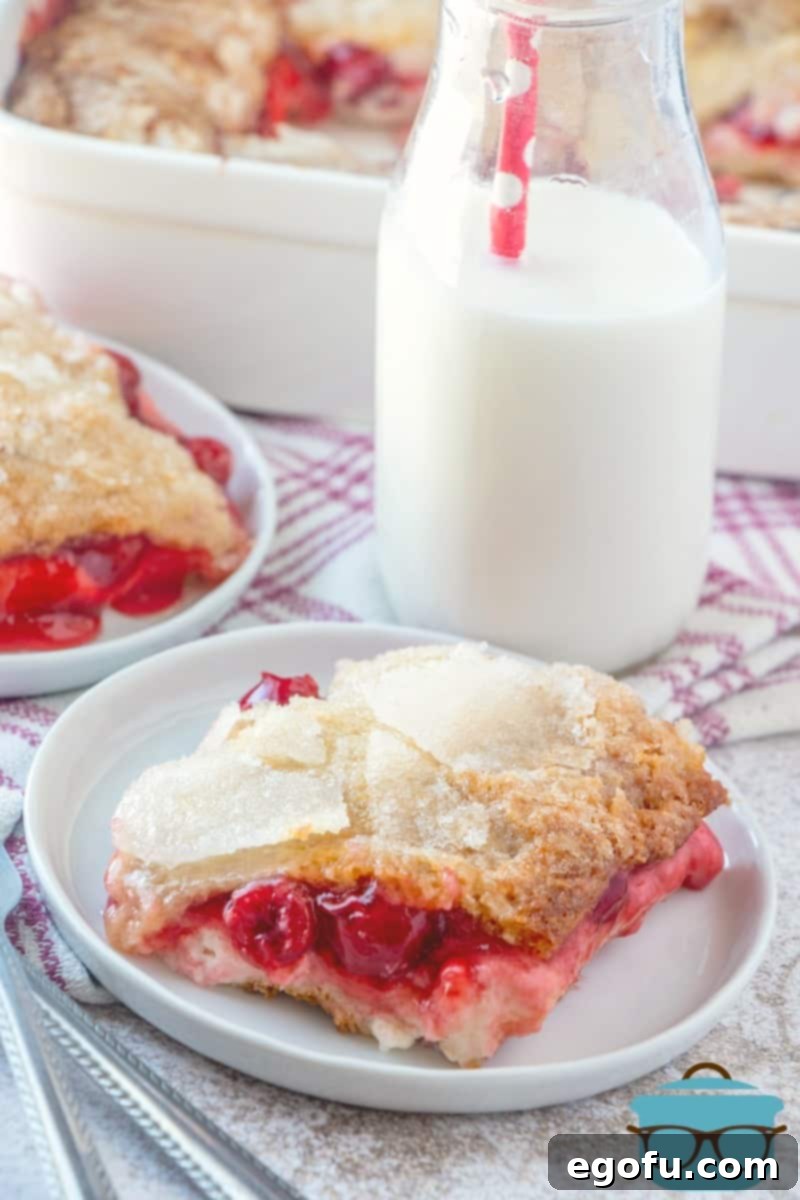
Allow it to cool slightly before slicing into generous portions. Serve warm and enjoy the delightful combination of flavors and textures!
Variations and Substitutions to Explore
One of the best aspects of this Crescent Cherry Cheesecake Cobbler is its incredible versatility. Don’t hesitate to get creative and tailor it to your taste or what you have on hand:
- Fruit Filling Frenzy: While cherry is classic, almost any canned pie filling will work beautifully. Try apple, blueberry, peach, strawberry, mixed berry, or even a spiced pumpkin pie filling for a seasonal twist.
- Add a Crunch: Sprinkle a handful of chopped nuts (pecans, walnuts, almonds) on top of the final crescent layer before baking for added texture and flavor.
- Spiced Delight: For warmth, add a pinch of cinnamon or nutmeg to your cream cheese mixture, especially if using apple or peach pie filling.
- Citrus Zest: A teaspoon of lemon zest mixed into the cream cheese can brighten the flavor profile and add a lovely tang, complementing many fruit fillings.
- Crust Alternatives: While crescent rolls are key for ease, you could experiment with puff pastry sheets for a flakier crust or even a simple homemade biscuit dough for a more traditional cobbler topping.
- Cream Cheese Swap: For a slightly lighter version, you could try reduced-fat cream cheese, but ensure it’s still softened for a smooth texture.
- Chocolate Cherry Bliss: For a decadent twist, sprinkle a handful of mini chocolate chips over the cherry pie filling before adding the top crescent layer.
Serving Suggestions for Your Cobbler
This cobbler is a showstopper on its own, but a few simple additions can elevate the experience even further:
- Classic Vanilla Ice Cream: A scoop of good quality vanilla ice cream melting over a warm slice of cobbler is an unbeatable combination.
- Whipped Cream: A dollop of freshly whipped cream adds a light, airy contrast to the rich dessert.
- Berry Coulis: A drizzle of raspberry or strawberry coulis (pureed and strained berries) can enhance the fruit flavor and add a touch of elegance.
- Dusting of Powdered Sugar: For a simple yet beautiful finish, lightly dust the cooled cobbler with powdered sugar before serving.
- With Coffee or Tea: Enjoy a slice with a warm cup of coffee or herbal tea for a cozy treat.
Storage Tips for Leftovers
If by some miracle you have any leftovers of this delicious cobbler, here’s how to store them to maintain freshness and flavor:
- Refrigeration is Key: Due to the cream cheese layer, this cobbler absolutely must be kept refrigerated if not eaten the same day it’s made. Cover the baking dish tightly with plastic wrap or transfer individual slices to an airtight container. It will keep well for 3-4 days in the refrigerator.
- Reheating: For best results, reheat individual slices in the microwave for 30-60 seconds, or in a preheated oven at 300°F (150°C) for about 10-15 minutes, until warmed through. This helps to re-crisp the crust slightly.
- Freezing (Not Recommended for Best Texture): While technically possible, freezing is not highly recommended for this cobbler. The crescent roll crust can become soggy upon thawing, and the cream cheese layer’s texture might change. If you must freeze, wrap slices tightly in plastic wrap, then aluminum foil, and store for up to 1 month. Thaw in the refrigerator overnight and reheat gently.
Frequently Asked Questions (FAQs)
Here are some common questions you might have about making this irresistible cheesecake cobbler:
Q: Can I use homemade pie filling?
A: Absolutely! While canned pie filling makes this recipe super easy, a homemade fruit filling would be a fantastic, fresh upgrade. Just ensure it’s slightly thickened so it doesn’t make the cobbler too watery.
Q: What if I don’t have an 8×8-inch baking dish?
A: A 9×9-inch baking dish can be used, but note that the layers will be slightly thinner, and the baking time might be reduced by a few minutes. Always monitor for a golden-brown crust.
Q: Can I make this cobbler ahead of time?
A: You can prepare the cobbler up to a day in advance and store it covered in the refrigerator. Bake it fresh just before serving for the best texture and warmth. If baking ahead, let it cool completely before refrigerating, then gently reheat when ready to serve.
Q: How do I know when the crescent rolls are fully cooked?
A: The crescent rolls should be deeply golden brown on top and feel firm when lightly pressed. If the top is browning too quickly, cover it loosely with aluminum foil for the remainder of the baking time.
Q: Can I halve or double the recipe?
A: Halving the recipe for a smaller portion might work in a smaller dish (like a 9×5-inch loaf pan or a smaller square dish), but ensure the layers are proportionate. Doubling would require a larger baking dish (e.g., a 9×13-inch pan) and could affect baking time slightly.
Watch the Recipe Video!
See how simple it is to bring this delicious dessert to life. Watch our step-by-step video guide:
More Irresistible Dessert Recipes
If you’re craving more delightful treats, explore these other fantastic cobbler and dessert recipes:
- Blackberry Cobbler
- Banana Cobbler
- The Best Blueberry Cobbler
- Easy Apple Cobbler
- Peach Cobbler Cake
- Chocolate Cobbler
- Pumpkin Cobbler
- Peach Cobbler
- Easy Cherry Cobbler
- Strawberry Rhubarb Cobbler
- Cherry Pie Bars
- Blueberry Cheesecake Crescent Rolls
The Ultimate Crescent Cherry Cheesecake Cobbler Recipe
This recipe provides a quick and easy way to create a memorable dessert with minimal effort. Enjoy the perfect balance of sweet, tangy, and flaky in every bite!
Crescent Cherry Cheesecake Cobbler
Crescent Cherry Cheesecake Cobbler is layers of crescent rolls, cheesecake and cherry pie filling. Any flavor of pie filling works great!
Prep Time: 10 minutes
Cook Time: 45 minutes
Total Time: 55 minutes
Servings: 9
Author: Brandie Skibinski
Ingredients
- 1 (8 ounce) tube crescent rolls (or crescent roll dough sheet)
- 12 ounces cream cheese, softened (1 1/2 blocks)
- ¾ cup granulated sugar, divided use
- 1 teaspoon vanilla extract
- 1 (21 ounce) can cherry pie filling
- ¼ cup unsalted butter (1/2 stick), melted
Instructions
- Preheat oven to 350°F (175°C). Spray a 2-quart (8x8x3-inch) baking dish with nonstick cooking spray.
- Combine cream cheese and 1/2 cup sugar. Beat with an electric mixer until smooth. Then add in vanilla extract and mix again then set aside.
- Unroll the crescent rolls. Line four (4) of the crescent rolls in the bottom of the baking dish.
- Spread them out and cover the bottom of your baking dish. Seal the seams as best as possible.
- Spread cream cheese mixture over crescent rolls in the baking dish.
- Then pour pie filling on top of cream cheese layer. Spread it around evenly.
- Finally, top with remaining crescent roll dough. Do your best to stretch it out on top and seal the seams of the crescent rolls.
- Pour melted butter evenly on the top of the crescent rolls. Spread it out to make sure the butter covers all the dough.
- Then sprinkle 1/4 cup sugar evenly over the melted butter. Bake for about 35-45 minutes.
- Top crust should look crusty and be golden brown in color. Slice and serve.
Recipe Notes
- This cobbler must be kept refrigerated if not eaten the same day it’s made.
- You need a baking dish with higher sides (at least 3 inches deep if using an 8×8-inch square pan). Alternatively, a 9×9-inch baking dish can also be used.
Nutritional Information
The Country Cook is not a dietician or nutritionist, and any nutritional information shared is an estimate. If calorie count and other nutritional values are important to you, we recommend running the ingredients through whichever online nutritional calculator you prefer. Calories and other nutritional values can vary quite a bit depending on which brands were used.
Estimated per serving (9 servings): Calories: 404kcal | Carbohydrates: 46g | Protein: 3g | Fat: 23g | Sodium: 376mg | Sugar: 20g
Did you make this recipe?
Share it on Instagram @thecountrycook and mention us #thecountrycook!
