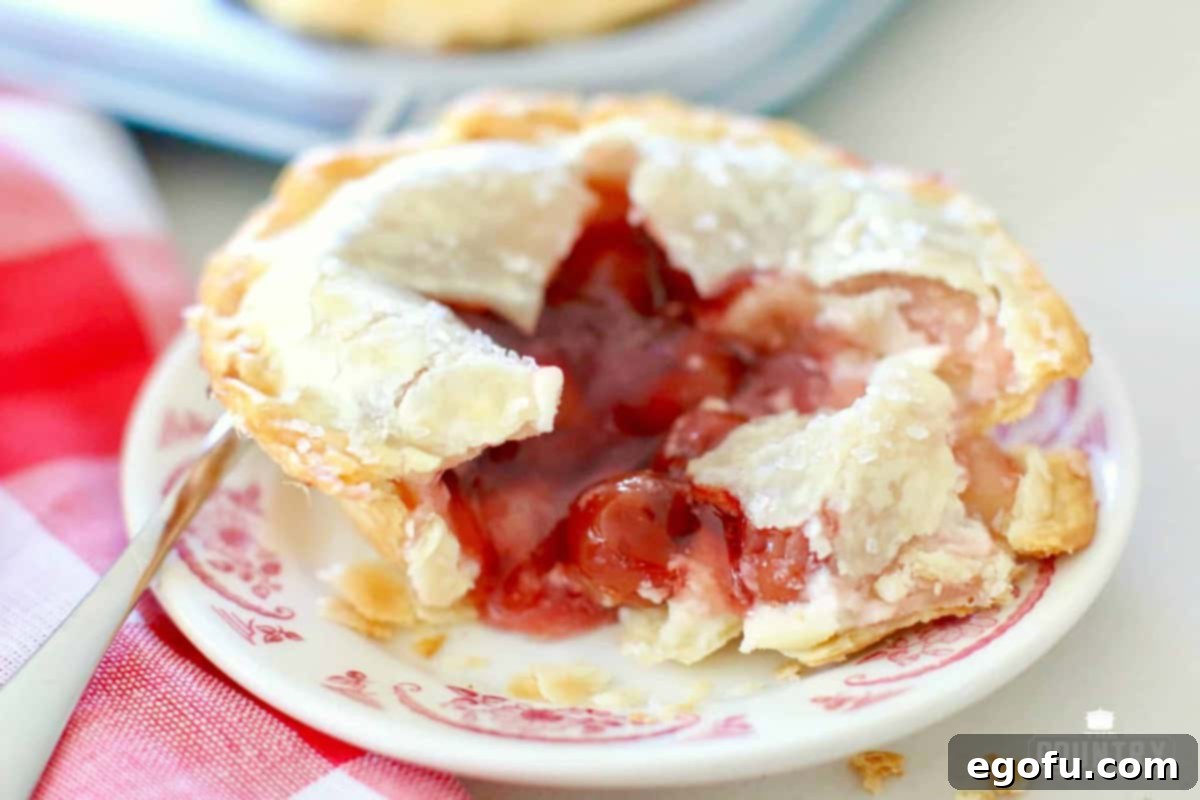
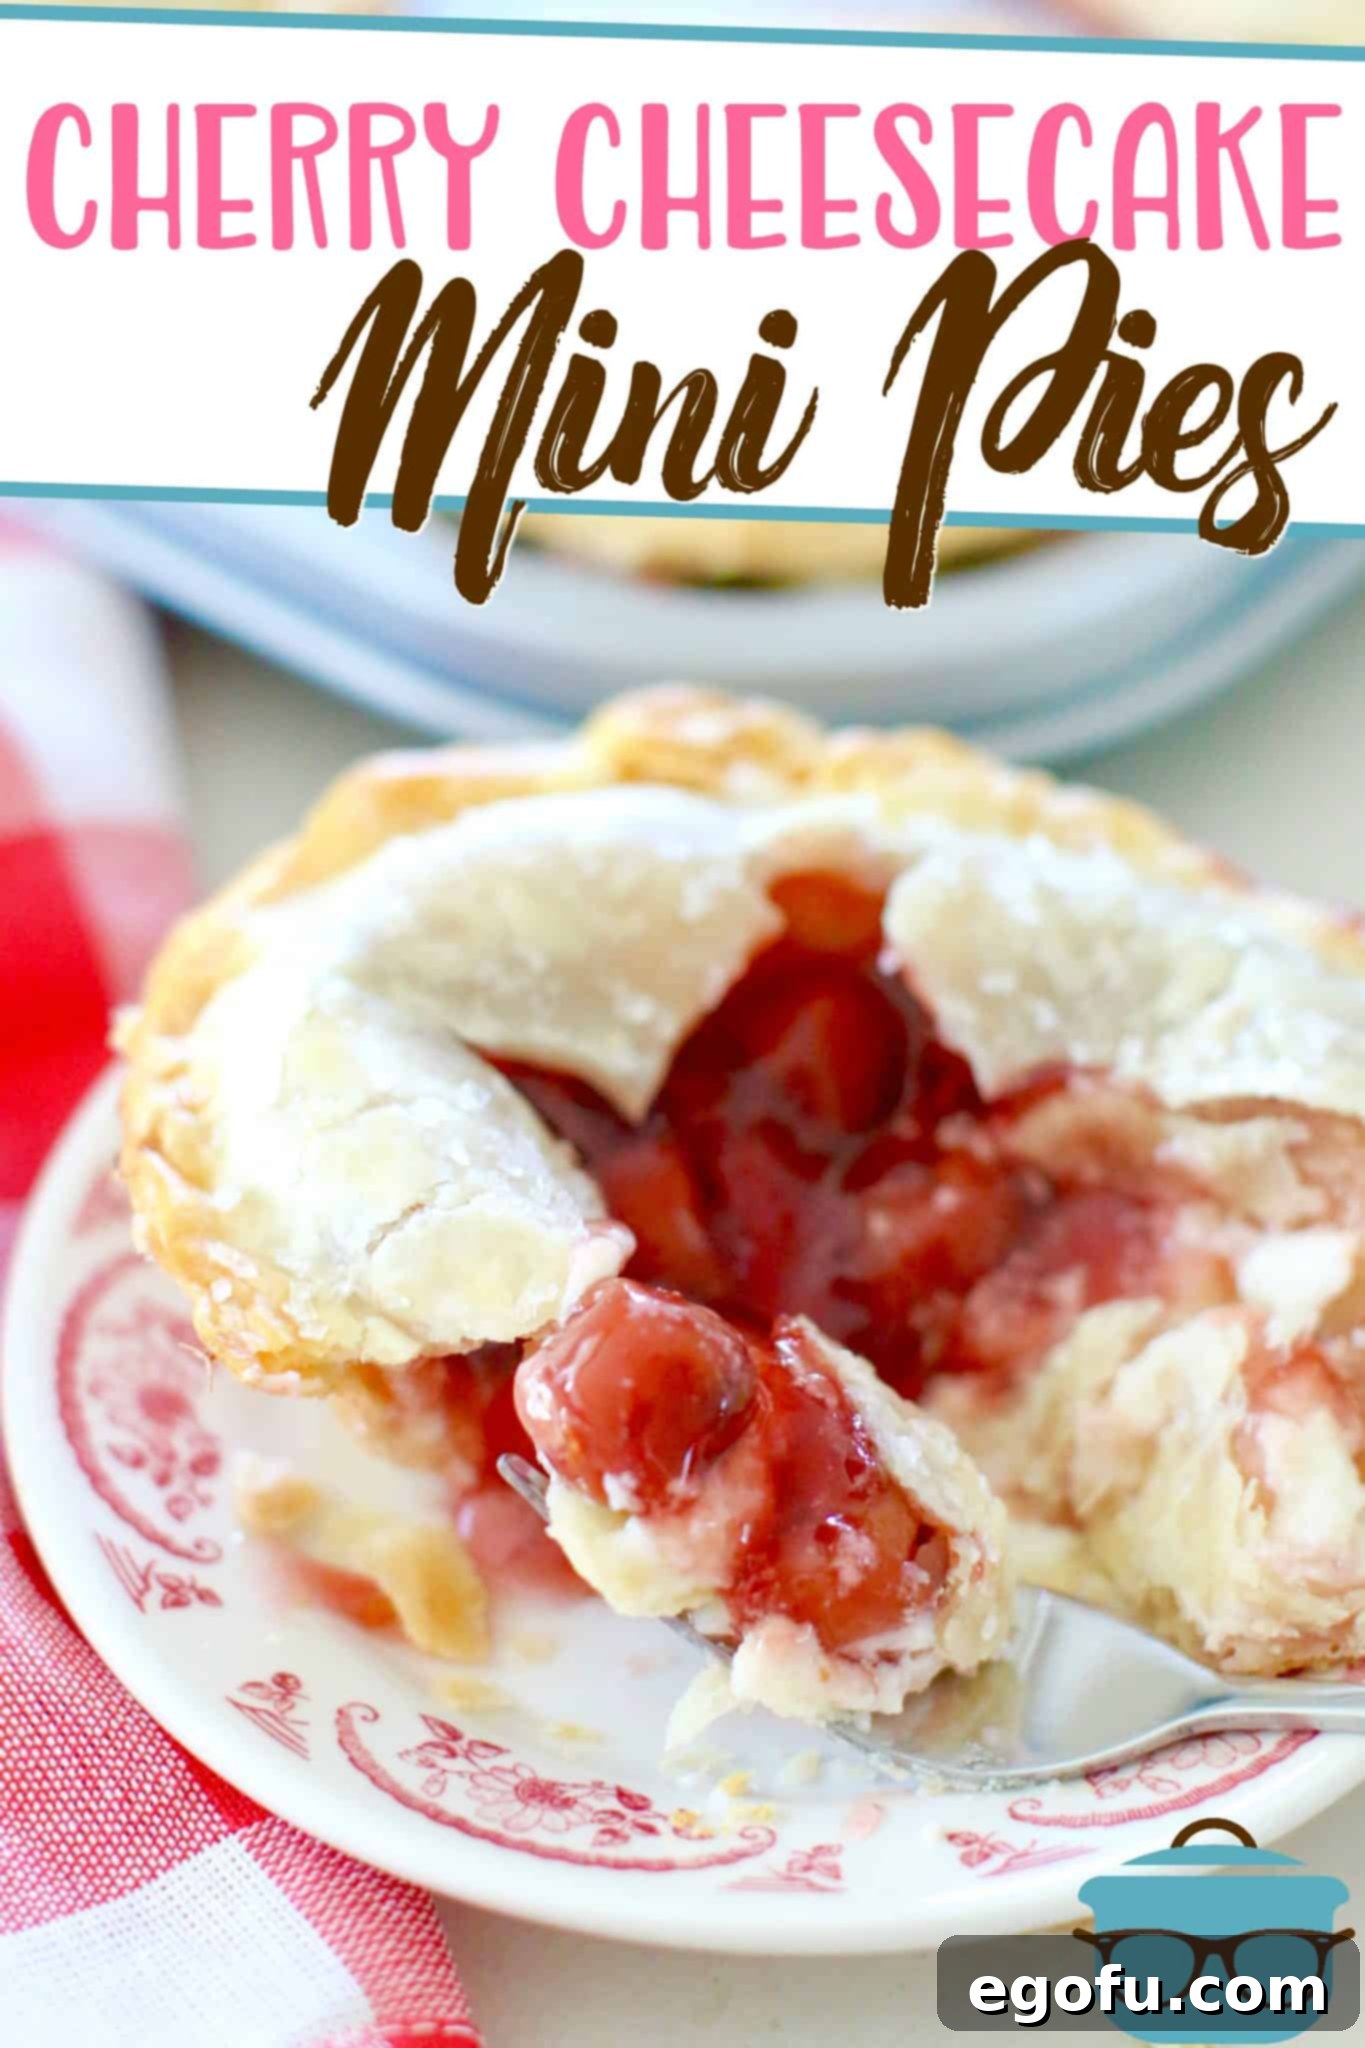
Easy Mini Cherry Cheesecake Pies: Your New Favorite Giftable Treat
Prepare to fall in love with these delightful Mini Cherry Cheesecake Pies! Combining the convenience of refrigerated pie crusts with a rich, creamy cheesecake center and luscious cherry pie filling, these individual desserts are not just incredibly easy to make, but they are also beautifully giftable and absolutely heavenly in taste. Whether you’re a seasoned baker or just starting out, this recipe promises a rewarding experience and a delicious outcome that will impress everyone.
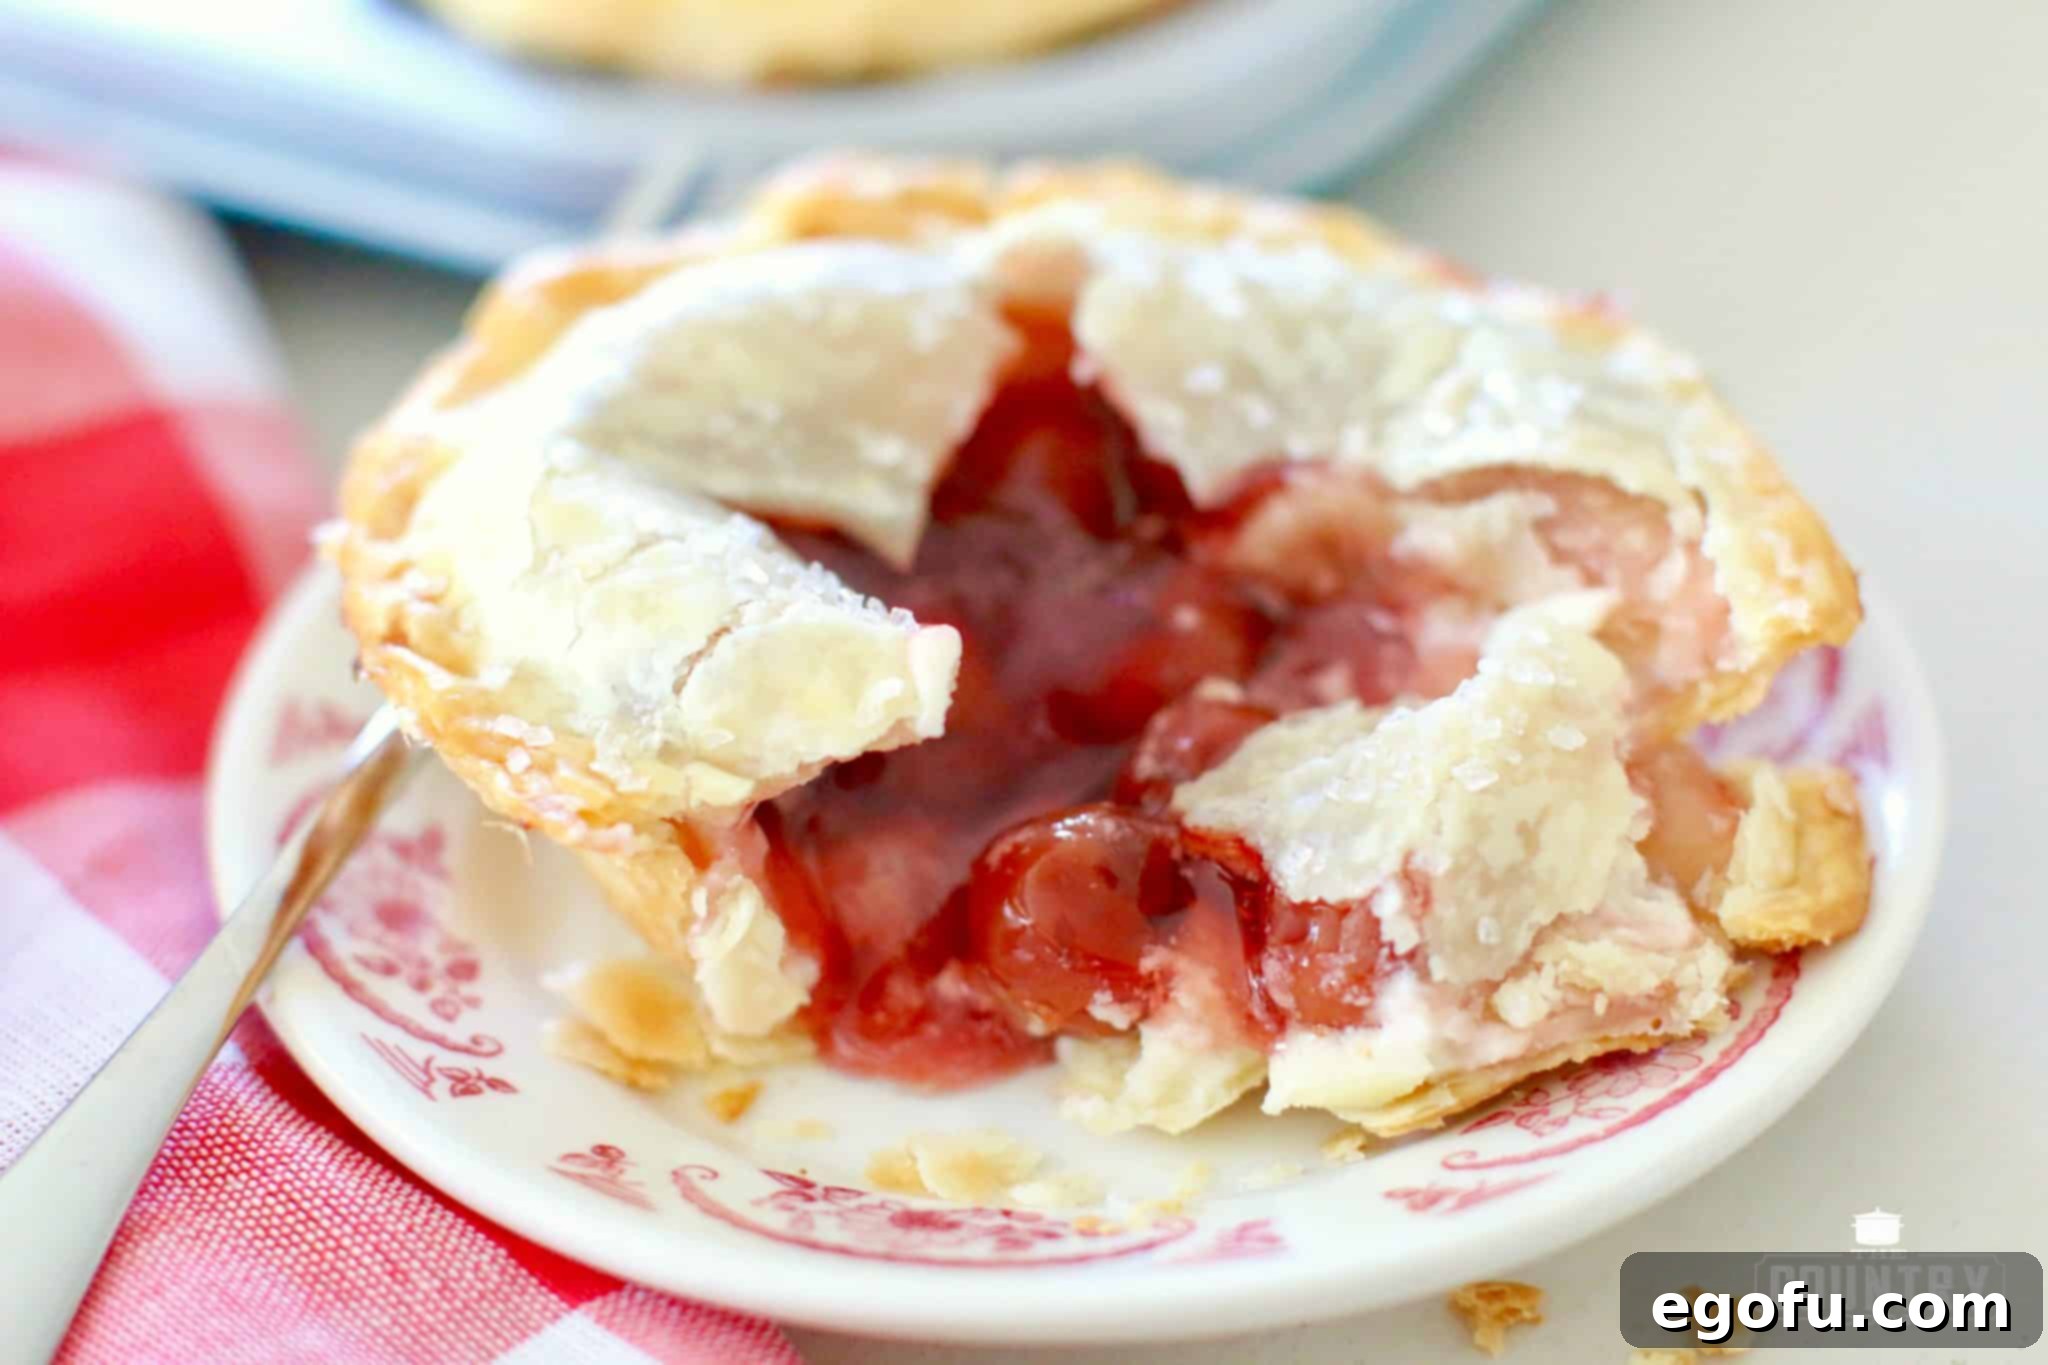
Why You’ll Adore These Mini Cherry Cheesecake Pies
There’s something truly special about a dessert that looks sophisticated but is surprisingly simple to create. These mini cheesecake pies hit all the right notes for any occasion. Here’s why they’re destined to become a staple in your recipe collection:
- Effortless Preparation: By utilizing store-bought refrigerated pie crusts, you significantly cut down on prep time, making this an ideal recipe for busy schedules.
- Irresistible Flavor Combination: The tangy sweetness of cherry pie filling perfectly complements the smooth, rich, and slightly tart cheesecake layer, all encased in a flaky, golden crust.
- Perfectly Portioned: Individual pies mean no slicing, no mess, and everyone gets their own adorable dessert. This makes them fantastic for parties, potlucks, or lunchboxes.
- Customizable: While cherry is a classic, the recipe is incredibly adaptable. You can easily swap out the fruit filling to match your favorite flavors or seasonal availability.
- Beautifully Giftable: Packaged in small boxes or wrapped with a ribbon, these mini pies make thoughtful and delicious homemade gifts for friends, family, or neighbors.
Essential Tips for Crafting Perfect Individual Dessert Pies
Achieving bakery-quality mini pies at home is simpler than you think, especially with a few expert tips. These suggestions will help ensure your Mini Cherry Cheesecake Pies turn out beautifully golden, delightfully flaky, and bursting with flavor every time.
- Customize Your Filling: While cherry pie filling is a beloved choice, feel free to experiment! Apple, blueberry, peach, or even mixed berry fillings would be equally delicious. Just ensure the filling has a good consistency – not too watery – to prevent a soggy crust. Adjust sweetness levels as needed if using a homemade filling.
- Choosing the Right Cutter: The success of uniform mini pies often comes down to your tools. You’ll need a large pie dough or biscuit cutter to create the base and top crusts. For this particular recipe, a 3-inch (7.5 cm) round cutter works well with the specified mini pie pan. If you’re using a specific mini pie pan set, like the PAMPERED CHEF MINI PIE PAN SET, it often comes with a perfectly sized cutter. Ensure your cutter is sharp for clean edges.
- Muffin Tin Alternative: Don’t have a specialized mini pie pan? No problem! A standard large muffin tin works wonderfully. You’ll need to adjust the size of your biscuit cutter (likely smaller, around 2.5-inch or 6.5 cm) to fit the muffin cups. Also, be prepared to slightly reduce the amount of filling per pie, as the muffin cups are typically shallower. Monitor baking time closely, as smaller pies might cook a little faster.
- Scaling Up to a Large Pie: This versatile recipe can easily be adapted into a single, larger cherry cheesecake pie. Simply use a 9-inch pie plate. You’ll need one full pie crust for the bottom and potentially another for a lattice top or decorative edge if desired. Increase the cheesecake filling and cherry pie filling proportionally, usually doubling or tripling the amounts for a full-sized pie. Baking time will also need to be extended, likely to 45-60 minutes, or until the crust is golden and the filling is set.
- Temperature Matters for Cream Cheese: Always ensure your cream cheese is softened to room temperature before mixing. This is crucial for achieving a smooth, lump-free cheesecake filling. Cold cream cheese will result in a clumpy texture that’s difficult to incorporate evenly.
- Preventing Soggy Bottoms: A common pie dilemma! To help prevent this, ensure your pie crust is pressed firmly into the pan, without any gaps. Some bakers also like to lightly prick the bottom crust with a fork before filling, or even blind bake for a few minutes, although with refrigerated crusts and a quick bake time, it’s often not strictly necessary for mini pies.
Gather Your Ingredients for Deliciousness
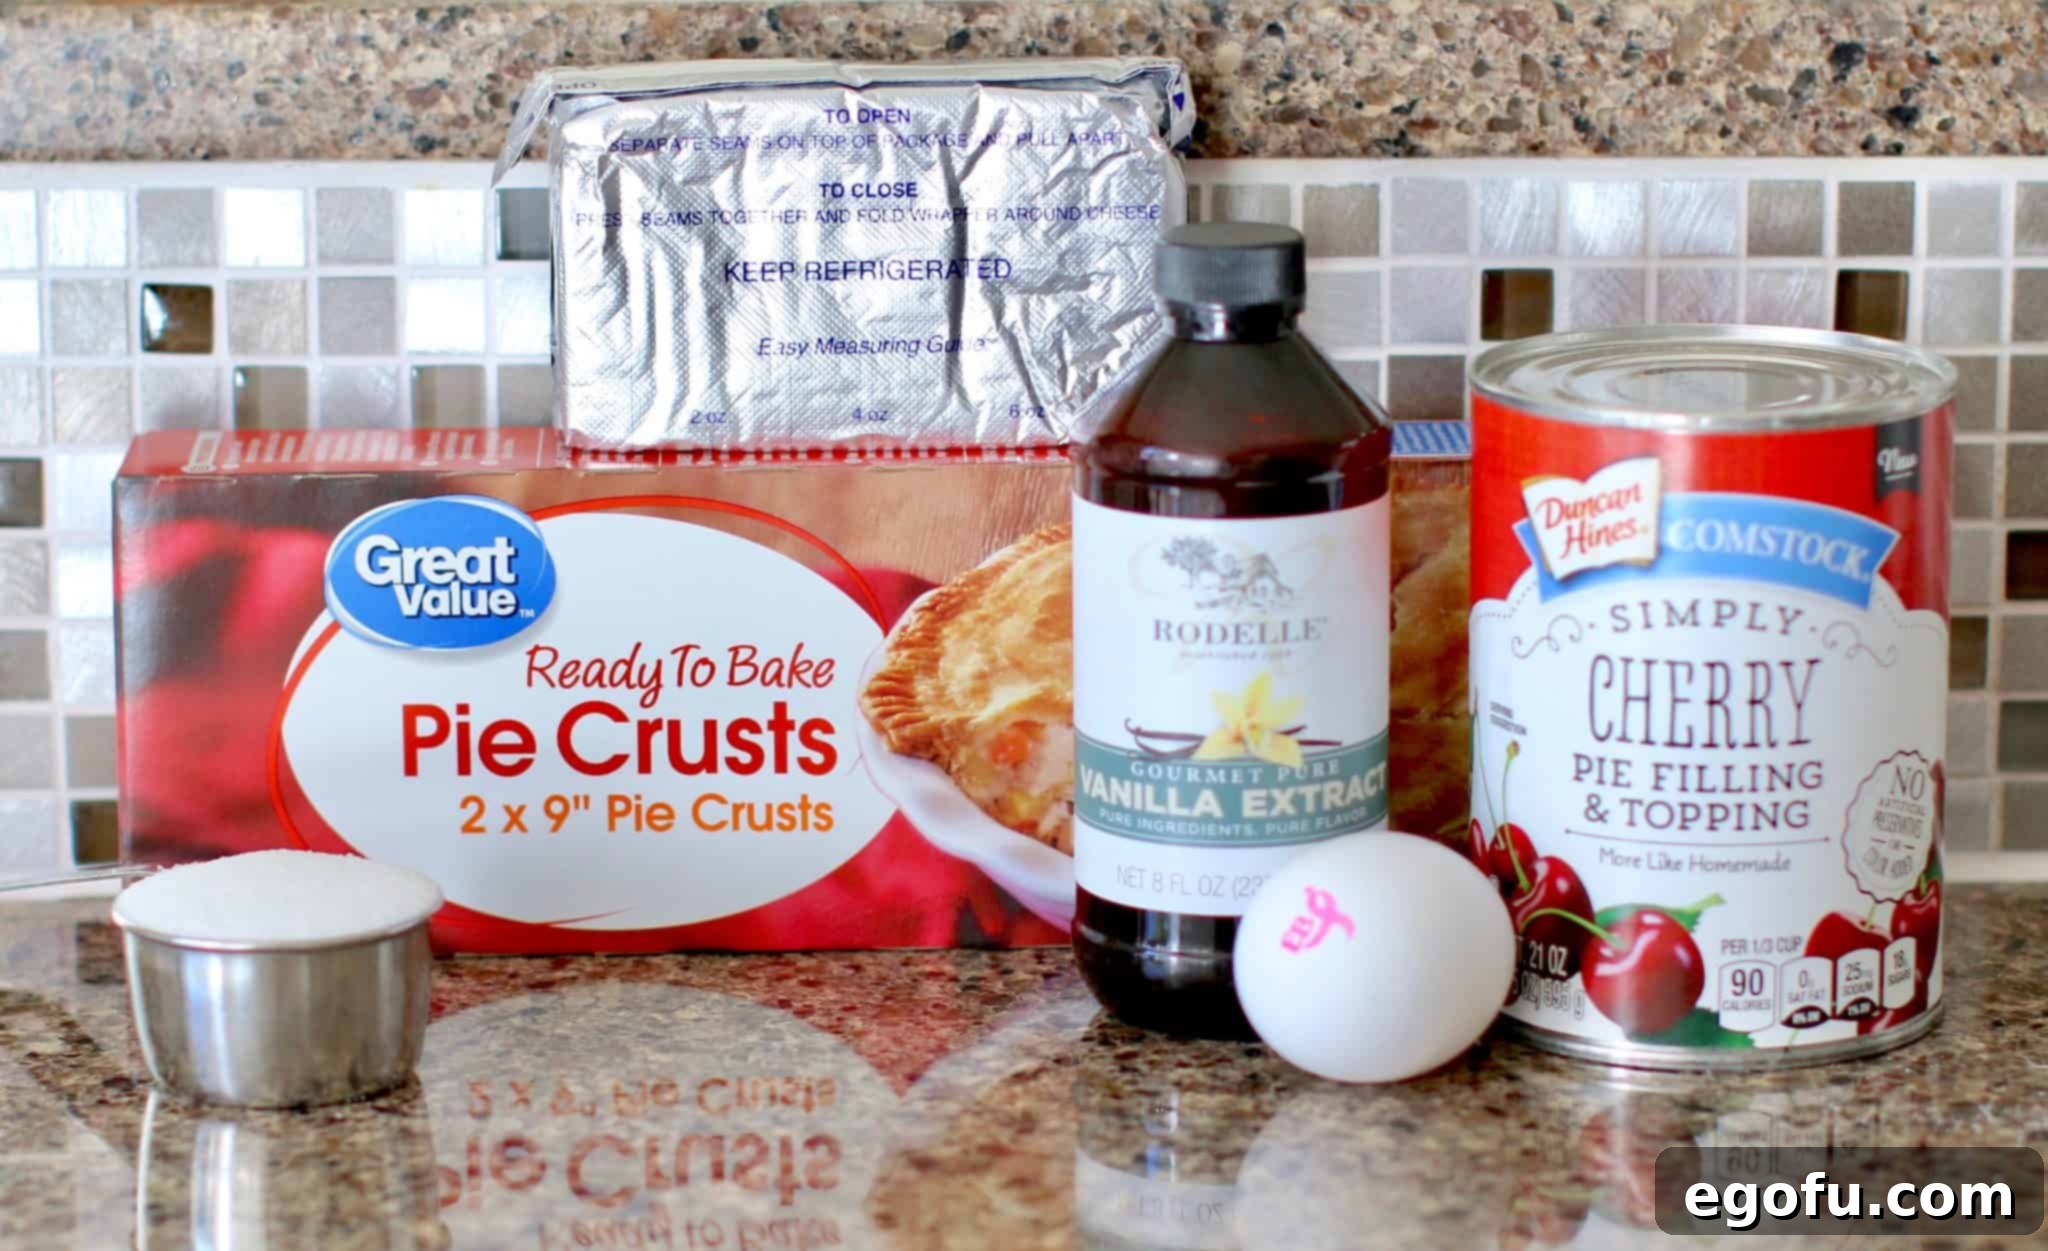
Simplicity is key with these mini pies, and the ingredient list reflects that. You likely have many of these staples in your pantry and fridge already, making this a perfect spontaneous baking project. Here’s what you’ll need to create these crowd-pleasing treats:
- Refrigerated Pie Crusts: Two crusts are typically included in one standard box, providing enough for the bases and tops of six mini pies. They’re a fantastic shortcut for flaky perfection.
- Cream Cheese: An 8-ounce block, softened to room temperature, is essential for a smooth and velvety cheesecake filling. Full-fat cream cheese yields the best texture and flavor.
- Granulated Sugar: Used in both the cheesecake filling and as a sprinkle on top for a beautiful, sparkling finish.
- Vanilla Extract: A touch of pure vanilla enhances the sweetness and rounds out the flavors of the cheesecake.
- Cherry Pie Filling: A 21-ounce can of your favorite cherry pie filling provides the vibrant fruit layer. Feel free to use a homemade version if you prefer!
- Large Egg: Beaten, it’s used to create an egg wash, giving the pie crusts a beautiful golden sheen and helping to seal the edges.
- Water: Mixed with the egg for the egg wash, making it easier to brush.
Step-by-Step Guide: How to Bake Mini Cherry Cheesecake Pies
Follow these detailed instructions to create perfectly portioned, incredibly delicious mini cherry cheesecake pies. This recipe is designed to be straightforward, ensuring a delightful baking experience from start to finish.
Preparation and Cheesecake Filling
- Preheat Your Oven & Prepare Cheesecake Filling: Begin by preheating your oven to 400°F (200°C). While the oven heats, in a small mixing bowl, combine the softened cream cheese, ¼ cup of granulated sugar, and 1 teaspoon of vanilla extract. Mix with a spoon or a hand mixer until the mixture is completely smooth and creamy, with no lumps visible. Set this delicious cheesecake filling aside.
Preparing the Pie Crusts
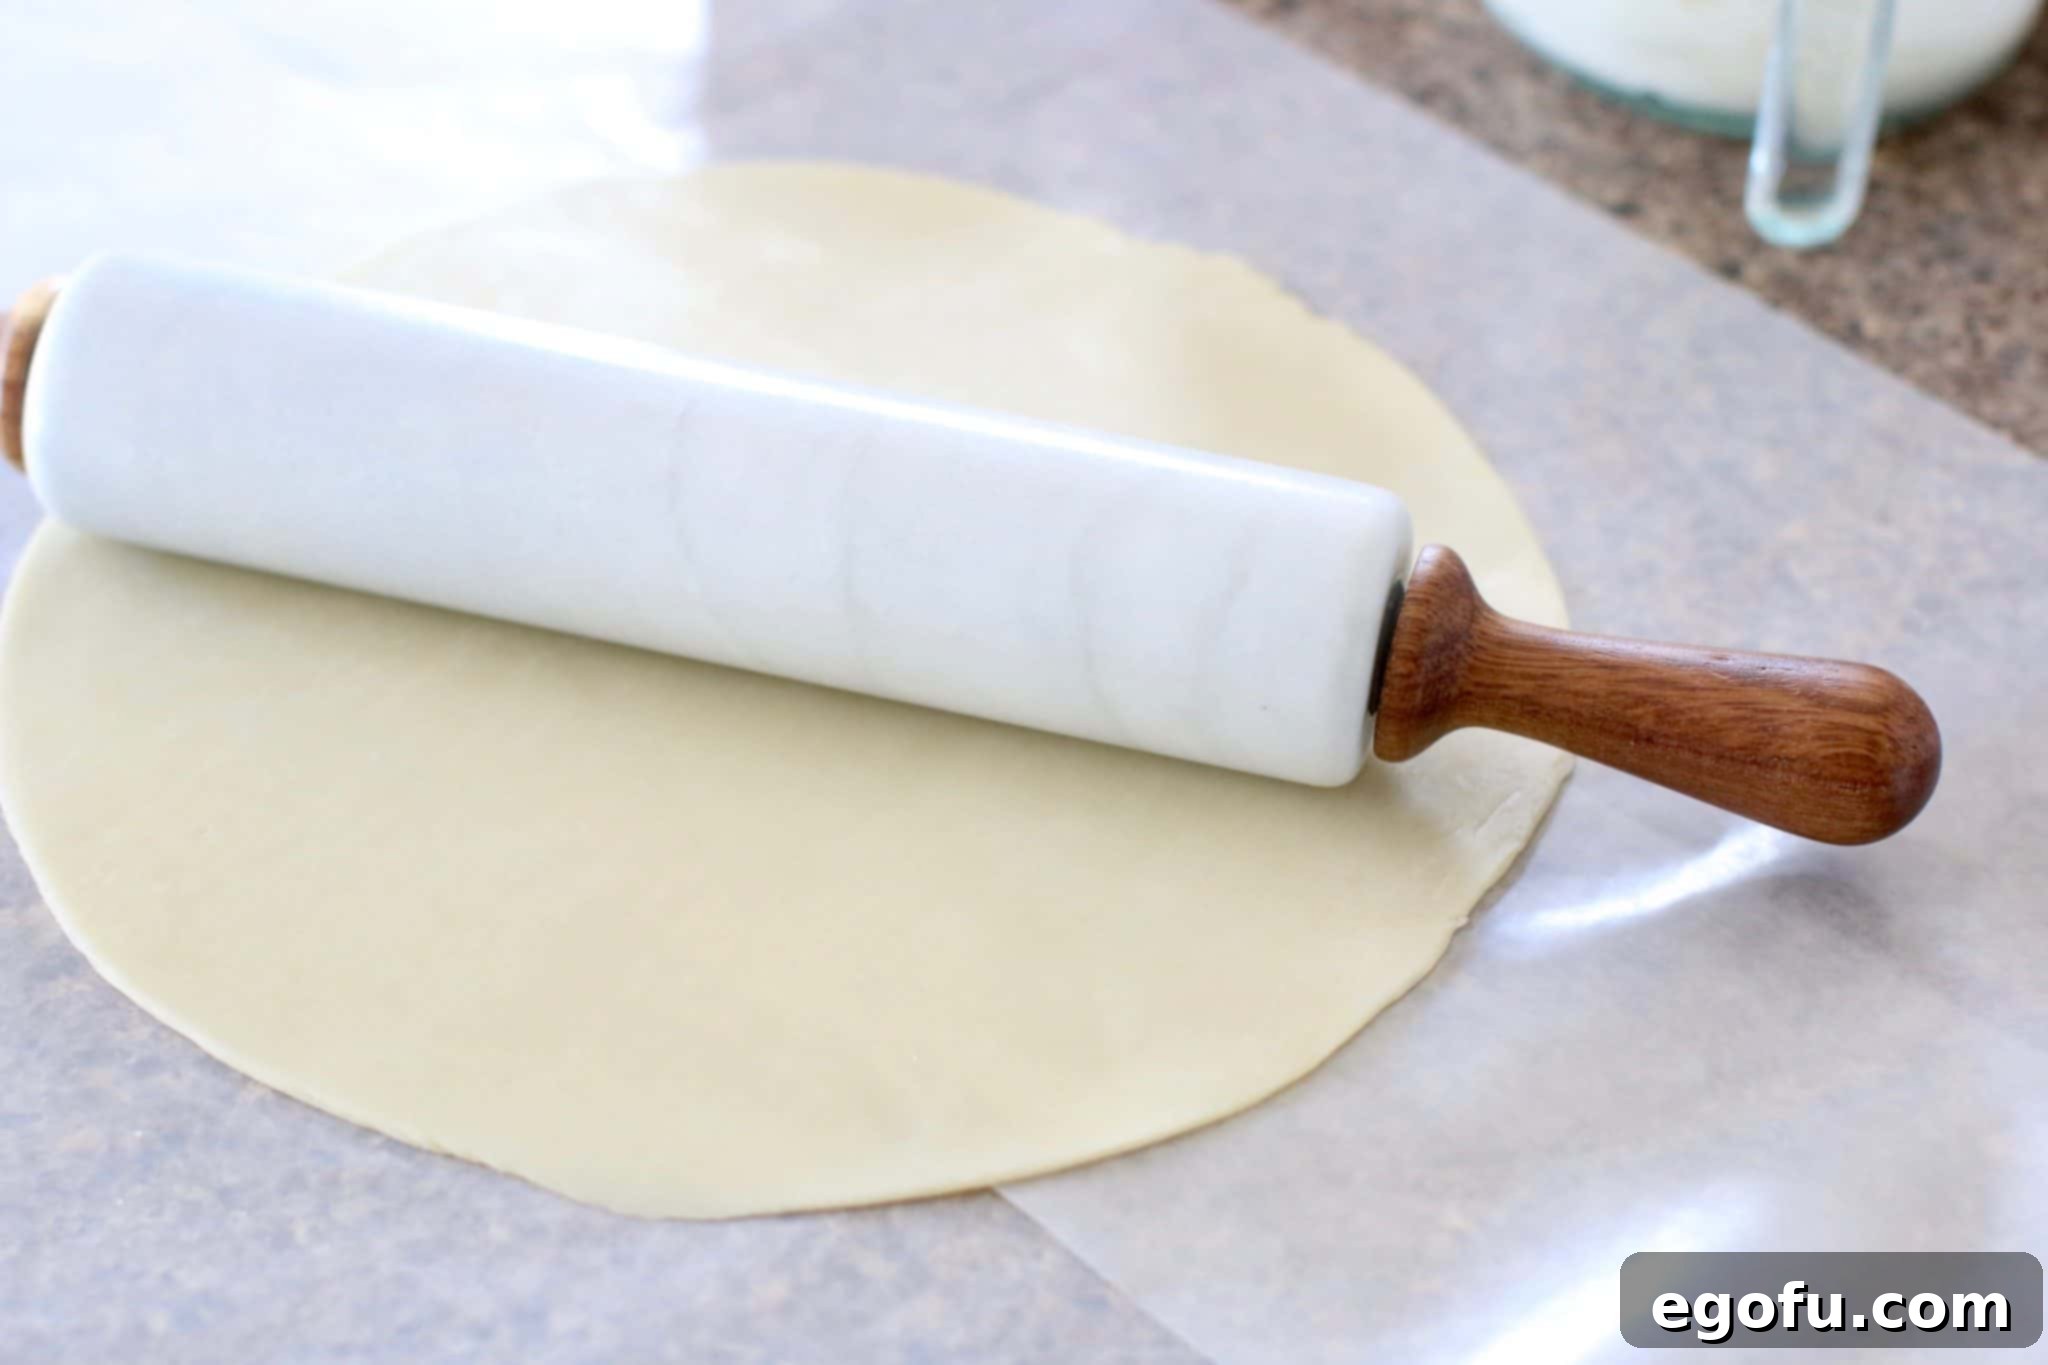
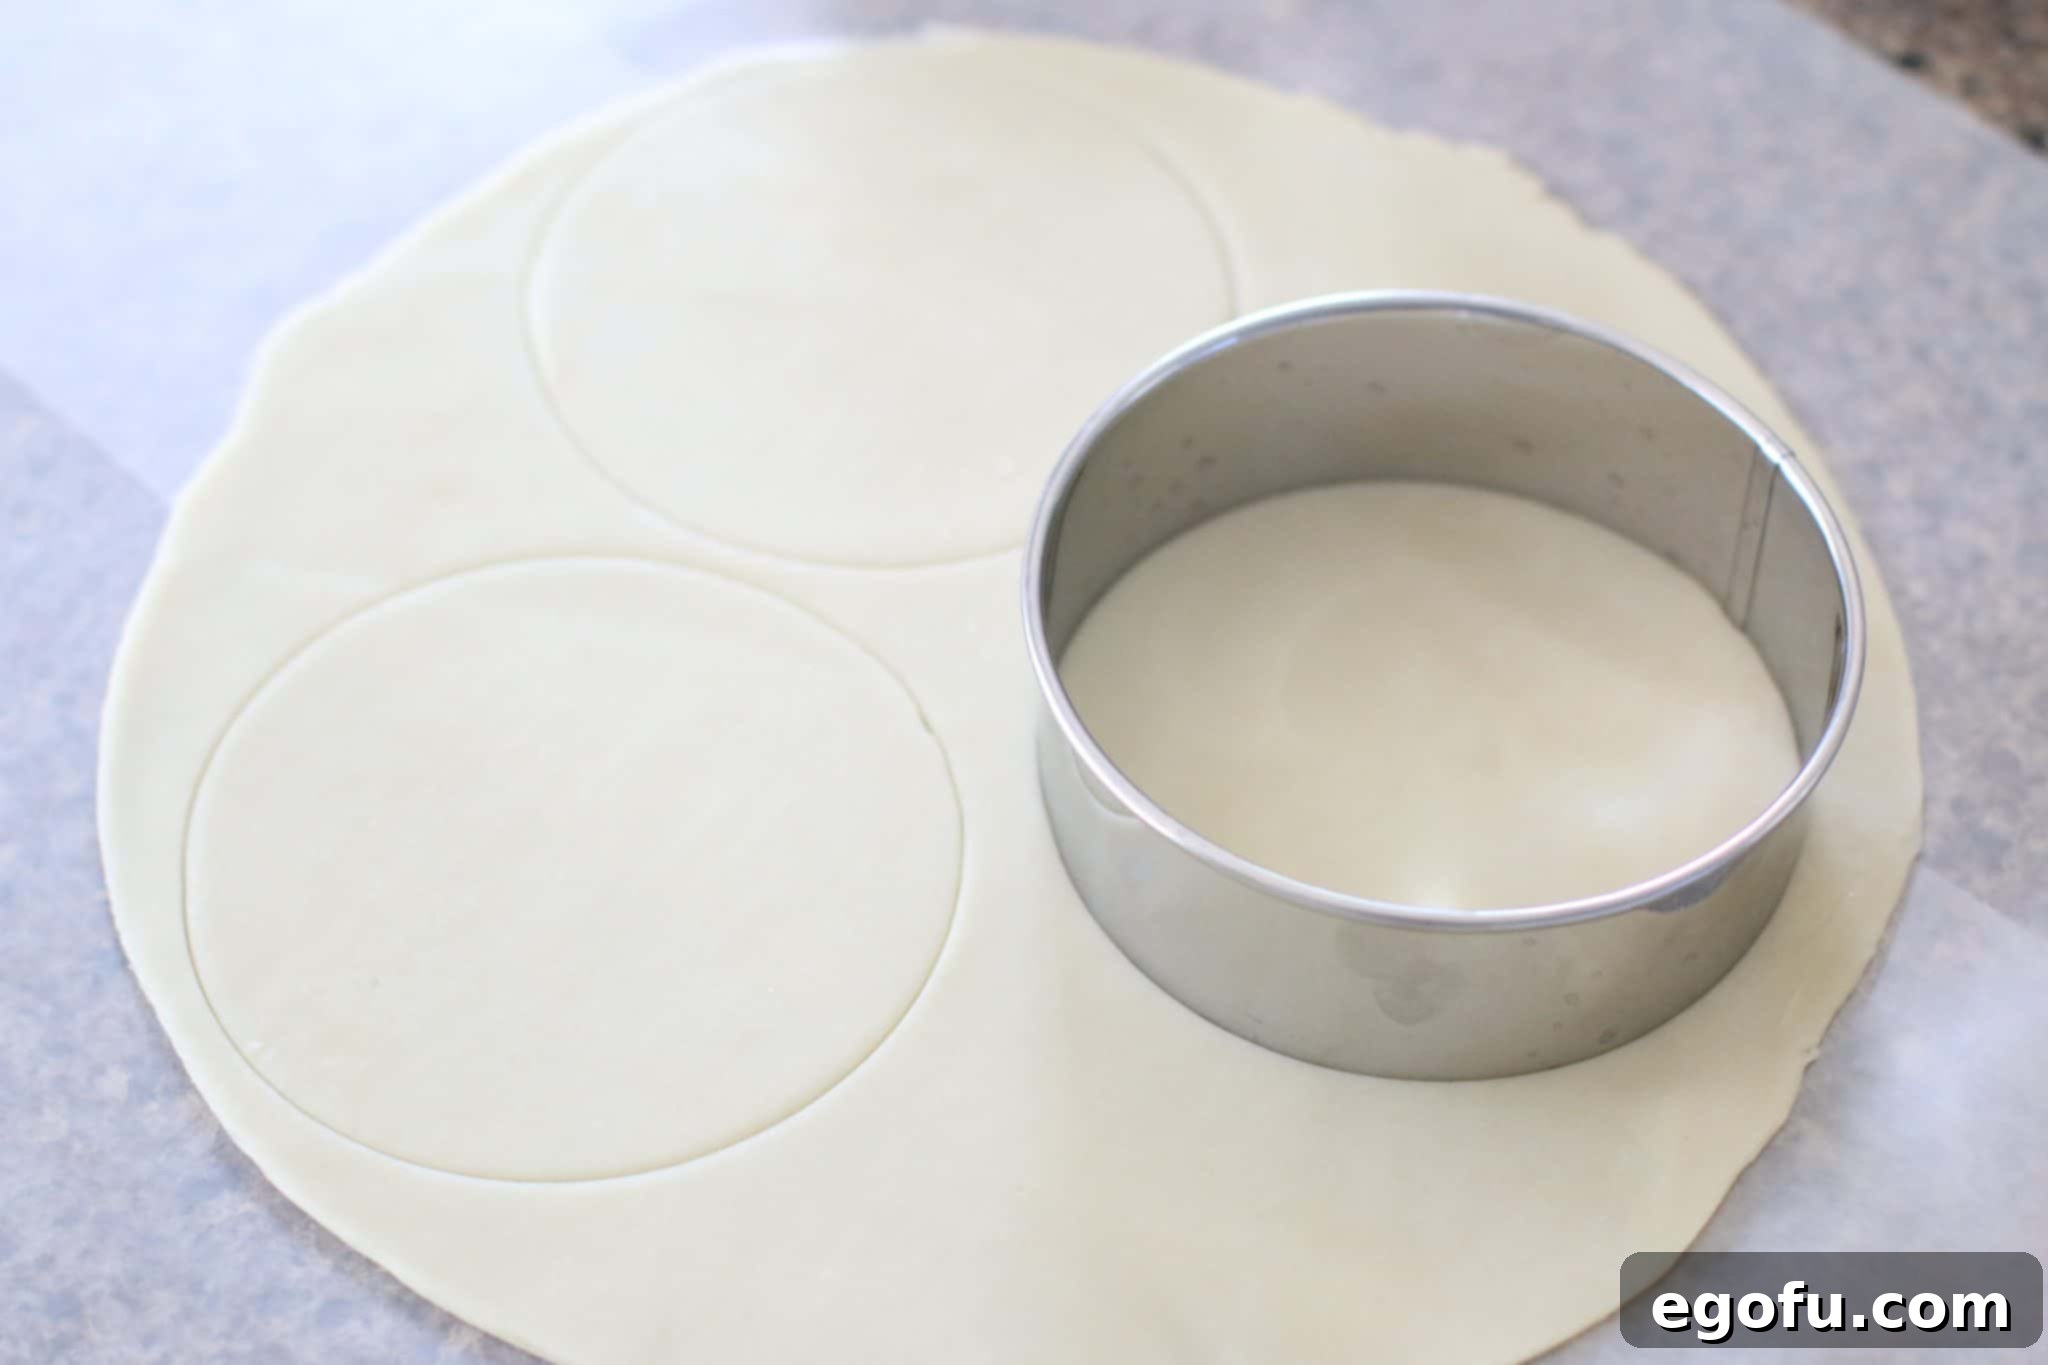
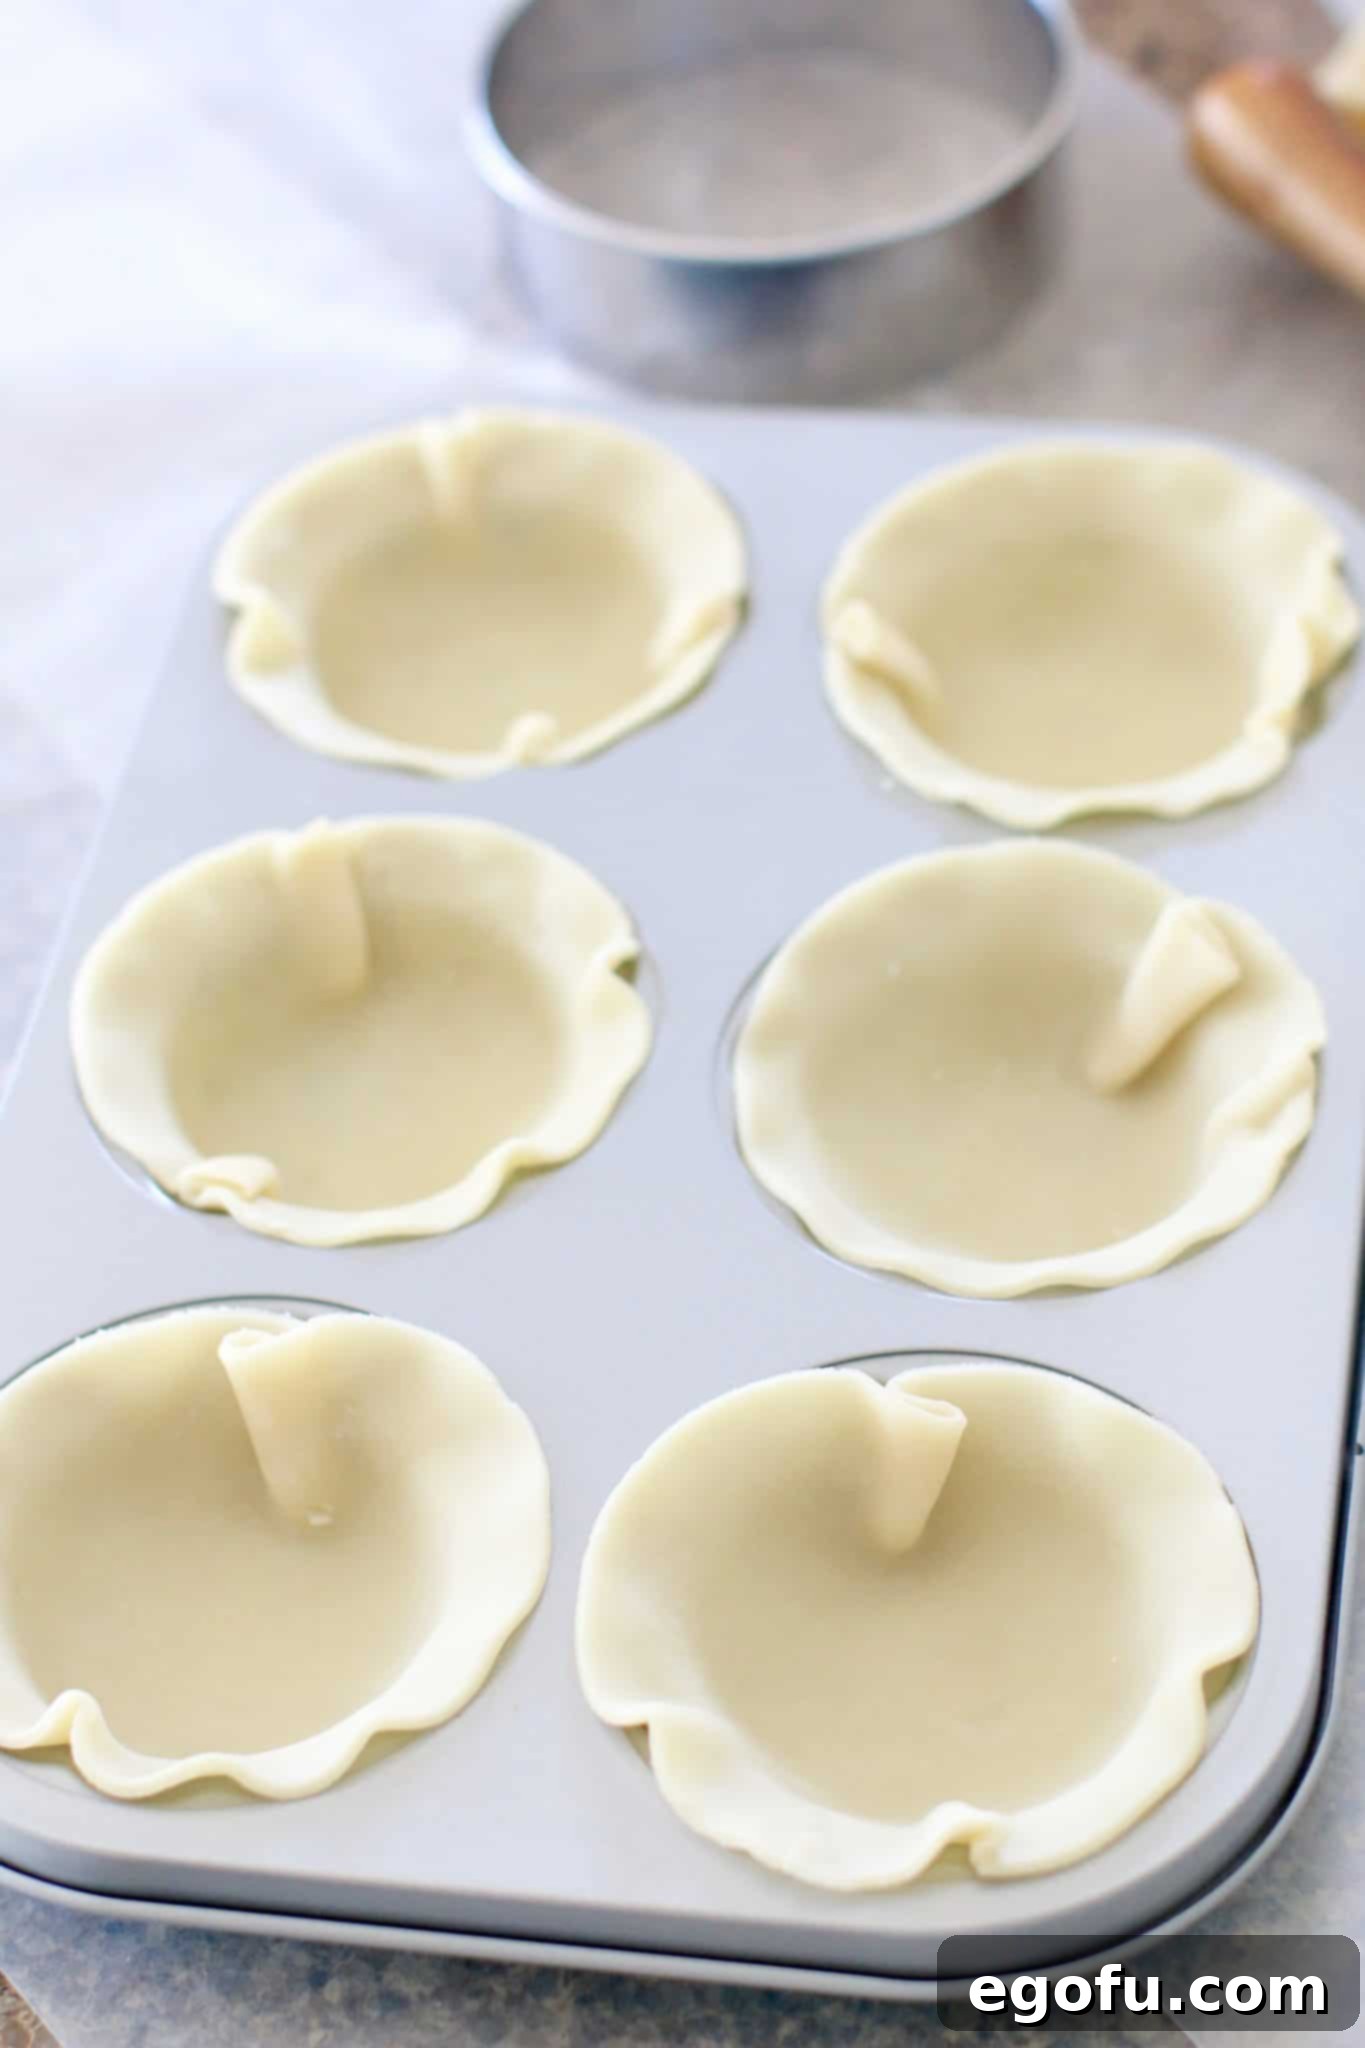
- Roll Out and Cut Base Crusts: Unroll one of the refrigerated pie crusts onto a lightly floured surface or a piece of wax paper for easy cleanup. Gently use a rolling pin to flatten the crust slightly, ensuring it’s uniform in thickness. Using a large pie dough or biscuit cutter (approximately 3 inches or 7.5 cm in diameter), cut out three circles from this crust. Carefully place each circle into the wells of your mini pie pan, gently pressing the dough into the bottom and up the sides to form a snug shell.
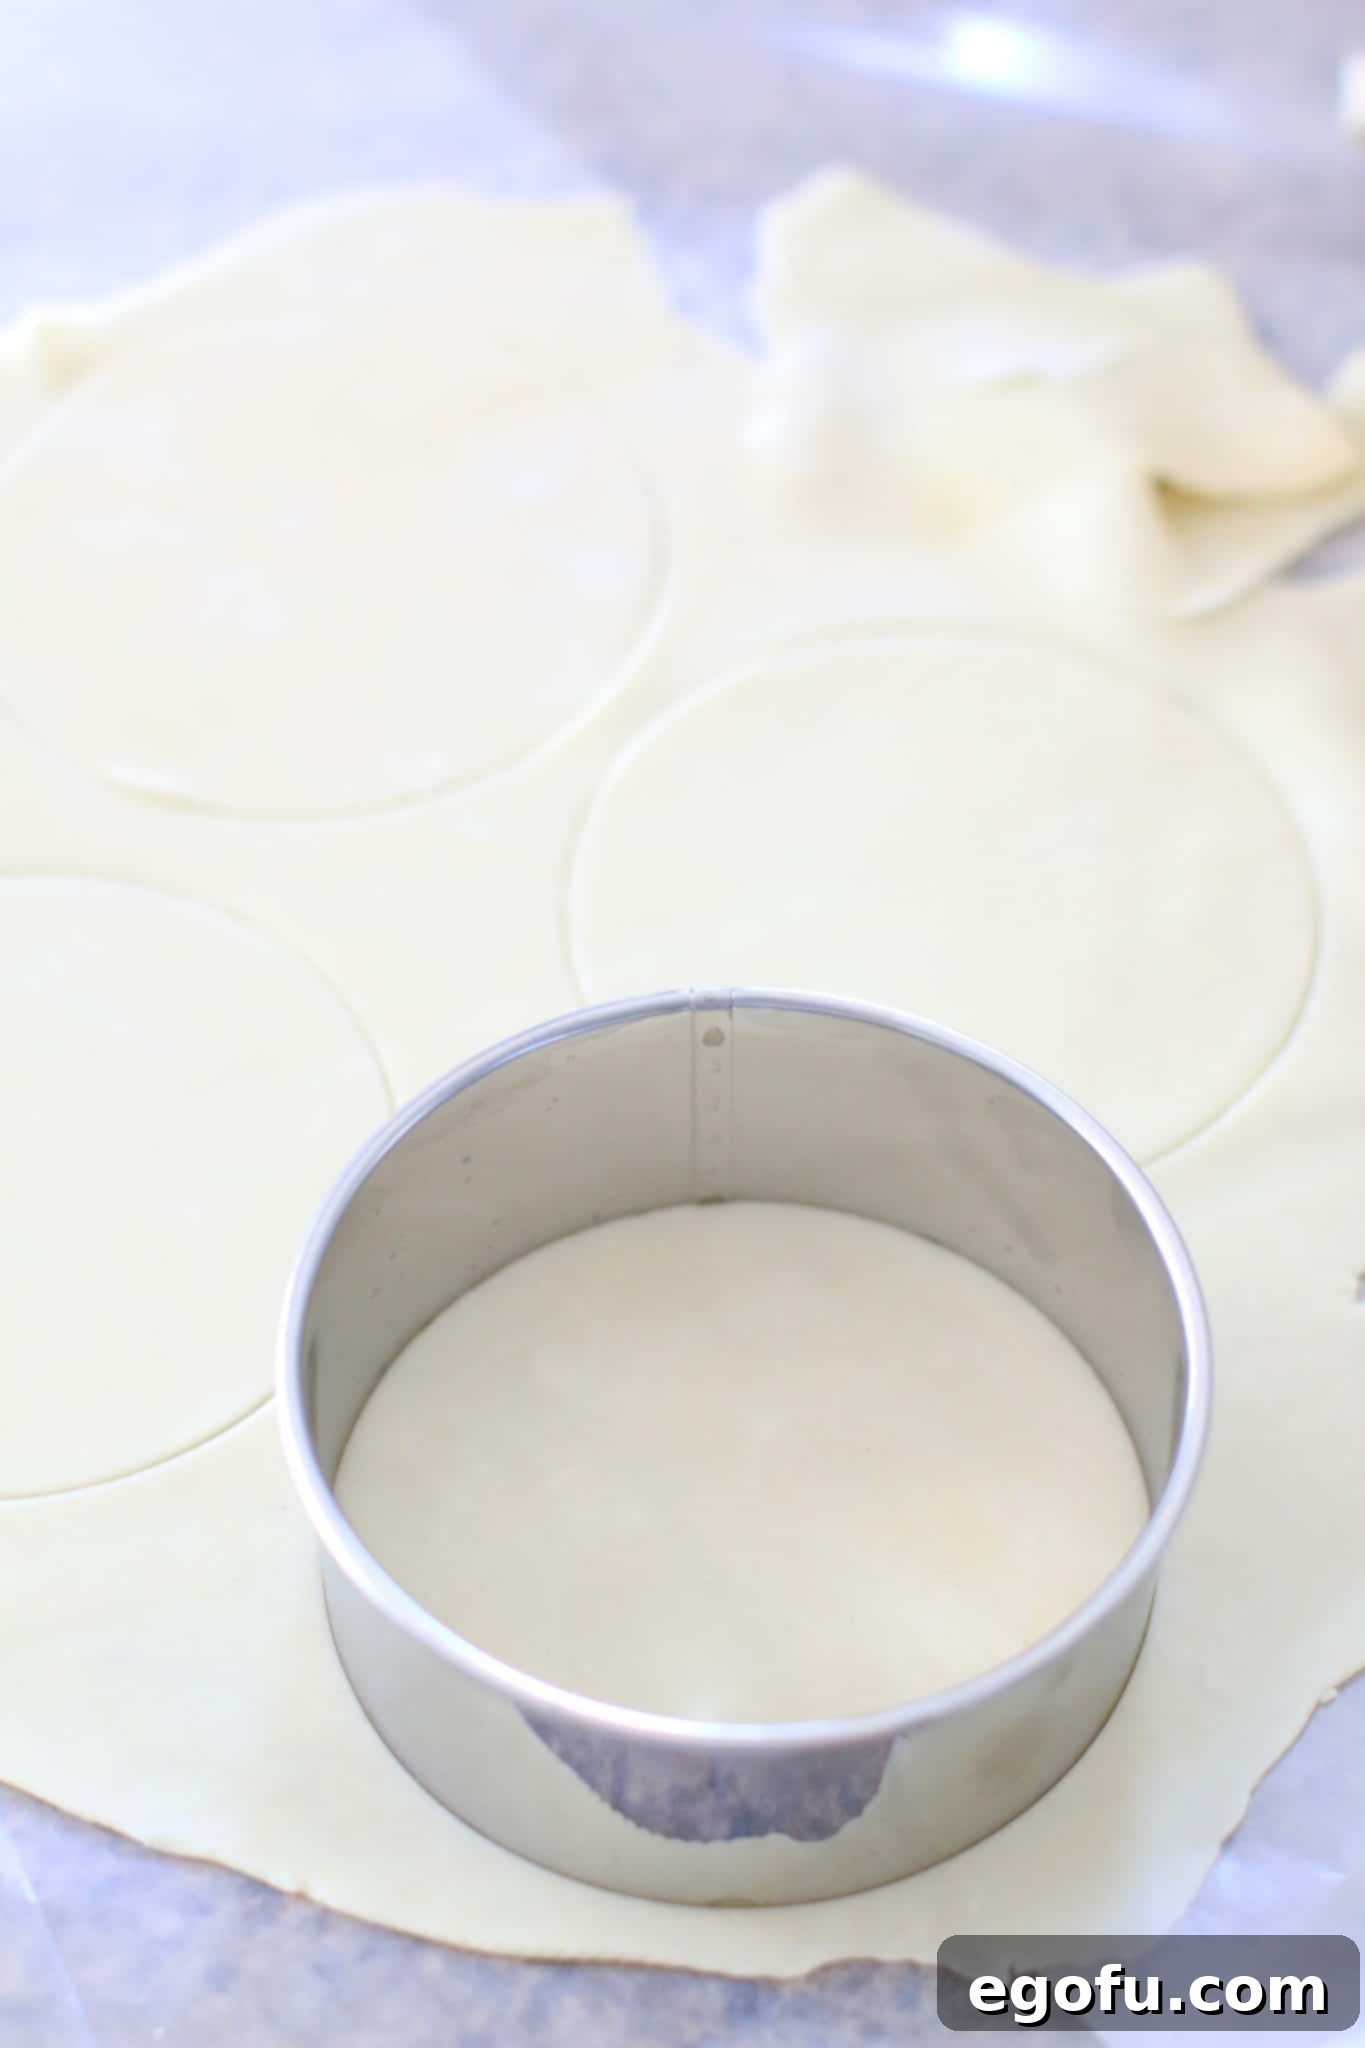
- Prepare Top Crusts: Gather the remaining dough scraps from the first crust, gently re-roll them, and combine with the second unrolled pie crust. Roll out this combined dough to about ⅛-inch (3 mm) thick. Using the same large pie dough or biscuit cutter, cut out six more circles. These will serve as the top crusts for your mini pies. Set these aside.
Filling the Pies
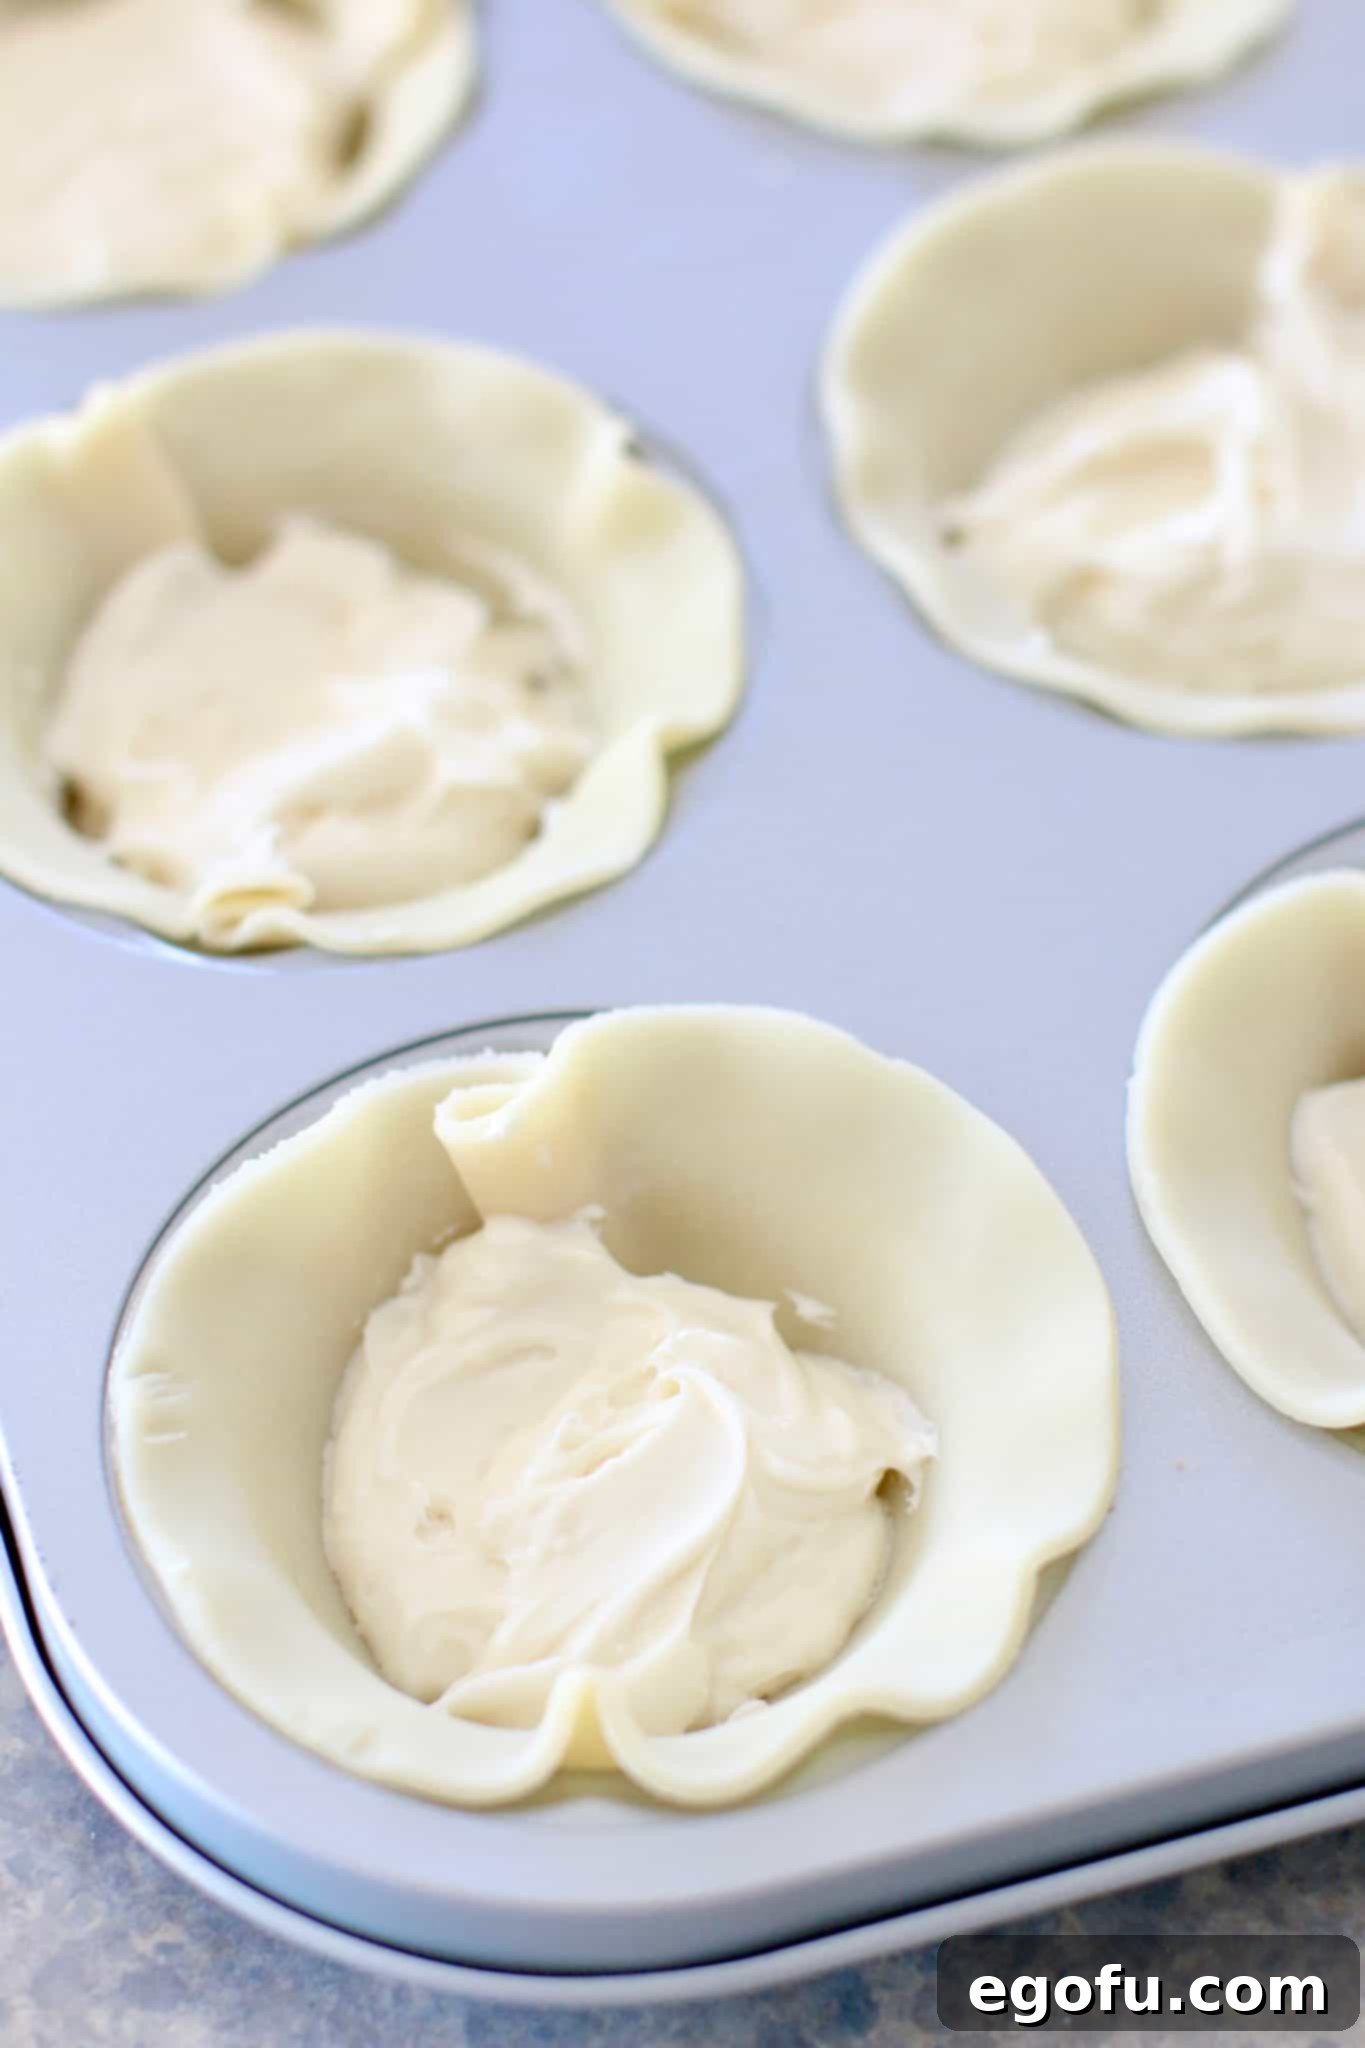
- Add Cheesecake Layer: Spoon approximately 2 tablespoons of the prepared creamy cream cheese mixture into the bottom of each pie crust-lined well. Spread it gently to create an even layer. This forms the delicious cheesecake foundation.
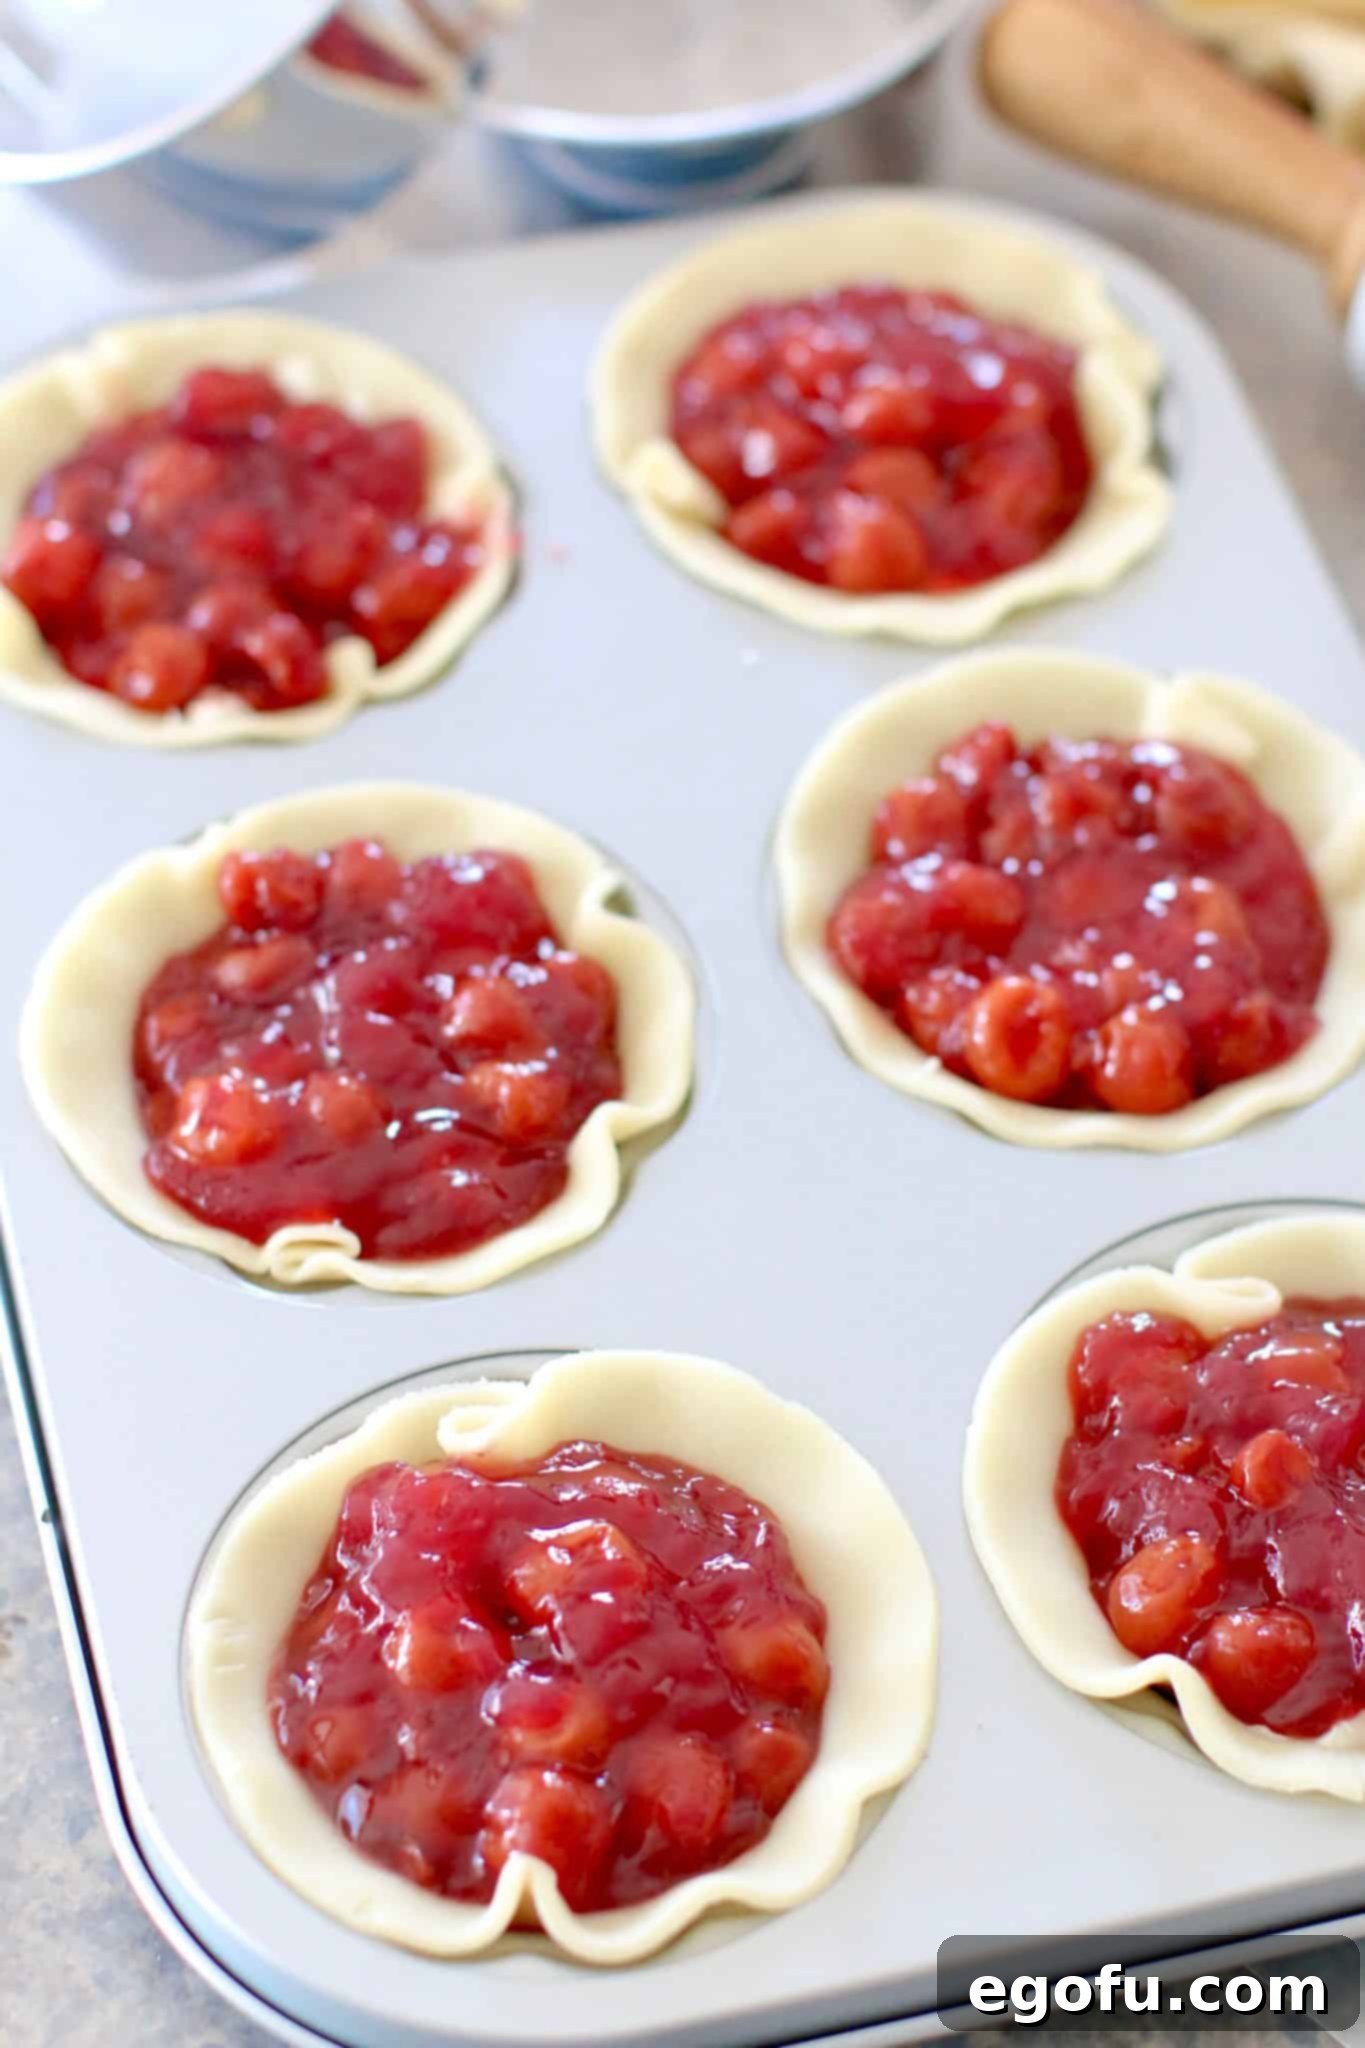
- Top with Cherry Filling: Next, spoon about 3 tablespoons of the cherry pie filling directly on top of the cream cheese mixture in each pie. Ensure the filling is spread evenly, but leave a small border around the edge for sealing the top crust.
Sealing and Finishing the Pies
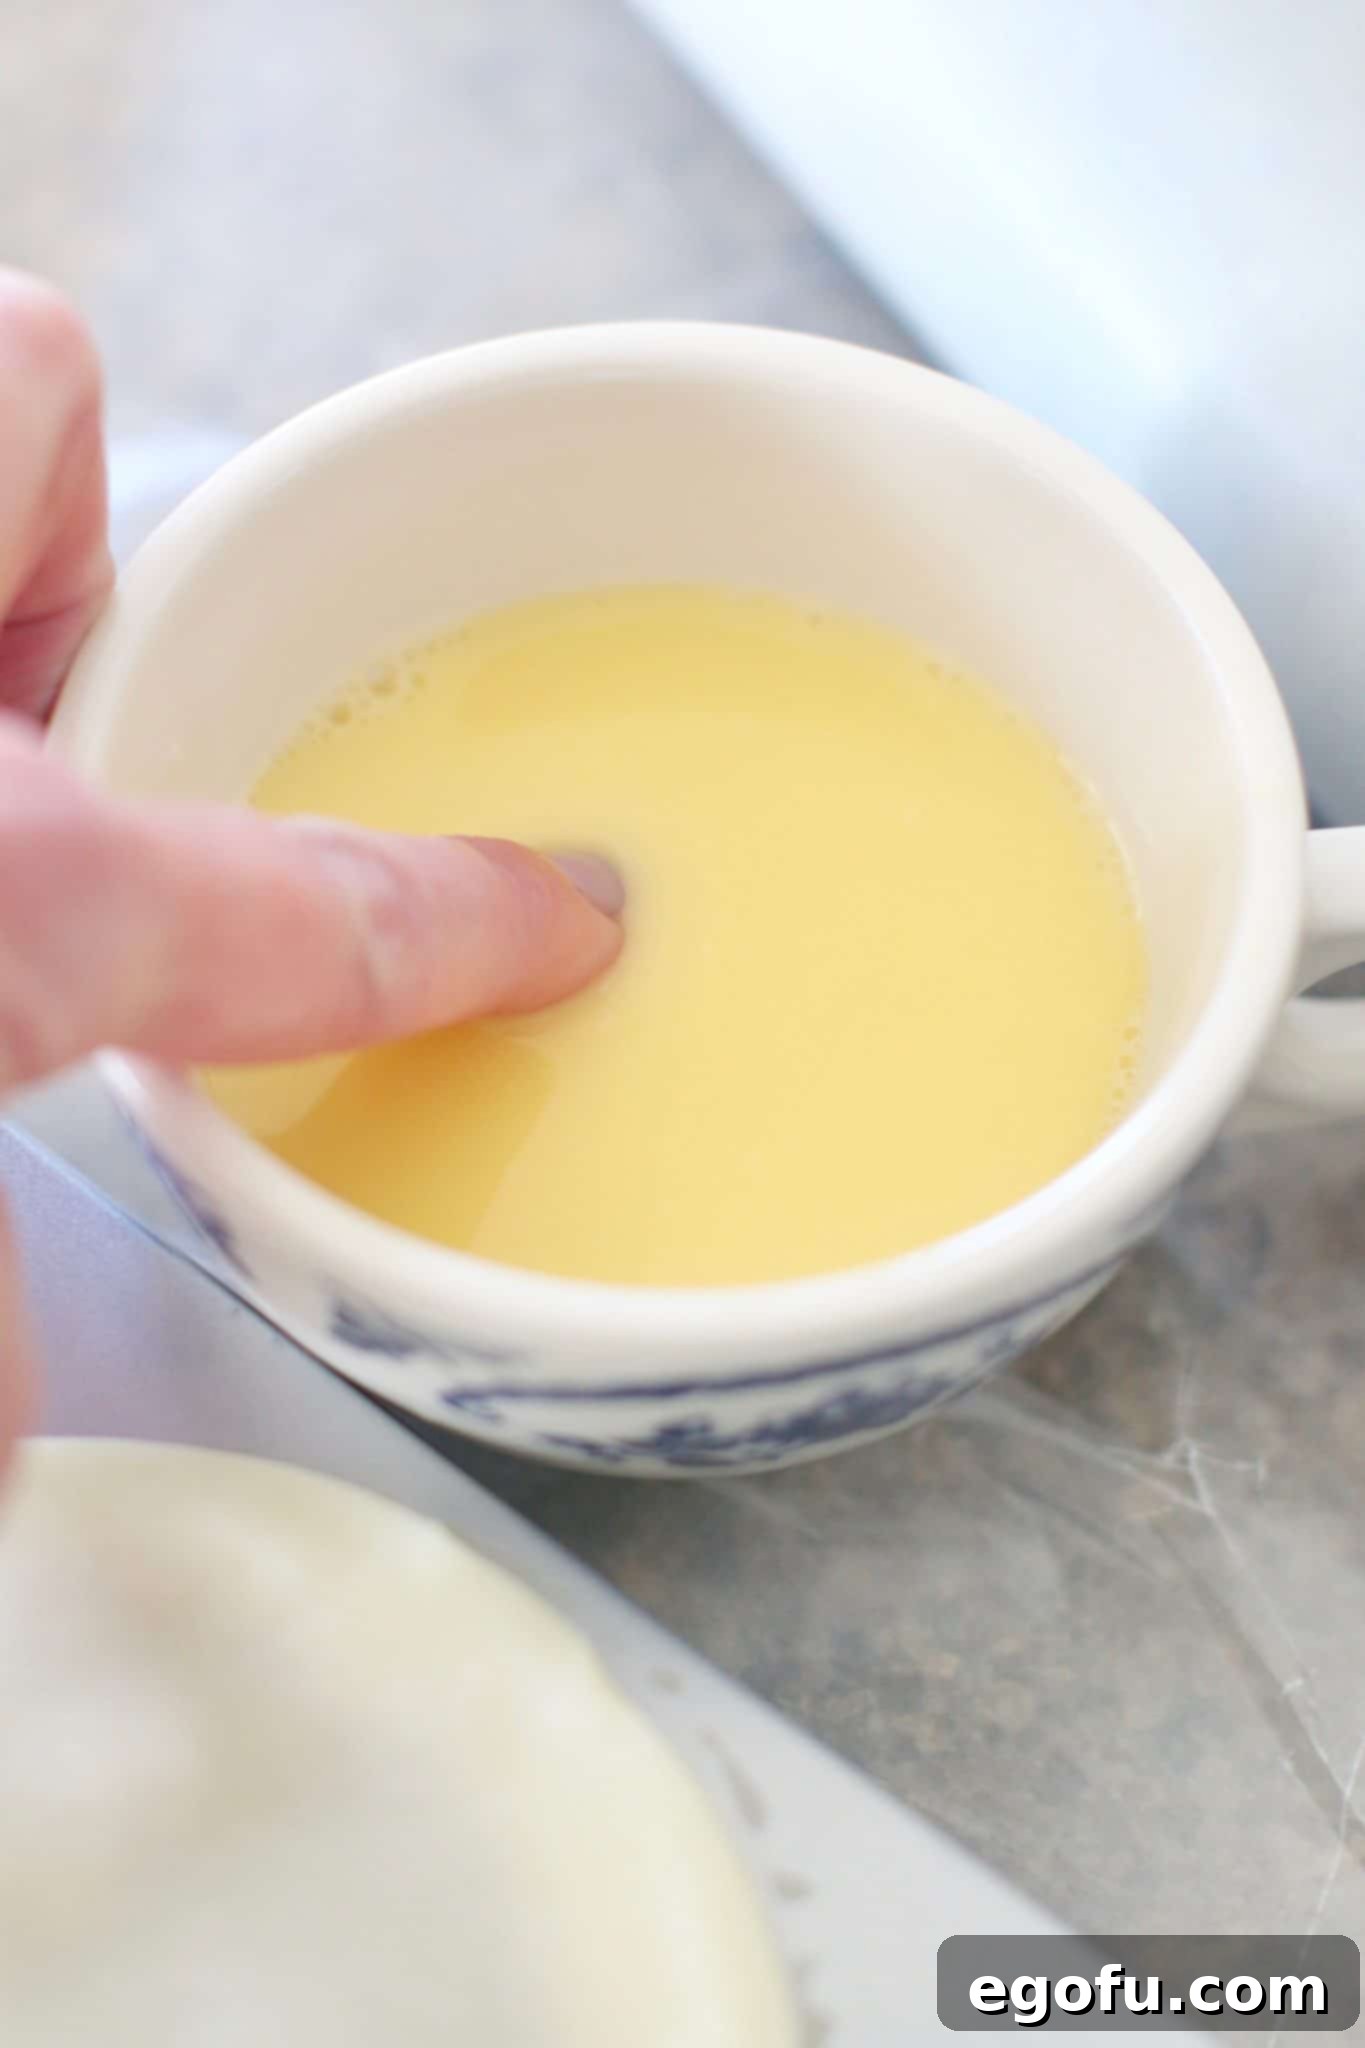
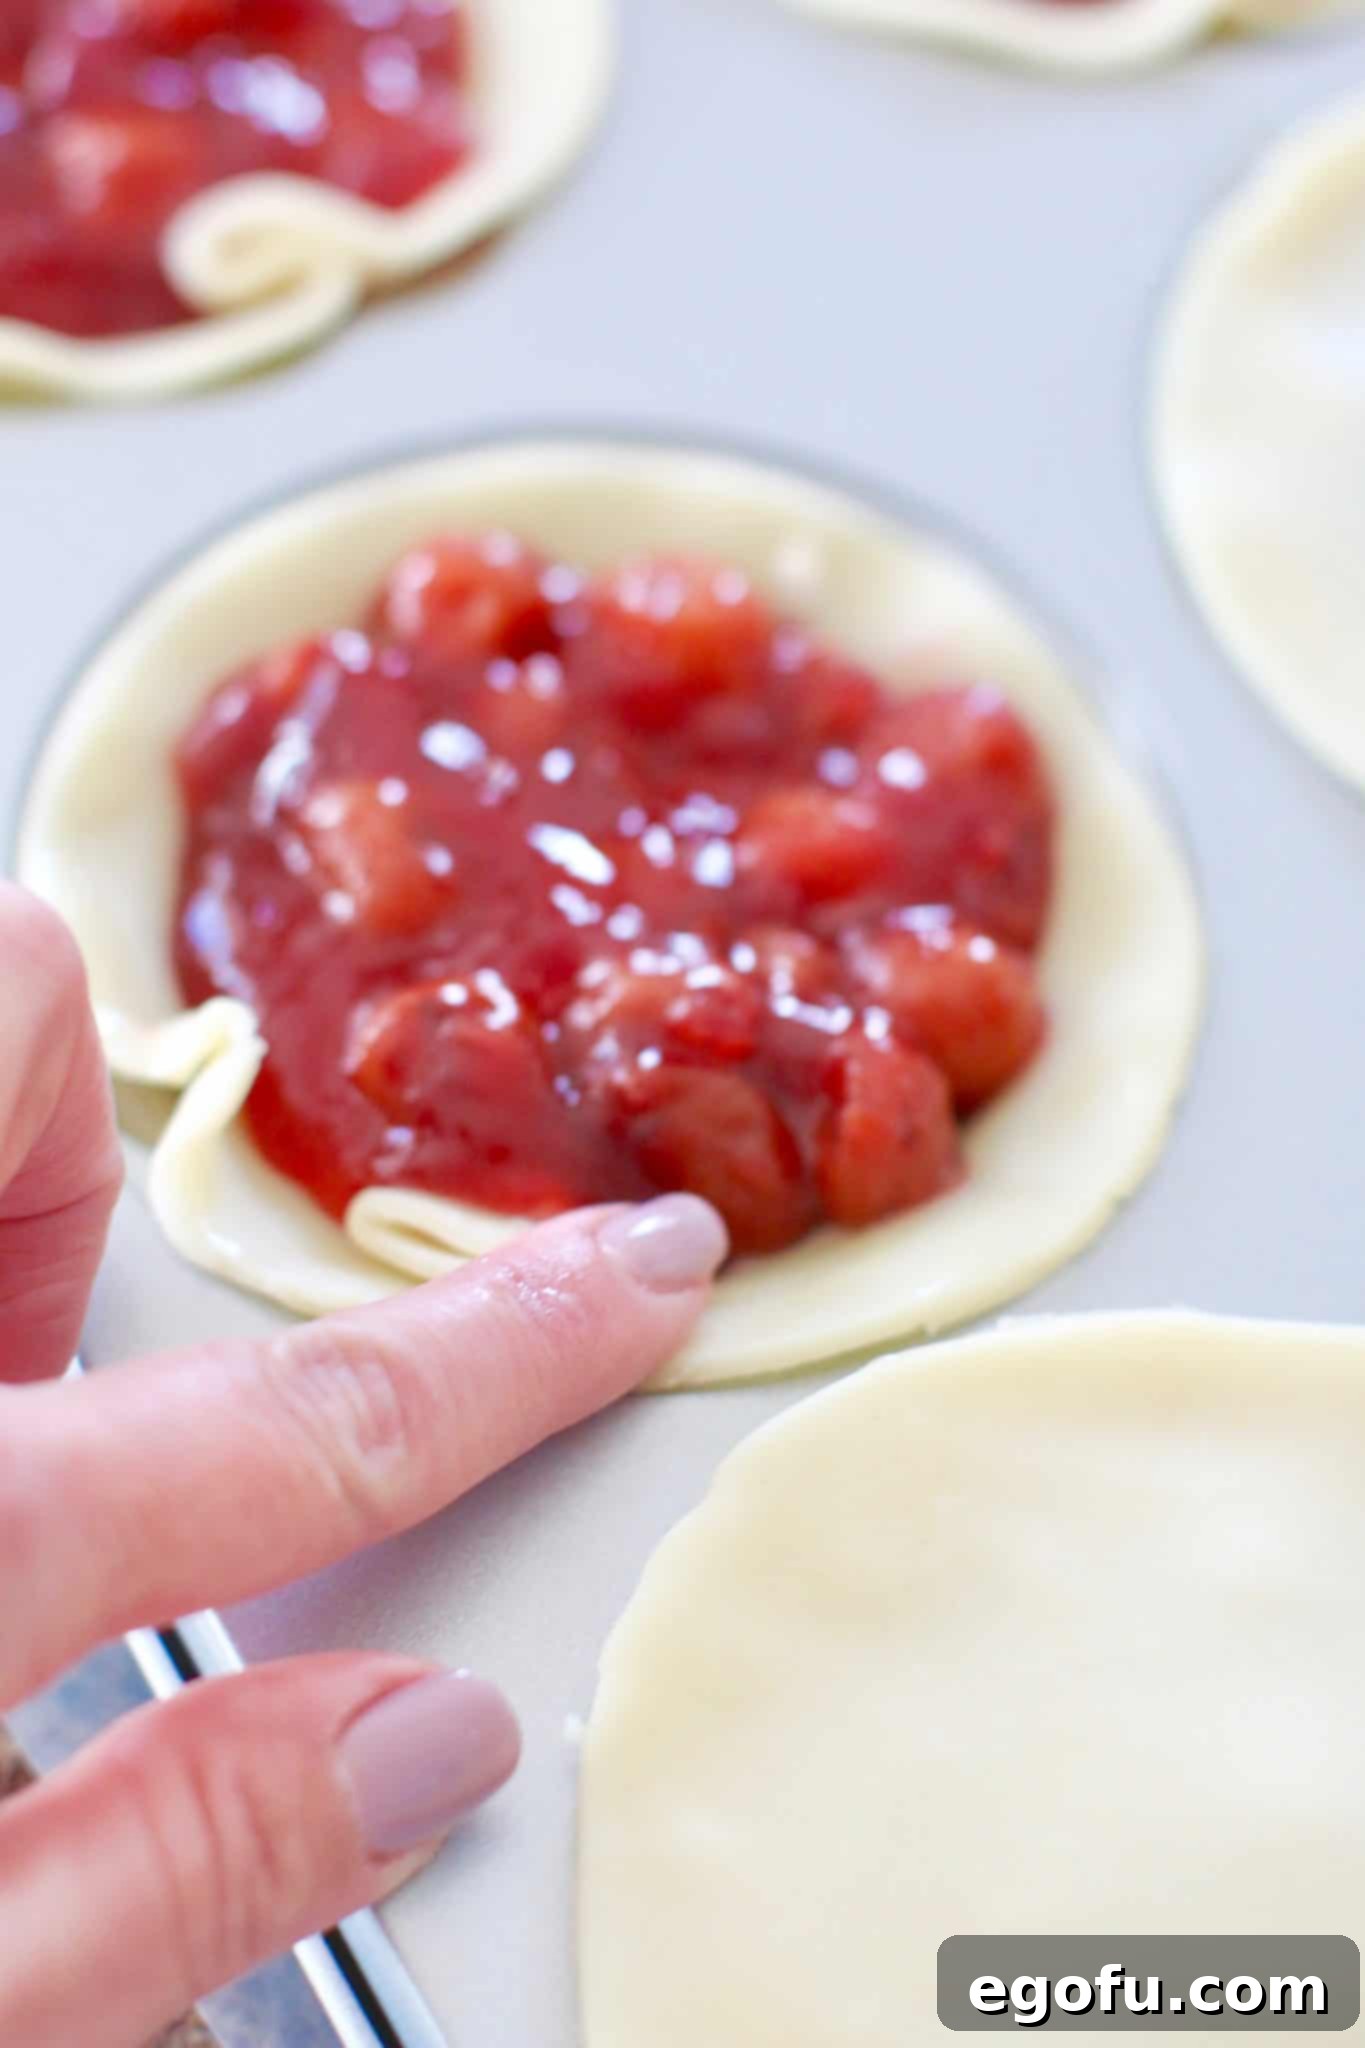
- Prepare Egg Wash & Seal: In a small bowl, whisk together the large beaten egg and 1 tablespoon of water to create an egg wash. Dip your finger or a small pastry brush into the egg wash and run it around the inside edge of each pie crust-lined well. This acts as a “glue.” Carefully place one of the reserved smaller pie crust circles on top of each filled pie, covering it completely. Pinch the top and bottom dough edges together, pressing them firmly into the scalloped rim of the mini pie pan to create a secure seal and a decorative edge.
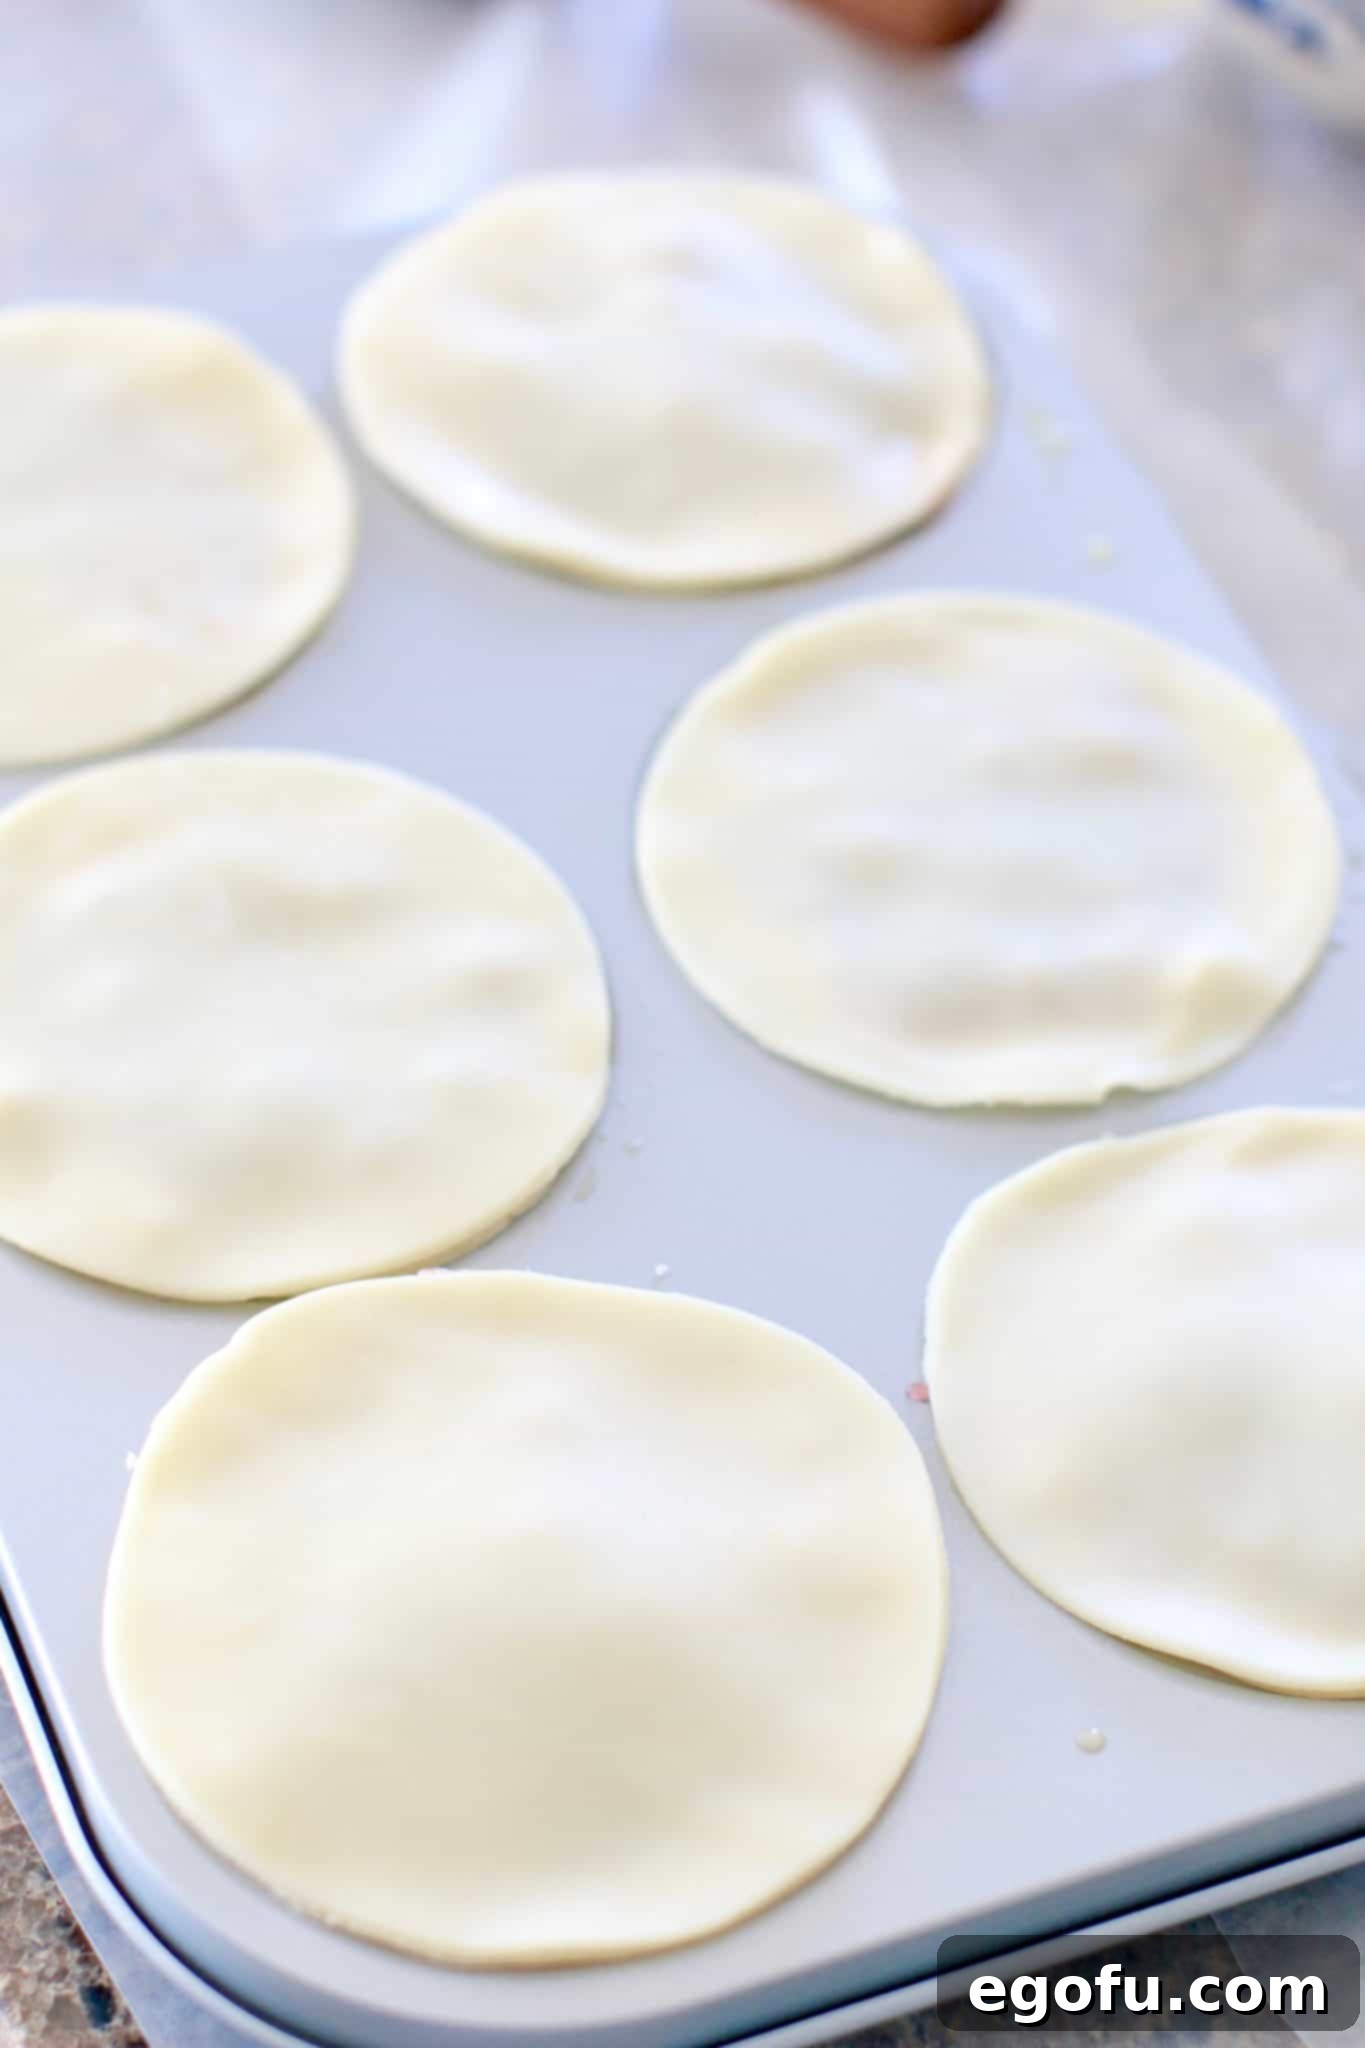
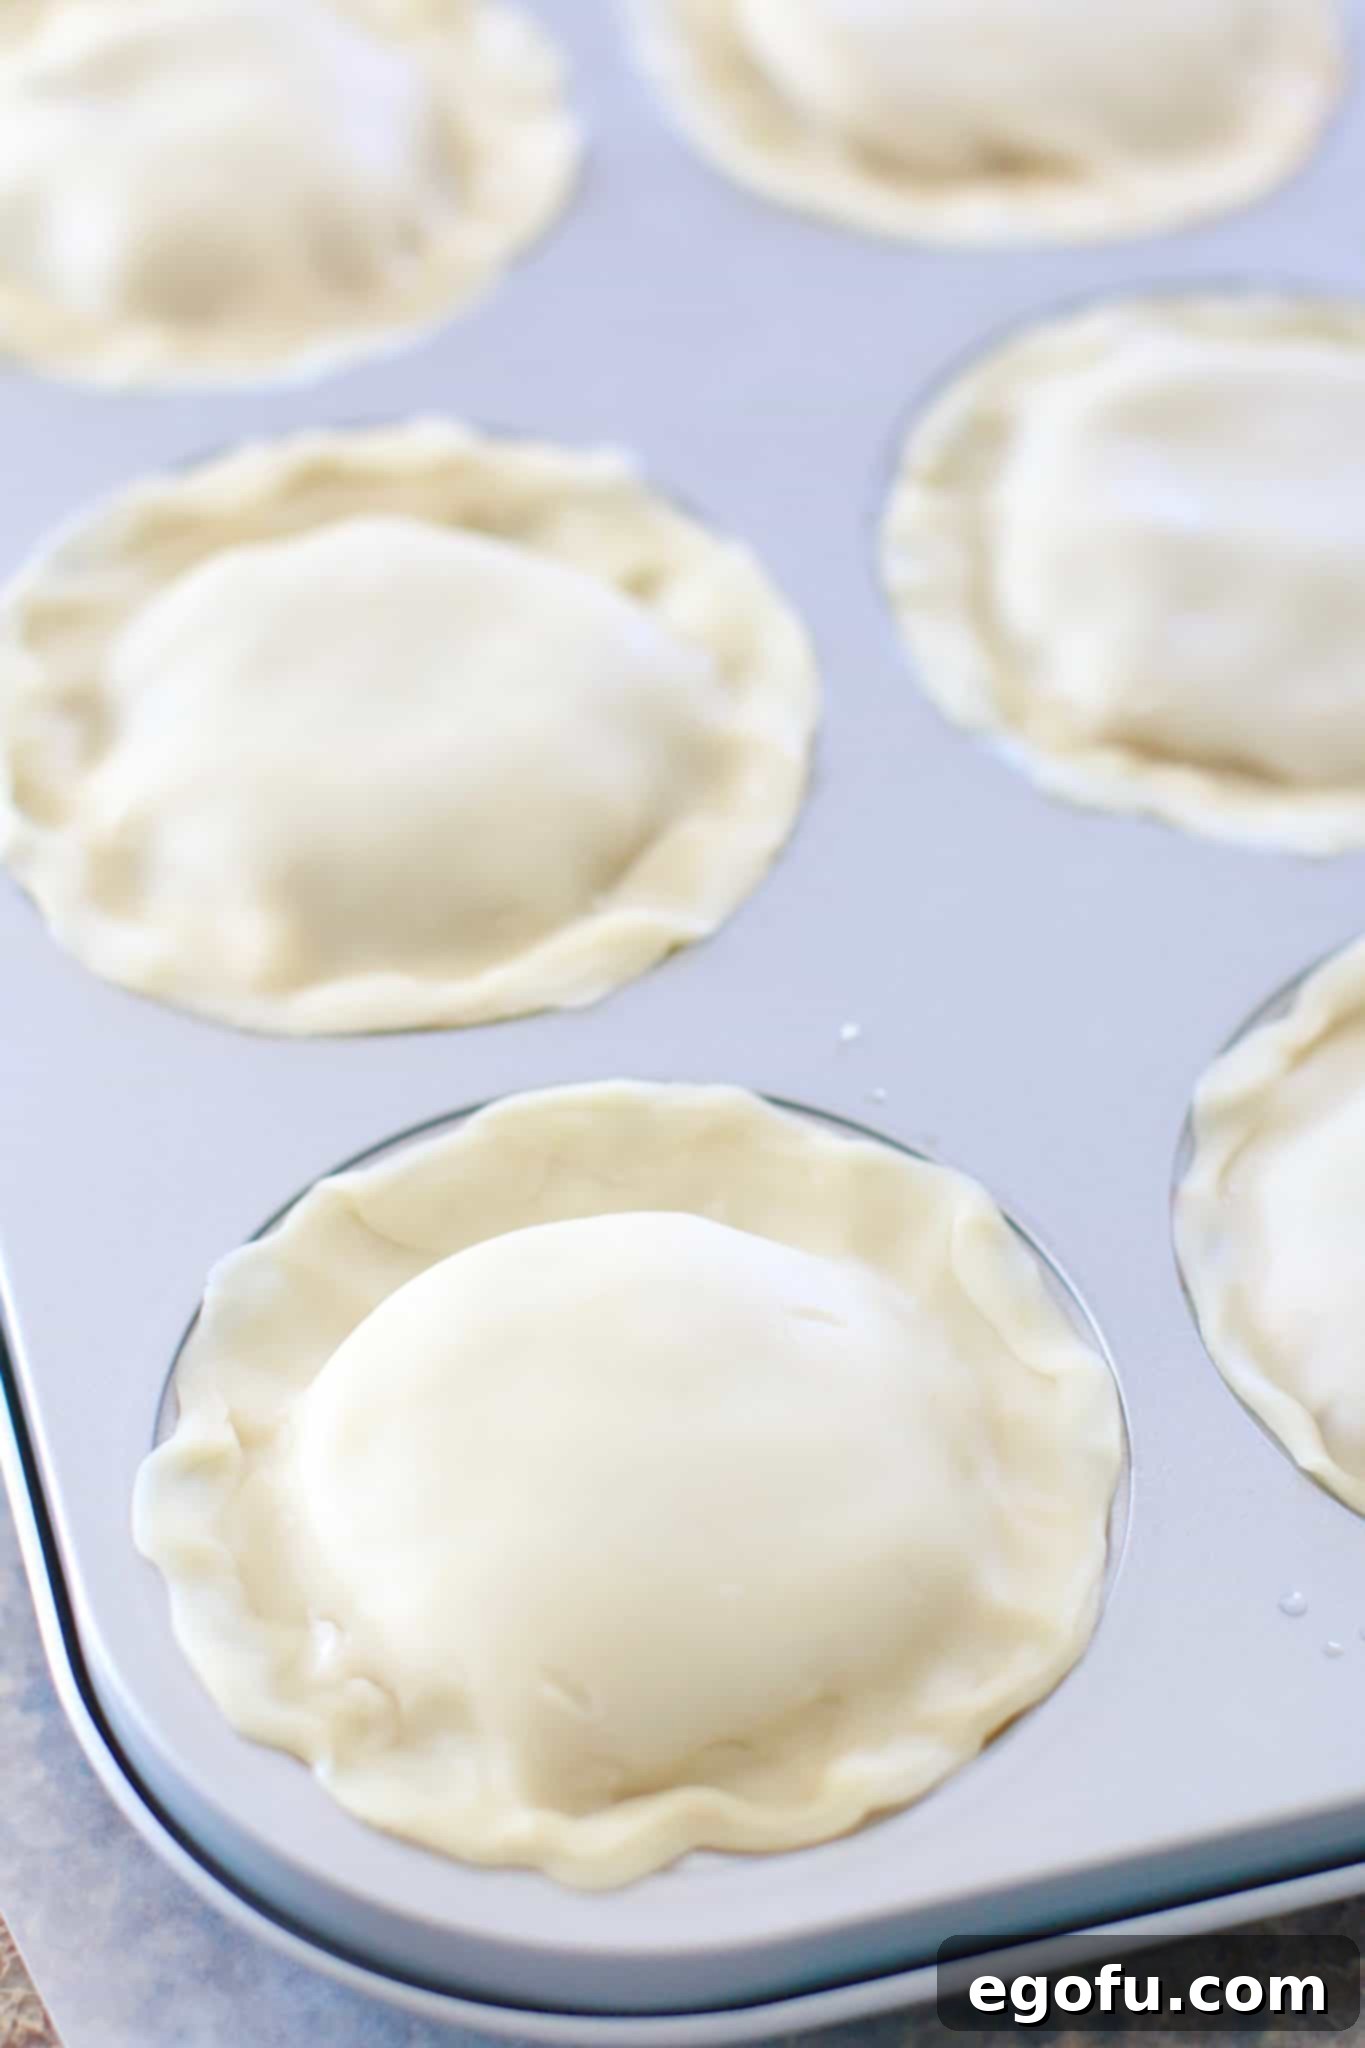
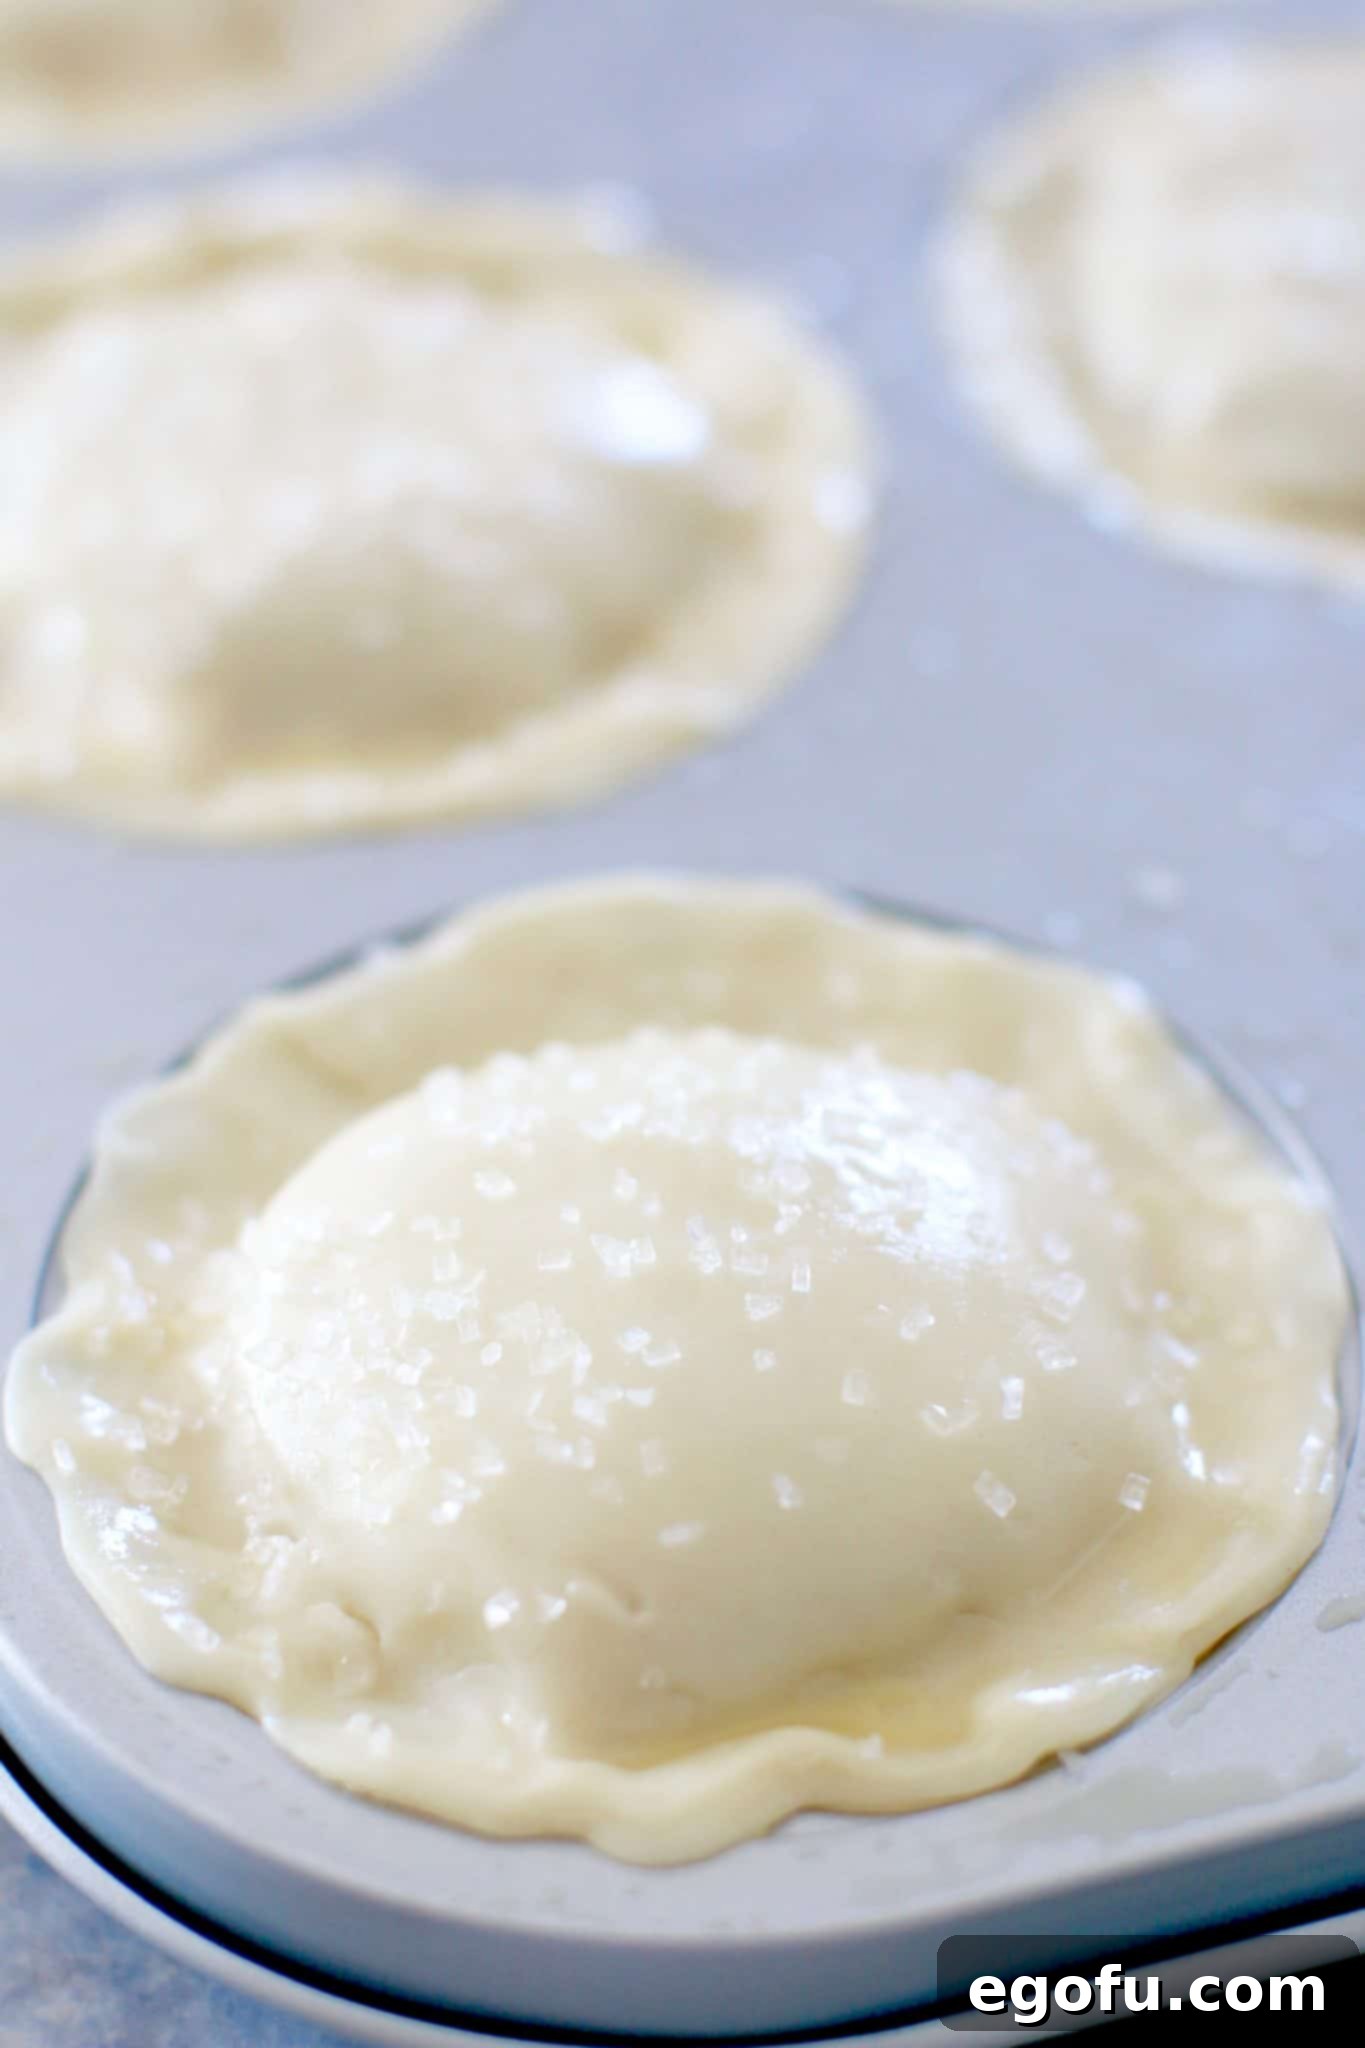
- Egg Wash & Sugar Sprinkle: Brush the tops of each sealed pie with a little more of the egg wash. This will give them a gorgeous golden-brown finish as they bake. If you don’t have a pastry brush, a clean paper towel dipped in egg wash works in a pinch. Finally, sprinkle each pie generously with 1 tablespoon of granulated sugar. This adds a lovely sparkle and a touch of extra sweetness to the crust.
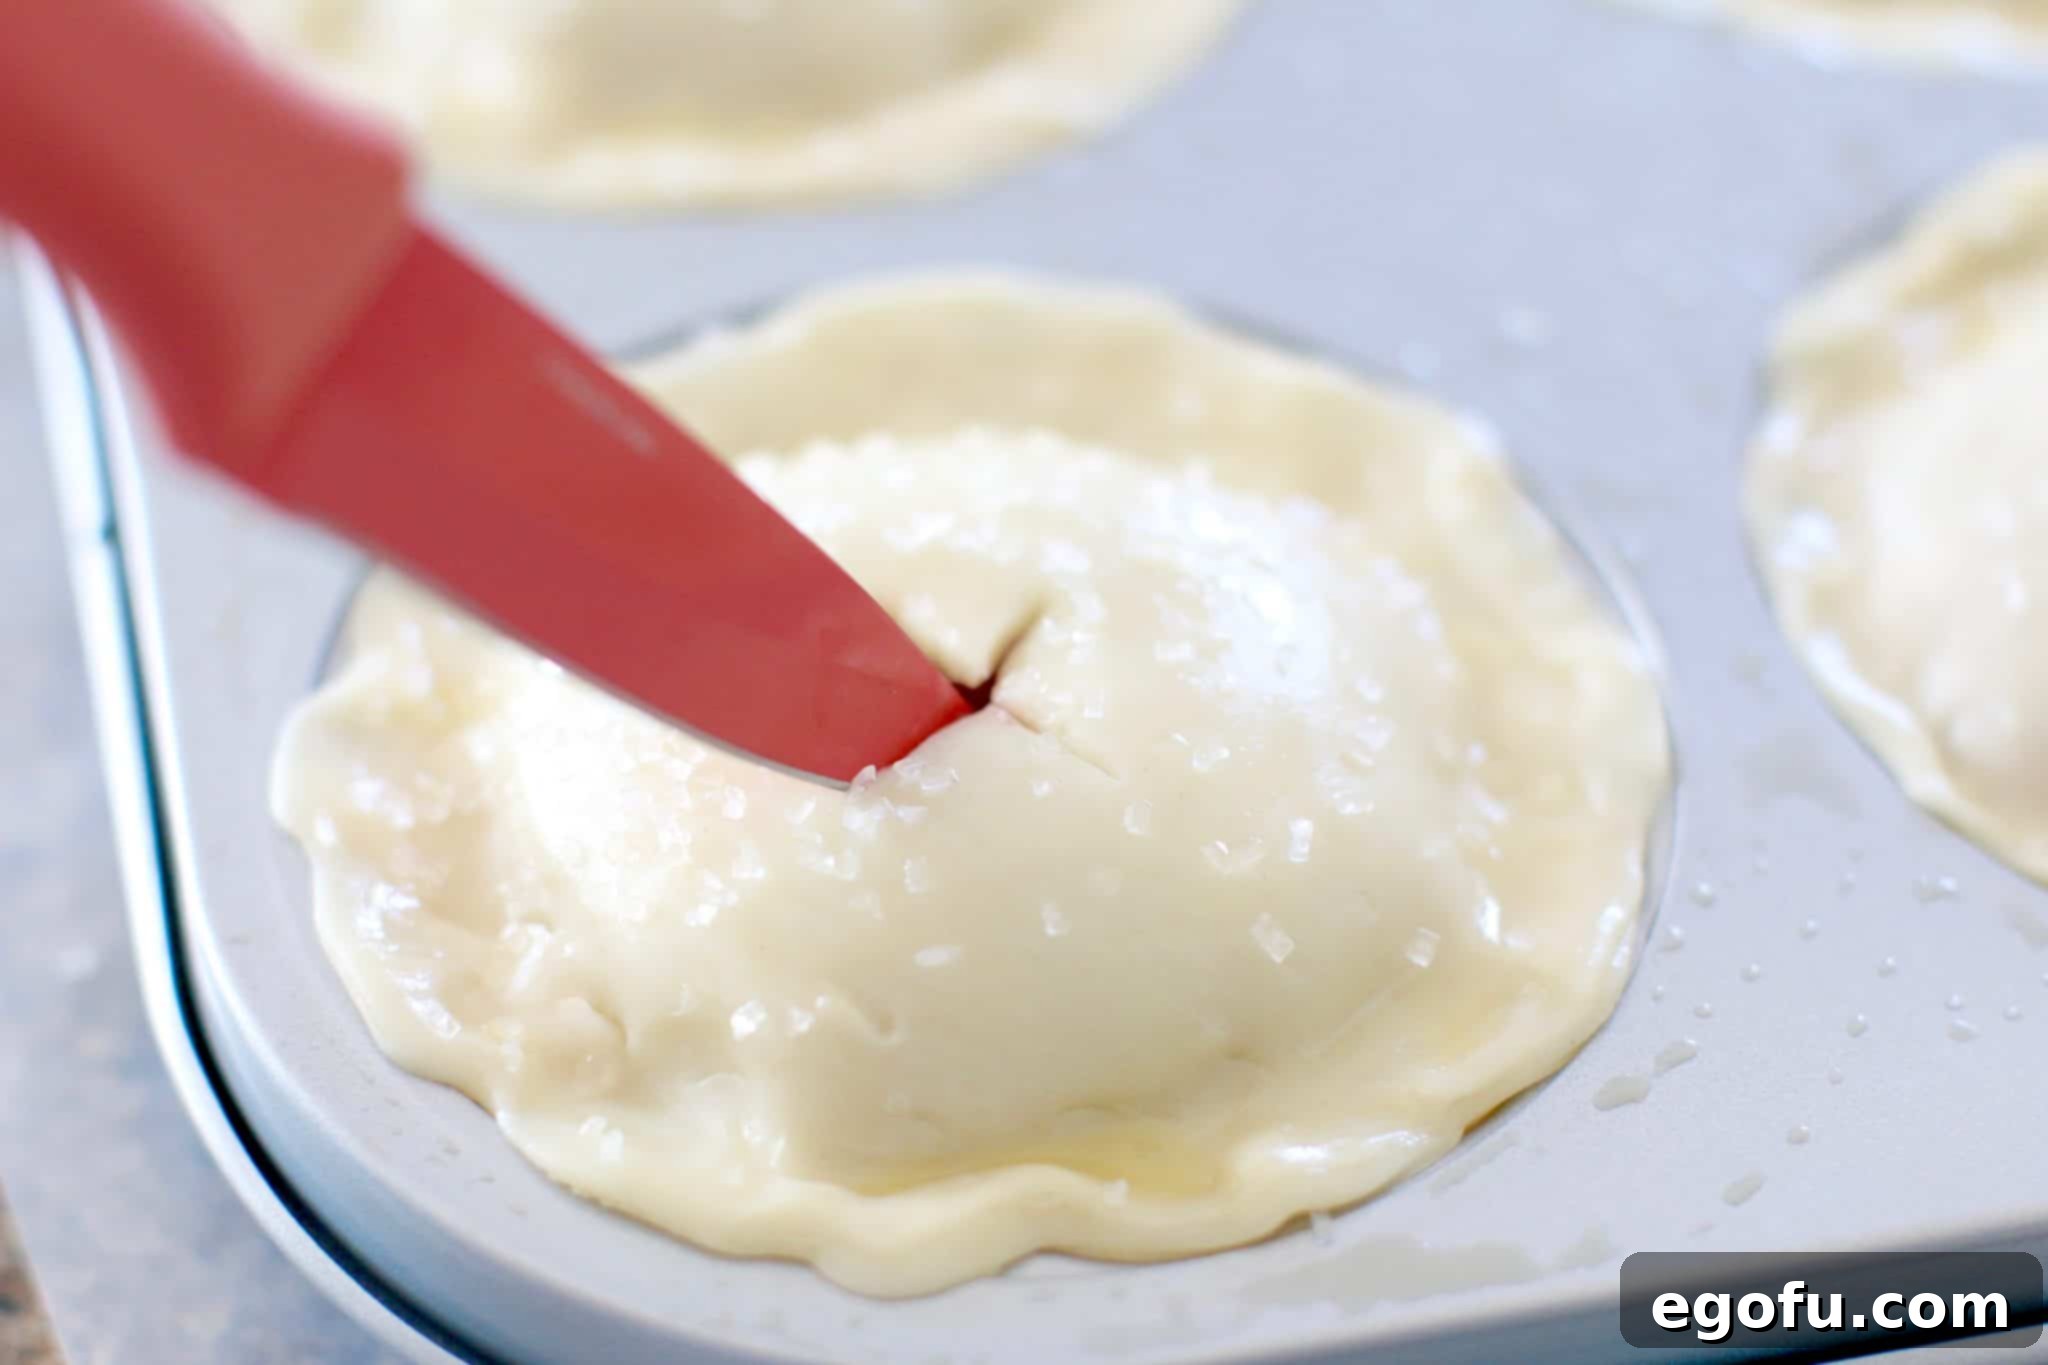
- Vent the Pies: Using a small, sharp knife, carefully cut two small slits (about ½ inch long) in the top of each pie. These vents are crucial as they allow steam to escape during baking, preventing the pies from bursting and ensuring the crust remains flaky and crisp, not soggy.
- Bake to Golden Perfection: Place the mini pies in your preheated oven and bake for 18-20 minutes, or until their tops are beautifully golden brown and the filling is bubbly. Keep an eye on them, as oven temperatures can vary.
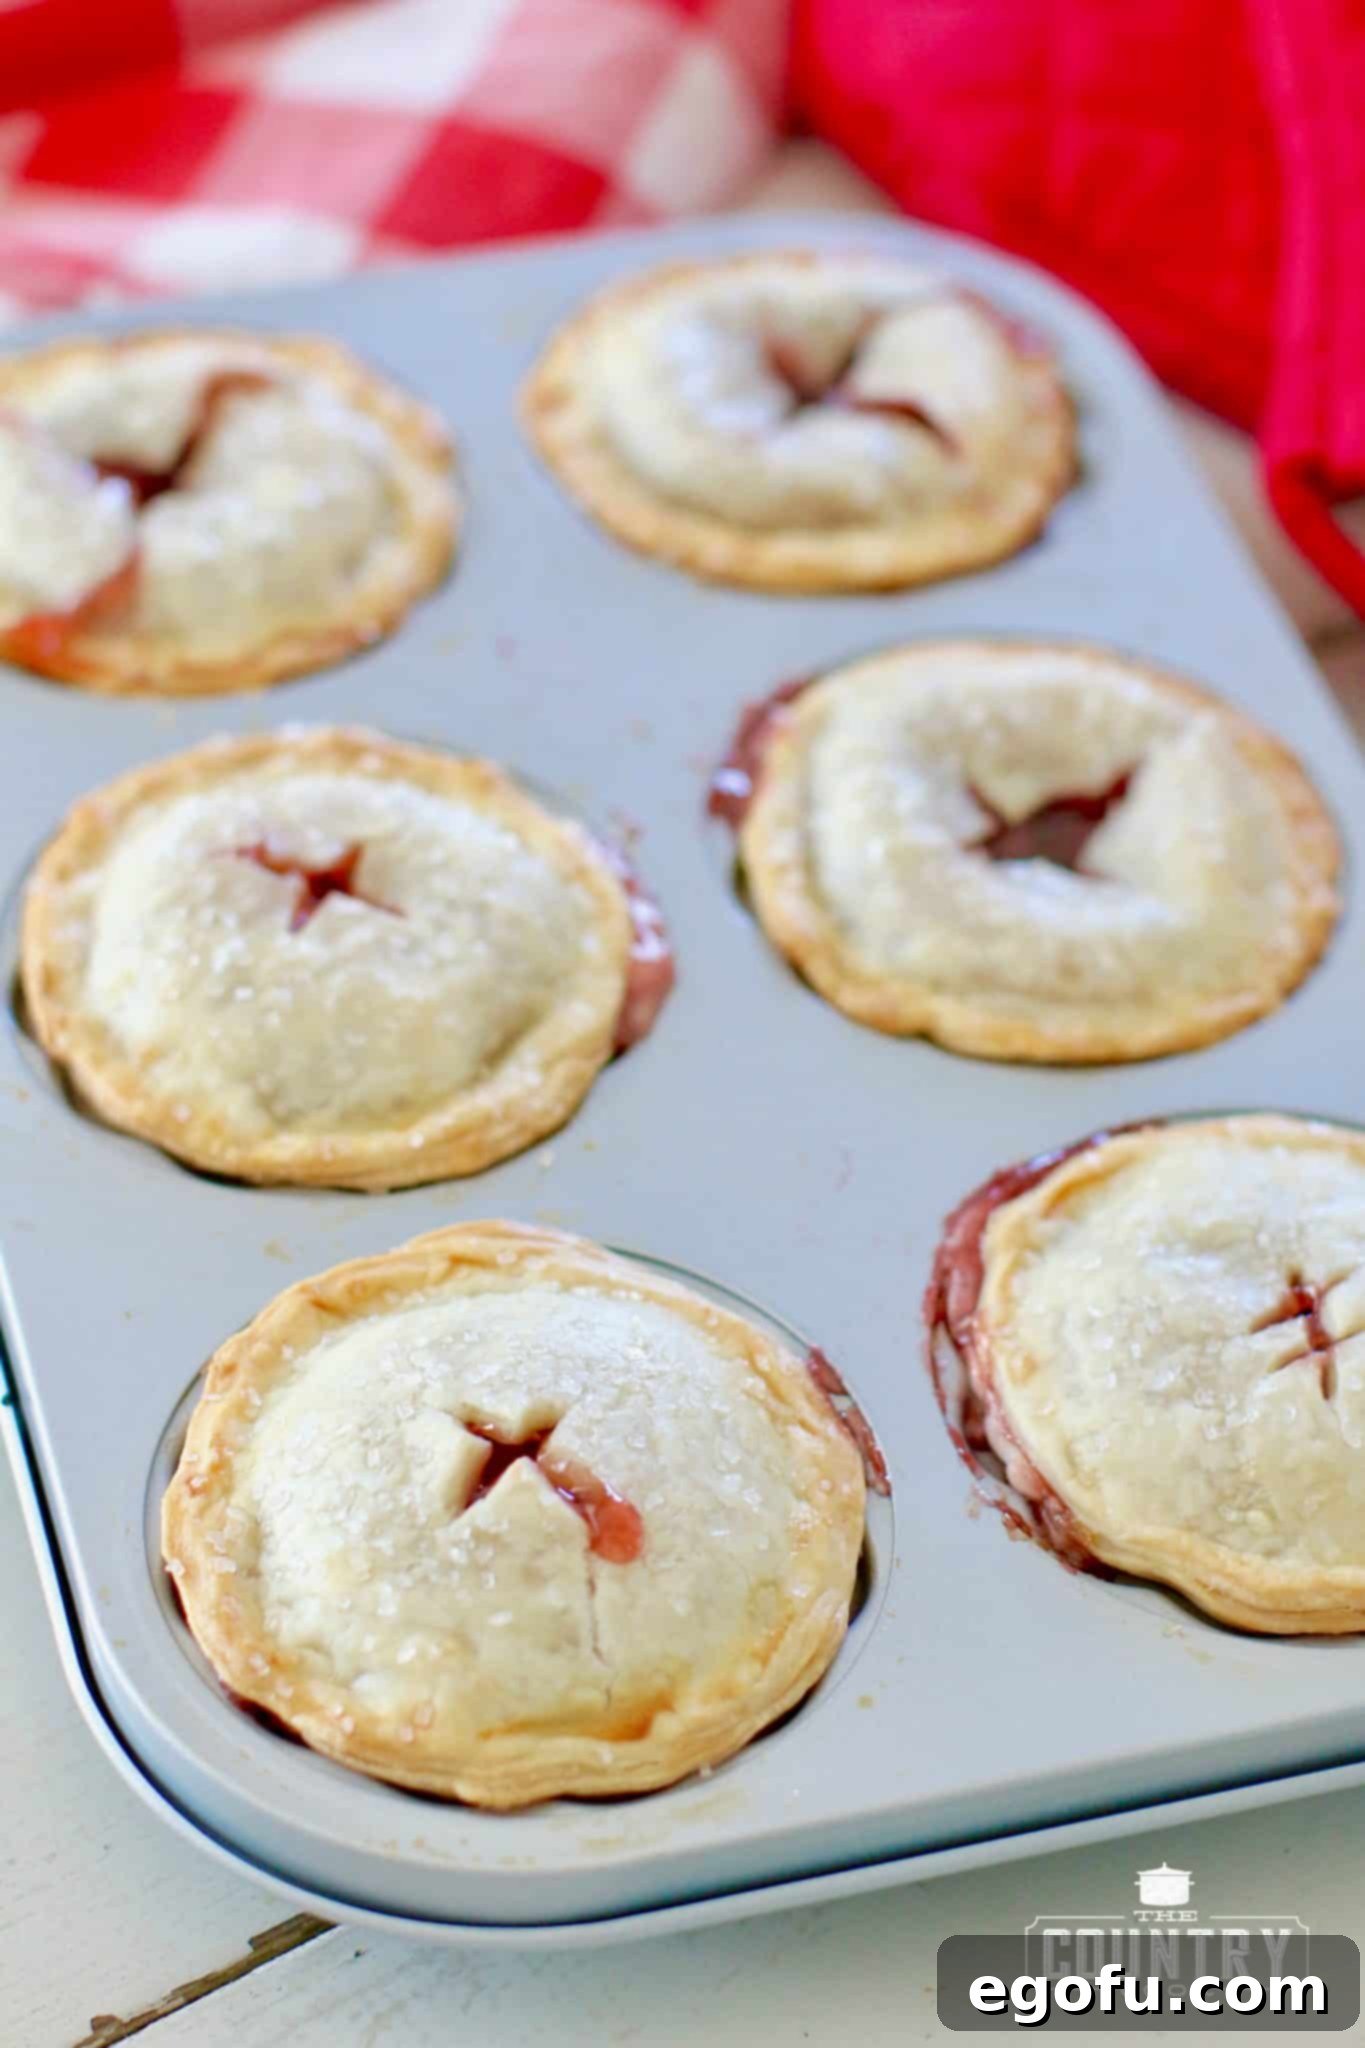
- Cool Before Serving: The filling of these pies will be extremely hot right out of the oven. It’s crucial to allow them to cool slightly in the pan for about 10-15 minutes, then transfer them to a wire rack to cool completely. This not only prevents burns but also allows the cheesecake filling to set properly, ensuring a clean bite.
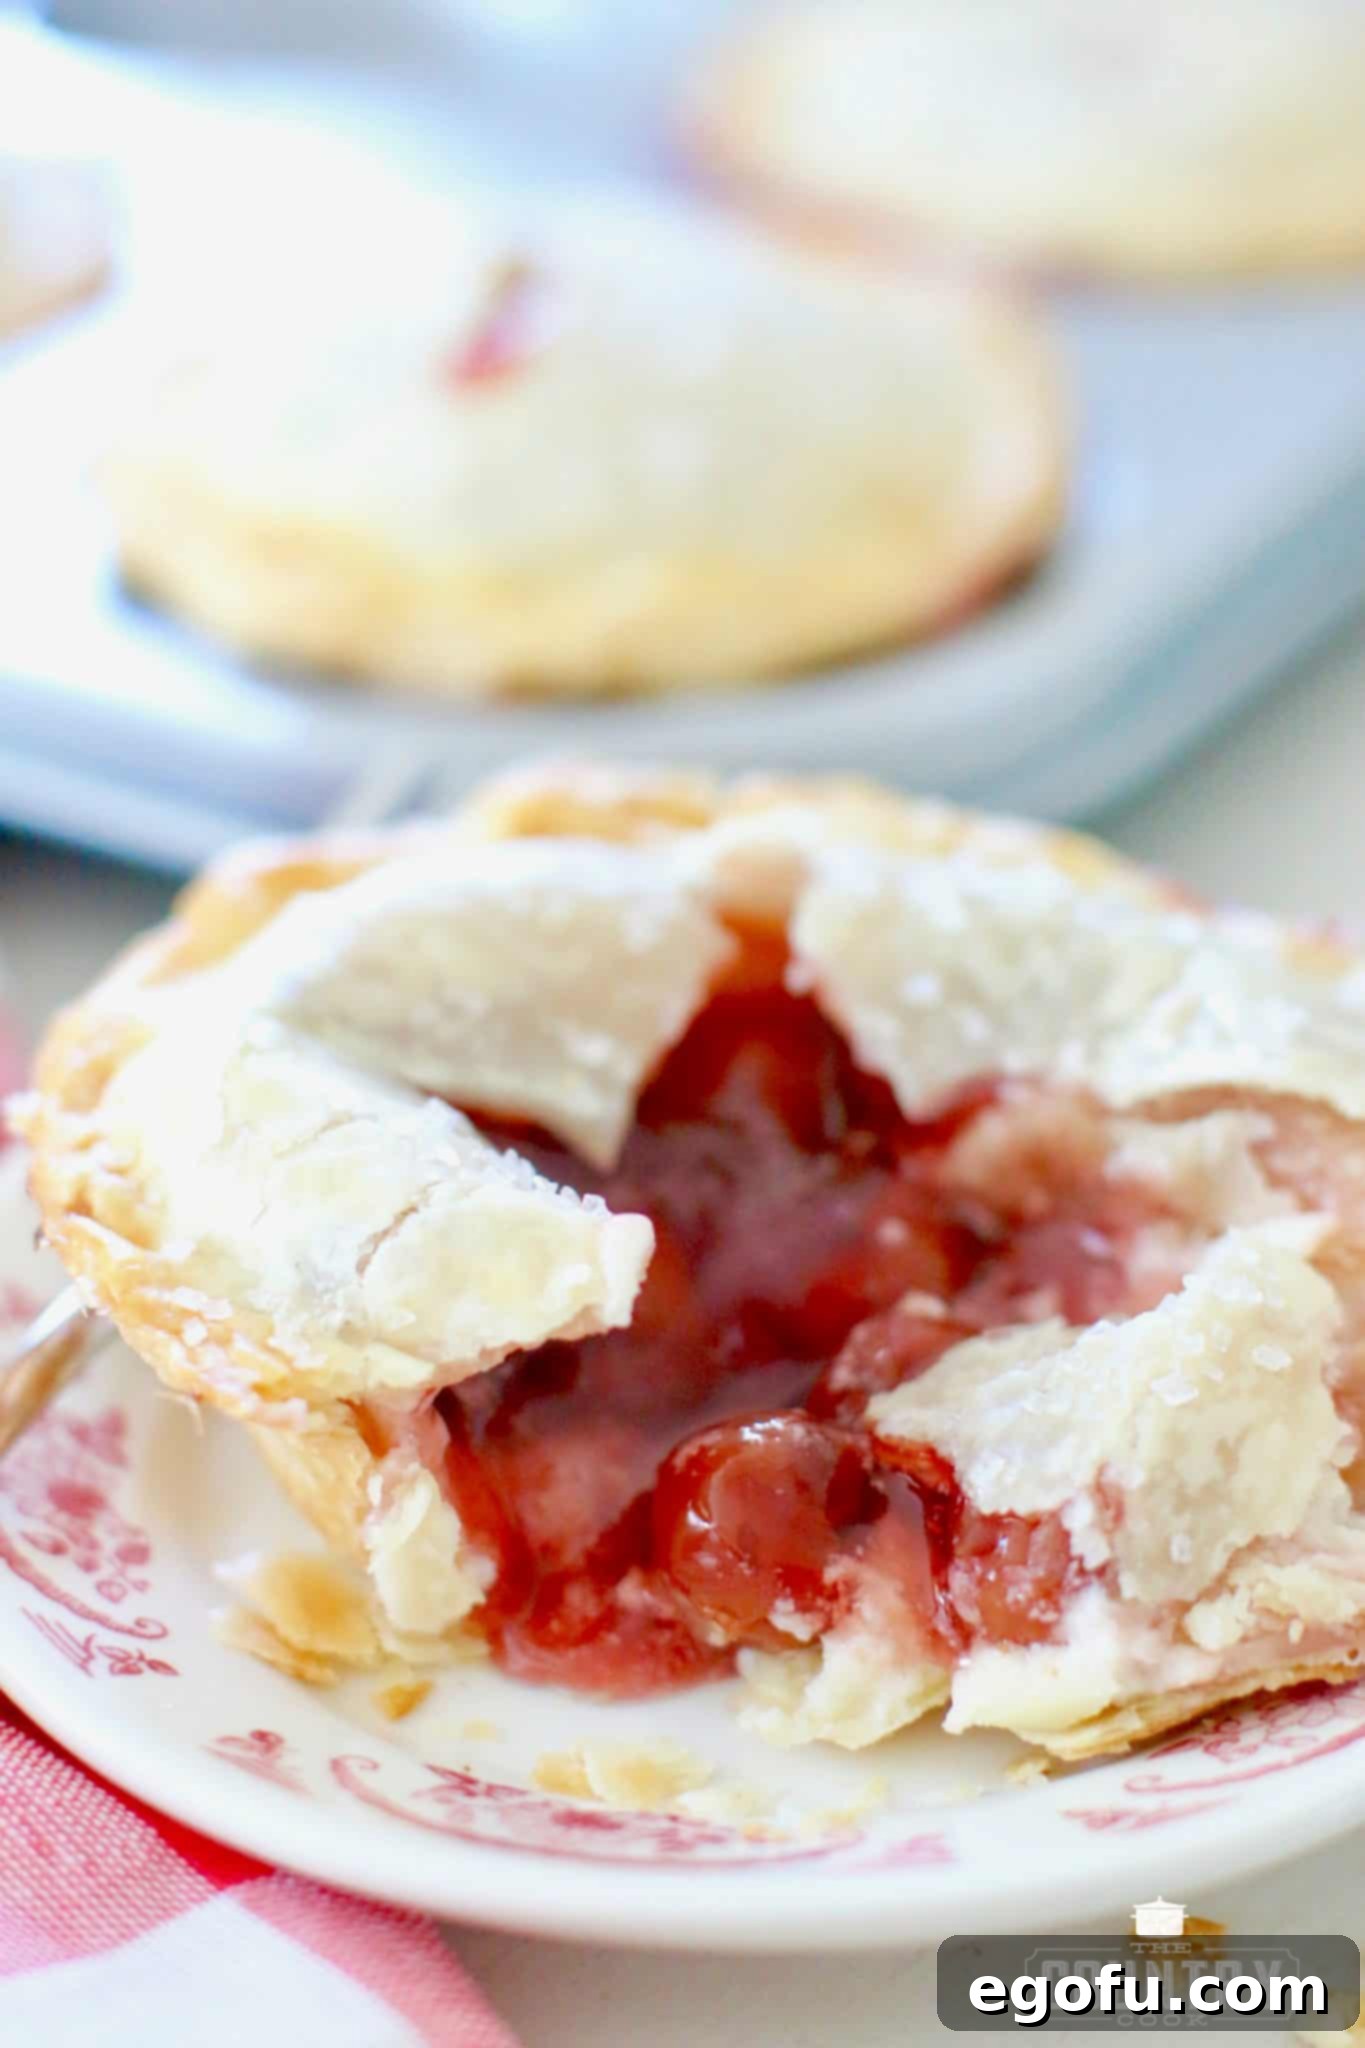
Variations and Serving Suggestions
While the classic cherry cheesecake pie is a winner, don’t hesitate to get creative! Here are a few ideas to inspire you:
- Fruit Filling Swaps:
- Apple Cinnamon: Use apple pie filling, add a pinch of cinnamon to the cheesecake mixture.
- Blueberry Lemon: Blueberry pie filling with a hint of lemon zest in the cheesecake.
- Pumpkin Spice: During autumn, try pumpkin pie filling with a touch of pumpkin spice.
- Chocolate Lovers: Add a layer of mini chocolate chips over the cheesecake before the fruit filling.
- Crust Customizations:
- Graham Cracker Crust: For a true cheesecake experience, consider pressing a graham cracker crust mixture into the wells instead of pie dough.
- Decorative Tops: Instead of a full top crust, try a lattice design or cut out small shapes (stars, hearts) with cookie cutters.
- Serving Enhancements:
- Whipped Cream: A dollop of fresh whipped cream is always a welcome addition.
- Vanilla Ice Cream: Serve warm with a scoop of premium vanilla ice cream for an à la mode experience.
- Powdered Sugar Dusting: A light dusting of powdered sugar adds an elegant touch just before serving.
Storage Tips for Your Mini Pies
These mini cherry cheesecake pies are best enjoyed fresh, but they also store well, allowing you to savor them over a few days.
- Room Temperature: If planning to serve within a few hours, they can be left at room temperature. However, due to the cream cheese filling, refrigeration is generally recommended for longer storage.
- Refrigerator: Store leftover pies in an airtight container in the refrigerator for up to 3-4 days. The crust might soften slightly over time, but the flavors will remain delicious.
- Freezer: For longer storage, flash freeze the cooled pies on a baking sheet until solid (about 1-2 hours). Then transfer them to a freezer-safe bag or container, separating layers with parchment paper. They can be frozen for up to 1 month. Thaw in the refrigerator overnight or gently reheat in a low oven (around 300°F/150°C) until warmed through.
Craving More Delicious Recipes?
If you loved making these Mini Cherry Cheesecake Pies, you might enjoy exploring other fantastic recipes from The Country Cook:
- Festive Cherry Hand Pies
- Easy Cherry Pie Bars
- No-Bake Cherry Yum Yum Dessert
- Quick Air Fryer Apple Hand Pies
- Classic Fried Apple Pies
Mini Cherry Cheesecake Pies
These Mini Cherry Cheesecake Pies are the ultimate easy and giftable dessert! Featuring convenient refrigerated pie crusts, a luscious cherry pie filling, and a smooth, creamy cheesecake center, they’re simple to make yet taste absolutely divine.
5 out of 5 stars (1 vote)
Pin Recipe
Prep Time: 25 minutes
Cook Time: 30 minutes
Total Time: 55 minutes
Servings: 6
Author: Brandie Skibinski
Ingredients
- 2 refrigerated pie crusts (2 crusts come in one box)
- 8 ounce block cream cheese, softened to room temperature
- ¼ cup granulated sugar
- 1 tsp vanilla extract
- 21 ounce can cherry pie filling
- 1 large beaten egg
- 1 tablespoon water
- 1 tablespoon sugar (for sprinkling)
Instructions
- Preheat Oven & Prepare Cheesecake Filling: Preheat oven to 400°F (200°C). In a small bowl, combine softened cream cheese, ¼ cup sugar, and vanilla extract. Mix until smooth and lump-free. Set aside.
- Prepare Pie Crust Bases: Unroll one pie crust onto a lightly floured surface or wax paper. Gently roll out to flatten slightly. Using a large biscuit or pie dough cutter (approx. 3 inches/7.5 cm), cut out 3 circles. Press each circle into the wells of a mini pie pan, forming a snug shell.
- Prepare Pie Crust Tops: Gather remaining dough scraps from the first crust and combine with the second unrolled pie crust. Roll out this combined dough to about ⅛-inch (3 mm) thick. Cut out 6 more circles of the same size for the pie tops. Set aside.
- Layer Cheesecake Filling: Spoon 2 tablespoons of the prepared cream cheese mixture into the bottom of each pie crust base, spreading evenly.
- Layer Cherry Pie Filling: Spoon 3 tablespoons of cherry pie filling on top of the cream cheese mixture in each pie.
- Seal the Pies: In a small bowl, whisk together the large beaten egg and 1 tablespoon water for an egg wash. Lightly brush egg wash around the inner edge of each pie crust. Place a smaller, reserved pie crust circle on top of each filled pie. Pinch the top and bottom dough together, pressing firmly into the scalloped rim of the mini pie pan to seal and create a decorative edge.
- Brush & Sprinkle: Brush the tops of each pie with the remaining egg wash, then generously sprinkle each pie with 1 tablespoon of sugar.
- Vent the Pies: Using a small, sharp knife, cut 2 short slits in the top of each pie to allow steam to escape during baking, preventing bursting and ensuring a flaky crust.
- Bake: Bake for 18-20 minutes, or until the pie tops are golden brown and the filling is bubbly.
- Cool: Allow the pies to cool slightly in the pan for 10-15 minutes before transferring to a wire rack to cool completely. The filling will be extremely hot. Cooling ensures the filling sets properly.
Notes
Refrigerated pie crusts are typically sold with two crusts in one box, which is perfect for this recipe.
Course: Dessert
Cuisine: American
Nutrition
Calories: 465 kcal | Carbohydrates: 68g | Protein: 10g | Fat: 15g | Sodium: 525mg | Fiber: 2g | Sugar: 12g
Nutritional Disclaimer
“The Country Cook” is not a dietician or nutritionist, and any nutritional information shared is an estimate. If calorie count and other nutritional values are important to you, we recommend running the ingredients through whichever online nutritional calculator you prefer. Calories and other nutritional values can vary quite a bit depending on which brands were used.
Did you make this recipe?
Share it on Instagram @thecountrycook and mention us #thecountrycook!
