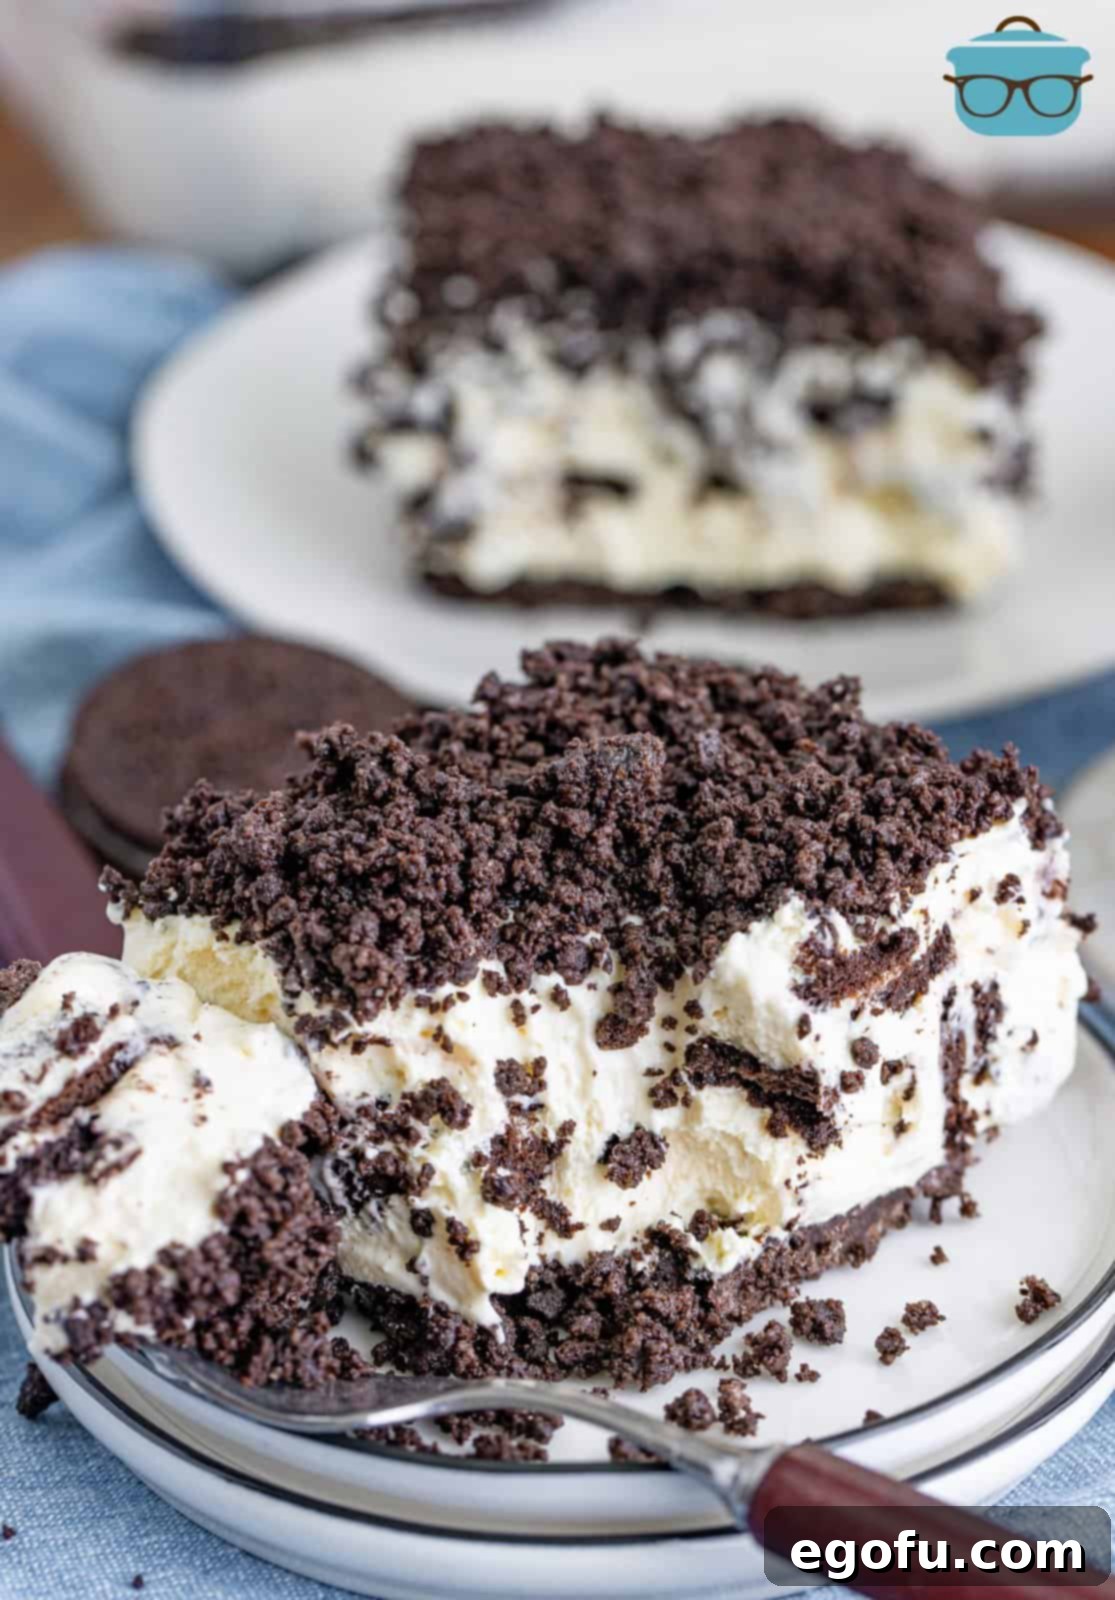
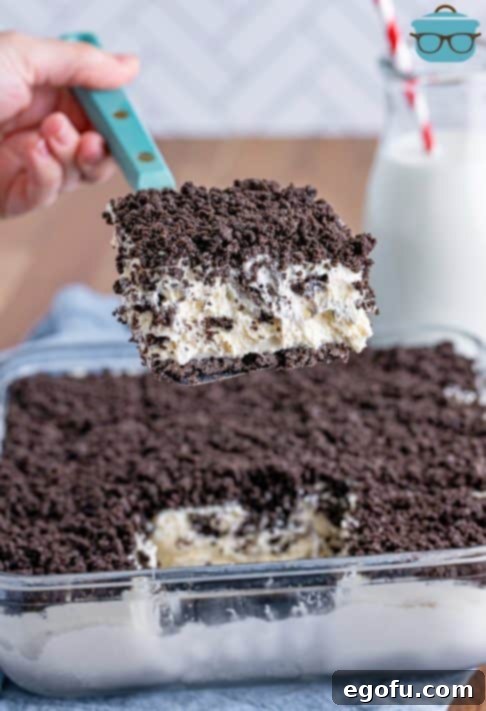
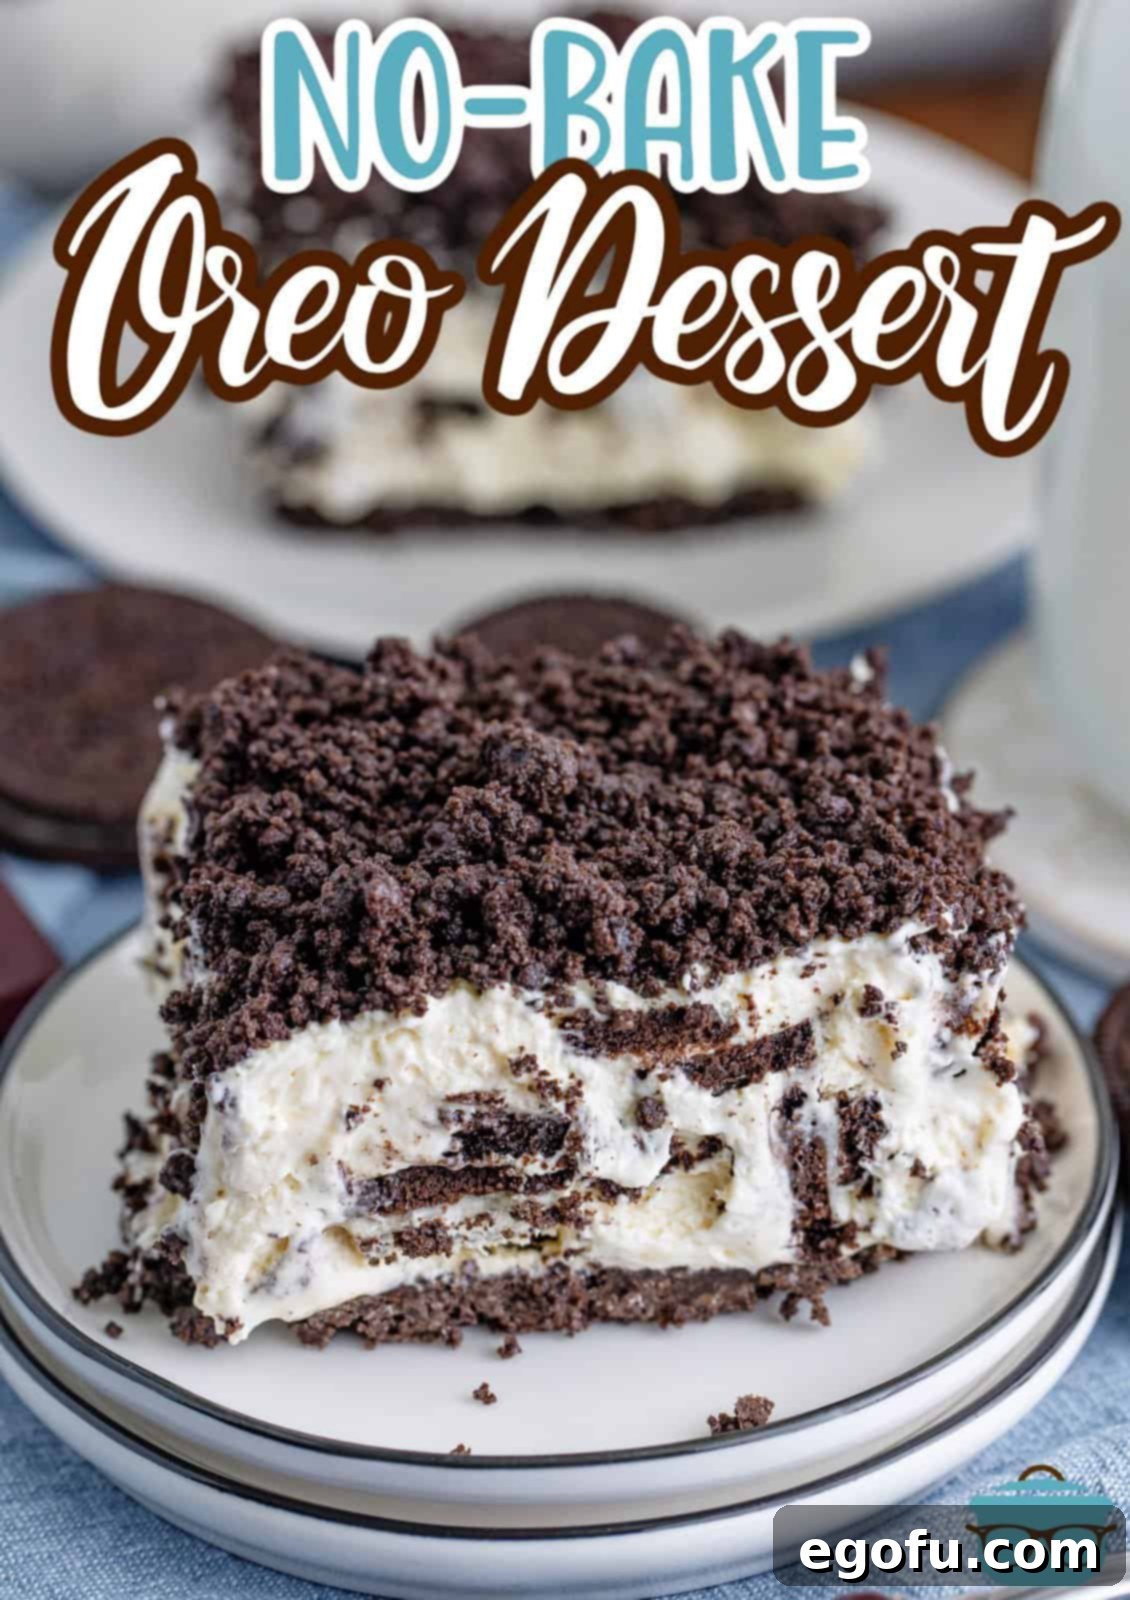
Satisfy your sweet cravings effortlessly with this amazing No-Bake Oreo Dessert! Featuring generous chunks of classic Oreos, this rich and creamy treat strikes the perfect balance of sweetness without being overwhelming. Best of all, it comes together in just 10 minutes of prep time, no oven required!
No-Bake Oreo Dessert: A Dreamy, Decadent Treat You Don’t Have To Bake!
Craving something sweet but dreading turning on the oven? This fabulous No-Bake Oreo Dessert is your perfect solution! It’s a deliciously easy recipe that delivers a rich, satisfying sweetness, ideal for after-dinner indulgence or a crowd-pleasing potluck contribution. You’ll adore the delightful crunch and flavor of Oreo chunks perfectly integrated throughout every creamy layer. And the best part? It demands only 10 minutes of active prep, leaving you more time to enjoy life’s sweet moments!
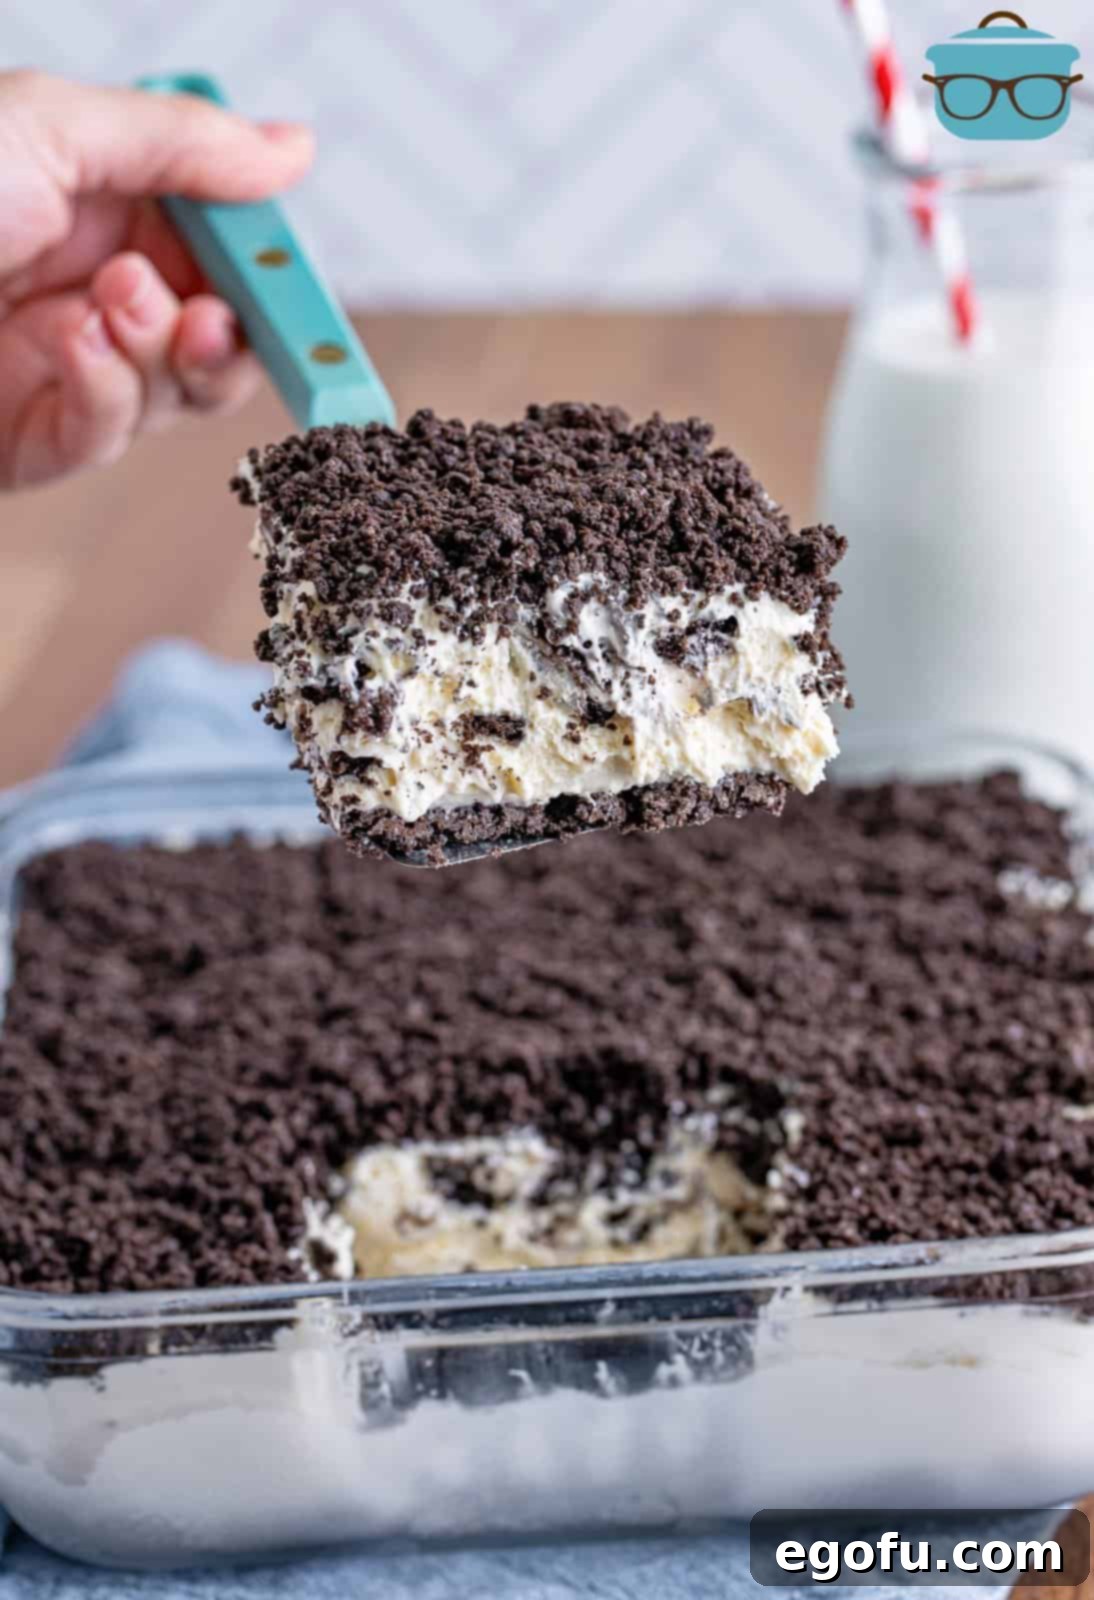
Why You’ll Love This Easy No-Bake Oreo Dessert
No-bake desserts are a true lifesaver, especially when you’re short on time, it’s hot outside, or you just want a simple yet impressive treat. This Oreo dessert embodies everything wonderful about the no-bake philosophy:
- Effortless Preparation: Forget complicated baking steps. This recipe simplifies dessert making, making it accessible for even novice cooks.
- Cool & Refreshing: Perfect for summer gatherings or whenever you want a chilled dessert. No oven means no added heat in your kitchen!
- Rich Flavor, Balanced Sweetness: The combination of cream cheese, sweetened condensed milk, and whipped topping creates an incredibly smooth and creamy base that perfectly complements the chocolatey goodness of Oreos. Salted butter subtly cuts through the sweetness, ensuring every bite is pure bliss without being cloyingly sweet.
- Customizable: While classic Oreos are fantastic, this recipe opens the door to endless flavor possibilities with seasonal or specialty Oreo varieties.
- Crowd-Pleaser: Everyone loves Oreos, and when combined with a creamy, dreamy filling, it’s an instant hit at parties, family dinners, or any special occasion.
Imagine serving up a dessert that looks like it took hours, but only took minutes of your active involvement. That’s the magic of this No-Bake Oreo Dessert!
Frequently Asked Questions About Your No-Bake Oreo Delight
Yes, this is designed to be a medium-set dessert. It will slice cleanly and hold its shape quite nicely on a plate, offering a delightful creamy texture rather than a fully solid, firm consistency.
Absolutely! Using flavored Oreos is a fantastic idea, especially for holidays or themed events. Imagine Peppermint Oreos for a festive winter treat, Golden Oreos for a vanilla twist, or even Peanut Butter Oreos for an extra indulgent experience. Be creative!
Yes, this recipe is incredibly adaptable and can easily be doubled. Simply multiply all the ingredient quantities by two and prepare it in a larger 9×13-inch baking dish to accommodate more servings.
Serving this dessert frozen is a wonderfully delicious option! It transforms into an ice cream cake-like experience. For the best texture, allow it to sit out at room temperature for 30-45 minutes before slicing and serving. This ensures it’s perfectly scoopable and enjoyable.
To maintain its freshness and texture, keep the dessert covered tightly with plastic wrap in the refrigerator for up to 1 week. If you’d like to prepare it further in advance, it freezes beautifully for up to 3 months. Just remember to thaw it slightly before serving if frozen.
While store-bought whipped topping is convenient and ensures a stable set, you can certainly use homemade whipped cream. For best results, make sure it’s stiffly whipped and consider adding a stabilizer like a small amount of gelatin or cream of tartar to help it hold its shape in the dessert. Adjust sweetness as needed.
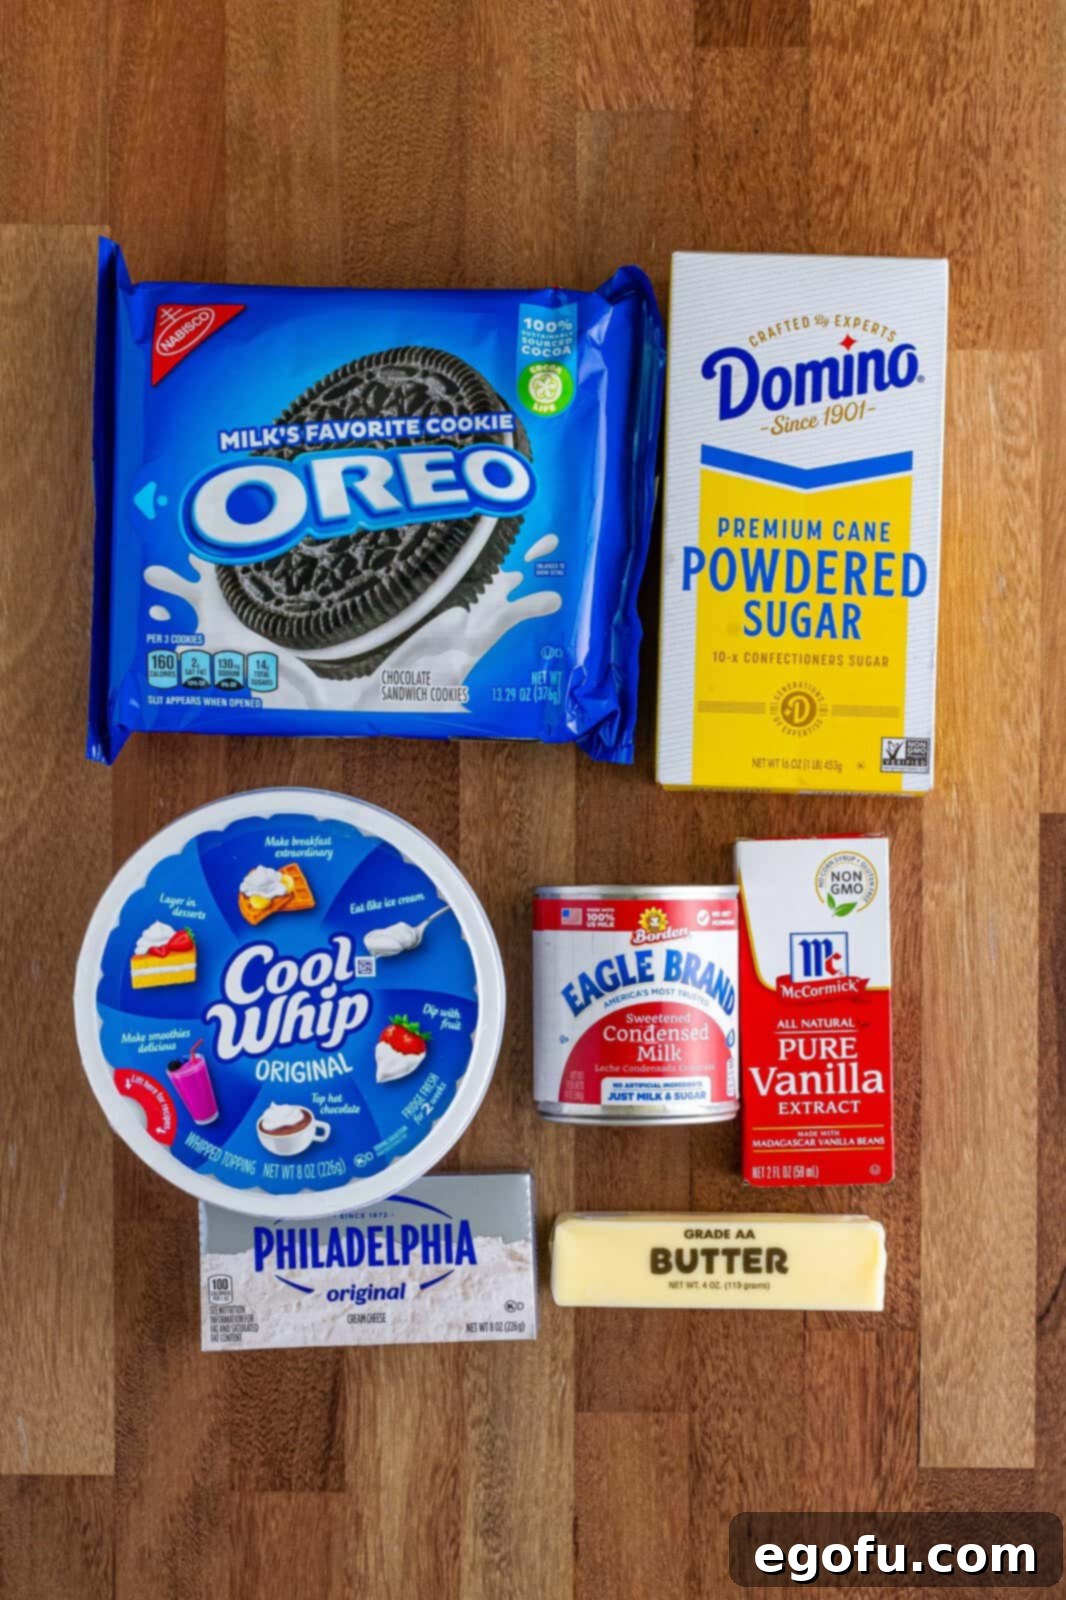
Essential Ingredients for Your Creamy Oreo Masterpiece
Creating this irresistible dessert starts with a few simple, yet key ingredients. Each one plays a crucial role in achieving that perfect creamy texture and balanced flavor profile.
Ingredients Needed:
- Oreo cookies: The star of our show! A standard 13.29-ounce package works perfectly. You can opt for Double Stuf Oreos for an extra creamy filling, or get creative with seasonal or flavored varieties like mint, peanut butter, or red velvet to put your unique twist on this classic.
- Salted butter: While it might seem unusual for a sweet dessert, salted butter is a secret weapon. Its subtle saltiness beautifully balances the overall sweetness of the dessert, adding a depth of flavor that unsalted butter just can’t match. Melt it completely before combining with the cookie crumbs.
- Cream cheese: Crucial for the rich, tangy base of our filling. The most important tip here is to ensure your cream cheese is at absolute room temperature. If it’s too cold, you’ll inevitably end up with stubborn lumps in your filling that are nearly impossible to smooth out, no matter how long you beat it. However, avoid melting it; it needs to be softened, not liquid, to set properly.
- Powdered sugar: Also known as confectioners’ sugar, this fine sugar blends seamlessly into the cream cheese mixture, ensuring a smooth, lump-free filling. Sifting is optional but recommended if you want an absolutely silky-smooth texture, especially if your powdered sugar tends to clump.
- Sweetened condensed milk: This ingredient is vital for the dessert’s creamy consistency and sweetness. Be extra vigilant when shopping, as it’s often placed near evaporated milk cans. Always double-check the label to ensure you’re grabbing “sweetened condensed milk” – using evaporated milk will prevent your dessert from setting correctly.
- Whipped topping: (e.g., Cool Whip) This adds a light, airy texture to the filling. You’ll typically find whipped topping in the freezer section of your grocery store. Remember, it absolutely needs to be thawed completely before use. The best way to do this is by placing it in the refrigerator overnight.
- Vanilla extract: A touch of pure vanilla extract enhances all the sweet flavors and adds a warm, aromatic note to the creamy filling.
Step-by-Step Guide: Crafting Your Perfect No-Bake Oreo Dessert
Follow these simple steps to create a show-stopping dessert that requires absolutely no baking!
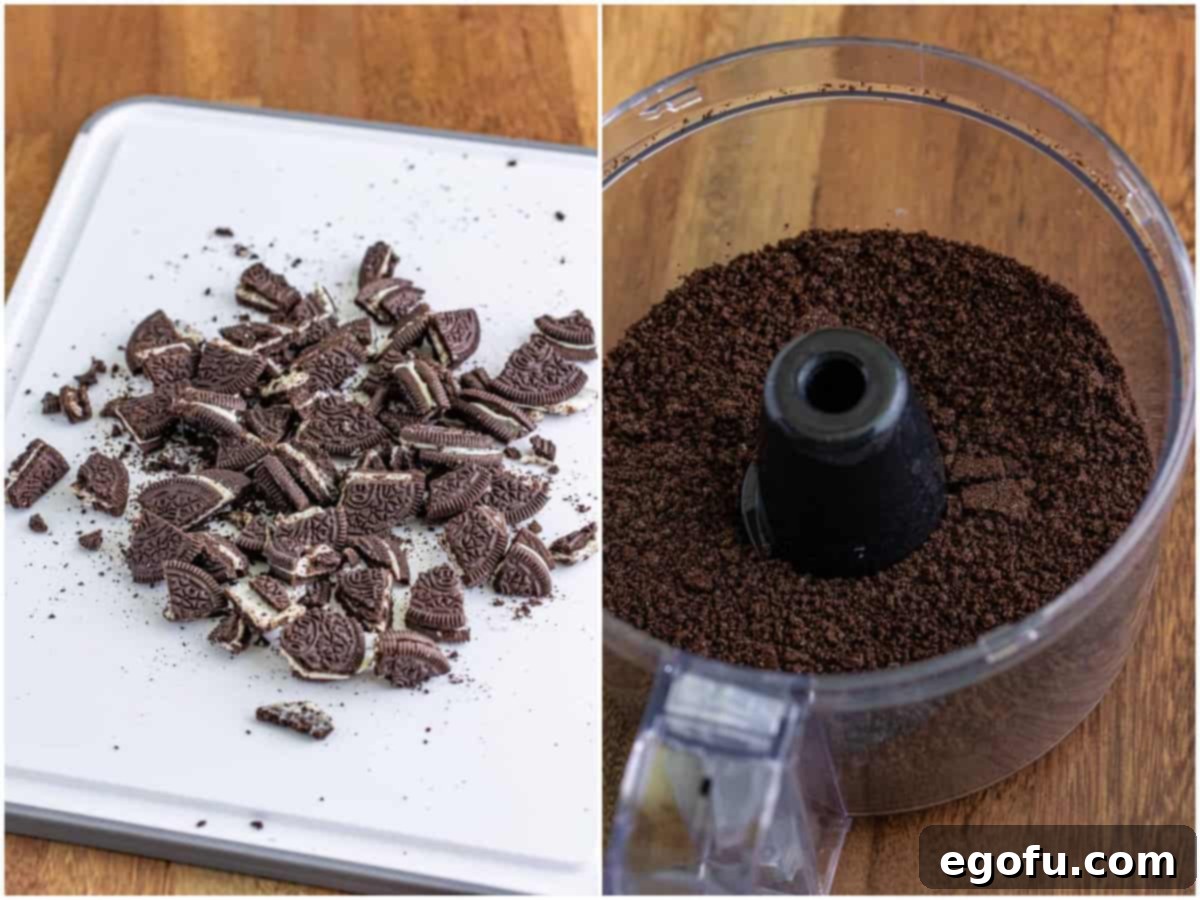
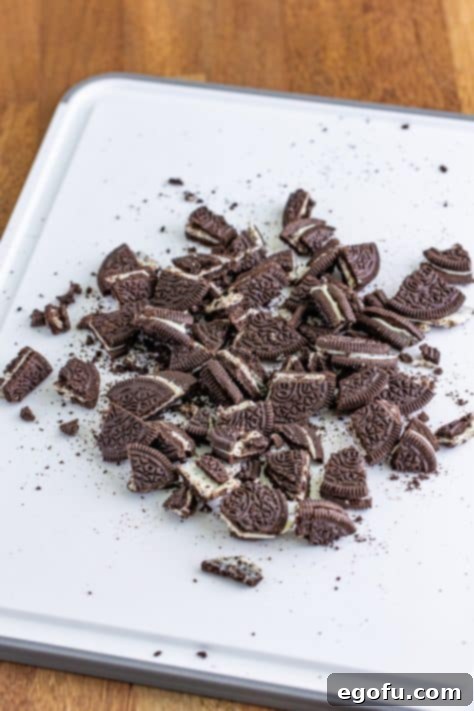
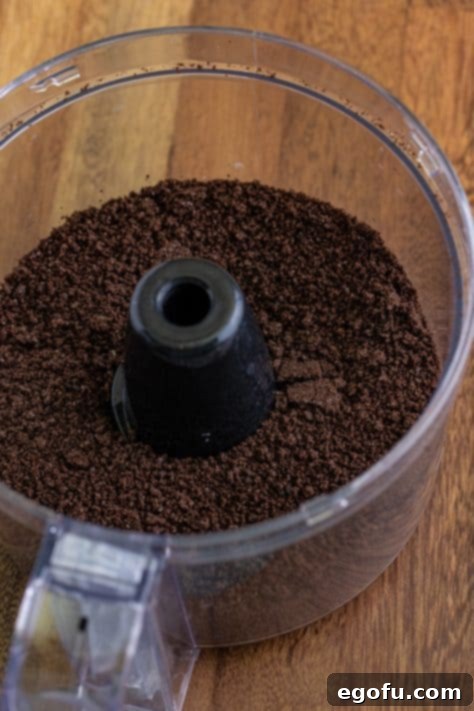
Prepare the Oreos: Start by setting aside approximately 10 Oreo cookies. These will be chopped into larger, delightful chunks later. Take the remaining cookies and place them into a food processor. Pulse until they transform into fine, even crumbs. If you don’t have a food processor, you can place the cookies in a large Ziploc bag and crush them with a rolling pin or the bottom of a heavy glass until fine.

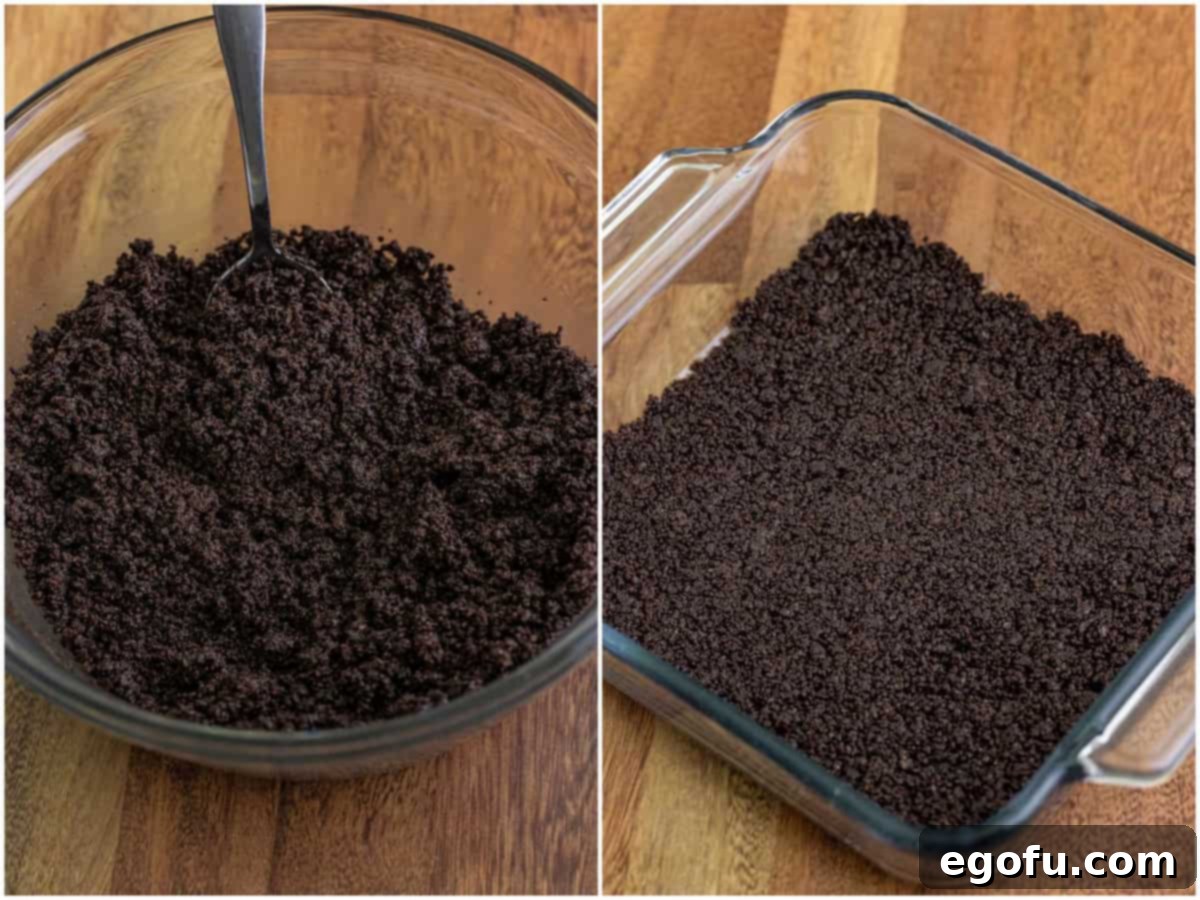
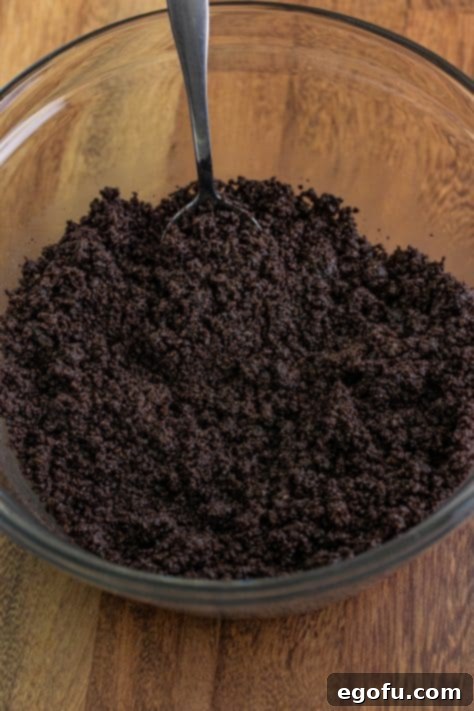
Create the Crust Base: In a medium-sized mixing bowl, combine the fine Oreo cookie crumbs with the melted salted butter. Stir thoroughly until the crumbs are uniformly moistened, resembling wet sand. This ensures a firm and flavorful crust. There’s no need to grease your baking dish.

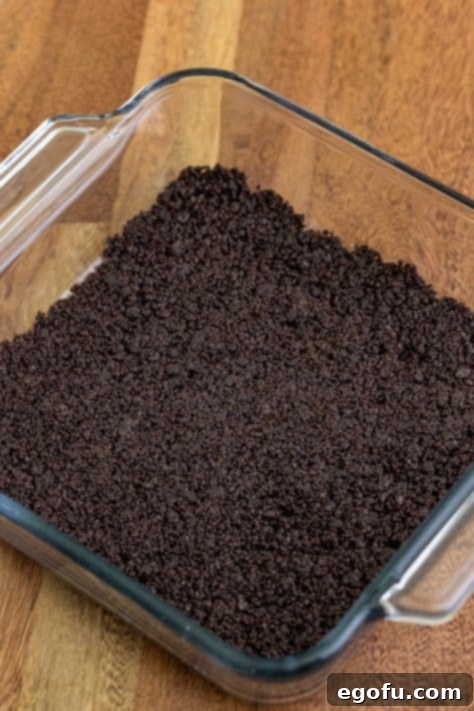
Form the Crust: Take half of the buttered cookie crumb mixture and press it firmly and evenly into the bottom of an 8×8-inch or 9×9-inch baking dish. Use the back of a spoon or your clean hands to compact it well. This creates a solid foundation for your dessert. Place this crust into the freezer while you prepare the creamy filling – this brief chill helps it set quickly.
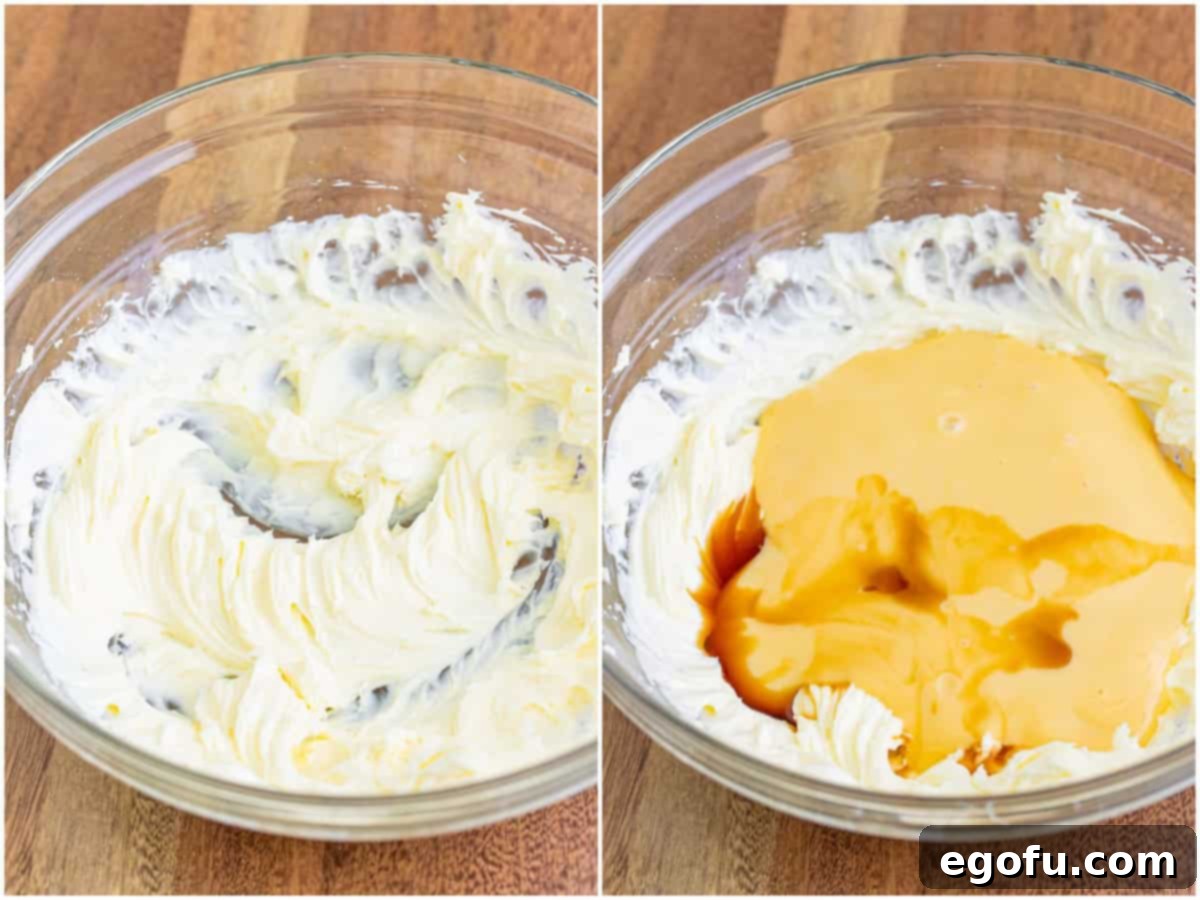
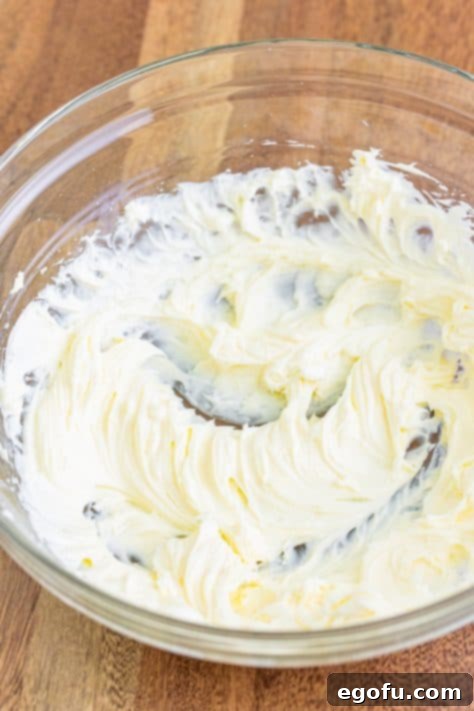
Whip the Cream Cheese Mixture: In a large mixing bowl, using an electric hand mixer or a stand mixer fitted with the paddle attachment, beat the room-temperature cream cheese with the powdered sugar until the mixture is completely smooth and free of any lumps. Scrape down the sides of the bowl to ensure everything is incorporated.

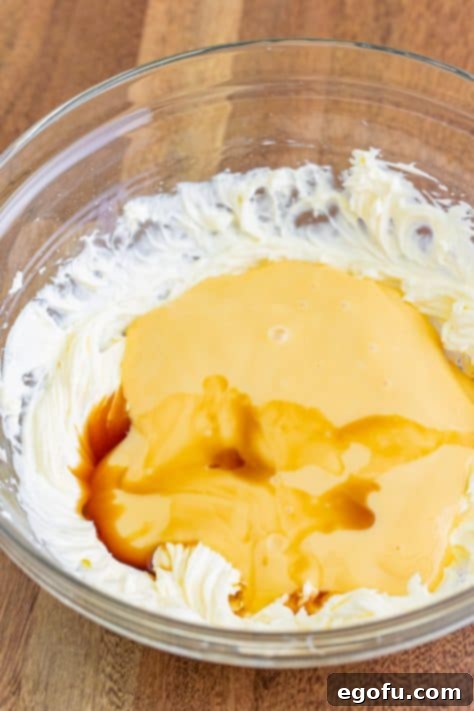
Add Liquids: Pour in the sweetened condensed milk and vanilla extract into the cream cheese mixture. Continue mixing on a low speed until everything is thoroughly combined and the mixture is silky smooth. Avoid overmixing at this stage to prevent deflating the cream cheese.
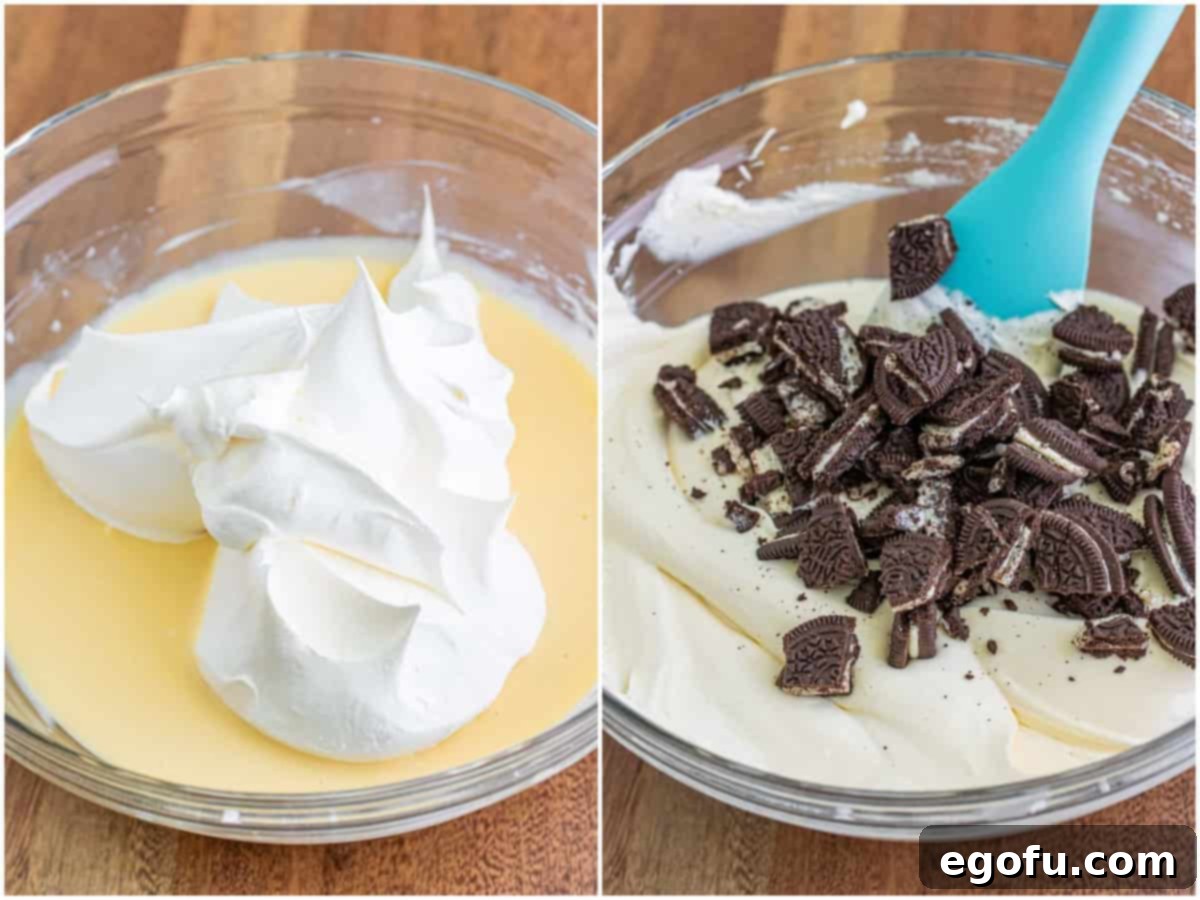
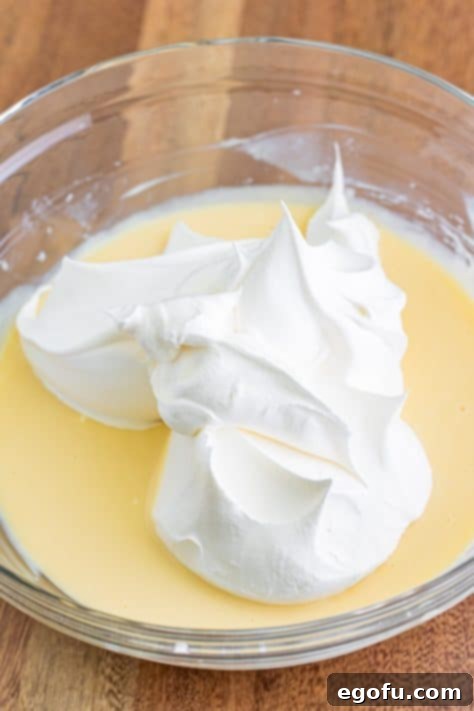
Fold in Whipped Topping: Gently fold in the thawed whipped topping into the cream cheese mixture. Use a spatula and incorporate it with a light hand until no white streaks of whipped topping remain, creating a uniform, airy, and creamy filling. The goal is to keep the filling light and fluffy.

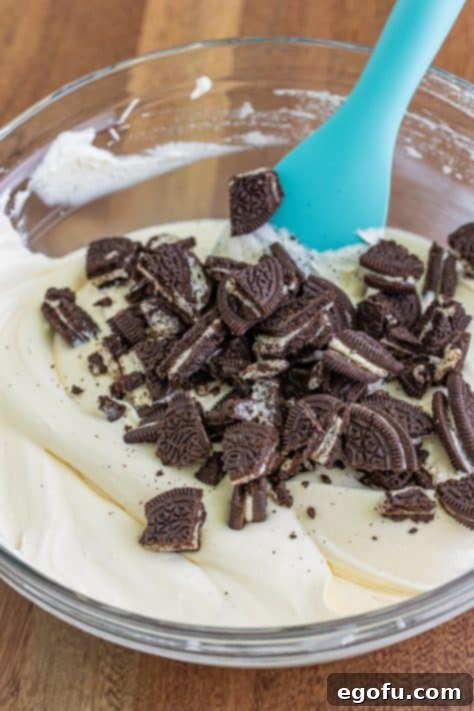
Incorporate Oreo Chunks: Gently stir in the large chopped Oreo pieces that you set aside earlier. Distribute them evenly throughout the creamy filling to ensure every bite has a wonderful crunch and burst of Oreo flavor.
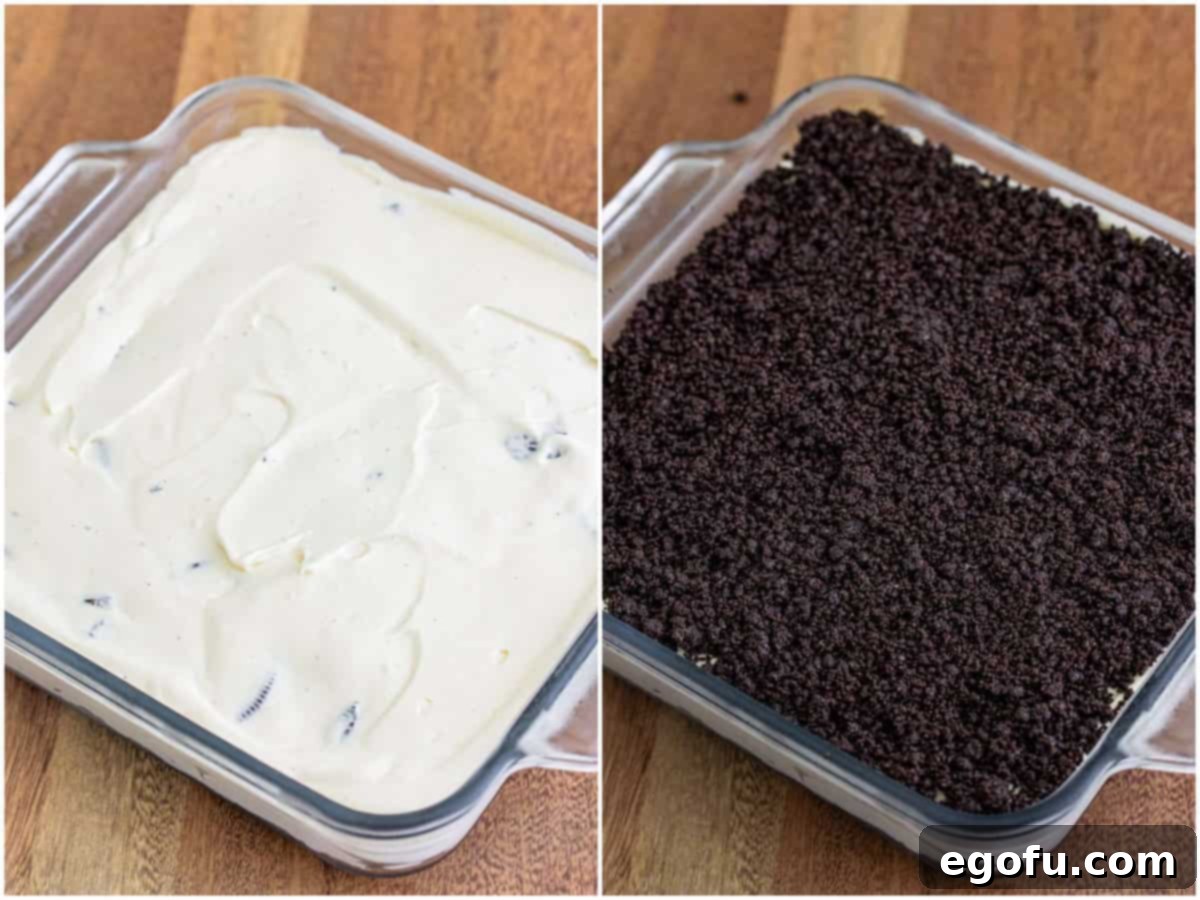
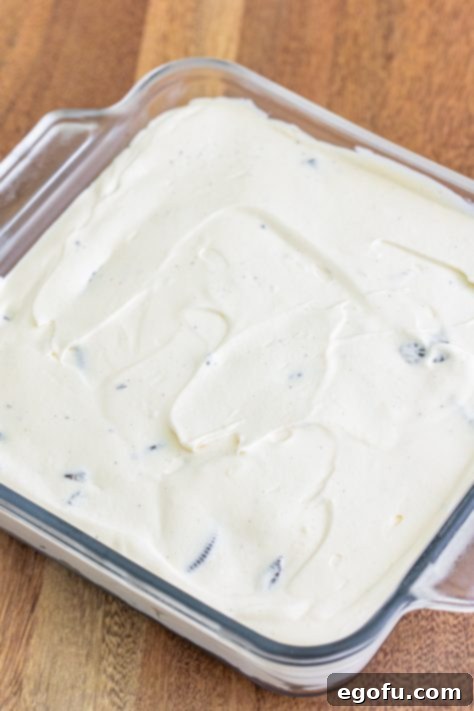
Assemble the Layers: Carefully spread the creamy Oreo filling mixture evenly over the chilled cookie crust in your baking dish. Use an offset spatula or the back of a spoon to create a smooth top layer.

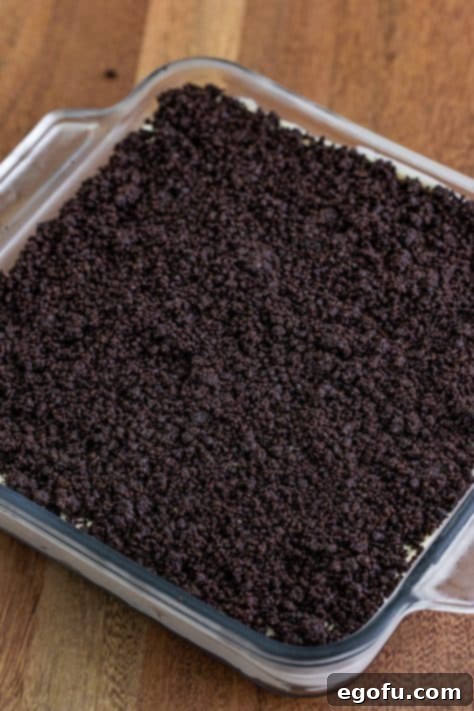
Add the Final Topping: Evenly sprinkle the remaining half of the fine Oreo cookie crumbs over the top of the creamy filling. This adds another layer of texture and a beautiful finish.
Chill to Perfection: Cover the baking dish tightly with plastic wrap and place it in the refrigerator. Allow it to chill for at least 4 hours to firm up. For the best possible set and flavor development, chilling it overnight is highly recommended.
Slice and Serve: Once properly chilled and set, remove the dessert from the refrigerator. Slice into desired portions using a sharp knife that has been run under hot water and wiped clean between cuts for the neatest slices. Serve immediately and enjoy!

Expert Tips for the Best No-Bake Oreo Dessert
- Room Temperature Cream Cheese is Non-Negotiable: We can’t stress this enough! Cold cream cheese will result in a lumpy filling. Plan ahead and let it soften on the counter for at least an hour before you start.
- Don’t Overmix the Whipped Topping: Once the whipped topping is folded in, mix just until combined. Overmixing can deflate the airiness, leading to a denser filling.
- Adjust Sweetness: If you prefer a less sweet dessert, you can slightly reduce the amount of powdered sugar. However, remember that the sweetened condensed milk is key to the texture, so don’t alter that.
- Creative Toppings: Beyond the Oreo crumbs, consider drizzling with chocolate syrup, caramel sauce, adding fresh berries, or a dollop of extra whipped cream just before serving for an elevated touch.
- Portion Control: For easier serving at a party, you can line your baking dish with parchment paper, leaving an overhang on the sides. Once set, lift the entire dessert out and cut it into neat squares.
Explore More Irresistible Oreo Delights
If you’re an Oreo lover, there’s a whole world of delicious recipes waiting for you. Dive into these other fantastic treats:
- Oreo Fluff
- Oreo Cheesecake Bars
- Oreo Cookie Pie
- Oreo Layered Dessert
- Oreo Better Than Sex Cake
- Edible Chocolate Oreo Cookie Dough
- Oreo Poke Cake
- Oreo Dirt Cake
- Oreo Cheesecake Brownies
- Oreo Brookie Bars
- Dirt Cups
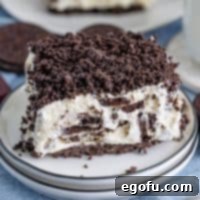
No Bake Oreo Dessert
Print
Pin
Rate
10 minutes
4 hours
4 hours
10 minutes
9
servings
Brandie Skibinski
Ingredients
-
13.29 ounce package Oreo cookies, divided use -
4 Tablespoons salted butter, melted -
8 ounce block cream cheese, softened to room temperature -
¼ cup powdered sugar -
14 ounce can sweetened condensed milk -
2 teaspoons vanilla extract -
8 ounce tub whipped topping, thawed (Cool Whip)
Instructions
- Chop 10 of the cookies into large chunks, set aside.

- Add the remaining cookies to a food processor and process until fine crumbs form.

- In a medium bowl, stir together the cookie crumbs with the melted butter until well combined.

- Press half of the mixture firmly into the bottom of an 8×8-inch or 9×9-inch baking dish, no need to spray with cooking spray. Place in the freezer while you make the filling.

- In a large bowl with an electric hand mixer, or in the body of a stand mixer with the paddle attachment, mix together the cream cheese with the powdered sugar until smooth.

- Add the sweetened condensed milk and vanilla extract, mix well.

- Fold in the whipped topping until there are no white streaks left.

- Gently stir in the chopped Oreo pieces (that you chopped up in step 1).

- Spread this mixture over the crust evenly.

- Top evenly with the remaining cookie crumbs.

- Cover with plastic wrap and place in the fridge for at least 4 hours to set (overnight is best.)
- Slice and serve.

Video Tutorial
Notes
- For additional tips on ingredient substitutions or answers to common queries, please refer to the “Frequently Asked Questions” and detailed “Ingredients Needed” sections provided above. These sections offer deeper insights to help you achieve the best possible dessert.
Dessert
American
Nutrition Information (Estimated Per Serving)
Calories: 479kcal
|
Carbohydrates: 65g
|
Protein: 10g
|
Fat: 20g
|
Sodium: 454mg
|
Fiber: 1g
|
Sugar: 52g
Nutritional Disclaimer
“The Country Cook” is not a dietician or nutritionist, and any nutritional information shared is an estimate. If calorie count and other nutritional values are important to you, we recommend running the ingredients through whichever online nutritional calculator you prefer. Calories and other nutritional values can vary quite a bit depending on which brands were used.
Did you make this recipe?
Share it on Instagram @thecountrycook and mention us #thecountrycook!

