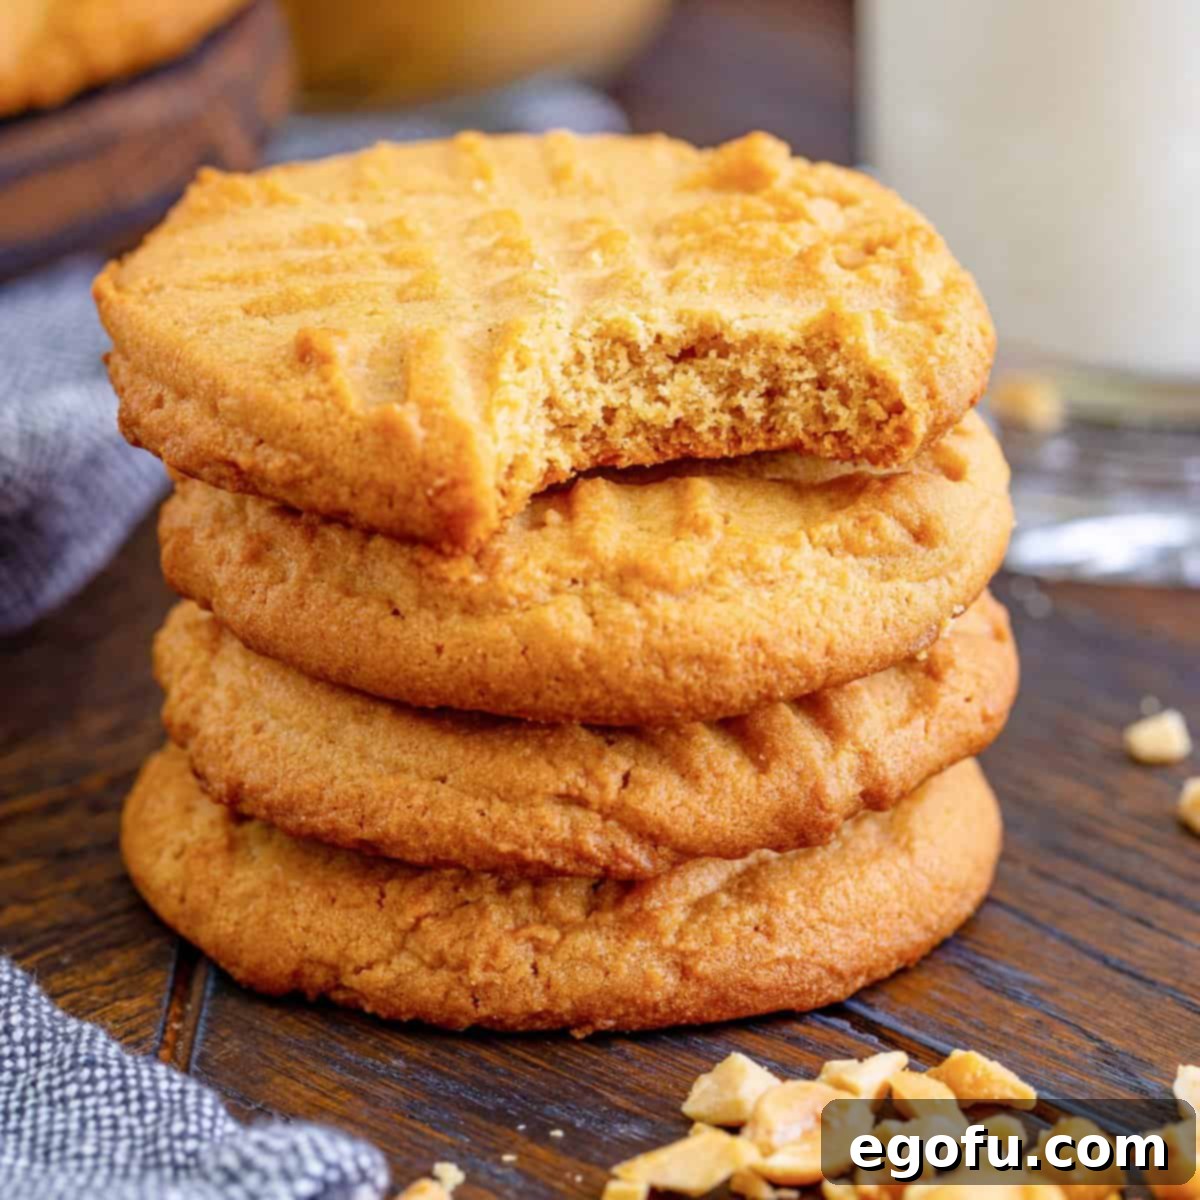
The Ultimate Lunch Lady Peanut Butter Cookies: A Taste of Childhood Nostalgia
Step back in time and rekindle cherished childhood memories with these delightful Lunch Lady Peanut Butter Cookies. Crafted with simple, readily available ingredients, this recipe effortlessly brings to life the classic taste of school cafeteria days. Each bite offers a comforting reminder of a simpler, sweeter era, making these cookies an instant favorite for all ages.
Rediscovering a Classic Peanut Butter Cookie
For many, school lunch wasn’t just about the main course; it was eagerly anticipating those special desserts that made the day a little brighter. Among them, the iconic peanut butter cookie, often lovingly prepared by the school’s “lunch ladies,” holds a particularly warm spot in our hearts. These weren’t just any cookies; they were a staple, a simple pleasure that brought smiles to countless faces. This recipe captures that exact magic – the unmistakable flavor and texture that instantly transports you back to elementary school.
What makes these cookies truly special is their perfect balance of rich peanut butter flavor, a satisfyingly crisp edge, and a wonderfully soft, chewy center. They are incredibly easy to whip up in your own kitchen using basic pantry staples, meaning you’re never more than an hour away from a batch of these nostalgic treats. Whether you’re a seasoned baker or just starting out, this recipe is foolproof and guarantees delicious results every time. Prepare to fall in love all over again with the taste of pure, unadulterated comfort. If you’re ready to take a delicious journey down memory lane, then these Lunch Lady Peanut Butter Cookies are an absolute must-bake.

Frequently Asked Questions About Lunch Lady Peanut Butter Cookies
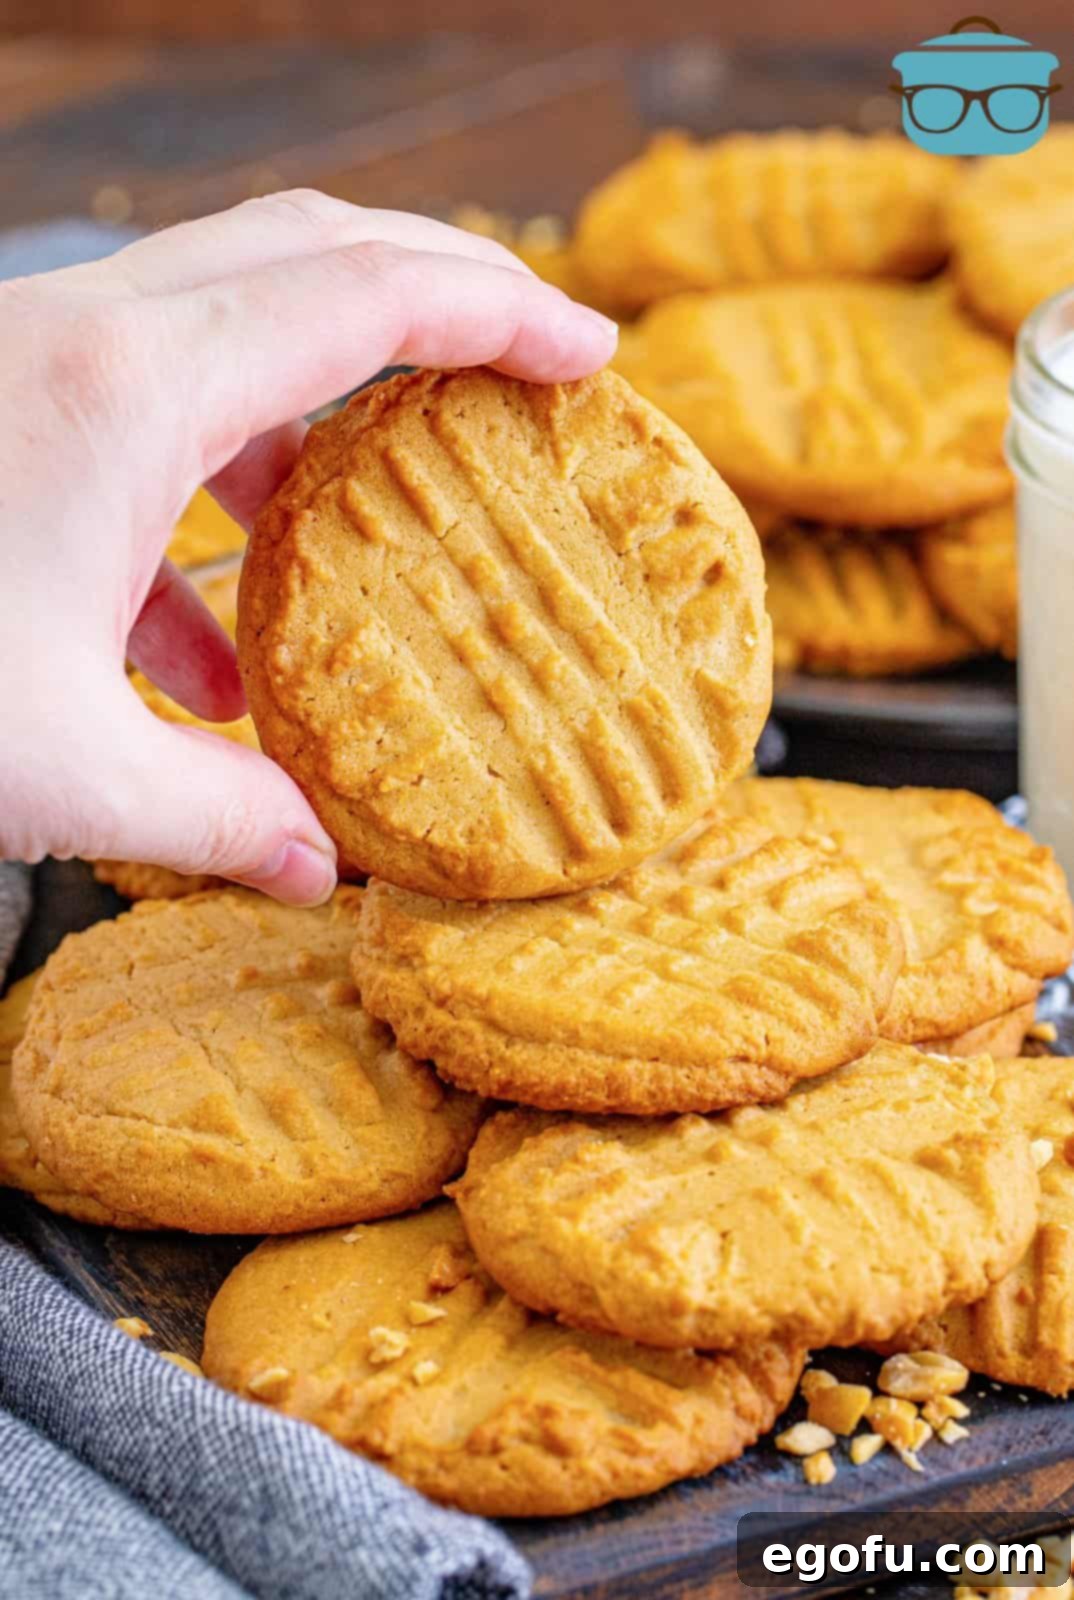
True to their old-school charm, these cookies boast a delightful contrast: perfectly crisp and golden on the outside, yielding to a wonderfully soft and chewy center. This ideal texture combination is what elevates them to the pinnacle of peanut butter cookie perfection, offering a satisfying bite every single time.
Absolutely! These cookies serve as a fantastic canvas for your creativity. Feel free to incorporate your favorite additions. Some popular choices that have been enjoyed in the past include classic chocolate chips, sweet peanut butter chips, finely chopped peanuts for extra crunch, or colorful Reese’s Pieces for a playful twist. Experiment and make them your own!
Yes, absolutely! For those who prefer an extra layer of texture and nutty goodness, crunchy peanut butter is a fantastic substitute. In fact, many find that the added crunch enhances the overall experience of these already delicious cookies. Go ahead and swap it in if you’re a fan of that extra bite!
The most common reason for cookies not setting up or appearing too soft is typically premature removal from the oven. For these cookies, it’s crucial to ensure they achieve a beautiful golden-brown color around the edges and no longer appear glossy in the center before taking them out. Remember, cookies continue to bake for a few minutes on the hot sheet tray after being removed from the oven, so allowing them to cool there is key to their final structure.
The distinctive criss-cross pattern, made by pressing a fork onto the cookie dough, is more than just decorative; it’s an iconic hallmark of a classic peanut butter cookie. This simple step helps to flatten the dough slightly, ensuring even baking, and creates that recognizable visual cue that instantly identifies it as a beloved peanut butter treat. It’s a tradition that adds to the charm and authenticity of the cookie.
To maintain their freshness, these cookies can be stored in an airtight container or a resealable zip-top bag at room temperature for up to 5 days. For longer preservation, they freeze exceptionally well. Place cooled cookies in a freezer-safe container or bag, and they will stay fresh for up to 3 months. You can choose to freeze the dough before baking or the baked cookies. If baking from frozen dough, simply add a few extra minutes to the baking time. To defrost baked cookies, just remove them from the freezer and let them thaw at room temperature on your countertop.
While traditional creamy peanut butter (like Jif or Skippy) is recommended for its consistent texture and emulsified oils, you can use natural peanut butter. If you do, make sure to stir it very well before measuring to thoroughly reincorpor any separated oils. The texture of the cookies might be slightly different, potentially a bit drier or more crumbly, but they will still be delicious. Using natural peanut butter often results in a less uniform spread and a slightly less chewy cookie.
For consistently sized cookies that bake evenly, using a cookie scoop is highly recommended. A 2-tablespoon cookie scoop (often labeled as a #30 scoop) will create uniform portions of dough, ensuring each cookie bakes at the same rate and looks identical to its delicious counterparts on the baking sheet.

Essential Ingredients for Perfect Lunch Lady Peanut Butter Cookies
Creating these beloved peanut butter cookies requires a handful of common ingredients, each playing a crucial role in achieving that signature taste and texture. Ensure your butter is softened to room temperature for optimal creaming, and measure your flour accurately for the best results.
- Creamy peanut butter (classic varieties work best for consistency)
- Salted butter, softened (adds richness and balances sweetness)
- Light brown sugar, packed (contributes to chewiness and deep flavor)
- Granulated sugar (for crispness and sweetness)
- Large eggs (bind ingredients and add moisture)
- Vanilla extract (enhances overall flavor)
- All-purpose flour (the structural base of the cookie)
- Baking soda (for leavening and tenderness)

Step-by-Step Guide: How to Make Lunch Lady Peanut Butter Cookies
1. Prepare Your Workspace: Begin by preheating your oven to 350°F (175°C). Line several sheet trays with parchment paper to prevent sticking and set them aside. This ensures you’re ready to go once the dough is mixed.
2. Cream the Wet Ingredients: In the bowl of a stand mixer fitted with the paddle attachment, or in a large bowl using an electric hand mixer, combine the creamy peanut butter and softened salted butter. Beat them together on medium speed until the mixture is light, fluffy, and perfectly smooth. This step is crucial for incorporating air and creating a tender cookie.

3. Incorporate Sugars: Add both the light brown sugar (packed) and granulated sugar to the stand mixer bowl with the peanut butter and butter mixture. The combination of these two sugars creates the ideal balance of chewiness and crispness in the final cookie.

4. Mix Until Combined: Continue mixing the sugar and peanut butter mixture until all ingredients are thoroughly combined and the mixture is light and fluffy. Scrape down the sides of the bowl as needed to ensure everything is evenly incorporated.
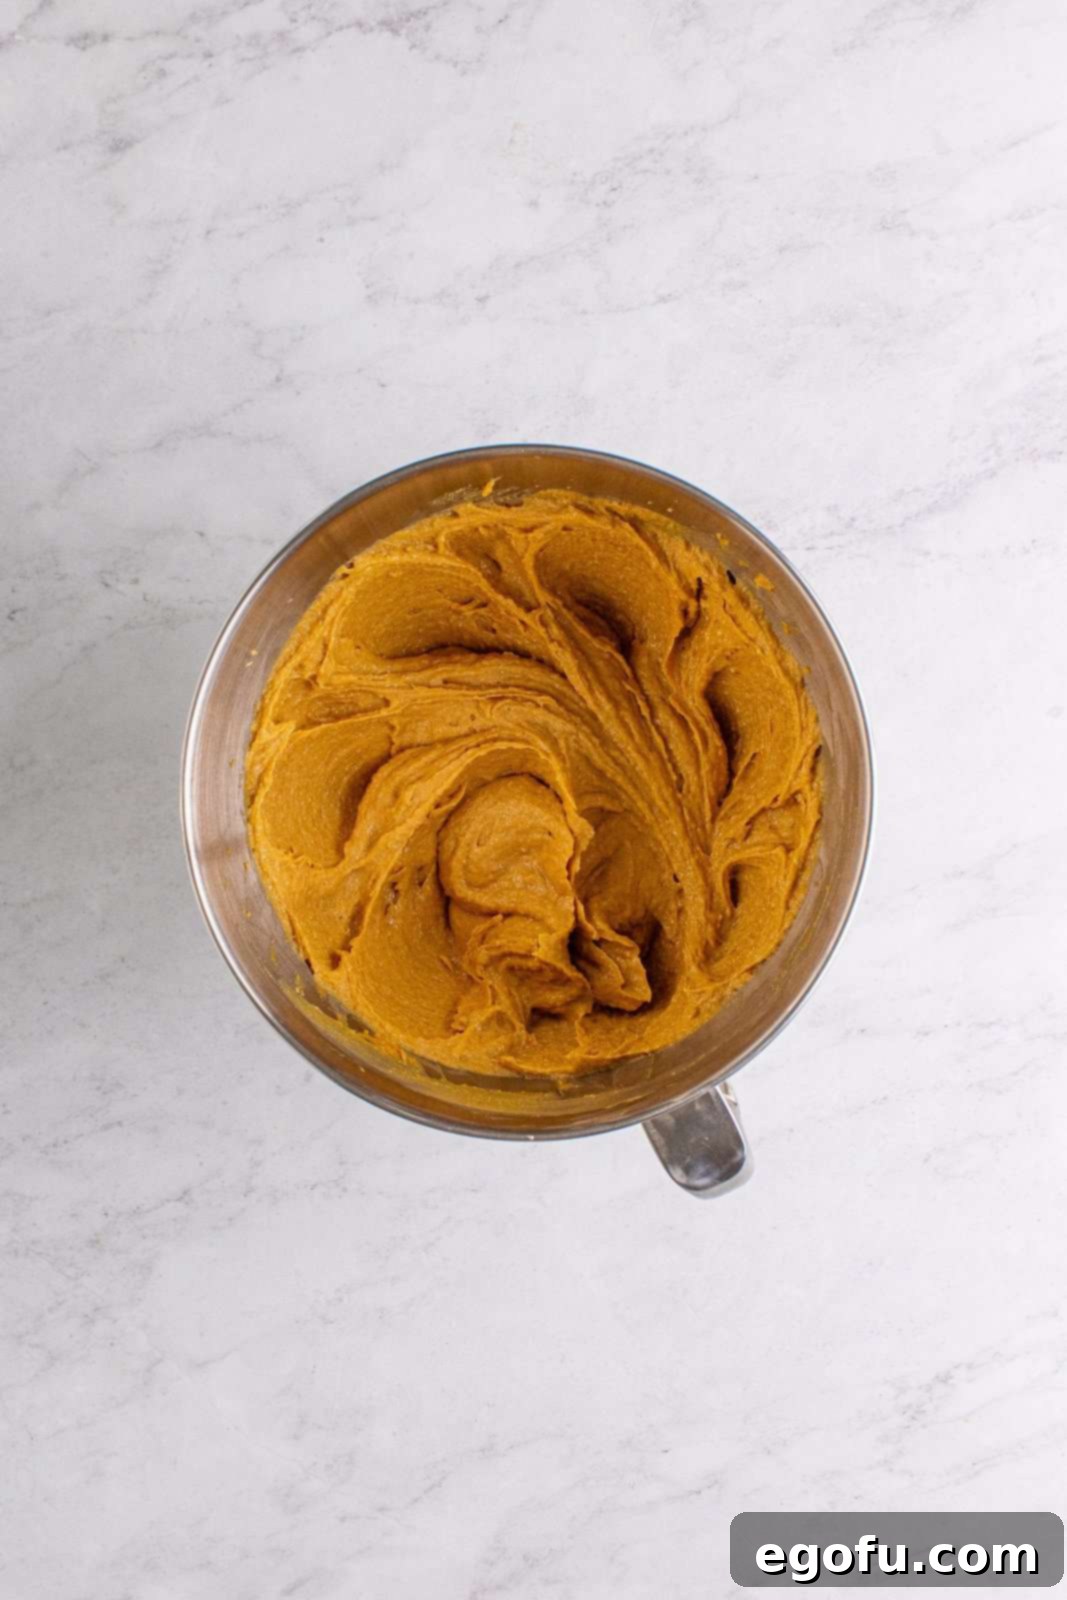
5. Add Eggs Gradually: Crack the eggs into a separate small bowl first. Then, add them to the mixer one at a time, beating well after each addition. Ensure each egg is fully incorporated into the dough before adding the next one. This method helps to create a cohesive and well-emulsified dough.
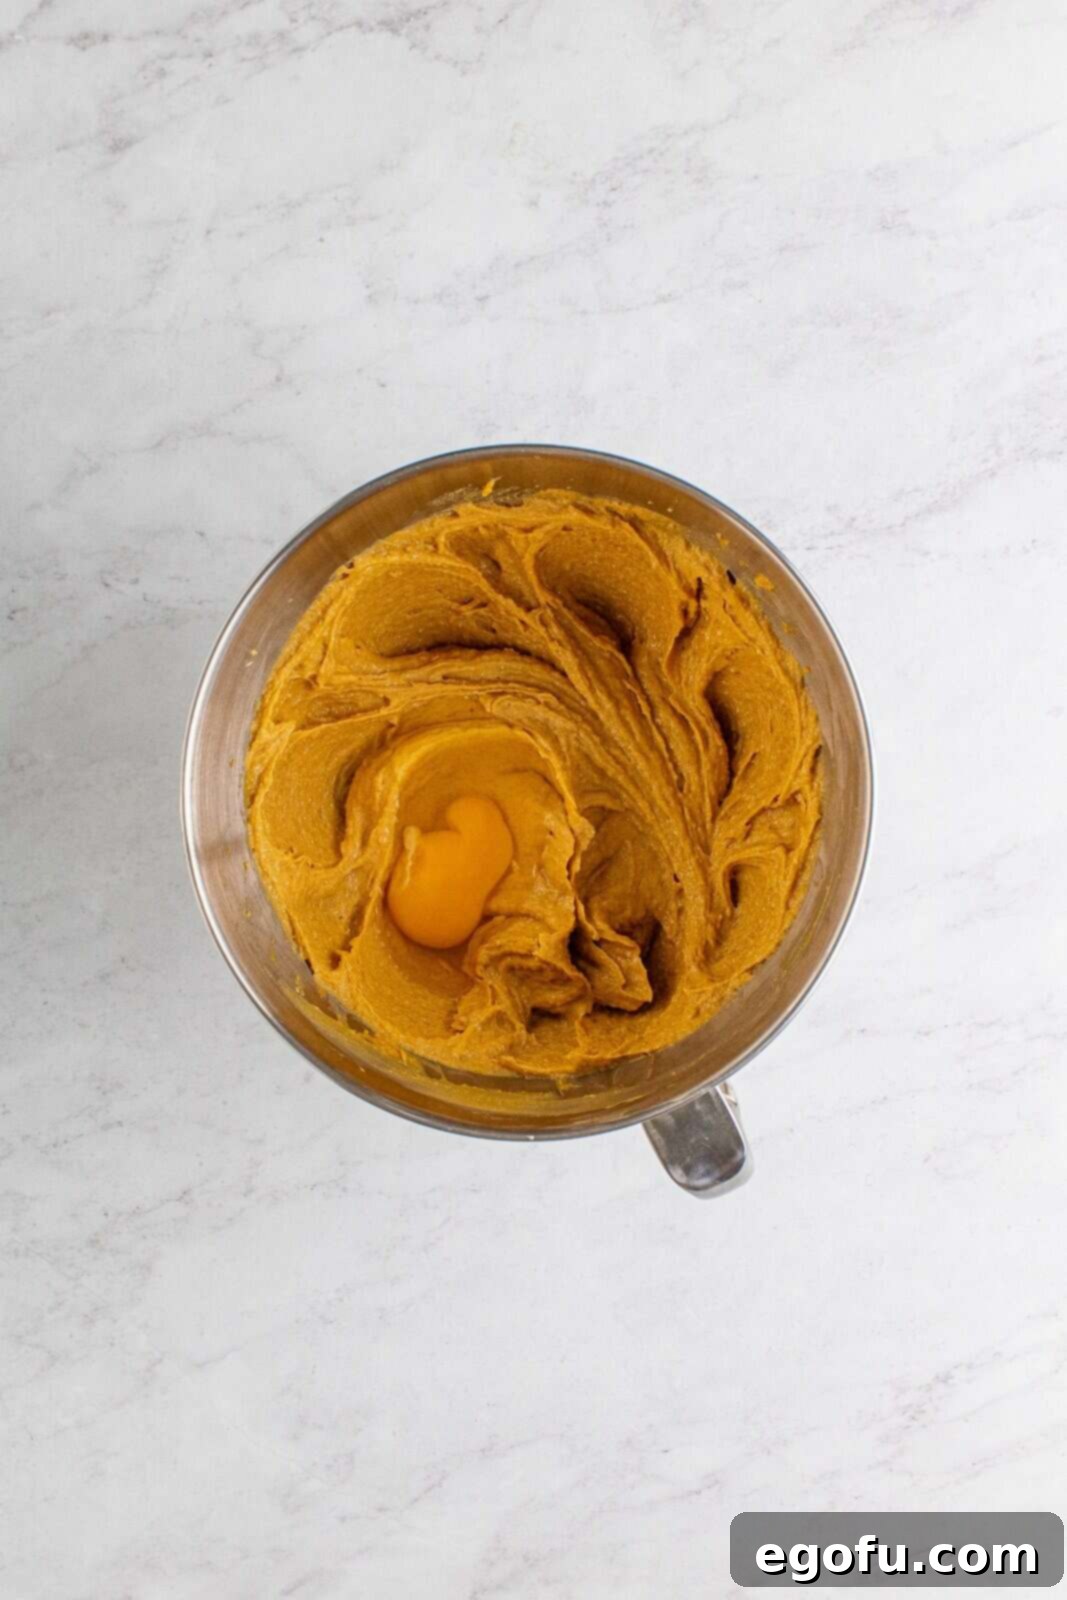
6. Stir in Vanilla: Pour in the vanilla extract and mix until it’s evenly distributed throughout the wet mixture. Vanilla extract is a flavor enhancer that complements the rich peanut butter beautifully.
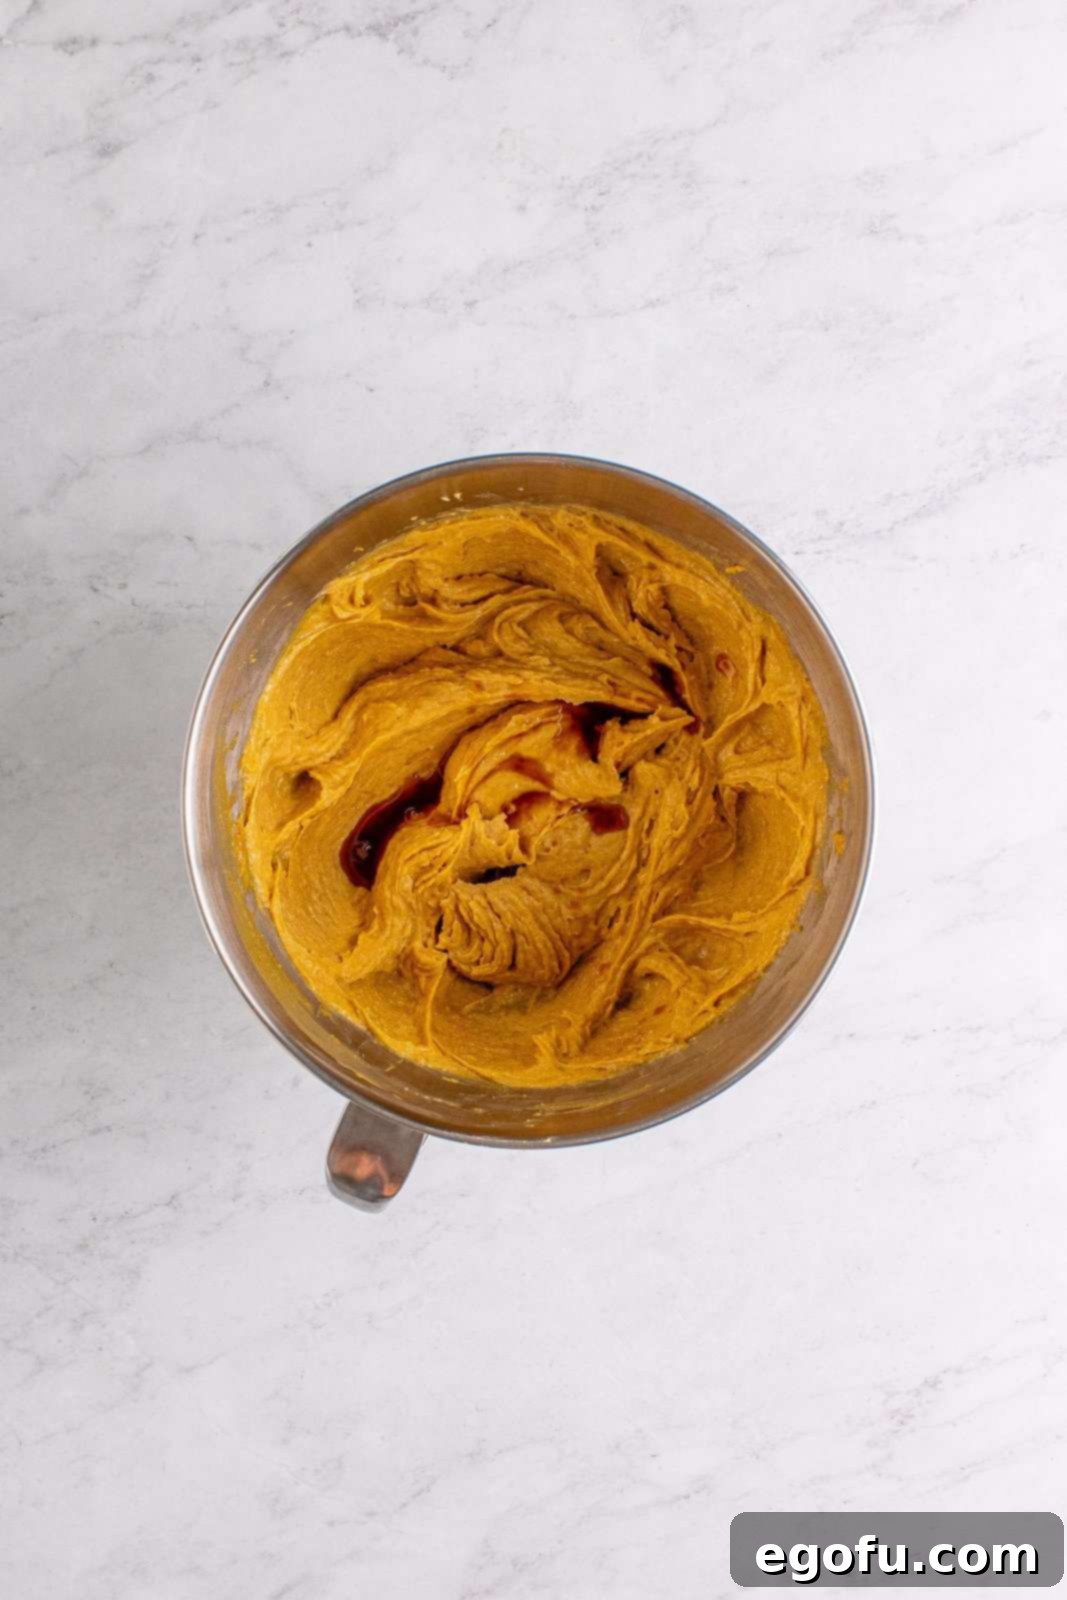
7. Combine Dry Ingredients: In a separate, small bowl, whisk together the all-purpose flour and baking soda. This ensures the leavening agent is evenly distributed, leading to uniform cookie texture.

8. Gradually Add Dry to Wet: With the mixer on low speed, gradually add the dry flour mixture to the wet peanut butter mixture. Add about one-third at a time, allowing it to partially incorporate before adding the next batch.

9. Mix Until Just Combined: Continue mixing until the dry ingredients are just incorporated into the wet mixture, and no streaks of dry flour remain. Be careful not to overmix, as this can lead to tough cookies. Scrape down the sides of the bowl one last time to ensure everything is evenly combined into a soft dough.

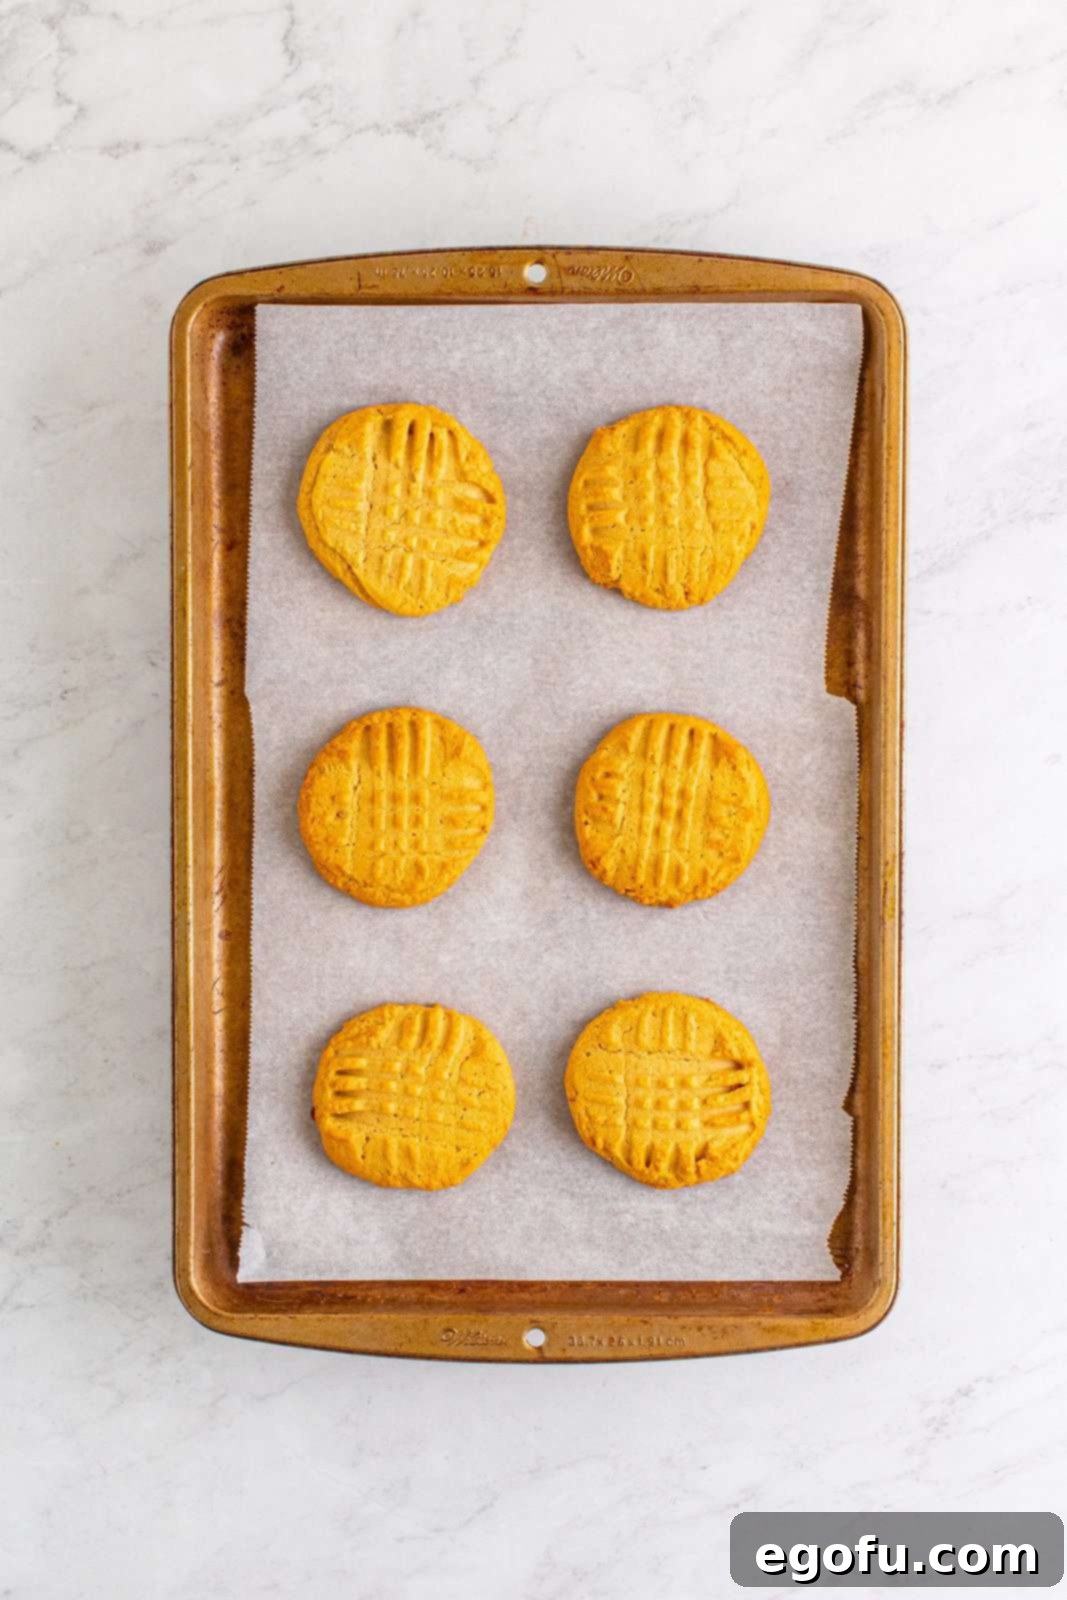
10. Portion and Pattern: Using a cookie scoop or by hand, roll 2-tablespoon portions of dough into balls. Place these dough balls about 3 inches apart on your prepared sheet trays. Then, using the tines of a fork, gently press down on each cookie dough ball twice, creating the classic criss-cross pattern. This iconic design not only looks great but also helps the cookies bake evenly.

11. Bake to Perfection: Bake the cookies for 12-13 minutes, or until the edges are golden brown and the centers no longer appear glossy. The precise baking time may vary slightly depending on your oven, so keep a close eye on them. Overbaking can result in a dry cookie, so pull them out as soon as they reach that perfect golden hue.
12. Cool and Enjoy: Once baked, remove the sheet trays from the oven and let the cookies cool on the tray for about 5 minutes. This allows them to firm up before transferring. After 5 minutes, carefully transfer the cookies to a wire rack to cool completely. The wait is the hardest part!
Now, pour yourself a tall glass of cold milk, dunk your warm, freshly baked cookie, and let the delicious taste take you straight back to the good old days! This is more than just a cookie; it’s a hug from your past.
Tips for Success: Achieving Bakery-Quality Lunch Lady Peanut Butter Cookies
While this recipe is straightforward, a few key tips can elevate your peanut butter cookies from good to absolutely amazing, ensuring every batch is a triumph.
- Room Temperature Ingredients: Always start with softened butter and eggs at room temperature. This allows them to cream together smoothly, creating an emulsified mixture that traps air, resulting in a lighter, more tender cookie texture.
- Measure Flour Accurately: For baking, precision is key. Use the “spoon and level” method for measuring flour: spoon flour into your measuring cup until it overflows, then level it off with the back of a knife. Scooping directly from the bag can compact the flour, leading to too much flour and dry cookies.
- Don’t Overmix: Once you add the dry ingredients, mix only until just combined. Overmixing develops the gluten in the flour, which can result in tough, dense cookies.
- Don’t Overbake: As noted in the instructions, watch for golden edges and a no-longer-glossy center. The cookies will firm up as they cool. Pulling them out slightly “underdone” looking (but still set) often results in a chewier final product.
- Uniform Cookie Size: Using a cookie scoop ensures that all your cookies are the same size, which means they will bake evenly. This prevents some from being overbaked while others are underbaked.
- Quality Peanut Butter: For that true “lunch lady” flavor, a classic, creamy peanut butter (like Jif or Skippy) works best. Natural peanut butters can sometimes alter the texture and spread of the cookies due to varying oil content.
Customize Your Cookies: Fun Variations and Mix-ins
While these cookies are perfect in their classic form, they’re also incredibly versatile. Feel free to unleash your inner pastry chef and experiment with these delicious additions:
- Chocolate Lover’s Dream: Stir in a cup of your favorite chocolate chips – semi-sweet, milk chocolate, or dark chocolate – for a classic pairing with peanut butter.
- Double Peanut Butter Bliss: Enhance the nutty flavor by adding a half-cup of peanut butter chips to the dough.
- Crunch Factor: Incorporate chopped roasted peanuts, pecans, or walnuts for an added layer of texture and flavor.
- Candy Surprises: Mix in colorful M&M’s, Reese’s Pieces, or even chopped mini peanut butter cups for a fun and festive twist.
- Sweet & Salty: After creating the criss-cross pattern, sprinkle a touch of flaky sea salt on top of each cookie before baking to amplify the flavors.
- Caramel Swirl: Gently fold in some soft caramel bits or a drizzle of caramel sauce into the dough for a rich, gooey surprise.
Storage and Freezing: Keeping Your Lunch Lady Peanut Butter Cookies Fresh
These cookies are so good, they rarely last long, but knowing how to store them properly ensures maximum freshness for every last crumb.
- Room Temperature: Once completely cooled, store the cookies in an airtight container or a large zip-top bag at room temperature. They will remain wonderfully fresh and delicious for up to 5 days.
- Freezing Baked Cookies: For longer storage, you can easily freeze baked cookies. Place the fully cooled cookies in a single layer on a baking sheet and freeze for about 30 minutes, or until firm. This prevents them from sticking together. Then, transfer them to a freezer-safe airtight container or heavy-duty freezer bag, separating layers with parchment paper. They will keep well for up to 3 months. To enjoy, simply remove from the freezer and let them thaw at room temperature.
- Freezing Dough: You can also freeze the cookie dough! Form the dough into balls, complete with the criss-cross pattern, and arrange them on a parchment-lined baking sheet. Freeze until solid, then transfer the frozen dough balls to a freezer-safe bag. When you’re ready to bake, place the frozen dough balls on a prepared baking sheet and bake as directed, adding 2-4 minutes to the baking time, without thawing.
Explore More Nostalgic Recipes!
If these Lunch Lady Peanut Butter Cookies brought back sweet memories, you’ll love diving into more classic recipes that taste just like home. From comforting dinners to other delightful desserts, we have plenty of recipes to take you on another culinary trip down memory lane. Be sure to check out these other favorites:
- Rectangle School Pizza
- School Cafeteria Spaghetti
- Cafeteria Noodles
- Peanut Butter Pie
- Peanut Butter Rice Krispies Treats
- Mrs. Fields Chocolate Chip Cookies
Lunch Lady Peanut Butter Cookies
10 minutes
13 minutes
23 minutes
35
Brandie Skibinski
Ingredients
-
1 ¼
cups
creamy peanut butter -
8
ounces
salted butter
softened -
1 ¼
cups
light brown sugar
packed -
¾
cup
granulated sugar -
2
large eggs -
1 ½
teaspoon
vanilla extract -
2
cups
all-purpose flour -
1
teaspoon
baking soda
Instructions
- Preheat the oven to 350°F (175°C). Line sheet trays with parchment paper, then set them aside.
- In the bowl of a stand mixer with the paddle attachment, or in a large bowl with an electric hand mixer, cream the peanut butter with the butter until smooth and fluffy.
- Add the brown sugar and granulated sugar to the stand mixer.
- Mix until fully combined and the mixture is light.
- Add the eggs one at a time, ensuring each egg is fully mixed into the dough before adding the next.
- Stir in the vanilla extract until incorporated.
- In a small separate bowl, stir together the all-purpose flour and baking soda.
- Gradually add the dry flour mixture to the wet mixture in the stand mixer.
- Mix until just combined and no dry patches of flour remain. Scrape down the sides of the bowl as needed to ensure a uniform dough. Do not overmix.
- Scoop about 2 tablespoons worth of dough for each cookie and place them approximately 3 inches apart on the prepared sheet trays. Using a fork, gently press down on each cookie dough ball twice to create the classic criss-cross pattern.
- Bake for 12-13 minutes, or until the edges are golden brown and the centers no longer appear glossy. Let the cookies cool on the sheet tray for 5 minutes before transferring them to a wire rack to cool completely.
Notes
- These cookies can be frozen for longer storage; refer to the “Storage and Freezing” section above for detailed instructions.
- Feel free to add mix-ins like chocolate chips or chopped peanuts. Find more ideas in the “Customize Your Cookies” section.
- Crunchy peanut butter can be used as a substitute if you prefer an added texture.
Dessert
American
Nutrition
|
Carbohydrates: 20g
|
Protein: 3g
|
Fat: 10g
|
Sodium: 118mg
|
Fiber: 1g
|
Sugar: 13g
Nutritional Disclaimer
“The Country Cook” is not a dietician or nutritionist, and any nutritional information shared is an estimate. If calorie count and other nutritional values are important to you, we recommend running the ingredients through whichever online nutritional calculator you prefer. Calories and other nutritional values can vary quite a bit depending on which brands were used.
Did you make this recipe?
Share it on Instagram @thecountrycook and mention us #thecountrycook!
