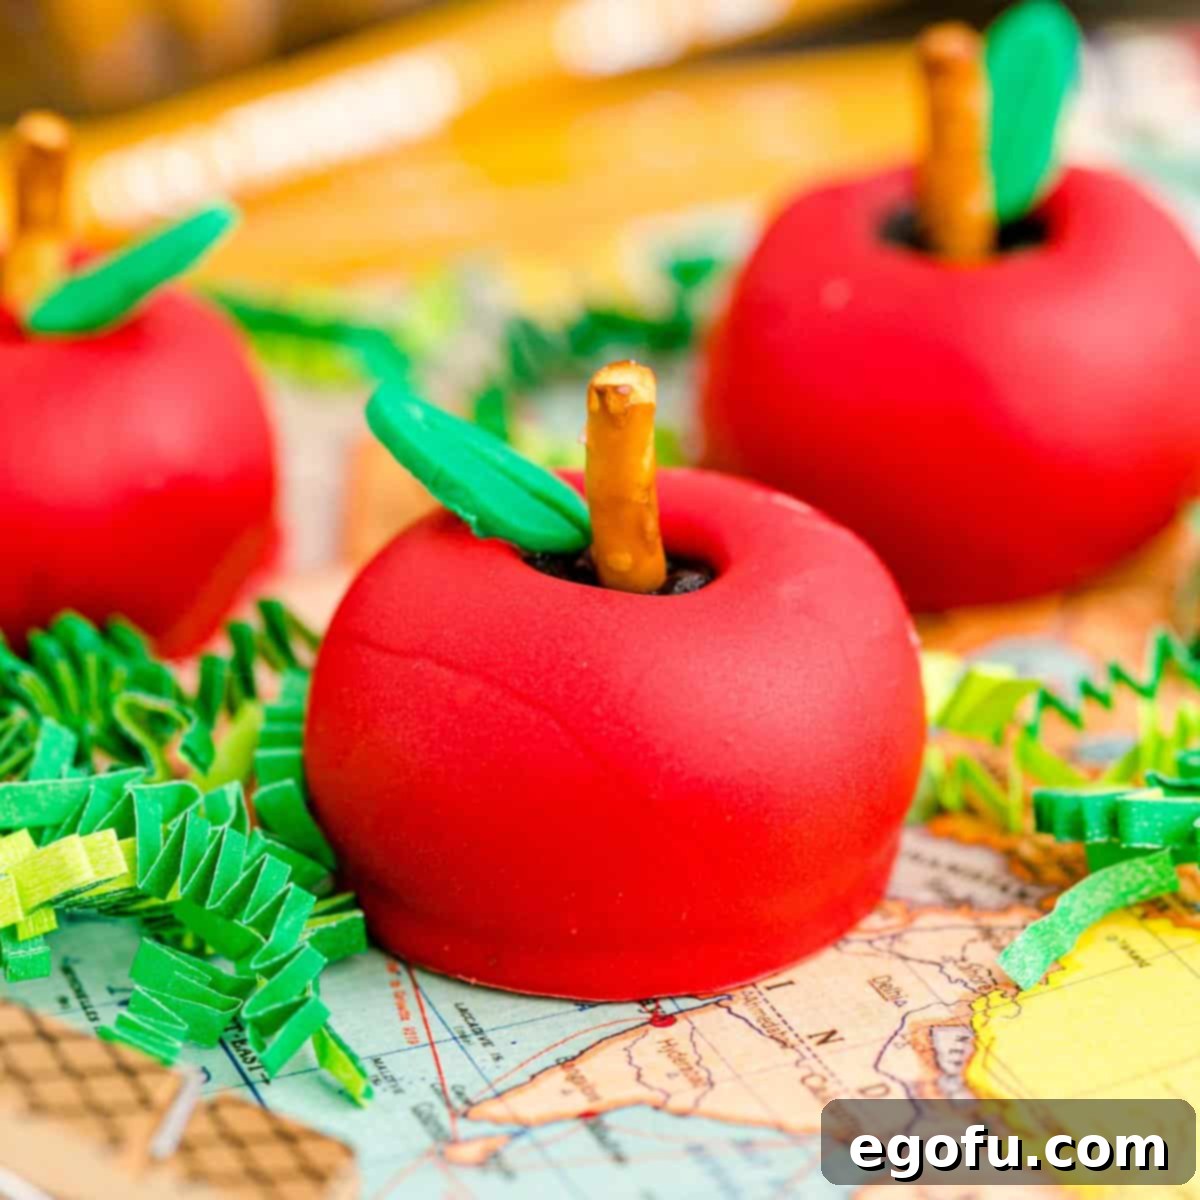
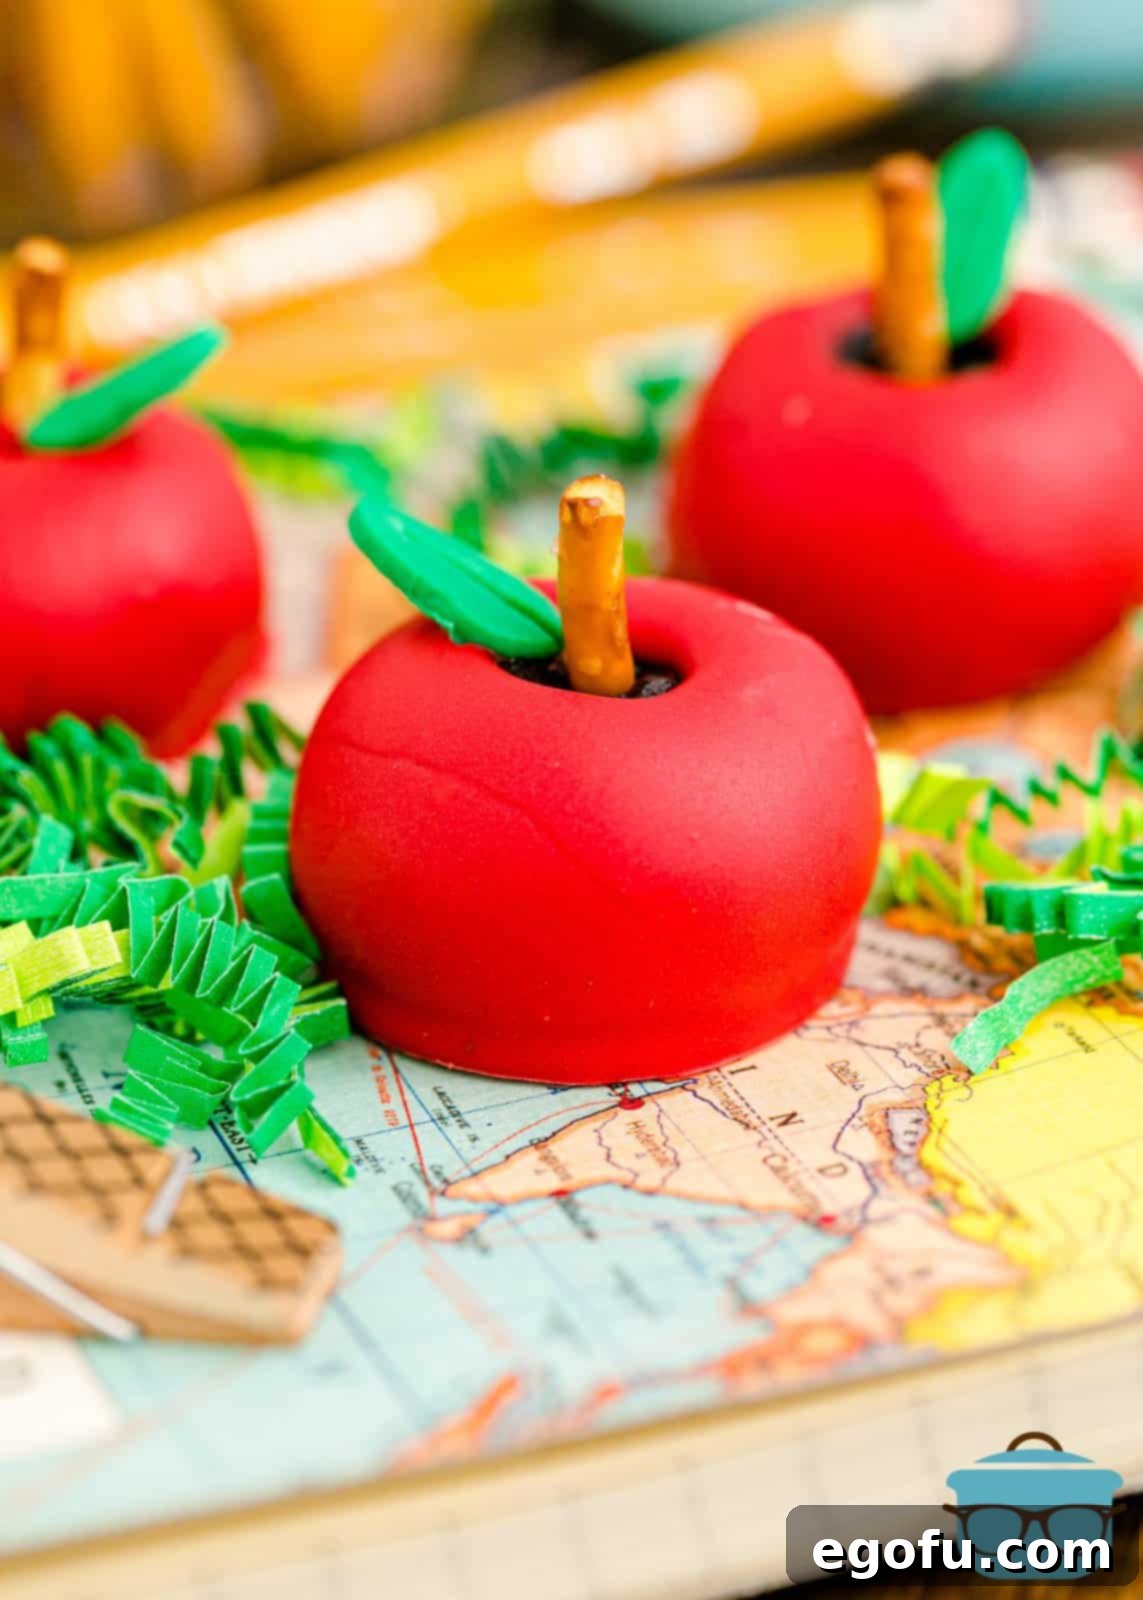
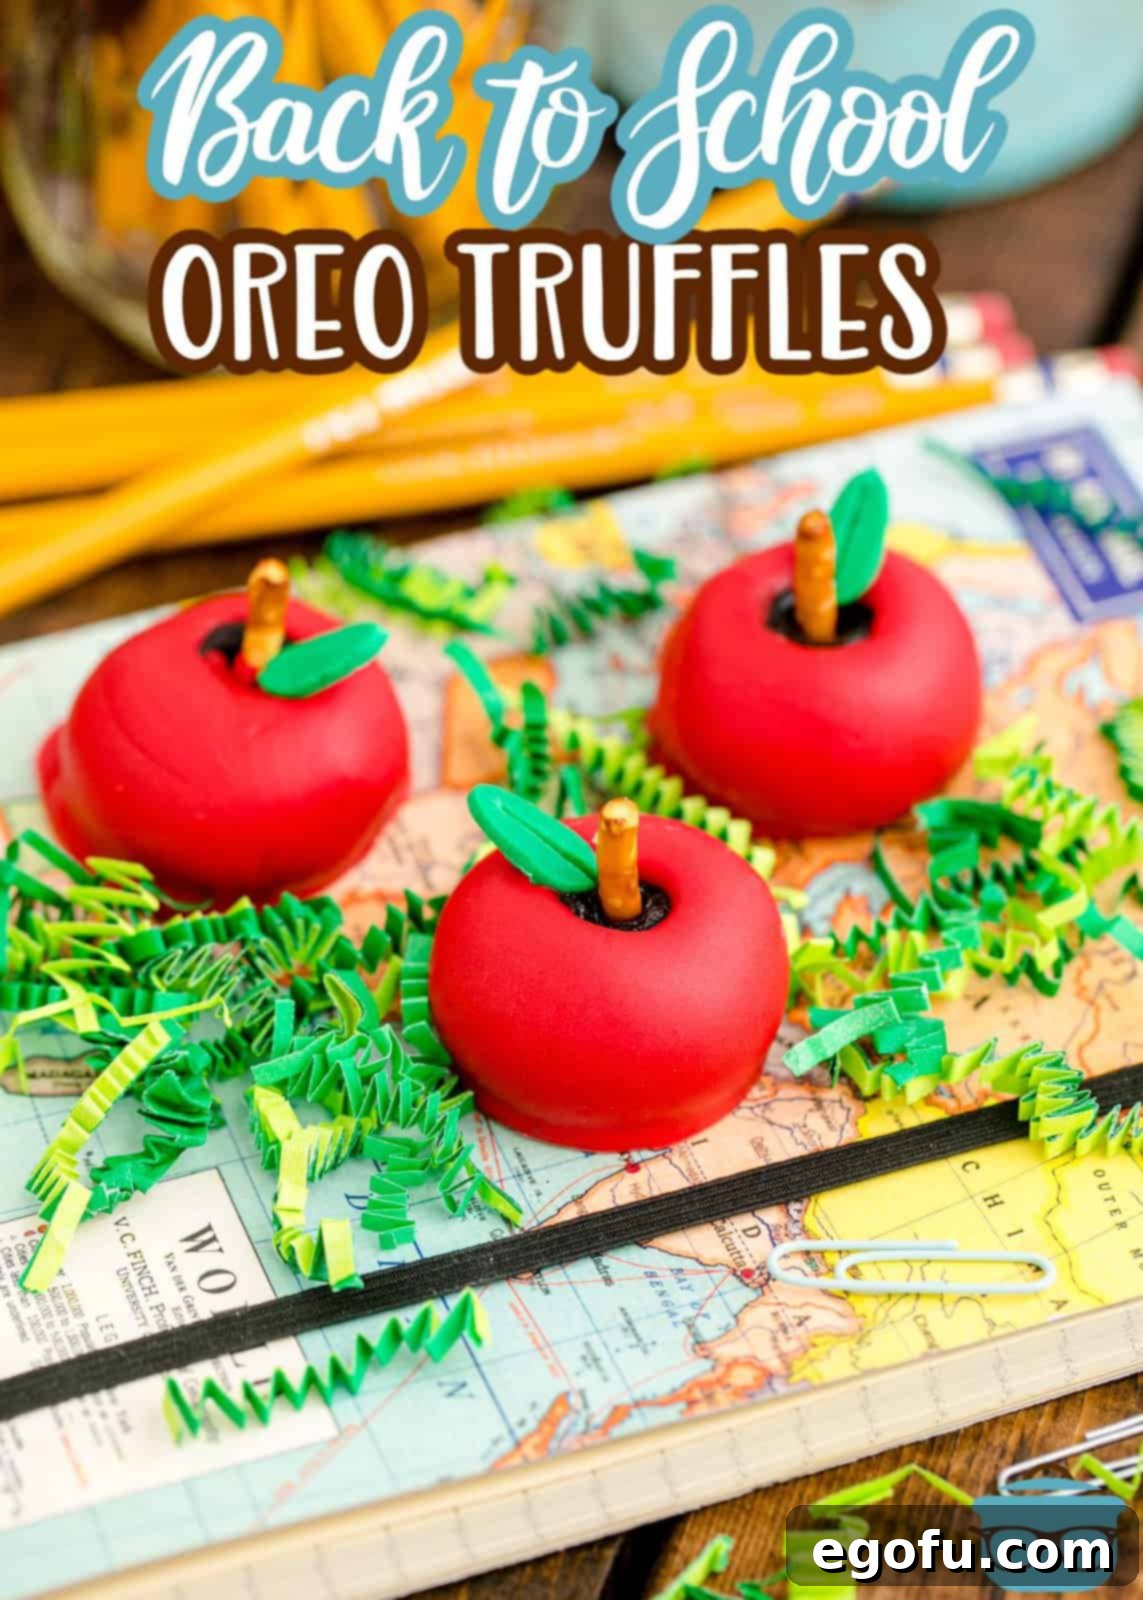
Welcome back to school with a treat that’s as delightful to make as it is to eat! These incredible Back-to-School Apple Shaped Oreo Truffles are not just easy, but packed with flavor and fun. Using simple, readily available ingredients, you can craft the perfect bite-sized indulgence that children and educators alike will absolutely adore. What’s even better? We’ve included a free printable gift tag, making these sweet creations ideal for thoughtful gifting!
Crafting the Perfect Chocolatey Back-to-School Treat
Are you a fan of creating themed recipes that celebrate special occasions, especially the exciting return to school? If so, you’re in for a real treat with these effortlessly irresistible Back-to-School Apple Shaped Oreo Truffles. This recipe transforms classic Oreo cookies into charming, apple-shaped delights, making them an ideal welcome-back gesture for all the dedicated and hardworking teachers out there. I love preparing these truffles and pairing them with a thoughtful gift certificate – it’s a wonderful way to kick off the new academic year with appreciation and a touch of sweetness.
Imagine the smiles these adorable apple truffles will bring! They serve as a fantastic “thank you” to teachers for their commitment and enthusiasm. Beyond teachers, these treats are perfect for school parties, lunchbox surprises, or simply a fun baking project with your kids to celebrate the season. Their vibrant red coating, a crunchy pretzel stem, and a delicate green fondant leaf perfectly capture the iconic image of an apple – the ultimate symbol of education and appreciation. Get ready to impress and delight everyone with this unique and delicious Back-to-School Apple Shaped Oreo Truffle recipe!
Frequently Asked Questions About Apple Shaped Oreo Truffles
Absolutely! While pre-made green fondant gives a polished look and is typically found in the cake decorating aisle at larger stores like Walmart or in the baking sections of most craft stores, it’s not essential. A fantastic and accessible alternative is to use green M&M’s, which can be easily cut or pressed into leaf shapes. Another creative option is to melt a small amount of green candy melts and drizzle or pipe tiny leaf shapes onto parchment paper, letting them harden before attaching. You could even use a small piece of green fruit leather!
Yes, definitely! While red candy melts are chosen to mimic a classic apple, these truffles would look equally charming and delicious in other colors. Green candy melts would create a “Granny Smith” apple effect, and while the green fondant leaves might not stand out as much against a green truffle, they would still look great, perhaps with a slightly darker green leaf. You could even get creative with a mix of red and green truffles for a varied and festive presentation!
For the best results and ease of handling, these truffles require a total of approximately 50 minutes of chilling and freezing time. The initial chill helps firm the Oreo mixture for easier rolling, and the freezing step is crucial. Freezing the shaped truffles ensures they are firm enough to be dipped smoothly into the melted candy melts without crumbling or losing their shape. It also helps the chocolate coating set more quickly and evenly, giving you a beautiful, professional finish and preventing any melty mishaps.
To create that characteristic apple “dimple” where the stem sits, you need something roughly the size and shape of a pencil eraser. I personally used a clean, fake pencil for this purpose, but many common household items work perfectly. A regular drinking straw, a clean chopstick, the back end of a small spoon, or even a pretzel stick (before you break it in half for the stem) can be used. The goal is just a small, neat indentation that looks natural for an apple.
Yes, this is completely normal! The warmth from your hands can cause the butter and oils in the cream cheese and Oreo mixture to release, making the truffle balls feel a bit oily or greasy as you roll them. If this happens, simply return the mixture or the formed balls to the freezer for another 5-10 minutes to firm them up again. Working quickly, or chilling your hands with cold water before rolling, can also help minimize this effect and keep your truffles neat.
The pretzel stick “stem” isn’t just for looks; it’s also your secret weapon for dipping! Holding onto the pretzel stick allows you to fully submerge the truffle in the melted chocolate without getting your fingers messy or leaving fingerprints on the coating. Gently dip the truffle, twirl it slightly to allow excess chocolate to drip off, and then carefully transfer it to your wax paper-lined baking sheet. This method ensures a smooth, even, and clean chocolate coating every time, making your apple truffles look professionally made.
These delicious apple truffles are best stored in an airtight container in the refrigerator. When stored correctly, they will maintain their freshness and delightful flavor for up to 3 weeks. If you want to make them further in advance or save some for later, these truffles also freeze beautifully. Place them in a freezer-safe container, separating layers with parchment paper if needed, and they will keep well for up to 2 months. To defrost, simply transfer them from the freezer to the refrigerator overnight until thawed, then enjoy!
Absolutely! While the classic Oreo provides that familiar chocolate base, feel free to experiment with other flavors. Golden Oreos could create a lighter “green apple” truffle base, or even seasonal flavors like Pumpkin Spice Oreos could add a unique twist. Just ensure the ratio of cream cheese and butter remains the same, as different Oreo fillings might slightly alter the consistency. The key is to crush them finely for a smooth truffle consistency.
Essential Ingredients for Back-to-School Apple Shaped Oreo Truffles
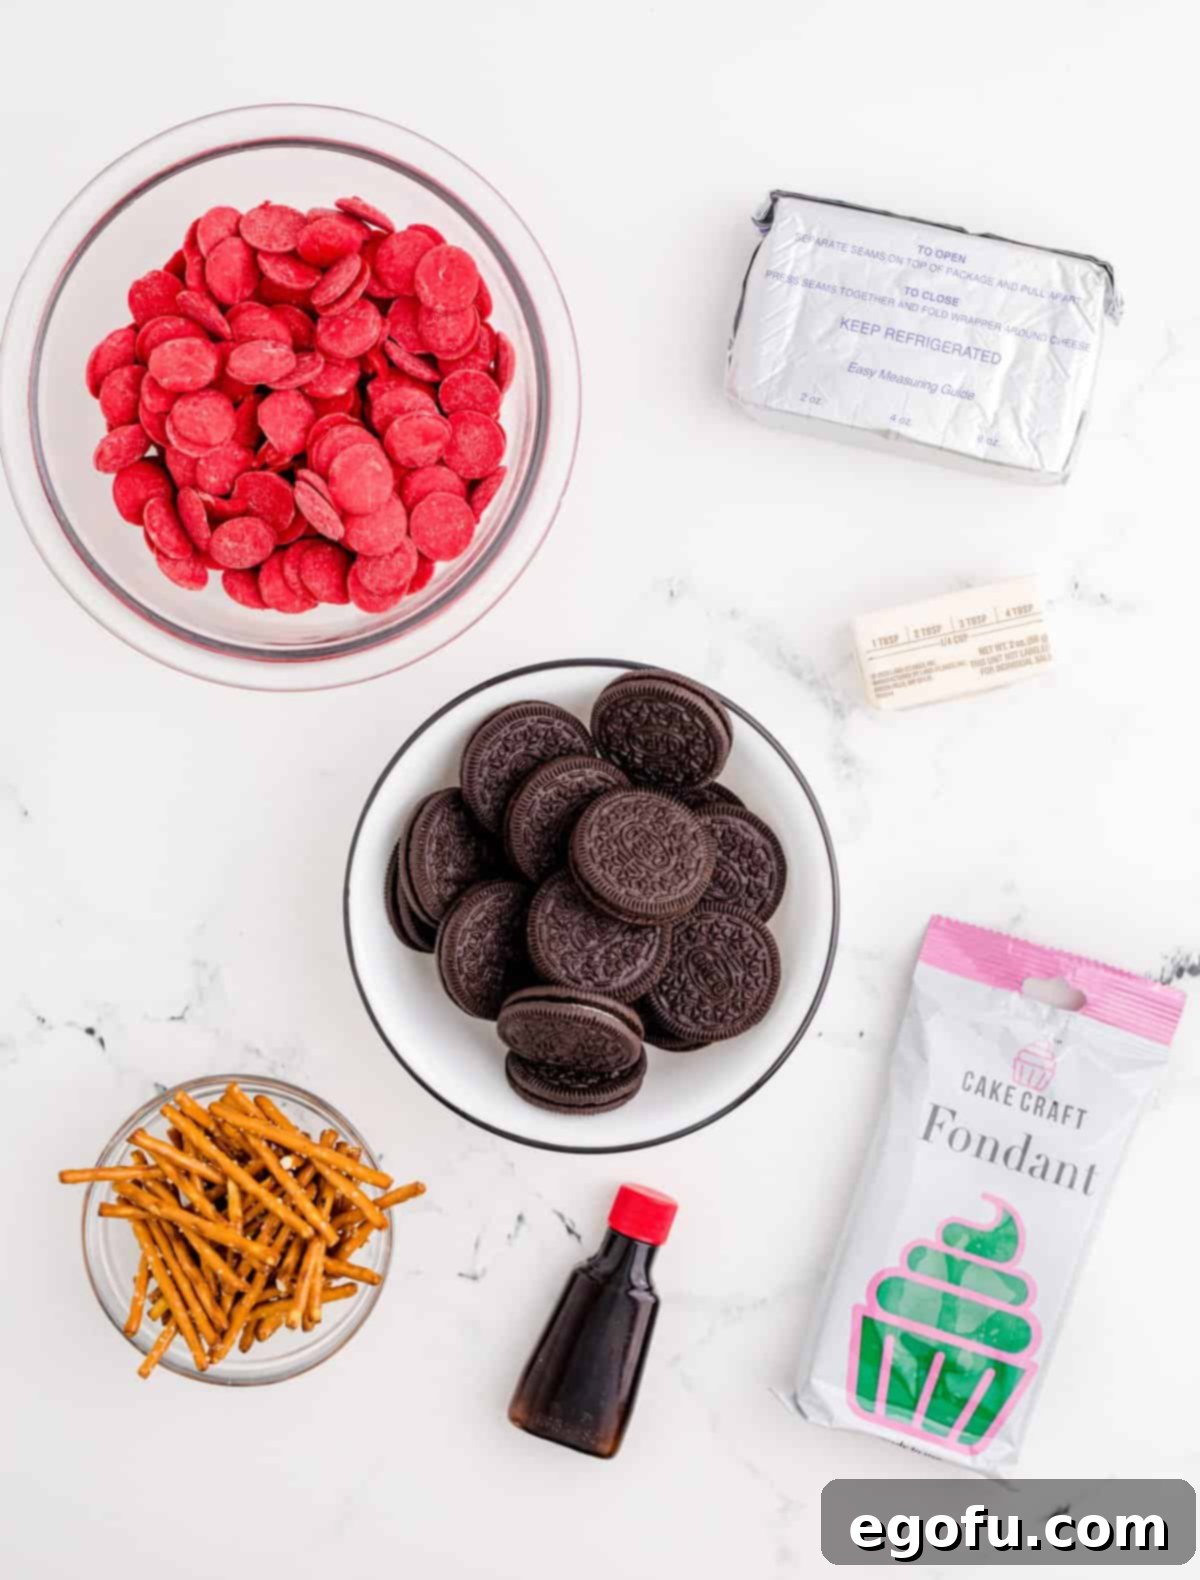
Gathering your ingredients is the first step to creating these adorable and delicious apple-shaped treats. You’ll be surprised at how few items you need to achieve such impressive results!
- Oreo cookies: The star of our truffles! You’ll need one family-size package (approximately 48 cookies) to create the rich, chocolatey base for these delightful treats.
- Cream cheese: Softened to room temperature, this binds the crushed Oreo crumbs and provides the smooth, creamy texture essential for perfect truffles.
- Salted butter: Also softened, butter adds a touch of richness and helps with the truffle’s consistency and overall delightful flavor.
- Vanilla extract: A splash of pure vanilla enhances the overall sweetness and depth of flavor in the truffle mixture, complementing the chocolate.
- Red candy melts: These vibrant melts provide the perfect apple-red coating and harden quickly for a smooth, glossy finish, making them ideal for our apple theme. You’ll need about two 8-ounce bags.
- Pre-made green fondant: Used to create the delicate green leaves, adding an authentic and charming touch to each apple truffle.
- Small pretzel sticks: These are ingeniously used as the “stems” for our apple truffles, adding a contrasting salty crunch and a convenient handle for dipping.
Step-by-Step Guide: How to Make Back-to-School Apple Shaped Oreo Truffles
Making these apple truffles is a fun and straightforward process that yields impressive results. Follow these detailed steps to create your edible masterpieces with ease!
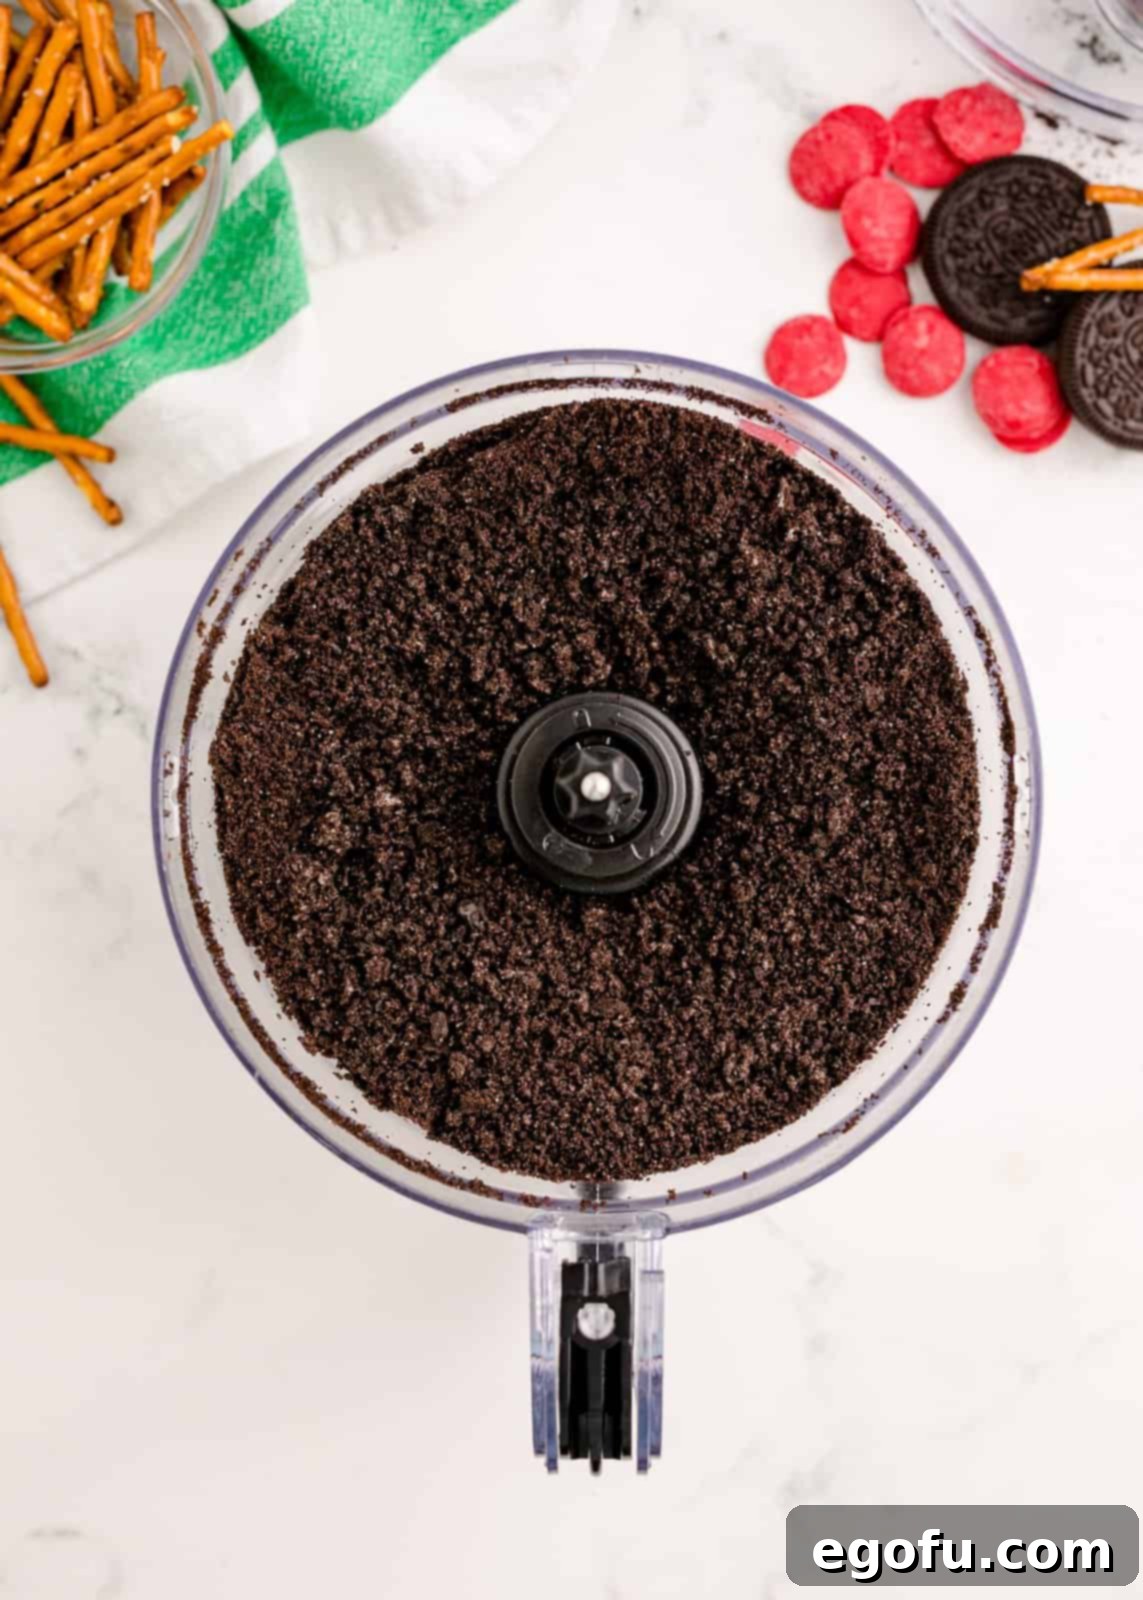
Step 1: Prepare the Oreo Crumbs. Begin by placing your entire package of Oreo cookies into a food processor. Pulse the cookies until they are transformed into very fine, even crumbs. It’s important to get them as fine as possible for a smooth truffle texture, ensuring no large chunks remain. This step is key to a consistent and delicious base for your truffles.
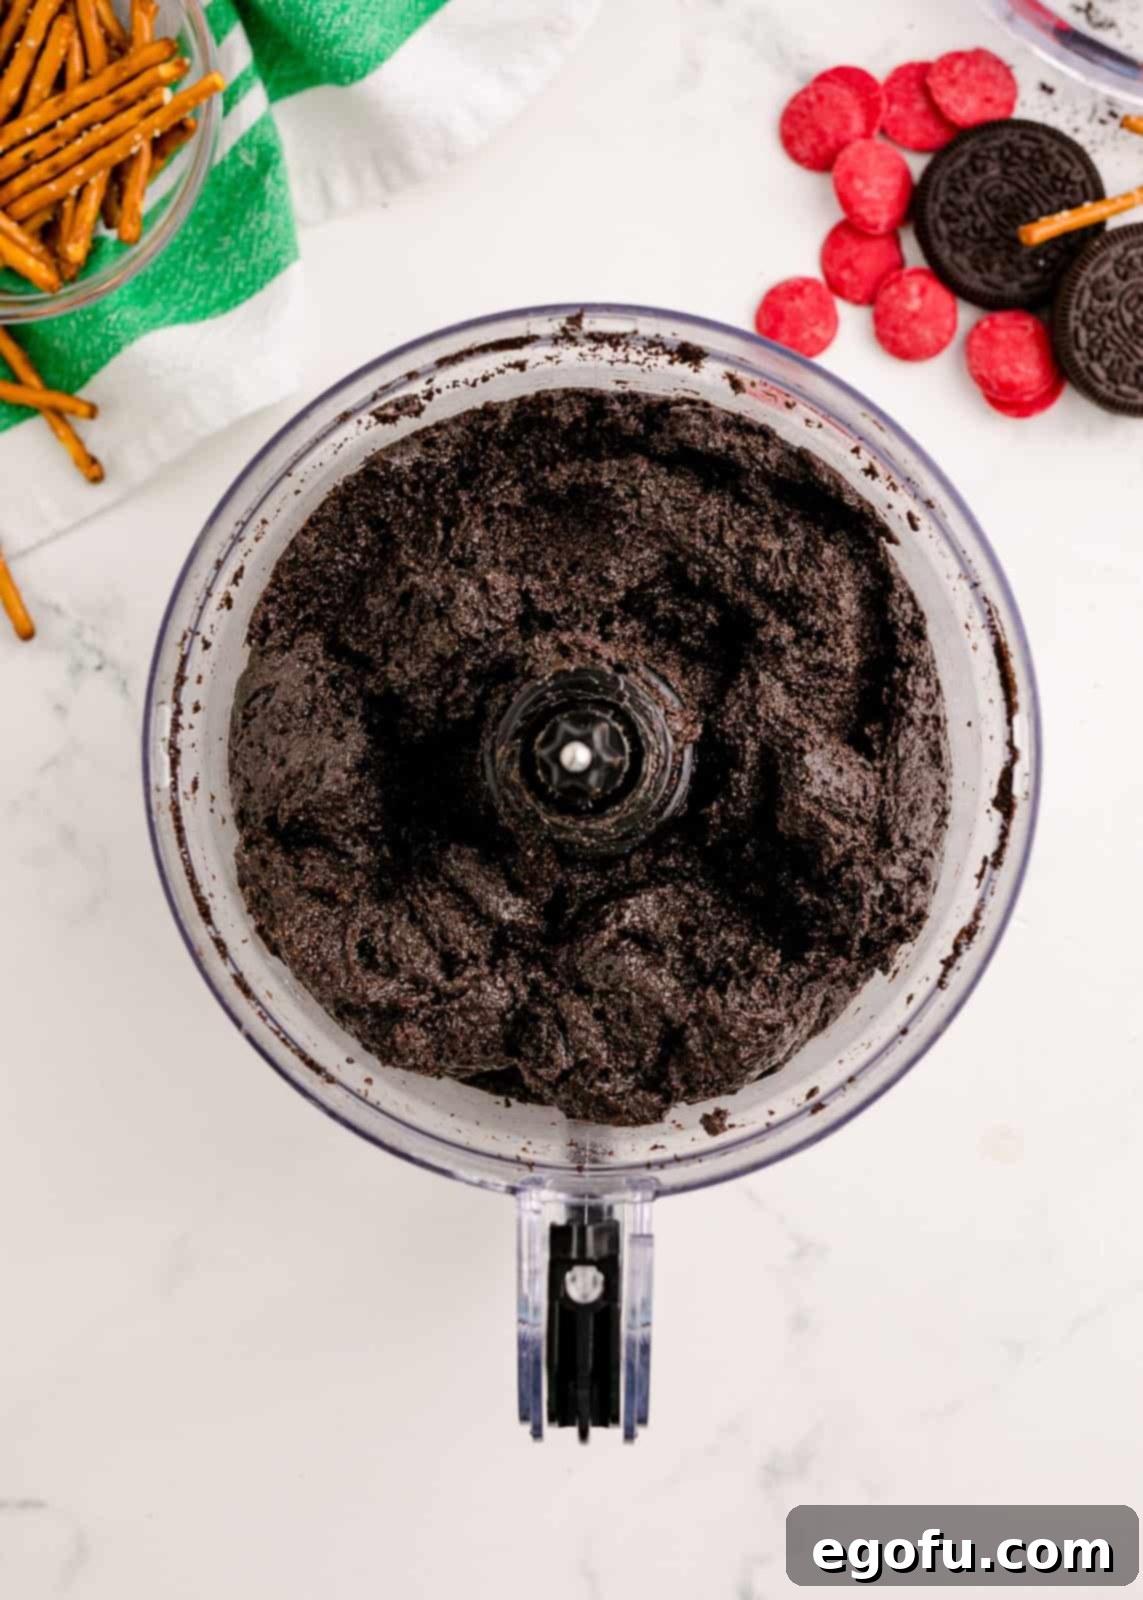
Step 2: Combine the Truffle Mixture. Add the softened cream cheese, softened salted butter, and vanilla extract directly into the food processor with the Oreo crumbs. Blend these ingredients together until a thick, uniform mixture forms. You might need to pause and scrape down the sides of the bowl with a spatula, as the mixture can become sticky and cling to the sides. Continue blending until everything is well incorporated and the mixture holds together. After blending, chill the entire Oreo truffle mix in the freezer for about 10 minutes. This quick chill time is crucial as it helps the mixture firm up, making it much easier to roll into perfect truffle balls without sticking to your hands.
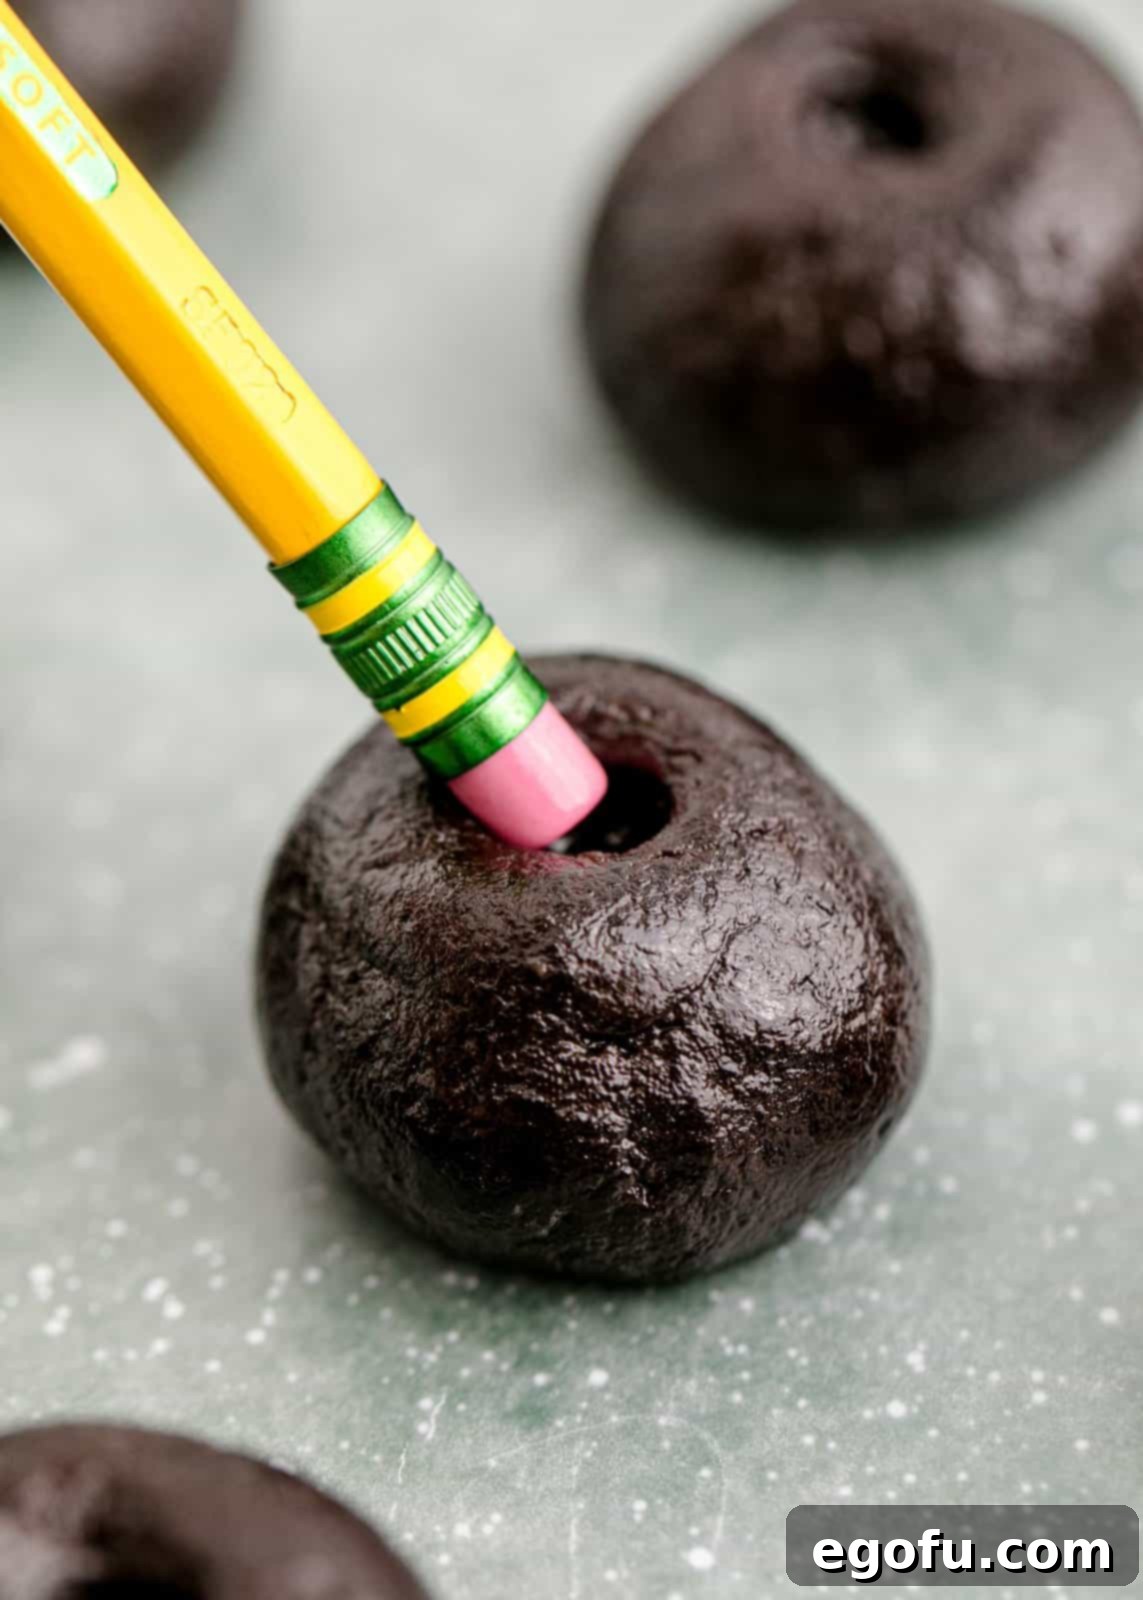
Step 3: Shape the Truffles and Create Indents. Once chilled, remove the truffle mixture from the freezer. Use a 1-inch cookie scoop (or a tablespoon) to measure out uniform portions of the Oreo mixture. Roll each portion firmly between your palms to form smooth, round balls. Place these perfectly round truffles on a baking sheet that has been lined with wax paper or parchment paper. Next, gently make a very small indentation on the top center of each ball. This dimple mimics the natural top of an apple where the stem would emerge. I found a fake pencil (or a clean, blunt object like a straw or the back of a small spoon) works perfectly for creating this characteristic apple shape.
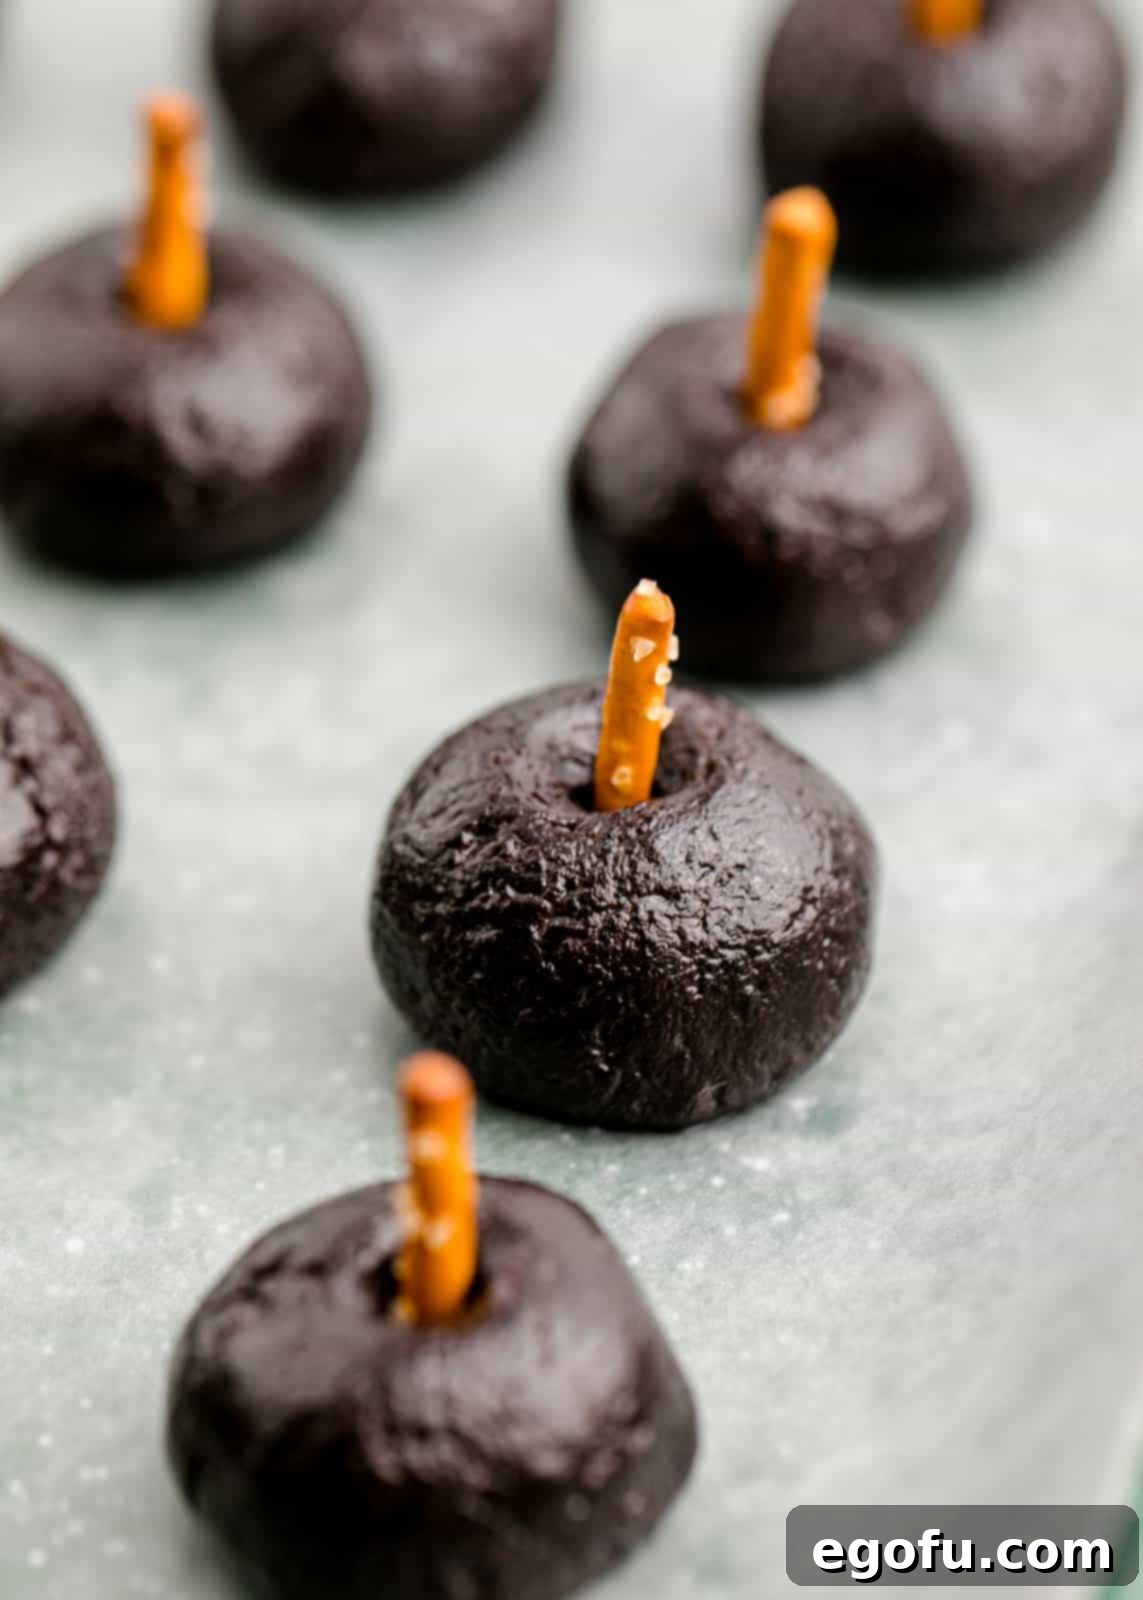
Step 4: Add Pretzel Stems and Prepare Fondant Leaves. Take your small pretzel sticks and carefully break each one in half. Gently push one broken end of a pretzel stick into the indentation at the top of each truffle ball. Ensure you leave enough of the pretzel stick exposed at the top, as this will serve as your convenient handle for dipping the truffles into the chocolate later. Once all your truffles have their pretzel stems, place the baking sheet back into the freezer for a crucial 20-minute chill. While your truffles are firming up, roll out your pre-made green fondant on a lightly powdered sugar surface. Use a small leaf-shaped cookie cutter or a sharp knife to carefully cut out tiny leaves for each apple truffle. Set these delicate leaves aside on a small plate.
Step 5: Melt Candy Melts and Dip Truffles. In a microwave-safe bowl, melt your red candy melts according to the package directions. Typically, this involves microwaving in 30-second intervals, stirring thoroughly after each, until smooth and completely melted. Be careful not to overheat the chocolate, as it can seize and become unusable. Remove your firm truffles from the freezer. Holding each truffle by its pretzel stem, gently dip it into the melted red chocolate, ensuring it’s fully coated. Allow any excess chocolate to drip back into the bowl before proceeding, for a clean finish.
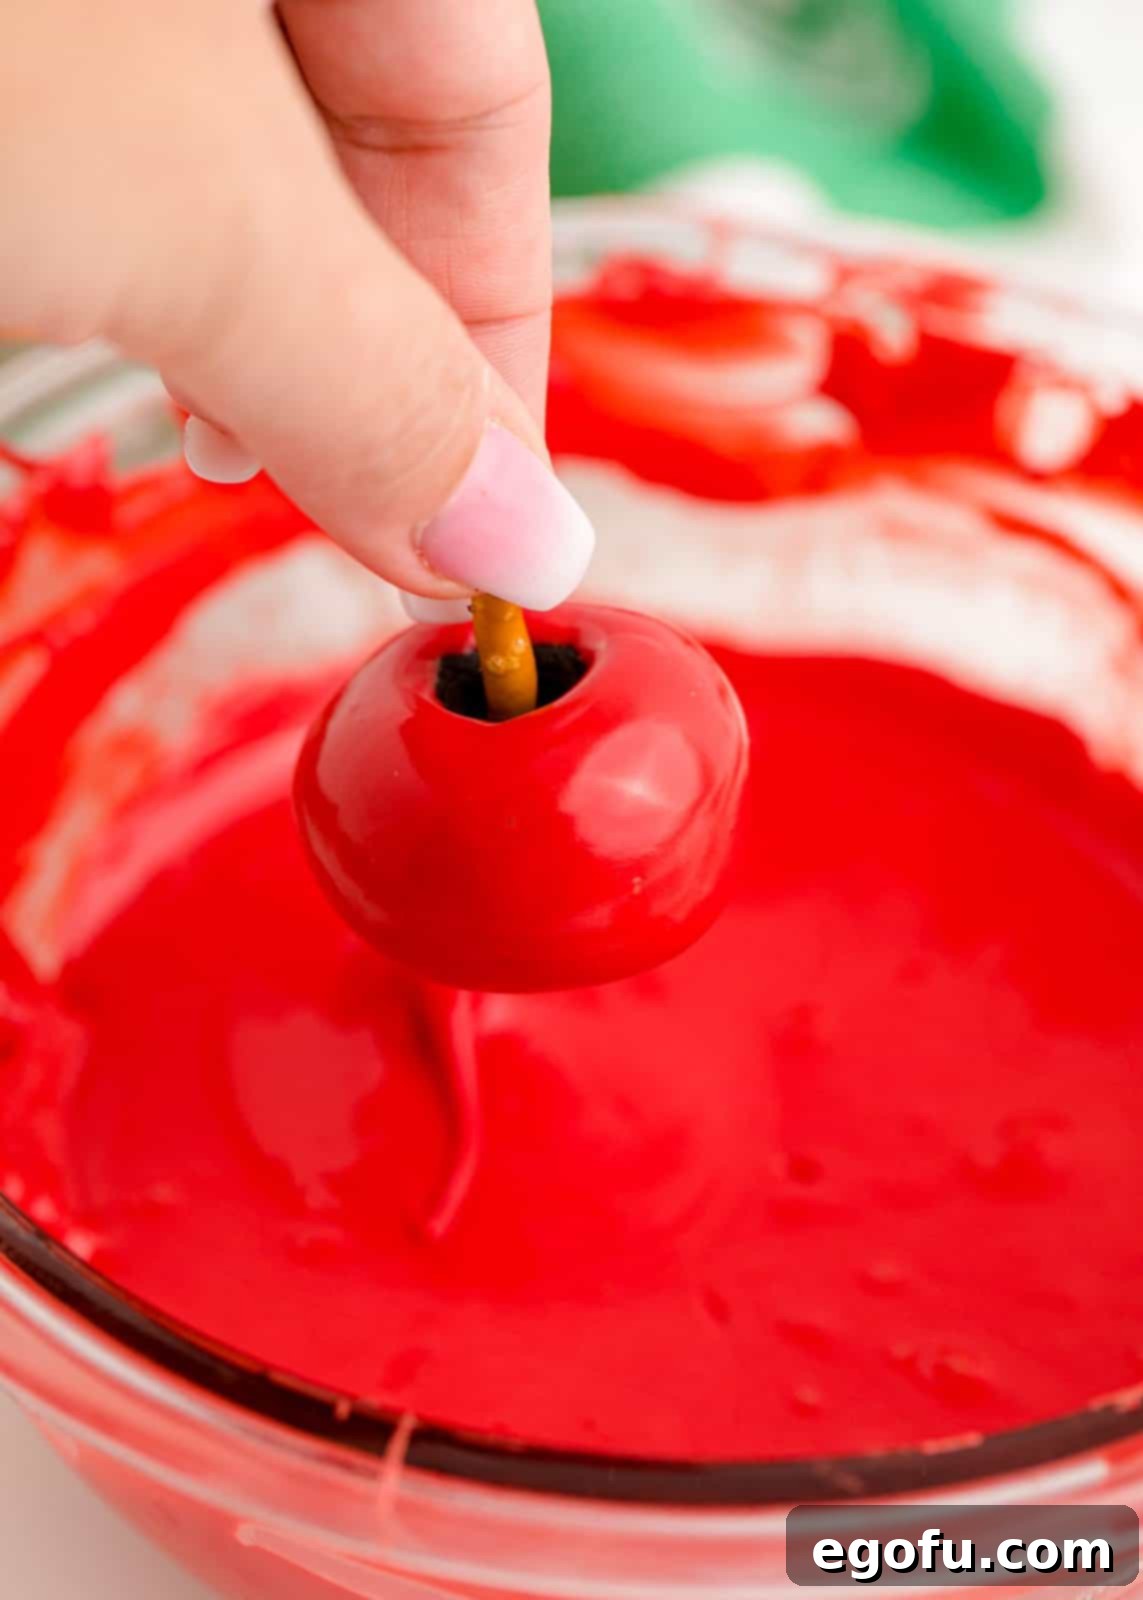
Step 6: Decorate with Leaves and Harden. Work in small batches to ensure the candy coating doesn’t harden before you can add the leaves. Immediately after dipping each truffle and while the red chocolate is still wet, gently attach one of your pre-cut green fondant leaves near the pretzel stem. The wet chocolate will help the leaf adhere securely. Once you have coated all the truffles and successfully adorned them with their charming fondant leaves, place them back on the wax paper-lined baking sheet. Transfer the entire sheet to the refrigerator for at least 20 minutes (or until fully firm) to allow the chocolate coating to completely harden and set, creating a stable and appealing finish.
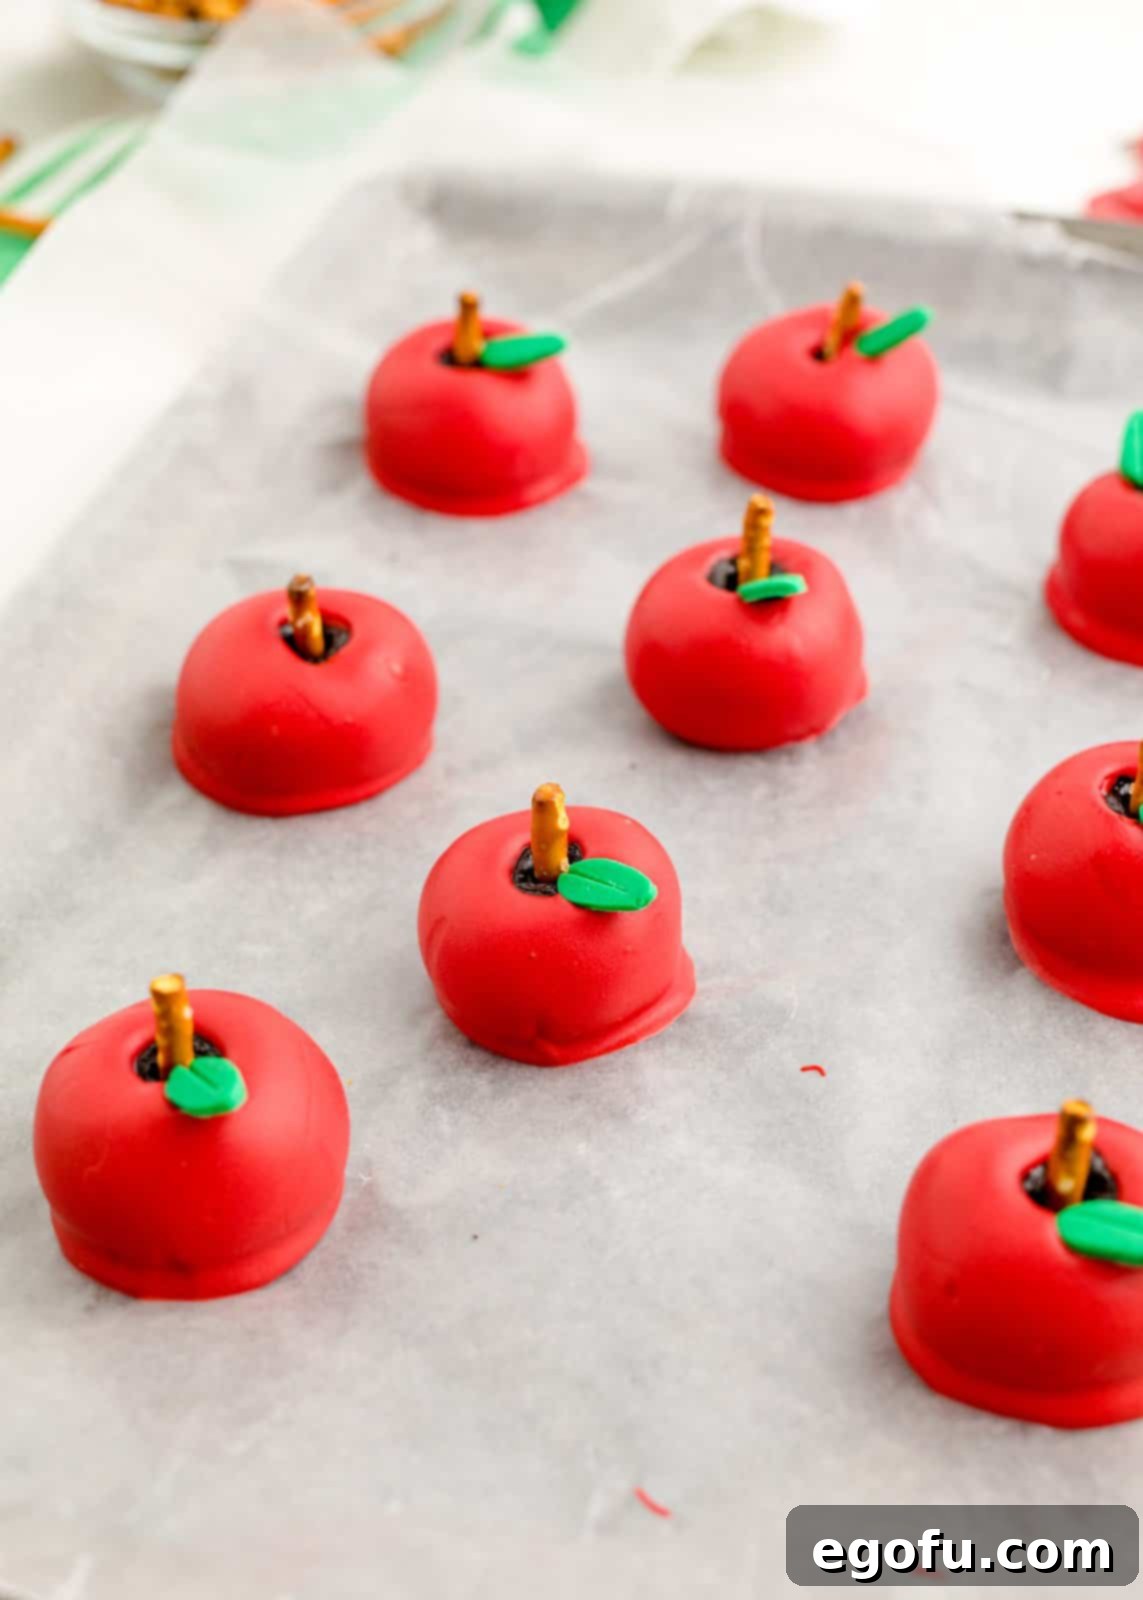
Step 7: Prepare Gift Tags. While your truffles are chilling and setting, print out the free gift tags provided below. For a more professional and durable look, I highly recommend printing these tags on card stock. Once printed, carefully cut out each tag, preparing them for your thoughtful gifts. These tags add a personalized touch that makes your homemade treats even more special.

Step 8: Package and Gift. Once your beautiful Apple Shaped Oreo Truffles are completely hardened, carefully place them into small clear treat bags. Gather the top of each bag and tie it securely with a festive ribbon, attaching one of your prepared gift tags. These individually packaged truffles make for the most charming and delicious back-to-school gift, showing immense appreciation for teachers or delighting classmates and friends.

There you have it! A simple, fun, and incredibly rewarding recipe for creating the sweetest back-to-school memories. Enjoy these delightful treats and the joy they bring to your loved ones!
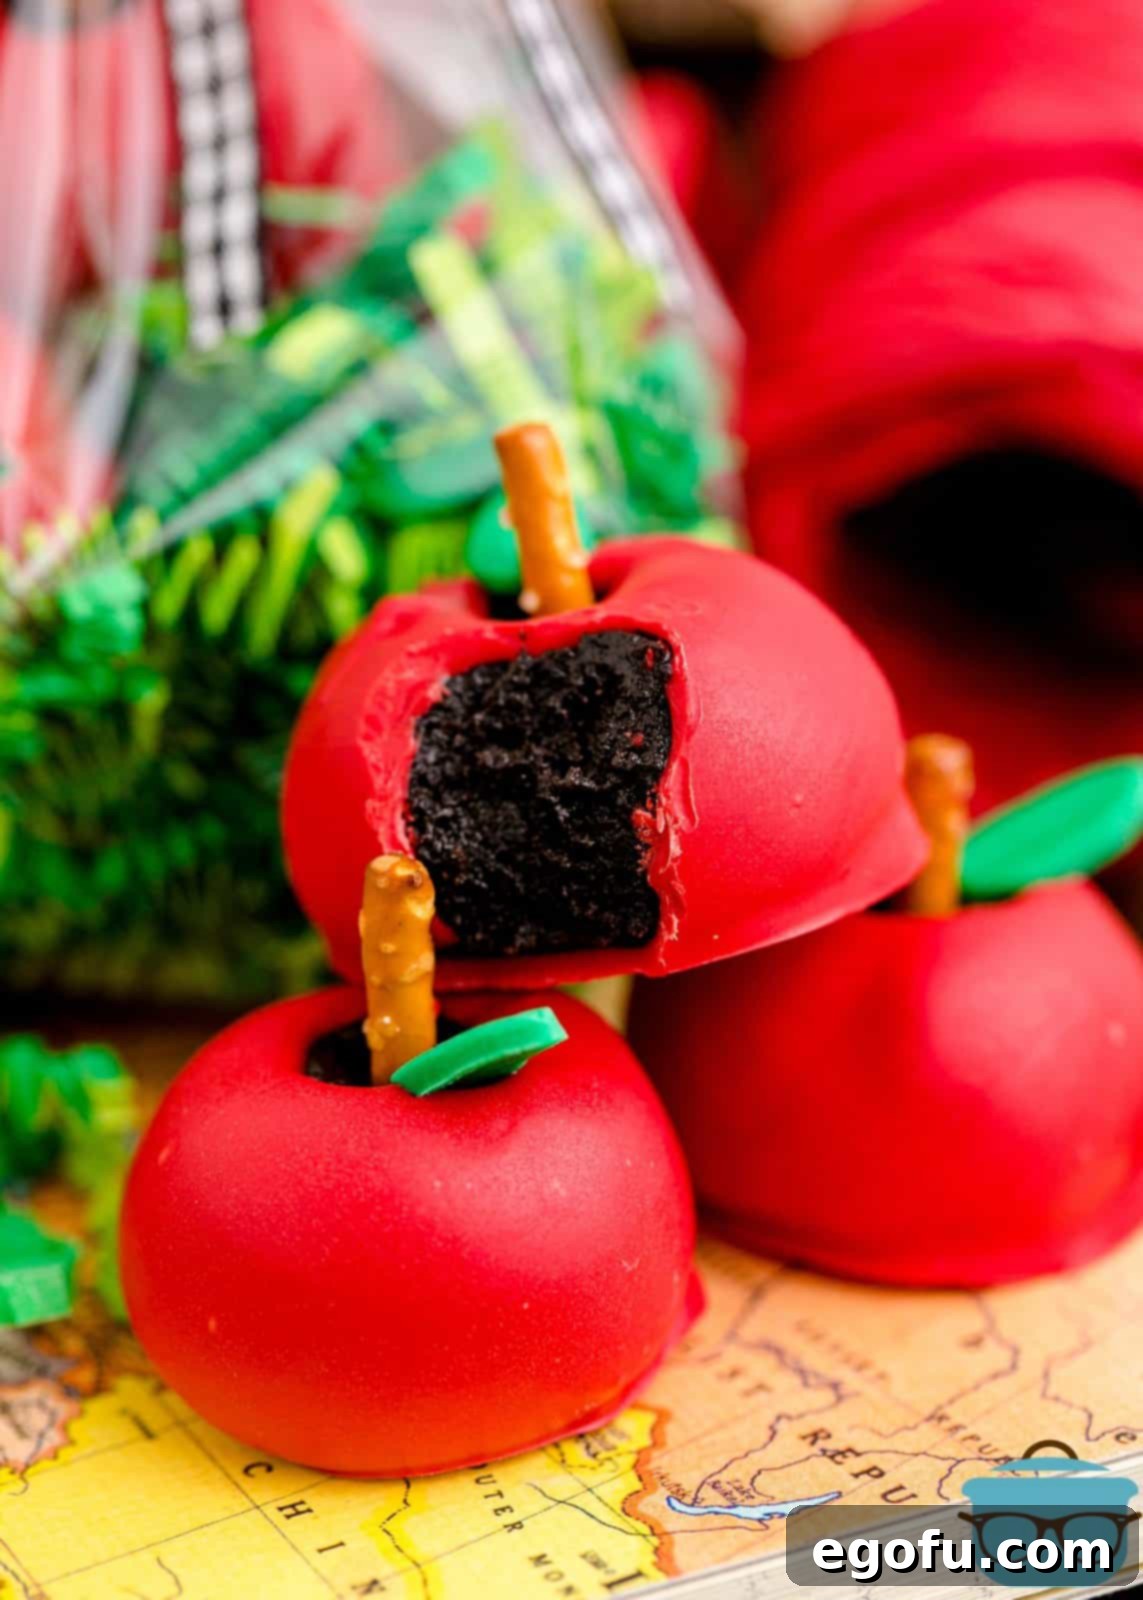
Download Your Free Back-to-School Gift Tags Here!
Add the perfect finishing touch to your homemade Apple Shaped Oreo Truffles with our complimentary, printable gift tags. These tags are designed to complement your treats beautifully and convey a heartfelt message of appreciation. Simply click the link below to download your tags and get ready to personalize your gifts!
Download
Looking for More Delicious Back-to-School & Easy Treat Recipes?
If you loved making these Apple Oreo Truffles, you’ll be thrilled to discover more simple and tasty recipes perfect for school events, parties, or just everyday snacking. Explore our other popular sweet creations:
- Back-to-School Chocolate Covered Pretzels
- Classic Oreo Cookie Balls
- Fun Circus Animal Cookie Balls
- Colorful Funfetti Puppy Chow
- Seasonal Pumpkin Oreo Balls
- Sweet Strawberry Cake Balls

Back-to-School Apple Shaped Oreo Truffles
Print Recipe
Pin Recipe
50
0
50
1 40
32 Truffles
Brandie Skibinski
Ingredients
- 48 Oreo cookies (one family size package)
- 8 ounces cream cheese, softened to room temperature
- ½ Tablespoon salted butter, softened to room temperature
- ½ teaspoon vanilla extract
- 16 ounces red candy melts (2 – 8 ounce bags)
- 8 ounces premade green fondant
- 15 small pretzel sticks
Instructions
- Place Oreo cookies in a food processor and pulse until Oreos become fine crumbs. Ensure no large pieces remain for a smooth truffle base.
- Add the softened cream cheese, softened butter, and vanilla extract to the Oreo crumbs. Blend until a thick, cohesive mixture forms. You may need to scrape down the bowl periodically as the mixture can get sticky.
- Chill the Oreo truffle mix in the freezer for 10 minutes. This essential step firms up the mixture, making it much easier to handle and shape into balls.
- Using a 1-inch cookie scoop (or a heaping tablespoon), measure out portions of the chilled truffle mix. Roll each portion firmly into a smooth ball and place them on a baking sheet lined with wax paper.
- Create a small, shallow indent at the top center of each truffle ball. This will be where the pretzel stem is placed, mimicking the natural shape of an apple. A fake pencil or straw works well for this.
- Break each pretzel stick in half. Gently push a broken end of a pretzel stick into each indented truffle ball, ensuring enough length remains exposed to use as a handle for dipping.
- Return the baking sheet with the pretzel-stemmed truffles to the freezer for another 20 minutes to ensure they are thoroughly chilled and firm.
- While the truffles are chilling, roll out your green fondant on a clean, lightly sugared surface. Use a small leaf-shaped cookie cutter or a sharp knife to cut out tiny leaves for your apple truffles. Set them aside.
- In a microwave-safe bowl, melt the red candy melts according to the package directions (usually in short intervals, stirring frequently, to prevent burning).
- Remove the firm truffles from the freezer. Holding each by its pretzel stem, carefully dip it into the melted red chocolate, ensuring full coverage. Allow excess chocolate to drip off.
- Work quickly in small batches. Immediately after dipping each truffle and while the chocolate is still wet, gently press a green fondant leaf onto the top, next to the pretzel stem.
- Once all truffles are coated and decorated, place them back on the baking sheet and refrigerate for at least 20 minutes to allow the chocolate to fully harden.
- While truffles are hardening, print and cut out the provided gift tags. For durability and a polished look, card stock is recommended.
- Once fully set, place the finished apple truffles into small treat bags and tie them with a ribbon, attaching your custom gift tags. These make a perfect, heartfelt back-to-school gift!
Notes for Success
- Where to find supplies: Pre-made fondant and various colored candy melts are commonly found in the baking aisle of large grocery stores like Walmart or in dedicated craft stores (e.g., Hobby Lobby, Michael’s).
- Color Variations: Don’t feel limited to red! These truffles can also be coated in green candy melts for a “Granny Smith” apple appearance, or even a mix of colors for a fun, vibrant assortment.
- Fondant Alternatives: If green fondant is unavailable or not to your taste, you can easily use small pieces of green M&M’s, thinly sliced green fruit leather, or even a tiny dot of green icing for the leaves.
- Freezing for Longevity: These truffles freeze exceptionally well. Place them in an airtight, freezer-safe container for up to 2 months. To enjoy, simply move them to the refrigerator overnight to thaw.
- Preventing Oily Truffles: If the mixture becomes too warm and oily during rolling, pop it back into the freezer for 5-10 minutes. Cold hands can also help prevent this and ensure your truffles hold their shape.
Dessert, Snack, Back-to-School Treat
American
Nutrition Information (Estimated)
Important Nutritional Disclaimer
Please note that “The Country Cook” is not a registered dietician or nutritionist. All nutritional information provided, including calorie counts and other values, is an estimate. If precise calorie counts and other nutritional data are critical for your dietary needs, we strongly recommend that you input the ingredients into a trusted online nutritional calculator of your choice. Be aware that nutritional values can vary significantly based on the specific brands of ingredients used in your preparation.
Did you create these delightful truffles?We’d love to see your creations! Share them on Instagram @thecountrycook and tag us using #thecountrycook!
