Welcome to the delightful world of **Chocolate Peppermint Kiss Cookies**, a truly magical treat that captures the essence of the holiday season in every bite. Imagine a soft, rich chocolate cookie, lovingly rolled in sparkling sugar, and crowned with a luscious, melt-in-your-mouth Hershey’s Candy Cane Kiss. These cookies are not just a dessert; they are a celebration, a sweet fusion where the deep, comforting notes of chocolate meet the crisp, invigorating burst of peppermint. Perfect for holiday gatherings, cozy evenings, or simply to brighten a gloomy day, these cookies are destined to become a cherished part of your festive baking traditions.
Indulge in the Magic of Chocolate Peppermint Kiss Cookies this Holiday Season
These Chocolate Peppermint Kiss Cookies elevate the beloved classic Peanut Butter Blossom into an exciting new dimension of flavor. While the traditional blossom relies on the irresistible combination of peanut butter and chocolate, our version introduces a festive twist with the vibrant taste of peppermint. Using simple, readily available ingredients, these cookies deliver an explosion of flavor that is both comforting and exhilarating. The marriage of rich chocolate and refreshing peppermint creates a symphony for your taste buds, making them utterly irresistible. What makes this recipe even more appealing is its incredible speed and simplicity. You can whip up a batch of these delectable treats in under 30 minutes, making them the ideal choice for last-minute holiday baking or when a sudden craving for something sweet strikes. Don’t let another holiday season pass without adding these incredible cookies to your repertoire. They’re quick, easy, and undeniably delicious, guaranteeing smiles all around!

Frequently Asked Questions About Chocolate Peppermint Kiss Cookies
While Hershey’s Candy Cane Kisses are highly recommended for their festive flavor and aesthetic appeal, they are certainly not your only option. If you can’t find them, or if you simply prefer a different flavor profile, feel free to substitute them with any of your favorite Hershey’s Kisses varieties. Milk chocolate, dark chocolate, or even a caramel-filled kiss would complement the rich chocolate cookie base beautifully. The beauty of this recipe is its versatility, allowing you to customize it to your personal preference without compromising on taste.
Incorporating crushed candy canes into the cookie dough adds an extra layer of delightful texture and a more intense burst of peppermint flavor, creating a truly immersive sensory experience. However, this step is entirely optional. If you prefer a simpler chocolate peppermint flavor without the crunchy bits of candy cane, or if you simply don’t have them on hand, you can omit them without affecting the fundamental structure or deliciousness of the cookie. The peppermint extract already infuses the cookies with that signature minty zing.
Rolling these chocolate cookies in granulated sugar before baking is a traditional step for “blossom” style cookies, giving them a beautiful, sparkling exterior and a subtle extra sweetness. This sugar coating also contributes to a slightly crispier edge that beautifully contrasts with the soft interior. While it enhances both the appearance and texture, it can be skipped if you prefer a less sweet cookie or a more understated look. The cookies will still be incredibly flavorful and soft without the additional sugar coating.
Crushing candy canes can be a fun and therapeutic process! You have a few options: Many grocery stores or online retailers like Amazon offer pre-crushed candy canes, which is a convenient time-saver. If you’re doing it yourself, place the unwrapped candy canes in a sturdy, re-sealable plastic bag, remove excess air, and then use a rolling pin, a meat mallet, or another heavy object to gently pound them until they reach your desired consistency. Avoid crushing them into a fine powder unless specified, as a mix of small and medium pieces often provides the best texture in cookies.
Absolutely! For a truly expedited baking experience, you can definitely use store-bought chocolate cookie dough as a base. This is a fantastic shortcut, especially when you’re short on time but still want to enjoy a homemade taste. The main difference will be the absence of the distinct peppermint extract and crushed candy canes found in our from-scratch recipe. However, you can easily mix in your own peppermint extract and crushed candy canes into the store-bought dough to infuse it with that signature holiday flavor. Just be sure to not overmix after adding the extra ingredients.
Yes, you can certainly substitute semi-sweet chocolate chips for a semi-sweet chocolate baking bar in this recipe. The key is that the chocolate will be melted, so the form it starts in is less critical. If using a baking bar, chopping it ensures it melts more evenly. With chocolate chips, they’re already small and melt easily. Just ensure you’re using a good quality semi-sweet chocolate to achieve the best flavor in your cookies. The melting process remains the same: short intervals in the microwave, stirring well until smooth.
Proper storage ensures your Chocolate Peppermint Kiss Cookies stay fresh and delicious. Store any leftovers in an airtight container at room temperature for up to 3 days. To keep them fresh longer, or to prepare them in advance, these cookies freeze beautifully. Simply place the cooled cookies in a freezer-safe container, separating layers with parchment paper to prevent sticking. They will maintain their quality in the freezer for up to 3 months. When you’re ready to enjoy them again, just remove them from the freezer and let them thaw at room temperature on your countertop.
Absolutely! Preparing the cookie dough in advance is a fantastic way to streamline your baking process, especially during busy holiday seasons. You can mix the dough as instructed, then wrap it tightly in plastic wrap and store it in the refrigerator for up to 2-3 days. When you’re ready to bake, simply let the dough sit at room temperature for about 15-20 minutes to soften slightly, making it easier to scoop and roll. This method allows for freshly baked cookies with minimal effort on baking day.
If your cookies are spreading more than desired, a few factors could be at play. Ensure your butter is softened but not melted or greasy, as this can lead to excessive spreading. Chilling the formed cookie dough balls for 15-20 minutes before baking can also help them hold their shape better. Additionally, accurately measuring your flour is crucial; too little flour can result in a wetter dough that spreads. Using parchment paper on your baking sheets also helps prevent spreading by providing a non-stick surface.
For perfectly pressed Hershey’s Kisses, timing is everything! As soon as the cookies come out of the hot oven, the dough will be soft and pliable. Gently press a kiss into the center of each cookie. Don’t press too hard, as this can crack the cookie, but apply enough pressure for the kiss to settle securely. If you wait too long, the cookies will start to set, and the kisses won’t adhere as well. If a kiss starts to melt too much, it’s usually a sign that your cookies were slightly overbaked or the oven temperature was too high.

Essential Ingredients for Your Chocolate Peppermint Kiss Cookies
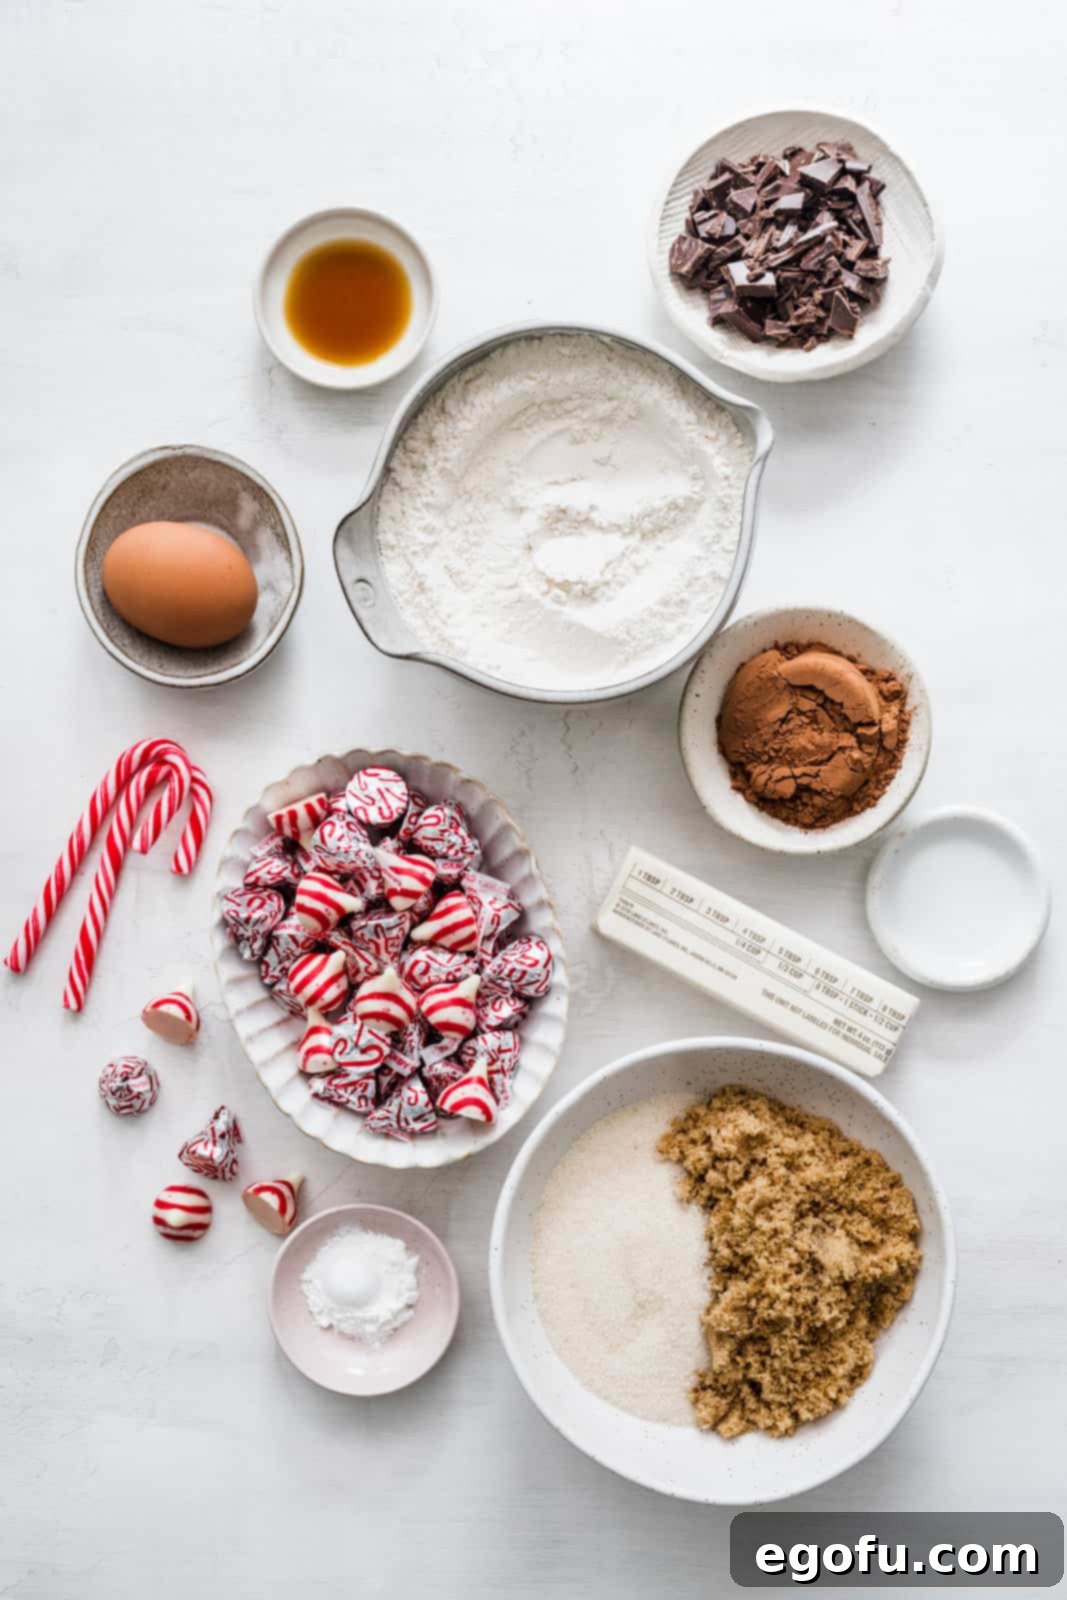
Crafting these delicious cookies requires a thoughtful selection of ingredients. Here’s what you’ll need to gather:
- Semi-sweet chocolate: Provides the rich, deep chocolate flavor for the cookie base.
- Unsalted butter: Essential for a tender crumb and rich taste. Ensure it’s softened to room temperature for optimal creaming.
- Granulated sugar: Adds sweetness to the dough and is used for rolling the cookie balls, creating a lovely sparkling crust.
- Light brown sugar: Contributes moisture and a subtle caramel note, making the cookies wonderfully soft and chewy.
- Egg: Acts as a binder, adding structure and richness to the cookie dough.
- Vanilla extract: A classic flavor enhancer that complements the chocolate beautifully.
- Peppermint extract: The star ingredient, delivering that cool, refreshing mint flavor.
- All-purpose flour: The structural backbone of our cookies.
- Unsweetened cocoa powder: Intensifies the chocolate flavor, giving the cookies their dark, inviting hue.
- Baking powder: The leavening agent that helps the cookies rise and achieve a soft texture.
- Salt: Balances the sweetness and enhances all the flavors.
- Crushed candy canes (optional): For an extra crunch and burst of peppermint flavor and festive color.
- Hershey’s Candy Cane Kisses: The perfect festive topping, offering a creamy, minty finish.
How to Make Delicious Chocolate Peppermint Kiss Cookies: Step-by-Step Guide
Get ready to create some holiday magic in your kitchen! Follow these detailed steps to bake perfect Chocolate Peppermint Kiss Cookies that are sure to impress.
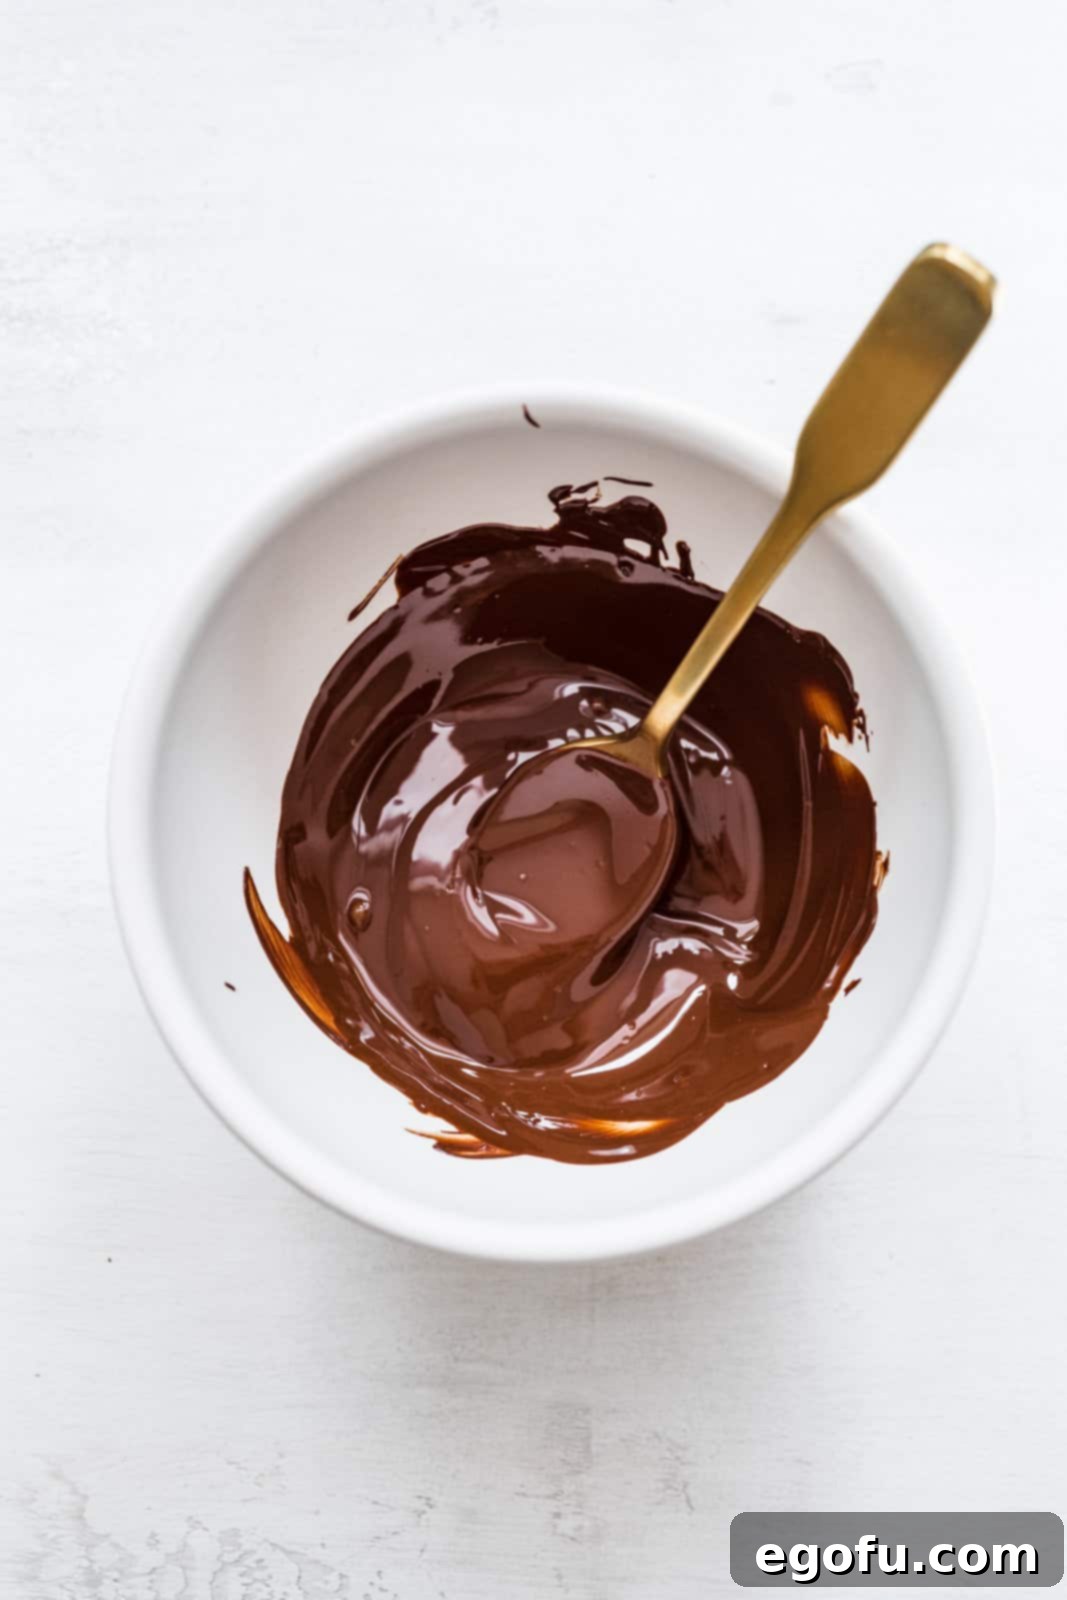
Step 1: Prepare Your Oven and Melt Chocolate. Begin by preheating your oven to 350 degrees F (175 degrees C). Line two large baking sheets with parchment paper; this prevents sticking and ensures even baking. Next, melt the semi-sweet chocolate. Place it in a microwave-safe bowl and heat in 30-second intervals, stirring thoroughly after each interval, until the chocolate is completely smooth and melted. Set it aside to cool slightly while you prepare the wet ingredients.
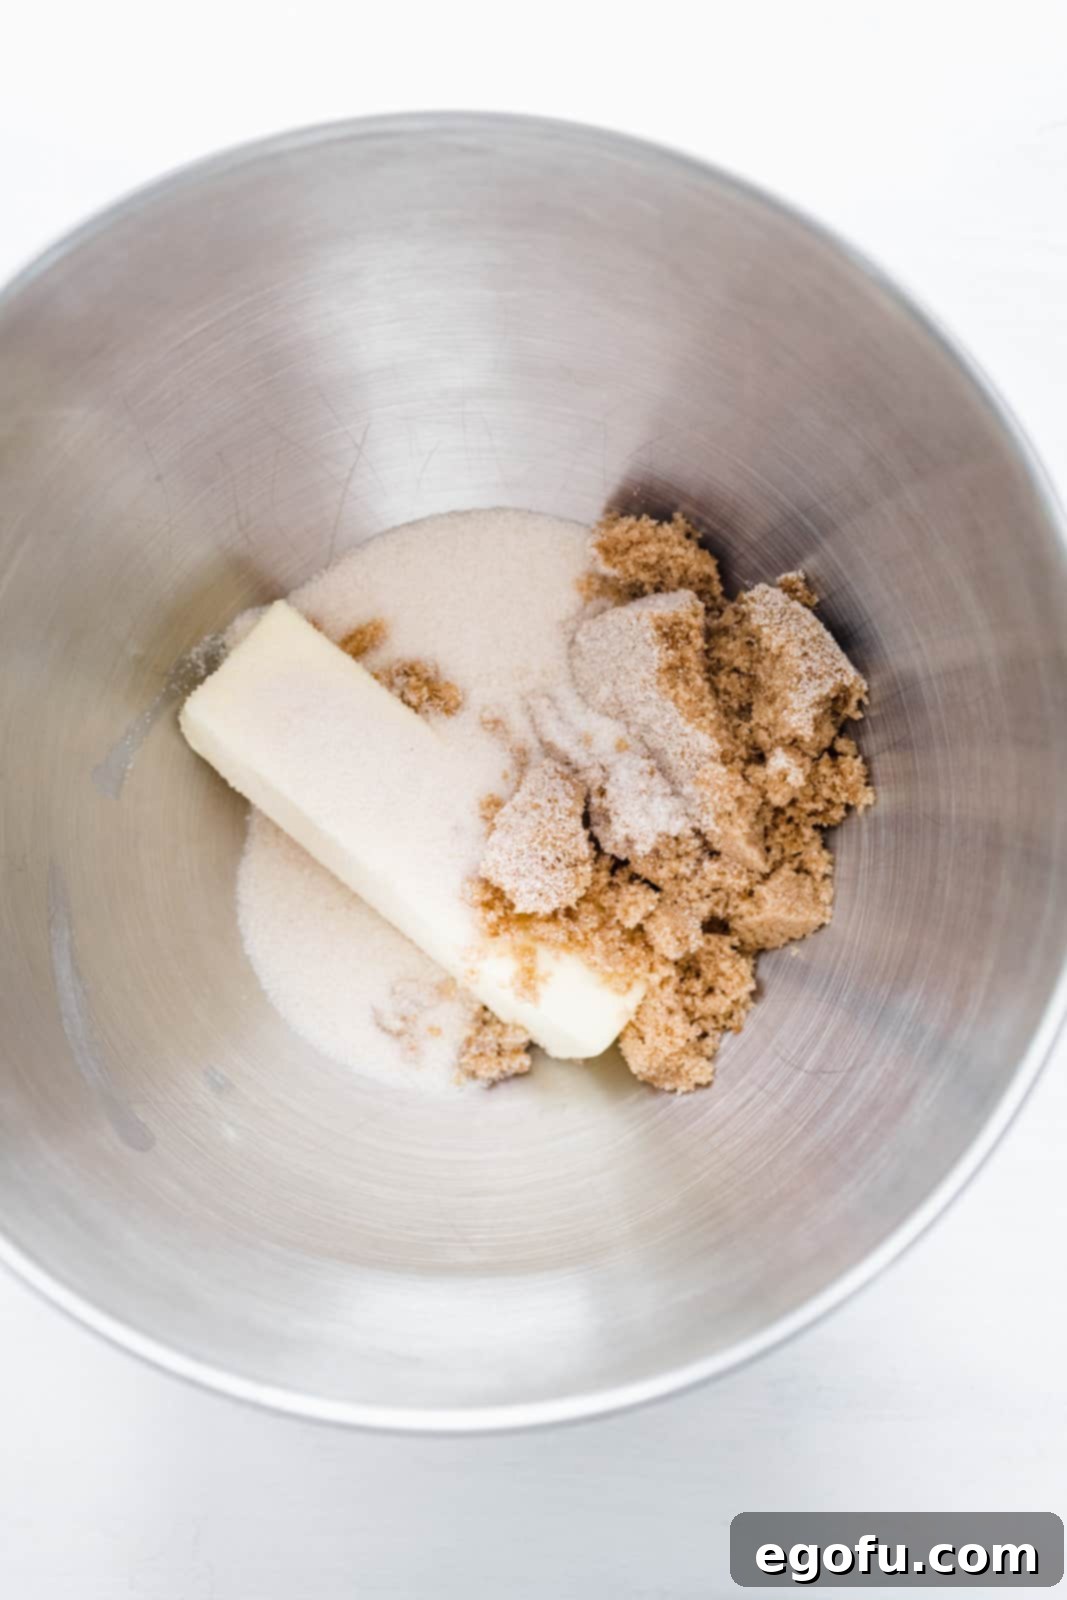
Step 2: Cream Butter and Sugars. In a large mixing bowl, or the bowl of a stand mixer fitted with the paddle attachment, combine the softened unsalted butter with both the granulated sugar and light brown sugar. Cream these ingredients together on medium speed for approximately 2 minutes, until the mixture is light in color and fluffy in texture. This step incorporates air, which contributes to the cookies’ softness.
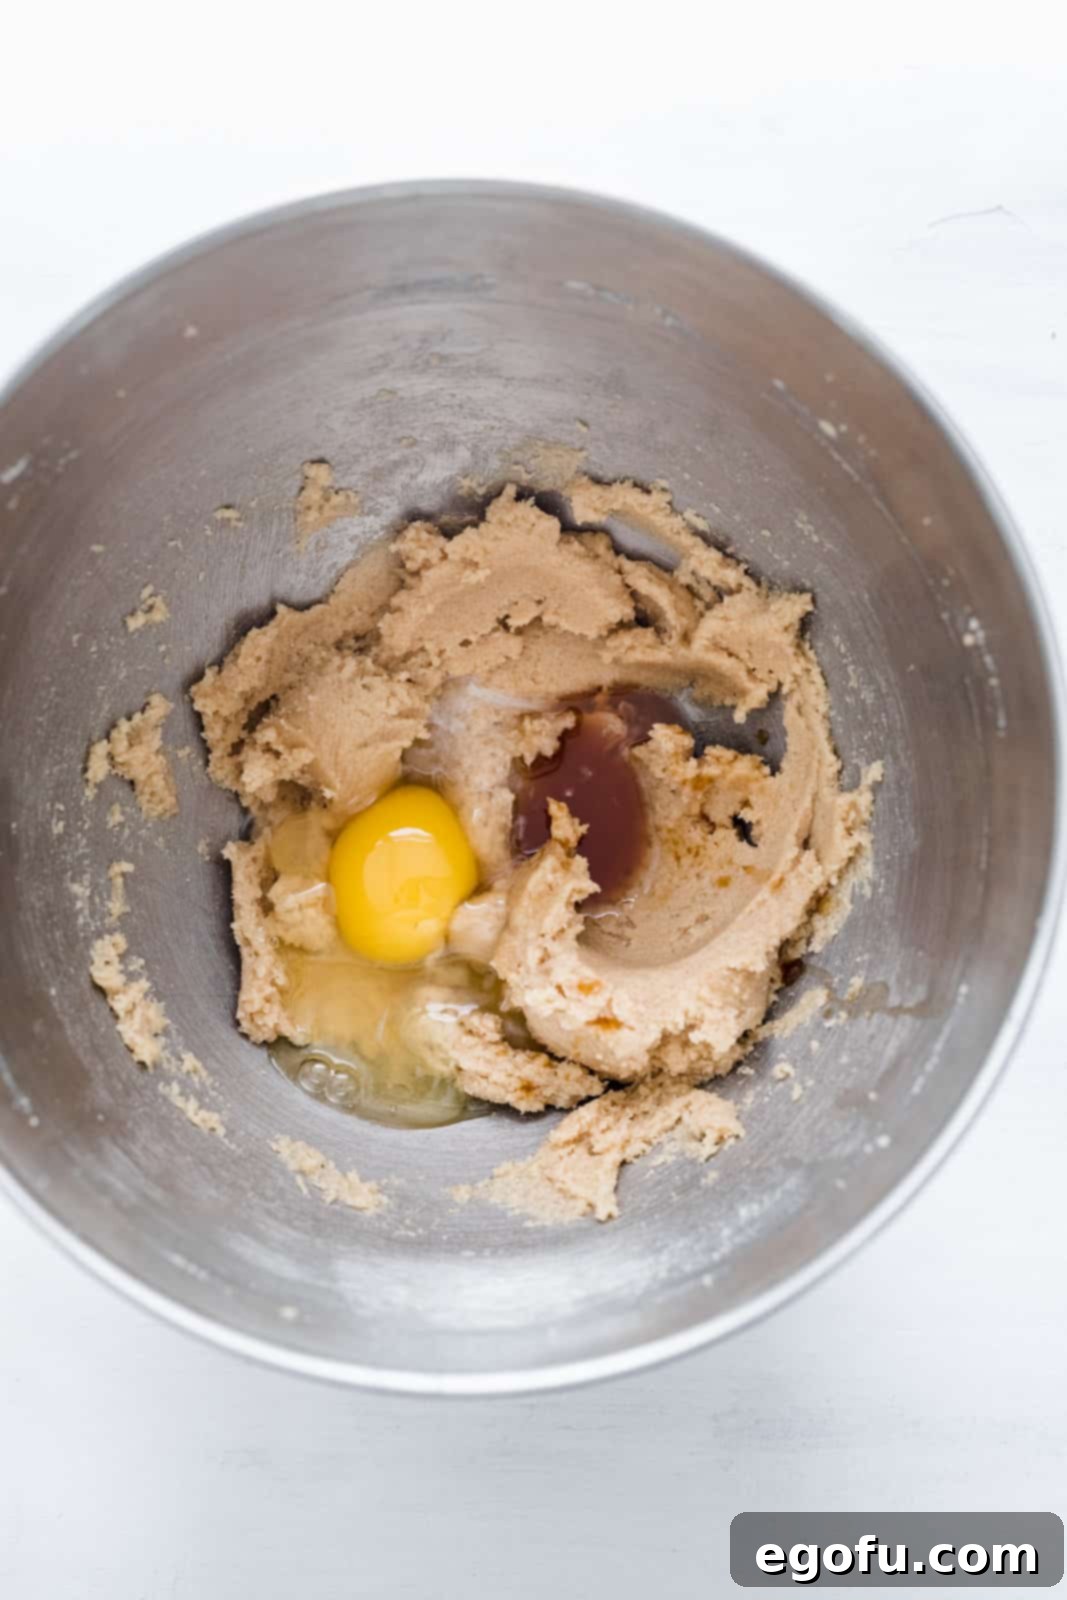
Step 3: Incorporate Egg and Extracts. Add the large egg, vanilla extract, and peppermint extract to the creamed butter and sugar mixture. Continue mixing on medium speed until all these wet ingredients are fully incorporated and the mixture is smooth and well combined. Ensure no streaks of egg or extract remain.
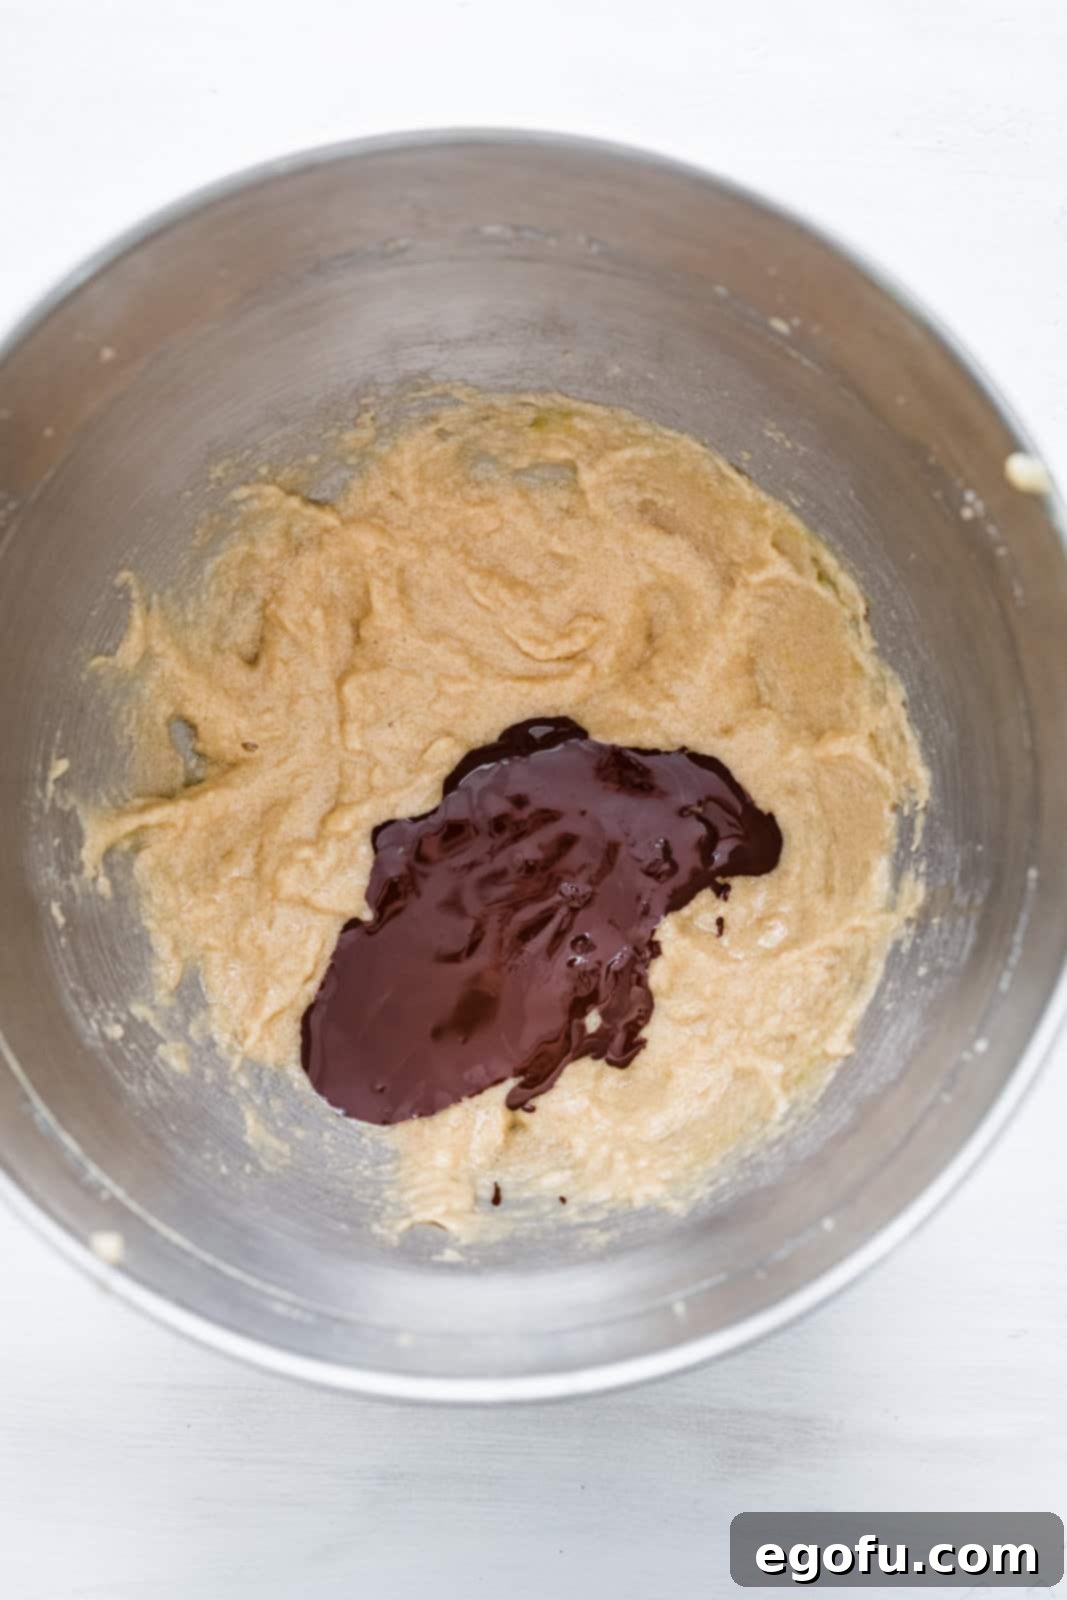
Step 4: Mix in Melted Chocolate. Gently pour the slightly cooled melted semi-sweet chocolate into the wet mixture. Mix on low speed until the chocolate is just combined with the other ingredients. Be careful not to overmix at this stage; simply mix until no distinct streaks of chocolate remain.
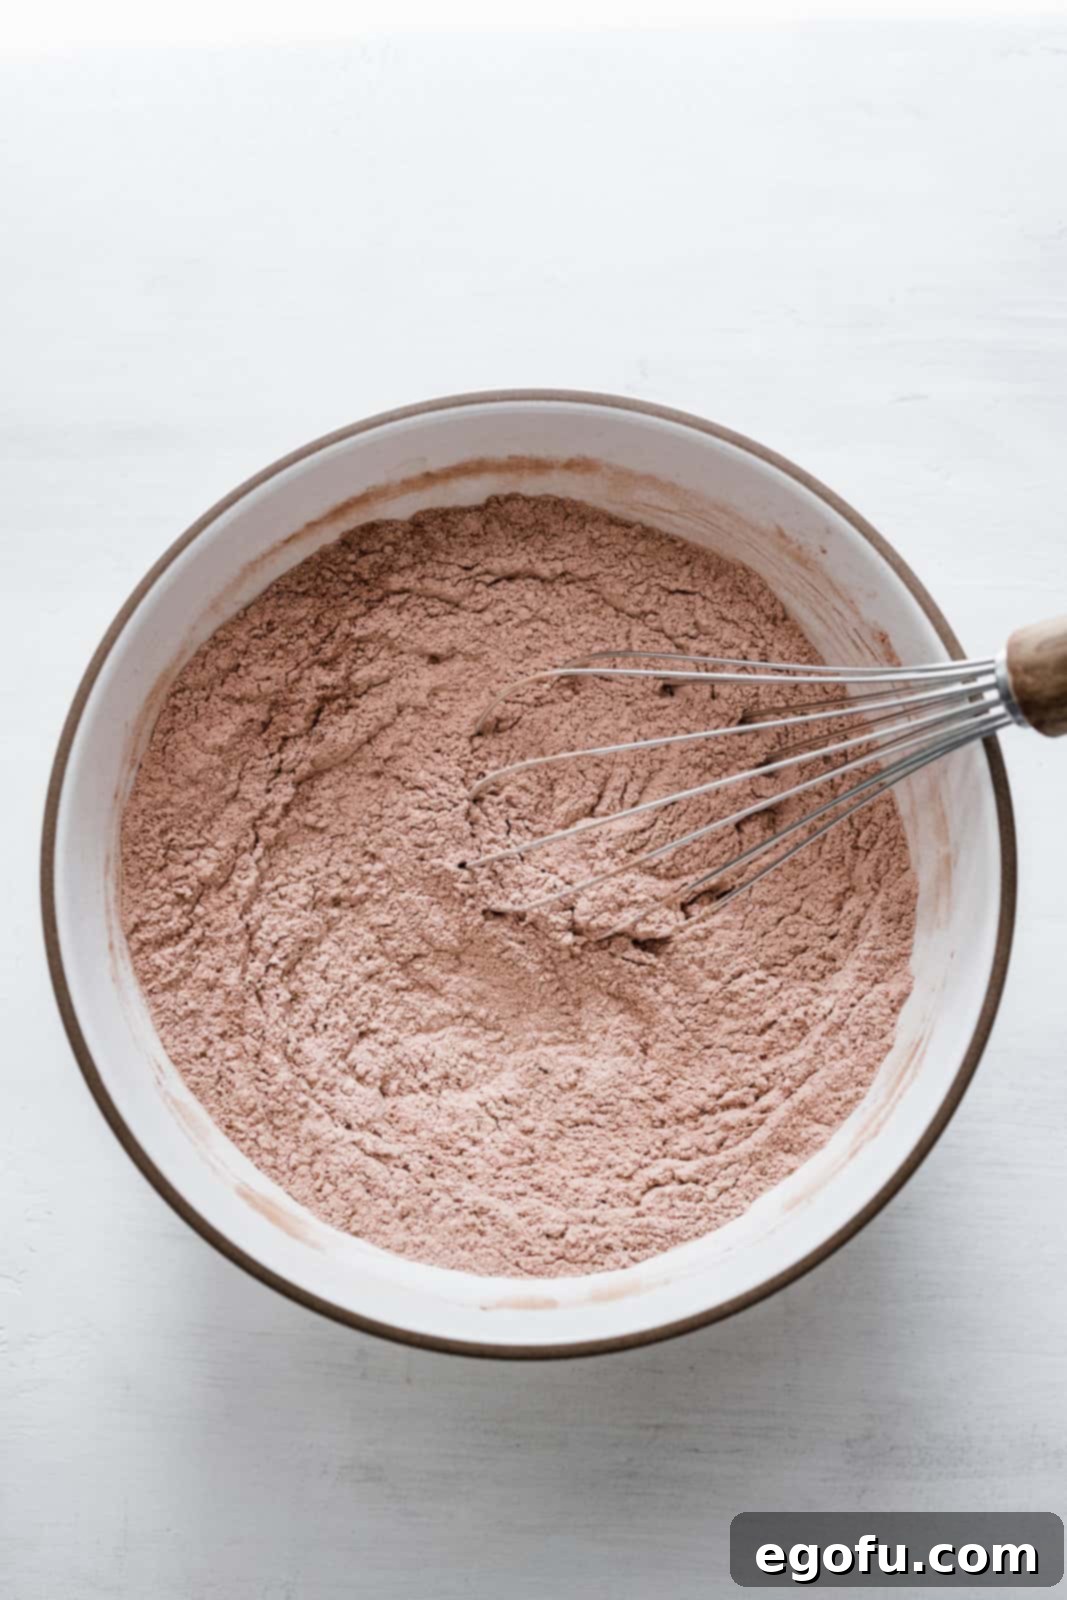
Step 5: Combine Dry Ingredients. In a separate medium-sized bowl, whisk together the all-purpose flour, unsweetened cocoa powder, baking powder, and salt. Whisk well to ensure these dry ingredients are evenly distributed, which is crucial for uniform leavening and flavor in your cookies.
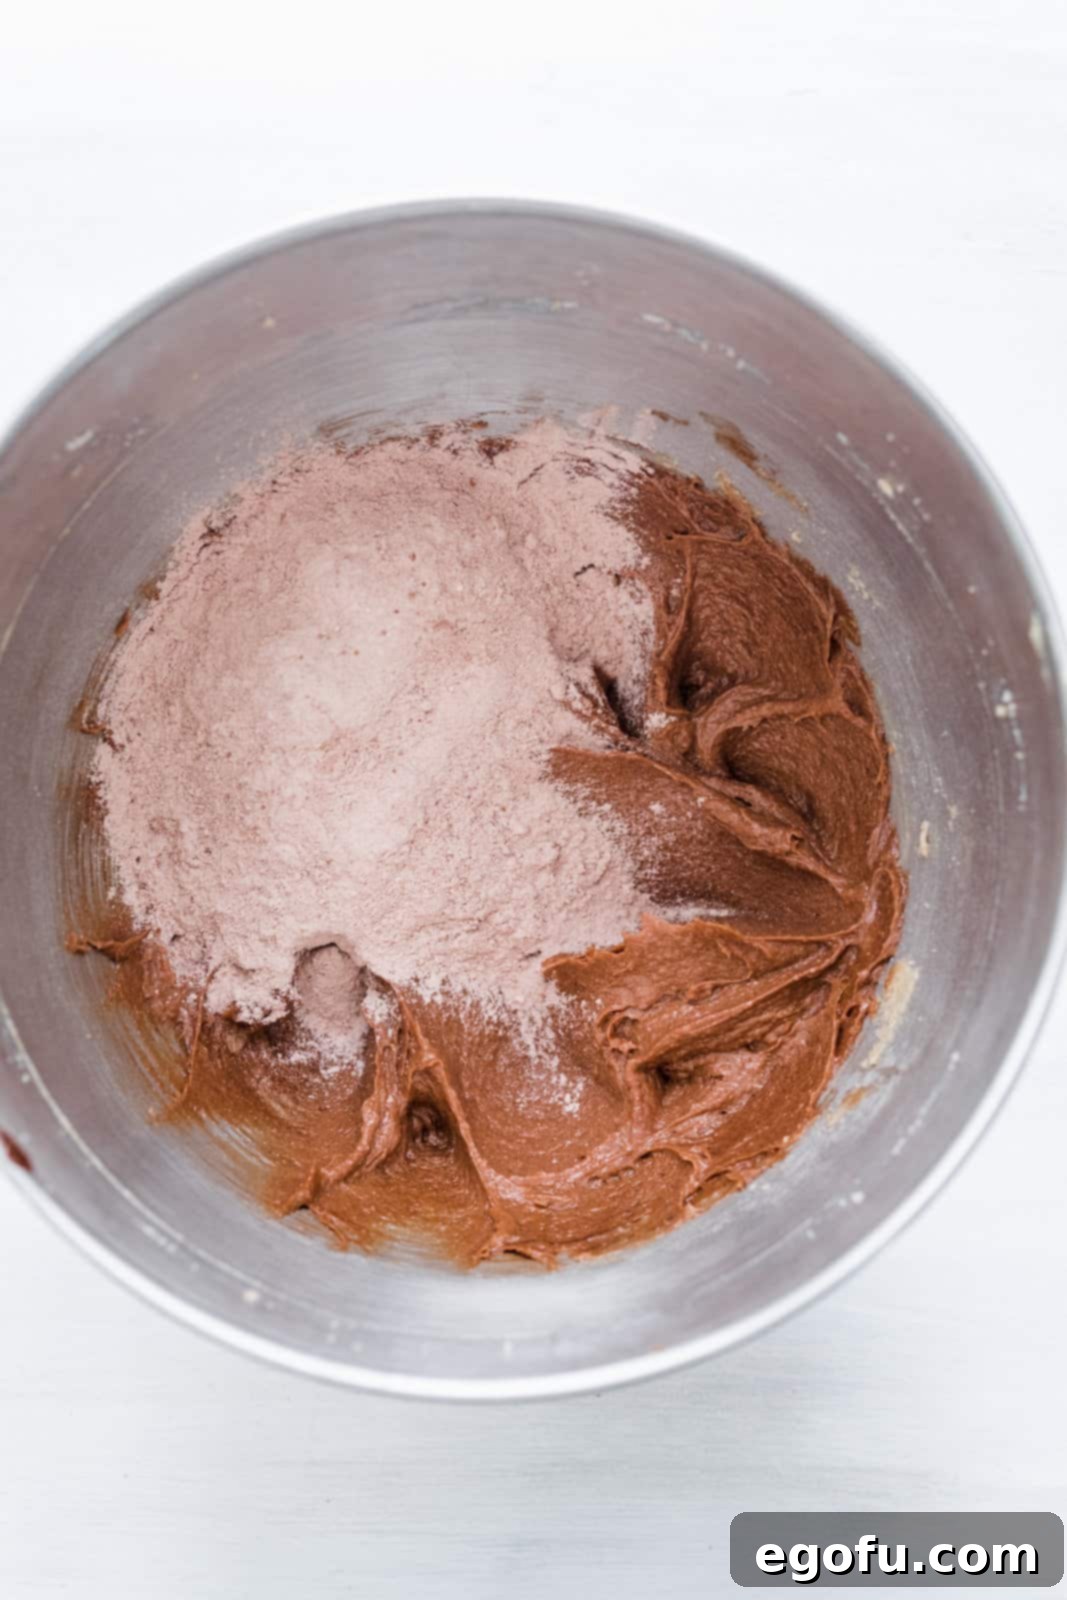
Step 6: Gradually Add Dry to Wet Mixture. Slowly add the flour mixture to the chocolate mixture in 3 separate batches. Mix on low speed, just until each batch is incorporated. It’s vital to avoid overmixing at this stage, as over-developing the gluten can lead to tough cookies. Mix until barely combined, and then stop.
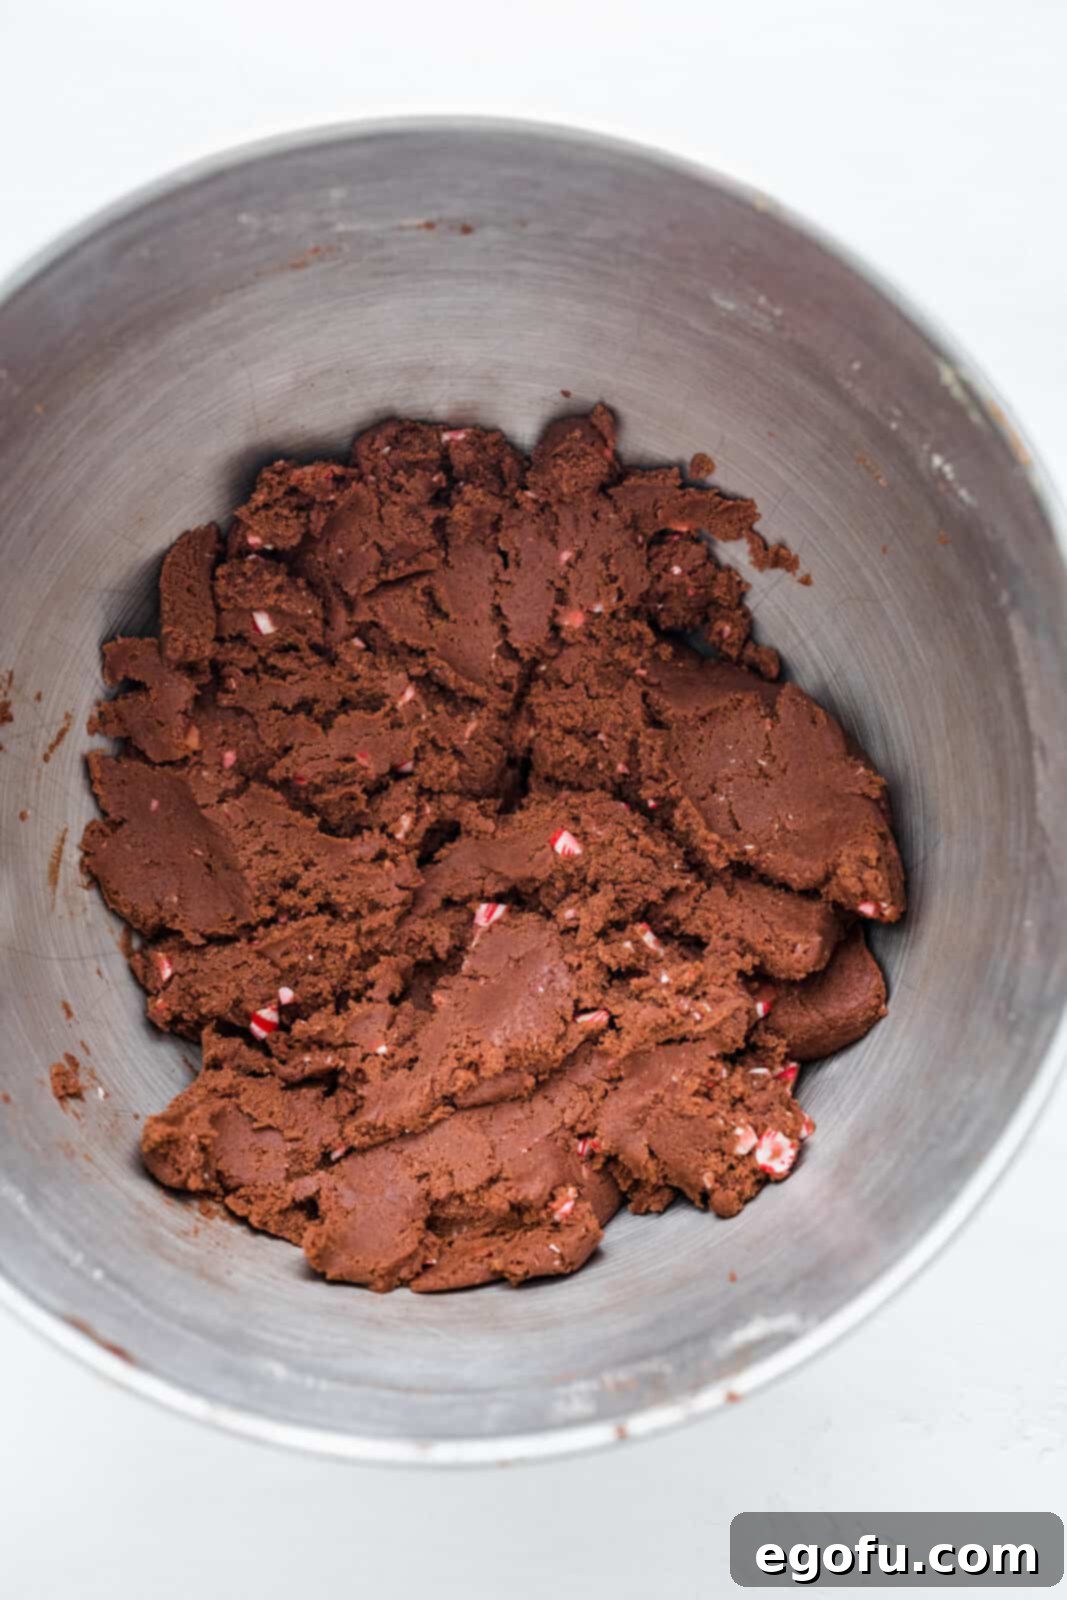
Step 7: Fold in Crushed Candy Canes (Optional). If you’re opting for the extra peppermint crunch and festive color, gently fold in the crushed candy canes using a spatula. The cookie dough will be quite thick at this point, so mix them in carefully until they are evenly distributed throughout the dough. This adds a beautiful texture and an additional layer of minty goodness.
Step 8: Portion and Roll in Sugar. Pour about 1/4 cup of granulated sugar into a small, shallow bowl for rolling. Using a 1-tablespoon cookie scoop, portion out the cookie dough into uniform balls. Roll each portion between your palms to form a smooth, neat ball. Then, roll each dough ball generously in the granulated sugar until it is thoroughly coated on all sides, creating a beautiful sparkling exterior.
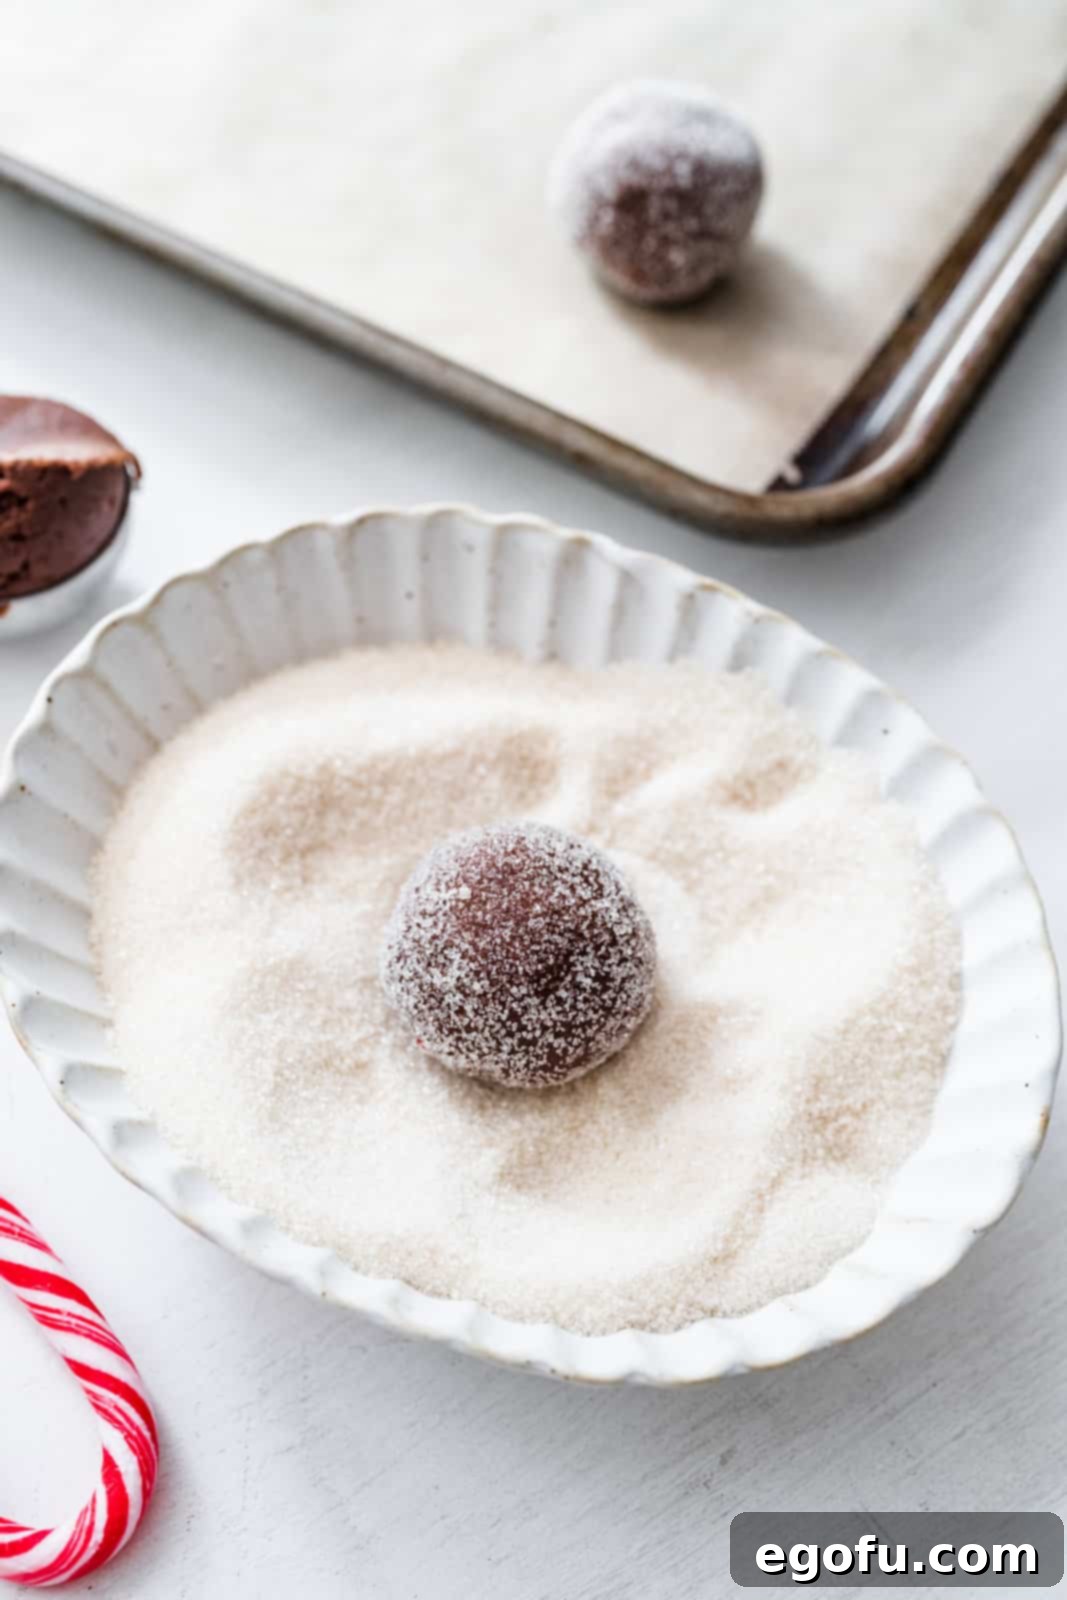
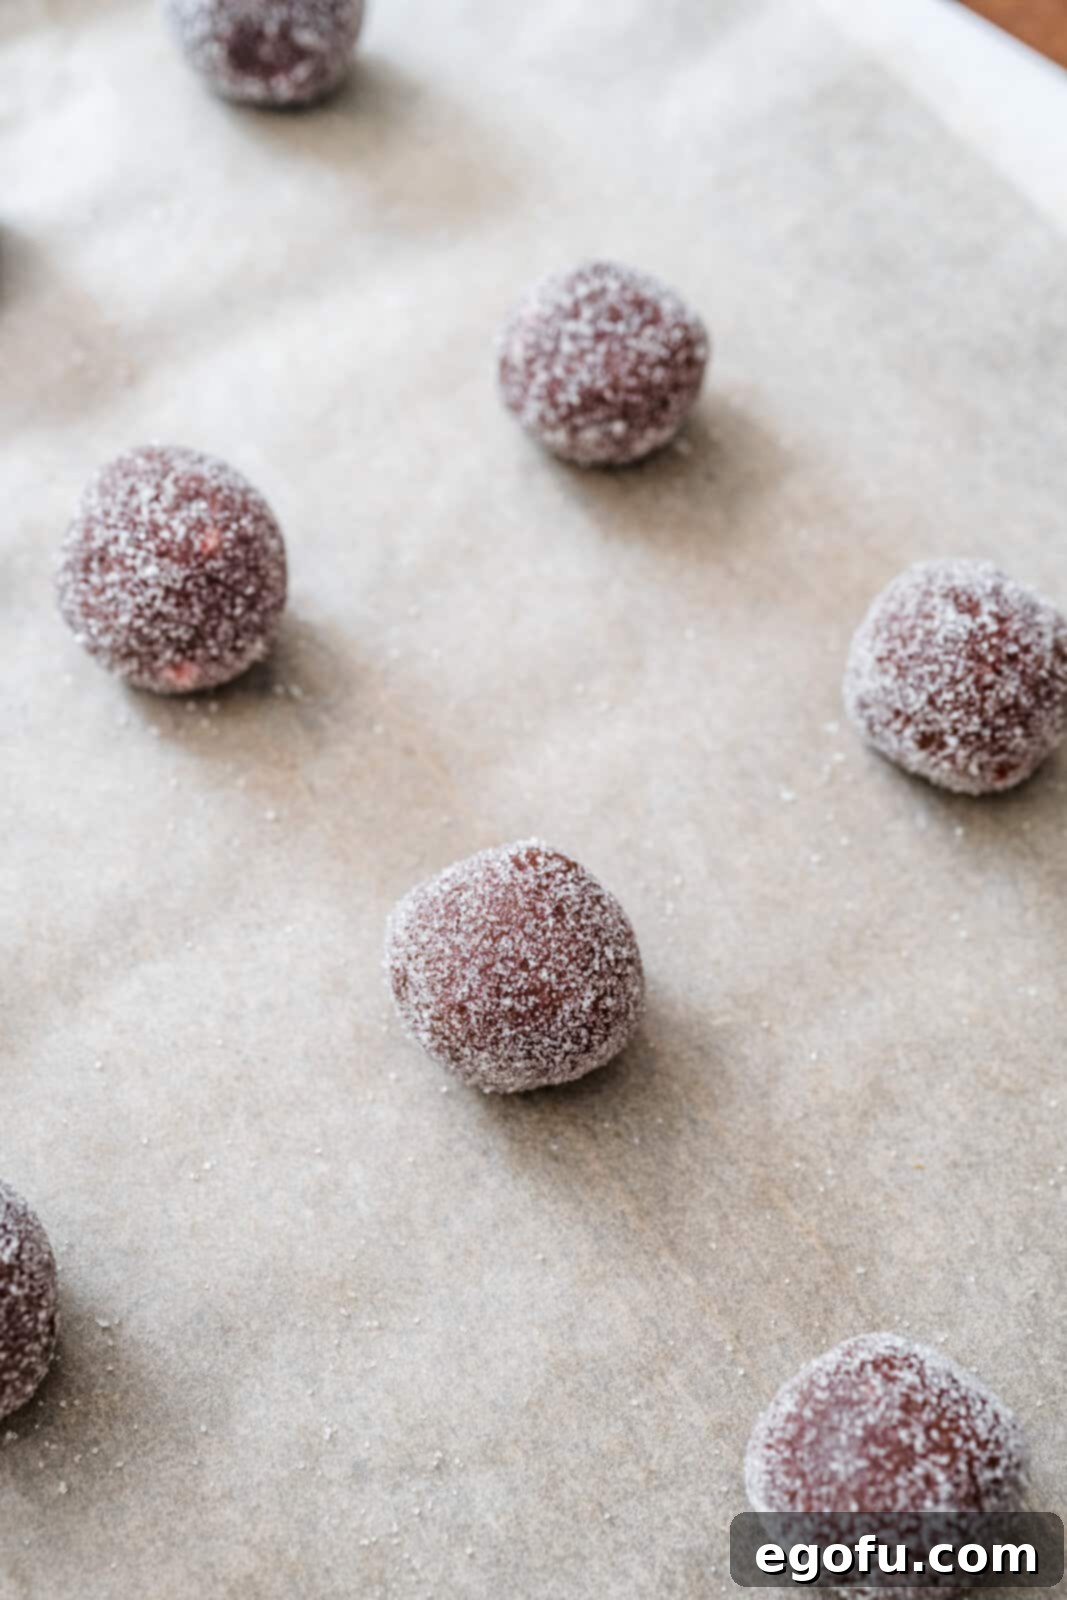
Step 9: Bake the Cookies. Arrange the sugar-coated cookie dough balls onto the prepared baking sheets, ensuring they are spaced about 1 1/2 inches apart to allow for proper spreading. Bake in the preheated oven for 8-10 minutes. The cookies should be set around the edges but still appear slightly soft in the center; they will firm up as they cool.
Step 10: Add Hershey’s Kisses and Cool. While the cookies are baking, unwrap all the Hershey’s Kisses so they are ready to go. As soon as the cookies emerge from the oven, immediately and gently press one unwrapped Hershey’s Kiss into the center of each warm cookie. The heat from the cookie will slightly soften the kiss, allowing it to adhere beautifully. Let the cookies cool on the baking sheets for about 5 minutes to set, then carefully transfer them to a wire cooling rack to cool completely. This prevents them from becoming soggy.

Once cooled, your festive and flavorful Chocolate Peppermint Kiss Cookies are ready to be enjoyed! Share them with loved ones, serve them at your next holiday party, or simply savor them yourself with a warm cup of coffee or hot chocolate. They are truly a taste of holiday cheer.

Tips for Baking Perfect Chocolate Peppermint Kiss Cookies
Achieving bakery-quality cookies at home is easier than you think with a few simple tips:
- Room Temperature Ingredients: Ensure your butter and egg are at true room temperature. This allows them to cream together properly with the sugars, creating an emulsified mixture that traps air, resulting in a lighter, softer cookie.
- Don’t Overmix: Once you add the dry ingredients to the wet ingredients, mix only until just combined. Overmixing develops the gluten in the flour, leading to tough, dense cookies instead of soft, chewy ones.
- Chilling the Dough: If your kitchen is warm or the dough feels too soft to handle, briefly chilling the cookie dough for 15-20 minutes can prevent excessive spreading during baking and help the cookies maintain their shape.
- Uniform Cookie Size: Use a cookie scoop to ensure all your cookies are the same size. This promotes even baking, so all your cookies are perfectly cooked at the same time.
- Oven Temperature Accuracy: An accurate oven temperature is key. If your oven tends to run hot or cold, consider using an oven thermometer to ensure it’s precisely at 350°F (175°C).
- Immediate Kiss Placement: Press the Hershey’s Kisses into the hot cookies immediately after they come out of the oven. The residual heat helps the chocolate adhere and slightly melt, creating that signature “blossom” look.
- Cool Completely: Allow the cookies to cool completely on a wire rack. This is crucial for the cookies to set properly and for the Kisses to firm up without losing their shape.
Creative Variations and Serving Suggestions
While delicious on their own, these Chocolate Peppermint Kiss Cookies can be customized and enjoyed in various ways:
- Chocolate Varieties: Experiment with different types of chocolate for your cookie base. Dark chocolate will yield a more intense, less sweet cookie, while milk chocolate could make them extra decadent.
- Different Kisses: As mentioned in the FAQ, feel free to use other Hershey’s Kiss flavors! Mint Truffle Kisses, Hugs (white chocolate with milk chocolate stripes), or even Almond Kisses can add unique twists.
- Extra Toppings: Before or after pressing the kisses, consider sprinkling a pinch of extra crushed candy canes over the softened chocolate for an even more festive look and crunch. A dusting of powdered sugar can also add elegance.
- Serving Ideas:
- Holiday Platters: These vibrant cookies are a stunning addition to any holiday cookie assortment.
- With Beverages: Pair them with a cold glass of milk, a mug of hot cocoa, or a festive peppermint mocha.
- Gift Giving: Package them in pretty boxes or bags tied with a ribbon for a thoughtful homemade gift.
- Ice Cream Topping: Crumble a cooled cookie over vanilla or peppermint ice cream for an amazing dessert creation.
Want More Delicious Holiday Recipes?
If you love the festive flavors of chocolate and peppermint, explore these other delightful recipes perfect for the holiday season:
- Oreo Peppermint Mini Cheesecakes
- Homemade Chocolate Peppermint Cake
- Candy Cane Fudge
- Peppermint Poke Cake
- Peppermint Bark
- White Chocolate Peppermint Pie
- Christmas Jell-O Poke Cake
- Hot Chocolate Marshmallow Cookies
- Ultimate Christmas Recipe Roundup

Chocolate Peppermint Kiss Cookies
Print
Pin
Rate
20
10
30
24
Brandie Skibinski
Ingredients
- 2 ounces semi-sweet chocolate (about ¼ cup)
- ½ cup unsalted butter, softened to room temperature
- ½ cup granulated sugar + more for rolling
- ½ cup light brown sugar, packed
- 1 large egg
- 1 teaspoon vanilla extract
- ¾ teaspoon peppermint extract
- 1 ¾ cup all-purpose flour
- ¼ cup unsweetened cocoa powder
- 1 ½ teaspoons baking powder
- pinch of salt
- ⅓ cup crushed candy canes (optional)
- 24 Hershey’s candy cane kisses
Instructions
- Preheat the oven to 350 degrees F (175 C) and line two baking sheets with parchment paper.
- Melt semi-sweet chocolate in 30-second intervals in the microwave, stirring well between each interval, until fully melted and smooth. Set aside to cool slightly.
- In a large mixing bowl or the bowl of a stand mixer fitted with the paddle attachment, cream butter and both granulated and light brown sugars until light and fluffy, about 2 minutes on medium speed.
- Add in the egg, vanilla extract, and peppermint extract. Continue mixing until all ingredients are well incorporated and the mixture is smooth.
- Pour in the slightly cooled melted chocolate and mix on low speed until just combined, being careful not to overmix.
- In a separate bowl, whisk together the all-purpose flour, unsweetened cocoa powder, baking powder, and salt until well combined.
- Gradually add the whisked flour mixture to the chocolate mixture in 3 batches, mixing on low speed only until each addition is incorporated and the dough just comes together. Avoid overmixing.
- If using, gently fold in the crushed candy canes using a spatula. The batter will be thick.
- Pour about 1⁄4 cup of granulated sugar into a small bowl for rolling. Using a 1-tablespoon cookie scoop, portion the cookie dough into balls. Roll each portion with your hands into a smooth ball. Then, roll each ball in the sugar until it is thoroughly coated.
- Transfer the coated cookie dough balls to the prepared baking sheets, placing them about 1 1/2 inches apart. Repeat with the remaining dough. Bake cookies for 8-10 minutes.
- While the cookies are baking, unwrap all of the Hershey’s Kisses. As soon as the cookies come out of the oven, gently press a Hershey’s Kiss into the center of each hot cookie. Let them cool on the baking sheets for 5 minutes, then transfer them to a cooling rack to cool completely.
Notes
- Any Hershey’s Kisses flavor can be used for this recipe, allowing for creative variations.
- You can easily leave out the crushed candy canes if you prefer a smoother texture.
- These cookies can be frozen for longer storage; refer to the FAQ section above for detailed freezing instructions.
Dessert
American
Nutrition
Calories:
143
kcal
|
Carbohydrates:
20
g
|
Protein:
2
g
|
Fat:
7
g
|
Sodium:
10
mg
|
Fiber:
1
g
|
Sugar:
12
g
Nutritional Disclaimer
“The Country Cook” is not a dietician or nutritionist, and any nutritional information shared is an estimate. If calorie count and other nutritional values are important to you, we recommend running the ingredients through whichever online nutritional calculator you prefer. Calories and other nutritional values can vary quite a bit depending on which brands were used.
Did you make this recipe?
Share it on Instagram @thecountrycook and mention us #thecountrycook!
