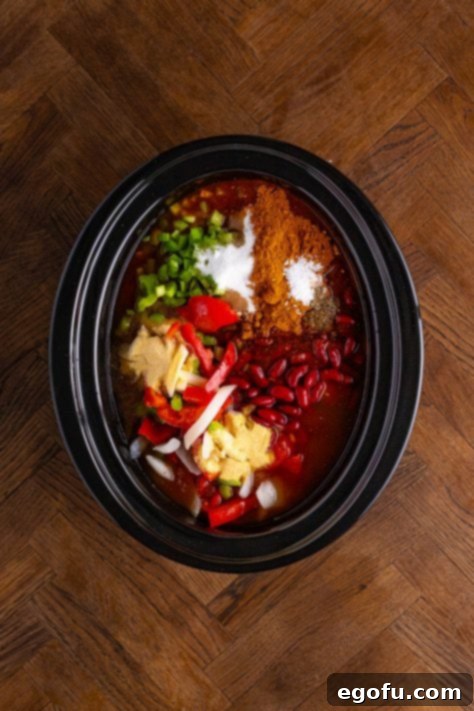
If you’re a fan of the classic fast-food version, prepare to fall in love with this Slow Cooker Wendy’s Chili! Imagine coming home to the comforting aroma of a hearty, simmering chili that has been cooking to perfection all day. This recipe transforms a beloved takeout favorite into an incredibly easy, incredibly delicious homemade meal, all with the magic of your slow cooker. It’s the ultimate set-it-and-forget-it dinner that promises to warm you from the inside out.
Crafting the Ultimate Homemade Wendy’s Chili in Your Crock Pot
There’s nothing quite like a robust pot of chili to satisfy your cravings, especially when the weather cools or you simply need a dose of comfort. In our home, chili is a culinary cornerstone, a versatile dish that we adore in countless variations. Among these, the iconic Wendy’s chili holds a special place, prompting us to develop a homemade rendition that truly captures its unique flavor profile. This Slow Cooker Wendy’s Chili recipe isn’t just a meal; it’s a celebration of simple ingredients coming together to create something extraordinary. It’s the ideal weeknight solution, requiring minimal active preparation yet delivering maximum flavor. Beyond browning the ground beef, the process is wonderfully straightforward: just combine everything in your crock pot and let the slow, steady heat do its magnificent work.
The beauty of slow cooking lies in its ability to deepen and meld flavors over time. We’ve found that the longer this chili simmers, the more complex and rich it becomes. While a shorter cooking time will yield a delicious result, allowing it to cook for 8-10 hours truly elevates it to an unparalleled level. Many who have tried this recipe claim it’s even better than the original, a testament to the power of homemade goodness and patient cooking. You’ll be amazed at how effortlessly you can recreate this beloved chili, transforming your kitchen into a beacon of savory comfort. It’s a guaranteed crowd-pleaser, destined to become a staple in your family’s meal rotation.
Frequently Asked Questions About Our Copycat Wendy’s Chili
Indeed, they do! Wendy’s is known for repurposing their leftover hamburger patties into their chili, which contributes to its distinct texture and flavor. For our homemade version, however, we opt for fresh ground beef. I’ve meticulously adjusted the seasonings to ensure that even without the crumbled burger patties, the chili achieves that authentic Wendy’s taste you know and love. If you’re determined to replicate the texture perfectly, you could certainly cook a few hamburger patties, crumble them, and add them in. However, I promise the ground beef version is incredibly satisfying and significantly reduces prep time!
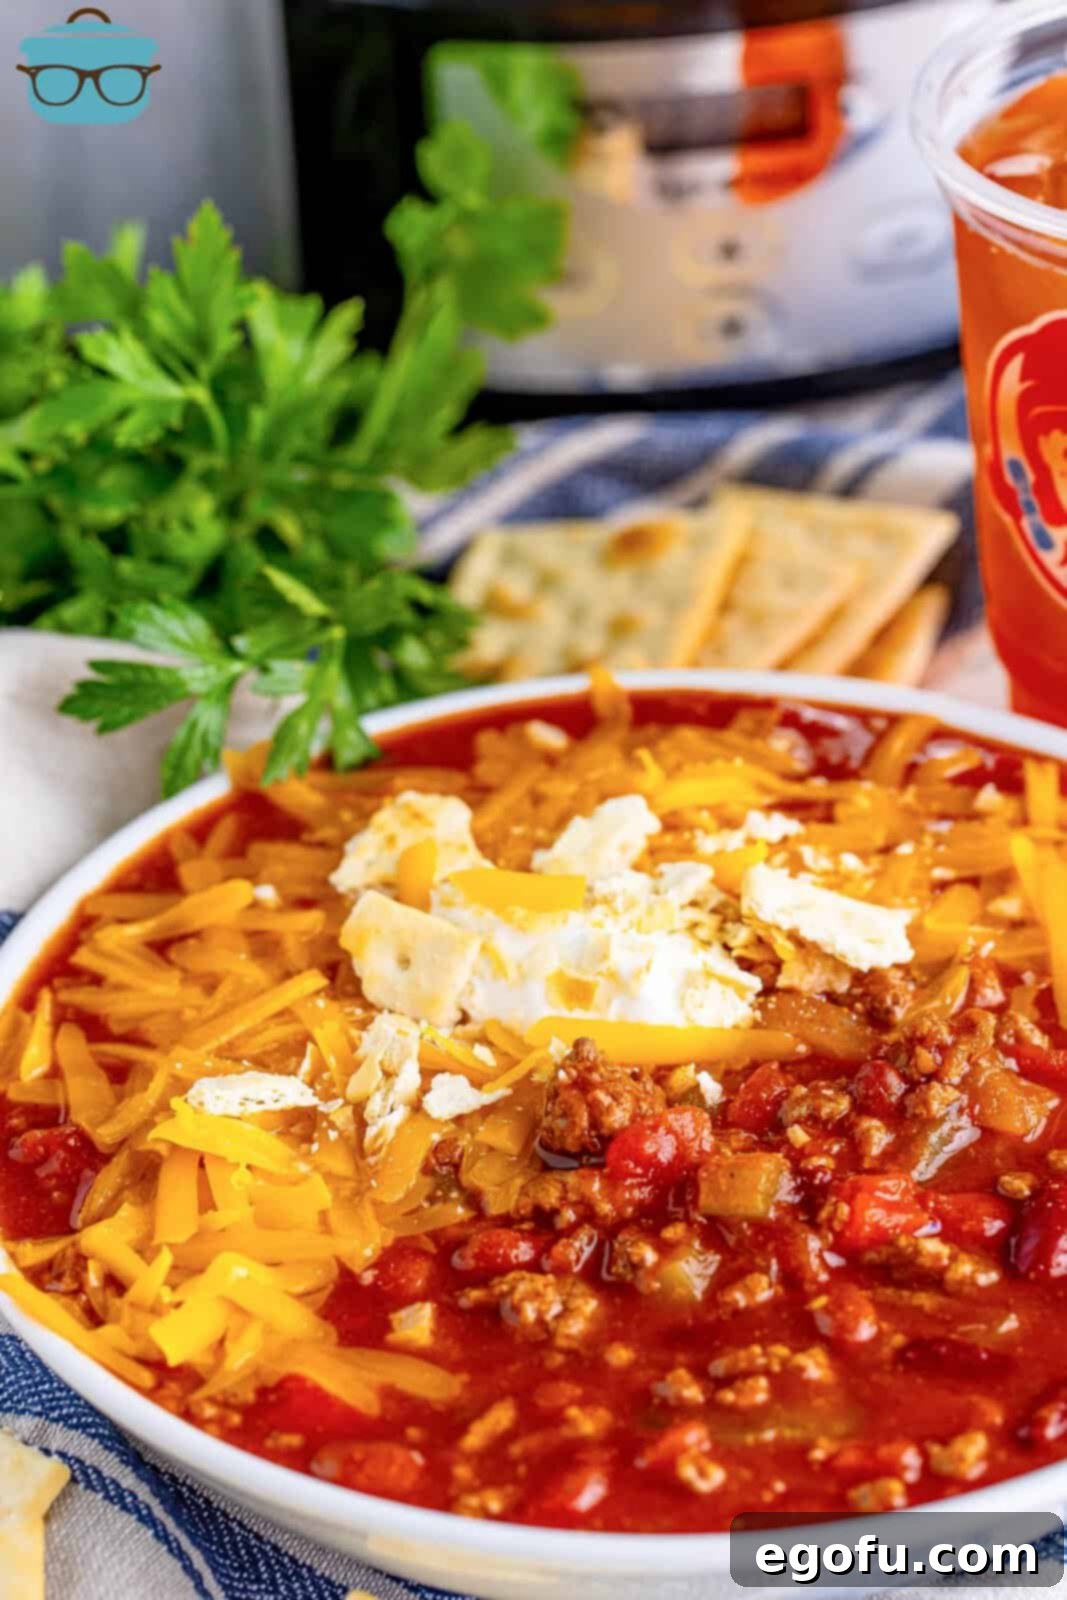
Absolutely! While this recipe aims to capture the essence of Wendy’s chili, feel free to personalize it with your favorite toppings. Traditional Wendy’s toppings often include shredded cheddar cheese and diced onions. But don’t hesitate to get creative! Consider a dollop of sour cream or Greek yogurt, a sprinkle of fresh cilantro, sliced jalapeños for a kick, or even some crushed tortilla chips for added crunch. You can also serve this versatile chili over a bed of fluffy white rice, pasta, or even tater tots for a fun twist!
Of course! This recipe is adaptable to various ground meats. You can easily substitute ground pork, ground chicken, or ground turkey for the beef. Each will lend its unique flavor profile to the chili. For a truly adventurous flavor combination, you could even try a mix of different ground meats. While altering the meat will obviously deviate from the classic Wendy’s taste, the beauty of homemade cooking is making it exactly how you like it. Experiment and discover your favorite version!
Certainly! If you’re cooking for fewer people or simply don’t need a large quantity, you can easily halve the recipe. Just make sure to adjust all ingredient amounts accordingly. However, keep in mind that this chili makes fantastic leftovers and freezes exceptionally well. Preparing a full batch means you’ll have convenient make-ahead freezer meals or delicious lunches for days to come, making it a truly economical and time-saving option in the long run.
Spice it up to your heart’s content! If you enjoy a bit of heat, there are several ways to kick up the spice level. You can add a dash or two of your favorite hot sauce, toss in some freshly chopped chili peppers (like jalapeños or serranos) during the cooking process, or sprinkle in some cayenne pepper or red chili flakes to taste. Remember to start with a small amount and add more gradually until you reach your desired level of heat.
To truly mimic the Wendy’s experience, serve your chili alongside a warm, fluffy baked potato. It’s a classic combination that’s both hearty and satisfying. For a lighter accompaniment, a small side salad pairs beautifully. And, of course, chili and cornbread are a match made in heaven! I highly recommend trying it with a slice of Skillet Cornbread or a piece of Sweet Cornbread for a truly comforting meal. Don’t forget the cheese and crackers for dipping!
Reheating this chili is simple. You can gently warm it in your slow cooker on the “warm” setting, or transfer it to a pot on the stove and heat it over medium-low heat, stirring occasionally, until it’s thoroughly warmed. For individual servings, the microwave works perfectly – just heat in short intervals, stirring in between, until hot. The flavors often deepen overnight, making leftovers even more delightful!
Yes, absolutely! This chili is an excellent candidate for making ahead. In fact, it’s one of those dishes where the flavors truly develop and intensify the longer it has to sit and meld. You can start it in your slow cooker overnight on a low setting, then refrigerate and reheat it the next day. This makes it perfect for meal prepping for busy weeks or for serving at gatherings, as you can have it ready to go with minimal fuss on the day of serving.
Proper storage is key to enjoying your delicious chili for longer. Leftovers should be stored in an airtight container in the refrigerator for up to 3 days. For longer storage, this chili freezes exceptionally well. Transfer cooled chili to freezer-safe containers or heavy-duty freezer bags, leaving a little headspace for expansion. It can be stored in the freezer for up to 3 months. Thaw overnight in the refrigerator before reheating.

Essential Ingredients for Your Slow Cooker Wendy’s Chili
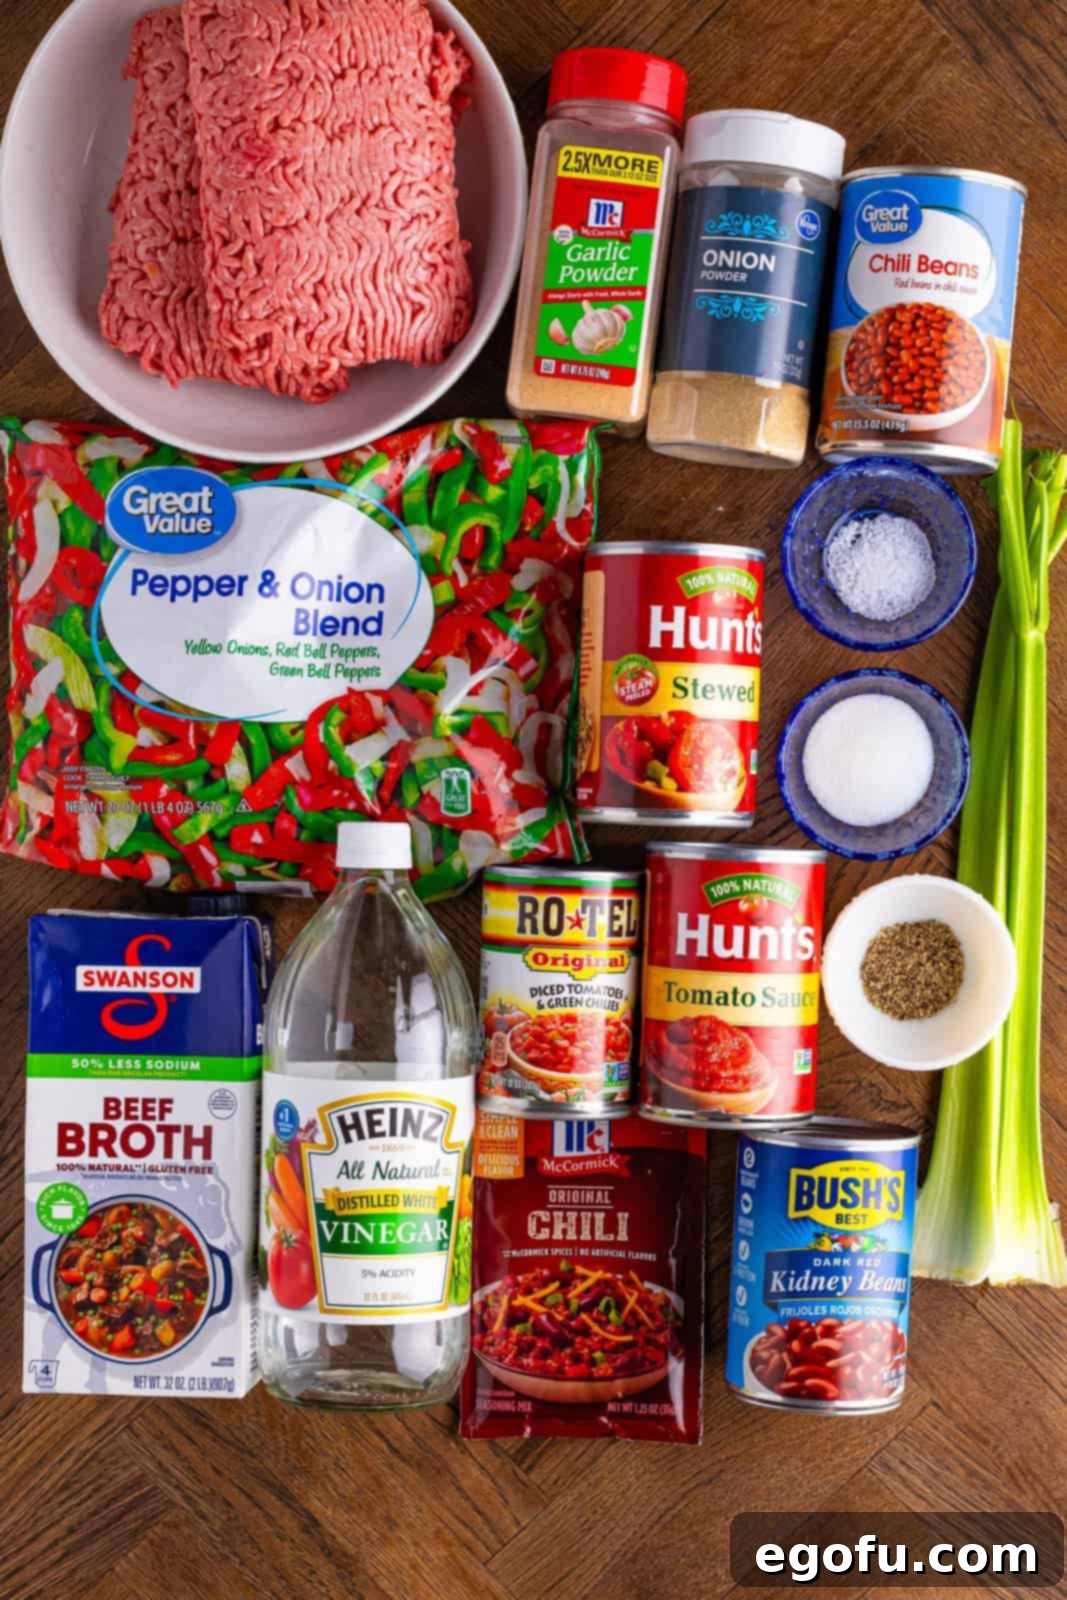
Creating this copycat Wendy’s chili involves a thoughtful selection of ingredients that build layers of savory flavor. Here’s a closer look at what you’ll need and some helpful tips for each component:
- Ground Beef: The foundation of any great chili. To get the most value, consider purchasing ground beef in bulk, such as 3-pound or 5-pound logs, which are often more economical. You can easily divide and freeze portions you don’t plan to use immediately, ensuring you always have some on hand for your favorite recipes.
- Celery: A crucial ingredient for replicating Wendy’s distinct flavor and texture. While optional if you’re not a fan, it adds a subtle crunch and a classic chili element that you’ll find in the original.
- Frozen Peppers and Onions: For convenience, pre-chopped frozen peppers and onions are a lifesaver. If you prefer to use fresh, I recommend sautéing them with the ground beef until softened before adding them to the slow cooker to ensure they reach the desired tender consistency. You can also finely chop them for smaller pieces, similar to the Wendy’s version.
- Tomato Sauce: Forms the rich, savory base of the chili. If you’re mindful of your sodium intake, look for low-sodium tomato sauce options, as many other ingredients in chili can contribute to overall sodium levels.
- Stewed Tomatoes: These tomatoes add a wonderful depth of flavor and a slightly chunkier texture. If you prefer smaller pieces of tomato in your chili, simply crush them by hand before adding them to the slow cooker. Again, low-sodium varieties are available if preferred.
- Dark Red Kidney Beans: A staple in chili, providing a hearty texture and earthy flavor. While dark red kidney beans are traditional, feel free to substitute with other types of beans like pinto beans, black beans, or even a mix, depending on your preference.
- Chili Beans in Sauce: These are a secret weapon for boosting chili flavor instantly. They come pre-seasoned in a rich sauce, adding an extra layer of complexity. Look for them in the canned bean aisle; brands like Bush’s or store brands often carry them. They make a significant difference!
- Diced Tomatoes and Green Chilies (Rotel): This combination adds a lovely brightness and a hint of mild spice. You can easily find these under the brand name Rotel or a store-brand equivalent. For those who enjoy more heat, opt for the “hot” version of diced tomatoes and green chilies.
- Low-Sodium Beef Broth: Used to adjust the chili’s consistency and infuse it with more savory beef flavor. Given that other ingredients like chili seasoning and canned goods already contain sodium, using a low-sodium broth allows you to control the saltiness more precisely and season to your taste.
- Packet Chili Seasoning: A convenient way to introduce a balanced blend of classic chili spices. Just like with tomato sauce and broth, low-sodium chili seasoning packets are a good choice for managing overall salt content.
- Granulated Sugar: Don’t let this ingredient surprise you! A tablespoon of sugar doesn’t make the chili sweet; instead, it perfectly balances the acidity from all the tomatoes, rounding out the flavors and making them more harmonious without any noticeable sweetness. The amount per serving is negligible.
- White Vinegar: While it might sound unconventional, adding a touch of white vinegar acts as an additional acidic component. This brightens and enhances all the other flavors in the chili, making them pop. It’s an optional but highly recommended trick for a more vibrant chili.
- Garlic Powder and Onion Powder: Even with a chili seasoning packet, a little extra garlic and onion powder can significantly amplify the aromatic depth. These seasonings further enhance the savory profile, contributing to that robust, well-rounded chili flavor.
- Black Pepper and Kosher Salt: Essential for seasoning to taste. Start with the recommended amounts and adjust as needed towards the end of cooking. Kosher salt is preferred for its cleaner taste and easier measurement compared to table salt.
How to Make Slow Cooker Wendy’s Chili: Step-by-Step
Making this incredible copycat Wendy’s chili is simpler than you might imagine, with most of the work handled effortlessly by your slow cooker. Follow these easy steps to bring this comforting meal to your table:
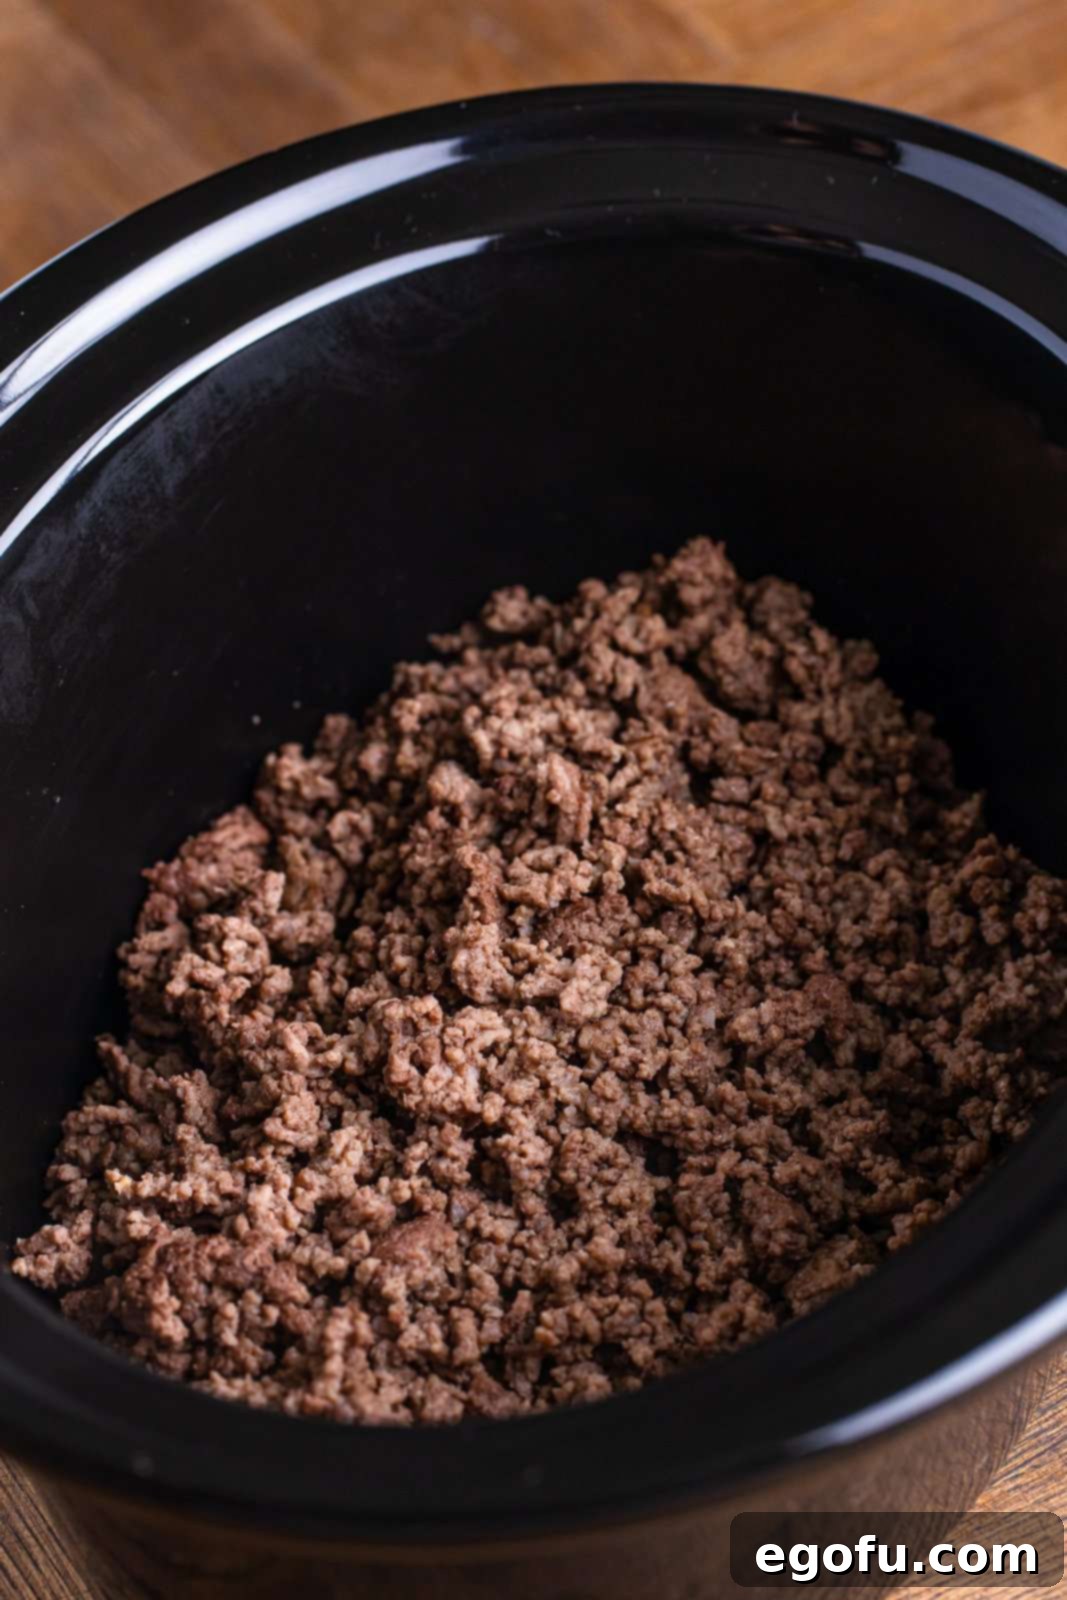
Brown the Ground Beef: Begin by heating a large skillet over medium-high heat. Add the 2 pounds of ground beef to the skillet. Use a spatula or wooden spoon to break the beef into small crumbles as it cooks. Stir occasionally to ensure even browning. Continue cooking until all the pink is gone and the beef is fully browned. Once cooked, carefully drain off any excess grease from the skillet. Transfer the browned ground beef to the bottom of a 6 to 8-quart slow cooker. This initial step is key for building a flavorful base for your chili.

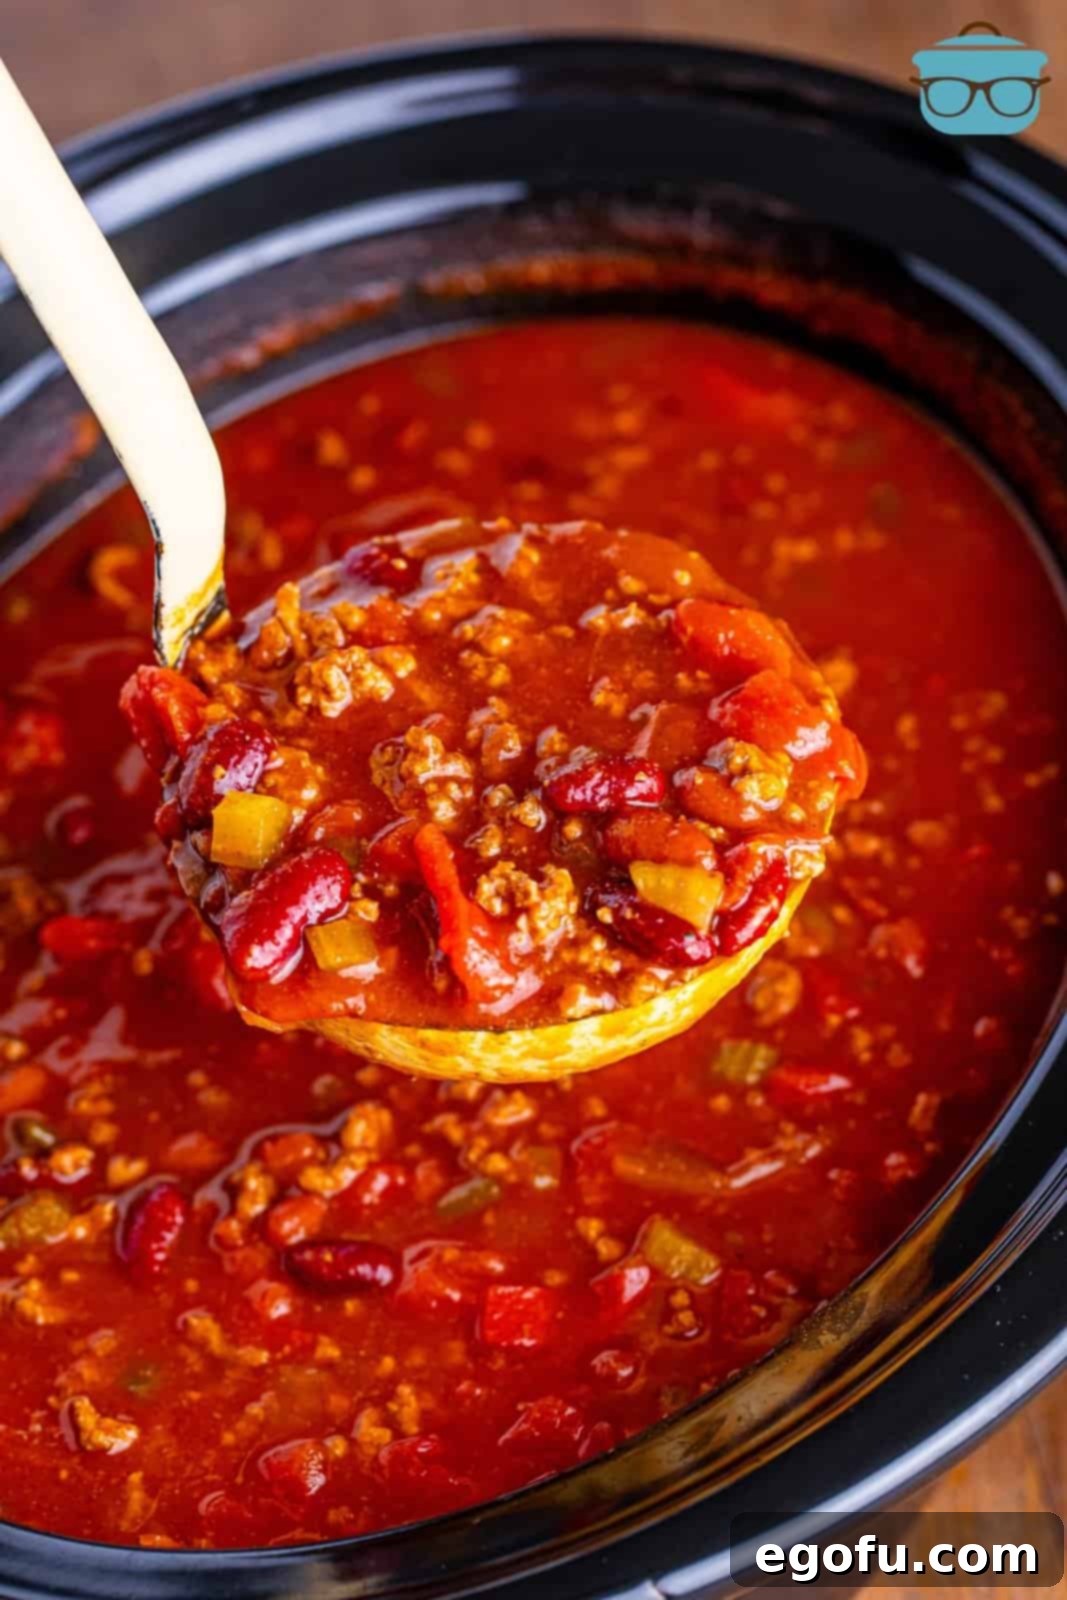
Combine All Ingredients: Now comes the incredibly easy “dump and go” part! To the slow cooker with the browned ground beef, add the following ingredients: 2 small-diced celery stalks, 2 cups of frozen peppers and onions, 2 (15 ounce) cans of tomato sauce, 2 (14.5 ounce) cans of stewed tomatoes (if you prefer smaller tomato pieces, gently crush them by hand before adding), 1 (16 ounce) can of undrained dark red kidney beans, 1 (15 ounce) can of undrained chili beans in sauce, 1 (10 ounce) can of undrained diced tomatoes with green chilies, 1 cup of low-sodium beef broth, 1.25 ounce packet of chili seasoning, 1 tablespoon of granulated sugar, 1 tablespoon of white vinegar, 2 teaspoons of garlic powder, 2 teaspoons of onion powder, 1 teaspoon of black pepper, and 1 teaspoon of kosher salt. Stir all these ingredients thoroughly until they are well combined. This ensures that all the wonderful flavors will meld together beautifully during the slow cooking process.

Slow Cook to Perfection: Place the lid securely on your slow cooker. Cook the chili on a low heat setting for 6-8 hours. If you need it done faster, you can cook it on high heat for 4-5 hours. If you are around and able, give the chili a stir every so often, especially during the last few hours of cooking, to ensure even heating and to prevent anything from sticking to the bottom. Remember, the longer it cooks, the more pronounced and developed the flavors will become. So, if you have the time, a longer cook is always recommended for an even richer chili.

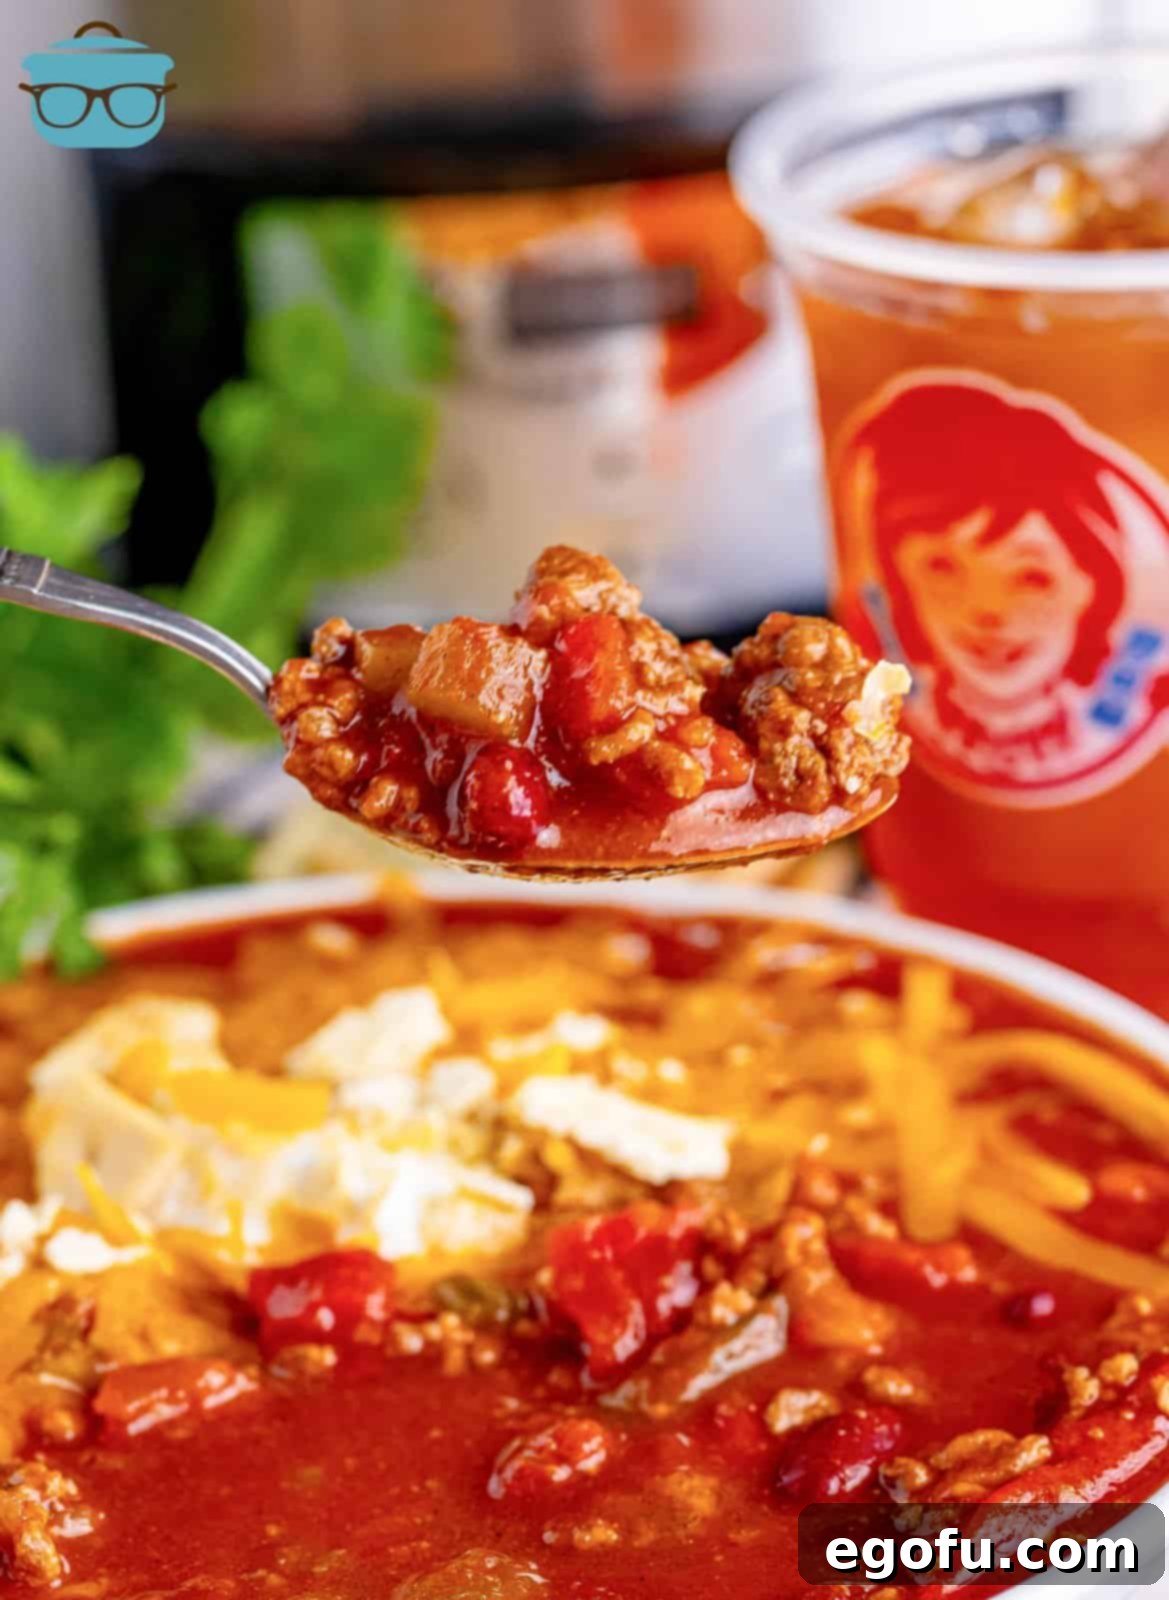
Serve and Enjoy: Once your chili is perfectly cooked and fragrant, it’s time to serve! Ladle generous portions into bowls and invite everyone to customize their chili with their favorite toppings. Classic choices include shredded cheese (cheddar is always a winner), a dollop of cool sour cream, and crispy saltine crackers for dipping. Other popular options are chopped fresh onions, green onions, or even a sprinkle of hot sauce for those who crave extra heat. Enjoy this hearty, homemade comfort food that tastes just like your favorite fast-food classic, but even better!

Craving More Irresistible Slow Cooker Recipes?
If you’ve enjoyed the ease and deliciousness of this slow cooker chili, you’re in for a treat! Our collection of recipes is brimming with comforting dishes designed to make your life simpler and your meals tastier. Explore these other fantastic options:
- Copycat Wendy’s Frosty
- Crock Pot White Chicken Chili
- Crock Pot Beef Tips
- Crock Pot Pork Chops
- Crock Pot Chicken and Gravy
- Crock Pot Pork Loin
- Crock Pot Lasagna
- Hamburger Vegetable Soup
- Crock Pot Olive Garden Pasta e Fagioli
- Cincinnati Chili
- 75 Fall Crock Pot Dinners
- 100 Ground Beef Recipes

Slow Cooker Wendy’s Chili
If you love the fast-food version, you’re going to adore this Slow Cooker Wendy’s Chili! Simply turn on your slow cooker and let it do all the hard work, so you can return home to an amazing, ready-to-eat dinner this evening!
Pin Recipe
Prep Time: 15 minutes
Cook Time: 8 hours 10 minutes
Total Time: 8 hours 25 minutes
Servings: 12 servings
Author: Brandie Skibinski
Ingredients
- 2 pounds ground beef
- 2 celery stalks, small diced
- 2 cups frozen peppers and onions
- 2 (15 ounce) cans tomato sauce
- 2 (14.5 ounce) cans stewed tomatoes
- 16 ounce can dark red kidney beans, undrained
- 15 ounce can chili beans in sauce, undrained
- 10 ounce can diced tomatoes and green chilies, undrained
- 1 cup low-sodium beef broth
- 1.25 ounce packet chili seasoning
- 1 Tablespoon granulated sugar
- 1 Tablespoon white vinegar
- 2 teaspoons garlic powder
- 2 teaspoons onion powder
- 1 teaspoon black pepper
- 1 teaspoon kosher salt (or to taste)
Instructions
In a large skillet over medium-high heat, add 2 pounds ground beef. Break it up into crumbles and cook, stirring occasionally, until there is no pink left. Drain off any excess grease and place it into the bottom of a 6 to 8-quart slow cooker.

Add 2 celery stalks, small diced, 2 cups frozen peppers and onions, 2 (15 ounce) cans tomato sauce, 2 (14.5 ounce) cans stewed tomatoes, 16 ounce can dark red kidney beans, undrained, 15 ounce can chili beans in sauce, undrained, 10 ounce can diced tomatoes and green chilies, undrained, 1 cup low-sodium beef broth, 1.25 ounce packet chili seasoning, 1 Tablespoon granulated sugar, 1 Tablespoon white vinegar, 2 teaspoons garlic powder, 2 teaspoons onion powder, 1 teaspoon black pepper and 1 teaspoon kosher salt. Stir well to combine.

Place the top on and cook on low heat for 6-8 hours or high 4-5 hours. Stir every so often if you are able to. Serve with your favorite toppings, such as cheese, sour cream, and saltine crackers.

Video Tutorial
Notes
- Please refer to my FAQ’s (Frequently Asked Questions) and ingredient list above for other substitutions or for the answers to the most common questions.
- Honestly, this is one of those recipes that the longer it cooks, the better it gets. I let this cook for 10 hours, and it was AMAZING! So even though I put 6-8 hours in the recipe card, you can go longer if you need to (especially if you are putting this on before going to work).
- This recipe can be cut in half if you don’t need as much; however, it does freeze really well.
- Keeps in the fridge for up to 3 days and freezer for up to 3 months.
Course: Main Course, Side Dish
Cuisine: American
Nutrition Facts (Estimated)
Calories: 338kcal | Carbohydrates: 29g | Protein: 21g | Fat: 17g | Sodium: 952mg | Fiber: 8g | Sugar: 9g
Nutritional Disclaimer
“The Country Cook” is not a dietician or nutritionist, and any nutritional information shared is an estimate. If calorie count and other nutritional values are important to you, we recommend running the ingredients through whichever online nutritional calculator you prefer. Calories and other nutritional values can vary quite a bit depending on which brands were used.
Did you make this recipe?
Share your creation on Instagram @thecountrycook and make sure to mention us using the hashtag #thecountrycook! We love seeing your delicious results!
