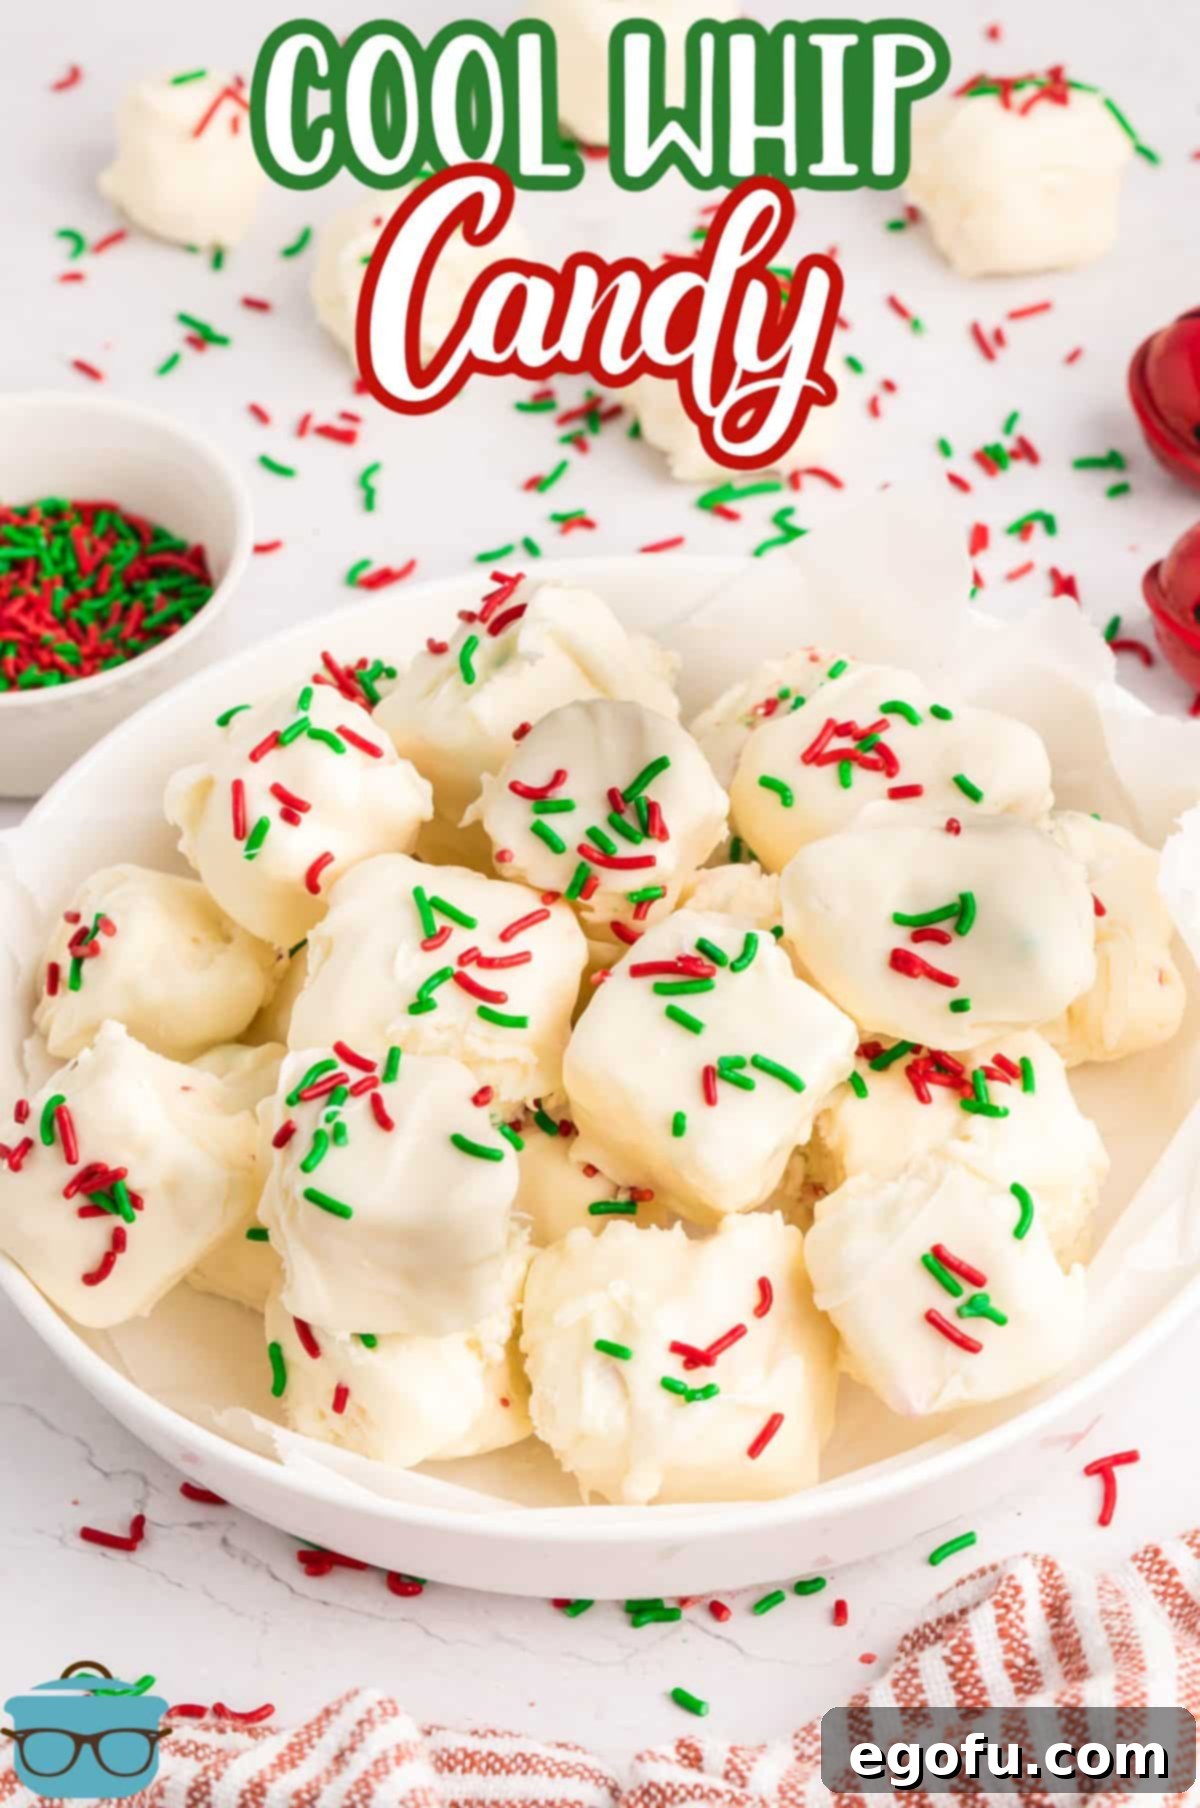
Prepare to delight your taste buds with this incredibly simple and fun Cool Whip Candy recipe! This delightful treat is a no-bake candy recipe that requires only 4 essential ingredients, making it an absolute breeze to prepare and an ideal choice for the bustling holiday season or any time you crave a quick, sweet indulgence.
Effortless Elegance: The Ultimate 4-Ingredient No-Bake Cool Whip Candy
In the realm of quick and satisfying desserts, Cool Whip Candy stands out as a true gem. This delightful little treat comes together with remarkable speed and minimal effort, making it a perfect solution for unexpected guests, last-minute party contributions, or simply a sweet escape after a long day. The magic lies in the harmonious blend of smooth, rich white chocolate and light, airy whipped topping, which together create an exquisite, melt-in-your-mouth texture that is both creamy and wonderfully satisfying. Far from being just a casual snack, this fun and festive candy elevates any occasion, transforming into thoughtful holiday gifts for cherished neighbors, appreciative teachers, or a charming hostess gift that is sure to leave a lasting impression. Its versatility and irresistible appeal make it a staple for anyone looking to add a touch of homemade sweetness without the fuss.
Why You’ll Adore This Easy Cool Whip Candy Recipe
There’s a reason why this Cool Whip Candy recipe has become a beloved favorite among dessert enthusiasts. First and foremost, its sheer simplicity is unparalleled. With only four ingredients and no baking required, it eliminates the stress often associated with elaborate confectionaries. This makes it a fantastic recipe for beginner cooks or for involving children in the kitchen. Beyond its ease, the texture is truly unique—a light, airy nougat-like center enveloped in a crisp chocolate shell, reminiscent of classic candy bars but with a homemade charm. It’s the perfect treat for any season, adaptable with different sprinkles for various holidays, from Christmas to Valentine’s Day. Moreover, it’s incredibly budget-friendly, utilizing common pantry staples to create an impressive dessert that tastes far more luxurious than its cost suggests. Whether you’re making it for a festive gathering, a thoughtful gift, or a personal indulgence, this Cool Whip Candy promises a delightful experience every time.
Your Top Questions Answered: Cool Whip Candy FAQ
What does Cool Whip Candy taste like?
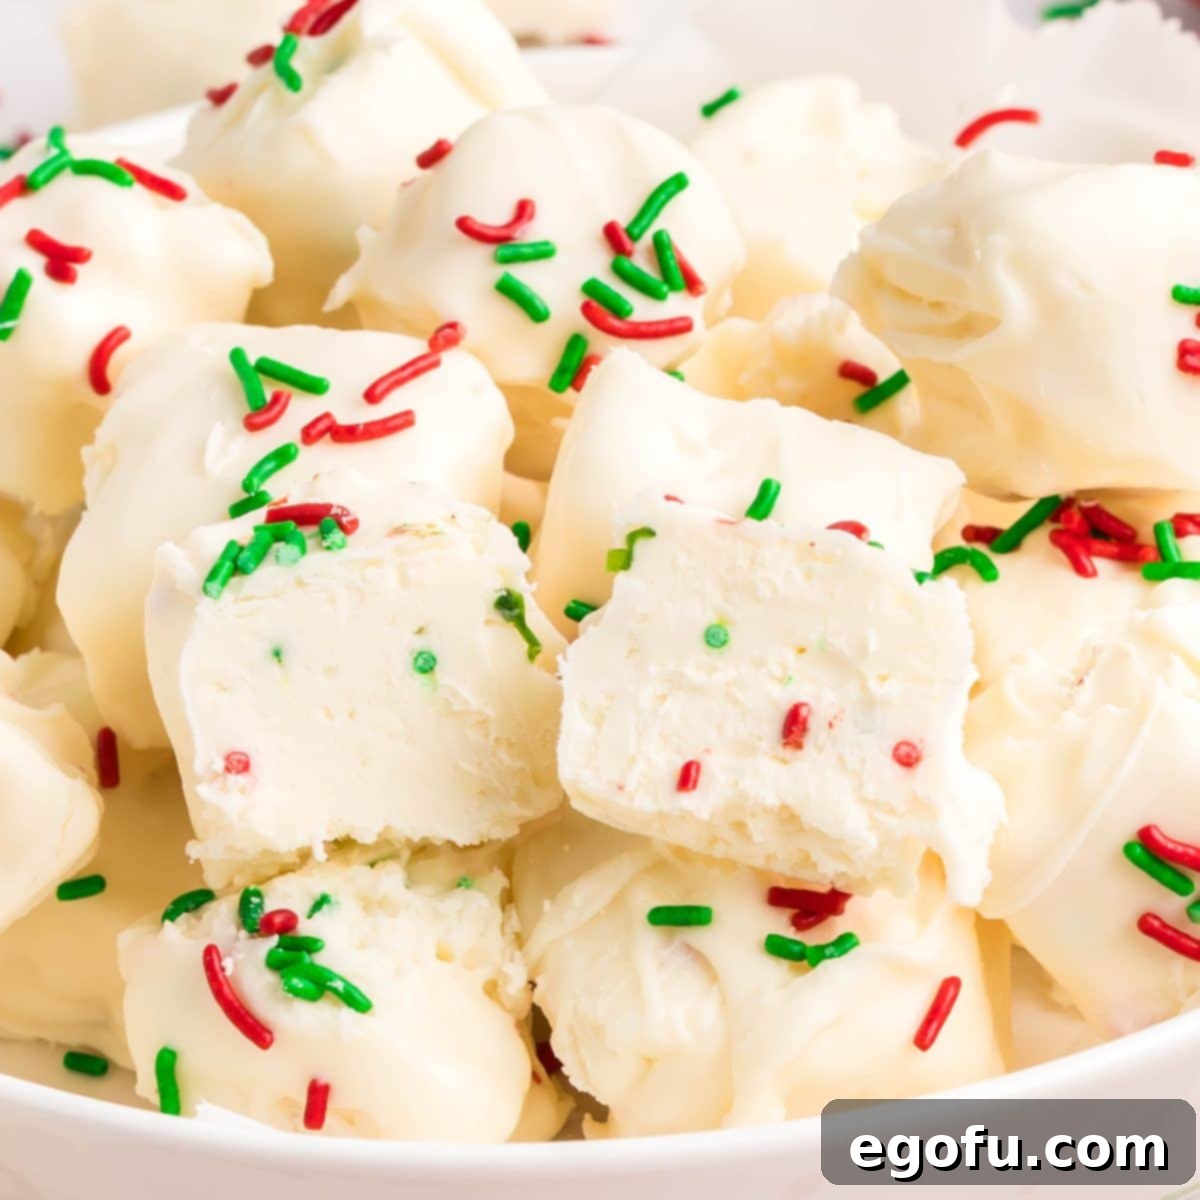
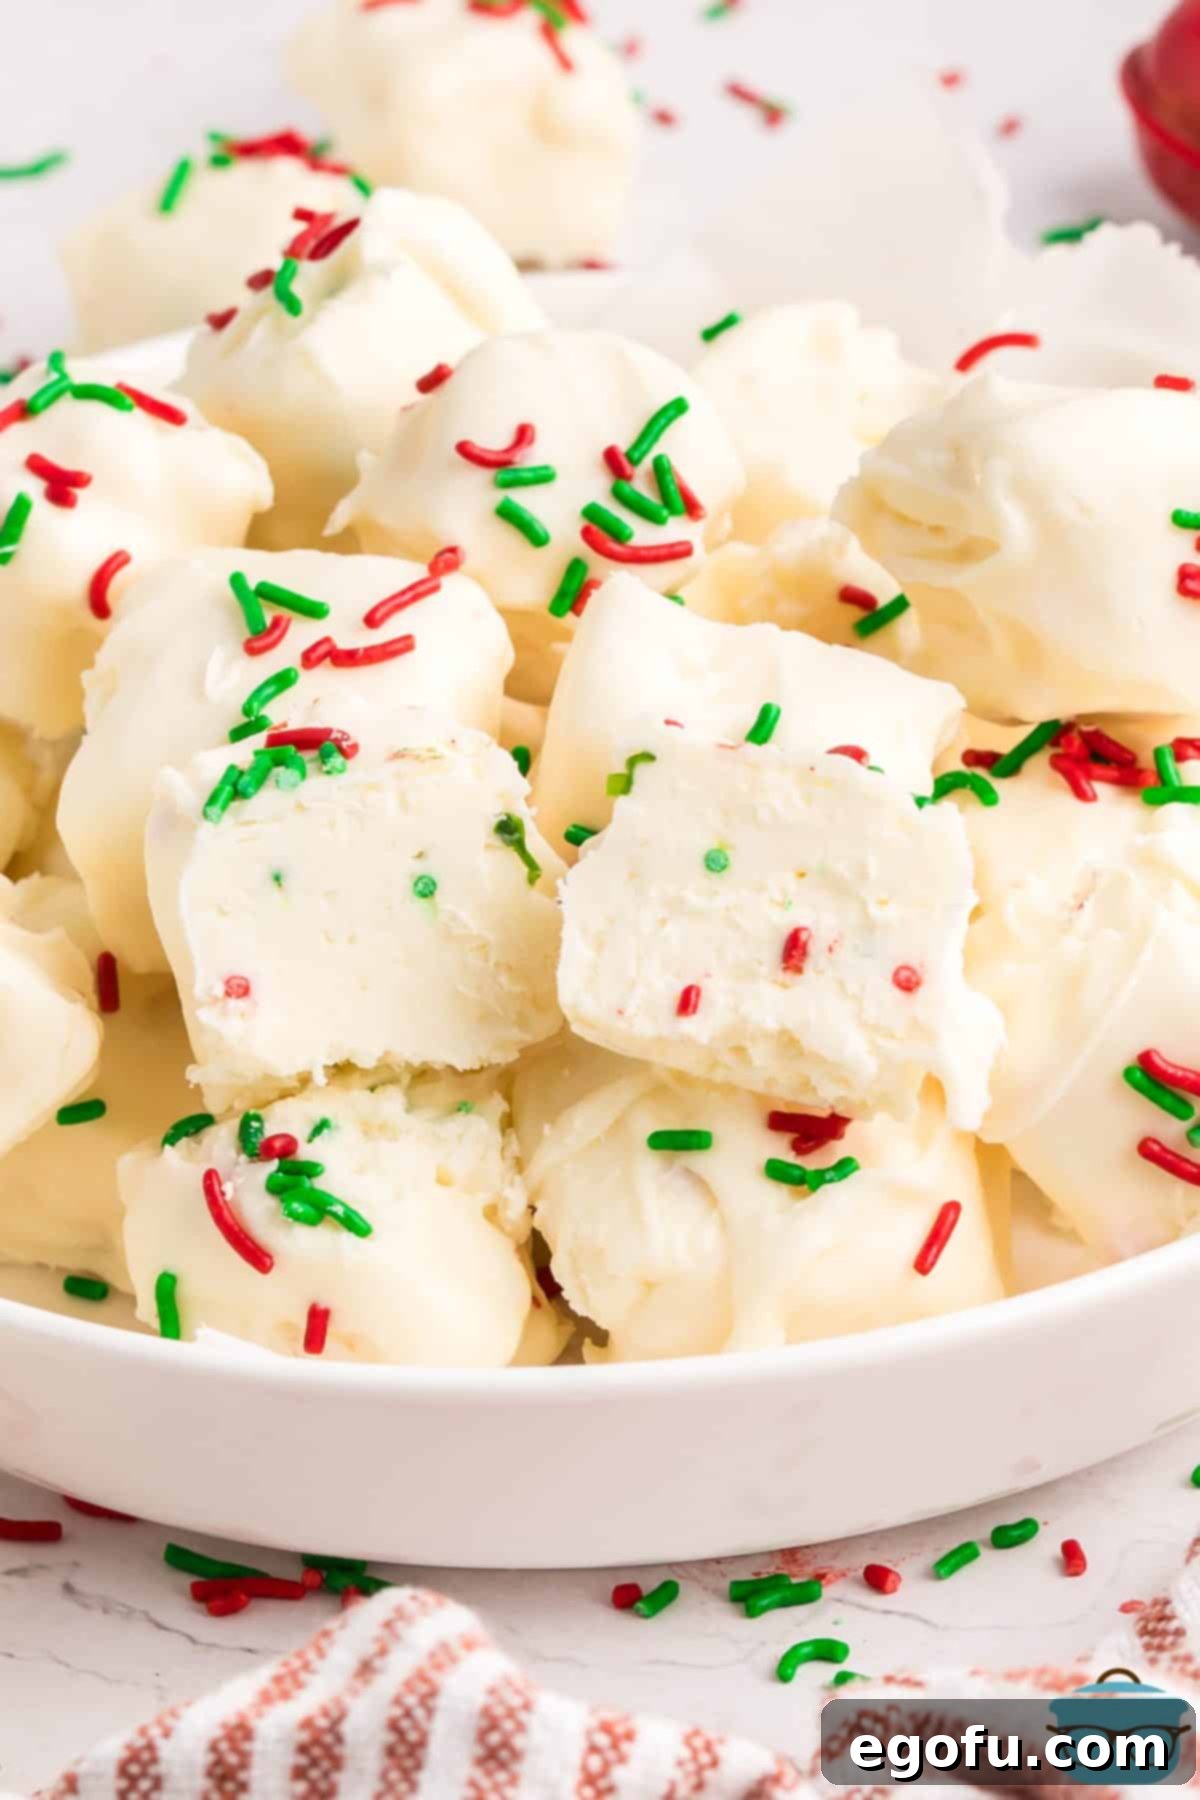
Imagine the satisfying chewiness of a 3 Musketeers candy bar, but with a dreamy, rich vanilla and white chocolate flavor profile. The texture is wonderfully light and airy, almost like a nougat, contrasting beautifully with the crisp outer layer of almond bark. It’s a sweet, creamy, and undeniably addictive combination that appeals to almost everyone.
Can I use dark or milk chocolate chips instead of white chocolate?
Absolutely! This recipe is wonderfully versatile. While the original uses white chocolate chips to achieve that distinct vanilla-nougat flavor, feel free to experiment with your favorite chocolate. Substituting milk chocolate chips will give you a sweeter, classic chocolate taste, while dark chocolate chips will introduce a deeper, more intense cocoa note. You can also use different flavored almond bark for the coating, such as chocolate almond bark, to create a richer overall candy experience. Don’t be afraid to customize and find your perfect variation!
Any tips for working effectively with almond bark?
Working with almond bark requires a bit of speed and precision to ensure a smooth, even coating. The key is to work quickly because almond bark tends to harden relatively fast once melted. If you find yourself struggling to coat the candy pieces before the bark sets, consider melting smaller batches at a time. Another excellent tip is to use a double boiler, which provides more gentle and consistent heat, keeping the bark melted longer without burning. Alternatively, a Candy Melting Pot (affiliate link) is a fantastic investment for maintaining the perfect melting temperature throughout the dipping process, ensuring flawless results every time.
How should I store leftover Cool Whip Candy?
Proper storage is essential to maintain the freshness and delightful texture of your Cool Whip Candy. For short-term enjoyment, you can keep the candy in an airtight container at room temperature for up to 4 days. However, if you plan to keep it longer, refrigerating it will extend its shelf life significantly, allowing it to remain fresh for up to 7 days. When storing in the fridge, ensure it’s in a sealed container to prevent it from absorbing any strong odors from other foods. Bringing it back to room temperature for a few minutes before serving can enhance its creamy texture.
Can I make this Cool Whip Candy ahead of time?
Yes, this recipe is perfect for making ahead! You can prepare the initial Cool Whip and white chocolate mixture and let it chill overnight or for several hours in the refrigerator. Once it’s firm, you can cut it into pieces. If you’re coating them in almond bark, it’s best to do that closer to serving time for the freshest appearance and texture, but the coated candies also store well. This makes it an excellent option for holiday meal prep or for busy hosts who want to get a head start on their party treats.
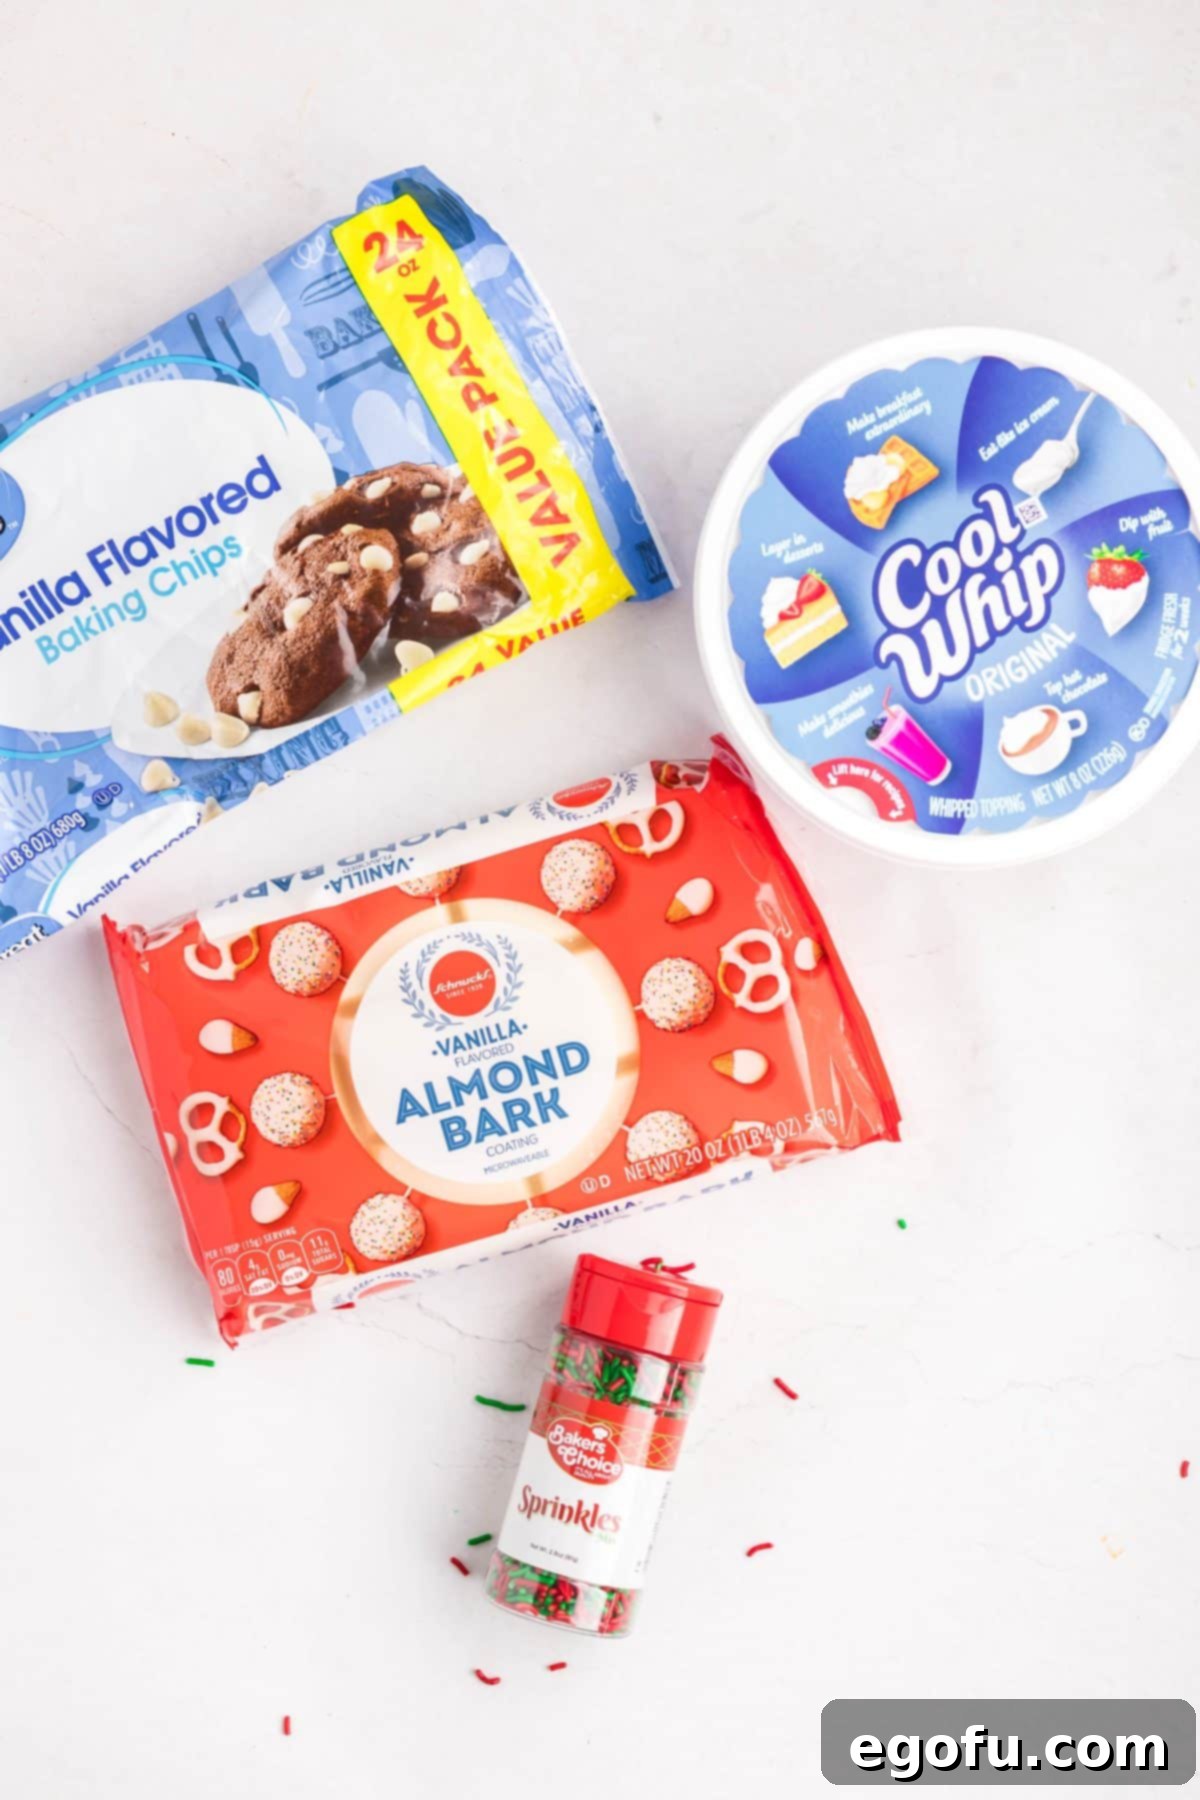
Essential Ingredients for Your Cool Whip Candy
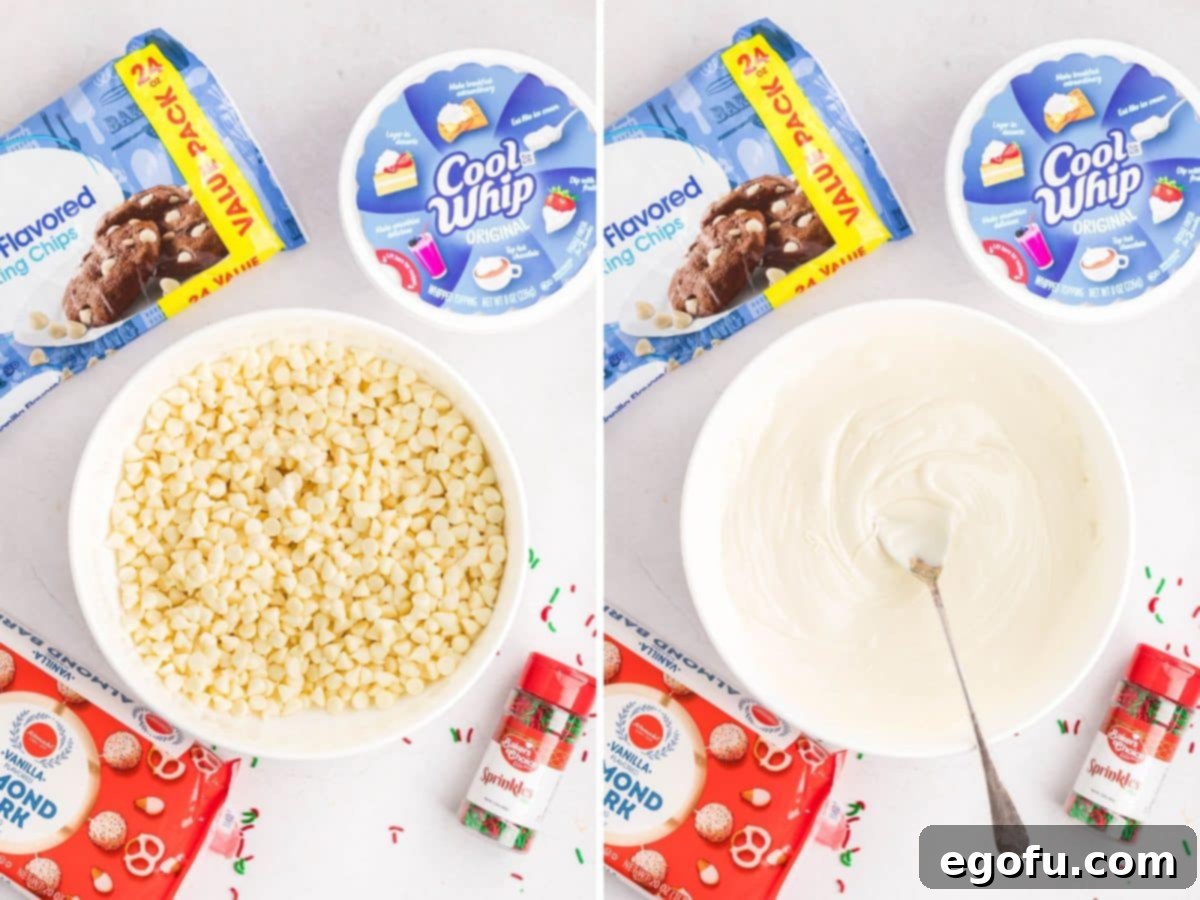
One of the best aspects of this no-bake candy is its minimal and accessible ingredient list. You likely have most of these on hand already, or they are readily available at any grocery store. Here’s what you’ll need to create this delectable treat:
- White Chocolate Chips: These form the creamy base of our candy. As mentioned in the FAQ section, feel free to substitute with milk chocolate or dark chocolate chips if you prefer a different flavor profile. The quality of your chocolate can significantly impact the final taste, so choose a brand you enjoy.
- Cool Whip (thawed): This is the star ingredient that gives the candy its signature light, nougat-like texture. Ensure it’s fully thawed from the freezer by placing it in the refrigerator for a few hours before you begin. Any brand of whipped topping will work perfectly fine here; store brands are often a more economical choice without sacrificing taste or texture.
- Red and Green Sprinkles (affiliate link): While optional, sprinkles add a wonderful festive touch and a bit of playful crunch. For the holidays, red and green sprinkles are ideal, but you can easily customize this for other occasions. Think pastels for Easter, orange and black for Halloween, or simply your favorite color combination. If you’re not a fan of sprinkles, you can omit them entirely, or try a drizzle of contrasting chocolate for decoration.
- Vanilla Almond Bark: This provides the crisp, protective outer shell for your candy. Vanilla almond bark is typically easy to melt and sets beautifully, creating a smooth finish. If you wish to introduce more chocolate flavor, you can swap this for chocolate-flavored almond bark or even tempered chocolate, though almond bark is generally easier to work with for beginners.
Step-by-Step Guide: How to Make Cool Whip Candy
Creating this delightful Cool Whip Candy is a straightforward process, even for novice confectioners. Follow these simple steps to bring this sweet treat to life:
Prepare Your Baking Dish: Begin by lining an 8×8-inch or 9×9-inch baking dish with parchment paper. This crucial step will make it significantly easier to remove the cooled candy from the dish before cutting. Allow the parchment paper to overhang on the sides for easy lifting. Set this prepared dish aside.
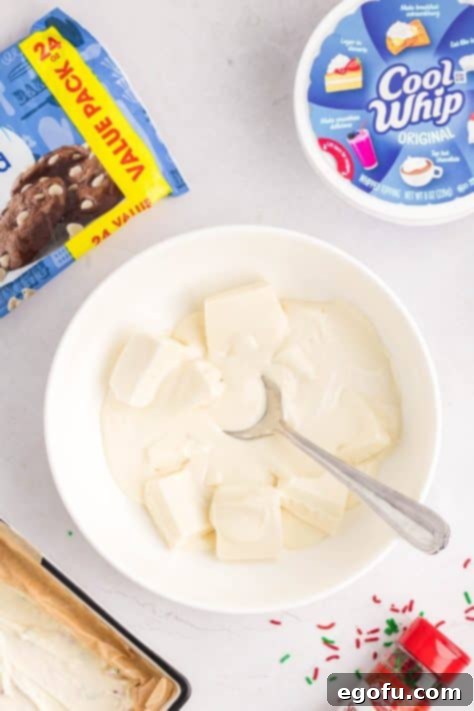
Melt the White Chocolate: In a microwave-safe bowl, place your white chocolate chips. Melt them in short, 20-second intervals, stirring thoroughly after each interval. Continue this process until the chocolate is completely melted and beautifully smooth, without any lumps. Avoid overheating, as white chocolate can seize easily.

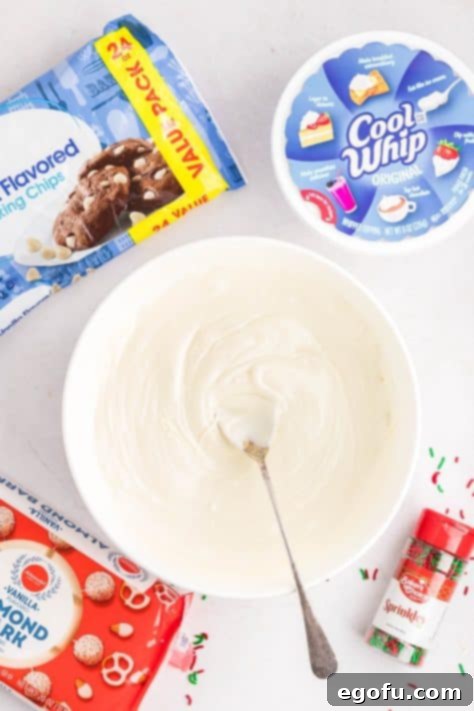
Melting white chocolate chips to a silky-smooth perfection. Cool the Melted Chocolate: Once melted, let the chocolate sit for about 5 minutes. This brief cooling period is important to ensure the chocolate isn’t too hot when you add the whipped topping, which could otherwise cause the whipped topping to melt too quickly and alter the candy’s texture.
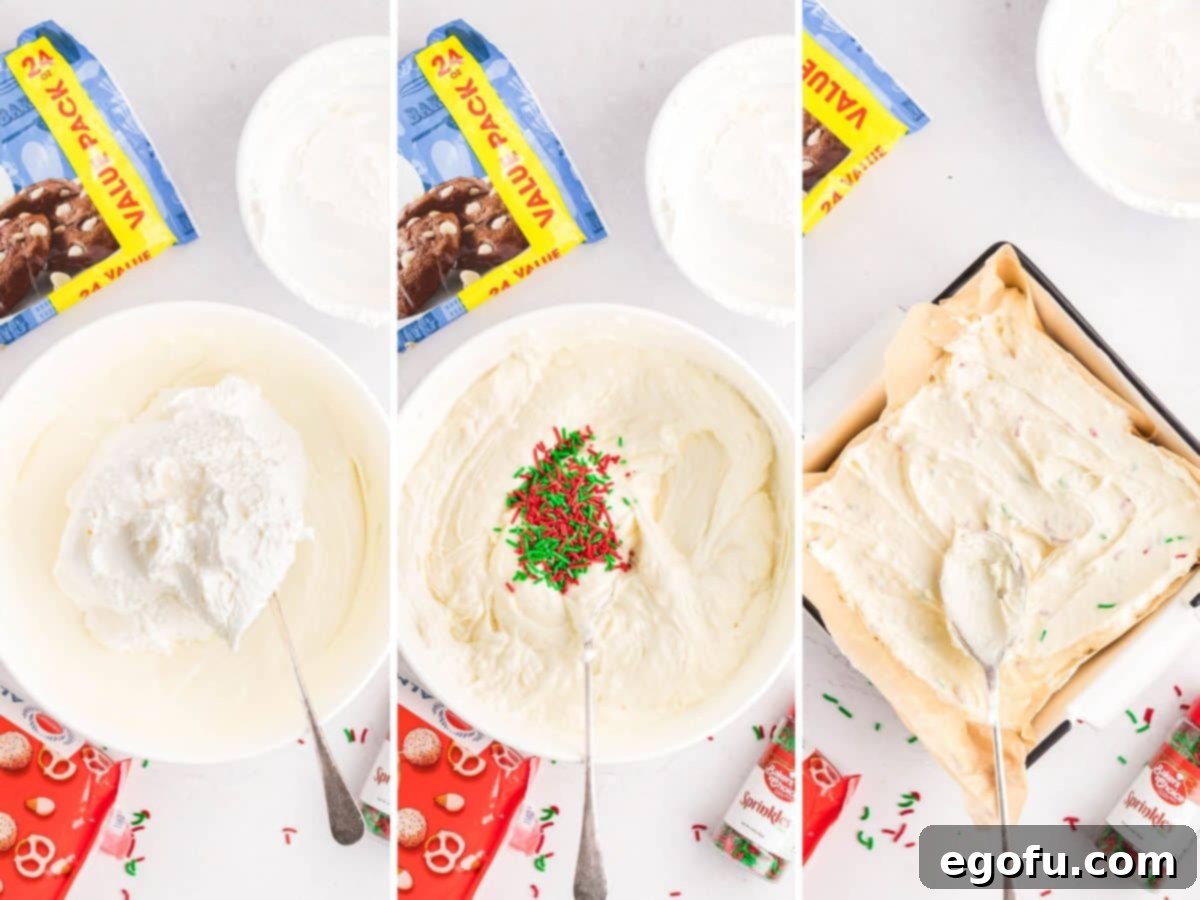
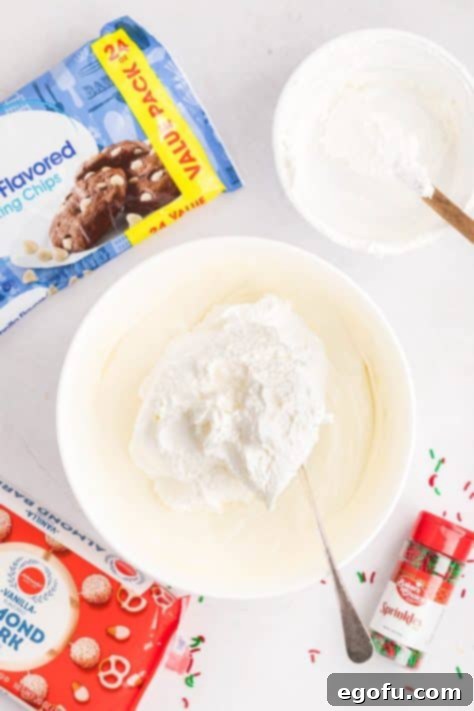
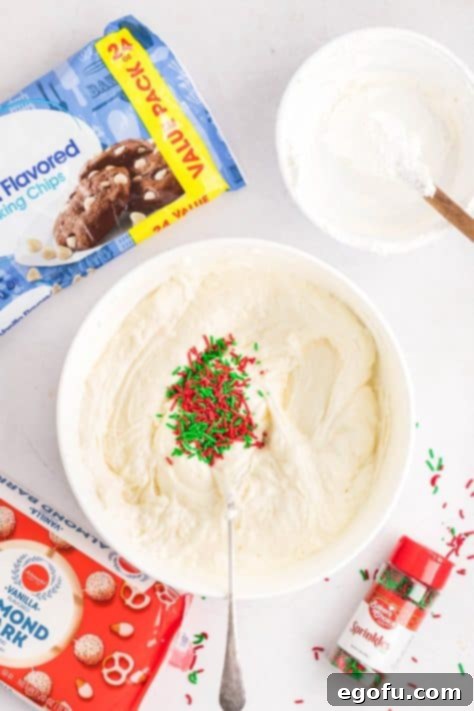
Combine with Whipped Topping and Sprinkles: Gently fold the thawed whipped topping and 2 tablespoons of your chosen sprinkles into the slightly cooled melted white chocolate. Mix until all ingredients are just combined and you have a uniform, creamy mixture. Be careful not to overmix.

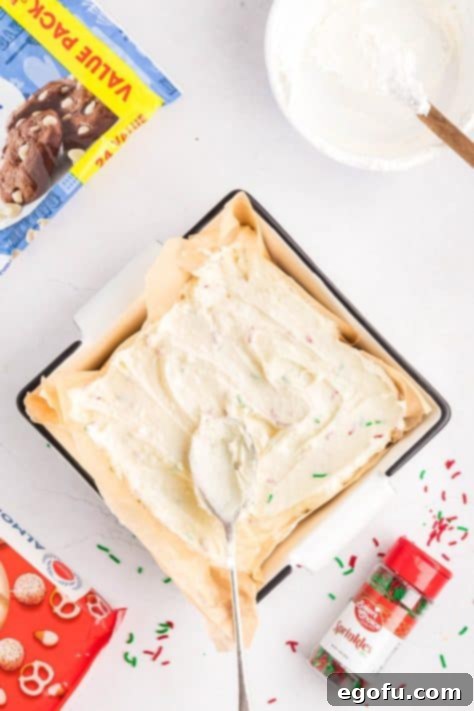
Incorporating whipped topping and sprinkles into the melted chocolate base. Chill the Candy Base: Transfer the entire candy mixture evenly into your prepared baking dish. Spread it out with a spatula to create a smooth, level surface. Place the dish in the refrigerator for a minimum of 1 hour to allow the candy to firm up. For best results and easier cutting, leaving it overnight is highly recommended. You generally don’t need to cover the dish unless there are strong-smelling items in your fridge that might impart their scent to the candy.
Prepare for Coating: While the candy is chilling, or once it has firmed up, set up a wire cooling rack over a parchment paper-lined baking tray. This setup will be essential for catching any excess almond bark and for the dipped candies to cool without sticking.
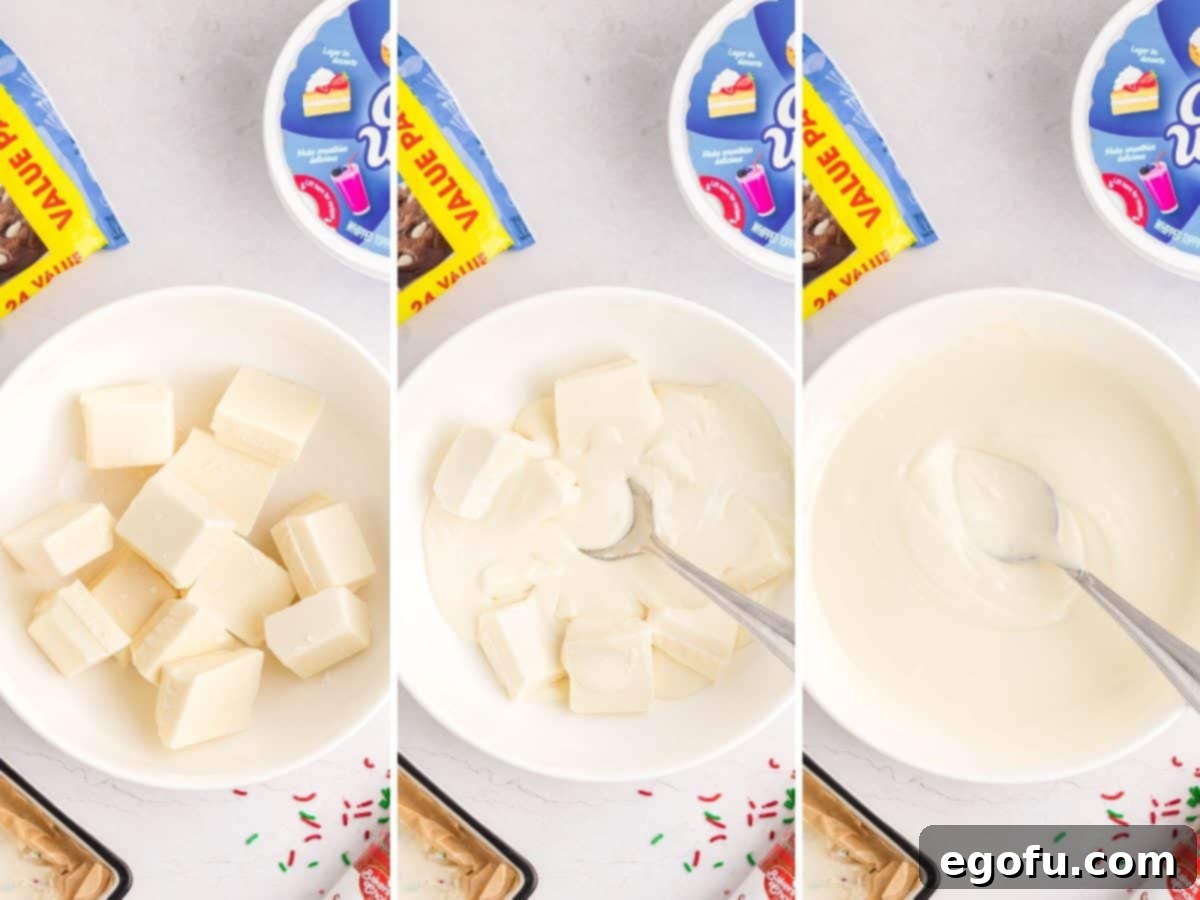
Melt the Almond Bark: In another microwave-safe bowl, melt the vanilla almond bark. Use 20-30 second intervals, stirring well after each one, until the bark is completely melted and smooth. Remember the tip about working quickly or in batches, as almond bark can harden rapidly. If you’re a bit slower with dipping, melt a smaller portion first and add more as needed.

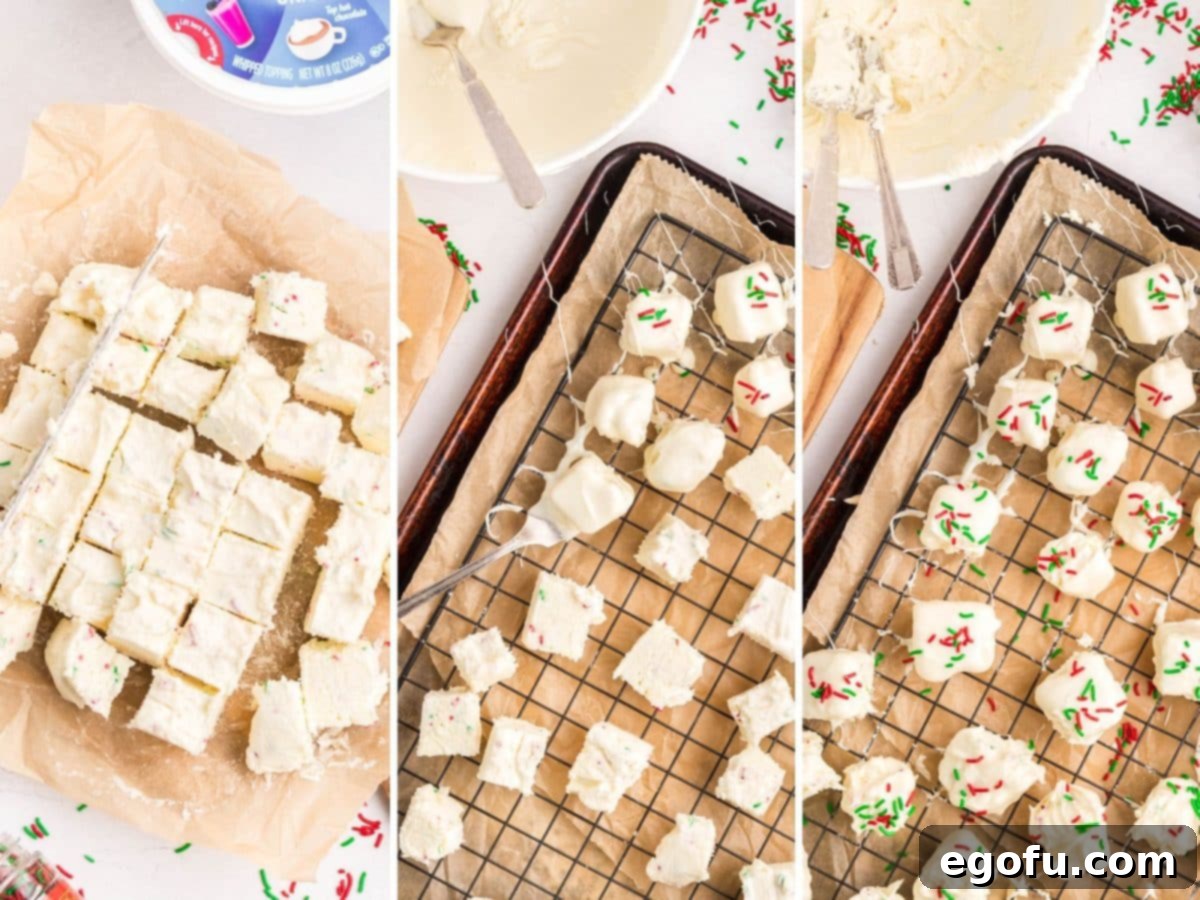
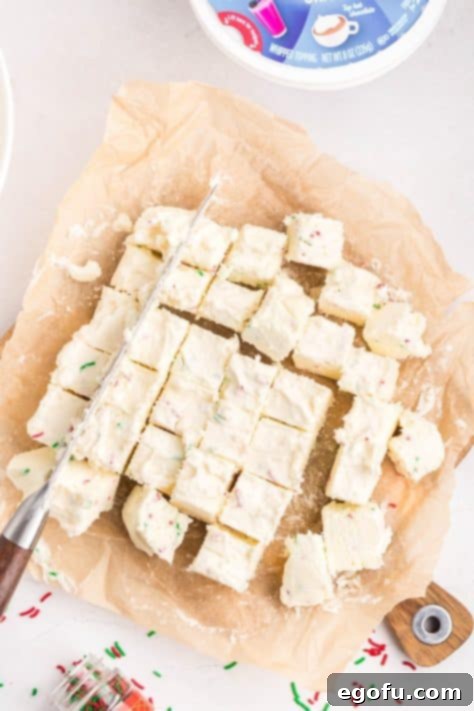
Melting the vanilla almond bark for the outer coating. Cut the Candy: Once the base is thoroughly chilled and firm, carefully lift it out of the baking dish using the parchment paper overhang. Place it on a cutting board. Using a large, sharp knife, cut the candy into approximately 36 pieces. Due to the sticky nature of the candy, your cuts might not be perfectly square, and that’s perfectly okay and part of its homemade charm!
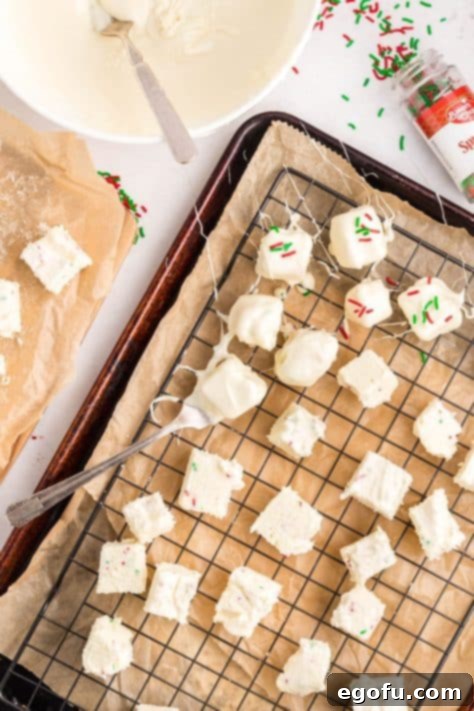
Dip and Coat: Transfer a few pieces of the cut candy into the bowl of melted almond bark at a time. Use two forks to gently roll and coat each piece completely. Lift the candy, allowing any excess melted bark to drip back into the bowl. Remember to work quickly here to prevent the almond bark from setting too soon.

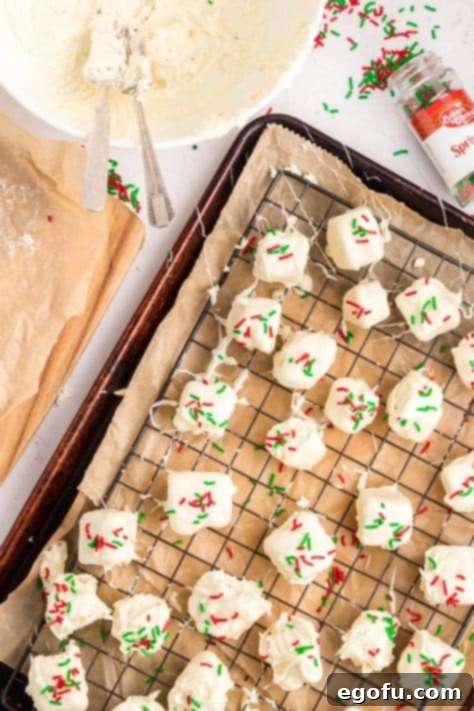
Dipping and decorating each piece of Cool Whip Candy. Add Final Sprinkles: Immediately after dipping each piece, place it onto the prepared wire cooling rack. While the almond bark is still wet and tacky, generously sprinkle the top with your red and green sprinkles (or any festive sprinkles you choose). This ensures the sprinkles adhere well to the coating before it hardens. Repeat this process for all remaining candy pieces.
Allow to Set and Serve: Let the coated candies sit on the cooling rack until the almond bark has fully set and hardened. This can take anywhere from 15-30 minutes, or you can speed it up by placing the tray in the refrigerator for a few minutes. Once completely cooled and firm, use a metal spatula to gently remove the candies from the rack and transfer them to your favorite serving dish. Arrange them beautifully and prepare for rave reviews!

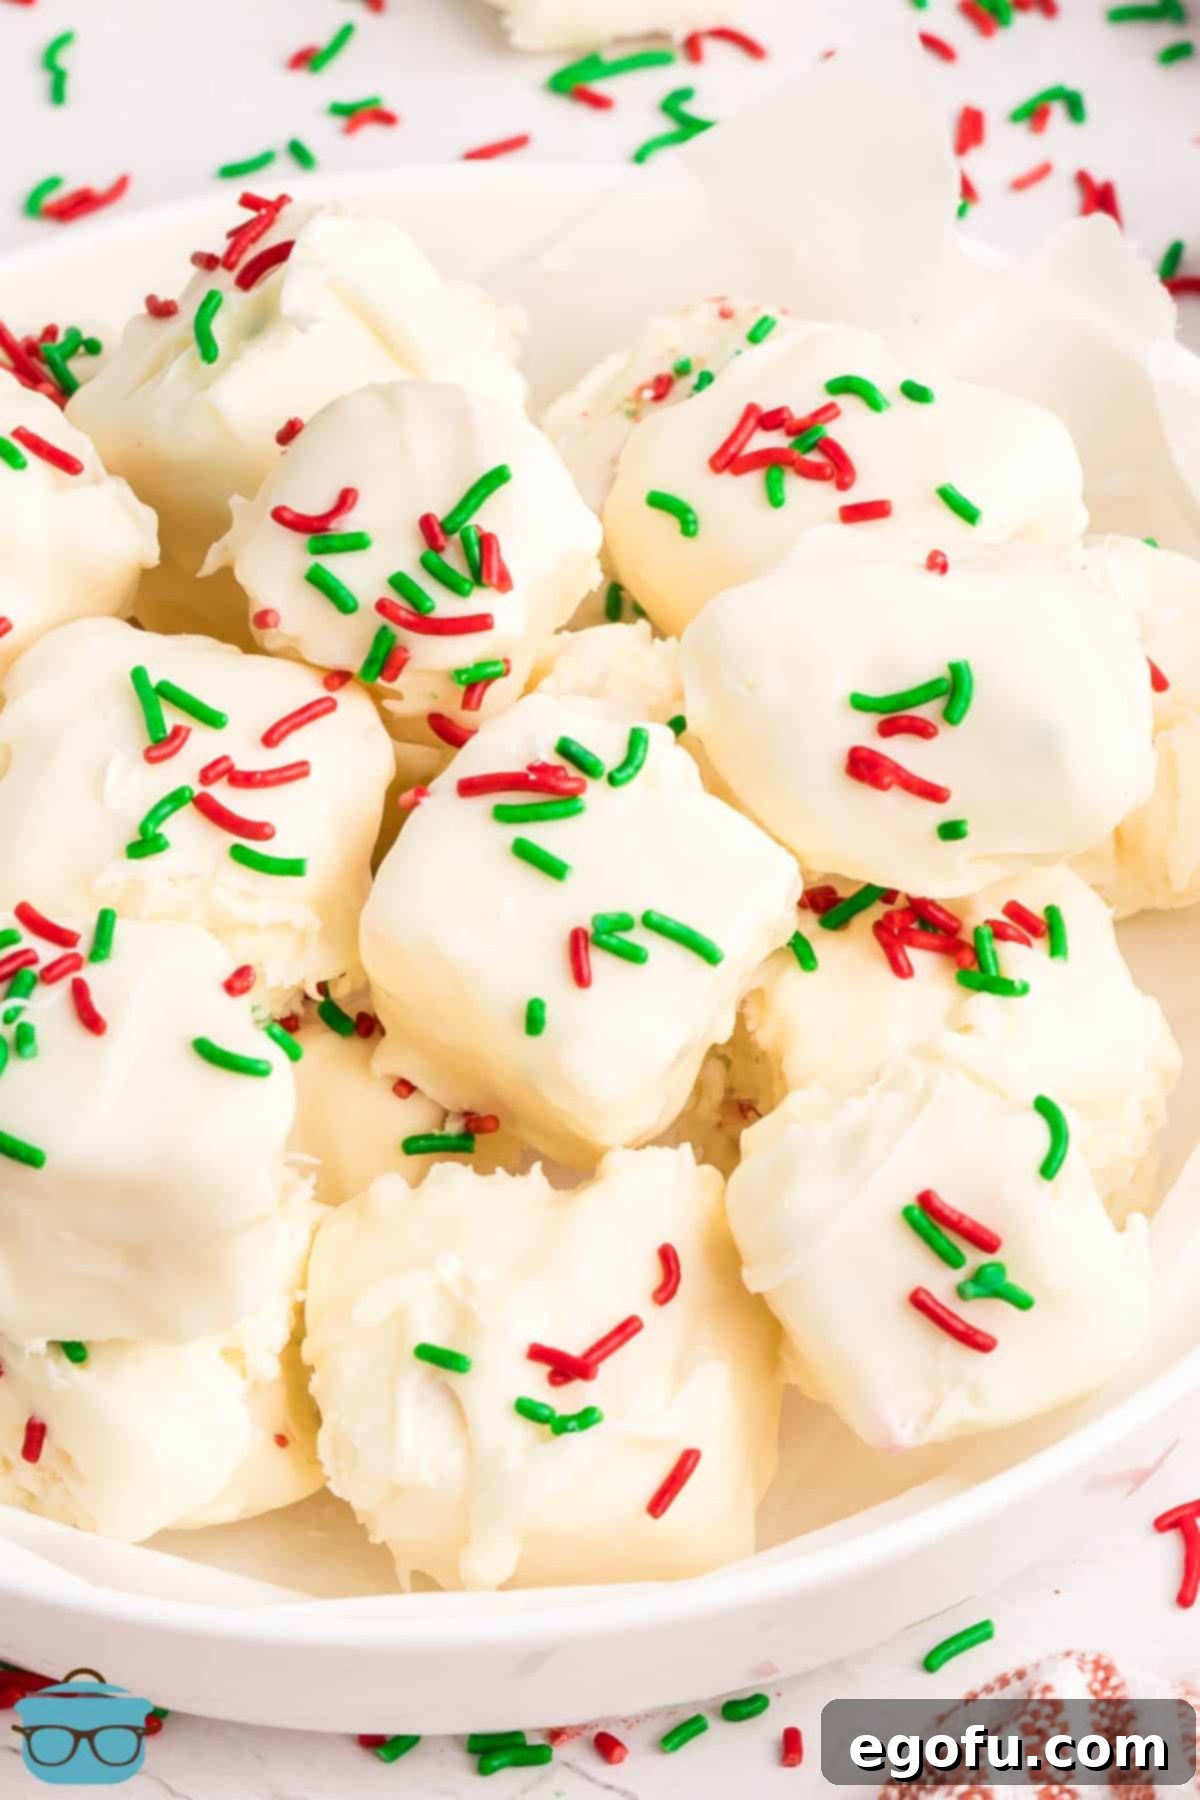
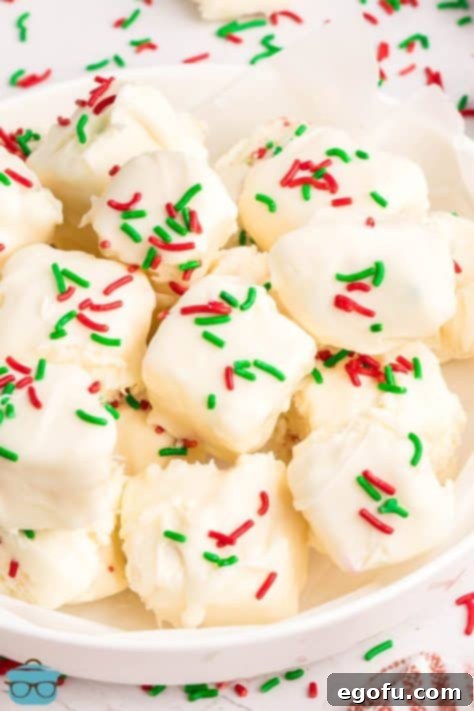
The perfectly finished Cool Whip Candy, ready for your festive spread.
Tips for Perfect Cool Whip Candy Every Time
- Thaw Cool Whip Properly: Ensure your Cool Whip is completely thawed but still cold. This consistency is vital for mixing smoothly with the melted chocolate and achieving the ideal nougat-like texture.
- Don’t Overheat Chocolate: When melting both the white chocolate chips and the almond bark, use short intervals and stir frequently. Overheated chocolate can become grainy, seize, or burn, ruining the texture and taste.
- Work in Batches: Especially when dipping the candy in almond bark, working with a few pieces at a time and melting the bark in smaller batches can prevent it from hardening prematurely. This gives you more control and a smoother finish.
- Sharp Knife for Cutting: The chilled candy base can be a bit sticky. A large, sharp knife, lightly greased if necessary, will help you make cleaner cuts. Don’t worry if they aren’t perfect squares; homemade treats always have a rustic charm!
- Immediate Sprinkling: Sprinkles adhere best when the chocolate coating is still wet. Have your sprinkles ready and apply them immediately after dipping each piece to ensure they stick perfectly.
- Parchment Paper is Your Friend: Using parchment paper to line your pan and under your cooling rack prevents sticking and makes cleanup a breeze. Don’t skip this step!
Creative Variations for Your Cool Whip Candy
This Cool Whip Candy recipe is a fantastic canvas for culinary creativity. While the classic vanilla and white chocolate combination is undeniably delicious, here are some ideas to customize it and make it your own:
- Chocolate Overload: Instead of white chocolate chips for the base, use milk chocolate or dark chocolate chips. For the coating, use chocolate almond bark or melted semi-sweet chocolate. This creates a rich, deeply chocolatey candy experience.
- Minty Fresh: Add a few drops of peppermint extract to the melted white chocolate base. You could even use green sprinkles or crushed peppermints for a festive, cool mint flavor.
- Fruity Fun: Incorporate a tablespoon of fruit-flavored extract (like raspberry or strawberry) into the white chocolate and Cool Whip mixture. You might even tint the mixture with a tiny drop of food coloring to match the flavor.
- Nutty Crunch: Before chilling, fold in a handful of finely chopped nuts like pecans, walnuts, or almonds into the candy base for an added layer of texture and flavor.
- Seasonal Sprinkles: As mentioned, sprinkles are highly adaptable. Use red hearts for Valentine’s Day, pastel mixes for spring, orange and black for Halloween, or blue and white for Hanukkah.
- Coconut Delight: Fold in some shredded coconut into the Cool Whip mixture for a tropical twist, or sprinkle toasted coconut flakes on top of the wet chocolate coating.
Discover More Delicious No-Bake & Easy Candy Recipes!
If you loved the simplicity and deliciousness of this Cool Whip Candy, you’ll be thrilled to explore our other fantastic no-bake and easy-to-make candy creations. Perfect for holidays, potlucks, or satisfying a sudden sweet tooth, these recipes are guaranteed crowd-pleasers with minimal effort. Dive into more sweet adventures!
- Crock Pot Candy
- Peppermint Bark
- Chocolate Covered Strawberry Bark
- Caramel Apple Bark
- Candied Pecan Fudge
Cool Whip Candy
An unbelievably easy, 4-ingredient no-bake treat that comes together quickly and uses just a few simple ingredients. This festive candy is perfect for holiday gatherings or any time you need a delicious, homemade dessert.
Print Recipe | Pin Recipe
Ingredients
- 24 ounce bag white chocolate chips (about 4 cups)
- 8 ounce tub Cool Whip, thawed
- Red and green sprinkles (optional, divided use)
- 1 pound vanilla almond bark
Instructions
Line an 8×8-inch or 9×9-inch baking dish with parchment paper, leaving an overhang on the sides. This helps in easily removing the candy later before cutting. Set aside.
In a large microwave-safe bowl, melt the 24 ounce bag of white chocolate chips in 20-second intervals. Stir thoroughly between each interval until the chocolate is fully melted and smooth. Be careful not to overheat.

Allow the melted chocolate to sit and cool slightly for 4-5 minutes. This prevents the Cool Whip from melting too quickly when added.
Add the 8 ounce tub of thawed Cool Whip and 2 Tablespoons of red and green sprinkles to the cooled melted chocolate.

Mix gently until all ingredients are fully combined and you have a uniform candy mixture.

Transfer the candy mixture to the prepared baking dish, spreading it evenly to form a flat layer.

Place the dish in the refrigerator for at least 1 hour, or preferably overnight, allowing the candy to firm up completely. You don’t need to cover the dish unless there are strong odors in your fridge.
After it has been cooled, set up a wire cooling rack over a parchment-lined tray and set aside. This will be used for the coated candies.
Remove the firm candy from the fridge. Using the parchment paper, lift it onto a cutting board. With a large, sharp knife, cut the candy into approximately 36 pieces. Don’t worry if the cuts aren’t perfectly square due to the candy’s sticky texture; that’s part of its charm.

In a bowl, melt the 1 pound of vanilla almond bark in 20-30 second intervals in the microwave. Stir thoroughly after each interval until it is fully melted and smooth. You may find it easier to do this in batches if you’re working slowly.

Transfer a few pieces of the cut candy at a time into the melted almond bark. Use two forks to fully coat each piece. Allow any excess melted chocolate to drip off before removing. Move quickly as the almond bark sets fast.

Place each dipped candy piece onto the wire cooling rack you set up. Immediately add additional red and green sprinkles to the top of each newly dipped candy while the bark is still wet, ensuring they stick securely.

Allow the coated candies to cool and set completely on the rack. Once firm, use a metal spatula to transfer them to your preferred serving dish. Enjoy your homemade Cool Whip Candy!

Notes
- For ingredient substitutions or answers to common questions, please refer to the “Frequently Asked Questions” and “Essential Ingredients” sections above.
- This candy is delightful at room temperature or slightly chilled.
Nutrition
Calories: 188kcal | Carbohydrates: 22g | Protein: 1g | Fat: 10g | Sodium: 25mg | Fiber: 0.04g | Sugar: 22g
Nutritional Disclaimer
“The Country Cook” is not a dietician or nutritionist, and any nutritional information shared is an estimate. If calorie count and other nutritional values are important to you, we recommend running the ingredients through whichever online nutritional calculator you prefer. Calories and other nutritional values can vary quite a bit depending on which brands were used.
Did you make this recipe?
Share it on Instagram @thecountrycook and mention us #thecountrycook!
