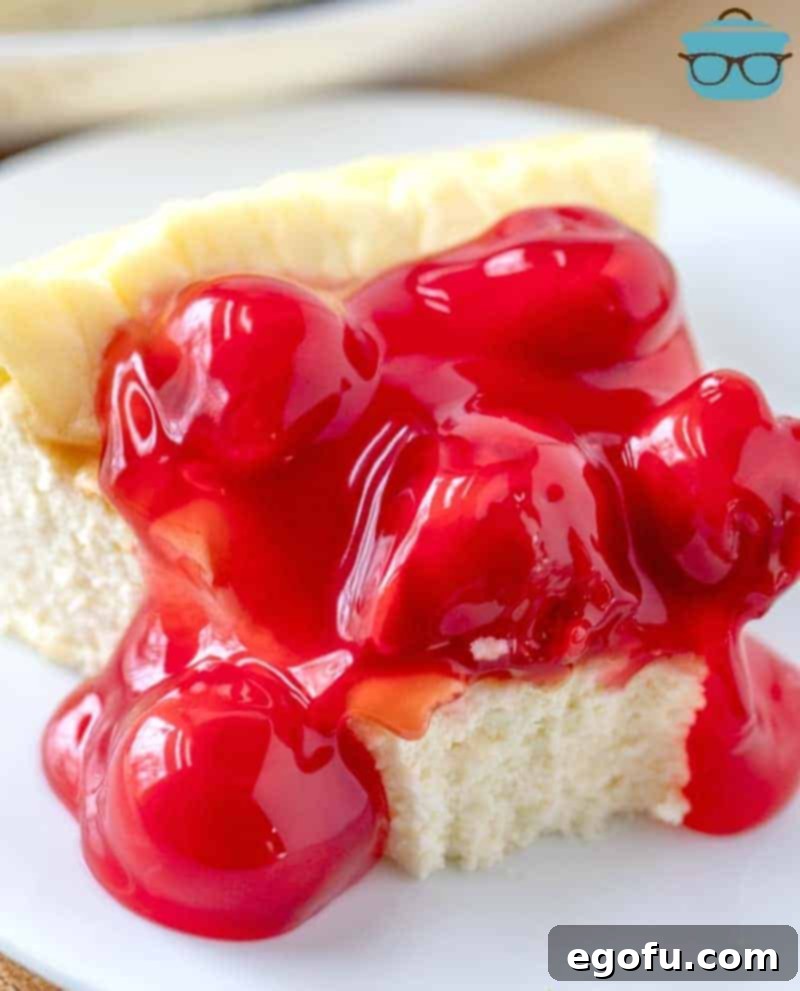
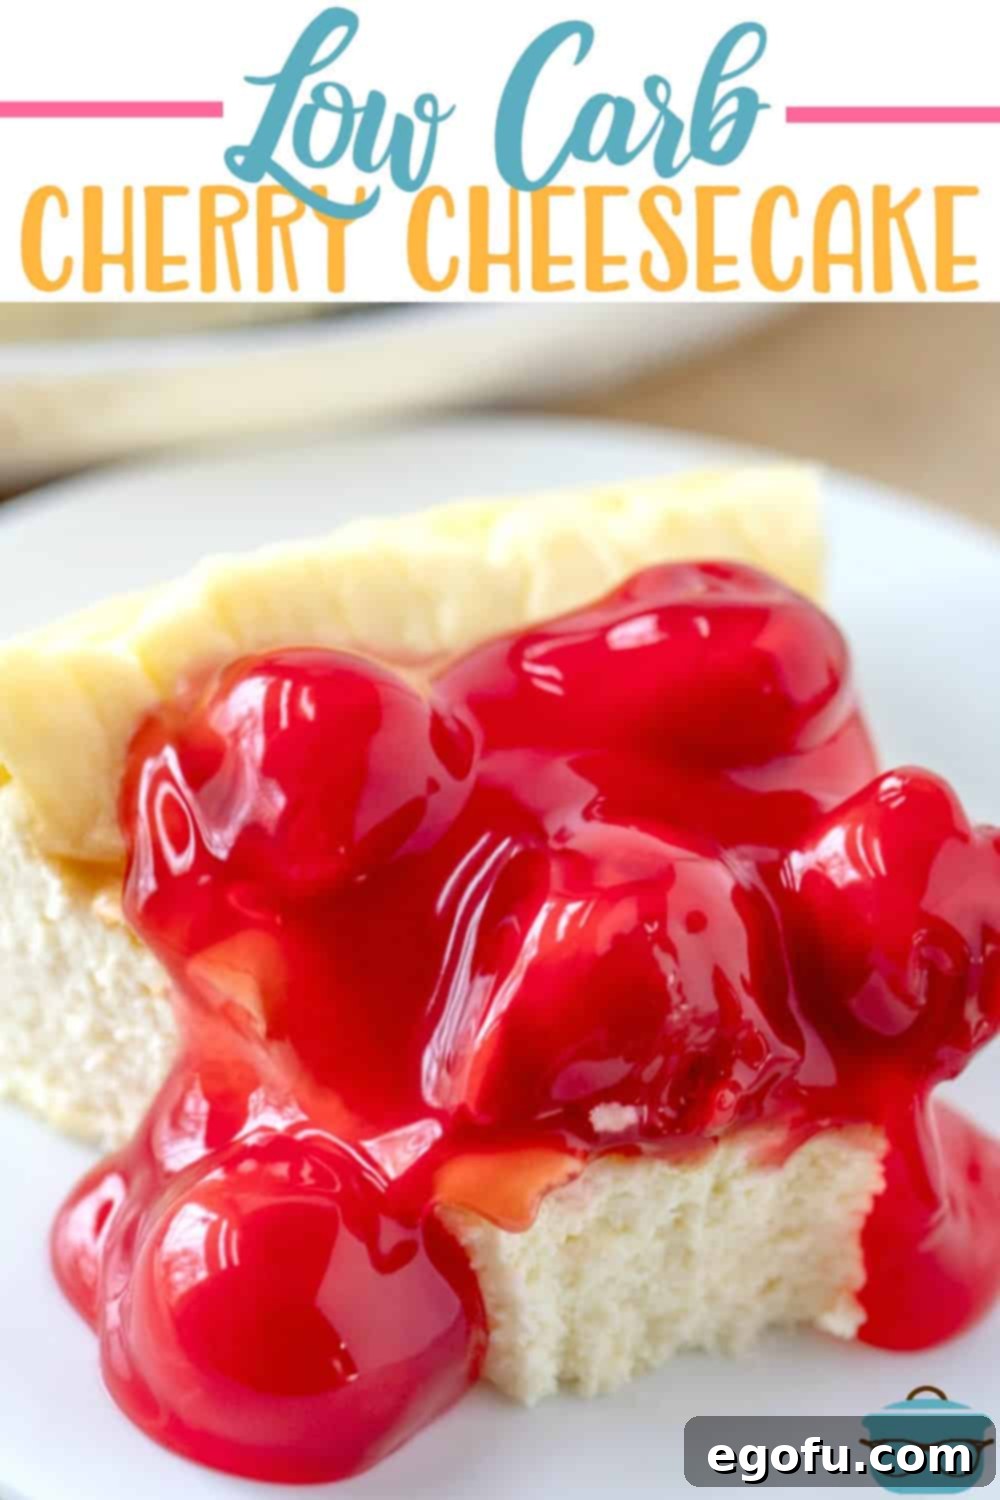
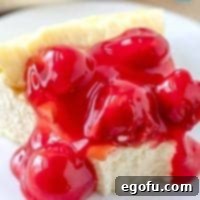
Indulge in the luscious creaminess and delightful sweetness of a classic cheesecake, now reimagined for your low-carb lifestyle! This Low Carb Cherry Cheesecake offers all the decadent flavor you crave, without the traditional high-carb crust or added sugar. It’s truly a guilt-free dessert that doesn’t compromise on taste.
Crafting the Perfect Low Carb Homemade Cheesecake
As a passionate home cook, I’m always thrilled to receive feedback on my recipes, especially when they help others achieve their health goals without sacrificing flavor. Lately, I’ve heard from many of you, expressing how much you appreciate accessible low-carb options. A dear friend recently shared her struggle to find genuinely delicious and reliable low-carb dessert recipes, admitting she sorely missed her sweet treats.
Her experience resonated deeply with me. The desire for a satisfying dessert, especially when adhering to dietary restrictions like a low-carb or keto diet, can be a real challenge. It often feels like a trade-off: healthy or delicious, but rarely both. That’s why I felt inspired to revisit some of my most cherished dessert creations and transform them into carb-friendly versions that don’t just “passably” taste good, but truly shine. The mission was clear: create a dessert that is not only low in carbs but also retains the irresistible richness and texture that makes a classic cheesecake so beloved.
The Secret to a Carb-Conscious Cheesecake: Going Crustless
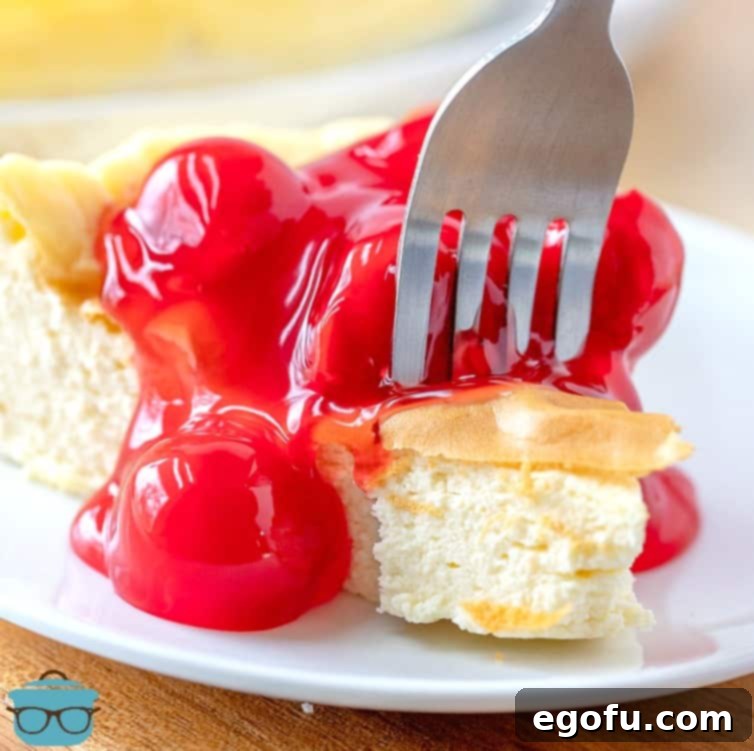
My journey began with my all-time favorite Easy Creamy Cheesecake recipe – a truly simple and incredibly delicious foundation. The key to making it low-carb was straightforward yet revolutionary: eliminate the crust. Traditional cheesecake crusts, often made with graham crackers or other cookie crumbs, are typically loaded with sugar and refined carbohydrates, which are precisely what we’re trying to avoid in a low-carb diet.
By removing the crust, we strip away a significant portion of the carbs, allowing the rich, creamy cheesecake filling to take center stage. However, going crustless introduced a new challenge: how to bake it perfectly without the sides burning or the texture becoming uneven. This is where a classic baking technique, the water bath, becomes absolutely essential. A water bath (also known as a bain-marie) works by surrounding your springform pan with hot water during baking. This creates a moist, even heat environment, preventing the edges of the cheesecake from cooking too quickly or drying out, and it ensures a wonderfully smooth, crack-free top and an incredibly tender, melt-in-your-mouth interior.
While this recipe focuses on a delicious crustless option, I understand that sometimes you might crave that familiar textural contrast. If you’re looking for a low-carb cheesecake with a crust, many fantastic recipes utilize almond flour or coconut flour mixed with butter and a sugar substitute to create a delicious and sturdy base. You could even explore options like a Low Carb Crock Pot Cheesecake, which often offers more flexibility for alternative crusts. However, for sheer simplicity and focus on the creamy filling, going crustless is a fantastic choice.
Embracing Sugar-Free Sweeteners for a Healthier Indulgence
To truly make this a low-carb dessert, substituting traditional sugar was equally vital. For this recipe, I turned to Stevia in the Raw, a popular choice among many in the low-carb community. What makes Stevia in the Raw particularly convenient for baking is its 1:1 sugar replacement ratio. This means you can use the same measured amount of Stevia as you would sugar in a recipe, simplifying the conversion process and making it incredibly user-friendly for home bakers.
Beyond Stevia, there’s a world of sugar substitutes available, each with its own unique properties. Erythritol, a sugar alcohol, is another excellent option known for its mild flavor and minimal impact on blood sugar. Monk fruit sweetener, derived from monk fruit, is highly concentrated and often blended with other sweeteners. Xylitol is also an option, but it’s important to note that it can be toxic to dogs, so careful handling is necessary if you have pets. When choosing a sweetener, consider its taste profile, how it measures, and whether it leaves any aftertaste. Some people prefer blends of erythritol and monk fruit for a taste closer to sugar.
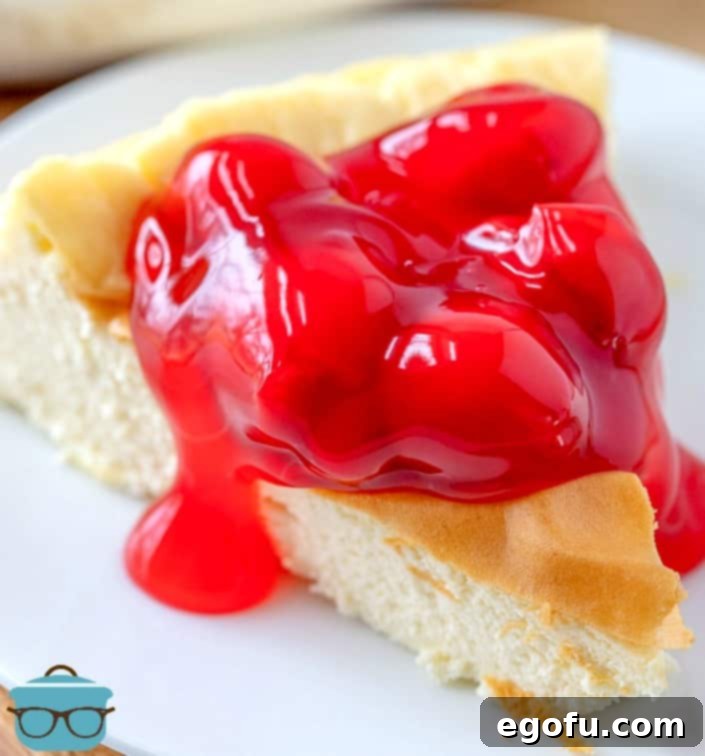
The cherry topping for this cheesecake is technically optional, but for me, it’s absolutely essential! I adore the vibrant tartness and juicy burst of cherries complementing the creamy cheesecake. To keep the dessert entirely sugar-free and low-carb, I simply opted for a high-quality sugar-free cherry pie filling. These fillings typically use sugar alcohols or other non-caloric sweeteners to provide sweetness without the carbs. You can also make your own sugar-free cherry compote by simmering fresh or frozen cherries with a small amount of water and your preferred low-carb sweetener until thickened, ensuring complete control over the ingredients.
Essential Ingredients for Your Low Carb Cherry Cheesecake
Gathering your ingredients and ensuring they are at the correct temperature is the first step to a flawless cheesecake. For best results, ensure your cream cheese and eggs are at room temperature. This helps them incorporate smoothly into the batter, preventing lumps and ensuring a light, even texture.
- 3 (8 ounce) packages cream cheese, softened
- 1 ⅓ cups Stevia in the Raw (or your preferred 1:1 granular sugar substitute)
- ⅓ cup sour cream, full fat recommended
- 1 teaspoon vanilla extract (pure vanilla extract offers the best flavor)
- 4 large eggs, at room temperature
- 1 (20 ounce) can sugar-free cherry pie filling (or homemade sugar-free cherry topping)
Step-by-Step Guide: How to Make Low Carb Cherry Cheesecake
Creating this delightful low-carb cherry cheesecake is simpler than you might think. Follow these detailed steps to achieve a perfectly smooth and creamy result every time.
- Prepare Your Pan and Oven: Preheat your oven to 300°F (150°C). This lower baking temperature is crucial for preventing cracks in your cheesecake. Lightly spray the inside bottom and sides of a 9-inch springform pan with a nonstick cooking spray. For an extra layer of protection against leaks, especially if your springform pan doesn’t have a perfectly tight seal, wrap the bottom exterior of the pan tightly with aluminum foil. Place the prepared springform pan onto a sturdy baking sheet; this will make it easier to transfer and will be used for the water bath.
- Cream the Cheese and Sweetener: In a large mixing bowl, using an electric mixer (either a hand mixer or a stand mixer with the paddle attachment), beat the softened cream cheese on medium speed until it is light, fluffy, and completely smooth, which typically takes about 3 minutes. This step is vital for achieving a silky-smooth cheesecake texture. Next, gradually add the Stevia in the Raw (or your chosen sugar substitute), sour cream, and vanilla extract. Continue mixing for another 3 minutes until all ingredients are thoroughly combined and the mixture is even. If you’re using a stand mixer, remember to stop and scrape down the sides of the bowl periodically to ensure everything is incorporated evenly.
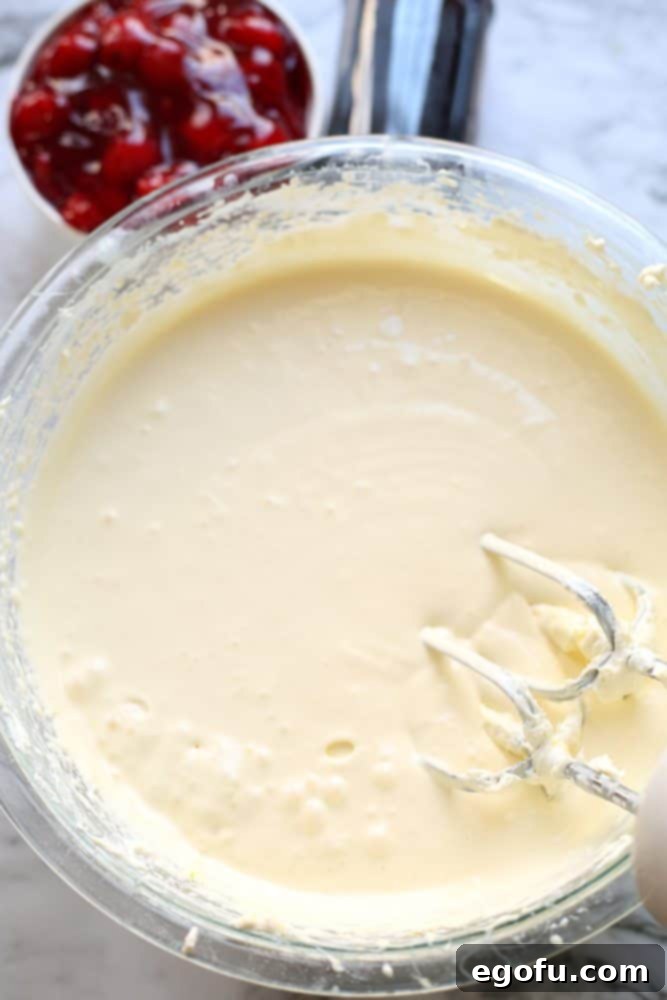
- Incorporate the Eggs: Add the large eggs to the cream cheese mixture one at a time. After adding each egg, beat just until it is incorporated into the batter, then add the next. Be careful not to overmix at this stage, as over-beating eggs can introduce too much air, which can cause the cheesecake to puff up too much during baking and then crack as it cools. The goal is a thick, creamy, and homogenous mixture.
- Pro Tip for Creaminess: The secret to an exceptionally creamy, velvety cheesecake lies in the thorough mixing of the initial ingredients. Ensure the cream cheese, sweetener, sour cream, and vanilla are beaten together until the mixture is visibly thick and incredibly smooth, often requiring 4-5 minutes of diligent mixing. This emulsifies the fats and ensures a luxurious texture.
- Prepare for Water Bath and Bake: Carefully pour the prepared cheesecake mixture into your greased springform pan. Now, for the crucial water bath: pour about 1 cup of hot water (tap water is fine, but warm water speeds up oven heating) into the baking sheet that surrounds the springform pan. Ensure the water level comes up about halfway to two-thirds of the way up the sides of the springform pan. Carefully transfer the baking sheet with the springform pan to your preheated oven. Bake for 65-75 minutes, or until the edges of the cheesecake are set and slightly puffy, with a barely-there light golden-brown color, while the center still has a slight jiggle when gently shaken.
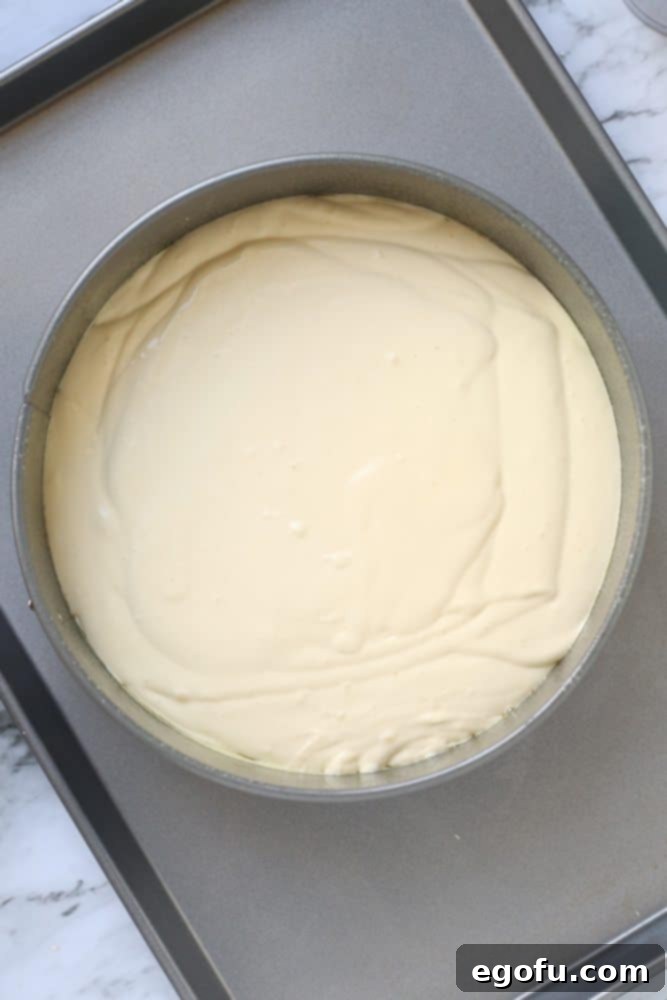
- Cool and Chill: Once baked, turn off the oven and prop open the oven door slightly (you can use a wooden spoon). Let the cheesecake cool gradually in the oven for about 30-60 minutes. This slow cooling prevents sudden temperature changes that can cause cracks. After this, remove it from the oven and let it cool completely on a wire rack at room temperature for another 1-2 hours. Once cooled to room temperature, cover the springform pan with plastic wrap (ensure the plastic wrap doesn’t touch the cheesecake surface) and transfer it to the refrigerator. Chill for at least 4 hours, or ideally overnight. Chilling is essential for the cheesecake to firm up properly and for the flavors to fully develop.
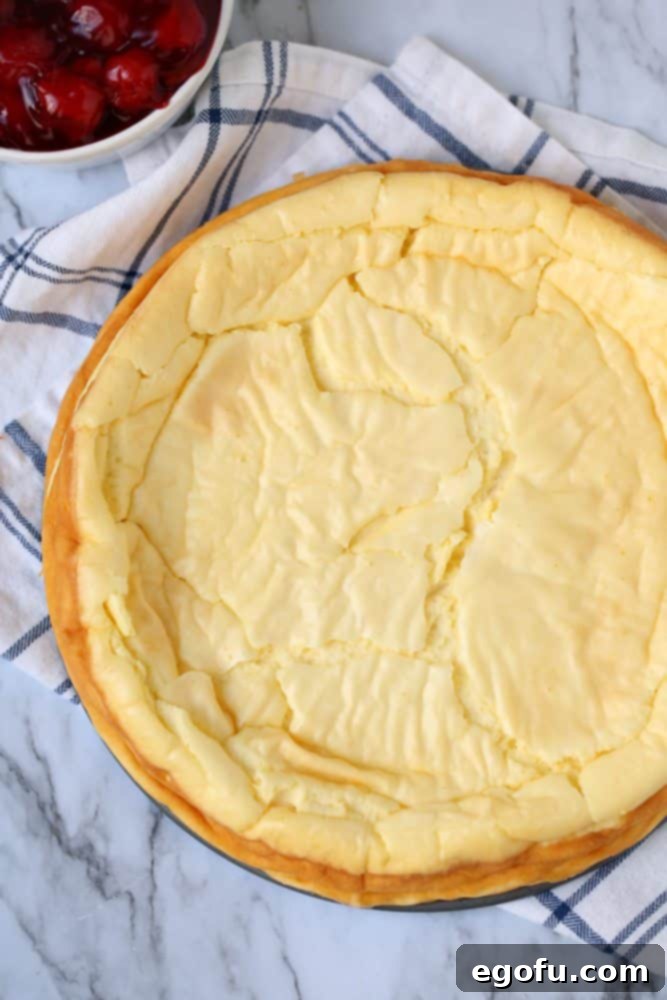
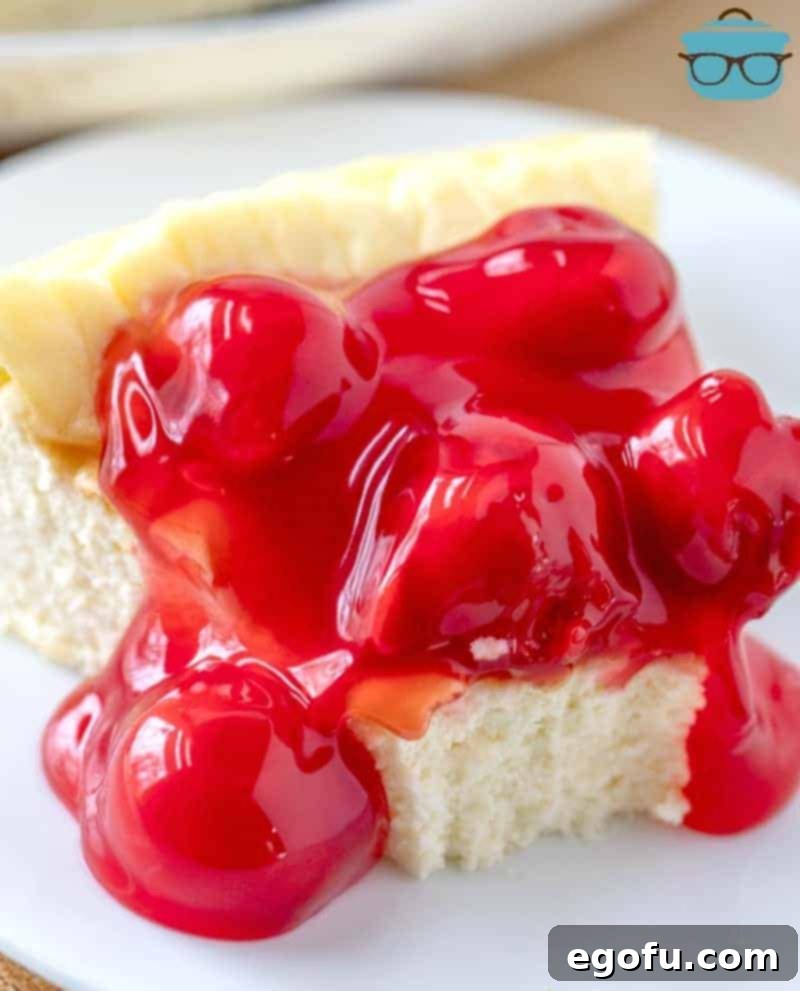
- Serve with Cherry Topping: Once thoroughly chilled, carefully run a thin knife around the edge of the pan before releasing the spring. Slice your beautiful low-carb cherry cheesecake and serve each generous slice with approximately 1/3 cup of sugar-free cherry pie filling. The contrast between the cool, creamy cheesecake and the sweet-tart cherry topping is simply divine!
Discover More Delicious Low Carb Recipes
If you’re loving the low-carb lifestyle and are eager to explore more savory and sweet options, we’ve got you covered! Here are some other fantastic recipes to keep your menu exciting and delicious:
- Parmesan Chicken with Creamy Bacon Sauce
- Crock Pot Lemon Garlic Chicken
- Low Carb Cheeseburger Casserole
- Baked Ham and Egg Cups
- Easy Cherry Cobbler
- Cherry Pie Fluff
- Cherry Pie Bars
Low Carb Cherry Cheesecake
Print Recipe
Pin Recipe
Rate Recipe
Ingredients
- 3 (8 ounce) packages cream cheese, softened
- 1 ⅓ cups Stevia in the Raw (or preferred 1:1 granular sugar substitute)
- ⅓ cup sour cream, full fat
- 1 teaspoon vanilla extract
- 4 large eggs, at room temperature
- 1 (20 ounce) can sugar-free cherry pie filling
Instructions
- Preheat oven to 300°F (150°C). Spray the sides and bottom of a 9-inch springform pan with nonstick cooking spray. Place springform pan on a baking sheet. Note: If you do not have a tight seal on the bottom of your springform pan, you may want to wrap the bottom of your pan with some aluminum foil.
- In a large bowl, using an electric mixer, beat cream cheese until fluffy, about 3 minutes. Mix in Stevia in the Raw, sour cream, and vanilla extract, mixing for about 3 minutes. If you are using a stand mixer, be sure to scrape down the sides of the bowl.
- Add eggs to the cream cheese mixture one at a time, beating until thick and creamy after each addition.
- Pro tip: The key to getting a really creamy cheesecake is to mix these ingredients together really well until the mixture is thick and smooth (about 4-5 minutes).
- Pour the cheesecake mixture into the prepared springform pan. Pour about 1 cup of hot water into the baking dish that surrounds the springform pan (this is called a water bath). Bake for 65-75 minutes or until puffy and just barely a light golden brown color around the edges.
- Let cool gradually in the oven with the door propped open for 30-60 minutes, then cool completely on a wire rack for 1-2 hours. Cover and pop into the fridge to chill for at least 4 hours, or overnight for best results.
- Carefully remove the cheesecake from the springform pan. Slice and serve with sugar-free cherry pie filling.
Video
Nutrition
Carbohydrates: 8g |
Protein: 6g |
Fat: 26g |
Sodium: 263mg |
Sugar: 2g
Nutritional Disclaimer
“The Country Cook” is not a dietician or nutritionist, and any nutritional information shared is an estimate. If calorie count and other nutritional values are important to you, we recommend running the ingredients through whichever online nutritional calculator you prefer. Calories and other nutritional values can vary quite a bit depending on which brands were used.
