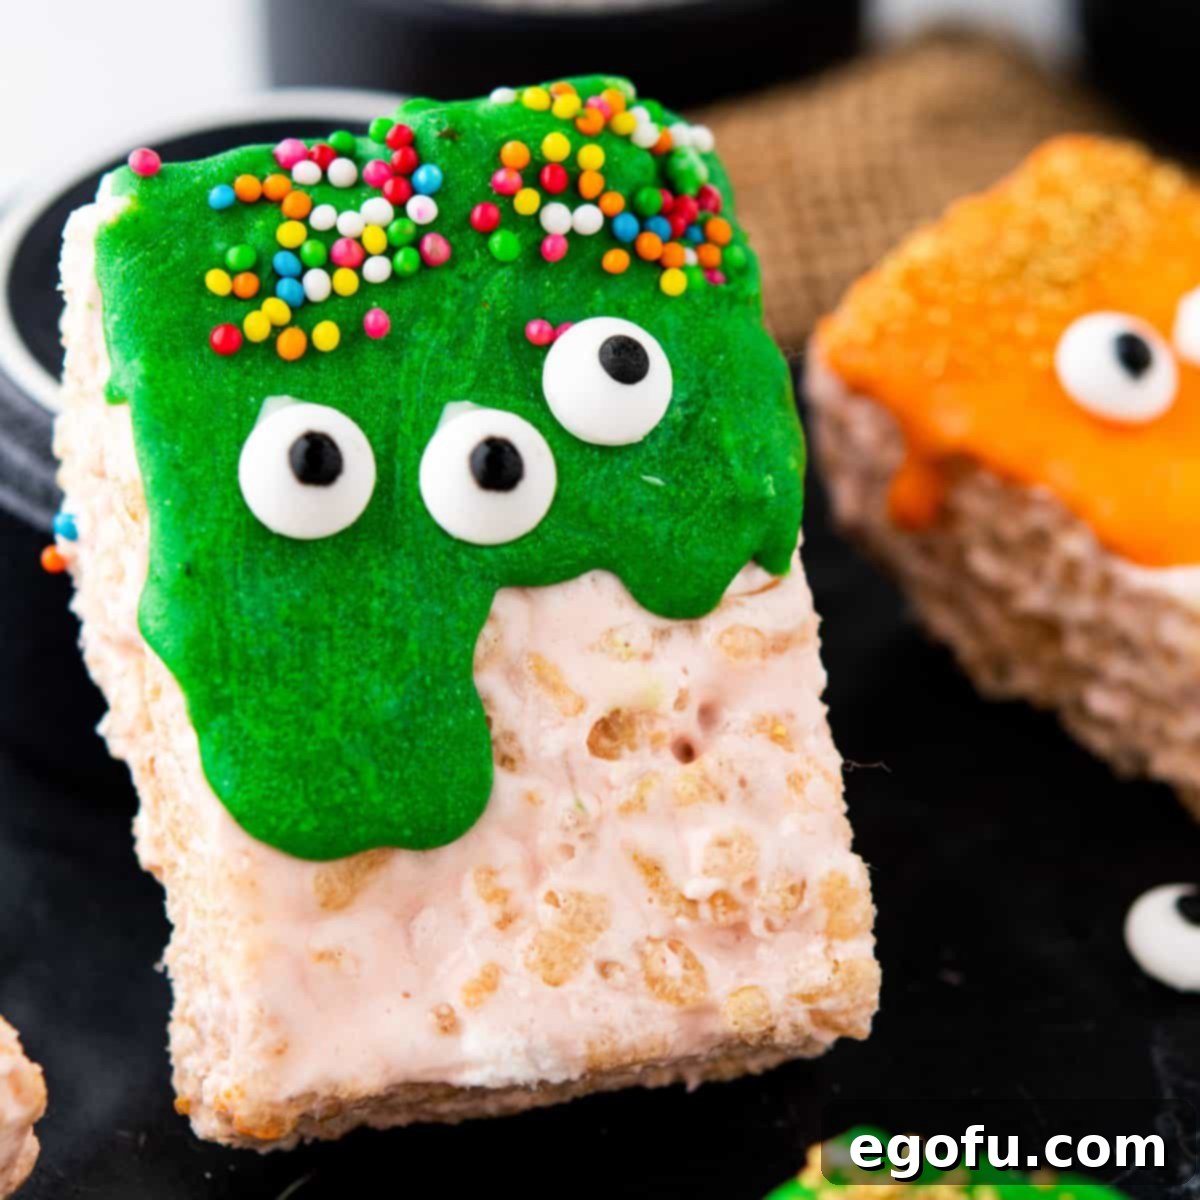
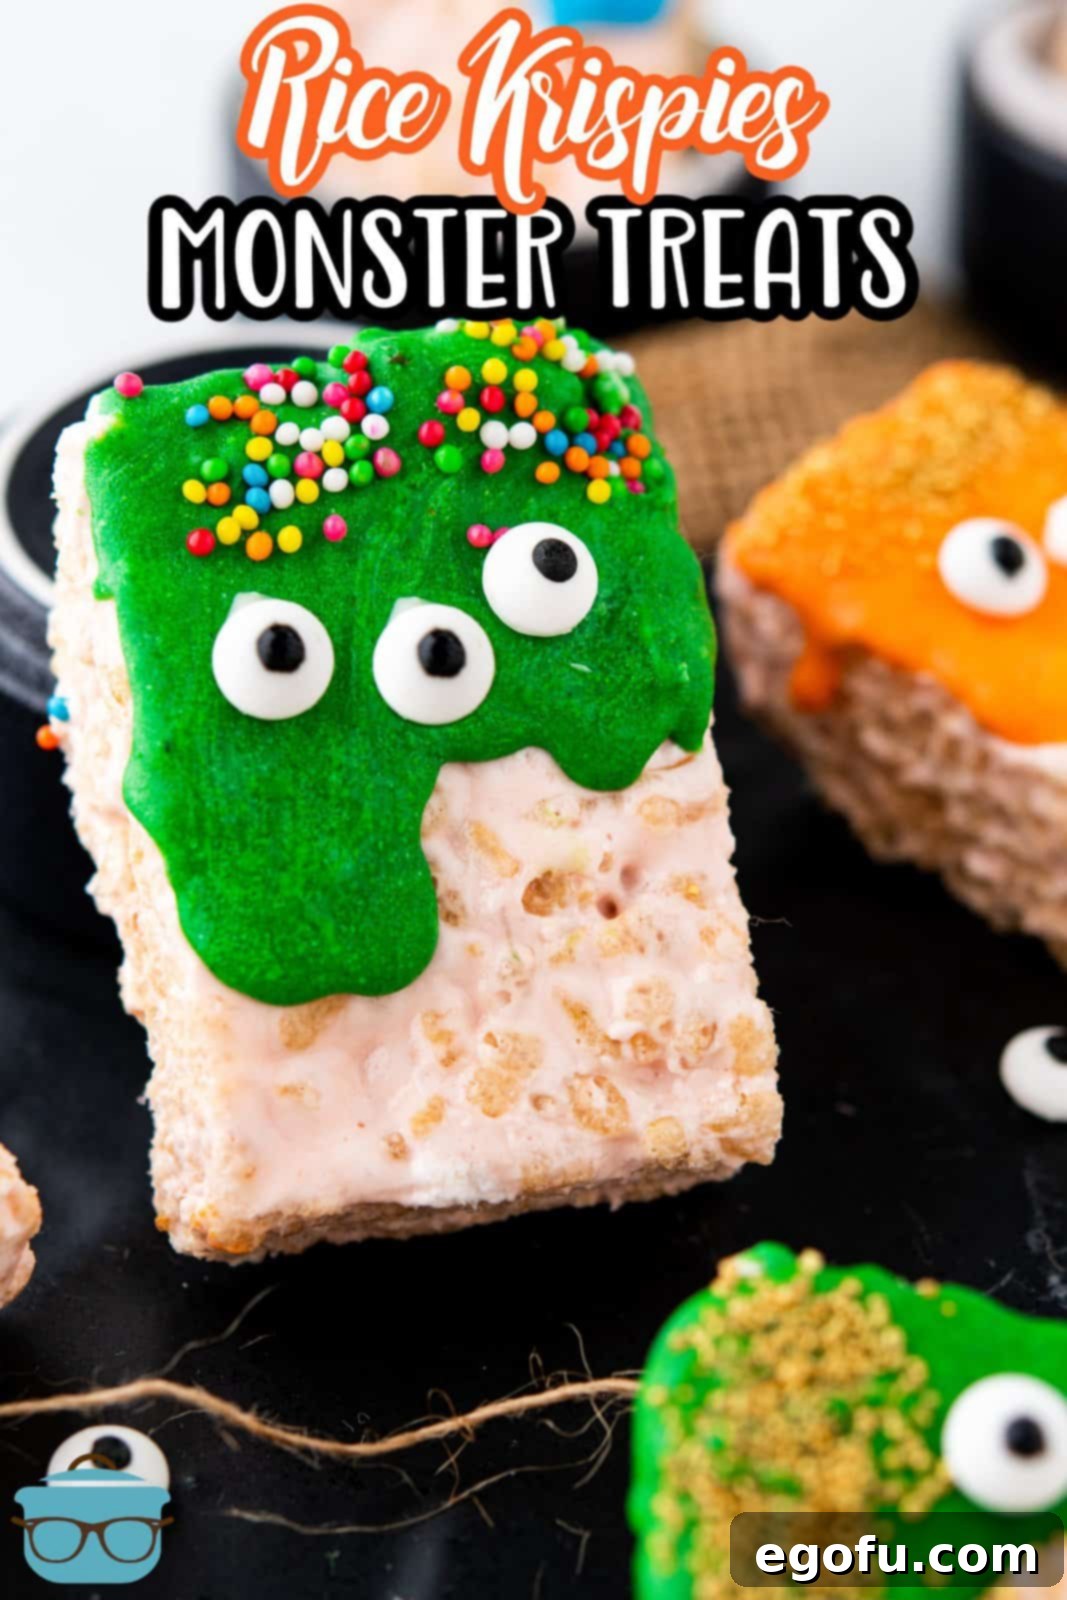
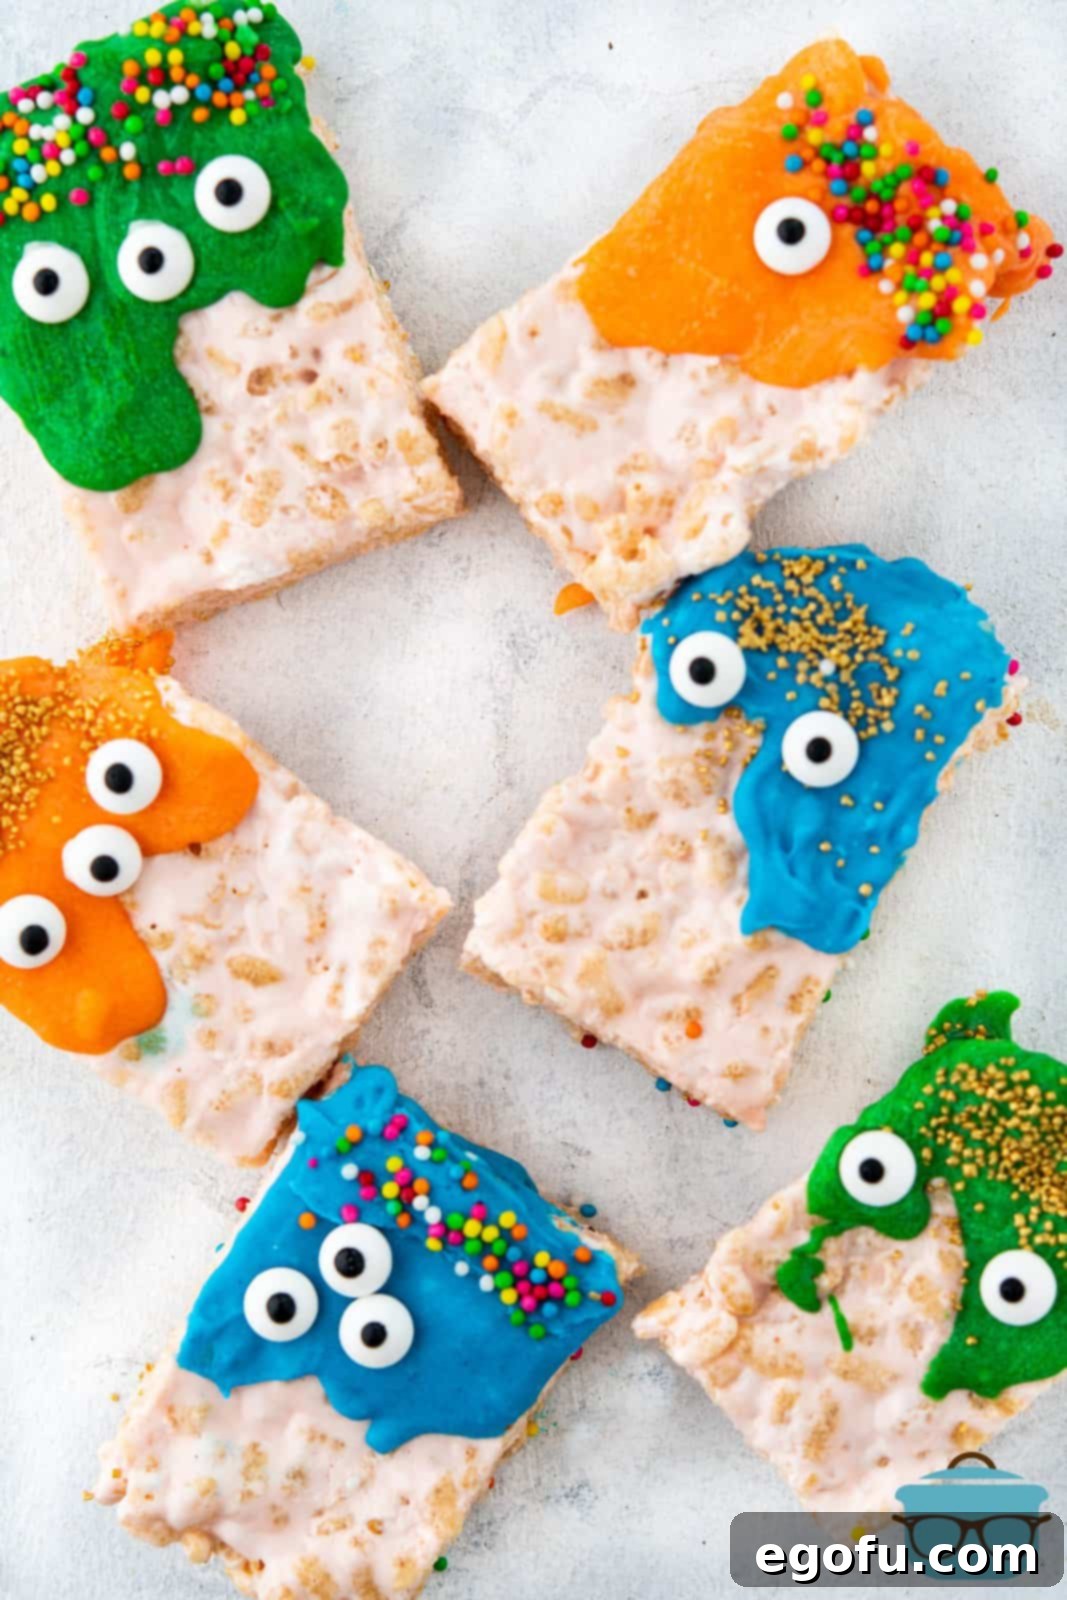
Welcome to the spooktacular world of Halloween treats! Prepare to delight your family and party guests with these adorable and incredibly delicious Marshmallow Halloween Rice Krispies Monsters. This no-bake recipe is not only a breeze to whip up but also offers endless fun for all ages, making it the perfect addition to any upcoming Halloween celebration.
Unleash the Fun: Easy Halloween Monster Treats for Everyone!
Few treats evoke as much nostalgia and joy as classic Rice Krispies Treats. They are a staple in many households, cherished for their irresistible chewy texture and sweet simplicity. As Halloween approaches, it’s time to give this beloved classic a festive and ghoulish makeover. Our Halloween Rice Krispies Monsters transform humble cereal treats into vibrant, playful characters that are guaranteed to be the star of any spooky gathering.
The best part? This recipe requires absolutely no baking, which means less time in the kitchen and more time enjoying the holiday festivities. The quick preparation makes them an ideal choice for busy parents or anyone looking for a stress-free dessert option. Kids especially love getting involved in the creation process, from mixing the sticky marshmallow concoction to decorating their very own monster masterpieces. It’s a fantastic way to introduce them to the joys of cooking and unleash their creativity.
These monstrously cute treats are incredibly versatile. Package them individually as delightful homemade gifts for trick-or-treaters, school parties, or neighborhood friends. Alternatively, arrange them on a festive platter to serve at your Halloween bash, instantly adding a pop of color and a touch of whimsy to your dessert table. No matter how you choose to present them, these Rice Krispies Monsters are sure to bring smiles and screams of delight!
Frequently Asked Questions About Our Halloween Rice Krispies Monsters
While we typically use classic, plain Rice Krispies cereal for this recipe to allow the marshmallow and chocolate flavors to shine, you have plenty of room to experiment! Other flavored Rice Krispies cereals, such as cinnamon sugar, strawberry, or frosted varieties, can also be used to add an extra layer of taste. The fundamental nature of this no-bake recipe ensures that most cereal types will work well, as no additional flavoring is inherently added to the marshmallow base itself.
For the smoothest and most aesthetically pleasing monster decorations, we highly recommend using a higher quality white chocolate. This ensures a consistent melt and a beautiful finish. You can opt for a good quality white chocolate bar, white chocolate chips, or even specialized melting wafers (also known as candy melts). These options tend to melt more evenly and provide a better dipping or spreading consistency, making your decorating process much easier and more enjoyable.
Yes, using gel food coloring is absolutely essential when you are coloring chocolate. Unlike liquid food coloring, which contains water, gel food coloring is oil-based and will not cause your melted chocolate to seize. Adding even a small amount of liquid to melted chocolate can make it clump up and become unusable, ruining its smooth texture. Gel food coloring provides vibrant colors without compromising the chocolate’s consistency.
If you’re looking to add an extra depth of flavor to your monster treats, a simple addition can make a big difference. After your marshmallows and butter are fully melted and smooth, stir in 1 to 1½ teaspoons of pure vanilla extract before incorporating the Rice Krispies cereal. This will infuse the treats with a warm, classic vanilla aroma and taste that complements the marshmallow and chocolate beautifully. You can also experiment with other extracts like almond or peppermint for different flavor profiles.
Both regular-sized and mini marshmallows work perfectly for this recipe. Mini marshmallows tend to melt a bit faster, but regular ones will yield the same delicious results. For an added touch of fun and subtle flavor, I sometimes use a mixture of strawberry and regular marshmallows, which imparts a slight pink hue and fruity note. Feel free to use any color or flavor of marshmallows you prefer to customize your treats!
Absolutely! This recipe is incredibly easy to scale up. The listed ingredients are perfectly portioned for a 9×9-inch pan of bars. If you need to feed a larger gathering, simply double all the ingredient quantities, and you can comfortably make these delightful monsters in a 9×13-inch baking pan instead. Just ensure you have a large enough microwave-safe bowl for melting the marshmallows and butter.
To keep your monster treats fresh and chewy, store any leftovers in an airtight container. They will maintain their deliciousness in the refrigerator for up to 5 days. While refrigeration helps preserve their texture and prevents the chocolate from melting, I do not recommend freezing this recipe. Freezing can alter the texture of the Rice Krispies and marshmallows, making them less enjoyable once thawed.
Essential Ingredients for Your Spooky Creation:
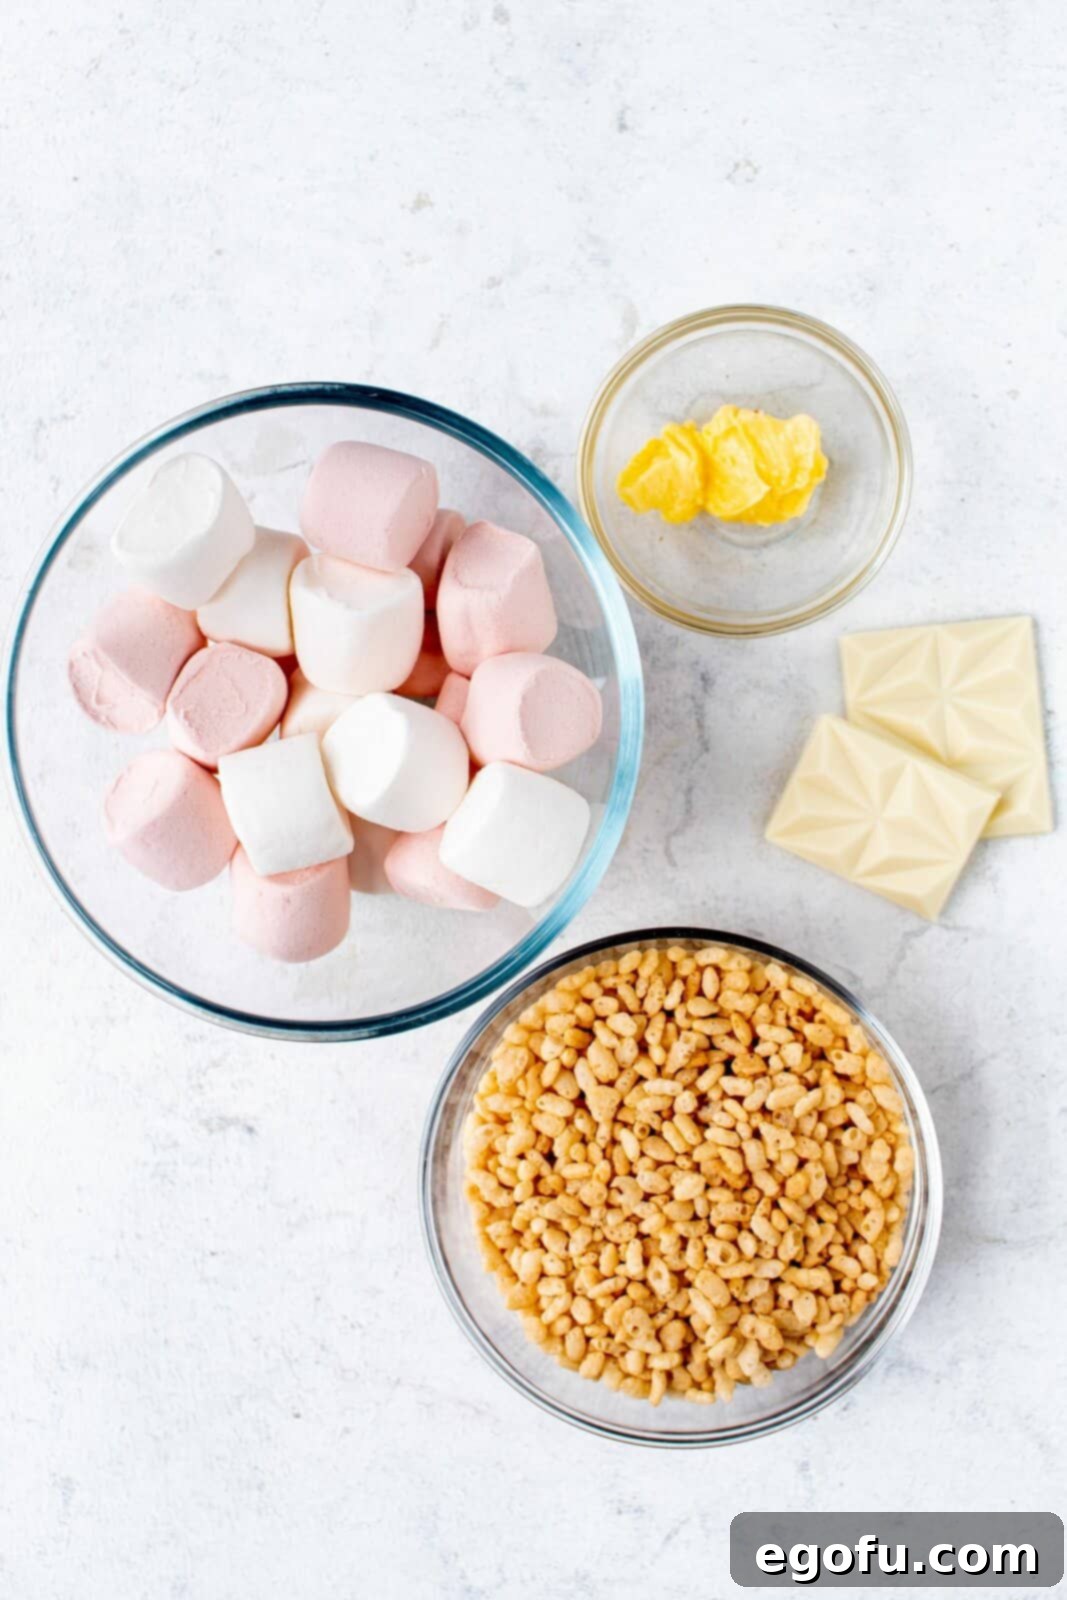
- Fresh marshmallows (mini or regular-sized)
- Unsalted butter
- Crispy Rice cereal (like Rice Krispies)
- High-quality white chocolate (chips, bar, or melting wafers)
- Gel food coloring (in your desired monster hues)
- Edible eye-shaped candies
- Assorted colored sprinkles or jimmies
Step-by-Step Guide: How to Make Spooky Halloween Rice Krispies Monsters
Prepare Your Pan: Begin by lining a 9×9-inch square baking pan with parchment paper. Make sure the parchment paper extends beyond the edges of the pan, creating “handles.” This simple trick will make it incredibly easy to lift the set treats out of the pan later for cutting, preventing any sticking or frustration. It’s a small step that saves a lot of hassle!
Melt Marshmallows and Butter: In a large, microwave-safe bowl, combine your marshmallows and unsalted butter. Choose a bowl that is generously sized to allow for easy stirring once the Rice Krispies are added. This initial melting stage is the foundation of your chewy treats.
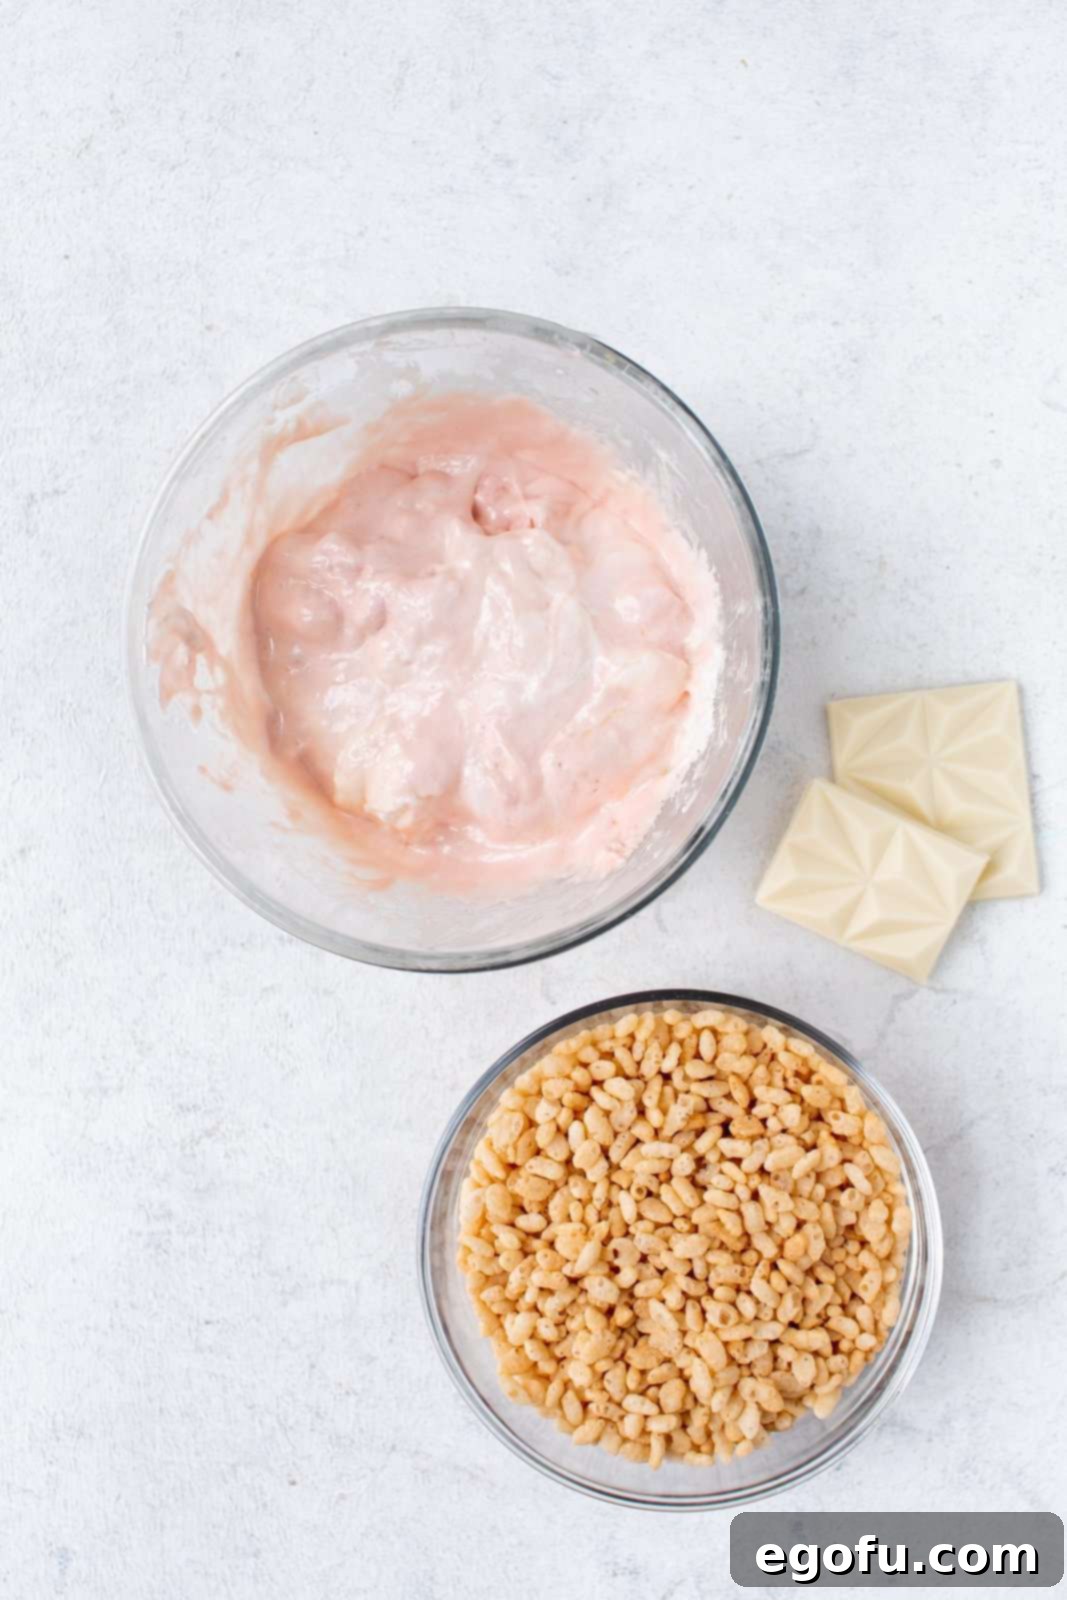
Microwave Until Smooth: Place the bowl in the microwave and heat on high for 1 minute. Remove and stir the mixture well to combine the melting ingredients. Continue microwaving in 20-30 second intervals, stirring thoroughly after each, until the marshmallows are completely melted and the mixture is smooth and cohesive. This usually takes about 2-3 intervals. Be careful not to overheat, as this can make the marshmallows tough.
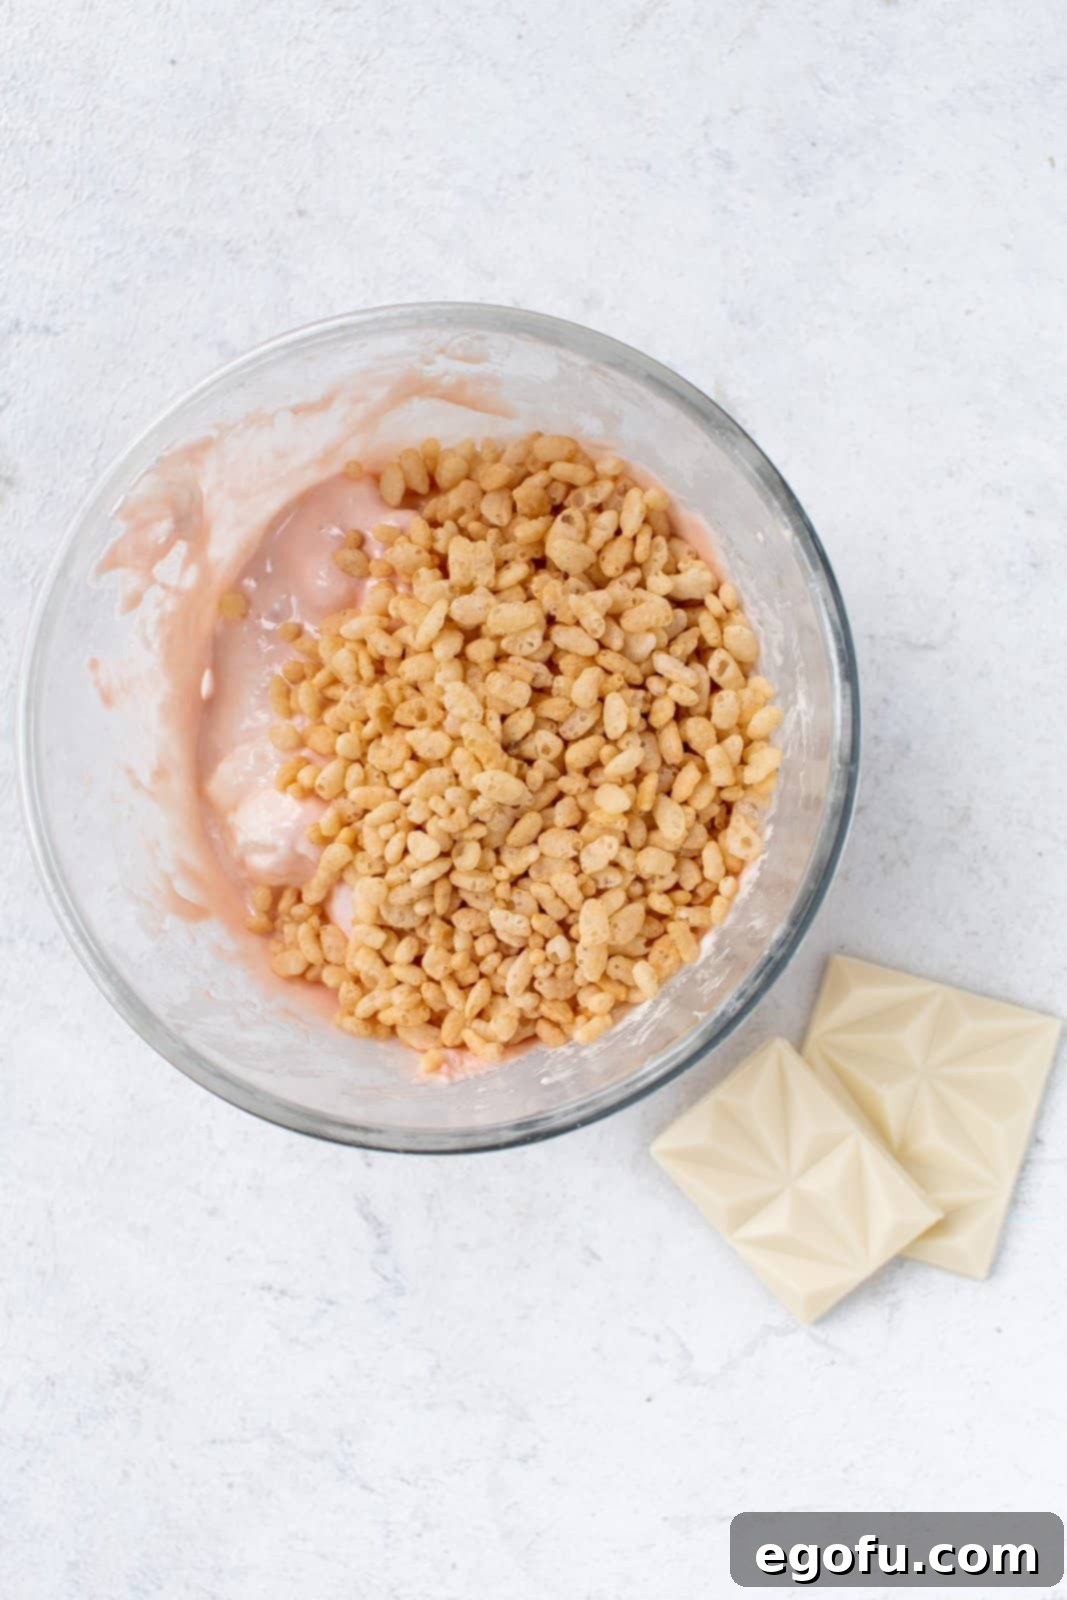
Incorporate Cereal: Once the marshmallow and butter mixture is perfectly melted and smooth, add the Rice Krispies cereal to the bowl. Stir vigorously with a spatula or wooden spoon, ensuring that every single piece of cereal is evenly coated with the sticky marshmallow. This step is crucial for achieving that classic, satisfyingly chewy texture.
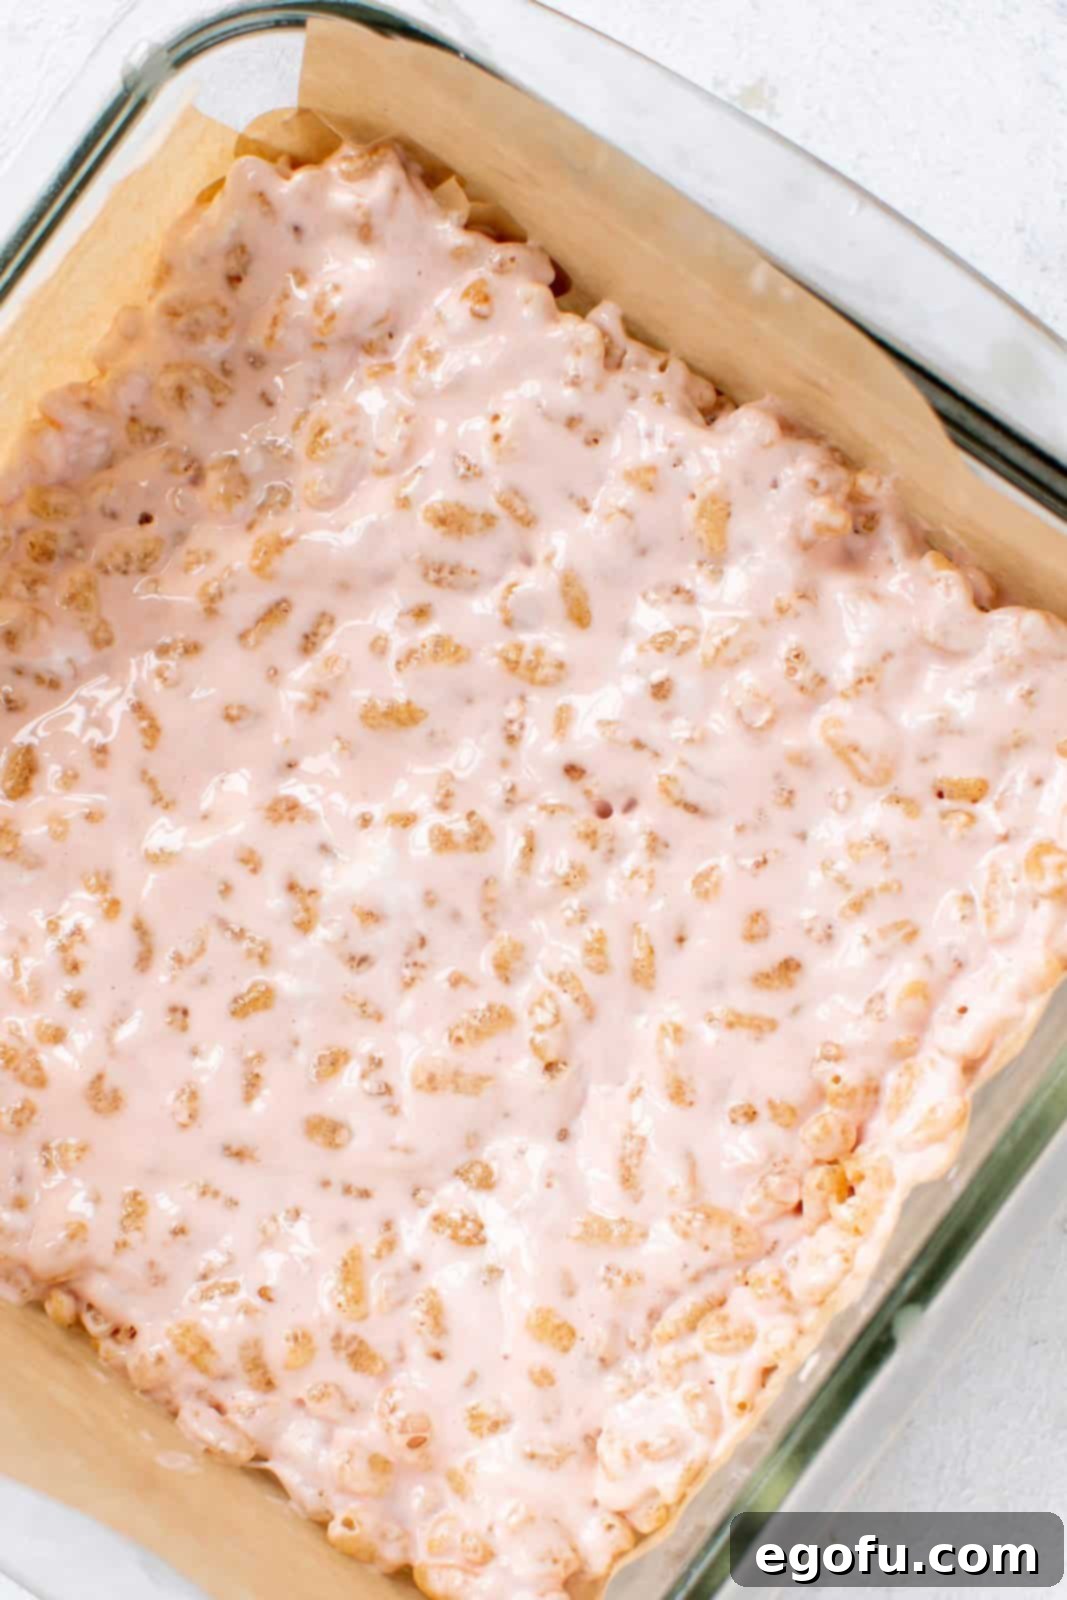
Press into Pan and Chill: Pour the entire Rice Krispies mixture into your prepared 9×9-inch pan. To get an even and flat surface, lightly spray your hands with nonstick cooking spray and gently press the mixture down. This prevents sticking and helps create uniform bars. Once pressed, refrigerate the pan for at least 4 hours, or preferably overnight. The chilling process is vital as it helps the treats firm up and maintain their shape, which is essential for successful dipping and decorating later.
Speed Up Chilling: If you’re short on time, you can place the pan in the freezer for about an hour to expedite the setting process. Just make sure they are firm before moving on to the next step.
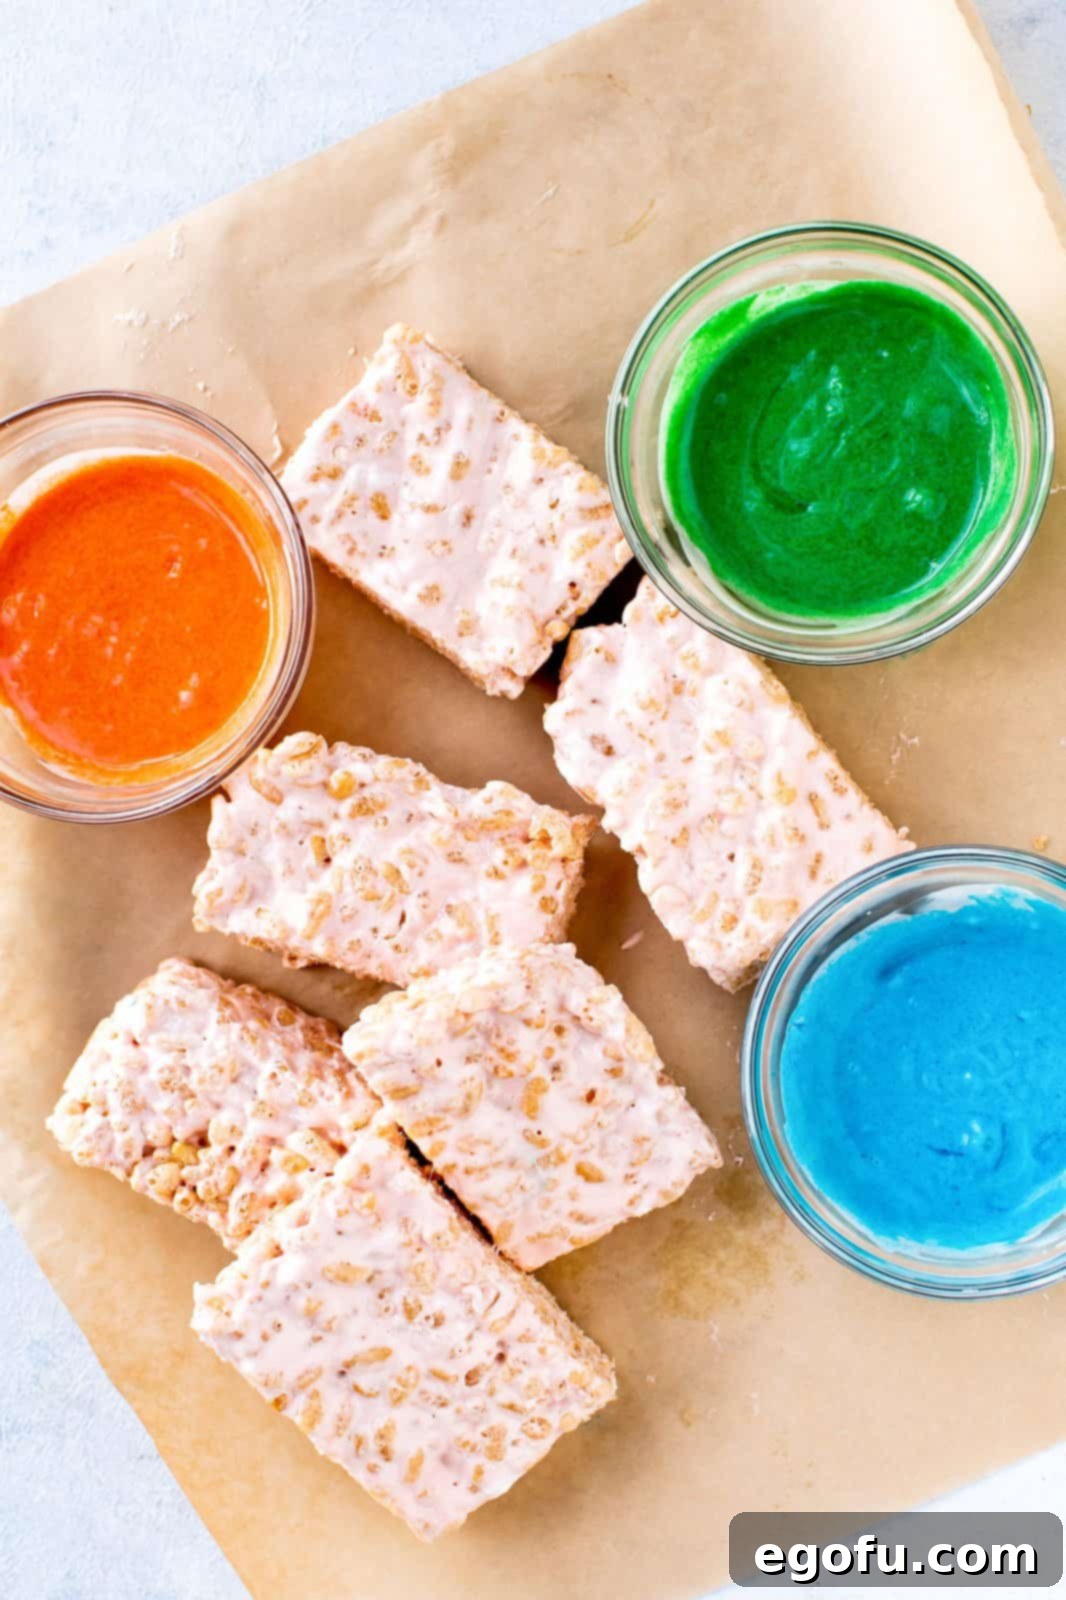
Cut and Prepare Chocolate: Once thoroughly chilled, remove the Rice Krispies treats from the refrigerator. Use the parchment paper “handles” to lift the entire slab out of the pan. For clean, precise cuts, run a sharp knife under hot water for a few seconds to warm it up, then wipe it completely dry. This warm blade will glide through the sticky treats much more easily. Cut the large slab into your desired rectangular or square monster pieces.
Melt and Color White Chocolate: In a separate microwave-safe bowl, combine your chopped white chocolate (or white chocolate chips/wafers) with 1-2 teaspoons of neutral oil (like vegetable or coconut oil). Microwave in 20-second intervals, stirring well after each interval, until the chocolate is fully melted and smooth. Divide the melted white chocolate equally into 3 separate bowls. Add a few drops of your chosen gel food colors (green, orange, and blue are great for monsters!) to each bowl and mix thoroughly until the colors are vibrant and streak-free.
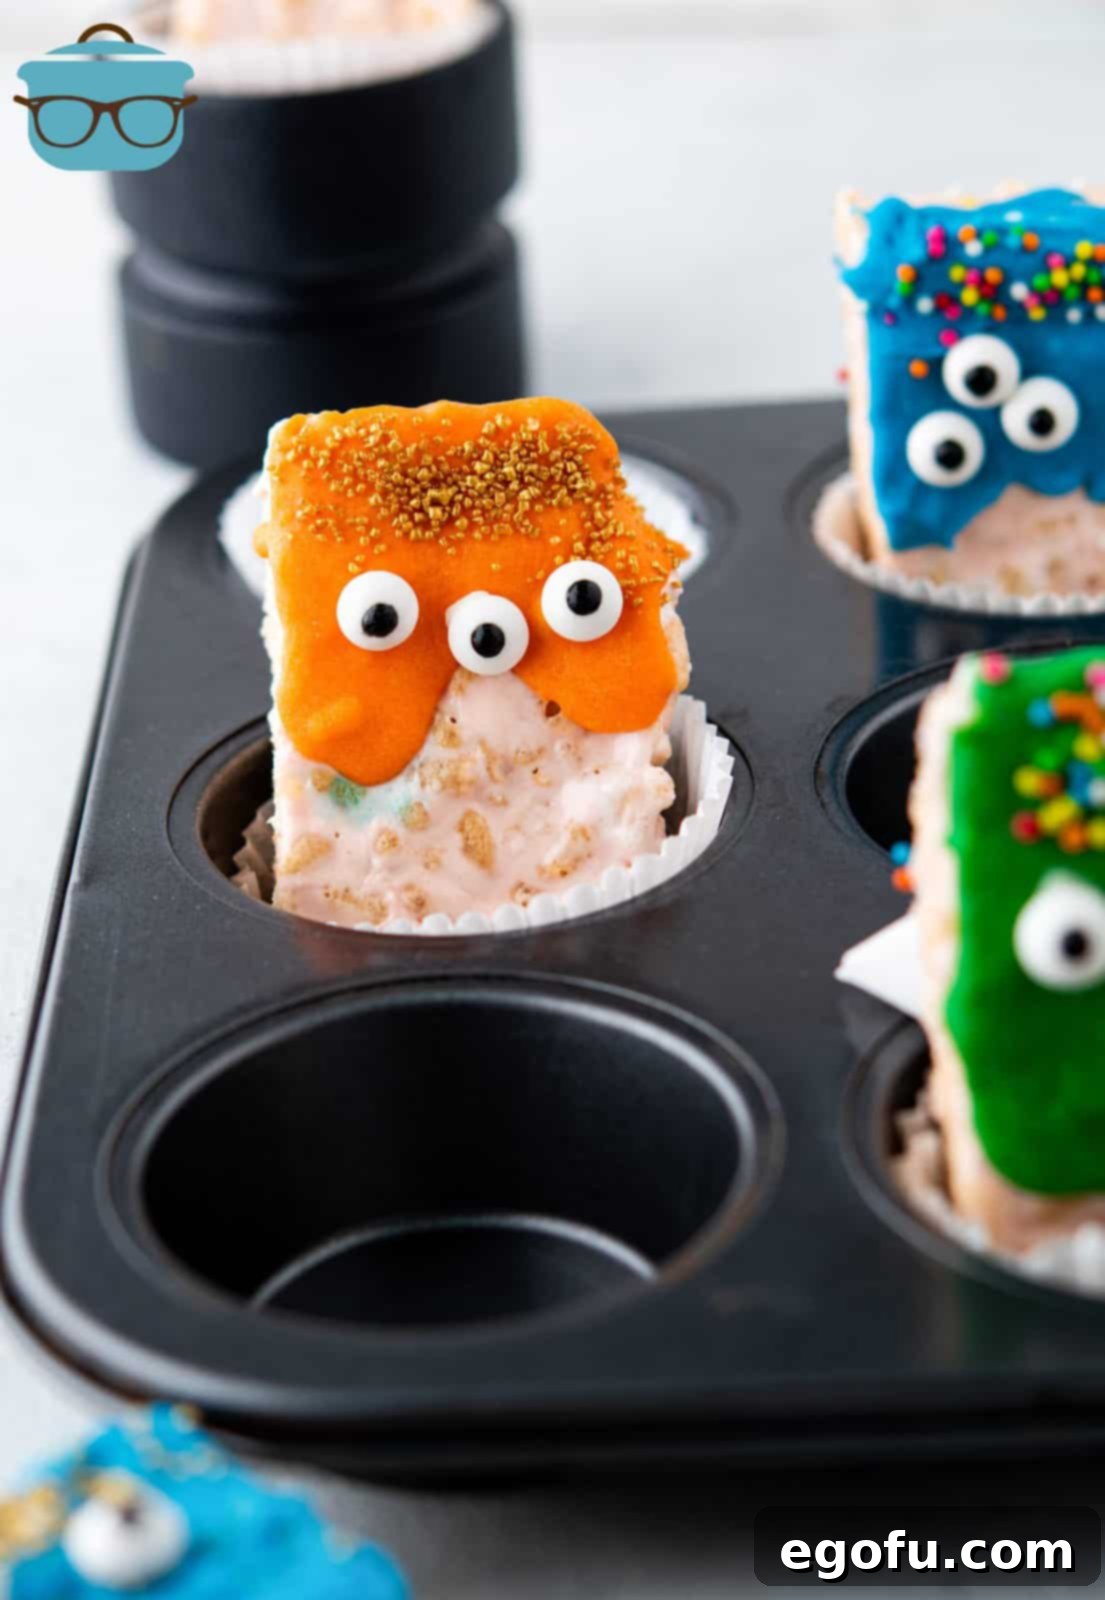
Decorate Your Monsters: Now comes the fun part! You have a few options for coating your monster treats. You can dip each Rice Krispies piece directly into the colored chocolate for a full, even coat. Alternatively, for a more whimsical, dripping effect, use a spoon to pour the melted chocolate over the top of each treat, allowing it to cascade down the sides. For a rustic, “Frankenstein-monster” look, you can even slather the melted chocolate using a butter knife. Don’t worry about perfection; uneven coatings can add to the charm of your spooky monsters!
Add Monster Details: Once coated, immediately place each treat on a piece of parchment paper. While the chocolate is still wet, gently press two (or more!) edible candy eyes onto each monster’s “face.” Then, sprinkle the upper part of the monster’s head with your favorite colorful sprinkles or jimmies to give them that extra Halloween flair. Repeat this decorating process with all the cut Rice Krispies pieces, using different colors and sprinkles for variety. As you finish decorating, transfer them to a clean sheet of parchment paper.
Final Chill and Serve: Once all your monsters are decorated, refrigerate them for approximately 20-30 minutes, or until the chocolate coating has fully set and hardened. This ensures they are firm and easy to handle. Once set, your delightful Halloween Rice Krispies Monsters are ready to be served and enjoyed by all!
Looking for More Spooktacular Halloween Recipes?
- 20 Halloween Recipes
- Halloween White Trash Mix
- Witch Hat Cookies
- Spider Oreos
- Mummy Jalapeno Poppers
- Witches Brew Snack Bags
- Candy Corn Pudding Parfaits
- Graveyard Cups
- Poisoned Apple Jell-O shots
- Mummy Meatloaves
- Hocus Pocus Jell-O Shots
- Frankenstein Donuts (+Video)
- Jack-O-Lantern Oreo Balls
Halloween Rice Krispies Monsters
Print
Pin
Rate
Ingredients
- 2 cups marshmallows you can use mini or regular sized
- 1 Tablespoon unsalted Butter
- 2 cups Rice Krispies cereal
- 1 ½ cups chopped white chocolate can use white chocolate chips or white chocolate bars
- Gel food color Green, Orange, and Blue
- Eye-shaped candies
- Colored sprinkles or jimmies
Instructions
- Line a 9×9-inch square baking pan with parchment paper – making sure it covers the bottom and goes up the sides (this will make it easier to remove them later to cut.)
- Place the marshmallows and butter in a large microwave-safe bowl.
- Microwave on high for 1 minute, stir to combine. Continue until everything is melted and smooth, this should only take 2-3 intervals.
- Once it’s completely melted, add the Rice Krispies and stir well to combine.
- Pour the mixture into the prepared pan and press down until evenly flat. I like to spray my hand with nonstick cooking spray and press down flat. Refrigerate it for at least 4 hours (or overnight). Note: getting them cold helps them to keep their shape when dipping into the melted chocolate. You can also freeze them for an hour or so to speed up the process.
- Take bars out from the refrigerator and remove the rice Krispies from the pan using the extra parchment paper on the sides.
- Run a sharp knife under hot water for a few seconds to warm it up, wipe it dry, and then use it to cut the rice Krispie treats into rectangular pieces.
- Microwave the chopped white chocolate along with 1-2 tsp of oil at 20 seconds intervals until melted (stir after each interval).
- Once melted, divide it equally into 3 parts and add the gel food colors of your choice and mix well (I used green, orange, and blue).
- At this point you can either dip the Rice Krispies treat directly into the colored chocolate OR use a spoon and pour the melted chocolate over it to make the monster heads OR you can even slather the melted chocolate using a butter knife (the coating doesn’t have to be perfect, just choose a way that you’re comfortable with).
- Once done, set it on parchment paper. Now, gently press the candy eyes and sprinkle the upper part of the head with your favorite sprinkles to give it a Halloween-y look. Repeat with all the pieces.
- Refrigerate for about 20-30 minutes or until the chocolate sets.
- Serve and enjoy!
Notes
- This recipe can easily be doubled to make in a 9×13-inch baking pan.
- Make sure to line your pan so they are easier to remove.
- Chilling is essential for these treats to set up properly and make them easier to decorate.
- Use only gel food coloring, or your chocolate will seize.
- White chocolate chips, baking bars, or even candy melts will work for the coating.
- Feel free to use any of your favorite colors of gel food coloring for customization.
- Mini or regular marshmallows can be used interchangeably.
- Candy eyes are not included in the nutritional value calculation.
Nutrition
Calories: 250kcal
|
Carbohydrates: 37g
|
Protein: 2g
|
Fat: 11g
|
Sodium: 73mg
|
Fiber: 0.1g
|
Sugar: 28g
Nutritional Disclaimer
“The Country Cook” is not a dietician or nutritionist, and any nutritional information shared is an estimate. If calorie count and other nutritional values are important to you, we recommend running the ingredients through whichever online nutritional calculator you prefer. Calories and other nutritional values can vary quite a bit depending on which brands were used.
Did you make this recipe?Share it on Instagram @thecountrycook and mention us #thecountrycook!
