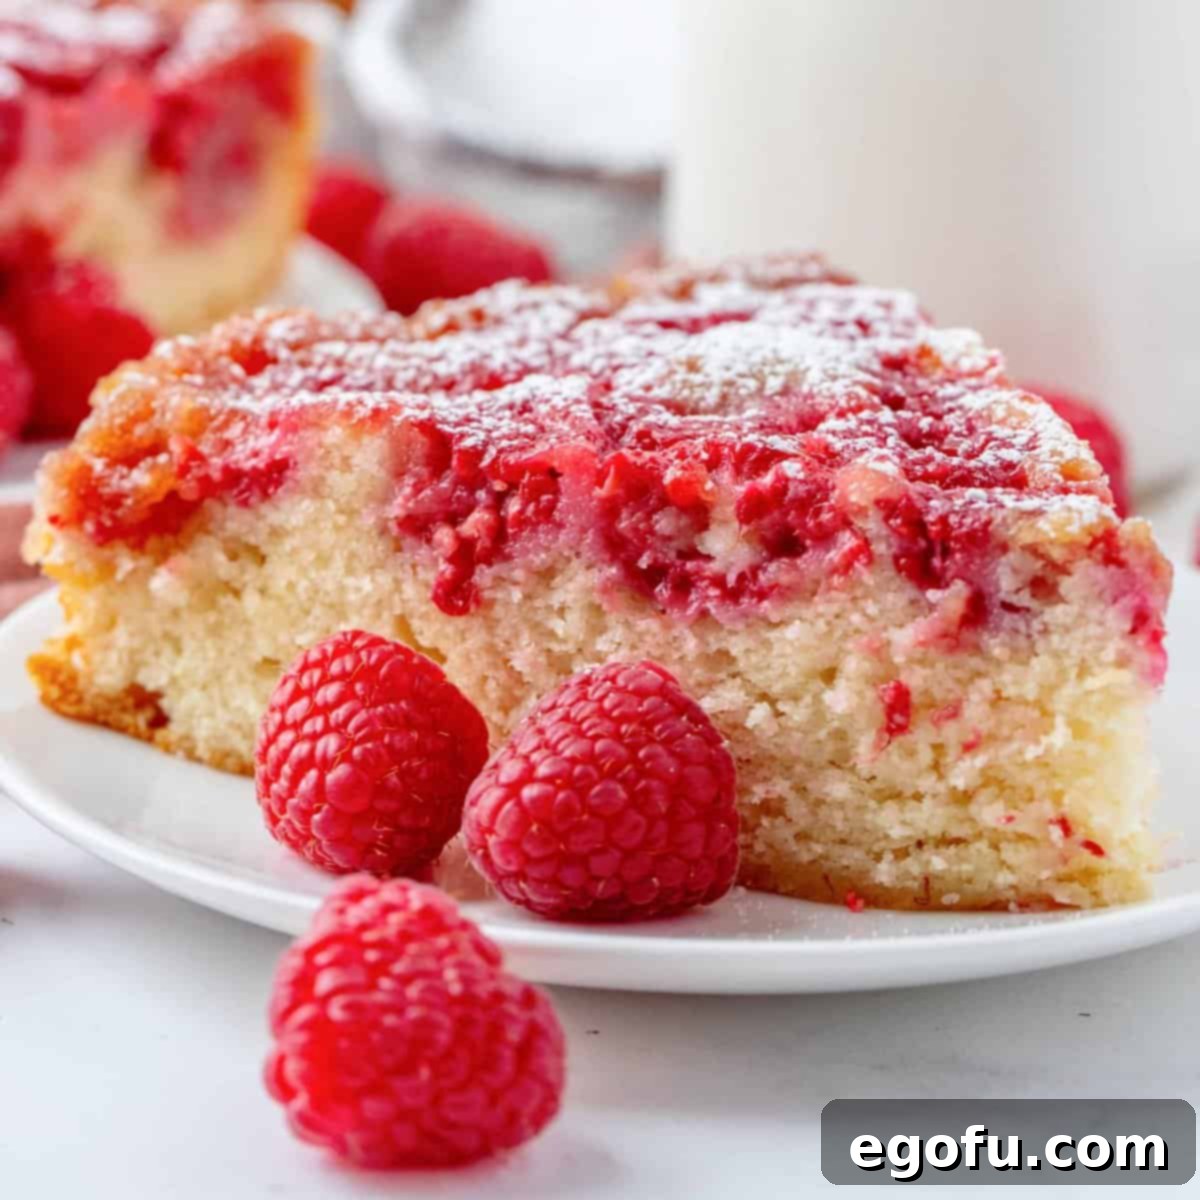
Welcome to the delightful world of baking, where sweet meets tart in perfect harmony! This Raspberry Upside Down Cake recipe promises a fun, flavorful, and absolutely delicious experience. With its vibrant ruby-red raspberry topping and tender, moist cake, each bite is a scrumptious journey of taste. Dusted with a delicate layer of powdered sugar, it’s not just a dessert; it’s a celebration for your palate that you’ll want to revisit again and again.
Effortless Elegance: Your Go-To Homemade Raspberry Cake
There’s something truly special about the combination of juicy raspberries and a perfectly baked cake. This Raspberry Upside Down Cake brings that magical pairing to life with surprising ease. Forget complicated techniques or obscure ingredients; this recipe relies on pantry staples to deliver a dessert that looks impressive yet is incredibly simple to create. It’s an ideal choice for bakers of all skill levels, offering a fantastic opportunity to impress guests or simply treat yourself and your family to a homemade delight. The inherent sweetness of the cake batter beautifully complements the bright, slightly tart burst of fresh raspberries, creating a balanced flavor profile that is both comforting and exciting. This isn’t just a cake; it’s a unique homemade masterpiece that will undoubtedly become a treasured addition to your baking repertoire, perfect for any occasion, from casual weeknight desserts to elegant gatherings.
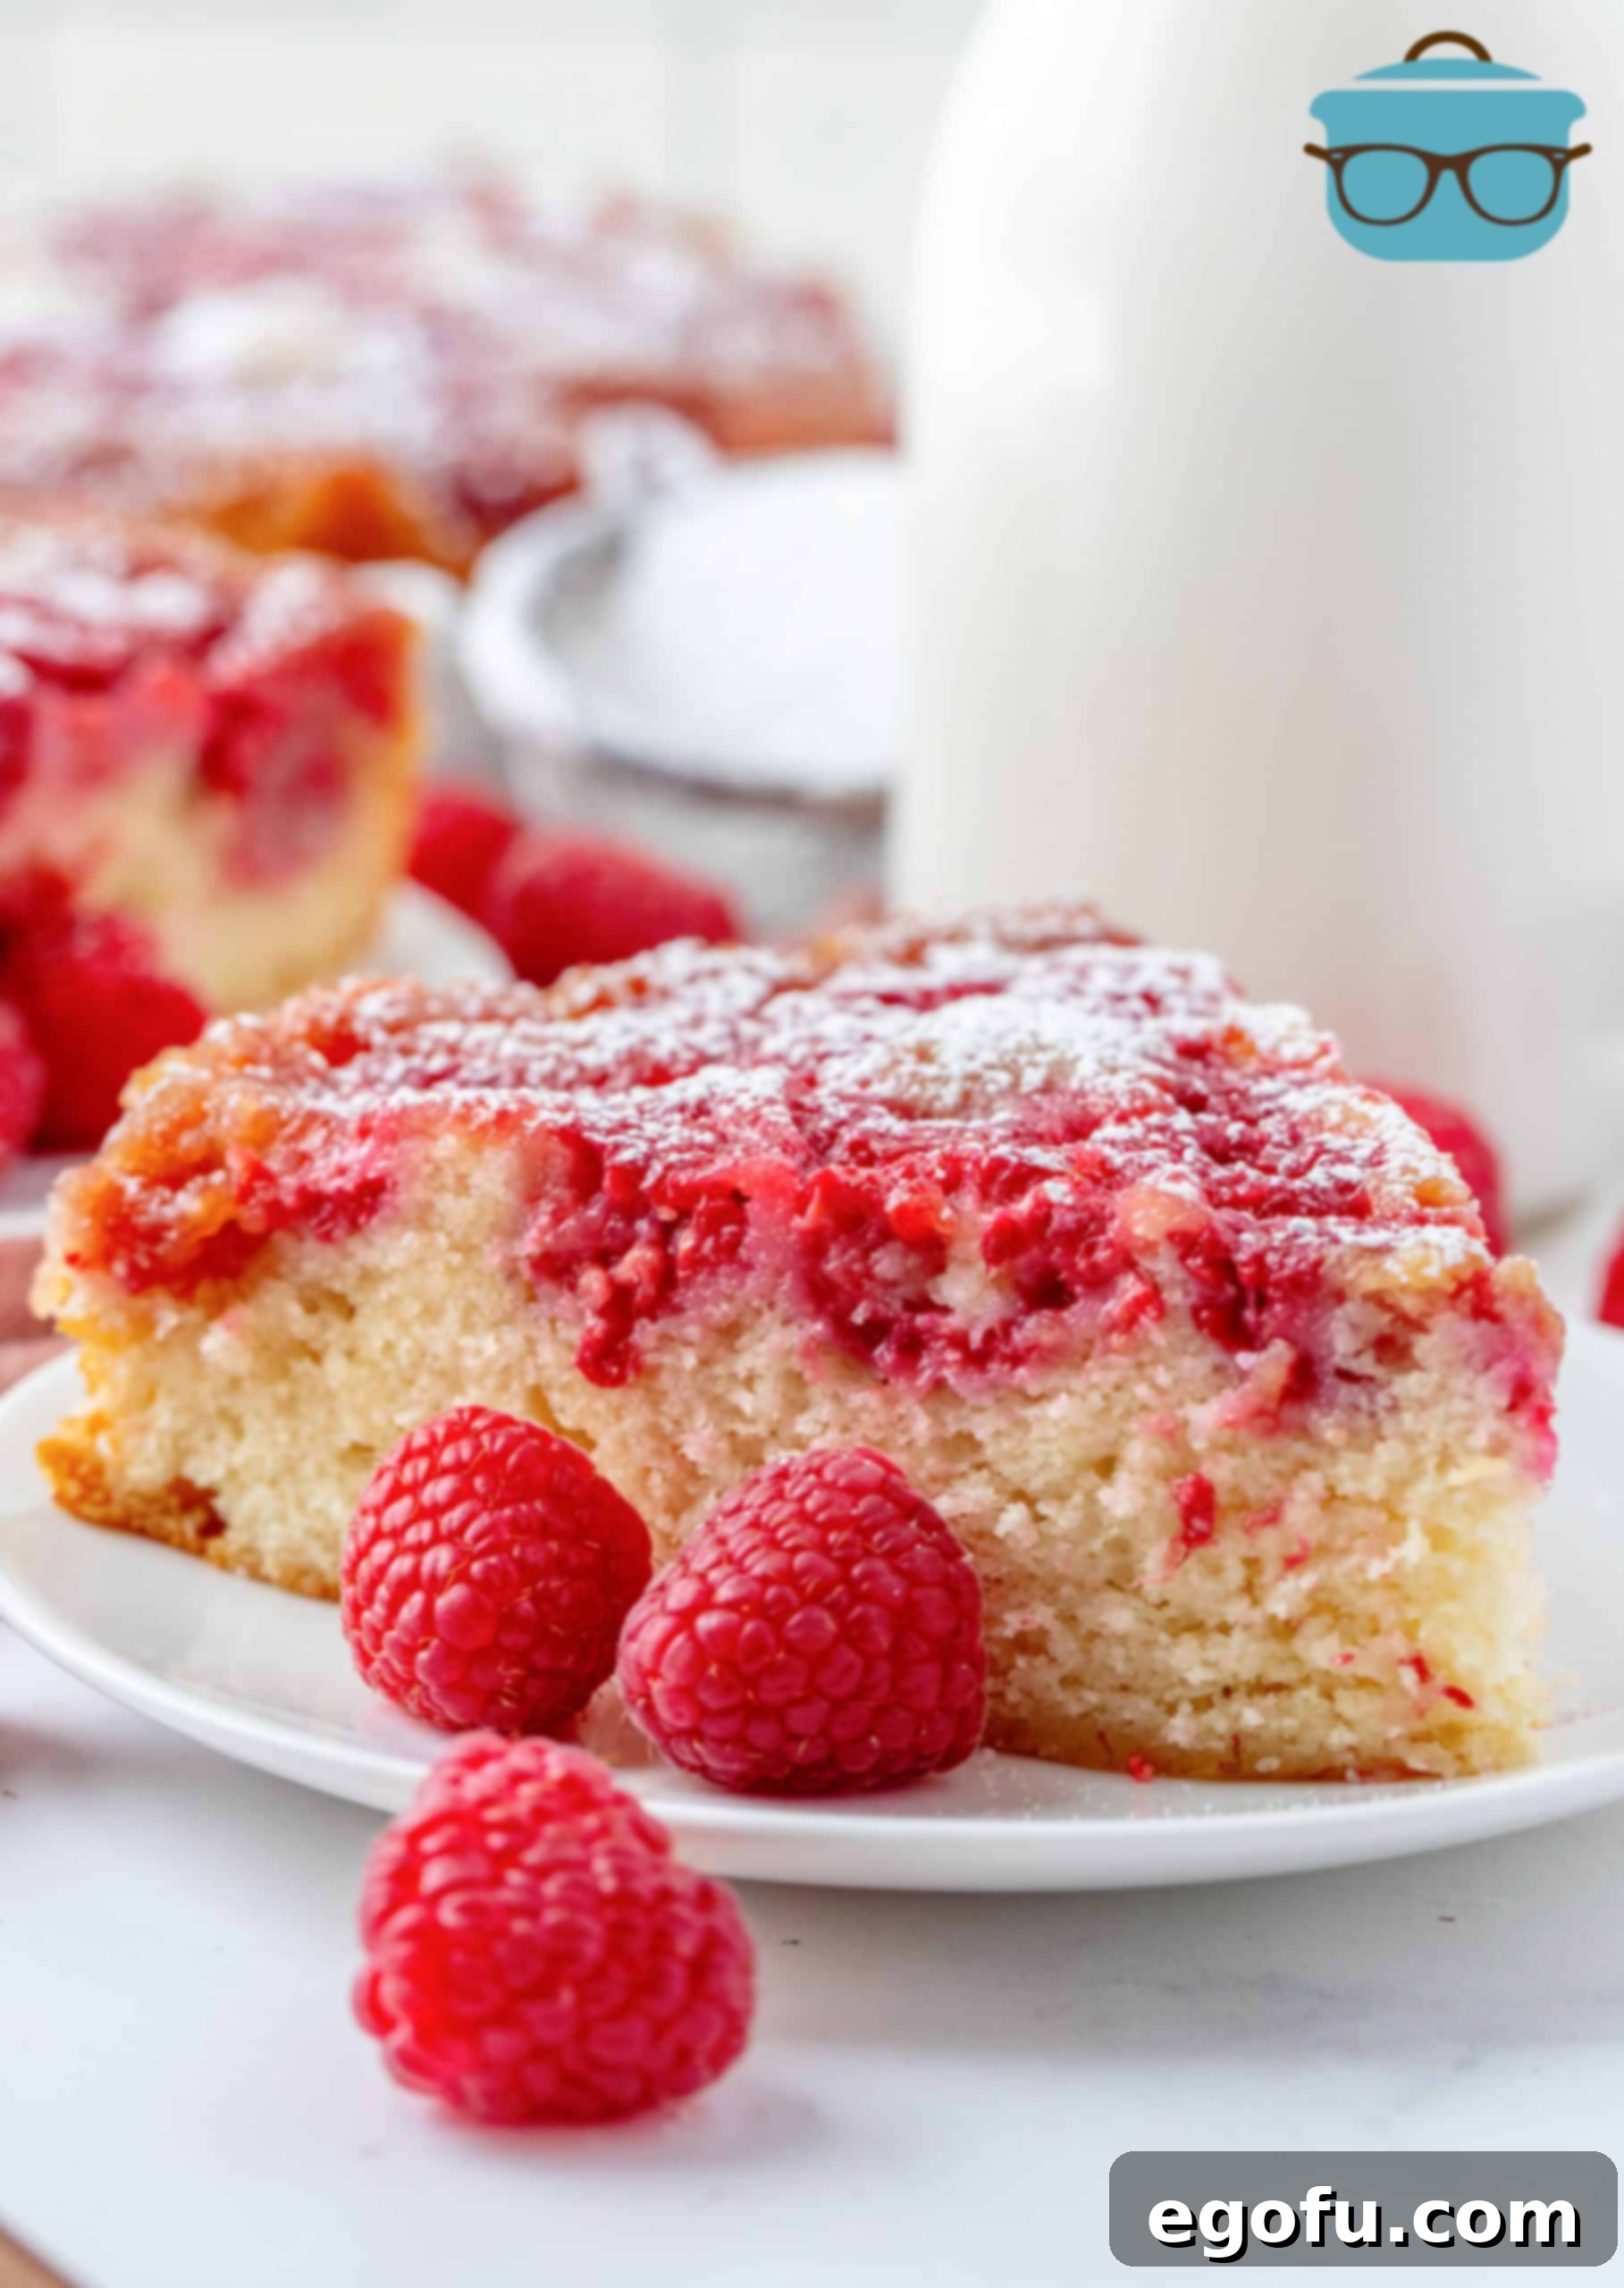
Unlocking Perfection: Expert Tips for Your Raspberry Upside Down Cake
Baking an upside down cake is a rewarding experience, and a few key tips can elevate your Raspberry Upside Down Cake from good to absolutely phenomenal. Pay close attention to these insights to ensure your cake turns out perfectly moist, flavorful, and beautifully presented every time.
- Embrace Fruit Versatility: While raspberries are the star of this recipe, the beauty of an upside-down cake lies in its adaptability. Feel free to experiment with other fruits you love! Blueberries offer a milder, sweet flavor, while pineapple (drained well) provides a tropical twist. Sliced peaches or even a mix of berries can also create equally stunning and delicious variations. The key is to ensure the fruit is ripe and prepared appropriately for baking.
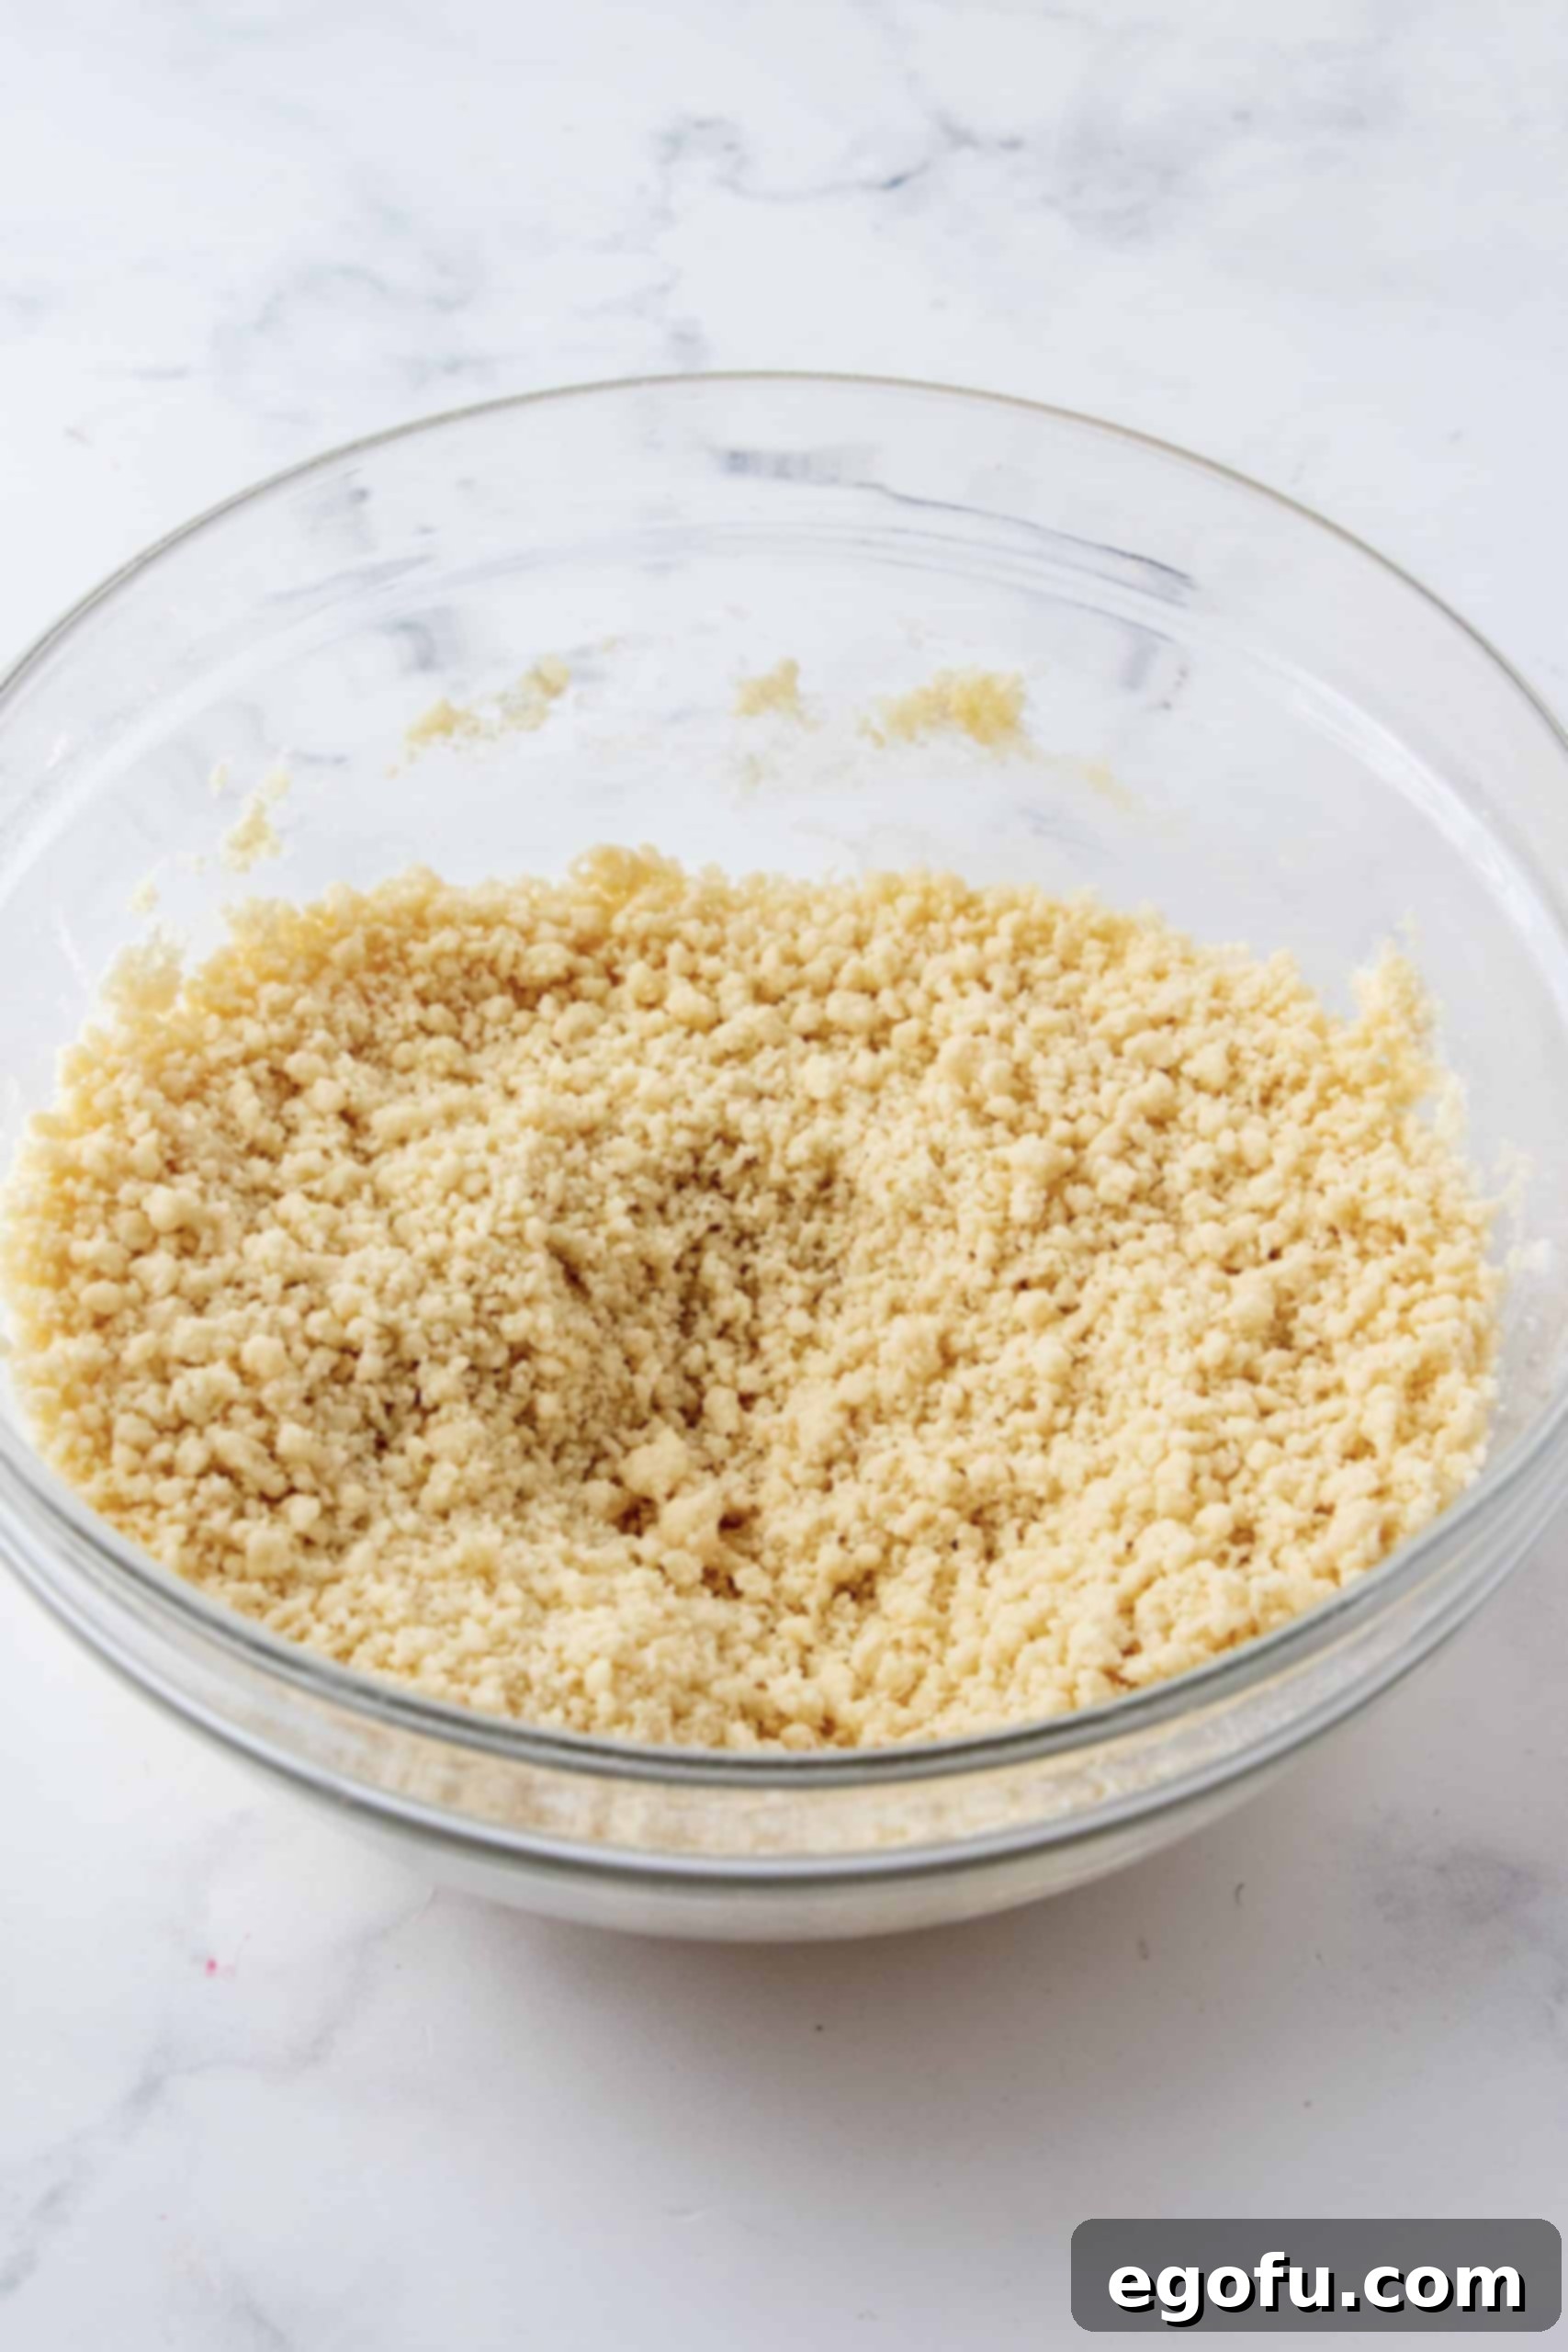
- Understanding the Crumb Mixture: When you combine the dry ingredients and then add them to the butter mixture, you might notice the batter appears crumbly. Do not be alarmed! This texture is completely normal and expected at this stage. It indicates that the ingredients are properly incorporating before the final liquid addition smooths everything out. Trust the process, and don’t be tempted to add extra liquid prematurely.
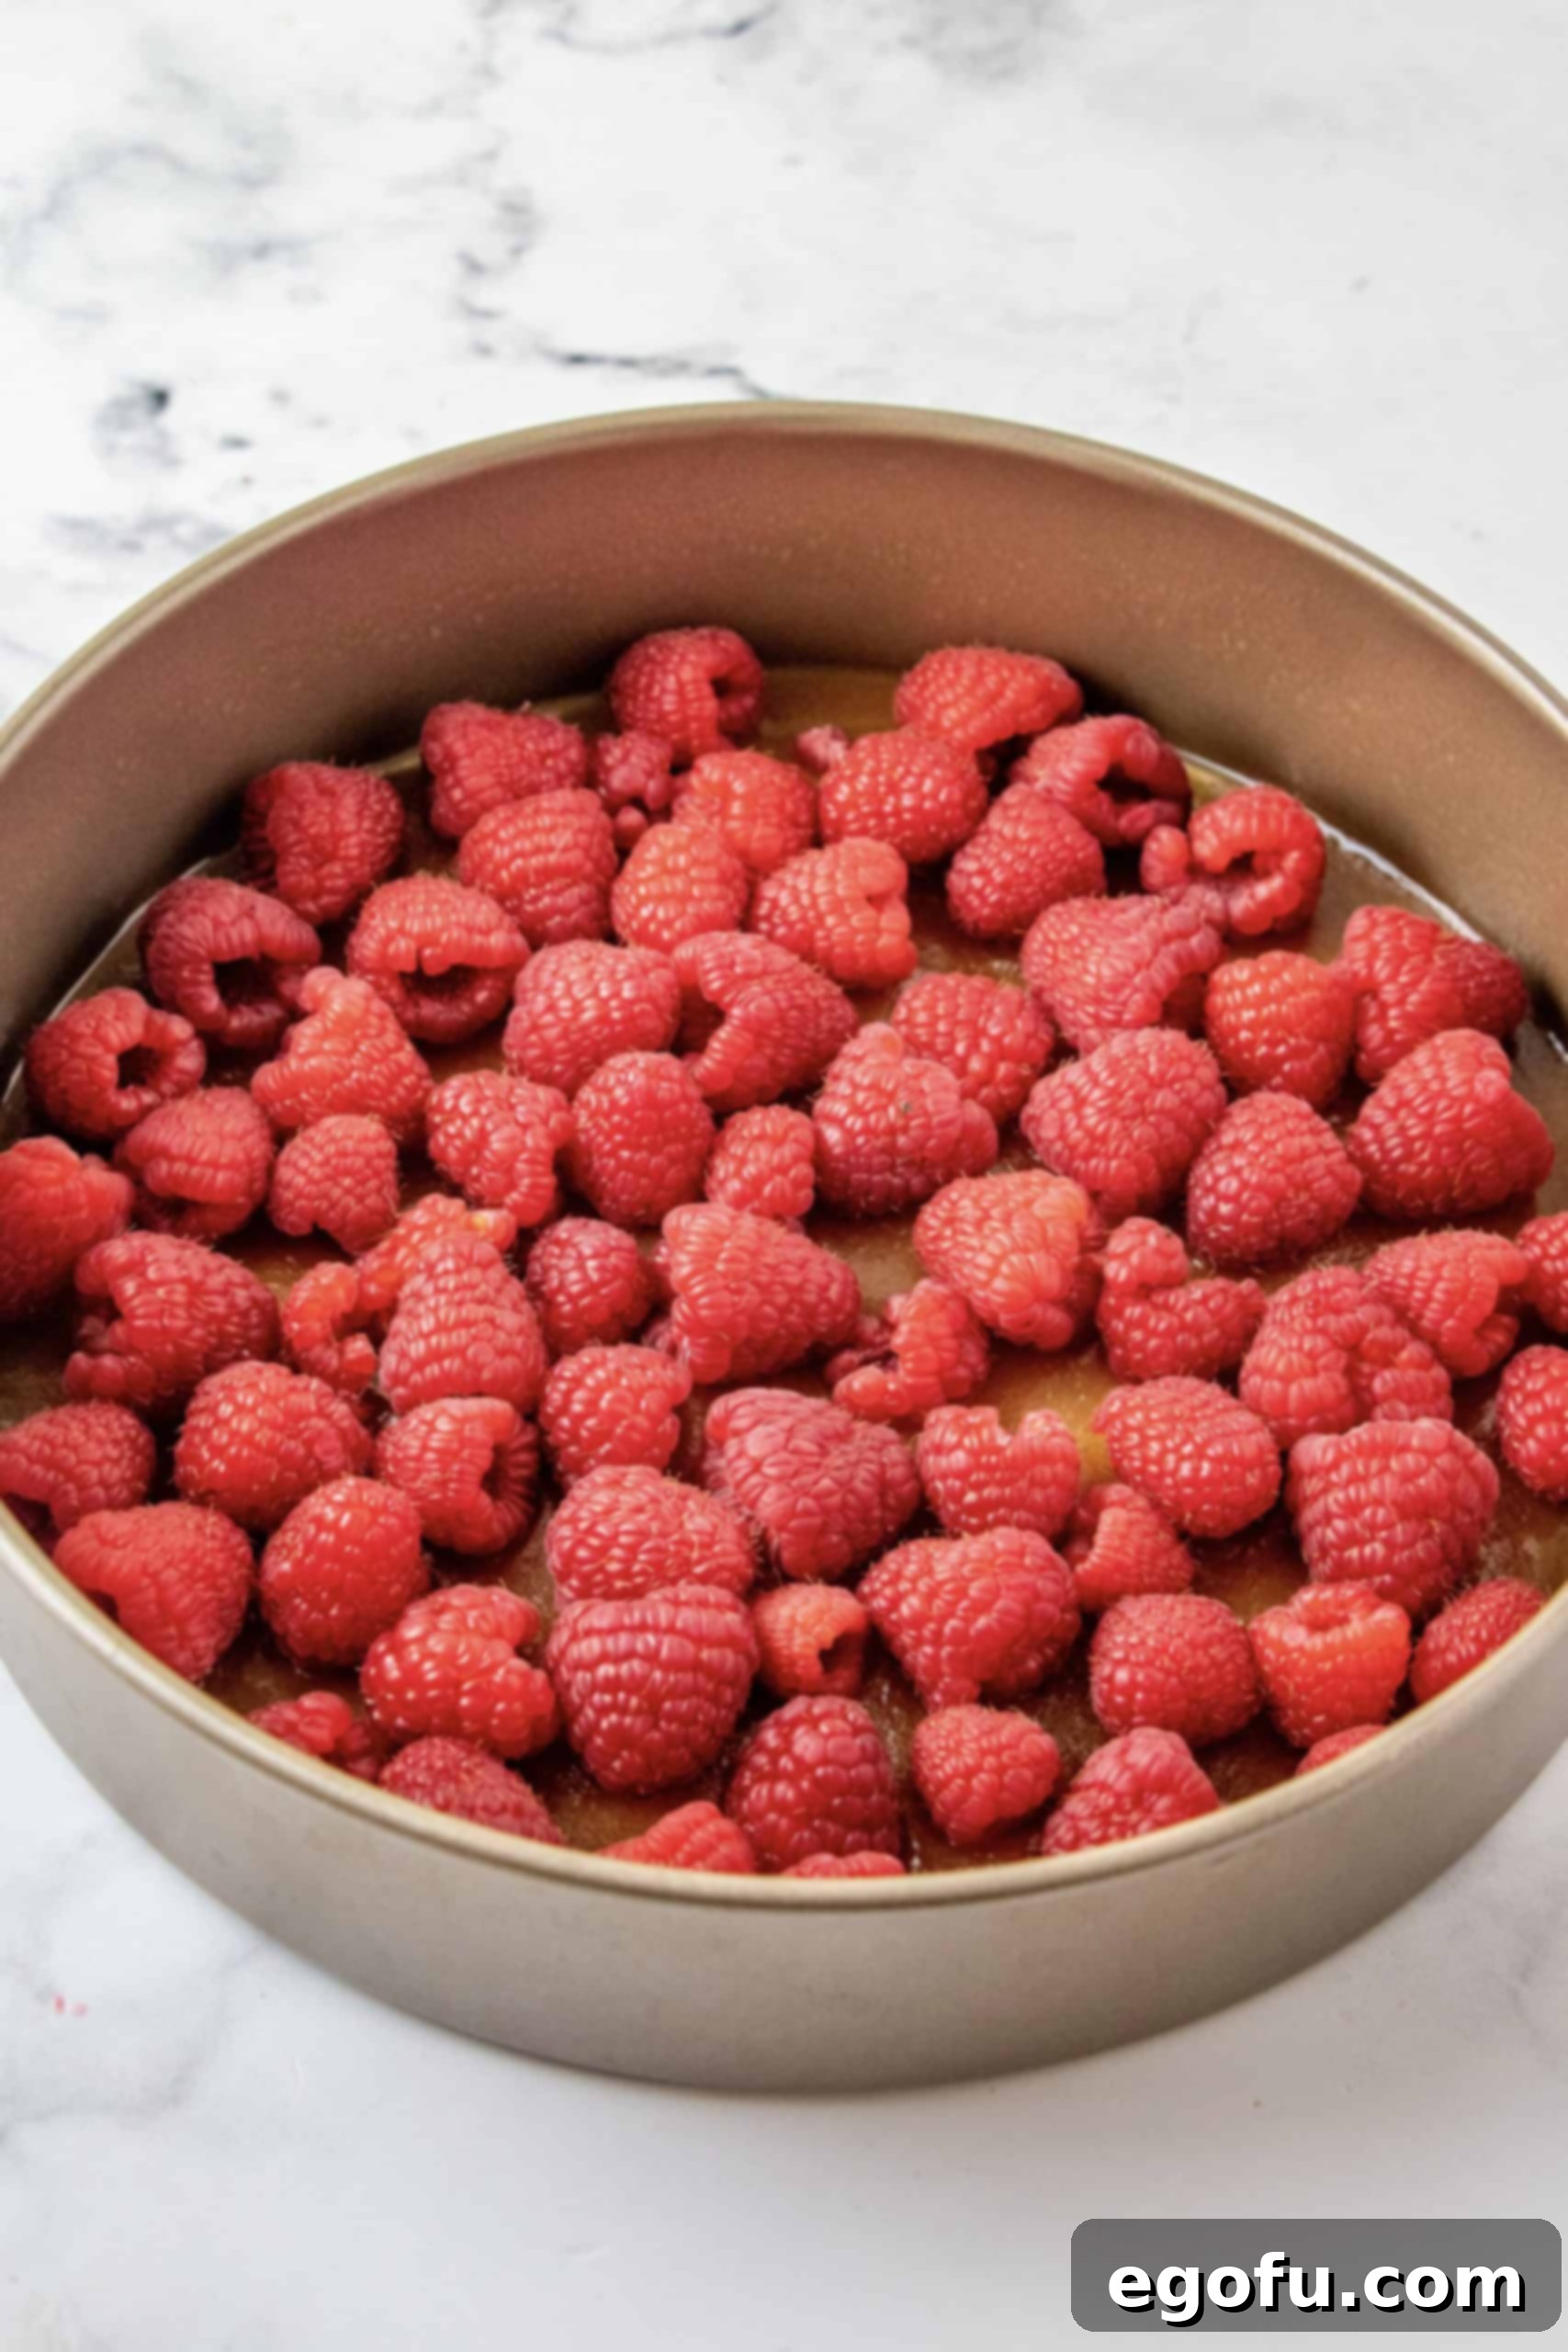
- Generous Berry Coverage: For that signature beautiful and flavorful fruit layer, it’s crucial to use enough raspberries to completely cover the bottom of your baking pan. A dense, even layer ensures that every slice of cake has a vibrant raspberry topping, preventing any dry spots and maximizing the sweet-tart contrast that makes this cake so irresistible.
- The Parchment Paper Advantage: To ensure a smooth and effortless release of your cake from the pan, consider placing a round piece of parchment paper at the bottom before adding your topping mixture. Cut the parchment to fit perfectly within the pan. This simple step acts as a non-stick barrier, making the inversion process much easier and preventing any delicious fruit or caramel from sticking.
- Crucial Cooling Time: Patience is a virtue, especially when it comes to upside-down cakes. It is absolutely vital to let the cake cool in the pan for at least 5 to 10 minutes (no less!) before attempting to invert it onto a serving dish. This cooling period allows the melted brown sugar and butter mixture to set properly, transforming into a glorious, sticky, and intact caramel topping that will perfectly cling to the fruit and cake. Rushing this step will likely result in a messy, broken topping.
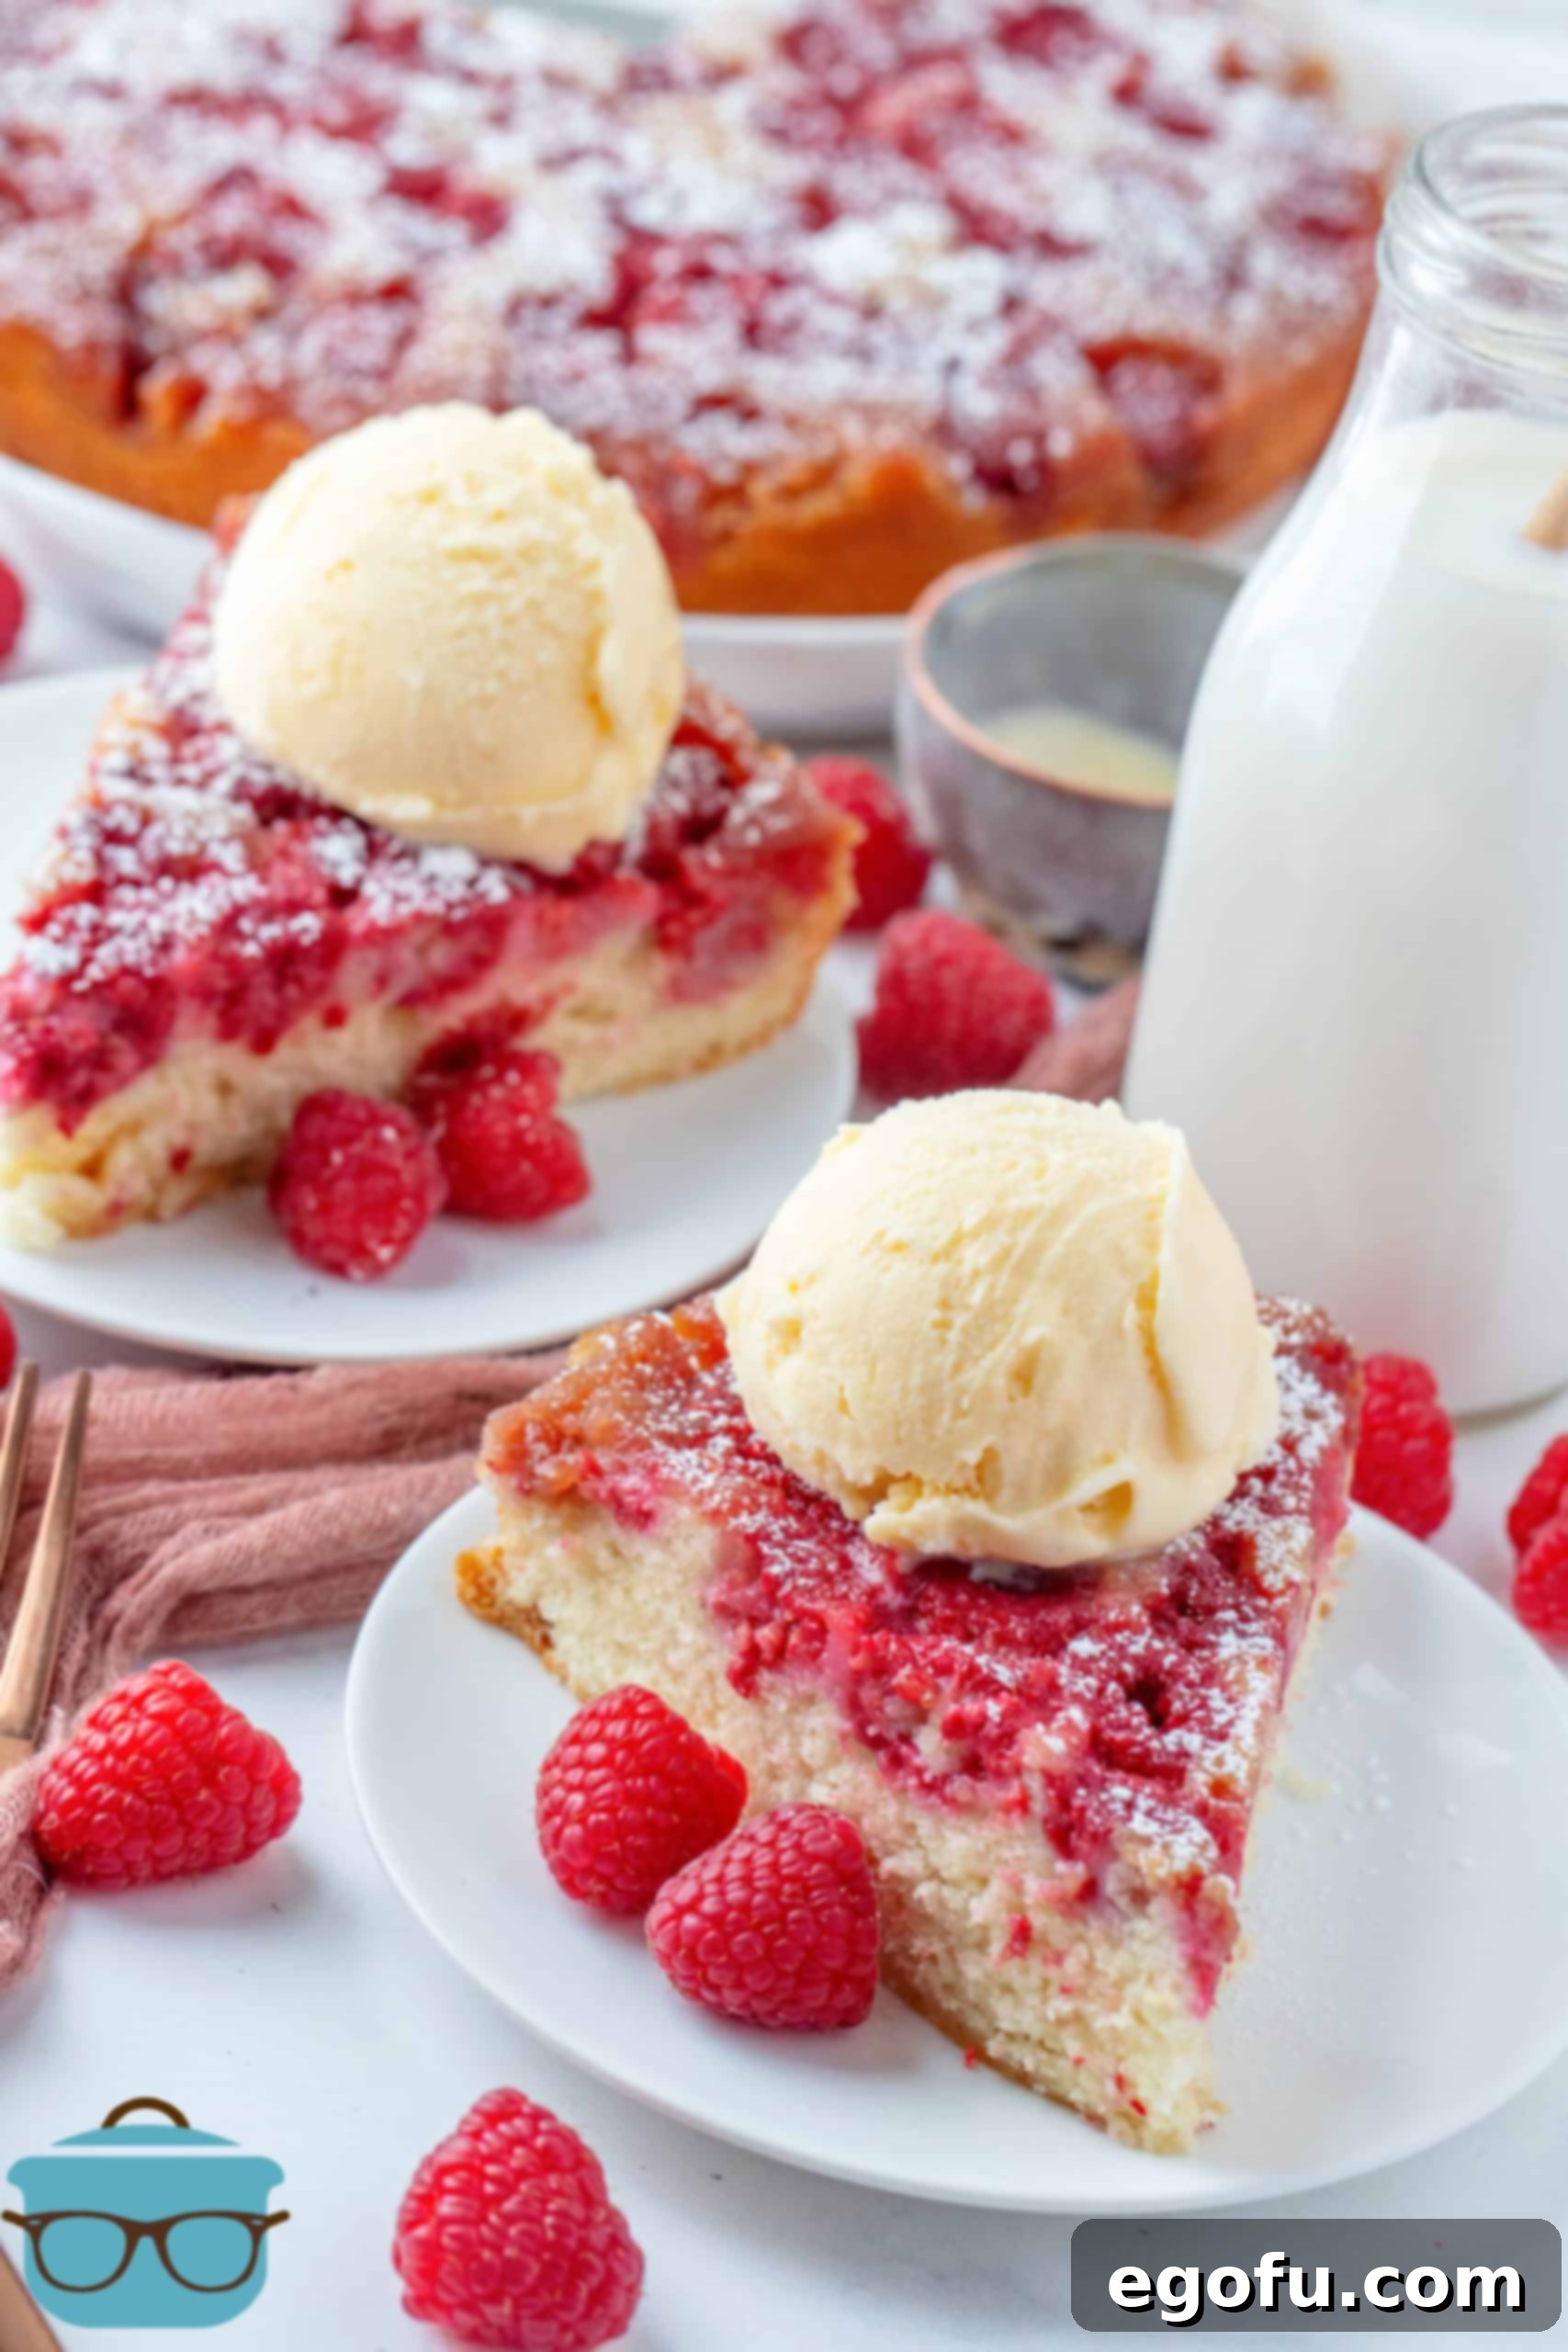
- Garnish to Your Heart’s Content: While this Raspberry Upside Down Cake is stunning on its own, a simple garnish can enhance its appeal and flavor. A light dusting of powdered sugar adds a touch of elegance and a subtle sweetness. For an extra indulgent treat, serve slices warm with a scoop of vanilla ice cream or a dollop of freshly whipped cream. A sprig of fresh mint can also add a beautiful color contrast and aromatic touch.
- Choosing the Right Pan: A 9-inch high-sided round pan or a springform pan works best for this recipe. If you opt for a springform pan, remember to wrap the bottom securely with aluminum foil before baking. This precaution is essential to catch any potential leaks of the butter and brown sugar mixture, preventing a sticky mess in your oven.
- Avoid Overmixing the Batter: Once you add the dry ingredients to the wet, mix only until just combined. Overmixing can develop the gluten in the flour too much, leading to a tough and dry cake. A few lumps are perfectly fine; they will disappear during baking.
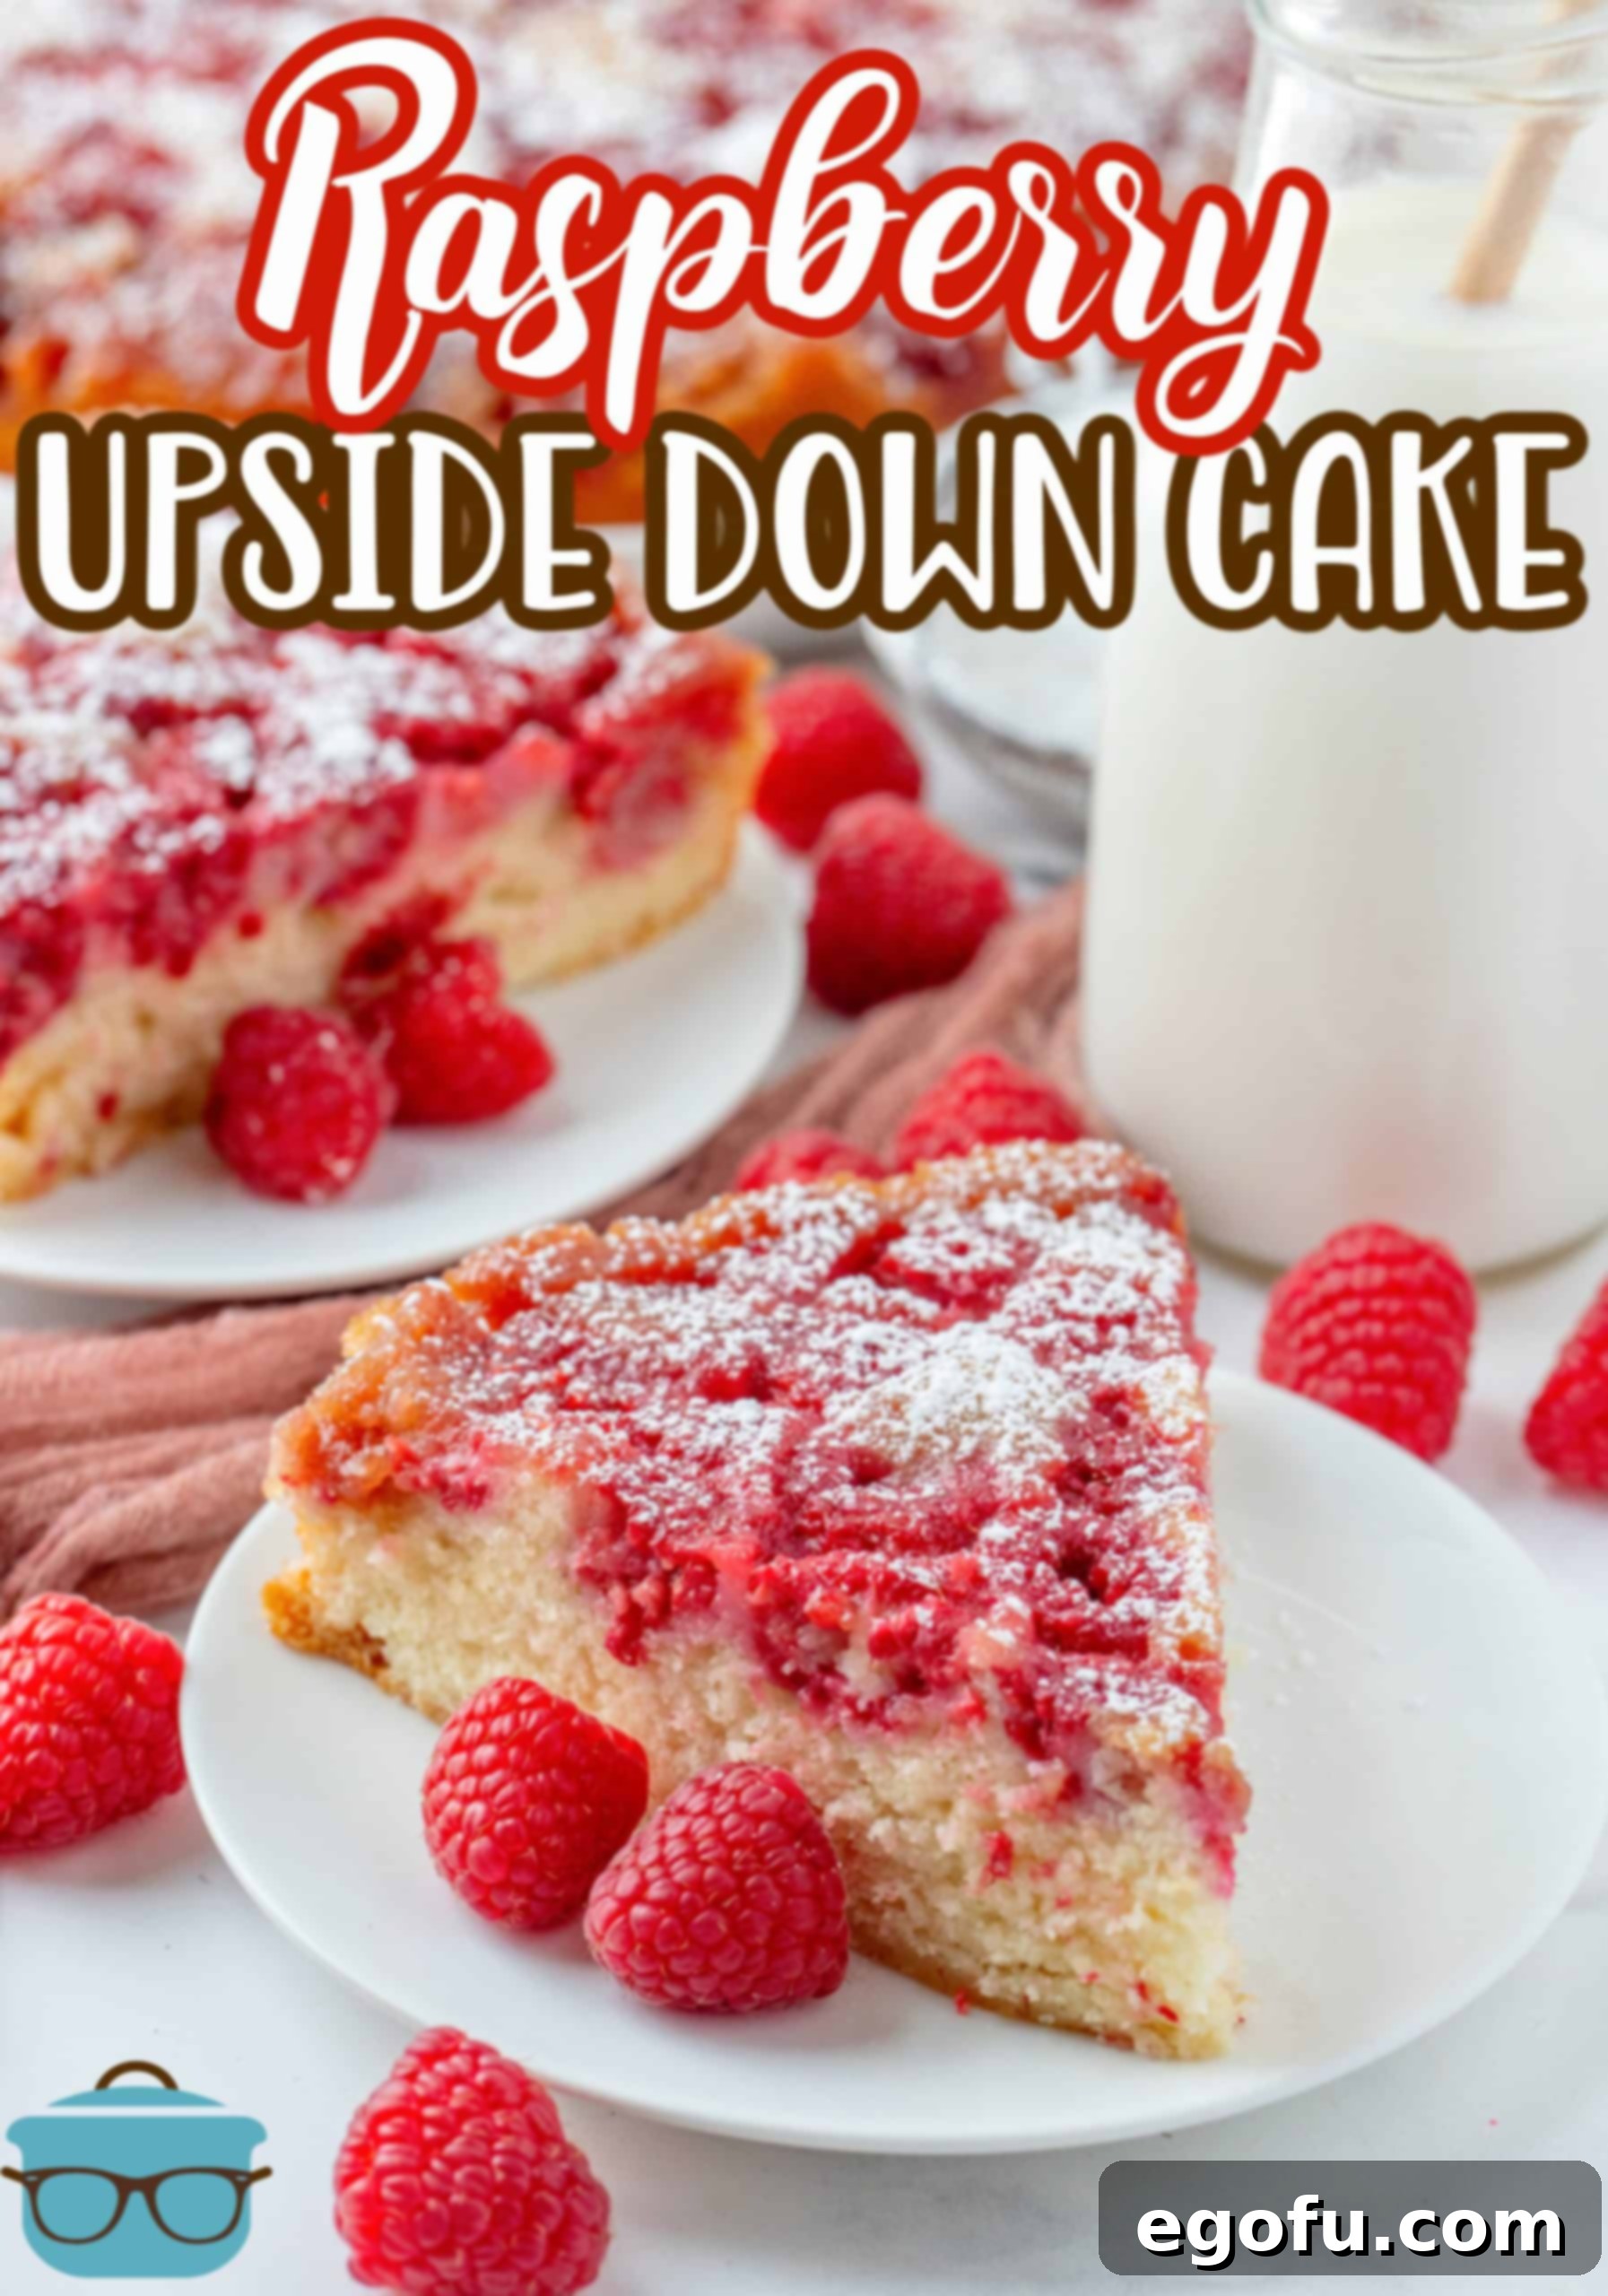
Gather Your Essentials: Ingredients for This Delightful Cake
Creating this irresistible Raspberry Upside Down Cake requires a selection of readily available ingredients, split into two main components: the luscious topping and the tender cake batter. Ensuring you have all your ingredients measured and ready before you start baking (a technique known as “mise en place”) will make the process smooth and enjoyable.
For the Irresistible Topping:
- Unsalted Butter (melted): This forms the rich base of our caramel-like topping, ensuring a golden, buttery finish.
- Brown Sugar: Its molasses content creates a deep, caramel flavor and moist texture for the topping that pairs perfectly with the raspberries.
- Fresh Raspberries: The star of the show! Use vibrant, ripe raspberries for the best flavor and visual appeal. You’ll need enough to create a generous, even layer over the bottom of your pan. While fresh is ideal, quality frozen raspberries can be used; do not thaw them completely before placing them in the pan to prevent them from becoming too mushy.
For the Tender Cake Batter:
- All-Purpose Flour: The structural foundation of our cake. Ensure it’s measured correctly by spooning it into a measuring cup and leveling it off.
- Baking Powder: Our primary leavening agent, responsible for the cake’s light and airy texture.
- Salt: A pinch of salt enhances all the other flavors, balancing the sweetness and bringing out the fruitiness of the raspberries.
- Unsalted Butter (softened to room temperature): Crucial for creaming with sugar, incorporating air into the batter for a tender crumb. Room temperature butter creams much more effectively.
- Granulated Sugar: Provides sweetness and helps create a fine crumb in the cake.
- Large Egg: Acts as a binder, adds richness, and contributes to the cake’s structure. Ensure it’s at room temperature for better emulsification with the other ingredients.
- Vanilla Extract: A fundamental flavor enhancer that complements both the cake and the raspberries beautifully. Use pure vanilla extract for the best taste.
- Milk: Adds moisture to the cake batter, contributing to its tender texture. Whole milk is generally recommended for richer flavor and better texture, but any milk will work.
- Powdered Sugar (optional, for garnish): For a final elegant dusting that adds a touch of extra sweetness and visual appeal to the finished cake.
Mastering the Bake: How to Make Raspberry Upside Down Cake
Follow these detailed instructions to create a show-stopping Raspberry Upside Down Cake that will impress everyone.
- Prepare Your Oven and Pan: Begin by preheating your oven to 350°F (175°C). Prepare a 9-inch high-sided round baking pan or a springform pan by generously spraying it with nonstick cooking spray. If using a springform pan, an extra layer of protection is advisable: wrap the bottom securely with aluminum foil to prevent any of the butter-sugar mixture from leaking out during baking. This helps contain the delicious topping and keeps your oven clean.
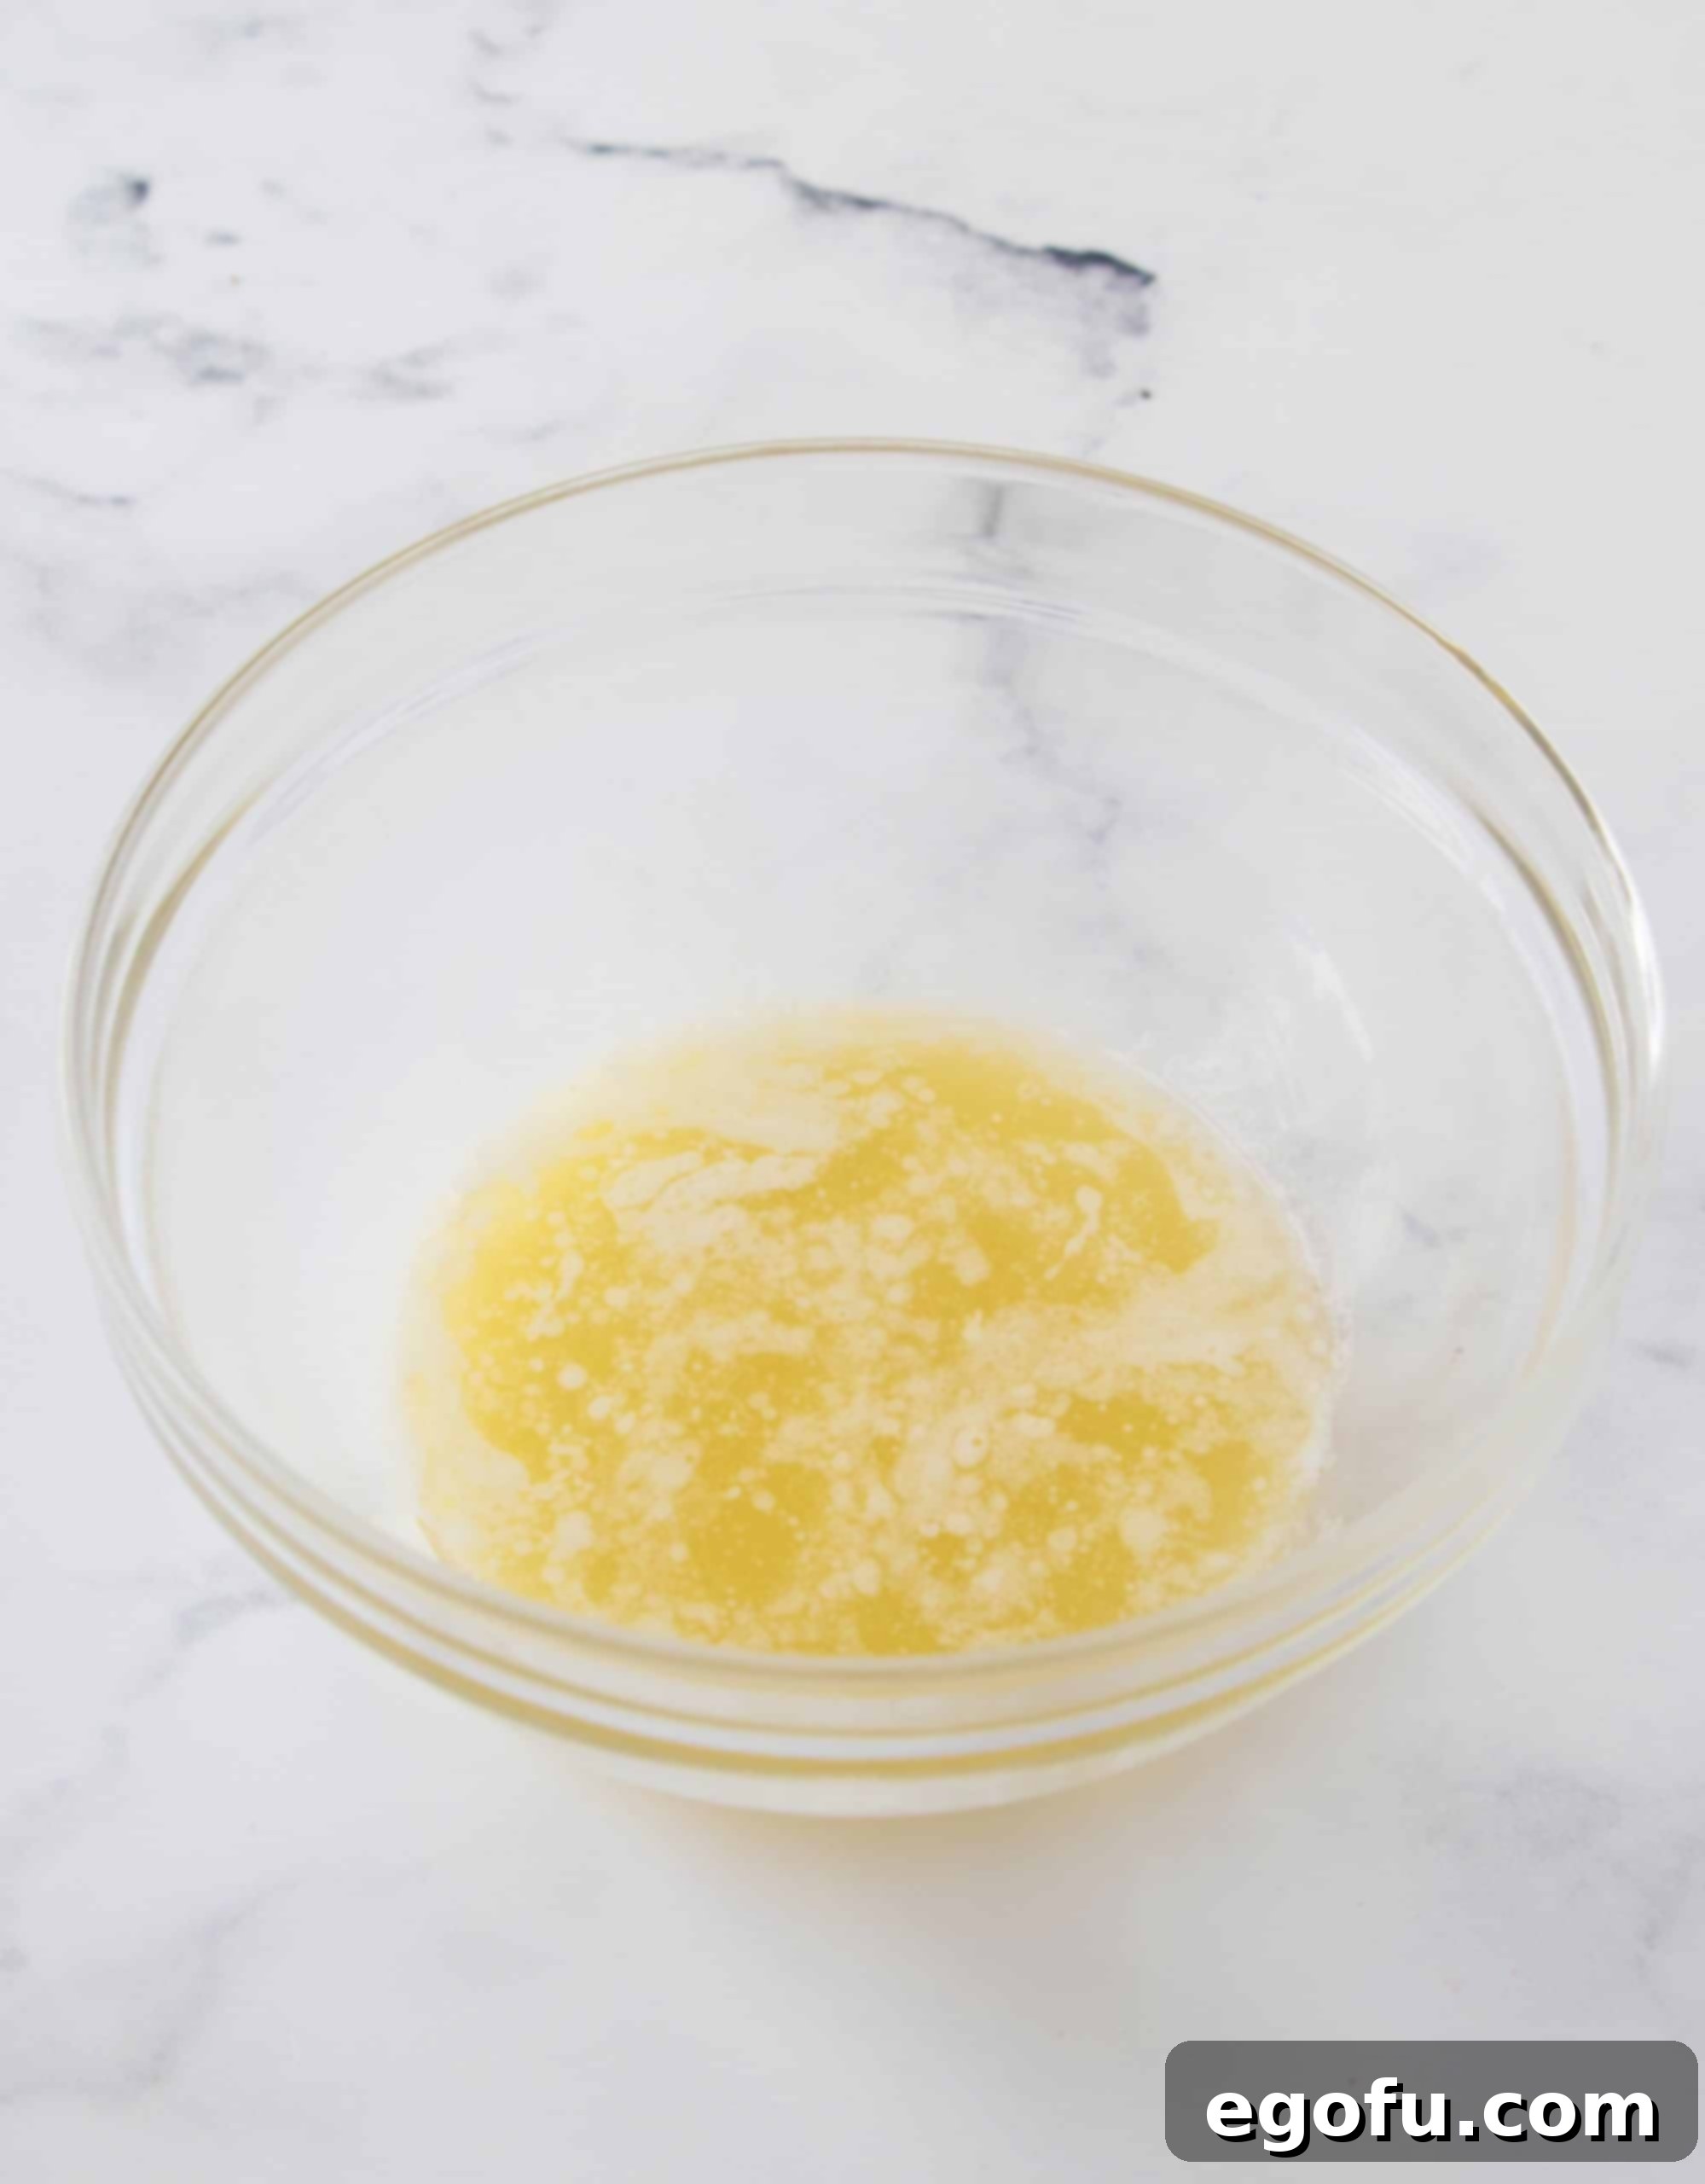
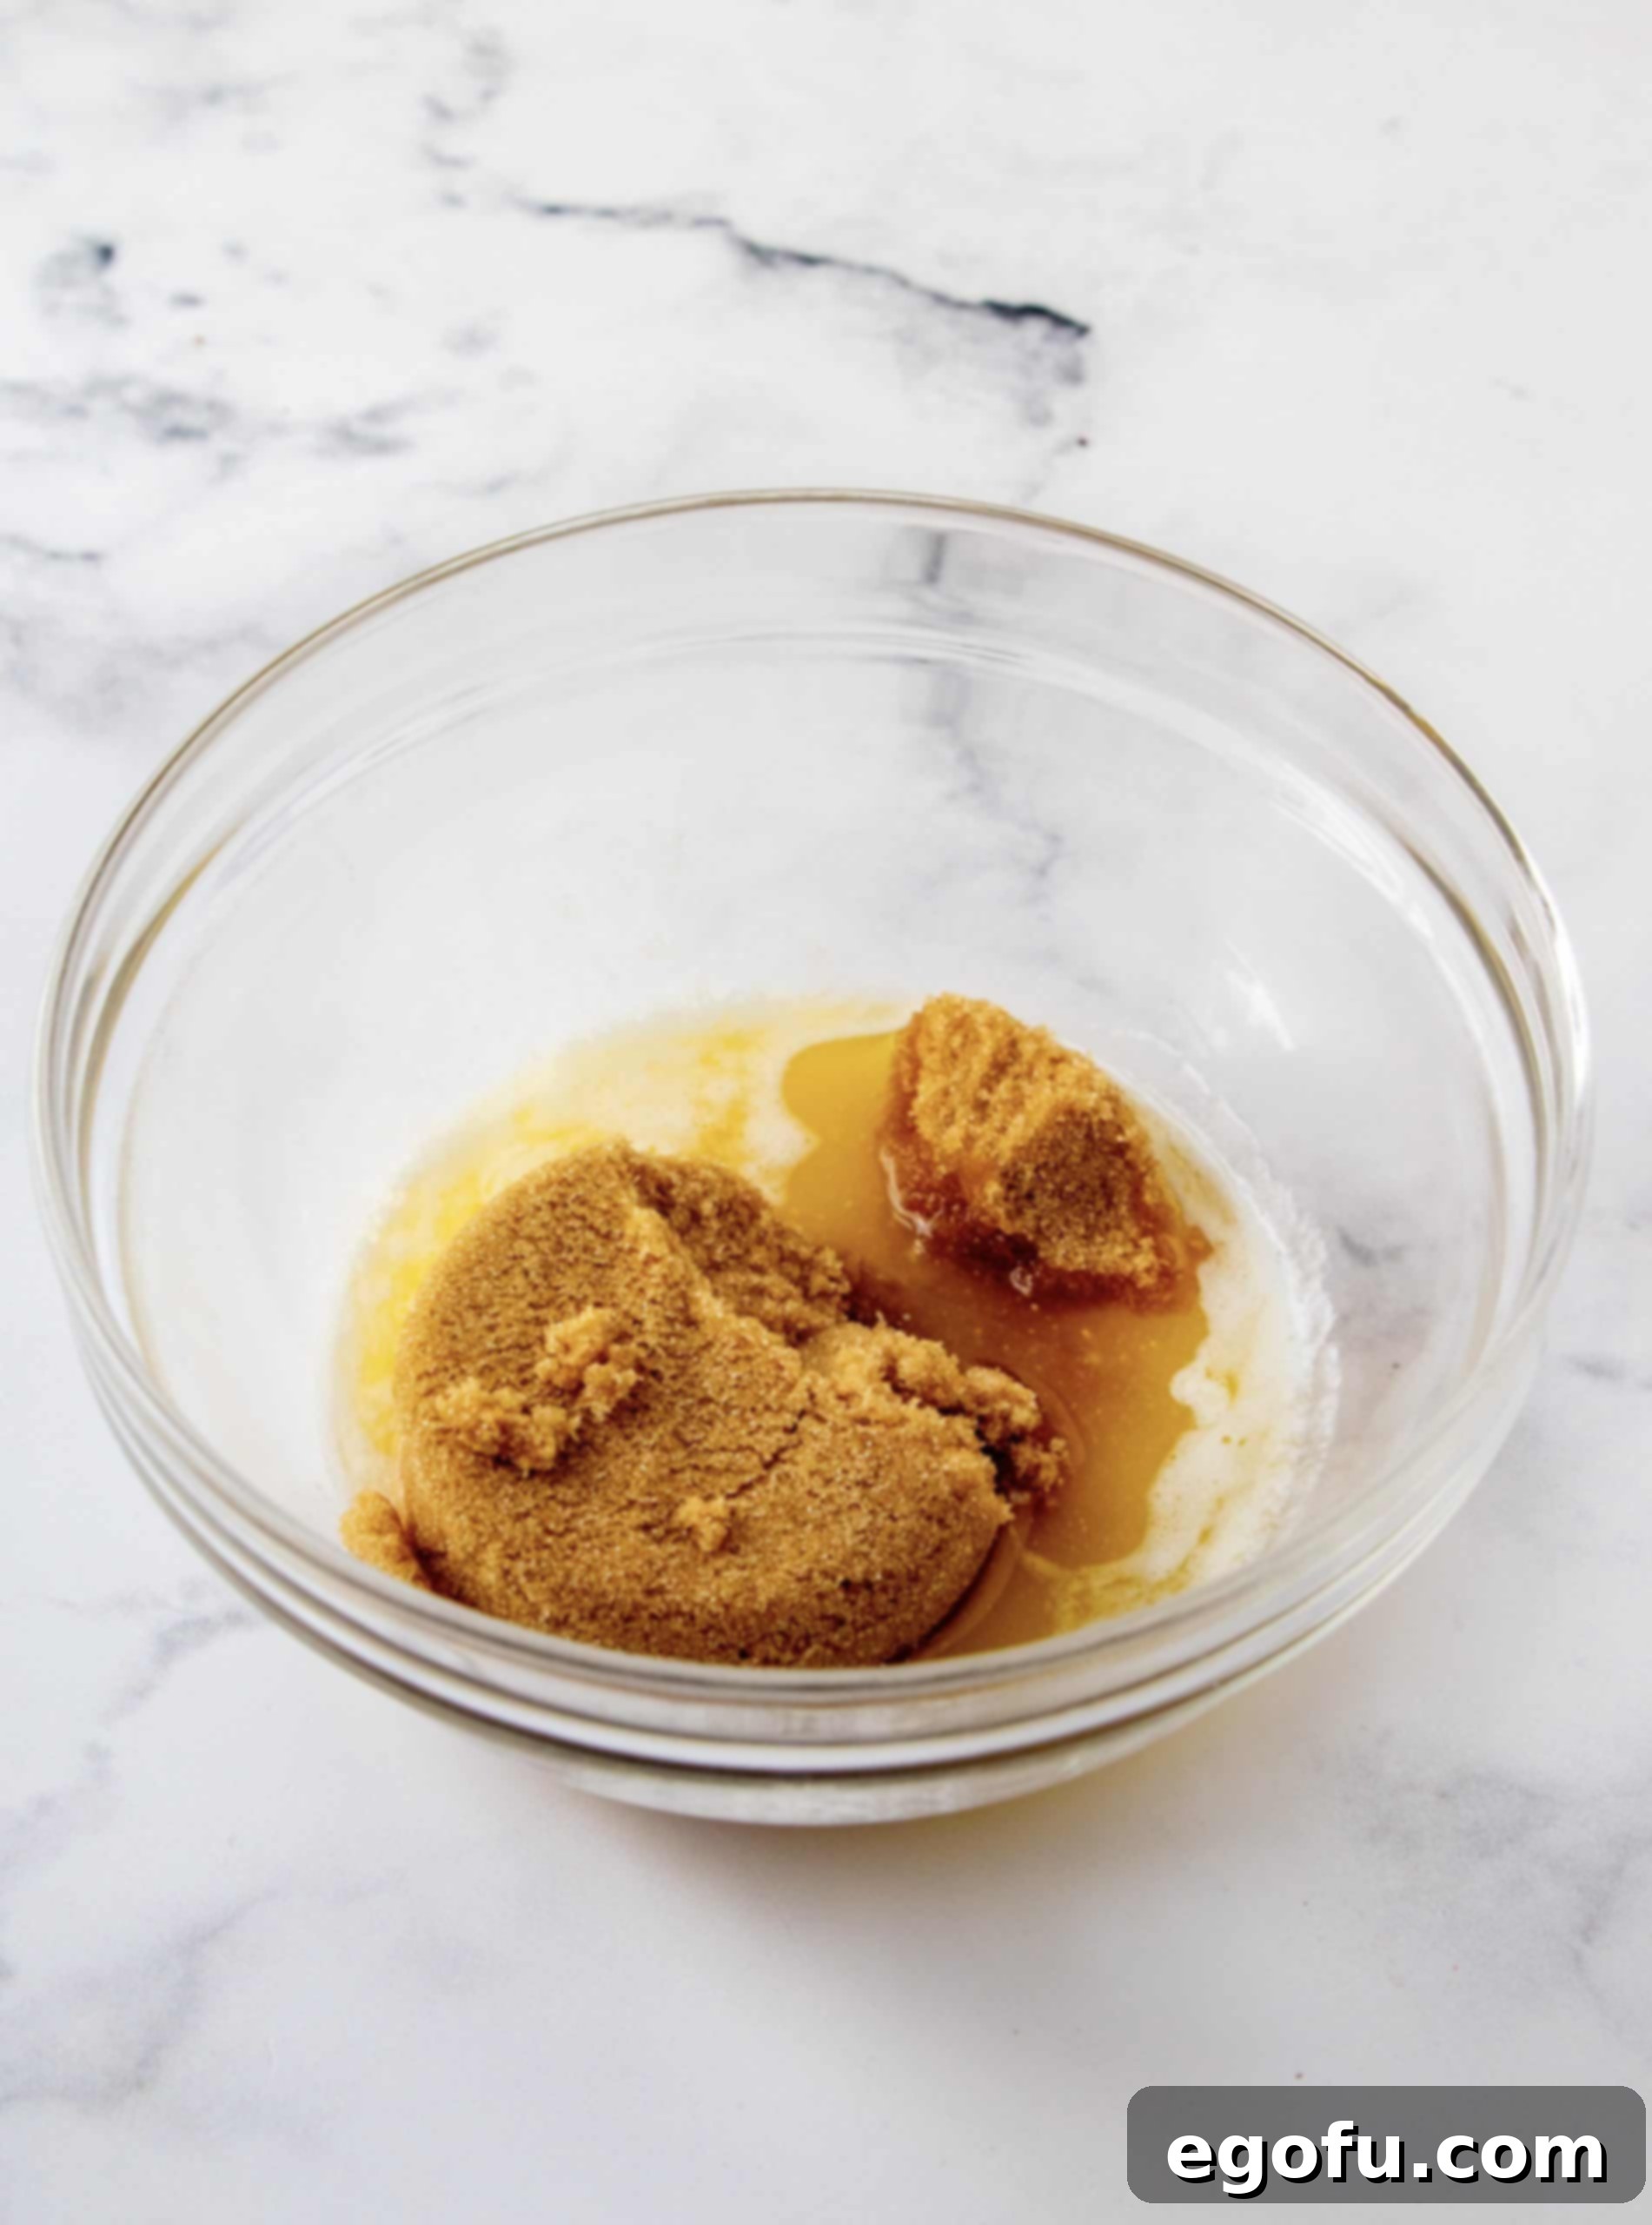
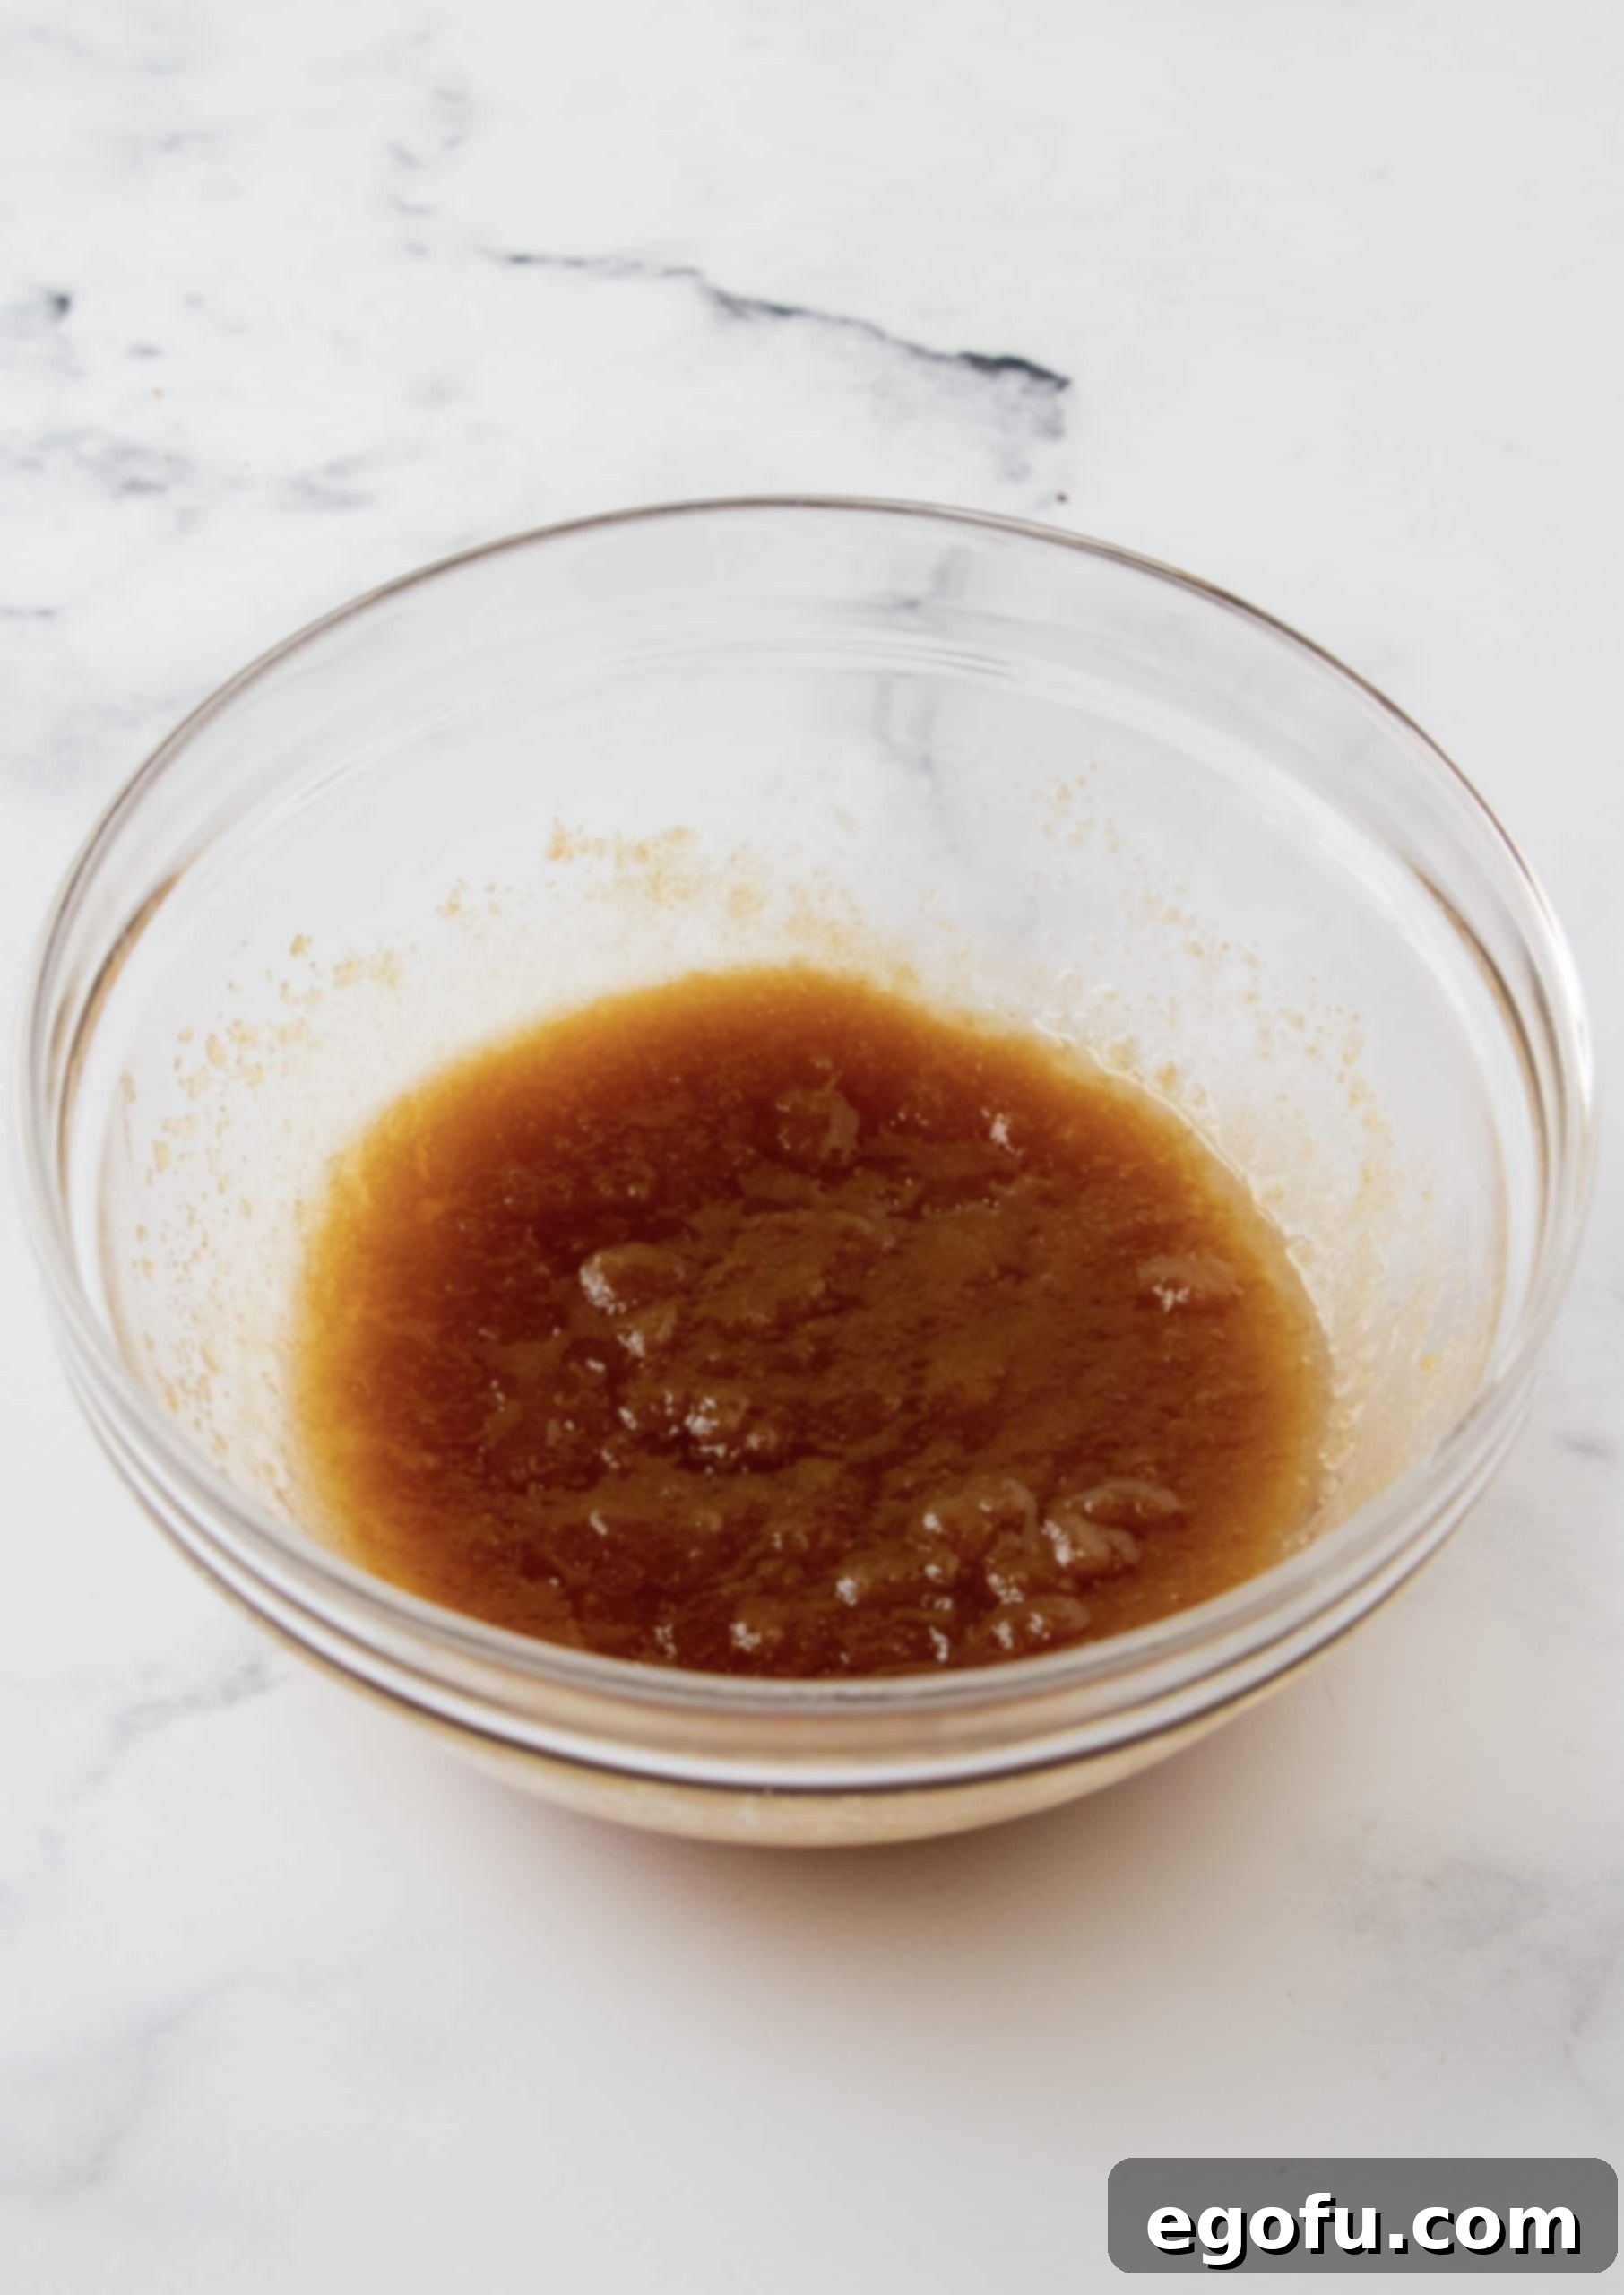
- Craft the Topping Foundation: In a small, microwave-safe bowl, melt the ¼ cup of unsalted butter. Once melted, add the ½ cup of brown sugar to the same bowl. Whisk the two ingredients together until they are thoroughly combined and form a smooth, caramel-like paste. This mixture will become the glorious sticky topping of your cake.
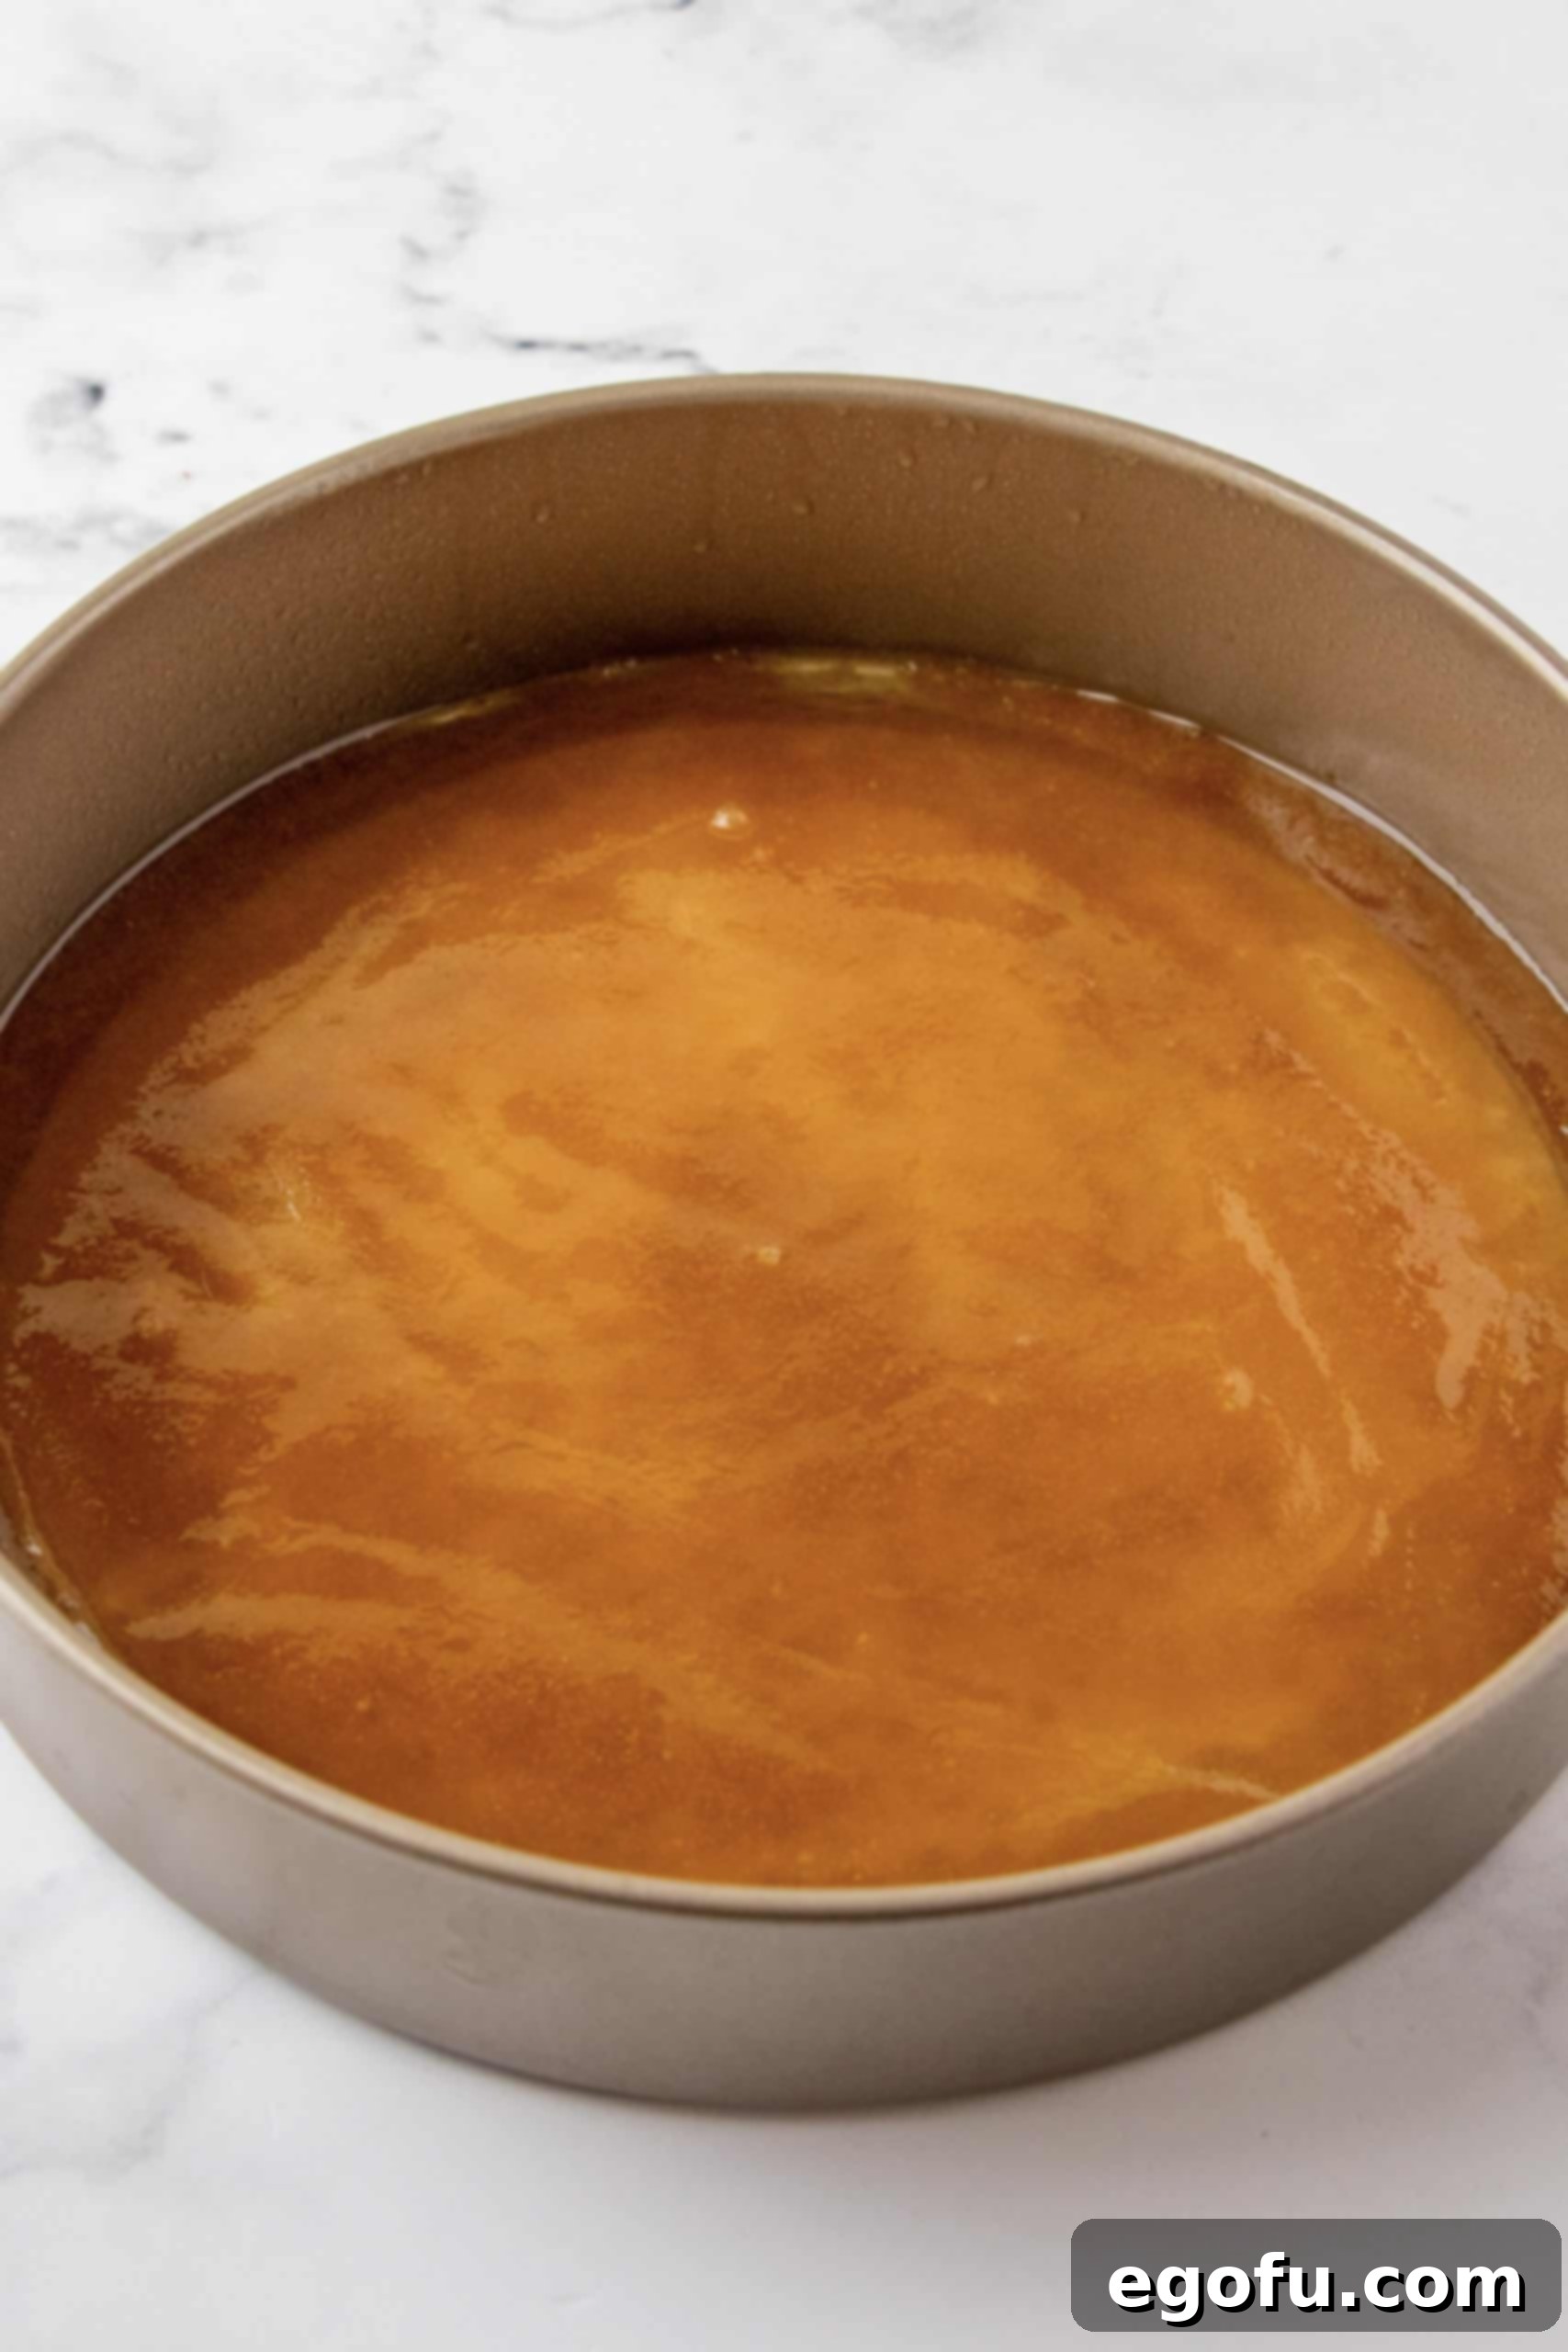
- Spread the Caramel Base: Pour the brown sugar and butter mixture into the bottom of your prepared pan. Use an offset spatula or the back of a spoon to gently spread it out into an even layer, ensuring it covers the entire base.
- Arrange the Raspberries: Carefully place your two heaping cups of fresh raspberries over the brown sugar mixture, arranging them in a single, even layer. Make sure there are enough berries to cover the entire surface, ensuring every bite of cake gets a burst of fruit. Set this pan aside while you prepare the cake batter.
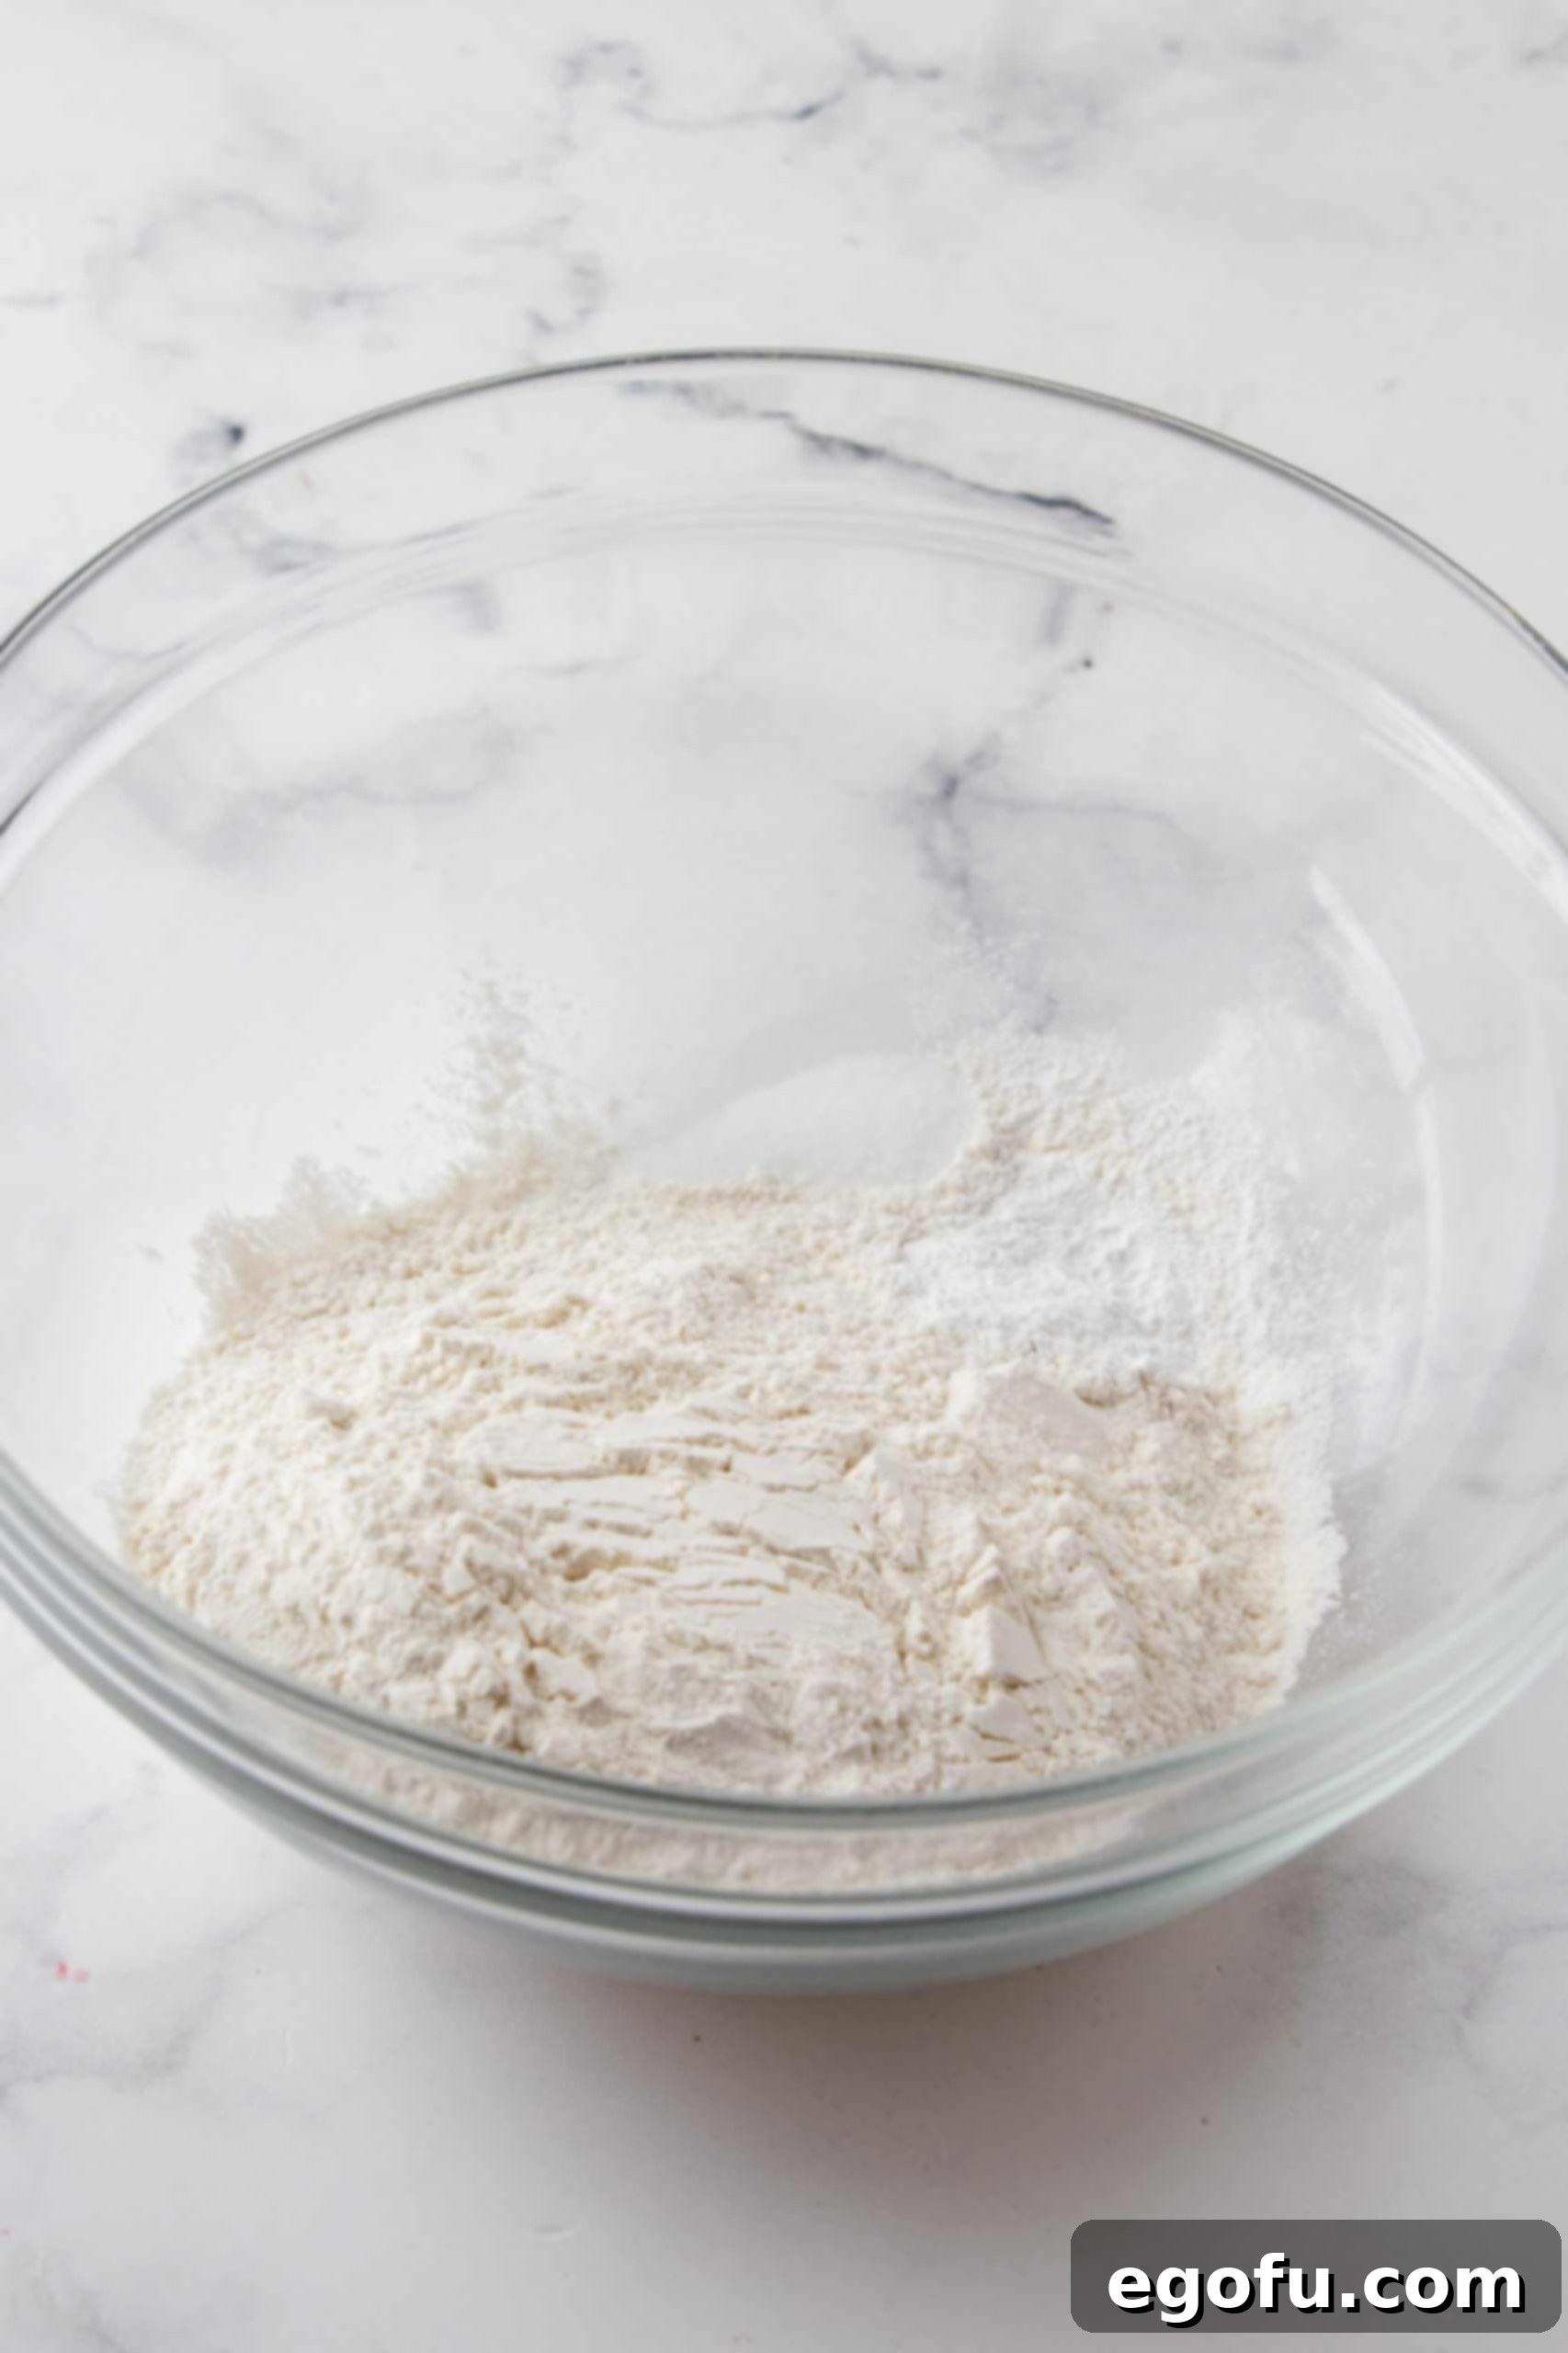
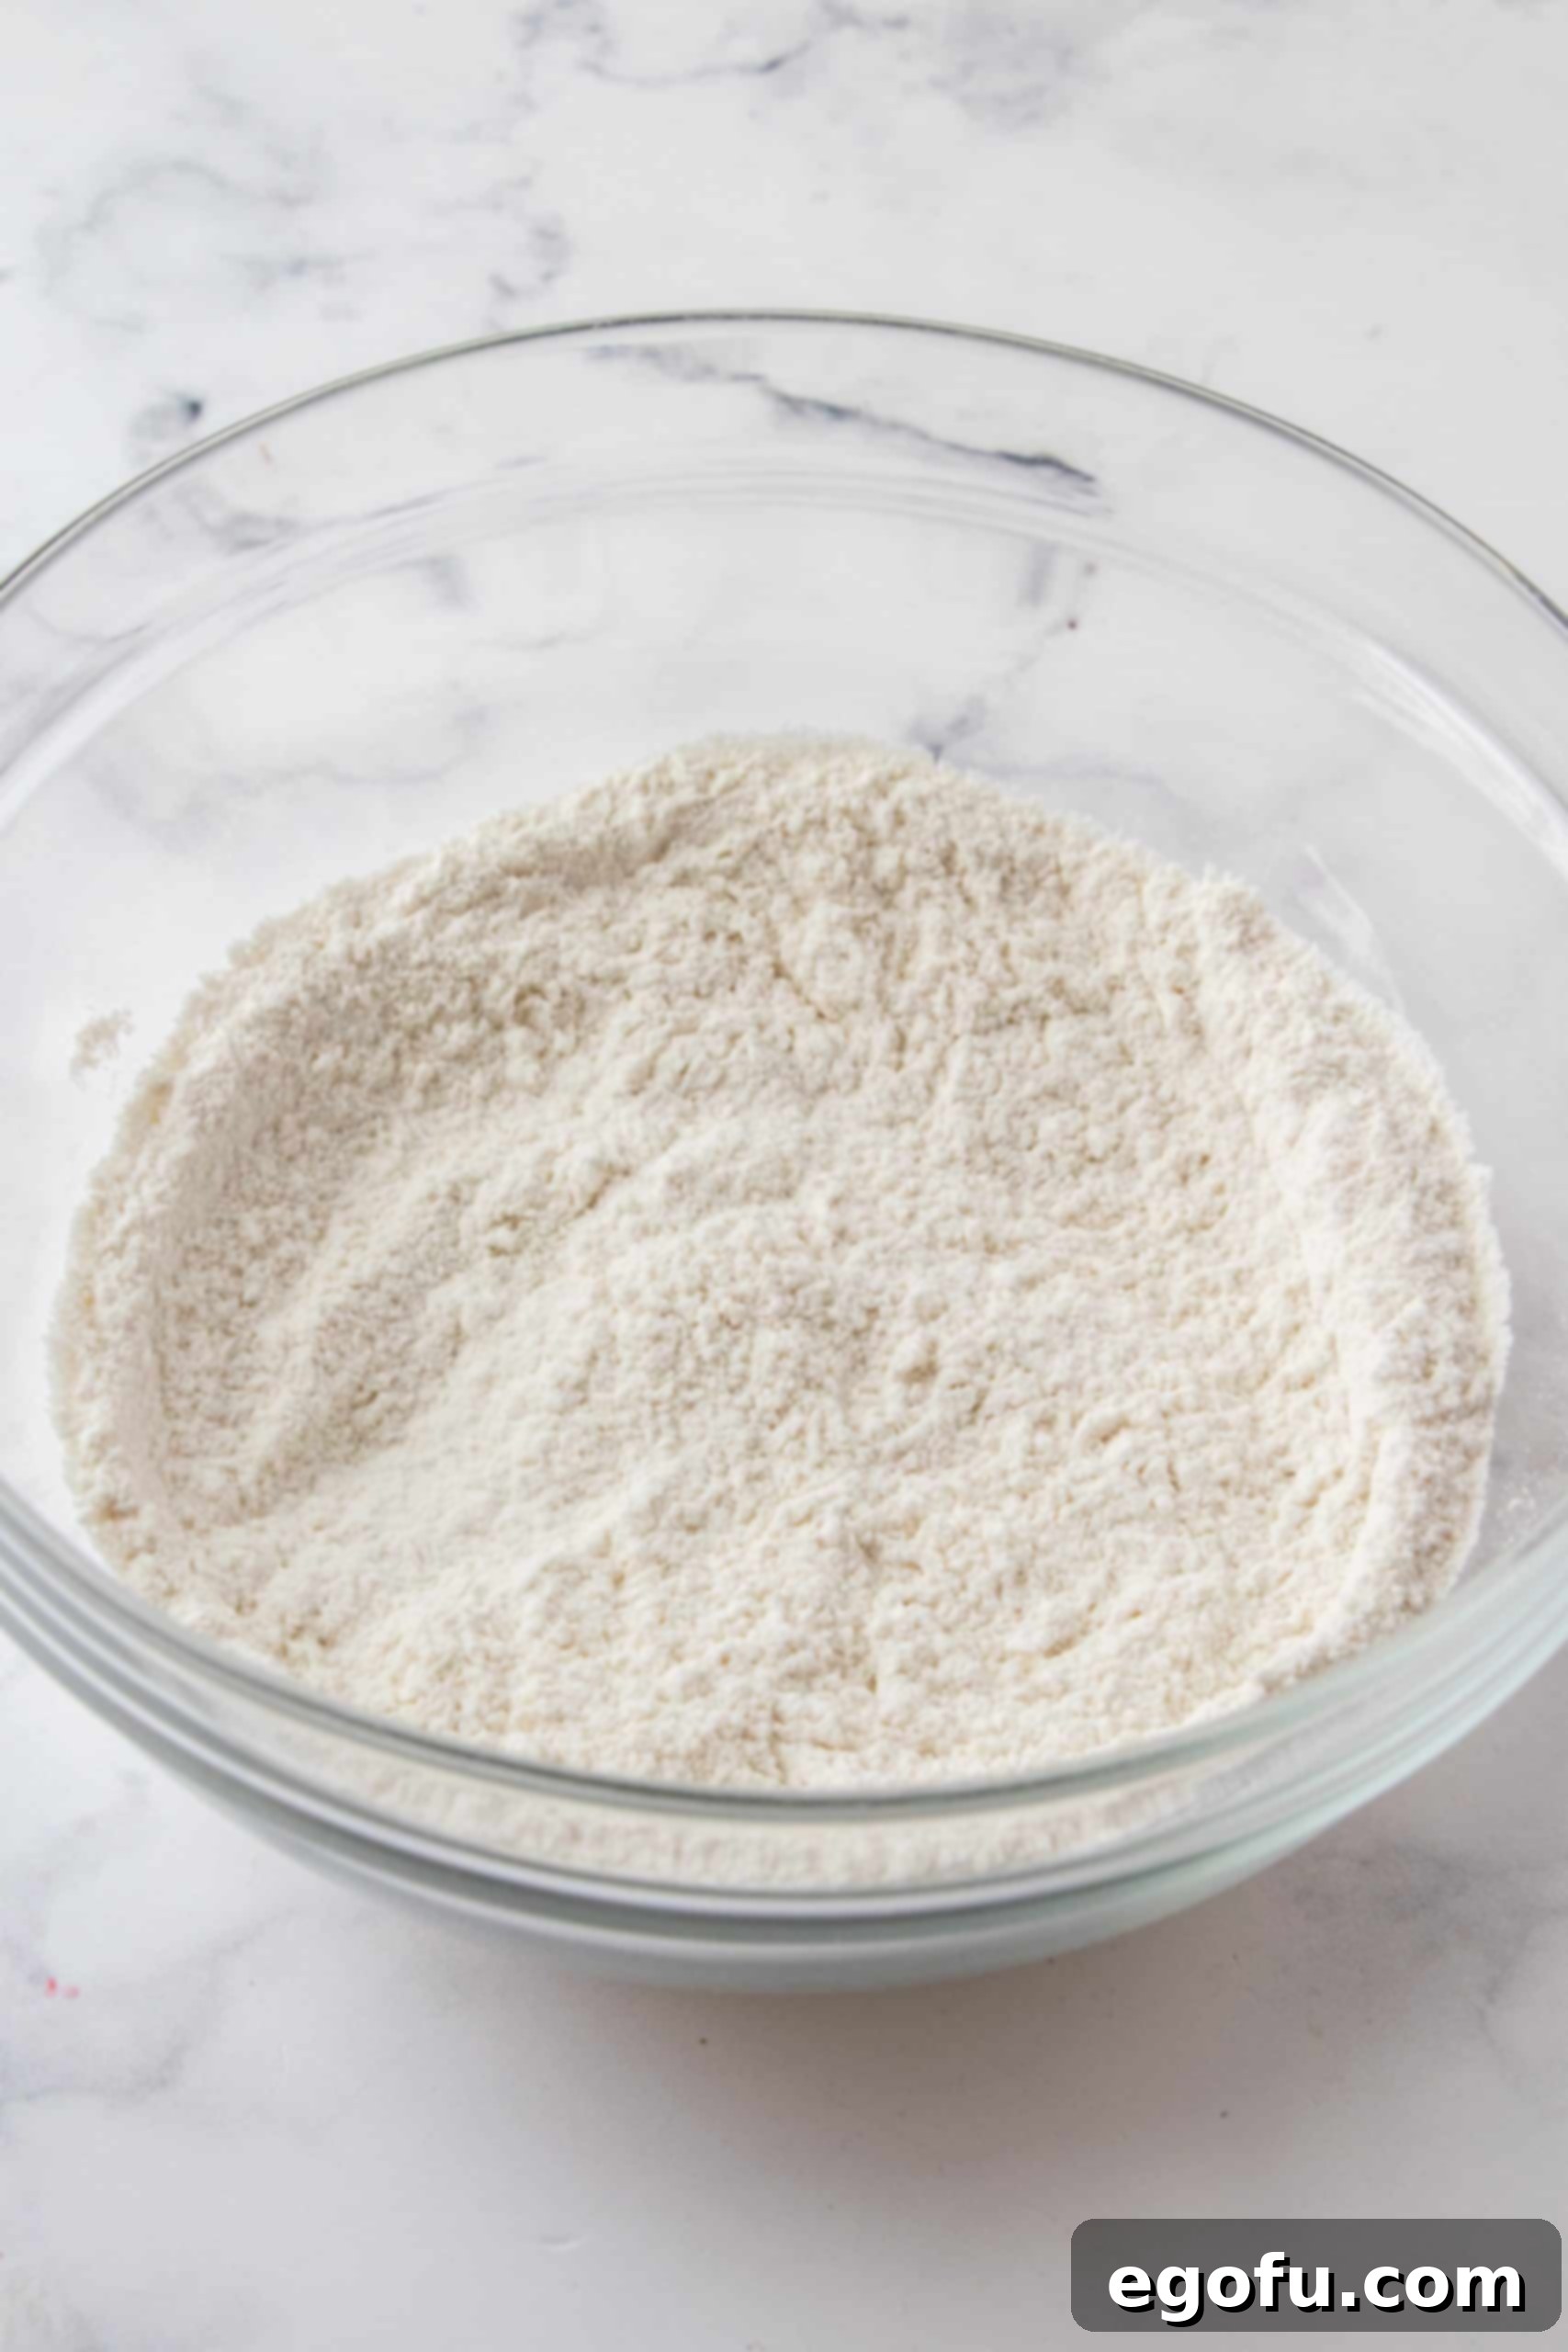
- Combine Dry Ingredients: In a large mixing bowl, whisk together the 1⅓ cups of all-purpose flour, 1 teaspoon of baking powder, and ¼ teaspoon of salt. Whisk until all the dry ingredients are uniformly combined, then set this bowl aside.
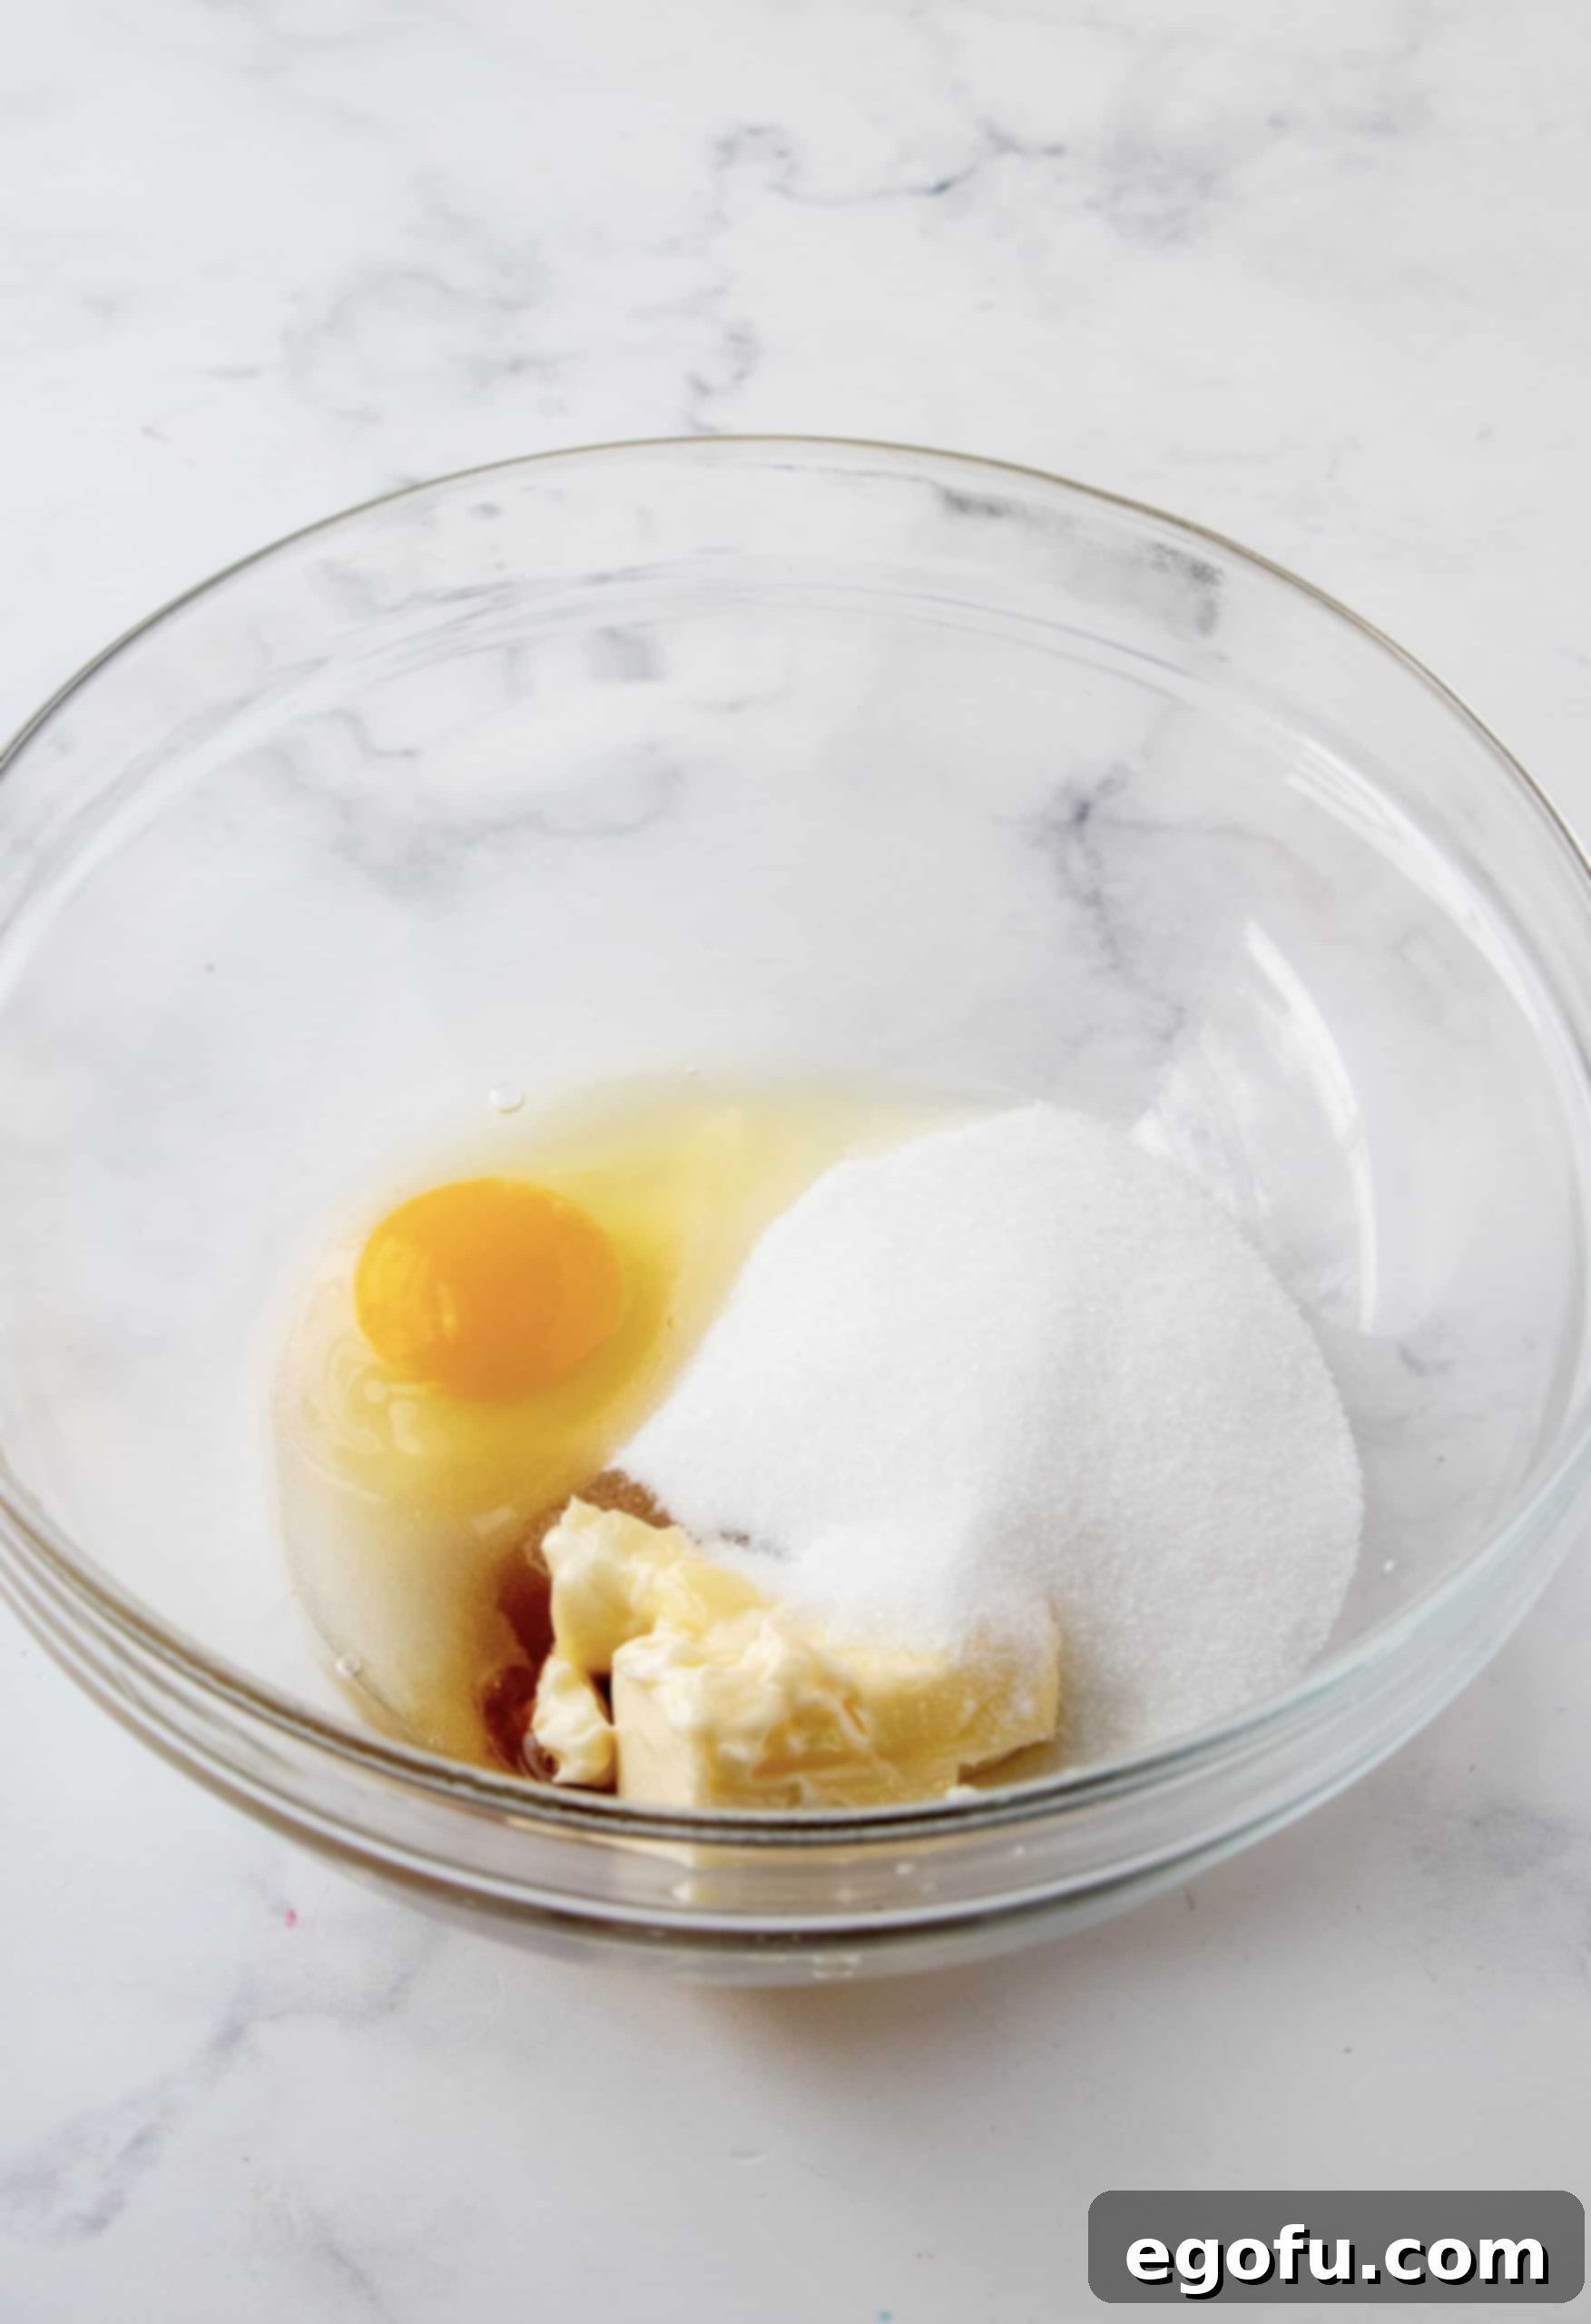
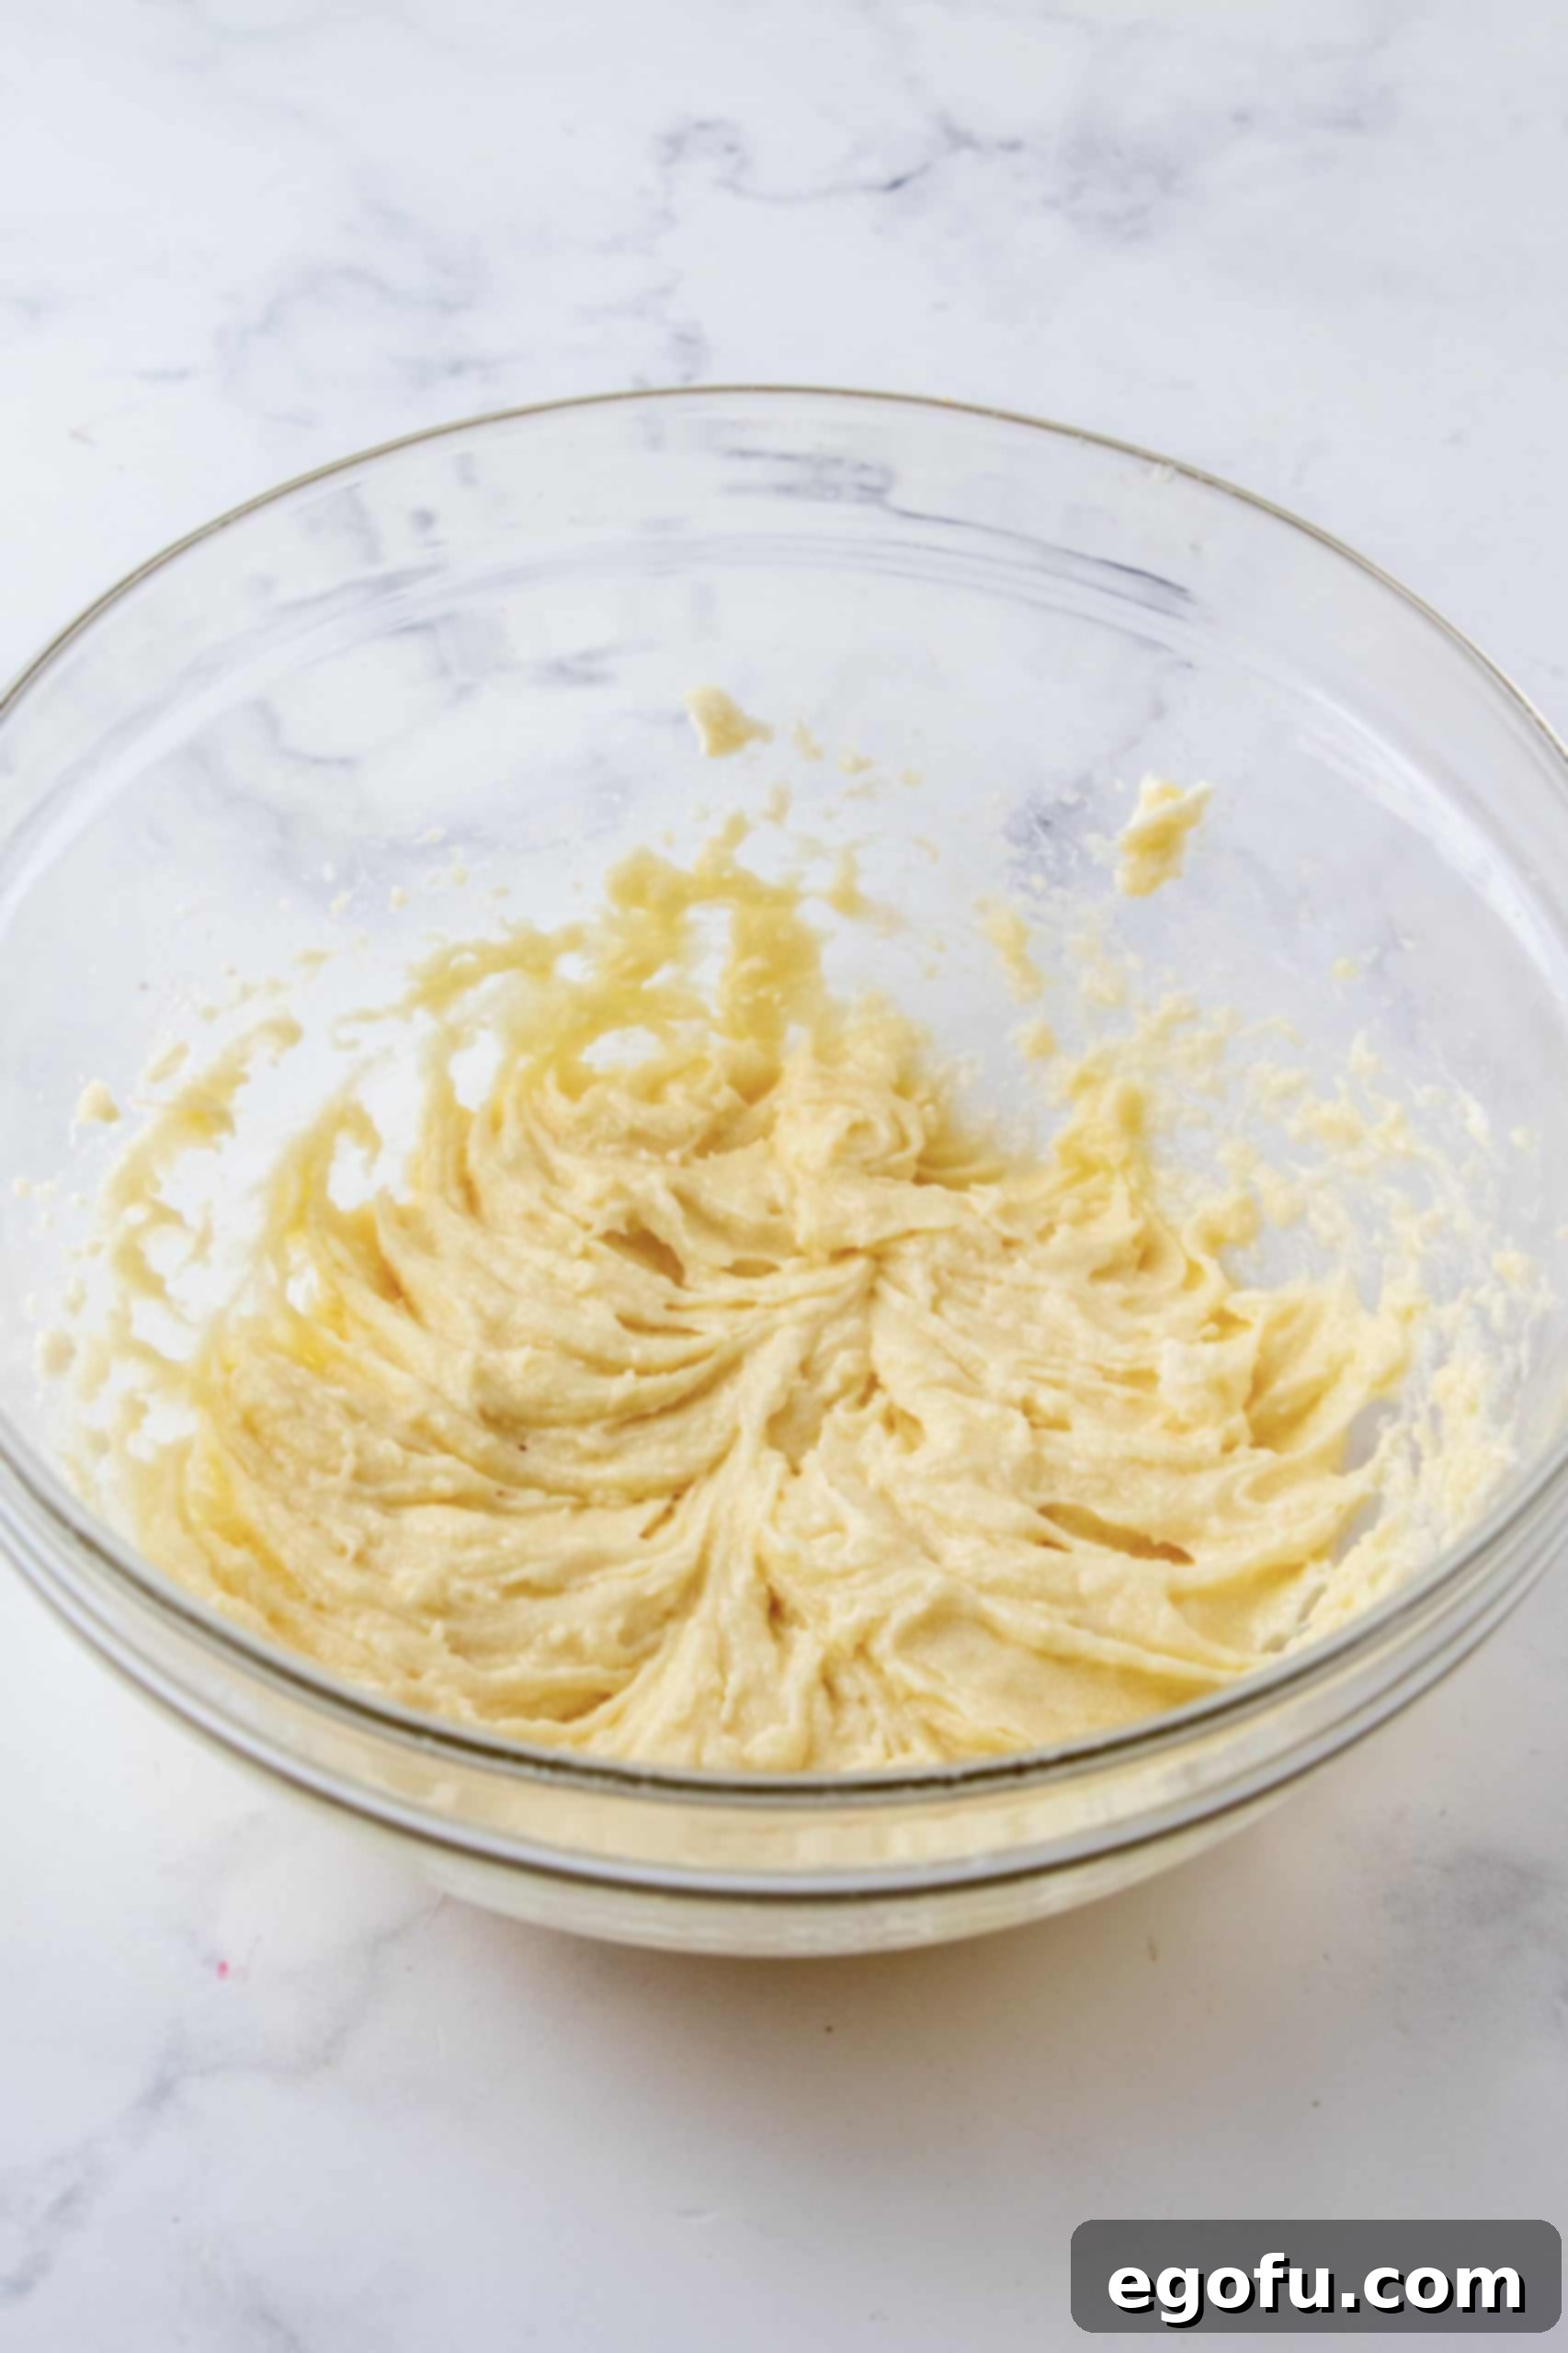
- Cream Wet Ingredients: In a separate, medium-sized bowl, combine the ¼ cup of unsalted butter (softened to room temperature), ¾ cup of granulated sugar, 1 large egg, and 1½ teaspoons of vanilla extract. Using an electric mixer, beat these ingredients together on medium speed until the mixture is light, creamy, and well combined. This process incorporates air, which contributes to the cake’s tender texture.
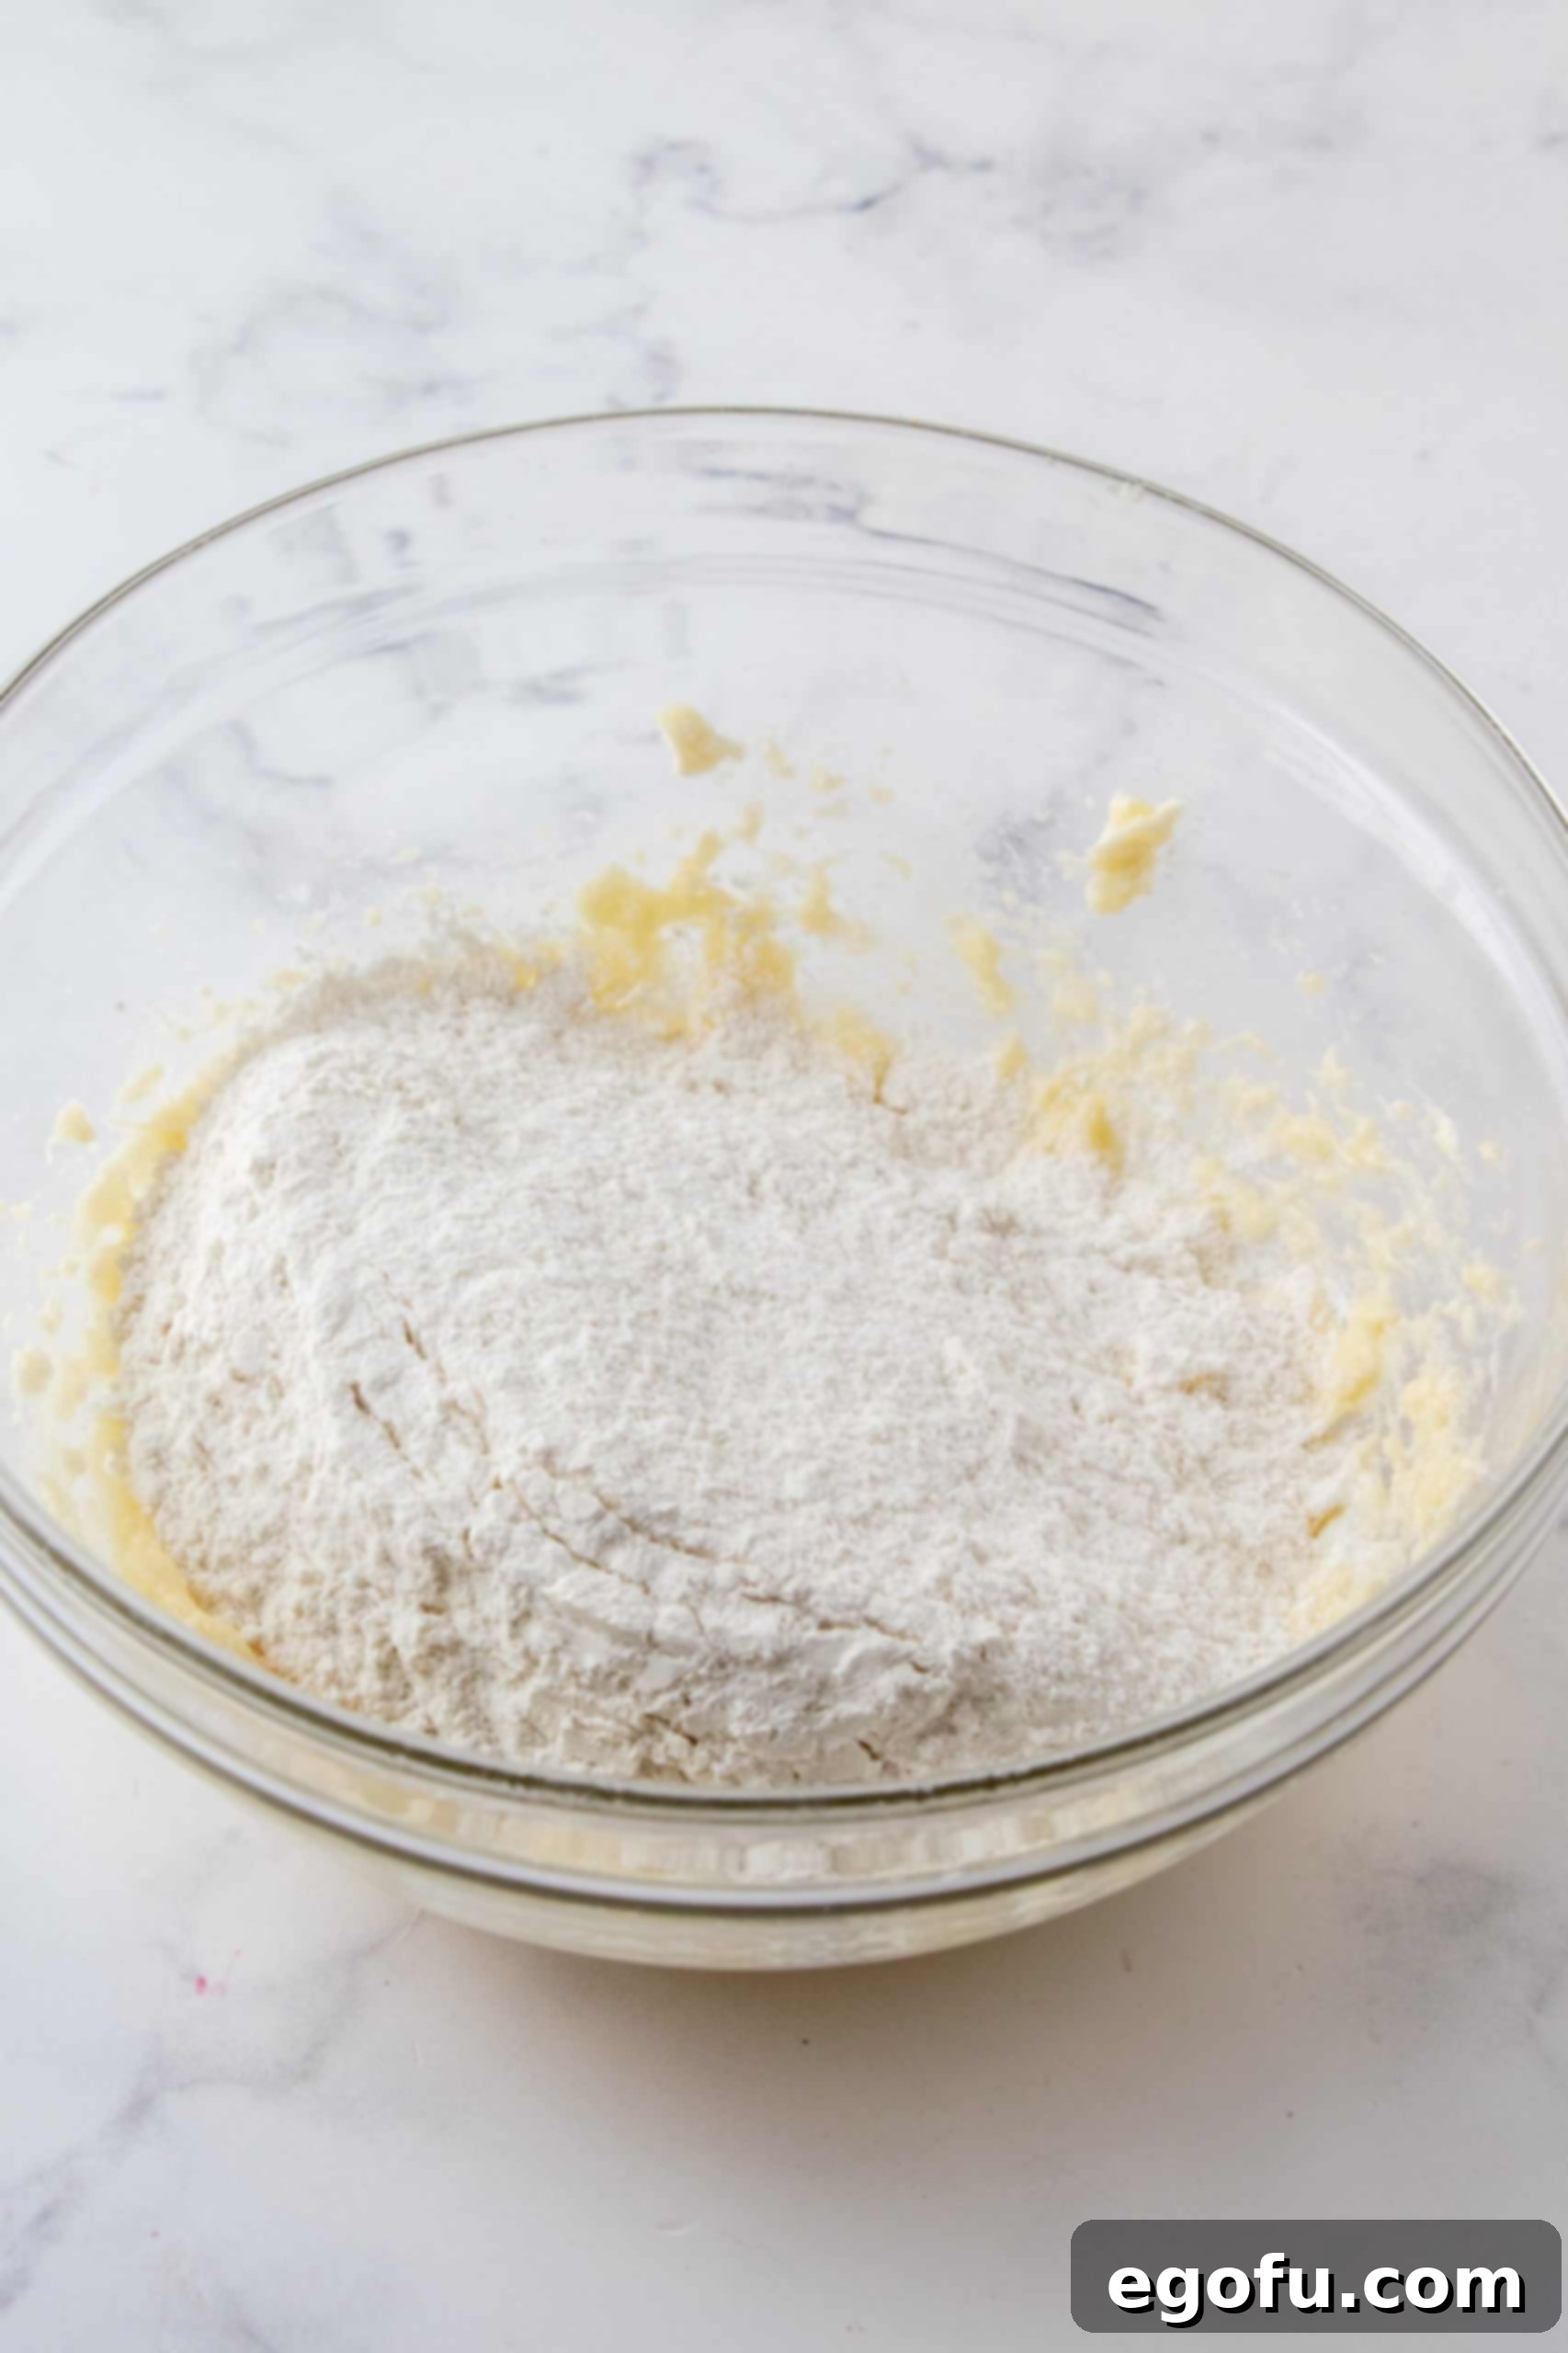
- Combine Dry and Wet Mixtures: Gradually add the whisked dry ingredients into the creamy butter mixture. Beat on low speed until just combined. At this point, the mixture will appear somewhat crumbly, which is completely normal and expected before the final liquid is added. Do not overmix.
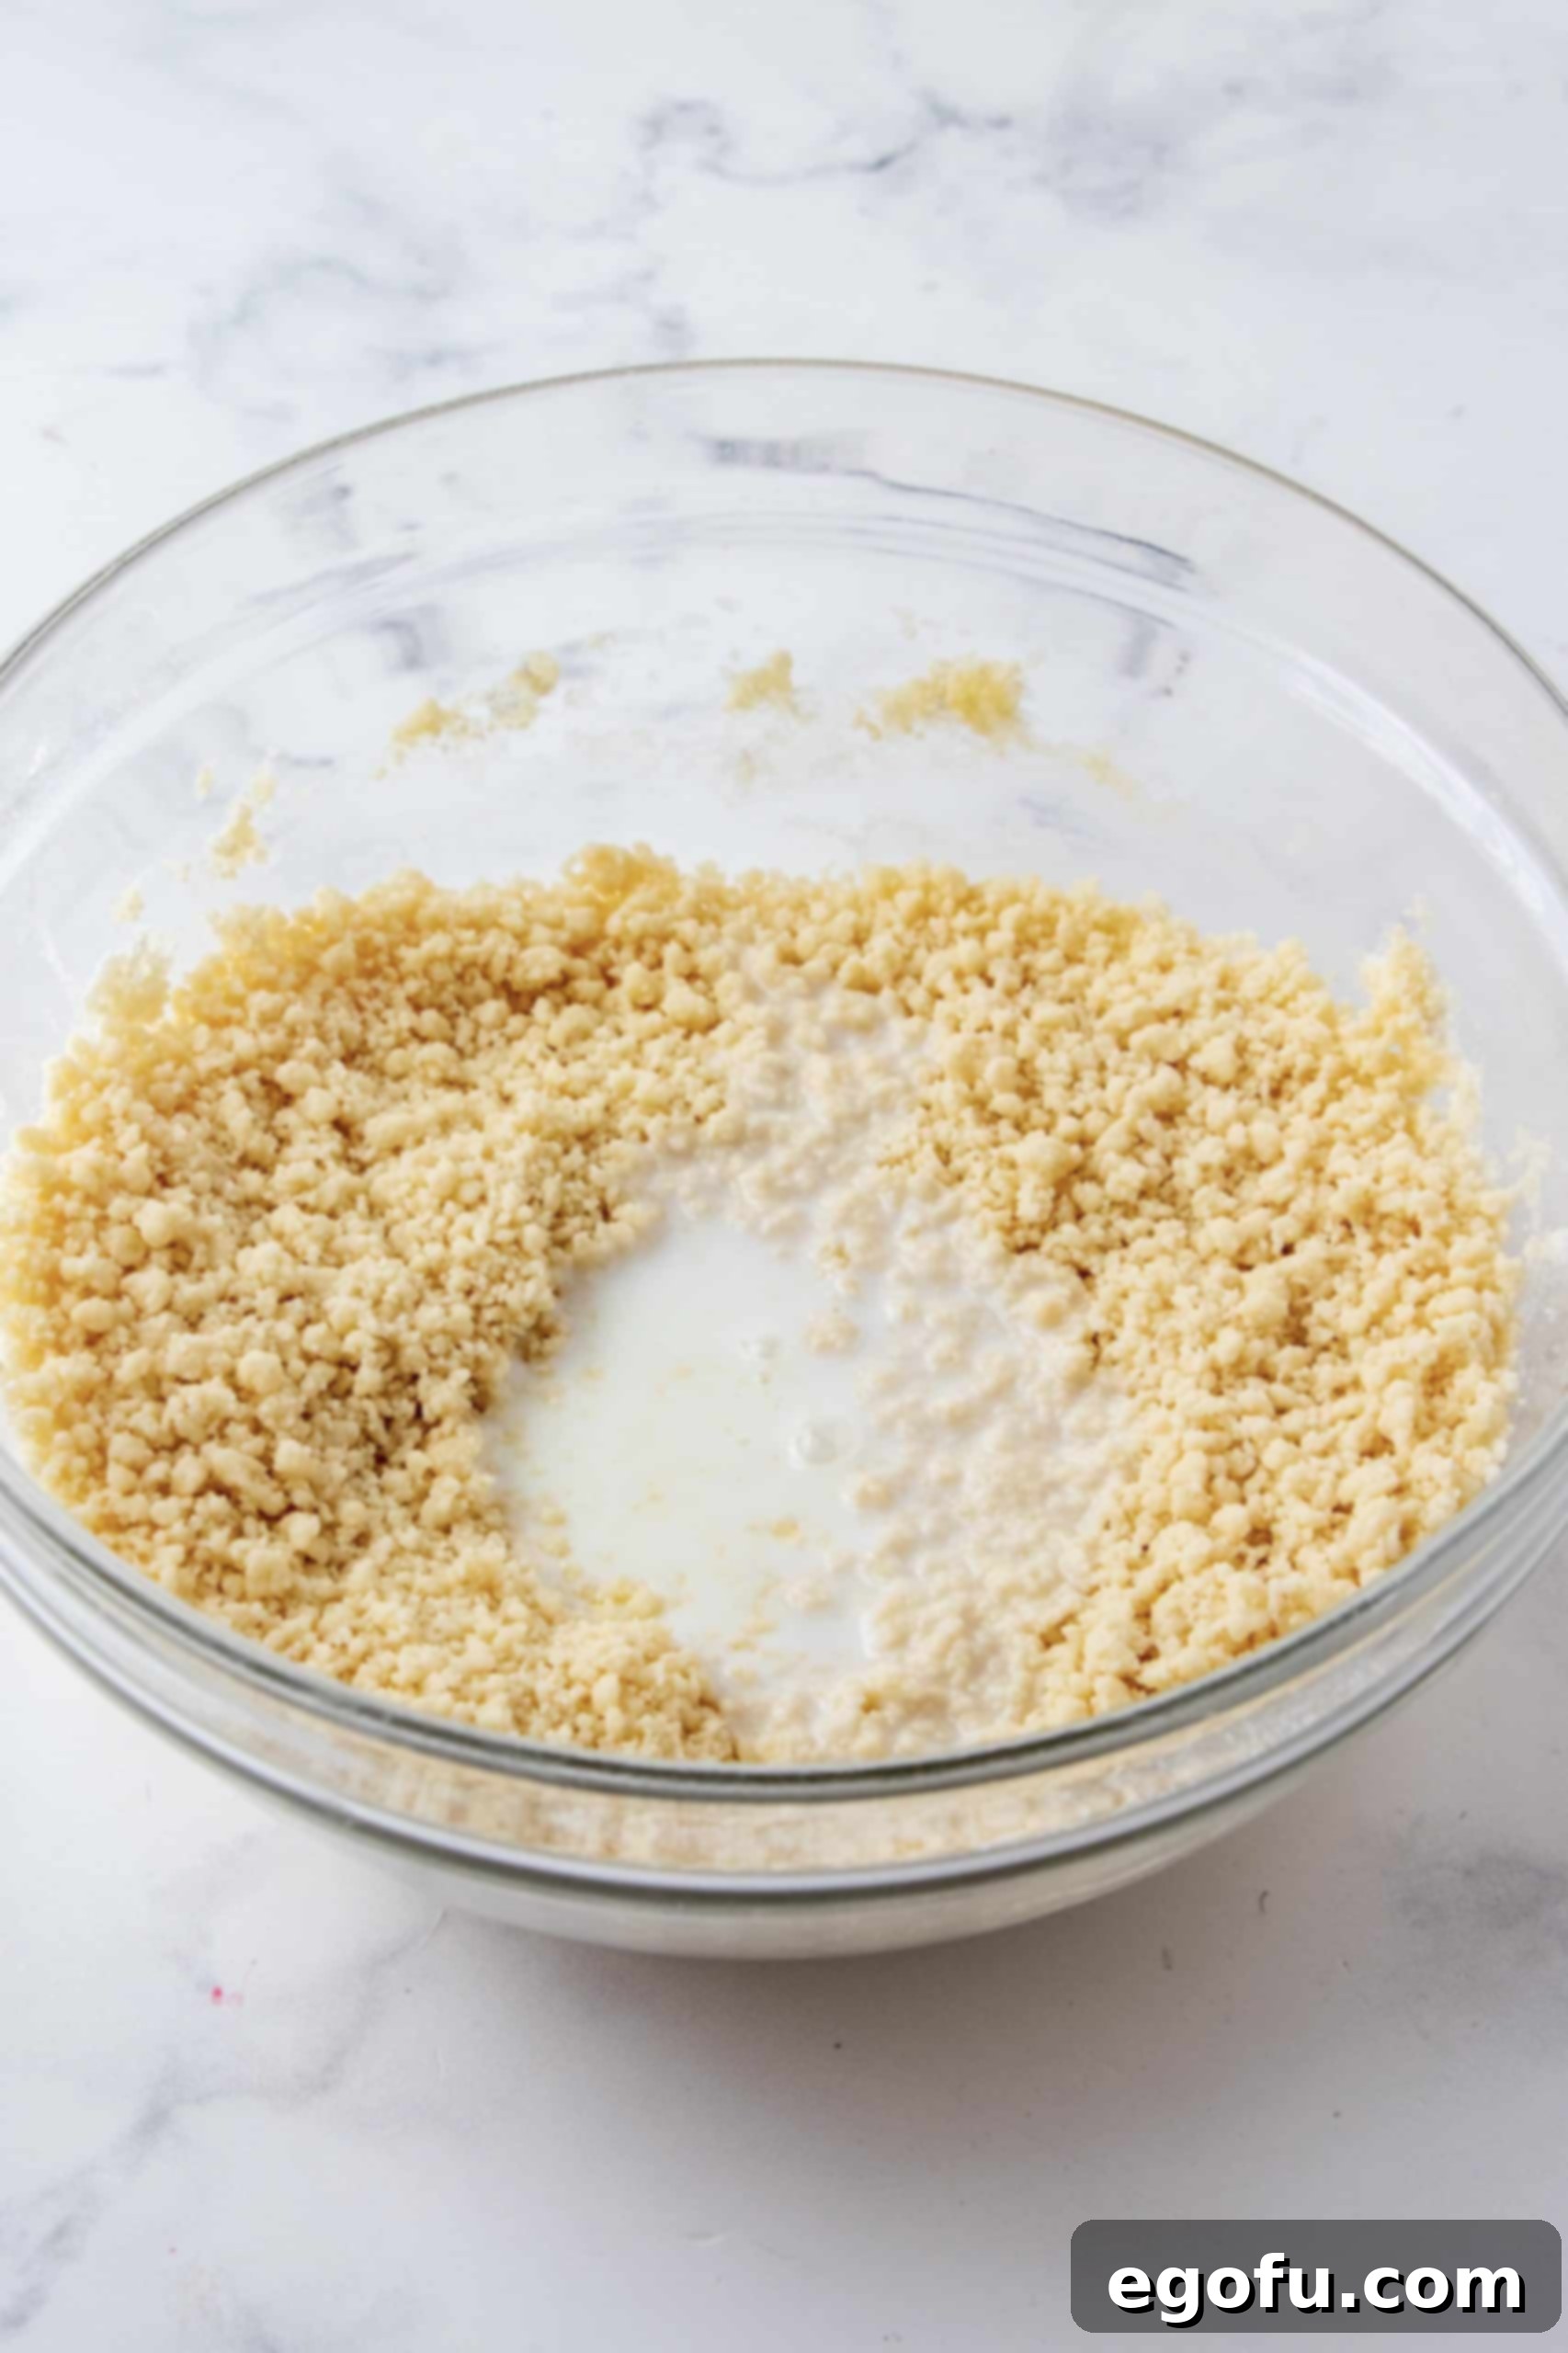
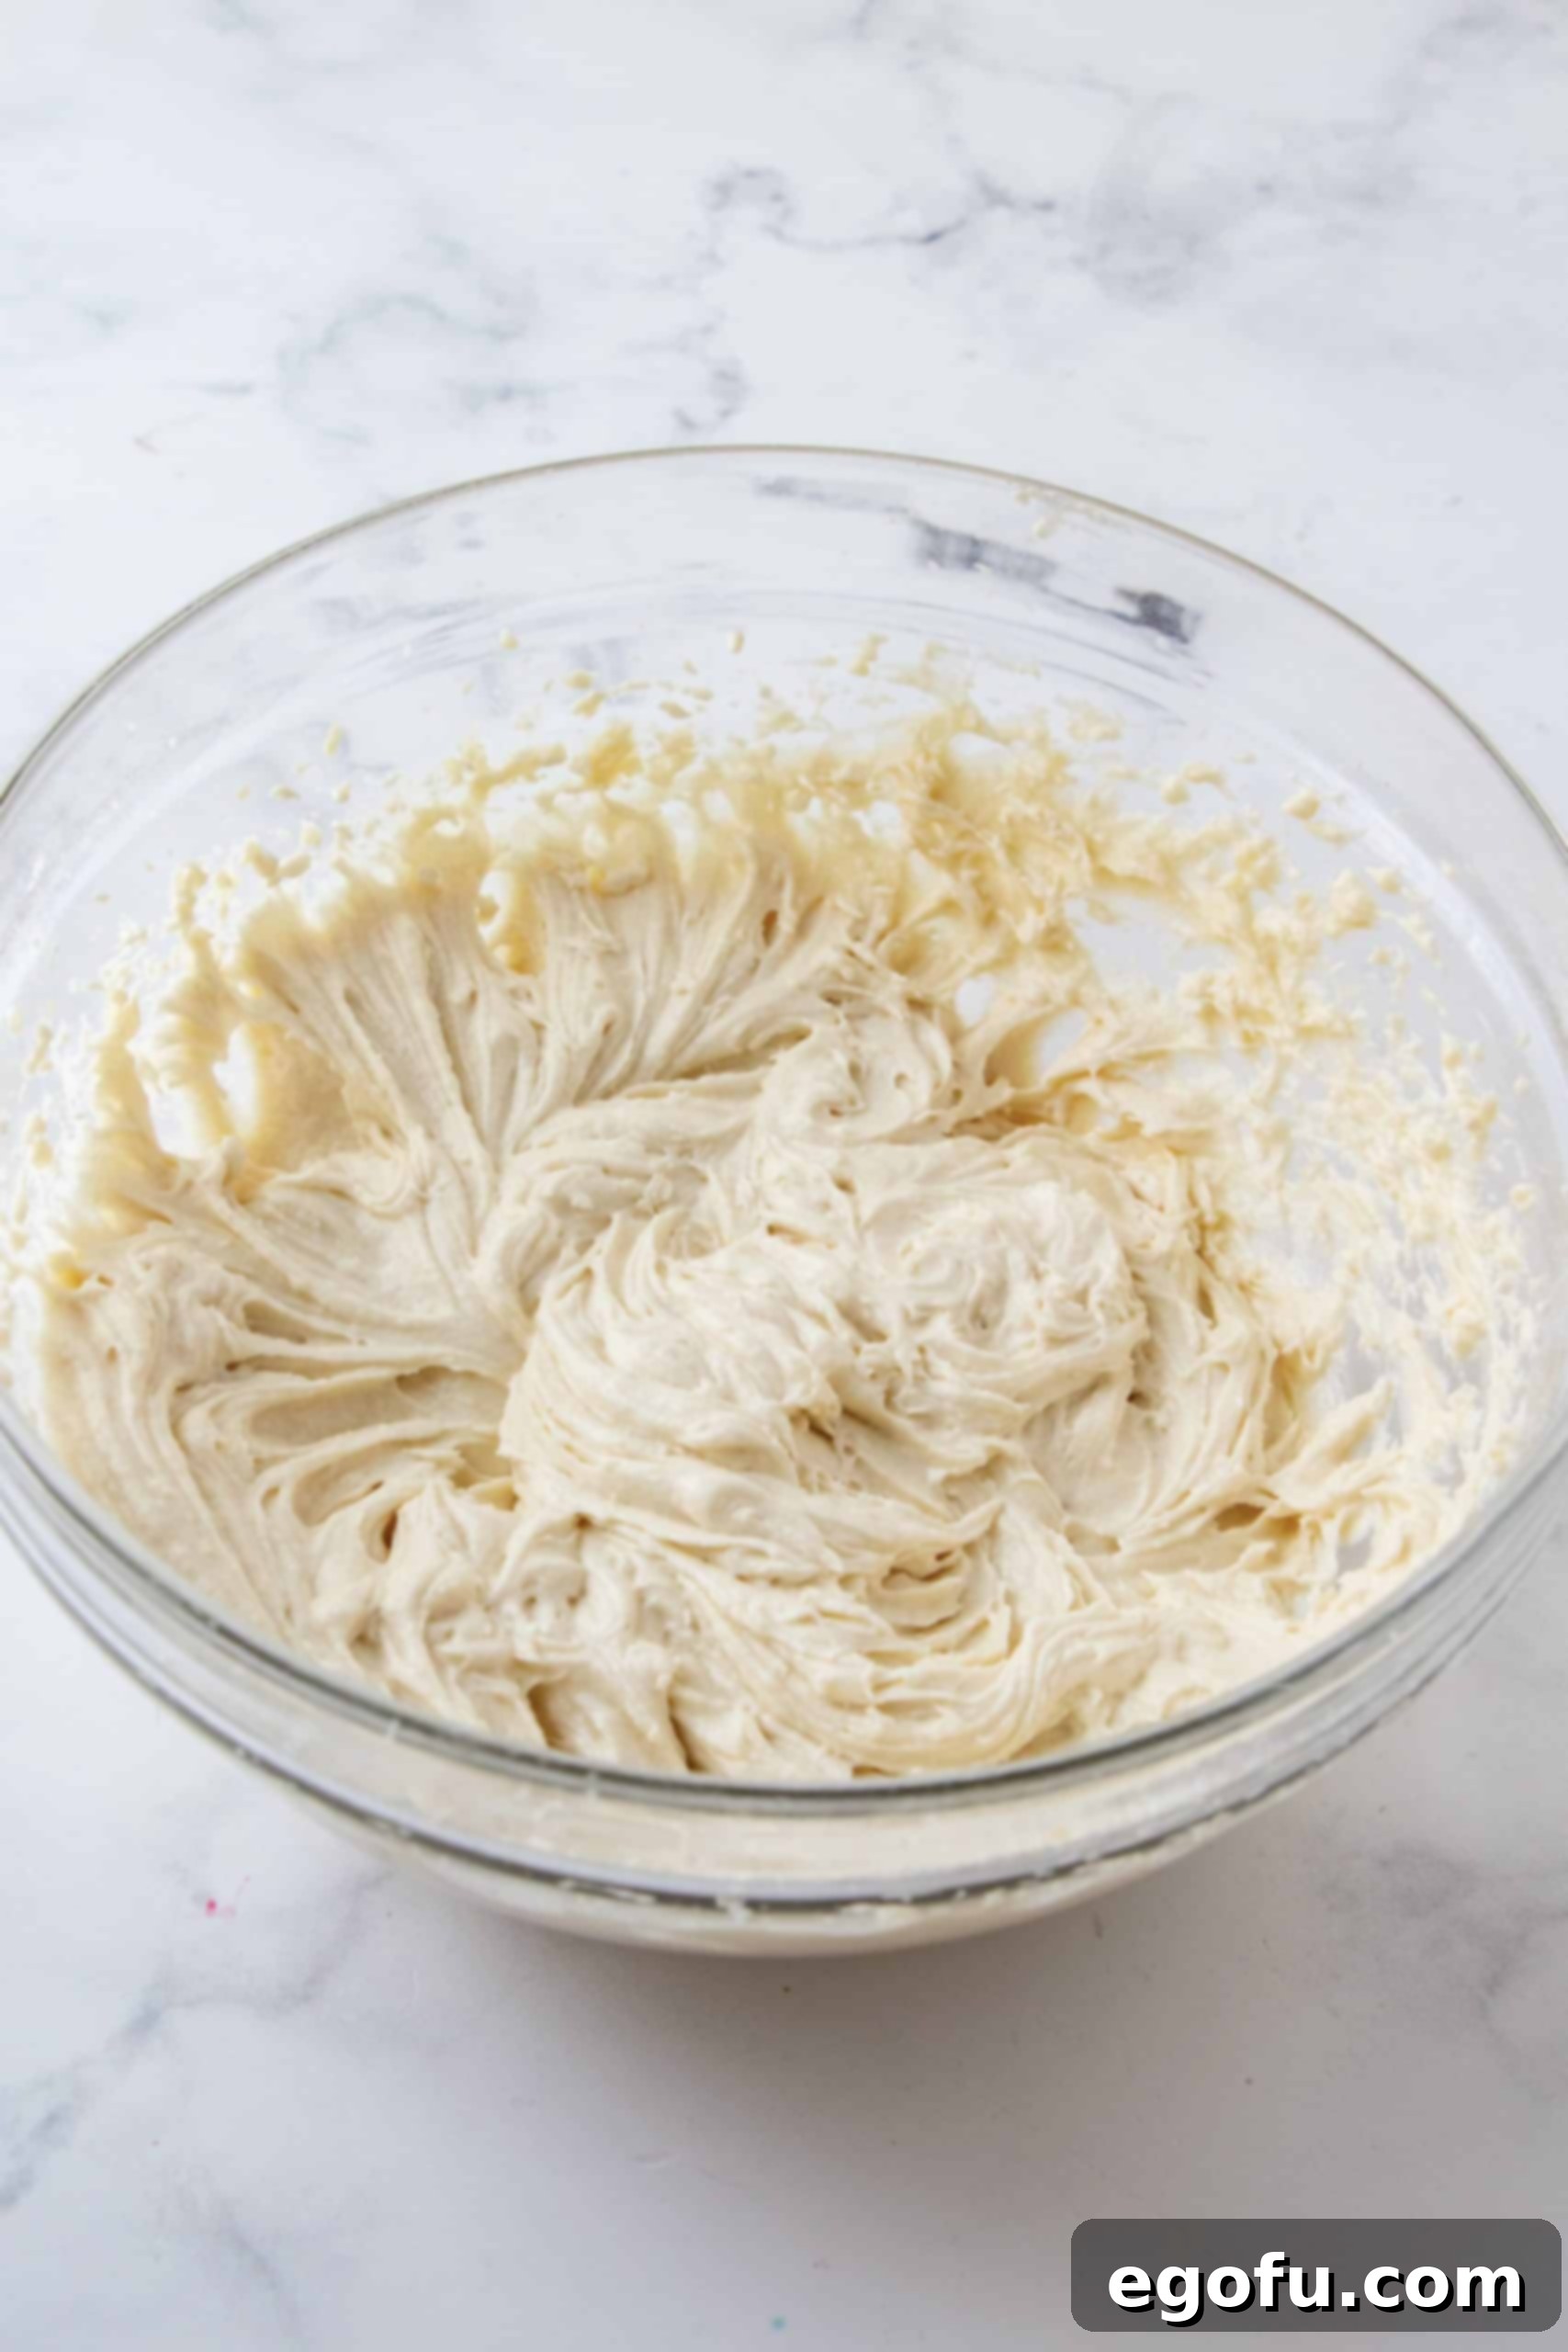
- Incorporate the Milk: Finally, pour in the ½ cup of milk. Continue beating on low speed until the milk is fully incorporated and the batter becomes smooth and creamy. Be careful not to overmix the batter at this stage.
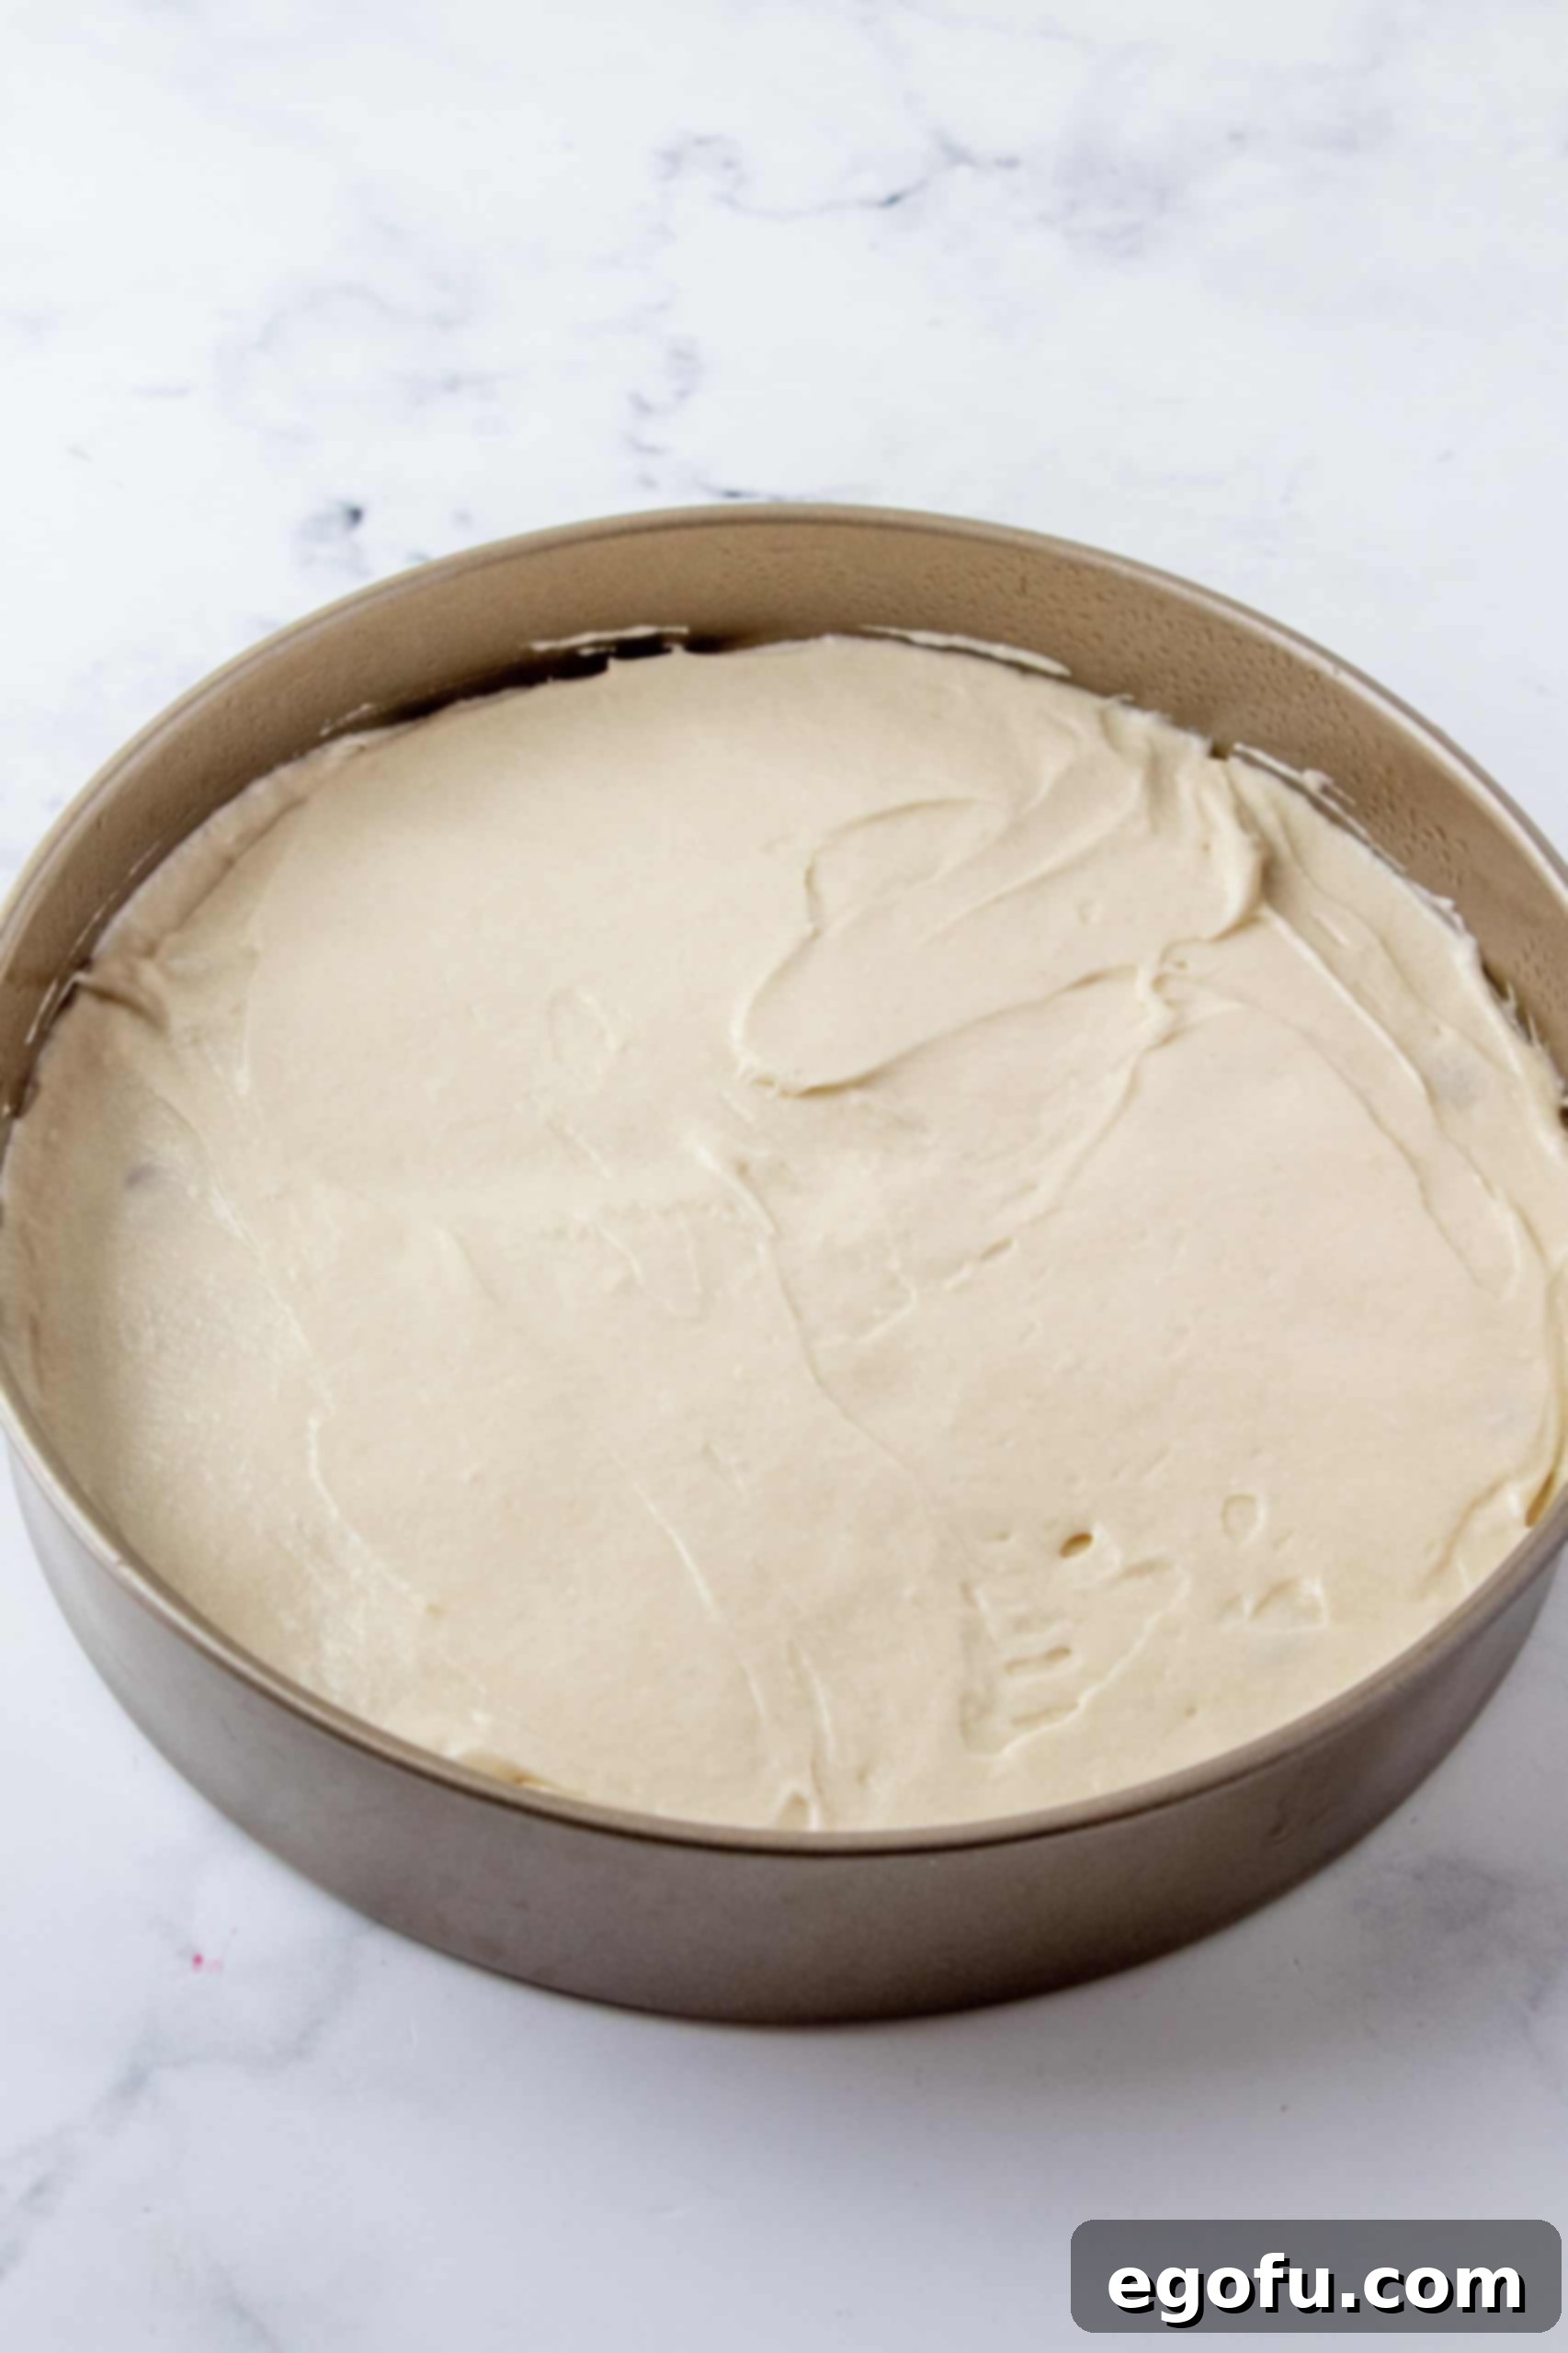
- Layer the Batter: Gently spoon the thick cake batter over the even layer of raspberries in the prepared pan. Use an offset spatula or the back of a spoon to carefully spread the batter evenly to the edges, being mindful not to disturb the raspberries too much.
- Bake to Golden Perfection: Place the cake in your preheated oven and bake for approximately 35-40 minutes. Baking times can vary depending on your oven, so start checking at 35 minutes. The cake is done when the top is golden brown and a wooden toothpick inserted into the center comes out clean, with no wet batter clinging to it.
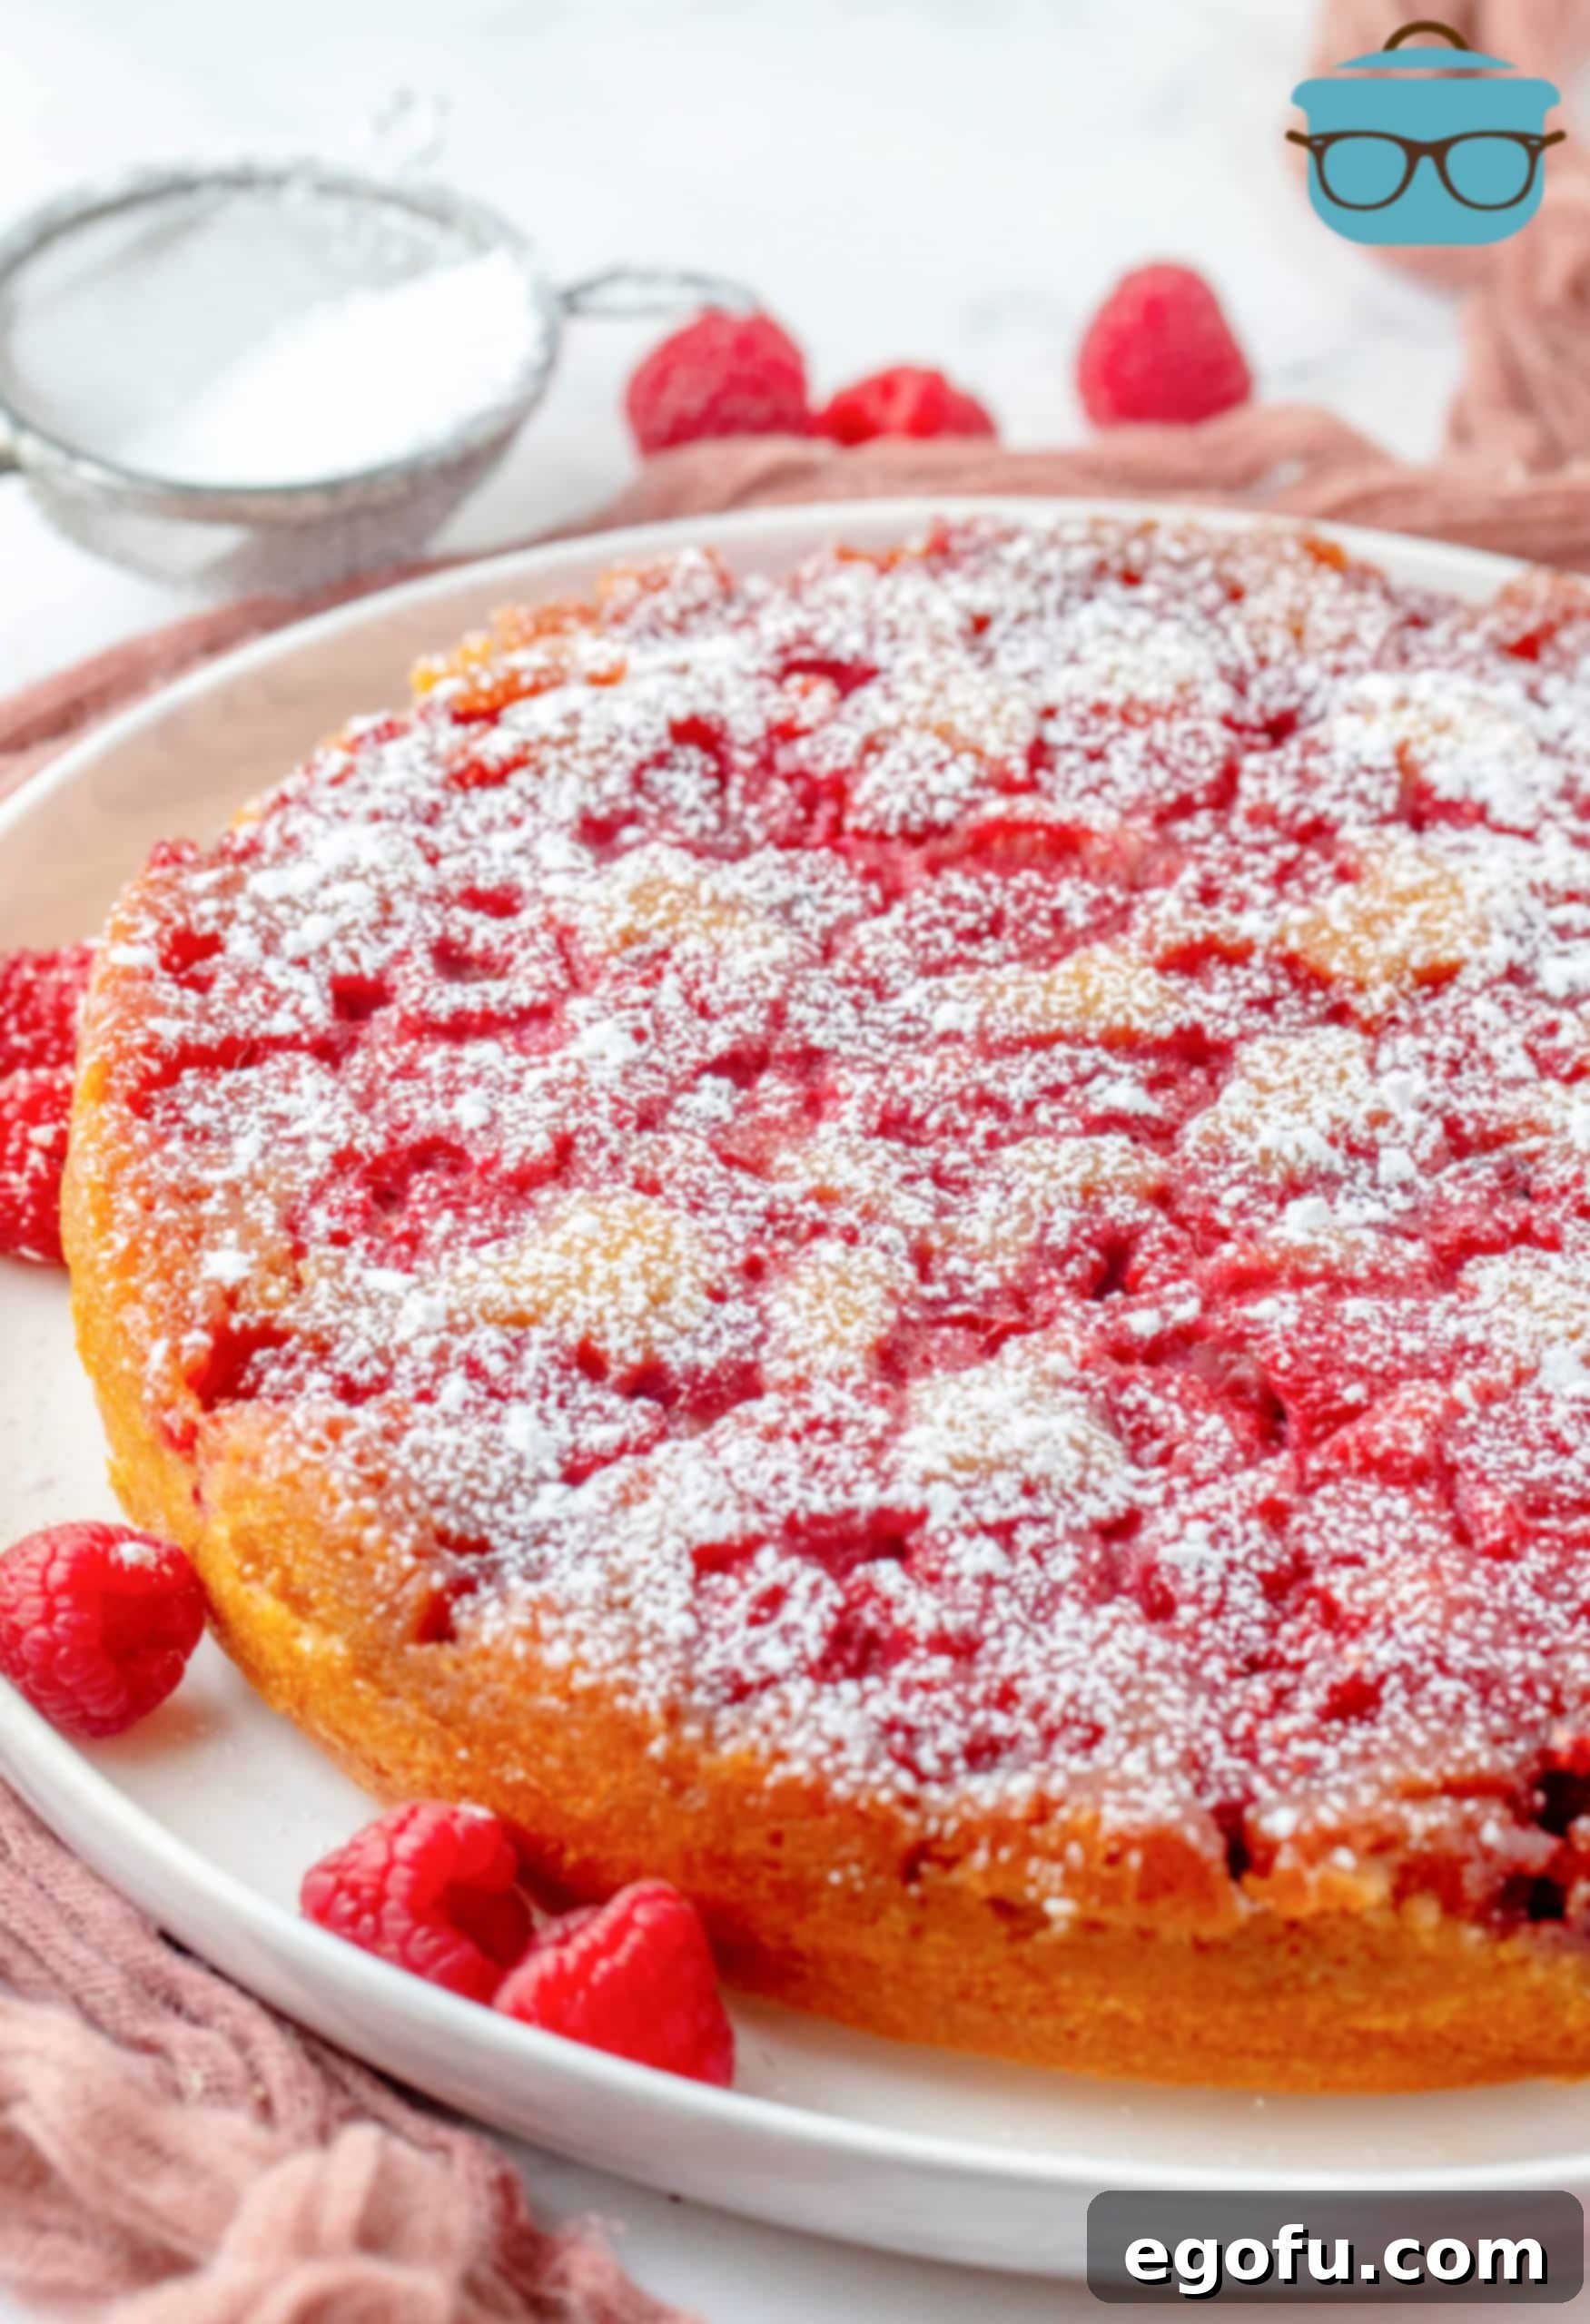
- Cool and Invert: Once baked, remove the cake from the oven. This next step is crucial: let the cake cool in the pan for 10 minutes (no less than 5 minutes, but 10 is ideal). This cooling period allows the brown sugar topping to firm up and set, ensuring it doesn’t separate from the cake during inversion. After 10 minutes, run a thin knife carefully along the edges of the pan to loosen the cake. Place a serving platter upside down over the pan, and with a quick, confident motion, invert the cake onto the platter. The beautiful raspberry and caramel topping will now be facing upwards!
- Final Touches: Allow the cake to cool further on the serving platter. Once cooled to your desired temperature, dust the top with powdered sugar, if desired, for a final touch of elegance. Serve warm or at room temperature, perhaps with a scoop of vanilla ice cream or a dollop of whipped cream for an extra special treat.
Preserving Freshness: How to Store Your Raspberry Upside Down Cake
Proper storage is key to enjoying your delicious Raspberry Upside Down Cake for as long as possible. Here’s how to keep it fresh:
- Room Temperature: If you plan to consume the cake within 2-3 days, it can be safely stored at room temperature. Ensure it is well-covered with plastic wrap or placed in an airtight container to prevent it from drying out. The moisture from the fruit and caramel topping helps keep it fresh.
- Refrigeration: For longer storage, you can refrigerate the cake. Again, make sure it is tightly covered with plastic wrap or stored in an airtight container. When refrigerated, your Raspberry Upside Down Cake will remain fresh and delicious for about 5-6 days. Bring it to room temperature or gently warm a slice before serving for the best flavor and texture.
- Freezing Not Recommended: Due to the delicate nature of the fresh raspberries and the caramel topping, freezing this particular upside-down cake is generally not recommended. Freezing can alter the texture of the fruit, making it mushy upon thawing, and the caramel topping might crystallize or separate, affecting the overall quality and presentation of the cake.
Frequently Asked Questions (FAQs) About Raspberry Upside Down Cake
- Can I use frozen raspberries instead of fresh? Yes, you can! If using frozen raspberries, do not thaw them completely before placing them in the pan. Arrange them still frozen or slightly thawed; they will release moisture as they bake, which can add to the delicious caramel sauce.
- What kind of pan is best for an upside-down cake? A 9-inch round cake pan with high sides is ideal. A springform pan can also be used, but remember to wrap the bottom with foil to catch any butter/sugar leaks.
- How do I know when the cake is fully baked? The best way is to insert a wooden toothpick into the center of the cake. If it comes out clean, the cake is done. If there’s wet batter, continue baking for a few more minutes and test again. Oven temperatures can vary, so always trust the toothpick test!
- Can I make this cake ahead of time for an event? Absolutely! This cake holds up beautifully. You can bake it a day in advance and store it at room temperature (covered) or in the refrigerator. It often tastes even better the next day as the flavors meld.
- Why is my cake sticking to the pan when I try to invert it? The most common reason is not allowing enough cooling time in the pan. The brown sugar caramel needs to set for at least 5-10 minutes. Also, ensure you greased your pan thoroughly and consider using parchment paper on the bottom for an extra non-stick layer.
- What other fruits can I use in an upside-down cake? This recipe is incredibly versatile! Besides raspberries, popular choices include sliced pineapple, peaches, apples, blueberries, or even a mix of berries. Just make sure the fruit is not excessively watery.
Craving More Delicious Recipes?
- Banana Upside Down Cake
- Strawberry Upside Down Cake
- Raspberry Chocolate Tart
- Raspberry Honey Butter
- Raspberry White Chocolate Muffins
- Raspberry Crumble
- Raspberry White Chocolate Cookies
- Raspberry Fluff
Raspberry Upside Down Cake
Fun, flavorful and delicious, this Raspberry Upside Down Cake is sweet with a tiny bit of tart all mixed into one. Topped with powdered sugar, each bite is more scrumptious than the last!
Prep Time: 10 minutes
Cook Time: 40 minutes
Total Time: 50 minutes
Servings: 8
Author: Brandie Skibinski
Print Recipe | Pin Recipe
Ingredients
Topping:
- ¼ cup unsalted butter, melted
- ½ cup brown sugar
- 2 heaping cups raspberries (or enough to cover bottom of pan)
Cake:
- 1 ⅓ cups all-purpose flour
- 1 teaspoon baking powder
- ¼ teaspoon salt
- ¼ cup unsalted butter, softened to room temperature
- ¾ cup granulated sugar
- 1 large egg
- 1 ½ teaspoons vanilla extract
- ½ cup milk
- powdered sugar (optional, for garnish)
Instructions
- Preheat the oven to 350°F (175°C). Spray a 9″ high-sided pan or springform pan with nonstick cooking spray. Note: If using a springform pan, place a piece of foil or bake on a sheet tray to catch any butter/sugar mixture that may leak out.
- In a medium bowl, whisk together 1/4 cup unsalted butter, melted, and 1/2 cup brown sugar until combined. Spread this mixture into the bottom of the prepared pan.
- Top the brown sugar mixture with 2 heaping cups raspberries in an even layer (ensure enough to cover the bottom of your pan). Set aside.
- In a large bowl, whisk together 1 1/3 cups all-purpose flour, 1 teaspoon baking powder, and 1/4 teaspoon salt. Set aside.
- In another bowl, beat together 1/4 cup unsalted butter, softened to room temperature, 3/4 cup granulated sugar, 1 large egg, and 1 1/2 teaspoons vanilla extract until creamy and combined.
- Add the flour mixture to the butter mixture and beat until just combined. It will look crumbly at this point, which is normal.
- Lastly, add in 1/2 cup milk and beat until incorporated and the batter is smooth.
- Spoon the batter over the raspberries and gently spread using an offset spatula as the batter is thick.
- Bake in the oven for about 35-40 minutes until golden or until a toothpick inserted into the center comes out clean. Oven times vary, so check with a toothpick first to ensure doneness.
- Remove from the oven and let cool in the pan for 10 minutes (do not skip this essential cooling time). Run a knife along the pan’s edge to ensure it is released before inverting it over a serving platter.
- Let finish cooling and dust the top with powdered sugar, if desired.
Notes
- As with all baked goods, oven times will vary. It can depend on many factors like if you used a metal or ceramic baking dish, a gas or electric oven, or what rack you baked it on. It may take longer in your oven, so always make sure you test the center of the cake with a toothpick. If any batter is on the toothpick, it’s not ready.
- You can use any fruit that you like for this cake; popular choices include blueberries, pineapple, peaches, etc.
- Make sure you use enough berries to cover the bottom of the pan for an even topping.
- Ensure you let this cool for at least 5-10 minutes before turning it out onto a serving dish. Otherwise, the brown sugar mixture won’t have time to set up properly.
- If you have any of this Raspberry Upside Down Cake remaining, you can store it at room temperature (covered with plastic wrap or in an airtight container) for 2-3 days. Or you can refrigerate it properly stored for 5-6 days. Freezing is not recommended.
Course: Dessert
Cuisine: American
Nutrition
Calories: 338kcal | Carbohydrates: 53g | Protein: 4g | Fat: 13g | Sodium: 144mg | Fiber: 3g | Sugar: 34g
Nutritional Disclaimer
“The Country Cook” is not a dietician or nutritionist, and any nutritional information shared is an estimate. If calorie count and other nutritional values are important to you, we recommend running the ingredients through whichever online nutritional calculator you prefer. Calories and other nutritional values can vary quite a bit depending on which brands were used.
Did you make this recipe?
Share it on Instagram @thecountrycook and mention us #thecountrycook!
