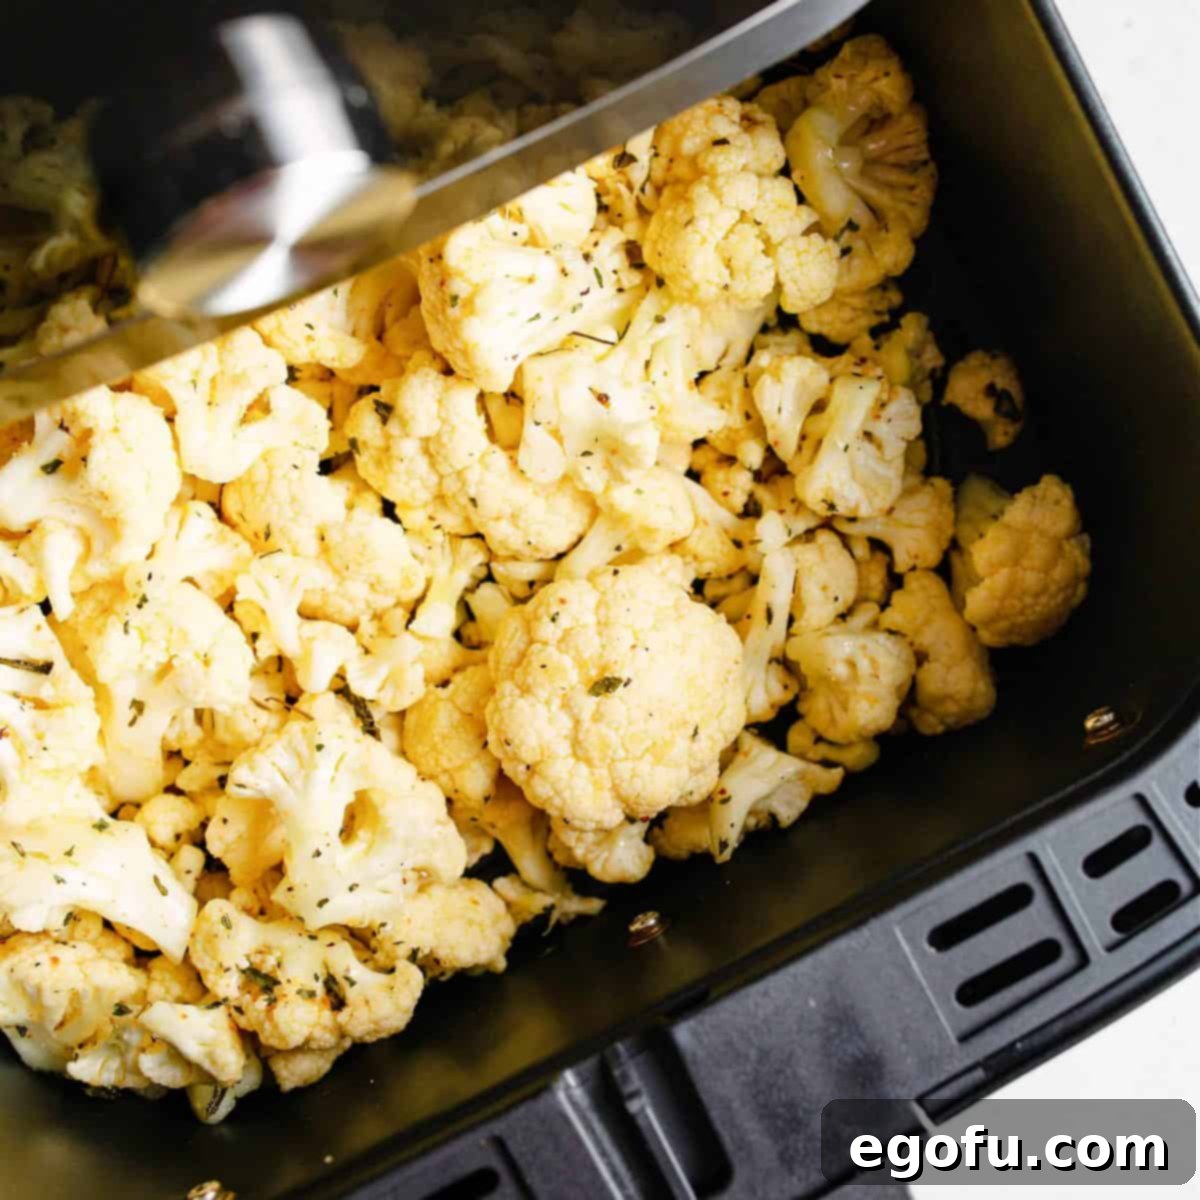
Welcome to your new favorite healthy side dish! This **Air Fryer Roasted Cauliflower**, perfectly infused with bright lemon, aromatic garlic, and fresh basil, transforms into a delightful culinary experience in mere minutes. It’s not just a dish; it’s a testament to how simple ingredients, when prepared thoughtfully, can elevate any meal. Whether you’re seeking a quick weeknight accompaniment or an impressive yet effortless addition to a special dinner, this recipe promises crispy textures and vibrant flavors that will leave everyone asking for more. Say goodbye to bland vegetables and hello to a golden, tender, and irresistibly seasoned cauliflower that’s ready in no time!
A Delicious, Healthy, and Effortless Side Dish
Cauliflower has long been celebrated as one of the most versatile and nutritious vegetables, and for good reason. From acting as a fantastic low-carb alternative in dishes like riced cauliflower and pizza crusts to starring as a stand-alone side, its neutral flavor profile makes it a perfect canvas for countless seasonings and culinary creations. This **Air Fryer Roasted Cauliflower** recipe highlights its best qualities, offering a dish that’s incredibly simple to prepare, yet bursts with light, fresh flavors that tantalize the taste buds. In today’s fast-paced world, finding kitchen appliances that simplify cooking without compromising on taste is a true gem, and my air fryer has become indispensable for just that. If you’re searching for an uncomplicated yet profoundly tasty side dish that fits seamlessly into your healthy eating goals, then look no further than this lemon, garlic, and basil-infused **Air Fryer Roasted Cauliflower**.
This recipe isn’t just about convenience; it’s about maximizing flavor and nutrition. Cauliflower is packed with vitamins C and K, fiber, and antioxidants, making it an excellent choice for a balanced diet. Roasting it in the air fryer ensures a beautiful caramelization and tender interior, while the outer florets achieve a delightful crispness that’s often hard to achieve with traditional oven roasting, especially in such a short timeframe. It’s a game-changer for anyone looking to incorporate more vegetables into their diet without sacrificing taste or spending hours in the kitchen.
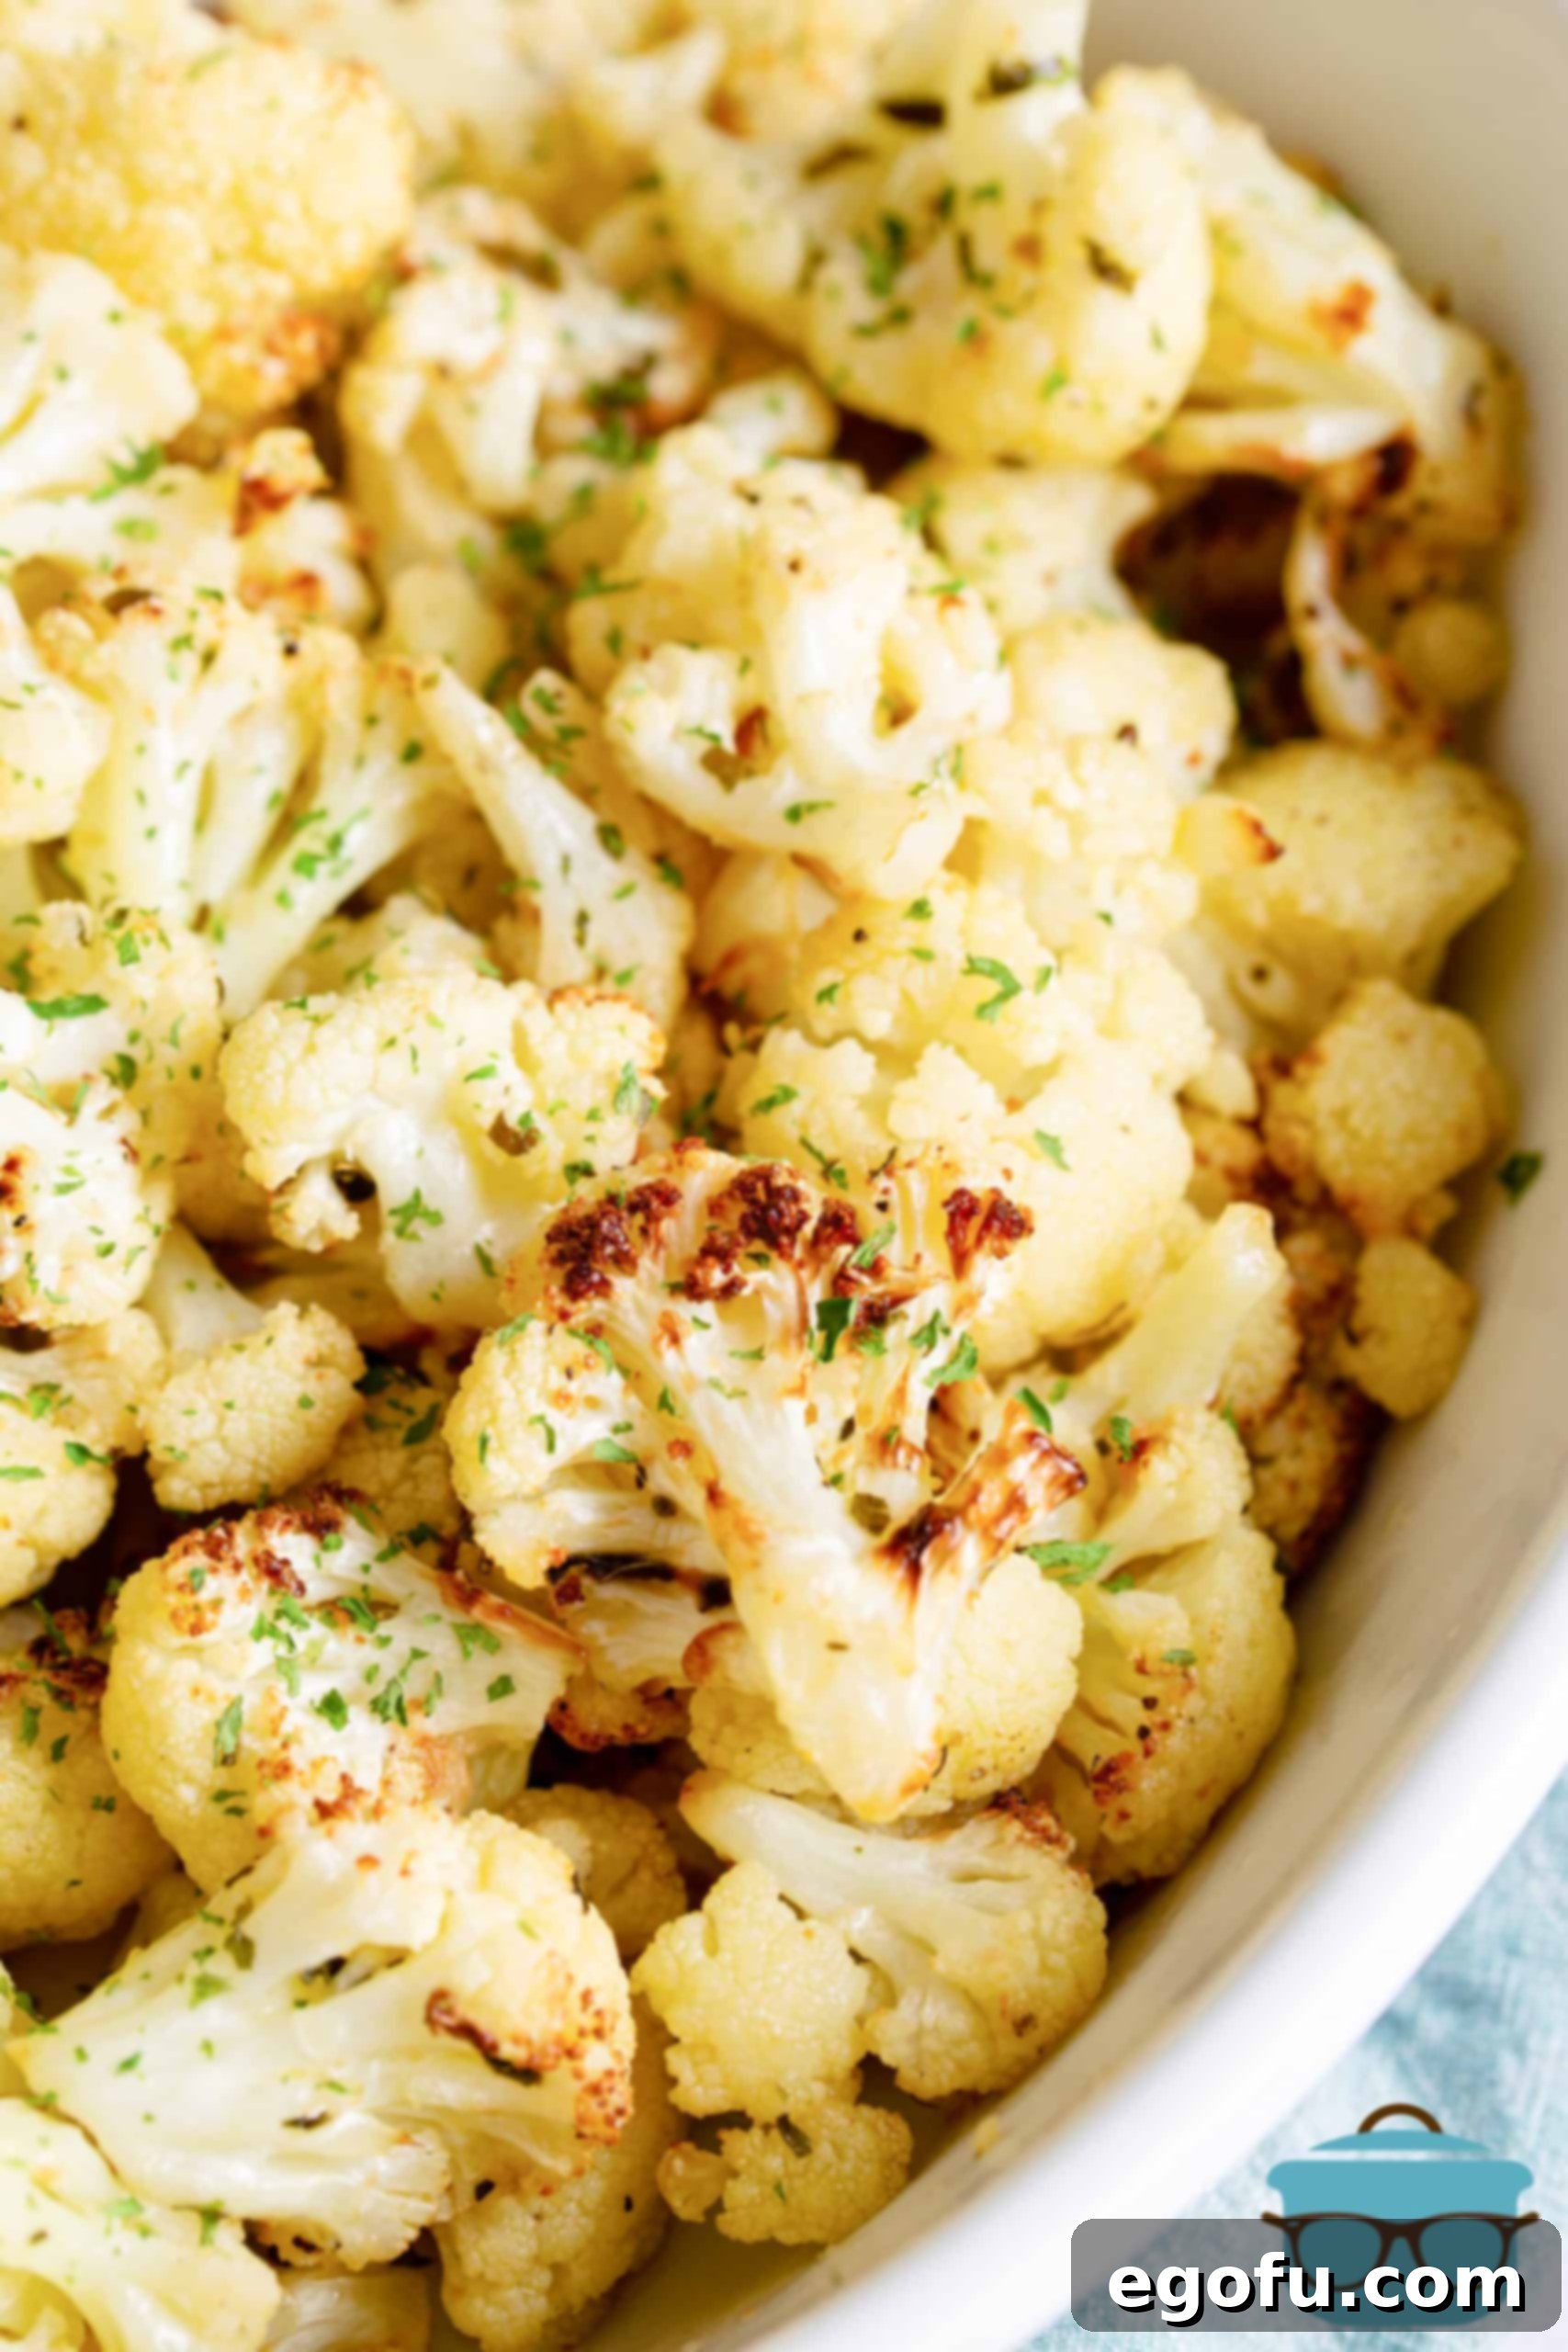
Mastering Air Fryer Roasted Cauliflower: Tips and Tricks for Perfection
Achieving perfectly roasted cauliflower in your air fryer is incredibly simple with a few key techniques. Follow these expert tips to ensure your dish is always tender on the inside, wonderfully crispy on the outside, and bursting with flavor:
- **Choosing Your Cauliflower:** For ultimate convenience, you can opt for a pre-cut bag of cauliflower florets from the store. However, starting with a fresh whole head of cauliflower often yields better texture and flavor. If using a whole head, carefully remove the leaves and trim the stem, then break or cut the cauliflower into uniform, bite-sized florets. Consistency in size is crucial for even cooking, as smaller pieces might burn while larger ones remain undercooked. Aim for pieces roughly 1 to 1.5 inches in size.
- **Even Cooking is Key:** Don’t just set it and forget it! Shaking your air fryer basket vigorously at least once, ideally halfway through the cooking process, is vital. This ensures that all sides of the cauliflower florets are exposed to the circulating hot air, promoting uniform browning and crispiness. If you have a larger batch, you might even consider shaking it a couple of times.
- **The Right Salt Makes a Difference:** While any salt will work, I personally love using pink Himalayan salt for its subtle mineral notes and beautiful color. However, kosher salt or fine sea salt are excellent substitutes and will deliver fantastic results. Adjust the amount to your personal preference, remembering that you can always add more salt at the end, but you can’t take it away.
- **Fresh Lemon Juice is Superior:** While bottled lemon juice can be used in a pinch, fresh lemon juice provides a brighter, more vibrant, and authentic flavor that truly elevates this dish. The zest from a fresh lemon can also be added for an extra layer of citrus aroma. Always use fresh whenever possible for the best taste experience.
- **Spice It Up!** If you’re a fan of a little heat, a pinch of red pepper flakes added with the other dry seasonings can provide a wonderful kick. Start with a quarter teaspoon and adjust to your desired spice level. This small addition can transform the flavor profile without overpowering the delicate notes of lemon and garlic.
- **Timing is Everything for Lemon:** This is a crucial tip! Always add the lemon juice *after* the cauliflower has finished cooking. Acidic ingredients like lemon juice can prevent vegetables from properly browning and can sometimes lead to a slightly bitter taste if cooked at high temperatures for an extended period. Drizzling it on at the end preserves its fresh, bright essence.
- **Avoid Overcrowding:** For optimal crispiness, ensure your air fryer basket isn’t overcrowded. If you’re making a larger batch, it’s better to cook the cauliflower in two separate batches. Overcrowding leads to steaming rather than roasting, resulting in soggy cauliflower instead of perfectly crispy florets. There should be enough space for air to circulate freely around each piece.
- **Perfect Pairings:** This versatile **Air Fryer Roasted Cauliflower** makes a delicious companion to so many main courses. Try it alongside my Air Fryer Chicken Breast recipe for a complete, healthy, and quick meal. It also complements grilled fish, steak, pork chops, or even serves as a delightful addition to grain bowls and salads.
Essential Ingredients for Flavorful Roasted Cauliflower
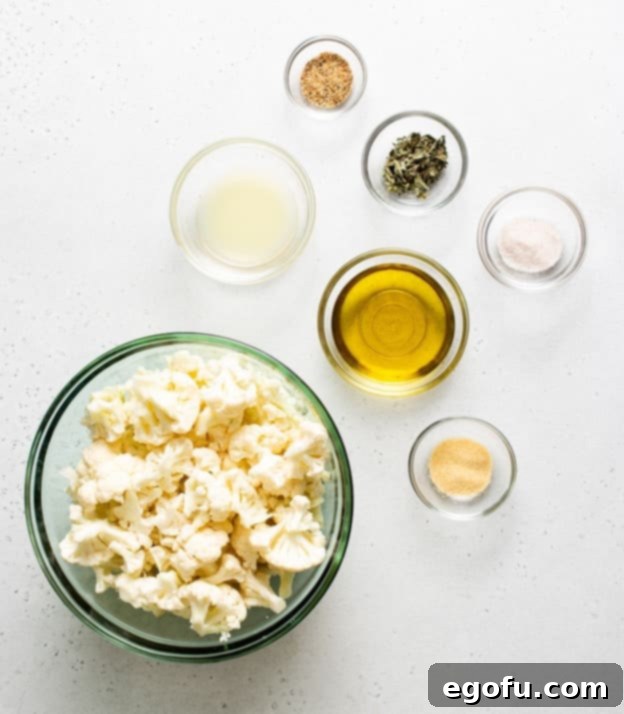
The beauty of this recipe lies in its simplicity, requiring just a few common ingredients that come together to create a symphony of flavors. Each component plays a vital role in achieving that perfect balance of crispiness, tenderness, and zesty freshness. (You’ll find the full, detailed recipe card with exact measurements at the very bottom of this post.)
- **Cauliflower:** The star of our show! A fresh head of cauliflower, or a convenient bag of pre-cut florets, forms the foundation.
- **Olive Oil:** A drizzle of good quality olive oil helps the cauliflower crisp up beautifully and ensures the seasonings adhere evenly. Extra virgin olive oil offers a richer flavor.
- **Salt:** Pink Himalayan salt is my preference for its unique mineral profile, but kosher salt or sea salt are excellent alternatives to enhance the natural taste of the cauliflower.
- **Lemon Pepper Seasoning:** This zesty blend adds a fantastic citrusy punch and a hint of peppery warmth, providing a great base layer of flavor.
- **Dried Basil:** Sweet and aromatic, dried basil infuses the cauliflower with a classic herb flavor that complements the lemon and garlic wonderfully.
- **Garlic Powder:** Essential for that savory, pungent depth that pairs so well with roasted vegetables and citrus.
- **Fresh Lemon Juice:** The final touch! Added after cooking, fresh lemon juice brightens all the flavors and adds an invigorating finish.
Step-by-Step Guide: How to Make Air Fryer Roasted Cauliflower
Preparing this incredibly flavorful and crispy **Air Fryer Roasted Cauliflower** is a breeze. Follow these simple steps to create a delightful side dish that’s ready in under 15 minutes:
Step 1: Prepare the Cauliflower. Begin by preparing your cauliflower. If you’re using a whole head, carefully remove any outer leaves and trim the thick stem. Then, break or cut the cauliflower into evenly sized florets. Aim for pieces that are roughly 1 to 1.5 inches in size. Uniformity is key here, as it ensures all the florets cook at the same rate, preventing some from becoming overcooked while others remain raw. The goal is tender florets with nicely browned edges.
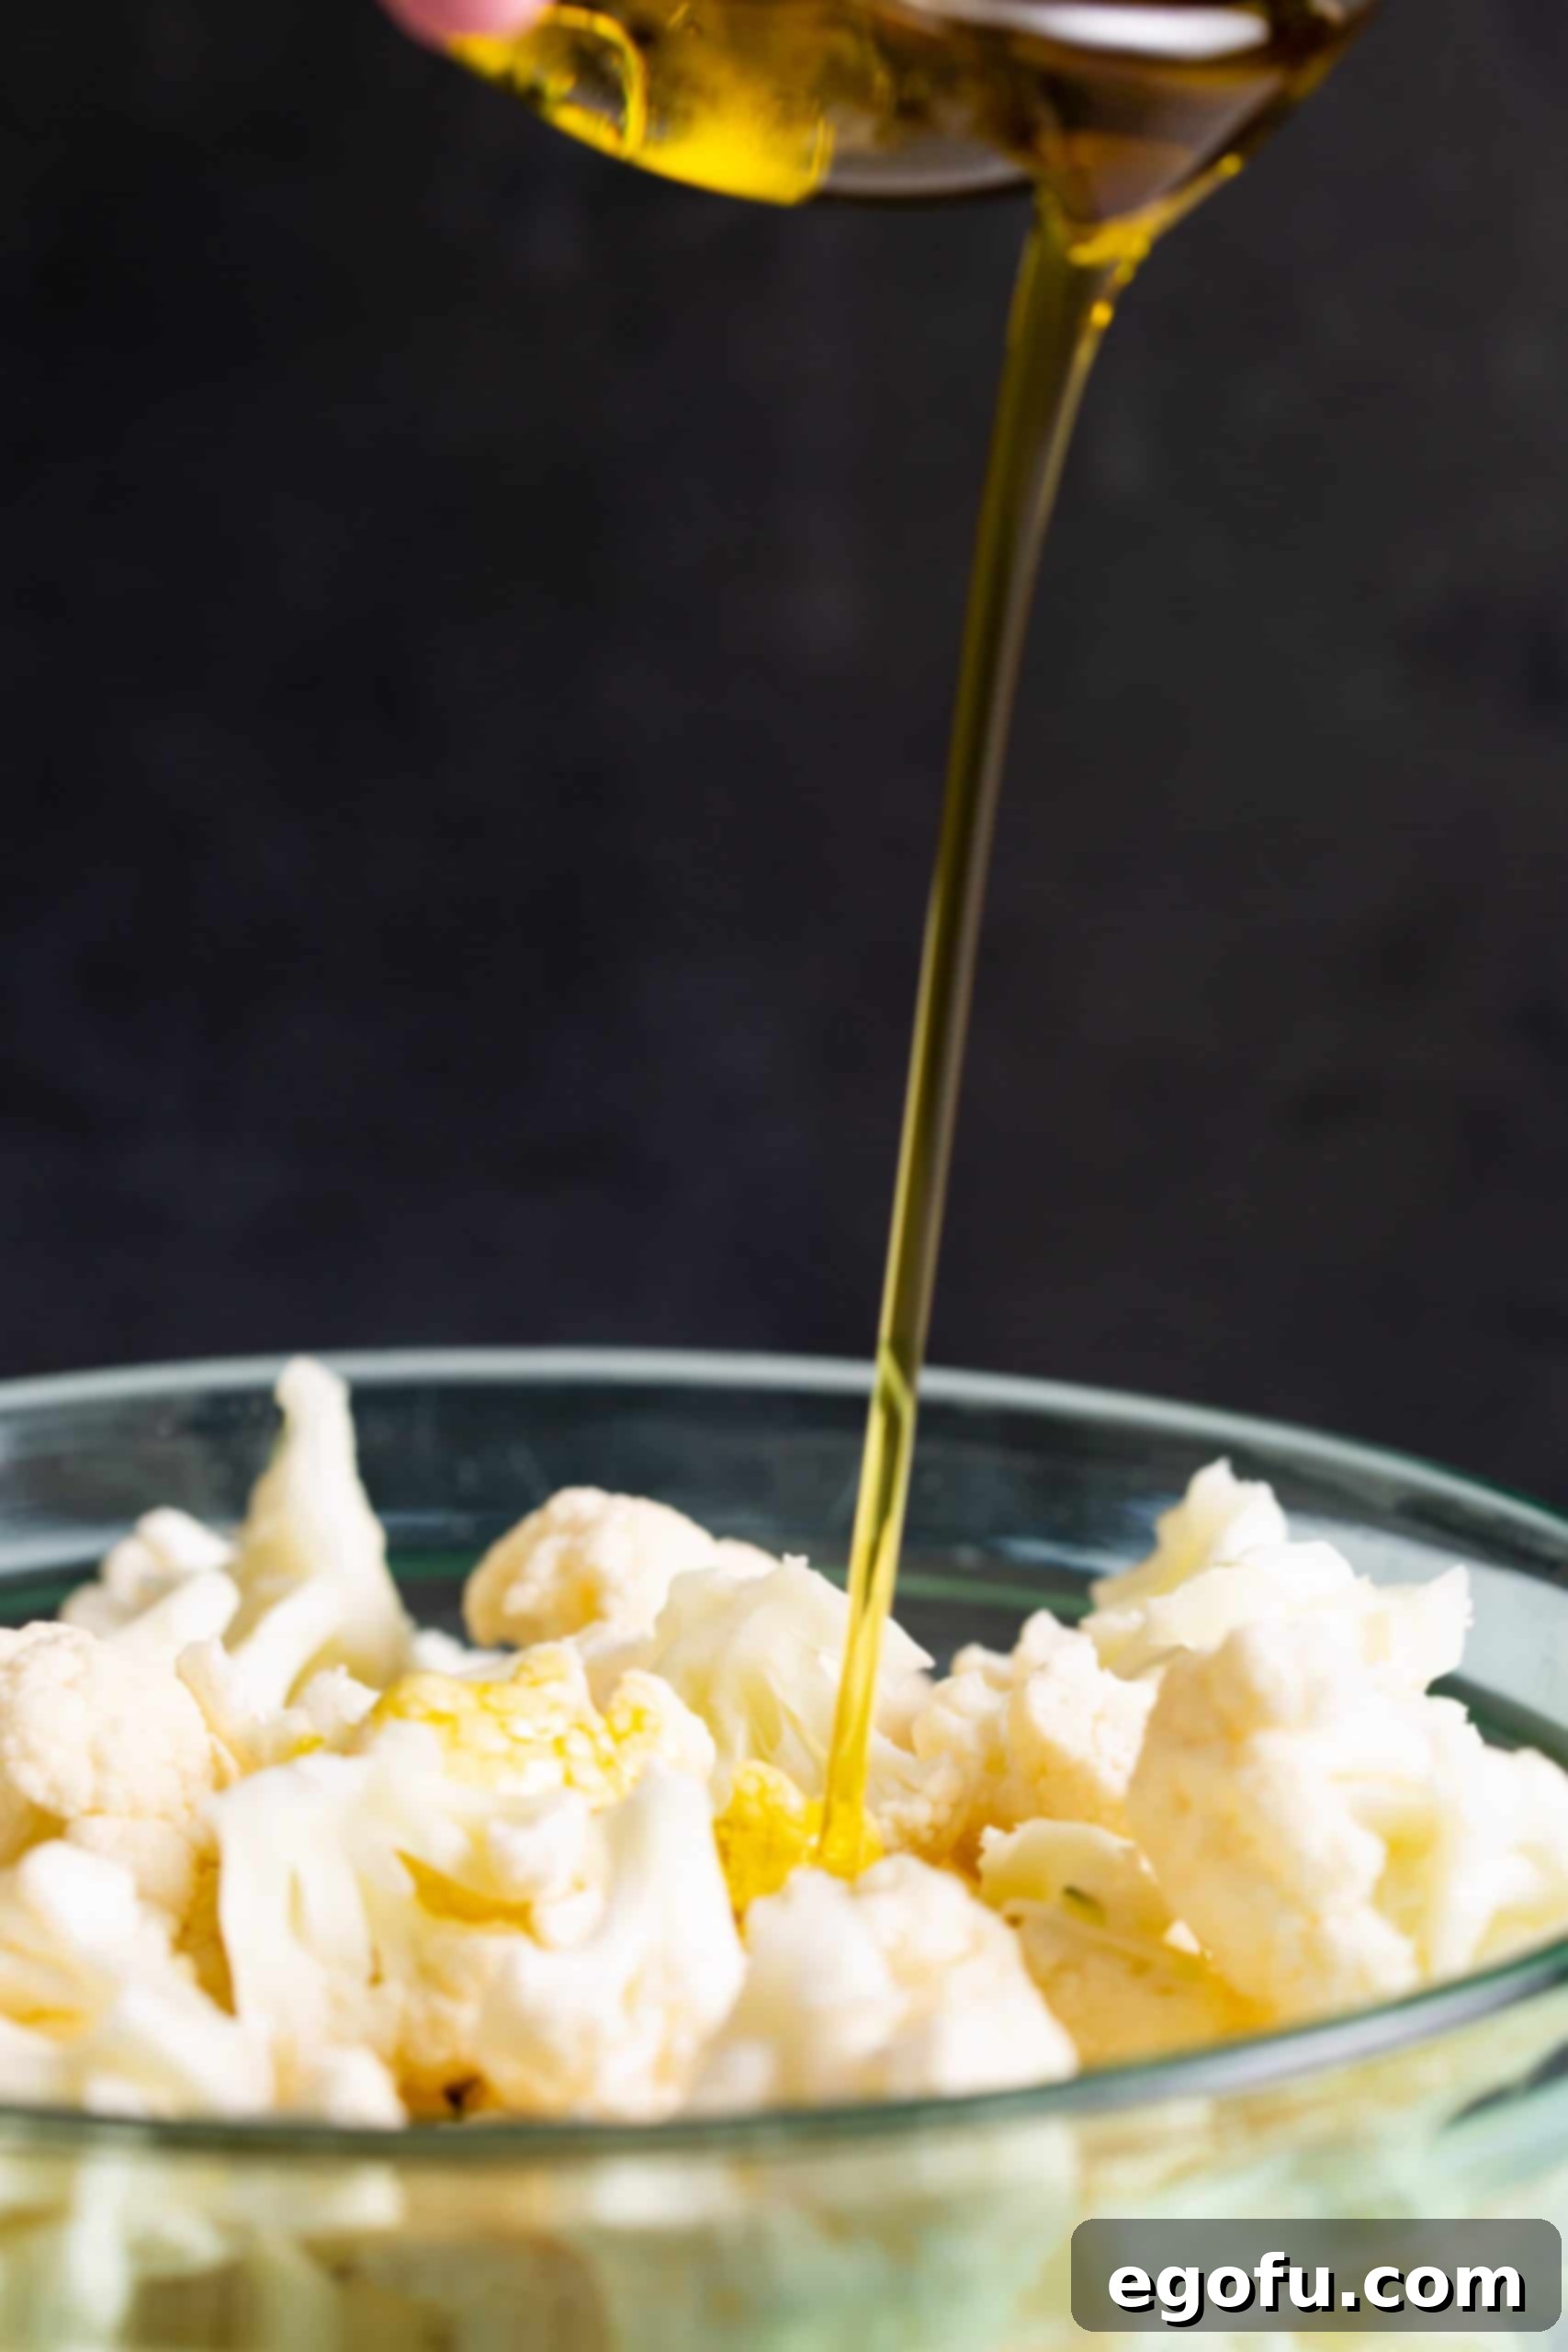
Step 2: Coat with Olive Oil. Transfer the prepared cauliflower florets into a large mixing bowl or, for an even easier cleanup, a gallon-sized Ziploc bag. Drizzle the cauliflower generously with olive oil. Now, toss the florets vigorously or shake the bag until every piece is lightly and evenly coated with the oil. This oil layer is crucial for achieving that desirable crispy texture and helps the seasonings adhere.
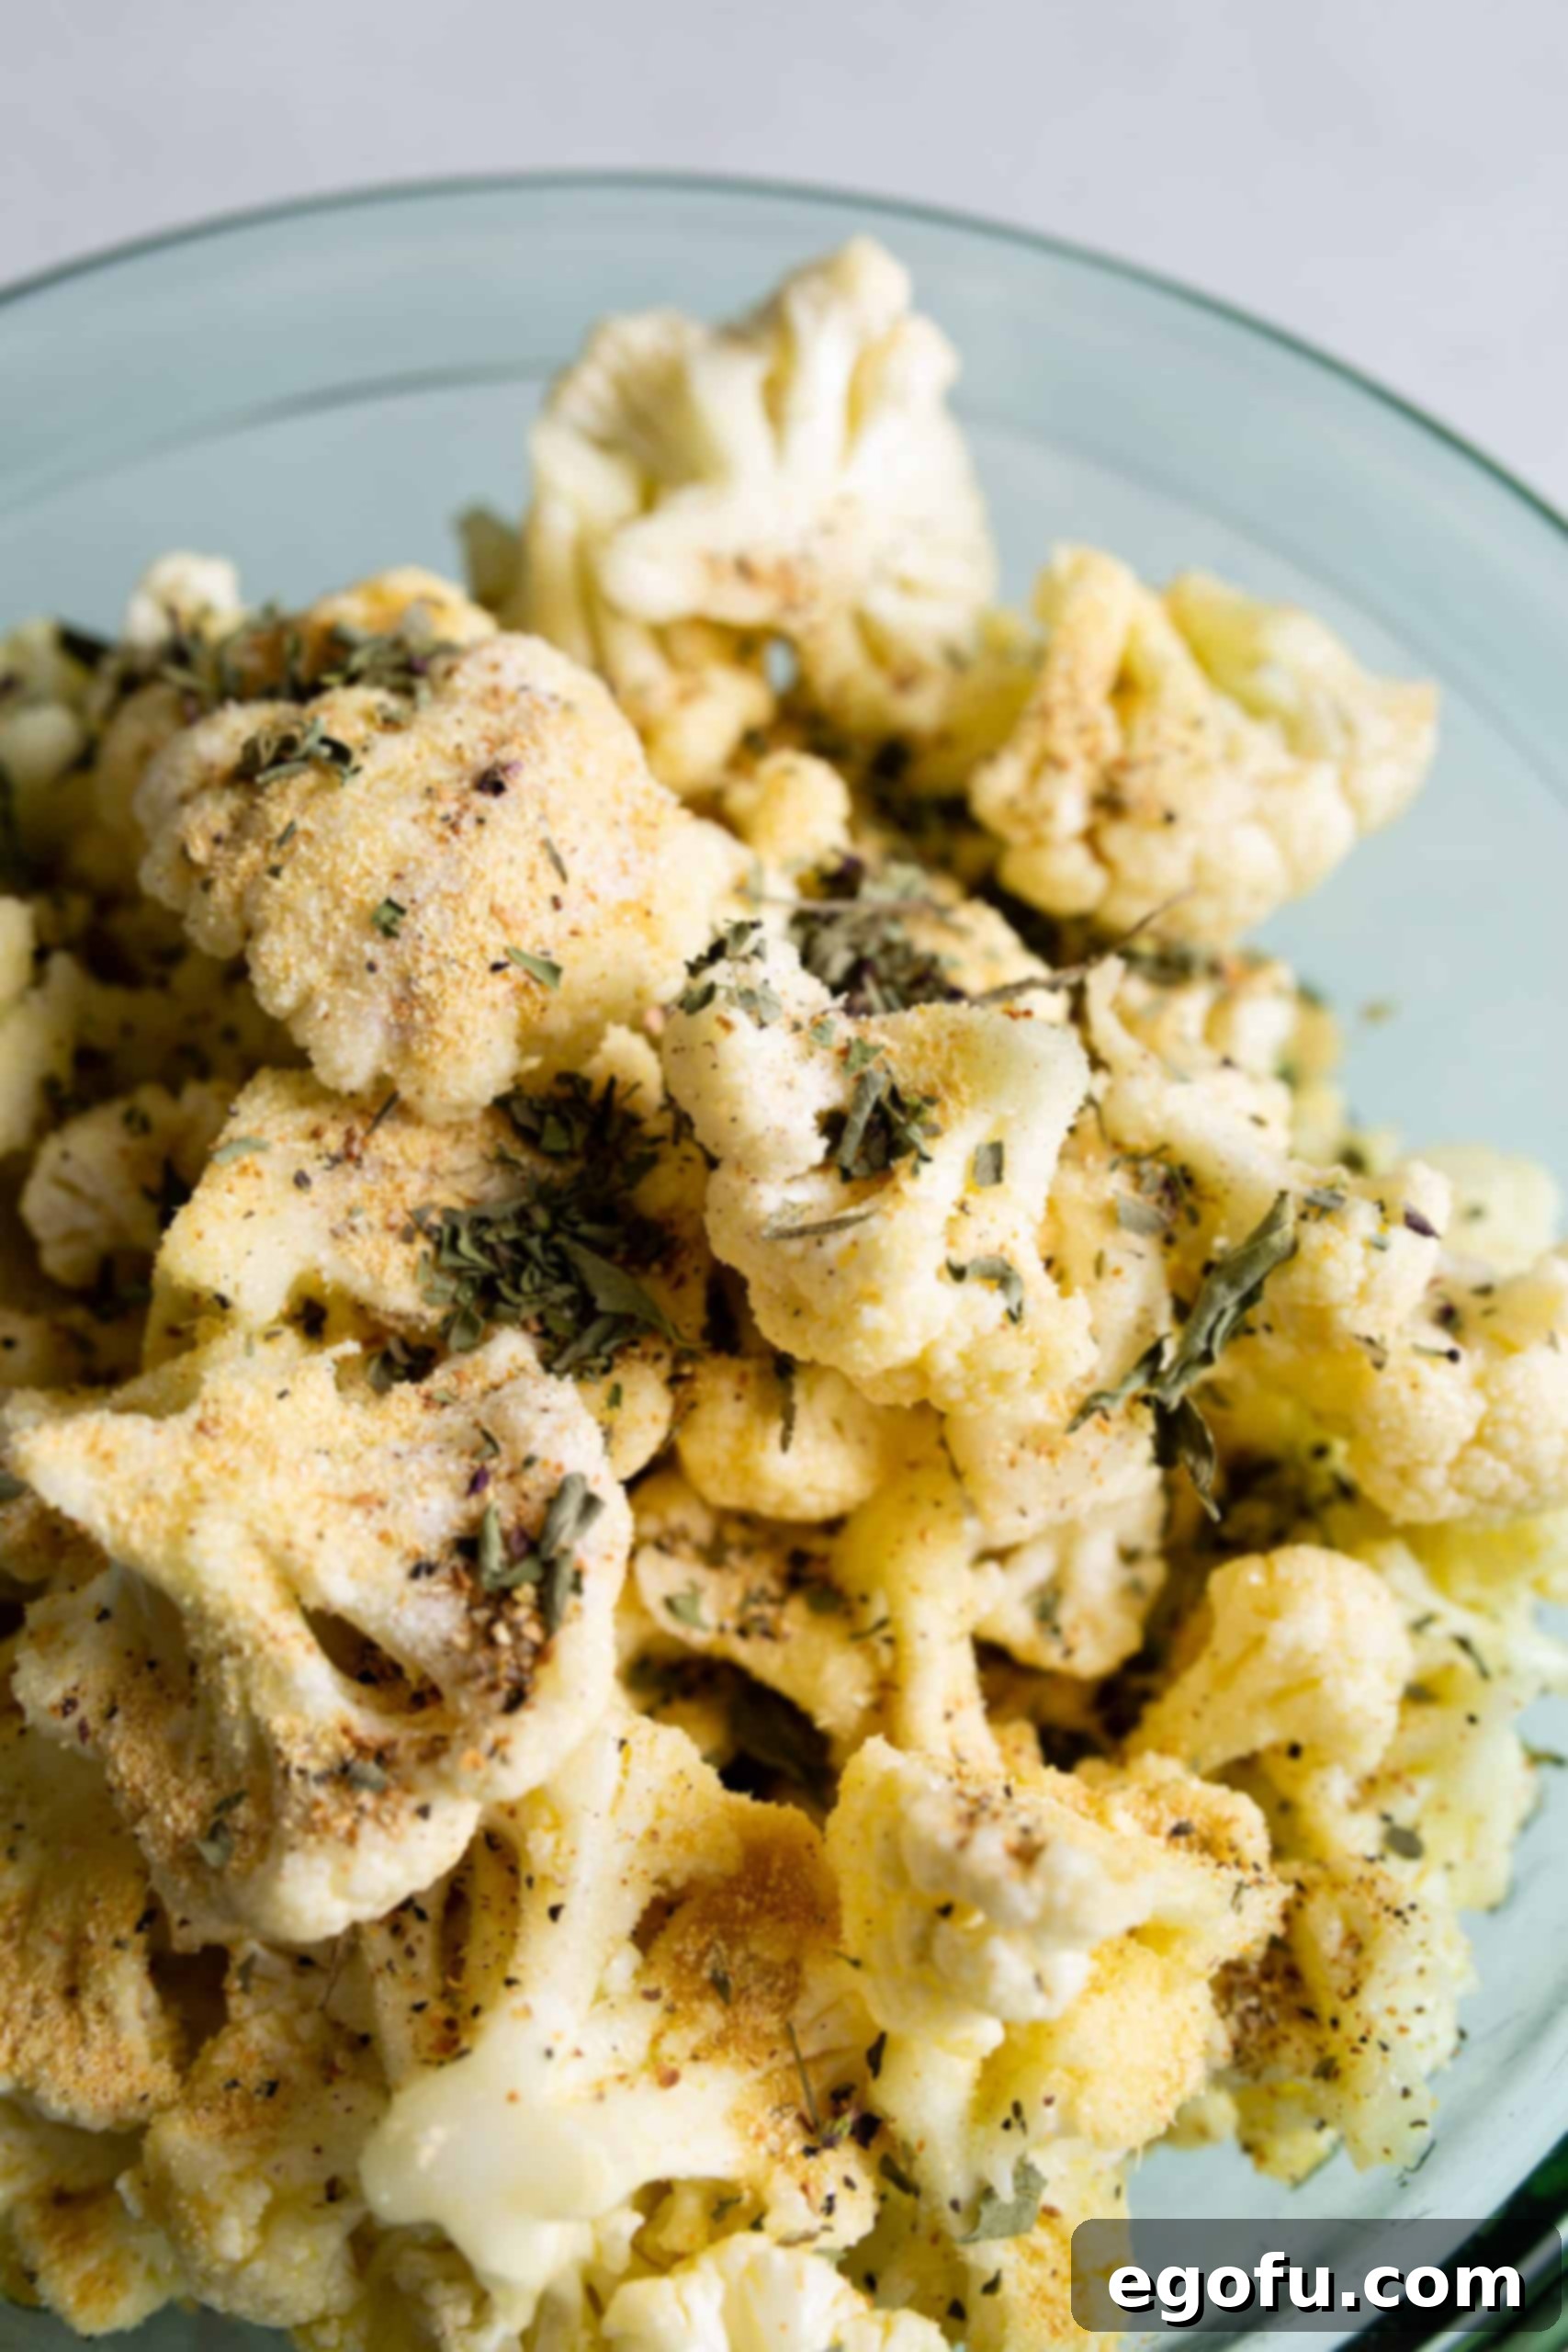
Step 3: Season the Cauliflower. Once coated in oil, add all the dry seasonings to the bowl or bag: the pink Himalayan salt (or kosher/sea salt), lemon pepper seasoning, dried basil, and garlic powder. Repeat the tossing or shaking process until the seasonings are thoroughly distributed and clinging to all the cauliflower florets. Ensure a good, even coating for maximum flavor in every bite.
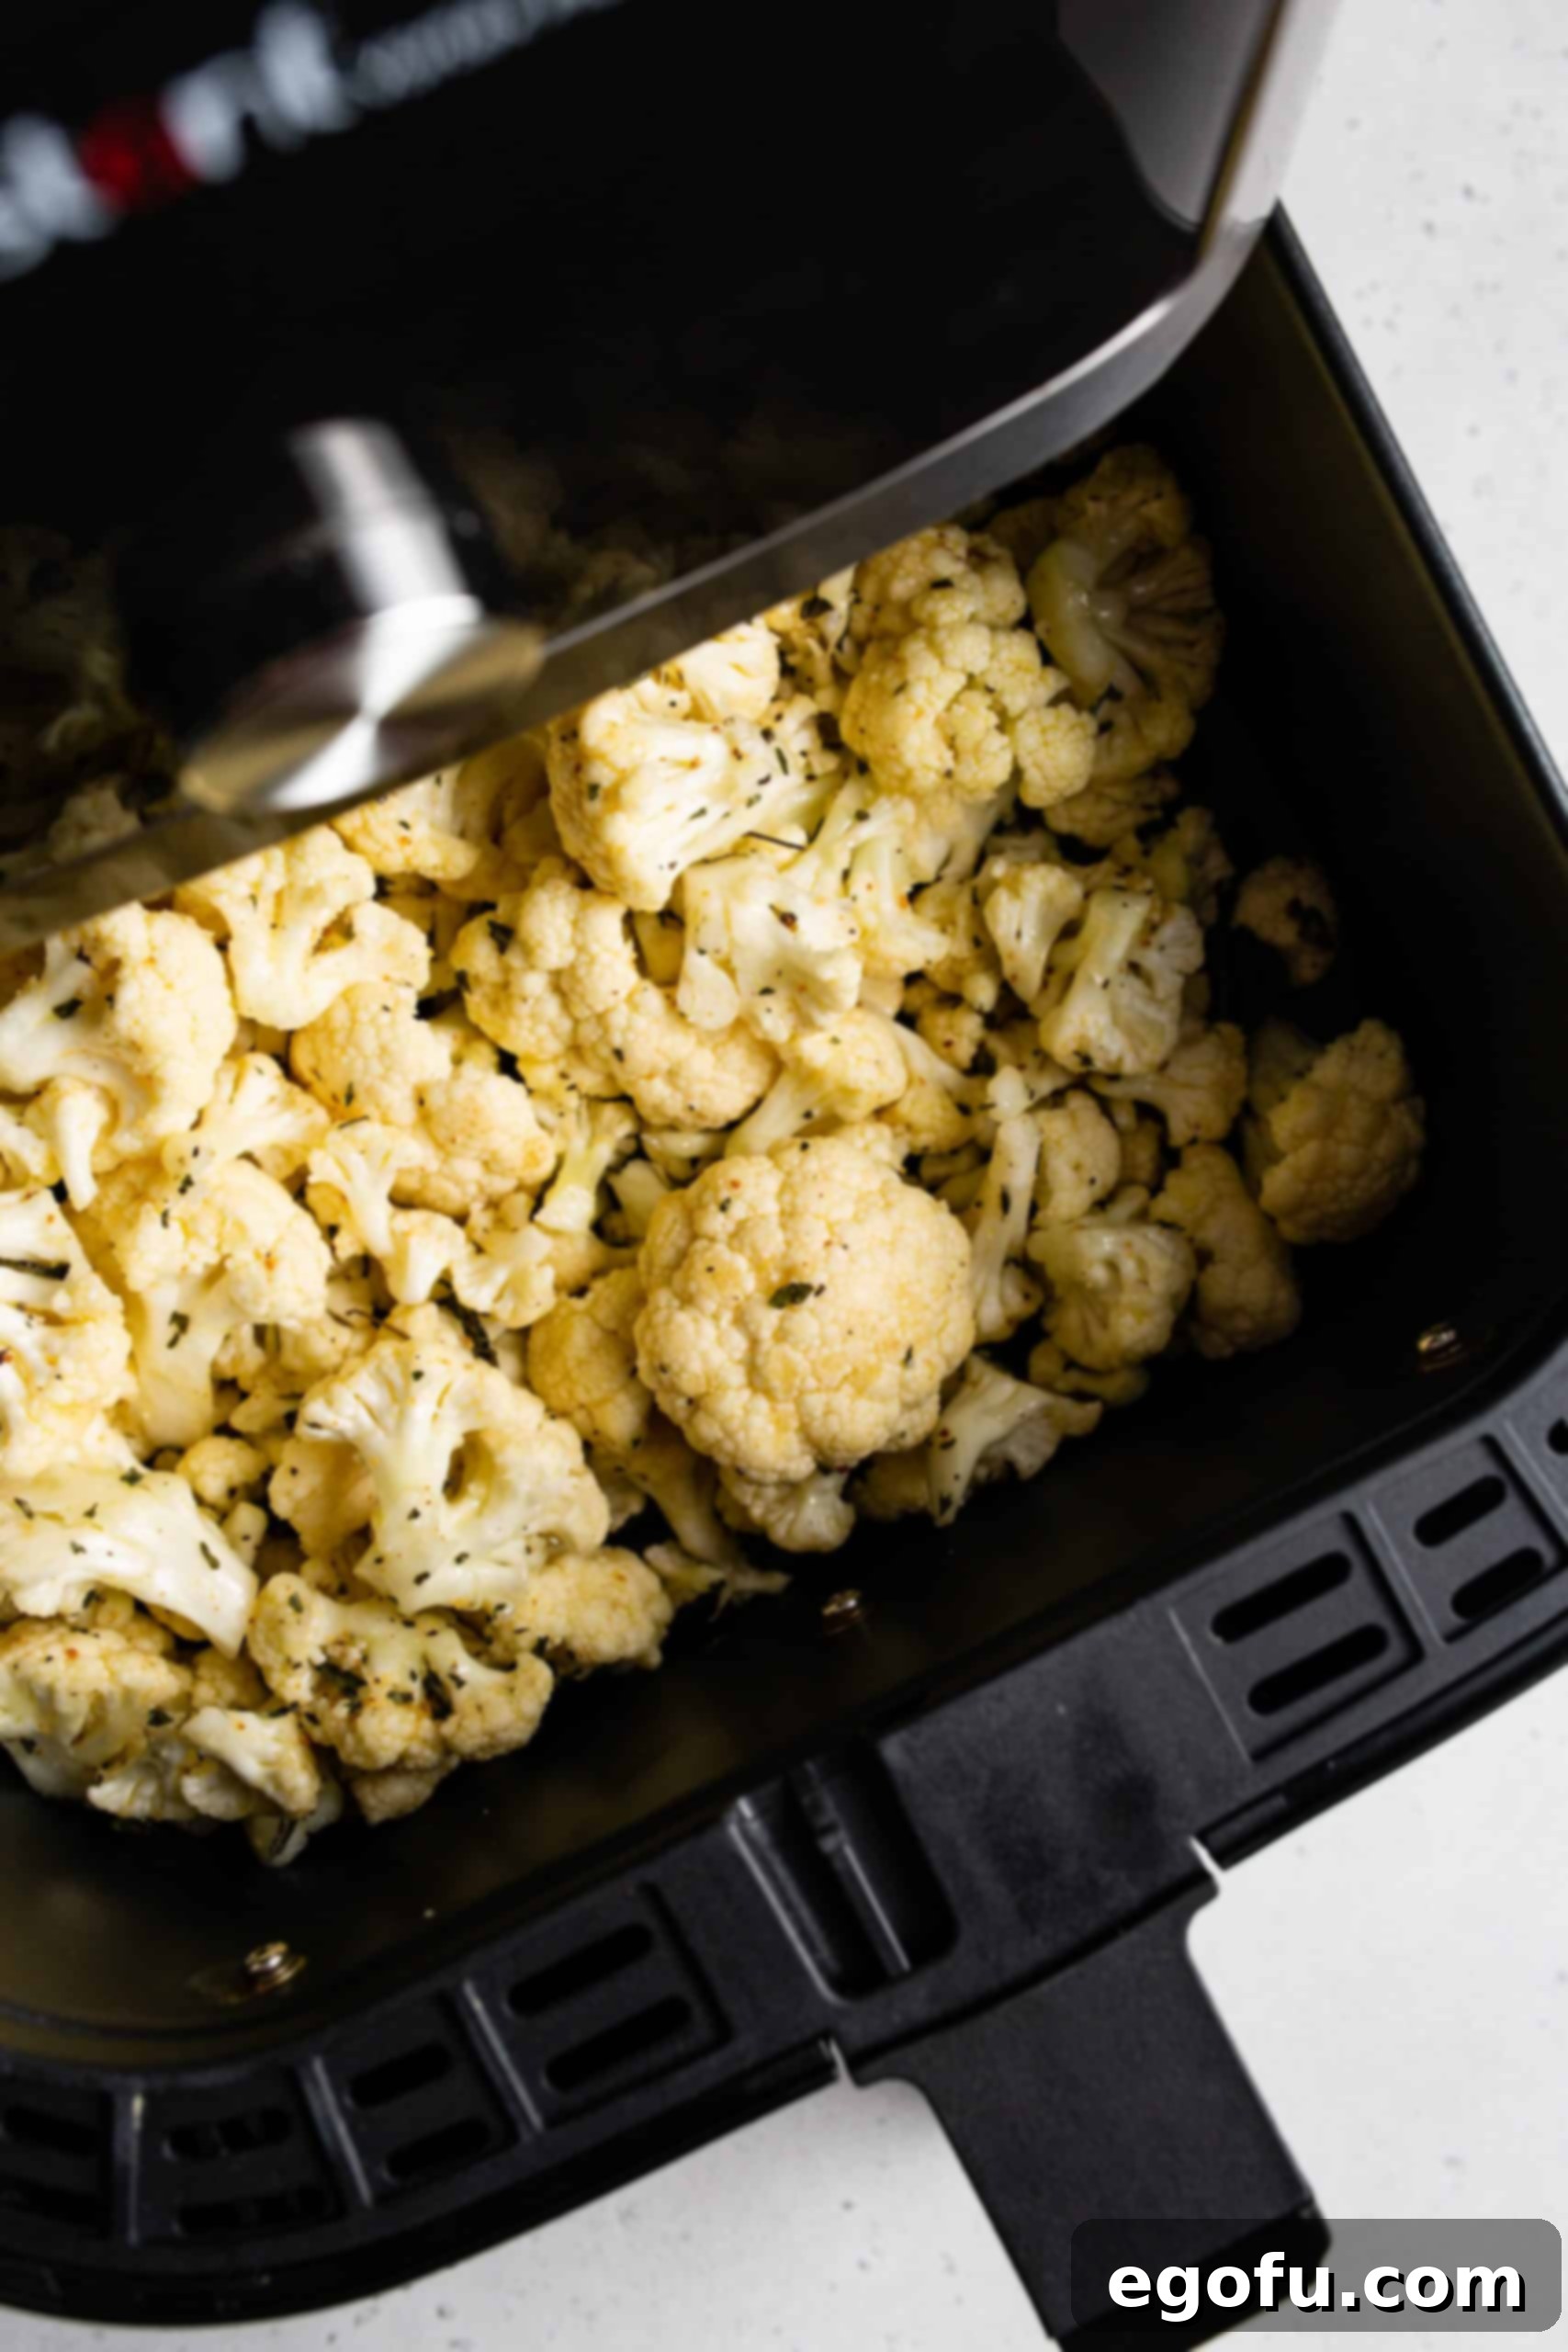
Step 4: Air Fry to Perfection. Carefully transfer the seasoned cauliflower florets into your air fryer basket. Arrange them in a single layer as much as possible, avoiding overcrowding. If your air fryer basket is small or your batch is large, consider cooking in two separate batches to ensure proper air circulation and crispiness. Set your air fryer to 400°F (200°C) and cook for 10 minutes. During this time, make sure to shake the basket thoroughly at least once, about halfway through the cooking cycle (around the 5-minute mark). This helps to rotate the florets and allows them to brown evenly on all sides. Continue cooking until the cauliflower is tender-crisp and has beautiful golden-brown edges.
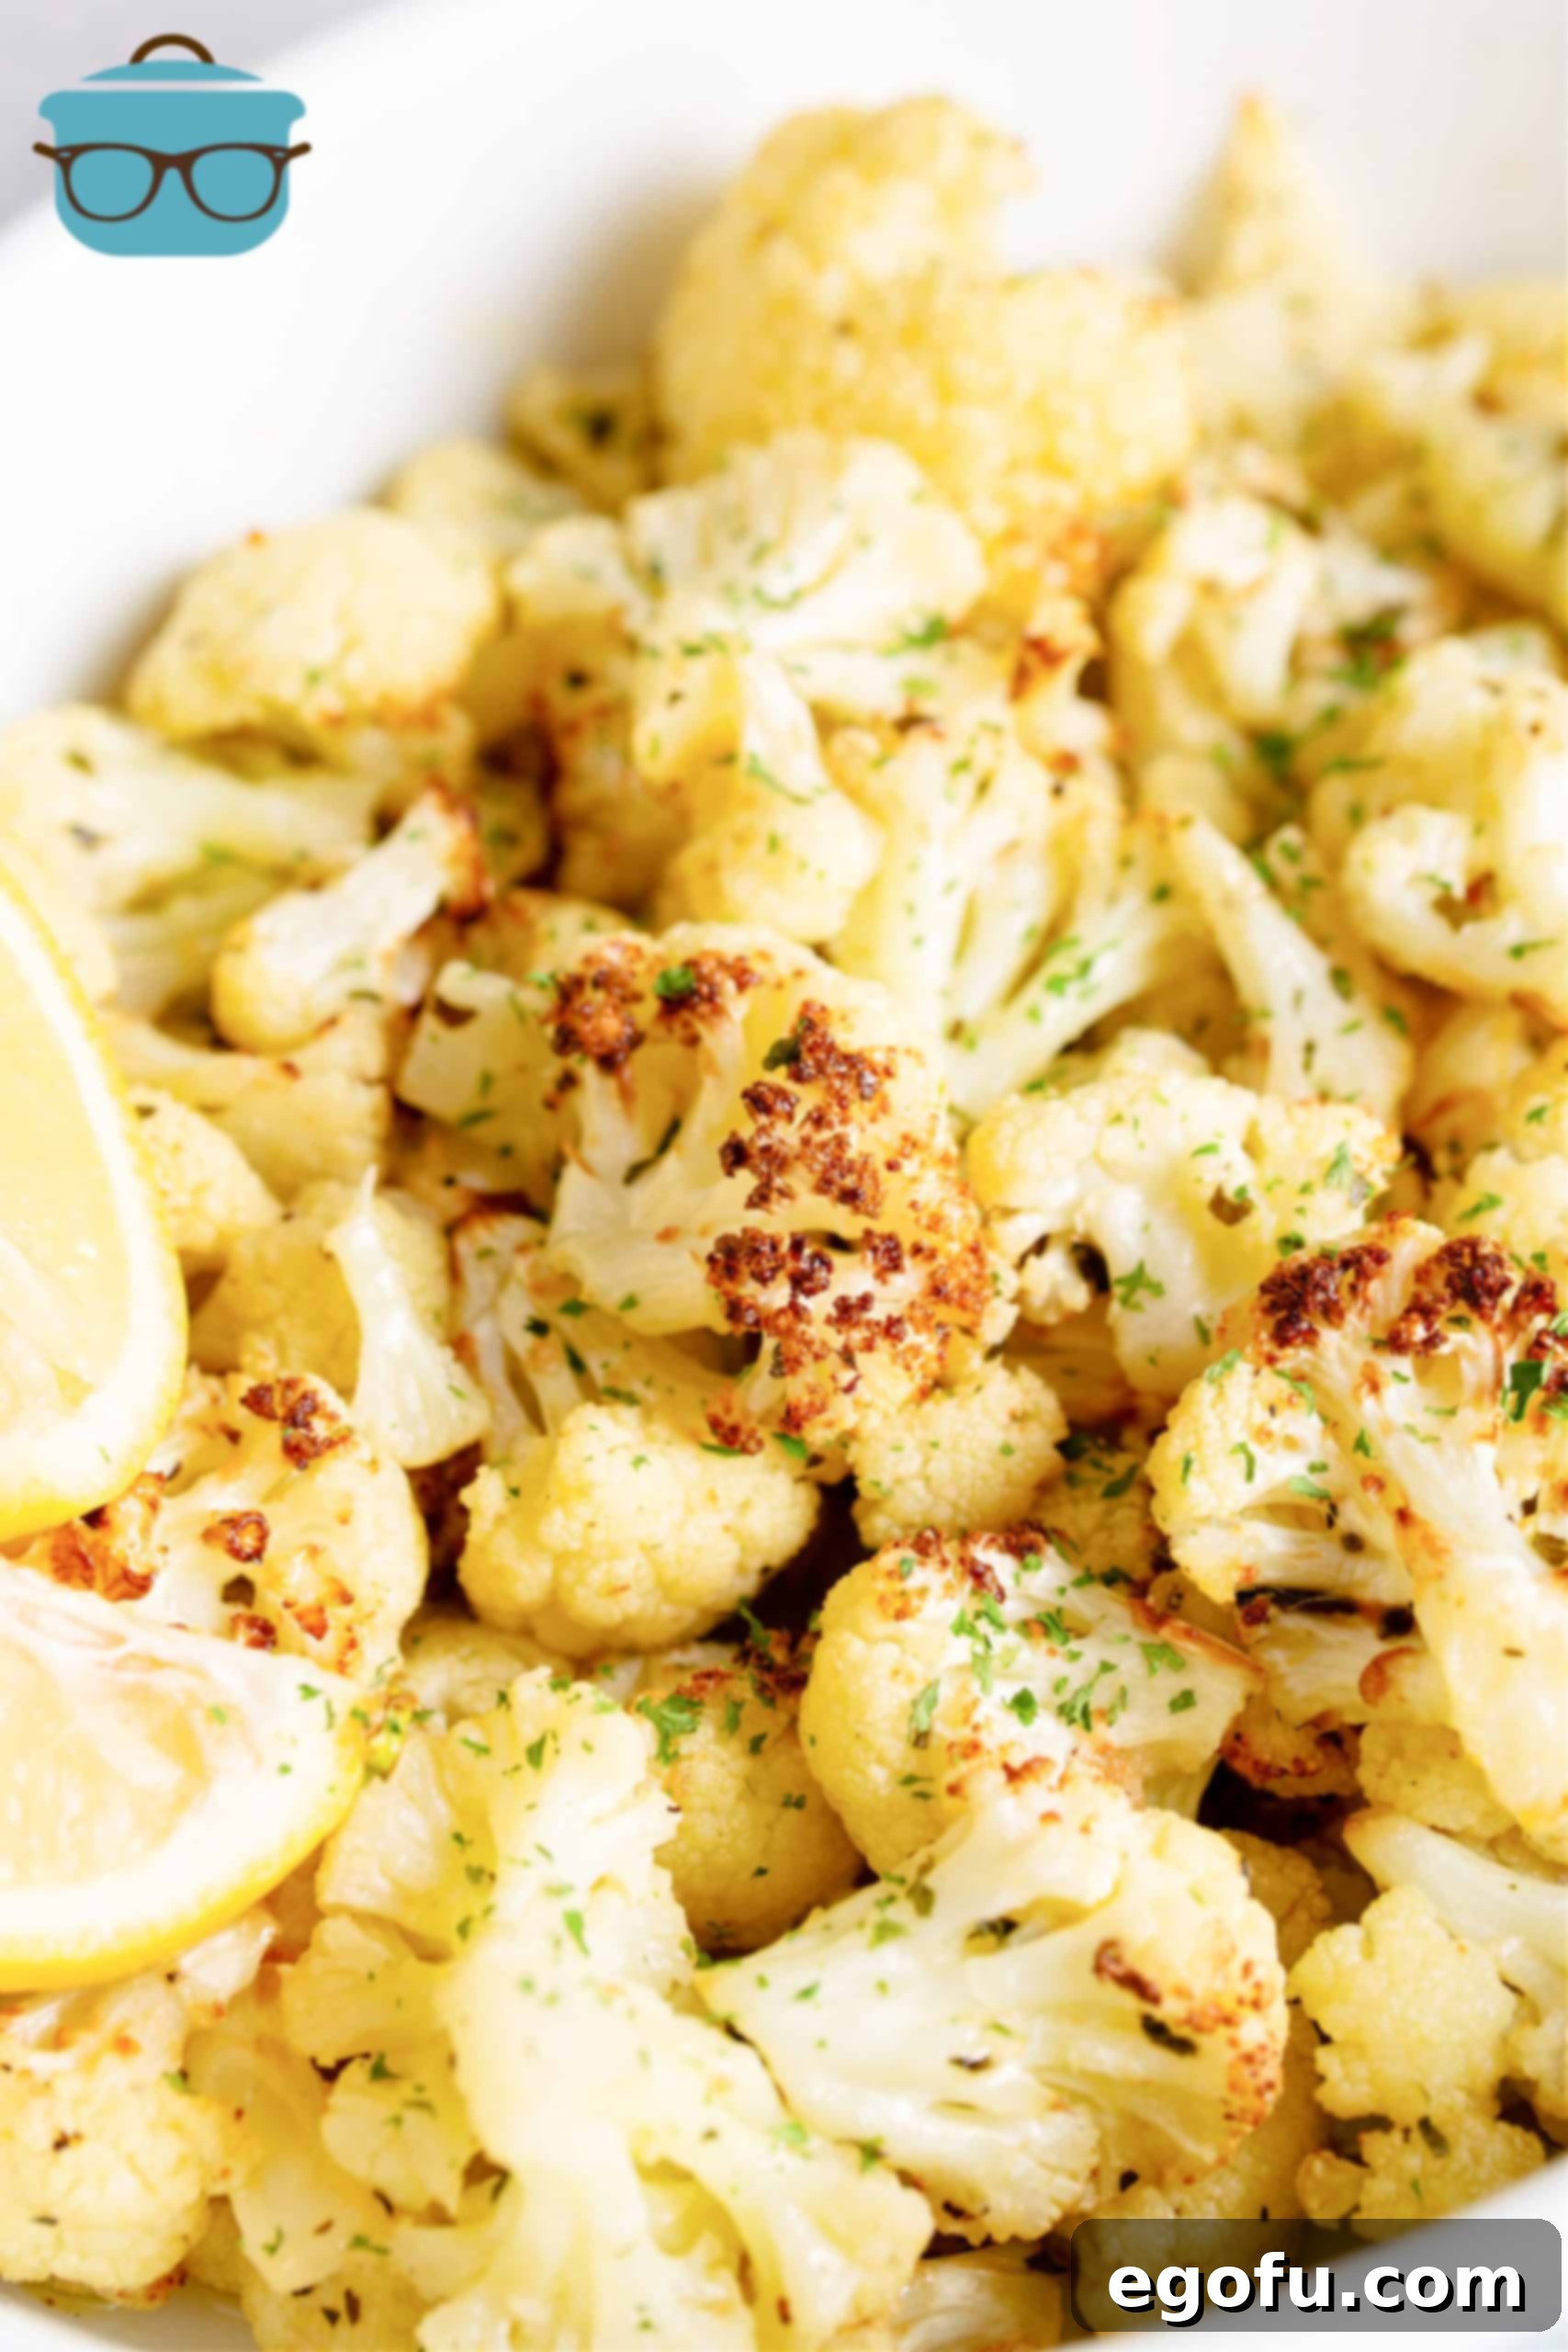
Step 5: Final Touches and Serve. Once the cauliflower is perfectly cooked and beautifully browned, carefully transfer it to a serving bowl. Now, it’s time for the vibrant fresh lemon juice – drizzle it generously over the hot cauliflower. This final addition of acidity brightens all the flavors and provides a wonderful finish without turning bitter from cooking. For an extra pop of color and freshness, consider sprinkling with chopped fresh parsley or a little lemon zest just before serving. Serve immediately and enjoy your incredibly delicious **Air Fryer Roasted Cauliflower**!
Creative Variations and Serving Suggestions
While this lemon-garlic-basil **Air Fryer Roasted Cauliflower** is exquisite as is, its versatility allows for endless creativity in flavor variations and serving pairings. Don’t hesitate to experiment and make it your own!
**Flavorful Variations:**
- **Spicy Kick:** As mentioned, a sprinkle of red pepper flakes during seasoning adds a wonderful warmth. For more intense heat, try a dash of cayenne pepper.
- **Cheesy Goodness:** Toss the cooked cauliflower with grated Parmesan cheese while it’s still warm. The residual heat will melt the cheese slightly, creating a delectable coating. Nutritional yeast can be used for a dairy-free cheesy flavor.
- **Smoky & Sweet:** Add half a teaspoon of smoked paprika and a pinch of brown sugar to the seasoning mix for a deeper, more complex flavor profile.
- **Herb Garden Freshness:** Beyond basil, feel free to incorporate other fresh or dried herbs. Rosemary, thyme, or oregano can add distinct aromas and tastes. Add fresh herbs after cooking, dried herbs with the other seasonings.
- **Asian Inspired:** For an unexpected twist, toss the cauliflower with a tablespoon of soy sauce (or tamari), a teaspoon of sesame oil, and a sprinkle of ginger powder before air frying. Garnish with sesame seeds and chopped green onions after cooking.
**Serving Suggestions:**
- **Classic Side:** This roasted cauliflower is a perfect accompaniment to almost any protein. Serve it with grilled chicken, baked fish, pan-seared steak, or roasted pork chops for a balanced and satisfying meal.
- **Grain Bowls:** Incorporate it into your favorite grain bowls with quinoa, farro, or brown rice, along with other roasted vegetables and a protein source for a wholesome lunch or dinner.
- **Light Lunch or Snack:** Enjoy it on its own as a healthy, flavorful snack or a light lunch. It’s surprisingly filling and incredibly satisfying.
- **Salad Enhancer:** Let it cool slightly and add it to a green salad for added texture, flavor, and nutrition. Its roasted notes complement fresh greens beautifully.
- **Dipping Delight:** Serve with a side of creamy hummus, a yogurt-dill dip, or even a spicy sriracha mayo for an interactive appetizer.
How to Store and Reheat Your Roasted Cauliflower
Proper storage and reheating ensure that you can enjoy your delicious **Air Fryer Roasted Cauliflower** for days to come, minimizing waste and making meal prep a breeze.
- **Storage:** To keep your roasted cauliflower fresh, allow it to cool completely to room temperature before transferring it to an airtight container or a ziptop bag. Store it in the refrigerator for up to 3 days. This prevents moisture buildup, which can lead to sogginess.
- **Reheating for Best Texture:** While you can certainly reheat the cauliflower in the microwave for speed, the air fryer is the superior method for restoring its delightful crispiness. Simply preheat your air fryer to 400°F (200°C) and reheat the cauliflower for about 3-5 minutes, shaking the basket once or twice. Keep an eye on it to prevent over-browning. The goal is to heat it through and regain some of that initial crunch.
- **Microwave Reheating:** If you’re in a hurry, you can reheat the cauliflower in the microwave. Place it on a microwave-safe plate and heat for 1-2 minutes, or until warmed through. Be aware that the microwave method will result in a softer texture rather than a crispy one.
Craving More Air Fryer Recipes?
If you’ve fallen in love with the convenience and delicious results of air frying, you’re in luck! There’s a whole world of quick and easy meals waiting for you. Explore these other fantastic air fryer recipes:
- Air Fryer Whole Roasted Chicken
- Air Fryer Potatoes & Sausage Meal
- Air Fryer Acorn Squash
- Air Fryer Steak
- Air Fryer Garlic Parmesan Chicken Skewers
- Air Fryer Baked Sweet Potatoes
- Air Fryer Roasted Red Potatoes
- Air Fryer Bacon Wrapped Asparagus
- Air Fryer Garlic Butter Steak Bites
- Air Fryer Chicken Bites
- Air Fryer Pork Chop Bites
- Air Fryer Ribs

Air Fryer Roasted Cauliflower
Print
Pin
Rate
5 minutes
10 minutes
15 minutes
4
Brandie Skibinski
Ingredients
- 1 head cauliflower, cut into florets
- ¼ cup olive oil
- 1 teaspoon pink Himalayan salt (or Kosher salt)
- ½ teaspoon lemon pepper seasoning
- ½ Tablespoon dried basil
- ½ teaspoon garlic powder
- 1 Tablespoon fresh lemon juice
Instructions
- Cut the cauliflower into large, uniform florets by removing the leaves and trimming the stems.
- In a large bowl or a gallon-sized Ziploc bag, combine the cauliflower florets and olive oil. Toss or shake to ensure all florets are evenly coated.
- Add the dry seasonings (salt, lemon pepper, basil, garlic powder) to the oil-coated cauliflower. Toss or shake again until the seasonings are well-distributed.
- Carefully place the seasoned cauliflower into the air fryer basket in a single layer (cook in batches if necessary to avoid overcrowding). Set your air fryer to 400°F (200°C) and cook for 10 minutes. Make sure to shake the basket at least once halfway through cooking to promote even browning and crispiness.
- Once the cauliflower is cooked through and golden-brown, transfer it to a serving bowl. Drizzle with fresh lemon juice. For an optional garnish, sprinkle with fresh parsley or lemon zest. Serve warm and enjoy!
Notes
- You can use a whole head of cauliflower or a store-bought bag of pre-cut cauliflower florets for convenience.
- Shaking your air fryer basket halfway through the cooking process is essential for evenly cooked and crispy cauliflower.
- Pink Himalayan salt is my preference, but kosher salt or sea salt can be easily substituted in this recipe.
- Fresh lemon juice provides the best flavor, but bottled can be used if fresh is unavailable.
- To add a little more heat, consider adding some red pepper flakes along with the other dry seasonings.
- Remember to add the fresh lemon juice only after cooking is complete. Adding it too early can hinder browning and may result in a slightly bitter taste.
Side Dish
American
Nutrition
Nutritional Disclaimer
“The Country Cook” is not a dietician or nutritionist, and any nutritional information shared is an estimate. If calorie count and other nutritional values are important to you, we recommend running the ingredients through whichever online nutritional calculator you prefer. Calories and other nutritional values can vary quite a bit depending on which brands were used.
