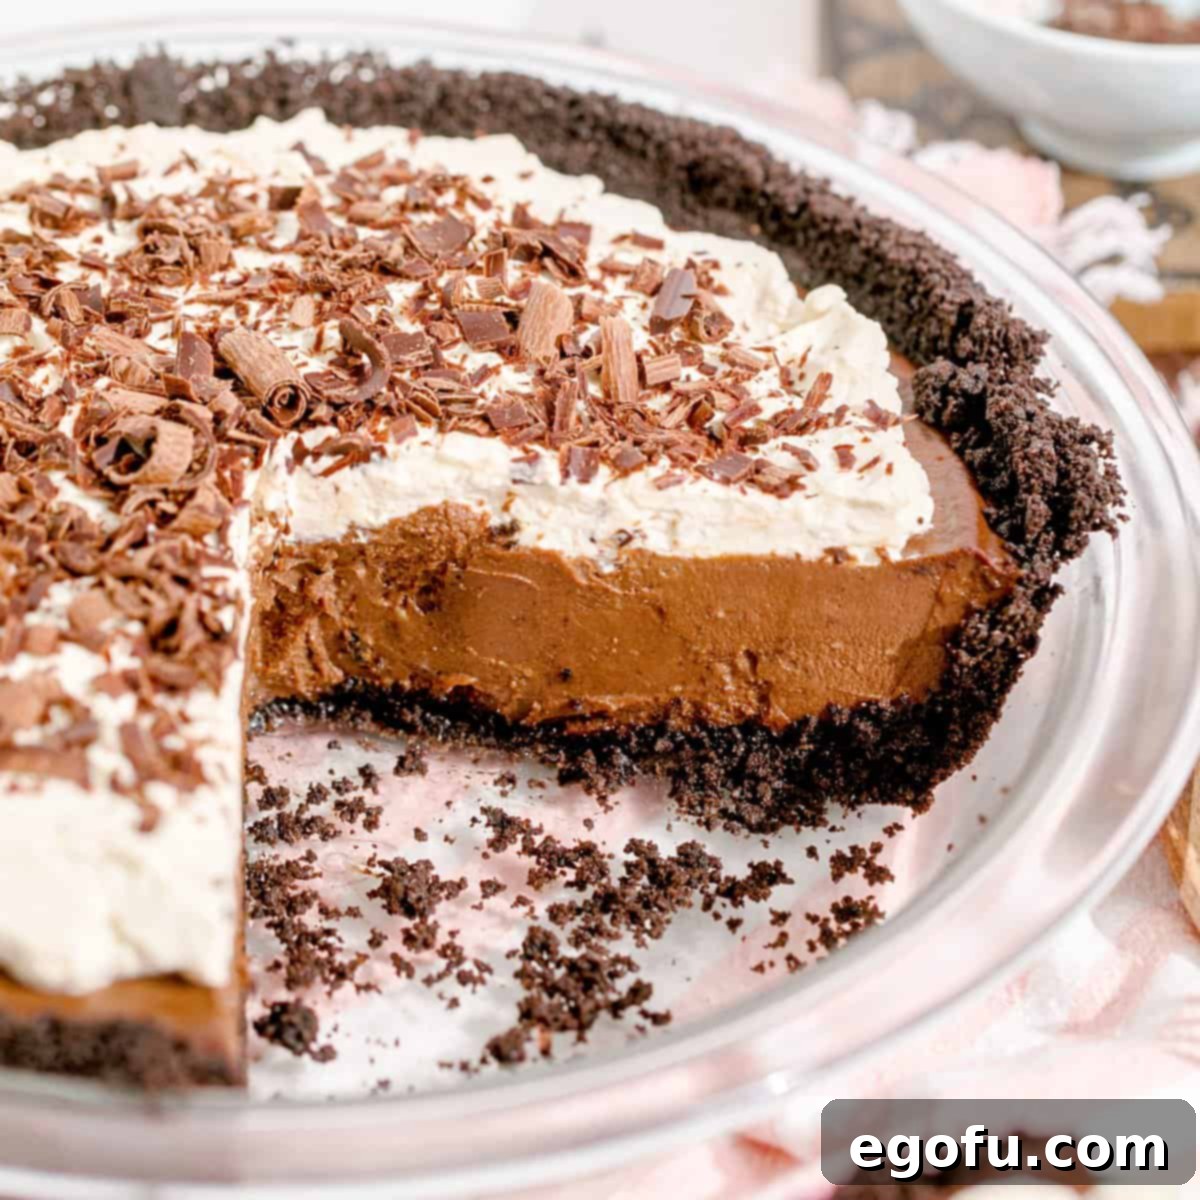
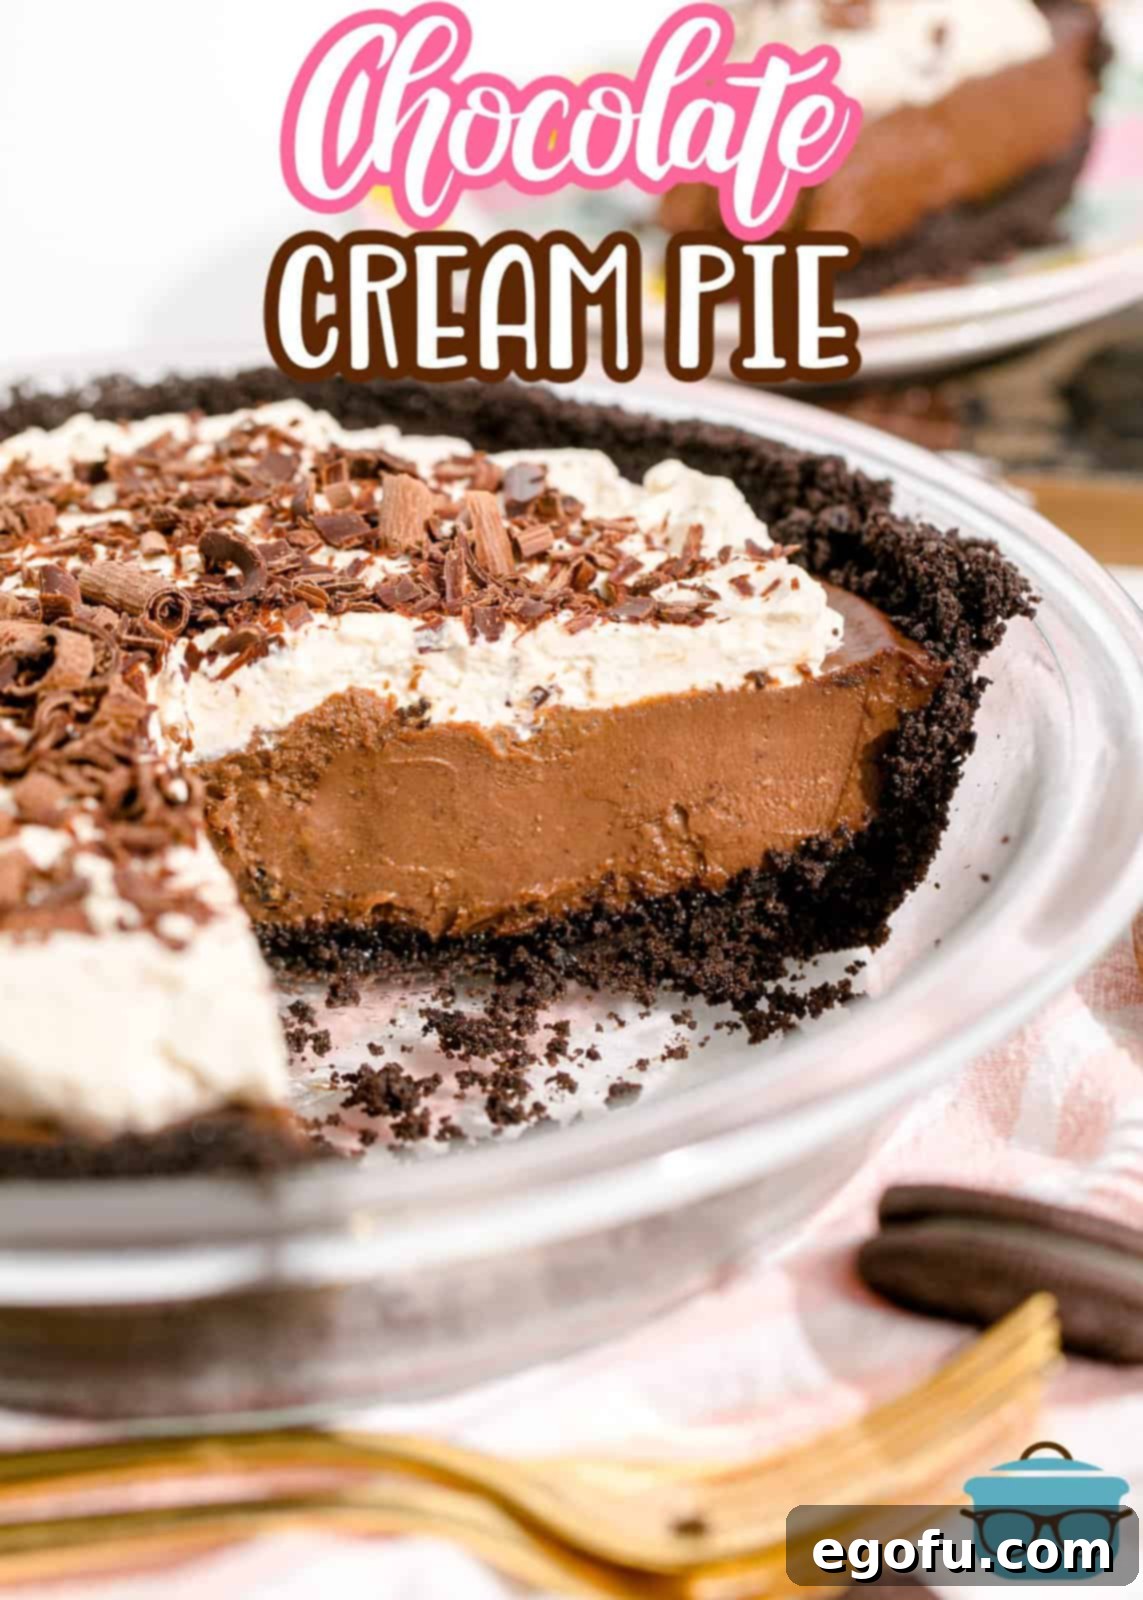
Welcome to a truly delightful journey into the heart of classic American desserts! With its unbelievably crunchy Oreo crust and a velvety smooth, rich chocolate filling, this Chocolate Cream Pie recipe stands as a timeless masterpiece. It’s a dessert that consistently steals the show, gracing every table with its irresistible charm and ensuring smiles all around. Perfect for celebrations, quiet family dinners, or simply satisfying that intense chocolate craving, this pie is destined to become your new favorite go-to dessert.
The Ultimate Classic Chocolate Cream Pie
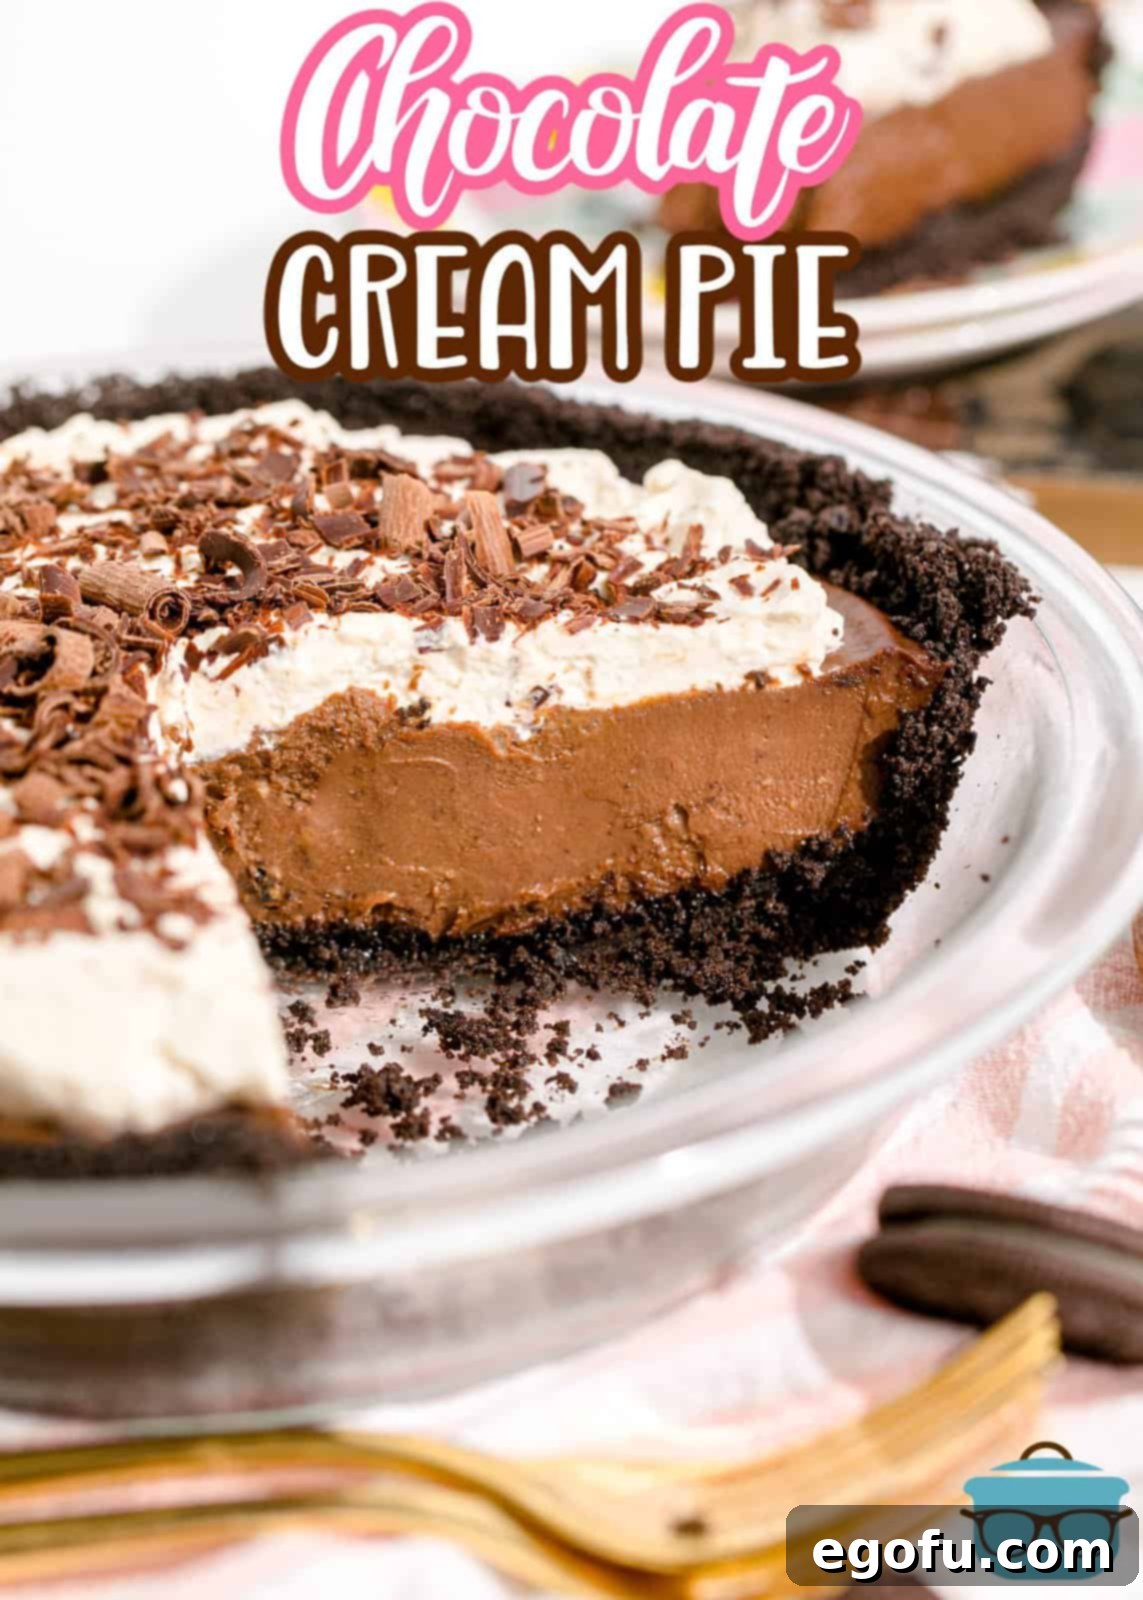
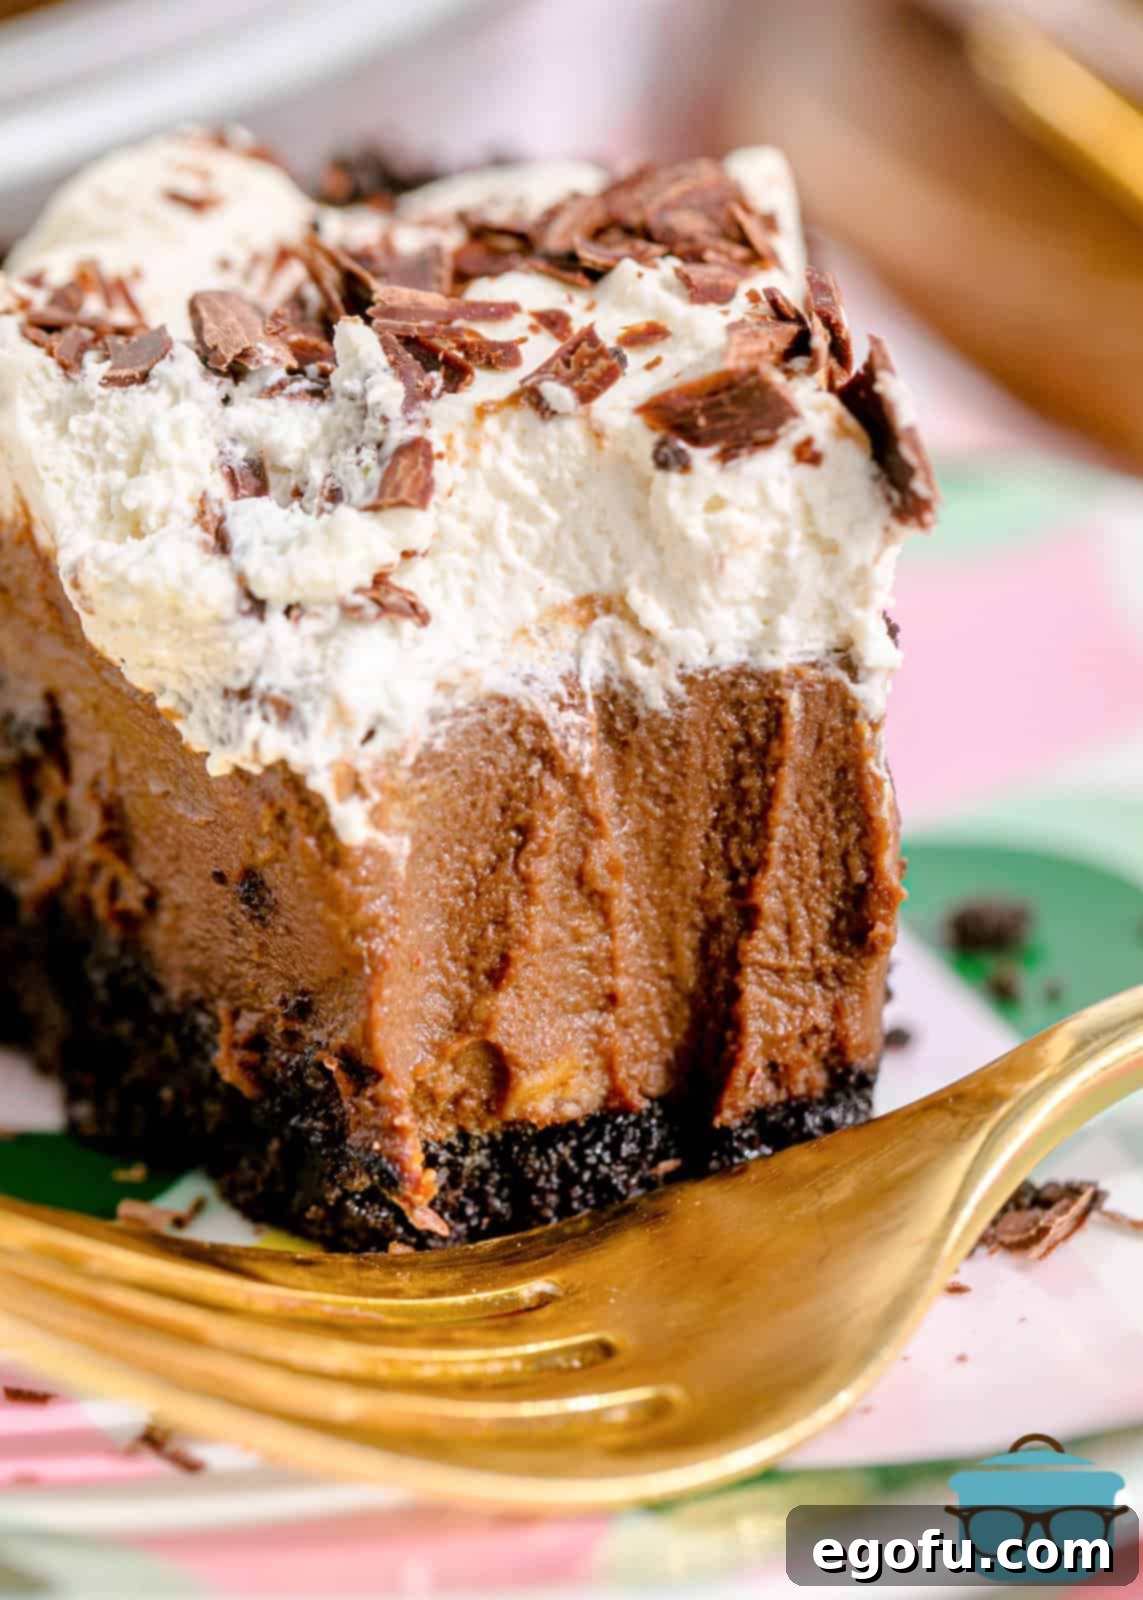
There are some desserts that just hit differently, and for me, this Homemade Chocolate Cream Pie is unequivocally one of them. It’s an iconic dessert that brings back fond memories and creates new ones with every single bite. What makes this recipe truly special is its incredible balance of simplicity and indulgence. You might be surprised at how effortlessly it comes together, using readily available ingredients found in any grocery store. Despite its gourmet taste, it’s remarkably hard to mess up, making it approachable for bakers of all skill levels. From its deep, satisfying chocolate flavor to the contrasting textures of the crisp crust and silken filling, crowned with a cloud of freshly whipped cream and delicate chocolate shavings, each spoonful is pure bliss. This pie isn’t just a dessert; it’s an experience, a guaranteed crowd-pleaser that you’ll be eager to bring to any gathering or special occasion.
Frequently Asked Questions for Your Perfect Pie
To help you achieve the most decadent Chocolate Cream Pie, here are answers to some common questions:
No need to worry if you don’t have a food processor! You can easily crush the Oreo cookies using an alternative method. Place the cookies in a sturdy plastic bag (like a freezer bag) and use a rolling pin to crush them into fine crumbs. Alternatively, a blender can also achieve a similar result by pulsing the cookies until finely ground. The key is to get consistent, fine crumbs for a solid crust.
Absolutely! While homemade whipped cream offers a fresh, rich flavor that complements the chocolate filling beautifully, using a convenient store-bought whipped topping such as Cool Whip is a perfectly acceptable and delicious alternative. It will save you time and still provide that creamy, airy layer on top of your pie. Just make sure it’s thawed according to package directions before spreading.
While both are incredibly delicious chocolate pies with some similar ingredients, their textures and preparation methods set them apart. French Silk Pie traditionally incorporates raw eggs that are beaten for a long time, resulting in a lighter, airier, and almost mousse-like texture. In contrast, Chocolate Cream Pie features a cooked custard-style filling, giving it a denser, smoother, and more pudding-like consistency. Both are exquisite, but if you prefer a rich, firm, and creamy chocolate experience without raw eggs, this Chocolate Cream Pie is your ideal choice.
Half and half provides a perfect balance of richness and liquid for the filling. It is essentially a mixture of equal parts whole milk and heavy cream. If you don’t have half and half on hand, you can easily create your own substitute. For 2 ½ cups of half and half, you can combine 2 cups of whole milk with ½ cup of heavy whipping cream. This combination will yield a similar fat content and consistency, ensuring your pie filling sets perfectly and has that decadent mouthfeel.
For this recipe, I highly recommend using a high-quality semi-sweet chocolate baking bar. Semi-sweet chocolate provides a deep, authentic chocolate flavor that isn’t overly sweet, creating a perfectly balanced pie that appeals to a wide range of palates. You can also use semi-sweet chocolate chips, but make sure they are good quality for the best flavor and melting consistency. Avoid milk chocolate if you want that rich, classic chocolate intensity, as it might make the pie too sweet.
Proper chilling is crucial for the pie to set up and achieve its signature firm, yet creamy texture. This pie needs to chill in the refrigerator for a minimum of 6 hours. For optimal results, I often recommend letting it chill overnight. This extended chilling time allows the filling to firm up completely, making it easier to slice and ensuring each piece holds its shape beautifully. This also makes it an excellent make-ahead dessert for parties and events.
To store leftovers, simply cover the pie tightly with plastic wrap and refrigerate. It will keep well for up to 4 days. If you wish to freeze the pie, I recommend doing so before adding the whipped cream topping. Once the chocolate filling is completely chilled and set, cover the pie first with plastic wrap, then with a layer of aluminum foil. It can be stored in the freezer for up to 3 months. To defrost, transfer the frozen pie to the refrigerator overnight. Once thawed, prepare and add the fresh whipped cream topping, then enjoy! Freezing without the whipped cream helps maintain the topping’s texture.
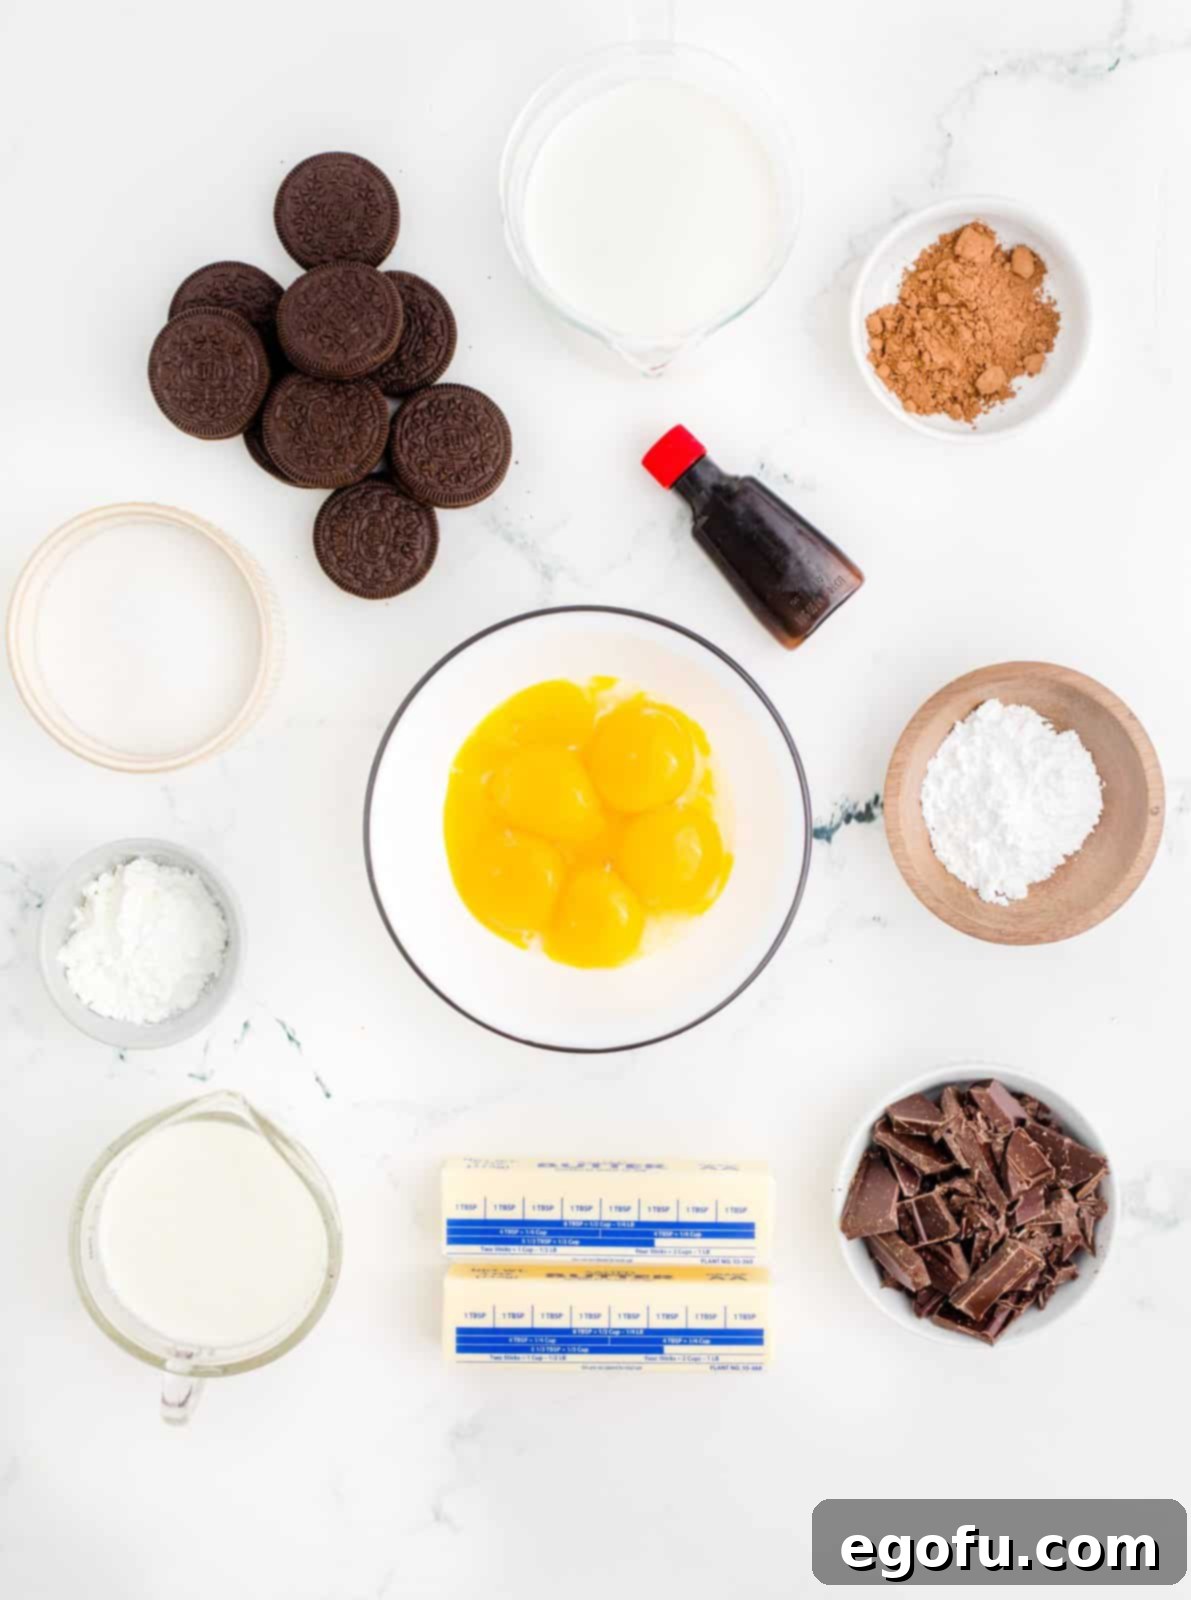
Key Ingredients for a Divine Chocolate Cream Pie
Gathering your ingredients beforehand makes the baking process smooth and enjoyable. Here’s what you’ll need for this decadent no-bake chocolate pie:
- Oreo cookies (for that irresistible crunchy crust)
- Salted butter (to bind the crust and enrich the filling)
- Granulated sugar (for the perfect sweetness in the filling)
- Cornstarch (our secret for a perfectly thick and stable filling)
- High-quality cocoa powder (for intense chocolate flavor)
- Half and half (the base for our creamy, dreamy custard)
- Egg yolks (to add richness and help set the filling)
- Semi-sweet chocolate, chopped (for a deep, balanced chocolate taste)
- Vanilla extract (enhances all the sweet flavors)
- Heavy cream (for light and fluffy homemade whipped cream)
- Powdered sugar (sweetens the whipped cream)
- Additional crushed Oreo cookies or chocolate shavings for garnish (optional, but highly recommended for presentation)
Crafting Your Decadent Chocolate Cream Pie: A Step-by-Step Guide
Follow these detailed steps to create a show-stopping Chocolate Cream Pie with Oreo crust that will impress everyone!
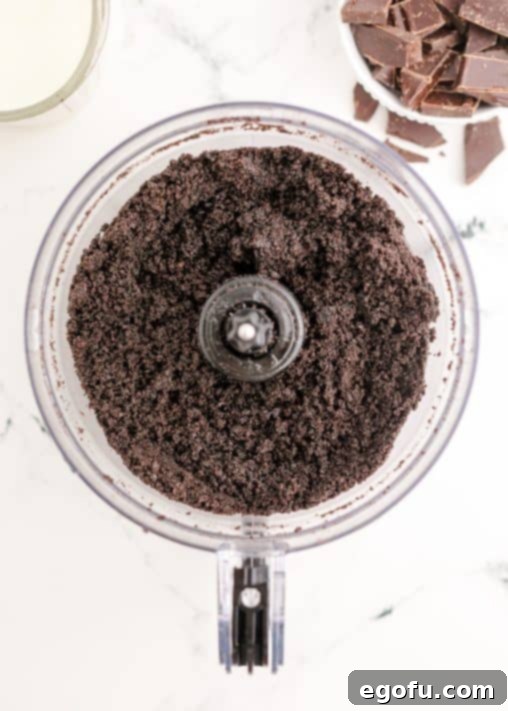
1. Prepare the Oreo Crust: Begin by placing about 30 Oreo cookies into a food processor. Pulse them until they are finely ground into consistent crumbs. Melt 6 tablespoons of salted butter, then add the melted butter to the Oreo crumbs in the food processor. Pulse again until the butter is thoroughly combined with the crumbs and the mixture holds together.
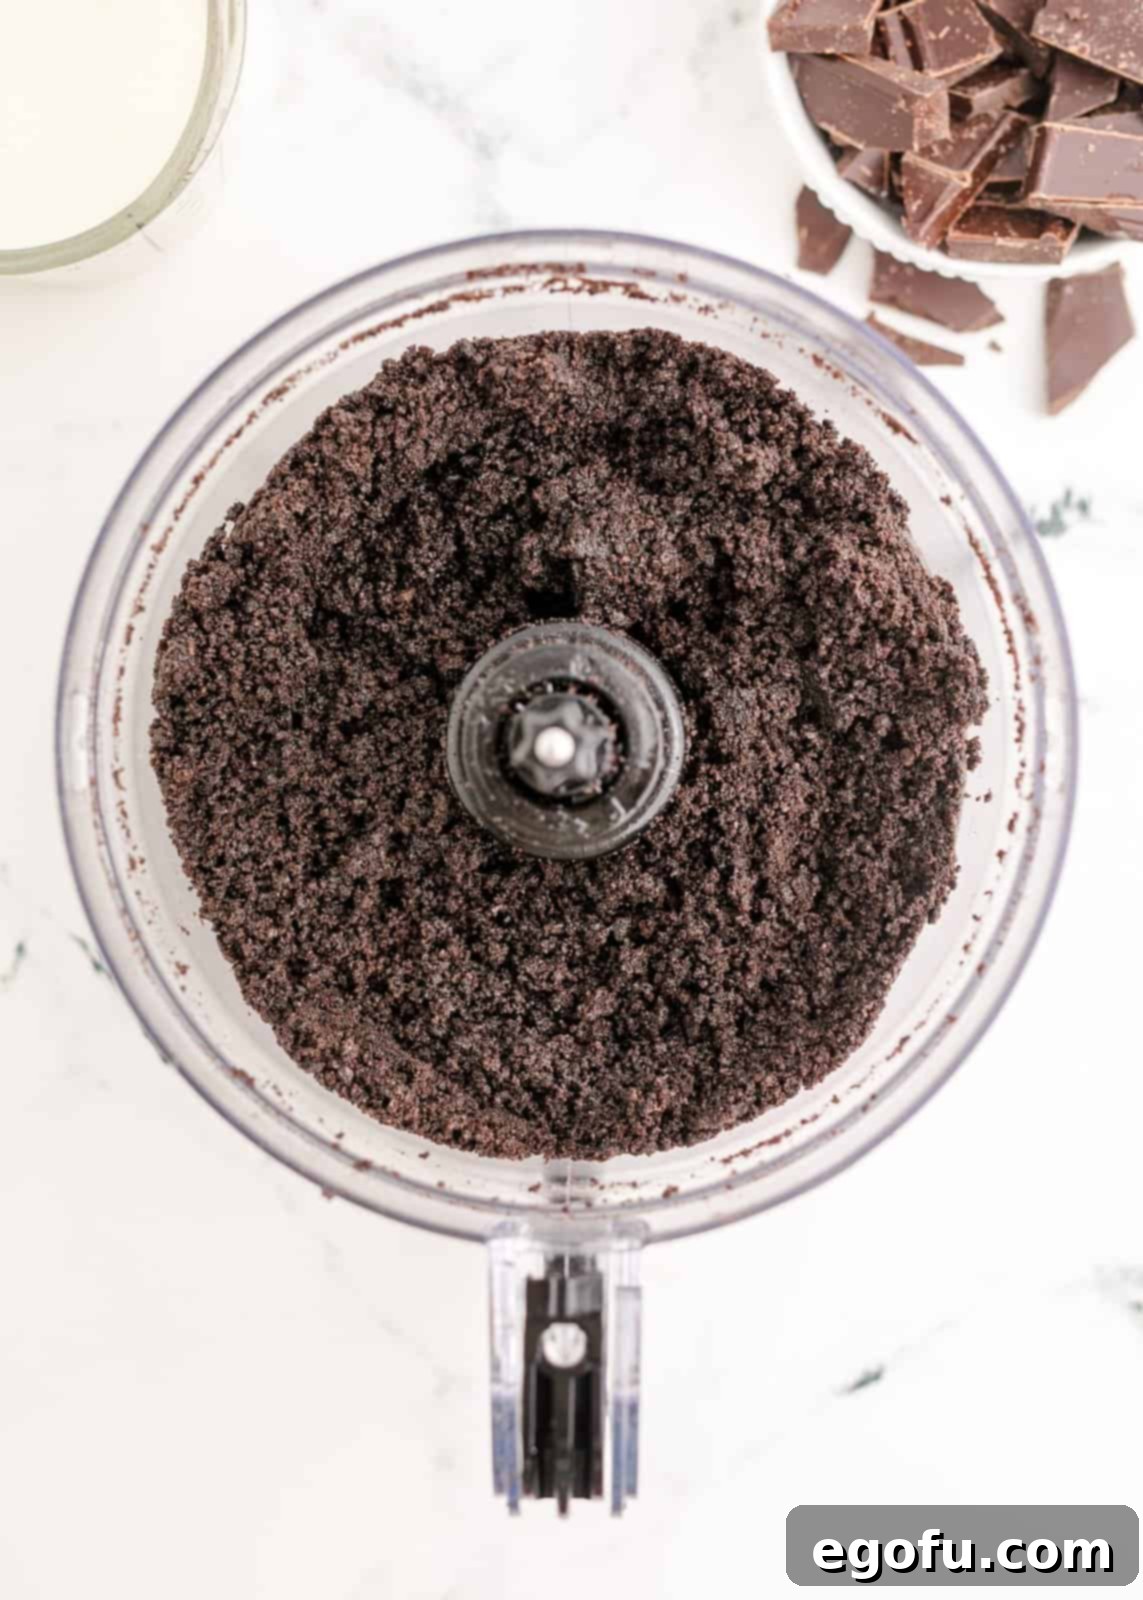
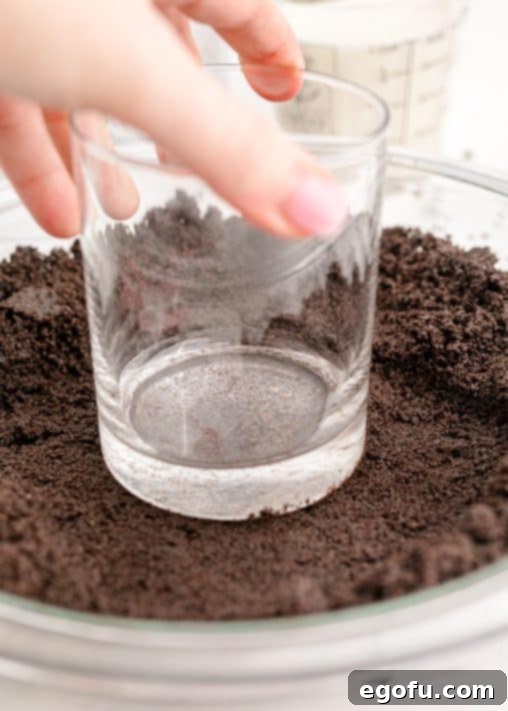
2. Form the Crust: Transfer the buttery Oreo crumb mixture into a 9-inch pie plate. Using the bottom of a glass or your fingers, firmly press the crumbs evenly across the bottom and slightly up the sides of the pie plate. This creates a sturdy and delicious base for your pie. Place the formed crust in the refrigerator to chill and firm up while you prepare the filling. This prevents the crust from becoming soggy.

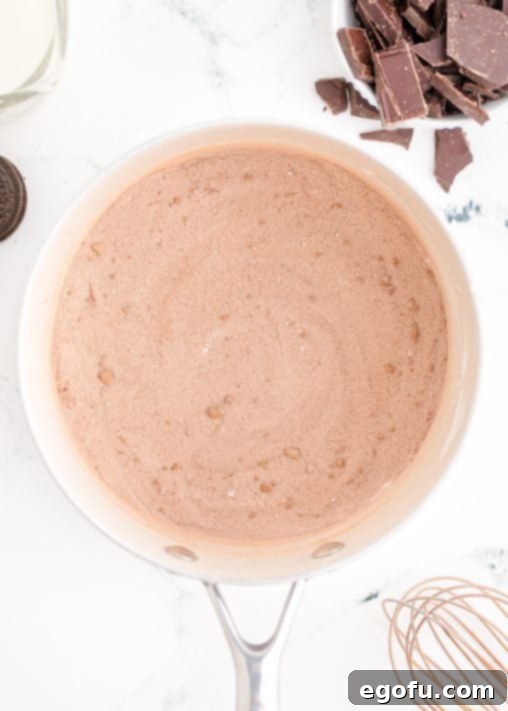
3. Start the Filling Base: In a heavy-bottomed large saucepan, whisk together ½ cup of granulated sugar, 2 tablespoons of cornstarch, and 1 tablespoon of cocoa powder. Whisk thoroughly to ensure there are no lumps, as this dry mixture forms the base of your creamy chocolate filling.
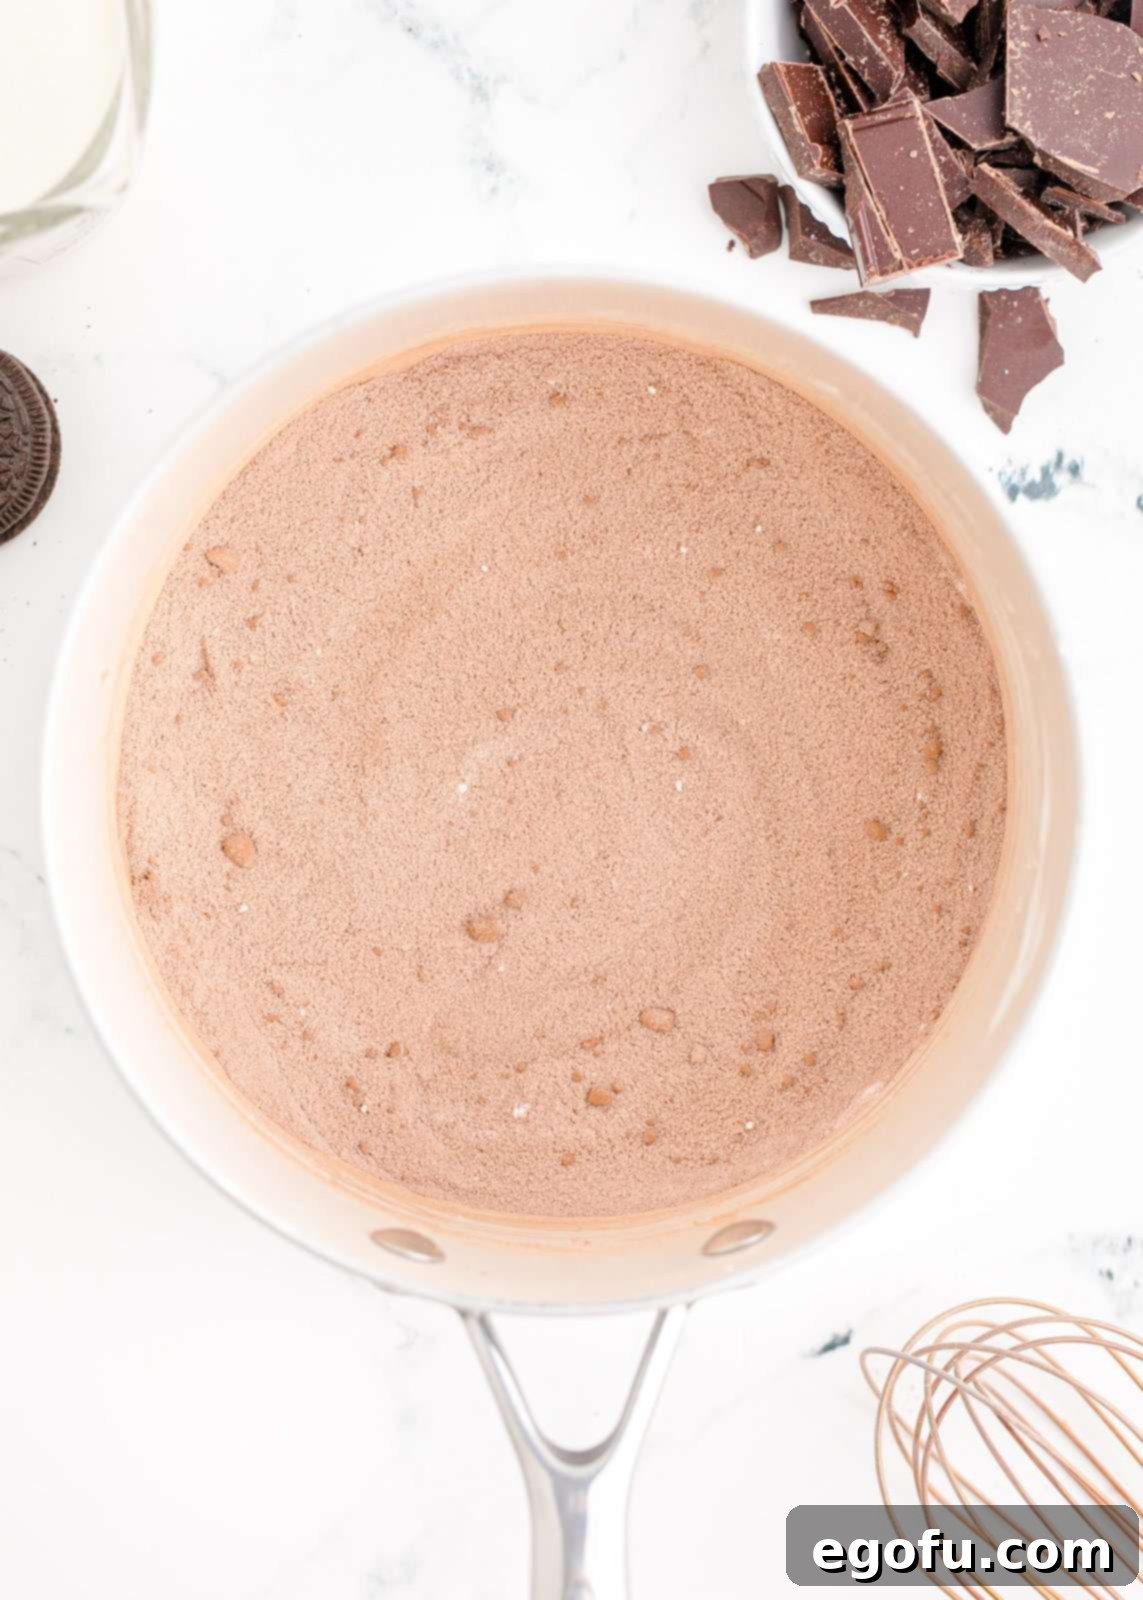
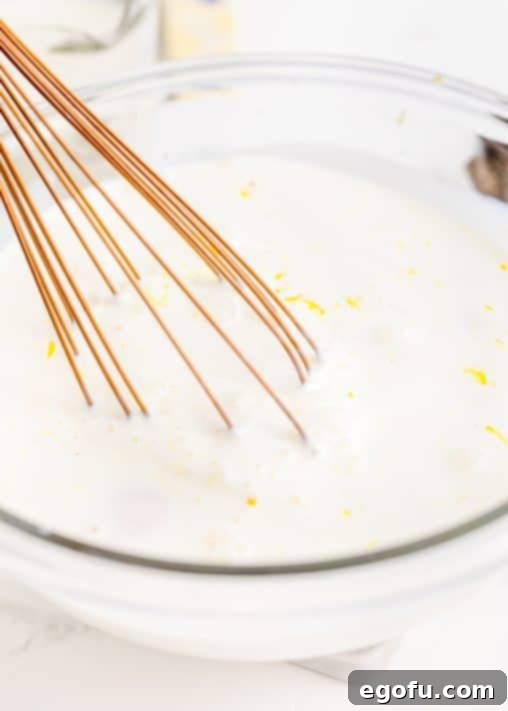
4. Prepare Wet Ingredients: In a separate large mixing bowl, whisk together 2 ½ cups of half and half with 6 large egg yolks. Whisk until the mixture is smooth and well combined. The egg yolks add essential richness and act as a natural thickener for the custard.
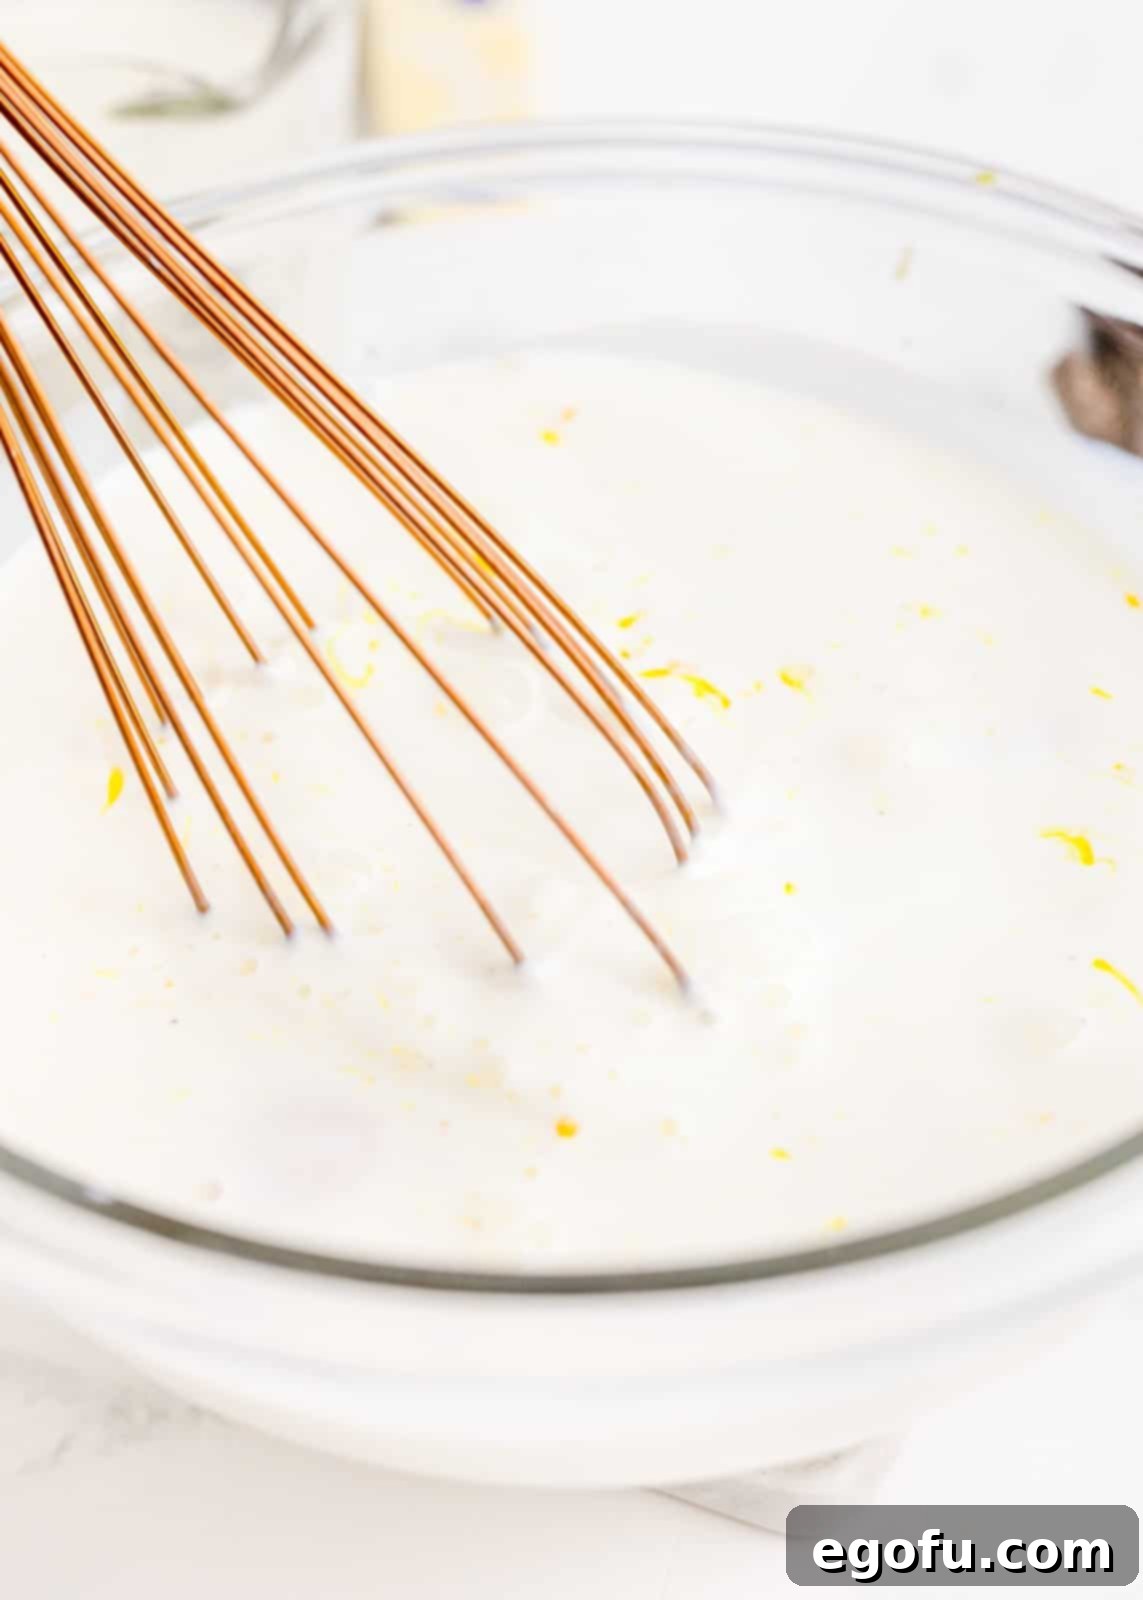
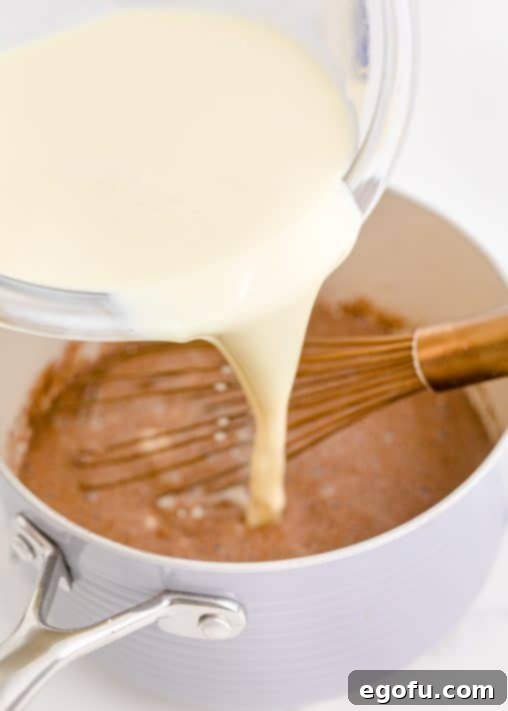
5. Cook the Custard: Gradually add the half and half and egg yolk mixture to the saucepan containing the dry ingredients, whisking constantly as you pour. This gradual addition prevents the egg yolks from scrambling. Once combined and smooth, turn the heat to medium-high. Continue to whisk constantly as the mixture heats up and begins to bubble. Whisking is key to prevent scorching and ensure an even consistency.
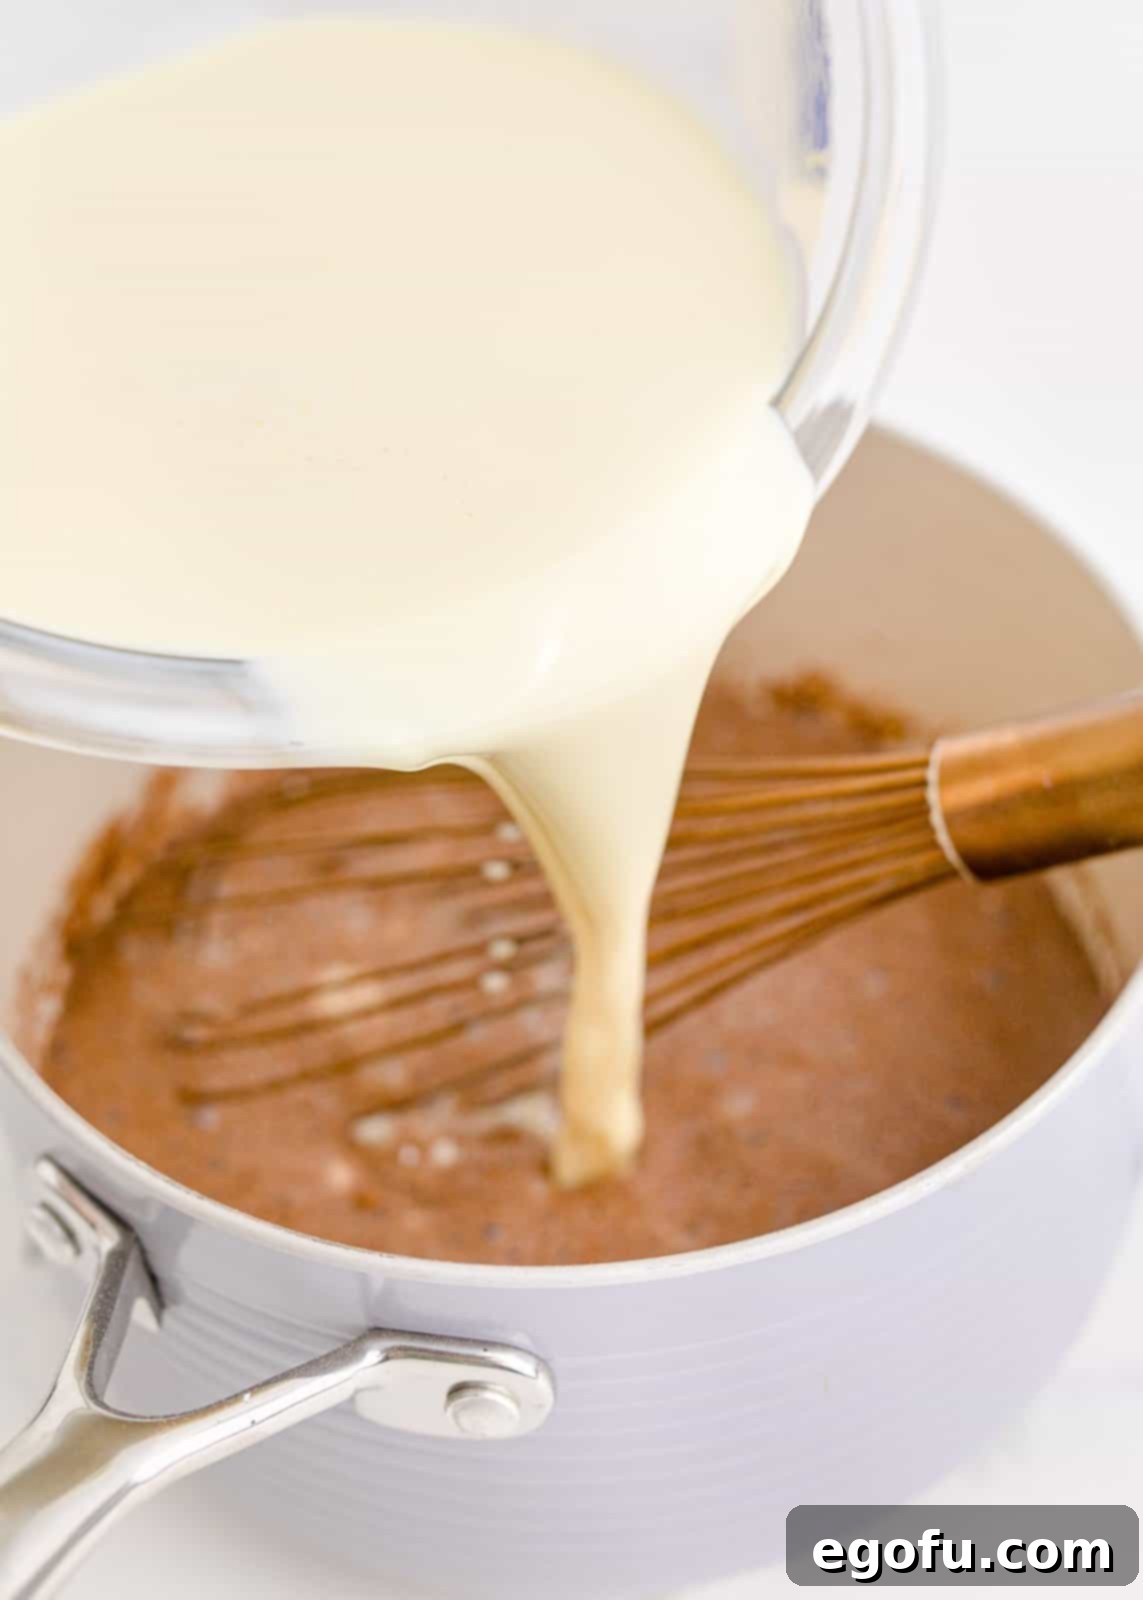
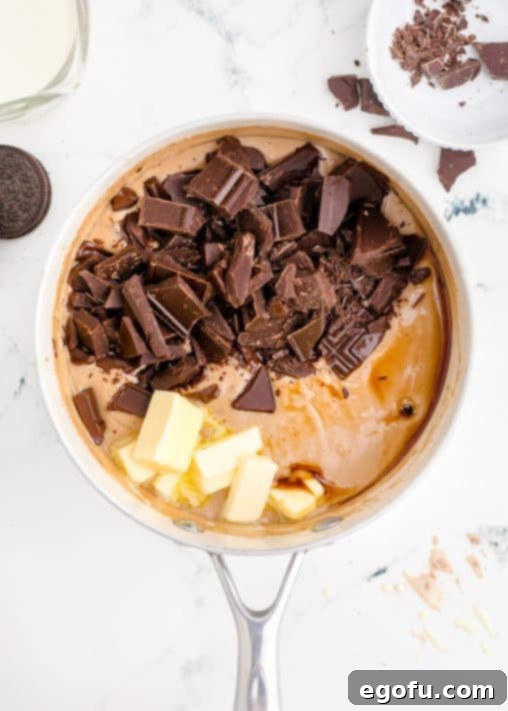
6. Thicken and Finish: Once bubbling, reduce the heat to medium and simmer for another minute, continuously whisking and scraping the bottom and sides of the saucepan. This step is critical for fully activating the cornstarch and thickening the custard. Do not leave it unattended, as it can quickly stick and burn. After one minute of simmering, remove the saucepan from the heat. Immediately stir in 4 tablespoons of salted butter (sliced into chunks for quicker melting), 8 ounces of chopped semi-sweet chocolate, and 1 teaspoon of vanilla extract.
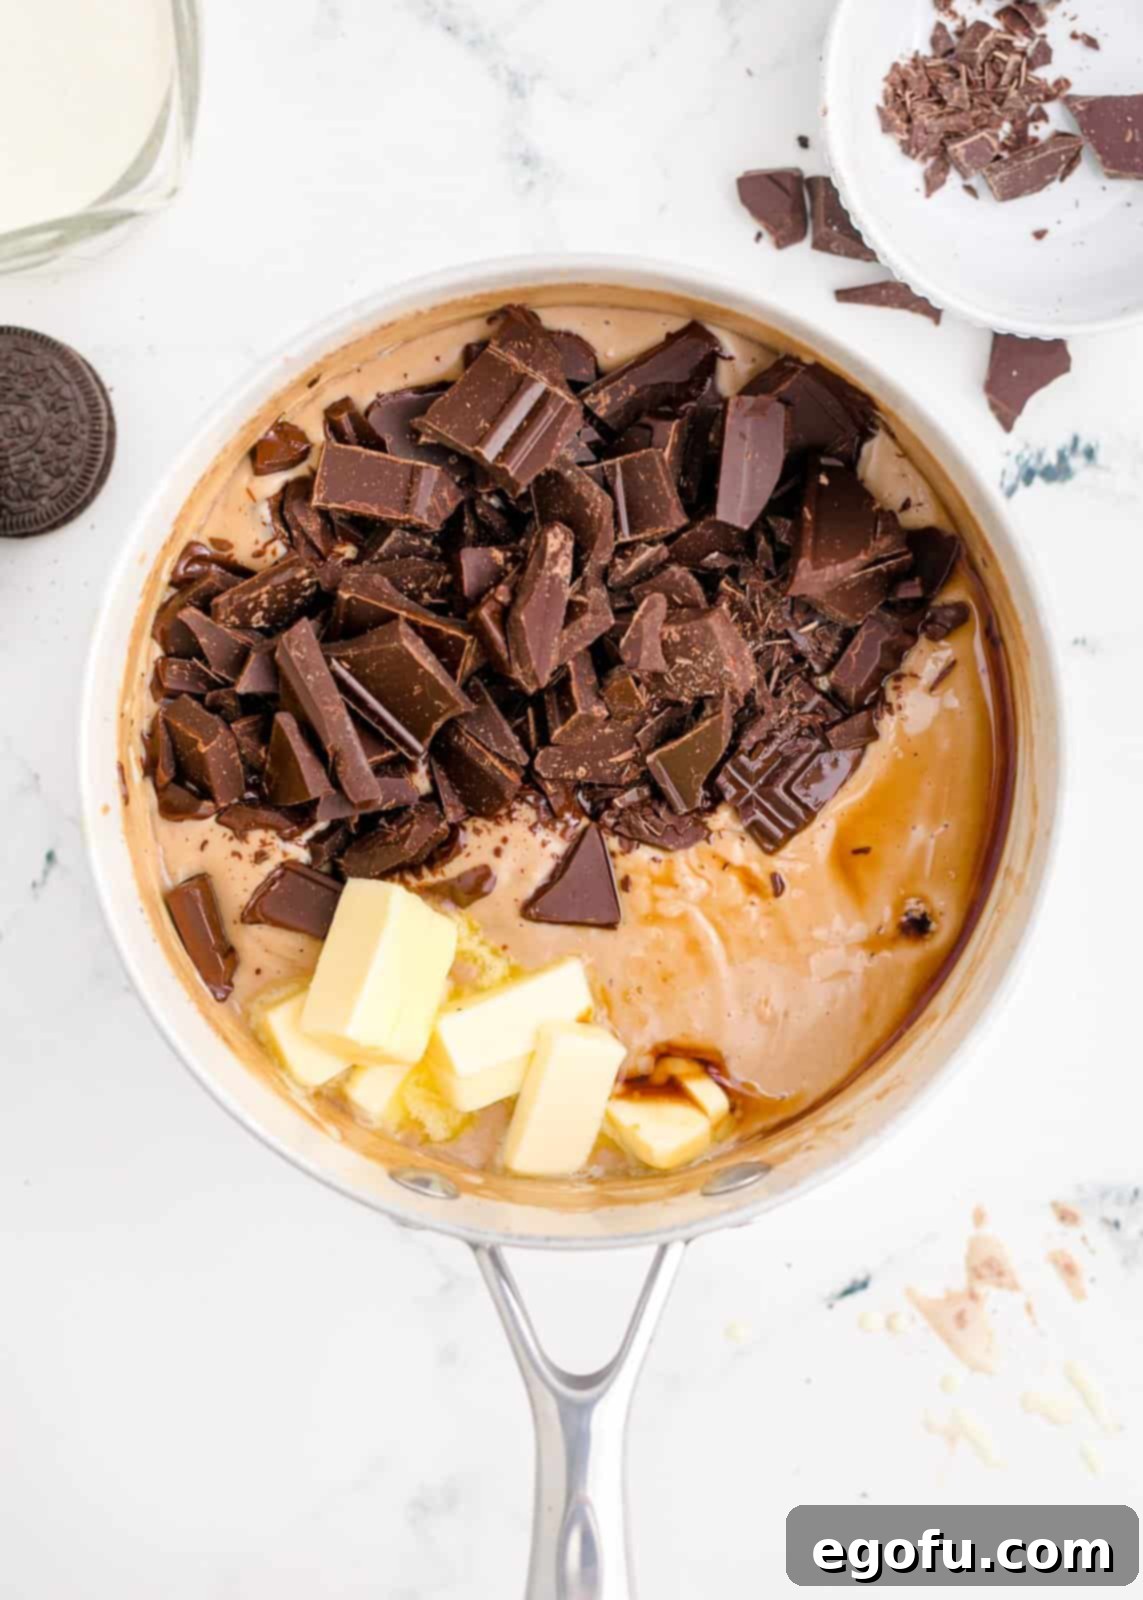
7. Achieve Smoothness: Stir the mixture vigorously until all the butter and chocolate have completely melted and the filling is thick, smooth, and glossy. The residual heat from the custard will perfectly melt the chocolate, creating a rich, luscious filling. This is the heart of your classic chocolate pie.
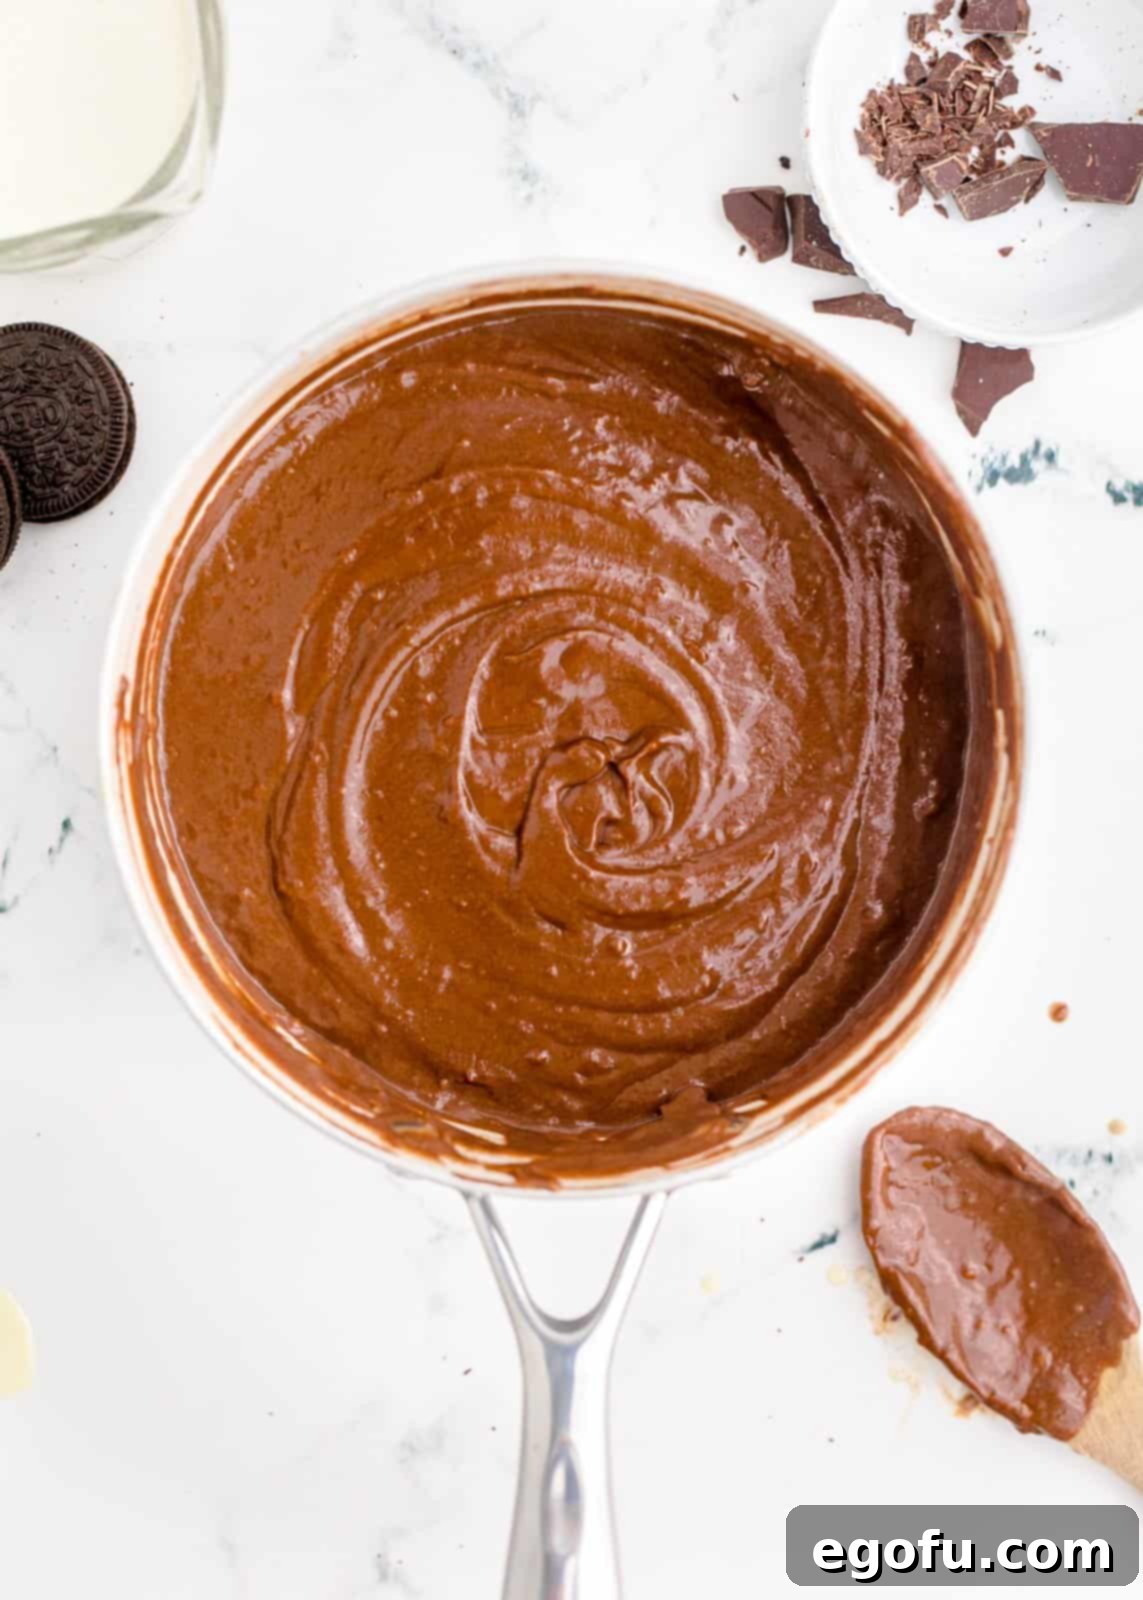
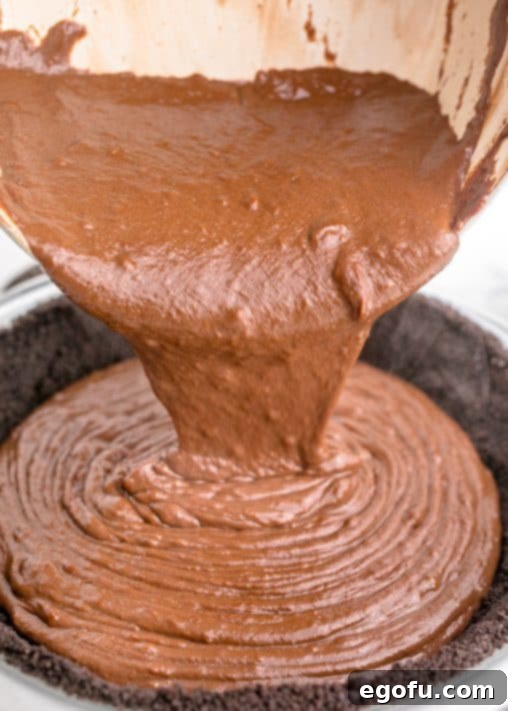
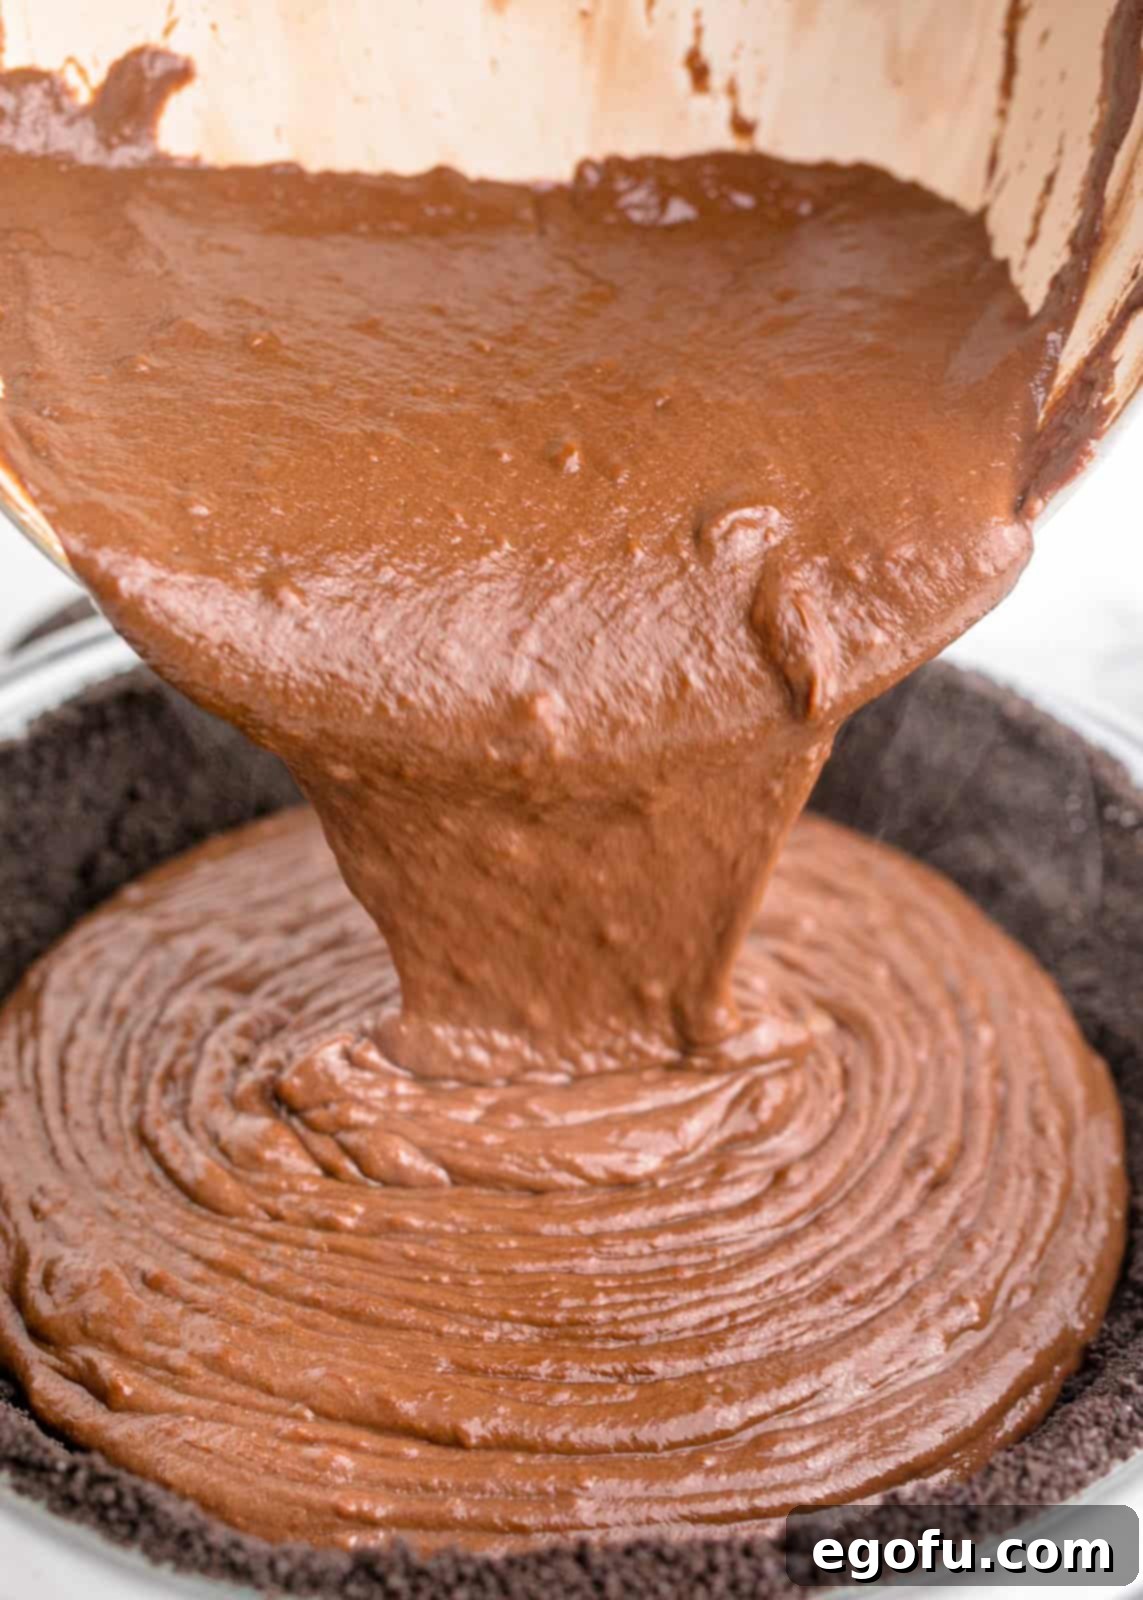
8. Chill the Pie: Pour the warm chocolate filling into your chilled Oreo crust. To prevent a skin from forming on the surface and to ensure a super smooth top, gently place a piece of plastic wrap directly onto the surface of the filling, pressing it down lightly to remove any air pockets. Place the pie in the refrigerator to chill for at least 6 hours, or preferably overnight, until it is fully set. This chilling time is non-negotiable for a perfectly firm pie.
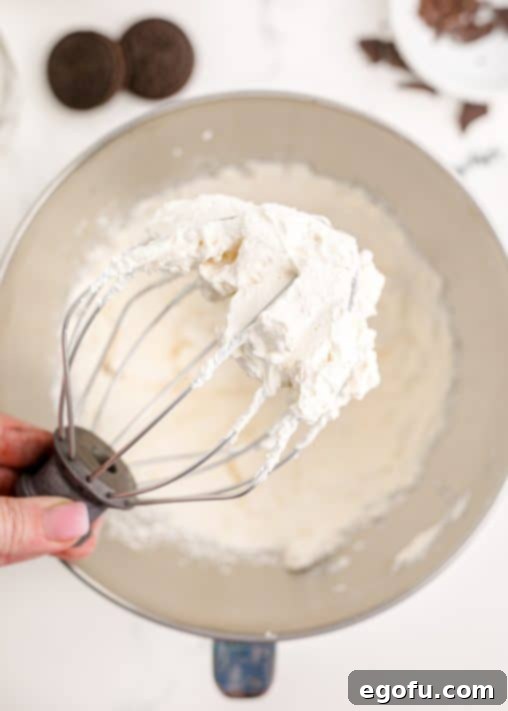
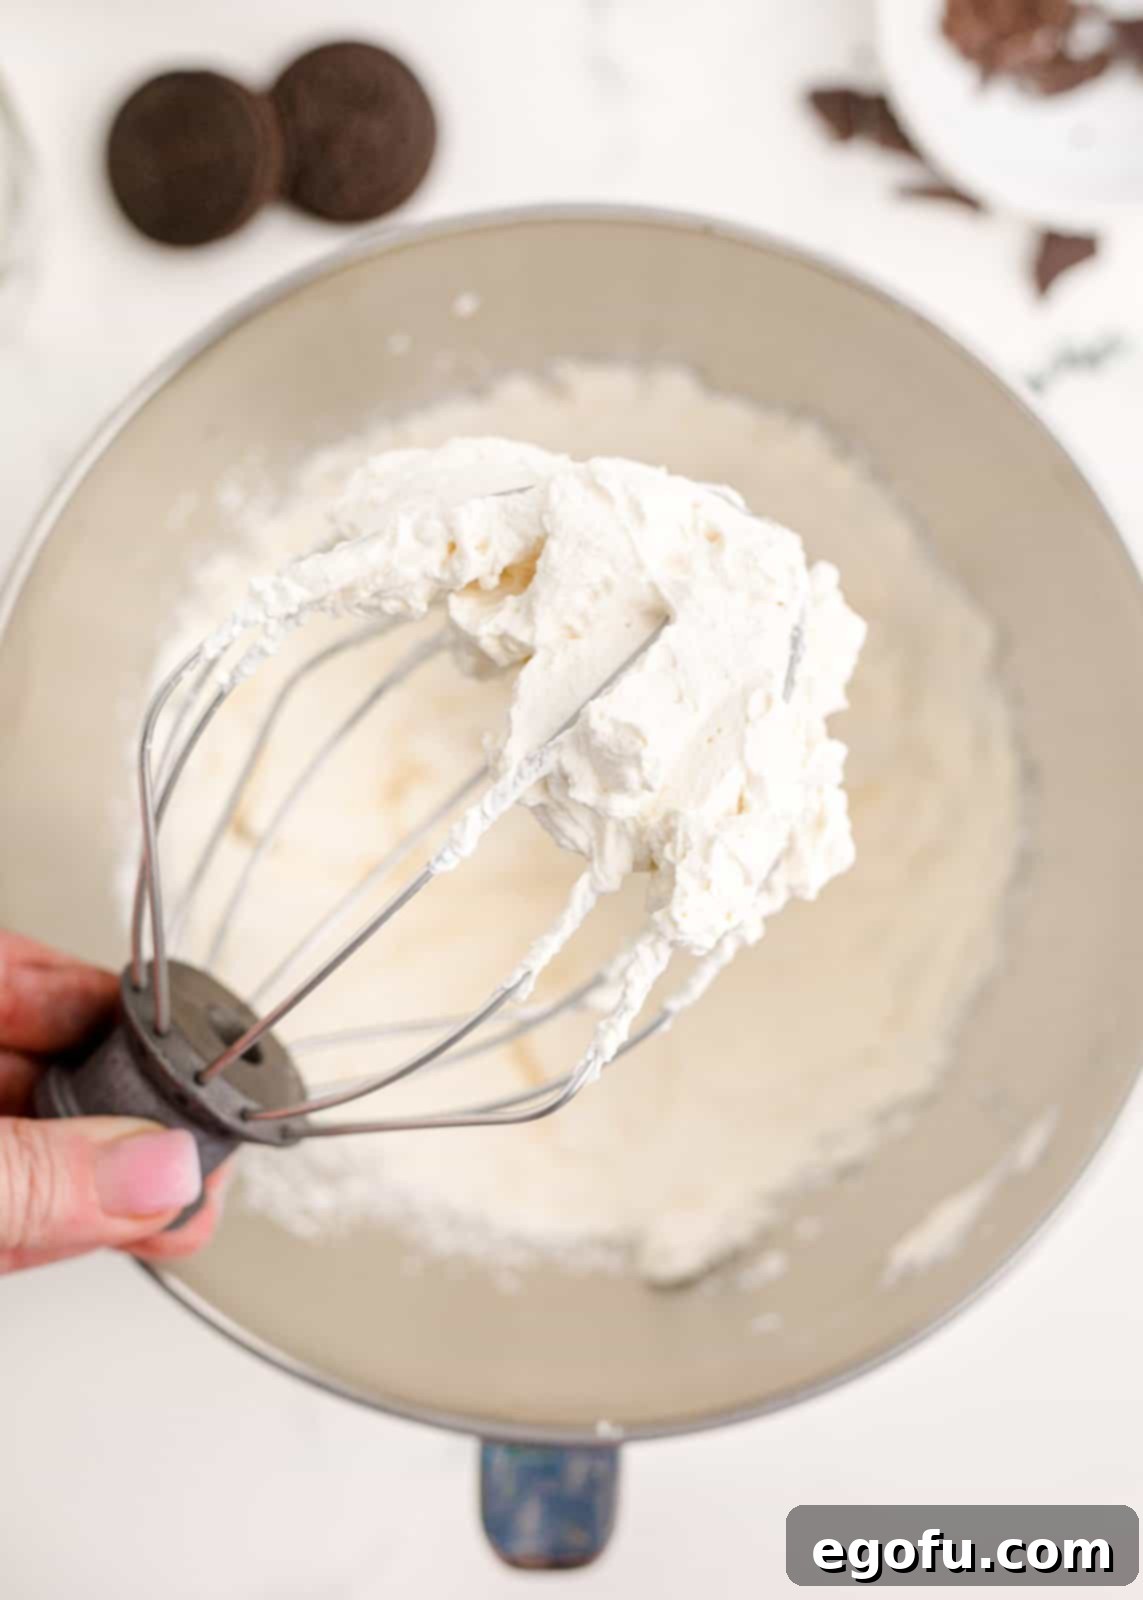
9. Make the Whipped Cream: When you are ready to serve the pie, it’s time to prepare the homemade whipped cream. Ensure your heavy cream is very cold, and for best results, chill your mixing bowl and whisk attachment in the freezer for 10-15 minutes beforehand. Pour 1 cup of very cold heavy cream into the cold standing mixer bowl. Add 3 tablespoons of powdered sugar and 1 teaspoon of vanilla extract. Beat on medium-high speed until soft peaks begin to form. To stabilize the whipped cream and prevent it from deflating, add 1 tablespoon of cornstarch. Continue beating until stiff peaks form. The cornstarch helps the whipped cream hold its shape beautifully for longer.
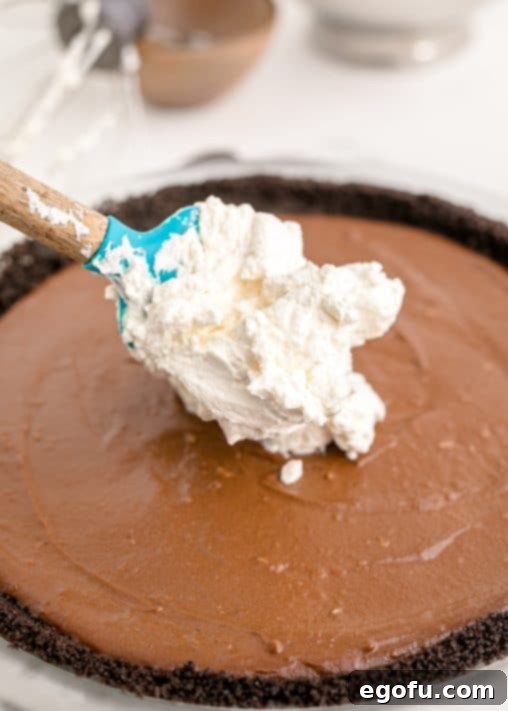
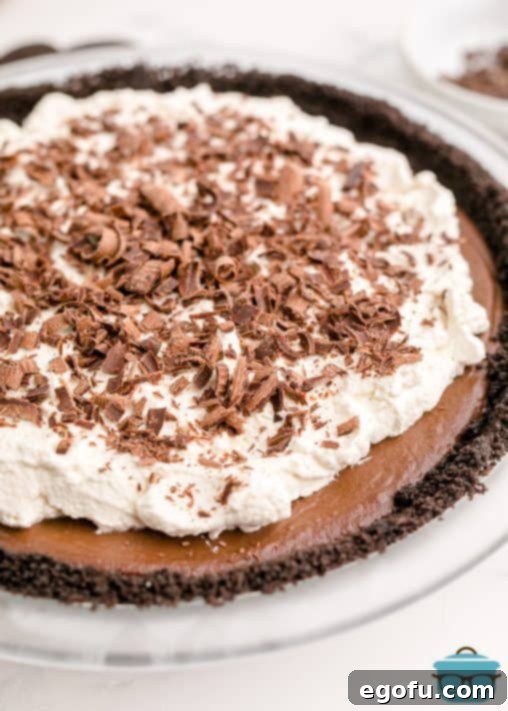
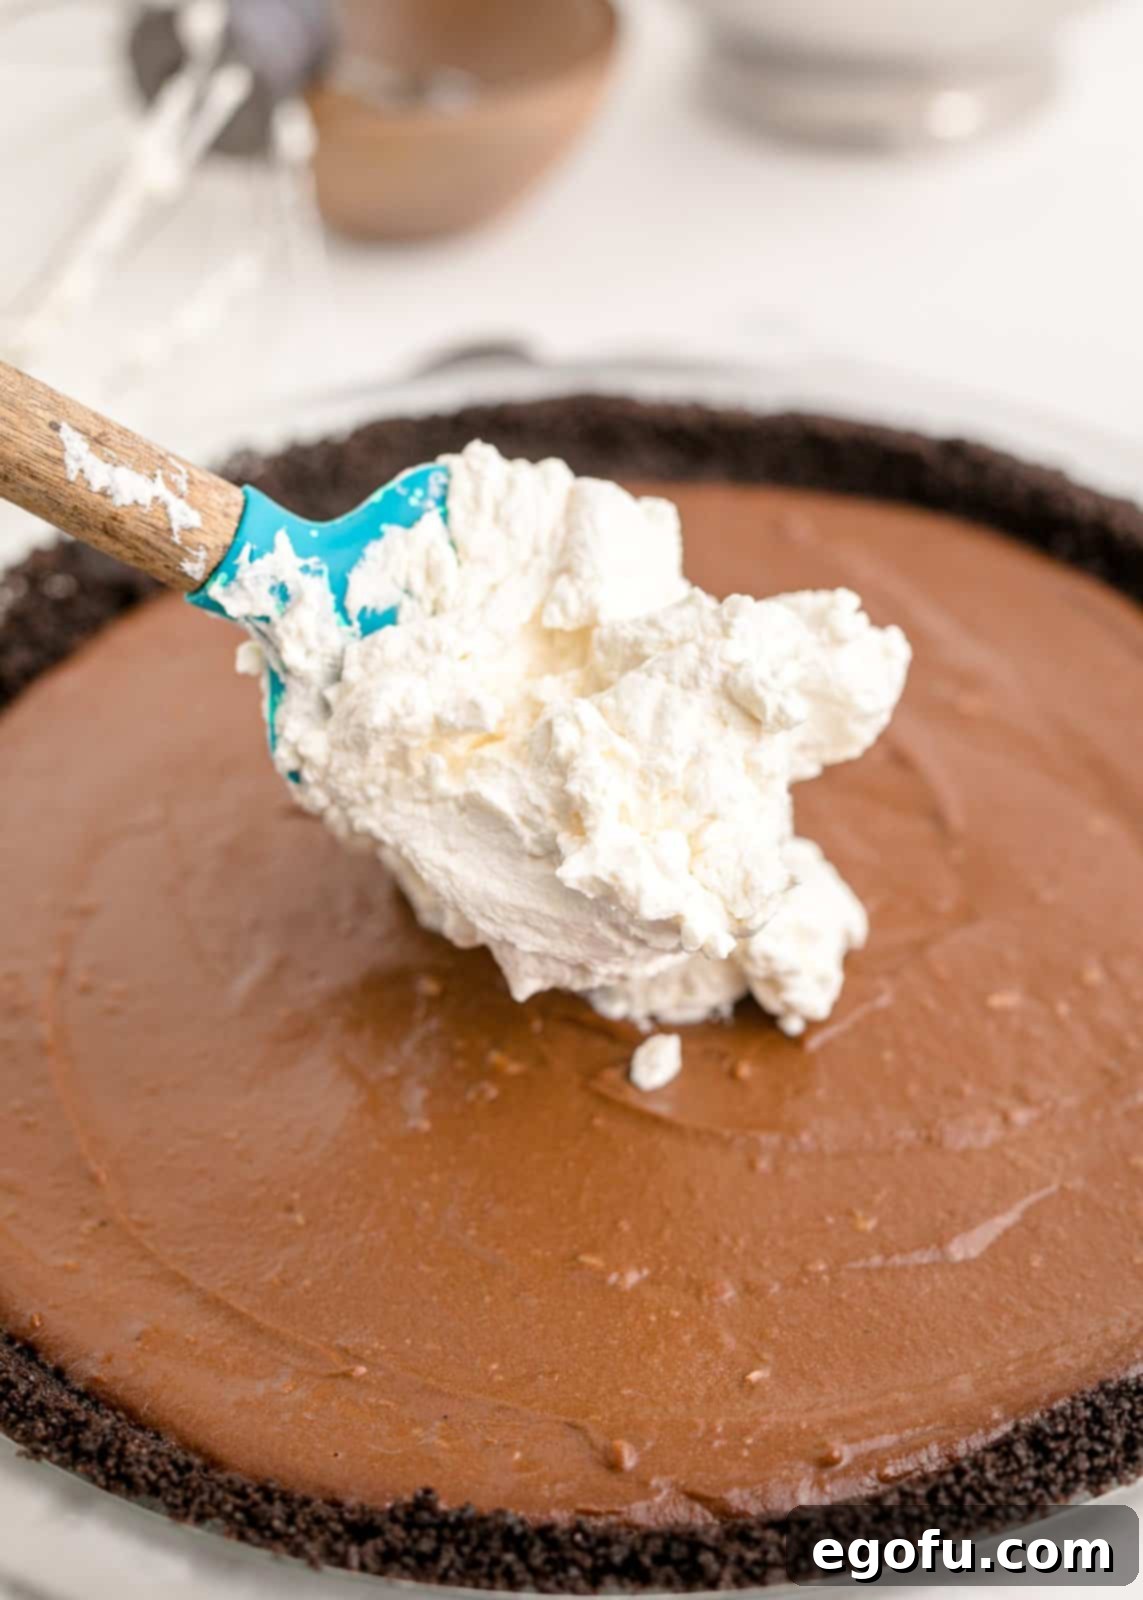
10. Top and Serve: Carefully remove the plastic wrap from the chilled pie. Spread the freshly made whipped cream evenly over the chocolate filling. For an extra touch of elegance and flavor, garnish your Oreo crust chocolate pie with additional crushed Oreo cookies or delicate chocolate shavings, if desired. Slice and serve immediately. Remember to keep any leftovers refrigerated to maintain freshness and texture.
Enjoy every glorious bite of this incredible easy chocolate pie recipe!
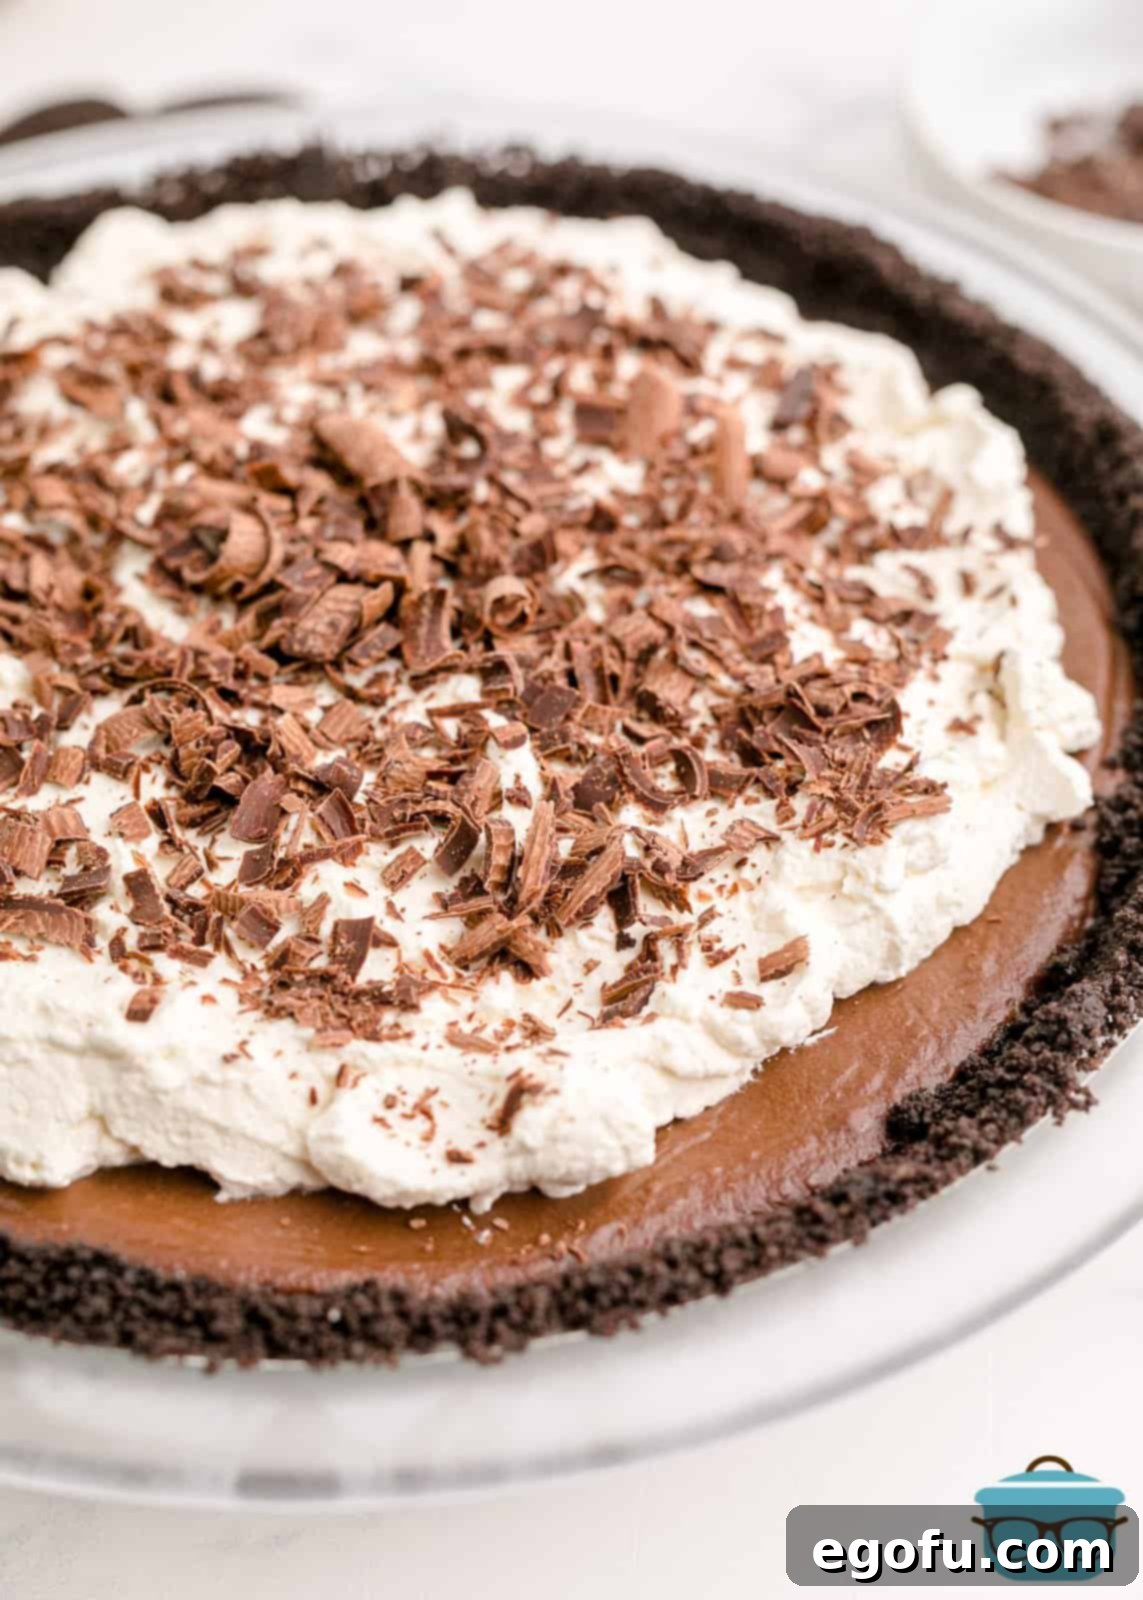
This dessert promises to be a memorable treat for any occasion, from casual gatherings to elegant dinners. Its rich flavor and satisfying texture make it a favorite among all ages.
Explore More Irresistible Dessert Recipes
If you loved this homemade chocolate cream pie, you’re sure to enjoy these other delightful pie recipes from our collection:
- Coconut Cream Pie
- Peanut Butter Pie
- Cookies and Cream Pie
- Sweet Potato Pie
- Blueberry Pie
- Key Lime Cream Pie
- Southern Peanut Pie
- Buttermilk Pie

Chocolate Cream Pie
With a crunchy Oreo crust and a smooth chocolate filling, this Chocolate Cream Pie recipe is a classic dessert that is always a crowd-pleaser!
Average Rating: 5 stars (4 Reviews)
Print Recipe |
Pin Recipe
Ingredients
Crust:
- 30 Oreo cookies
- 6 Tablespoons salted butter, melted
Filling:
- ½ cup granulated sugar
- 2 Tablespoons cornstarch
- 1 Tablespoon cocoa powder
- 2 ½ cups half and half
- 6 large egg yolks
- 4 Tablespoons salted butter, sliced into chunks
- 8 ounces semi-sweet chocolate, chopped
- 1 teaspoon vanilla extract
Whipped Cream:
- 1 cup very cold heavy cream
- 3 Tablespoons powdered sugar
- 1 teaspoon vanilla extract
- 1 Tablespoon cornstarch
Optional Garnish:
- Crushed Oreo cookies or chocolate shavings
Instructions
Place 30 Oreo cookies into a food processor and pulse until crumbly. Melt 6 Tablespoons salted butter and add it to the cookies. Pulse until combined.

Press the Oreo mixture into a 9-inch pie plate, covering the bottom and going a little up the sides. You can use the bottom of a glass to press the crumbs down. Place the crust in the refrigerator while you are making the filling.

To make the filling, in a heavy large saucepan, whisk together ½ cup granulated sugar, 2 Tablespoons cornstarch, and 1 Tablespoon cocoa powder.

In a separate large mixing bowl, whisk together 2 ½ cups half and half and 6 large egg yolks.

Gradually add this egg mixture to the saucepan, whisking constantly. When this mixture is smooth, turn the heat on to medium-high. Whisk constantly as this begins to bubble.

Turn the heat down to medium and simmer for another minute. Make sure you are constantly scraping the bottom and sides. Don’t turn your back on this.
Remove the saucepan from the heat. Add 4 Tablespoons salted butter, sliced into chunks, 8 ounces semi-sweet chocolate, chopped, and 1 teaspoon vanilla extract. Stir until thick, smooth, and melted.

Pour this mixture into the chilled crust. Place plastic wrap directly onto the pie to prevent a skin from forming and place in the refrigerator for at least 6 hours, or until fully set.

Once the pie has cooled and set, make the whipped cream. Place 1 cup very cold heavy cream into a cold standing mixer bowl. Add 3 Tablespoons powdered sugar and 1 teaspoon vanilla extract. Beat this until soft peaks form.
Add 1 Tablespoon cornstarch and continue beating until the peaks are stiff.

Spread the whipped cream evenly on top of the chilled pie.

Top with crushed Oreo cookies or chocolate shavings, if desired, then serve. Keep pie refrigerated.

Notes
- This pie can be frozen! Refer to the “How do I store leftovers?” FAQ section above for detailed freezing and thawing instructions.
- For an enhanced presentation and extra texture, don’t hesitate to top your pie with extra crushed Oreos or delicate chocolate shavings.
- To save time, store-bought whipped topping like Cool Whip can be used as a convenient alternative to homemade whipped cream.
- A minimum chilling time of 6 hours is essential for the pie to set properly, ensuring perfect slices. For best results, consider chilling overnight.
- If half and half is unavailable, you can create a substitute by combining 2 cups of whole milk with ½ cup of heavy whipping cream for the filling.
Nutrition
Calories: 545 kcal | Carbohydrates: 47g | Protein: 6g | Fat: 38g | Sodium: 234mg | Fiber: 3g | Sugar: 32g
Nutritional Disclaimer
“The Country Cook” is not a dietician or nutritionist, and any nutritional information shared is an estimate. If calorie count and other nutritional values are important to you, we recommend running the ingredients through whichever online nutritional calculator you prefer. Calories and other nutritional values can vary quite a bit depending on which brands were used.
Did you make this recipe?
Share it on Instagram @thecountrycook and mention us #thecountrycook!
