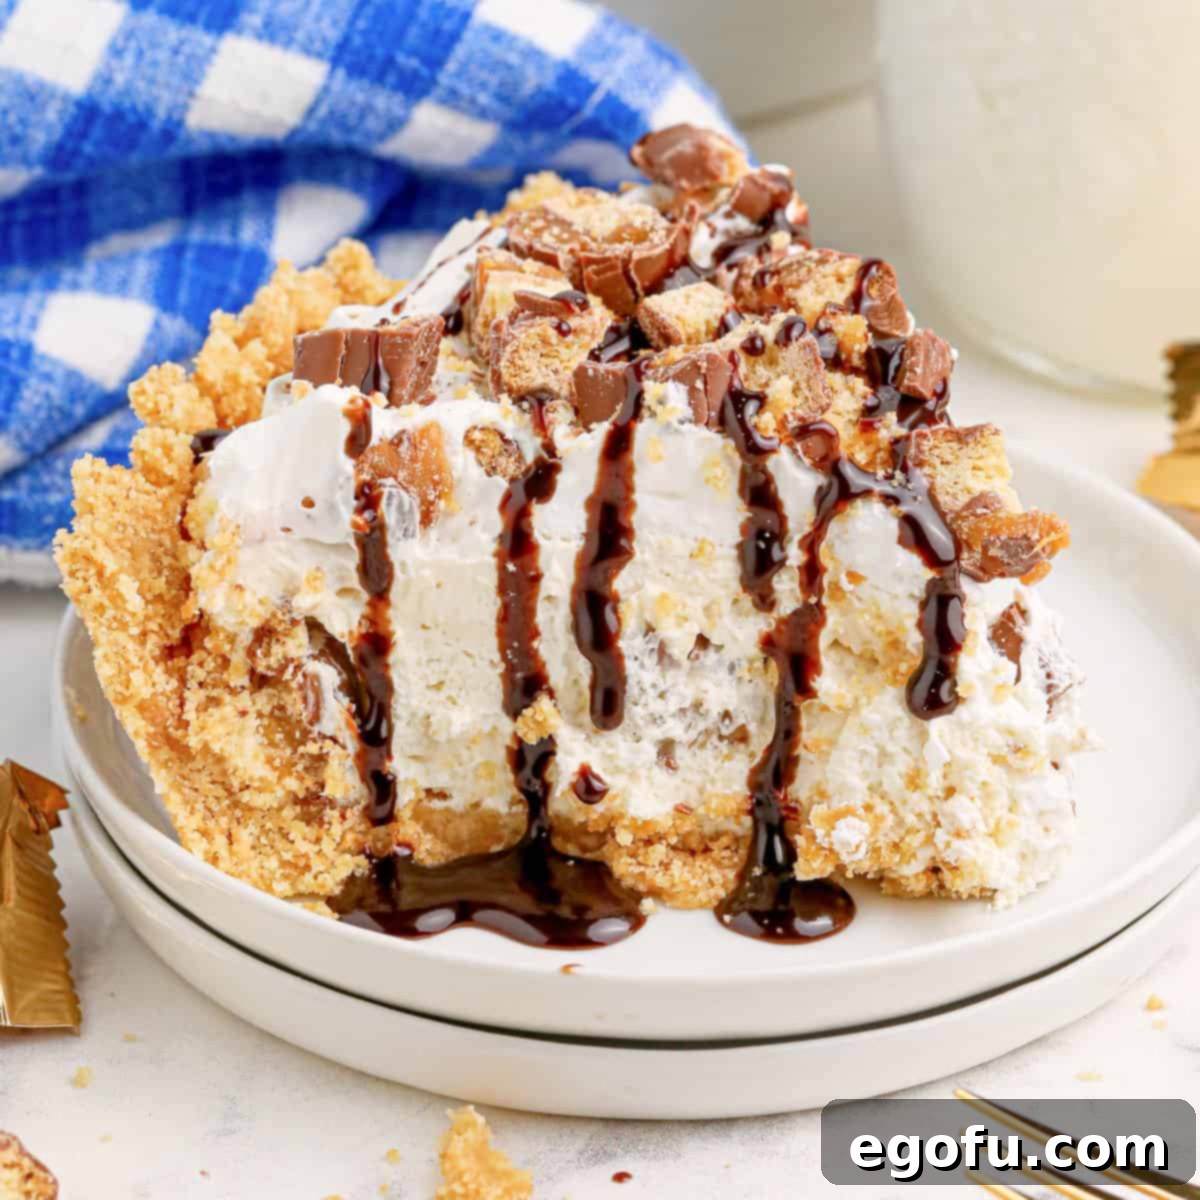
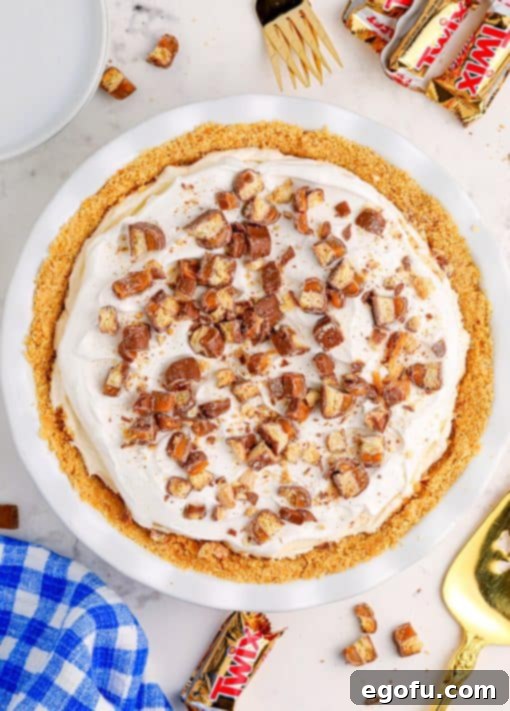
If your heart beats for the delightful combination of shortbread, caramel, and milk chocolate, then get ready to elevate your dessert game! This extraordinary No-Bake Twix Pie brings together all the beloved elements of your favorite Twix candy bar – rich caramel, decadent chocolate, crunchy Twix pieces, and a luscious whipped topping – all nestled within a perfectly crafted homemade crust. Prepare to embark on a sweet journey with every irresistible slice of this easy-to-make, utterly satisfying treat!
Indulge in the Ultimate No-Bake Twix Pie: A Caramel Chocolate Dream
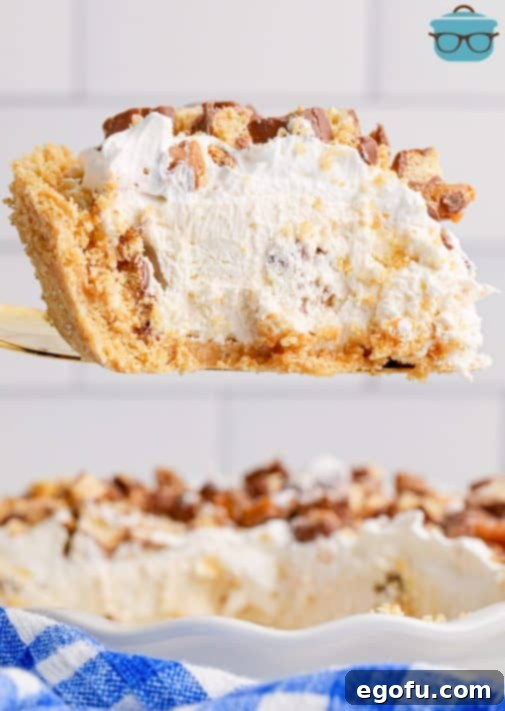
Searching for a show-stopping dessert that requires minimal effort but delivers maximum flavor? Look no further than this sensational No-Bake Twix Pie! This dessert masterpiece is designed for simplicity without compromising on taste or texture. Imagine a wonderfully crunchy vanilla wafer cookie crust, a velvety smooth and sweet vanilla caramel filling, generously adorned with irresistible chopped Twix bars, and finished with a delicate drizzle of chocolate. The result is a truly decadent experience that satisfies even the most intense sweet cravings.
What makes this Twix pie truly exceptional is its no-bake nature. Forget about preheating the oven or spending hours slaving away in the kitchen. This recipe liberates you to create an impressive dessert for any occasion – be it a casual family gathering, a festive holiday celebration, or a simple weeknight treat – with incredible ease. Its delightful blend of textures and flavors makes it a universal crowd-pleaser, guaranteed to impress guests and delight dessert enthusiasts of all ages. This is more than just a pie; it’s a celebration of convenience and indulgence, proving that the most delicious treats don’t always require complicated steps.
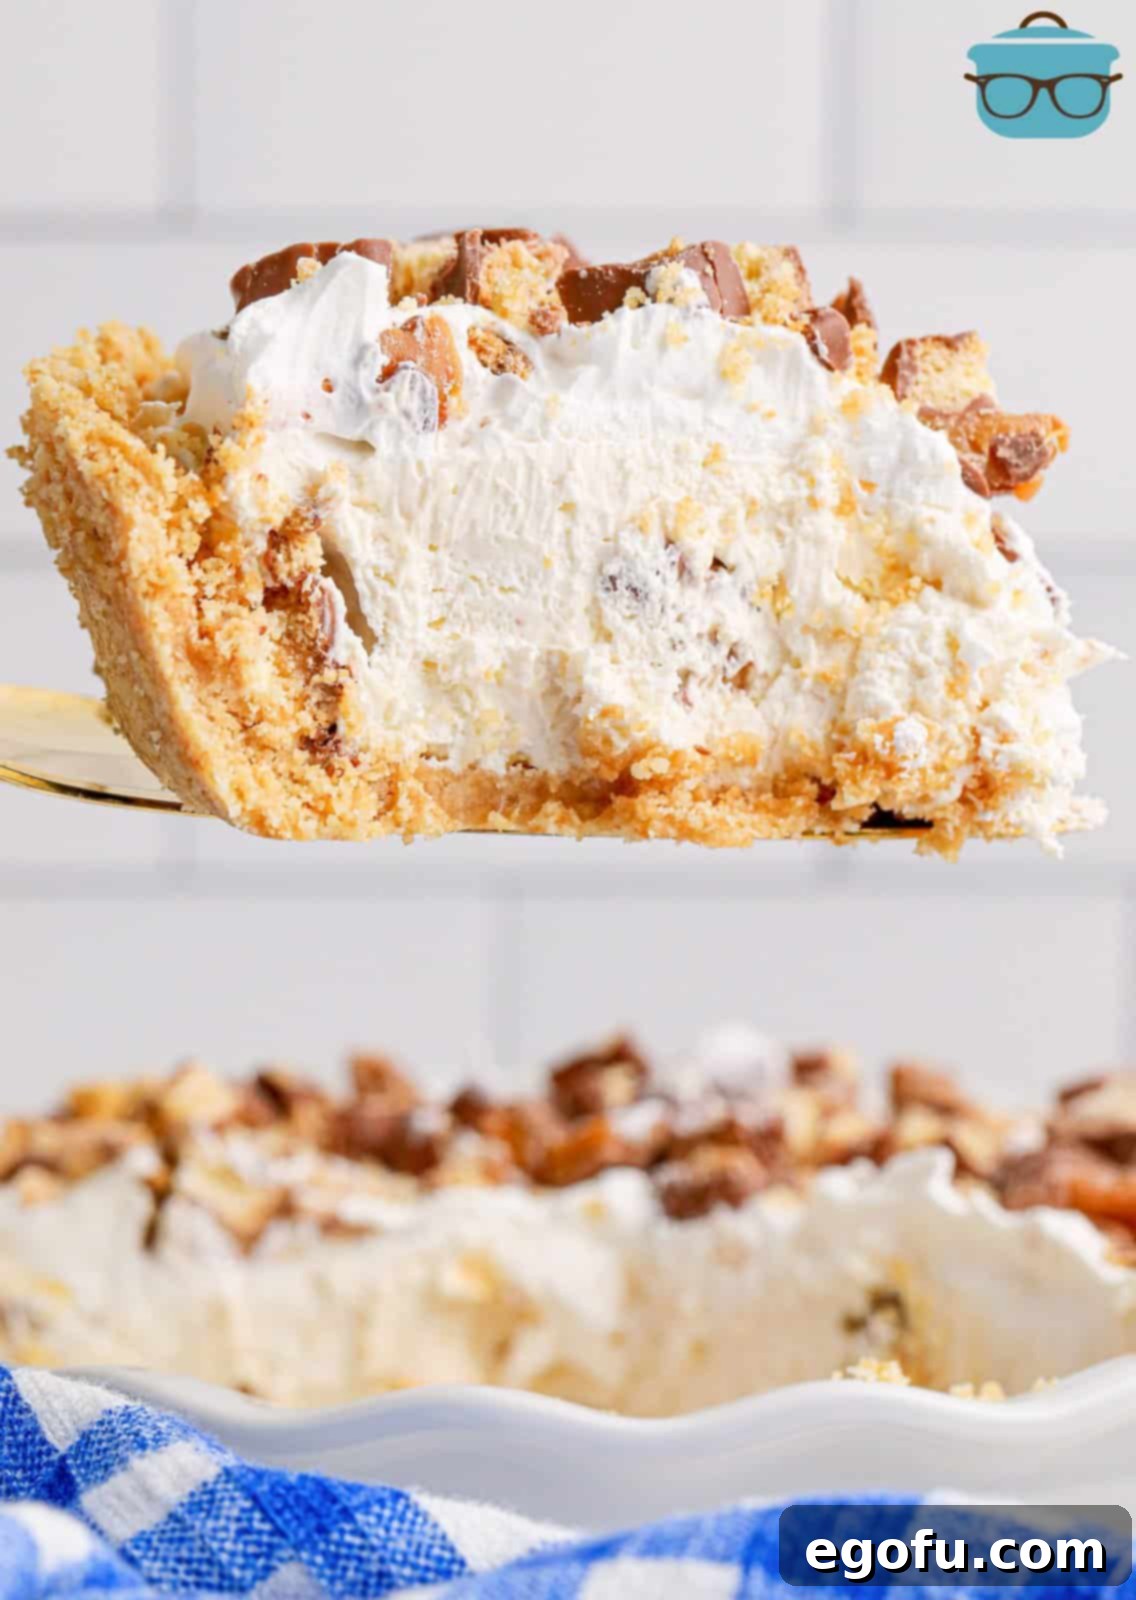
Frequently Asked Questions About Your No-Bake Twix Pie
We understand that perfecting a new recipe can sometimes raise a few questions. To ensure your No-Bake Twix Pie turns out flawlessly every time, we’ve gathered and answered some of the most common inquiries. From crust variations to storage tips, these insights will help you customize and care for your delicious creation with confidence.
Absolutely! While the vanilla wafer crust provides a delightful, classic sweetness, this recipe is incredibly versatile. You can easily substitute it with a graham cracker crust for a slightly nutty flavor, or a chocolate cookie crust (like crushed Oreos) for an extra layer of chocolatey indulgence. For a gluten-free option, look for gluten-free vanilla wafers or graham crackers. Just ensure you use the same amount of crushed crumbs and butter for the correct consistency.
Certainly! The beauty of this no-bake pie is its adaptability. While Twix bars offer that iconic caramel-shortbread crunch, many other candy bars would pair wonderfully with the rich flavors of this pie. Consider Snickers for a peanut-caramel-nougat twist, Milky Way for a lighter, nougat-forward experience, or even a Kit Kat for a delightful wafer crunch. Feel free to experiment with your favorite chocolate bar to create your unique signature no-bake pie!
Given that this pie contains perishable ingredients like cream cheese and whipped topping, proper refrigeration is crucial. When you’re not serving the pie, it should be kept in the refrigerator. Any leftovers should be covered tightly with plastic wrap or aluminum foil to prevent them from drying out or absorbing other odors from the fridge. Stored correctly, the pie will remain fresh and delicious for up to 3 days. For best results, chill completely before slicing and serving.
Yes, this No-Bake Twix Pie freezes beautifully! To freeze, ensure the pie is fully chilled and firm. Wrap the entire pie (or individual slices) tightly in several layers of plastic wrap, followed by a layer of aluminum foil. Place it in a freezer-safe container to protect it from freezer burn. It can be stored in the freezer for up to 3 months. When ready to serve, transfer the frozen pie to the refrigerator and allow it to thaw for at least 8 hours, or preferably overnight, before slicing and enjoying.
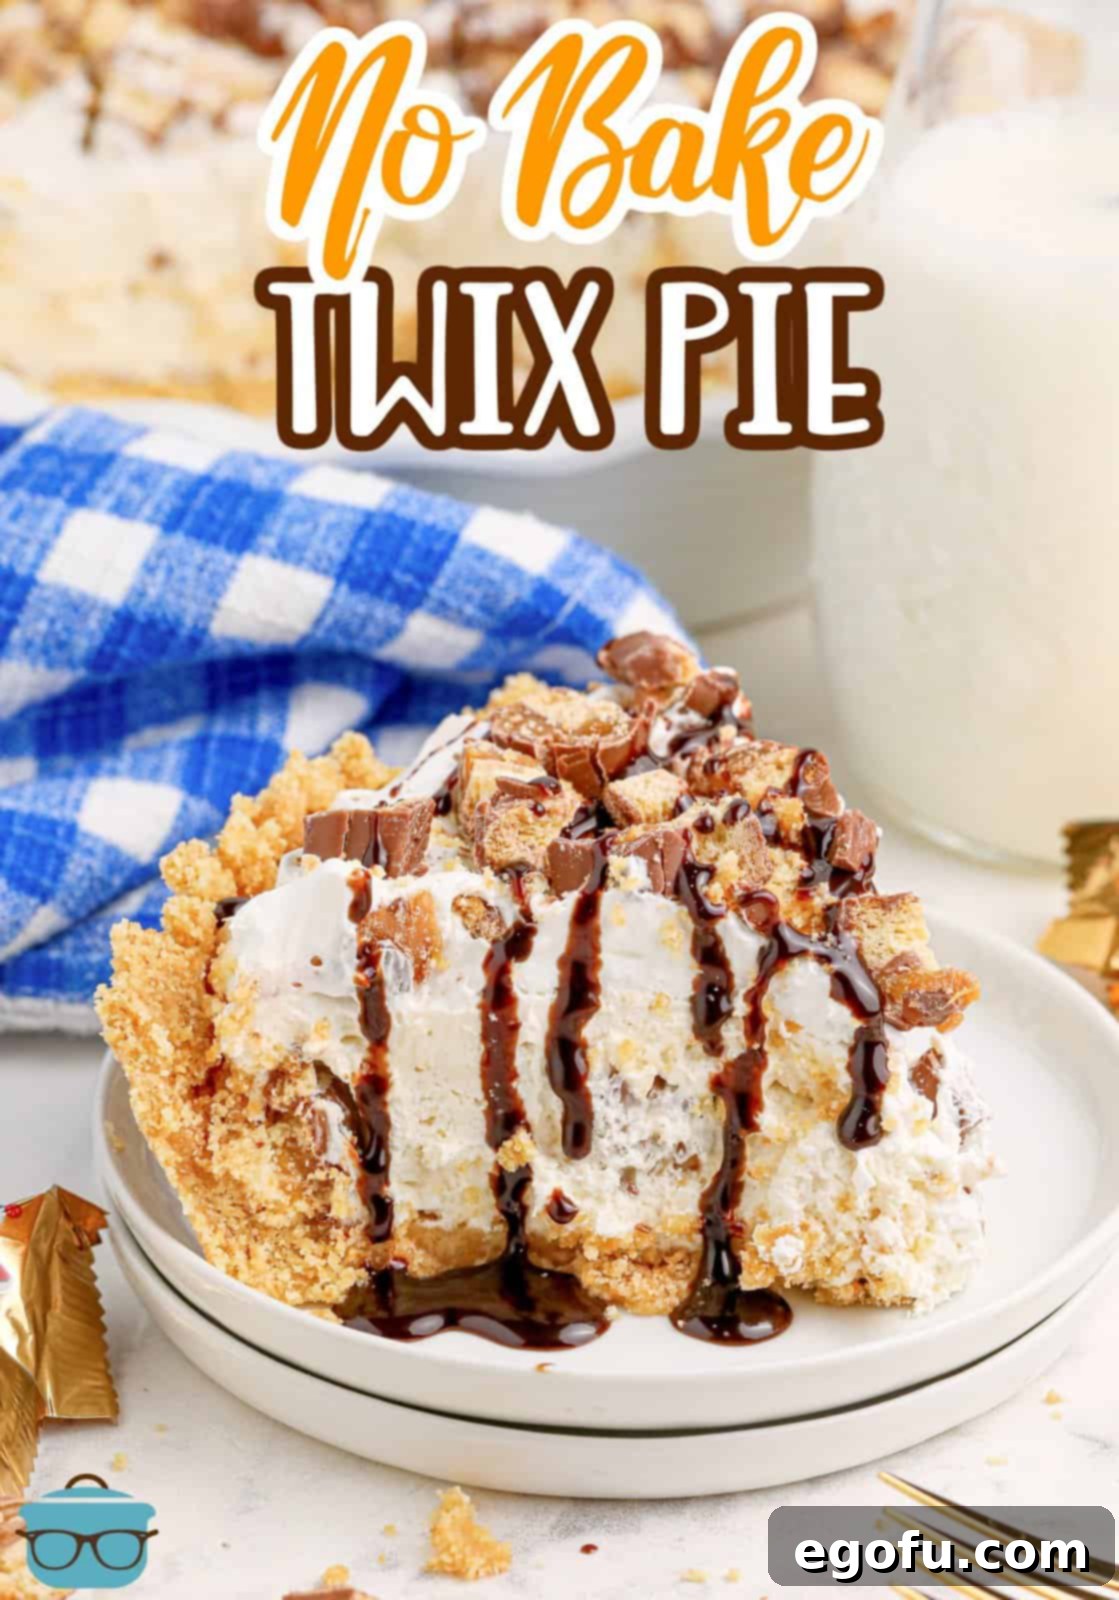
Essential Ingredients for Your Delectable Twix Pie
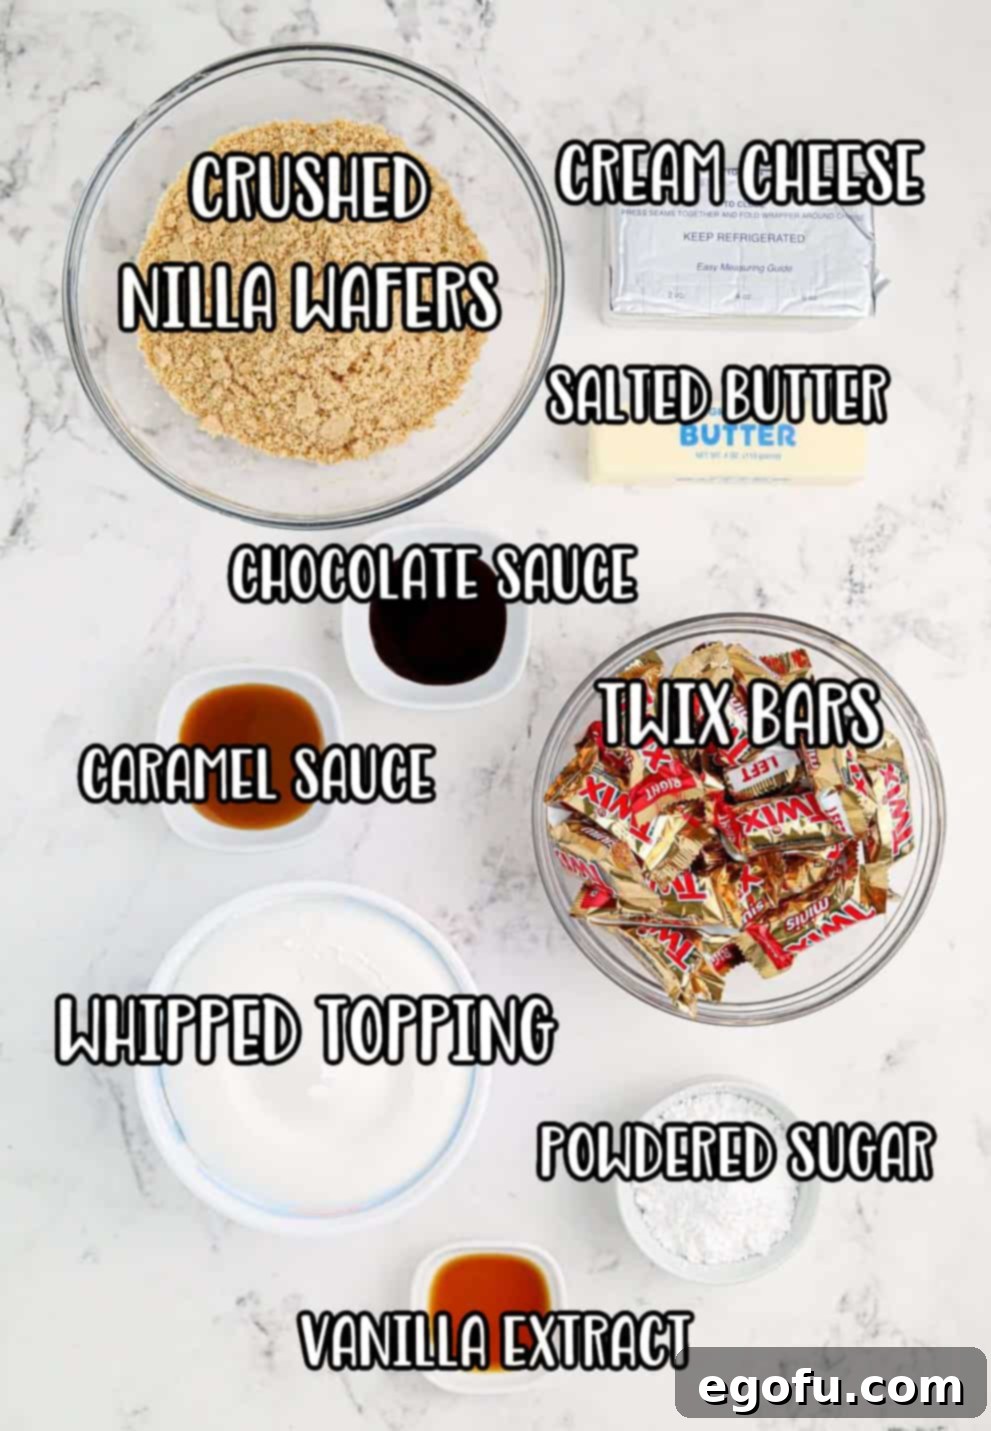
Crafting this stunning No-Bake Twix Pie requires a handful of accessible ingredients, each playing a vital role in achieving its signature flavor and texture. Pay close attention to the details for each component to ensure your pie turns out perfectly smooth, rich, and utterly irresistible. Below, you’ll find a comprehensive list along with helpful tips for selecting and preparing each item.
- Finely Crushed Nilla Wafers: These classic vanilla wafers create a sweet, crunchy, and universally loved base for your pie. For best results, crush them finely into a sand-like consistency using a food processor or by placing them in a Ziploc bag and crushing them with a rolling pin. If Nilla wafers aren’t available, an equal amount of graham cracker crumbs or even chocolate sandwich cookie crumbs (Oreos, with or without the cream filling) make excellent alternatives, offering a different but equally delicious flavor profile.
- Salted Butter: Melted salted butter is key for binding your cookie crumbs into a sturdy, flavorful crust. The hint of salt in the butter helps to perfectly balance the overall sweetness of the pie, preventing it from being overly sugary and enhancing the rich caramel and chocolate notes. Make sure it’s fully melted but not boiling hot when mixing with the crumbs.
- Cream Cheese: The foundation of our creamy filling! It is absolutely paramount that your cream cheese is softened to room temperature before you begin. Cold cream cheese will result in a lumpy filling that is difficult to mix smoothly. To quickly soften cream cheese, remove it from the packaging and place it in a microwave-safe bowl for 15-20 seconds on low power, or submerge the foil-wrapped block in warm water for 10-15 minutes. Avoid melting it, as this will change its texture.
- Powdered Sugar: Also known as confectioners’ sugar, this ingredient provides sweetness and helps to create a silky-smooth texture in the pie filling. Its fine consistency dissolves easily, preventing any grittiness.
- Caramel Sauce: This is where the magic truly happens, bringing that signature Twix caramel flavor to life. Opt for a good quality, thick caramel sauce typically used for ice cream toppings. Brands like Smucker’s are excellent, and most store brands offer comparable quality. A thicker sauce will contribute to a firmer, more stable filling.
- Vanilla Extract: A touch of pure vanilla extract enhances all the other flavors in the pie, adding a warm, aromatic depth that makes every bite more exquisite. Always use good quality vanilla for the best taste.
- Whipped Topping: Often referred to by the brand name Cool Whip, any frozen whipped topping (thawed) will work beautifully here. This ingredient lightens the filling, making it airy and delightful. Using a store brand is perfectly fine and often just as delicious, providing the same creamy texture. Remember to thaw it in the refrigerator overnight or for a few hours before use.
- Chopped Twix Candy Bars: The star of the show! Roughly chop your favorite Twix bars (standard or fun-size work great) to create delicious textural pockets throughout the pie. These pieces provide a satisfying crunch and bursts of caramel and chocolate. If you’re feeling adventurous, you can even make your own Homemade Twix bars for an extra special touch, or use another candy bar as suggested in our FAQ section.
- Chocolate Sauce: This is primarily for an optional, yet highly recommended, decorative drizzle and an extra layer of chocolatey goodness when serving. A classic Hershey’s chocolate sauce works perfectly, or any preferred chocolate syrup.
Crafting Your Dream Dessert: How to Make No-Bake Twix Pie
Creating this irresistible No-Bake Twix Pie is a straightforward process, designed for ease and enjoyment. Follow these simple steps to assemble a dessert that tastes gourmet but comes together effortlessly. The key is careful preparation and allowing ample chilling time to achieve that perfect, firm, and luscious consistency.
Step-by-Step Instructions:
1. Prepare the Perfect Crust:
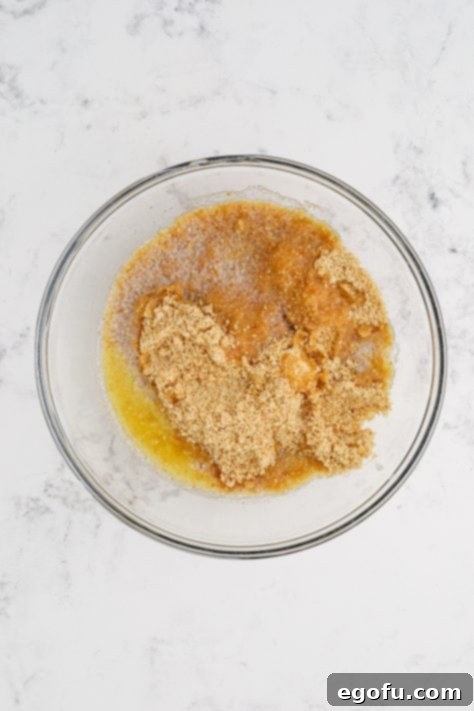
In a medium-sized mixing bowl, combine the finely crushed vanilla wafer crumbs with the melted salted butter. Stir these two ingredients together thoroughly until the crumbs are evenly moistened and resemble wet sand. This ensures a consistent and sturdy crust.
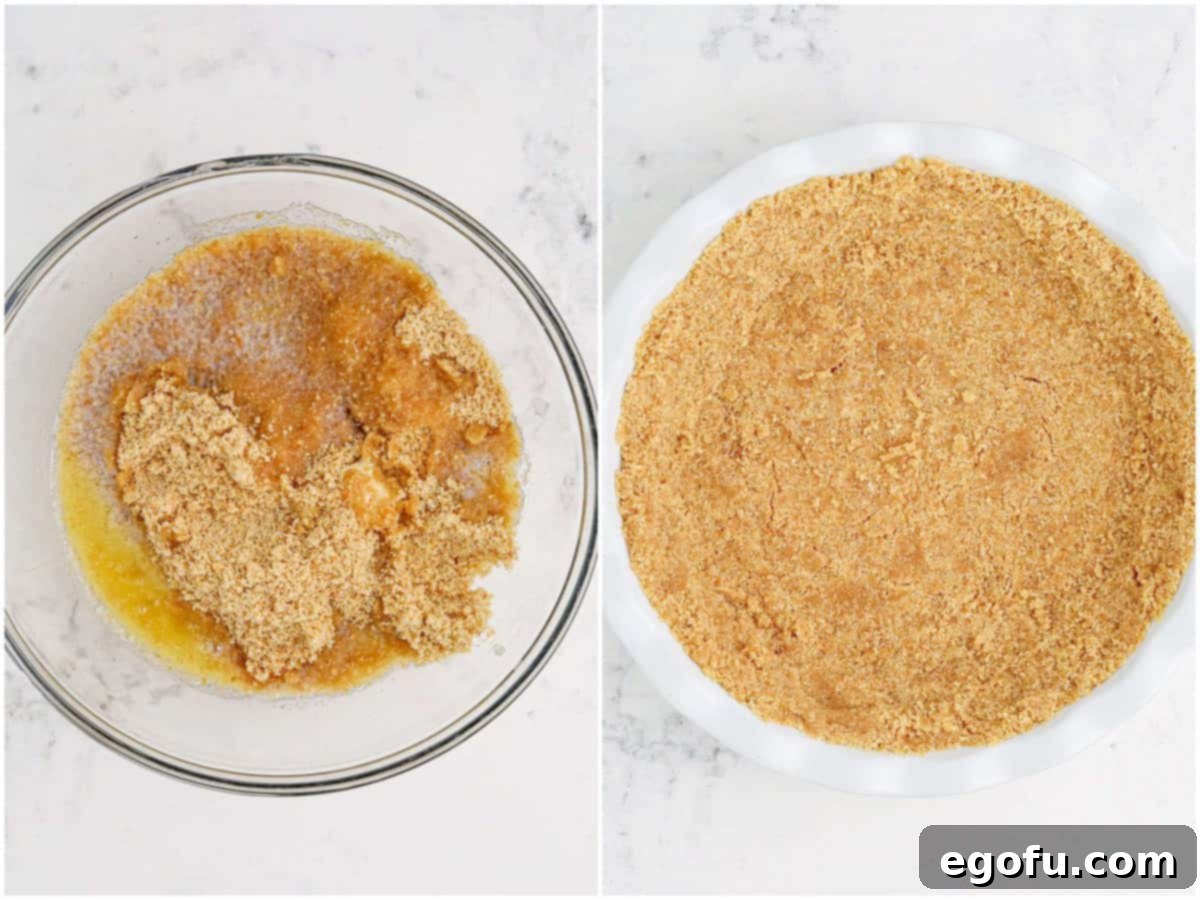
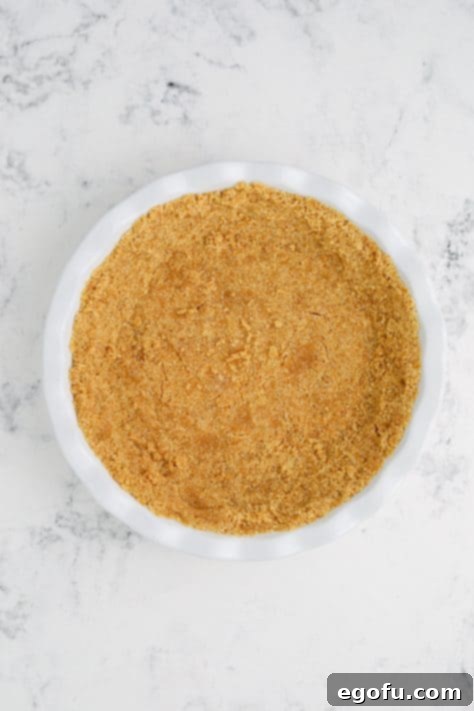
Once combined, transfer the crust mixture into a 9-inch pie pan. Using the bottom of a flat glass or your fingers, firmly press the mixture into the bottom and evenly up the sides of the pan. This compaction is essential for a crust that holds its shape when sliced. Place the prepared pie crust into the refrigerator to chill while you prepare the filling. This cooling step helps the butter solidify, setting the crust and preventing it from becoming crumbly.
2. Create the Creamy Caramel Filling:
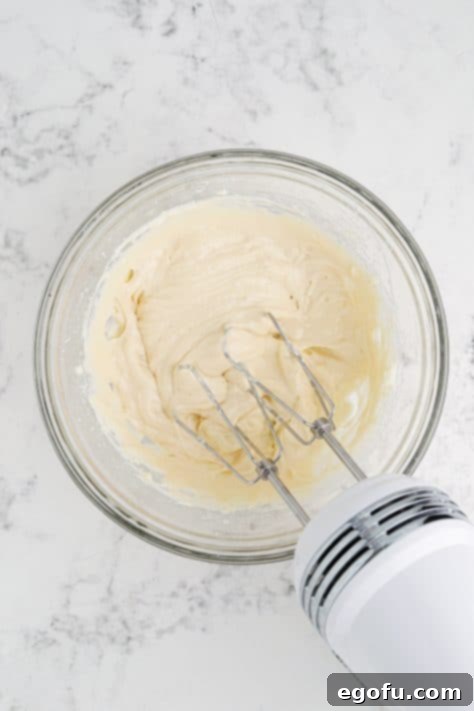
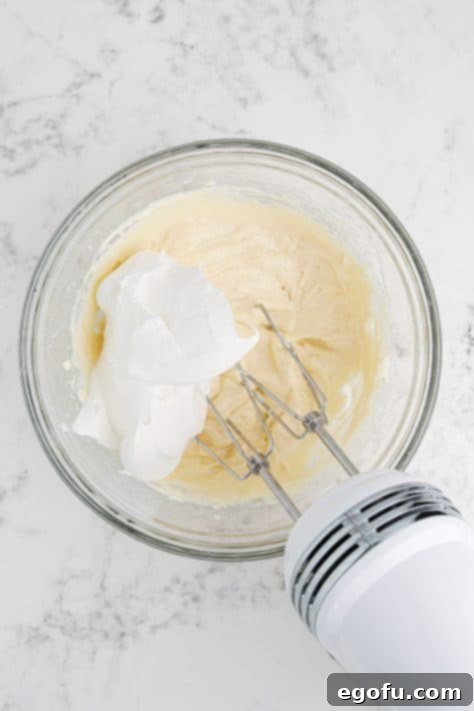
In a large mixing bowl, combine the softened cream cheese, powdered sugar, caramel sauce, and vanilla extract. Using an electric hand mixer (or a stand mixer fitted with the paddle attachment), beat these ingredients together on medium speed until the mixture is completely smooth and free of any lumps. Scrape down the sides of the bowl as needed to ensure everything is well incorporated. This step creates the rich, sweet base of your pie filling.
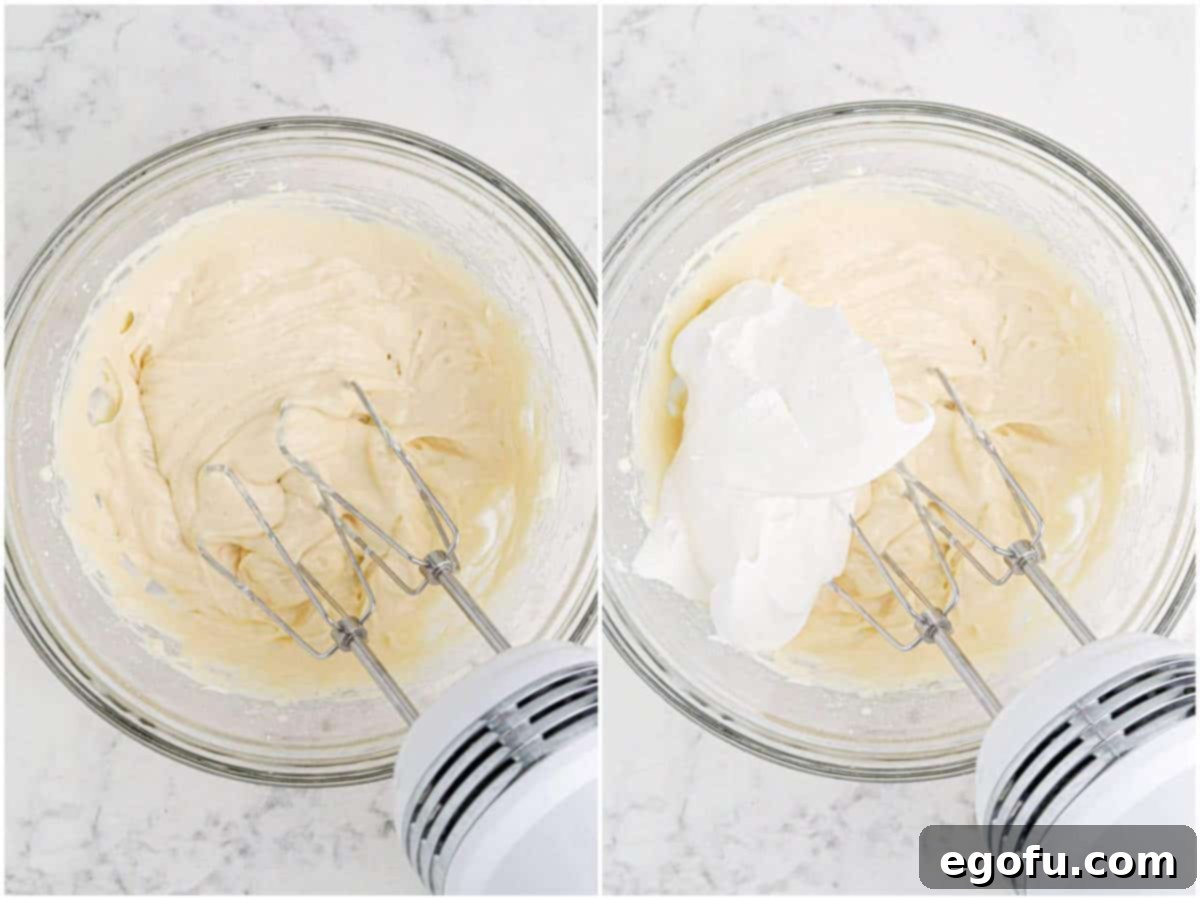
Gently fold in half of the thawed whipped topping into the cream cheese mixture until just combined. Be careful not to overmix, as this can deflate the whipped topping and alter the airy texture of the filling. This addition lightens the filling, making it wonderfully smooth and decadent.
3. Incorporate the Twix Crunch:
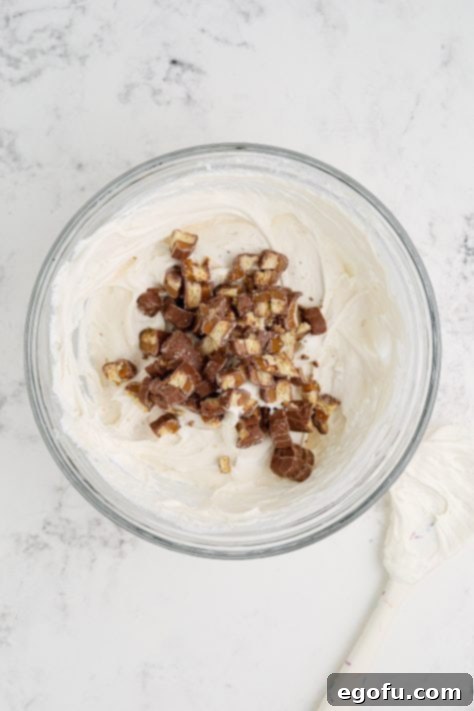
Now for the star of the show! Carefully stir one cup of the chopped Twix candy bars into the creamy pie filling. The Twix pieces will add delightful bites of crunchy shortbread, chewy caramel, and smooth chocolate throughout the pie.
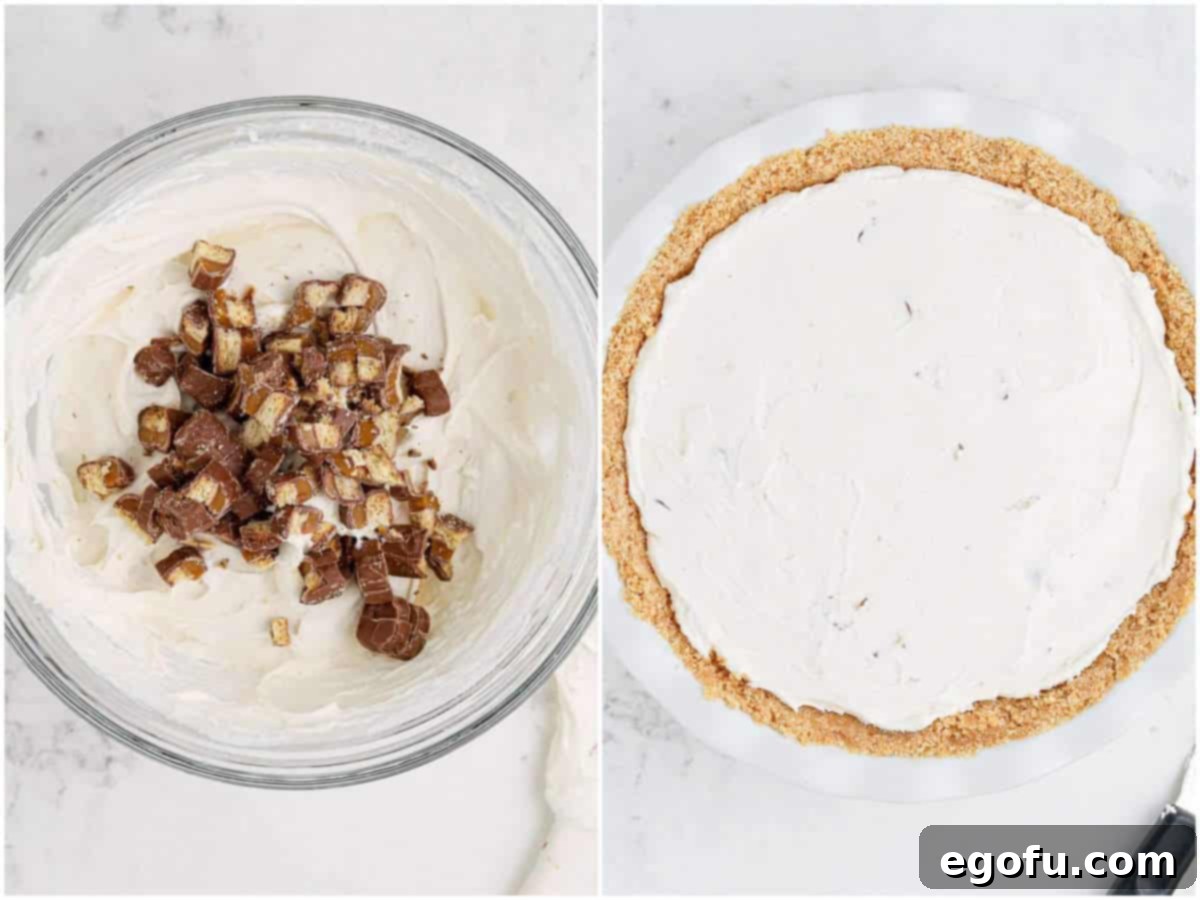
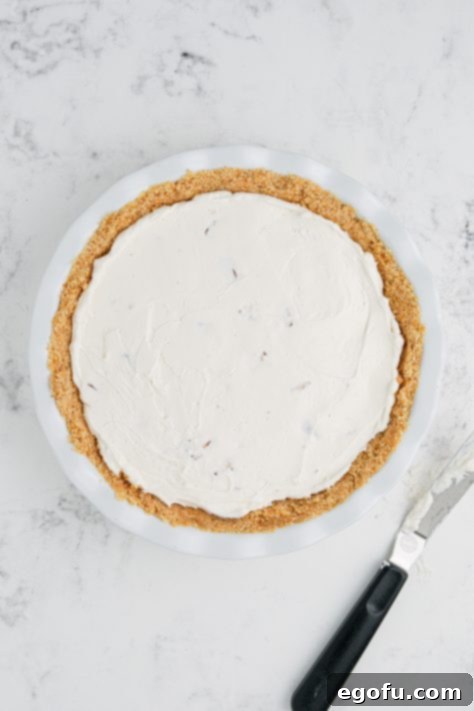
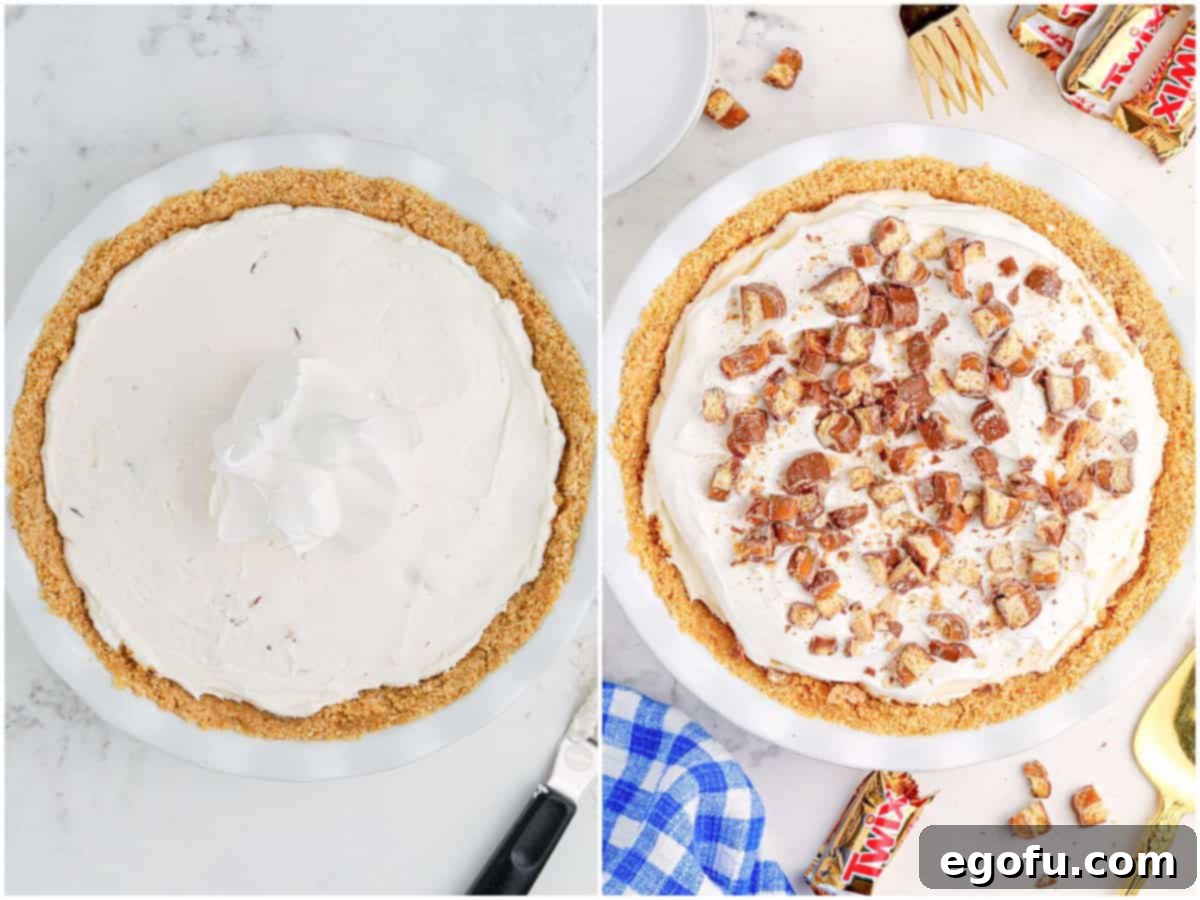
Pour the entire filling mixture into your chilled pie crust. Use a spatula or the back of a spoon to gently smooth out the top, ensuring the filling is evenly distributed across the crust. This creates a beautiful, professional-looking surface.
4. The Final Flourish:
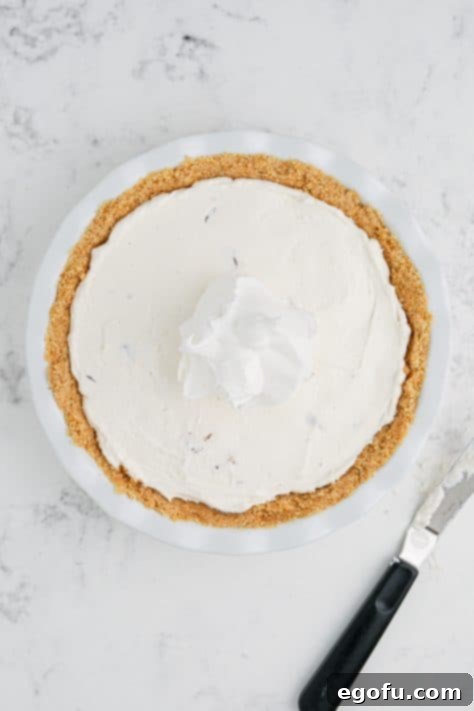
Spread the remaining half of the whipped topping across the top of the pie filling. Create soft swirls or peaks for an appealing presentation. Finally, evenly sprinkle the remaining one cup of chopped Twix bars over the top of the whipped topping. This layer of candy bar pieces acts as a delicious and decorative garnish, indicating the delightful surprise within.
5. Chill to Perfection:
Refrigerate the pie for a minimum of 4 hours, or ideally overnight, before serving. This crucial chilling period allows the filling to firm up properly, making it easier to slice and ensuring all the flavors meld together beautifully. A well-chilled pie will have the perfect set texture.
6. Serve and Enjoy:
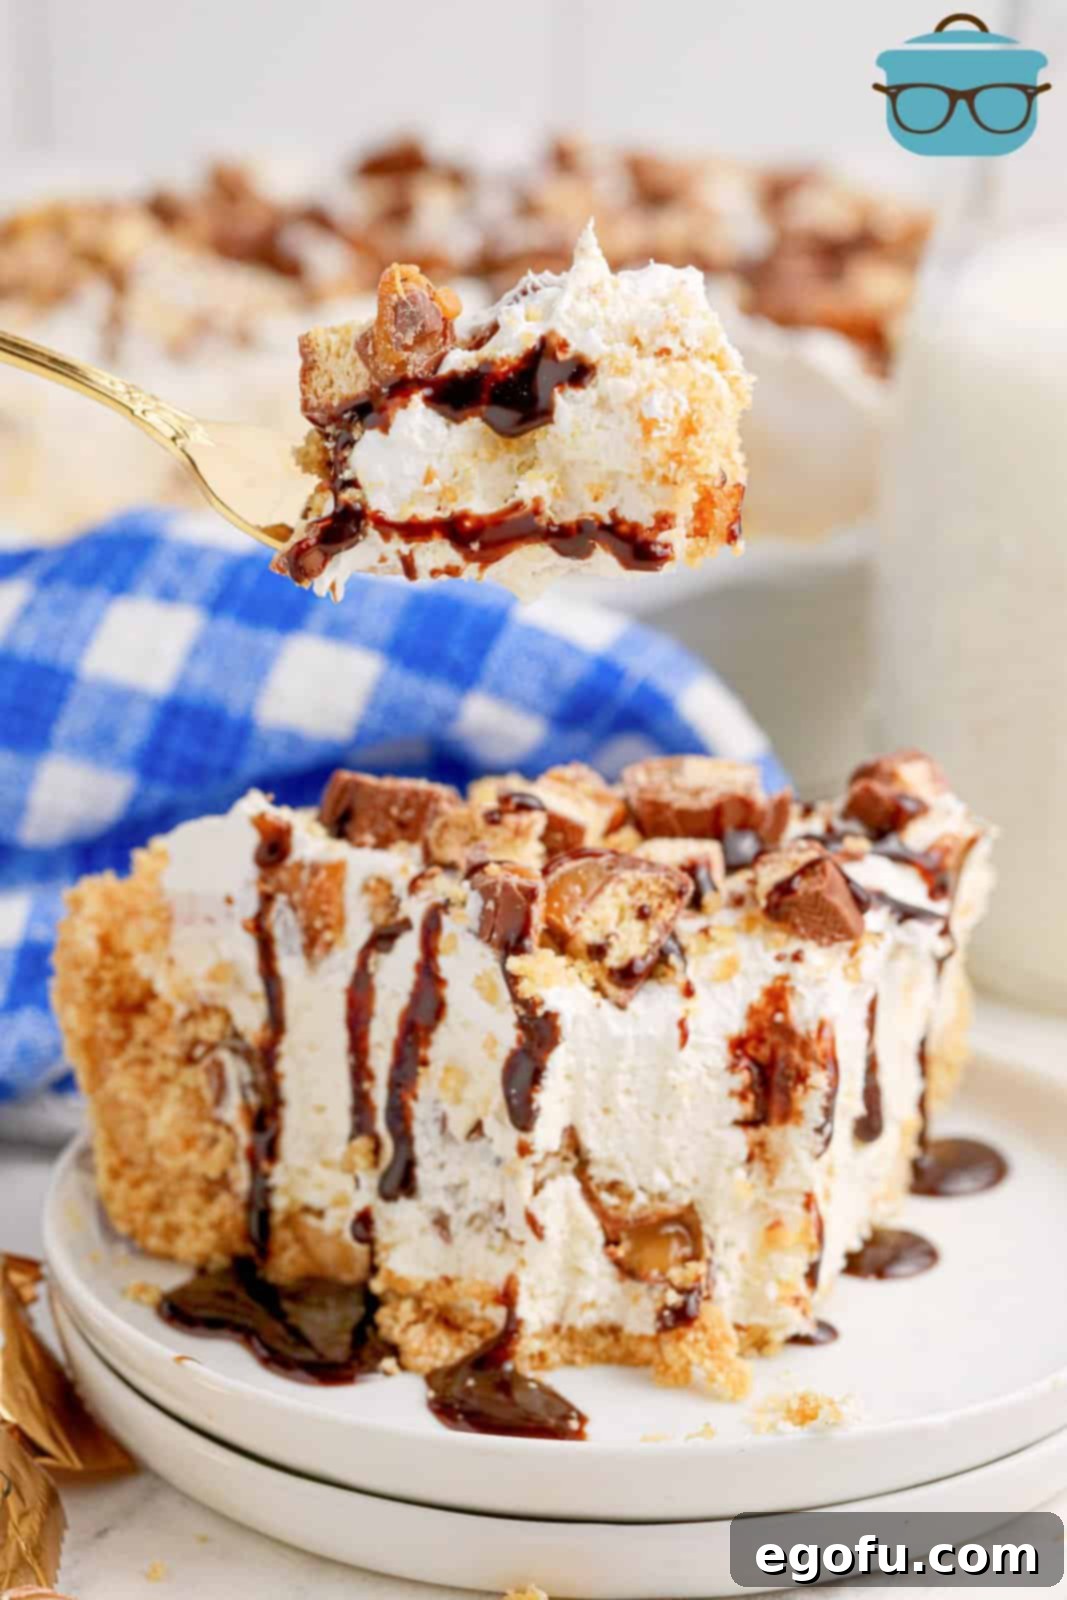
Once thoroughly chilled, slice the pie into generous portions. For an extra touch of indulgence, drizzle each slice with a little chocolate sauce just before serving. This optional step adds another layer of flavor and visual appeal, making your No-Bake Twix Pie truly unforgettable. Serve it cold and watch it disappear!
Craving More No-Bake Delights and Sweet Treats?
If you’ve fallen in love with the simplicity and deliciousness of this No-Bake Twix Pie, you’re in luck! There’s a whole world of easy, delightful desserts waiting to be discovered. Explore these other fantastic recipes that require minimal effort but deliver maximum satisfaction. Perfect for any time you need a quick sweet fix or a hassle-free treat!
- Twix Cookies
- Homemade Twix Bars (+Video)
- No Bake Chocolate Peanut Butter Pie
- No Bake Coconut Pie
- No Bake Cheesecake
- Millionaire Pie
- No Bake Cookies and Cream Pie
- Lemonade Pie
No Bake Twix Pie
If your favorite candy bar is a Twix bar, then this dessert is for you! This No Bake Twix Pie combines caramel, chocolate, Twix Bars, and whipped topping all added to a homemade crust! It’s rated 5 out of 5 stars by 3 reviewers.
Print Recipe | Pin Recipe
Prep Time: 10 minutes
Chill Time: 2 hours
Total Time: 2 hours 10 minutes
Servings: 8 servings
Author: Brandie Skibinski
Ingredients
- 1 ½ cups finely crushed Nilla wafers
- 6 Tablespoons salted butter, melted
- 8 ounces block cream cheese, softened to room temperature
- ¼ cup powdered sugar
- ¼ cup caramel sauce
- 1 teaspoon vanilla extract
- 16 ounce (larger tub) whipped topping, divided use
- 2 cups chopped Twix candy bars
- chocolate sauce, for drizzling on top (optional)
Instructions
- In a medium bowl, add the vanilla wafer crumbs with the melted butter and stir until combined.

- Firmly press the crust mixture into the bottom and up the sides of a 9-inch pie pan.

- Put the pie crust into the refrigerator to chill while making the filling.
- In a large bowl, using an electric hand mixer (or a stand mixer) beat together the softened cream cheese, powdered sugar, caramel sauce, and vanilla extract until smooth.

- Gently stir in half of the whipped topping until combined.

- Next, stir in one cup of the chopped Twix bars into the pie filling.

- Pour the filling mixture into the prepared pie crust and smooth out the top so it evenly fills the crust.

- Spread the remaining whipped topping across the top of the pie filling.

- Finally, evenly sprinkle the remaining one cup of chopped Twix bars over the top of the pie to garnish.

- Refrigerate for at least 4 hours (or overnight) before serving so it has enough time to firm up.
- Slice and serve drizzled with a little chocolate sauce (optional).

Notes
- Please refer to the FAQ’s (Frequently Asked Questions) and ingredient list above for other substitutions or for the answers to the most common questions.
Course: Dessert
Cuisine: American
Nutrition
Calories: 656kcal | Carbohydrates: 77g | Protein: 10g | Fat: 34g | Sodium: 532mg | Fiber: 1g | Sugar: 58g
Nutritional Disclaimer
“The Country Cook” is not a dietician or nutritionist, and any nutritional information shared is an estimate. If calorie count and other nutritional values are important to you, we recommend running the ingredients through whichever online nutritional calculator you prefer. Calories and other nutritional values can vary quite a bit depending on which brands were used.
Did you make this recipe?
Share it on Instagram @thecountrycook and mention us #thecountrycook!
