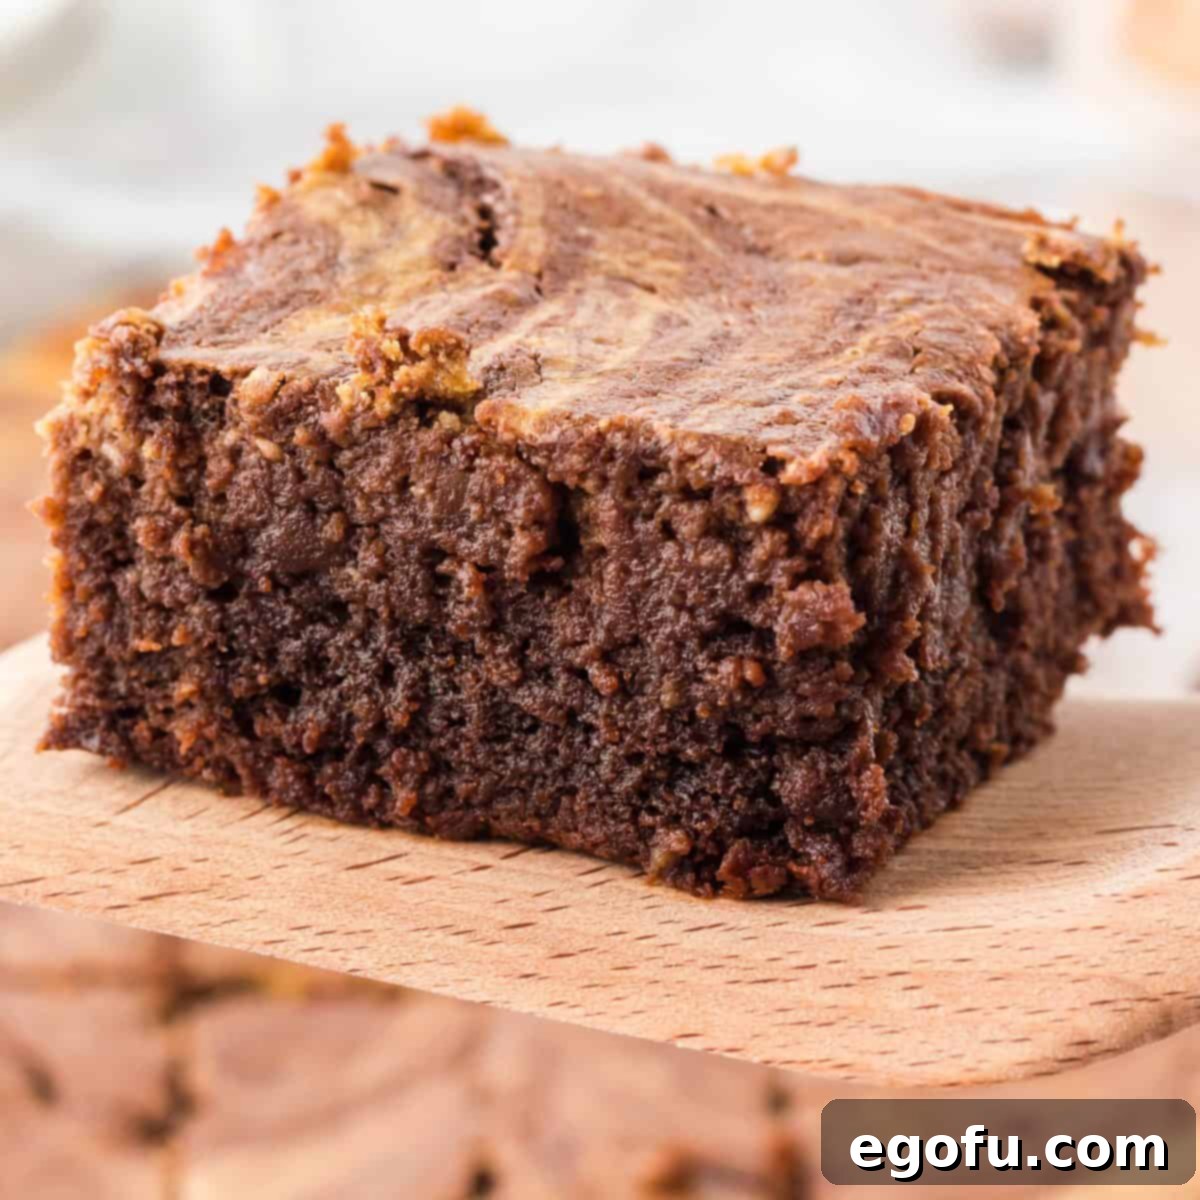
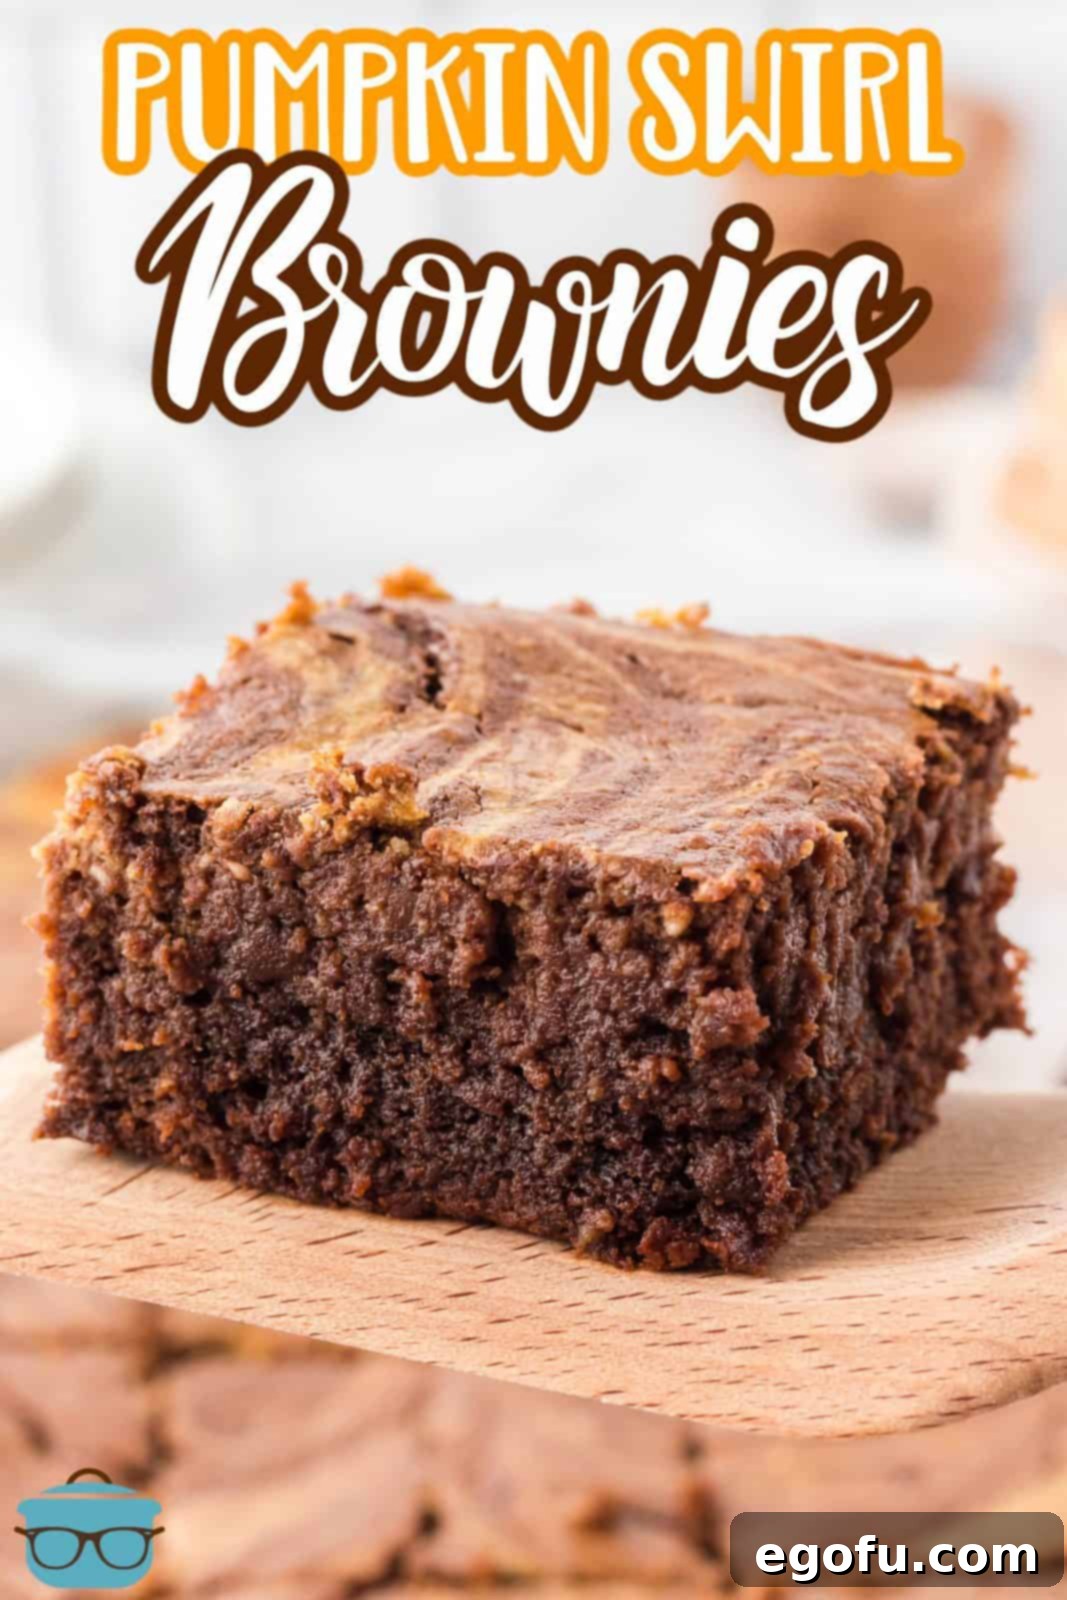
Homemade and perfectly thick and delicious, these Pumpkin Swirl Brownies are a delightful fall chocolate treat that will undoubtedly become a staple in your autumn baking repertoire! Prepare to impress with every fudgy, pumpkin-laced bite.
Indulge in the Perfect Fall Treat: Pumpkin Swirl Brownies
When it comes to irresistible desserts, brownies hold a special place in the hearts of many. Their rich, chocolatey depth and famously fudgy texture are a match made in heaven for any sweet tooth. But what happens when you infuse that classic indulgence with the warm, comforting essence of autumn? You get these spectacular Pumpkin Swirl Brownies – a harmonious blend of two beloved flavors that creates an utterly divine experience. This recipe transforms ordinary brownies into an extraordinary seasonal delight, marrying the decadent richness of chocolate with the earthy sweetness and spice of pumpkin.
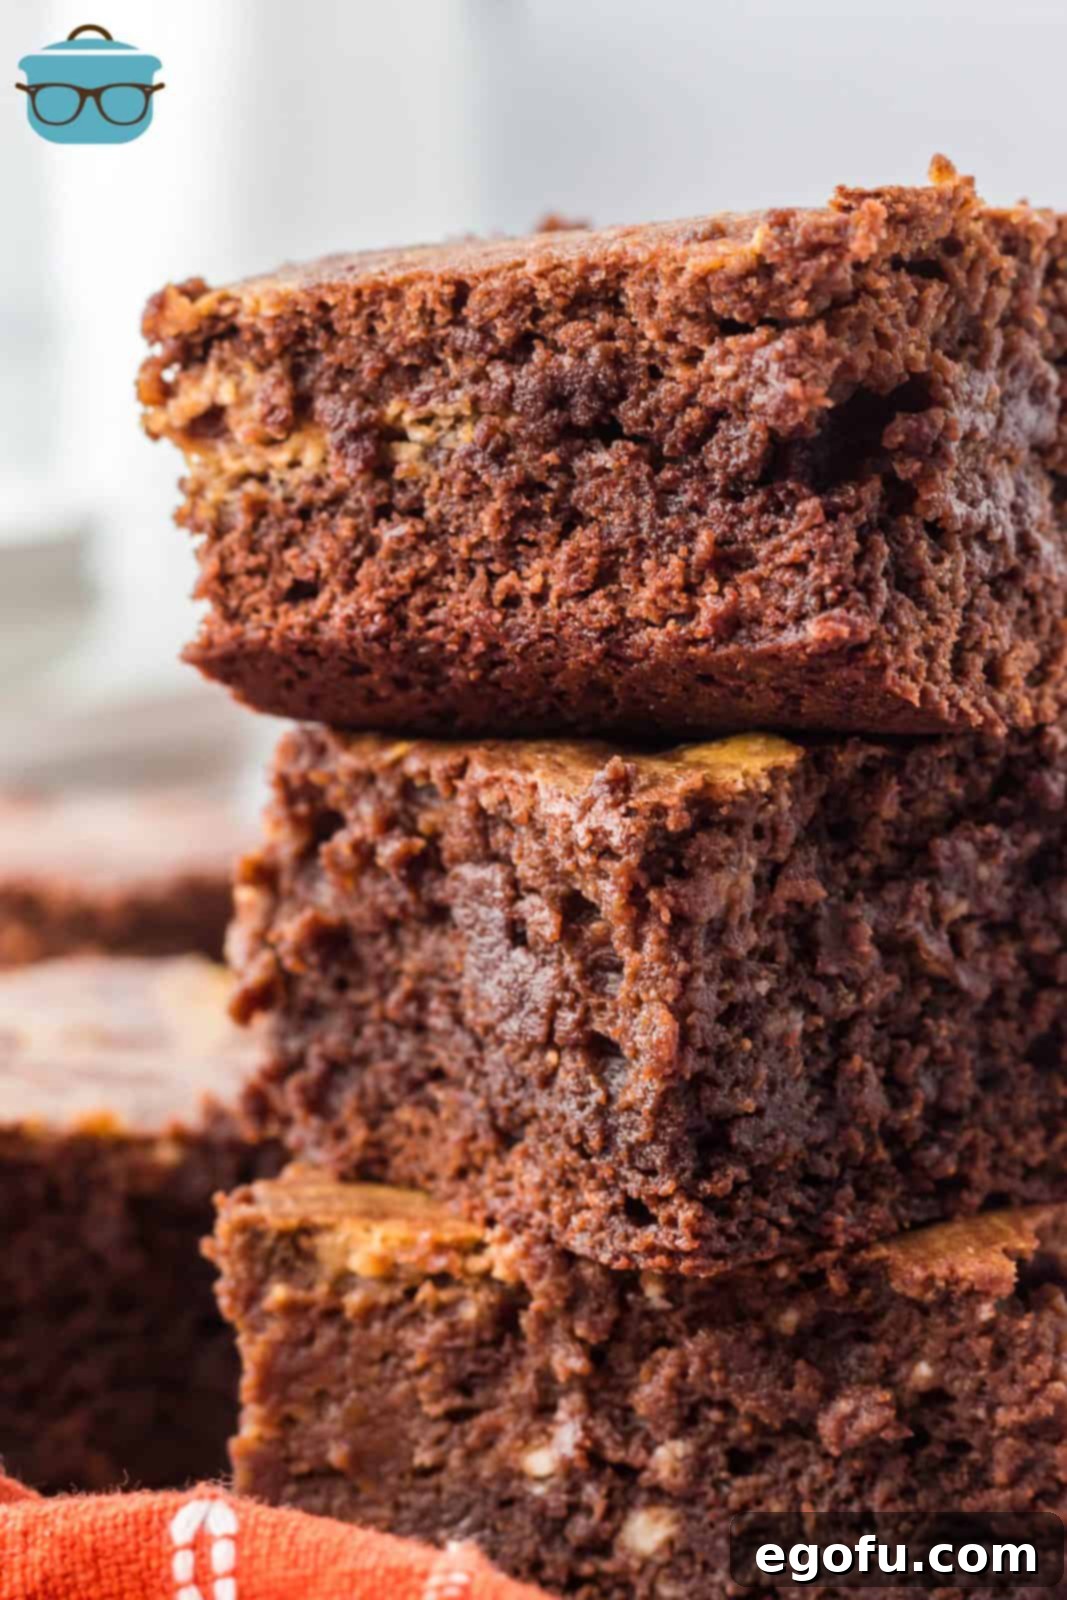
Our Pumpkin Swirl Brownies are crafted to be thick, moist, and incredibly flavorful, boasting a beautiful marbled effect that’s as pleasing to the eye as it is to the palate. The pumpkin layer not only adds a vibrant splash of color and a unique flavor dimension but also contributes to the brownies’ exceptionally moist crumb. Forget dry, crumbly brownies; these are dense, chewy, and melt-in-your-mouth delicious, thanks to the addition of real pumpkin puree. Every bite delivers a symphony of chocolate and spiced pumpkin, making it an undeniable winner for potlucks, holiday gatherings, or simply a cozy evening at home.
Completely homemade from scratch, this recipe is surprisingly straightforward to follow, even for novice bakers. We’ve meticulously detailed each step to ensure you achieve flawless results every time. Whether you’re a lifelong pumpkin enthusiast or simply looking to elevate your brownie game, these Pumpkin Swirl Brownies are the answer. Get ready to fall in love with your new favorite fall dessert – you’ll want to bake them again and again!
Frequently Asked Questions About Pumpkin Swirl Brownies
Can I use a boxed brownie mix for this recipe?
Absolutely! While our recipe provides instructions for making brownies from scratch, you can certainly use a high-quality boxed brownie mix as a convenient shortcut. The most important tip is to select a “Family Size” mix, which typically yields enough batter for a 9×13-inch baking pan. Follow the package directions for preparing the brownie batter, then proceed with adding our delicious pumpkin swirl layer as instructed. This flexibility allows you to enjoy these incredible brownies even on your busiest days!
Can I substitute pumpkin pie filling for pure pumpkin puree?
No, it’s crucial to use pure pumpkin puree for this recipe, not pumpkin pie filling. Pumpkin pie filling contains added sugars, spices, and sometimes other ingredients that would significantly alter the flavor and texture of our pumpkin swirl layer, making it overly sweet or spiced incorrectly. Pure pumpkin puree provides the natural pumpkin flavor and moisture needed for perfect results, allowing you to control the exact amount of sweetness and spice in your dessert.
What’s the best way to quickly cool down brownies?
We all know the struggle of wanting to slice into warm brownies but dealing with a gooey, messy situation. If you’re in a hurry to cool your brownies, an ice bath is a fantastic trick. Simply fill a large roasting pan or container with ice, or spread a layer of ice over a large cookie sheet. Carefully place your baking pan, still hot from the oven, directly on top of the ice. The cold will quickly draw heat away from the bottom of the pan, allowing your brownies to cool sufficiently for neat slicing in about 10-15 minutes. This method helps maintain their fudgy interior while setting the edges.
What is the secret to neatly cutting brownies?
For years, I’ve found that the secret to achieving perfectly clean, professional-looking brownie slices, especially with fudgy brownies, lies in using a plastic knife. Once your brownies are completely cooled (preferably chilled in the refrigerator for at least an hour), a plastic knife glides through the dense, sticky texture without dragging or tearing, creating beautifully defined edges. Simply wipe the knife clean between each cut for the best results. This simple trick makes a world of difference for presentation!
Can I use pumpkin pie spice mix instead of individual spices?
Yes, you absolutely can use a pre-made pumpkin pie spice blend in this recipe. It’s a convenient alternative if you don’t have all the individual spices on hand or prefer to streamline your prep. Generally, for the amount of cinnamon, ginger, nutmeg, and cloves specified, you would use an equal amount of pumpkin pie spice mix. If you’re feeling adventurous and want the freshest flavor, I highly recommend making your own Homemade Pumpkin Pie Spice. It allows you to customize the intensity of each spice and truly elevates the pumpkin flavor.
Can I add any mix-ins to the brownie batter?
Indeed! Personalizing your brownies with mix-ins is a wonderful way to add extra texture and flavor. Chocolate chips, whether milk, semi-sweet, or dark, are a classic choice and complement the pumpkin beautifully. Chopped nuts, such as walnuts or pecans, also add a delightful crunch and nutty depth. Simply fold your desired mix-ins (about ½ to 1 cup) into the brownie batter before spreading it into the pan. Experiment with different combinations to find your favorite twist on these incredible Pumpkin Swirl Brownies.
How should I store leftover Pumpkin Swirl Brownies?
Due to the creamy pumpkin layer, these brownies are best stored in the refrigerator. Place them in an airtight container or a heavy-duty ziptop bag, and they will remain fresh and delicious for up to 6 days. For longer storage, these brownies freeze exceptionally well. We recommend cutting the brownies into individual servings, wrapping each tightly in plastic wrap or foil, and then placing them in a freezer-safe bag. They can be stored in the freezer for up to 1 month. When you’re ready to enjoy them, simply defrost the brownies in the refrigerator for a few hours or overnight before serving. This ensures they maintain their wonderful texture and flavor.
Essential Ingredients for Perfect Pumpkin Swirl Brownies
Crafting these irresistible Pumpkin Swirl Brownies requires a thoughtful selection of both classic brownie components and delightful pumpkin-flavored additions. Each ingredient plays a crucial role in achieving the perfect balance of fudgy chocolate and creamy spiced pumpkin. Below is a comprehensive list of what you’ll need to gather before you begin your baking adventure. Ensure your ingredients are at room temperature where specified, as this greatly aids in achieving a smooth, consistent batter and a lump-free pumpkin layer.
INGREDIENTS NEEDED FOR PUMPKIN SWIRL BROWNIES:
- Salted butter
- Granulated sugar
- Cocoa powder
- Large eggs (room temperature)
- Vanilla extract
- All-purpose flour
- Baking powder
- Cream cheese (full-fat, room temperature)
- Pure pumpkin puree (not pumpkin pie filling)
- Ground cinnamon
- Ground ginger
- Ground nutmeg
- Ground cloves
- Heavy whipping cream
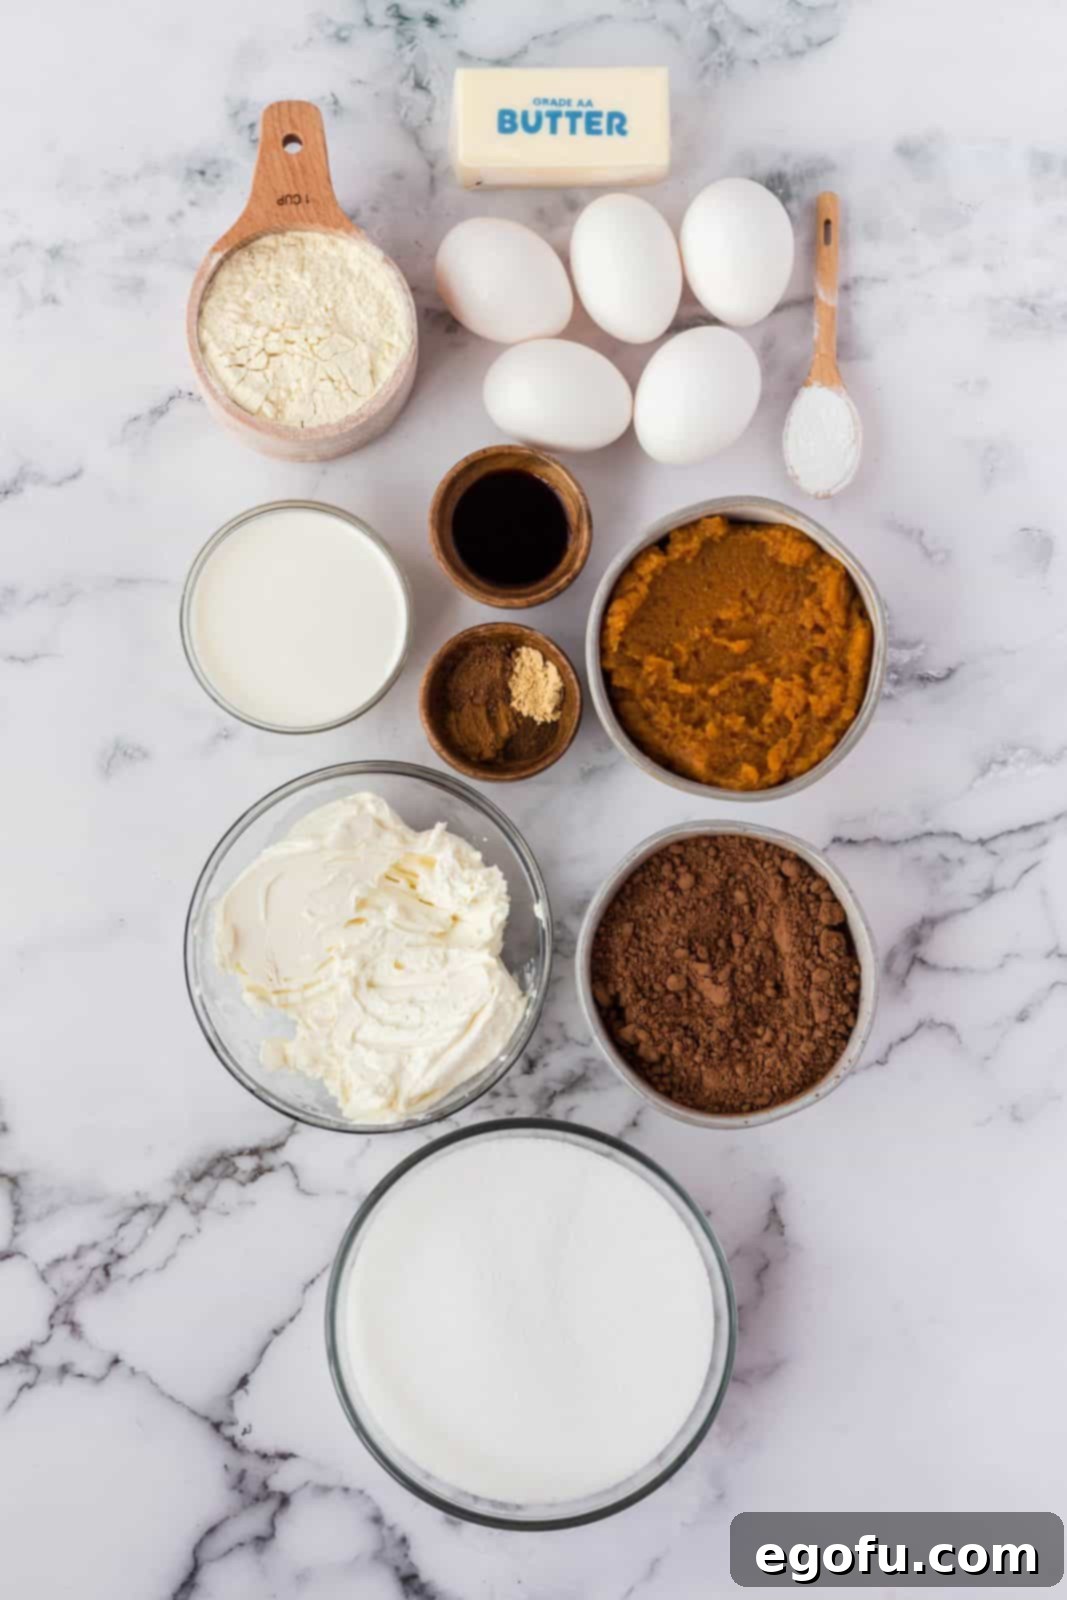
Step-by-Step Guide: How to Make Pumpkin Swirl Brownies
Follow these detailed instructions to create luscious Pumpkin Swirl Brownies that will delight everyone who tastes them. Precision and care in each step will ensure a perfect balance of flavors and that signature swirled aesthetic.
- Prepare Your Baking Essentials: Begin by preheating your oven to 375°F (190°C). This ensures your oven is at the correct temperature before the brownies go in, promoting even baking. Lightly coat a 9×13-inch baking dish with butter or a non-stick baking spray. This crucial step prevents the brownies from sticking and makes for easy removal and slicing later.
-
Cream Butter and Sugar for Brownie Base: In a large mixing bowl, or the bowl of a stand mixer fitted with the paddle attachment, combine the melted salted butter and 2 cups of granulated sugar. Beat these ingredients together until the mixture is smooth, light, and creamy. This process incorporates air and creates a foundational texture for your fudgy brownies.

-
Introduce Cocoa Powder: Next, add the cocoa powder to the butter and sugar mixture. Stir or beat again until the cocoa powder is fully incorporated. Continue mixing until the batter achieves a rich, uniform dark brown color with no dry streaks of cocoa remaining. This ensures a deep chocolate flavor throughout your brownies.

-
Incorporate Eggs and Vanilla: Add the 4 large eggs, one at a time, to the bowl, whisking well after each addition until fully combined. Follow with the vanilla extract, whisking briefly to distribute its aromatic flavor throughout the chocolate mixture. Using room temperature eggs helps them emulsify better with the fats, contributing to a smoother batter and a finer crumb.

-
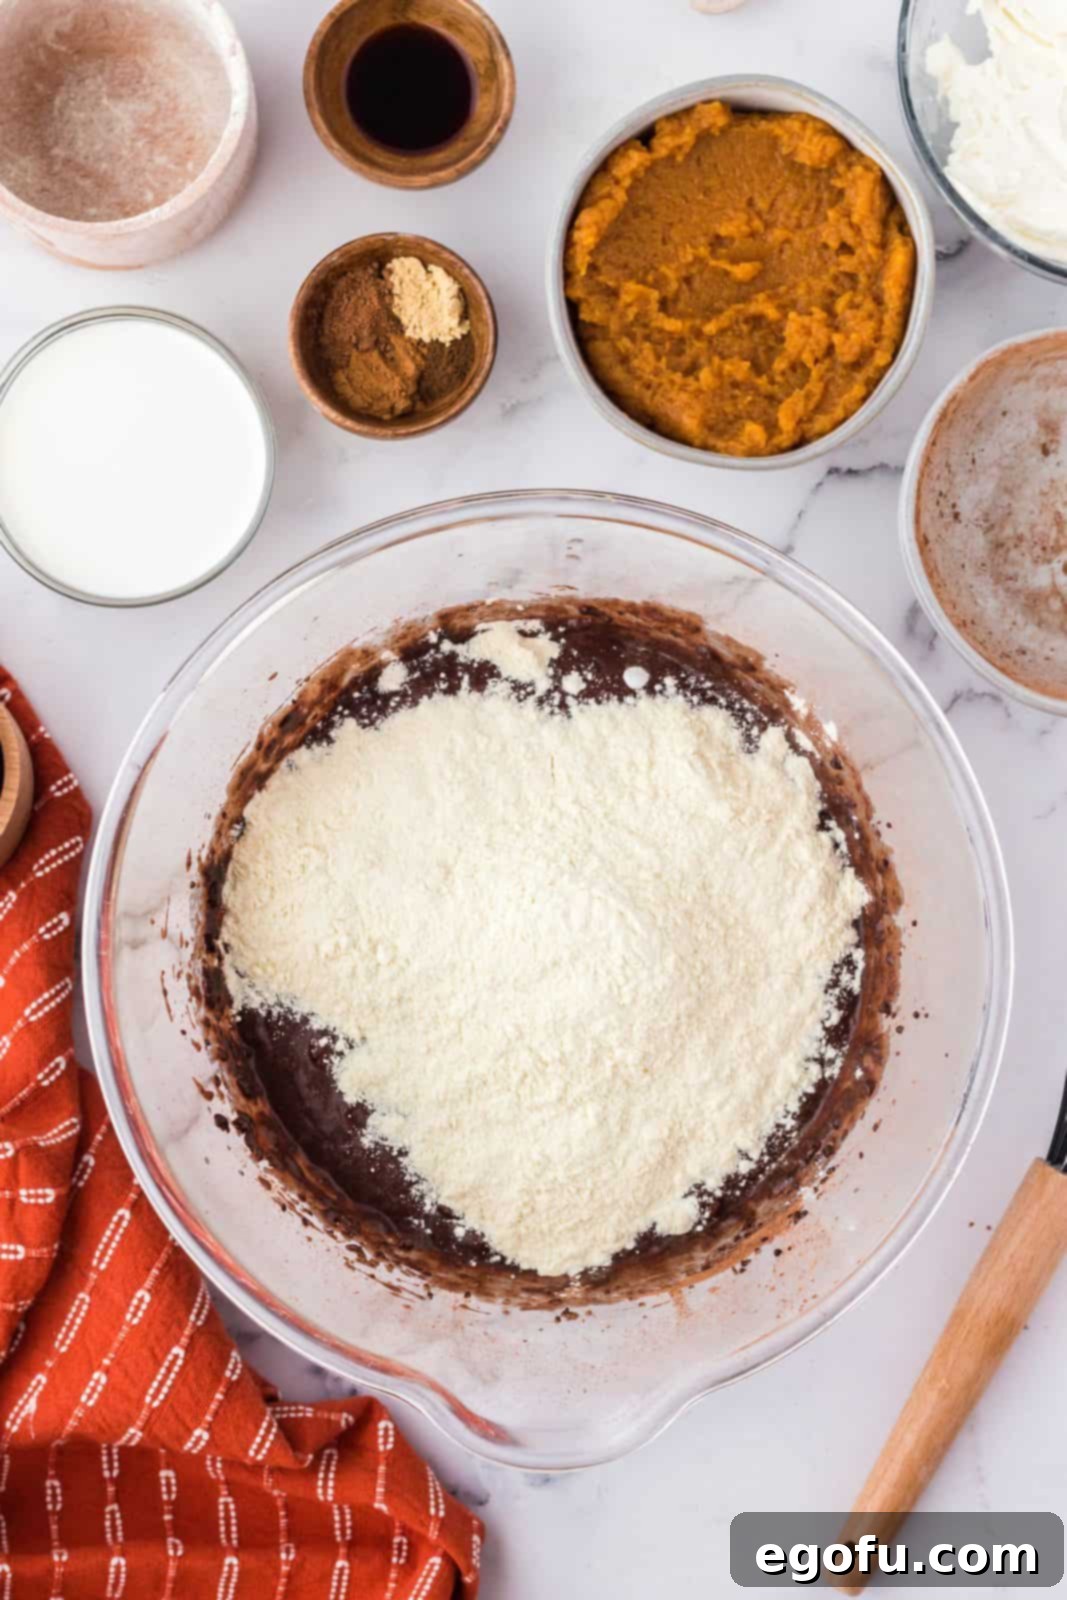
Gently Fold in Dry Ingredients: Sift together the all-purpose flour and baking powder in a separate small bowl. Gradually add these dry ingredients to the wet mixture, folding gently with a spatula until just combined. Be careful not to overmix the batter; overmixing can develop the gluten in the flour, leading to tough, cakey brownies instead of fudgy ones. Stop mixing as soon as no clumps of flour are visible.

-
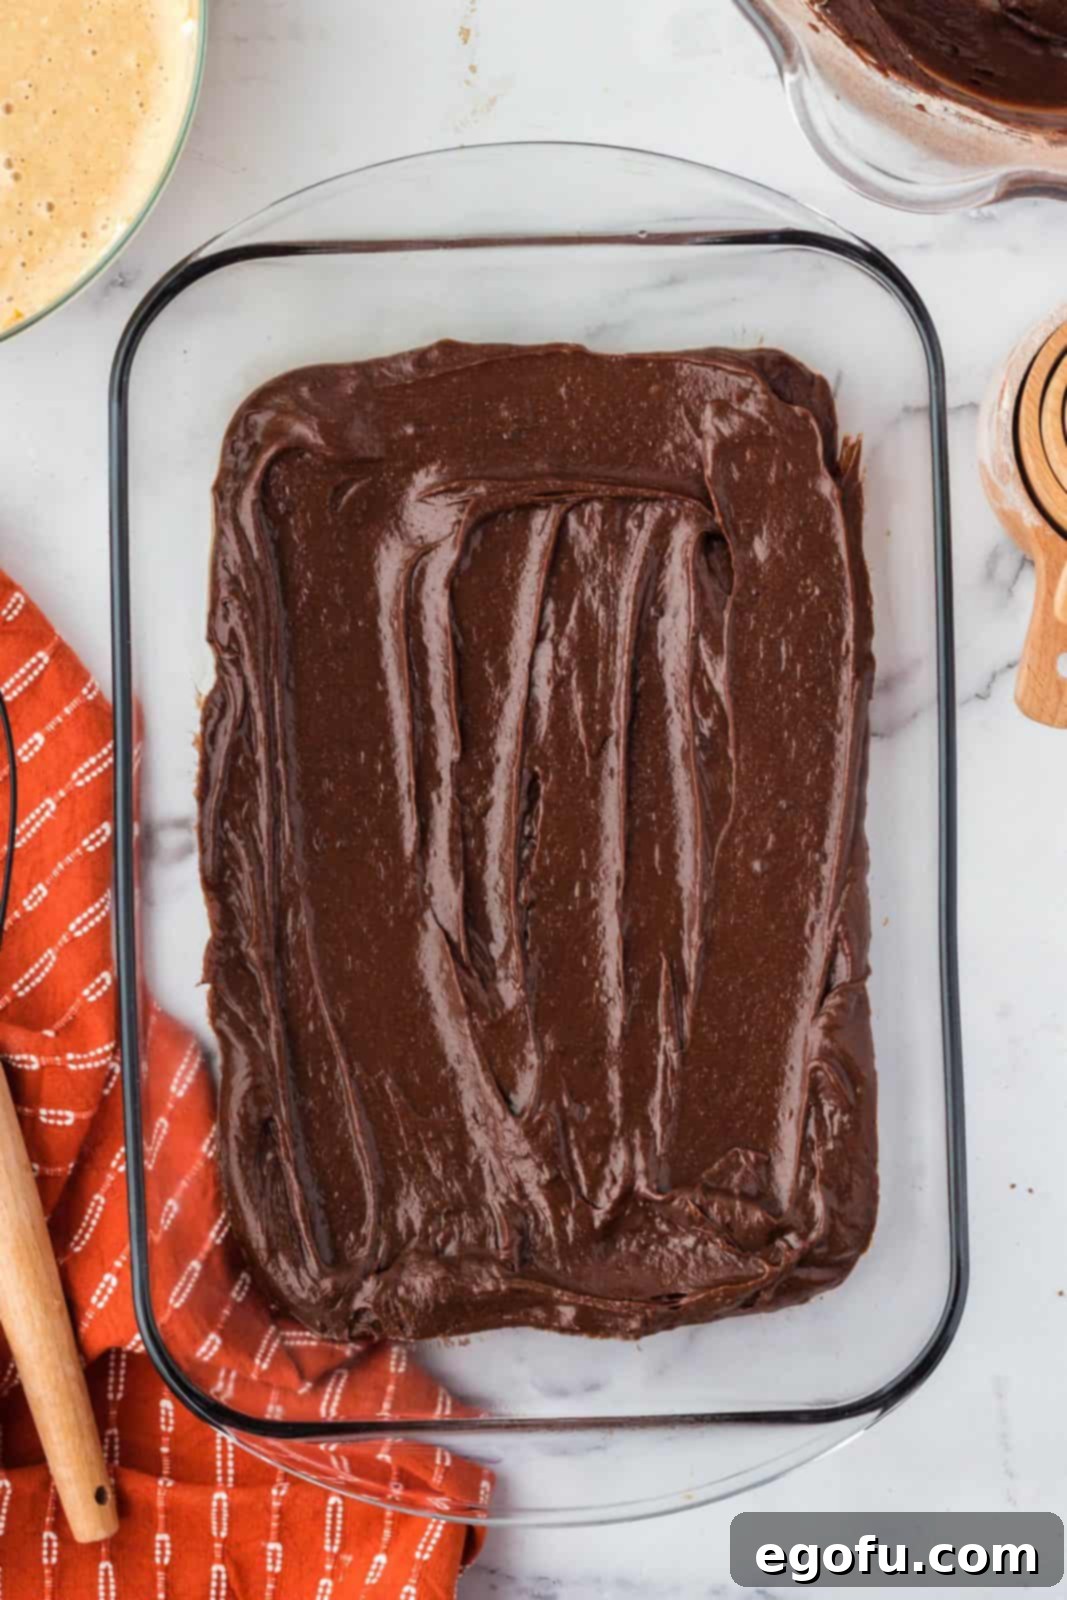
Layer the Brownie Base: Carefully measure out half of the prepared brownie batter. Pour this portion evenly into the buttered 9×13-inch baking dish. Use an offset spatula or the back of a spoon to gently spread the batter into an even layer, forming the rich foundation for your Pumpkin Swirl Brownies.

-
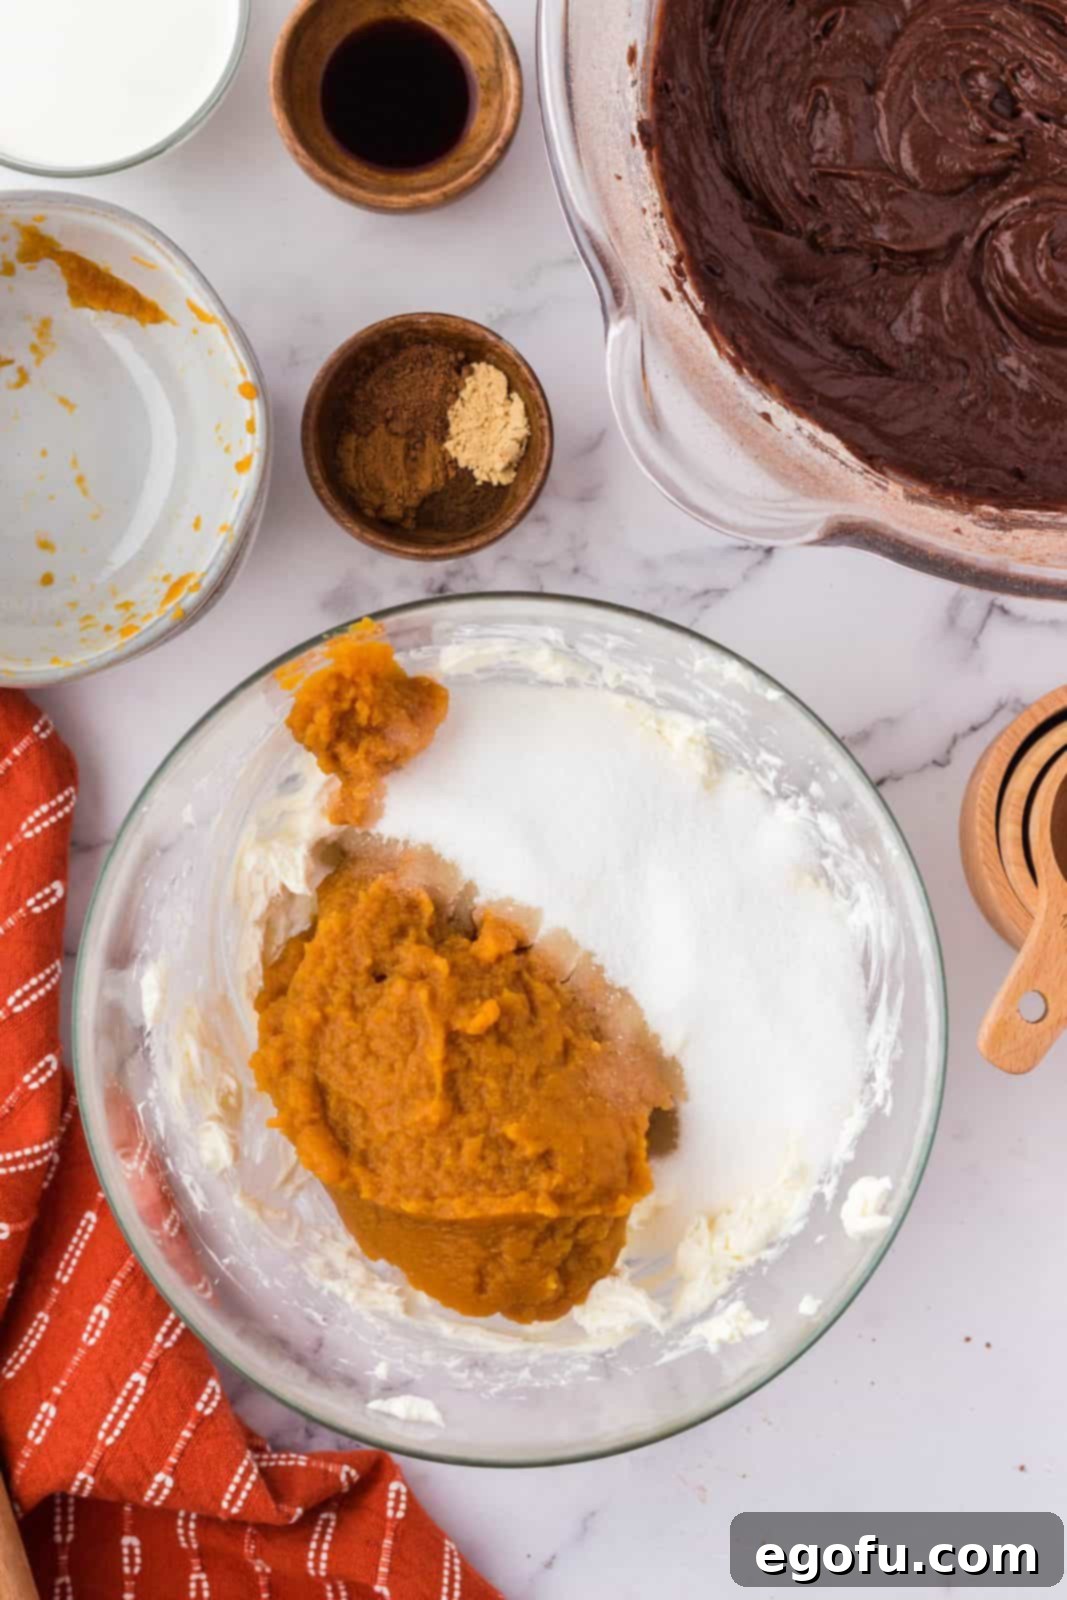
Prepare the Creamy Pumpkin Layer: In a separate large bowl, using an electric mixer, whip the softened cream cheese for 3-4 minutes until it becomes light, fluffy, and completely smooth. This step is crucial for preventing any lumps in your pumpkin layer. Then, add the pure pumpkin puree, the remaining granulated sugar (from the pumpkin layer ingredients), ground cinnamon, ground ginger, ground nutmeg, and ground cloves. Whisk all these ingredients together until they are fully combined and the mixture is smooth and creamy.

-
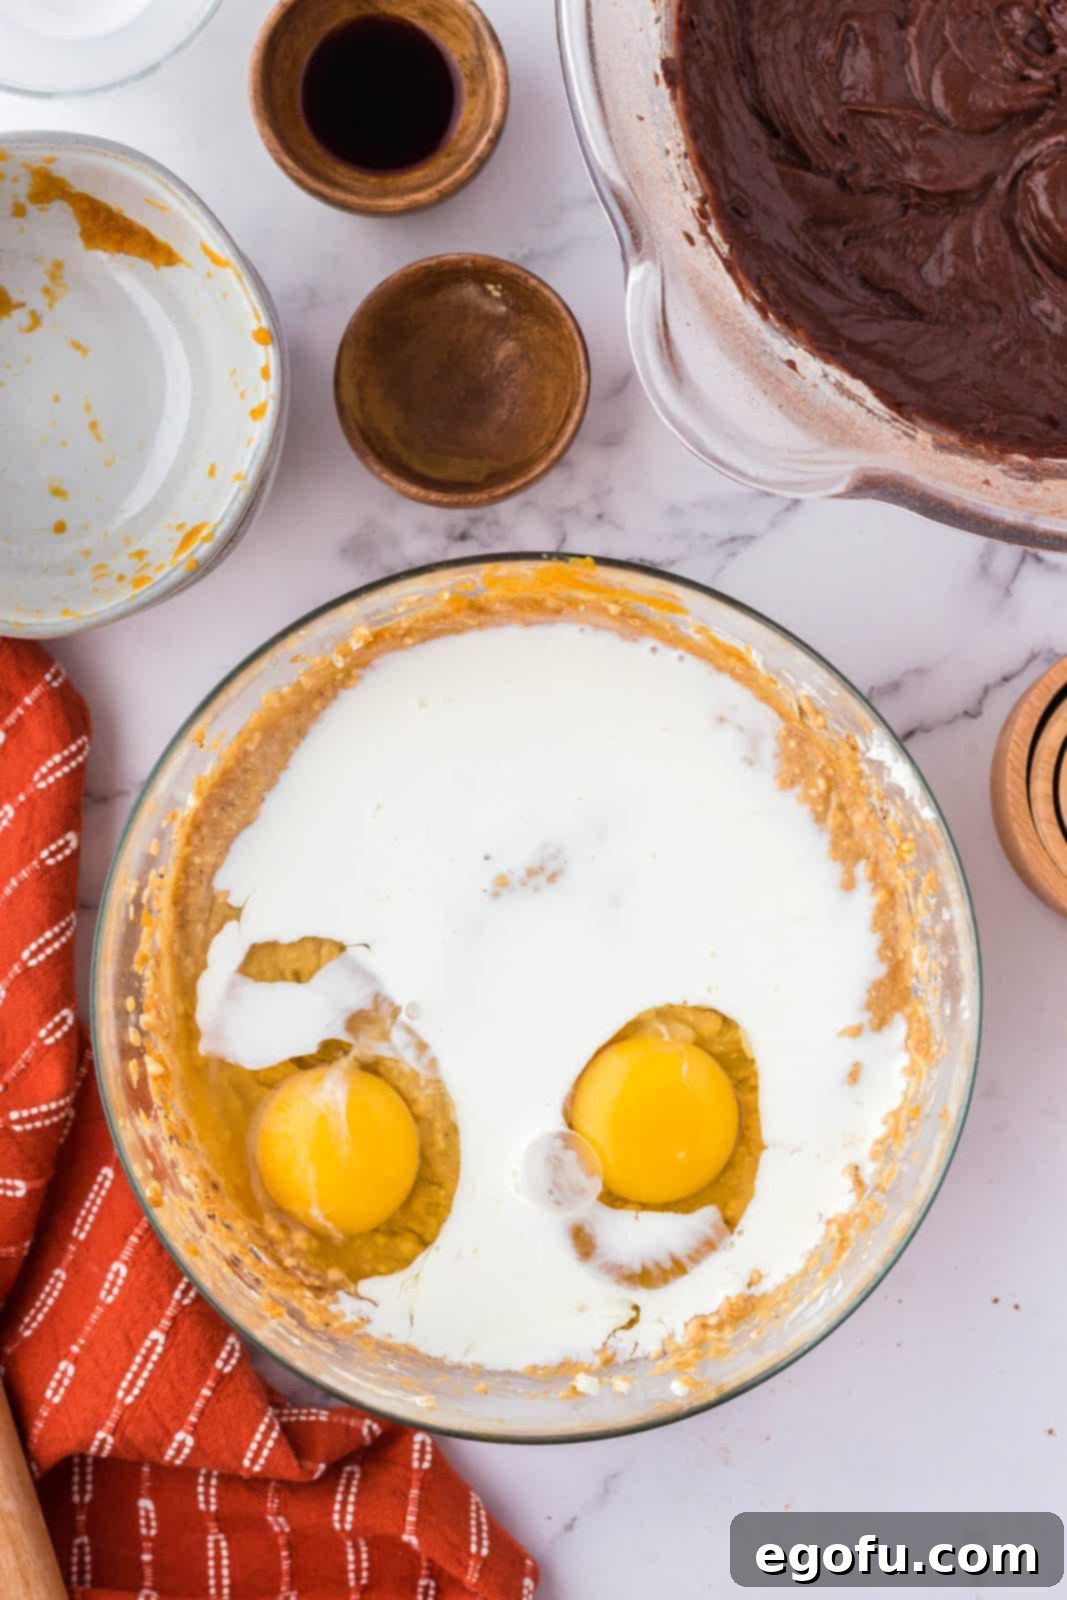
Finalize the Pumpkin Swirl Mixture: Once the pumpkin and spice mixture is smooth, add the vanilla extract (for the pumpkin layer), the 2 large eggs, and the heavy whipping cream. Stir again until all these ingredients are fully incorporated and the pumpkin layer mixture is completely smooth and uniform. This creates a luxurious, cheesecake-like pumpkin topping.

-
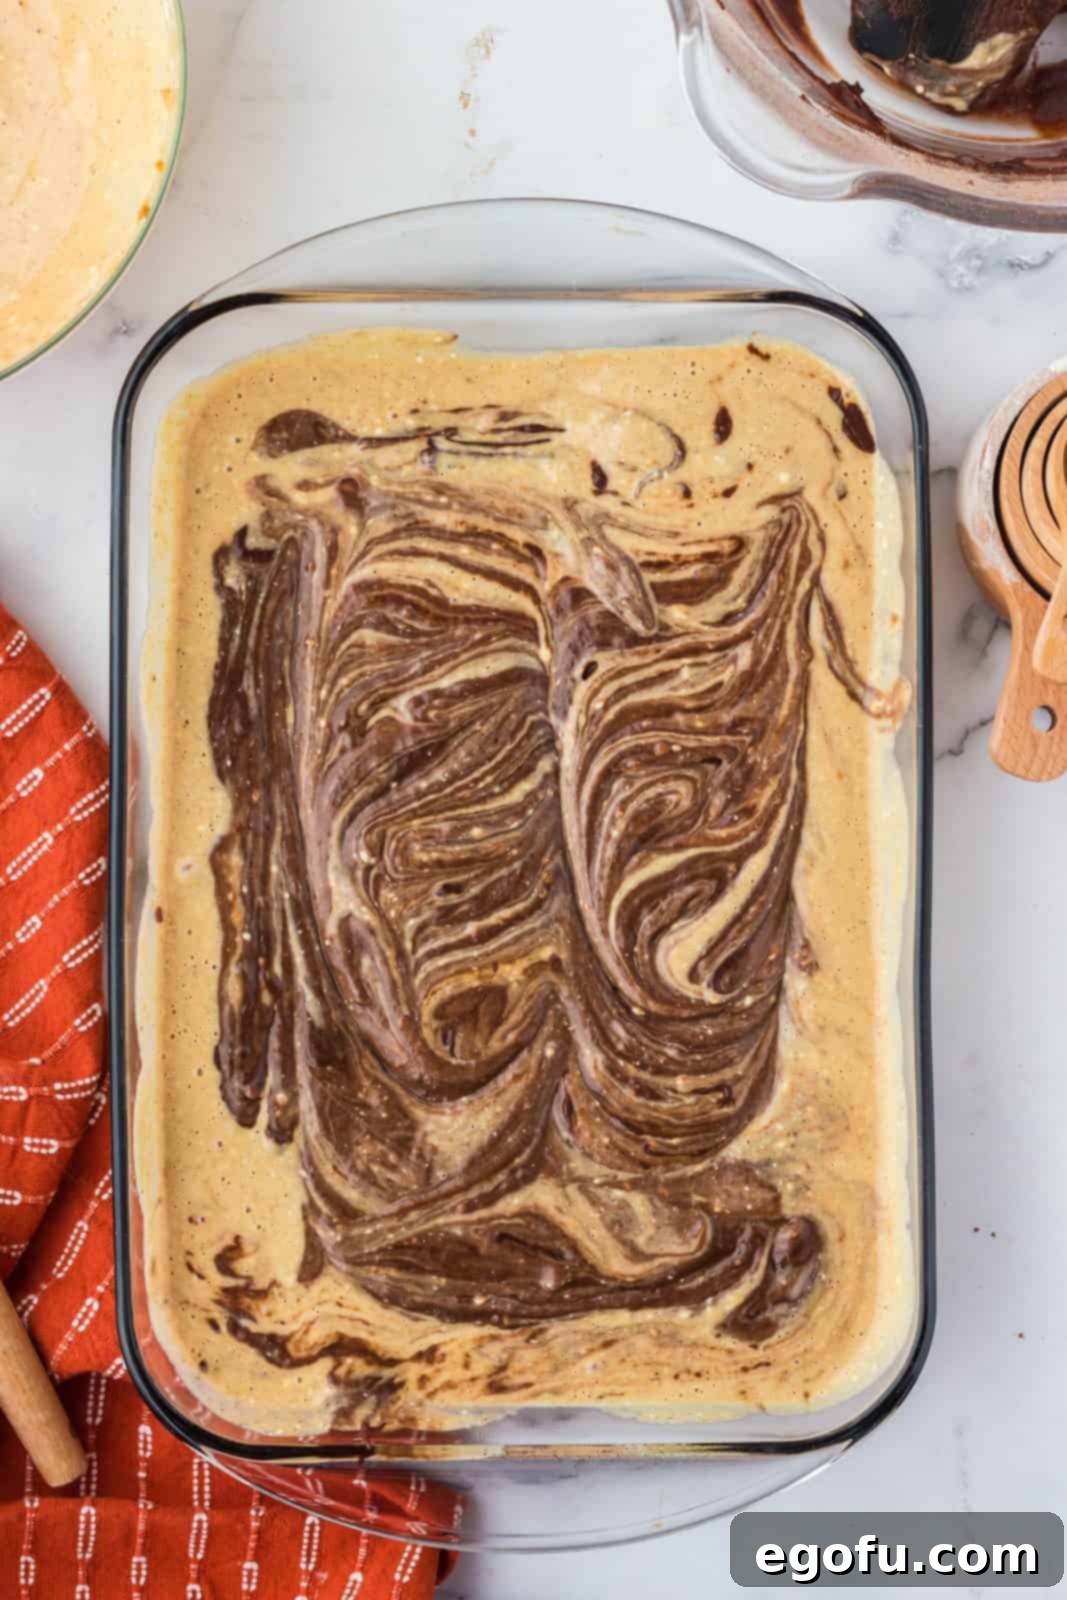
Assemble and Swirl: Carefully pour the prepared pumpkin layer over the brownie batter base in the baking pan, spreading it gently to cover the entire surface. Then, drop spoonfuls of the remaining brownie batter over the pumpkin layer. Take a butter knife or a skewer and gently swirl through both layers, creating beautiful marbled patterns. Avoid over-swirling, as this can mix the layers too much and diminish the distinct swirl effect.

-
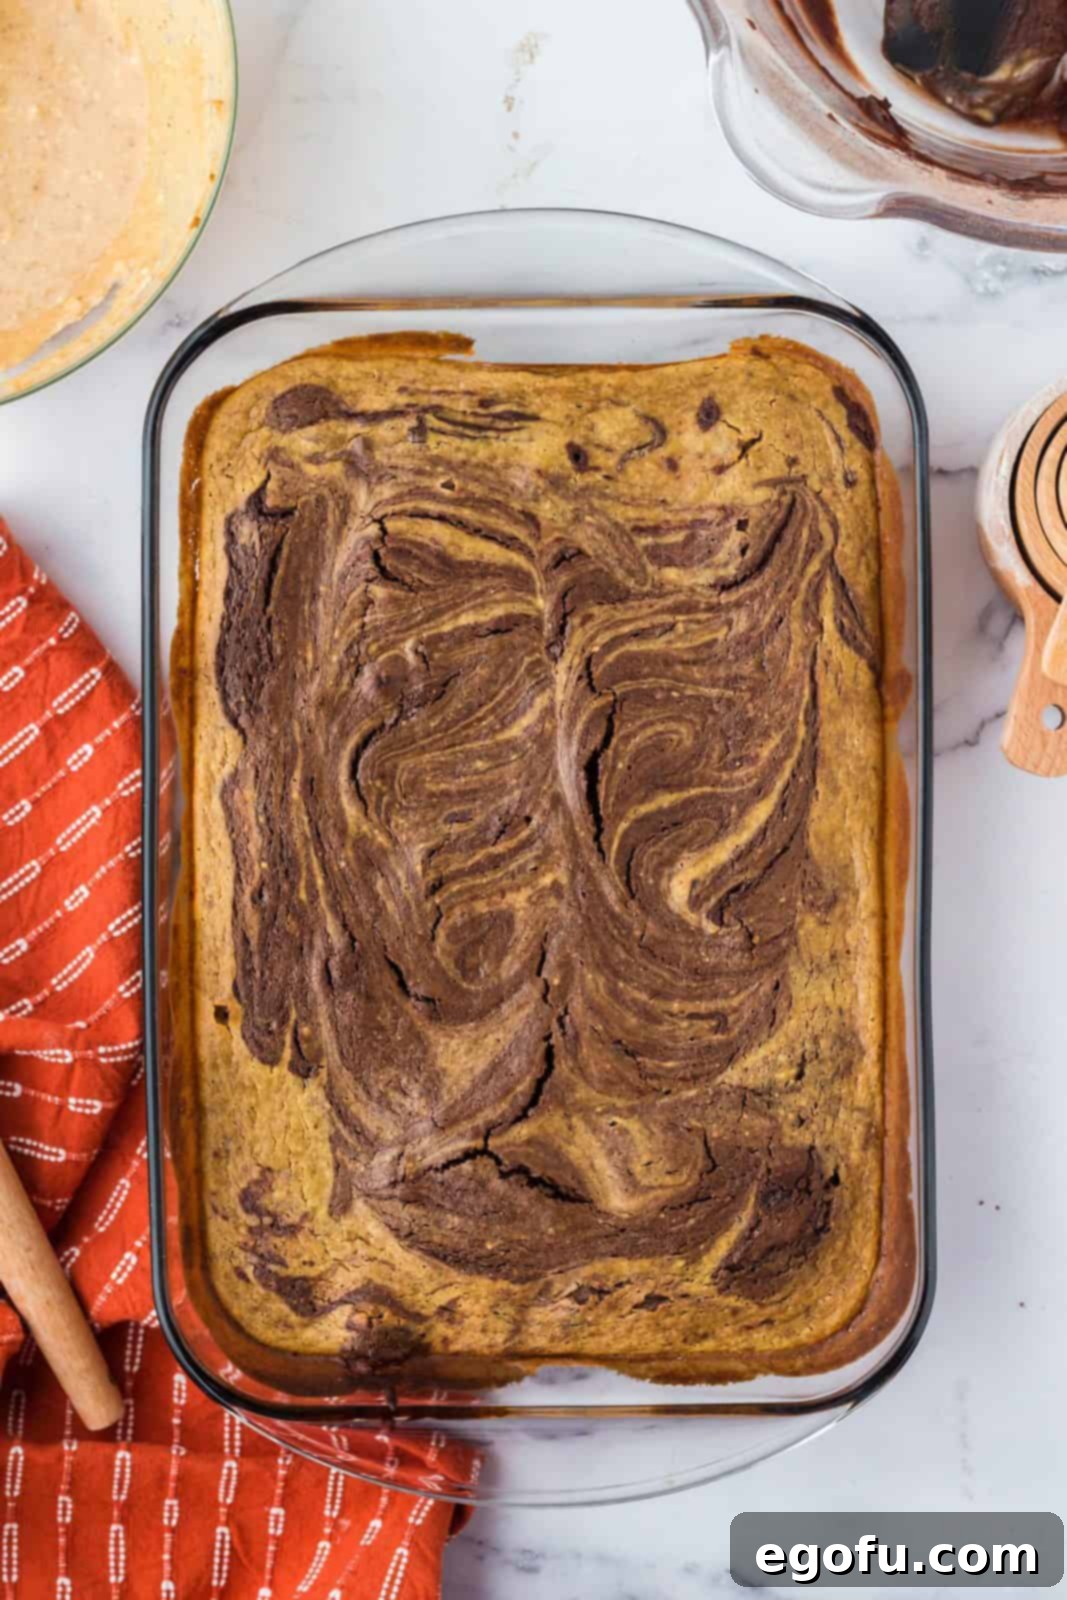
Bake to Perfection: Place the baking pan into the preheated oven and bake for 40-45 minutes. The brownies are done when a wooden skewer or toothpick inserted into the center of the brownie portion comes out with moist crumbs, not wet batter. The pumpkin layer should appear set, with slightly golden edges. Keep an eye on them towards the end of the baking time to prevent overbaking.

- Cool and Serve: Once baked, remove the brownies from the oven and allow them to cool completely at room temperature. For the cleanest slices and best texture, transfer the cooled pan to the refrigerator and chill for at least 1-2 hours. When thoroughly chilled, use a plastic knife (as per our FAQ tip) to slice the brownies into neat squares. Serve chilled or at room temperature, and prepare for rave reviews!
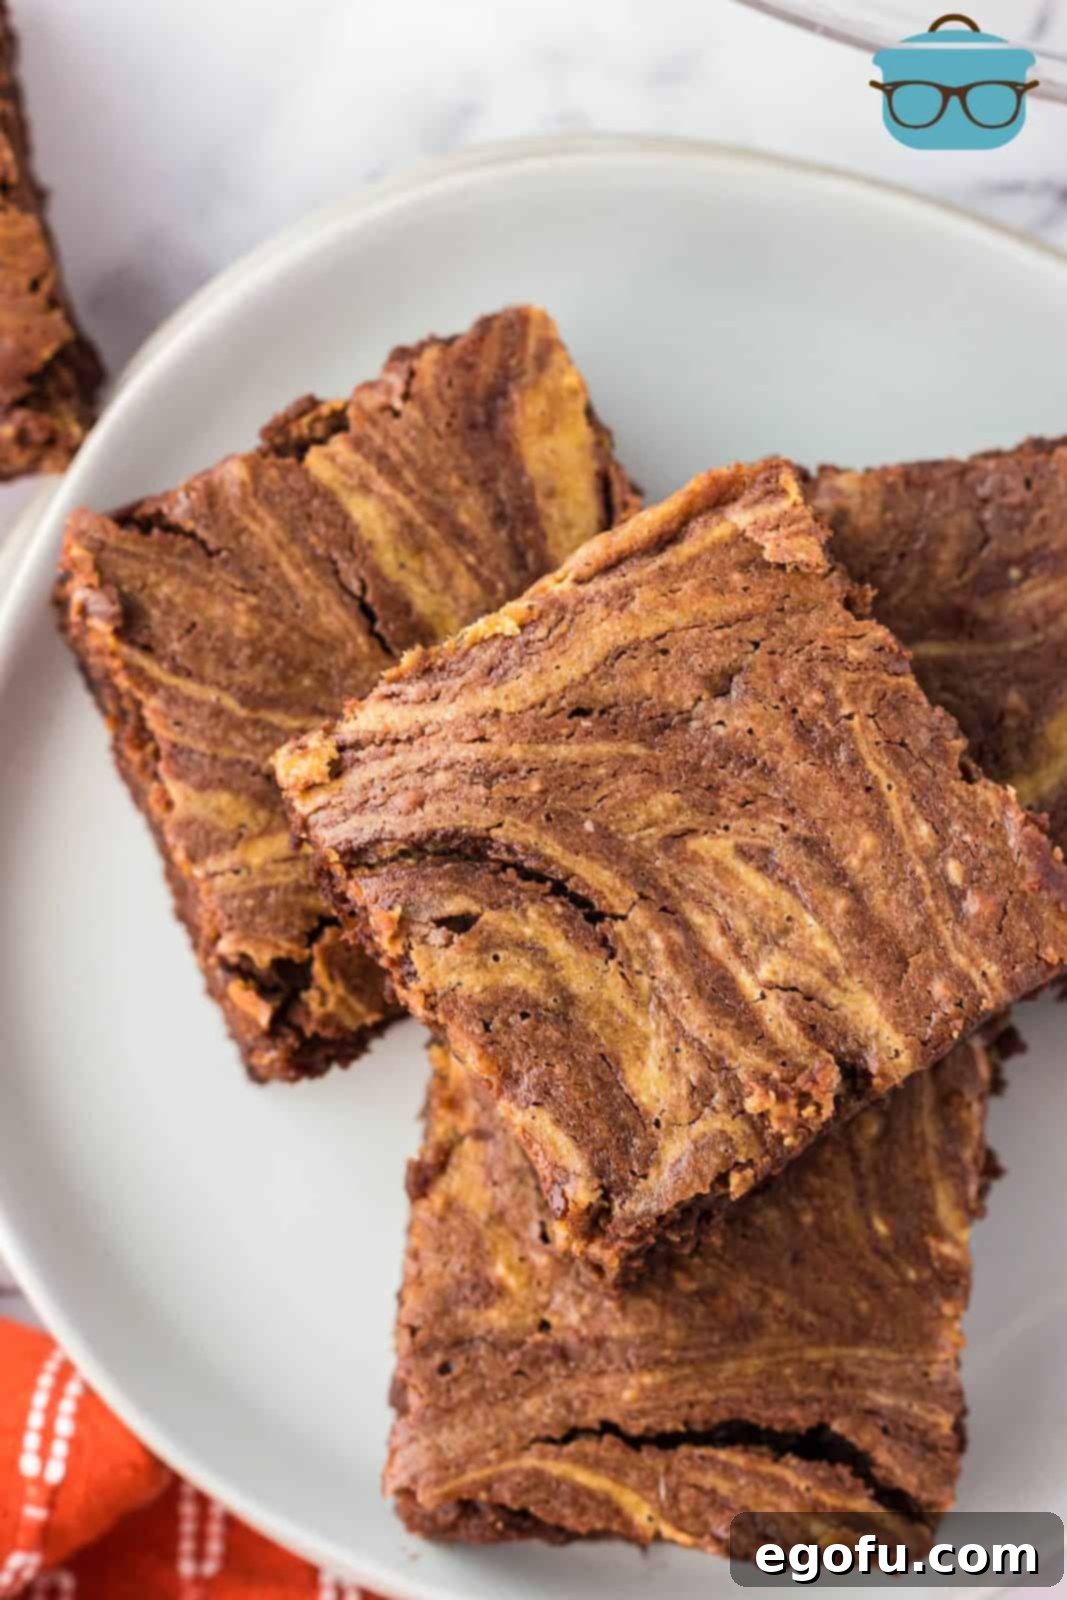
Explore More Delicious Recipes!
If you’ve enjoyed these delightful Pumpkin Swirl Brownies, you’re in for a treat! We have an array of other fantastic recipes that celebrate the flavors of fall and beyond. Dive into more tempting desserts and comforting bakes that are sure to become new family favorites.
- Zucchini Brownies
- Chocolate Pumpkin Snack Cake
- Pumpkin Magic Bars
- Pumpkin Streusel Bars
- Pumpkin Cake Bars
- Pumpkin Honey Bun Cake
- 40 Best Pumpkin Recipes
Pumpkin Swirl Brownies
Homemade and perfectly thick and delicious, these Pumpkin Swirl Brownies are a tasty fall treat that you don’t want to miss out on!
Print Recipe |
Pin Recipe
Prep Time: 15 minutes
Cook Time: 40 minutes
Total Time: 55 minutes
Servings: 12
Author: Brandie Skibinski
Ingredients
Brownies:
- 1 cup (2 sticks) salted butter, melted
- 2 cups granulated sugar
- 1 cup cocoa powder
- 4 large eggs, room temperature
- ½ Tablespoon vanilla extract
- 1 cup all-purpose flour
- 1 tsp baking powder
Pumpkin Layer:
- 8 ounces cream cheese (1 block), room temperature
- 1 cup pure pumpkin puree
- ¾ cup granulated sugar
- 1 teaspoon ground cinnamon
- ½ teaspoon ground ginger
- ½ teaspoon ground nutmeg
- ½ teaspoon ground cloves
- ½ Tablespoon vanilla extract
- 2 large eggs, room temperature
- ⅓ cup heavy whipping cream
Instructions
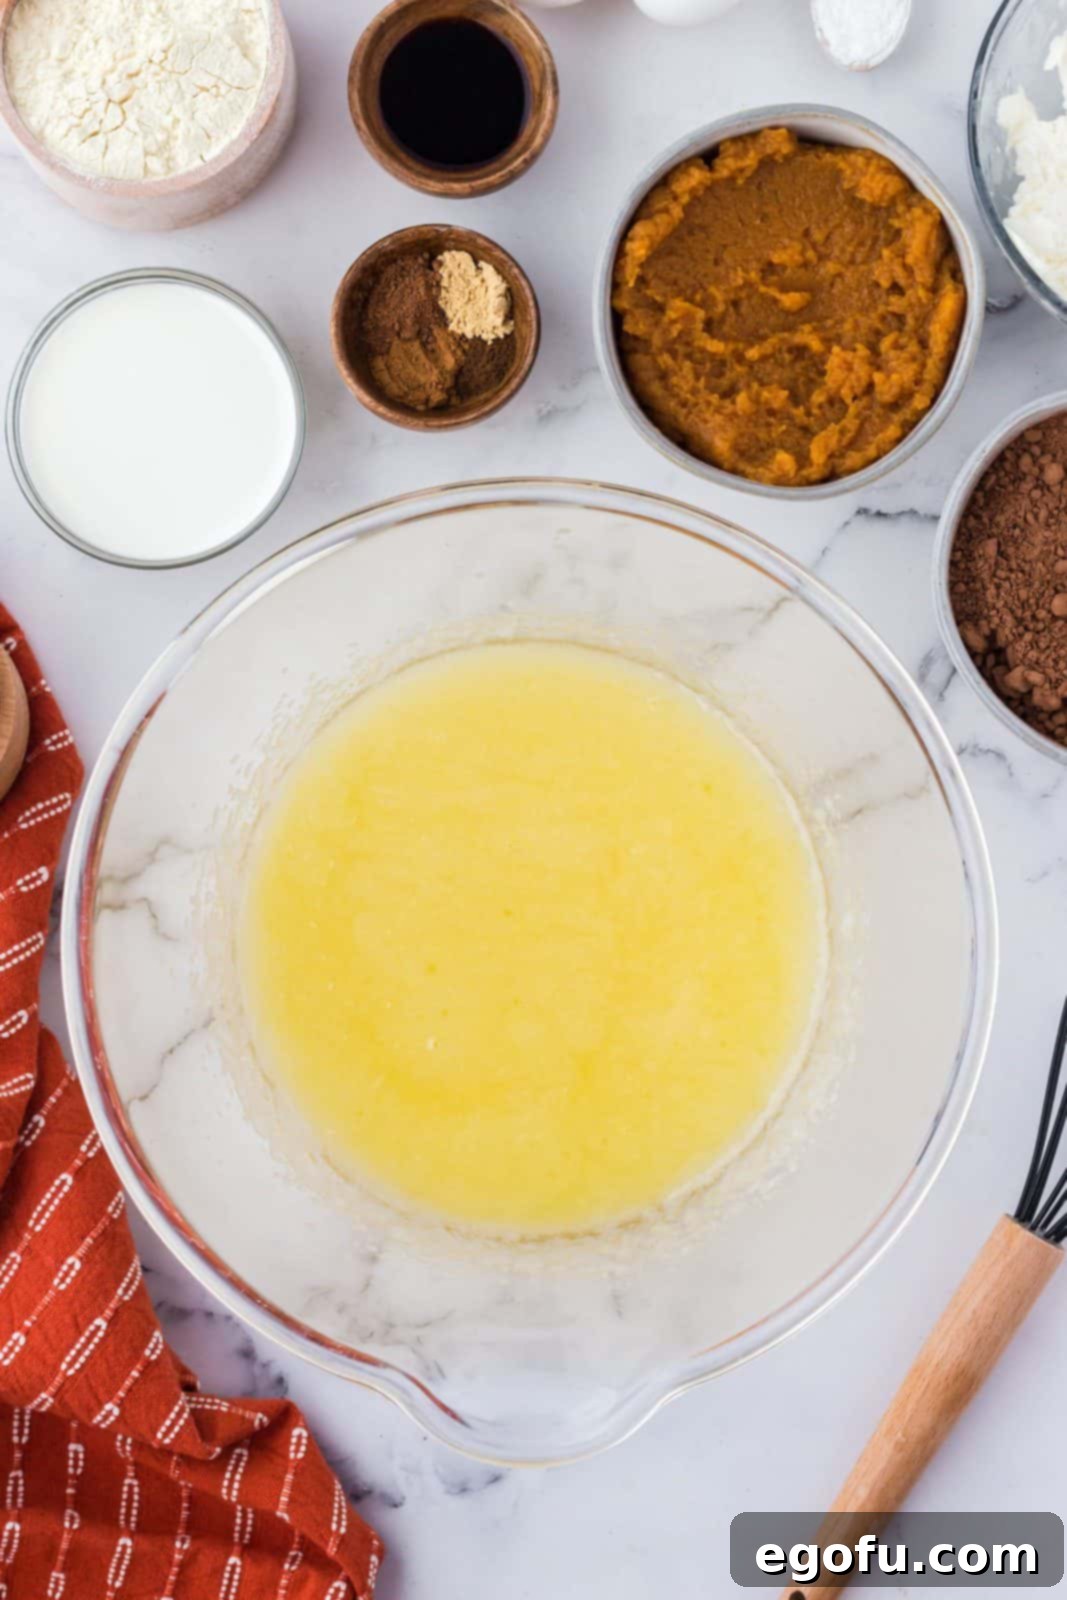
- Preheat the oven to 375°F (190°C) and generously coat a 9×13-inch baking dish with butter or cooking spray. In a large bowl or stand mixer, combine your melted butter and 2 cups of sugar. Stir until they are smooth and well-combined.
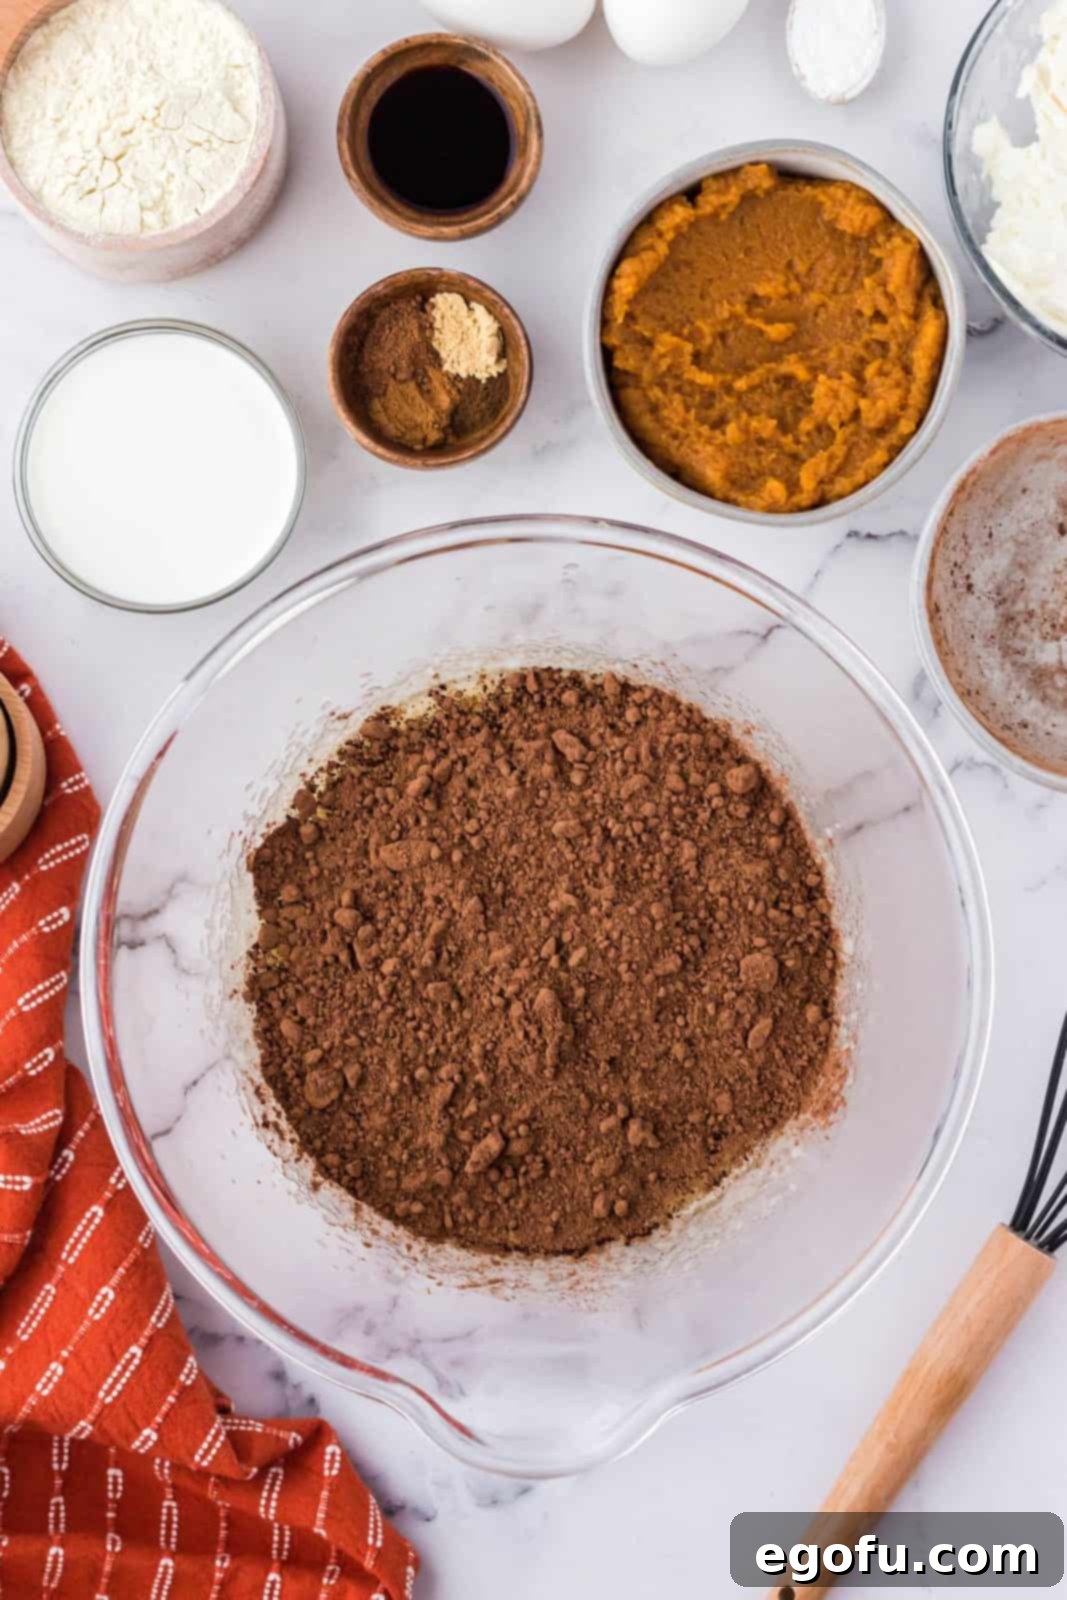
- Add in the cocoa powder and stir again until it is fully incorporated into the mixture, ensuring no dry cocoa remains.
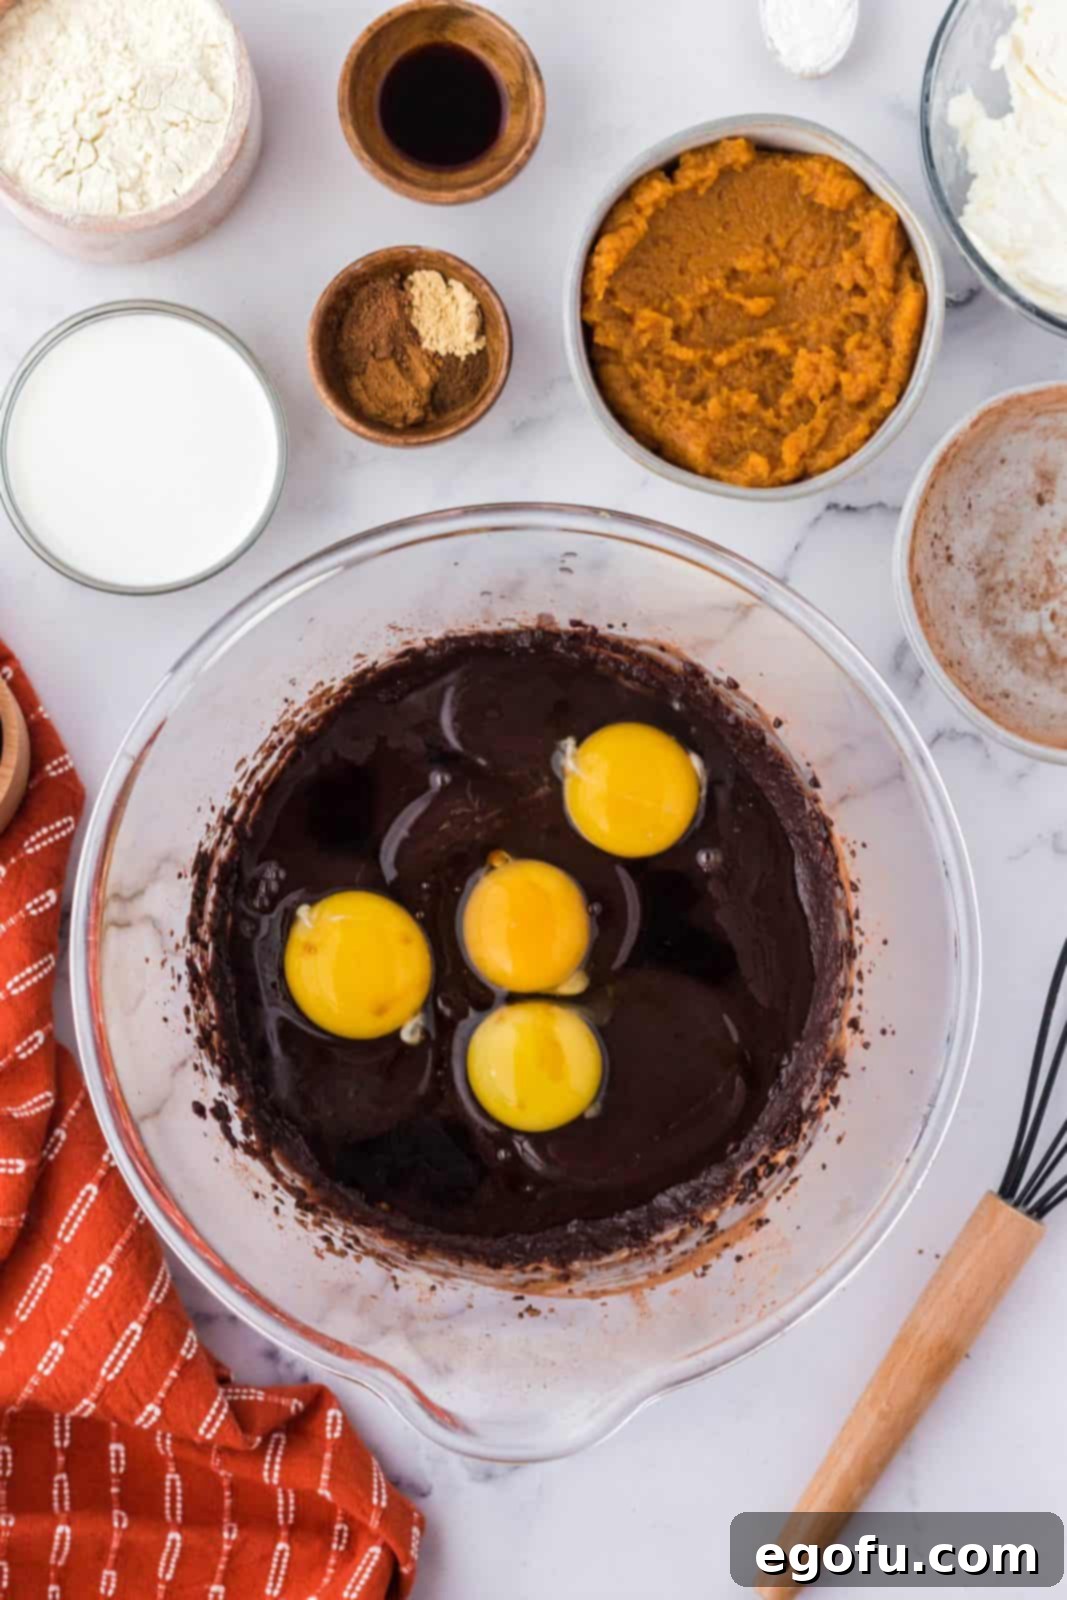
- Add 4 eggs and the vanilla extract to the bowl, then whisk vigorously until all ingredients are thoroughly combined and the batter is smooth.
- Once the eggs have been fully incorporated, gently fold in the all-purpose flour and baking powder. Mix until there are no clumps of flour remaining, being careful not to overmix the batter.
- Measure out approximately half of the brownie batter and pour it evenly into the prepared baking dish. Spread it gently to form the bottom layer.
- In a separate large bowl, whip the softened cream cheese with an electric mixer for 3-4 minutes until it’s light and fluffy. Add the pumpkin puree, ¾ cup granulated sugar, ground cinnamon, ground ginger, ground nutmeg, and ground cloves. Whisk again until all these ingredients are combined and smooth.
- Once the pumpkin layer ingredients are smooth and well-combined, add the ½ tablespoon of vanilla extract, the 2 large eggs, and the heavy whipping cream. Stir again until these ingredients are fully incorporated and the pumpkin layer is uniformly smooth.
- Carefully pour the creamy pumpkin layer over the brownie base in the baking pan. Then, drop spoonfuls of the remaining brownie batter over the pumpkin layer. Use a butter knife or a skewer to gently swirl the top layers together, creating a beautiful marbled effect.
- Place the baking pan in the preheated oven and bake for 40-45 minutes. The brownies are done when the edges are set and a toothpick inserted into the center comes out with moist crumbs.
- Allow the brownies to cool completely in the baking pan on a wire rack. For the neatest slices, chill the brownies in the refrigerator for at least an hour before cutting. Use a plastic knife to achieve perfect, clean slices. Serve and enjoy this decadent fall treat!
Notes
- Ensure your cream cheese is at room temperature and soft before whipping. This is key to preventing lumps and achieving a smooth, creamy pumpkin layer.
- These brownies can be frozen for longer storage. After baking and cooling, cut into individual servings, wrap tightly in plastic wrap or foil, and place in a freezer-safe bag for up to 1 month. Defrost in the refrigerator before serving.
- For an extra layer of flavor and texture, feel free to mix in chocolate chips or chopped nuts into the brownie batter. Walnuts or pecans are particularly delicious with pumpkin.
Course: Dessert
Cuisine: American
Nutrition Information
Calories: 498kcal |
Carbohydrates: 61g |
Protein: 7g |
Fat: 28g |
Sodium: 233mg |
Fiber: 3g |
Sugar: 47g
Nutritional Disclaimer
“The Country Cook” is not a dietician or nutritionist, and any nutritional information shared is an estimate. If calorie count and other nutritional values are important to you, we recommend running the ingredients through whichever online nutritional calculator you prefer. Calories and other nutritional values can vary quite a bit depending on which brands were used.
Did you make this recipe? Share it on Instagram @thecountrycook and mention us #thecountrycook!
