Southern Fried Squash made with fresh yellow squash is a mouthwatering country dish that features tender slices of squash coated in a crispy, golden-brown crust!
The Ultimate Southern Fried Squash Recipe: Crispy Perfection Every Time
There’s nothing quite like the taste of fresh, garden-grown yellow squash transformed into perfectly golden, crispy fried squash. This classic Southern side dish holds a special place in the hearts of many, especially during the warmer months when squash is abundant and at its peak. As a cherished family favorite, this recipe for fried squash is not just easy to prepare but also incredibly versatile, making it a staple in any home cook’s repertoire.
When the sun is shining and the vegetables are “popping up” in the garden, this Southern Fried Squash recipe becomes an absolute must-make. It’s so irresistibly good, you might find yourself craving it daily! Beyond its deliciousness, yellow squash is a remarkably affordable and nutritious vegetable, offering endless culinary possibilities. Whether you’re whipping up a comforting Squash Casserole or simply enjoying it on its own, fried squash promises a delightful experience. It comes together quickly and can be enjoyed as a stand-alone snack, tucked into a sandwich with fresh lettuce and ripe tomatoes, or served with your favorite dipping sauce. Let’s dive into the details and master this beloved Southern classic!


“Absolutely perfect! Made it exactly to your recipe and wouldn’t change a thing! Huge, huge hit with the family! – Stacy”
Why Southern Fried Squash is a Must-Try Culinary Experience
Southern Fried Squash isn’t just a dish; it’s a culinary tradition. This humble yet incredibly satisfying recipe captures the essence of Southern comfort food. The magic lies in transforming simple yellow squash into tender, flavorful slices encased in a perfectly seasoned, crunchy coating. It’s the kind of dish that brings back memories of home-cooked meals and lively family gatherings, and it’s remarkably easy to replicate in your own kitchen.
Beyond its nostalgic appeal, fried squash is a fantastic way to enjoy seasonal produce. Yellow squash is readily available and affordable throughout much of the year, particularly during summer. It’s a versatile vegetable that, when fried correctly, offers a delightful contrast of textures – soft on the inside, crispy on the outside. This recipe is designed to help you achieve that ideal balance every time, ensuring your fried squash is never soggy but always delightfully crunchy and packed with flavor. Whether you’re a seasoned cook or new to Southern cuisine, this guide will walk you through each step to create a dish that will impress and satisfy.
Frequently Asked Questions About Southern Fried Squash
Can fried squash be made in an air fryer?
Absolutely! While air-fried squash won’t achieve the exact same deep-fried crispiness, it’s a fantastic healthier alternative that still yields delicious results. To air fry, simply slice and bread the squash as directed in the main recipe. Arrange the coated slices in a single layer in your air fryer basket, ensuring not to overcrowd it. Lightly spray with olive oil nonstick cooking spray. Air fry at 375°F (190°C) for about 8-12 minutes, flipping halfway through and spraying again if needed, until the squash is tender and beautifully browned. Keep a close eye on it to prevent burning!
How do I make this in the oven?
Oven-baked fried squash is another great option for those looking to avoid traditional frying, though like air frying, it will have a slightly different texture than true deep-fried squash. Preheat your oven to 375°F (190°C). Prepare the squash slices with the buttermilk and flour mixture as outlined in the recipe. Place the coated squash pieces in a single layer on a wire rack set over a baking sheet (this helps air circulate and promotes crispiness). Bake for 25-35 minutes, flipping them halfway through, until they are golden brown and tender. The wire rack is key to preventing a soggy bottom!
Why is my fried squash soggy?
Soggy fried squash is a common frustration, but it’s usually easy to remedy. Several factors can contribute to it:
- Oil Temperature: If your oil isn’t hot enough (below 350°F / 175°C), the squash will absorb too much oil and become greasy and soggy. Ensure your oil reaches the correct temperature before adding the squash.
- Overcrowding the Pan: Frying too many slices at once significantly drops the oil temperature, leading to the same issue as above. Fry in small batches to maintain consistent heat.
- Moisture Content: Some squash varieties are naturally more watery. While this recipe doesn’t explicitly call for it, some cooks salt their squash slices and let them sit for 15-30 minutes before coating to draw out excess moisture.
- Drainage: After frying, it’s crucial to immediately transfer the squash to a wire rack placed over a sheet pan. Placing them directly on paper towels can trap steam, making them soggy. Paper towels can be used initially to blot excess oil, but then move them to a rack.
By following these tips, you can achieve that desired crispy texture!
What oil is best for frying squash?
The best oil for frying anything, including squash, is one with a high smoke point. This means it can be heated to high temperatures without burning or breaking down, which can impart unpleasant flavors. Excellent choices include peanut oil, vegetable oil, canola oil, and grapeseed oil. Many Southern cooks prefer peanut oil for its neutral flavor and high smoke point, and some find it produces less odor in the kitchen compared to other oils. Always ensure your oil is heated to 350°F (175°C) for optimal crispiness and even cooking.
Could I use zucchini instead of yellow squash?
Absolutely! Zucchini is a fantastic substitute for yellow squash in this recipe. Both are types of summer squash and share similar textures and moisture content when cooked. The same breading and frying methods will work beautifully with zucchini, yielding equally delicious and crispy results. This recipe is also wonderful with thinly sliced eggplant, offering another delightful variation!
How do I keep the cooked squash warm while I work on the next batch?
This is a common dilemma when frying in batches! To keep your fried squash perfectly warm and crispy, preheat your oven to its lowest setting, typically around 170-200°F (75-90°C), or use the “warm” setting if your oven has one. As each batch finishes frying, transfer the cooked squash from the wire rack to a parchment-lined baking sheet and place it in the warm oven. This gentle heat will keep them toasty without overcooking or making them soggy, ensuring every bite is as delicious as the first.
How to reheat leftover fried squash?
To bring back the glorious crispiness of leftover fried squash, avoid the microwave at all costs – it will inevitably lead to a soggy texture! The best methods are the oven or an air fryer. For the oven, preheat to 350°F (175°C). Place the squash on a wire rack set over a baking sheet and heat for 5-10 minutes, or until thoroughly warmed and crispy. For an air fryer, reheat at 350°F (175°C) for 2-4 minutes, checking frequently. Both methods help prevent steaming and ensure a delightful crunch.
How to store leftover fried squash?
Leftover fried squash should be stored in an airtight container in the refrigerator. Proper storage will keep it fresh for up to 3-5 days. While it’s best enjoyed fresh, knowing how to store it ensures you can savor those delicious remnants a little longer.
Can I freeze fried squash?
Yes, cooked fried squash can be frozen! To ensure the best quality and prevent sticking, it’s recommended to flash freeze the pieces first. Spread the cooled fried squash in a single layer on a baking sheet and freeze until solid (about 1-2 hours). Once frozen, transfer the pieces to a freezer-safe container or bag, removing as much air as possible. Frozen fried squash can be stored for up to 3 months. When ready to enjoy, reheat directly from frozen in the oven or air fryer for best results.

How to Make the Best Southern Fried Squash
Creating crispy Southern Fried Squash is a straightforward process that yields incredibly satisfying results. The key lies in proper preparation, a well-seasoned coating, and maintaining the right oil temperature. Follow these steps for a dish that will become an instant favorite.
Ingredients You’ll Need:
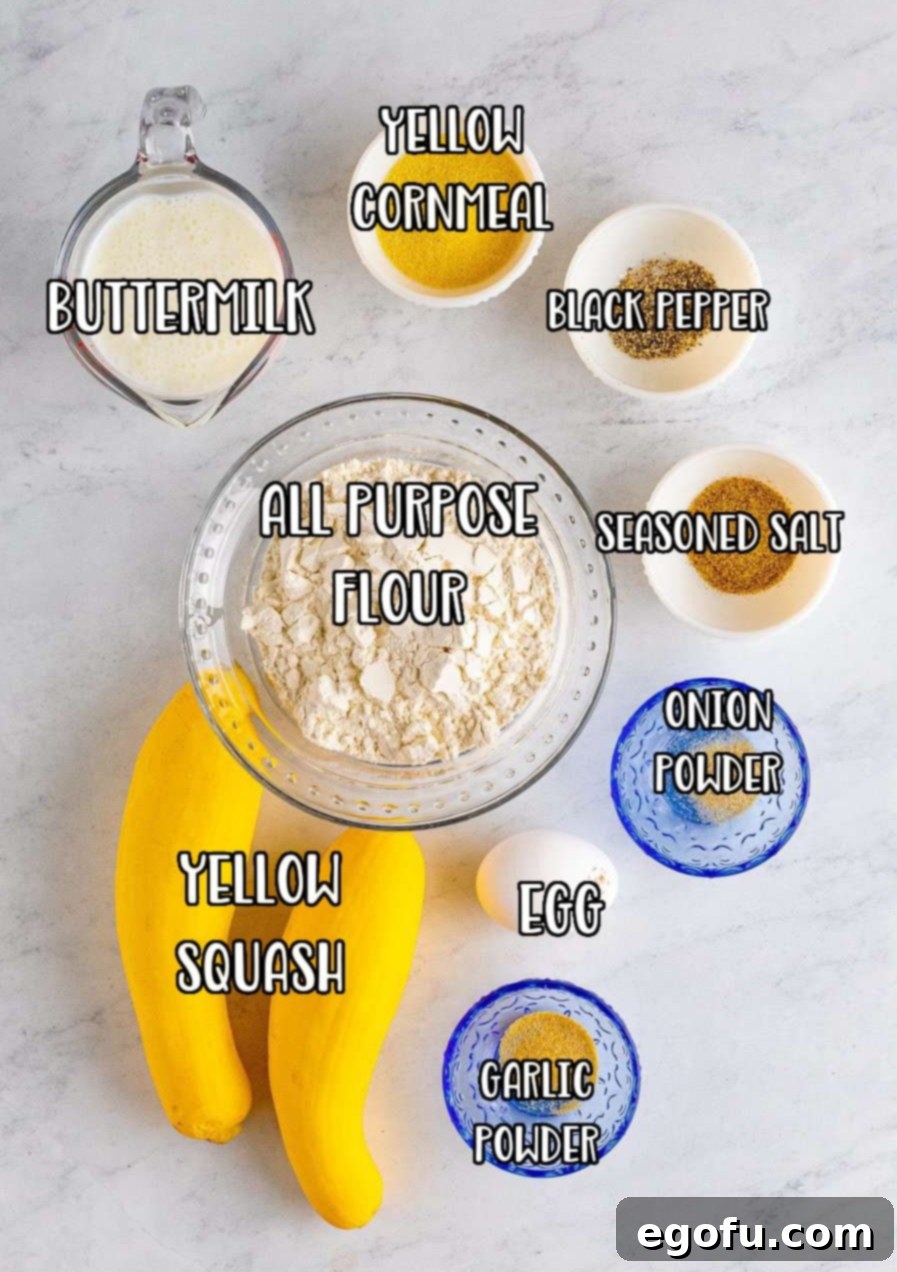
Step-by-Step Instructions:
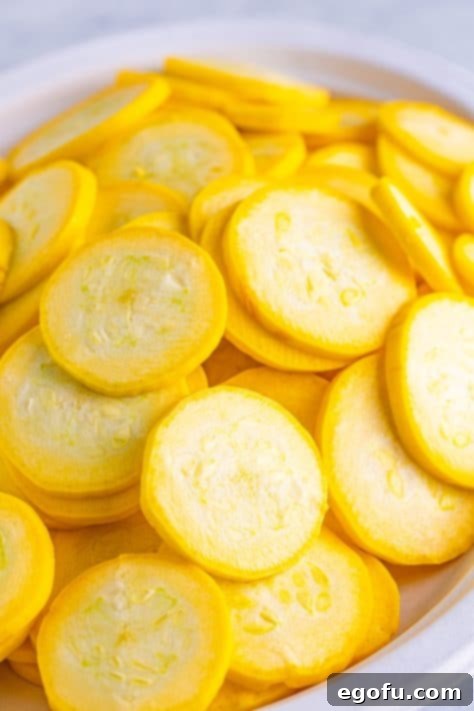
Step 1: Prepare the Squash. Begin by washing and drying your yellow squash. Slice the squash into uniform rounds, approximately 1/4 inch thick. Consistency in thickness is important for even cooking. If you own a mandoline slicer, this tool can make the task much easier and more precise. Once sliced, set the squash aside.
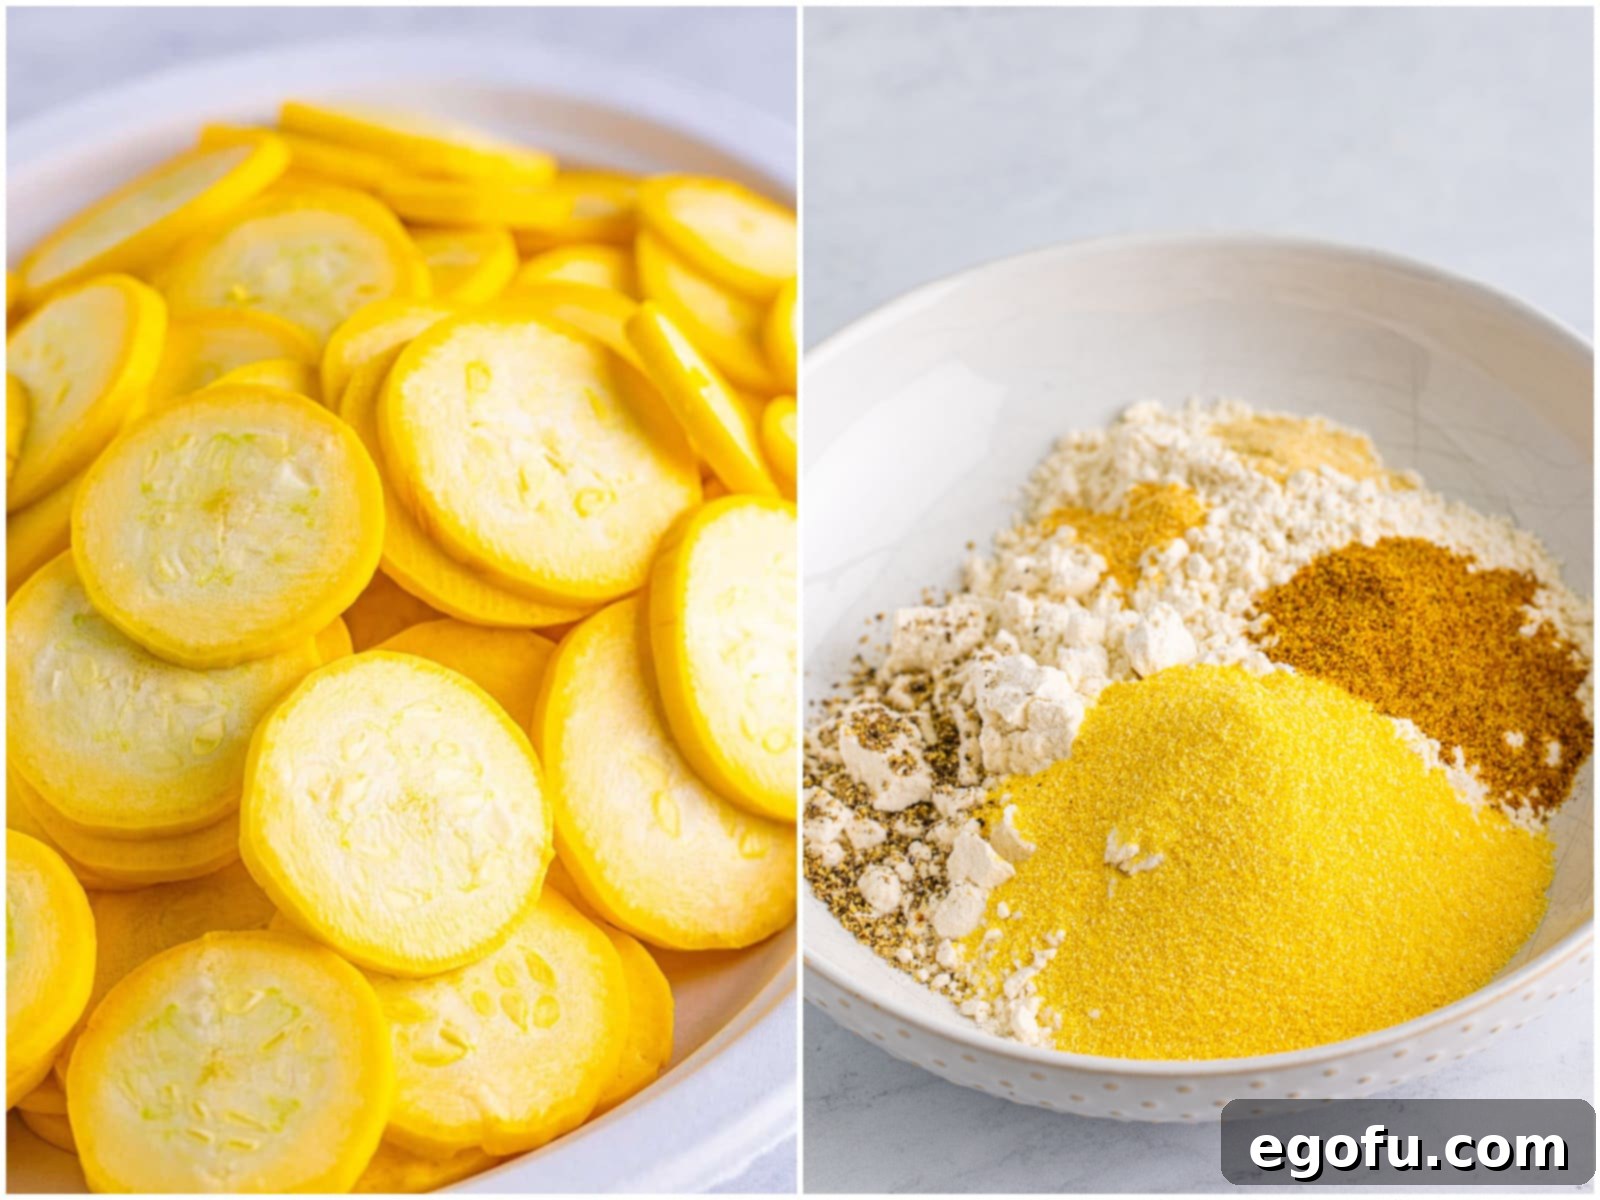
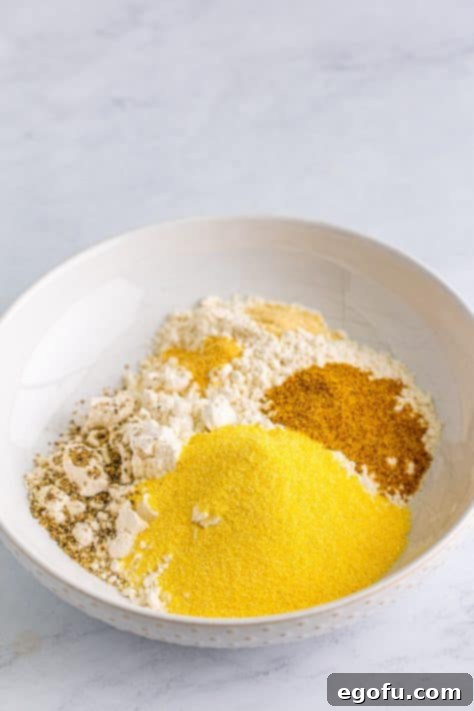
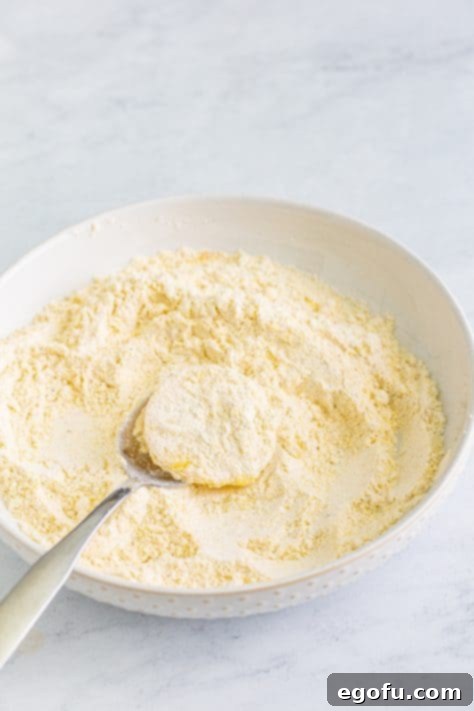
Step 2: Create the Dry Coating. In a medium-sized shallow bowl, combine the all-purpose flour, yellow cornmeal, seasoned salt, black pepper, garlic powder, and onion powder. Whisk these dry ingredients together thoroughly until they are well combined. This seasoned mixture will form the crispy crust of your fried squash.
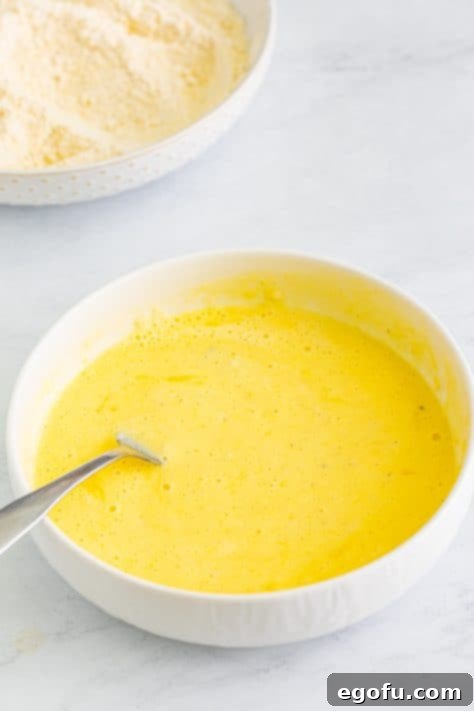
Step 3: Prepare the Wet Mixture. In a separate medium-sized shallow bowl, whisk together the buttermilk, the well-beaten large egg, and one tablespoon of the dry flour mixture. This creates the wet binder that will help the seasoned flour adhere to the squash slices.
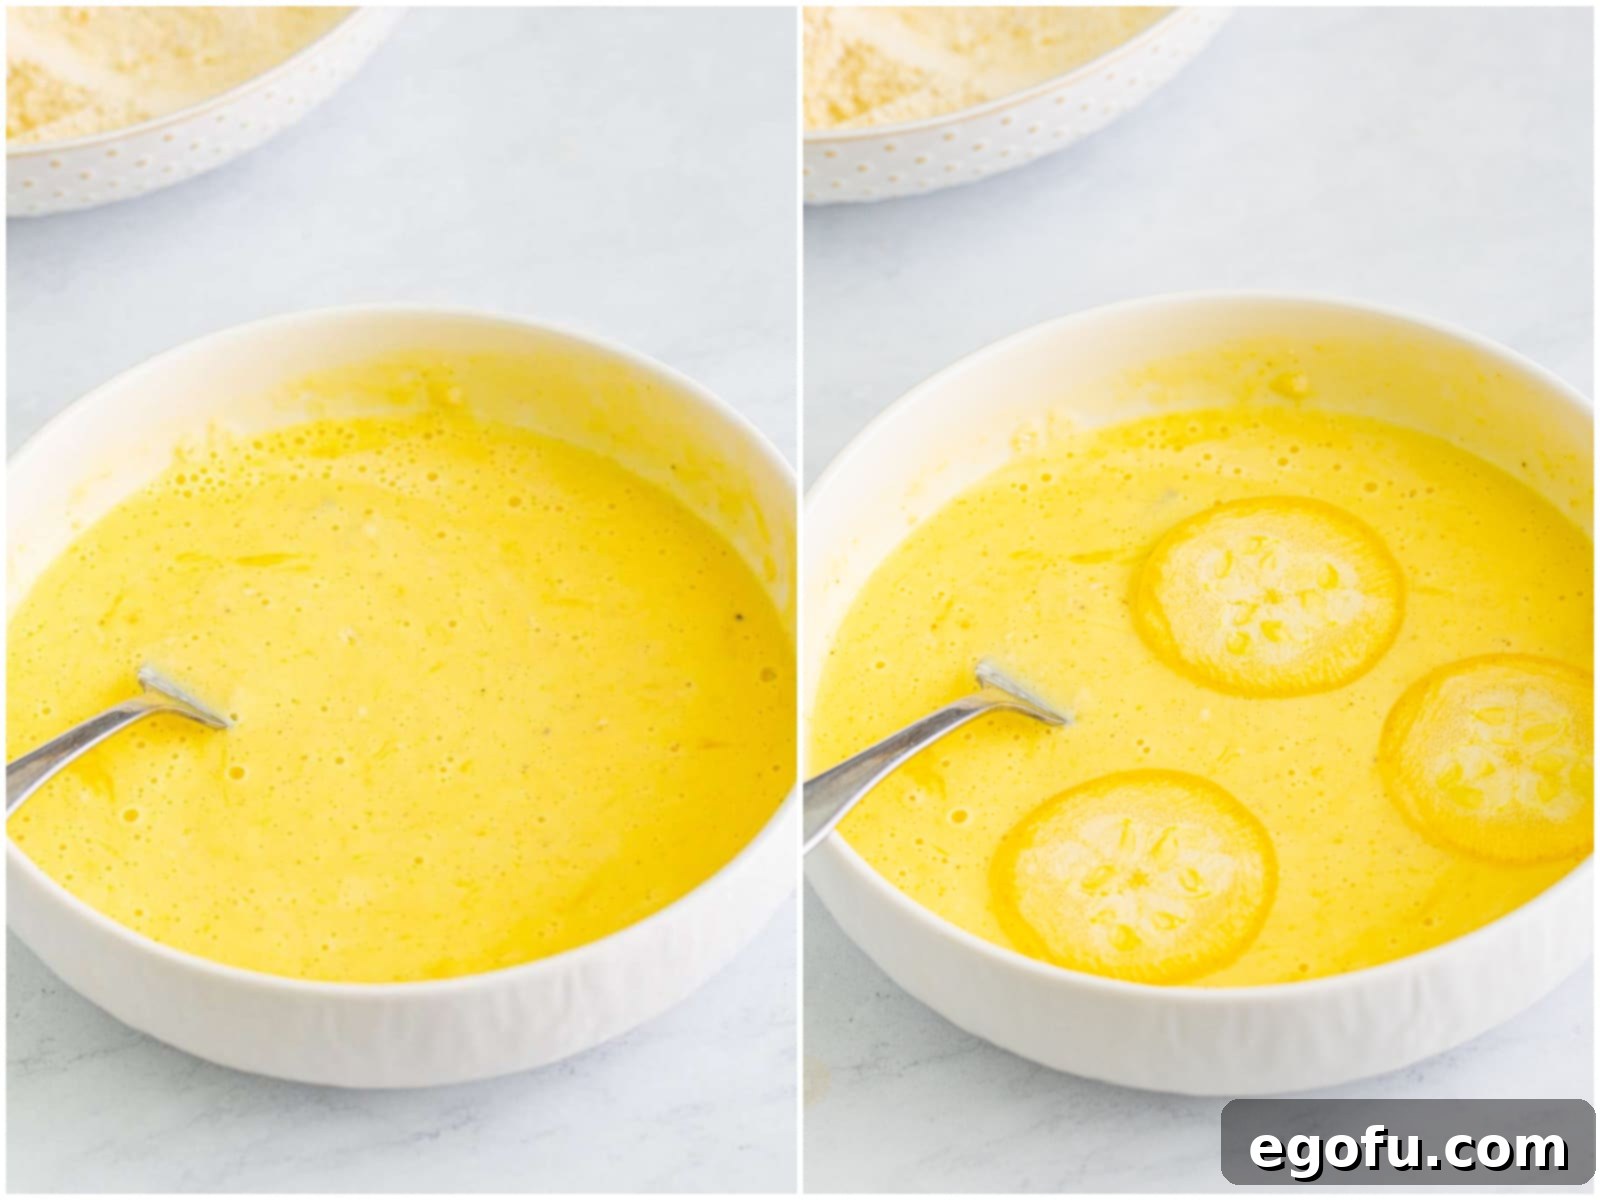
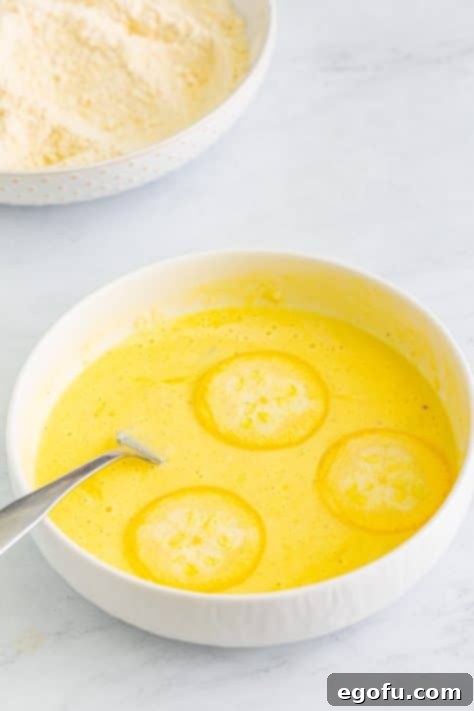
Step 4: Dredge the Squash. Take each slice of squash and dip it into the buttermilk mixture, ensuring it’s fully coated. Allow any excess liquid to drip back into the bowl before moving to the next step. This ensures an even, light coating.
Step 5: Coat with Dry Mixture. Next, transfer the buttermilk-coated squash slice to the bowl with the flour mixture. Coat both sides thoroughly, gently shaking off any excess flour. You want a good, even layer of breading. Repeat this process with a few more slices of squash, preparing them in batches so they are ready for frying.
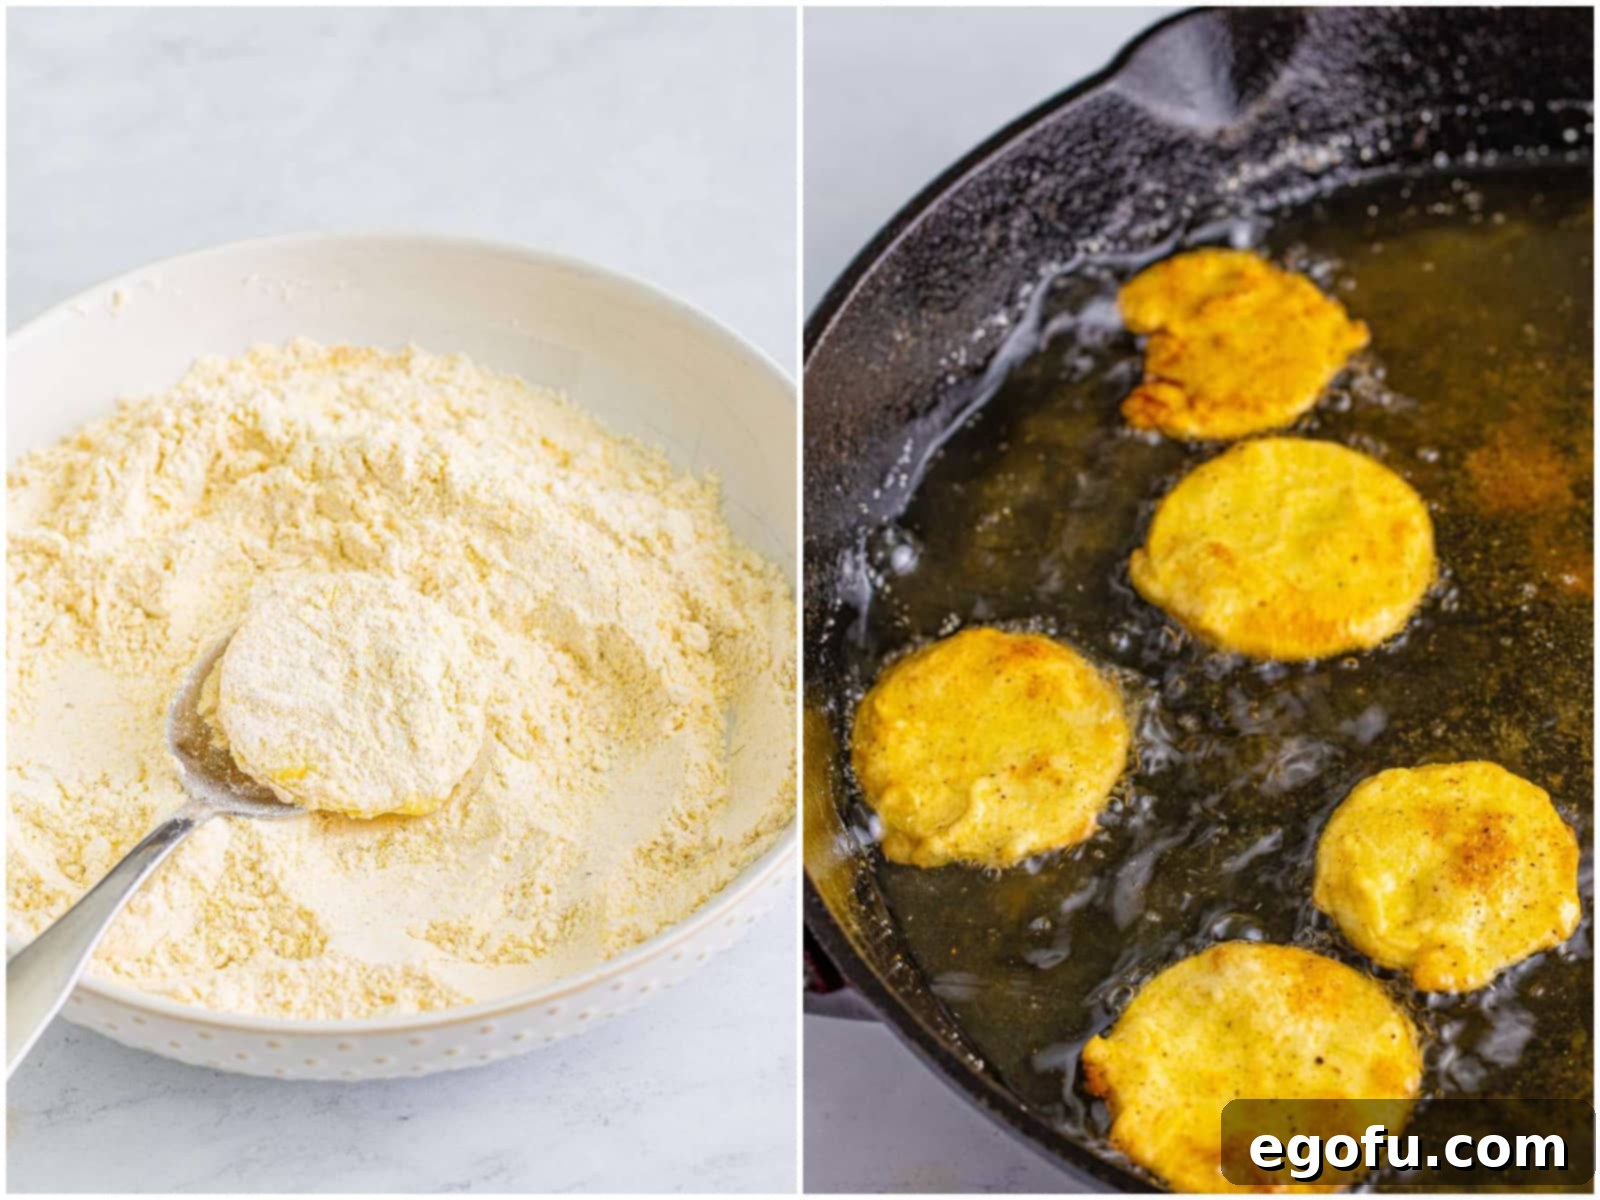
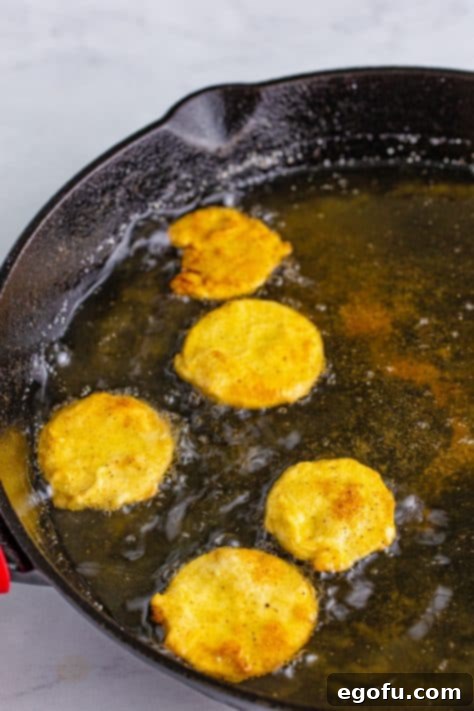
Step 6: Heat the Oil. Pour about 1/2 inch of your chosen frying oil (peanut oil is highly recommended for its high smoke point and flavor) into a heavy-bottomed skillet. A cast iron skillet works wonderfully for even heat distribution. Heat the oil over medium-high heat until it reaches a temperature of 350°F (175°C). Use a cooking thermometer to accurately gauge the temperature; this is crucial for crispy, non-soggy squash.
Step 7: Fry in Batches. Carefully add the coated squash slices to the hot oil, making sure not to overcrowd the pan. Frying in small batches is essential to maintain the oil temperature and ensure each piece fries evenly. Fry for approximately 2 minutes per side, or until each slice is lightly golden brown and tender. Flip a few times to ensure even browning and crispiness. The total frying time should be around 4 minutes per batch.

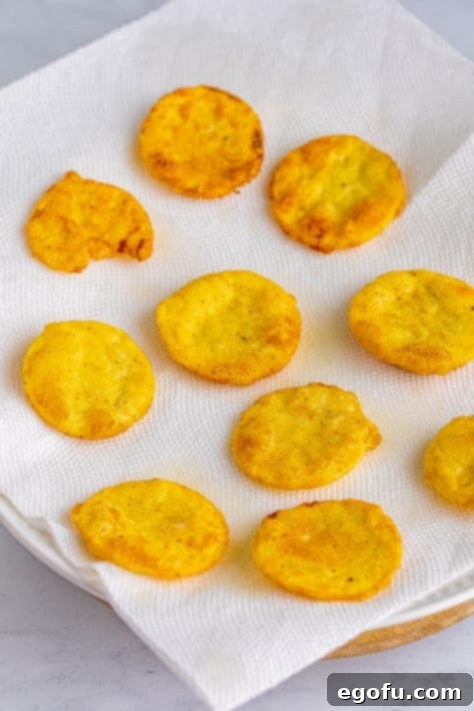
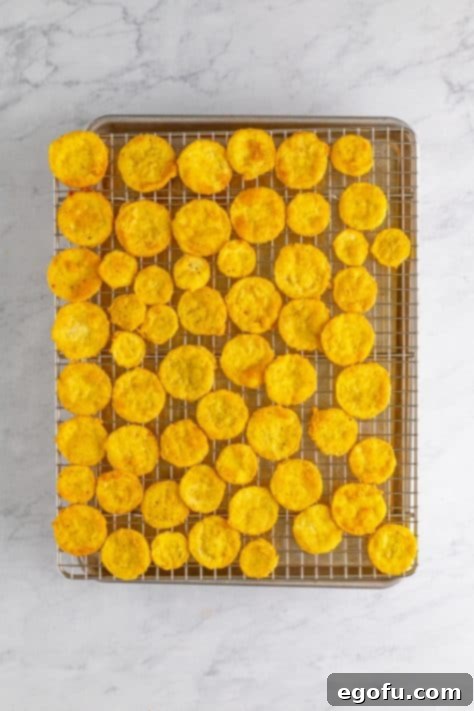
Step 8: Drain and Rest. Once a batch of squash is perfectly cooked and golden, use a slotted spoon to carefully remove the pieces from the oil. Initially, place them on a paper towel-lined plate for a moment to absorb any immediate excess oil. Then, immediately transfer the fried squash to a wire rack set over a sheet tray. This allows air to circulate around the pieces, preventing steam from building up and keeping the coating delightfully crunchy. Repeat the dipping and frying process with the remaining squash slices until all are cooked.
Step 9: Serve and Enjoy! Serve your Southern Fried Squash hot, either as a delectable side dish, a component in a sandwich, or with your favorite dipping sauce like ranch or comeback sauce. Enjoy the irresistible crunch and tender interior!

Craving More Southern-Inspired Recipes?
If you’ve enjoyed this delightful Southern Fried Squash, you’ll love exploring other classic comfort foods that celebrate the rich culinary traditions of the South. Here are some more recipes to inspire your next home-cooked meal:
- Southern Fried Okra
- Crispy Fried Pickles
- Classic Fried Green Tomatoes
- Air Fryer Zucchini Fries
- Fried Red Tomatoes
- Hearty Red Beans and Rice
- The Best Ever Deviled Eggs
- Comforting Roasted Butternut Squash Soup
Originally published: April 2023
Updated and republished: May 2025
Southern Fried Squash
Southern Fried Squash, made with fresh yellow squash, is a mouthwatering country dish featuring tender slices of squash coated in a crispy, golden-brown crust!
Prep Time: 20 minutes
Cook Time: 4 minutes
Total Time: 24 minutes
Servings: 4 servings
Author: Brandie Skibinski
Ingredients
- 1 pound yellow squash (about 2 large)
- 1 cup all-purpose flour
- 2 Tablespoons yellow cornmeal
- 2 teaspoons seasoned salt
- ½ teaspoon black pepper
- ¼ teaspoon garlic powder
- ¼ teaspoon onion powder
- ½ cup buttermilk
- 1 large egg, well beaten
- 1 Tablespoon flour (for wet mixture)
- Oil, for frying (such as peanut or vegetable oil)
Instructions
- Start by slicing 1 pound yellow squash into rounds about 1/4 inch thick. A mandolin can make this job easier. Set the sliced squash aside.

- In a medium-sized shallow bowl, combine 1 cup all-purpose flour, 2 Tablespoons yellow cornmeal, 2 teaspoons seasoned salt, 1/2 teaspoon black pepper, 1/4 teaspoon garlic powder, and 1/4 teaspoon onion powder. Mix well.

- In a separate medium-sized shallow bowl, whisk together 1/2 cup buttermilk, 1 large egg (well beaten), and 1 Tablespoon flour.

- Take a slice of squash and dip it into the buttermilk mixture, allowing any excess to drip back into the bowl.

- Next, coat the squash with the flour mixture on both sides, shaking off any excess flour. Continue with a few more slices of squash and set them aside on a plate, or coat them as you go while frying.

- Heat about 1/2 inch of oil for frying in a heavy-bottomed skillet (a cast iron pan works great) until it reaches a temperature of 350°F (175°C).
- Carefully add the squash to the hot oil and fry until lightly golden on both sides, flipping a few times to ensure even browning. This should take around 4 minutes in total. Do not overcrowd the pan.

- Once the squash is cooked, remove it from the oil using a slotted spoon and place it on a paper towel-lined plate to absorb any excess oil.

- Immediately transfer the fried squash to a wire rack set over a sheet tray (this will help keep the coating crunchy).

- Repeat the dipping and frying process with all the squash slices in batches until they are all cooked. Serve hot and enjoy!

Video
Notes
- Please refer to the Frequently Asked Questions and ingredient list above for other substitutions or for answers to common questions.
- You can use regular milk (2% or higher) instead of buttermilk, but buttermilk is more authentic for this recipe and contributes to a richer flavor and better coating adhesion.
Course: Side Dish
Cuisine: American, Southern
Nutrition
Calories: 187 kcal | Carbohydrates: 33g | Protein: 8g | Fat: 3g | Sodium: 1213mg | Fiber: 3g | Sugar: 4g
Nutritional Disclaimer
“The Country Cook” is not a dietician or nutritionist, and any nutritional information shared is an estimate. If calorie count and other nutritional values are important to you, we recommend running the ingredients through whichever online nutritional calculator you prefer. Calories and other nutritional values can vary quite a bit depending on which brands were used.
Did you make this recipe? Share it on Instagram @thecountrycook and mention us #thecountrycook!
