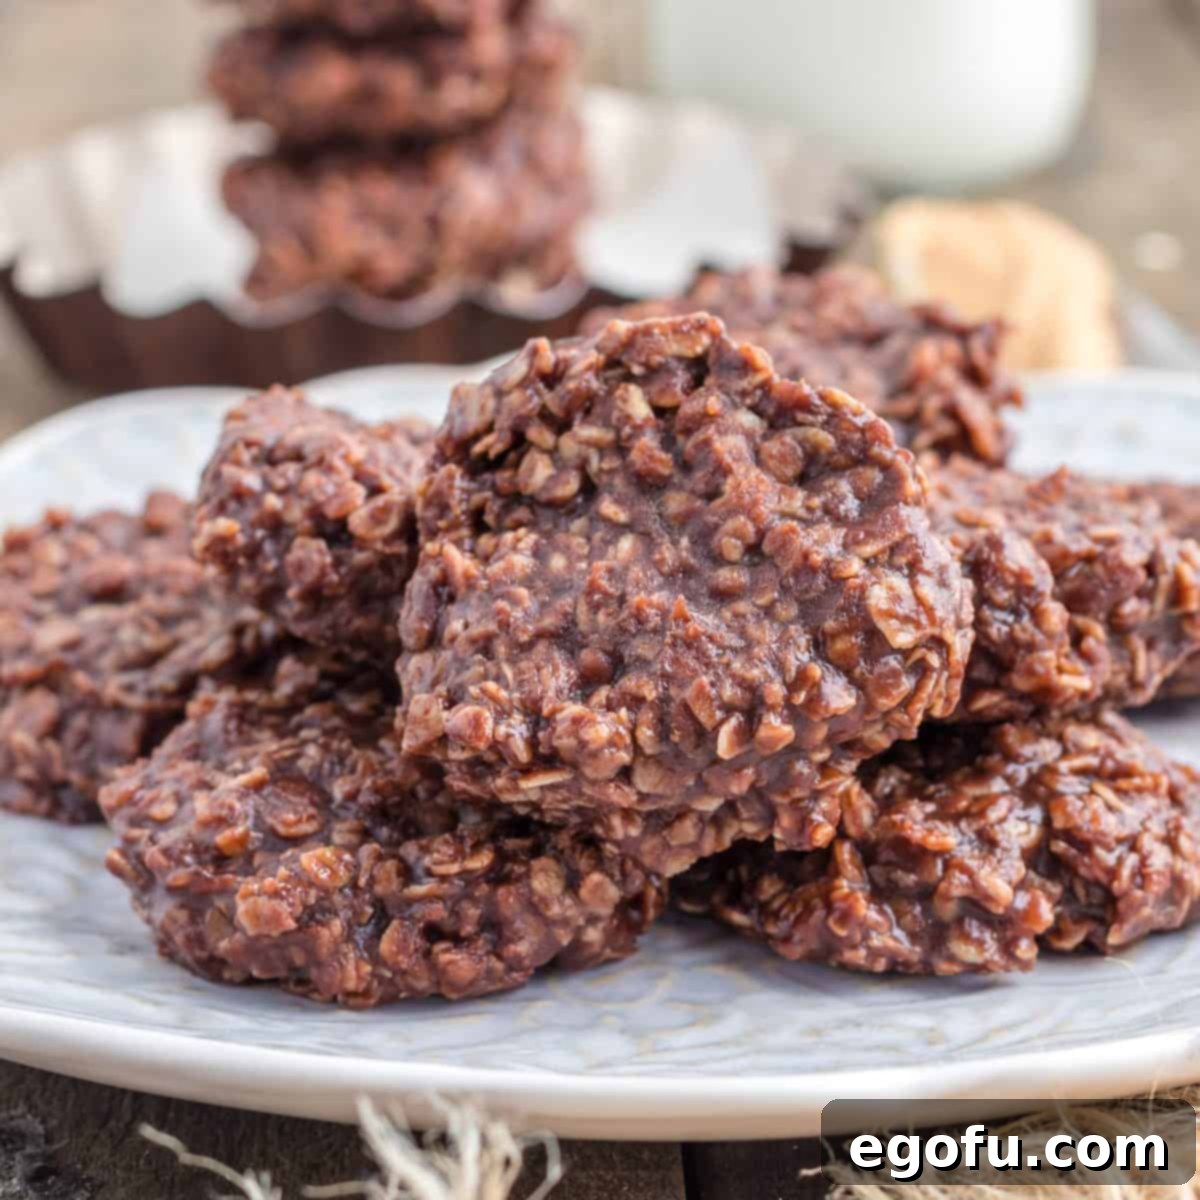
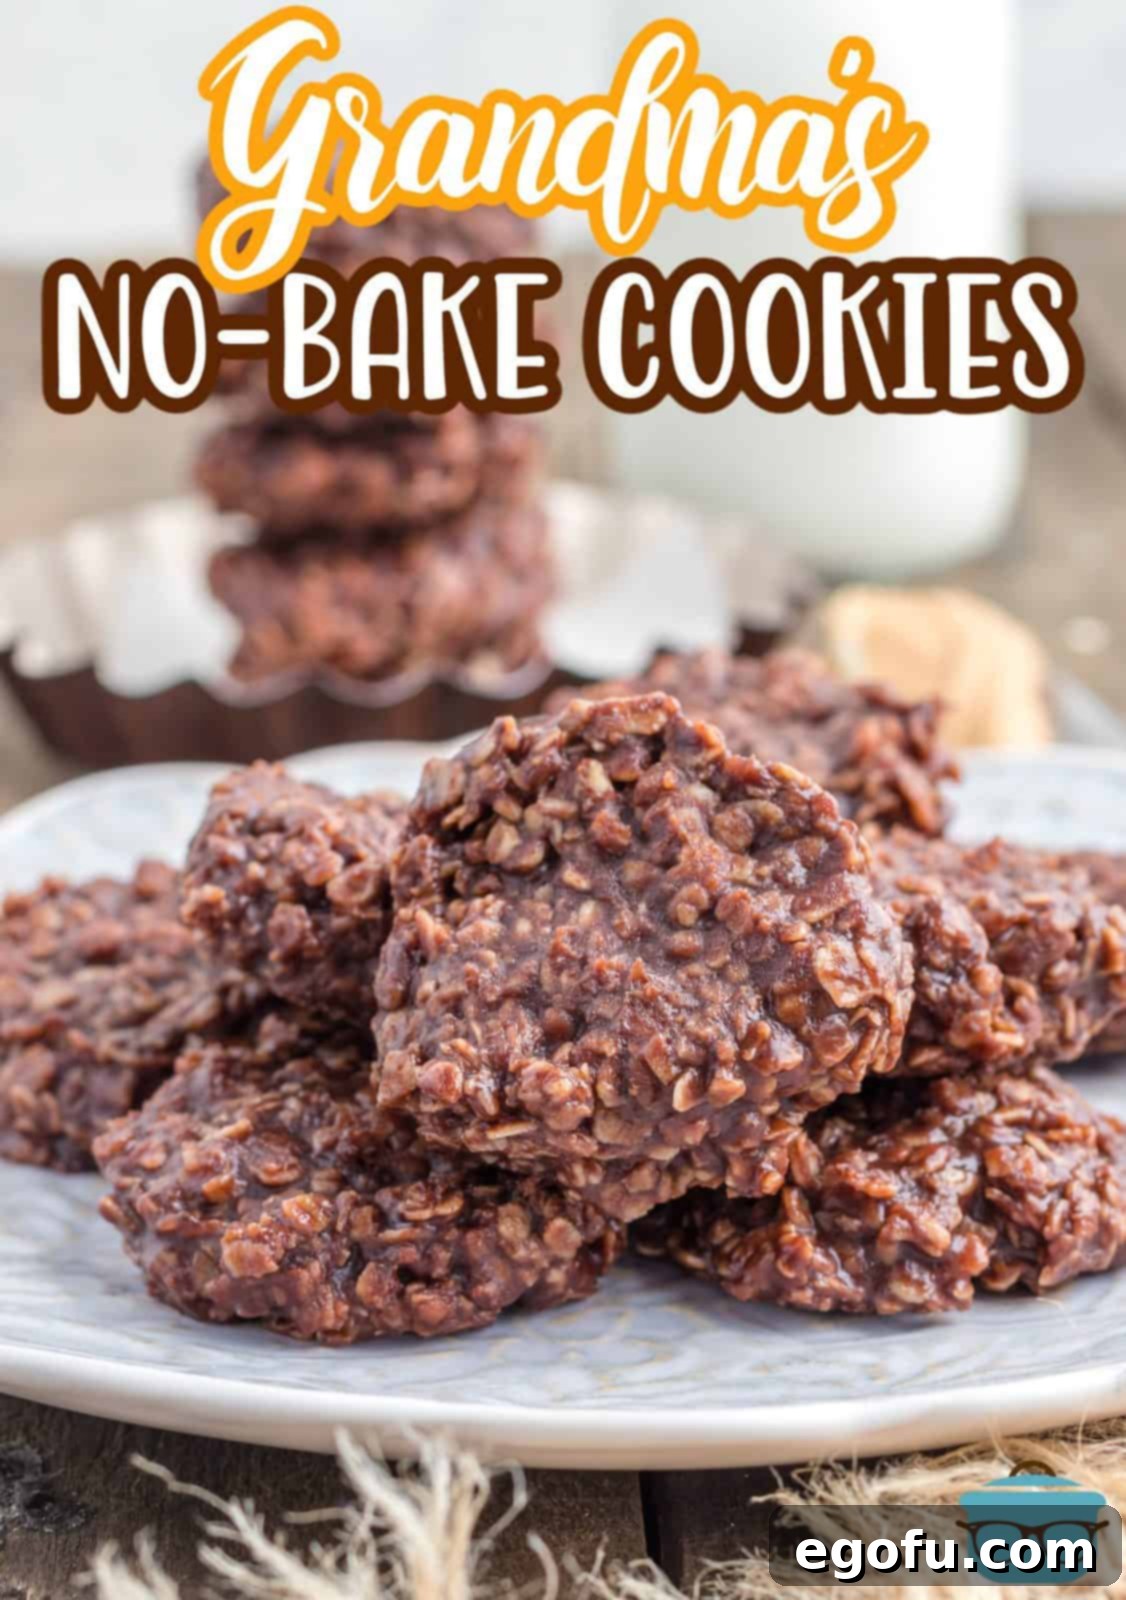
Welcome to the world of effortless indulgence with these incredible No-Bake Cookies! Bursting with rich chocolate flavor and hearty oats, these treats offer a satisfyingly chewy texture that makes them an instant favorite. They are incredibly simple to prepare, requiring no oven and minimal effort, making them the perfect solution for a quick dessert, a delightful snack, or a thoughtful homemade gift. Get ready to discover a timeless classic that brings joy to every bite.
The Ultimate Classic No-Bake Cookie Recipe
There’s a reason why Grandma’s No-Bake Cookies have charmed generations: they are a testament to how utterly delicious and surprisingly simple a treat can be. If you’ve yet to experience the magic of these cookies, you’re in for a delightful revelation. This recipe transforms everyday pantry staples into a chocolatey, peanut buttery, oat-filled masterpiece without ever needing to turn on your oven. Perfect for hot summer days, busy holidays, or simply when a craving for something sweet strikes, these cookies are a go-to for effortless baking. Whether you’re preparing a thoughtful gift, a potluck contribution, or just a quick indulgence for your family, this tried-and-true recipe for Grandma’s No-Bake Cookies is guaranteed to be a hit every single time.
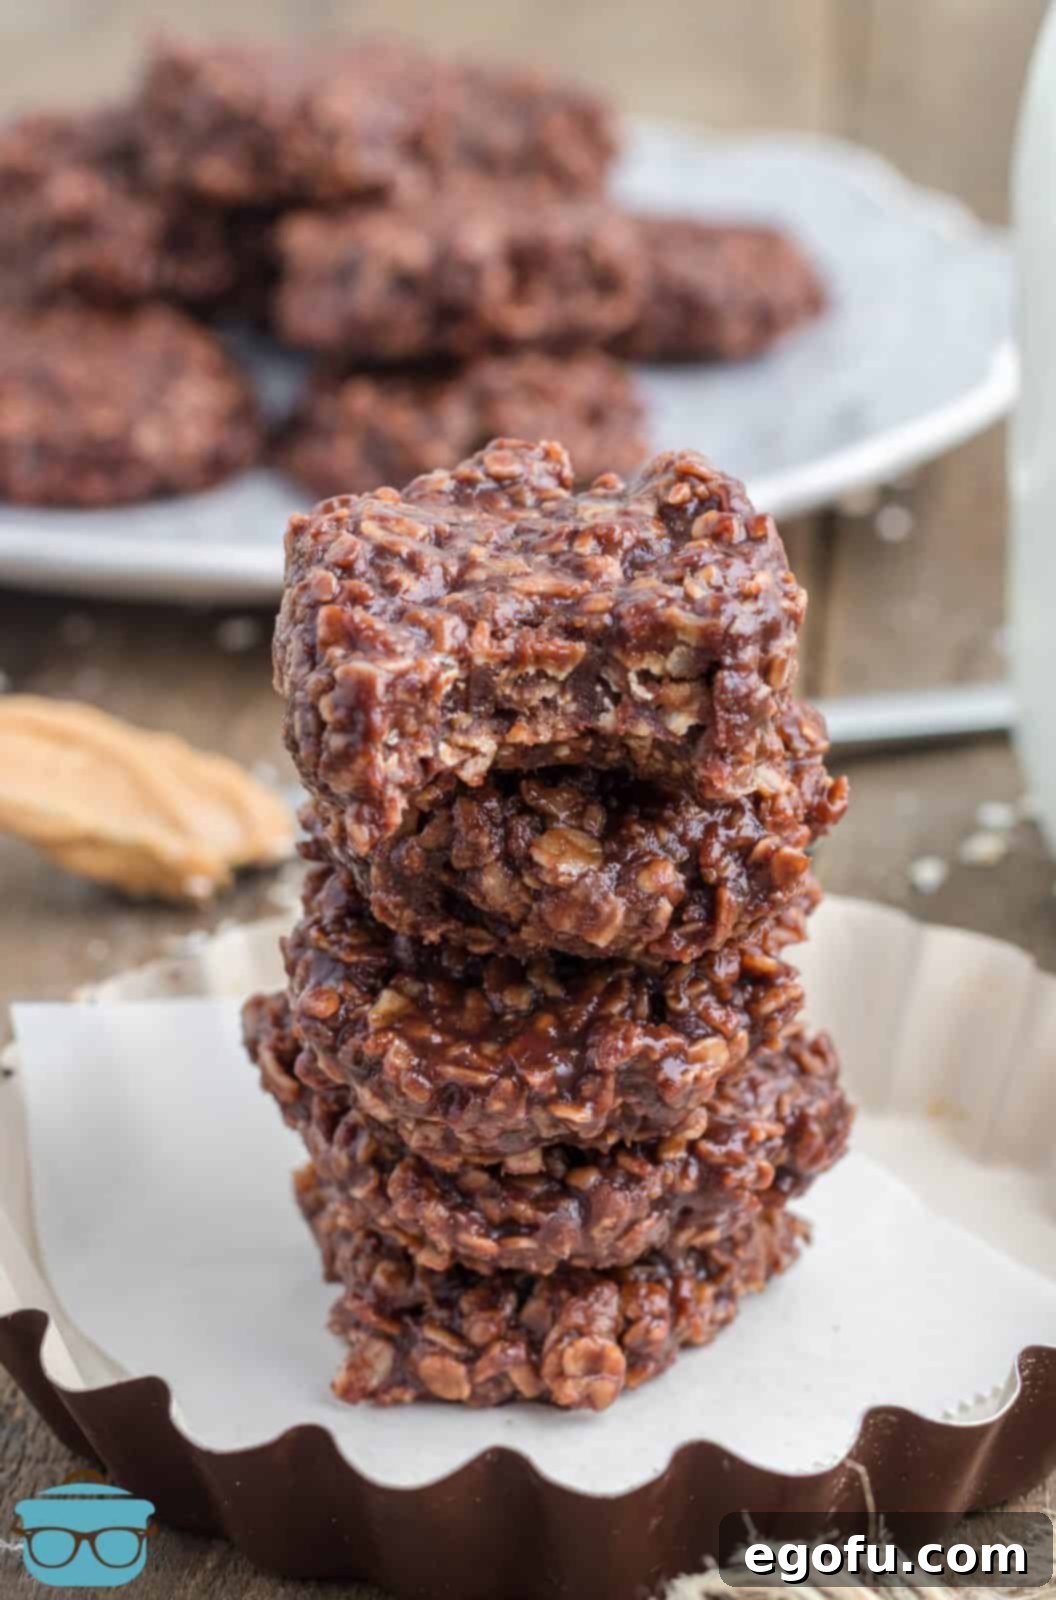
Frequently Asked Questions About No-Bake Cookies
Classic no-bake cookies are typically crafted from a delightful combination of pantry staples. The core ingredients usually include cocoa powder, creamy peanut butter, butter, granulated or brown sugar, milk, and quick-cooking oats. These components work together to create the signature rich chocolate, nutty flavor, and chewy texture that define these beloved treats. While there are countless variations, most traditional recipes will feature these fundamental items, ensuring a consistent and satisfying result.
The secret to perfectly set no-bake cookies lies in the precise boiling of the chocolate mixture. This crucial step is essential for thickening the liquid base, creating a fudgy consistency that will solidify as it cools. Once your mixture achieves a rolling boil, it’s vital to maintain that boil for a full 60 seconds (or slightly longer, up to 1.5-2 minutes, as noted in the recipe card for a firmer set). Boiling for too short a time might result in cookies that fail to firm up, remaining too soft or gooey. Conversely, boiling for too long can make them overly crumbly or dry. This careful boiling process allows the sugars to reach a specific temperature and density. As the butter, chocolate, and peanut butter-infused mixture cools, it transitions from a liquid state to a firmer, wonderfully chewy cookie texture. Patience during the cooling phase is also key, allowing the ambient temperature to complete the setting process.
While you can use aluminum foil for cooling no-bake cookies, it comes with a significant caveat: they are prone to sticking. To prevent this, you’ll absolutely need to use non-stick aluminum foil or generously spray regular foil with a non-stick cooking spray before dropping your cookie mixture. For the most reliable and hassle-free results, parchment paper or wax paper are highly recommended. These materials offer an inherently non-stick surface, ensuring your cookies detach cleanly once fully set. Using a non-stick surface is crucial for maintaining the cookies’ shape and preventing any frustration when it’s time to enjoy them.
The shelf life of no-bake cookies varies depending on their storage method. If kept at room temperature, these delightful treats are best enjoyed within 3 days. Always store them in an airtight container to maintain freshness and prevent them from drying out. For extended enjoyment, refrigerating your no-bake cookies in an airtight container will keep them fresh for approximately 10 days, with many finding the chilled texture even more appealing. For long-term storage, no-bake cookies freeze exceptionally well. To freeze, place them in a freezer-safe bag, separating layers with wax paper or parchment paper to prevent them from sticking together. They can be frozen for up to 3 months. When you’re ready to enjoy a frozen treat, simply defrost them on your kitchen counter for a quick thaw, or slowly in the refrigerator for a gradual return to their perfect chewy state.
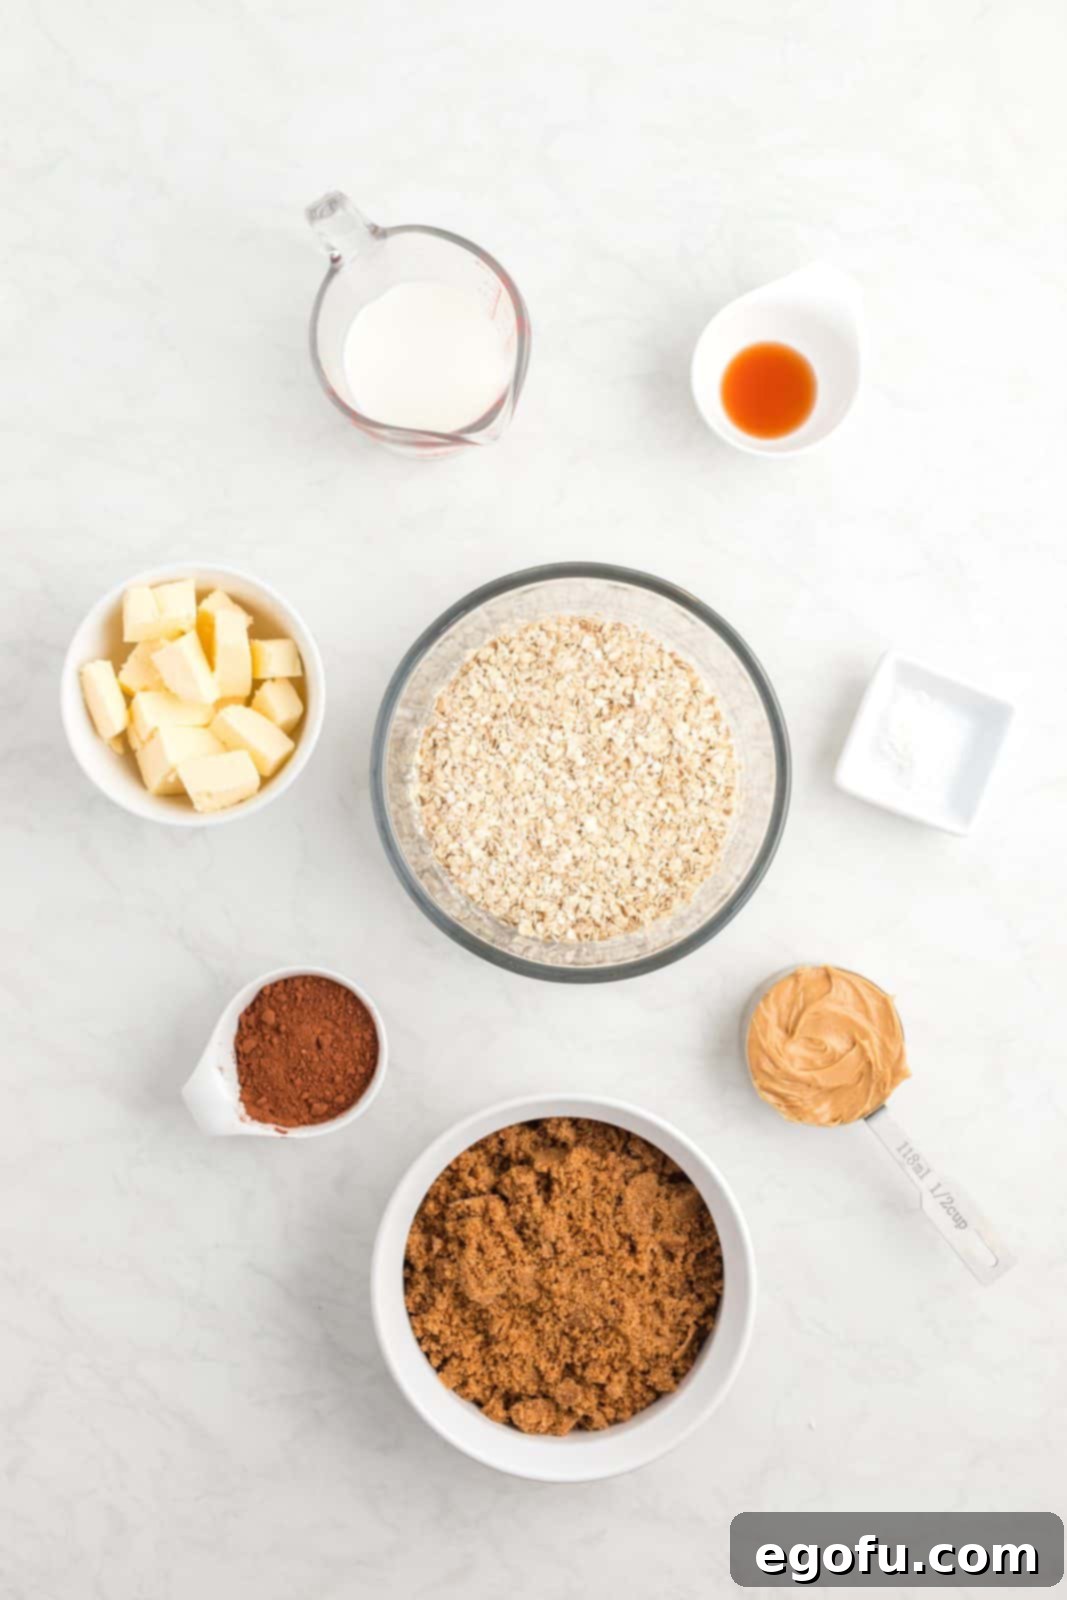
Essential Ingredients for Your No-Bake Cookie Masterpiece
Crafting the perfect batch of no-bake cookies begins with a few key ingredients. Each component plays a vital role in achieving the desired flavor and texture. Here’s a detailed look at what you’ll need:
- Unsalted Butter: The foundation of our rich chocolate base. While unsalted butter is preferred for better control over the salt content, you can certainly use salted butter. If you do, simply omit any additional salt specified in the recipe.
- Brown Sugar: This is crucial for adding moisture and a caramel-like depth of flavor that white granulated sugar can’t quite replicate. Light brown sugar is typically used and offers a milder molasses note, but dark brown sugar will provide a deeper, more pronounced flavor.
- Unsweetened Cocoa Powder: The heart of the chocolate experience! Any brand you love will work wonderfully. Hershey’s cocoa powder is a popular and widely available choice, typically found in the baking aisle of most grocery stores. Ensure it’s unsweetened to control the overall sweetness of the cookies.
- Milk: Whether you use 2% or whole milk, the milk fat contributes to the creaminess and helps emulsify the mixture. Higher fat content often yields a richer cookie.
- Vanilla Extract: A splash of pure vanilla extract enhances all the other flavors, adding a warm, aromatic depth that makes the cookies truly irresistible.
- Creamy Peanut Butter: Essential for that classic nutty flavor and smooth texture. It also helps bind the cookies together. If you’re a fan of texture, chunky peanut butter can be used for an added crunch, but creamy versions ensure a uniform consistency.
- Quick-Cooking Oats: These are non-negotiable for no-bake cookies. Quick-cooking oats are finely cut and absorb moisture rapidly, ensuring a soft, chewy cookie that isn’t too hard. Do NOT substitute with old-fashioned (rolled) oats or steel-cut oats, as these will result in an unpleasantly hard and difficult-to-chew cookie. Always double-check the packaging to ensure you have the correct type.
How to Master the Art of No-Bake Cookies: A Step-by-Step Guide
Making these delightful no-bake cookies is a straightforward process, but following each step carefully ensures a perfect batch every time. Let’s walk through it:
- Begin by preparing your cooling surface. Line two baking sheets with either parchment paper or wax paper. This crucial step prevents sticking and makes for easy removal of your finished cookies. Set these aside for later.
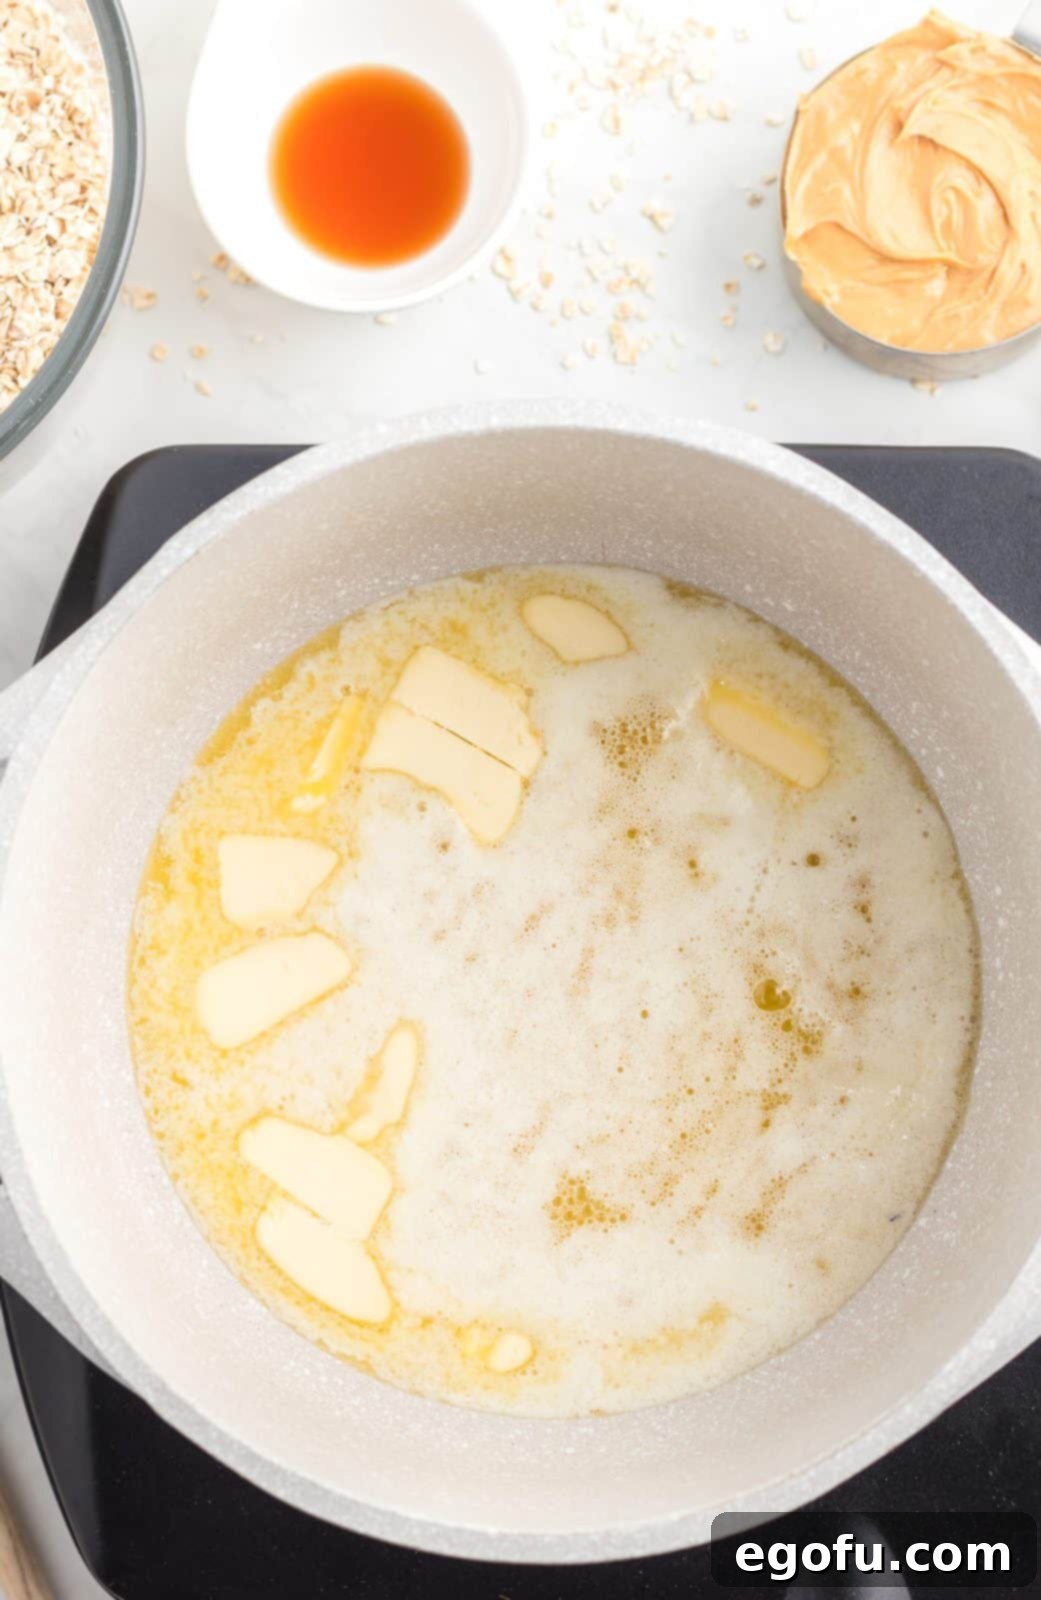
- In a medium-sized saucepan, melt the butter over medium-high heat. Keep a close eye on it to prevent burning.
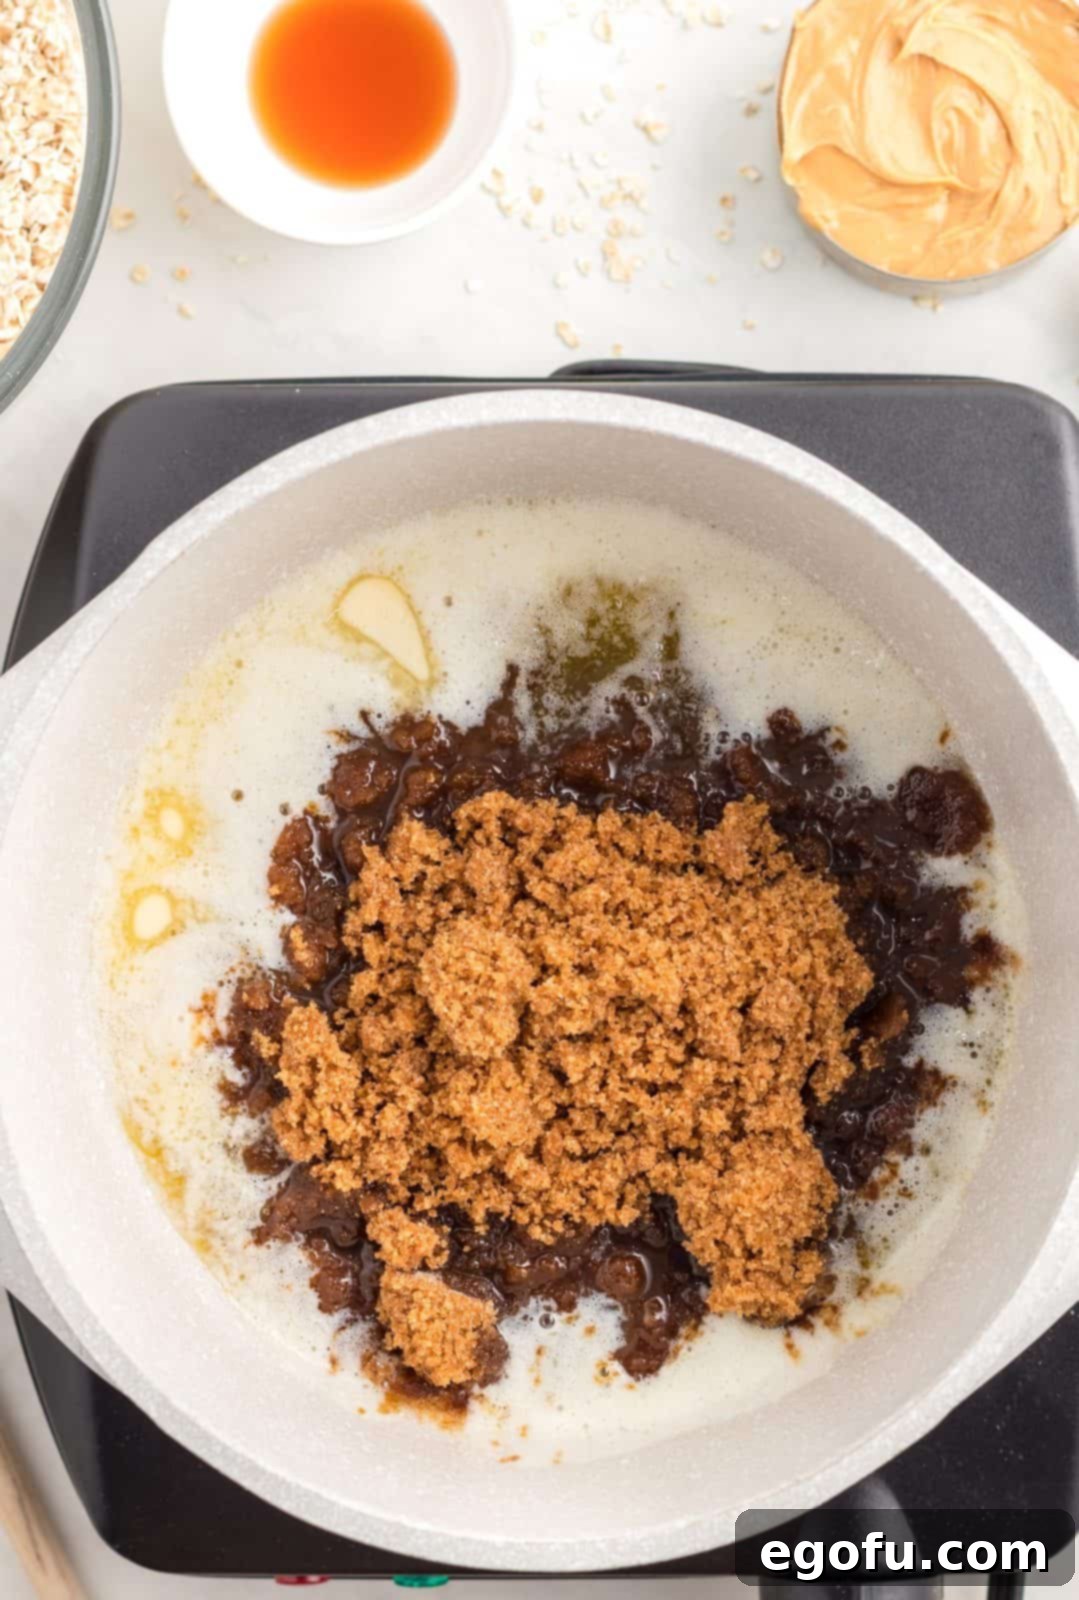
3. Once the butter is fully melted, add the brown sugar to the saucepan. Stir continuously until the sugar is fully combined with the butter and starts to dissolve.
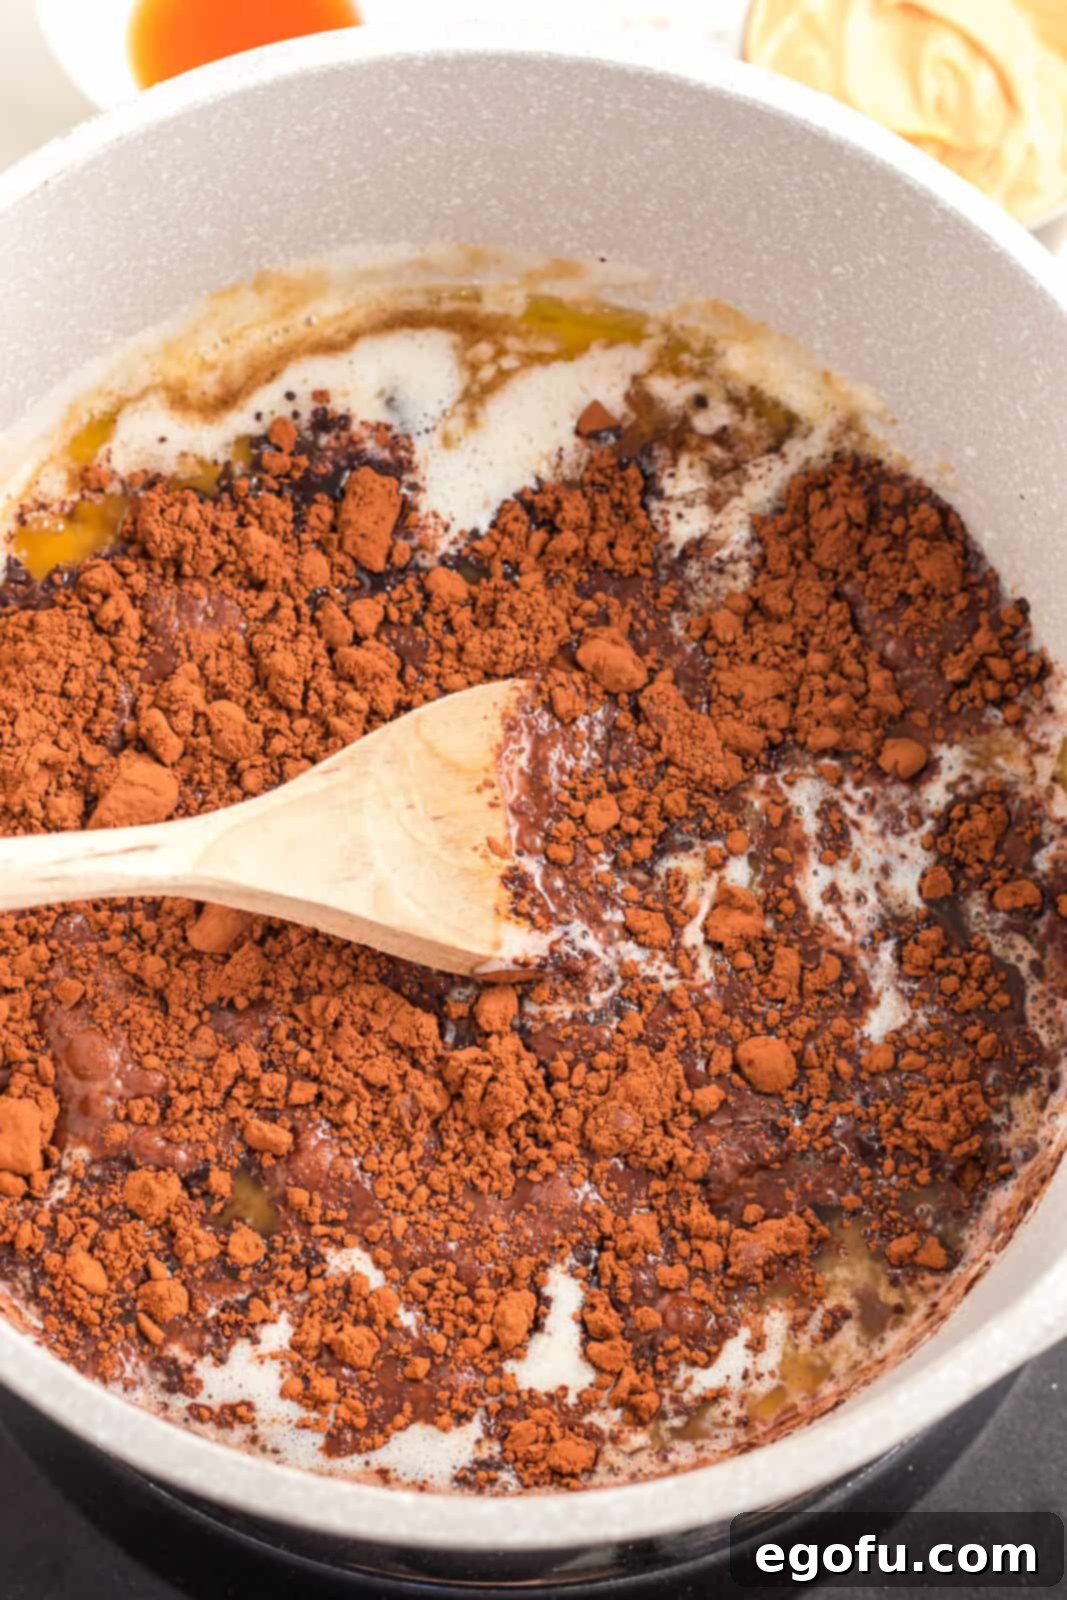
4. Next, incorporate the cocoa powder, milk, and vanilla extract into the mixture. Stir well until all ingredients are thoroughly combined and the mixture is smooth and consistent.
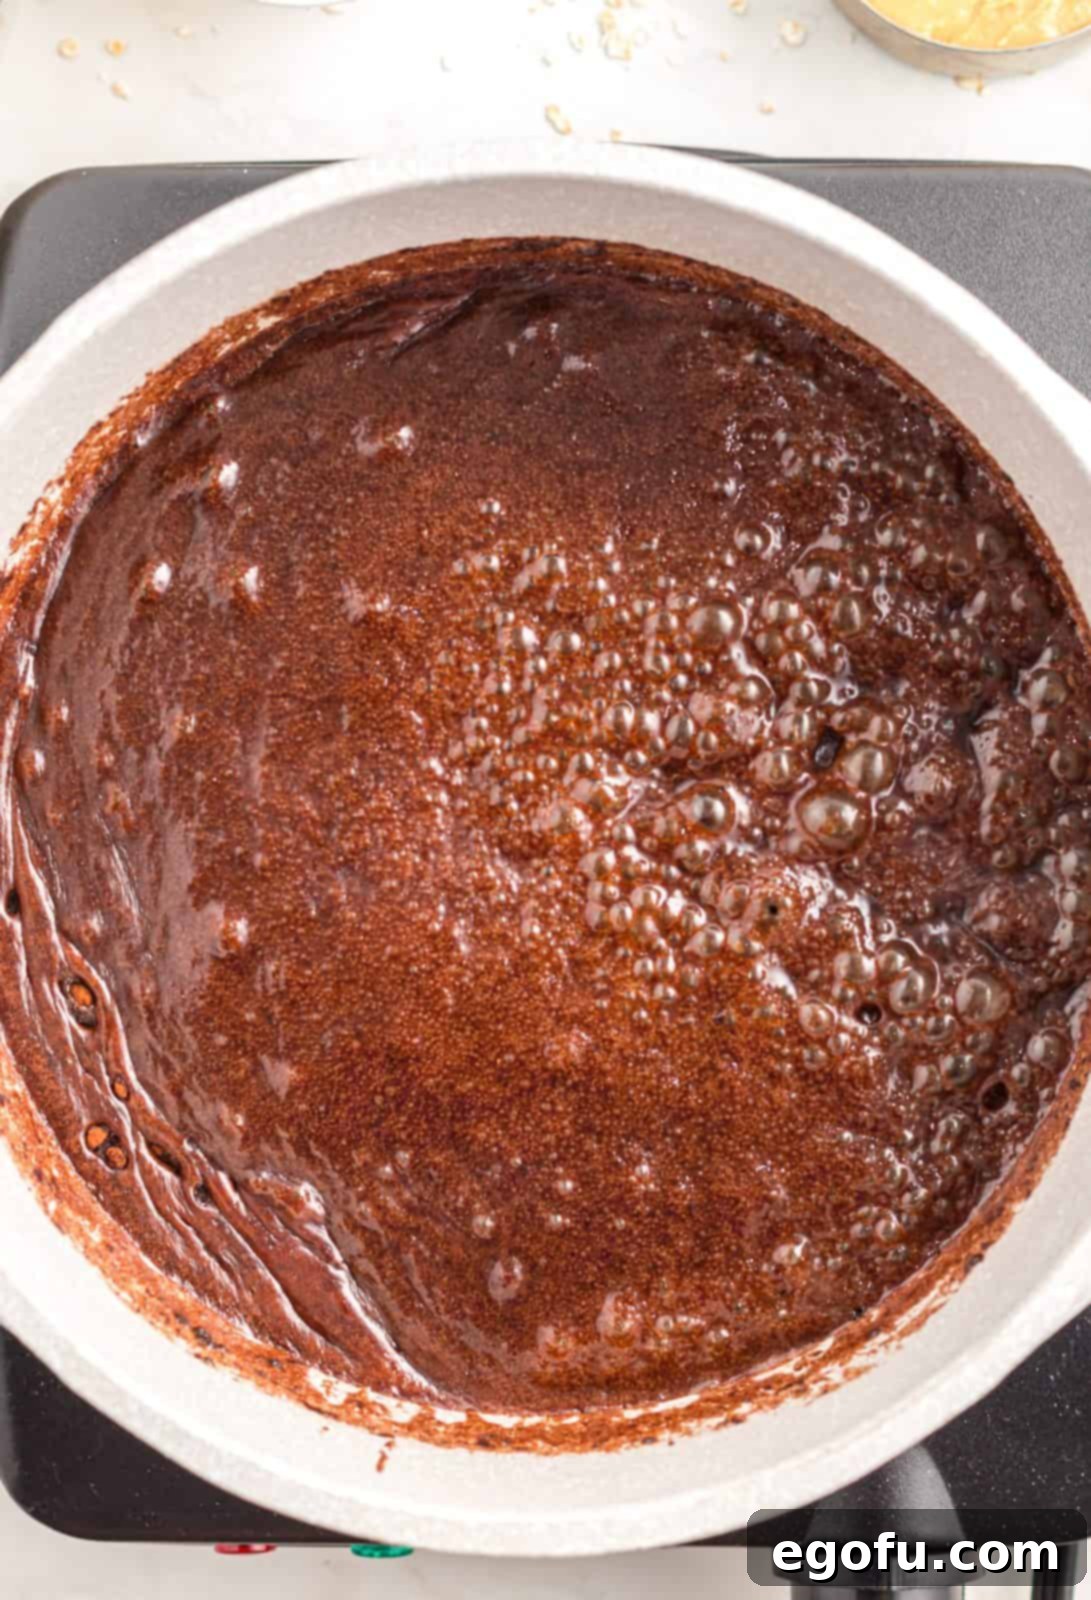
5. Bring the entire mixture to a rolling boil. This means active, continuous bubbling. Once boiling, allow it to continue boiling for approximately 1 1/2 to 2 minutes. This timing is absolutely critical for the cookies to set properly. Do not shortchange this step, as insufficient boiling will result in cookies that won’t firm up and will remain gooey.
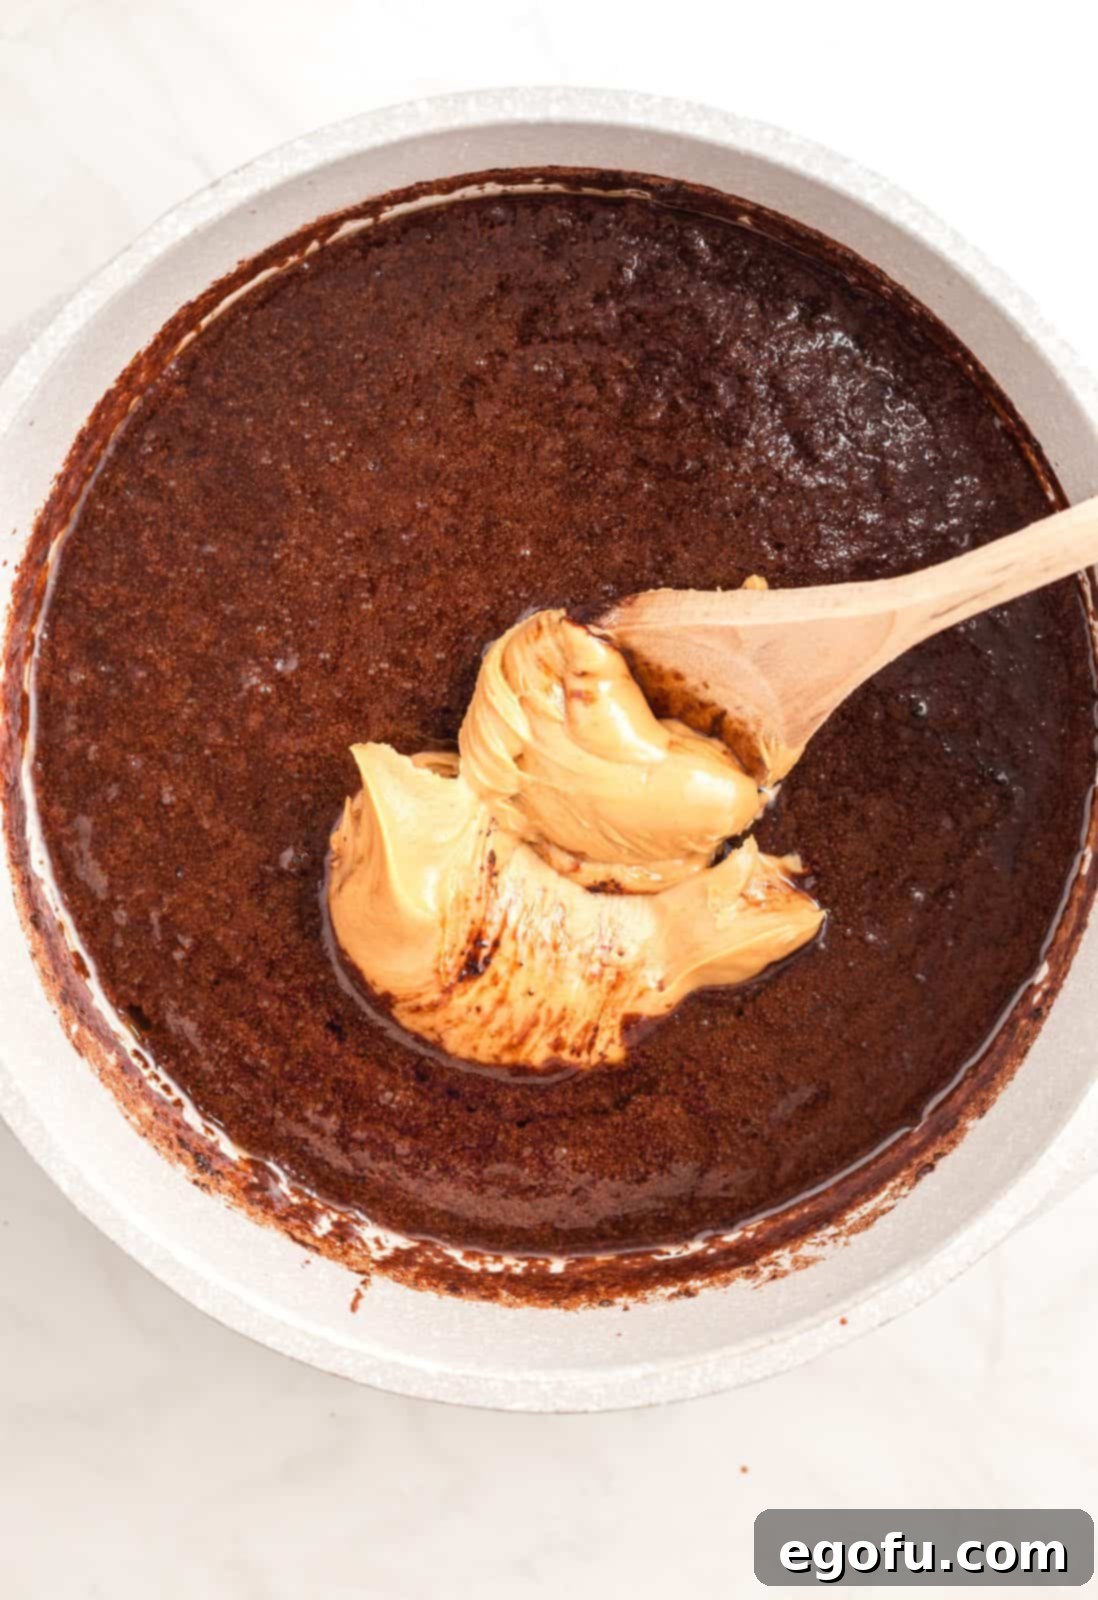
6. Immediately remove the saucepan from the heat. Stir in the peanut butter until it completely melts and is smoothly incorporated into the warm chocolate mixture.
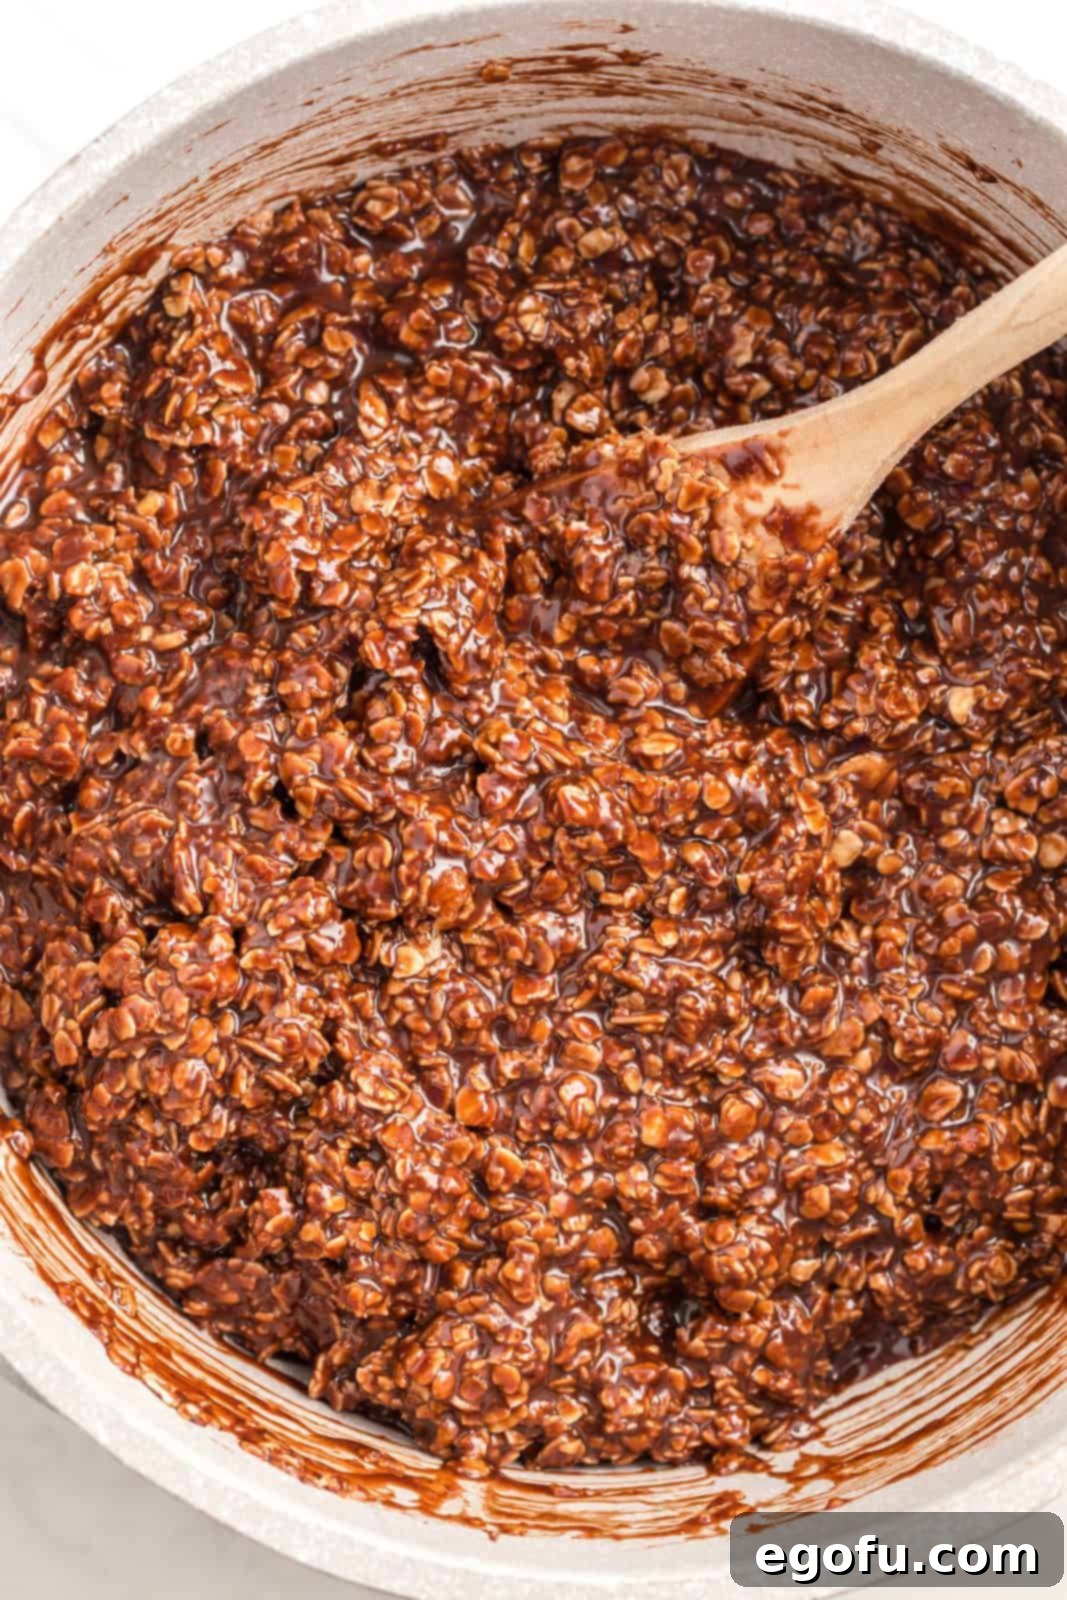
7. Finally, add the quick-cooking oats. Using a sturdy wooden spoon or a silicone spatula, stir vigorously until the oats are thoroughly coated and evenly distributed throughout the mixture. Work quickly but gently.
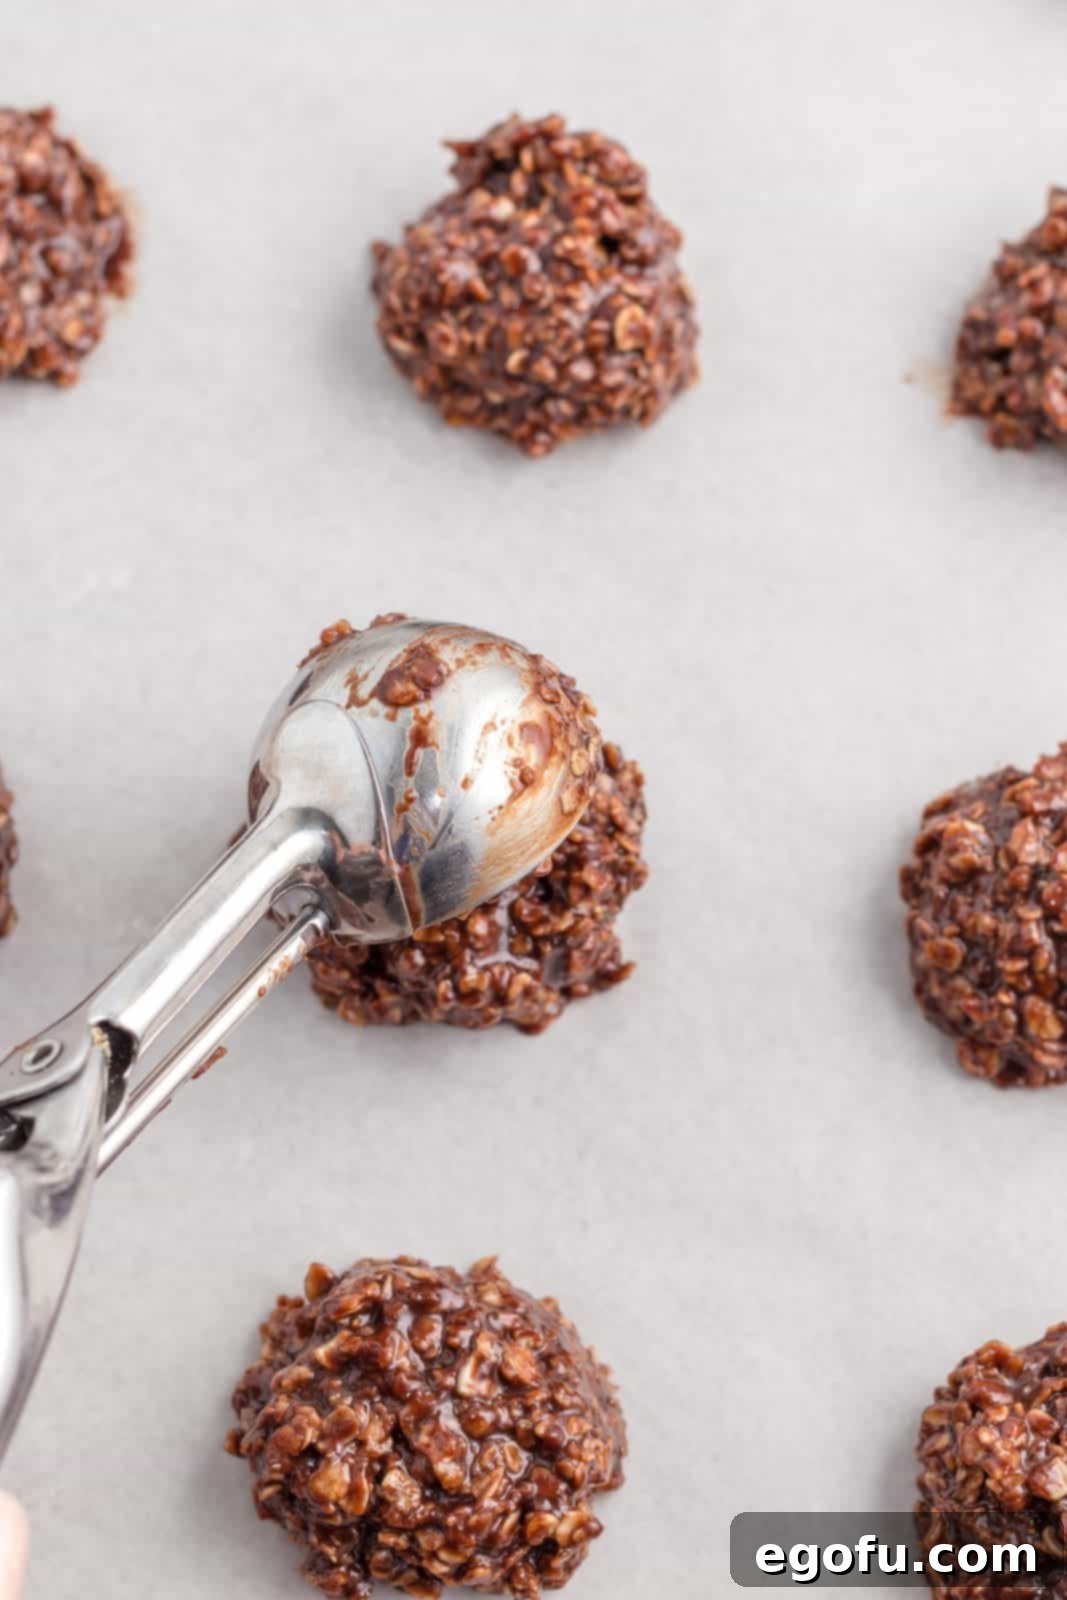
8. Using a medium cookie scoop or a tablespoon, drop uniform portions of the batter onto your prepared cookie sheets, leaving about 1 inch of space between each cookie. Aim for roughly 15 cookies per sheet.
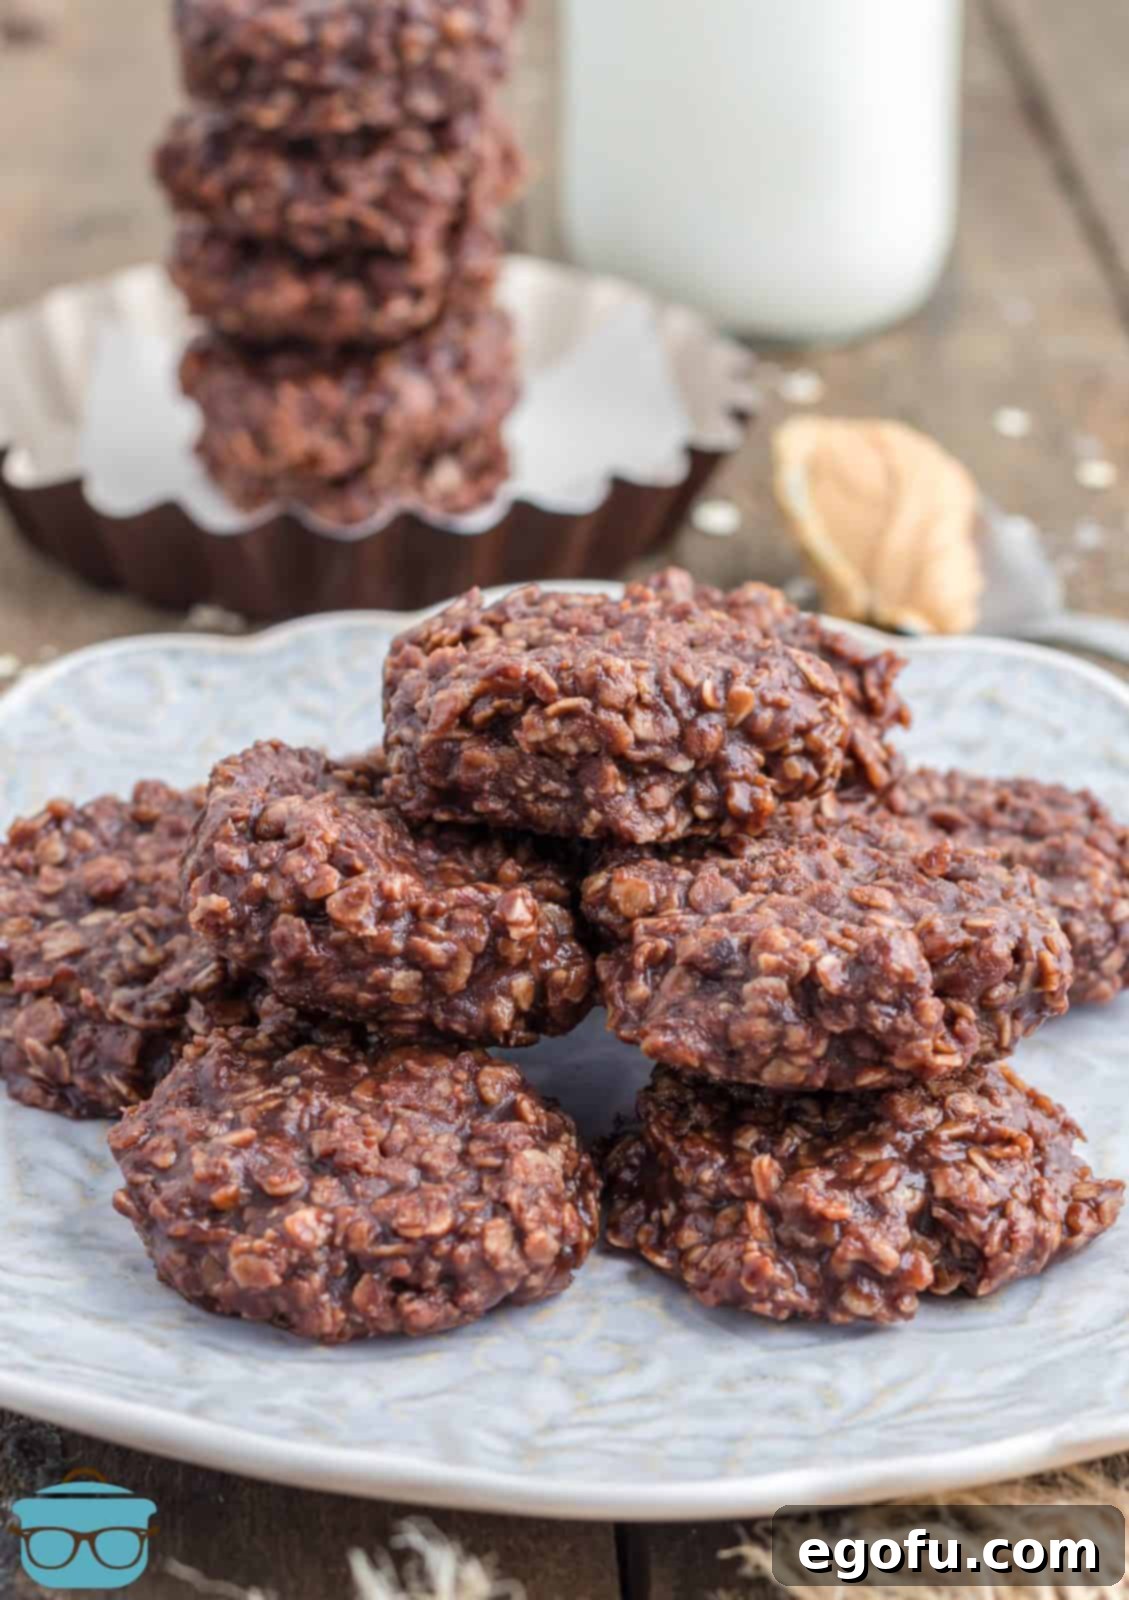
9. Allow the cookies to cool completely and set at room temperature, which can take about 30-60 minutes depending on your kitchen’s environment. For a faster set, you can place the baking sheets in the refrigerator for about 30 minutes. Once firm, they are ready to enjoy!
Tips for Perfect No-Bake Cookies Every Time
Achieving consistently perfect no-bake cookies is easy with a few expert tips:
- Accurate Boiling Time is Key: As mentioned, the boiling time is the most critical step. A true “rolling boil” means the mixture is bubbling vigorously and continuously, even when stirred. Set a timer as soon as it reaches this stage. Undercooking will lead to runny cookies, while overcooking can result in dry, crumbly ones.
- Work Quickly After Removing from Heat: Once you take the saucepan off the heat, the mixture will start to cool and thicken quickly. Have your peanut butter and oats pre-measured and ready to add so you can stir them in efficiently before the mixture becomes too stiff.
- Use the Right Oats: This cannot be stressed enough – only use quick-cooking oats. Old-fashioned (rolled) oats are thicker and will not soften enough, leading to a tough cookie. Steel-cut oats are even harder and entirely unsuitable for this recipe.
- Parchment or Wax Paper is Your Friend: Don’t skip lining your baking sheets! This prevents the cookies from sticking and makes cleanup a breeze. Aluminum foil can work if greased thoroughly, but parchment or wax paper offers the best non-stick surface.
- Uniform Cookie Size: Using a cookie scoop helps ensure all your cookies are roughly the same size, promoting even cooling and a professional appearance.
- Patience During Setting: Resist the urge to move or eat the cookies before they are fully set. They need time for the chocolate-oat mixture to firm up. Refrigeration can speed this up, but room temperature cooling works just as well with a little more time.
Customization and Flavor Variations
While the classic chocolate peanut butter no-bake cookie is perfect on its own, don’t hesitate to get creative with variations:
- Nutty Additions: For an extra crunch, stir in finely chopped nuts like walnuts, pecans, or almonds along with the oats.
- Extracts: Experiment with different flavor extracts! A dash of almond extract, peppermint extract (for a holiday twist), or even a touch of coffee extract can elevate the flavor profile. Add these with the vanilla.
- Chocolate Boost: Fold in some mini chocolate chips or chopped chocolate after the oats for pockets of melted chocolate goodness.
- Coconut Love: Toasted shredded coconut can add a tropical twist and delightful texture. Mix it in with the oats.
- Spices: A pinch of cinnamon or a tiny bit of cayenne pepper (for a Mexican hot chocolate vibe) can add an interesting warmth and complexity.
WANT MORE DELICIOUS NO-BAKE RECIPES?
- No Bake Cornflake Cookies
- Hot Chocolate No Bake Cookies
- Grandma’s Potato Candy
- Grandma’s Texas Sheet Cake
- No Bake Avalanche Cookies
- No Bake Chocolate Peanut Butter Oatmeal Bars
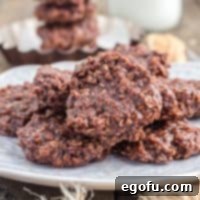
No-Bake Cookies
Print
Pin
Rate
Ingredients
- ½ cup (1 stick) salted butter
- 1 ¾ cups brown sugar
- 4 Tablespoons unsweetened cocoa powder
- ½ cup milk (I use 2% or higher milk fat)
- 1 teaspoon vanilla extract
- ½ cup creamy peanut butter
- 3 cups quick cooking oats
Instructions
- Line 2 baking sheets with parchment or wax paper and set aside. In a medium saucepan over medium-high heat melt ½ cup (1 stick) salted butter.
- Add 1 ¾ cups brown sugar and stir to combine.
- Add 4 Tablespoons unsweetened cocoa powder, ½ cup milk and 1 teaspoon vanilla extract and mix to combine.
- Allow the mixture to come to a rolling boil and cook for about 1 1/2 minutes. This is important or else the cookies won’t firm up.
- Remove from the heat and add ½ cup creamy peanut butter and stir until it melts in and is combined.
- Next, add 3 cups quick cooking oats and stir to combine with a wooden spoon or silicone spatula.
- Use a medium cookie scoop or tablespoon to drop batter 1 inch apart on the cookie sheet about 15 cookies per sheet.
- Allow the cookies to cool and set. You can also set them up in the refrigerator for about 30 minutes if you would like them to cool quickly.
Video
Notes
- Please refer to my FAQ’s and ingredient list above for other substitutions or for the answers to the most common questions.
- Easily double this recipe to have more on hand or to give out as gifts.
- Only use quick cooking oats (not old fashioned oats). Please pay attention to the packaging as they are very easy to confuse one for the other.
- Make sure that you use unsweetened cocoa powder and not dutch process.
- You can quicken your set up time by placing these in the refrigerator for 30 minutes.
- These can be frozen, see my tips above.
Nutrition
Carbohydrates: 17g |
Protein: 2g |
Fat: 6g |
Sodium: 38mg |
Fiber: 1g |
Sugar: 13g
Nutritional Disclaimer
“The Country Cook” is not a dietician or nutritionist, and any nutritional information shared is an estimate. If calorie count and other nutritional values are important to you, we recommend running the ingredients through whichever online nutritional calculator you prefer. Calories and other nutritional values can vary quite a bit depending on which brands were used.
There you have it—a comprehensive guide to creating the most satisfying, easy-to-make, and utterly delicious no-bake cookies. This classic recipe proves that you don’t need fancy equipment or advanced baking skills to whip up a treat that everyone will adore. From their rich chocolate flavor to their perfectly chewy texture, these cookies are a timeless favorite for a reason. So go ahead, gather your ingredients, follow these simple steps, and prepare to be delighted by the magic of no-bake perfection. Happy snacking!
