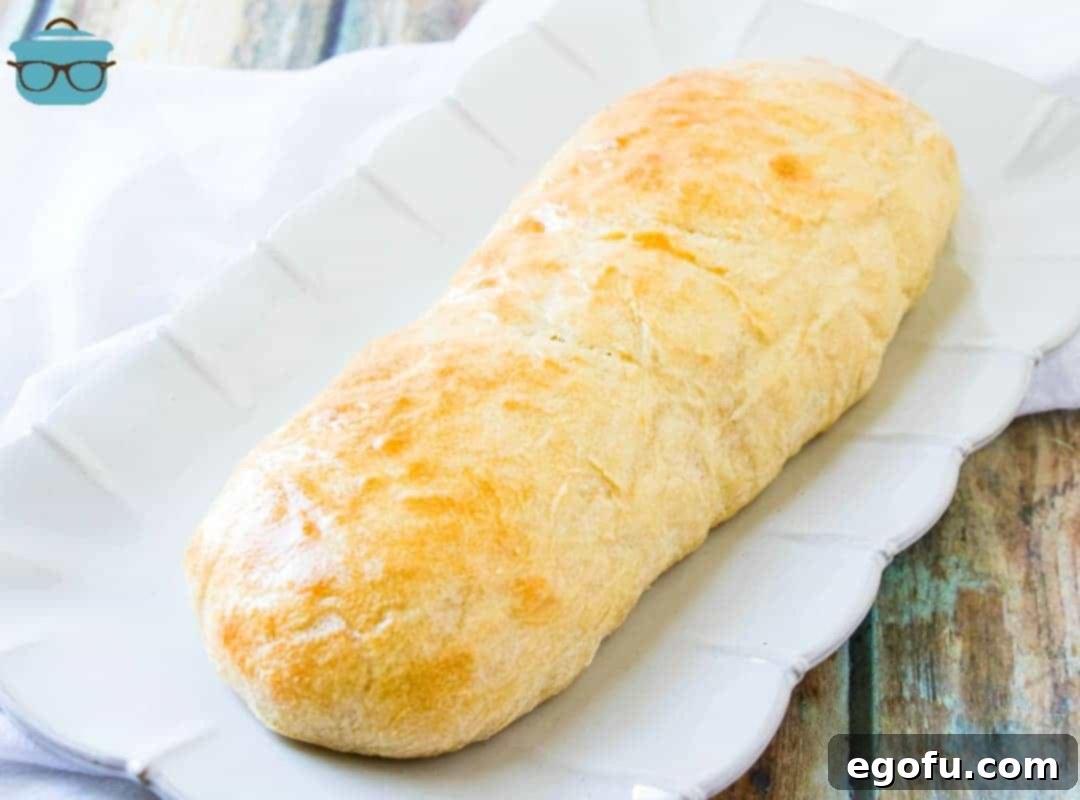
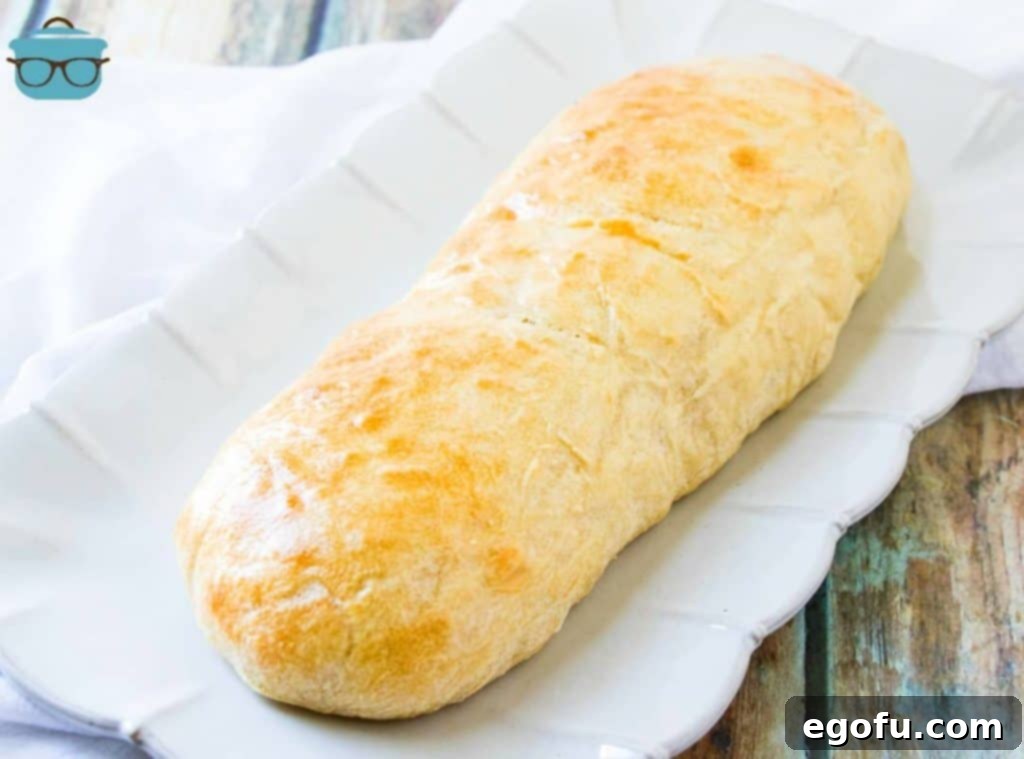
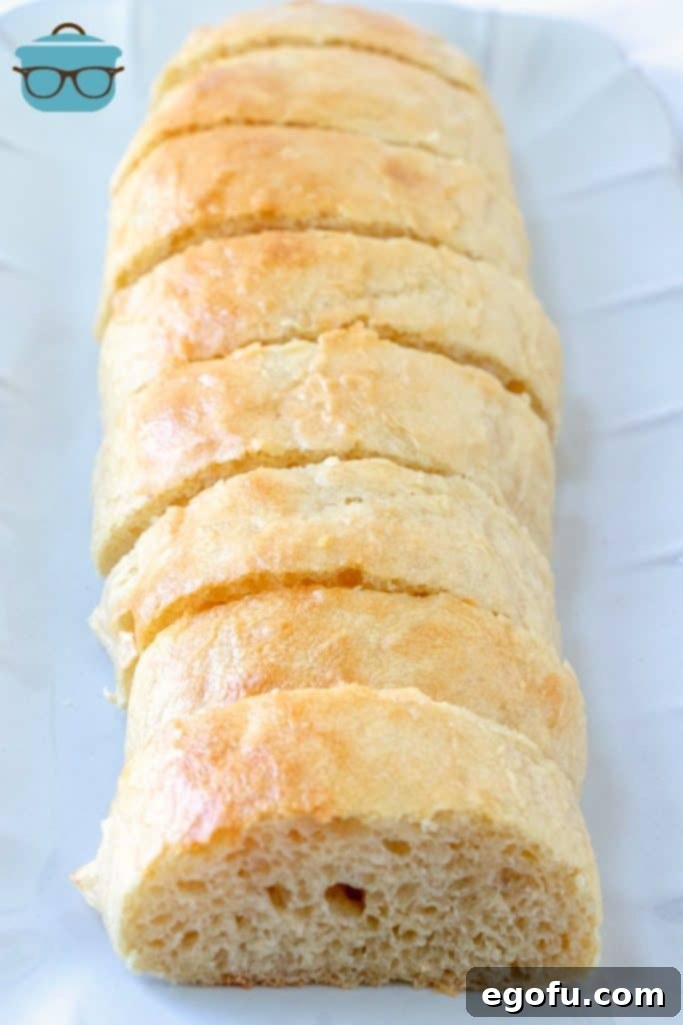
Embark on a delightful culinary journey with this incredibly easy French bread recipe. Say goodbye to yeast intimidation and hello to the unparalleled joy of homemade bread, baked fresh and warm, straight from your oven! There’s truly nothing quite like the aroma and taste of a freshly baked loaf.
Crafting Easy French Bread from Scratch
For years, I’ve enjoyed the process of making French bread at home. My secret weapon? A trusty bread machine. While it handles the heavy lifting – mixing ingredients, kneading the dough, and even the crucial first rise – I often take over before the final bake. This is because many bread machines produce loaves that are simply too large for my preference. So, after the initial rise, I remove the dough, shape it to my liking, and then proceed with the second rising and baking in a conventional oven. This hybrid method gives me the best of both worlds: the convenience of machine automation and the control over the final shape and texture.
Do You Really Need a Bread Machine for Perfect French Bread?
While my bread machine is a cherished kitchen companion, simplifying everything from daily loaves to cinnamon roll dough, I understand that not everyone owns one. And rest assured, you absolutely do not need to rush out and buy a new gadget just to make delicious French bread. This recipe is designed to be versatile; you can achieve fantastic results entirely by hand. The bread machine simply streamlines the initial steps, taking away some of the guesswork and physical effort involved in kneading and proofing. Whether you prefer the hands-on approach or machine assistance, the end result will be a crusty, tender loaf that will impress everyone.
Understanding Your Flour: Bread Flour vs. All-Purpose Flour
Choosing the right flour is fundamental to achieving the desired texture in your French bread. The two most common types you’ll encounter are bread flour and all-purpose flour, and they have distinct properties:
- Bread Flour: This type of flour boasts a higher protein content, typically ranging from 12-14%. This increased protein is crucial for developing strong gluten networks in the dough. Gluten is what gives bread its elasticity and chewiness, allowing it to trap gases produced by the yeast and rise beautifully. Using bread flour will result in a loaf with a satisfyingly chewy texture and a robust structure that holds its shape well. It’s often the preferred choice for artisan breads like French bread, where a hearty crumb is desired.
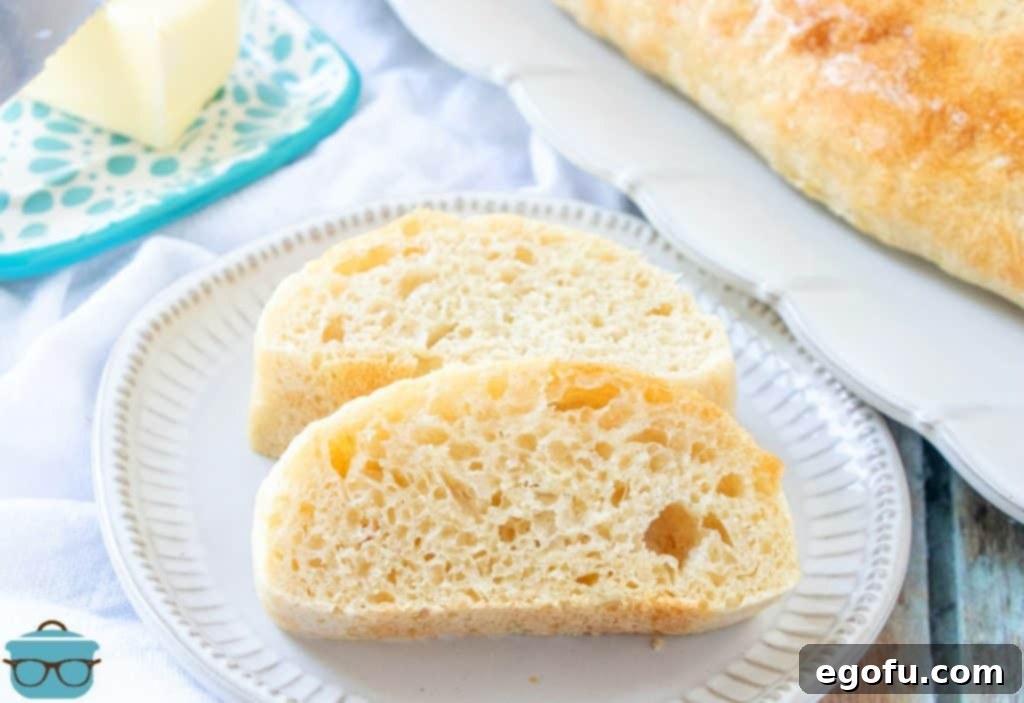
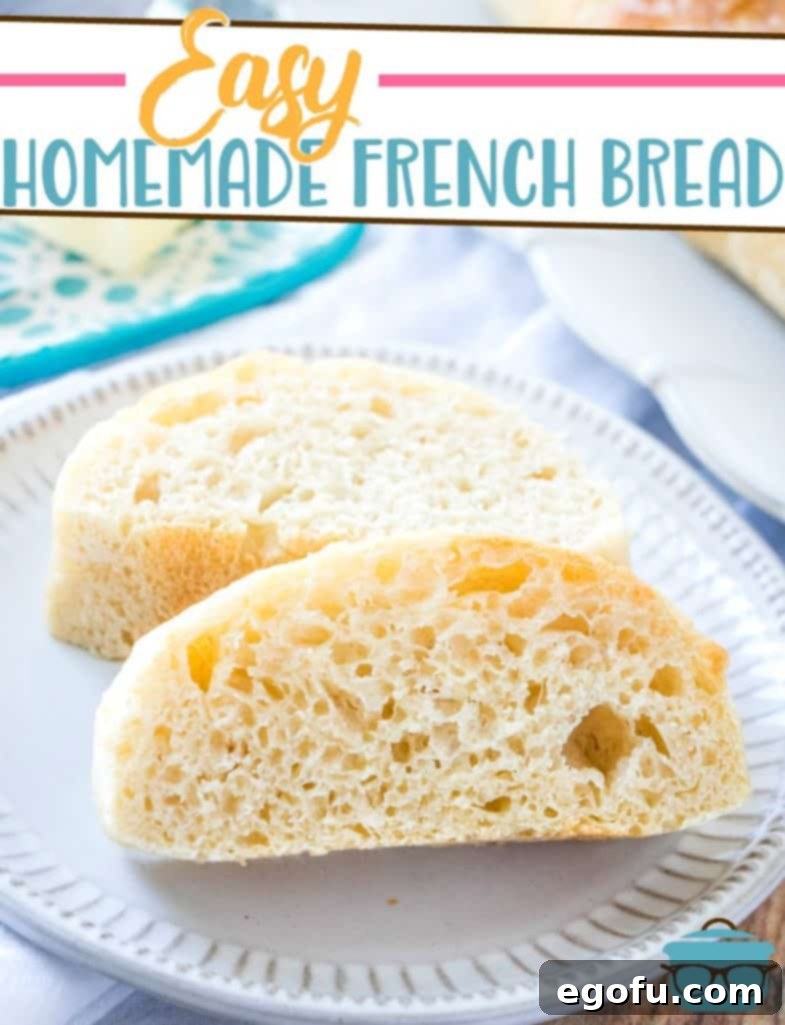
- All-Purpose Flour: With a protein content of around 10-12%, all-purpose flour is more versatile but yields different results in bread baking. While it can certainly be used for French bread, you might find the texture to be a bit lighter and softer, perhaps less chewy than with bread flour. The loaf might also rise a bit higher due to the slightly weaker gluten structure, which can allow for a more open, airy crumb.
Can I substitute? Yes! If you don’t have bread flour on hand, you can absolutely substitute it with all-purpose flour on a one-for-one basis. Your bread will still be delicious, just with a slightly different textural profile. Don’t let the lack of bread flour deter you from enjoying fresh homemade French bread!
Baking French Bread by Hand: A Detailed Guide
For those who prefer the traditional, hands-on method, or simply don’t have a bread machine, making French bread from scratch is a rewarding experience. Here’s how to prepare your dough manually and ensure a successful rise:
- Begin by combining all the dry ingredients – bread flour, salt, and active dry yeast – in a large mixing bowl. Whisk them together thoroughly to ensure the yeast and salt are evenly distributed throughout the flour.
- Gradually add the very warm water to the dry mixture. Use a sturdy spoon or your hands to mix until all the flour is incorporated and a shaggy dough forms.
- Turn the dough out onto a lightly floured surface. Begin kneading the dough vigorously for about 8 to 10 minutes. The goal is to develop the gluten, so you’ll notice the dough becoming smoother, more elastic, and less sticky as you knead. It should spring back when lightly poked.
- Lightly grease an oven-safe bowl with a little oil. Place the kneaded dough into the bowl, turning it once to coat the entire surface with oil. This prevents the dough from sticking and drying out during the rise.
- Cover the bowl tightly with a clean kitchen towel or plastic wrap.
- First Rise (Proofing): Preheat your oven to its lowest setting, typically around 175°F (80°C), and then immediately turn it off. The residual warmth creates the perfect environment for yeast activation. Place the covered dough into the warmed, turned-off oven and let it rise until it has doubled in size. This usually takes between 45 minutes to 1 hour, but rising times can vary depending on your kitchen’s temperature and humidity. Do not rush this step!
- Once the dough has doubled, it’s ready for shaping. Proceed with the remaining instructions below, starting with dividing the dough ball in half.
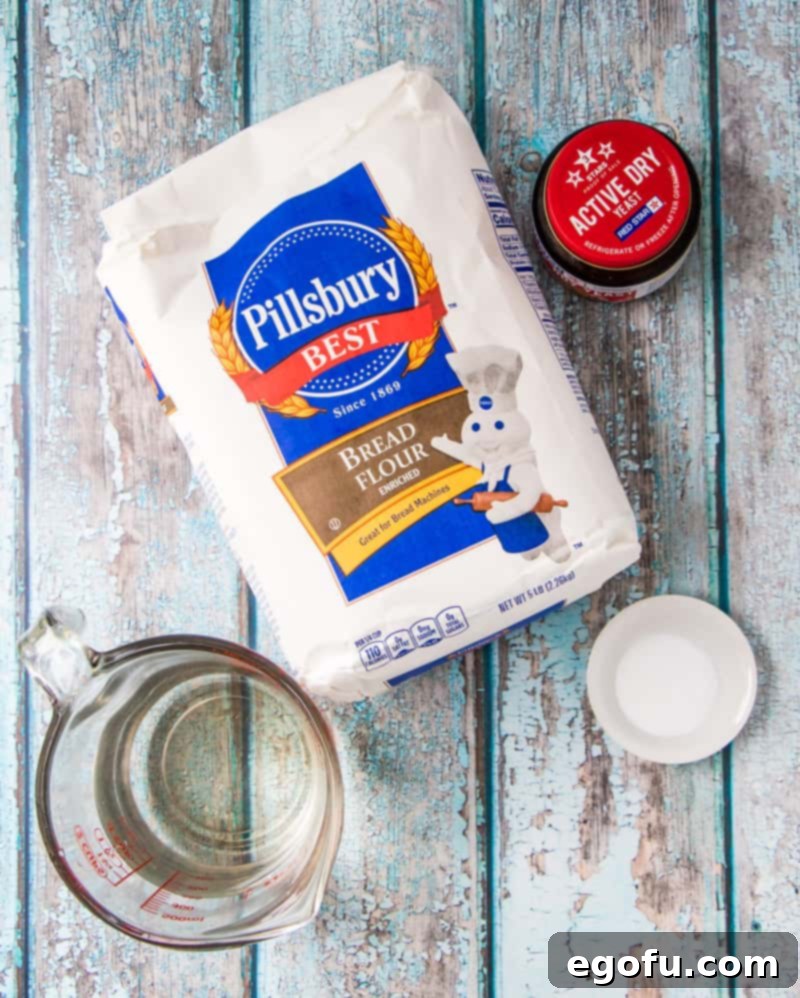
Essential Ingredients for Your French Bread:
Gathering your ingredients before you begin ensures a smooth baking process. For this simple yet satisfying French bread, you’ll need just a few basic items:
- Very warm water: Crucial for activating the yeast.
- Bread flour: For that classic chewy French bread texture. (All-purpose flour can be substituted.)
- Salt: Enhances flavor and regulates yeast activity.
- Active dry yeast: The magical ingredient that makes your bread rise.
Step-by-Step Instructions for Making Easy French Bread
Whether you’re using a bread machine for the initial steps or working by hand, the final stages of shaping, rising, and baking are where your beautiful French bread truly comes to life. Follow these detailed steps for a perfect loaf:
Bread Machine Method:
If you’re using a bread machine, this is the easiest way to start your dough:
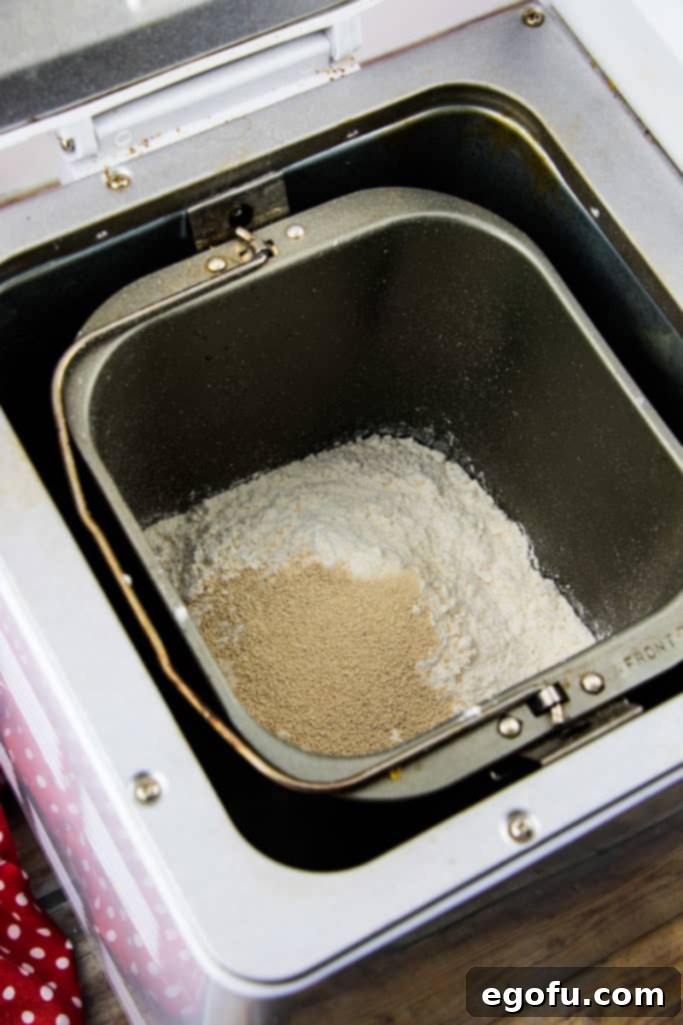
- Carefully place all the bread ingredients into your bread machine pan according to your manufacturer’s specific directions. Typically, this means adding wet ingredients first (water), followed by dry ingredients (flour, salt), and finally, the yeast on top.
- Select the “Dough” setting on your bread machine. If your machine has a specific “French Bread Dough” setting, use that for optimal results. Otherwise, the standard “Dough” cycle will work perfectly.
- Allow the machine to complete its cycle, which usually takes between 1 to 1.5 hours. During the initial mixing phase (the first 10-15 minutes), I recommend checking the dough to ensure all the flour is fully incorporated. Sometimes, you may need to use a spatula to scrape down the sides of the pan. After that, let the machine do its work undisturbed.
Shaping and the Second Rise:
Once your dough has completed its first rise (either in the bread machine or manually), it’s time to shape it:
- Lightly flour a clean work surface. Gently remove the dough ball from the bowl or bread machine pan and place it on the floured surface.
- Using a sharp knife or dough scraper, cut the dough ball in half. You now have two portions, each for one loaf of French bread. (If you only want one loaf now, you can wrap one dough ball tightly in plastic wrap and freeze it for later use. Thaw overnight in the refrigerator before proceeding with shaping and rising.)
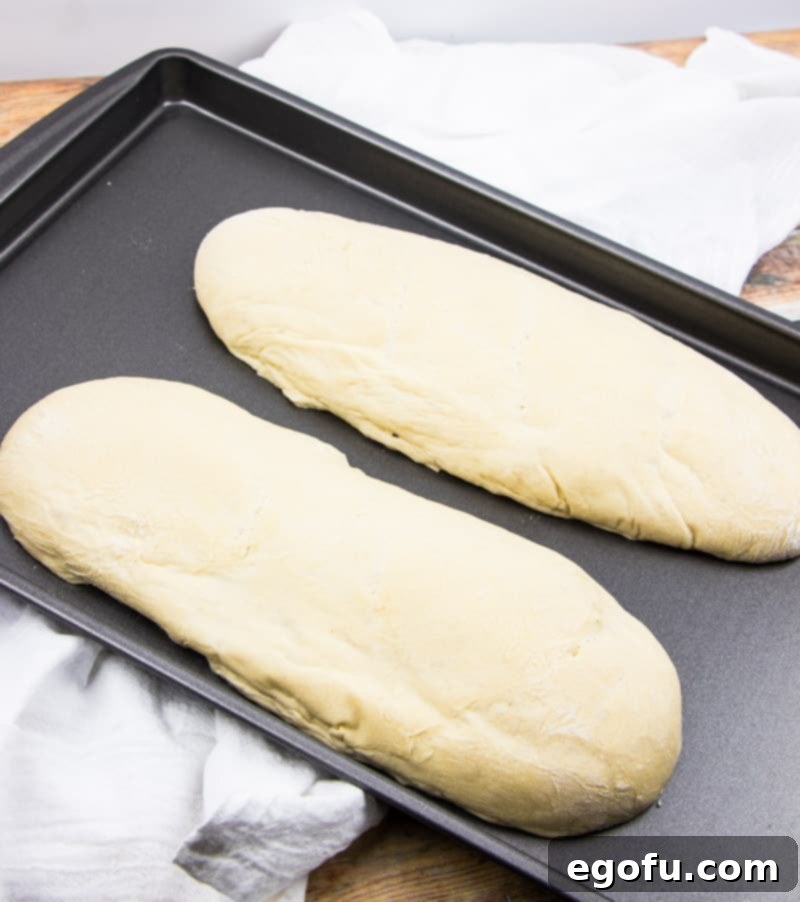
- Working with one dough portion at a time, gently roll or stretch it into a log approximately 12 inches long, shaping it into the classic elongated French bread form. Try to create some tension on the surface of the dough as you shape it to ensure a good crust.
- Lightly grease a baking sheet (a nonstick cooking spray works wonderfully for this). Carefully transfer the shaped loaves to the prepared baking sheet, ensuring they have enough space between them.
- Using a sharp knife or a bread lame, make three small, diagonal slices across the top of each loaf. These slashes, called “scoring,” help the bread expand evenly during baking and create a beautiful, rustic appearance.
- Cover the shaped loaves loosely with a clean, light dish towel.
- Second Rise (Proofing): Preheat your oven to 175°F (80°C), and then immediately turn it off. This creates a warm, draft-free environment ideal for the second rise. Place the covered baking sheet with your loaves into the warmed, turned-off oven. Allow the loaves to rise until they have visibly doubled in size, which usually takes about 1 hour. This step is crucial for achieving a light and airy crumb.
Baking Your French Bread:
The moment of truth! Get ready for that incredible homemade bread aroma to fill your kitchen.
- Once the loaves have completed their second rise, carefully remove them from the oven. Increase your oven temperature to a scorching 450°F (230°C). Allow the oven to fully preheat to this temperature.
- Optional: For an exceptionally beautiful golden-brown crust, prepare an egg wash. In a small bowl, whisk together one large egg with one tablespoon of water until well combined. Gently brush this egg wash over the top surface of each loaf before placing them into the hot oven. This step adds both color and a lovely sheen.
- Carefully place the baking sheet with the prepared loaves into the preheated 450°F (230°C) oven.
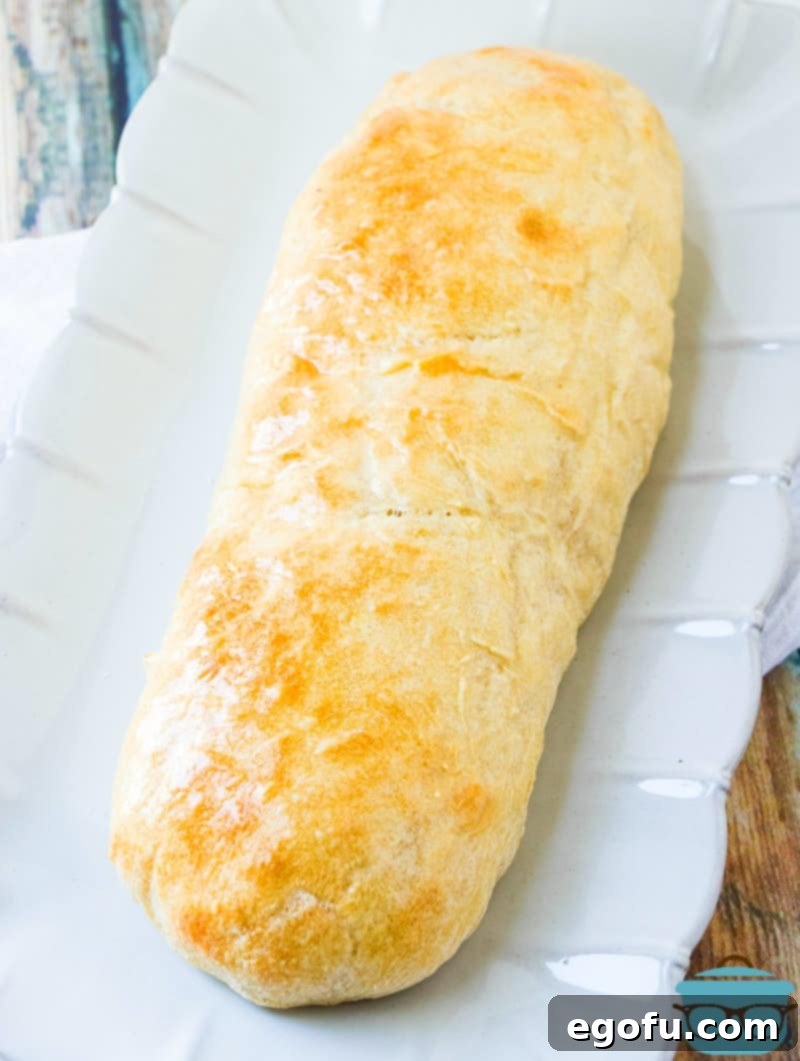
- Bake for 15 to 20 minutes, or until the loaves are deeply golden brown and sound hollow when tapped on the bottom. To ensure even baking, rotate the baking pan halfway through the baking time.
- Once baked, immediately remove the loaves from the oven. Transfer them to a wire rack to cool completely. Cooling on a rack prevents the bottom crust from becoming soggy.
Cook’s Notes and Baking Tips for Success:
- Yeast Storage: To keep your yeast active and fresh, I highly recommend storing it in the refrigerator after opening. If you’re using active dry yeast from a jar, give it a good shake before measuring. For this recipe, you’ll need 2 ¼ teaspoons of active dry yeast, which is typically the amount found in one standard packet.
- Salt Choice: For this recipe, regular table salt is perfectly suitable. Kosher salt granules tend to be larger and may not dissolve as evenly within the dough, potentially leading to pockets of saltiness.
- Water Temperature: Ensuring your water is “very warm” is critical for activating the yeast. Ideally, the water should be between 105°F and 115°F (40°C-46°C). If it’s too cold, the yeast won’t activate; if it’s too hot, it will kill the yeast. A kitchen thermometer is a useful tool here.
- Don’t Over-Flour: When kneading or shaping, resist the urge to add too much extra flour to your work surface. Too much flour can make your bread dry and tough. Use just enough to prevent sticking.
- The Tap Test: How do you know your bread is done? In addition to its golden-brown color, a perfectly baked loaf will sound hollow when you tap its bottom.
- Cooling is Key: It’s tempting to slice into a warm loaf, but letting your French bread cool completely on a wire rack is important. This allows the internal structure to set and prevents the crumb from being gummy.
Craving More Delicious Recipes?
If you’ve enjoyed the process of making homemade French bread, you’ll love exploring these other delightful baking projects:
- Easy Homemade Pizza Dough
- Beer Bread
- Homemade White Bread
- Honey Wheat Rolls
- Potato Rolls
- Homemade Whipped Butter
- Cheesecake Factory Brown Bread
- Outback Steakhouse Brown Bread
- No-Knead Dutch Oven Bread
- Dinner Rolls
- Brioche Buns
- Hot Cross Buns
- Irish Soda Bread
- Irish Brown Bread
- Bread Pudding
Originally published: March 2011
Updated photos & republished: March 2020

Easy French Bread
No need to be intimidated by yeast with this easy French bread recipe. Nothing beats homemade bread fresh and warm straight from the oven!
Pin Recipe
Rate this Recipe
1 hour 20 minutes
20 minutes
1 hour 40 minutes
8
Brandie Skibinski
Ingredients
For the bread:
- 1 ¼ cups very warm water
- 3 ½ cups bread flour
- 1 teaspoon salt
- 1 packet active dry yeast (2 ¼ teaspoons)
Optional egg wash (for a golden brown top):
- 1 large egg
- 1 Tablespoon water
Instructions
- Place bread ingredients in your bread machine according to manufacturer’s directions (mine requires wet ingredients in first, then dry).
- Close lid and start machine on the dough setting for French bread (if available – otherwise, use the basic bread setting).
- Once dough cycle is complete, preheat your oven to 175°F (80°C). As soon as it reaches temperature, turn the oven off. This creates a warm environment for the second rise.
- On a lightly floured surface, remove the dough. Cut the dough ball in half and roll each portion out (or save one dough ball for later use in the freezer) to about 12 inches long, shaping into French bread loaves.
- Place shaped loaves on a greased baking sheet. Make three small, diagonal slices on top of each loaf.
- Cover with a clean dish towel and place the baking sheet into the warmed, turned-off oven.
- Allow the loaves to rise until they have doubled in size, which should take about an hour.
- After the second rise, remove the loaves from the oven. Preheat your oven to 450°F (230°C).
- Optional: For a beautiful golden color, prepare an egg wash by mixing one egg with a tablespoon of water. Whisk well, then lightly brush this mixture on top of the bread before baking.
- Bake loaves for 15-20 minutes, or until golden brown. Rotate the pan halfway through baking for even browning.
- Remove loaves from the oven when done and transfer them to a wire rack to cool completely.
Video
Notes
- Manual Dough Preparation: If making by hand, mix all dry ingredients in a large bowl, then add warm water and mix until combined. Transfer dough to a floured surface and knead for 8-10 minutes until smooth and elastic. Place dough in a lightly greased oven-proof bowl, cover, and let rise in a 175°F (turned off) oven for 45 minutes to an hour until doubled. Then proceed with the shaping and subsequent steps (starting with cutting the dough ball in half).
Breads
American, French
Nutrition
Nutritional Disclaimer
“The Country Cook” is not a dietician or nutritionist, and any nutritional information shared is an estimate. If calorie count and other nutritional values are important to you, we recommend running the ingredients through whichever online nutritional calculator you prefer. Calories and other nutritional values can vary quite a bit depending on which brands were used.
Did you make this recipe?
Share it on Instagram @thecountrycook and mention us #thecountrycook!
