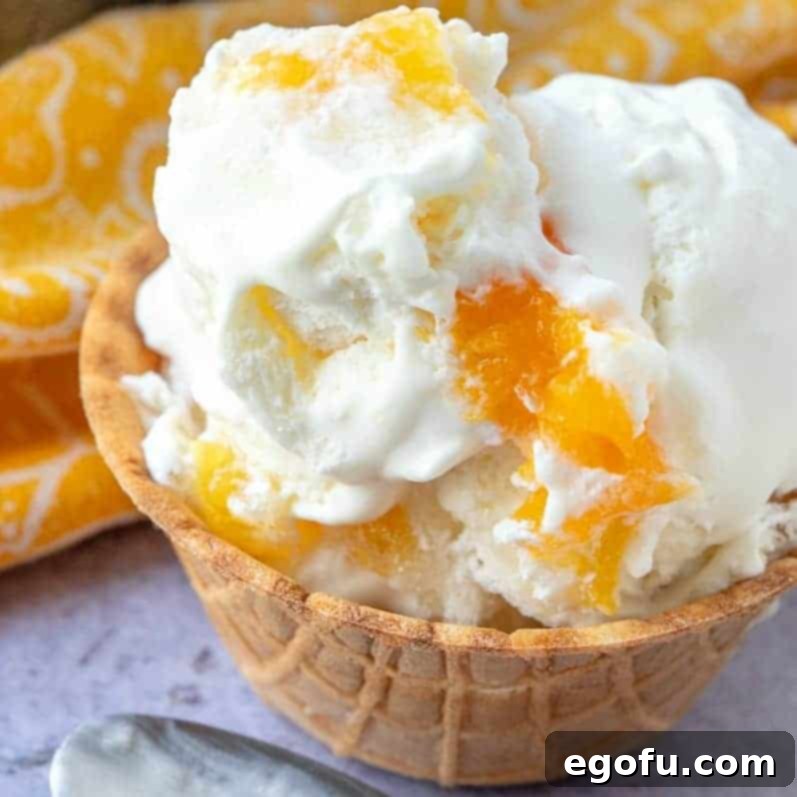
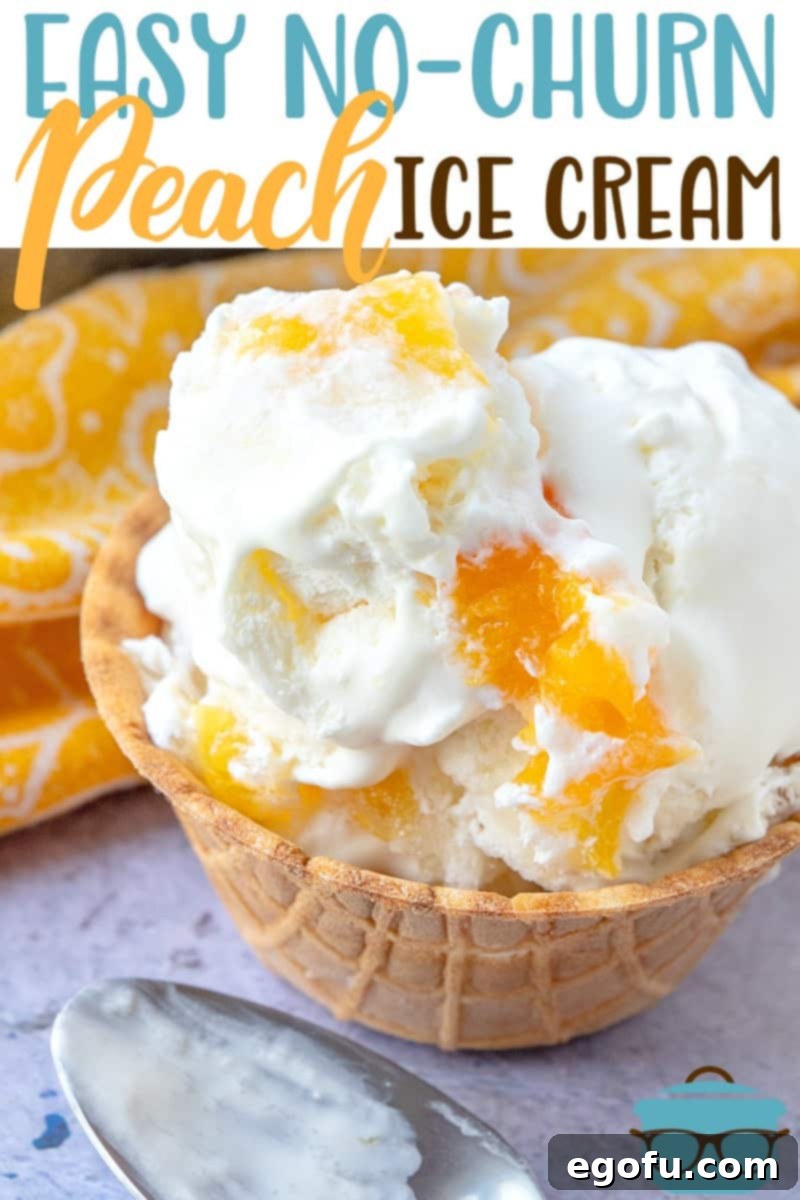
Easy No-Churn Peach Ice Cream: Your Ultimate Summer Dessert Guide
Craving a refreshing and delightfully creamy treat that captures the essence of summer? Look no further than this incredibly easy no-churn peach ice cream recipe! With just a handful of simple ingredients and minimal effort, you can create a homemade dessert that tastes like it came from your favorite ice cream parlor, all without the need for an expensive ice cream maker. This recipe promises a smooth, luscious texture and vibrant peach flavor, making it the perfect cool-down for any warm day or a fantastic sweet ending to any meal.
Imagine serving scoops of this golden-hued, sweet peach ice cream in a crispy waffle cone or alongside a warm slice of pie. It’s a versatile dessert that’s not only a crowd-plepleaser but also incredibly fun to make. Whether you’re a seasoned home cook or a complete novice in the kitchen, this guide will walk you through every step, ensuring a perfect batch of peach ice cream every single time.
The Magic of “No Ice Cream Maker Needed”
One of the most appealing aspects of this recipe is its sheer simplicity. Forget about bulky appliances, churning cycles, and the hassle of setting up specialized equipment. This “no-churn” method is a game-changer for anyone who loves homemade ice cream but dreads the traditional process. It relies on a clever combination of ingredients that, when whipped and frozen, naturally create that desirable creamy texture.
This innovative approach allows you to whip up the base mixture in less than 15 minutes. The beauty of it is that the freezer does all the heavy lifting, transforming your liquid mixture into a scoopable, decadent ice cream overnight. This means less cleanup, less fuss, and more time to enjoy your delicious creation. It’s truly ice cream making simplified, democratizing the joy of homemade frozen desserts for everyone.
Embracing the Sweetness of Peaches
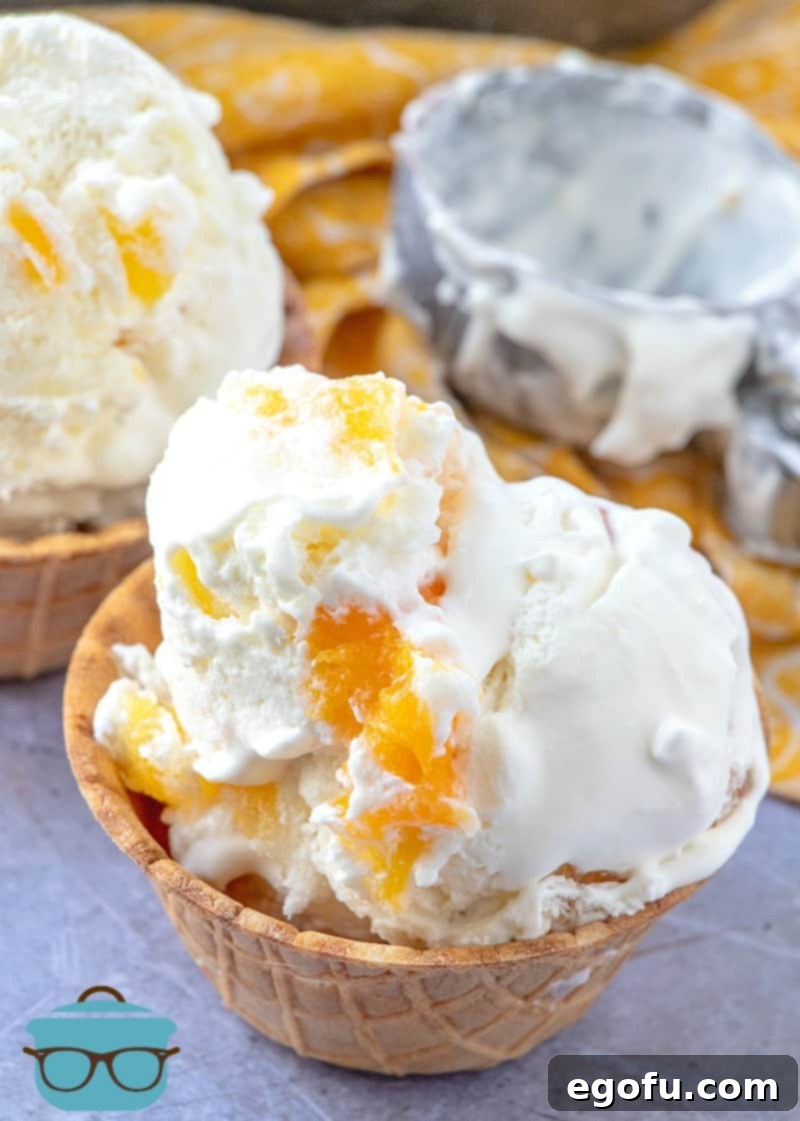
Peaches are undeniably one of summer’s greatest gifts, offering a sweet, juicy, and slightly tangy flavor that is perfect for desserts. While fresh, ripe peaches are always a fantastic option if they’re in season, this recipe cleverly uses peach pie filling for ultimate convenience. Using pie filling saves a significant amount of prep time, eliminating the need to peel, pit, and chop fresh fruit, while still delivering that beloved peachy taste and a pleasant texture with tender fruit pieces.
The peach pie filling not only infuses the ice cream with a rich, natural flavor but also adds a beautiful color and lovely swirls throughout the frozen dessert. Its inherent sweetness and consistency make it an ideal component for a no-churn recipe, ensuring a consistently delicious outcome. Whether you pick it up from the grocery store or have a homemade batch on hand, peach pie filling is your secret weapon for quick and easy flavor.
Unleashing Your Creativity: Flavor Variations Beyond Peach
While peach is a phenomenal flavor for this no-churn ice cream, the underlying recipe is incredibly versatile. It serves as a perfect canvas for a myriad of other fruit flavors, allowing you to customize your ice cream to your family’s preferences or whatever fruit is in season. The possibilities are truly endless!
Feel free to experiment with other pie fillings like apple, strawberry, blueberry, or blackberry. Each will lend its unique charm and color to the ice cream. Imagine a rich apple cinnamon ice cream in the fall, or a bright, tangy strawberry ice cream for a springtime treat. You can even combine fillings for a multi-fruit delight!
Beyond pie fillings, you can also incorporate other mix-ins. Consider adding chopped nuts, chocolate chips, cookie pieces, or even a swirl of caramel or fudge sauce for an extra layer of decadence. A dash of a different extract, like almond or coconut, could also transform the flavor profile. Don’t be afraid to get creative and make this recipe truly your own.
The Simple Ingredients You’ll Need
This incredible no-churn ice cream calls for just four core ingredients, each playing a crucial role in achieving that perfect creamy consistency and rich flavor. The magic lies in their combination, transforming them into a delightful frozen dessert.
Essential Ingredients:
- Heavy Cream: The foundation of our creamy texture, heavy cream whips up into a voluminous base that locks in air, making the ice cream light and smooth.
- Sweetened Condensed Milk: This sweet, thick milk provides both the sugar and the essential body for the ice cream, preventing it from becoming too icy and ensuring that signature melt-in-your-mouth quality.
- Vanilla Extract: A classic flavor enhancer, vanilla extract brings a warm, aromatic note that complements the peaches beautifully and adds depth to the overall taste.
- Peach Pie Filling: Our star flavor component, peach pie filling, offers convenience, sweetness, and delightful chunks of fruit, making every bite a burst of peachy goodness.
Mastering the Art of No-Churn Peach Ice Cream: Step-by-Step Guide
Creating this easy no-churn peach ice cream is a straightforward process that yields impressive results. Follow these detailed steps to ensure a perfectly creamy and flavorful batch.
Step 1: Whip the Heavy Cream to Perfection
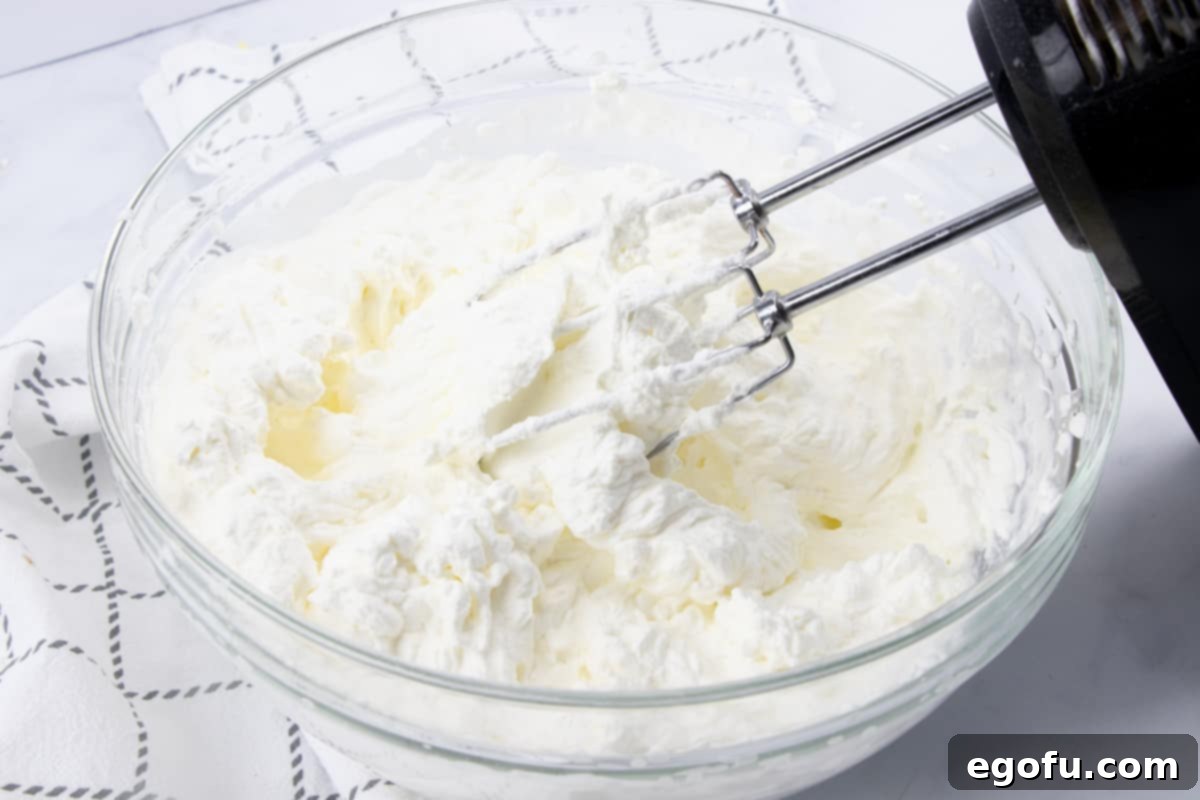
Begin by pouring your cold heavy cream into a large mixing bowl. Using an electric mixer (either a hand-held or a stand mixer with a whisk attachment), beat the heavy cream on medium-high speed. Continue beating until the cream forms thick, stiff peaks. This means when you lift the whisk, the cream holds its shape firmly. Be careful not to overbeat, as it can turn into butter. This aerated cream is what gives no-churn ice cream its light and fluffy texture.
Step 2: Prepare the Sweetened Condensed Milk Mixture
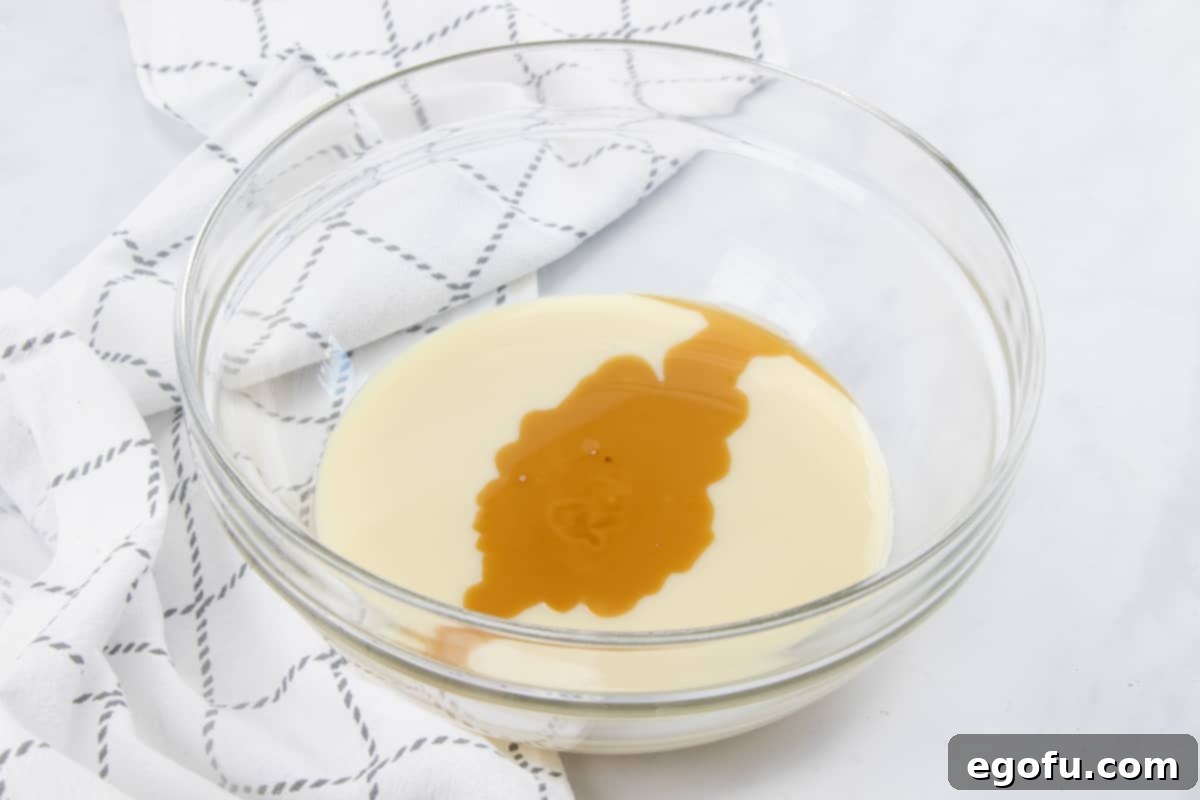
In a separate, medium-sized bowl, combine the sweetened condensed milk and the vanilla extract. Stir these two ingredients together gently until they are thoroughly combined and smooth. The condensed milk will be thick, and the vanilla will provide a beautiful aroma.
Step 3: Gently Fold for Initial Blending
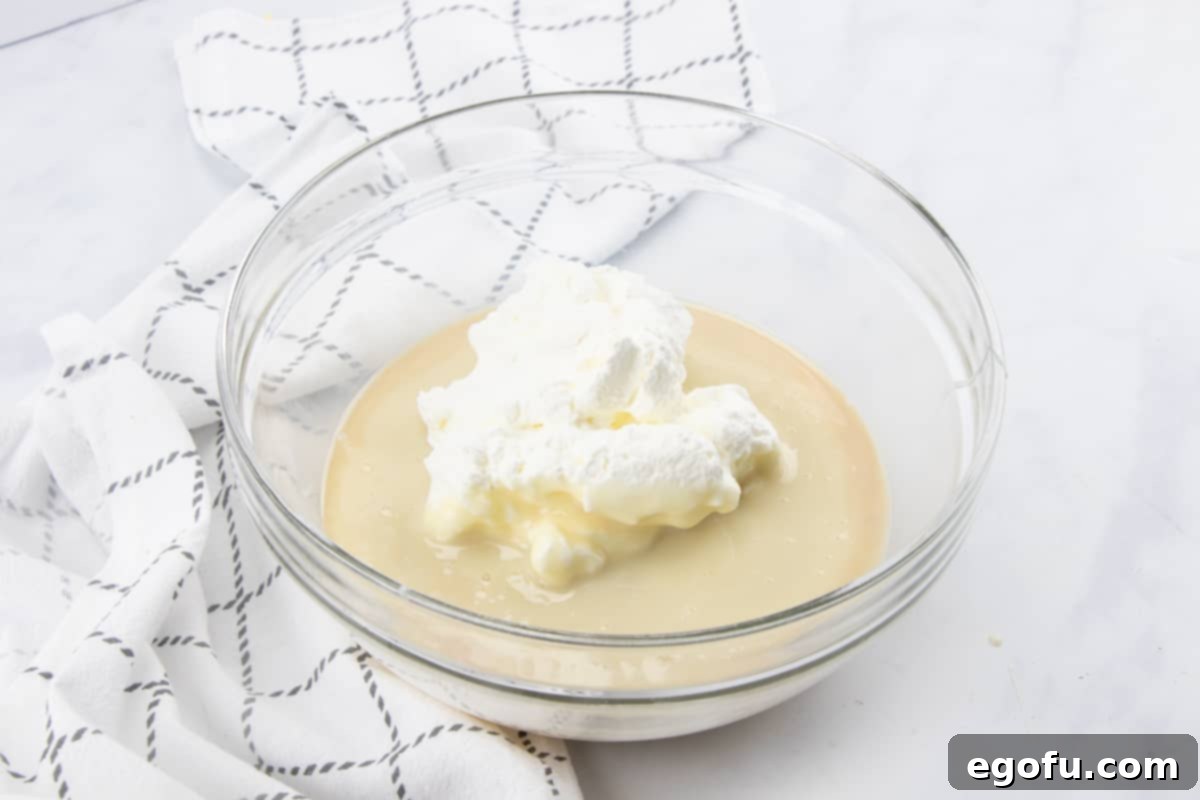
To ensure a smooth transition and prevent deflating the whipped cream, take about one cup of your prepared whipped cream and gently fold it into the sweetened condensed milk mixture. Use a spatula and a gentle, upward motion to incorporate the whipped cream until the mixture is smooth and fully combined. This step lightens the condensed milk base, making it easier to incorporate into the remaining whipped cream.
Step 4: Combine All Ingredients for the Base
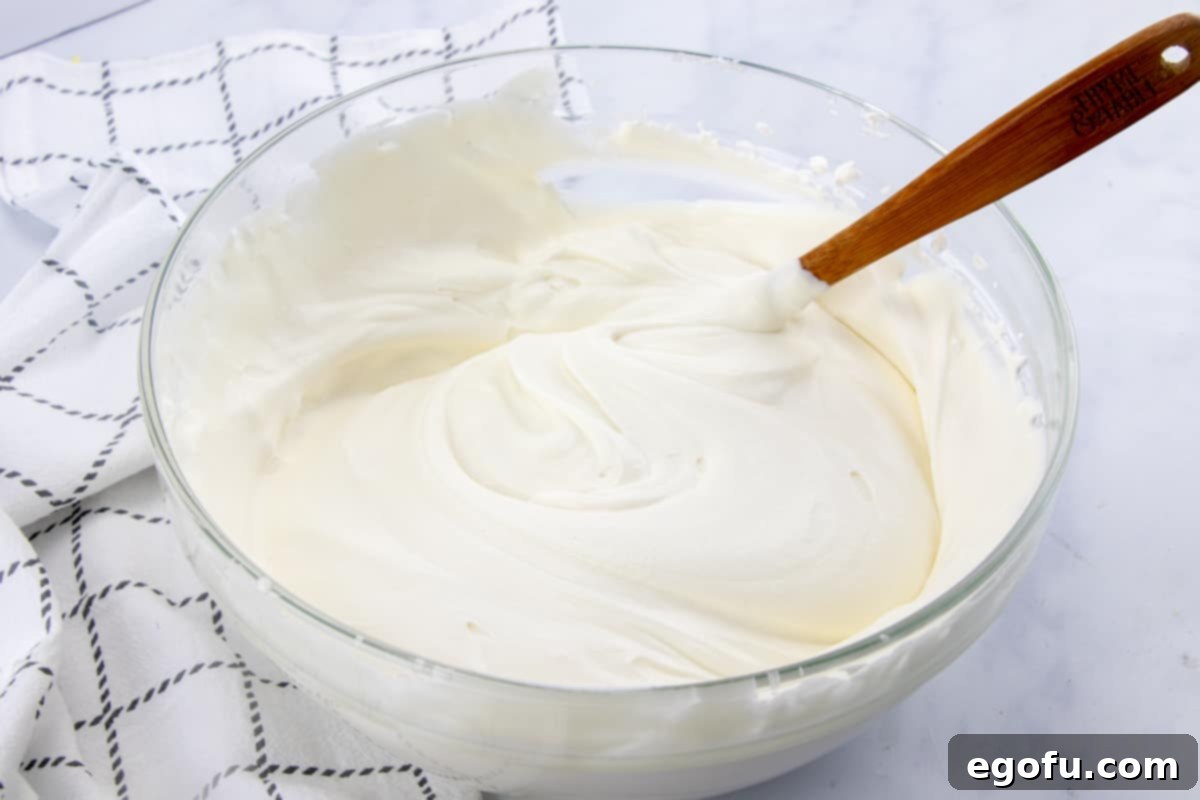
Now, pour the sweetened condensed milk and whipped cream mixture back into the larger bowl containing the rest of your whipped cream. Again, using a gentle folding technique with your spatula, carefully combine everything until the mixture is uniform, smooth, and creamy. The key here is to maintain as much of the air in the whipped cream as possible, which contributes to the light texture of the ice cream.
Step 5: Incorporate the Peach Pie Filling with Swirls
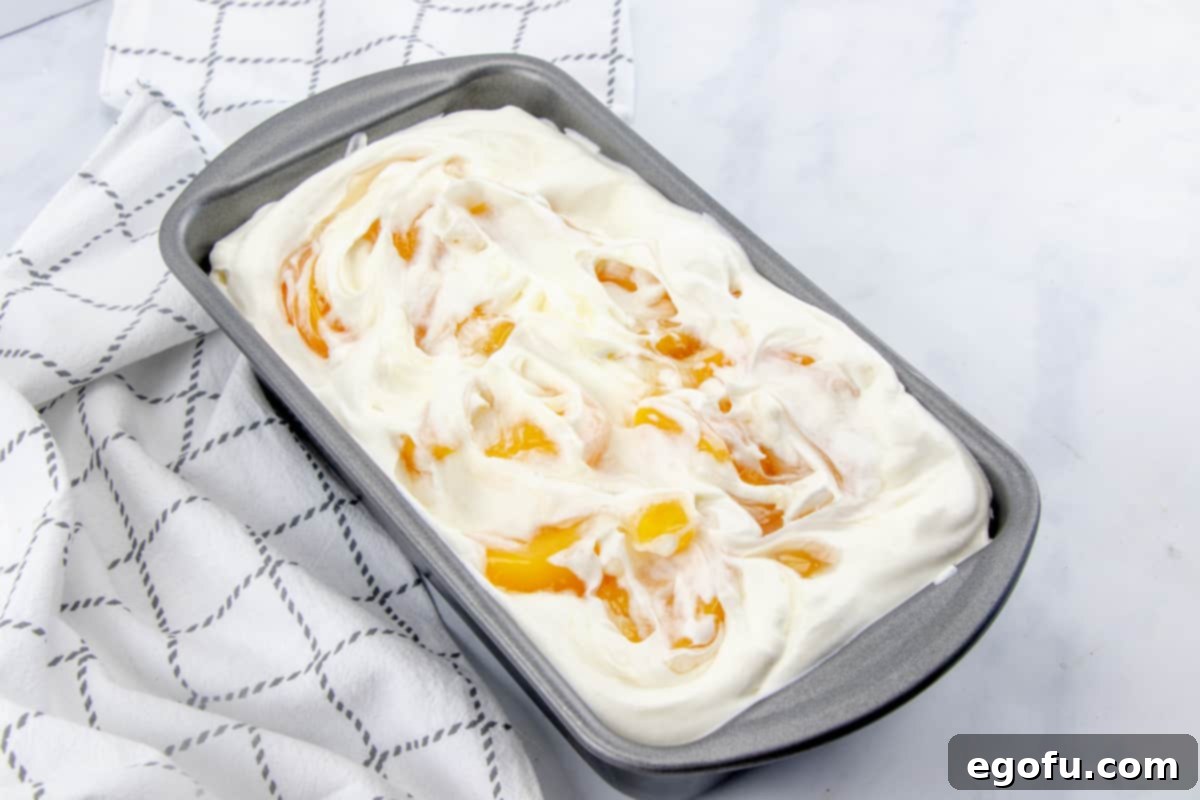
Gently stir in about half of your peach pie filling into the ice cream base. Then, pour half of this peach ice cream mixture into a freezer-safe container. A large bread baking pan works wonderfully for this, providing a good surface area for freezing. Add the remaining half of the peach pie filling over the ice cream layer. Use a spoon or a knife to gently swirl the peach filling into the ice cream mixture, creating beautiful ribbons of peach flavor and color.
Step 6: Layer, Swirl, and Prepare for Freezing
Top the swirled peach layer with the remaining ice cream mixture. Then, generously spoon the rest of the peach pie filling over this final layer. Repeat the swirling process with a spoon or knife, ensuring even distribution of the peach throughout the ice cream. Once swirled to your liking, cover the container tightly with plastic wrap. This is crucial to prevent ice crystals from forming on the surface of your ice cream.
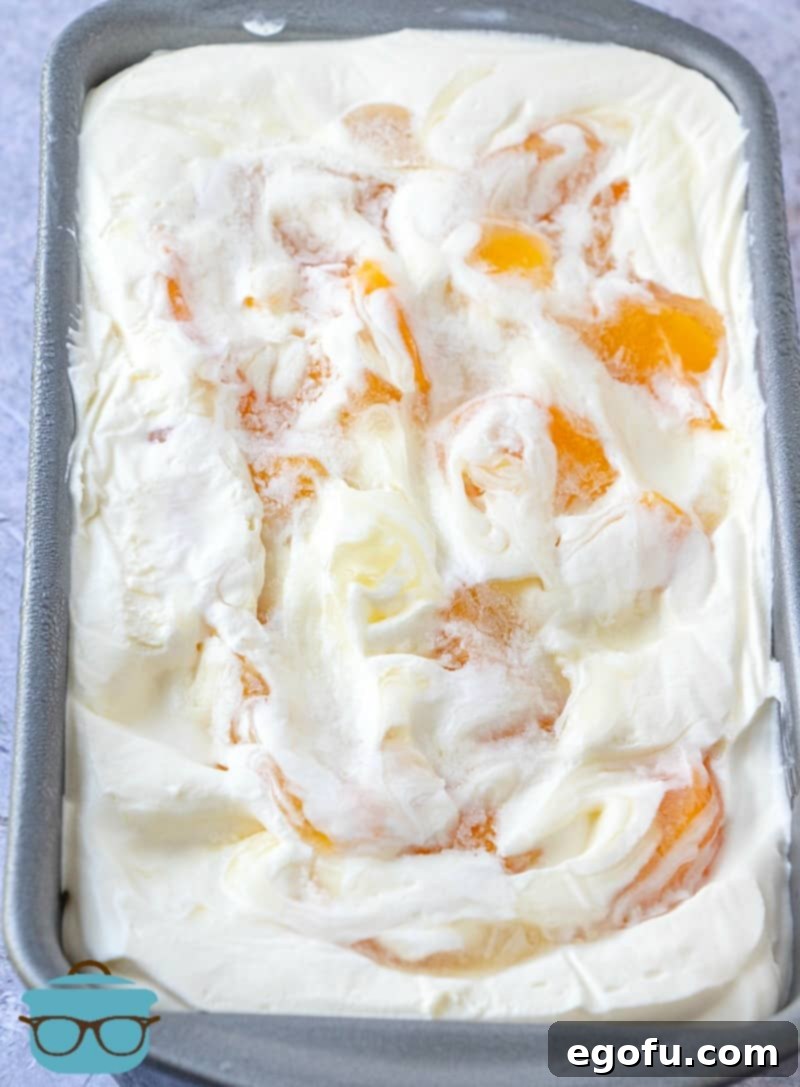
Step 7: Freeze and Soften Before Serving
Place your covered ice cream container in the freezer for a minimum of 5-6 hours, or ideally, overnight. Allowing it to freeze completely ensures it sets properly and achieves the desired firm, yet scoopable, consistency. When it’s time to indulge, remove the ice cream from the freezer and let it sit on the counter for 5-10 minutes. This brief softening period makes it much easier to scoop and enhances its creamy texture, ready for serving!
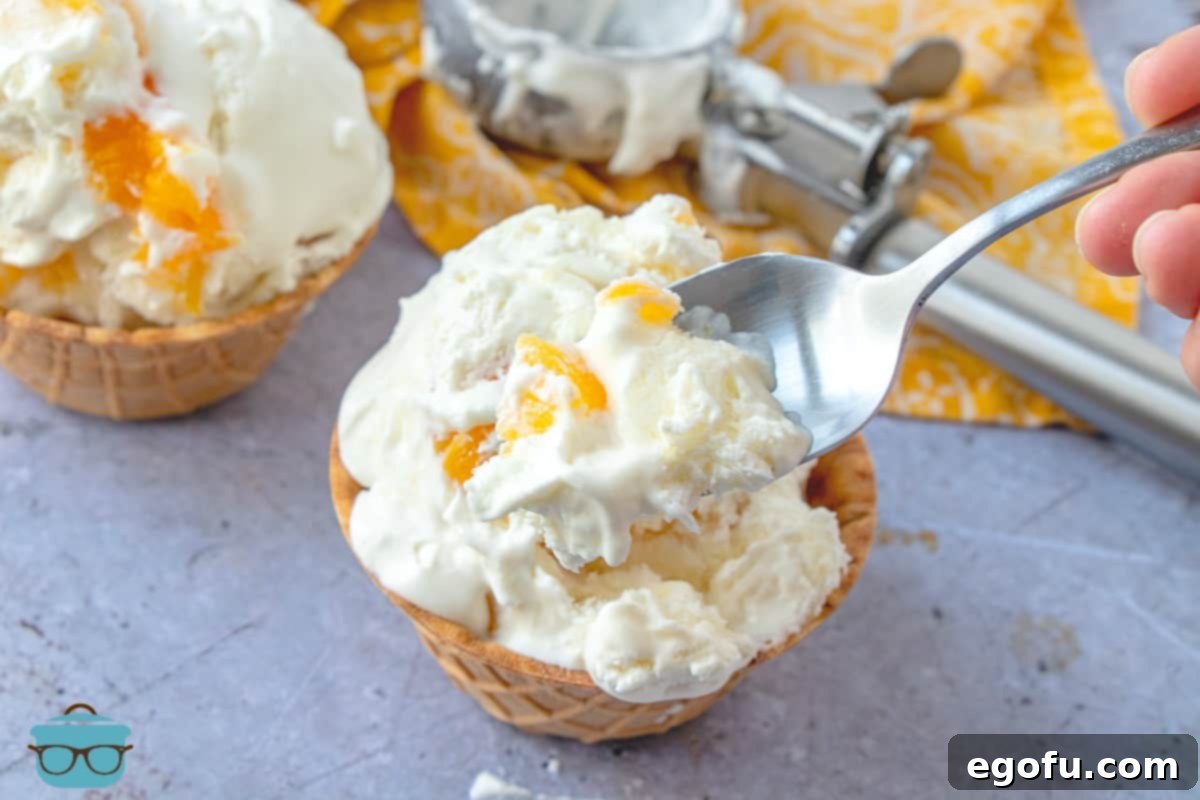
Frequently Asked Questions About No-Churn Ice Cream
Making no-churn ice cream is simple, but a few common questions often arise. Here are some answers to help you achieve the best results:
- How do I prevent ice crystals? Tightly covering the ice cream with plastic wrap directly touching the surface helps prevent air exposure, which causes ice crystals. Using sweetened condensed milk is also key, as its sugar content and thickness contribute to a smoother texture.
- Can I use light cream or half-and-half? No, heavy cream (or heavy whipping cream) is essential for the no-churn method. Its high fat content is what allows it to whip up properly and create the creamy base needed for the ice cream. Lighter creams won’t achieve the desired texture.
- How long does no-churn ice cream last in the freezer? When stored properly in an airtight container, no-churn ice cream can last for up to 2-3 weeks in the freezer. Beyond that, its texture and flavor may start to degrade.
- Can I add fresh peaches instead of pie filling? Absolutely! If using fresh peaches, you’ll want to peel, pit, and finely dice them. To prevent them from becoming too icy, you might want to gently cook them down with a tablespoon or two of sugar until slightly soft, and then cool completely before folding them into the ice cream base.
- My ice cream isn’t firm enough. What happened? This usually means it hasn’t frozen long enough. Ensure your freezer is set to a sufficiently cold temperature and allow ample freezing time, preferably overnight.
Beyond Peaches: More Irresistible No-Churn Recipes and Desserts
If you’ve fallen in love with the simplicity and deliciousness of this no-churn peach ice cream, you’re in for a treat! The world of no-churn desserts is vast and exciting. Here are some other delightful recipes to inspire your next kitchen adventure:
- No-Churn Butter Pecan Ice Cream
- Grilled Peaches (A perfect complement to your peach ice cream!)
- No-Churn Peanut Butter Chocolate Chip Ice Cream
- Peaches and Cream Bars
- Country Peach Cobbler
- No-Churn Strawberry Ice Cream
- Peach Cobbler Egg Rolls

No-Churn Peach Ice Cream
This Easy No-Churn Peach Ice Cream only has 4 ingredients and can be made in less than 15 minutes. No ice cream maker needed!
Prep Time: 15 minutes
Freezing time: 5 hours
Total Time: 15 minutes (plus freezing)
Servings: 8
Author: Brandie Skibinski
Print Recipe | Pin Recipe
Ingredients
- 2 cups cold heavy cream
- 14 ounce can sweetened condensed milk
- 1 teaspoon vanilla extract
- 20 ounce can peach pie filling
Instructions
- Using an electric mixer or a stand mixer (with a whisk attachment) beat heavy whipping cream until thick. In a separate bowl, pour in sweetened condensed milk and vanilla extract.
- Fold (gently stir) about one cup of prepared whipped cream into the sweetened condensed milk and mix until smooth.
- Pour this sweetened condensed milk/whipped cream mixture back into the bowl with the rest of whipped and gently fold together until smooth and creamy.
- Next, pour half of the ice cream into a freezer safe container (a large bread baking pan works good.) Add half of the peach pie filling and use a spoon or a knife to swirl the mix-in together with the ice cream mixture.
- Top peaches with remaining ice cream mixture, and then top that with the remaining peach pie filling. Swirl again. Cover with plastic wrap.
- Freeze for 5-6 hours or overnight. When it is time to serve, remove from freezer and let sit on the counter to soften for 5-10 minutes prior to serving.
Video
Course: Dessert
Cuisine: American
Nutrition
Calories: 442kcal | Carbohydrates: 47g | Protein: 5g | Fat: 26g | Sodium: 132mg | Sugar: 37g
Nutritional Disclaimer
“The Country Cook” is not a dietician or nutritionist, and any nutritional information shared is an estimate. If calorie count and other nutritional values are important to you, we recommend running the ingredients through whichever online nutritional calculator you prefer. Calories and other nutritional values can vary quite a bit depending on which brands were used.
Did you make this recipe? Share it on Instagram @thecountrycook and mention us #thecountrycook!
