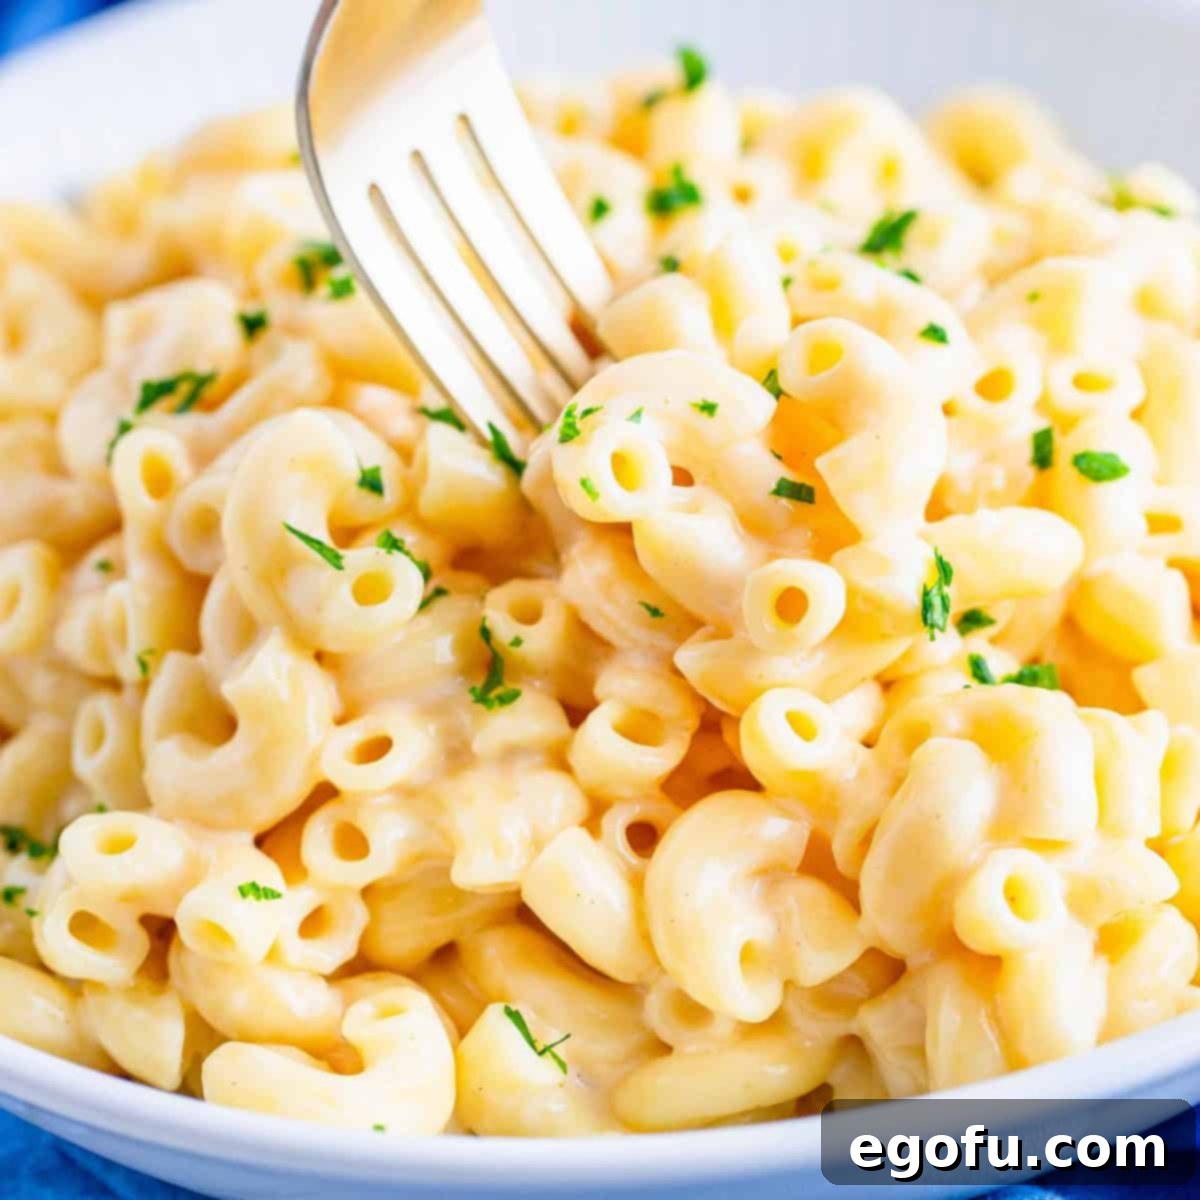
Ultimate Creamy Instant Pot Mac and Cheese: The Easiest No-Boil Recipe
Are you searching for the perfect comfort food that’s both incredibly delicious and unbelievably simple to make? Look no further than this Instant Pot Macaroni and Cheese recipe! Forget the hassle of boiling noodles separately on the stovetop; our streamlined method brings you rich, creamy, and cheesy mac and cheese with minimal effort and maximum flavor. Crafted with fresh cheese and butter, this recipe guarantees a decadent side dish or a satisfying main course that will become a family favorite.
In a world of complex recipes, sometimes all we crave is a classic dish prepared with modern convenience. This Instant Pot version revolutionizes homemade mac and cheese by eliminating the need for pre-cooking pasta, drastically cutting down on prep time and dirty dishes. Get ready to experience a creamy, cheesy dream come true in just minutes!
Why Instant Pot Mac and Cheese is a Game-Changer: No Boiling Necessary!
The single most compelling reason to fall in love with this Instant Pot Mac and Cheese recipe is its ingenious no-boil approach. This isn’t just a minor tweak; it’s a complete game-changer that transforms a beloved classic into a super-fast, weeknight-friendly meal. Traditional mac and cheese often involves several steps: boiling water, cooking pasta, draining, then preparing a cheese sauce separately. This means multiple pots and pans, more cleanup, and more active cooking time.
With the Instant Pot, all of these steps are consolidated into one single appliance. You simply combine the uncooked pasta with water and butter directly in the Instant Pot. The pressure cooker then works its magic, cooking the pasta perfectly while simultaneously setting the stage for an incredibly smooth and creamy cheese sauce. This method not only saves precious time but also results in a uniquely rich texture. The pasta absorbs the cooking liquid directly, infusing it with flavor from the start, rather than just being blandly boiled in water. This leads to a more flavorful and cohesive dish, making it a superior choice for both convenience and taste.
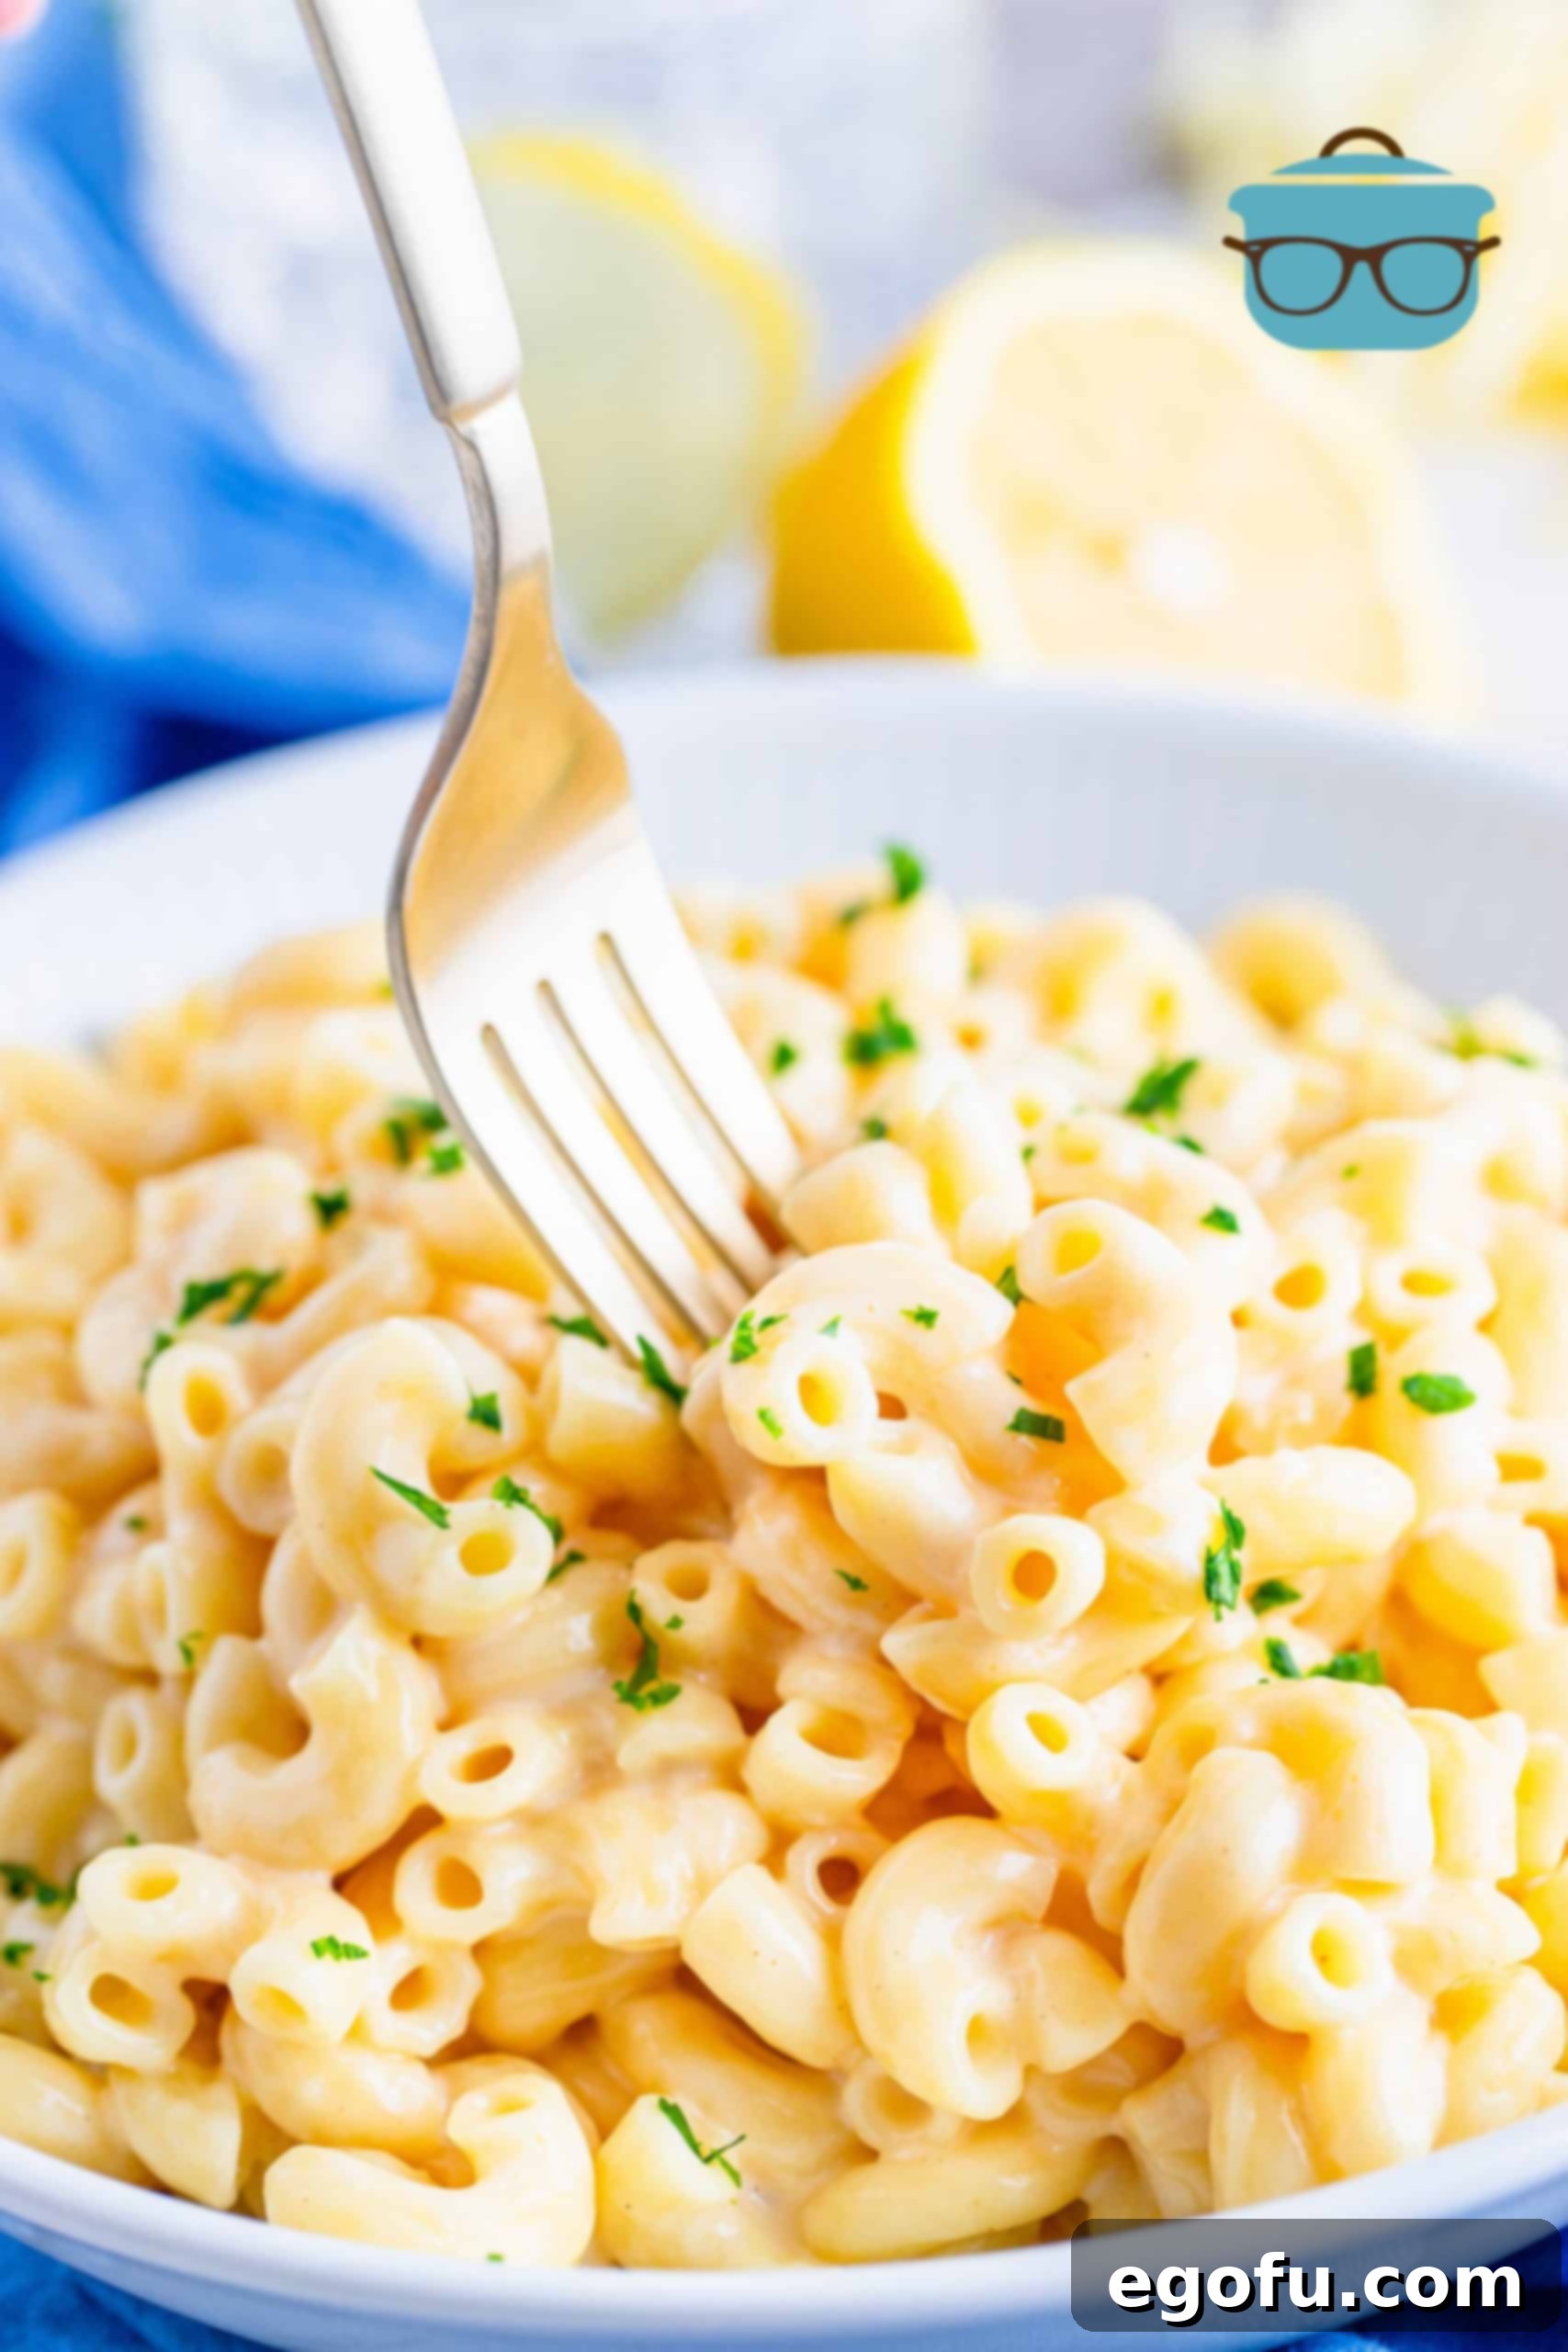
Essential Tips for Perfect Instant Pot Mac and Cheese
Achieving mac and cheese perfection in your Instant Pot is easier than you think, especially with these helpful tips:
- Choosing Your Cheese: While white cheddar is a fantastic choice for its sharp flavor and smooth melt, don’t limit yourself! This recipe is incredibly versatile. Feel free to experiment with any cheese that melts well. Good options include sharp yellow cheddar, Monterey Jack, Gruyere, Fontina, or even a blend of cheeses. The key is to use freshly shredded cheese. Pre-shredded varieties often contain anti-caking agents that can prevent them from melting as smoothly, potentially leading to a slightly grainy texture. Shredding your own ensures a superior, velvety cheese sauce.
- Managing Quick Release: When performing a “quick release” after cooking pasta in the Instant Pot, it’s common for some starchy pasta water to sputter or spit out of the steam release valve. This is normal and nothing to worry about. To mitigate the mess, you have a couple of options:
- **Slow Release:** If sputtering occurs, you can close the valve momentarily and let the pressure release more slowly, in short bursts, to allow foam to subside.
- **Kitchen Towel Method:** A simpler trick is to place a clean kitchen towel over the steam release valve as you open it. This will catch any potential liquid, preventing it from spraying onto your counter. Just be careful as the towel will get hot and damp.
- Pasta Shape Matters: Although you can technically use various pasta shapes, smaller pasta varieties tend to work best in the Instant Pot. Elbow macaroni is classic for a reason – its small size ensures even cooking and coats beautifully with the creamy sauce. Other excellent choices include small shells, ditalini, or even rotini. Avoid larger, thicker pasta shapes as they may require adjustments to cooking time and water ratios.
- Elevate the Cheesiness: For those who believe there’s no such thing as “too much cheese,” here’s a tip for an extra cheesy finish. Once your mac and cheese is fully cooked and stirred, add an additional layer of shredded cheese (about 1/2 to 1 cup) directly on top of the mixture in the Instant Pot. Close the lid (no need to seal or cook further) and let the residual heat melt the cheese for about 5-10 minutes. This creates a glorious, gooey blanket of cheese that takes the dish to the next level before serving.
- Flavor Boosters: Consider adding a pinch of dry mustard powder (about 1/2 teaspoon) when you stir in the cheese and milk. It doesn’t make the mac and cheese taste like mustard but rather enhances the savory, cheesy flavor significantly. A dash of hot sauce or a sprinkle of paprika can also add depth.
- Consistency Control: The mac and cheese mixture will thicken as it cools. Don’t be alarmed if it seems a bit liquidy right after stirring in the cheese. Giving it a few minutes to rest with the lid on the “Keep Warm” setting (as instructed in the recipe) allows the cheese to fully melt and the sauce to achieve that perfect creamy consistency.
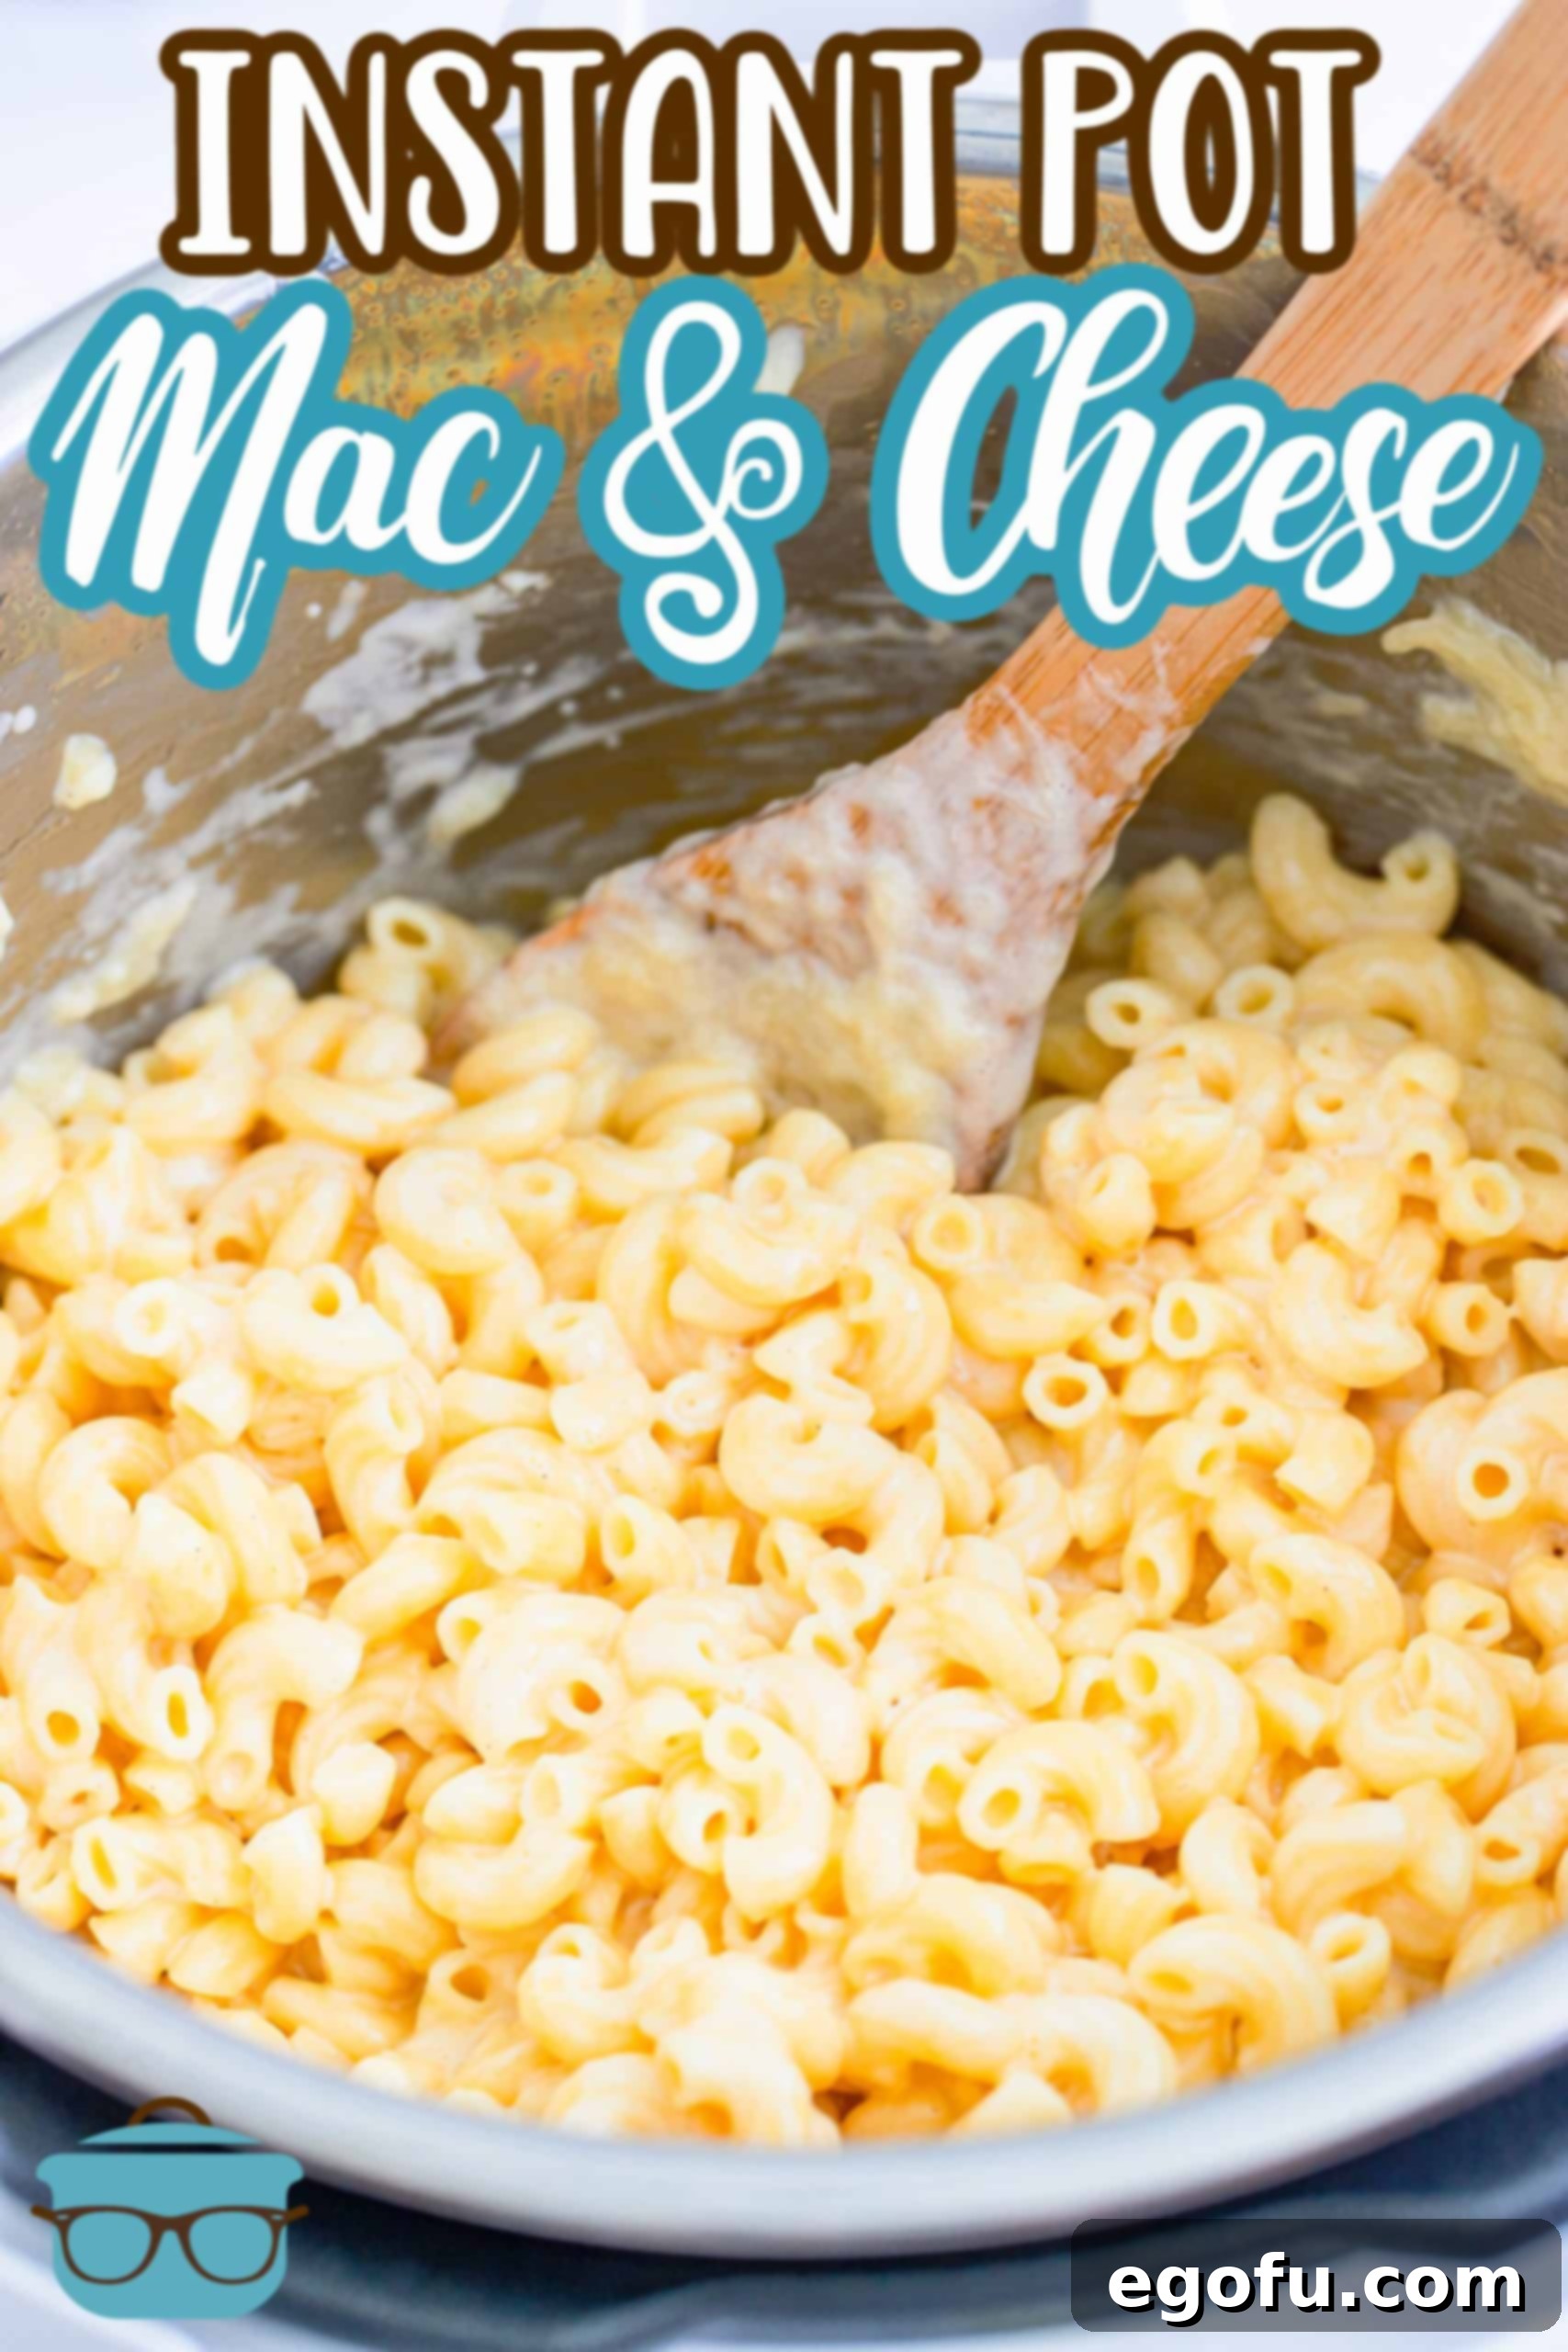
Ingredients You’ll Need for Creamy Perfection
Gathering the right ingredients is the first step to a truly exceptional Instant Pot Mac and Cheese. Each component plays a crucial role in achieving that rich, creamy, and satisfying texture and flavor:
- Elbow Macaroni: A 16-ounce box of classic elbow macaroni is ideal for this recipe due to its small size and ability to perfectly absorb the flavors and liquids. Other small-shaped pasta like small shells or ditalini will also work wonderfully if you prefer.
- Water: The liquid base for cooking the pasta. While plain water is perfectly fine, for an added layer of richness and depth, consider using low-sodium or no-sodium chicken broth. This will infuse the pasta with extra flavor right from the start, making the final dish even more savory.
- Salted Butter: Butter is essential for flavor and richness. Using salted butter adds a foundational savory note, complementing the cheese beautifully. If you only have unsalted butter, simply increase the amount of salt in the recipe slightly to taste.
- Evaporated Milk: This is a secret weapon for ultra-creamy mac and cheese! Evaporated milk, being more concentrated than regular milk, contributes an unparalleled creaminess and helps create a stable, smooth cheese sauce that won’t separate. While evaporated milk is highly recommended for best results, you can substitute with whole milk or half-and-half if absolutely necessary. Just be aware that the texture might be slightly less rich.
- Freshly Shredded Cheddar Cheese: The star of the show! We specify “freshly shredded” for a very important reason. Cheese that you shred yourself melts significantly smoother and incorporates into the sauce more effectively than pre-shredded varieties, which often contain anti-caking agents like cellulose. These agents can prevent the cheese from melting completely and can lead to a slightly gritty texture. For the best, silkiest mac and cheese, take the extra minute to shred your own. Sharp cheddar is fantastic for a robust flavor, but a milder cheddar or a blend of cheeses can also be used.
- Salt: Essential for seasoning the pasta and enhancing all the flavors in the dish. Adjust to your personal preference.
- White Pepper: White pepper offers a subtle peppery kick without the visible flecks of black pepper, which can be desirable for the aesthetic of a classic mac and cheese. If you don’t have white pepper, black pepper can be used, or you can omit it entirely if you’re not a fan of pepper.
- Optional: Dry Mustard Powder: While not listed in the original ingredients, it’s a highly recommended addition (about 1/2 teaspoon). Dry mustard doesn’t make the dish taste like mustard; instead, it acts as a flavor enhancer, amplifying the cheesy notes and adding a subtle tang that balances the richness.
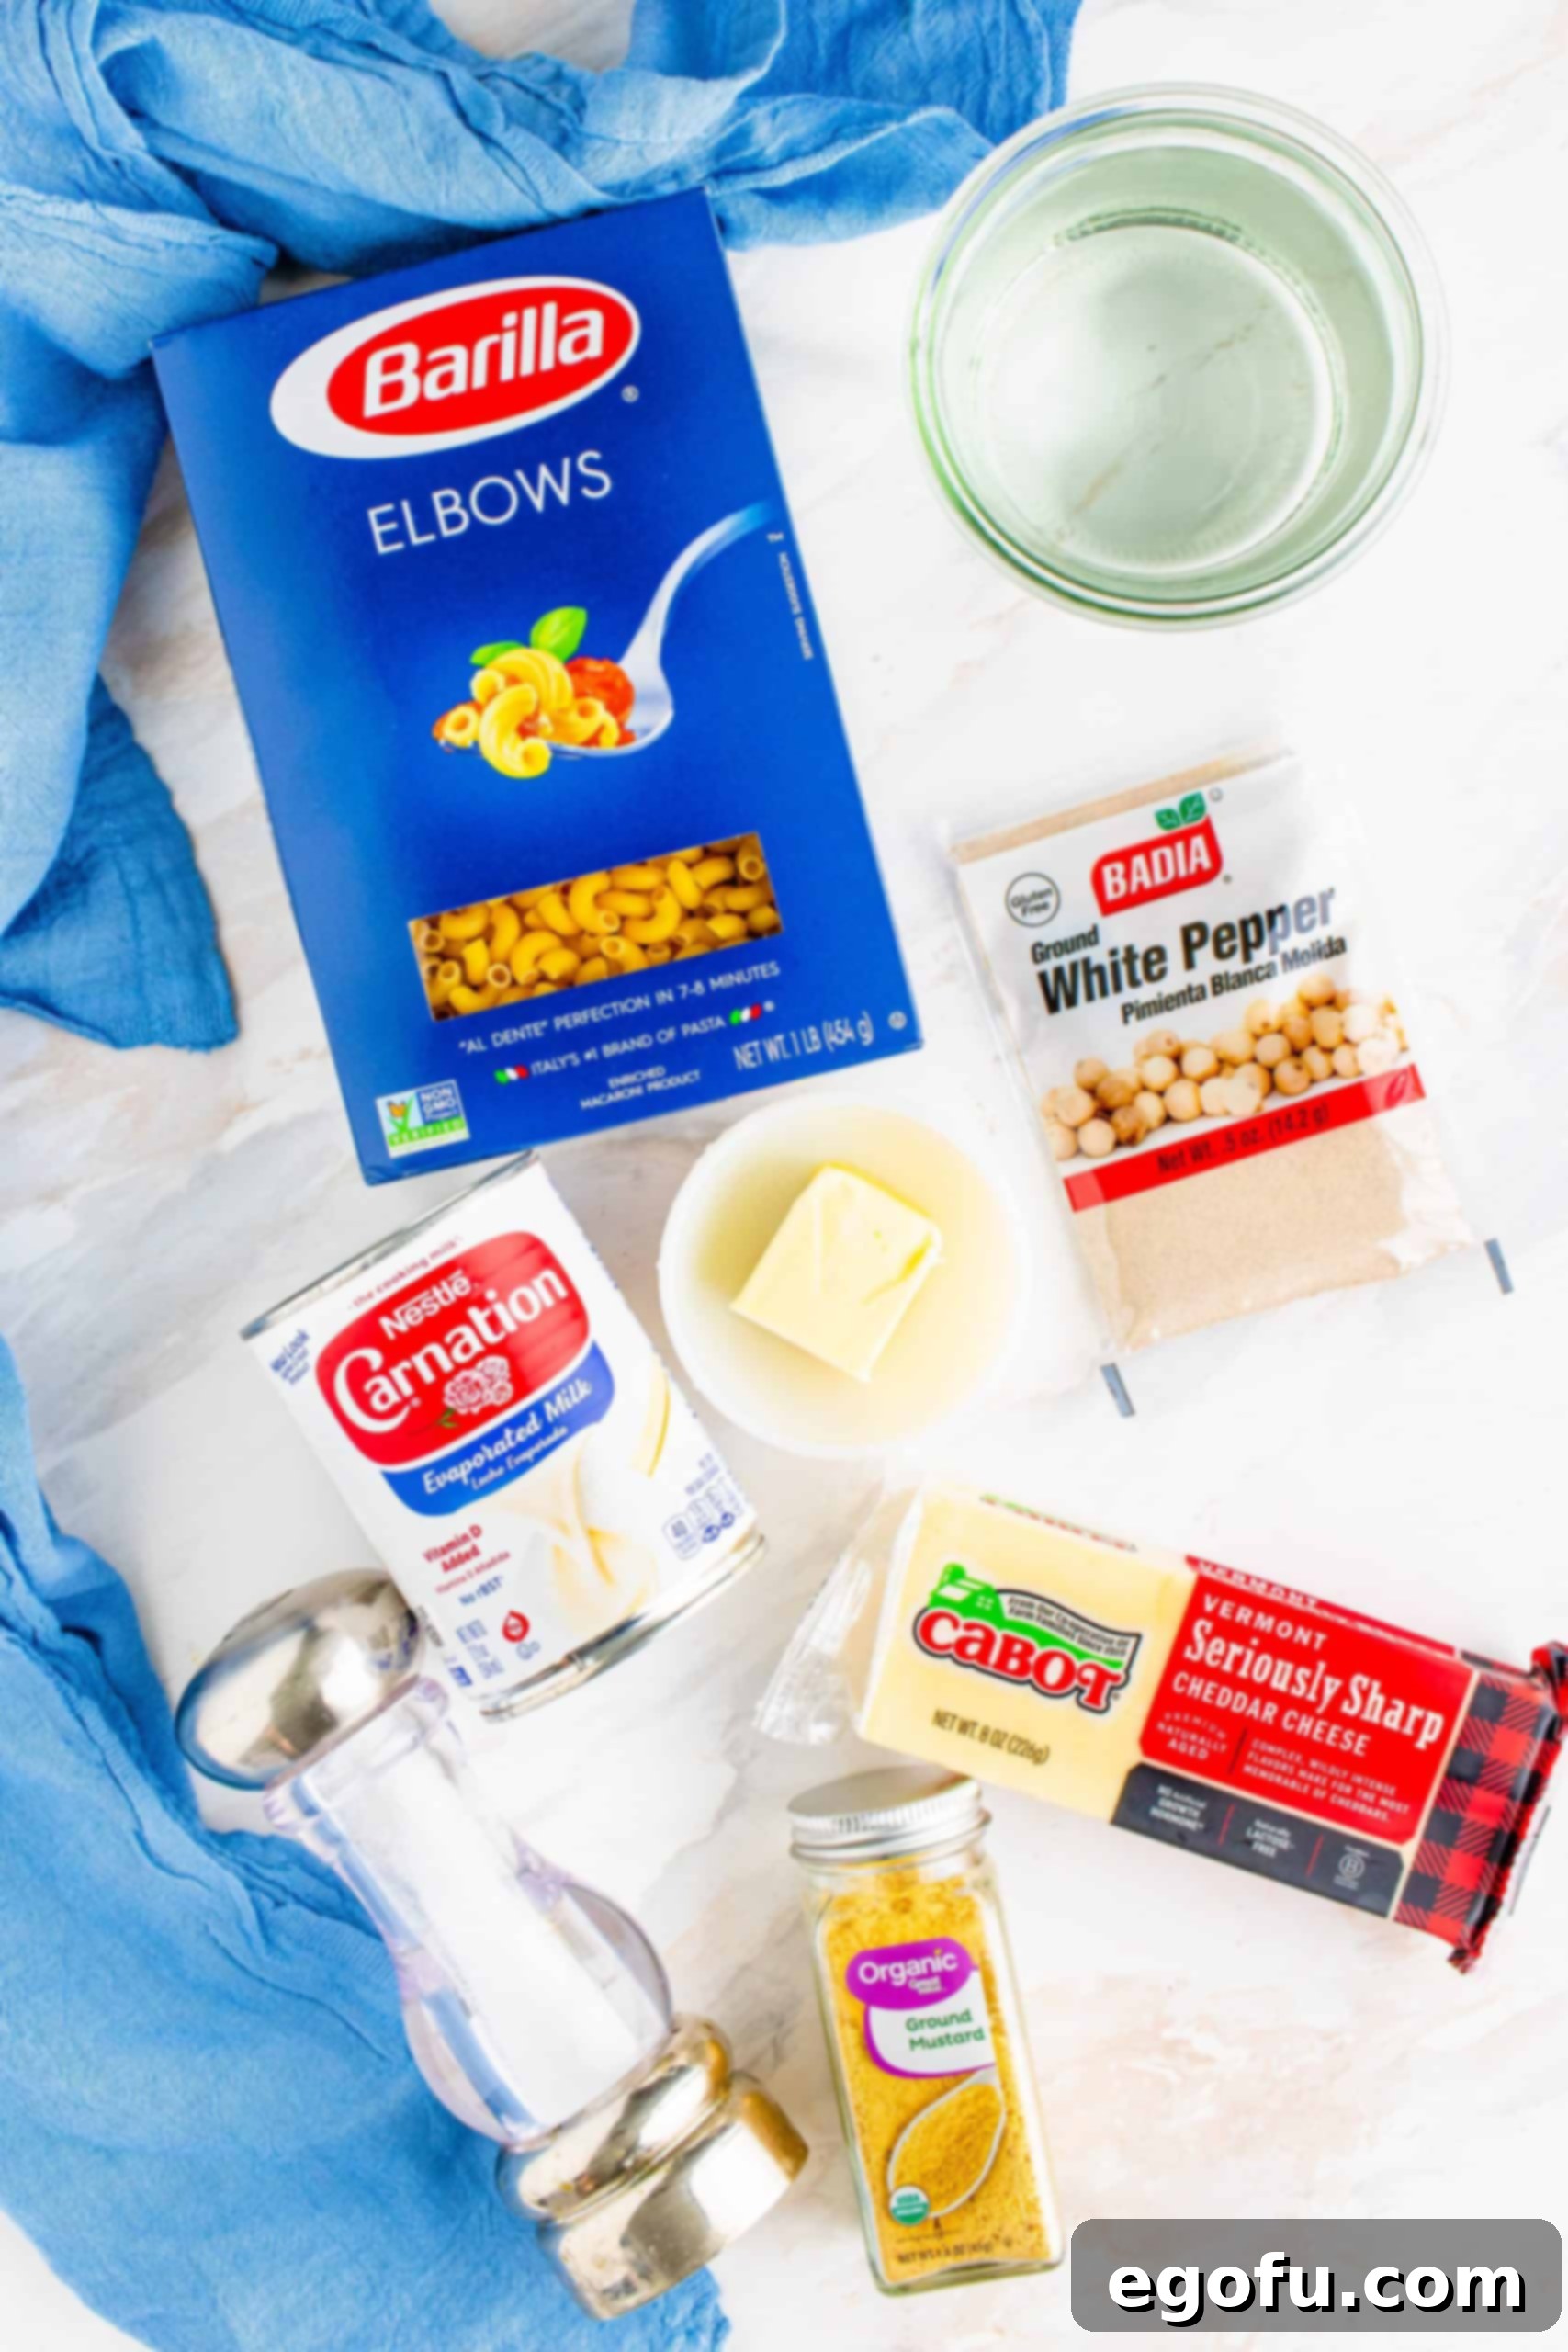
Step-by-Step Guide: How to Make Instant Pot Macaroni and Cheese
Follow these simple steps to create the creamiest, most delicious Instant Pot Macaroni and Cheese:
Initial Cooking Phase
Step 1: Combine Ingredients in the Pot. Add the uncooked 16-ounce box of elbow macaroni, 4 ½ cups of water (or low-sodium chicken broth for extra flavor), and 2 Tablespoons of salted butter to the inner pot of your Instant Pot. Gently stir the ingredients to ensure the pasta is mostly submerged. It’s crucial that the water just barely covers the top of the noodles; the topmost pieces should be submerged for even cooking.
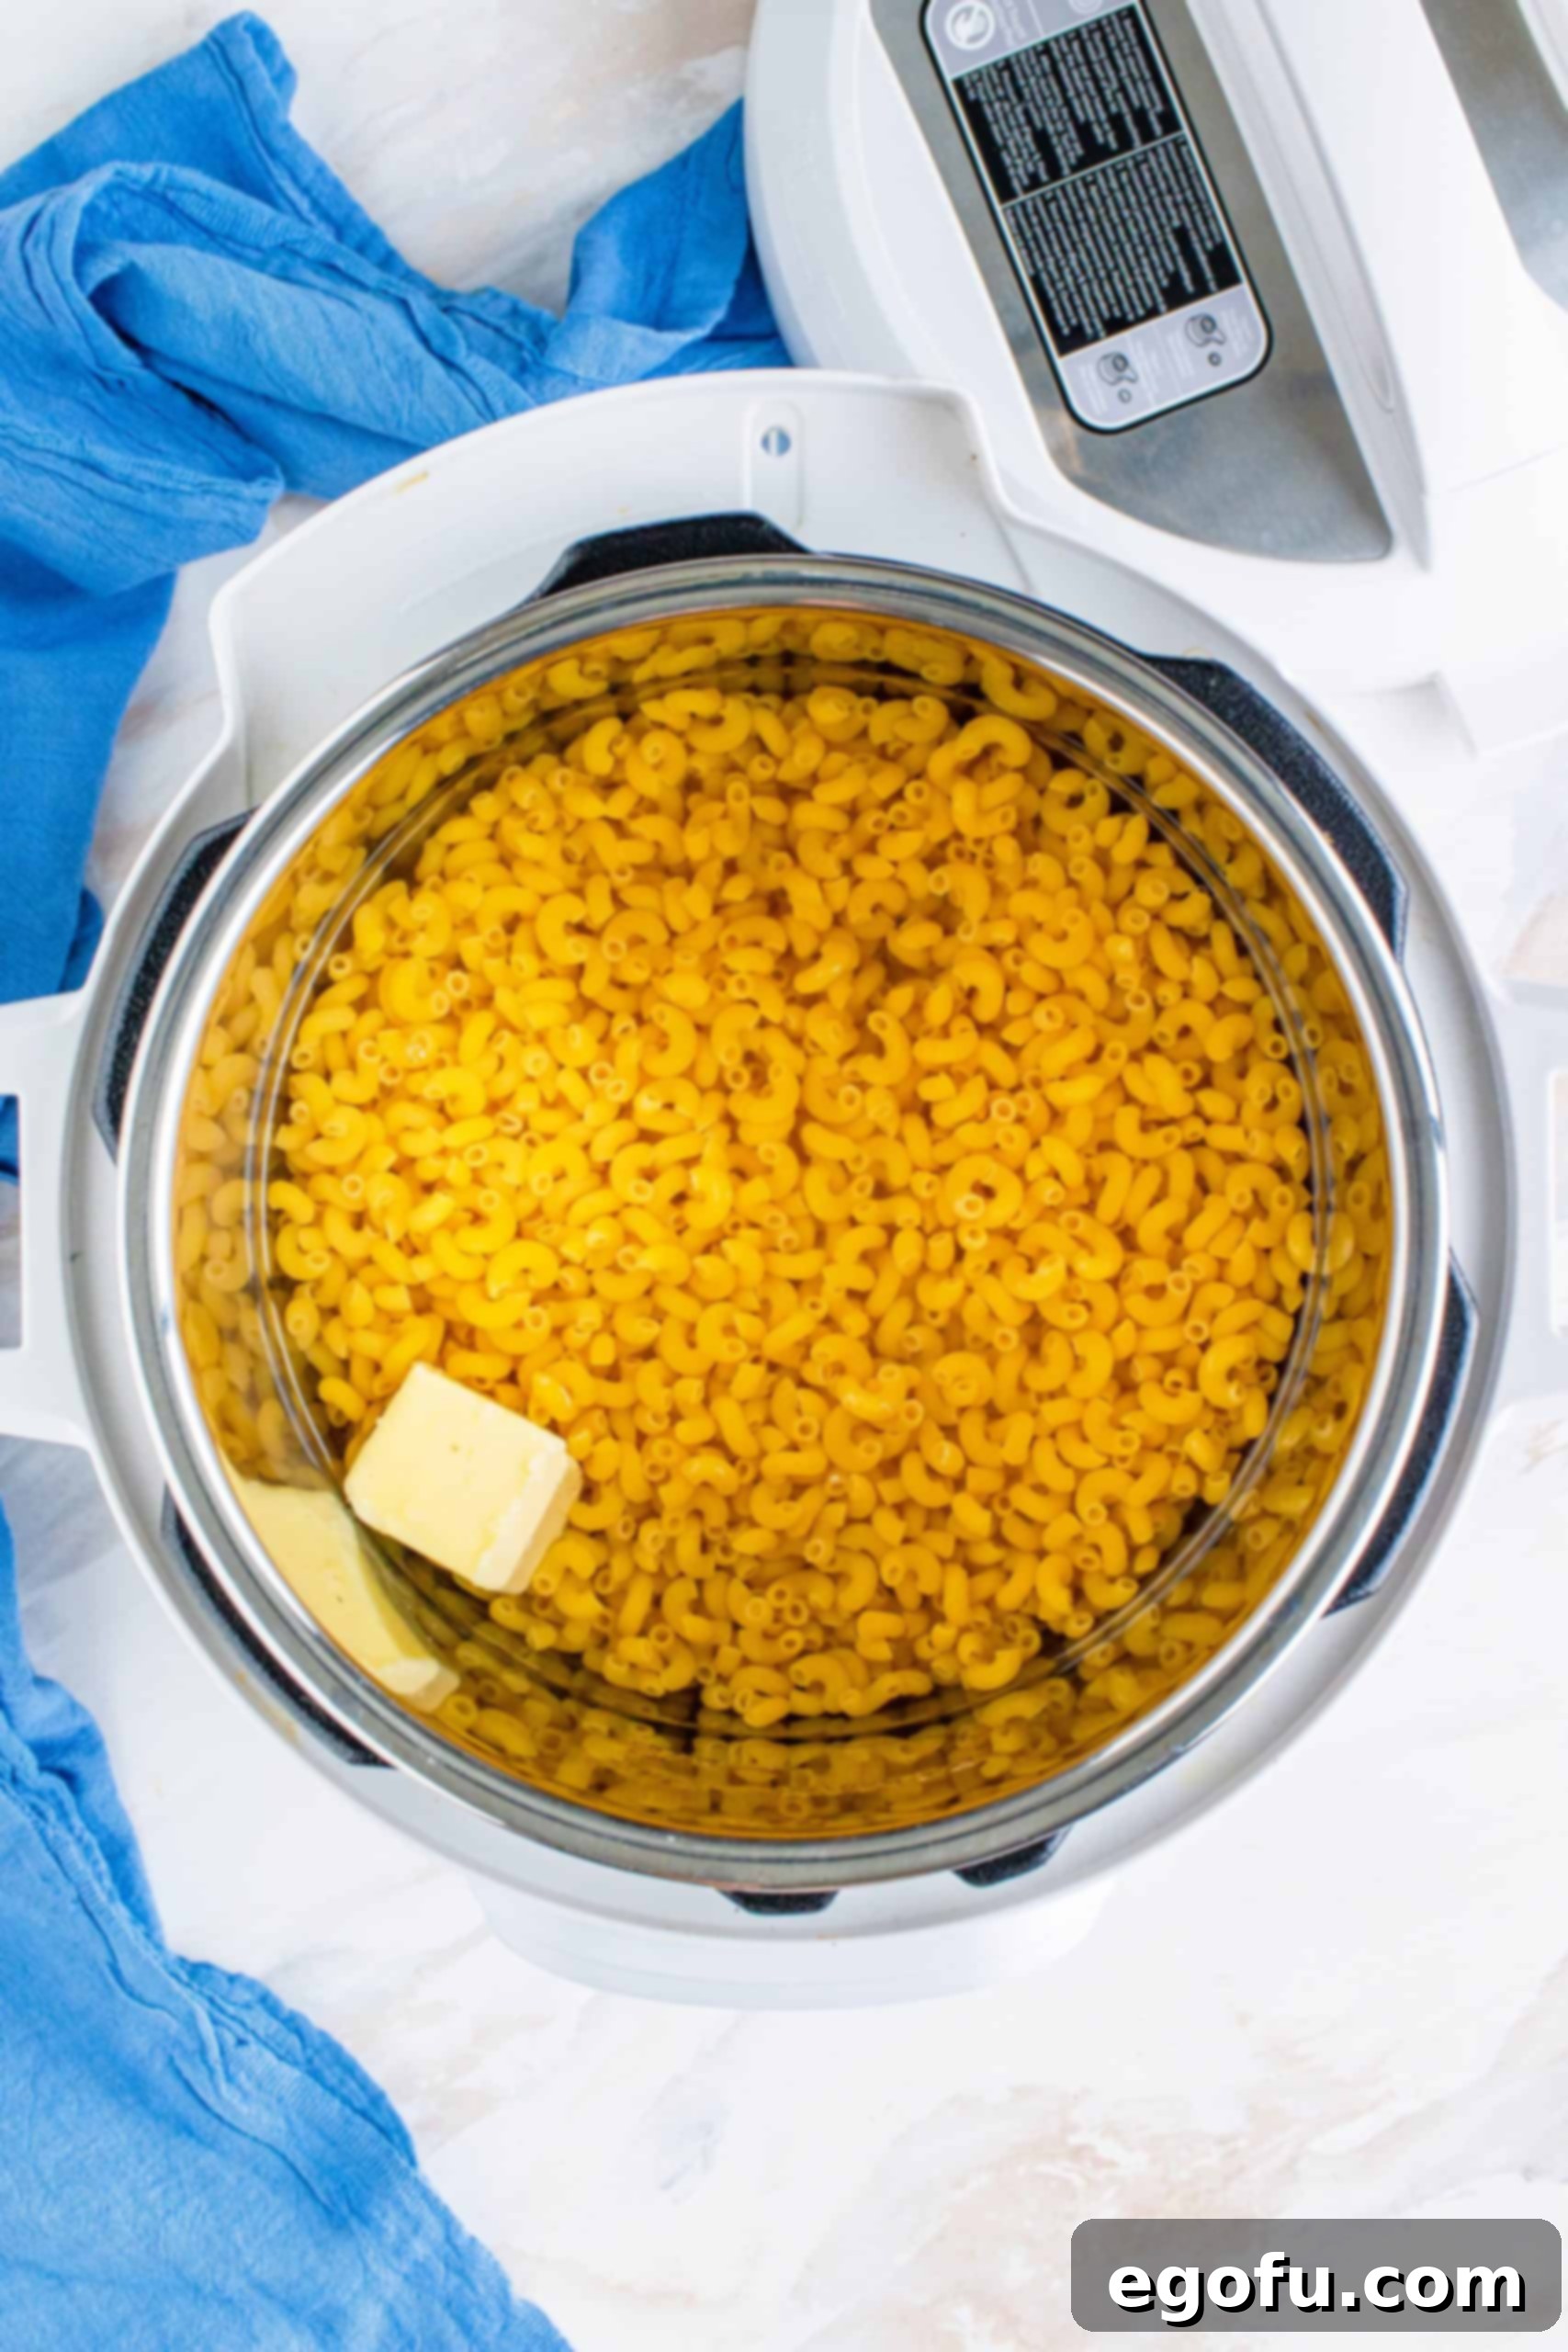
Step 2: Seal and Set the Instant Pot. Securely close the lid of your Instant Pot. Make sure the steam release valve is turned to the “Sealing” position. Press the “Pressure Cook” button (or “Manual” on older models), and set the cooking time to 2 minutes on high pressure. The Instant Pot will take approximately 6-8 minutes to come to full pressure before the 2-minute cooking cycle begins. This pre-heating time is normal.
Step 3: Quick Release and Stir. Once the 2-minute cooking time is complete, the Instant Pot will beep. Immediately press “Cancel” to stop the cooking process. Carefully turn the steam release valve to the “Venting” position to perform a quick release. Be mindful that starchy water may sputter out; cover the valve with a kitchen towel to catch any spray. Allow all the steam to release until the float valve drops down. Once safe, open the lid and give the cooked noodles a good stir to break them apart and ensure they are all separated.
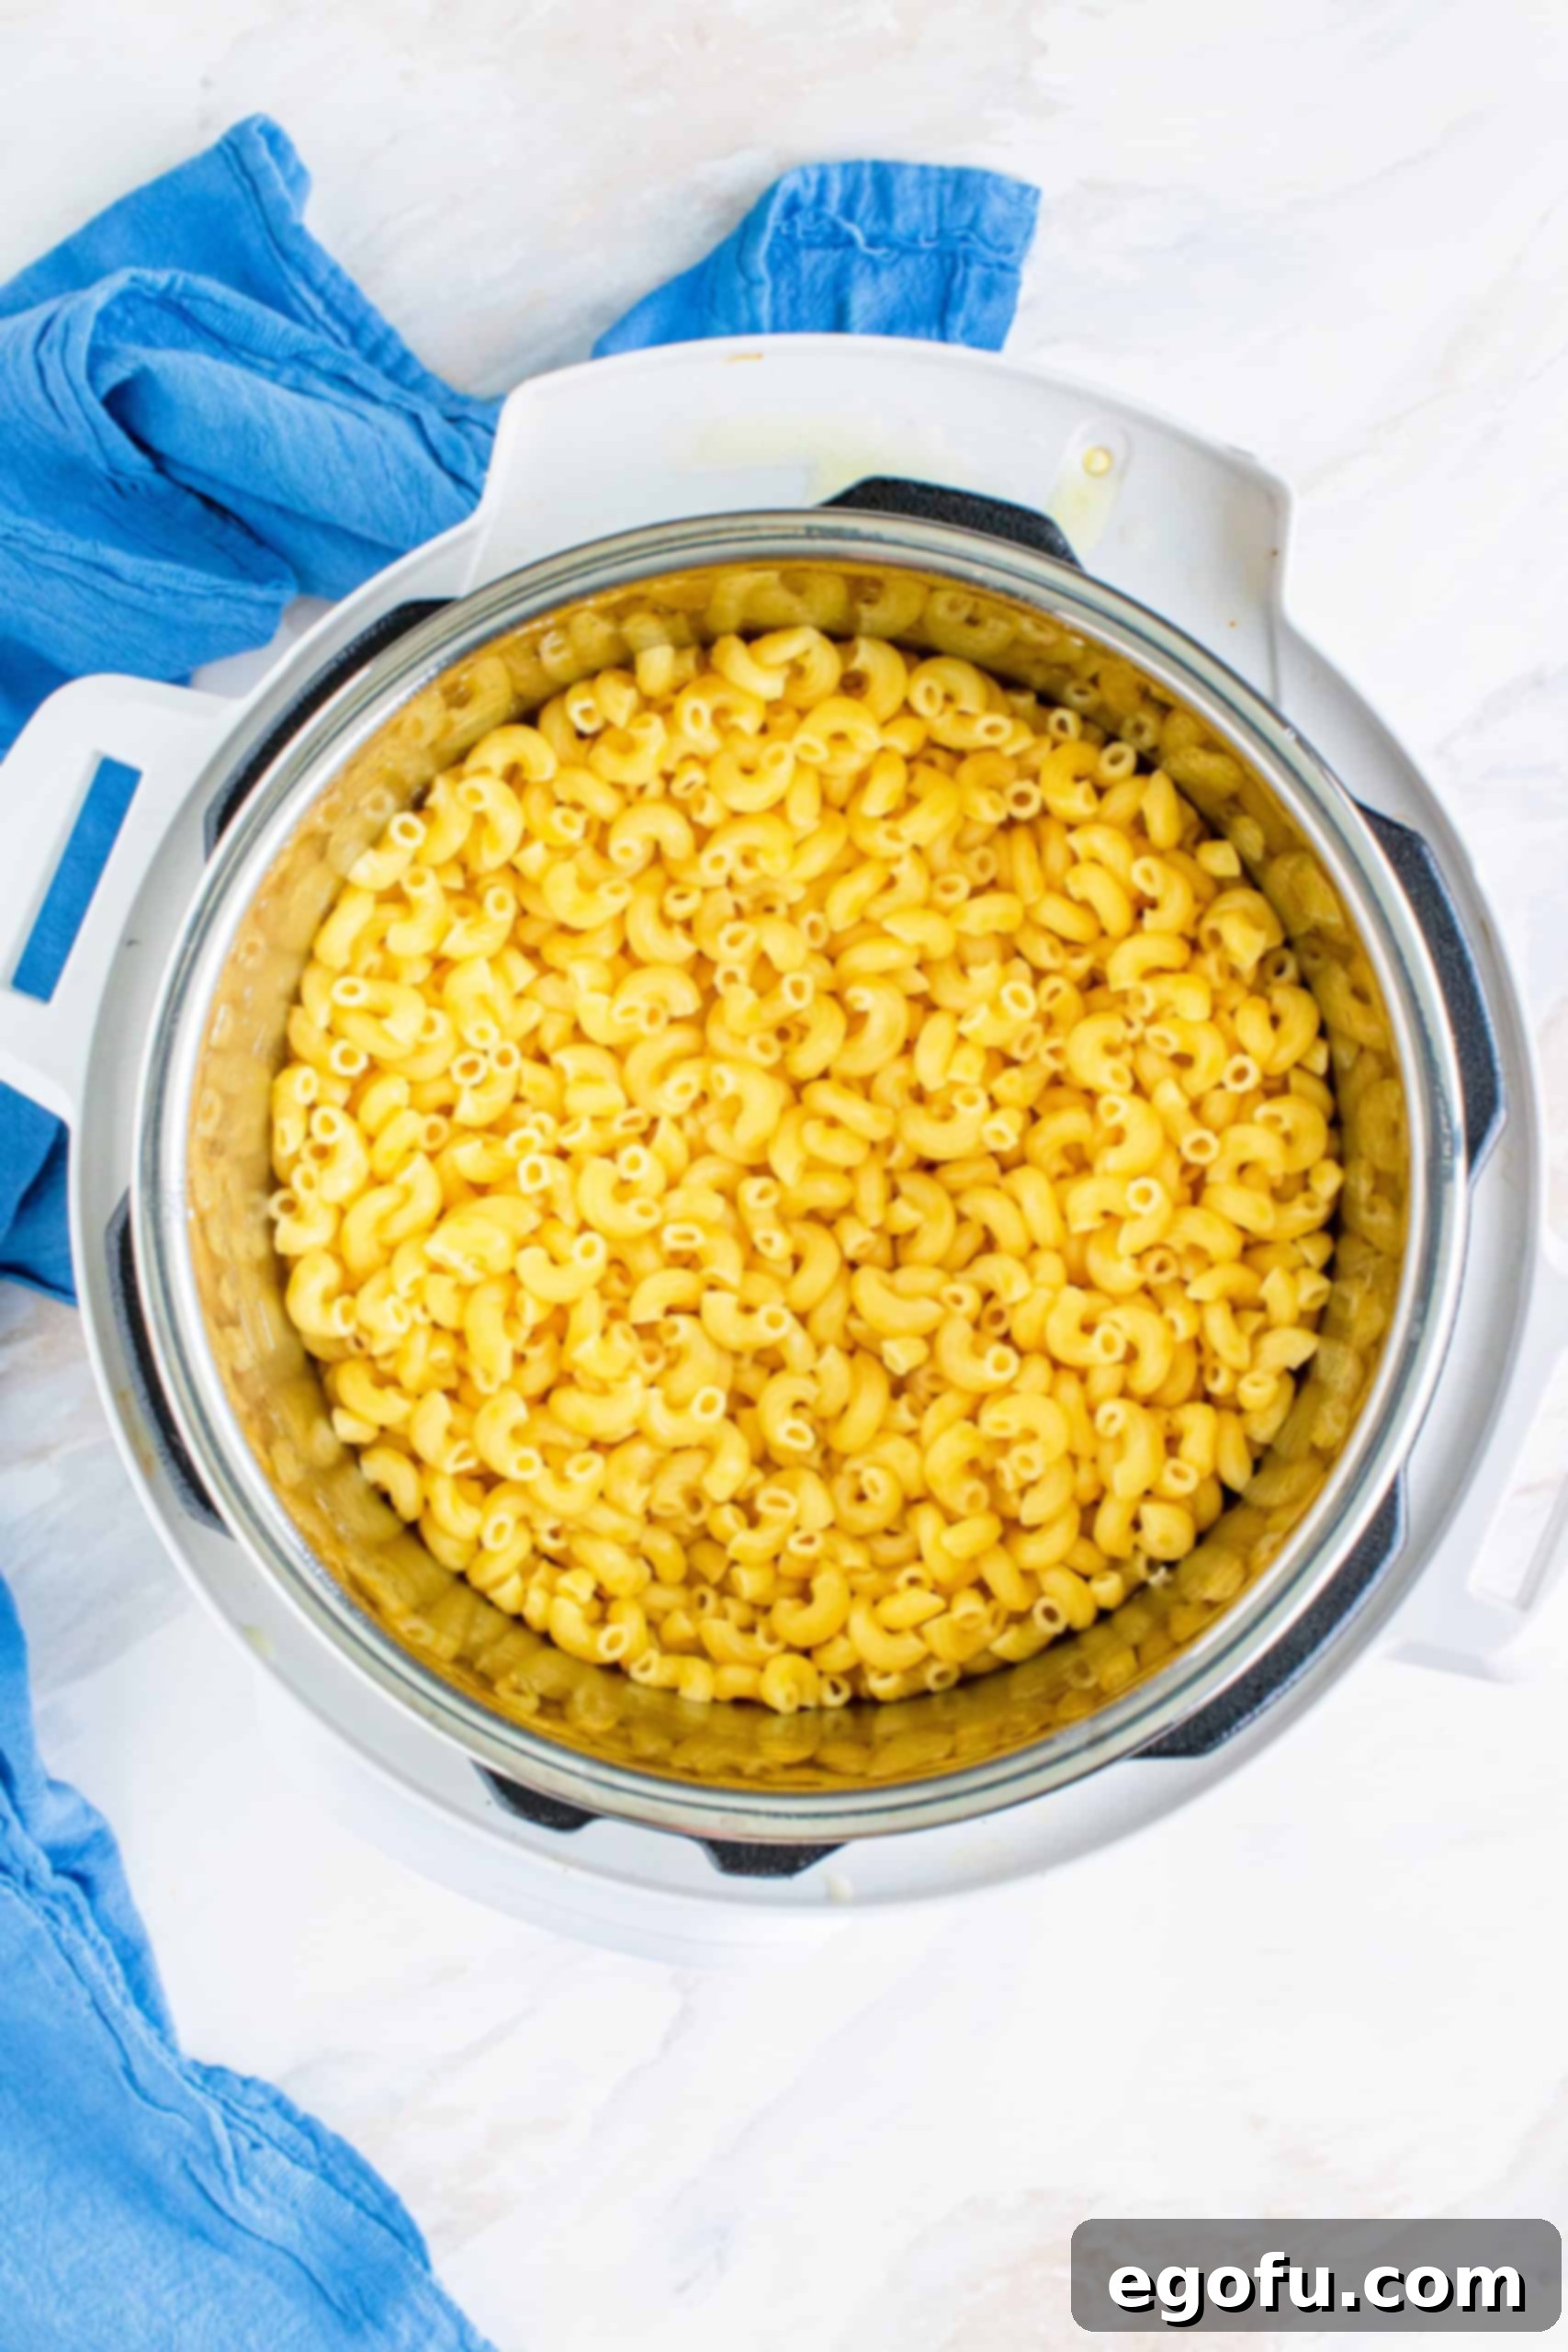
Achieving Ultimate Creaminess
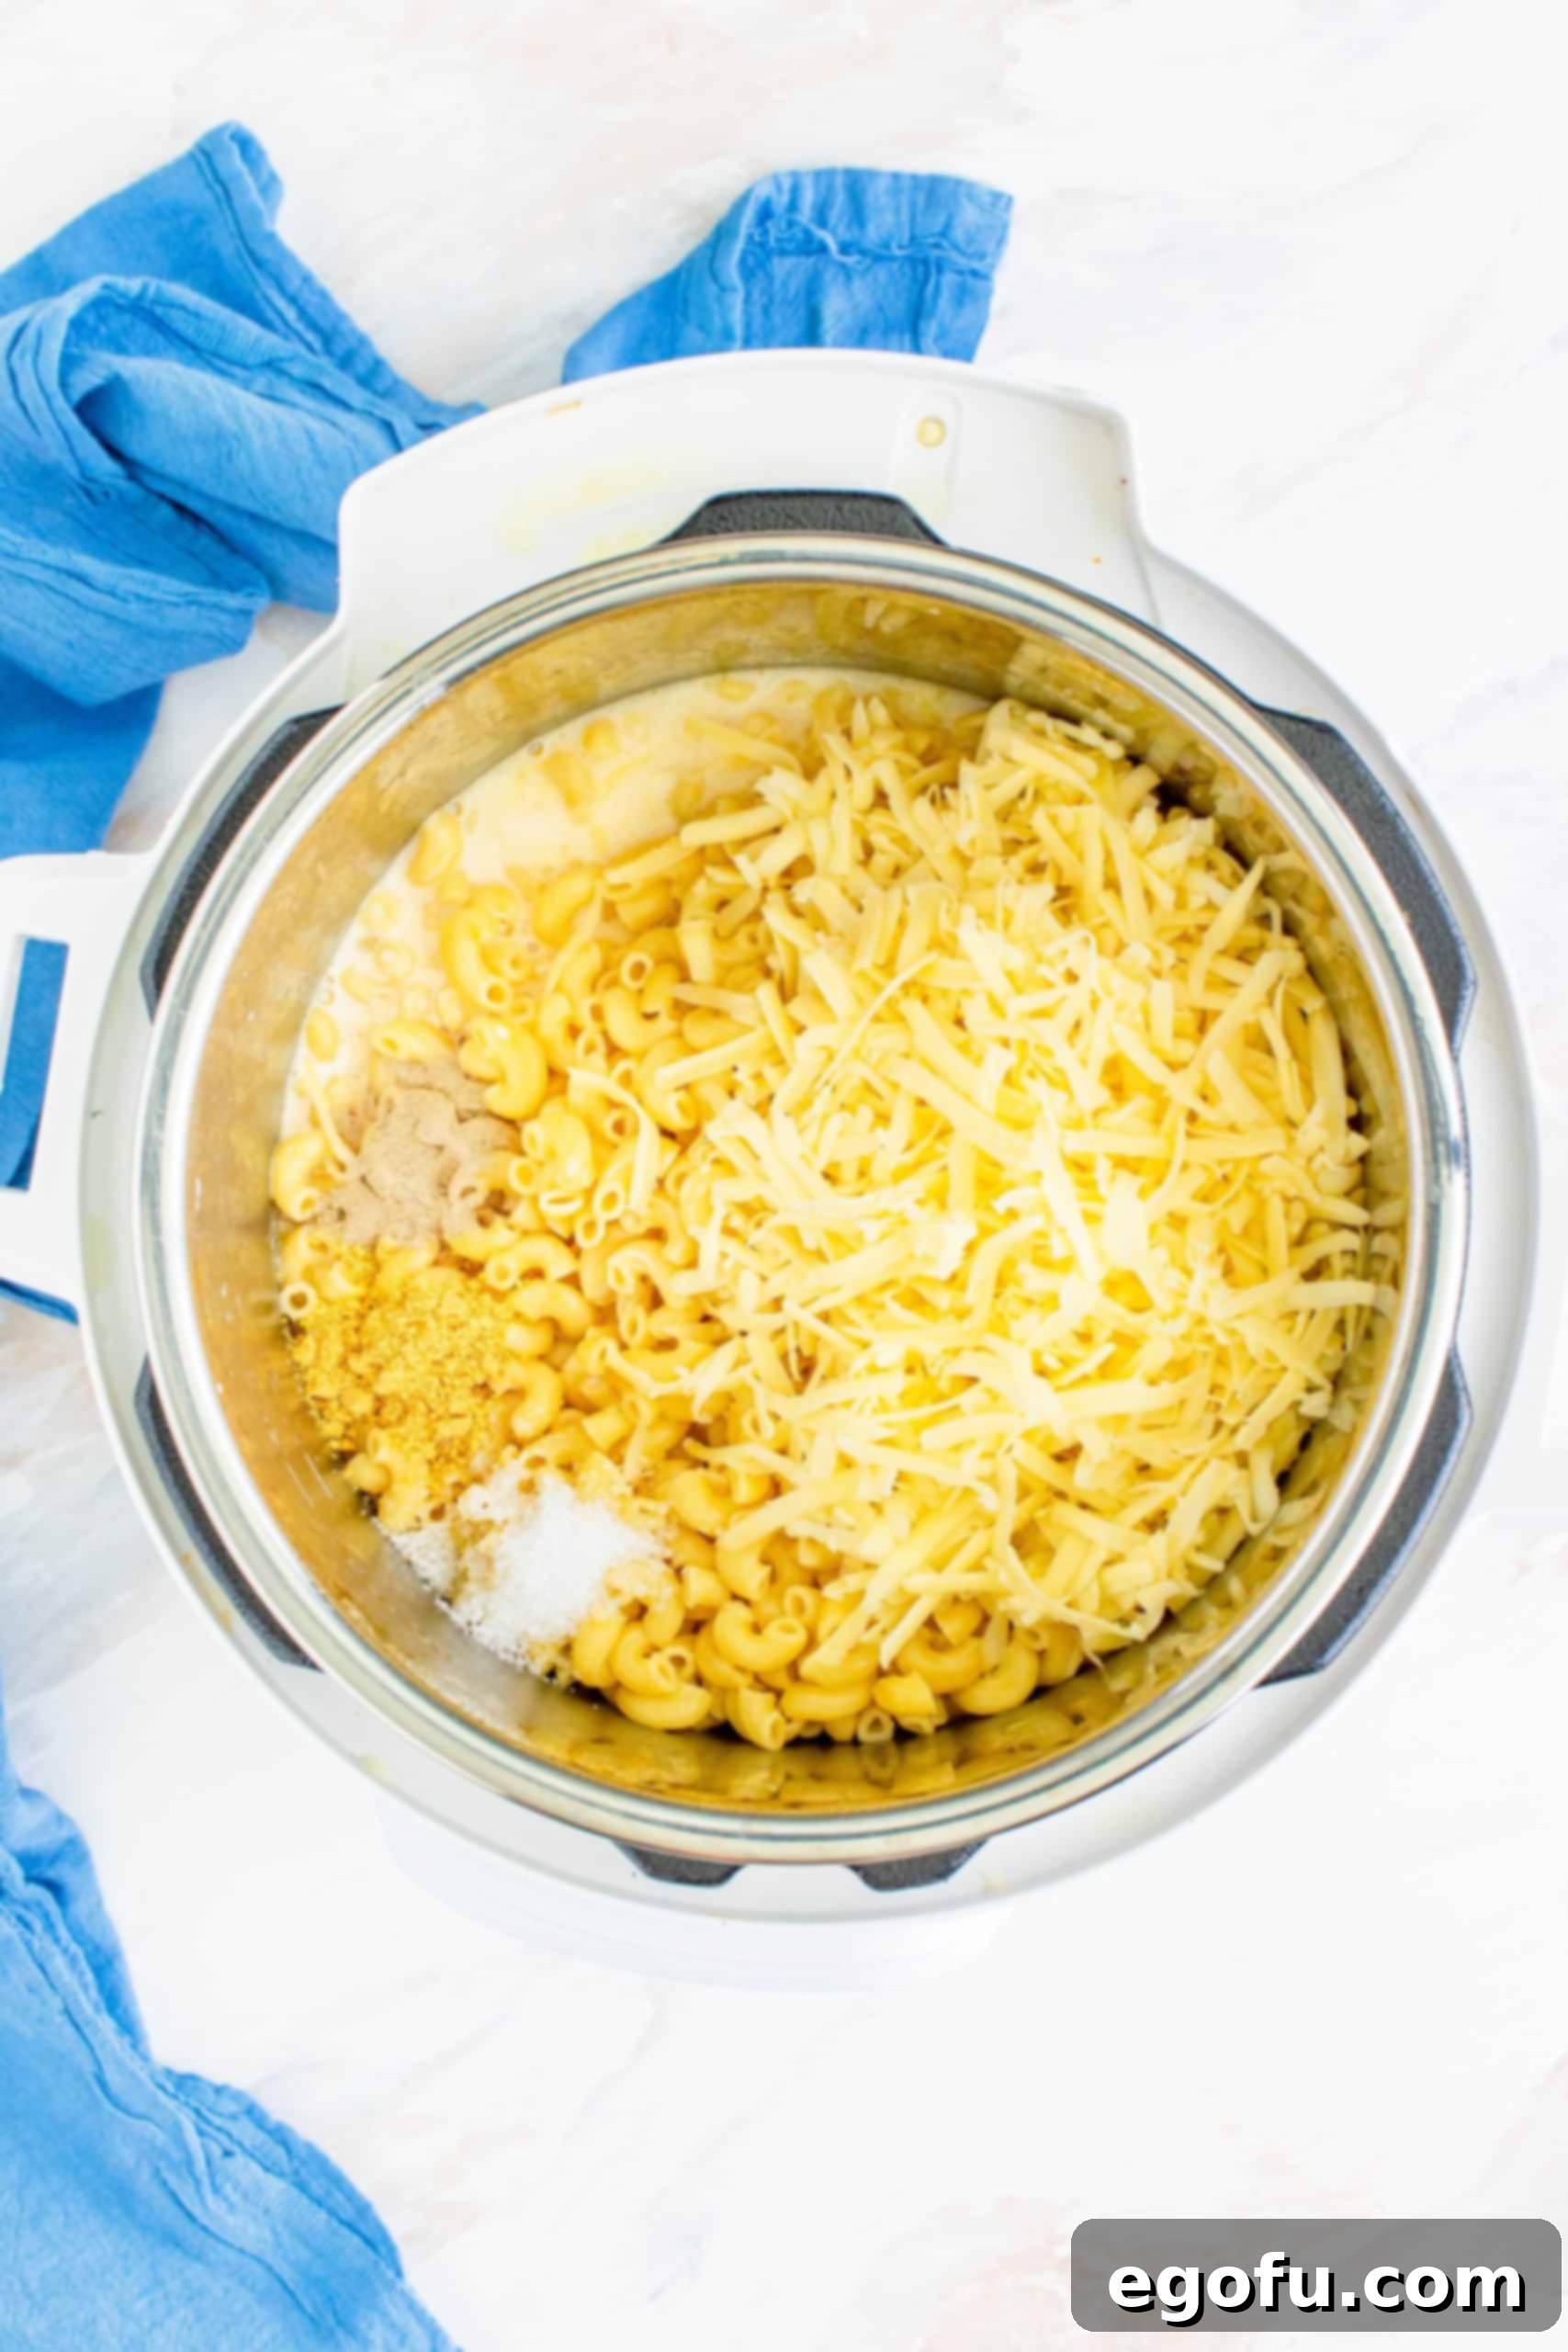
Step 4: Incorporate the Creamy Elements. With the noodles cooked, it’s time to transform them into a cheesy masterpiece. Add the 12-ounce can of evaporated milk, 2 cups of freshly shredded cheddar cheese, 1 teaspoon of salt, and ½ teaspoon of white pepper (and 1/2 teaspoon dry mustard powder, if using). Stir vigorously until all the ingredients are thoroughly combined and the cheese begins to melt into a luscious sauce. Don’t worry if it looks a bit thin at this stage; it will thicken.
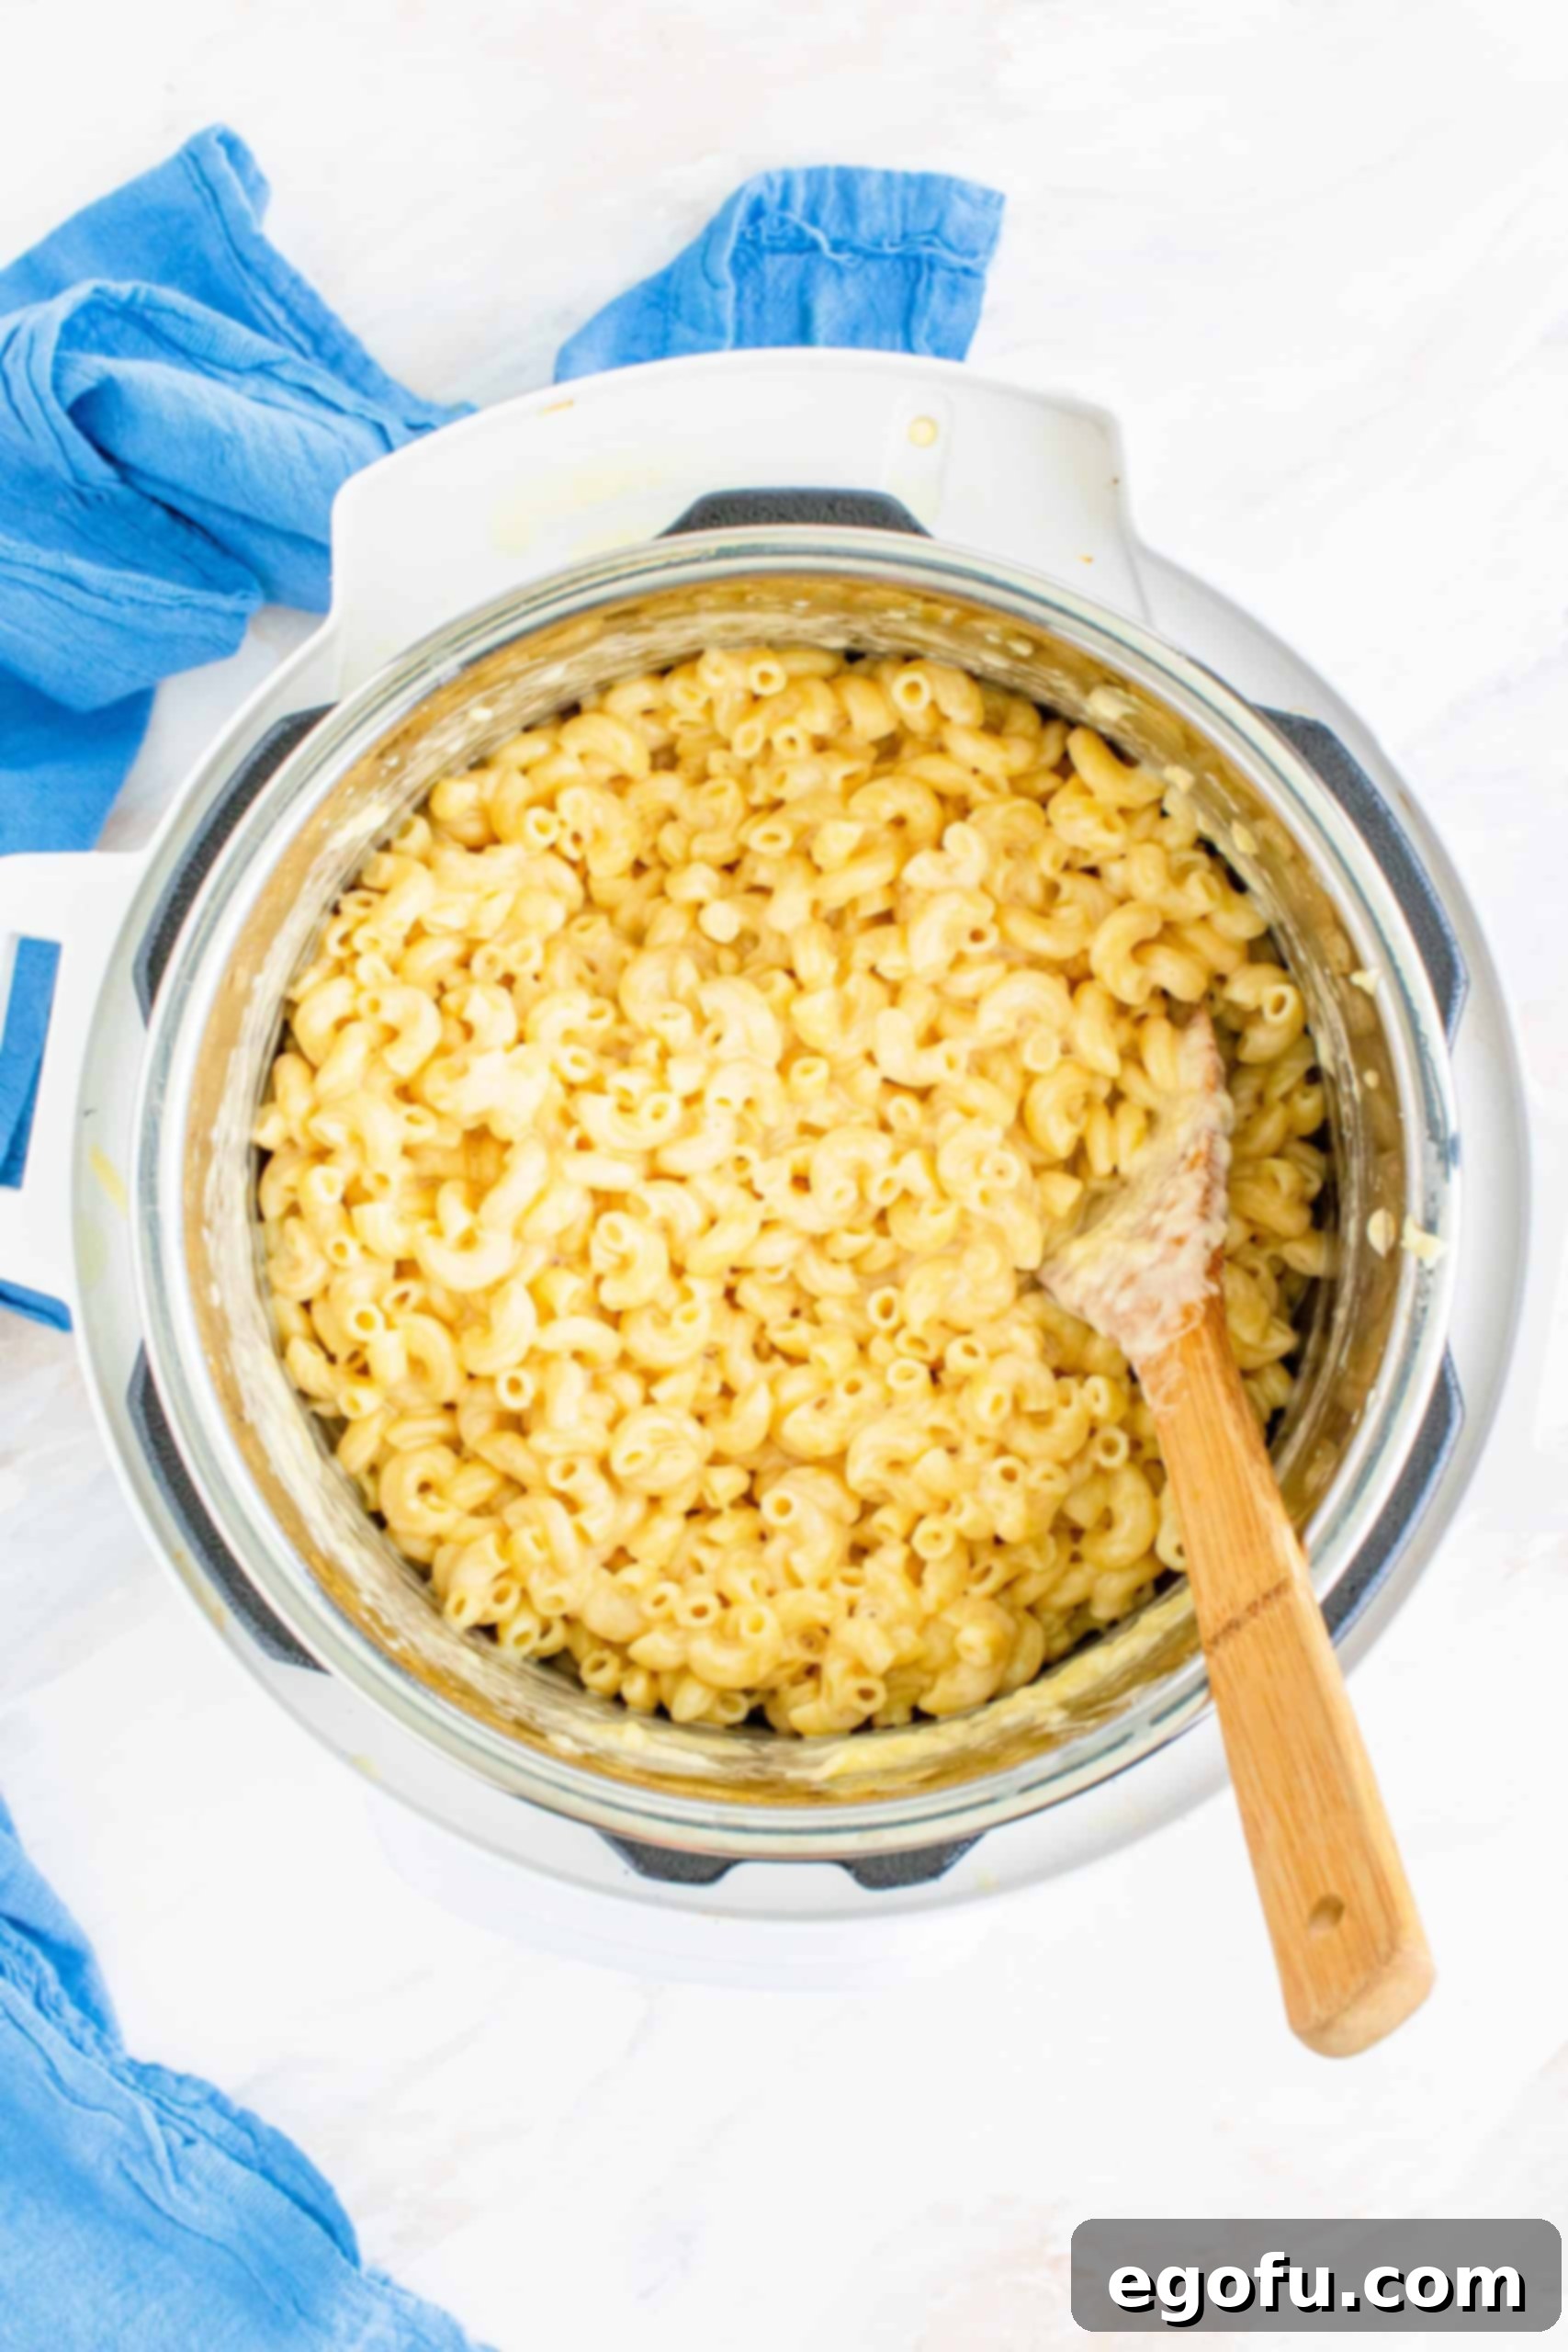
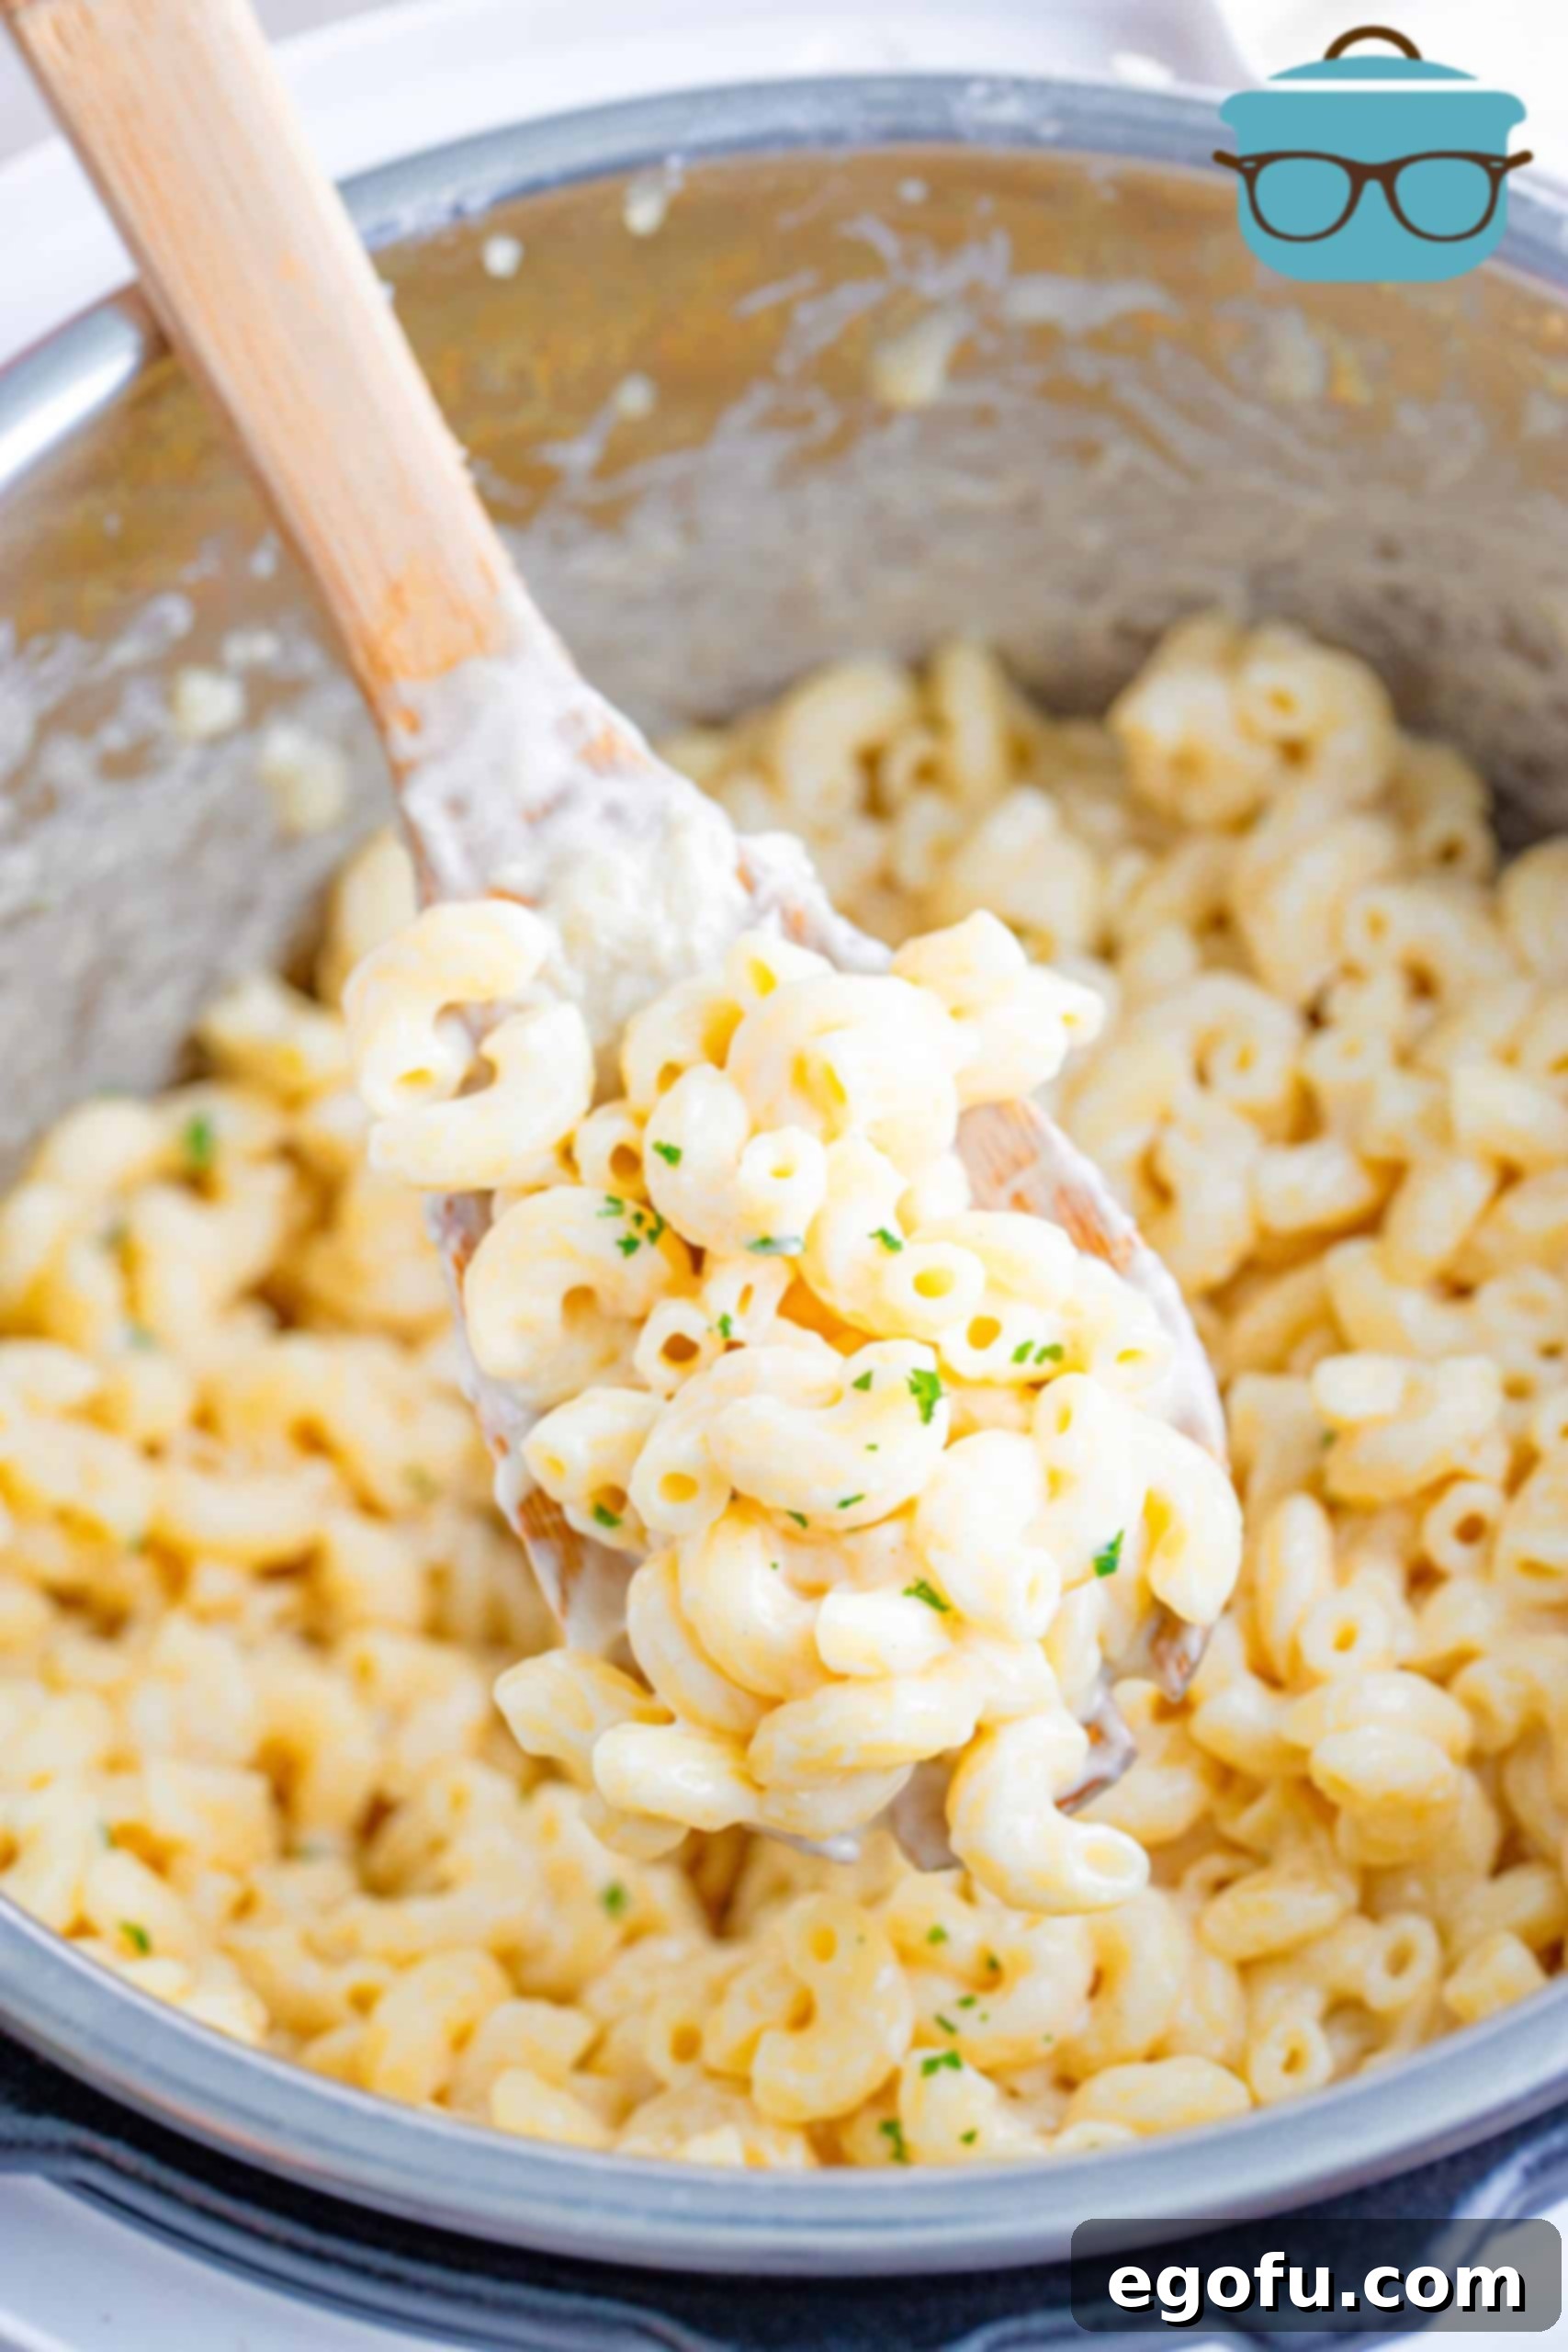
Step 5: Allow to Thicken and Serve. Place the lid back on the Instant Pot (no need to seal the valve this time). Press the “Keep Warm” button. Let the mac and cheese sit for an additional 5-10 minutes. This resting period is crucial as the residual heat will continue to melt the cheese completely and allow the sauce to thicken to its ideal creamy consistency. After 5-10 minutes, turn the pot off and open the lid. Give it one final, thorough stir. You’ll notice the mixture has become wonderfully thick, creamy, and coated. Remember, it will continue to thicken slightly as it cools on your plate. Serve immediately and enjoy!
FAQs: Your Instant Pot Mac and Cheese Questions Answered
Here are some common questions about making mac and cheese in your Instant Pot:
- Can I use different types of pasta? Yes, smaller pasta shapes like small shells, ditalini, or even rotini work well. Avoid very large or thick pastas as they may require different cooking times and liquid ratios.
- Why does my pasta water sometimes spit out during quick release? This is common with starchy foods like pasta. To prevent a mess, place a kitchen towel over the steam release valve when you open it, or close the valve for a few seconds if sputtering occurs, then release slowly in short bursts.
- Can I use pre-shredded cheese? While you can, it’s highly recommended to use freshly shredded cheese. Pre-shredded cheeses often contain anti-caking agents that can lead to a slightly grainy texture and less smooth melt.
- What if my mac and cheese seems too thin? Don’t panic! The sauce thickens significantly as it sits and cools. The 5-10 minute resting period on “Keep Warm” is crucial for achieving optimal creaminess. If it’s still too thin after resting, you can simmer it on the “Sauté” (Low) setting for a few minutes, stirring constantly, until it reaches your desired consistency.
- What if my mac and cheese is too thick? If your mac and cheese is too thick for your liking, you can stir in a splash more evaporated milk, whole milk, or even a little chicken broth until it reaches your preferred consistency.
Variations and Add-ins to Customize Your Mac
This Instant Pot Mac and Cheese is fantastic on its own, but it also serves as a perfect base for customization:
- Spice It Up: Add a pinch of cayenne pepper, a dash of hot sauce, or some diced jalapeños for a spicy kick.
- Meaty Additions: Stir in cooked bacon bits, shredded chicken, diced ham, or cooked ground beef for a heartier meal.
- Vegetable Boost: Fold in steamed broccoli florets, peas, or sautéed mushrooms for added nutrients and flavor.
- Herbaceous Notes: A sprinkle of fresh chives, parsley, or thyme can brighten up the dish just before serving.
- Breadcrumb Topping: For a textural contrast, transfer the finished mac and cheese to an oven-safe dish, top with buttered breadcrumbs, and broil for a few minutes until golden and crispy.
- Smoky Flavor: Add a teaspoon of smoked paprika or a dash of liquid smoke for a subtle smoky depth.
Storing and Reheating Your Delicious Leftovers
Mac and cheese is often just as good, if not better, the next day! To store leftovers, transfer the cooled mac and cheese to an airtight container and refrigerate for up to 3-4 days. When reheating, the sauce may have thickened considerably. To restore its creamy texture, reheat gently on the stovetop over low heat or in the microwave, adding a splash of milk (whole milk or evaporated milk) as you stir until it reaches your desired consistency. Avoid overheating, as this can cause the cheese sauce to separate.
More Irresistible Instant Pot Recipes to Explore
Loved how easy and delicious this Instant Pot Mac and Cheese was? Explore more pressure cooker wonders!
- Classic Baked Mac and Cheese (if you prefer the traditional method)
- Stovetop White Cheddar Mac and Cheese
- Instant Pot Sausage Mac and Cheese
- Instant Pot Crack Chicken
- Instant Pot Chicken Scampi
- Instant Pot Pot Roast
- Instant Pot Meatballs
- Instant Pot Creamy Garlic Chicken Pasta
- Instant Pot Spaghetti and Meatballs
- Instant Pot BBQ Chicken
- Instant Pot American Goulash
- Instant Pot Meatloaf
- Instant Pot Cubed Steak and Gravy
- Instant Pot Smothered Pork Chops
- Instant Pot Beef Stew
Instant Pot Mac and Cheese
This Instant Pot Macaroni and Cheese recipe is incredibly easy to make and whips up fast, requiring no pre-cooking of noodles! Enjoy a super creamy and cheesy dish made with fresh ingredients.
Prep Time: 10 minutes
Cook Time: 2 minutes
Time to Pressure: 6-8 minutes
Total Time: 20 minutes
Servings: 8
Author: Brandie Skibinski
Ingredients
- 16 ounce box elbow macaroni noodles
- 4 ½ cups water (or low-sodium chicken broth)
- 2 Tablespoons salted butter
- 12 ounce can evaporated milk (can also use whole milk or half and half)
- 2 cups freshly shredded cheddar cheese
- 1 teaspoon salt
- ½ teaspoon white pepper
- (Optional: ½ teaspoon dry mustard powder)
Instructions
- Combine uncooked elbow macaroni noodles, water, and salted butter in the basin of your Instant Pot. Gently stir to ensure the pasta is just submerged under the water.
- Close the lid securely and turn the steam release valve to the “Sealing” position.
- Press “Pressure Cook” (or “Manual”), set to high pressure, and select 2 minutes. The Instant Pot will take approximately 6-8 minutes to come to pressure before the 2-minute cooking cycle begins.
- Once the timer goes off, press “Cancel”. Carefully turn the steam release valve to “Venting” to do a quick release until all steam is gone. Note: you may want to cover the valve with a kitchen towel to catch any sputtering water.
- Open the Instant Pot and stir the noodles well to break them up.
- Stir in the evaporated milk, freshly shredded cheddar cheese, salt, and white pepper (and dry mustard powder if using) until thoroughly mixed and the cheese begins to melt.
- Place the lid back on the Instant Pot (no need to seal the valve this time) and press the “Keep Warm” button. Let it sit for 5-10 minutes.
- Turn the pot off and open the lid. Stir the melted cheese mixture thoroughly until it is creamy and coated. The mixture will continue to thicken as it cools. Serve warm.
Notes
- Use any mild cheese that melts well. Freshly shredded cheese is recommended for the smoothest sauce.
- If pasta water spits out during quick release, cover the valve with a kitchen towel or close it briefly and release slowly.
- Optional: adding half a teaspoon of dry mustard powder will enhance the cheese flavor without making the dish taste like mustard.
- For extra cheesiness, add an additional layer of shredded cheese on top after stirring in the sauce. Close the lid for 5-10 minutes to allow it to melt before serving.
Nutrition
Calories: 407kcal | Carbohydrates: 46g | Protein: 17g | Fat: 16g | Sodium: 256mg | Fiber: 1g | Sugar: 5g
Nutritional Disclaimer
“The Country Cook” is not a dietician or nutritionist, and any nutritional information shared is an estimate. If calorie count and other nutritional values are important to you, we recommend running the ingredients through whichever online nutritional calculator you prefer. Calories and other nutritional values can vary quite a bit depending on which brands were used.
Originally published: July 2018
Updated & republished: February 2021
