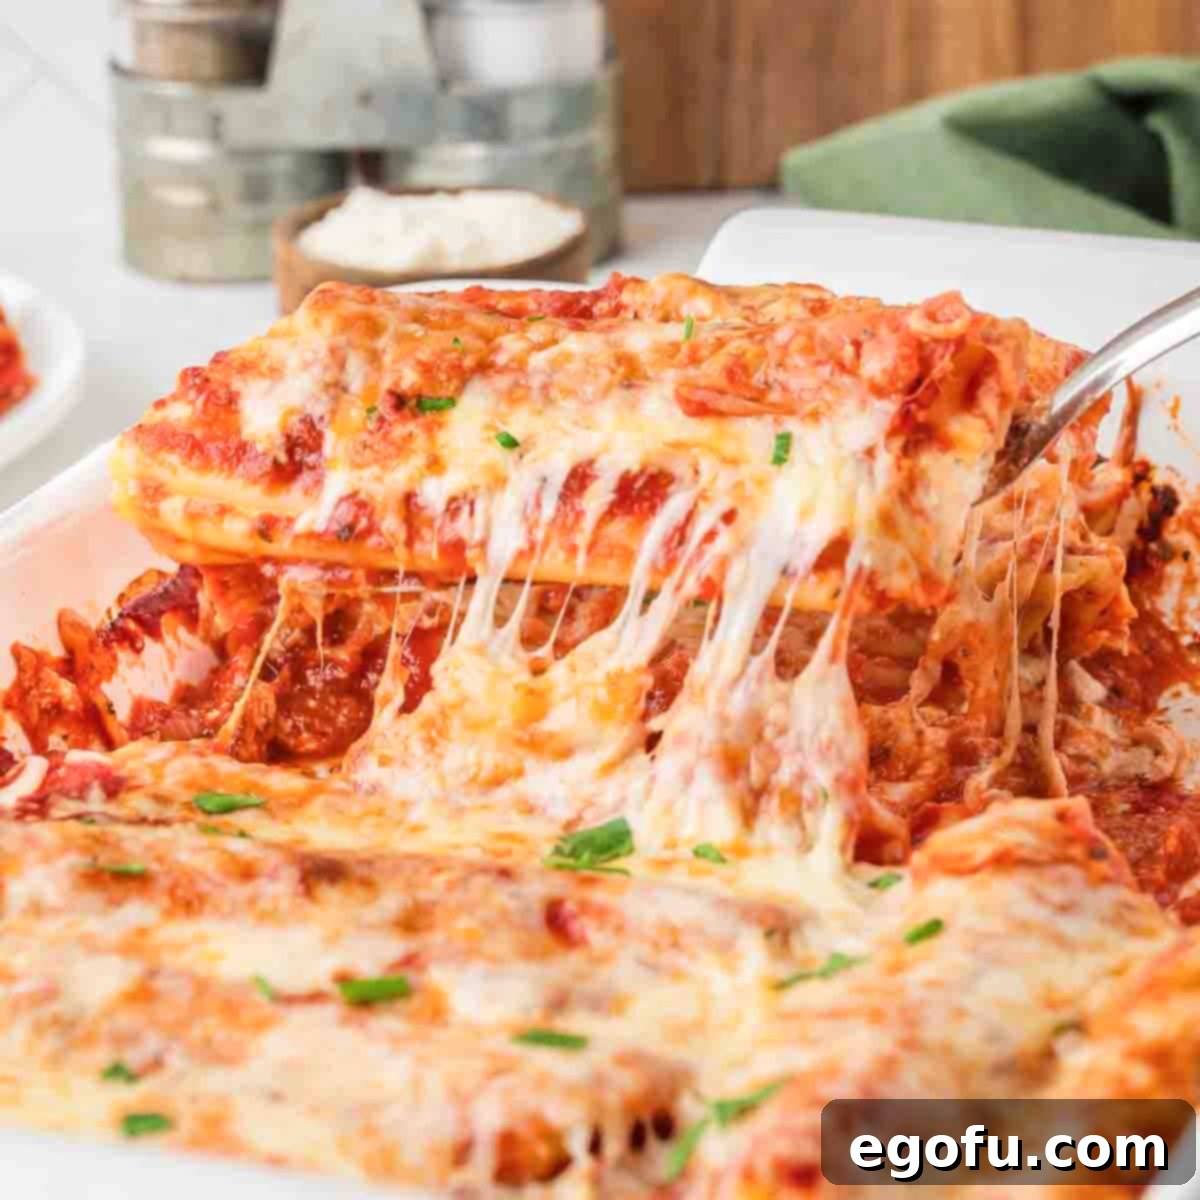
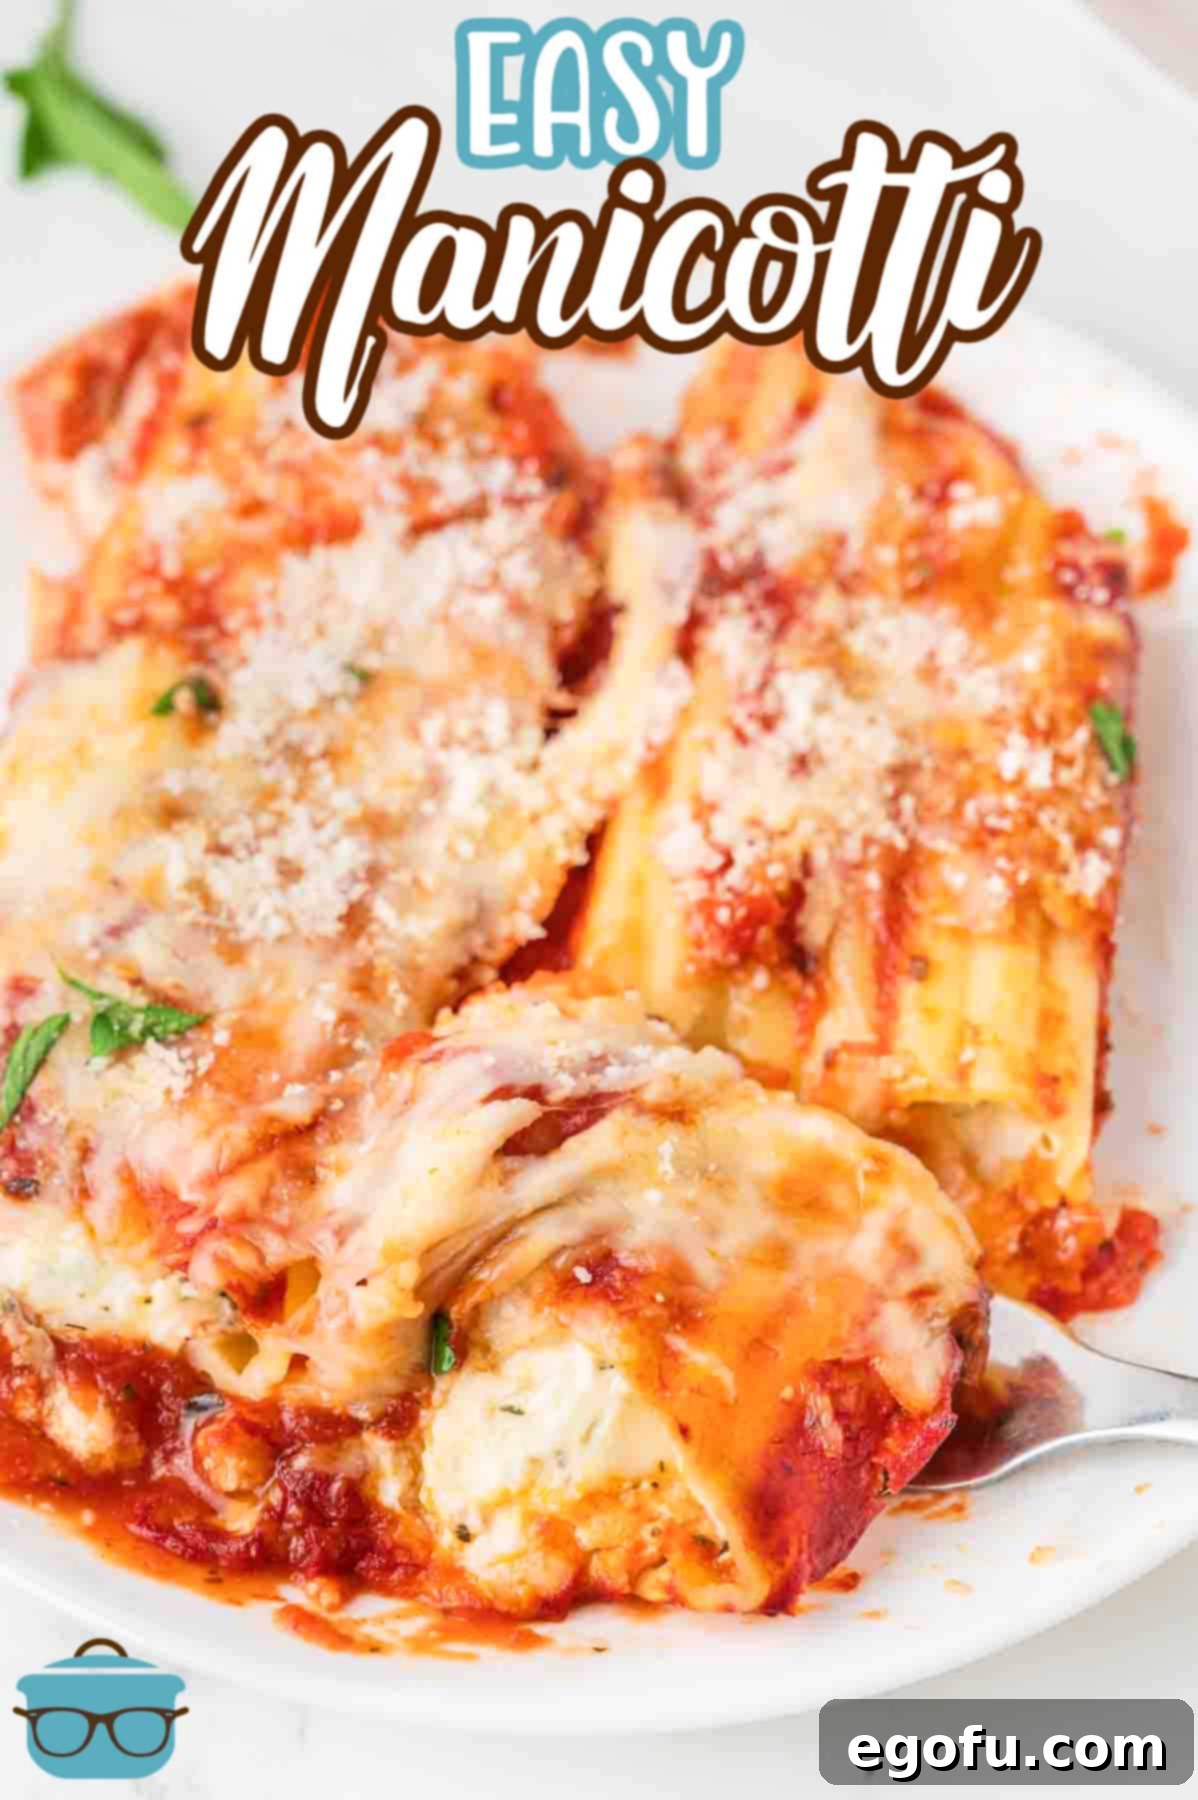
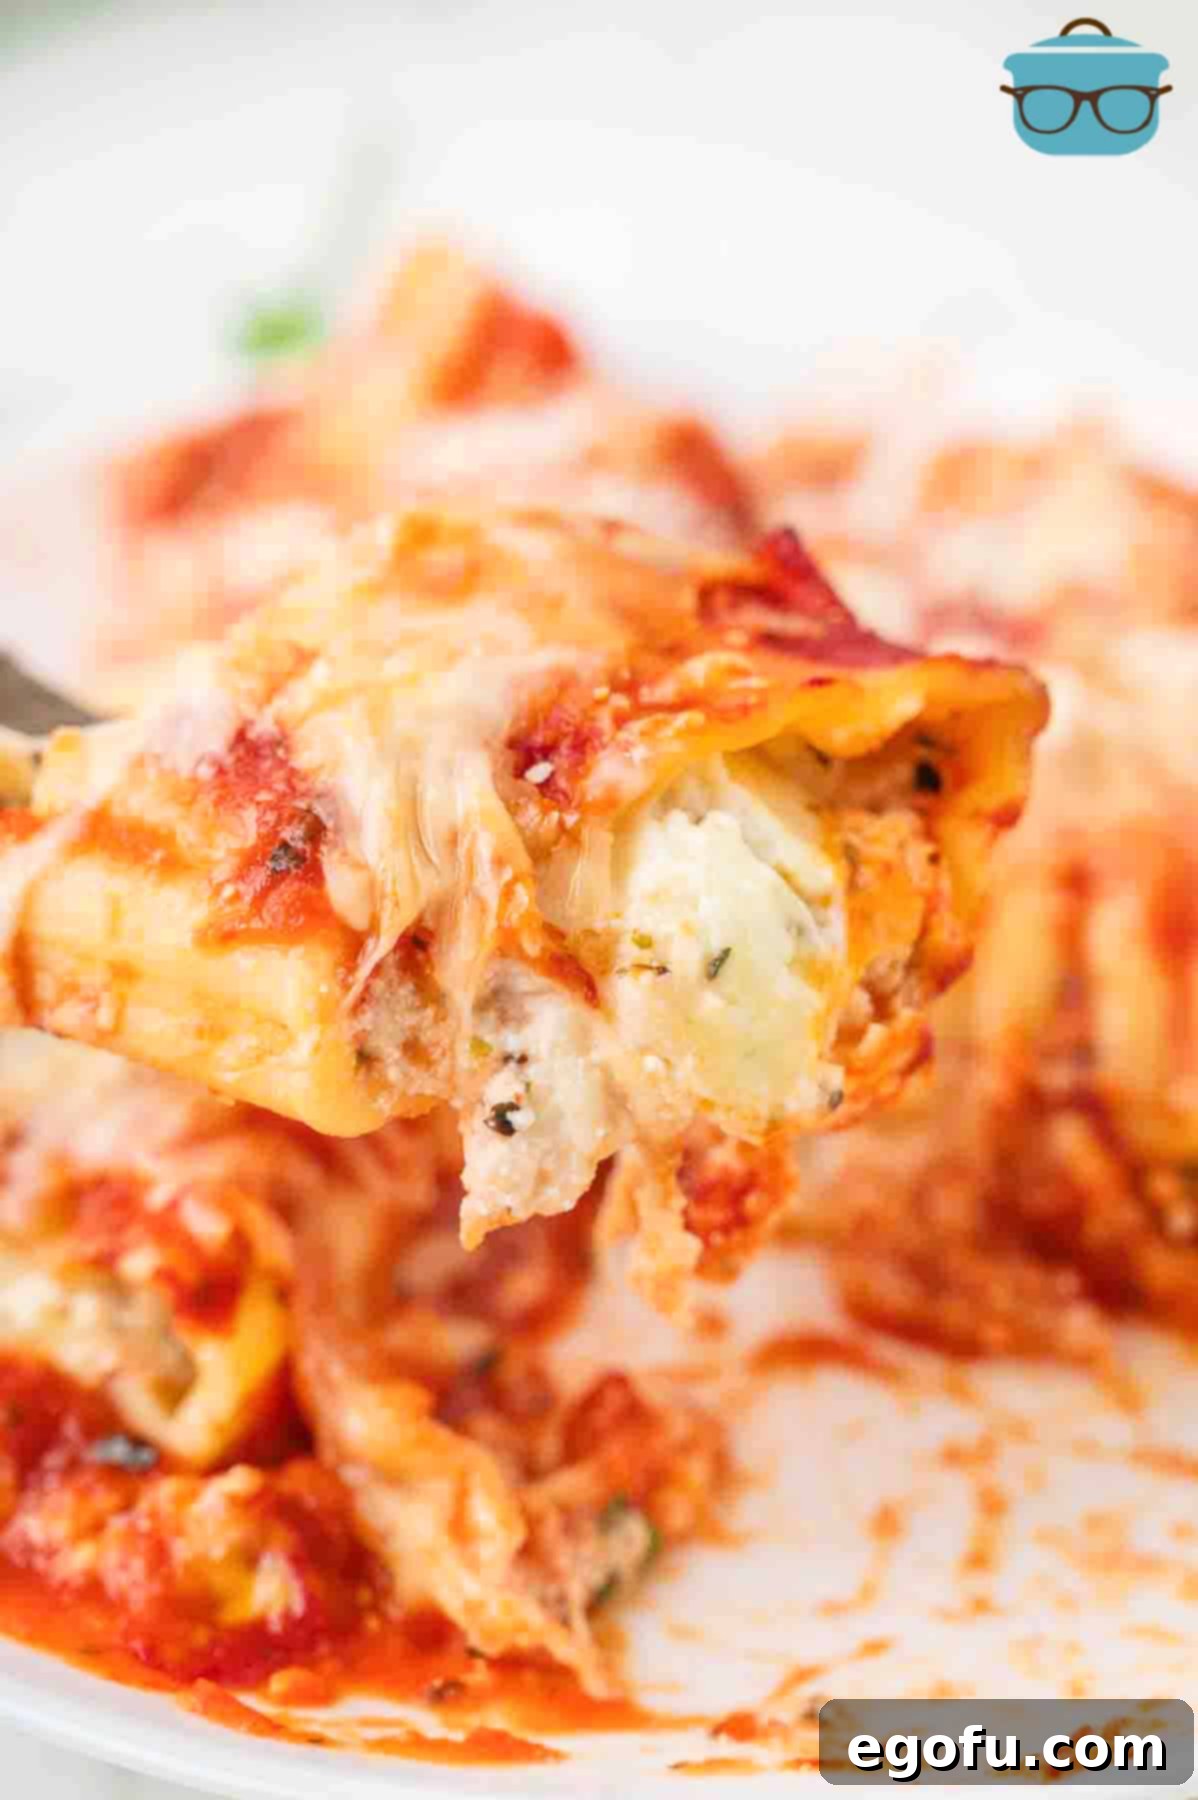
Welcome to the ultimate guide for creating a truly delightful, comforting, and undeniably Italian-inspired pasta dinner: Easy Manicotti. This recipe takes the perceived complexity out of a classic dish, making it accessible for any home cook. Imagine tender pasta tubes generously filled with a simple yet incredibly flavorful cheesy mixture, bathed in rich marinara sauce, and topped with a golden blanket of melted mozzarella and Parmesan. This isn’t just a meal; it’s a culinary experience that promises to be a hit with family and friends every single time.
Unlocking the Magic of Manicotti: A Cheesy Italian Delight
Manicotti, much like its popular cousin, stuffed shells, often carries a reputation for requiring significant effort, leading many to reserve it for special occasions. However, we’re here to reveal that crafting this cheesy marvel is far simpler than you might imagine. This recipe incorporates smart shortcuts that drastically reduce preparation time without compromising on authentic flavor or heartwarming satisfaction. Think of it as your secret weapon for a weeknight dinner that feels decidedly gourmet.
Beyond its surprising ease, Manicotti offers several compelling advantages. It’s a fantastic candidate for meal prepping, as it holds up beautifully and often tastes even better the next day, making for exquisite leftovers. Furthermore, it’s a freezer-friendly dish, allowing you to prepare a batch in advance and store it for those busy evenings when you need a delicious, homemade meal with minimal fuss. This versatility makes Manicotti an invaluable addition to any cook’s repertoire.
Your Manicotti Questions Answered: Frequently Asked Questions
Whether you’re a seasoned chef or a kitchen novice, you might have some questions about perfecting your Manicotti. We’ve compiled a list of common inquiries and detailed answers to ensure your cooking experience is seamless and enjoyable.
What is the most effective way to fill manicotti shells?
The optimal method for filling delicate manicotti shells is by using a piping bag without a tip. This allows for controlled, even distribution of the filling, minimizing the risk of tearing the pasta. If you don’t own a piping bag, a simple household hack works wonders: fill a large Ziploc bag with your cheesy mixture, snip off one of the bottom corners, and voilà—you have an instant, disposable piping bag! You’ll be astonished at how quickly you can fill the shells this way. To prevent tearing, you can also gently squeeze a portion of the filling into one end of the shell, then flip it around and fill the other side. While spooning the filling is an option, it comes with a higher risk of accidental rips and can be more time-consuming. Patience and a steady hand, or a makeshift piping bag, are your best friends here.
How can I tell when my Manicotti is perfectly cooked?
Since most of your ingredients, including the pasta and sauce, are already cooked or require minimal cooking, the primary goal during baking is to heat the ricotta mixture through and achieve perfectly melted, golden-brown cheese on top. We recommend baking for a minimum of 30 minutes, even if the top cheese appears melted sooner. This ensures that the creamy ricotta filling reaches a safe and delicious serving temperature. Always use a middle oven rack for baking. Placing dishes on the top rack can lead to premature burning of the cheese before the center is fully heated, as heat naturally rises and can make the upper part of your oven hotter.
Can I prepare Manicotti in advance?
Absolutely! Manicotti is an excellent make-ahead meal, perfect for busy schedules or entertaining. You can assemble the entire dish up to three days in advance. Simply cover the baking dish tightly with plastic wrap and store it in the refrigerator. When you’re ready to bake, remove it from the fridge while the oven preheats to allow it to come closer to room temperature, then bake as directed. For longer storage, prepare the Manicotti, cover it first with plastic wrap, then with aluminum foil, and freeze for up to three months. Thaw overnight in the refrigerator before baking.
What’s the best way to prevent Manicotti shells from sticking together after cooking?
Like many types of pasta, manicotti shells can become sticky as they cool. However, you do need to allow them to cool slightly after boiling to handle them safely for filling. A clever trick I swear by is to lightly drizzle a small amount of olive oil over the drained pasta while it’s still in the colander. Gently toss or stir the shells to ensure each one receives a thin, even coating. This thin layer of oil acts as a barrier, effectively preventing them from clumping together as they cool, making them much easier to fill without breakage.
What are some delicious side dishes that pair well with this Manicotti?
Manicotti is a hearty and flavorful dish that welcomes a variety of complementary sides. For a classic Italian experience, freshly baked garlic bread or cheesy bread is almost a mandatory accompaniment, perfect for soaking up any extra sauce. A crisp, refreshing garden salad with a light vinaigrette provides a wonderful contrast to the richness of the pasta. For those who enjoy soup, a comforting bowl of minestrone soup or a simple tomato bisque can elevate the meal. Other great options include steamed green beans, roasted asparagus, or even a light fruit salad to round out the flavors.
What’s the best method for storing and reheating Manicotti leftovers?
Storing leftovers correctly ensures they remain delicious and safe to eat. Transfer any cooled Manicotti to an airtight container and refrigerate for up to five days. To reheat, you have a couple of excellent options. For best results, especially with larger portions, reheat in the oven at 350°F (175°C) until warmed through and bubbly. If you’re reheating a single serving, the microwave works perfectly; simply heat in short bursts, stirring gently, until hot. Covering the dish with a microwave-safe lid or damp paper towel can help retain moisture.
Essential Ingredients for Your Easy Manicotti Masterpiece
Crafting this simple yet spectacular Manicotti starts with a selection of quality ingredients. Each component plays a crucial role in building the layers of flavor that make this dish so irresistible. Here’s what you’ll need, along with some helpful tips for each.
Manicotti Pasta: Choosing the Right Shells
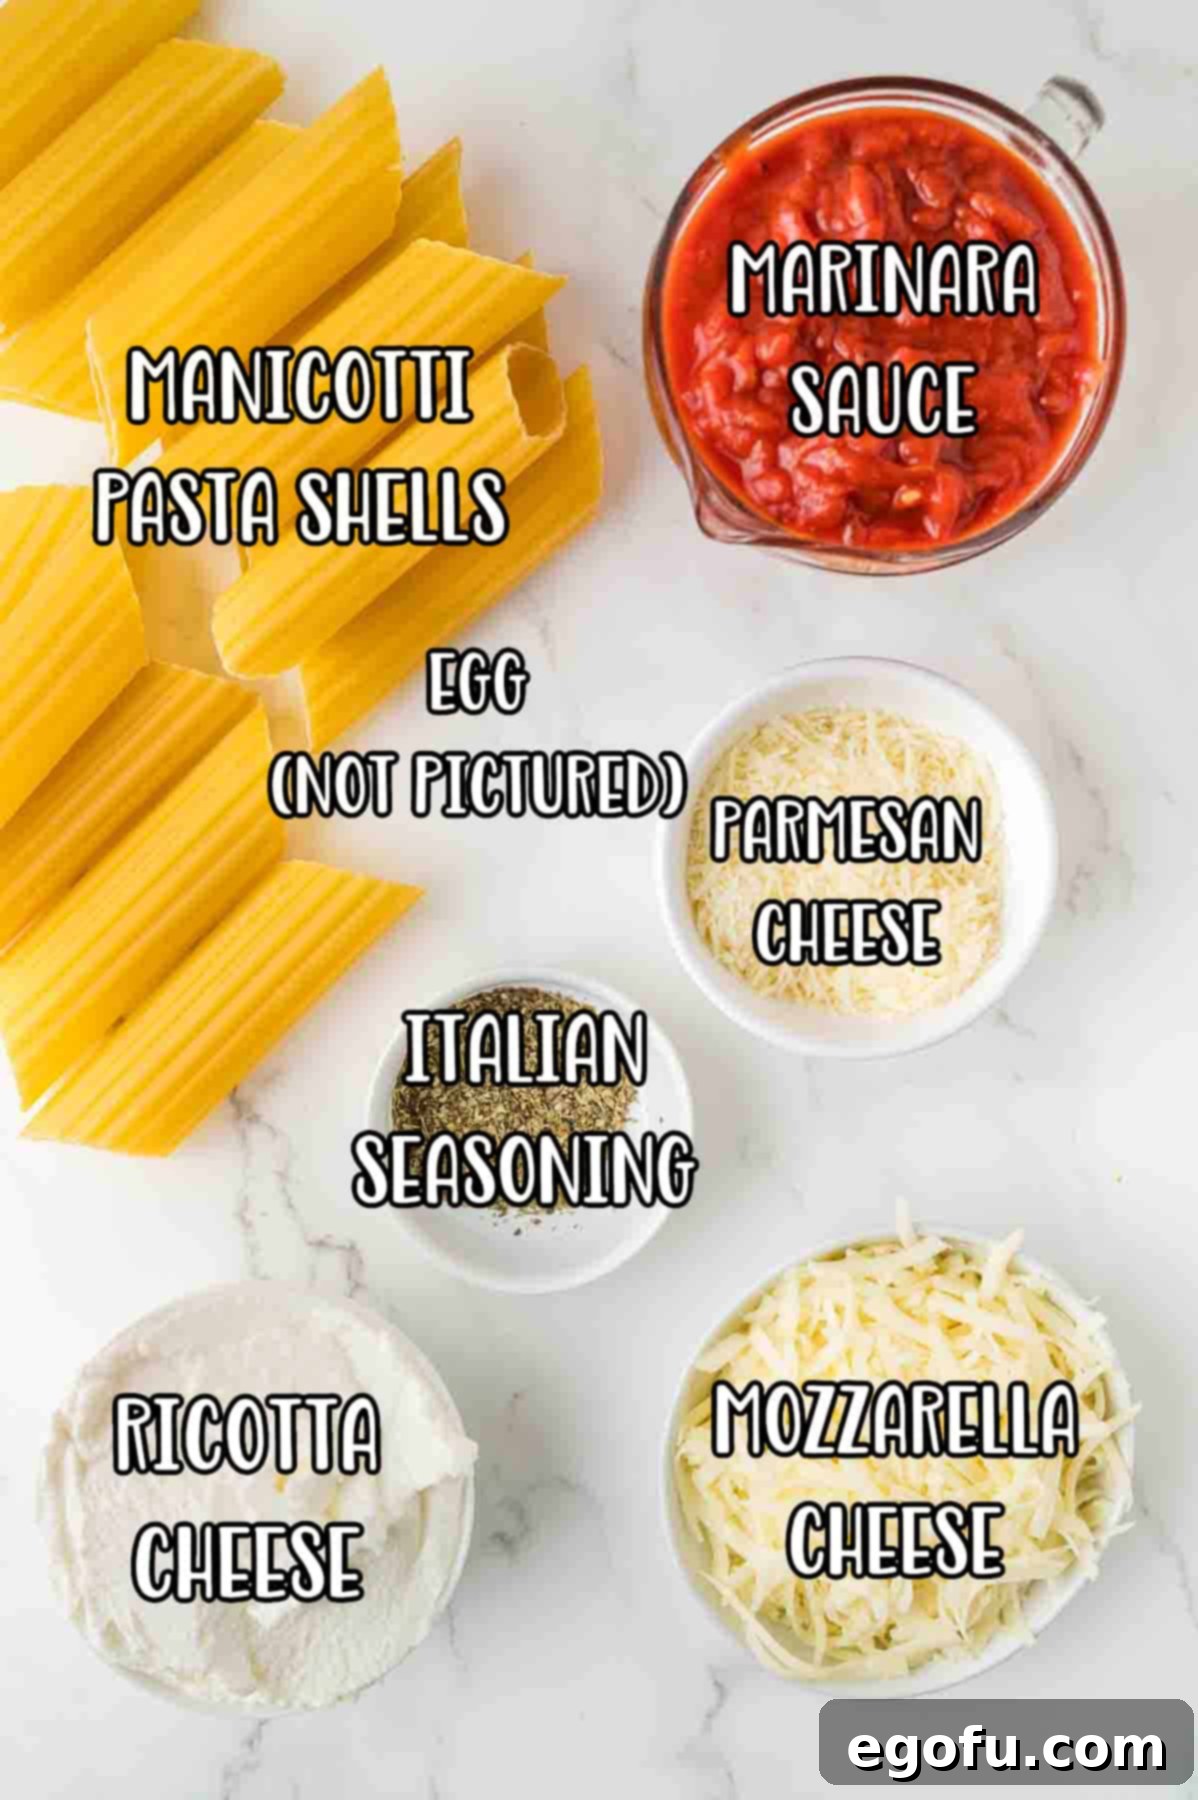
- Manicotti pasta: An 8-ounce box typically contains about 14 manicotti shells. While our recipe uses 12, it’s always wise to cook the entire box. This provides a buffer in case a shell or two tear during the filling process, which can sometimes happen with these delicate tubes. Don’t worry too much if a few do tear; the abundant sauce and melted cheese will beautifully conceal any imperfections.
Marinara Sauce: The Heart of Italian Flavor
- Marinara sauce: The quality of your marinara sauce significantly impacts the overall flavor. Feel free to use your favorite store-bought brand. Aldi’s Specially Selected Premium Marinara Sauce is a budget-friendly and delicious option, as is Rao’s Roasted Garlic Marinara. For those who wish to elevate the homemade factor even further, preparing your own homemade marinara sauce will undoubtedly make this dish truly exceptional.
Ricotta Cheese: The Creamy Filling Foundation
- Ricotta cheese: This creamy, mild cheese forms the luscious base of our filling. If ricotta isn’t readily available or if you prefer a slightly different texture, small curd cottage cheese makes an excellent substitute. Both options work beautifully in this recipe, offering a rich, tangy counterpoint to the pasta and sauce. The choice often comes down to personal preference for texture, taste, and what’s most accessible or budget-friendly.
The Binding Agent: Large Egg
- Large egg: A single large egg is essential for binding the cheese filling ingredients together. It helps create a cohesive mixture that holds its shape inside the pasta shells, preventing the filling from becoming too loose or crumbly during baking.
Mozzarella and Parmesan: The Cheesy Topping Duo
- Shredded mozzarella cheese: You’ll need about 3 cups of shredded mozzarella for this recipe. While freshly shredding mozzarella often yields superior melt and flavor, a one-pound bag of pre-shredded cheese offers a convenient shortcut. Keep in mind that standard bags often contain about 2 cups, so you might need two bags to achieve the desired cheesy abundance. Of course, if you’re a true cheese lover, don’t hesitate to use more!
- Parmesan: The recipe calls for shredded Parmesan, which adds a sharp, salty depth to the filling and a delightful crust when baked on top. Grated Parmesan, the kind typically found in green containers, can also be used if that’s what you have on hand or prefer.
Flavor Boosters: Garlic Powder and Italian Seasoning
- Garlic powder and Italian seasoning: These aromatic spices infuse the cheese filling with classic Italian flavors. Garlic powder provides a consistent garlic essence throughout. If you prefer the pungency of fresh garlic, one large clove, finely minced, can be used as a substitute. Italian seasoning, a fragrant blend of herbs, ties all the savory notes together, creating a truly harmonious taste experience.
Step-by-Step Guide to Making Easy Manicotti
Creating this delicious Manicotti is a straightforward process when broken down into simple steps. Follow these instructions carefully, and you’ll have a heartwarming Italian feast ready to enjoy.
Step 1: Prepare the Pasta and Baking Dish
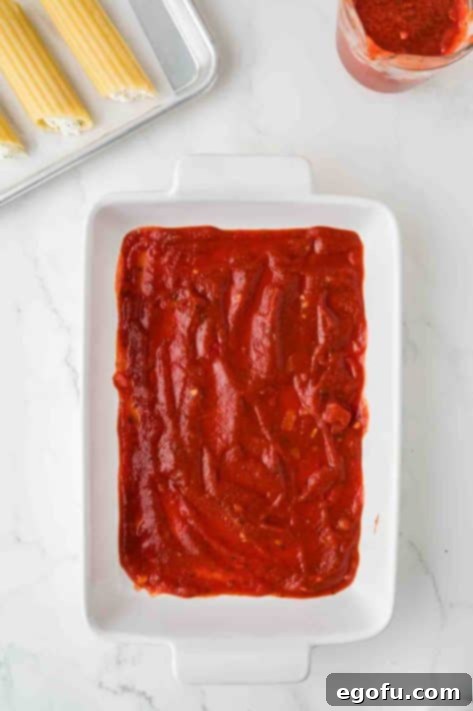
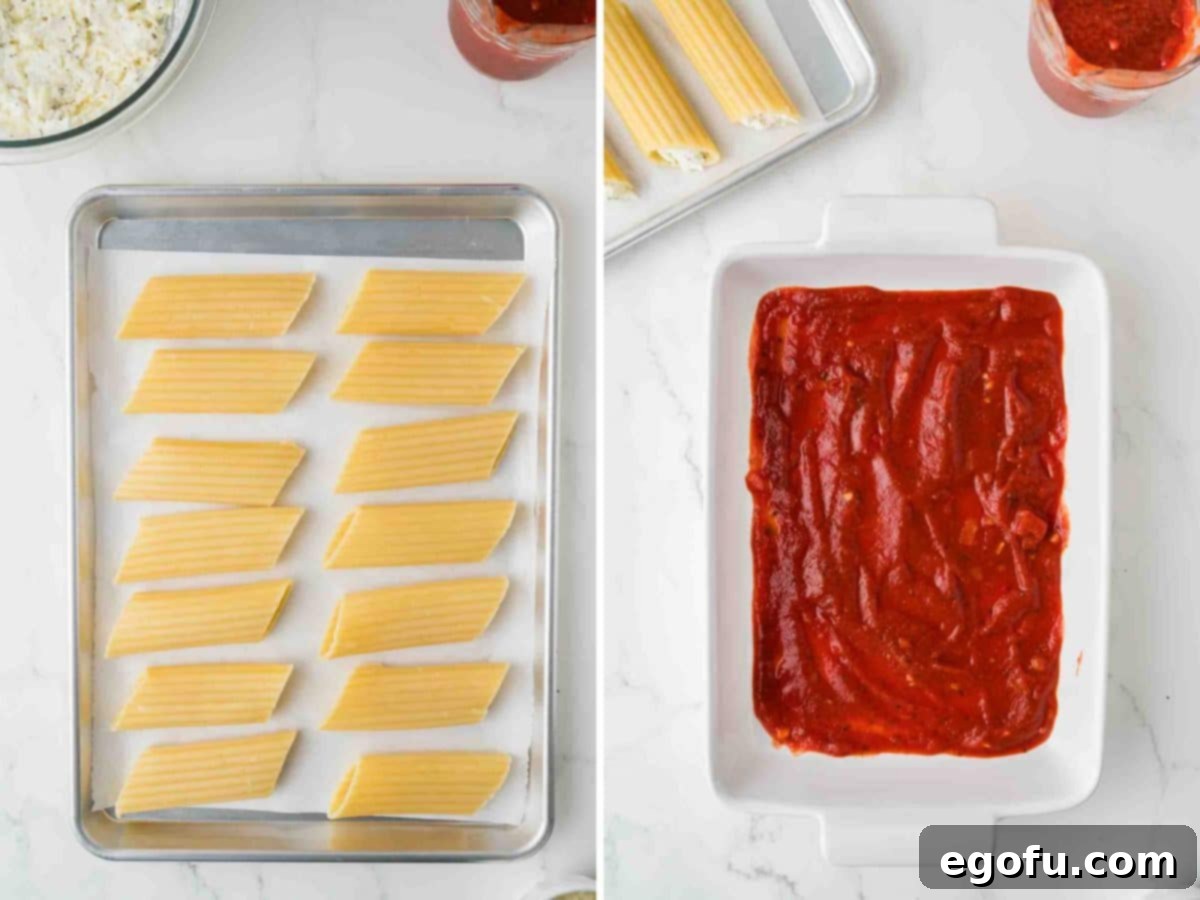
Begin by cooking your Manicotti pasta. Boil it in a large pot of salted water according to the package directions until it reaches an al dente consistency. It’s crucial not to overcook the pasta, as it will continue to soften during baking. While the pasta is cooking, preheat your oven to 400°F (200°C). Prepare a 9×13-inch baking dish by spreading a little less than half of your chosen marinara sauce evenly across the bottom. This layer prevents the pasta from sticking and provides a flavorful base.
Step 2: Craft the Rich Cheese Filling
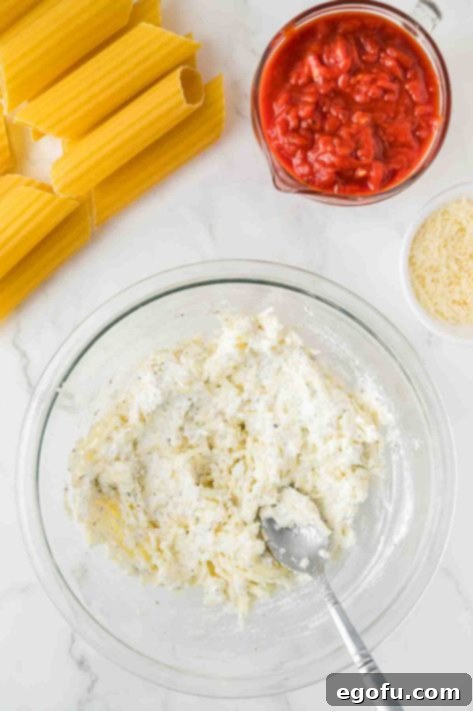
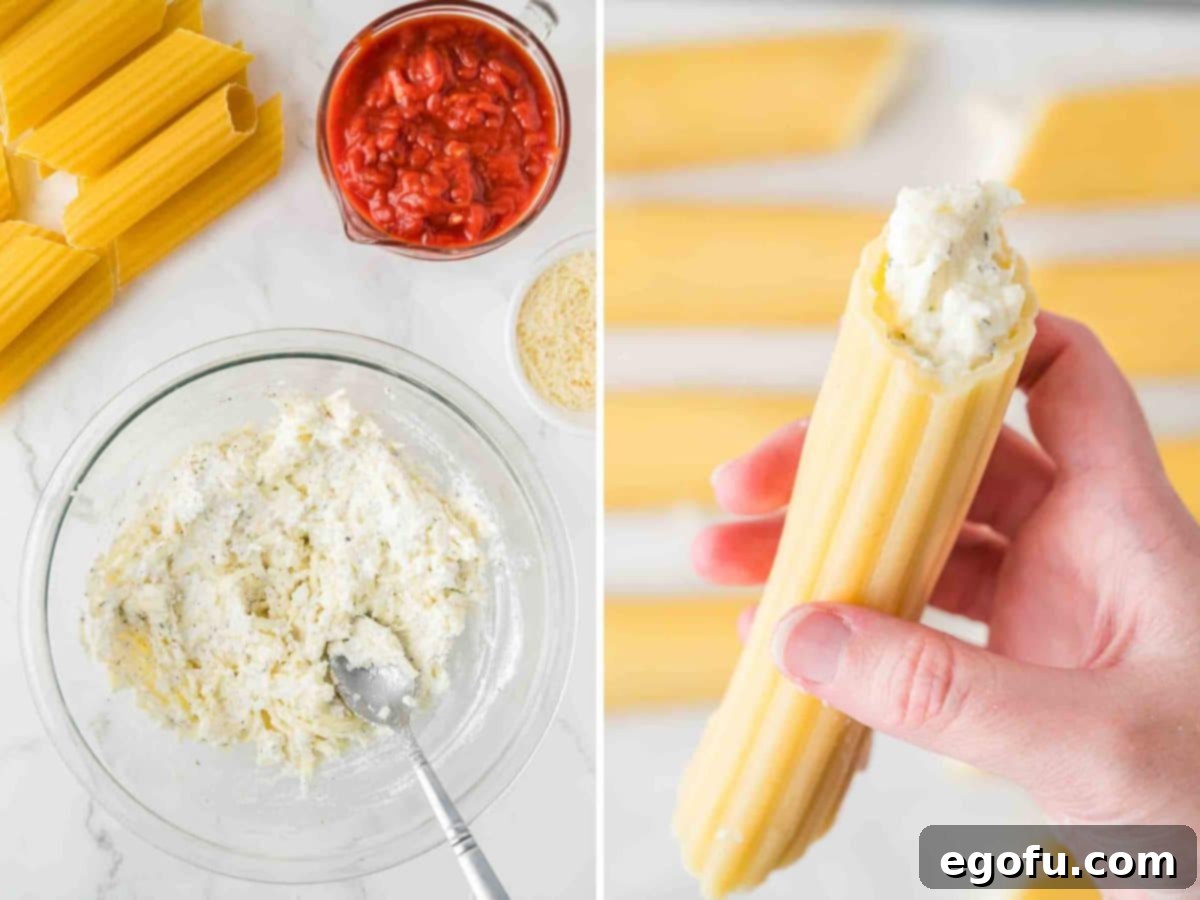
While the Manicotti pasta is boiling, turn your attention to the irresistible cheese filling. In a medium-sized bowl, combine the entire 15-ounce tub of ricotta cheese, one large egg, 2 cups of the shredded mozzarella cheese, ¼ cup of the Parmesan cheese (shredded or grated), 1 teaspoon of garlic powder, and 2 teaspoons of Italian seasoning. Stir these ingredients thoroughly until they are well combined and form a smooth, homogenous mixture. This is the heart of your Manicotti, so ensure all flavors are evenly distributed.
Step 3: Fill and Arrange the Manicotti
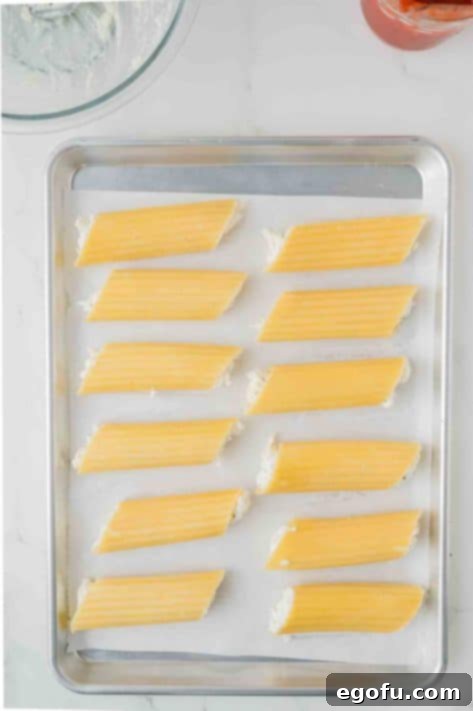
Once the pasta is cooked to al dente, drain it thoroughly and allow it to cool slightly in the strainer. To prevent sticking as the shells cool, drizzle just a small amount of olive oil over them and gently toss. When the shells are cool enough to handle comfortably, it’s time for the fun part: filling them! You can use a small spoon, being very gentle to avoid tearing the pasta. For a quicker and cleaner method, transfer the cheesy filling into a piping bag without a tip, or use a large Ziploc bag with one corner snipped off. Carefully pipe or spoon the filling into each Manicotti shell. As each shell is filled, arrange it in a single layer in your prepared baking dish, nestled on top of the marinara sauce. Continue until all 12 shells are filled and arranged.
Step 4: Layer with Sauce and Cheese
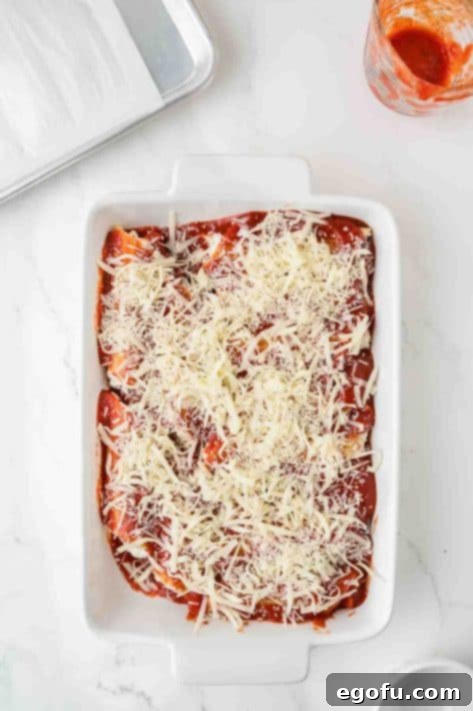
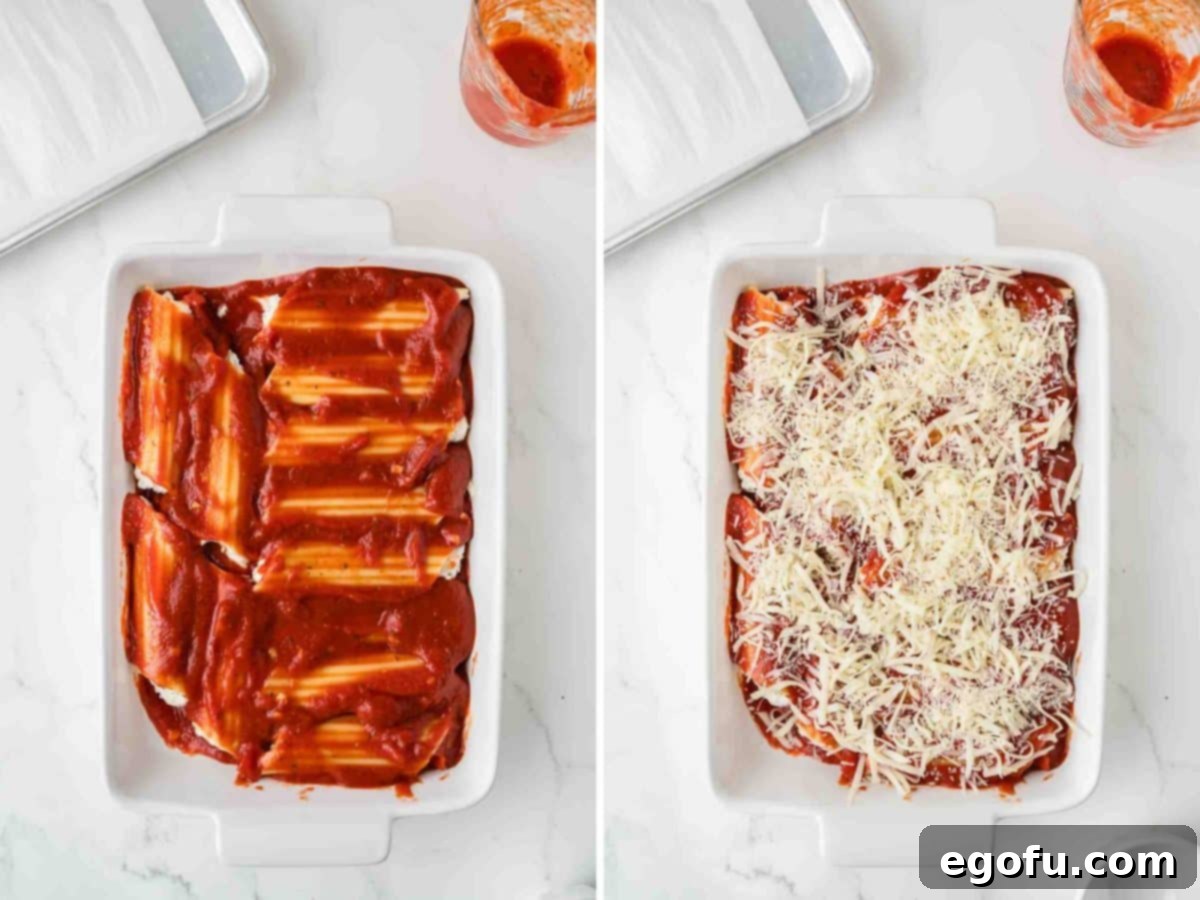
With all your Manicotti shells neatly arranged in the baking dish, it’s time to add the finishing touches. Spoon the remaining marinara sauce evenly over the filled pasta, ensuring each shell is generously coated. Next, sprinkle the remaining shredded mozzarella cheese and Parmesan cheese generously over the top of the sauce. This cheesy layer will bake into a beautiful, bubbly, golden crust.
Step 5: Bake to Golden Perfection
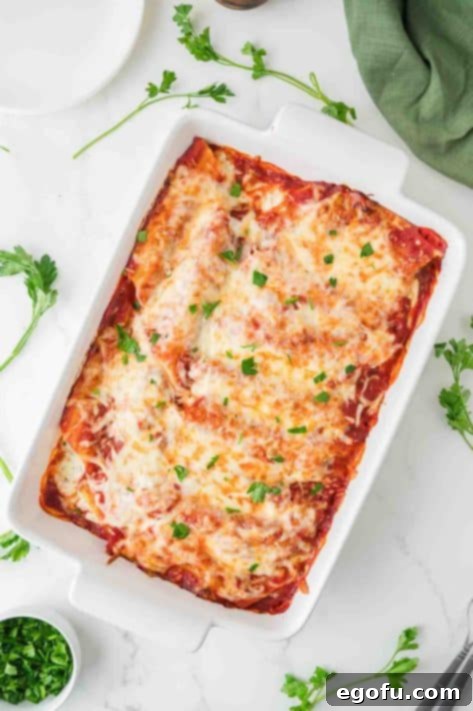
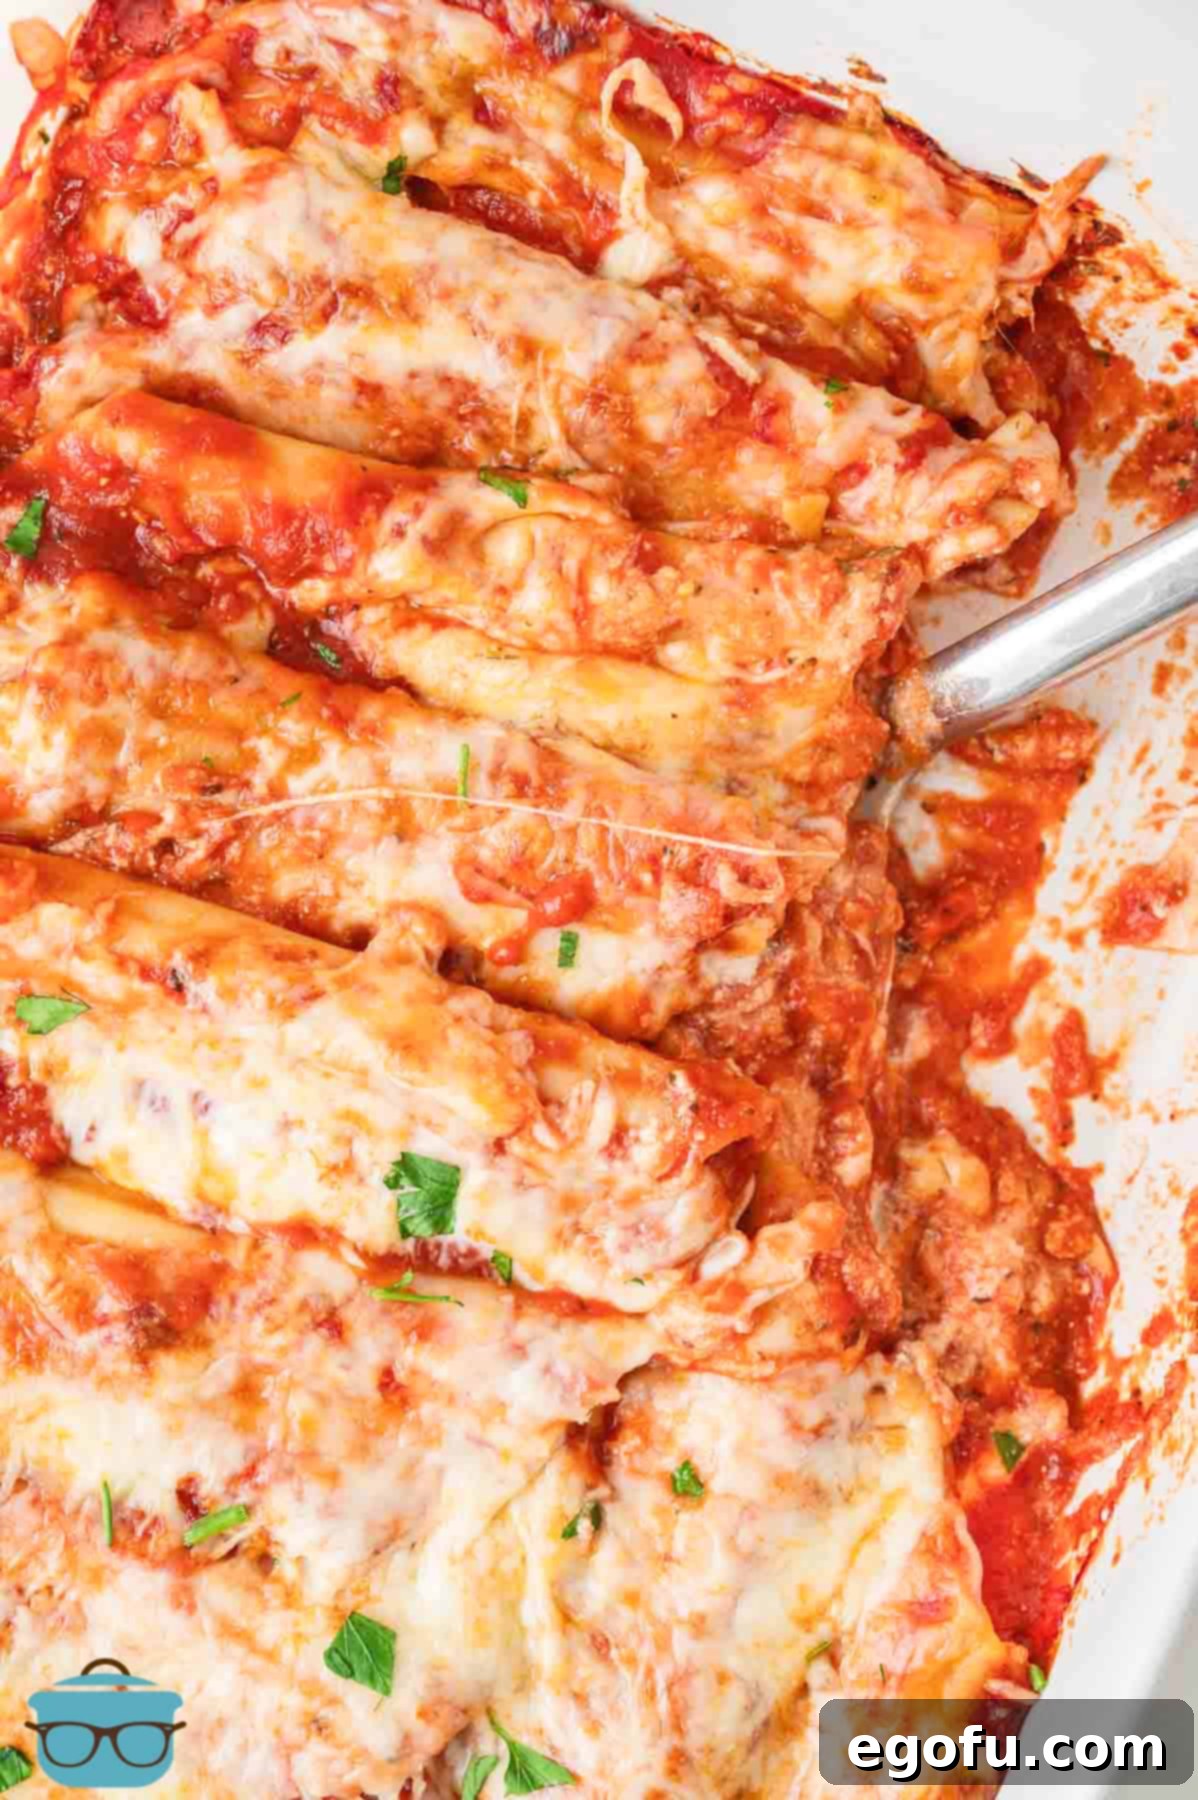
Carefully place the baking dish into your preheated 400°F (200°C) oven. Bake for approximately 30 minutes, or until the cheese on top is completely melted, bubbly, and beautifully golden brown. The sauce should also be simmering around the edges. Once baked, carefully remove the dish from the oven. Allow the Manicotti to rest for a few minutes before serving. This brief resting period helps the cheese set slightly and makes for easier, cleaner serving. Enjoy your homemade, comforting Easy Manicotti!
More Delicious Italian-Inspired Recipes to Explore
If you’ve enjoyed this Easy Manicotti, you’ll love exploring other comforting and flavorful pasta dishes. Here are some more recipes to inspire your next meal:
- Easy Stuffed Shells
- Lasagna Roll Ups
- The Best Baked Spaghetti
- Penne Pasta with Homemade Tomato Sauce
- Million Dollar Spaghetti
- Crock Pot White Lasagna Soup
- Sour Cream Noodle Bake
- Italian Stuffed Spaghetti Squash
- Homemade Spaghettios
- Taco Stuffed Shells
- Chicken Parmesan Casserole
- Baked Spaghetti For Two

Easy Manicotti Recipe Details
Stuffed shells with a cheese mixture topped with marinara sauce and melted mozzarella cheese!
Average Rating: 5 out of 5 stars based on 3 reviews.
Print Recipe | Pin Recipe | Rate This Recipe
- Prep Time:
- 20 minutes
- Cook Time:
- 30 minutes
- Total Time:
- 50 minutes
- Servings:
- 6
- Author:
- Brandie Skibinski
Ingredients
- 8 ounce box Manicotti pasta
- 24 ounce jar marinara sauce (divided use)
- 15 ounce tub ricotta cheese
- 1 large egg
- 3 cups shredded mozzarella cheese (divided use)
- ½ cup shredded or grated Parmesan (divided use)
- 1 teaspoon garlic powder
- 2 teaspoons Italian seasoning
Instructions
Cook 8 ounce box Manicotti pasta by boiling it as directed on the box until al dente.
Preheat the oven to 400℉ (200°C).
In a 9×13-inch baking dish, spread a little less than half the marinara sauce on the bottom.

While the manicotti pasta is boiling, work on the filling. In a bowl, stir together 15 ounce tub ricotta cheese, 1 large egg, 2 cups of mozzarella cheese, ¼ cup of parmesan cheese, 1 teaspoon garlic powder, and 2 teaspoons Italian seasoning.

Once the manicotti is done boiling, allow it to cool in the strainer and drizzle just a little bit of olive oil over all the pasta so it doesn’t stick together as it cools. Once they are cool enough to handle, gently fill the pasta with the cheesy filling and place into your baking dish.

This can be done very gently with a small spoon (to avoid breaking the pasta), or using a piping bag without a tip. You could also use a Ziploc bag with the tip cut off and use it as a makeshift piping bag.
Once all manicotti is filled and in the dish, spoon over the rest of the marinara sauce, and sprinkle the rest of the cheeses on top.

Bake for about 30 minutes, or until all of the cheese is completely melted and golden.

Recipe Notes
- Please refer to the Frequently Asked Questions (FAQ) and ingredient list above for other substitutions or for the answers to the most common questions.
- Course:
- Dinner, Main Course
- Cuisine:
- American, Italian
Nutrition Information (Estimated)
Calories: 504kcal | Carbohydrates: 38g | Protein: 31g | Fat: 26g | Sodium: 1095mg | Fiber: 3g | Sugar: 6g
Nutritional Disclaimer
“The Country Cook” is not a dietician or nutritionist, and any nutritional information shared is an estimate. If calorie count and other nutritional values are important to you, we recommend running the ingredients through whichever online nutritional calculator you prefer. Calories and other nutritional values can vary quite a bit depending on which brands were used.
Did you make this recipe? Share it on Instagram @thecountrycook and mention us #thecountrycook!
