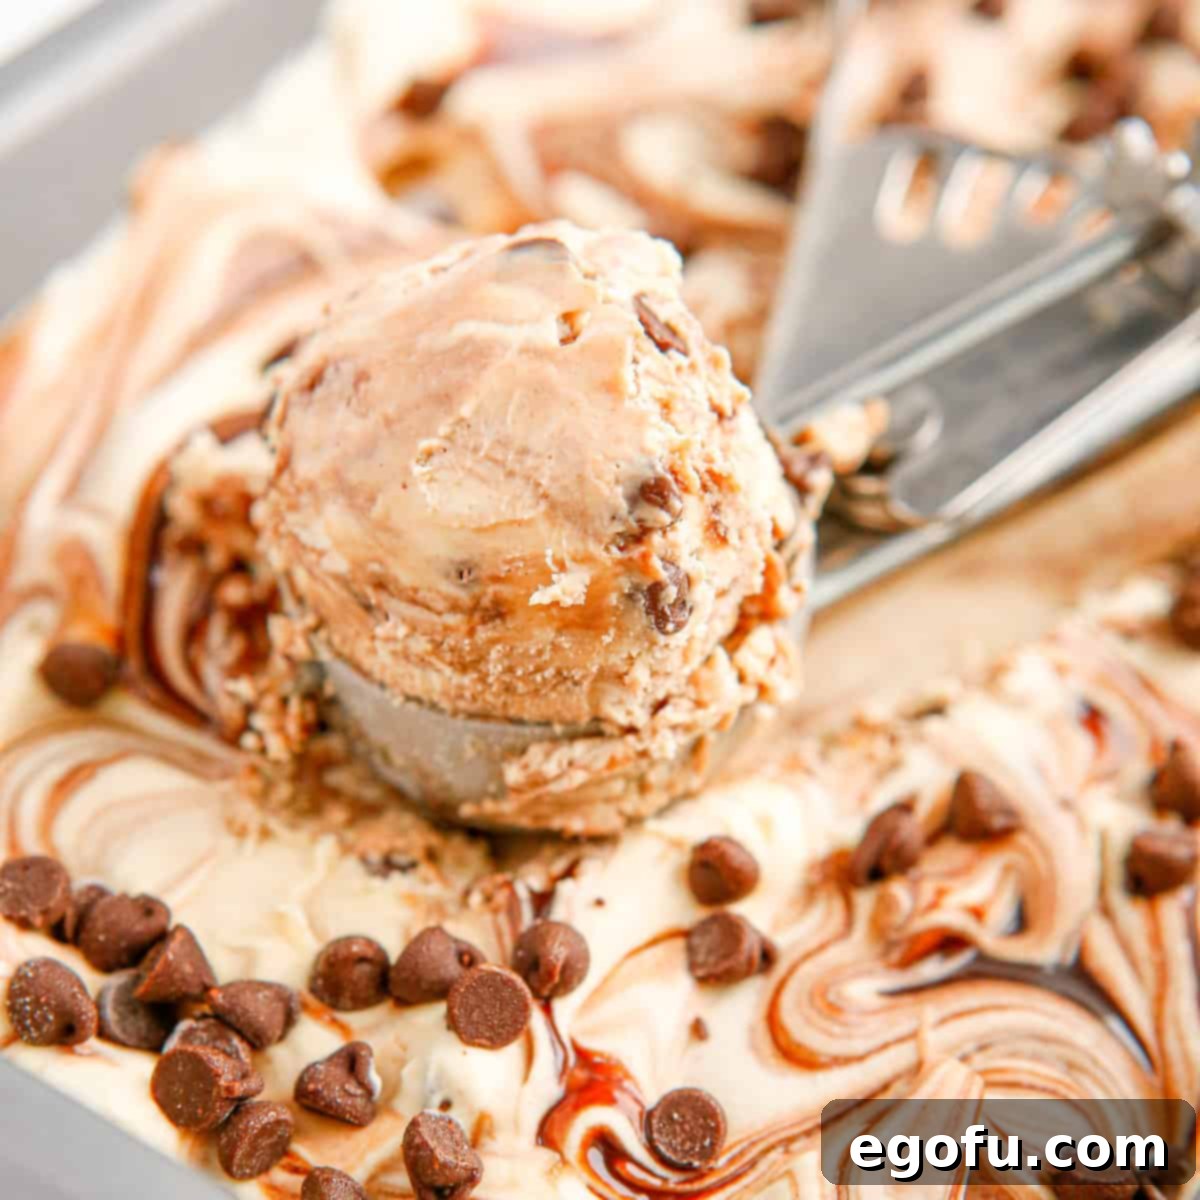
Imagine a homemade ice cream so rich and creamy, bursting with the beloved flavors of peanut butter and chocolate chips, yet requiring absolutely no special equipment or advanced culinary skills. This No-Churn Peanut Butter Chocolate Chip Ice Cream is exactly that – an effortlessly delicious treat that comes together with simple ingredients, promising a cold, sweet escape with every spoonful.
Unlocking the Simplicity: Homemade No-Churn Ice Cream Bliss
Who doesn’t adore the comforting indulgence of a perfectly scooped ice cream? While many might shy away from making it at home, fearing the need for expensive ice cream makers, this recipe proves that truly exceptional homemade ice cream is within everyone’s reach. Our No-Churn Peanut Butter Chocolate Chip Ice Cream recipe is a game-changer, eliminating the need for any specialized machinery. It’s a testament to how easily you can create a lusciously creamy dessert right in your own kitchen.
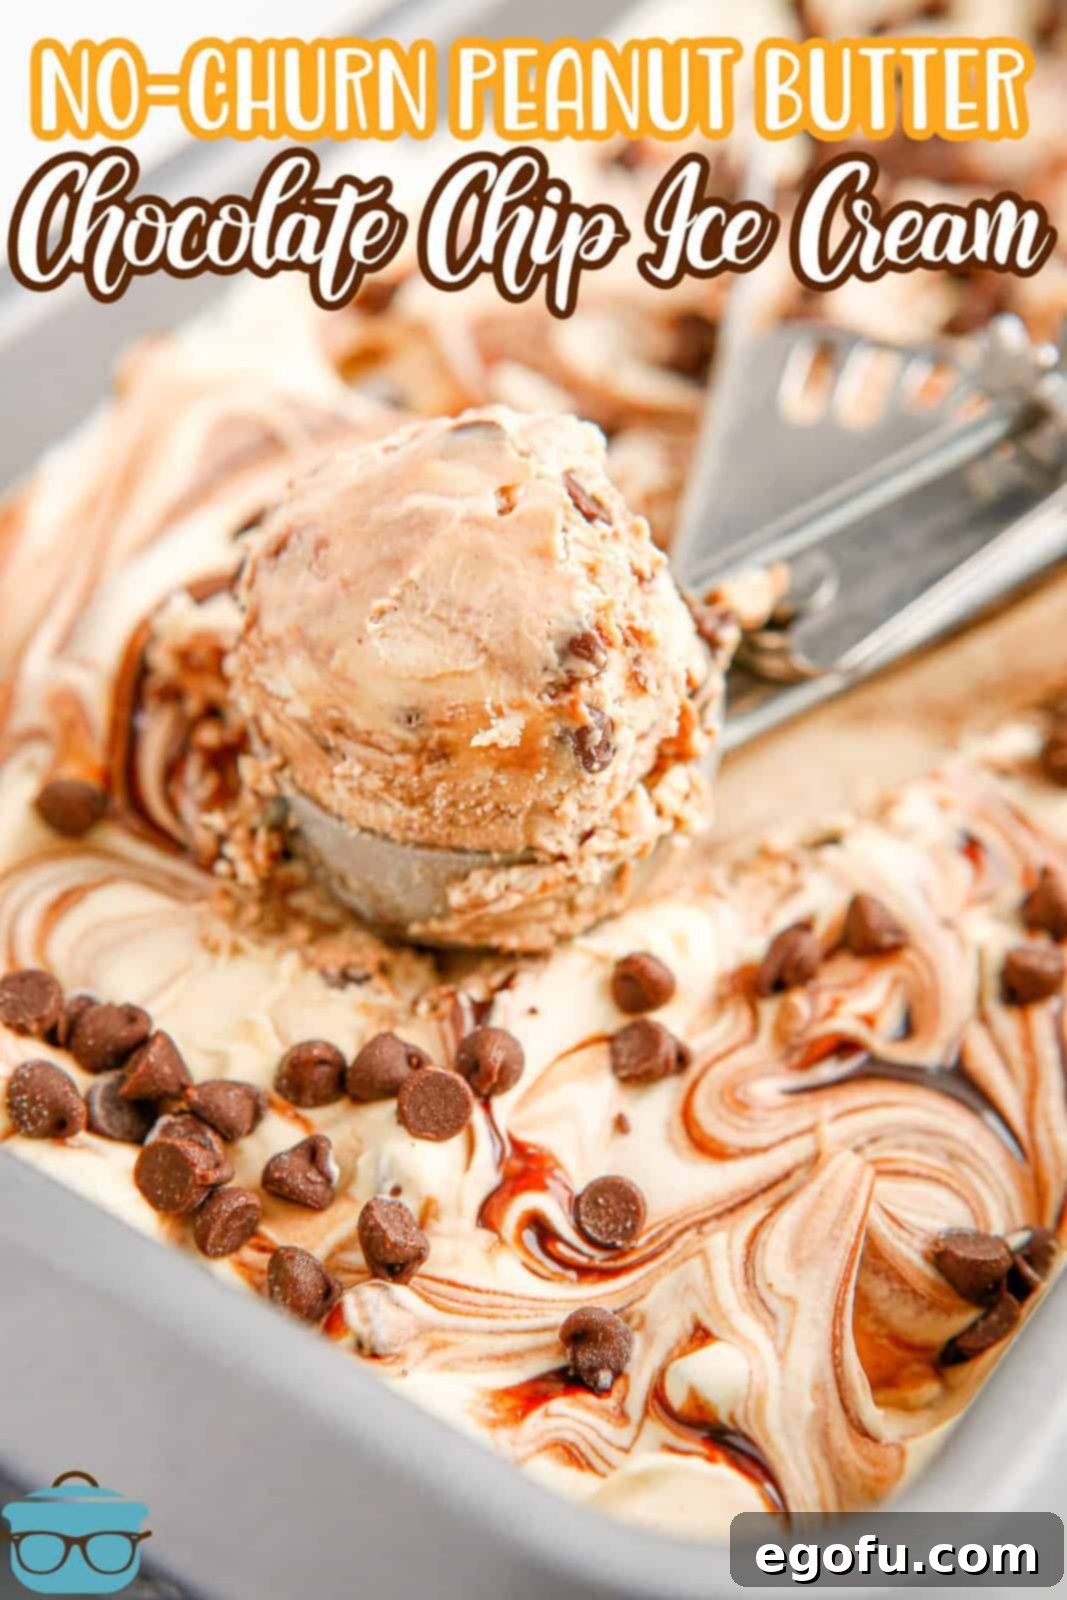
This particular recipe holds a special place in my heart, primarily due to my unwavering love for peanut butter. The combination of rich, nutty peanut butter swirled with sweet chocolate chips creates a symphony of flavors that is simply irresistible. What makes this recipe even more appealing is its speed and straightforwardness. The most challenging part, undoubtedly, is summoning the patience to wait for it to freeze and solidify, but I promise, the anticipation makes the first bite even sweeter. If you’re yearning for a delightful, old-fashioned dessert that evokes nostalgic memories and satisfies your sweet tooth with minimal effort, then this No-Churn Peanut Butter Chocolate Chip Ice Cream is an absolute must-try. It’s not just a recipe; it’s an invitation to experience the joy of homemade goodness without the fuss.
Frequently Asked Questions About No-Churn Ice Cream
This fantastic recipe will produce approximately 1 1/2 quarts (about 6 cups) of rich, creamy ice cream. This generous amount is perfect for sharing with family and friends, or for savoring over several delightful dessert sessions. If you’re planning a larger gathering or simply want to stock up, the recipe can easily be doubled; just ensure you have enough loaf pans or freezer-safe containers!
For this no-churn recipe, I consistently find that traditional creamy peanut butter works wonderfully, providing a smooth, consistent texture throughout the ice cream. However, if you’re a fan of added texture and a delightful crunch, chunky peanut butter is an excellent alternative that will elevate the experience. It’s important to note that I do not recommend using natural peanut butter (the kind that separates with oil on top) for this recipe, as its different oil content and consistency can prevent the ice cream from setting properly and achieving the desired creamy texture.
Patience is a virtue, especially when it comes to homemade ice cream! For this No-Churn Peanut Butter Chocolate Chip Ice Cream, it needs to be chilled in the freezer for a minimum of 6-8 hours. This extended chilling time is crucial for the ingredients to properly meld and for the ice cream to develop that firm, scoopable, and incredibly creamy texture we all crave. For the absolute best results and a truly solid consistency, I often recommend letting it chill overnight.
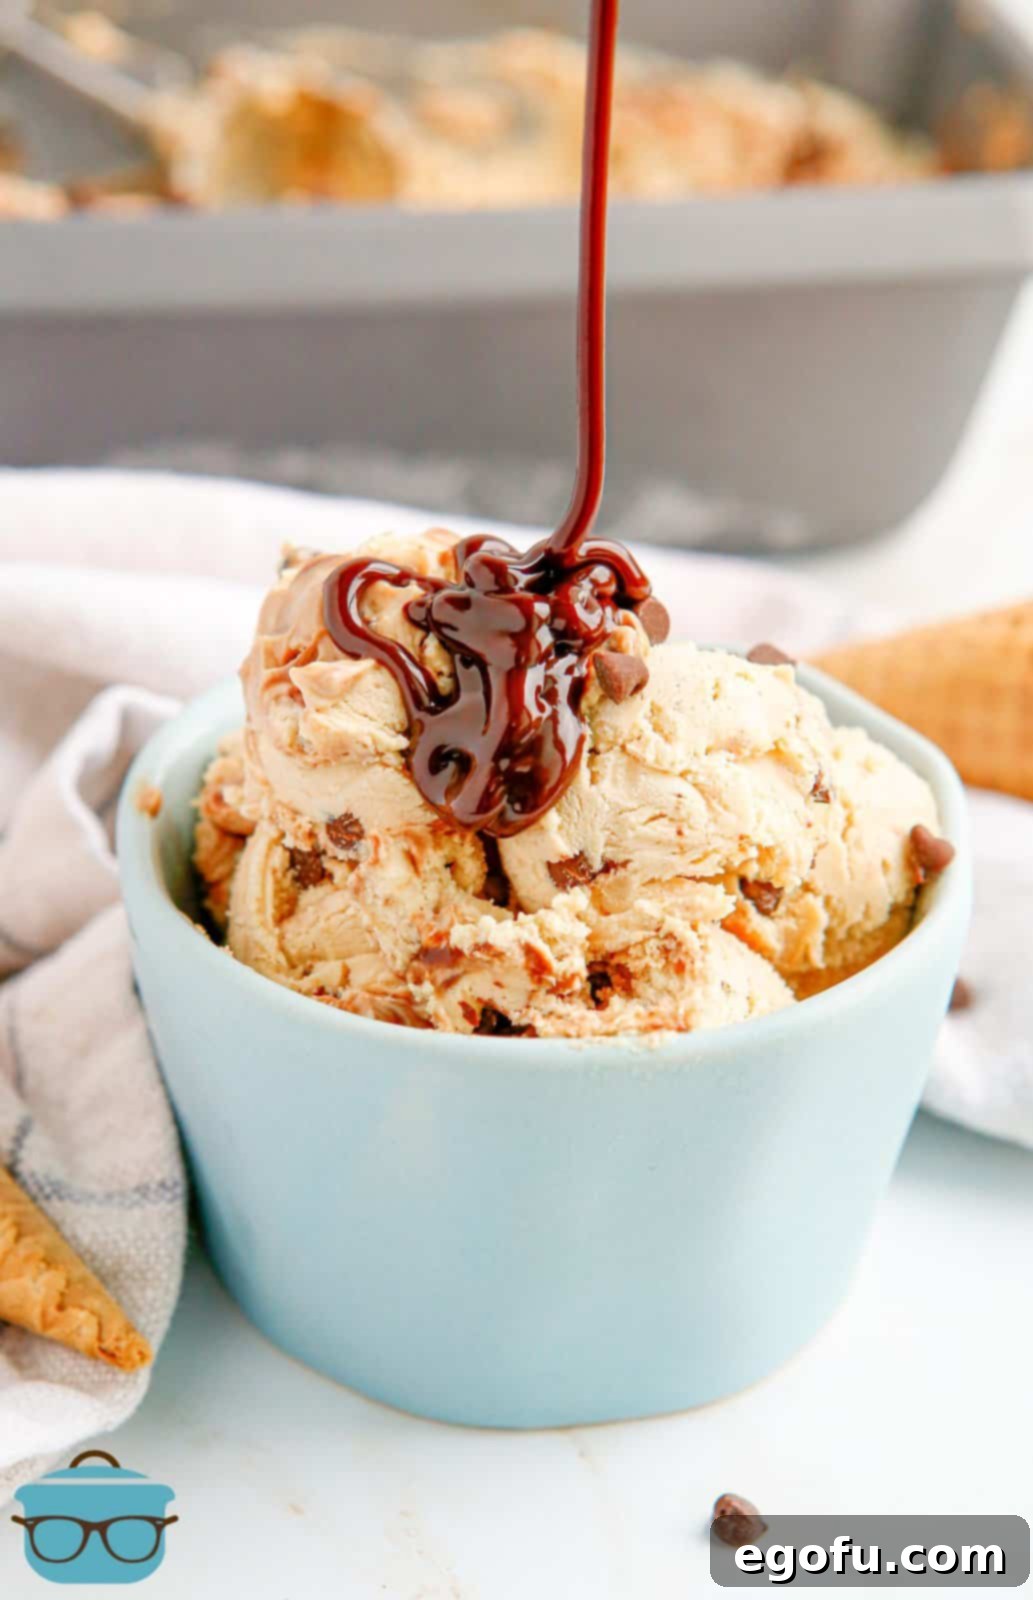
Absolutely! This recipe is a fantastic canvas for your creativity. Feel free to enhance your serving with a drizzle of extra chocolate sauce or a warm, melted peanut butter topping for an even richer experience. You can also sprinkle on more mini chocolate chips, chopped roasted peanuts for an extra nutty crunch, or even add a dollop of whipped cream and a cherry for a classic sundae presentation. Get creative and make it your own!
To maintain the freshest taste and texture of your delicious homemade ice cream, store any leftovers in an airtight container. A sturdy plastic container with a tight-fitting lid is ideal. When stored properly in the freezer, this ice cream will remain fresh and delightful for up to 4-6 weeks. Alternatively, if you made it in a loaf pan and plan to consume it within a week, you can simply cover the loaf pan tightly with plastic wrap, pressing it directly onto the surface of the ice cream to prevent ice crystals from forming.
Essential Ingredients for Your Creamy Peanut Butter Chocolate Chip Dream
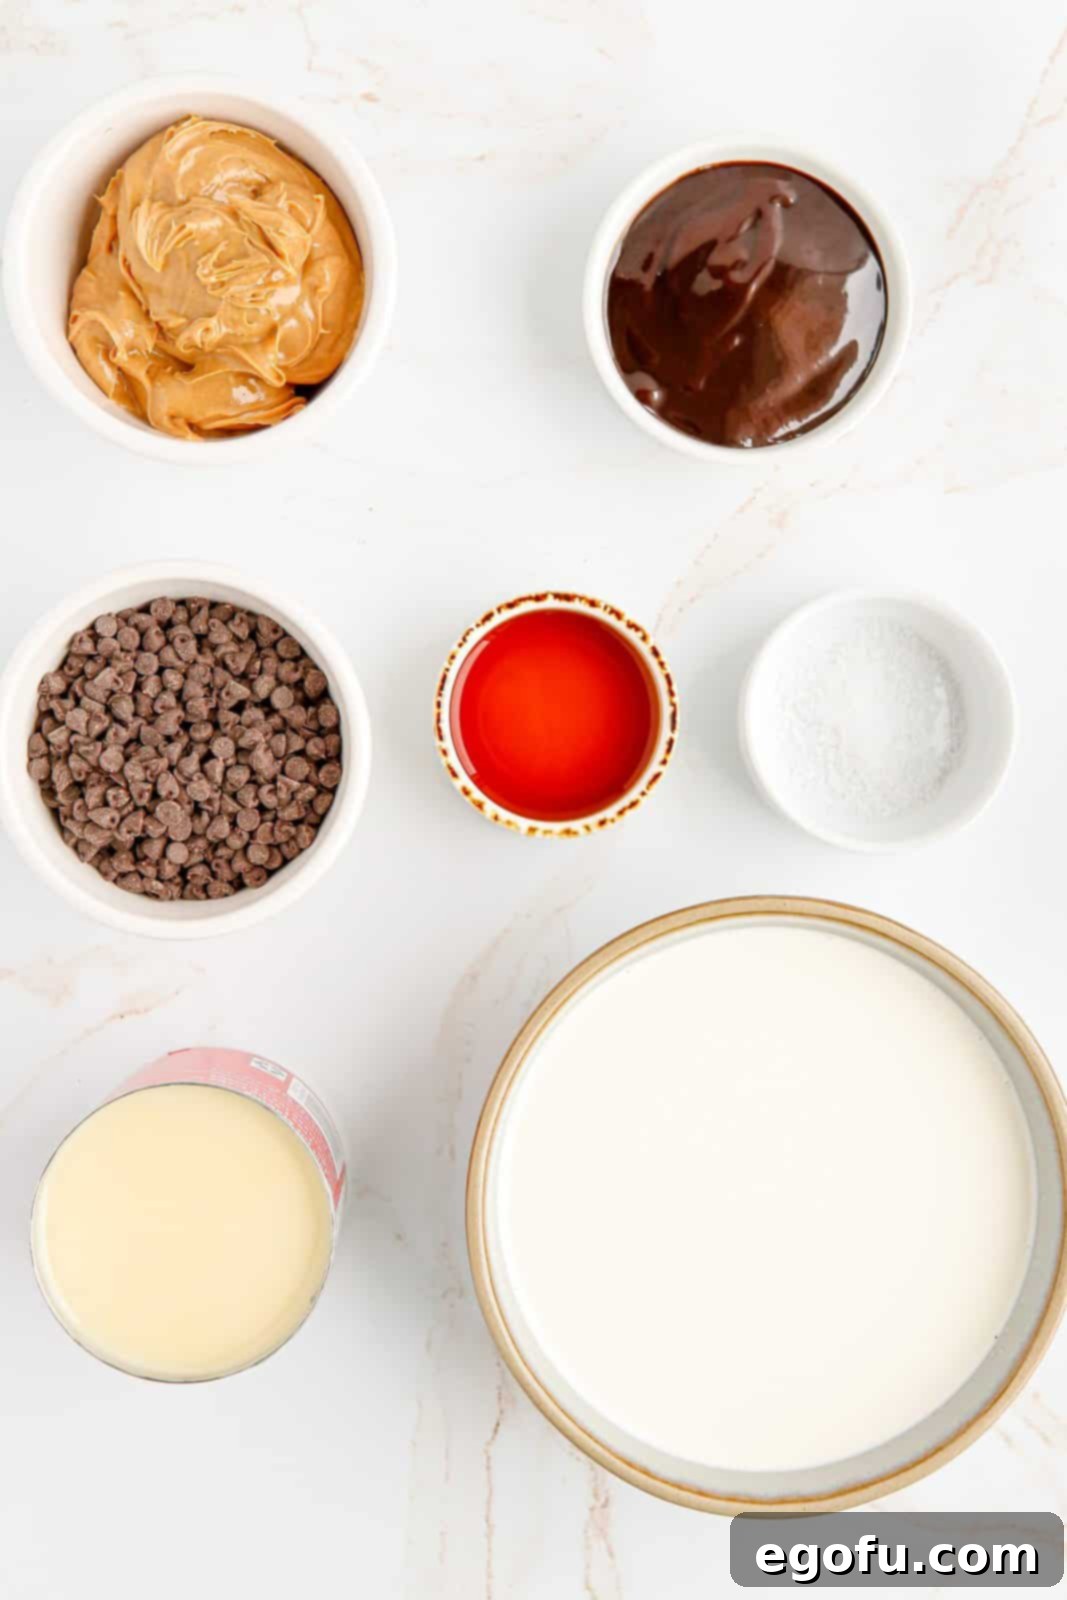
One of the beauties of this no-churn recipe lies in its simplicity, requiring just a handful of readily available ingredients to transform into a decadent dessert. Gather these items, and you’re well on your way to homemade ice cream perfection:
- Heavy Whipping Cream: The cornerstone of our creamy base. Ensure it’s very cold for optimal whipping.
- Sweetened Condensed Milk: This magical ingredient provides the sweetness and creamy texture without the need for an ice cream maker.
- Peanut Butter: Creamy or chunky, choose your favorite! (Remember to avoid natural varieties that separate easily).
- Chocolate Sauce: A high-quality, rich chocolate sauce (like Hershey’s or similar) will add beautiful swirls and deep chocolate notes.
- Mini Chocolate Chips: These tiny morsels are perfect for scattering throughout, ensuring chocolate in every bite.
- Vanilla Extract: A touch of vanilla enhances all the other flavors, adding depth and warmth.
- Sea Salt: Just a pinch to perfectly balance the sweetness and bring out the rich peanut butter flavor.
Using quality ingredients will always result in a more flavorful and satisfying dessert. For the best outcome, ensure your heavy cream is thoroughly chilled before whipping, as this will help it achieve stiff peaks more easily and quickly, forming the airy base of your no-churn ice cream.
Crafting Your Delight: A Step-by-Step Guide to No-Churn Peanut Butter Chocolate Chip Ice Cream
Creating this irresistible frozen treat is surprisingly simple. Follow these easy steps to whip up a batch of the most delicious no-churn ice cream you’ve ever tasted:
Step 1: Prepare Your Pan. Begin by placing a standard loaf pan (or any freezer-safe container of similar size) into your freezer. Chilling the pan beforehand helps the ice cream mixture freeze more evenly and quickly once poured in.
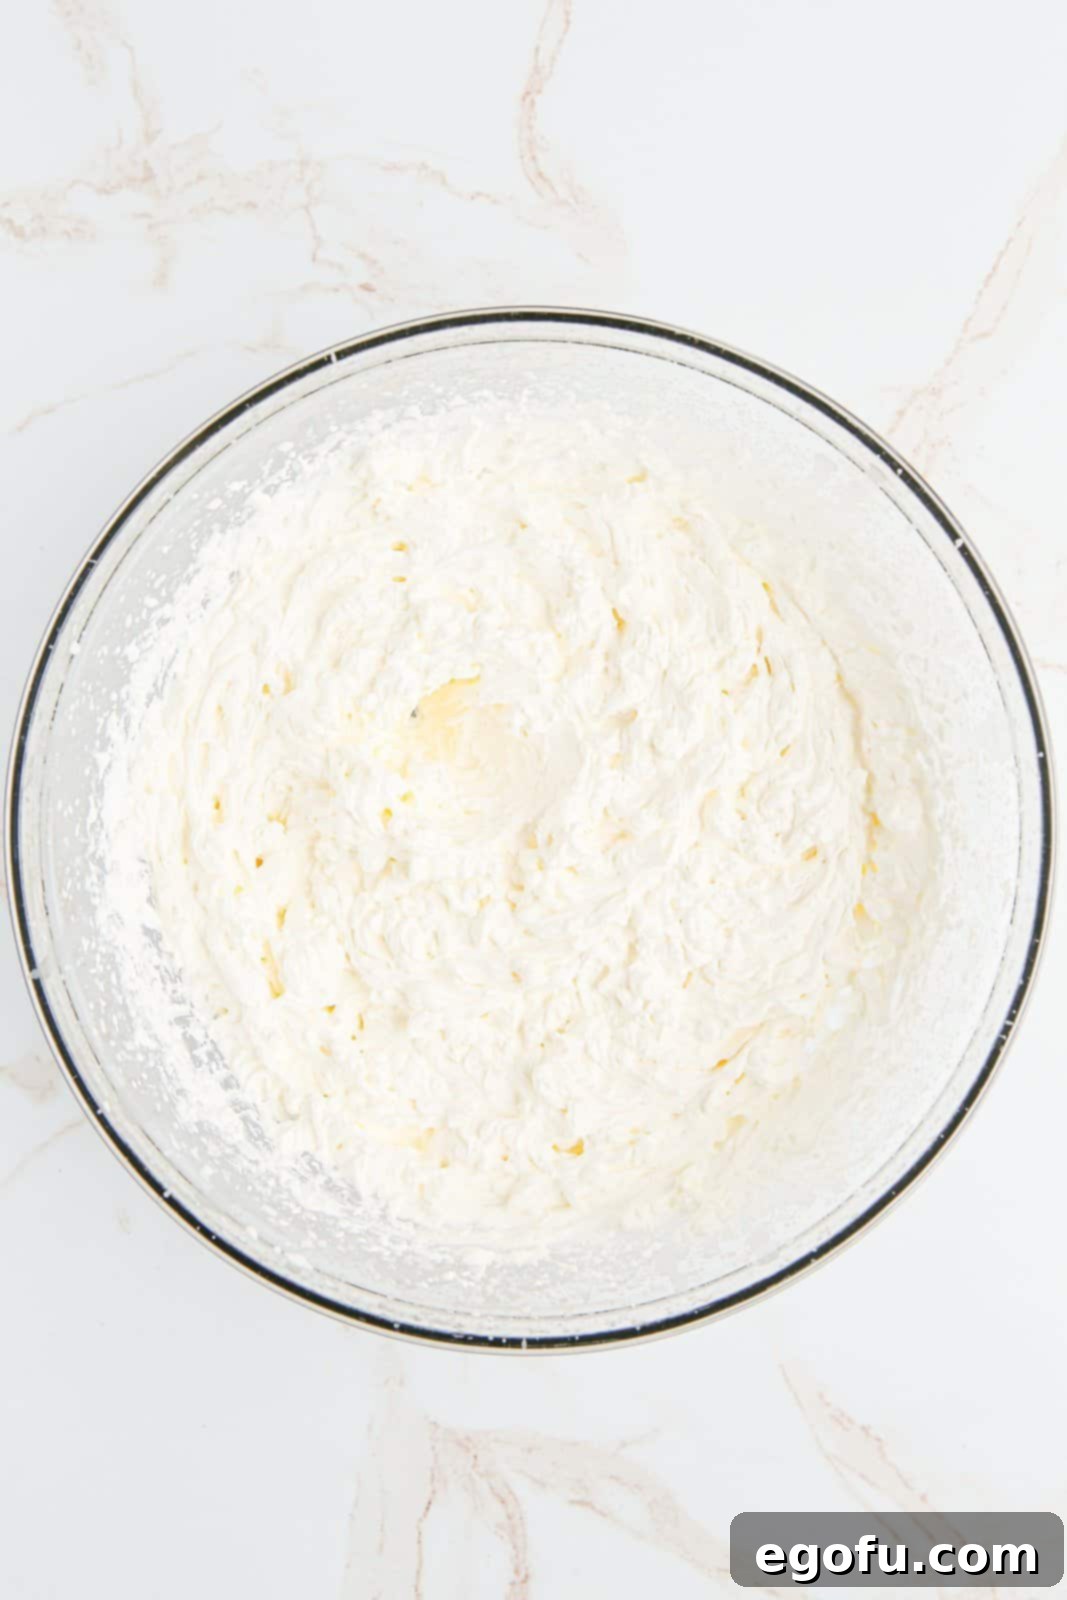
Step 2: Whip the Cream to Perfection. In a large mixing bowl, using an electric mixer (handheld or stand mixer), beat the very cold heavy whipping cream on high speed. Continue mixing until firm, stiff peaks form. This means when you lift the beaters, the cream should hold its shape and stand tall. This whipped cream forms the airy, light base of our no-churn ice cream, so don’t skimp on this step!
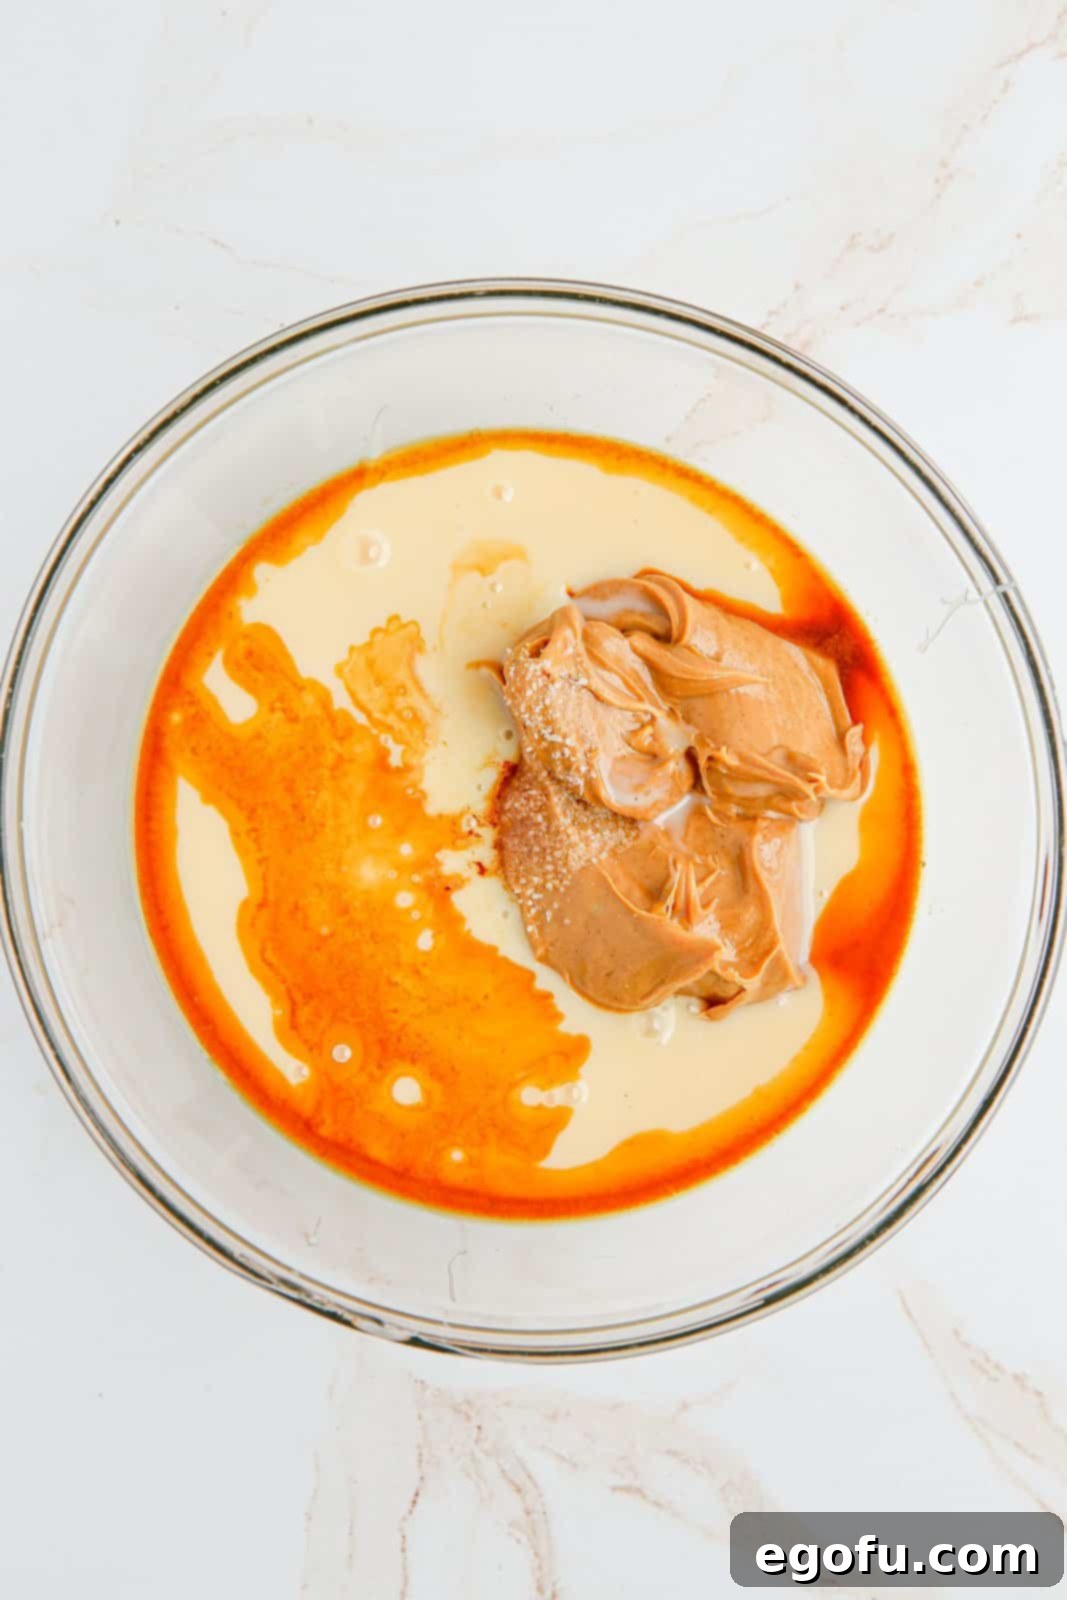
Step 3: Create the Peanut Butter Mixture. In a separate, medium-sized mixing bowl, combine the sweetened condensed milk, your chosen peanut butter (creamy or chunky), vanilla extract, and a pinch of sea salt. Stir these ingredients together thoroughly until they are well combined and smooth. The sea salt is key here, as it subtly cuts through the sweetness and amplifies the rich peanut butter flavor.
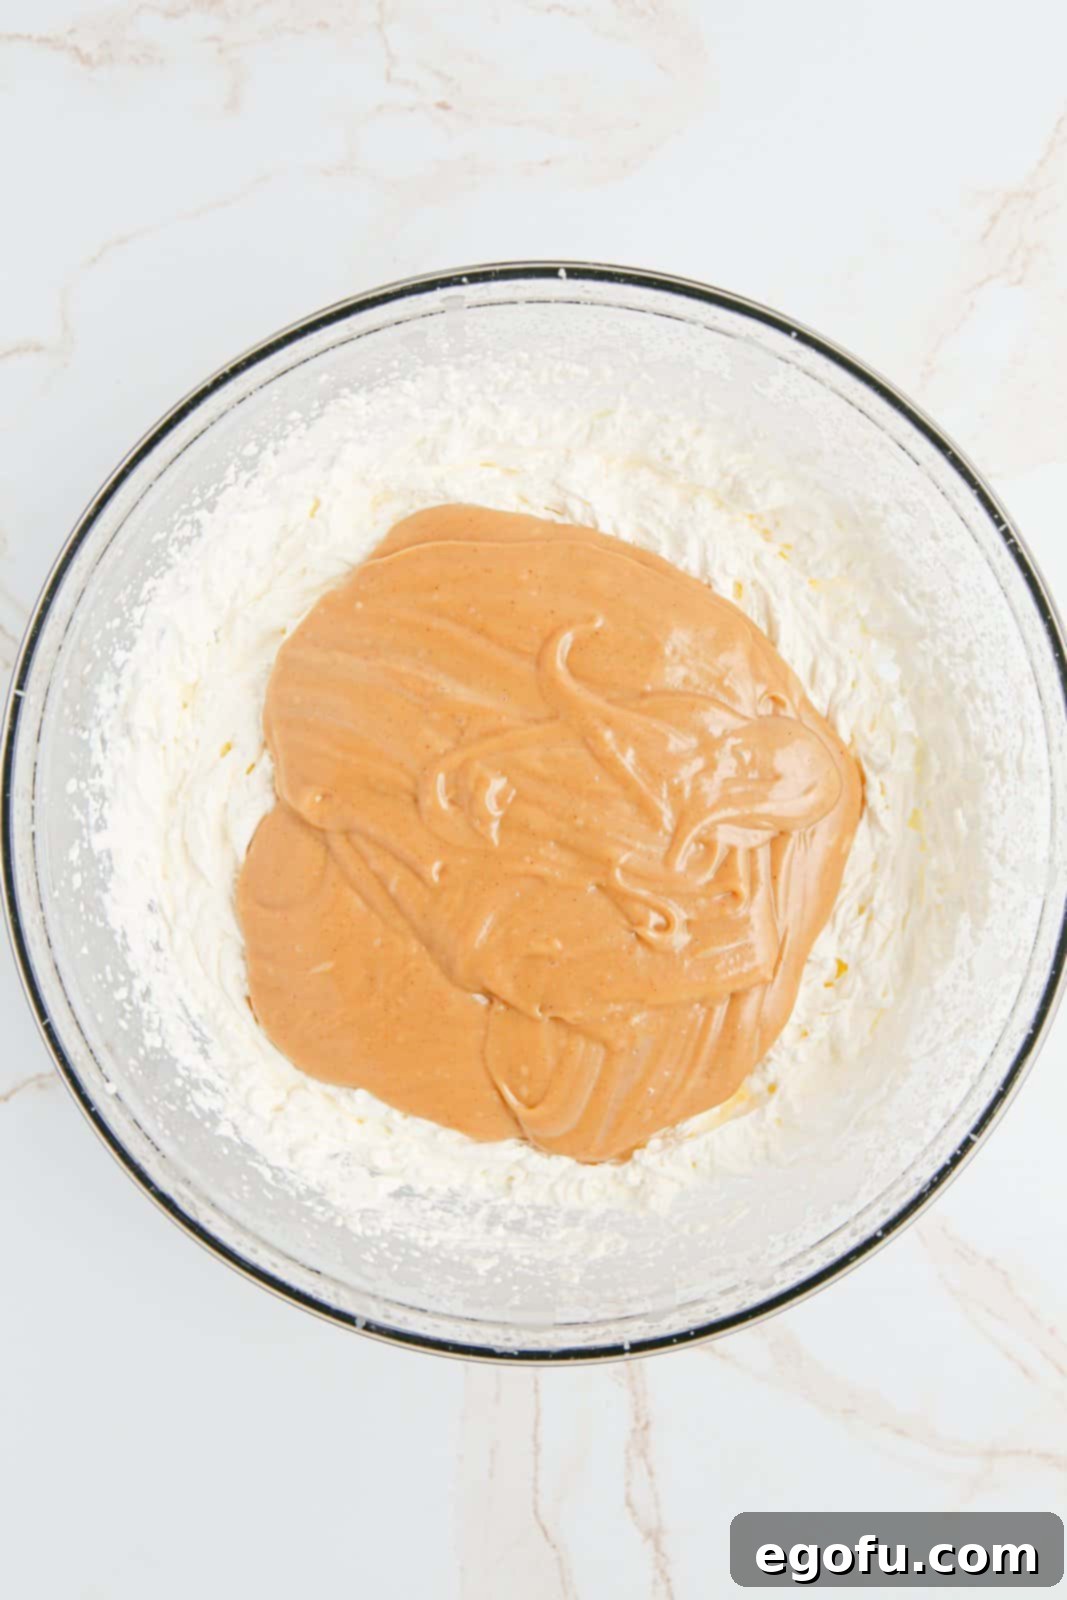
Step 4: Gently Combine the Mixtures. Carefully add the peanut butter mixture to your bowl of whipped cream. Using a spatula, gently fold the two mixtures together until they are just combined. The key is to be gentle, preserving as much of the air in the whipped cream as possible, which contributes to the light and fluffy texture of the final ice cream. Avoid overmixing!
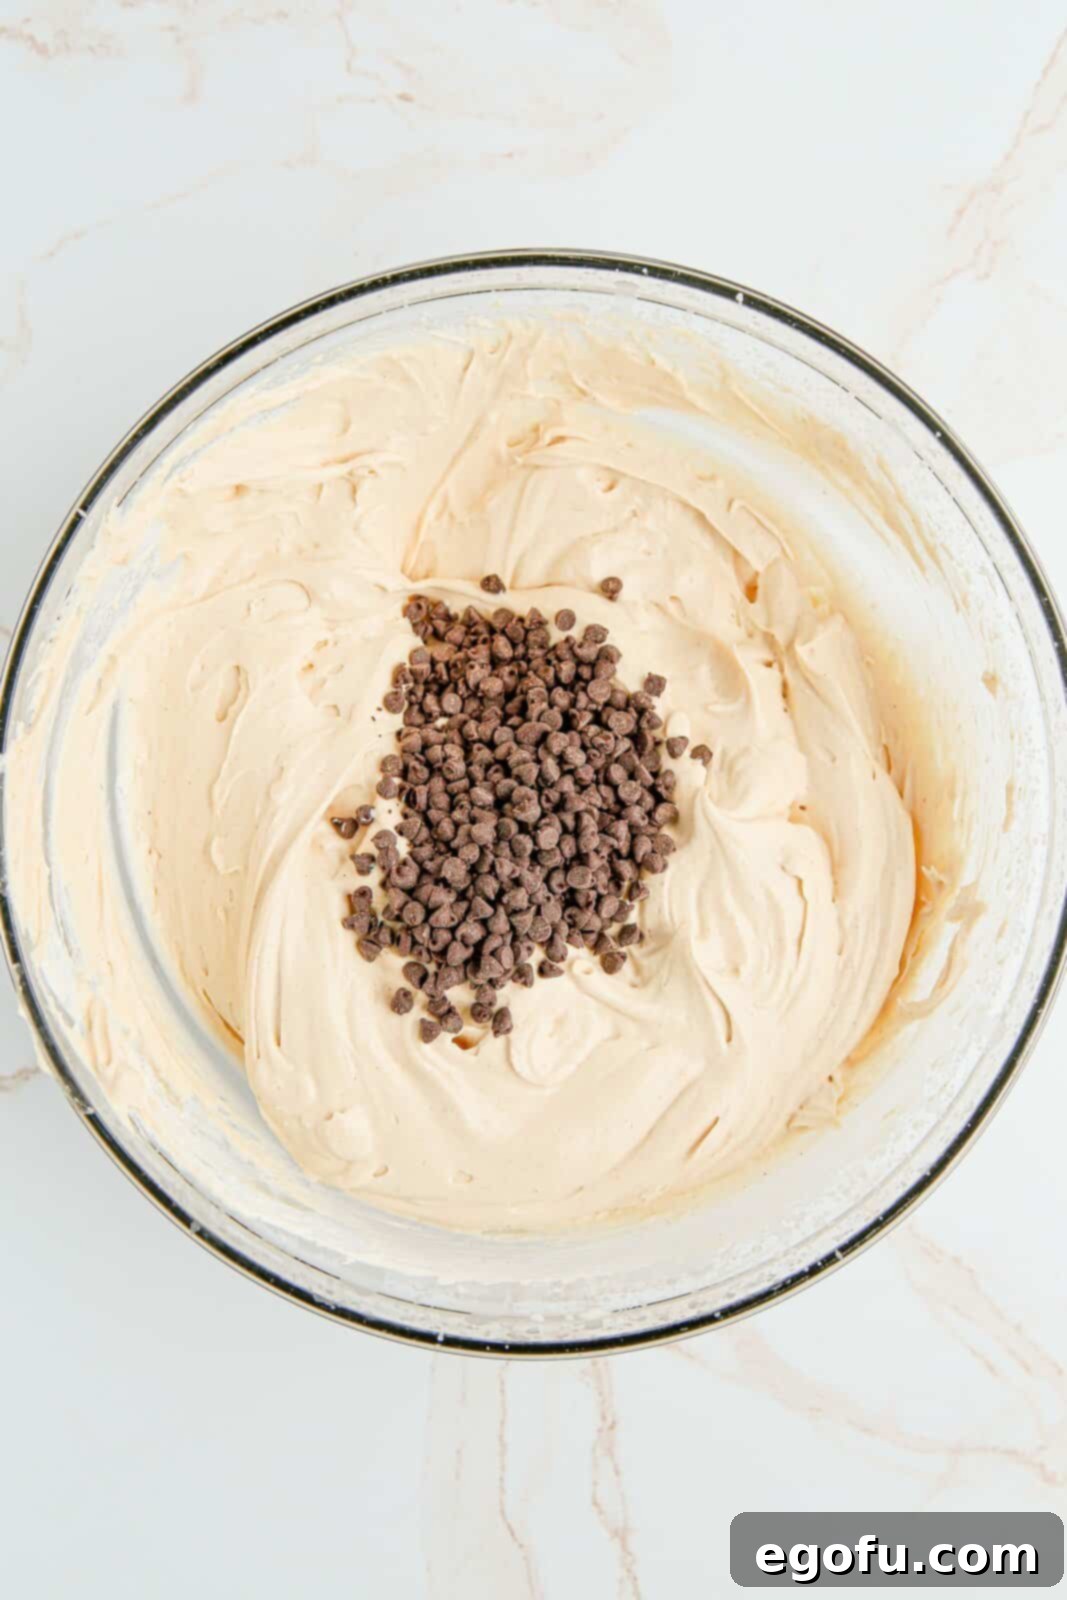
Step 5: Incorporate the Chocolate Chips. Now for the chocolatey goodness! Add ½ cup of mini chocolate chips to the combined mixture. Again, gently fold them in until they are evenly incorporated throughout the ice cream base. Mini chocolate chips are preferred here as they distribute more uniformly and stay softer when frozen compared to larger chips.
Step 6: Layering for Swirls of Flavor. Remove your chilled loaf pan from the freezer. Pour about half of the peanut butter ice cream mixture into the pan, spreading it gently to create an even layer. Next, dollop ¼ cup of the chocolate sauce randomly over this first layer of ice cream. Then, carefully pour the remaining peanut butter ice cream mixture into the pan, spreading it evenly, and dollop the remaining chocolate sauce on top.
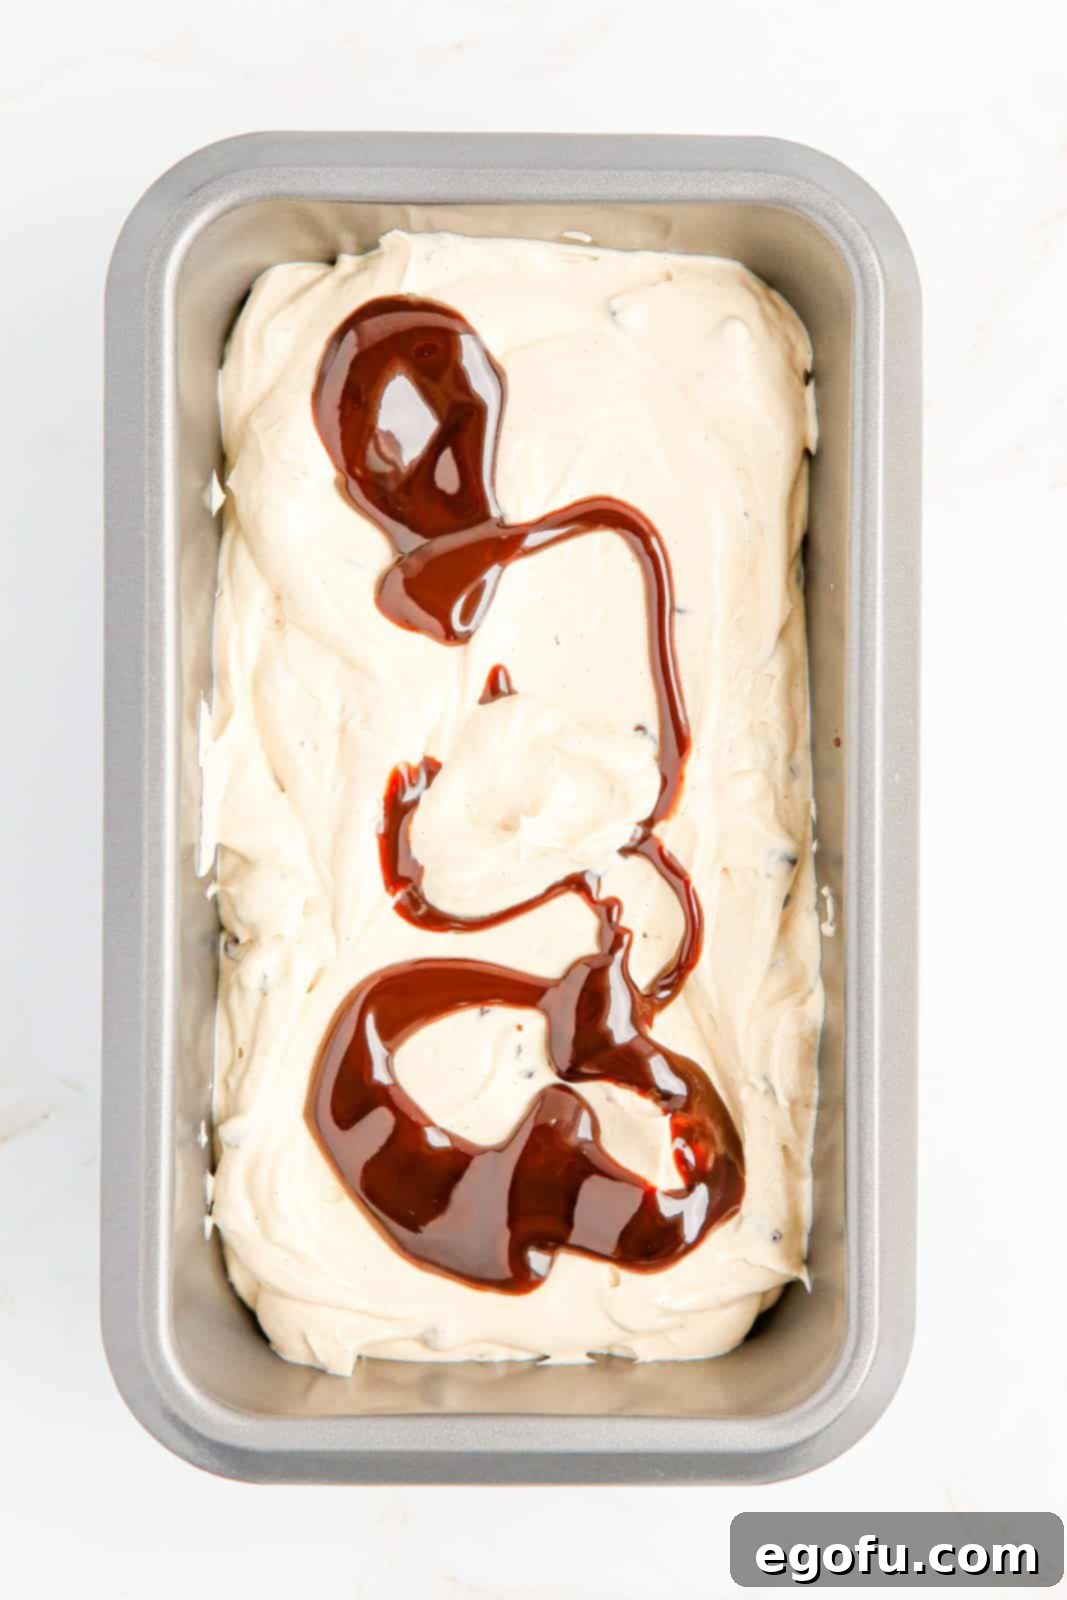
Step 7: Swirl and Freeze. Using a butter knife or a skewer, gently swirl the chocolate sauce through the ice cream mixture to create beautiful marbling. Be careful not to overmix, as you want distinct swirls. Finally, sprinkle the reserved tablespoon of chocolate chips over the top for an inviting finish. Place the loaf pan back into the freezer for the crucial freezing period – 6-8 hours, or ideally overnight, until the ice cream is completely firm and set. The longer it chills, the better the texture will be.
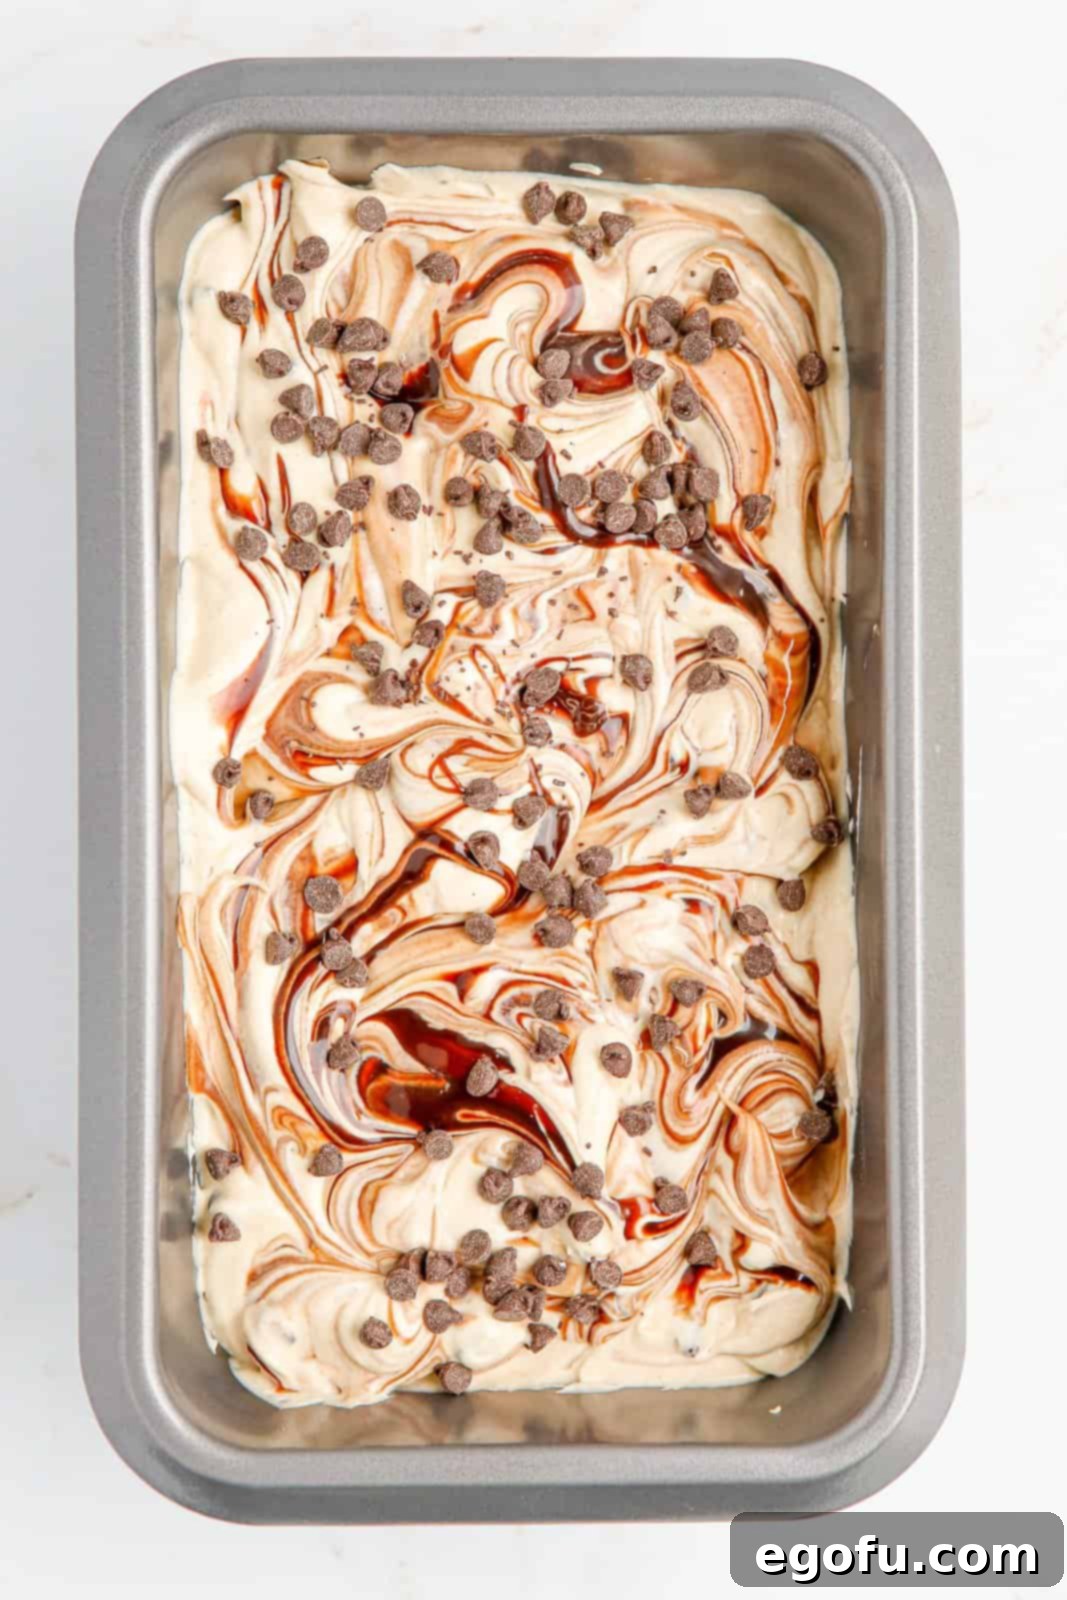
Once your No-Churn Peanut Butter Chocolate Chip Ice Cream is perfectly set, it’s time for the moment you’ve been waiting for! Scoop generously into your favorite ice cream cone, a chilled bowl, or even straight from the pan. Serve immediately and prepare for a truly blissful dessert experience.
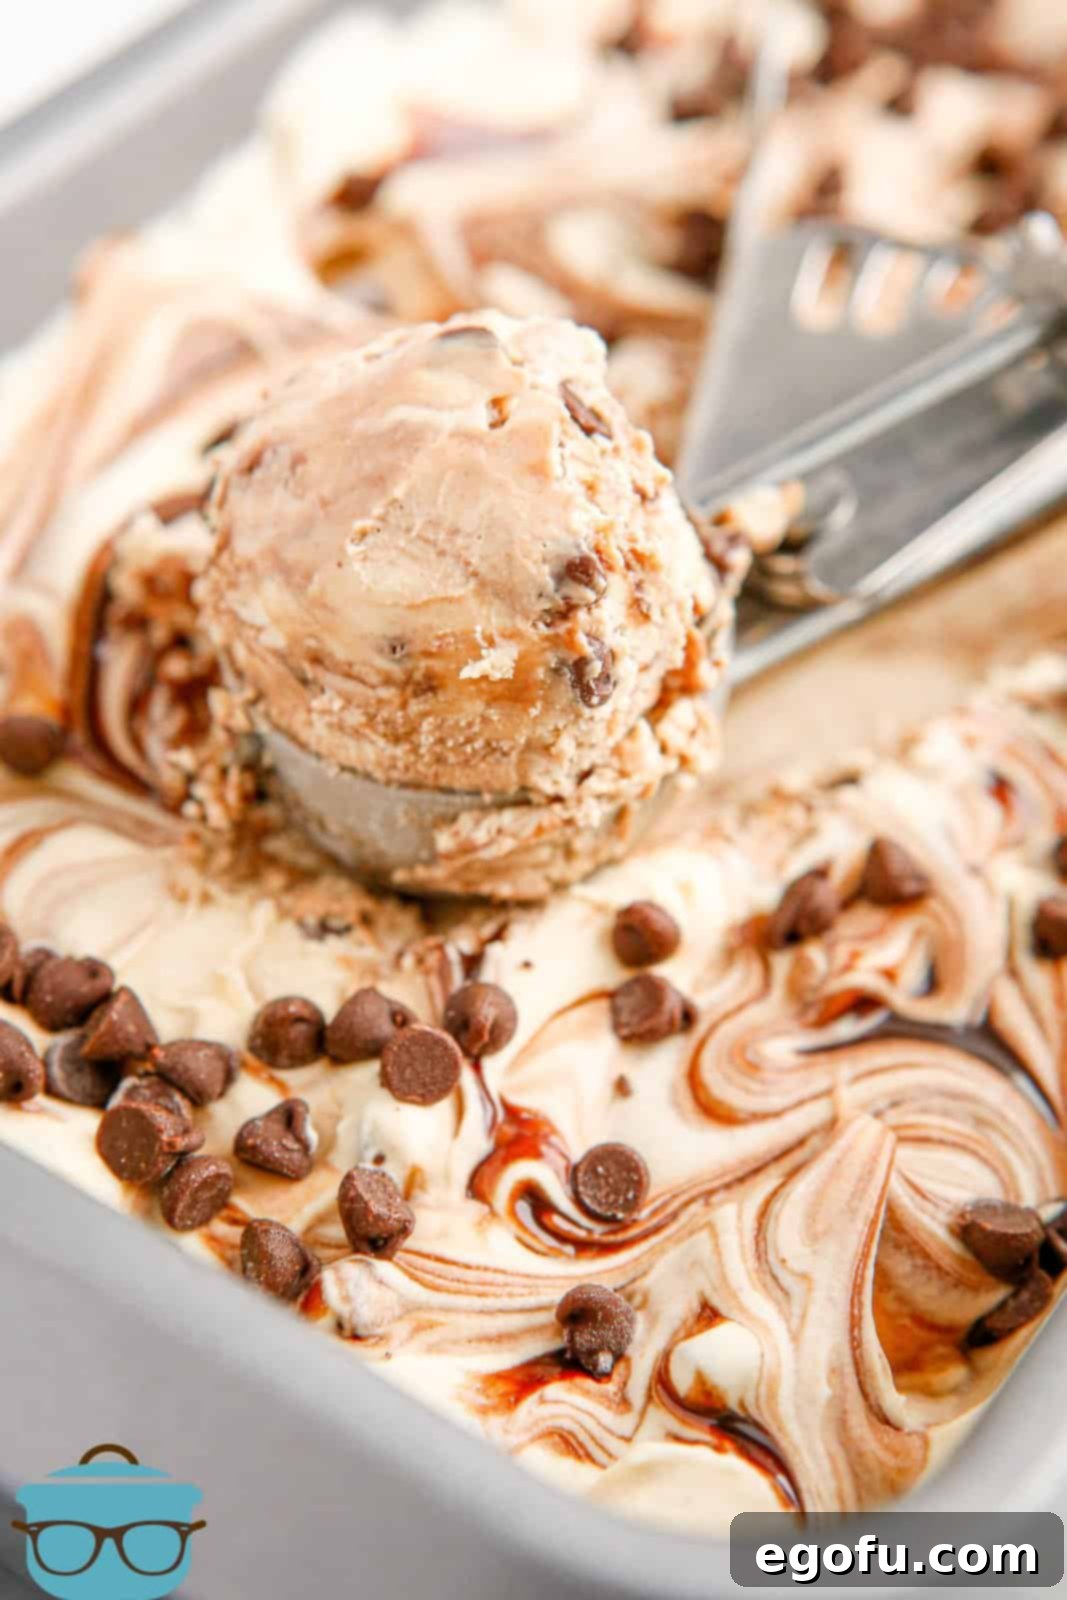
Enjoy every delightful spoonful of this easy, decadent homemade treat!
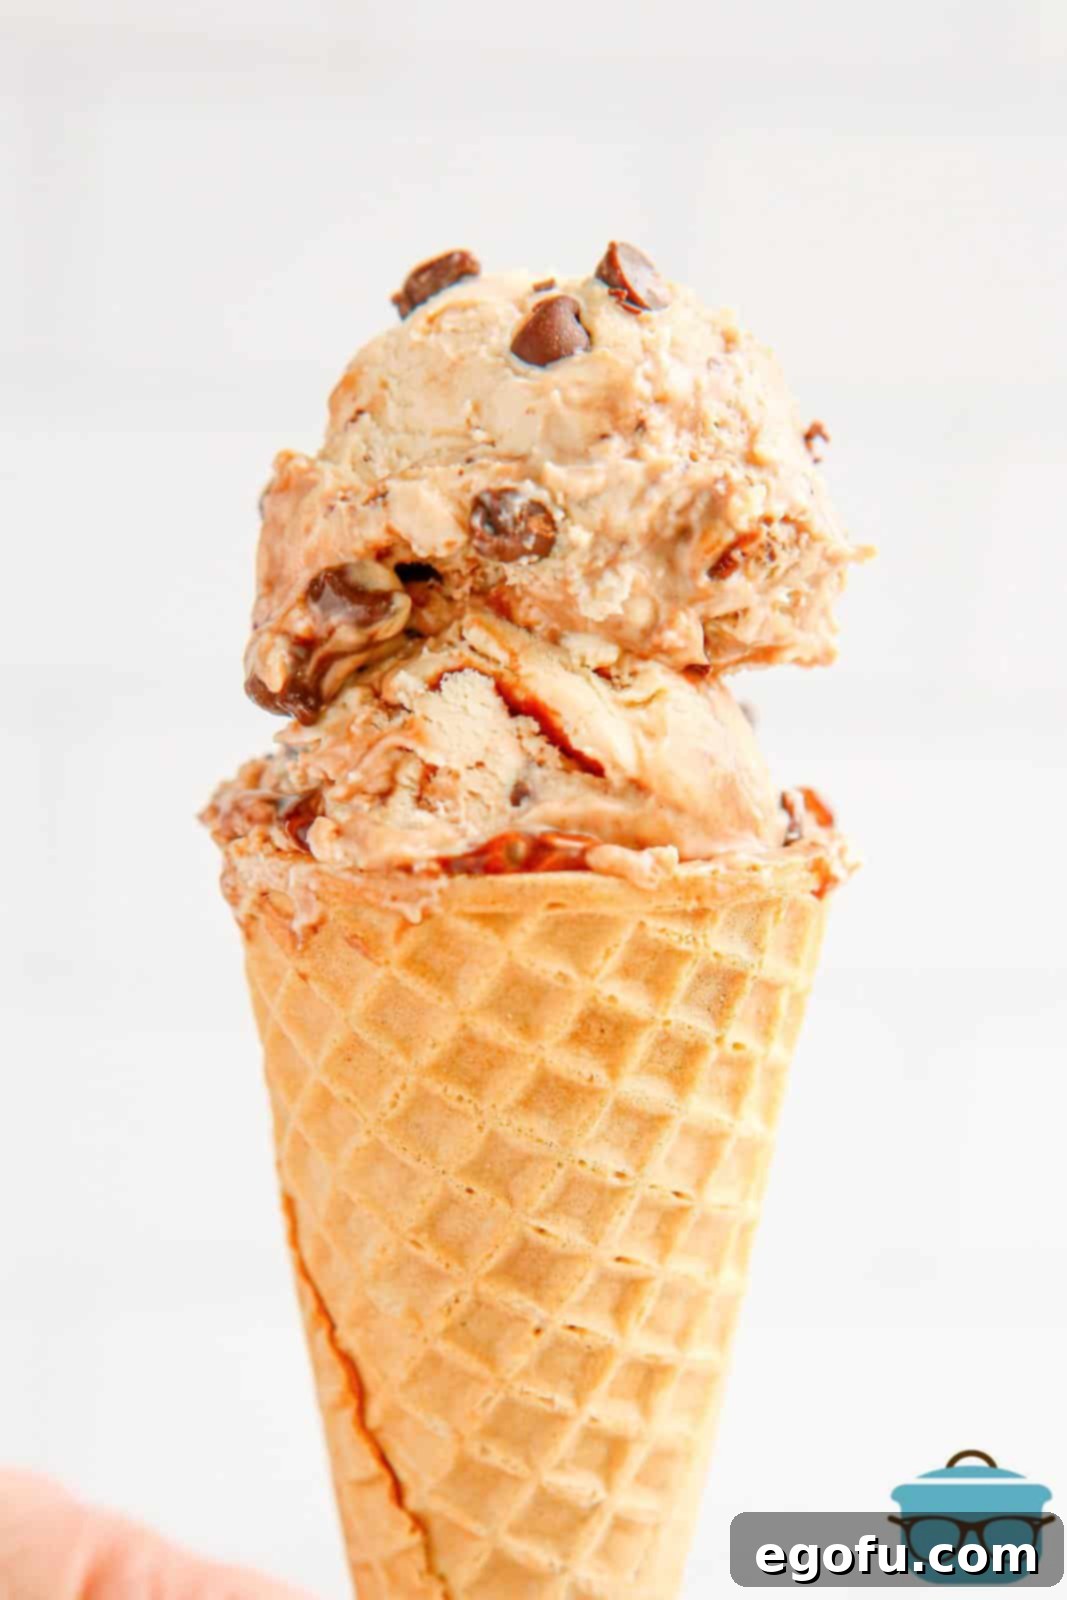
Explore More Delightful No-Churn Ice Cream Creations and Dessert Recipes!
If you loved the simplicity and incredible flavor of this No-Churn Peanut Butter Chocolate Chip Ice Cream, you’re in for a treat! There’s a whole world of easy, homemade desserts waiting for you. Dive into these other fantastic recipes that require no special equipment and promise pure deliciousness:
- NO-CHURN BUTTER PECAN ICE CREAM: A classic flavor reimagined for easy home preparation.
- NO-CHURN STRAWBERRY ICE CREAM: Fresh, fruity, and wonderfully creamy without the fuss.
- NO-CHURN MINT ICE CREAM: A refreshing and cool treat, perfect for mint lovers.
- NO-CHURN ROCKY ROAD ICE CREAM: Packed with marshmallows, nuts, and chocolate—a textural delight.
- ICE CREAM SANDWICH CAKE: An ingenious, no-bake cake that’s a crowd-pleaser.
- NO-CHURN CHERRY CHEESECAKE ICE CREAM: All the creamy goodness of cheesecake in an easy ice cream form.

No-Churn Peanut Butter Chocolate Chip Ice Cream
Print
Pin
Rate
Ingredients
- 2 cups cold heavy whipping cream
- 14 ounce can sweetened condensed milk
- 1 cup peanut butter, creamy or chunky
- ½ cup chocolate sauce (like Hershey’s), divided use
- ½ cup + 1 tablespoon mini chocolate chips divided use
- 1 teaspoon vanilla extract
- ⅛ teaspoon sea salt
Instructions
- 1. Chill Your Pan: Place a loaf pan in your freezer to chill for at least 30 minutes before you begin mixing. This helps the ice cream set faster and more evenly.
- 2. Whip Heavy Cream: In a large mixing bowl, use an electric mixer to beat the cold heavy whipping cream until stiff peaks form. The cream should be thick and hold its shape when you lift the beaters.
- 3. Prepare Peanut Butter Base: In a separate mixing bowl, stir together the sweetened condensed milk, peanut butter, vanilla extract, and sea salt until thoroughly combined and smooth.
- 4. Fold Mixtures: Gently add the peanut butter mixture to the whipped cream. Using a spatula, fold the ingredients together until they are just combined, being careful not to deflate the whipped cream. Overmixing will reduce the airiness.
- 5. Add Chocolate Chips: Fold in ½ cup of the mini chocolate chips until they are evenly distributed throughout the ice cream base.
- 6. Layer and Swirl: Remove the chilled loaf pan from the freezer. Pour half of the peanut butter ice cream mixture into the pan. Dollop ¼ cup of the chocolate sauce randomly on top. Then, pour the remaining peanut butter ice cream mixture over it and dollop the remaining chocolate sauce.
- 7. Final Touches: Use a butter knife or skewer to gently swirl the chocolate sauce into the ice cream for a marbled effect. Be gentle to maintain distinct swirls. Sprinkle the remaining 1 tablespoon of chocolate chips on top.
- 8. Freeze to Perfection: Place the loaf pan back into the freezer for 6-8 hours, or preferably overnight, until the ice cream is completely firm and set.
- 9. Serve and Enjoy: Once fully frozen, scoop your homemade No-Churn Peanut Butter Chocolate Chip Ice Cream into cones or bowls. Serve immediately and savor the creamy, delightful flavors!
Chef’s Notes & Pro Tips
- Peanut Butter Choice: For the creamiest texture and proper setting, use traditional creamy or chunky peanut butter. Avoid “natural” peanut butter varieties that separate, as their high oil content can prevent the ice cream from solidifying correctly.
- Double the Delight: This recipe is incredibly easy to scale! To make a larger batch, simply double all the ingredients and use two loaf pans (or a larger freezer-safe container) for chilling. Ensure adequate freezing time for larger quantities.
- Cold Cream is Key: Always start with very cold heavy whipping cream. This ensures that it whips up faster and to maximum volume, which is essential for the light, airy texture of no-churn ice cream.
- Gentle Folding: When combining the whipped cream and the peanut butter mixture, use a gentle folding technique to retain as much air as possible. This aeration is what gives no-churn ice cream its desirable texture.
- Pre-chill Everything: Chilling your loaf pan and even your mixing bowls before starting can help keep the cream cold and firm, especially in warm kitchens.
- Cover for Freshness: Once the ice cream is initially set, cover it tightly with plastic wrap or transfer it to an airtight container. Press the plastic wrap directly onto the surface of the ice cream to minimize air exposure and prevent freezer burn or ice crystal formation.
Nutrition Information (Estimated Per Serving)
Nutritional Disclaimer
“The Country Cook” is not a certified dietician or nutritionist. All nutritional information provided in this recipe is an estimate. If precise calorie counts and other nutritional values are crucial for your dietary needs, we highly recommend running the ingredients through your preferred online nutritional calculator. Please be aware that nutritional values can vary significantly based on the specific brands and exact quantities of ingredients used.
