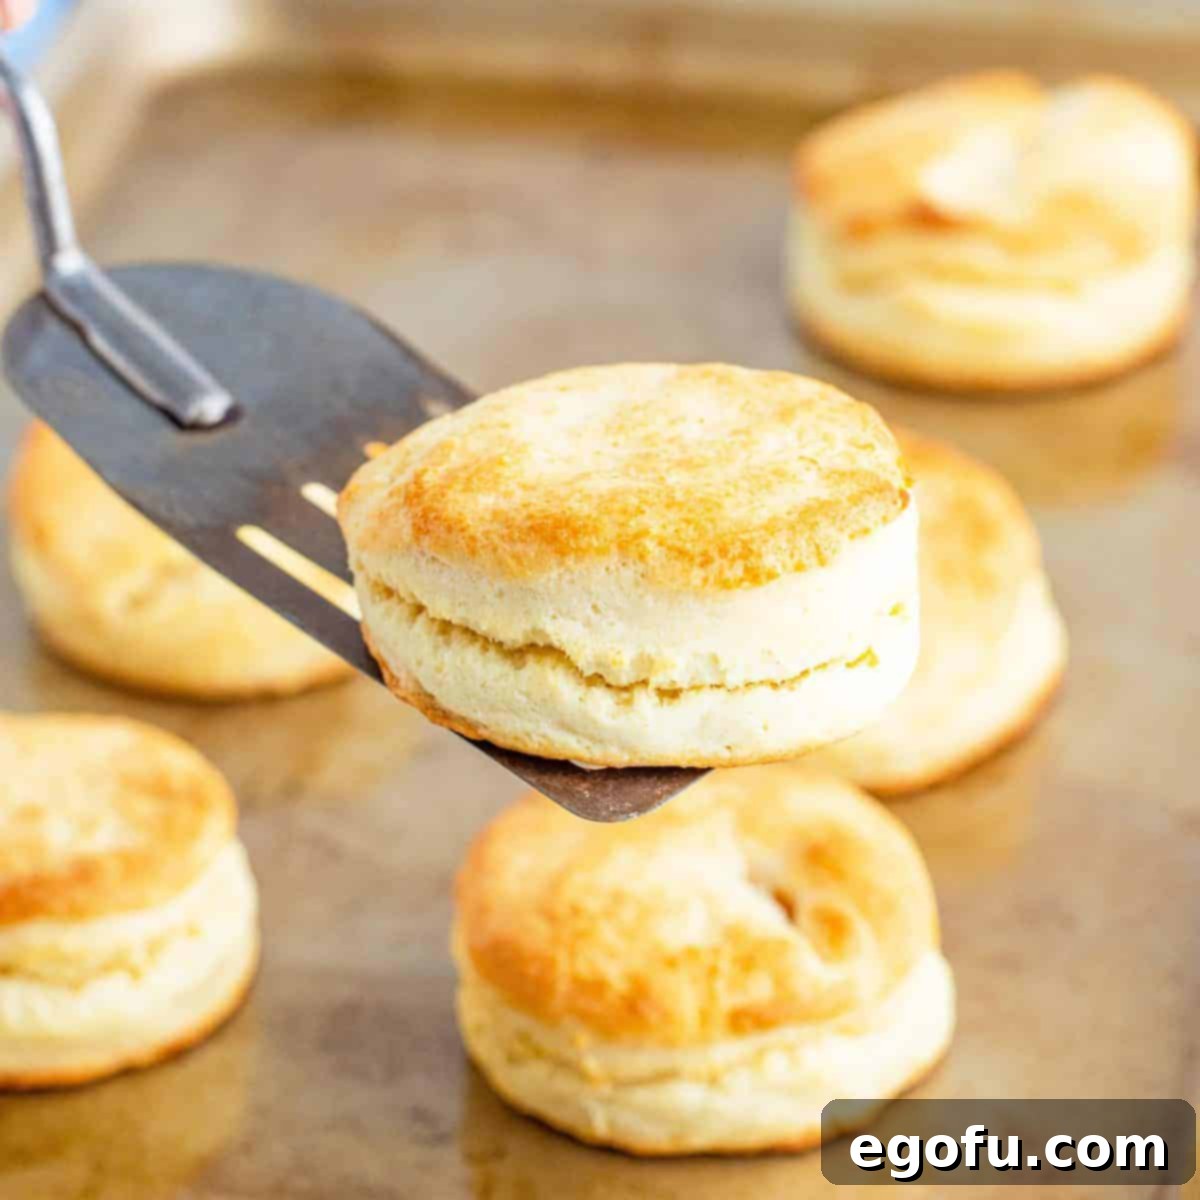
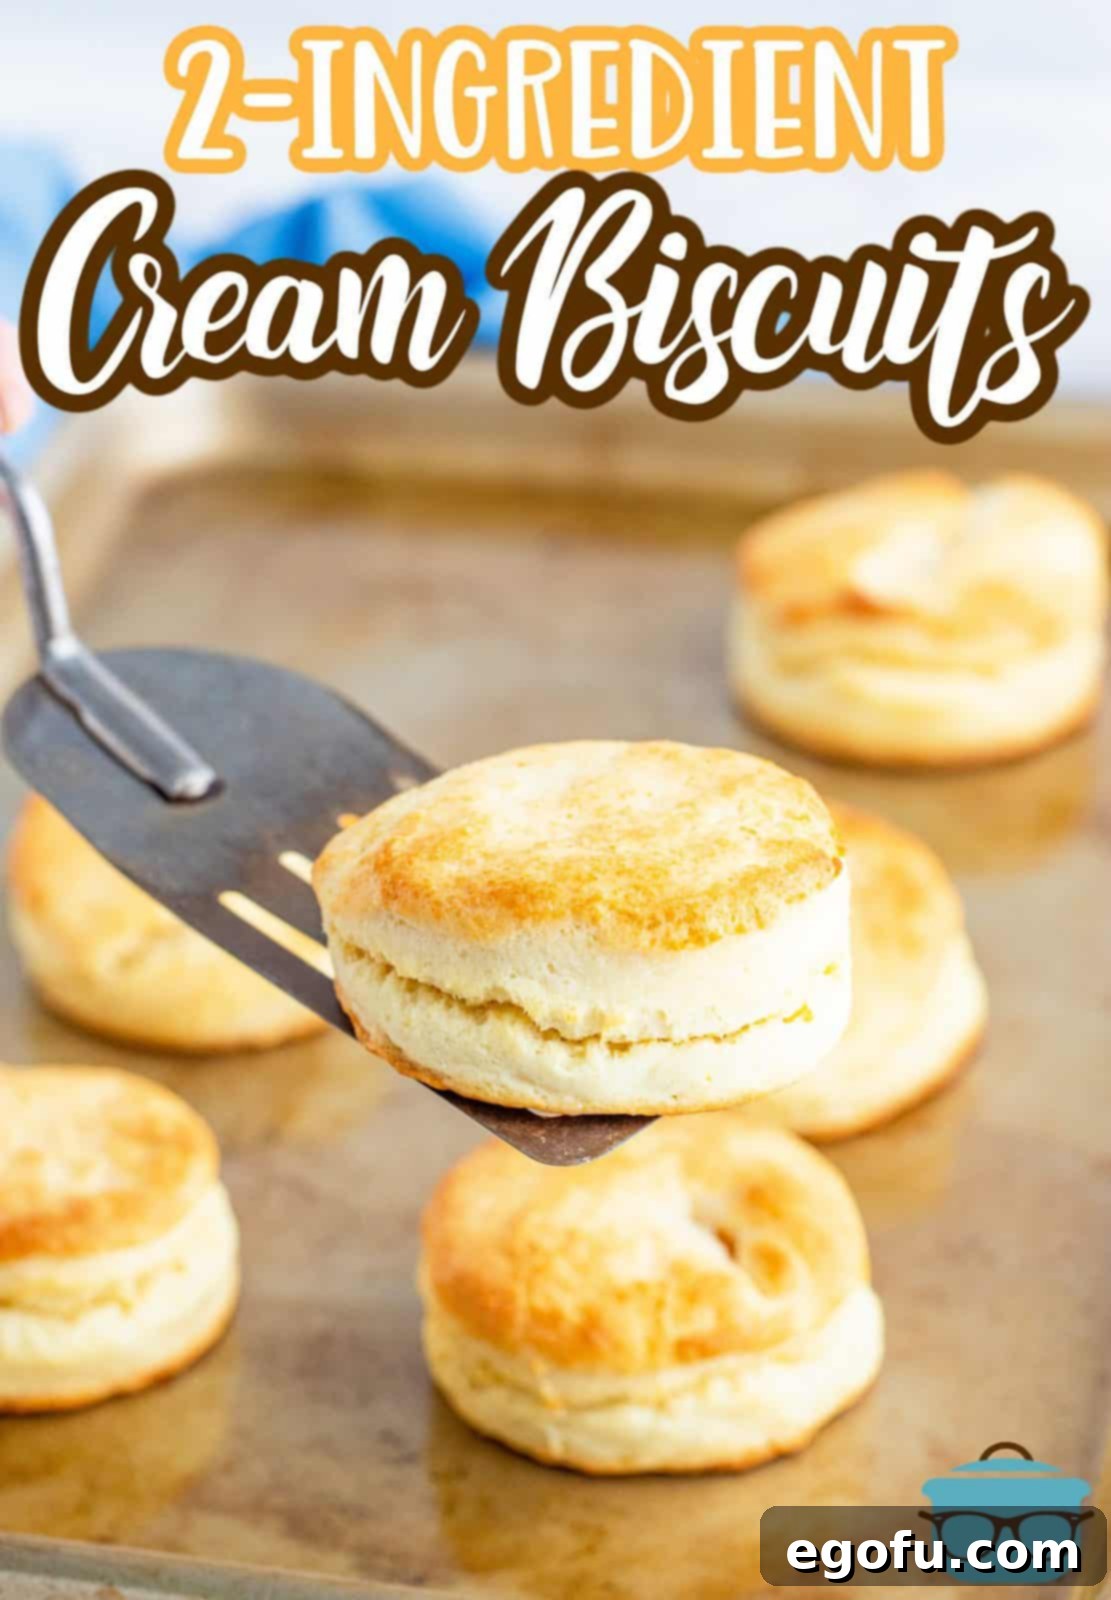
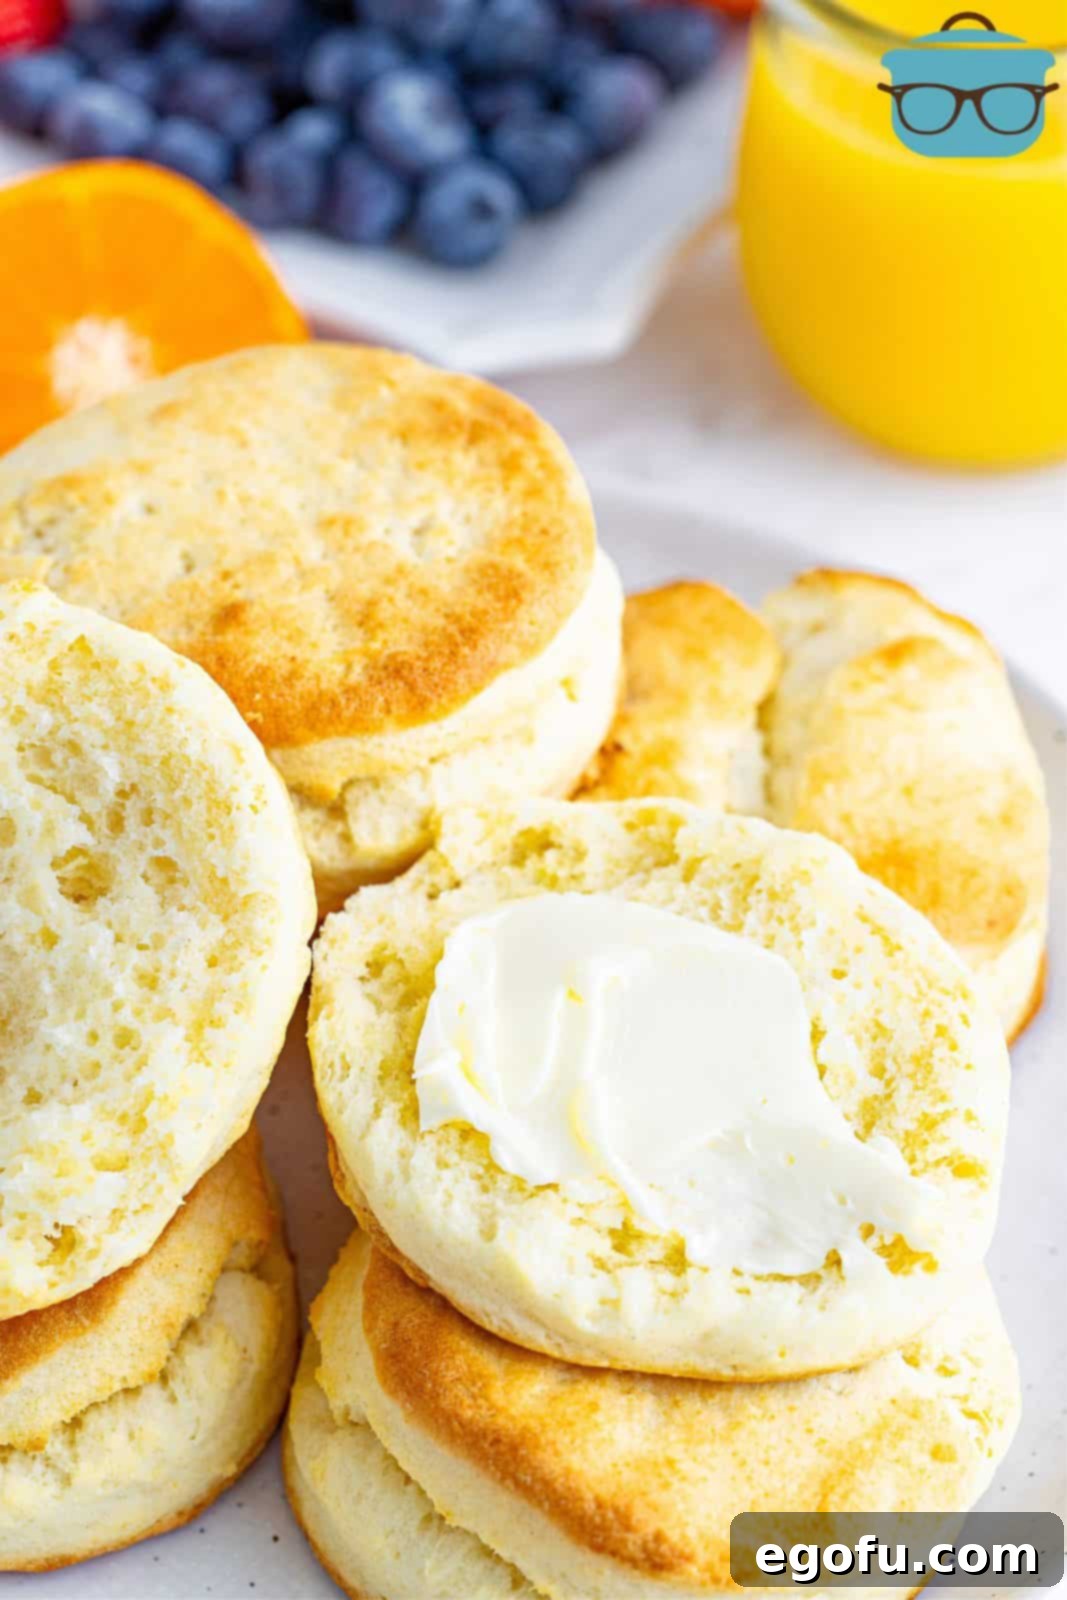
Welcome to the simplest path to homemade biscuit perfection! These incredible 2-Ingredient Cream Biscuits redefine easy baking, delivering the fluffiest, most tender, and perfectly flaky homemade biscuits you’ve ever tasted. Forget complicated recipes or endless ingredient lists – with just two core ingredients, you’re minutes away from a warm, golden batch of comfort. Whether you’re a seasoned baker or just starting your culinary journey, this foolproof recipe is designed to make you a biscuit master, every single time.
The Easiest Homemade Biscuits You’ll Ever Make
Is there anything quite as comforting as a warm, buttery homemade biscuit? The aroma alone is enough to transport you to a cozy kitchen filled with love. For many, the idea of baking biscuits from scratch can feel daunting, conjuring images of intricate techniques and potential failures. But what if we told you that achieving those golden, flaky layers and pillowy-soft interiors is remarkably simple? Our 2-Ingredient Cream Biscuits recipe is here to banish all your baking fears.
This recipe simplifies the biscuit-making process to its absolute core, requiring only self-rising flour and heavy cream. No cutting in cold butter, no chilling dough, no complex folding techniques – just a gentle mix and bake. If you’ve ever thought baking wasn’t for you, this recipe is your invitation to discover the joy of creating something truly delicious with minimal effort. Trust us, if we can do it, you absolutely can!
Frequently Asked Questions for Perfect Biscuits
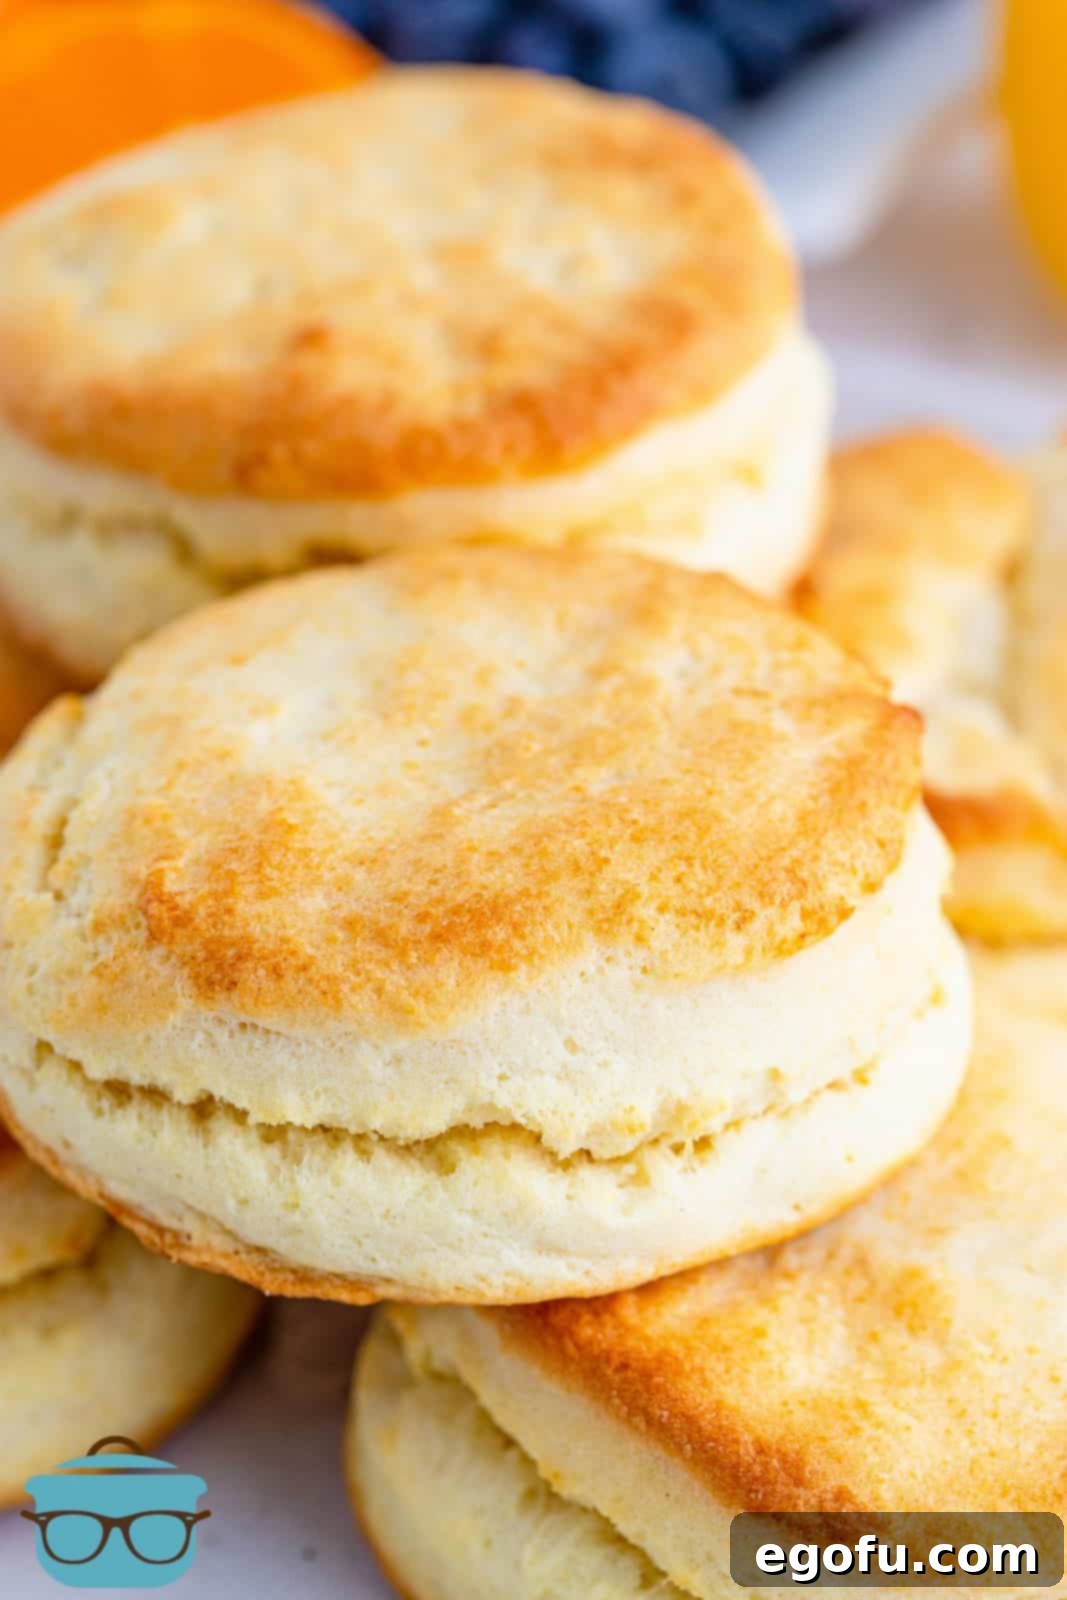
Cream biscuits are a beloved Southern delicacy distinguished by their simplicity and rich flavor. Unlike traditional biscuits that rely on cold butter or shortening, cream biscuits are made with just two primary ingredients: heavy cream and self-rising flour. The magic lies in the high-fat content of the heavy cream, which reacts beautifully with the leavening agents in the self-rising flour. This combination eliminates the need for any additional fats, creating an incredibly tender crumb and a subtly sweet, rich flavor that’s truly irresistible. The high fat content also contributes to a wonderfully moist and tender texture that simply melts in your mouth, making them uniquely different from butter-based biscuits.
Understanding the difference between these two flours is crucial for biscuit success, especially with a minimalist recipe like this one. All-purpose flour is a plain flour without any added leavening or salt. If you use it for biscuits, you must manually add baking powder (or baking soda plus an acid) and salt to your dry ingredients to achieve a rise. Self-rising flour, on the other hand, is a pre-mixed convenience flour that already contains a precise amount of leavening agent (usually baking powder) and salt. This means it’s ready to go straight out of the bag, making it ideal for quick breads, pancakes, and, of course, these effortless cream biscuits. Using self-rising flour ensures a consistent rise and flavor profile without the extra steps or risk of incorrect measurements.
Ah, the quest for fluffy biscuits! It’s a common aspiration, and certainly, no one wants a hard or hockey-puck-like biscuit. The key to achieving that coveted light and airy texture lies in a few critical points. First, ensure you are indeed using self-rising flour as specified in this recipe, or that you’ve correctly added your leavening agent (baking powder) if using all-purpose flour. An expired baking powder is a silent killer of fluffiness, so always check its freshness! Secondly, and perhaps most importantly, is the handling of your dough. Biscuits thrive on minimal interaction. Overworking the dough develops gluten, which leads to a tough, dense biscuit. The goal is to mix just until the ingredients are combined and the dough is sticky. Gentle handling, a light touch, and knowing when to stop are your best friends in the pursuit of fluffy perfection.
This is a frequent culprit behind flat biscuits, and it almost always comes down to technique when using your biscuit cutter. When cutting out your biscuits, it’s absolutely crucial to avoid twisting the biscuit cutter. Twisting the cutter seals the edges of the dough, essentially pinching together the delicate layers that are meant to expand and rise in the oven. This creates a barrier, trapping the gases produced by the leavening agent and preventing the biscuit from reaching its full, fluffy potential. Instead, simply press the cutter straight down through the dough with a firm, swift motion, and then lift it straight back up. This clean cut preserves those critical layers, allowing your biscuits to soar to new heights in the oven.
Hard or dense biscuits are usually a sign of one of two common baking missteps, both easily remedied:
1. Overworking the Dough: This is arguably the most common mistake when making biscuits. Unlike bread dough, which benefits from extensive kneading to develop strong gluten strands, biscuit dough demands a light touch. Excessive handling or kneading develops too much gluten, resulting in a tough, chewy, and dense texture instead of the desired tenderness. For cream biscuits, you only need to mix until the flour is just moistened by the cream and then fold the dough a couple of times – that’s it! Resist the urge to knead until smooth and elastic. The stickier the dough, the lighter the biscuit will be.
2. Incorrect Flour Measurement: Many home bakers unintentionally use too much flour by packing it tightly into their measuring cups. This adds significantly more flour than intended, leading to a dry, dense dough. The correct way to measure flour is to “spoon and level.” First, gently stir your flour in its container to aerate it. Then, spoon the flour into your measuring cup until it overflows slightly. Finally, use the flat side of a knife or a straight edge to level off the excess flour, ensuring an accurate measurement. Never scoop directly from the bag or container as this compacts the flour.
For this particular 2-Ingredient Cream Biscuits recipe, substitutions are generally not recommended. Baking is often a delicate balance of chemistry, and the high-fat content of heavy cream (typically 36% or more milk fat) is fundamental to the structure, richness, and tenderness of these specific biscuits. Using milk (which has significantly less fat, even whole milk at 3.25%) will drastically alter the dough’s consistency and the final biscuit’s texture, leading to dry, crumbly, or flat results. If a recipe specifically calls for heavy cream, use heavy cream. Similarly, if a recipe calls for real butter, use real butter – margarine or oil will yield different results. When a recipe has so few ingredients, the quality and type of each component become exponentially more important. For best results and to truly experience the magic of these simple biscuits, stick to the heavy cream.
That’s a great question, and it highlights a nuance in how we count ingredients! The “2-Ingredient” moniker for these biscuits refers strictly to the core components needed to form the biscuit dough itself: self-rising flour and heavy cream. The melted butter that is brushed on top of the biscuits, while highly recommended for flavor and a beautiful golden crust, is considered an optional topping or garnish rather than an essential component for the structural integrity of the biscuit. So, while you’ll certainly want to include that luscious butter for the ultimate experience, the fundamental recipe remains impressively simple with just two main players.
Absolutely! Biscuits freeze beautifully, making them an excellent candidate for meal prep or simply having a batch of homemade goodness ready at a moment’s notice. To freeze, ensure your baked biscuits have cooled completely to room temperature. Then, wrap them very thoroughly in plastic wrap, individually or in pairs, before placing them in an airtight freezer-safe bag or container. This double-layer protection is crucial to prevent freezer burn and maintain their freshness and flavor. Biscuits can be successfully frozen for up to one month. When you’re ready to enjoy them, simply follow the reheating instructions provided in the recipe notes for a fresh-from-the-oven taste.
What You’ll Need: Simple Ingredients for Extraordinary Biscuits
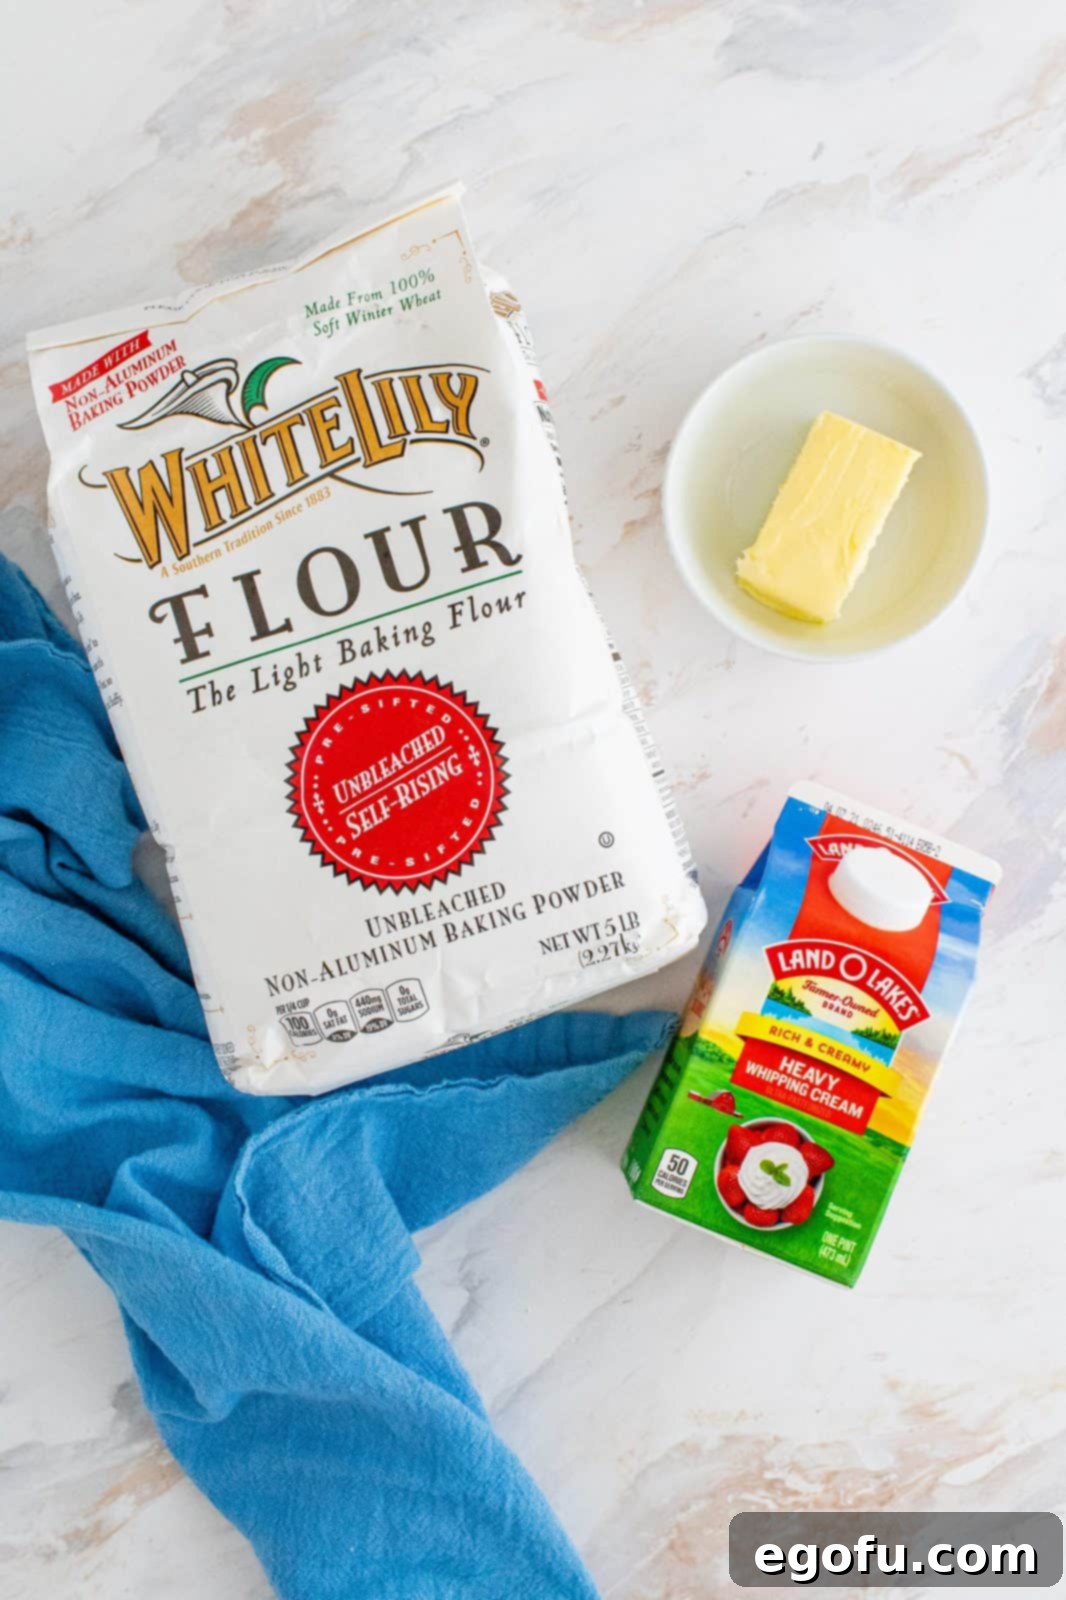
The beauty of this recipe truly lies in its elegant simplicity. You only need a couple of staple ingredients to create these incredibly fluffy and tender biscuits. Here’s what you’ll gather:
- Self-Rising Flour: The star of the show, providing both structure and the essential leavening for a perfect rise. While any good quality self-rising flour works, many Southern bakers swear by White Lily Self-Rising flour for its lower protein content, which contributes to a more tender biscuit.
- Heavy Cream: This is where the richness and moisture come from. Ensure it’s cold, straight from the refrigerator, for best results.
- Salted Butter (optional, for brushing tops): While not counted in the “2 ingredients” for the dough, a touch of melted salted butter brushed over the tops before and after baking adds an incredible depth of flavor and a beautiful golden sheen. You won’t want to skip this!
Step-by-Step Guide: How to Make 2-Ingredient Biscuits
Making these cream biscuits is incredibly straightforward. Follow these simple steps for a perfect batch:
Step 1: Prepare Your Oven and Baking Sheet. Begin by preheating your oven to a scorching 500°F (yes, that high temperature is correct and key for a quick rise!). While the oven heats, lightly spray a baking sheet with a nonstick cooking spray to prevent sticking.
Step 2: Measure and Combine Flour. Using the “spoon and level” technique described in our FAQ section, measure out your self-rising flour into a large mixing bowl. This ensures you have the precise amount for a perfect dough consistency.
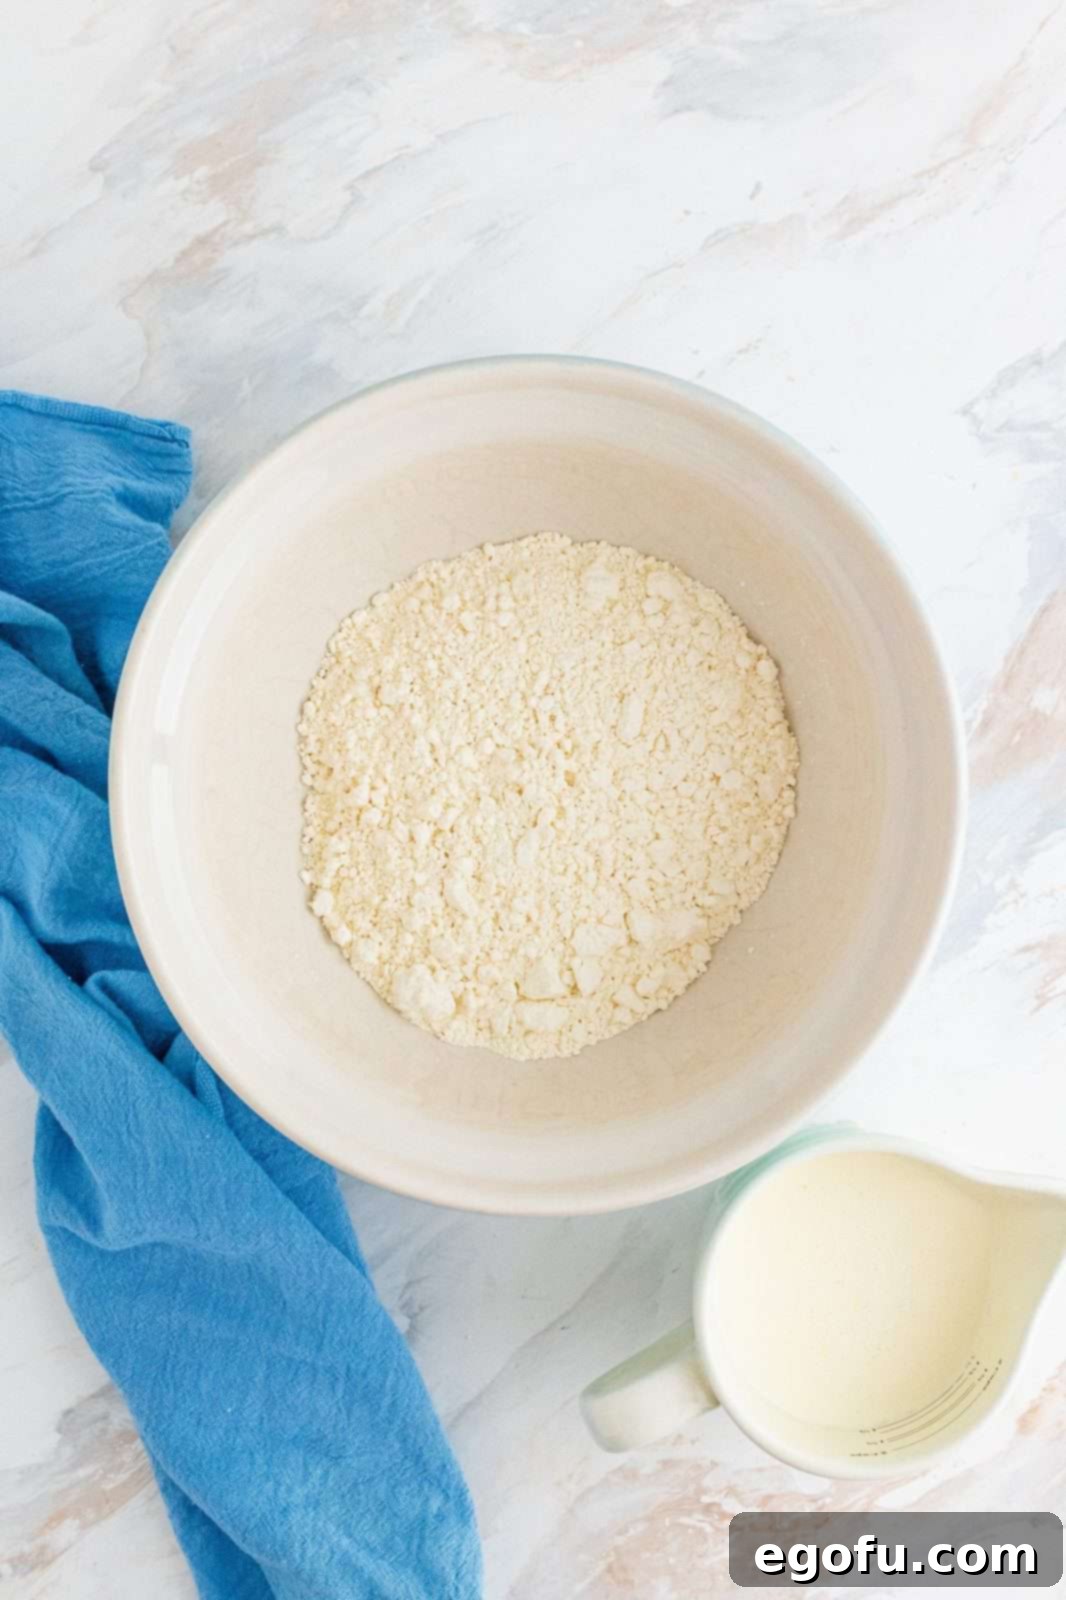
Step 3: Gradually Add Heavy Cream. With the flour ready, begin to gradually pour in the cold heavy cream. Start with about ¾ of the suggested amount and stir gently with a spoon or spatula. Continue adding cream, a little at a time, until the flour is just moistened and forms a sticky dough. The dough should be shaggy and sticky, not smooth or dry. Avoid overmixing – stop as soon as it comes together.
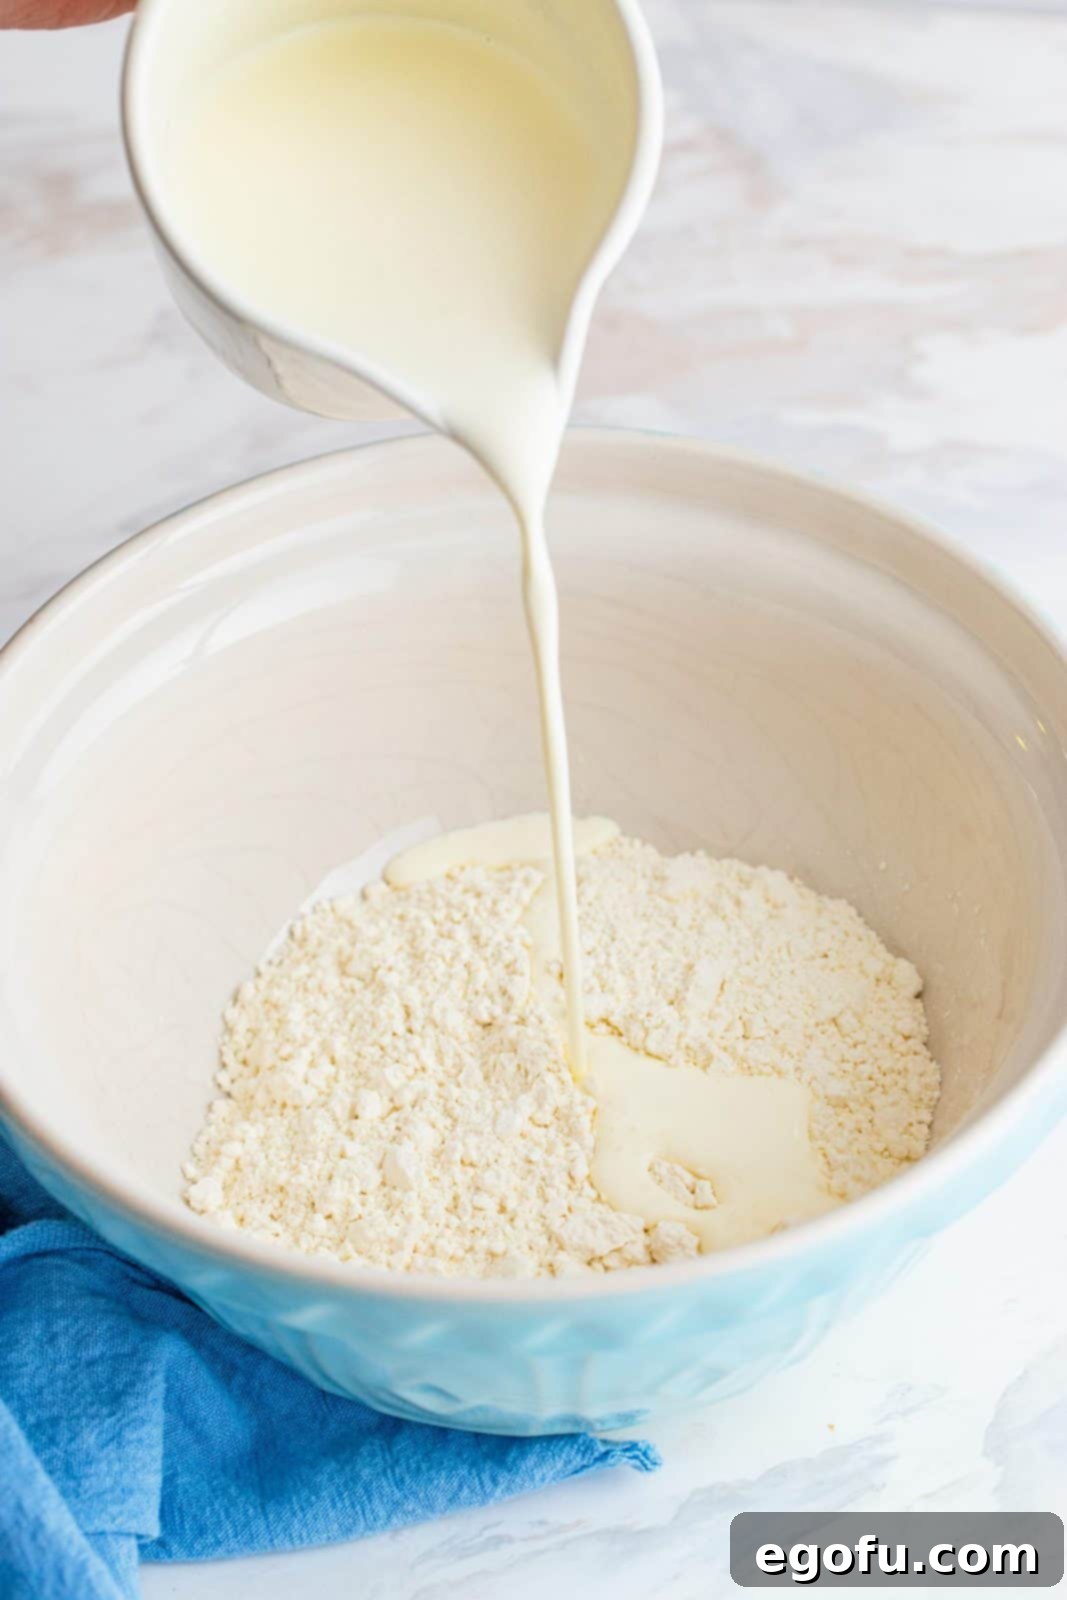
Step 4: Gentle Mixing for Optimal Tenderness. The dough will be quite sticky at this stage, and that’s exactly what you want! Resist the urge to add more flour to make it easier to handle. Gentle mixing is paramount here to prevent the development of gluten, which would lead to tough biscuits. Just mix until combined.
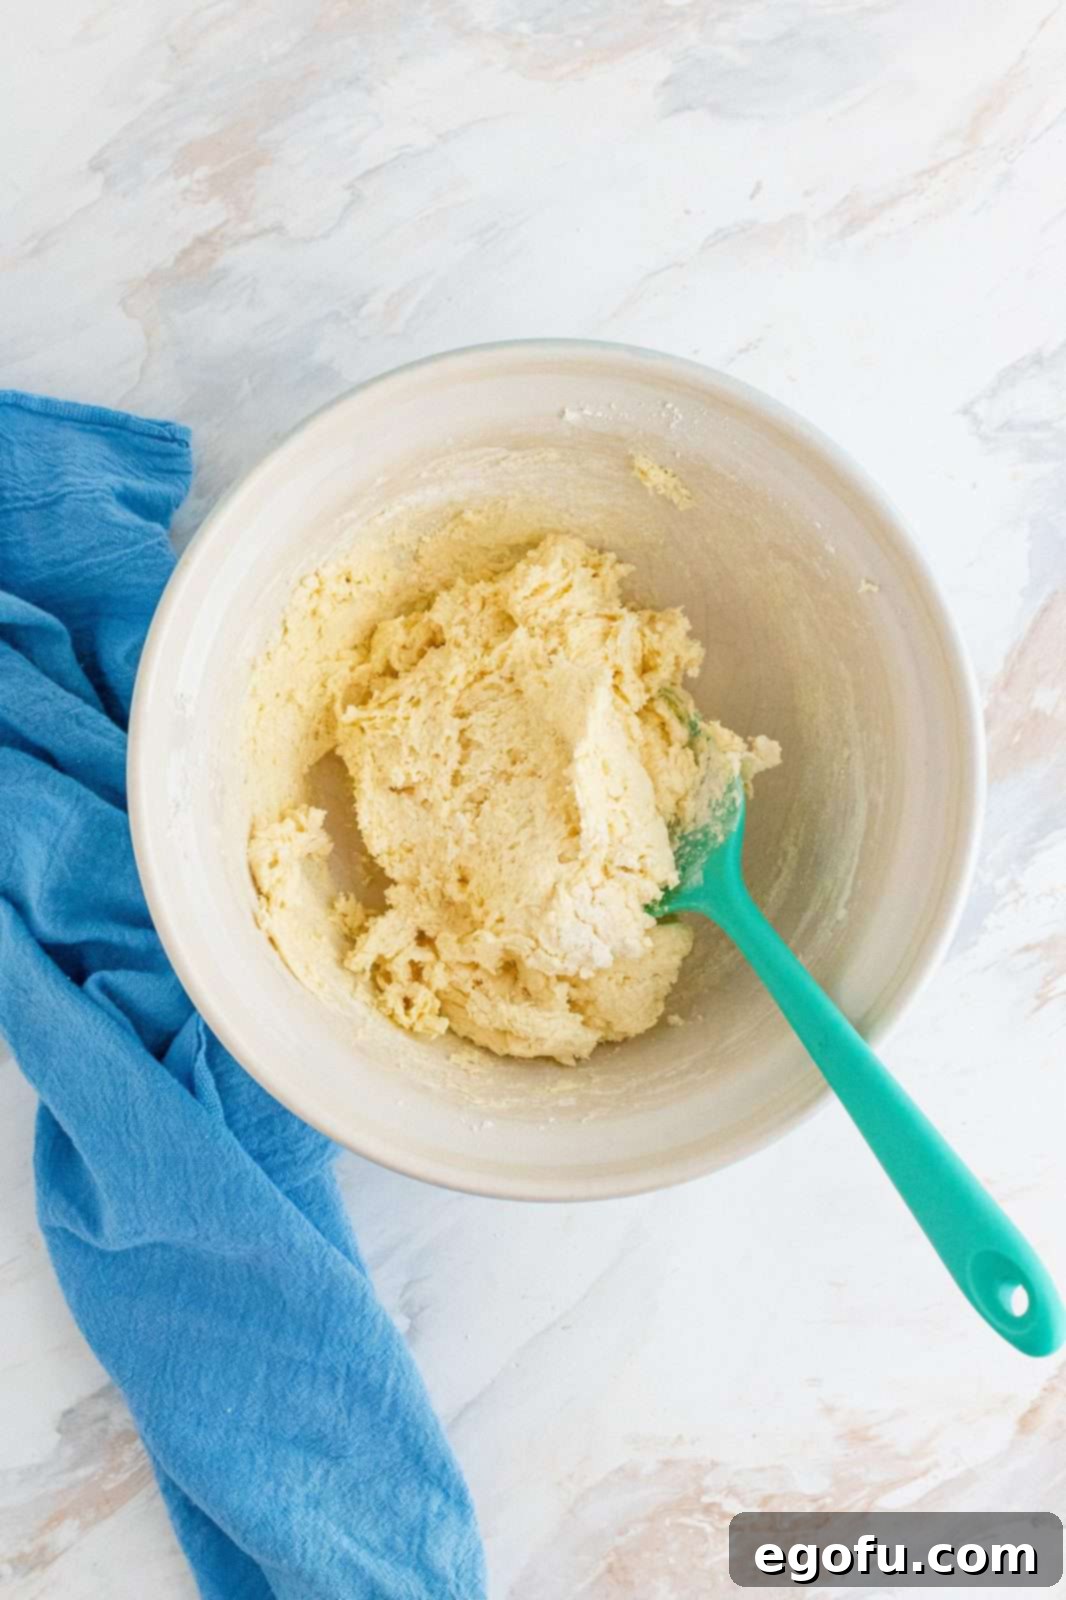
Step 5: Turn Out and Lightly Flour. Generously dust a clean work surface with a little extra self-rising flour. Carefully turn the sticky dough out onto this floured surface. If the dough is exceptionally sticky, you can lightly sprinkle a bit more self-rising flour over the top of the dough itself. The key is minimal additional flour.
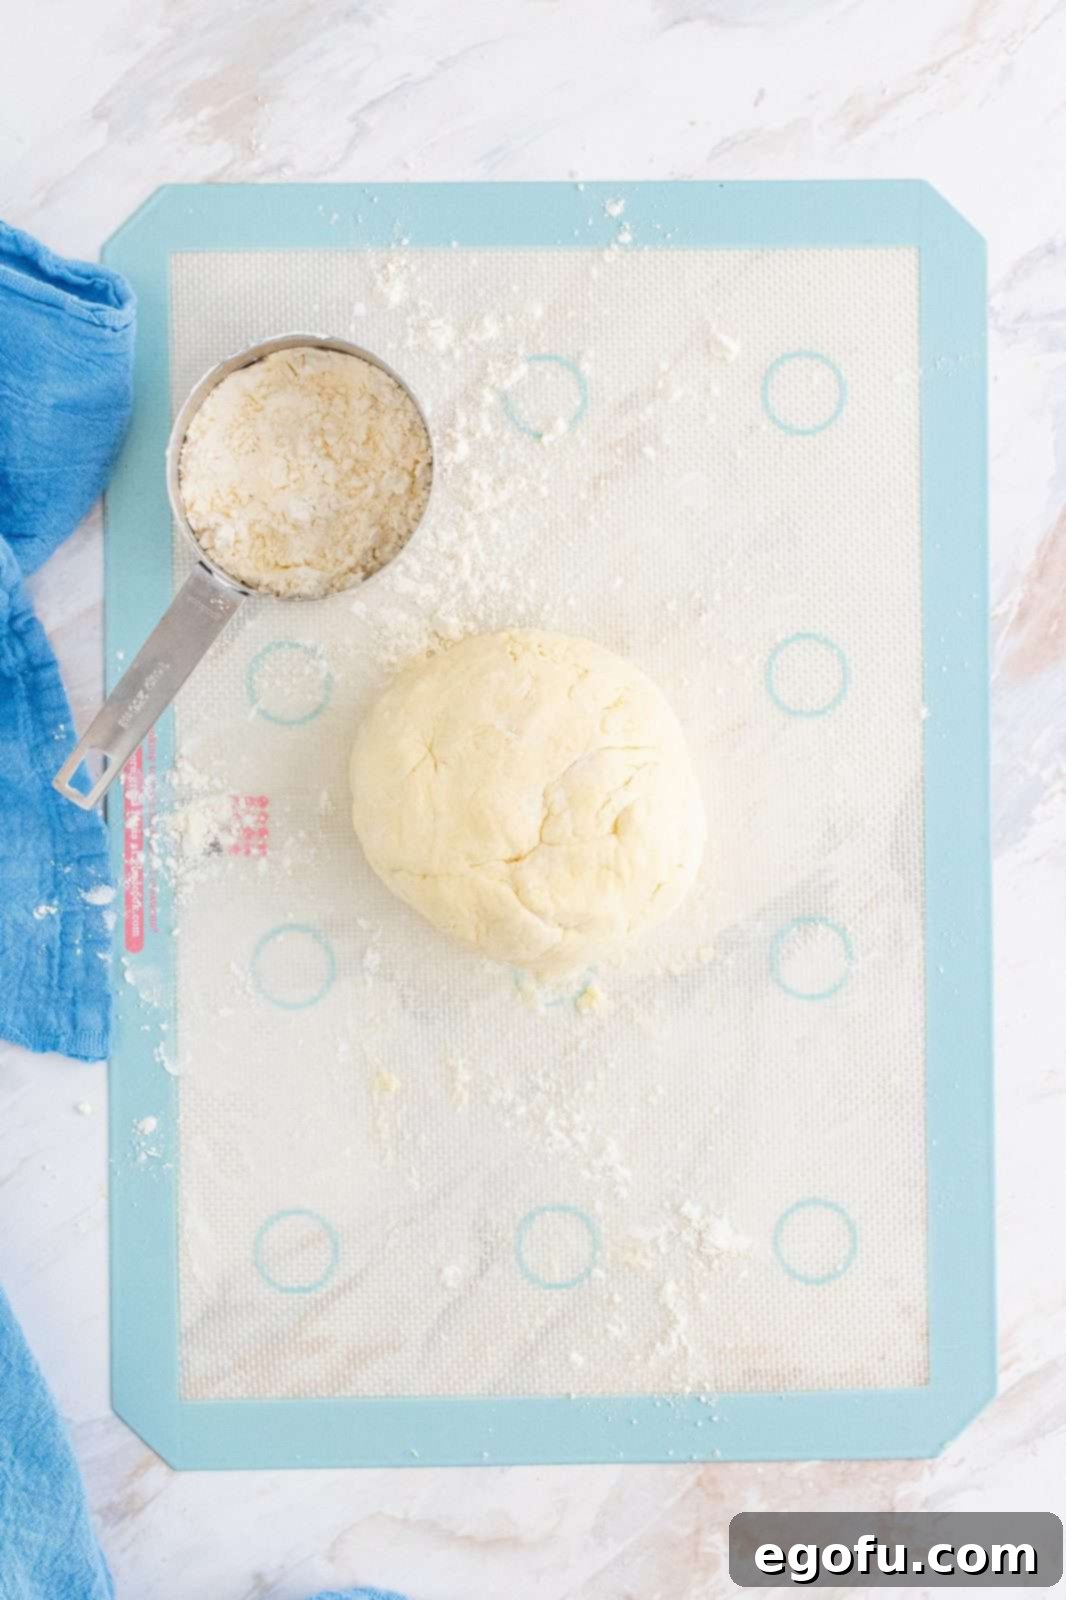
Step 6: Fold and Shape the Dough. Gently fold the dough over on itself a couple of times. This minimal handling helps to create layers without overworking the gluten. Then, lightly pat or roll the dough out with your hands or a rolling pin to an even thickness of about ½ inch. For truly fluffy biscuits, leaving the dough a little thicker is often beneficial. Remember to keep a light touch!
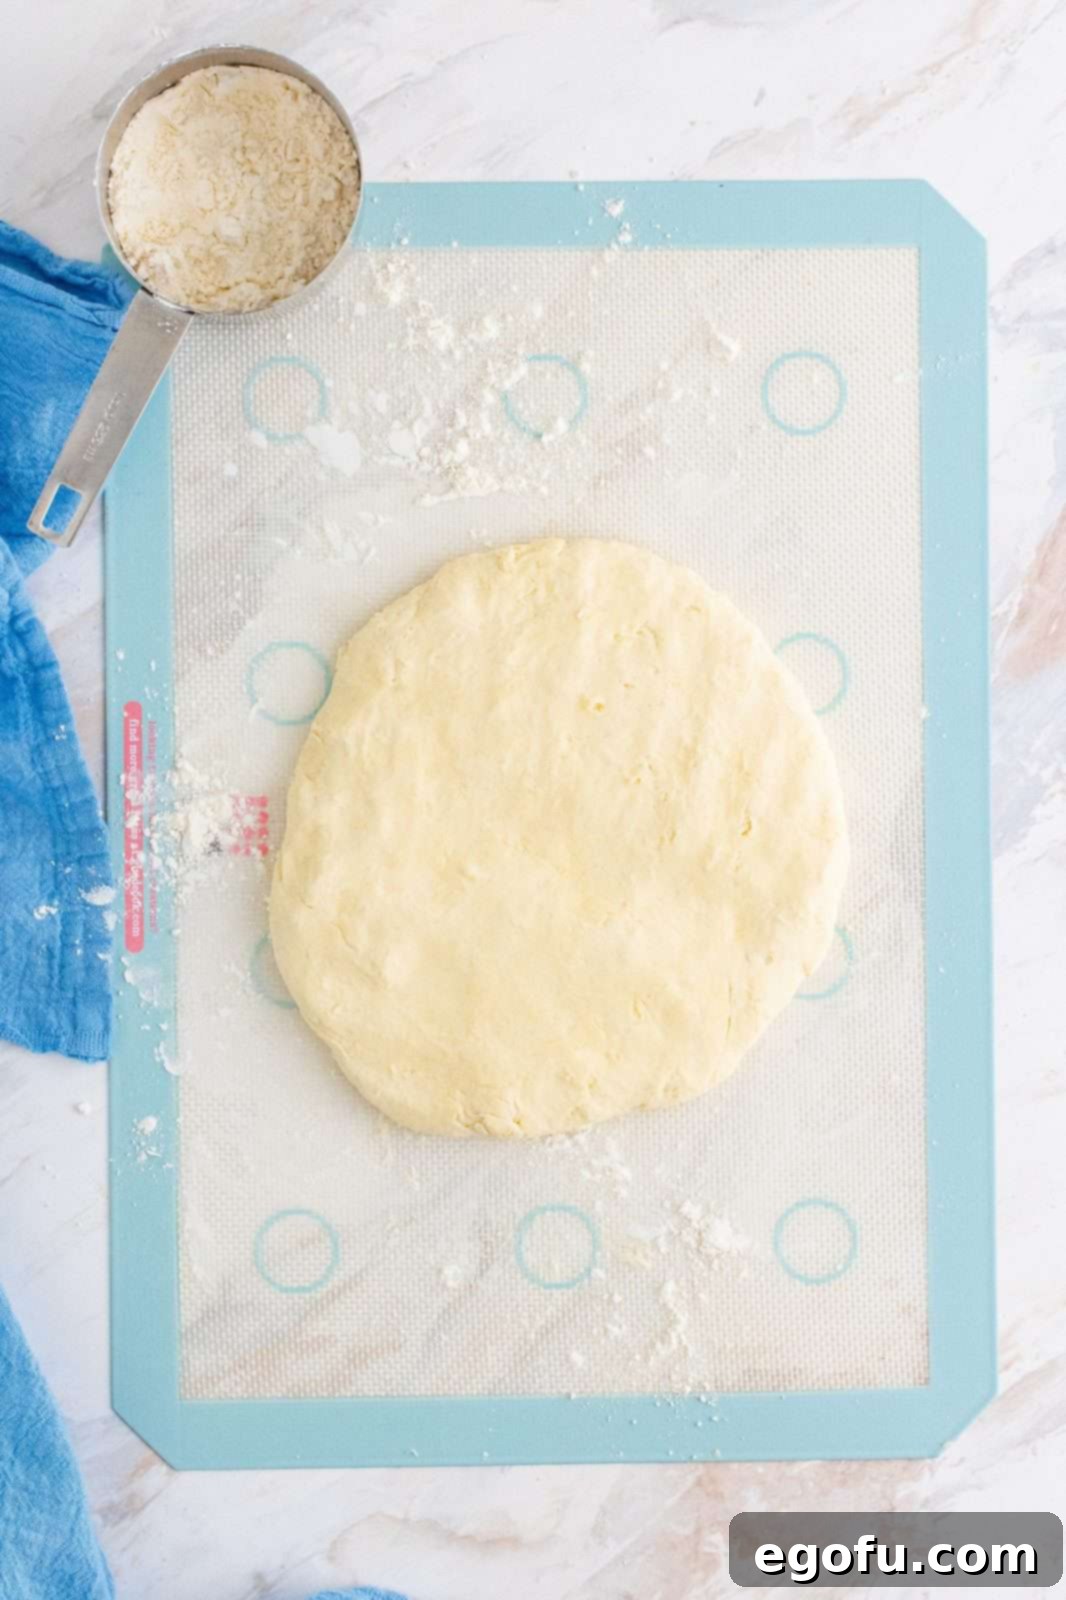
Step 7: Cut Out Your Biscuits. Prepare your biscuit cutter by dipping its edge into a bit of self-rising flour; this simple trick prevents the dough from sticking as you cut. Begin cutting out your biscuits as close together as possible to minimize scraps. Crucially, press the cutter straight down and pull straight up – DO NOT twist the cutter. Twisting seals the edges and inhibits the rise, as we discussed in our FAQs.
Step 8: Handle Scraps Minimally. From the first cutting, you’ll likely get about 4-5 biscuits. Gather the dough scraps together very gently, pressing them into a ball without kneading. Pat or roll out the dough again to ½ inch thickness for a second cutting. Avoid cutting the dough more than twice, as repeated handling will toughen the biscuits and change their texture. From this recipe, you should yield approximately 7-8 biscuits in total. Carefully transfer the cut biscuits to your prepared cookie sheet.
Step 9: Arrange Biscuits and Brush with Butter. For biscuits with soft, tender sides, place them closely together on the baking sheet so their sides are touching. If you prefer biscuits with slightly crisper edges, space them out. Once arranged, lightly brush the tops of each biscuit with a bit of melted salted butter. This enhances the flavor and promotes a beautiful golden-brown crust.
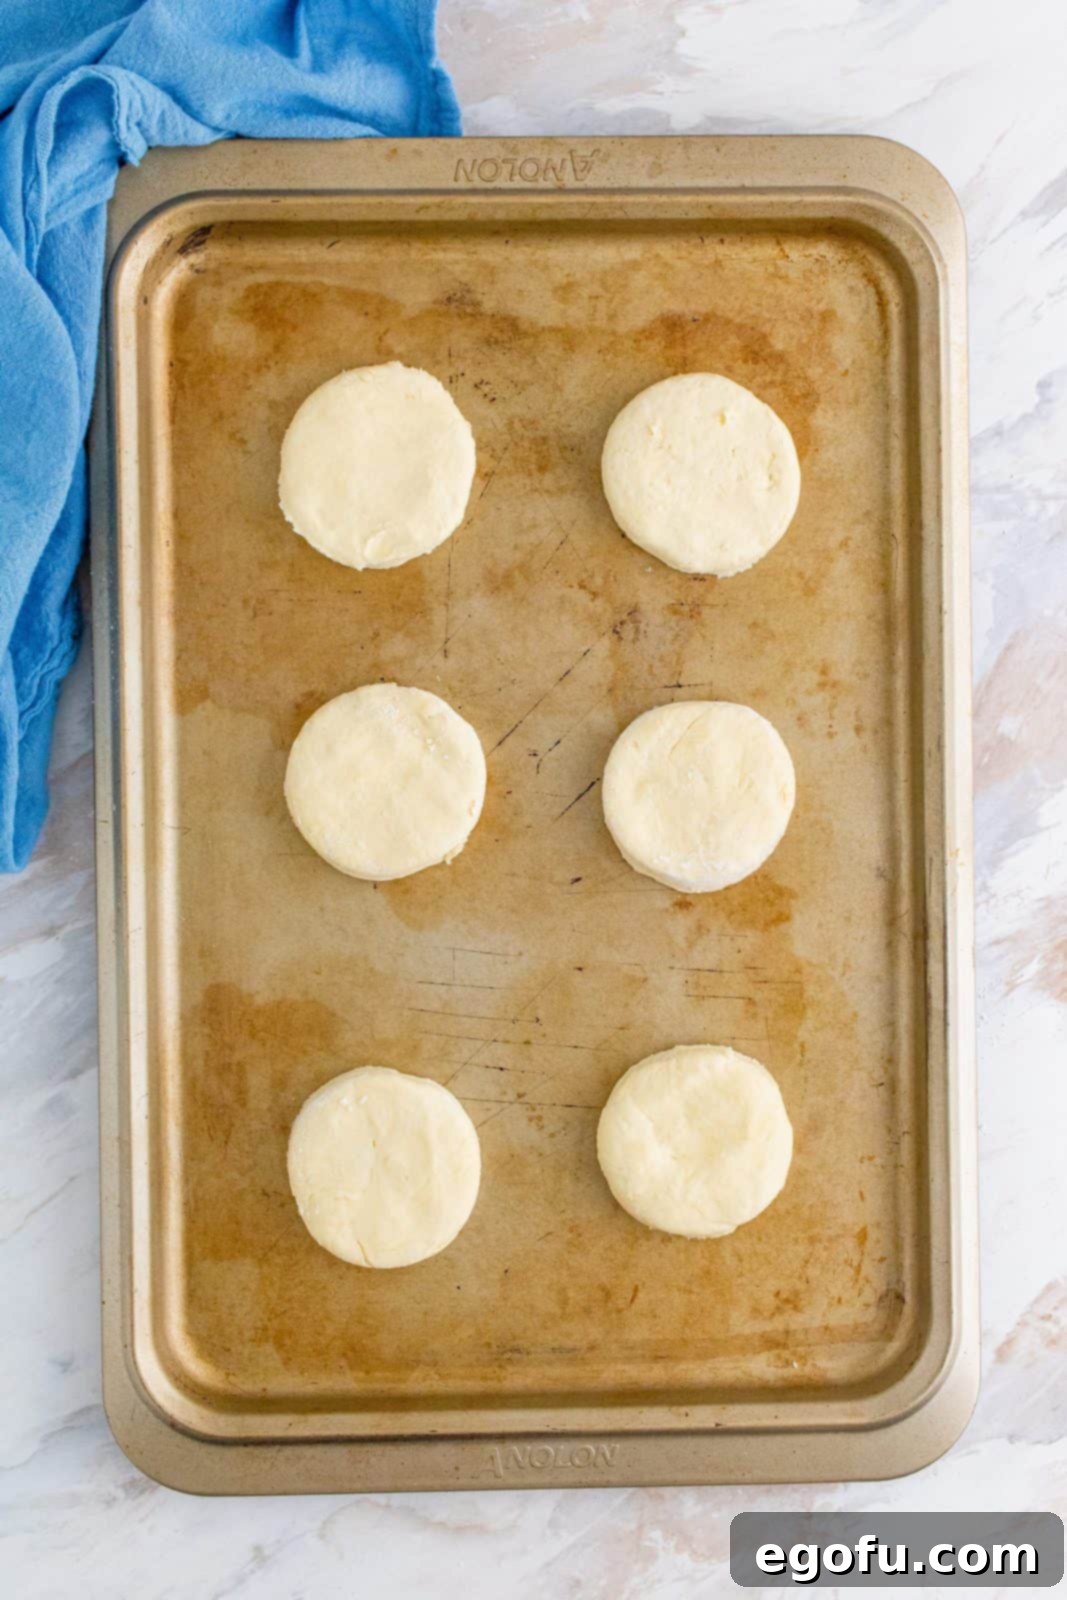
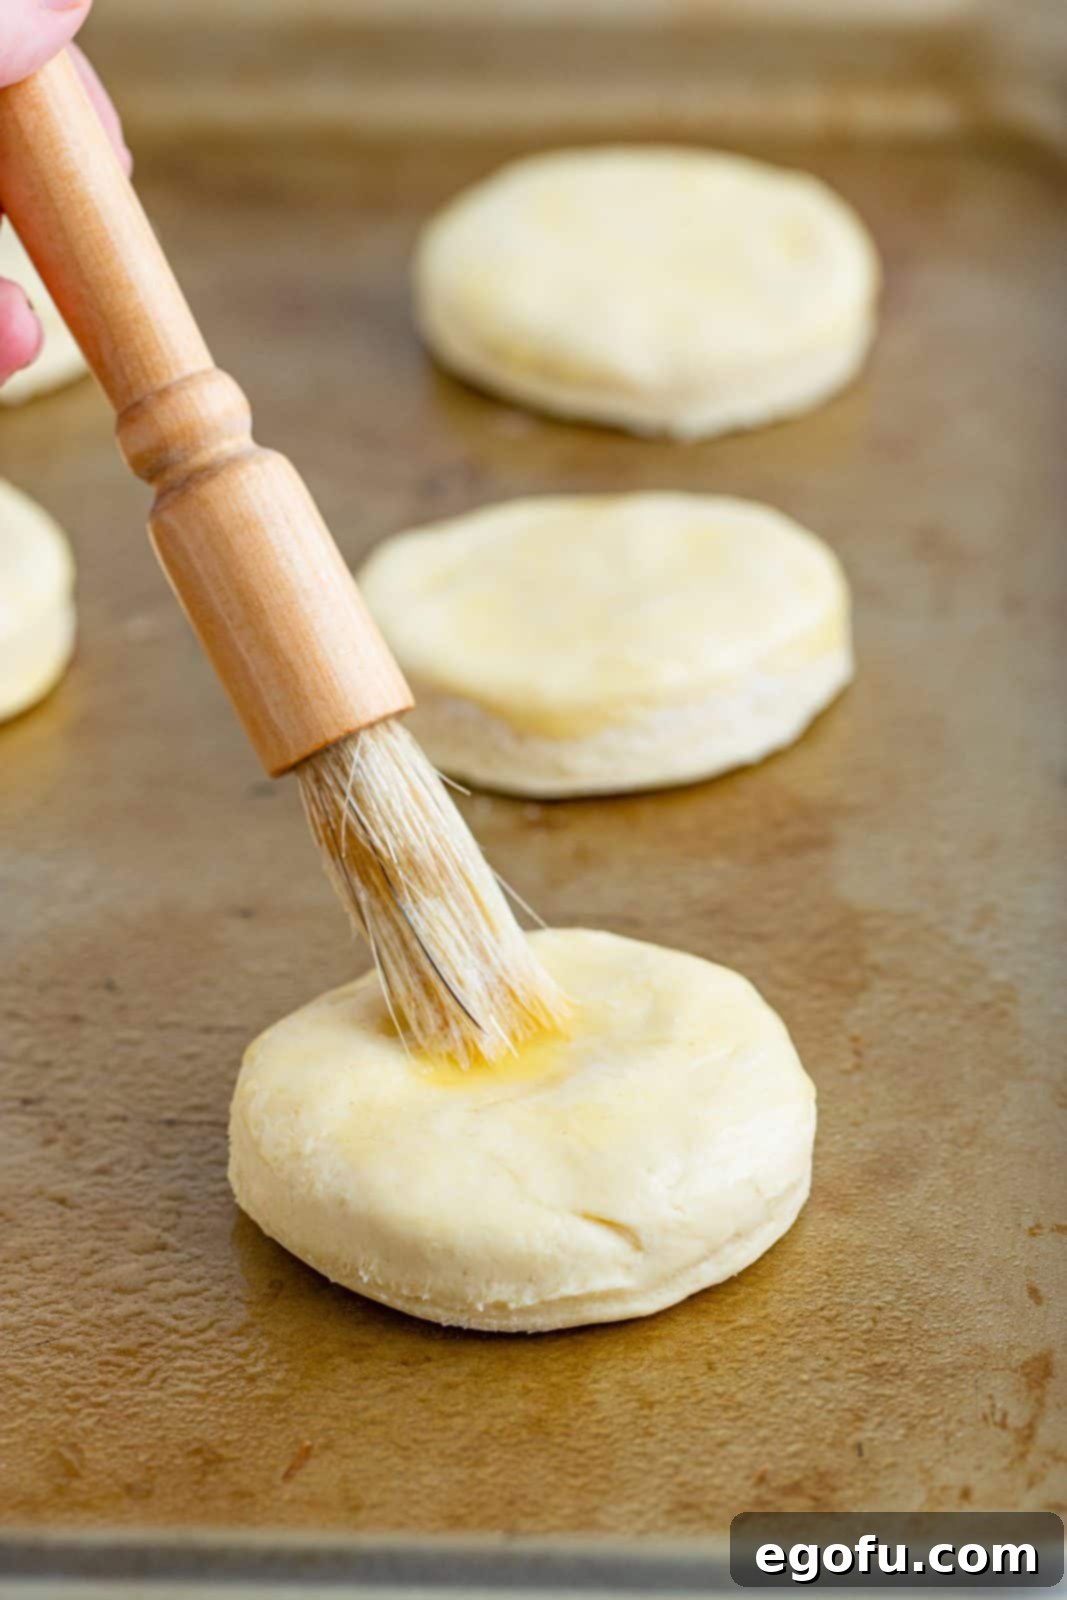
Step 10: Bake to Golden Perfection. Place the baking sheet with the biscuits onto the middle rack of your preheated 500°F oven. Bake for approximately 8-10 minutes, or until the tops are beautifully golden brown and the biscuits have risen significantly. Keep a close eye on them, as high heat baking can brown them quickly!
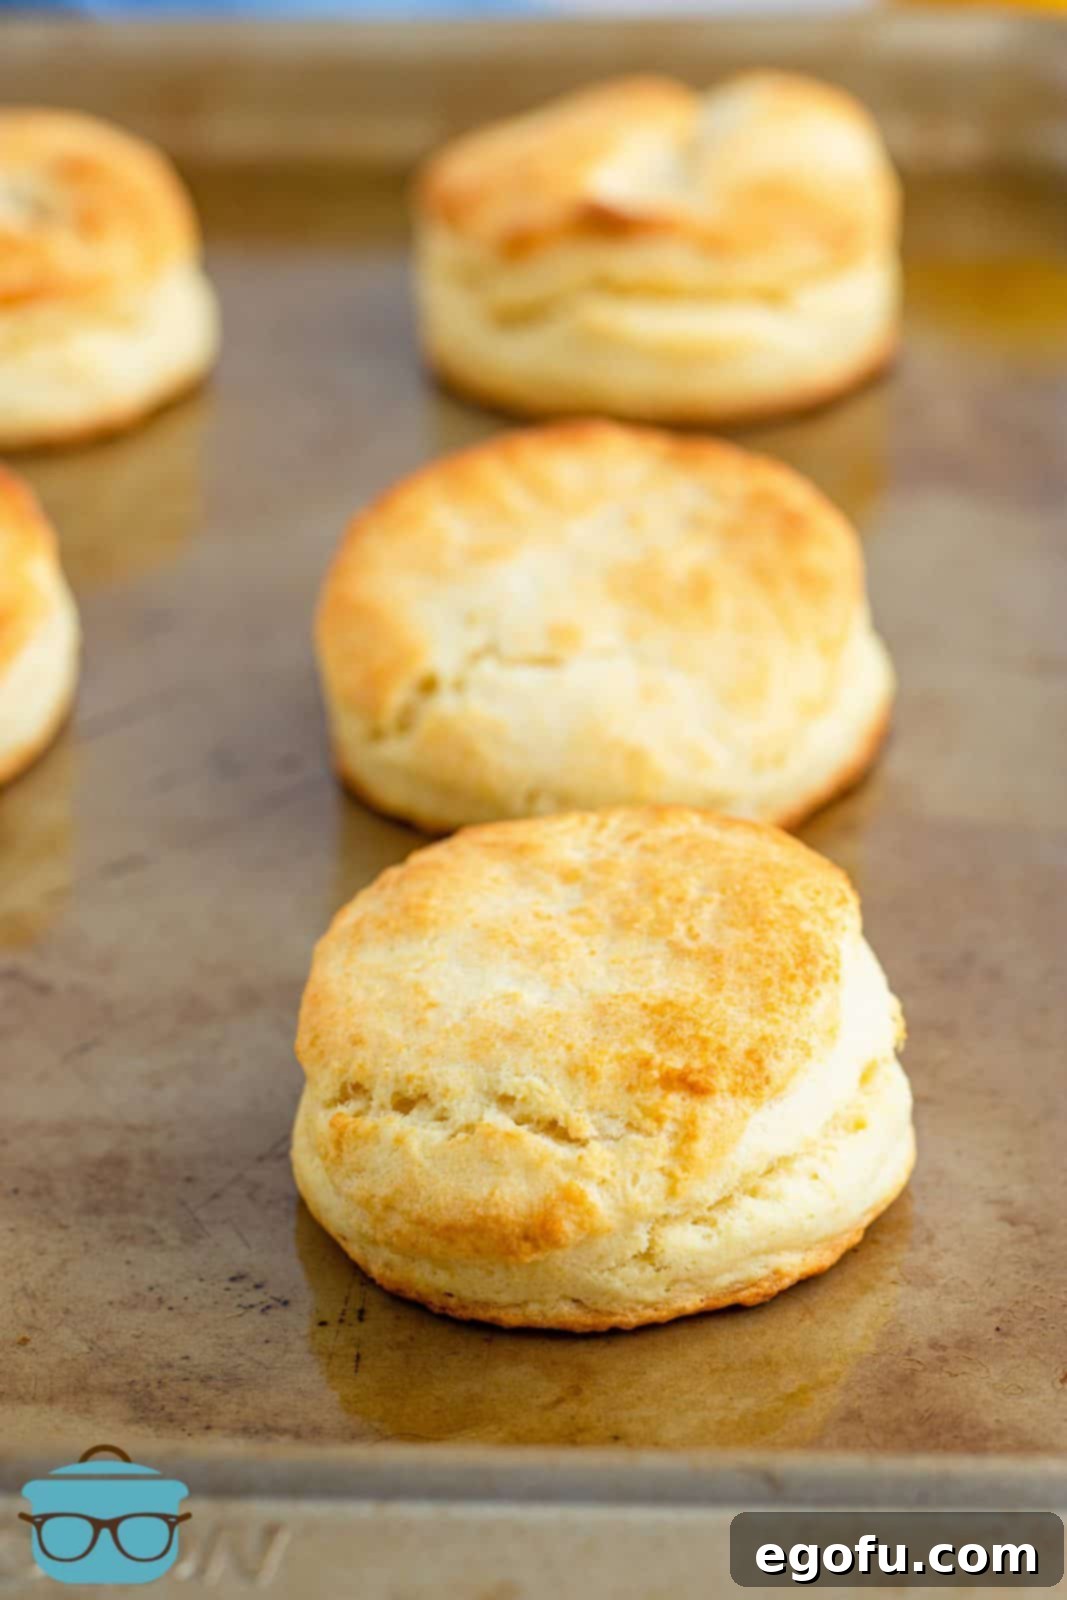
Step 11: Serve Warm with More Butter and Honey. As soon as the biscuits come out of the oven, brush their tops with a little more melted butter for an extra luxurious finish. Serve them immediately while they are still warm, split open with another pat of butter and a drizzle of honey, or your favorite jam. Enjoy the fruits of your simple, yet incredibly rewarding, baking labor!
Craving More Homemade Bread and Biscuit Recipes?
If you’ve fallen in love with the ease and deliciousness of these 2-Ingredient Biscuits, you’re in luck! The world of homemade breads and biscuits is vast and wonderfully rewarding. Here are some other fantastic recipes to expand your baking repertoire:
- Butter Dip Biscuits: Another incredibly easy biscuit recipe where the dough bakes directly in melted butter!
- Classic Homemade Dinner Rolls: Soft and fluffy, perfect for any meal.
- Traditional Southern Buttermilk Biscuits: For those who love a classic tang and layered texture.
- Cheddar Garlic Butter Swim Biscuits: Savory, cheesy, and utterly addictive.
- Light and Fluffy Homemade Crescent Rolls: A delightful addition to any dinner table.
- Rich and Tender Homemade Brioche Buns: Perfect for burgers or sandwiches.
- Hearty Cowboy Bread: A rustic and satisfying loaf.
- Incredibly Easy Homemade Beer Bread: A quick bread with amazing flavor.
- Effortless Butter Swim Yeast Rolls: A clever way to make yeast rolls without kneading.
- Classic Homemade White Bread: The ultimate comfort bread for sandwiches and toast.
- Sweet and Spiced Hot Cross Buns: A traditional treat, especially around holidays.

2-Ingredient Biscuits
20
10
30
6-8 biscuits
Brandie Skibinski
Ingredients
- 1 ¾ cups White Lily Self-Rising flour
- 1 cup heavy cream
- ¼ cup melted salted butter (optional, for brushing tops of biscuits)
Instructions
- Preheat your oven to 500°F (260°C). This high temperature is crucial for a rapid rise.
- Lightly spray a baking sheet with nonstick cooking spray.
- Measure out the self-rising flour into a large mixing bowl using the spoon-and-level method.
- Gradually stir in the cold heavy cream, adding just enough to moisten the flour and form a sticky, shaggy dough. Avoid overmixing.
- Turn the sticky dough out onto a lightly floured surface (using self-rising flour). If it’s too sticky to handle, sprinkle a minimal amount of self-rising flour on top.
- Gently fold the dough over on itself a couple of times to form a ball.
- Gently pat or roll the dough to a uniform thickness of approximately ½ inch.
- Dip your biscuit cutter into a bit of self-rising flour to prevent sticking.
- Begin cutting out biscuits, placing the cutter as close as possible to maximize yield. Do not twist the biscuit cutter; press straight down and lift straight up.
- Carefully place the cut biscuits on the prepared cookie sheet. For soft sides, arrange them so they are touching; for crispier sides, space them apart.
- Brush the tops of the biscuits with a bit of the melted salted butter.
- Place the baking sheet in the preheated oven (one sheet at a time, on the middle rack) and bake for about 8-10 minutes, or until the tops are golden brown and well-risen.
- Remove from oven, brush with a little more melted butter, and serve warm.
Video Guide
Notes on Storage & Reheating
- To Store: Once baked, allow biscuits to cool completely to room temperature. Wrap them tightly in plastic wrap or aluminum foil, then place them in an airtight container or freezer bag. They can be stored at room temperature for up to 2 days, or frozen for up to one month.
- To Reheat (from room temperature): Place biscuits on a baking sheet and warm in a 350°F (175°C) oven for 5-7 minutes, or until heated through.
- To Reheat (from frozen): Place frozen biscuits on a baking sheet and bake at 375°F (190°C) for 10-15 minutes, or until warm and soft. Refrigeration is generally not recommended for biscuits, as it can dry them out.
Breads, Breakfast, Brunch, Side Dish
American, Southern
Nutrition Information (Estimated)
Nutritional Disclaimer
“The Country Cook” is not a dietician or nutritionist, and any nutritional information shared is an estimate. If calorie count and other nutritional values are important to you, we recommend running the ingredients through whichever online nutritional calculator you prefer. Calories and other nutritional values can vary quite a bit depending on which brands were used.
Originally published: July 2013
Updated and republished: October 2021
