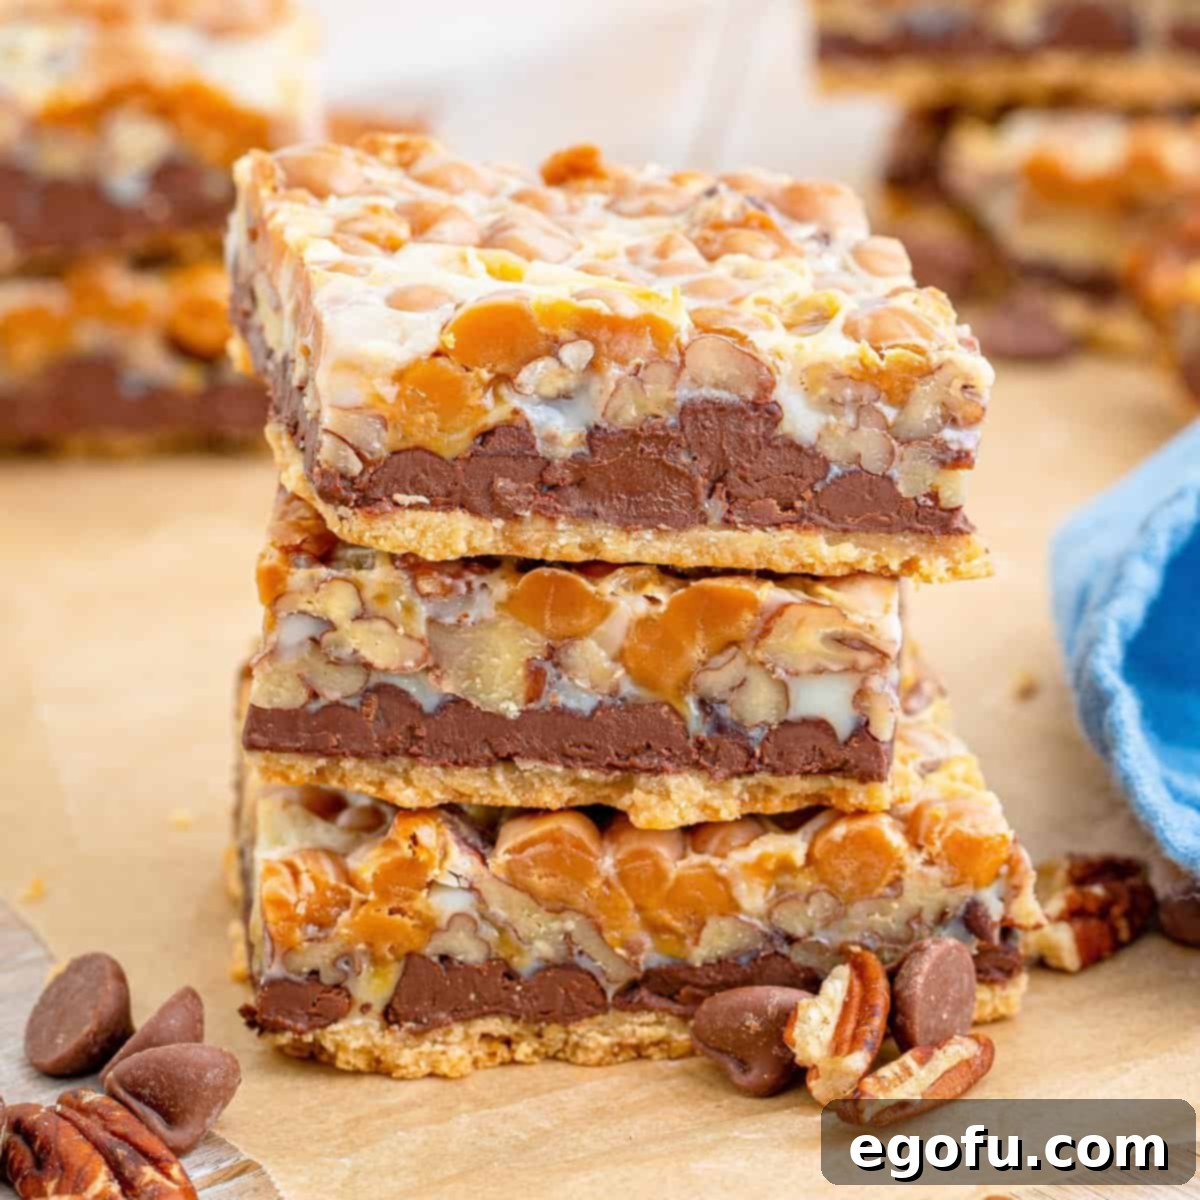
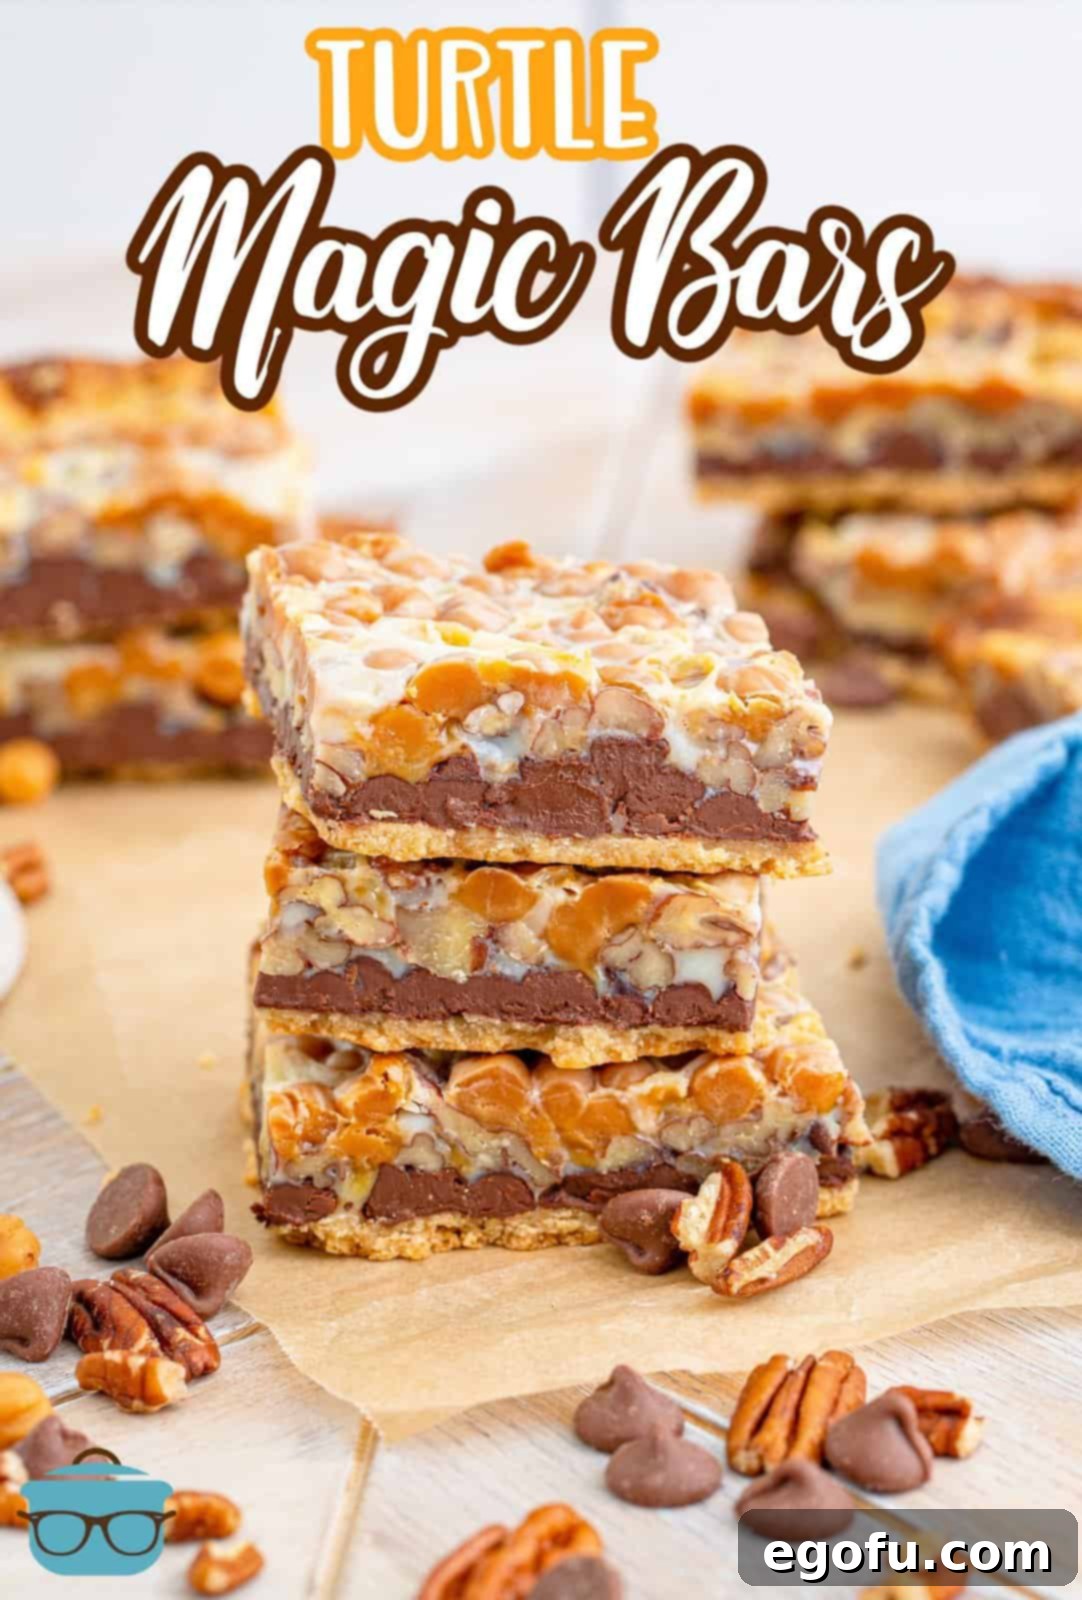
A delightful twist on a beloved classic, these Turtle Magic Bars are an irresistible treat bursting with the iconic flavors of chocolate, luscious caramel, and crunchy pecans. Each bite offers a harmonious blend of textures and tastes, making these bars an absolute crowd-pleaser for any gathering.
Ultimate Turtle Magic Bars: A Decadent Chocolate Caramel Pecan Delight
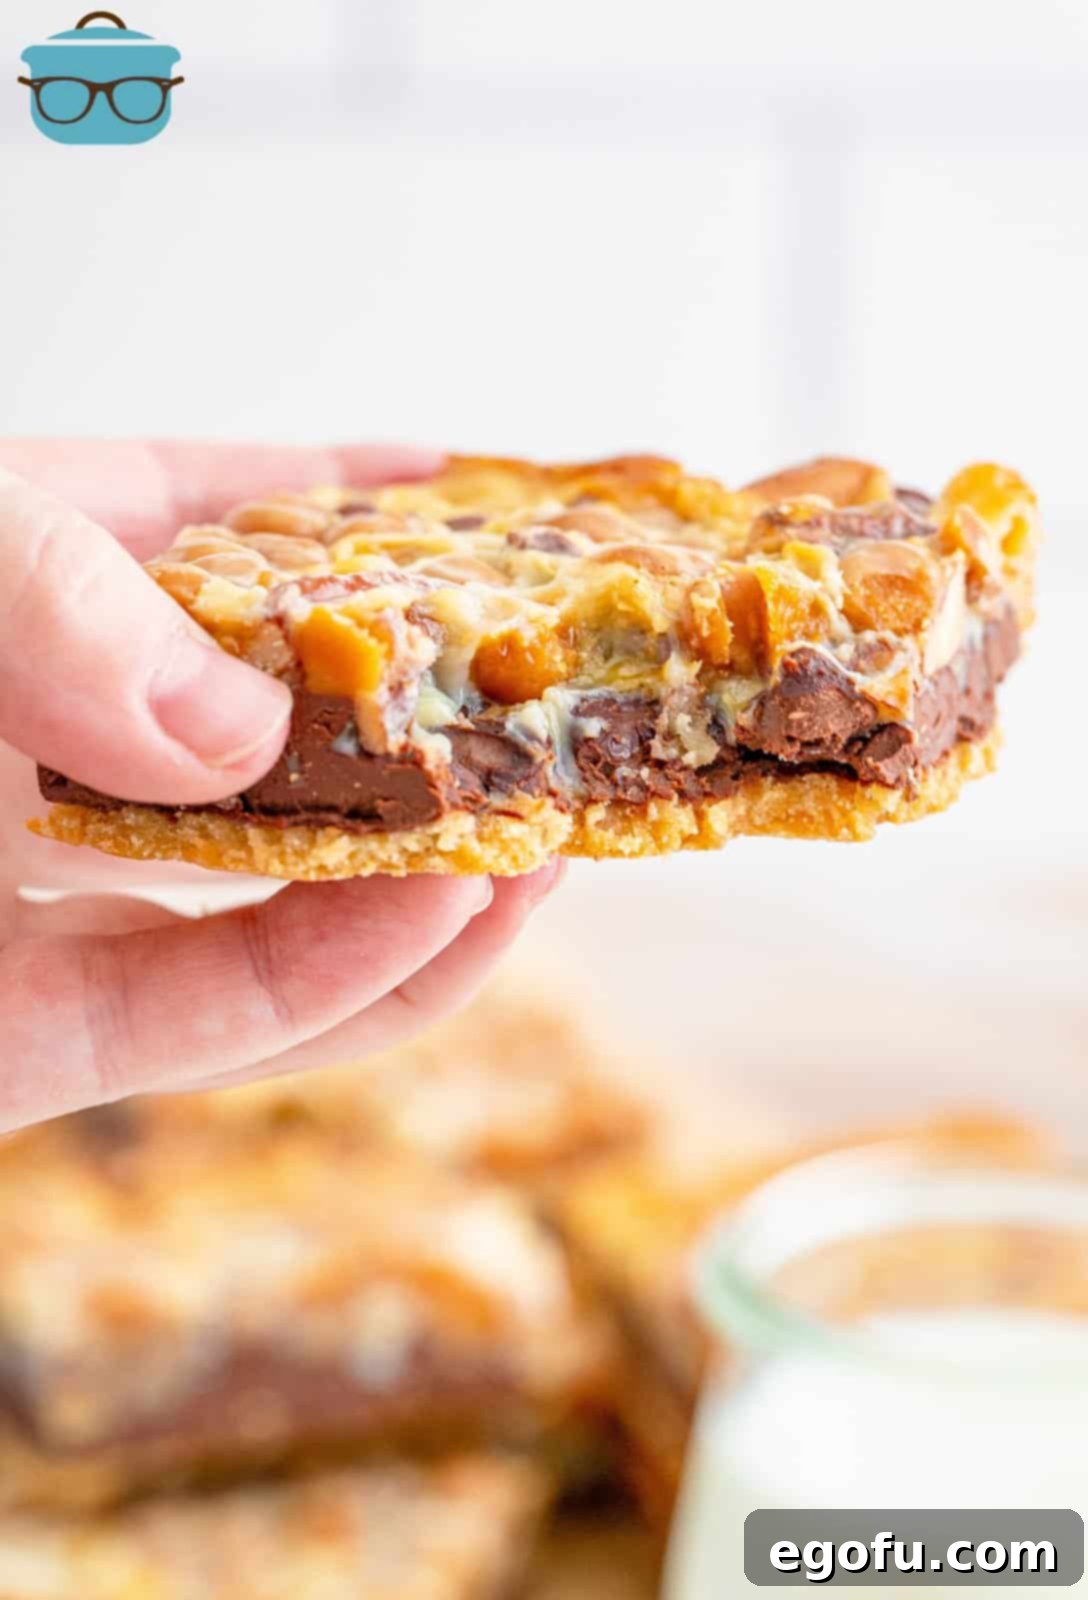
Step into a world of pure indulgence with our sensational Turtle Magic Bars. This dessert masterpiece draws its inspiration from the classic “turtle” candy – those delectable clusters of pecans smothered in rich caramel and coated in luscious chocolate. Our magic bar rendition captures all these beloved elements, transforming them into an easy-to-make, layered bar that’s truly magical. Imagine a golden, buttery shortbread crust providing the perfect foundation, topped generously with semi-sweet chocolate chips, toasted pecans, and soft caramel bits, all bound together with a blanket of sweet, condensed milk. It’s a symphony of flavors and textures that will undoubtedly earn a permanent spot in your dessert repertoire and become a favorite for family and friends alike.
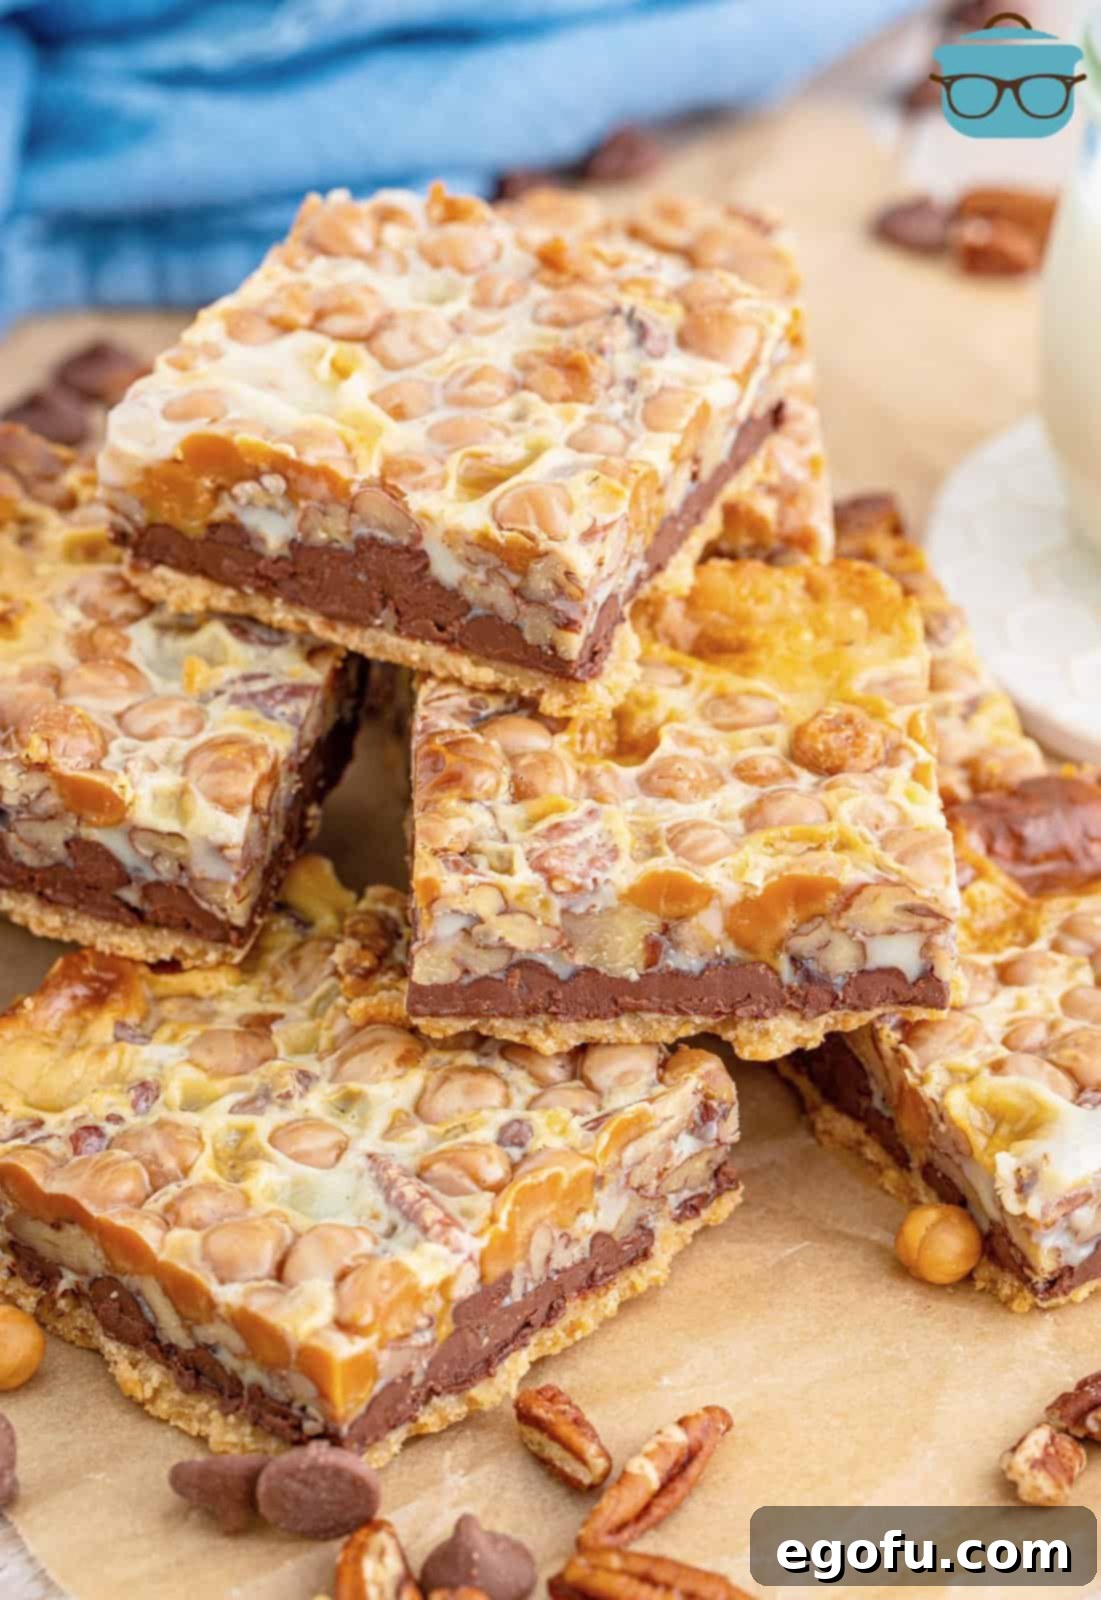
What Makes These Turtle Magic Bars So Special?
Beyond their incredible taste, these Turtle Magic Bars offer a unique combination of convenience and decadence. They are incredibly simple to prepare, requiring minimal baking skills and straightforward ingredients that you likely already have in your pantry. The “magic” truly happens as the ingredients bake together, creating a rich, gooey, and perfectly chewy bar with distinct layers that separate effortlessly for a stunning presentation. The buttery shortbread crust provides a satisfying contrast to the soft, chewy caramel and melted chocolate, while the pecans add a delightful crunch. Whether you’re a seasoned baker or a kitchen novice, this recipe guarantees impressive results every time. It’s the perfect treat for potlucks, holiday gatherings, family dinners, or simply when you’re craving something sweet and satisfying without a lot of fuss.
Frequently Asked Questions: Unlock the Secrets of These Decadent Bars
The charming moniker ‘Magic Bars’ was first popularized by the Eagle Brand condensed milk company. This iconic recipe was often printed on the back of their cans, and legend has it that the name was coined by the company’s owner, Gail Borden, to highlight the seemingly effortless way these bars come together with such delicious results. The ease of preparation, combined with the transformation of simple ingredients into a multi-layered, flavorful dessert, certainly feels a bit magical! Over the years, as the recipe’s popularity soared, other companies and home bakers adopted similar versions, leading to alternative names such as ‘Hello Dolly Bars’ (reportedly named after the hit Broadway musical of the time) and ‘Seven Layer Bars,’ reflecting the multiple delightful layers that make up this beloved dessert.
For the best results and ideal texture, we strongly recommend using caramel bits rather than traditional wrapped caramels. Regular caramels are typically too large and firm, making it challenging to achieve even distribution and the signature gooeyness that defines these bars. If you were to use them, you’d likely need to meticulously cut them into smaller pieces, which adds unnecessary prep time and doesn’t guarantee the same smooth melt. Caramel bits are specifically designed for baking; they are smaller, softer, and melt beautifully into the bars, ensuring every bite is infused with their rich, buttery flavor and a wonderfully chewy texture. You can easily find caramel bits in the baking aisle of most grocery stores, especially during holiday seasons.
No, there’s absolutely no need to wait for the crust to cool before layering on the other ingredients. The efficiency of this recipe is part of its “magic”! Once the shortbread crust is lightly golden brown and removed from the oven, you can immediately proceed to sprinkle on the chocolate chips, pecans, and caramel bits, followed by the sweetened condensed milk. In fact, adding the toppings to the warm crust helps the chocolate chips start to melt slightly, contributing to the gooey texture. Since the entire assembly will be going back into the warm oven right away, allowing the crust to cool would only extend your preparation time without offering any significant benefit to the final product. This quick layering process helps the subsequent layers melt and meld together beautifully during the second bake.
Absolutely! While our recipe suggests semi-sweet chocolate chips to perfectly balance the overall sweetness of the bars, feel free to customize them to your preference. Semi-sweet offers a classic chocolate flavor that complements the caramel and pecans without being overly sugary. However, if you prefer a richer, more intense chocolate flavor, dark chocolate chips would be an excellent choice, adding a deeper cocoa note. For those who enjoy a sweeter, creamier profile, milk chocolate chips can be used. You could even experiment with a mix of different chocolate varieties, such as white chocolate chips or butterscotch chips, to add another dimension of flavor and visual appeal. The beauty of Magic Bars lies in their versatility, allowing you to tailor them to your personal taste.
Proper storage ensures your Turtle Magic Bars remain fresh and delicious for as long as possible. These bars can be stored in an airtight container at room temperature, where they will keep well for up to 4 days. If you prefer them to be firmer in texture, or if you live in a warmer climate, refrigerating them in an airtight container will keep them fresh for up to 1 week. For longer-term storage, Turtle Magic Bars freeze exceptionally well. To freeze, allow them to cool completely, then cut them into individual portions. Place them in a single layer in a freezer-safe container or freezer bag, separating layers with parchment paper if stacking to prevent sticking. They will maintain their quality for up to 3 months. To defrost, simply remove them from the freezer and let them thaw on the countertop overnight, or for a few hours until softened to your liking. They taste wonderful slightly chilled or at room temperature.
Essential Ingredients for Your Turtle Magic Bars
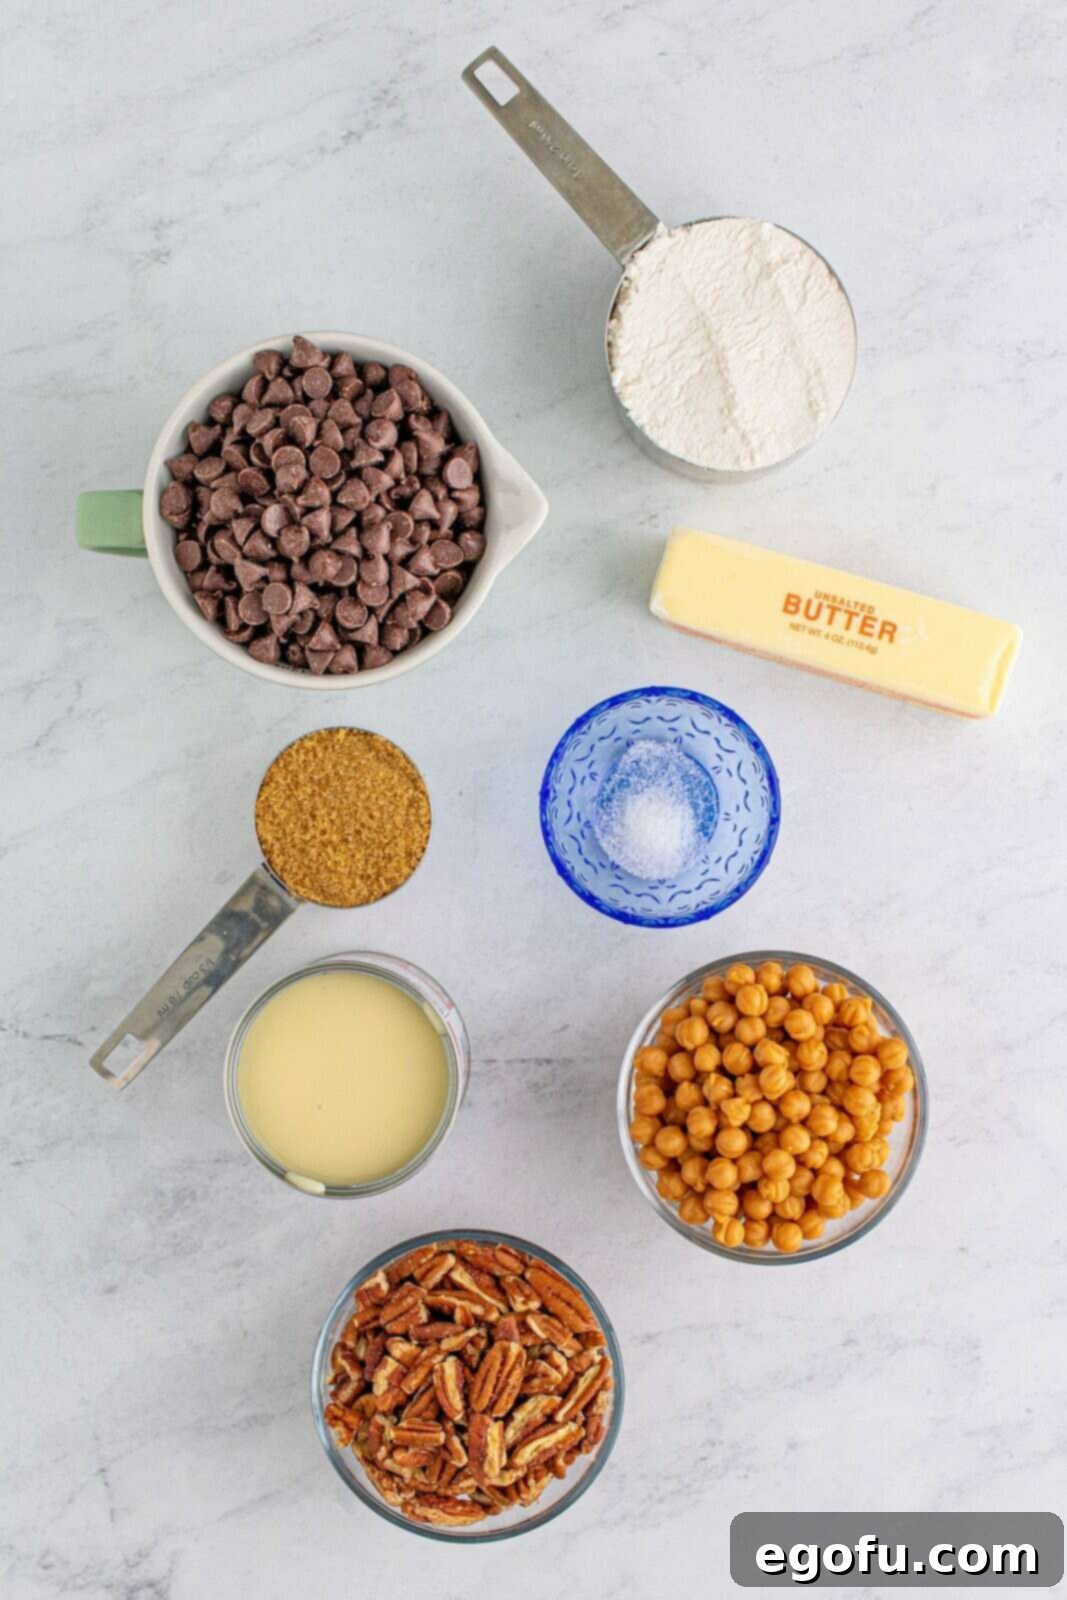
Crafting these delectable bars requires a handful of simple, readily available ingredients. The quality of each component contributes to the overall exquisite flavor, so choosing fresh, good-quality ingredients is key. Here’s what you’ll need to create this amazing layered dessert, along with a brief explanation of each ingredient’s role:
- Salted Butter: Softened to room temperature, this forms the rich and tender base of our shortbread crust. Using salted butter not only adds a lovely depth of flavor but also helps to perfectly balance the sweetness from the other layers.
- Light Brown Sugar: When packed firmly, brown sugar contributes to the crust’s delightful chewiness and imparts a subtle molasses flavor that complements the other elements beautifully, adding warmth to the base.
- All-Purpose Flour: The fundamental dry ingredient for our buttery shortbread crust, providing essential structure without making the crust too dense or heavy. It ensures a perfectly crumbly yet firm foundation.
- Semi-Sweet Chocolate Chips: These melt into gooey pockets of rich chocolate, offering a perfect counterpoint to the sweetness of the caramel and condensed milk. They are key for achieving that classic “turtle” flavor.
- Chopped Pecans: The quintessential “turtle” component that provides a delightful crunch and nutty flavor. You can lightly toast them beforehand for an enhanced aroma and deeper flavor, bringing out their natural oils.
- Caramel Bits: Crucial for that signature gooey, chewy caramel layer. These small, soft caramels melt perfectly and distribute evenly throughout the bars, ensuring a burst of buttery caramel in every mouthful.
- Sweetened Condensed Milk: The “magic” ingredient that binds all the layers together. This thick, sweet liquid creates a wonderfully creamy and irresistible top layer that caramelizes slightly during baking, holding everything in place.
Step-by-Step Guide: How to Make Turtle Magic Bars Perfectly
Making these decadent bars is surprisingly simple, designed for bakers of all experience levels. Follow these detailed steps to achieve perfectly layered, gooey, and utterly delicious Turtle Magic Bars every time. Precision in preparation will lead to the best results!
1. Prepare Your Baking Dish and Crust Base
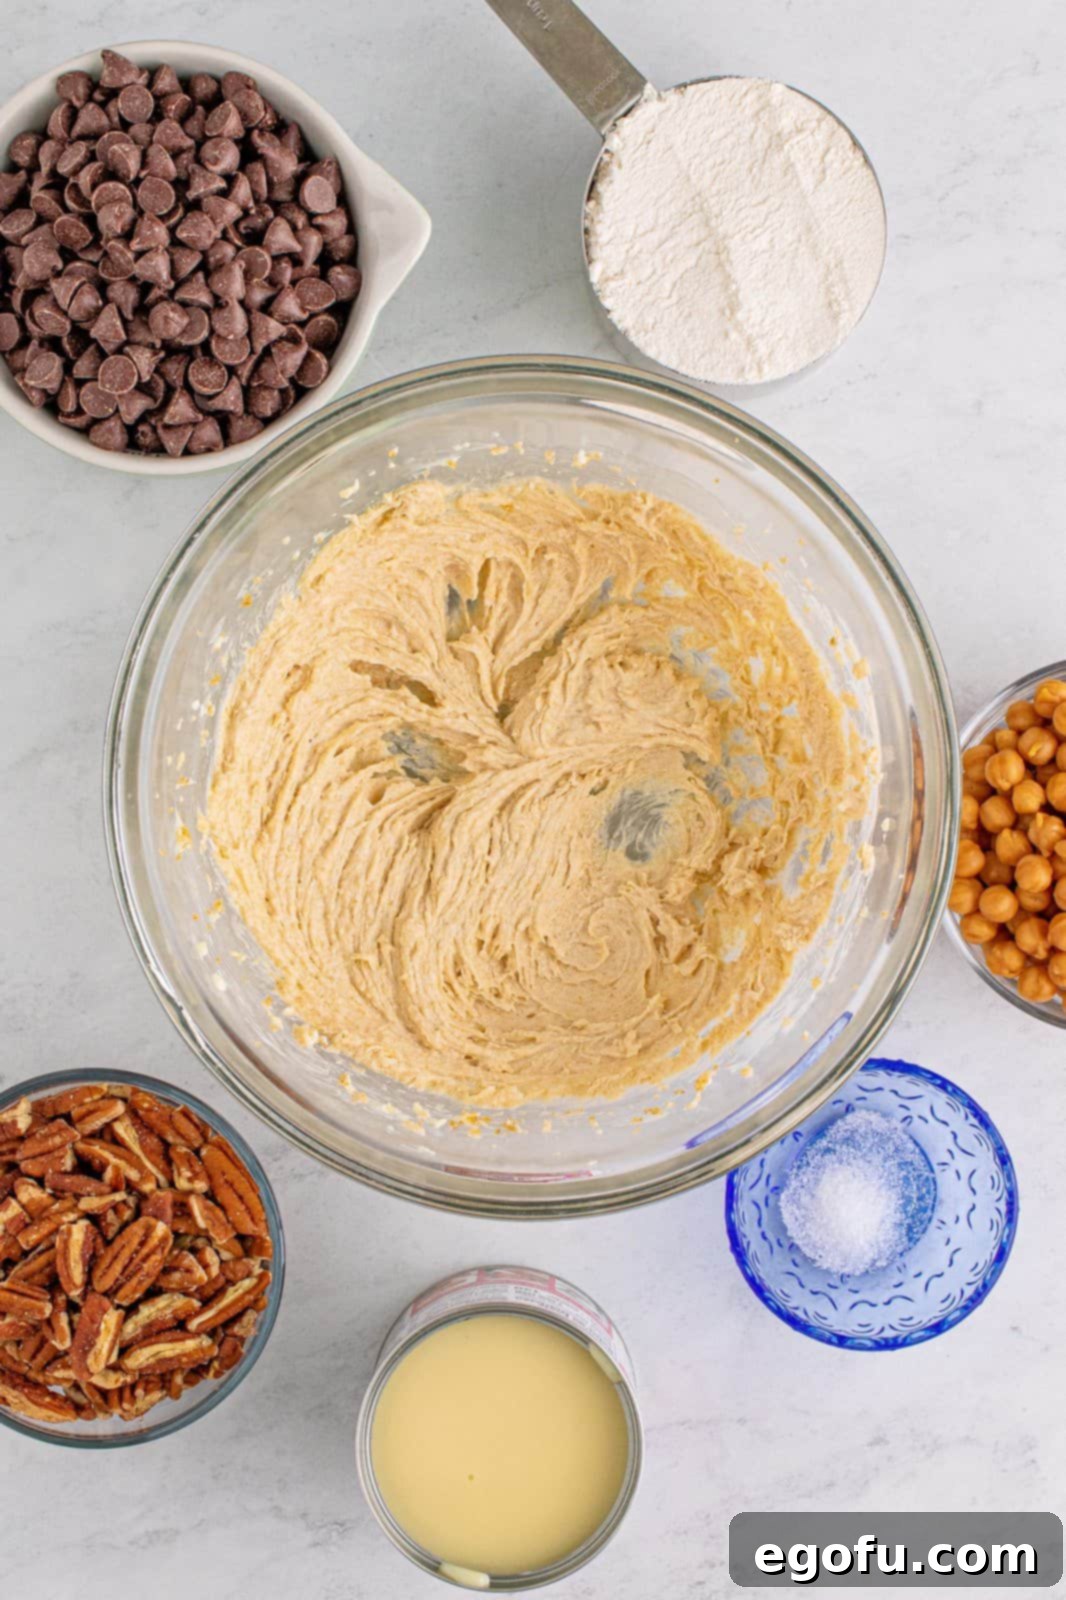
Begin by preheating your oven to 350°F (175°C). This ensures your oven is at the correct temperature for even baking, which is crucial for the crust. Line a 7×11-inch baking dish with aluminum foil, making sure to extend the foil over the edges to create convenient “handles.” These handles will make for effortlessly lifting the finished bars out of the pan. Spray the foil generously with cooking spray to prevent any sticking, ensuring a clean release. In a large mixing bowl, using an electric hand mixer, cream together the softened salted butter and packed light brown sugar until the mixture is light, fluffy, and perfectly smooth. This process incorporates air, resulting in a beautifully aerated and tender base for your crust.
2. Add Flour and Form the Crust
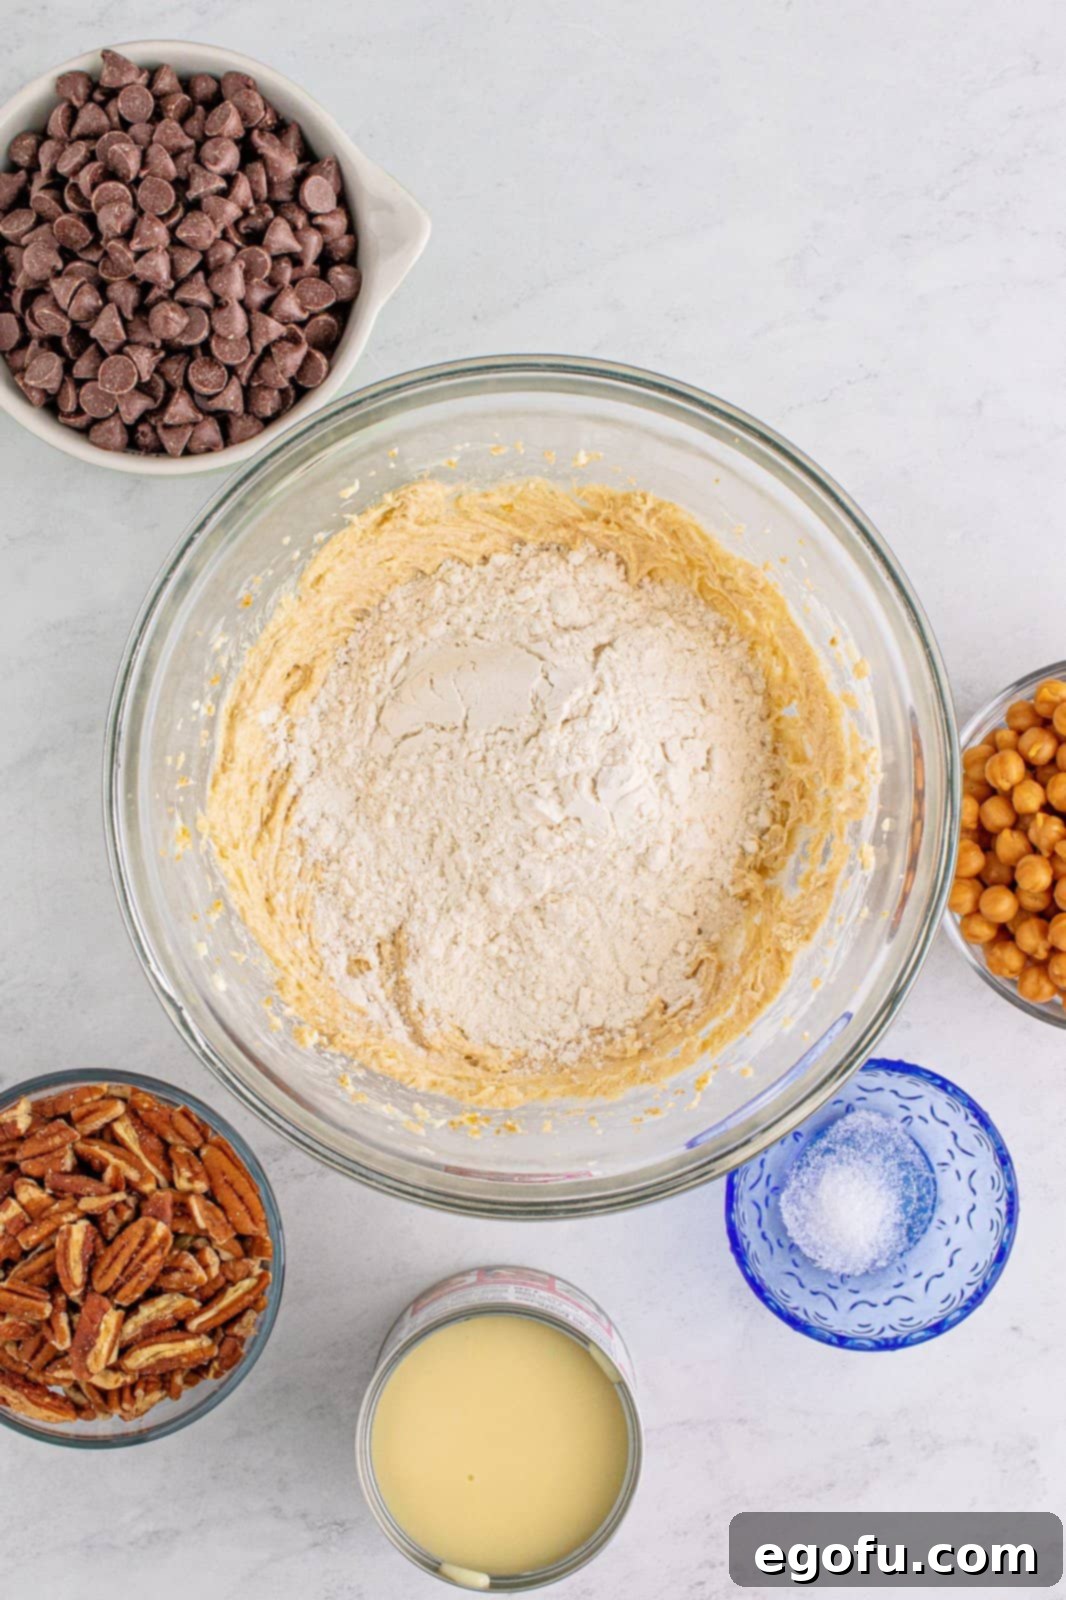
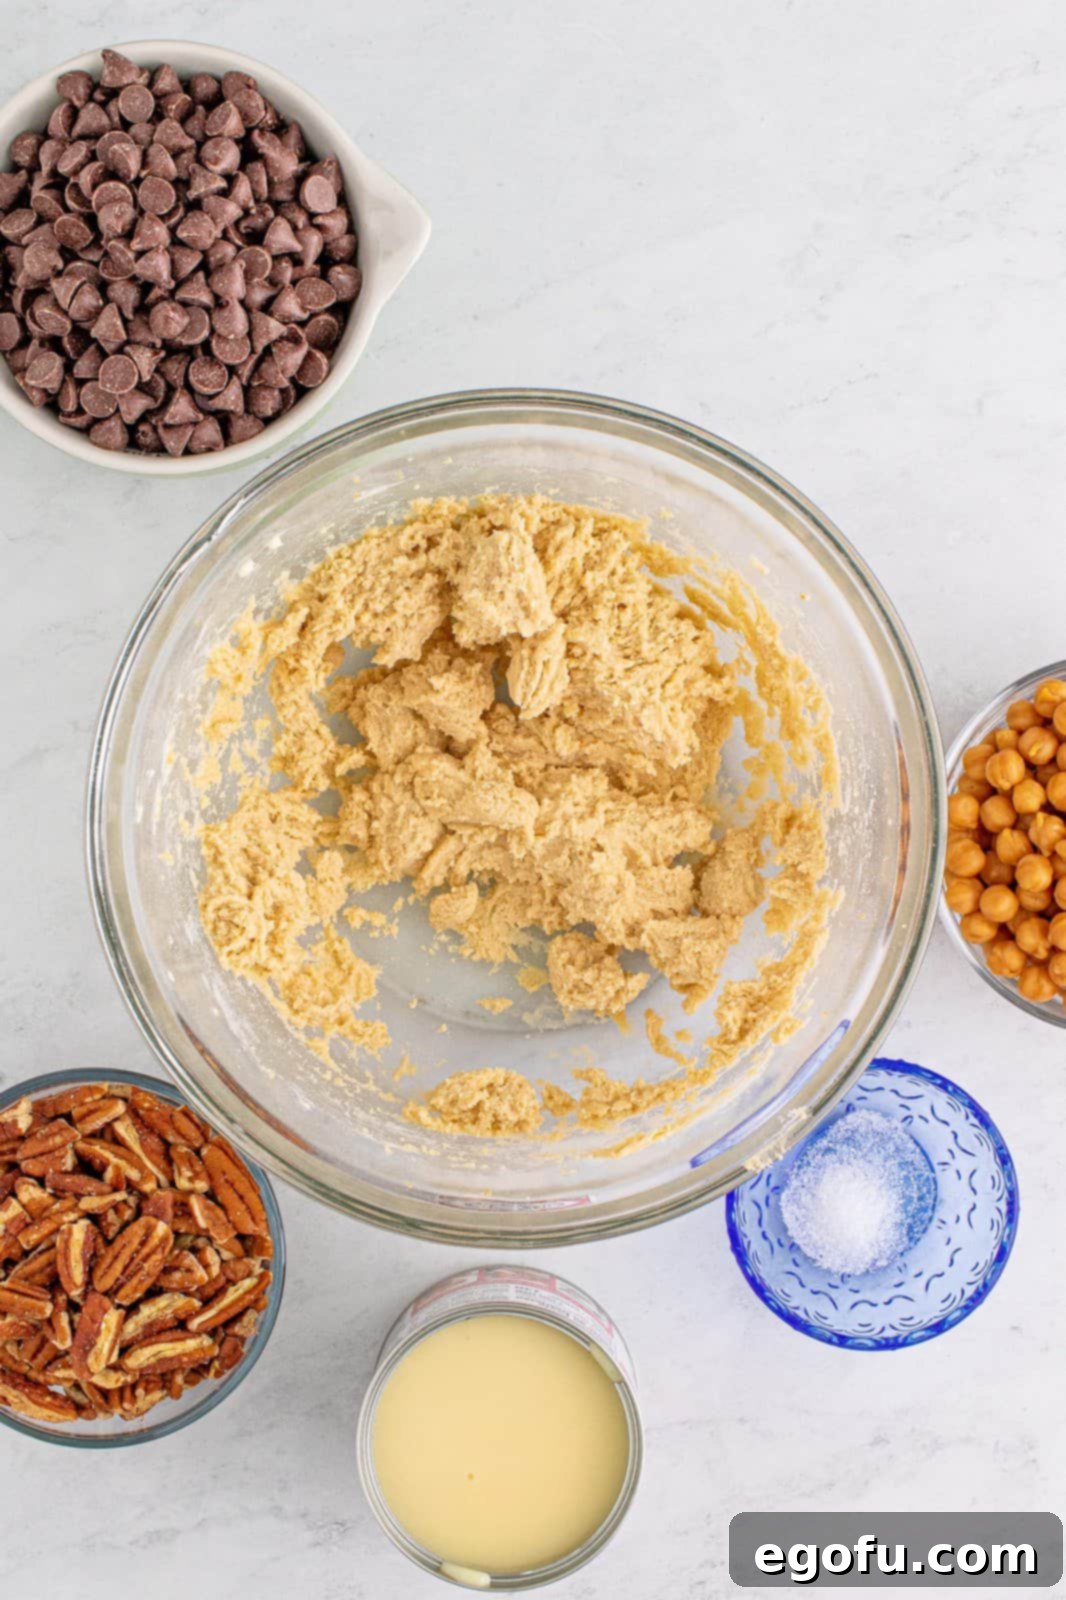
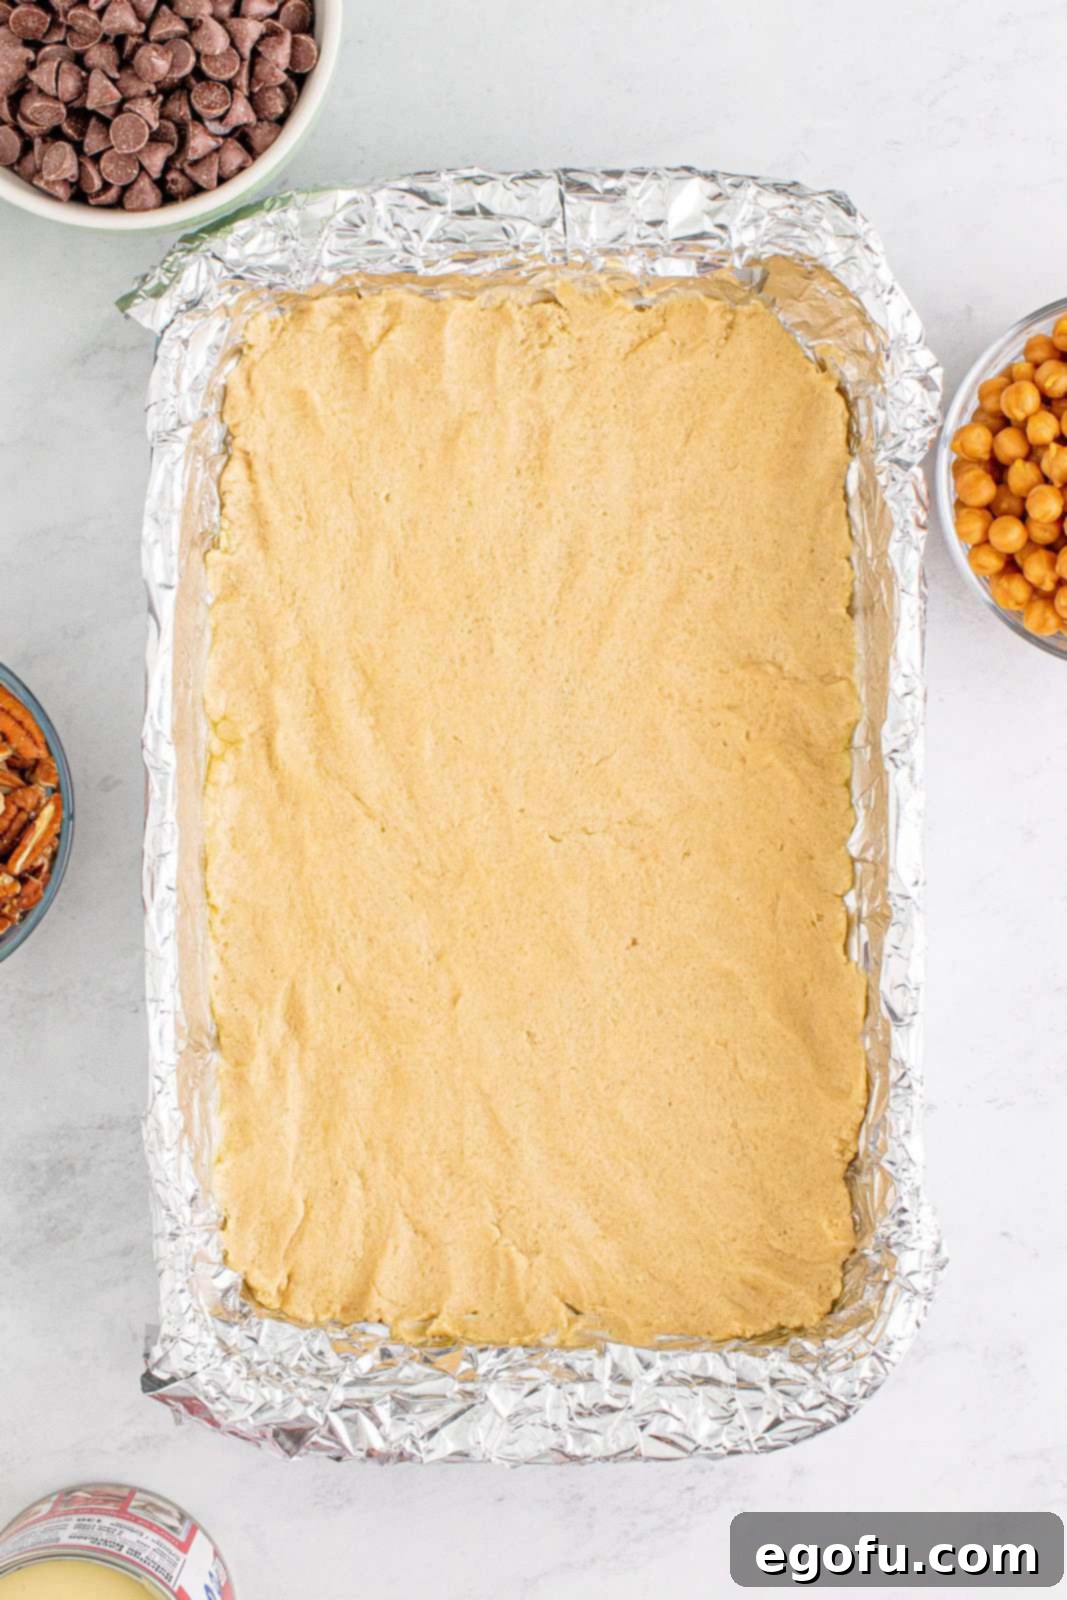
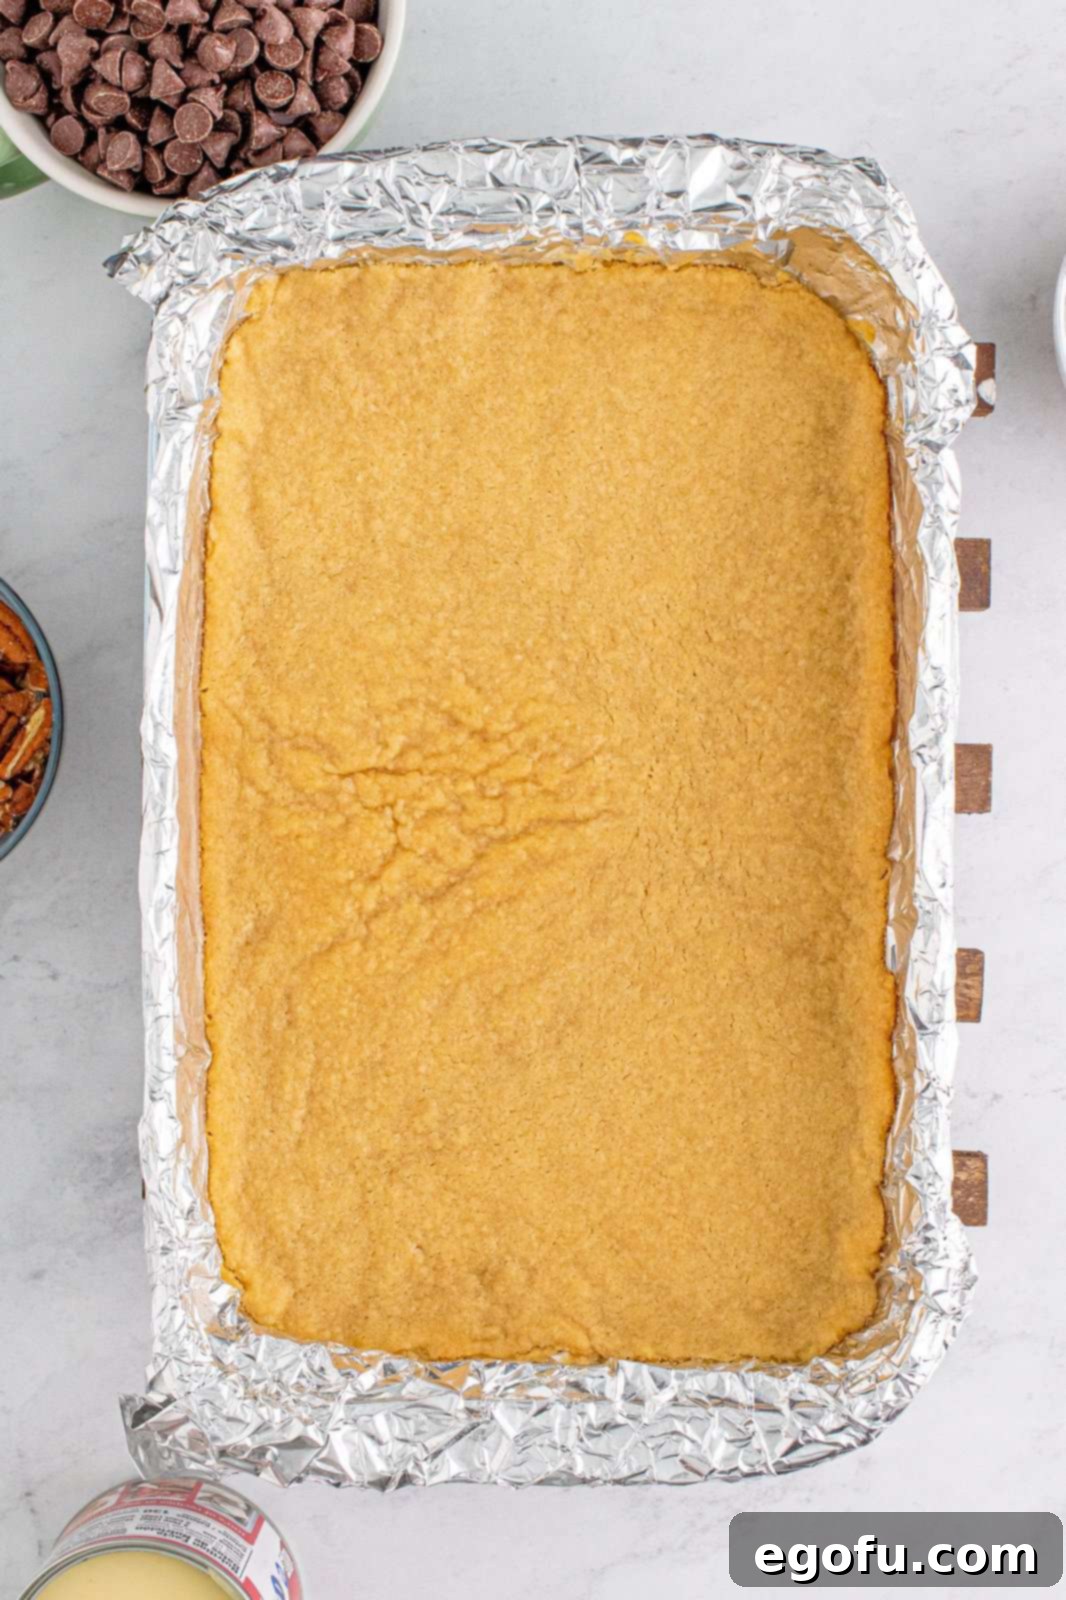
Once the butter and sugar are perfectly creamed, it’s time to introduce the dry ingredients. Gradually add the all-purpose flour to the bowl. Stir just until the flour is fully incorporated and a soft, crumbly dough begins to form. The key here is to be careful not to overmix, as excessive stirring can develop the gluten in the flour, leading to a tough, rather than tender, crust. The dough should come together easily when gently pressed. Evenly press this mixture into the bottom of your prepared baking dish. You can use your clean fingers, the back of a spoon, or a flat-bottomed glass to create a firm, flat, and uniform layer. This shortbread crust will be the delicious and sturdy foundation for your Turtle Magic Bars.
3. Bake the Crust to Golden Perfection
Place the baking dish with the pressed crust into the preheated oven. Bake for approximately 15 minutes, or until the edges are lightly golden brown and the crust appears set. This initial bake is crucial as it creates a sturdy base that won’t become soggy once the wet and gooey ingredients are added later. Keep a close eye on it to prevent over-browning, as ovens can vary. The delightful, buttery aroma that begins to fill your kitchen is just the beginning of this wonderful dessert experience!
4. Layer on the Turtle Goodness
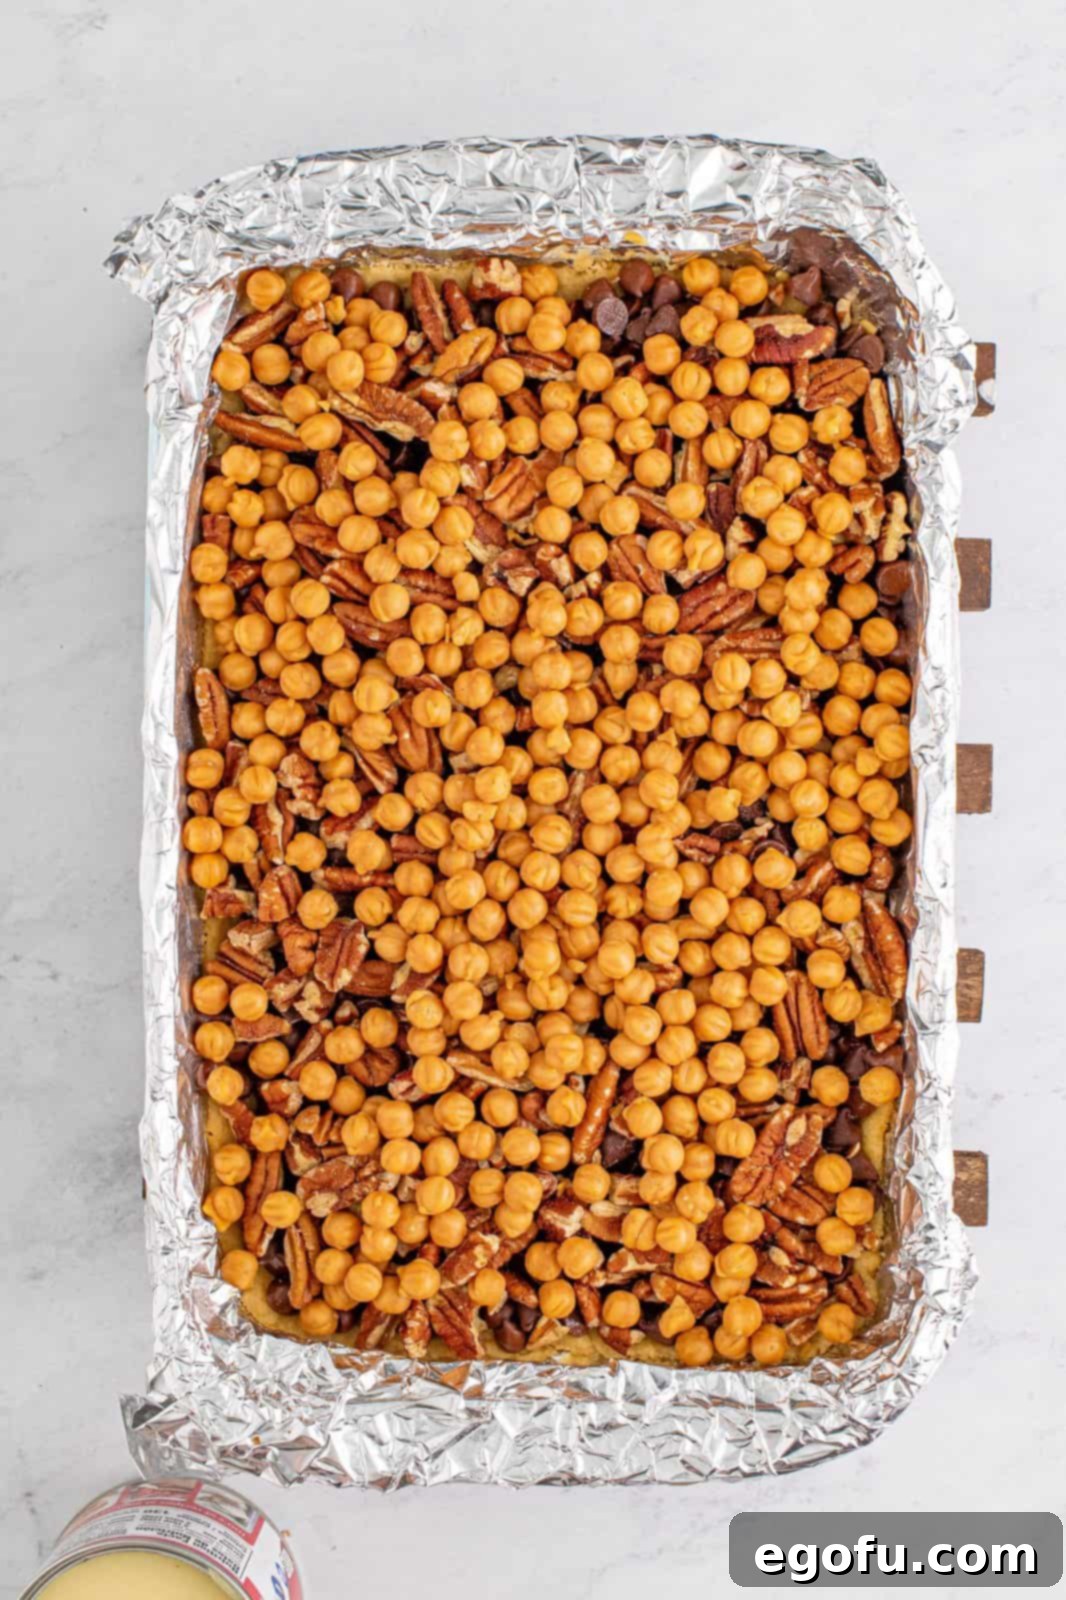
Once the crust is pre-baked, carefully remove the hot pan from the oven. Immediately and evenly sprinkle the semi-sweet chocolate chips over the warm crust. The residual heat will help them begin to melt slightly, preparing them for the next layers and contributing to a wonderfully gooey texture. Follow with a generous scattering of chopped pecans, ensuring they cover the entire surface for that signature crunch. Finally, add the caramel bits, distributing them as evenly as possible across the pan. These three elements are the heart of our “turtle” flavor profile, promising a rich, sweet, and crunchy texture in every single bite.
5. Pour Over Sweetened Condensed Milk
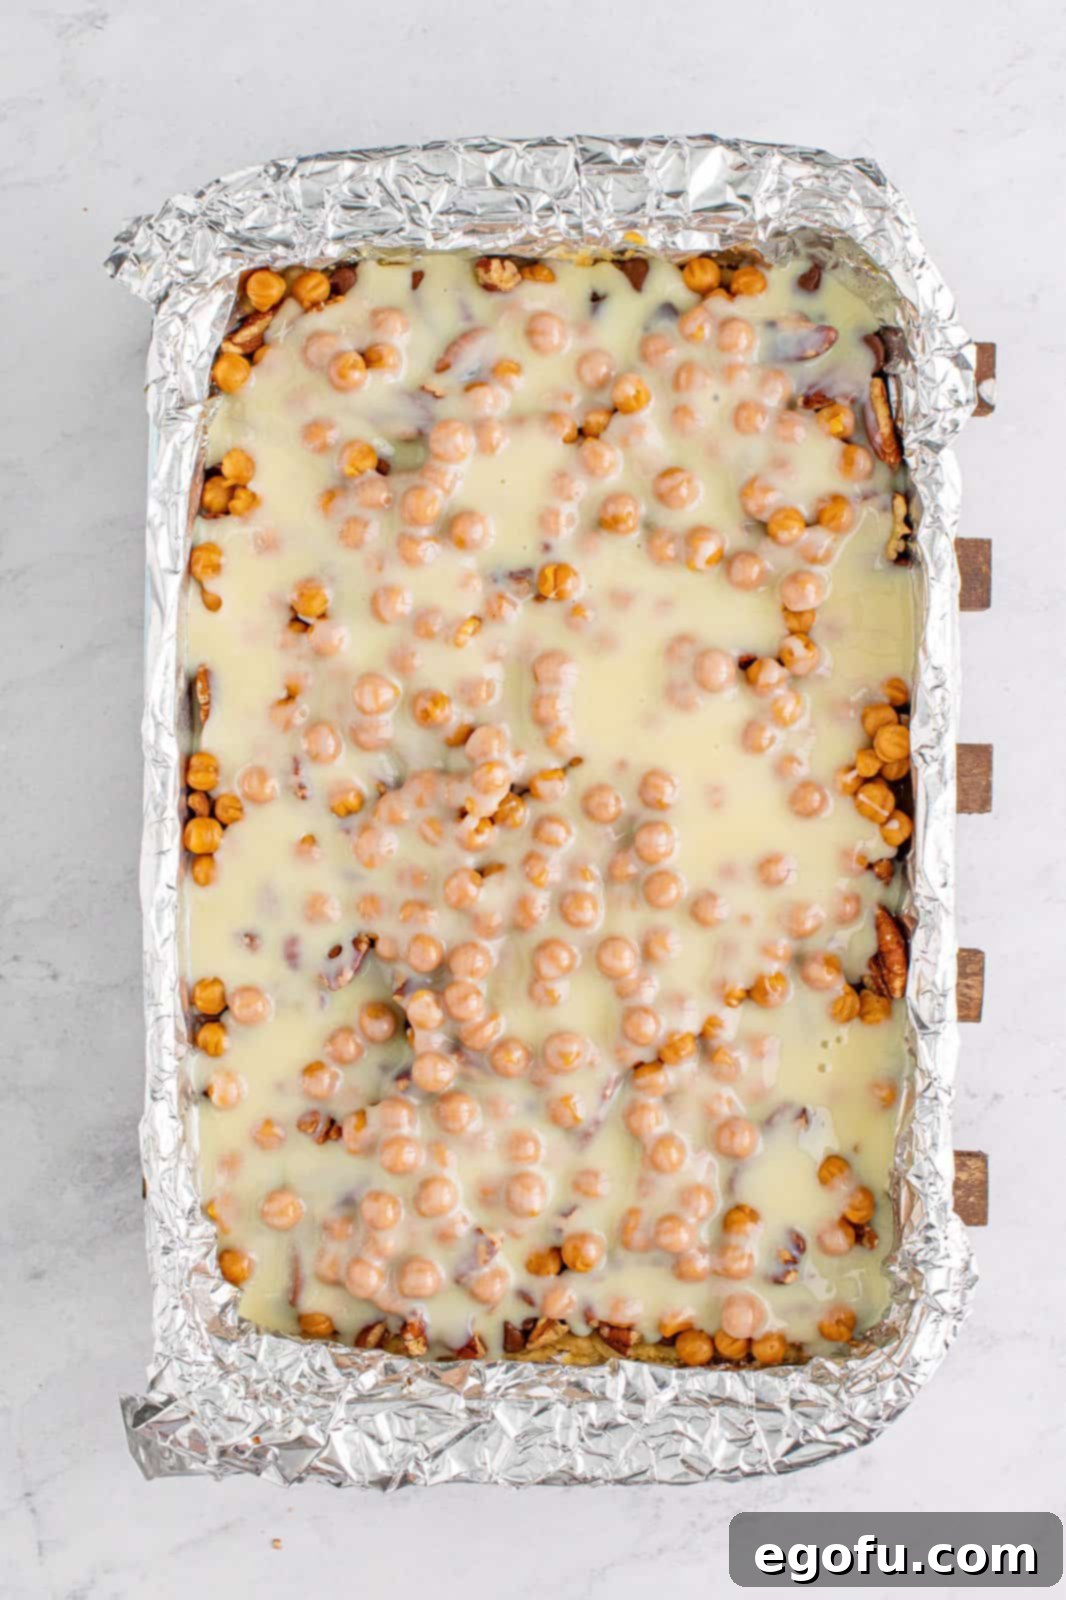
Now for the truly “magic” part of these bars! Carefully and slowly pour the entire can of sweetened condensed milk evenly over all the layered ingredients. Take your time to ensure that the milk covers the top as best you can, allowing it to seep down and coat the chocolate chips, pecans, and caramel bits thoroughly. This rich, sweet liquid acts as a miraculous binder, creating that signature gooey, chewy texture once baked. As it bakes, it will also form a beautiful, lightly caramelized top layer that is utterly irresistible.
6. Final Bake and Cooling for Perfect Bars
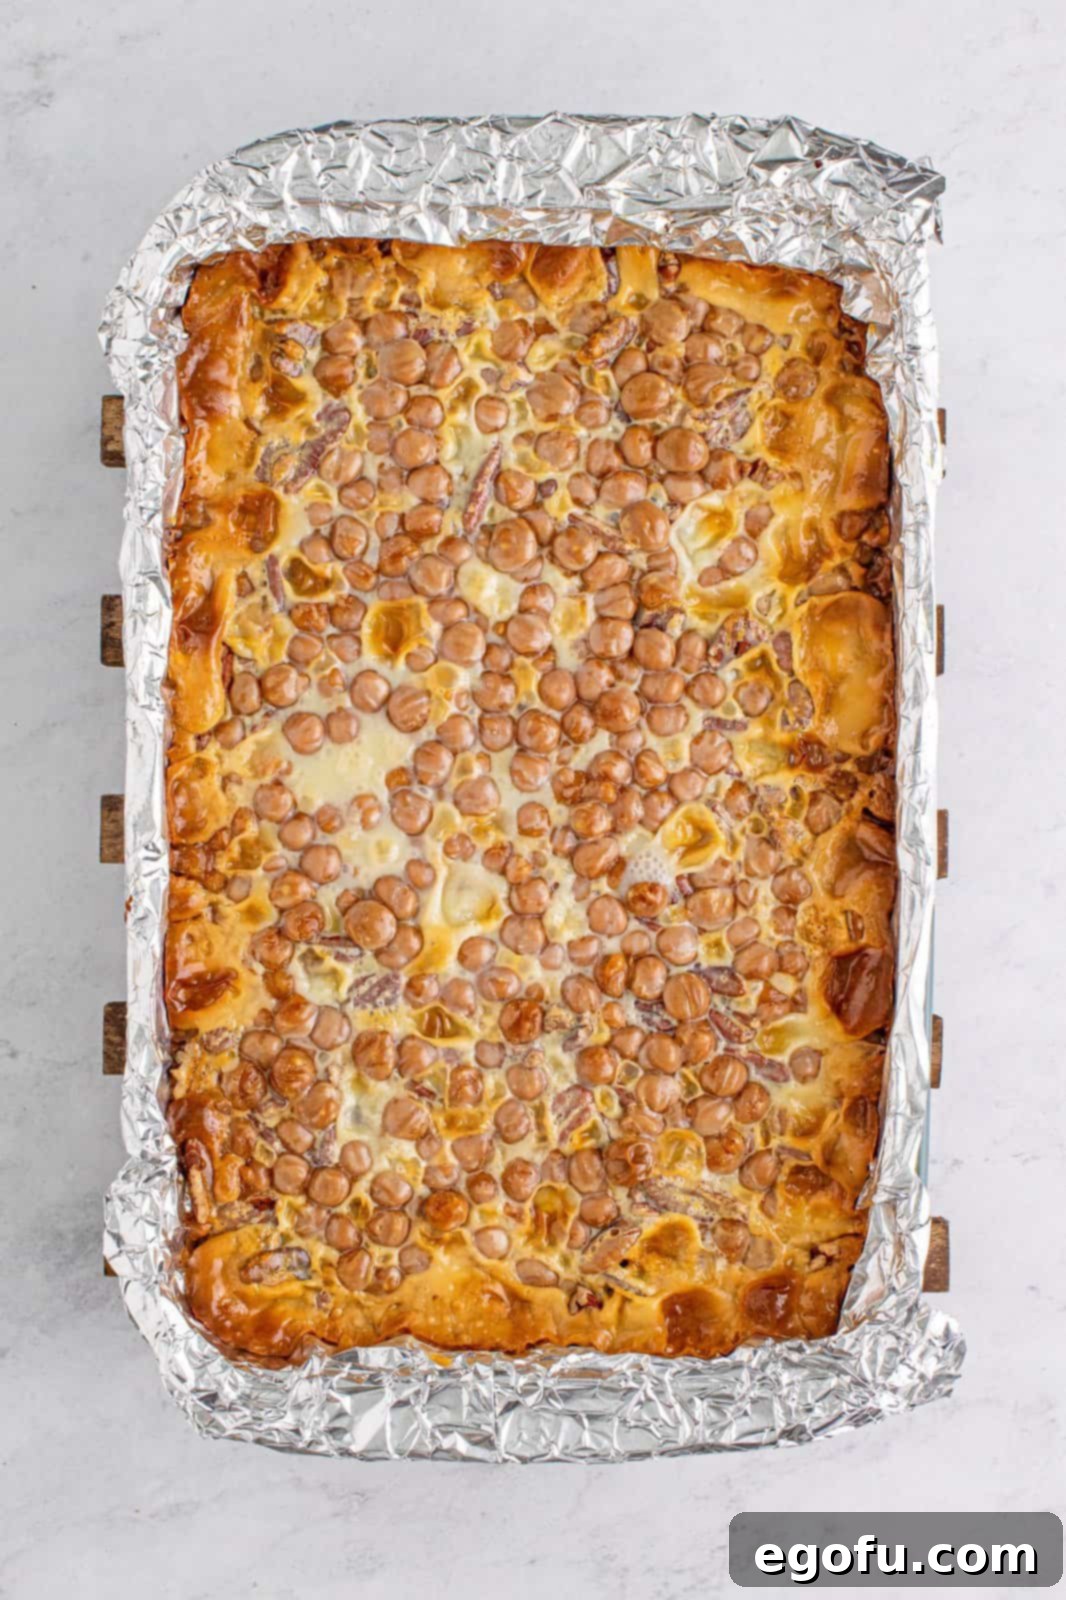
Return the baking dish to the oven and bake for an additional 30-35 minutes. The bars are ready when the top is beautifully golden brown, and the edges appear bubbly and set. The sweetened condensed milk will have thickened and caramelized to a rich amber color, and the chocolate and caramel bits will be perfectly melted and gooey. Once baked, remove the pan from the oven and, here’s the crucial step: let the bars cool completely in the pan on a wire rack. This cooling period is absolutely essential for them to set properly and allow for clean, neat cuts. Rushing this step will result in messy, crumbly bars. Once fully cooled (this can take a few hours), use the foil handles to lift the entire slab out of the pan, then cut into desired bar sizes and serve. Enjoy your homemade Turtle Magic Bars!
Final Layer of Sweetness
After all the delicious toppings are carefully distributed, the sweetened condensed milk is poured over, ready to bind and caramelize into a rich, sweet topping. This final liquid layer is what transforms the individual ingredients into a cohesive, wonderfully gooey, and utterly irresistible bar during the baking process, creating the signature “magic.”
Cool, Slice, and Serve Your Masterpiece
The waiting is often the hardest part when baking, but it is absolutely essential for perfectly set bars that can be cleanly sliced. Once completely cooled, the bars will be firm enough to lift out of the pan using the convenient foil handles. You can then transfer the entire slab onto a cutting board and slice it into neat, delectable portions. These bars are delicious at room temperature, allowing the flavors to fully develop, but they also hold up beautifully and are quite enjoyable when slightly chilled. Share them with friends and family, or savor them all yourself – we won’t tell!
Baking Tips and Variations for Your Magic Bars
To ensure your Turtle Magic Bars turn out perfectly every time, and to inspire creativity for future baking adventures, consider these helpful tips and delicious variations:
- Pan Size Matters: While a 7×11-inch dish is recommended for the ideal bar thickness, you can certainly use a 9×9-inch baking pan if that’s what you have readily available. Be aware that this will result in slightly thicker bars, so you might need to adjust baking times by adding a few extra minutes. Always rely on the visual cue of a golden-brown top rather than strict timing.
- Toasted Pecans for Extra Flavor: For an even deeper, more pronounced nutty flavor, lightly toast your chopped pecans in a dry skillet over medium heat for about 5-7 minutes before adding them to the bars. This simple step brings out their natural oils and enhances their aroma, taking the “turtle” flavor to the next level. Let them cool slightly before using.
- The Foil Liner is Your Friend: Do not skip lining your baking dish with aluminum foil and spraying it generously with cooking spray! This step is a game-changer for easy removal of the entire baked slab. Once completely cooled and set, you can simply lift the bars out of the pan using the foil “handles,” place them on a cutting board, and slice them cleanly without any sticking.
- Chocolate Choices: As mentioned in the FAQ, feel free to switch up the chocolate chips. Dark chocolate chips will add a sophisticated bitterness that cuts through the sweetness, while milk chocolate chips will make the bars even sweeter and creamier. A mix of semi-sweet and dark chocolate chips can offer a wonderful complexity and depth of flavor.
- Nutty Alternatives: If pecans aren’t your favorite, or if you have an allergy, walnuts or even a mix of other nuts like chopped cashews or almonds can be used as excellent substitutes. Just ensure they are chopped to a similar size for even distribution throughout the bars.
- Add a Pinch of Salt: If you’re using unsalted butter for your crust, consider adding a tiny pinch (about ¼ teaspoon) of fine sea salt to your crust mixture along with the flour. Salt helps to enhance the overall flavors and subtly cut through the sweetness, creating a more balanced and nuanced taste profile.
- Avoid Over-Baking: Keep a close eye on the bars during the final bake. Over-baking can lead to a dry crust and overly firm, less gooey caramel. The top should be golden brown and appear set, but the center will still be a bit soft and slightly jiggly when hot. It will firm up considerably as it cools.
More Irresistible Dessert Ideas
If you’ve fallen in love with the classic flavors of turtle desserts or simply enjoy the convenience and deliciousness of bar recipes, you’re in luck! Here are some other fantastic recipes to satisfy your sweet tooth and expand your baking repertoire. Each one promises a delightful treat, perfect for any occasion:
- Turtle Poke Cake: A moist chocolate cake drenched in warm caramel and chocolate sauce, topped with whipped cream and crunchy pecans – a true crowd-pleaser.
- Turtle Cookie Cups: Adorable and delicious bite-sized treats featuring a chewy cookie base, filled with melted caramel and chocolate, then crowned with a pecan.
- The Best Turtle Brownies: Experience fudgy, rich brownies layered with gooey caramel and toasted pecans, creating a truly decadent and satisfying indulgence.
- Classic Magic Cookie Bars: The original, beloved seven-layer bars that started it all – a versatile recipe that allows for endless variations and deliciousness.
- Homemade Twix Bars: Recreate your favorite classic candy bar with a crisp shortbread crust, a layer of chewy caramel, and a smooth chocolate coating – surprisingly easy to make!
- Peanut Butter Chocolate Chip Bars: A delightful combination of two universally loved flavors in an easy-to-make, soft, and chewy bar format, perfect for peanut butter lovers.
- Pumpkin Pie Magic Cake: A magical dessert that combines the comforting best of pumpkin pie and a moist, spiced cake, perfect for autumn gatherings.
- Magic Pumpkin Layer Cake: Indulge in beautiful layers of spiced pumpkin cake complemented by a luscious cream cheese or spiced frosting – a showstopper dessert.
- Homemade 100 Grand Bars: A copycat recipe that tastes just like the popular candy bar, with crispy puffed rice, chewy caramel, and rich chocolate.
- Scotcheroos: A classic no-bake treat featuring crispy rice cereal bound with a sweet, gooey mixture, topped with a delicious blend of butterscotch and chocolate.
- Homemade Snickers Bars: Indulge in layers of chewy nougat, rich caramel, crunchy peanuts, and a decadent milk chocolate coating – a truly satisfying copycat.
- Homemade Kit Kat Bars: Recreate the famous crispy wafer and smooth chocolate combination at home with this fun and surprisingly simple recipe.
- Brown Sugar Pop Tart Bars: A nostalgic treat reimagined in a convenient bar form, perfect for breakfast, brunch, or a sweet snack any time of day.
Turtle Magic Bars
Print Recipe
Pin Recipe
10 minutes
50 minutes
1 hour
15
Brandie Skibinski
Ingredients
- ½ cup salted butter, softened to room temperature
- ⅓ cup packed light brown sugar
- 1 cup all-purpose flour
- 12 ounce bag of semi-sweet chocolate chips
- 1 ½ cups chopped pecans
- 1 ½ cups caramel bits
- 14 ounce can of sweetened condensed milk
Instructions
- Preheat the oven to 350°F (175°C). Line a 7×11-inch baking dish with foil, leaving an overhang on the sides for easy removal, and spray generously with cooking spray.
- In a large bowl, cream ½ cup salted butter, softened to room temperature, with ⅓ cup packed light brown sugar using an electric hand mixer until smooth and fluffy.
- Add in 1 cup all-purpose flour and stir until just combined, forming a cohesive dough. Avoid overmixing.
- Press the butter-flour mixture evenly into the bottom of the prepared baking dish to form the crust. Ensure it’s a firm, uniform layer.
- Bake the crust for 15 minutes, or until it is lightly golden brown at the edges and appears set.
- Remove the pan from the oven. Immediately sprinkle the 12 ounce bag of semi-sweet chocolate chips evenly over the warm crust, followed by 1 ½ cups chopped pecans, and then 1 ½ cups caramel bits. Ensure even distribution.
- Pour the 14 ounce can of sweetened condensed milk evenly over all the layered ingredients, trying to cover the top as completely as possible.
- Return the dish to the oven and bake for an additional 30-35 minutes, or until the top is golden brown and bubbly.
- Let the bars cool completely in the pan on a wire rack before cutting. This step is crucial for clean slices. Once fully cooled, lift the entire slab out using the foil handles, cut into bars, and serve.
Notes
- Customize your chocolate: Feel free to swap semi-sweet chocolate chips for milk chocolate or dark chocolate, depending on your preference for sweetness and chocolate intensity.
- Pan size flexibility: If you prefer thicker bars, you can use a 9×9-inch baking pan; just monitor baking time as it may vary slightly for a thicker treat.
- Easy removal: Lining your baking dish with aluminum foil and spraying it with cooking spray is highly recommended for hassle-free removal of the baked bars.
- Freezing for later: These bars freeze beautifully for up to 3 months. Follow the detailed storage instructions mentioned earlier in the FAQ section for best results when freezing and thawing.
- Nut alternatives: If pecans are not to your taste, walnuts make an excellent substitute and add a similar desirable crunch and earthy flavor.
Dessert
American
Nutrition
Calories:
473kcal
|
Carbohydrates:
55g
|
Protein:
6g
|
Fat:
27g
|
Sodium:
91mg
|
Fiber:
3g
|
Sugar:
41g
Nutritional Disclaimer
“The Country Cook” is not a dietician or nutritionist, and any nutritional information shared is an estimate. If calorie count and other nutritional values are important to you, we recommend running the ingredients through whichever online nutritional calculator you prefer. Calories and other nutritional values can vary quite a bit depending on which brands were used.
Did you make this recipe?
Share it on Instagram @thecountrycook and mention us #thecountrycook!
