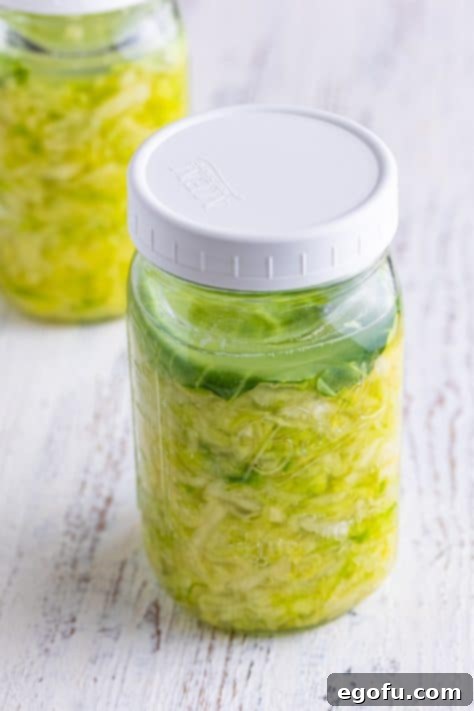
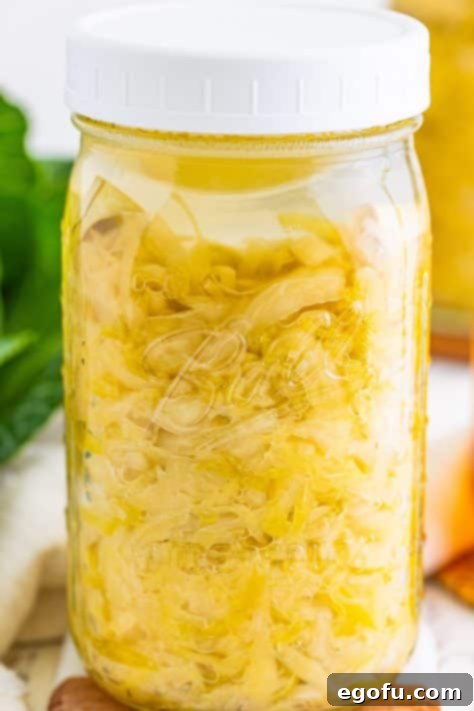
Mastering Homemade Sauerkraut: Your Ultimate Guide to Fermented Goodness
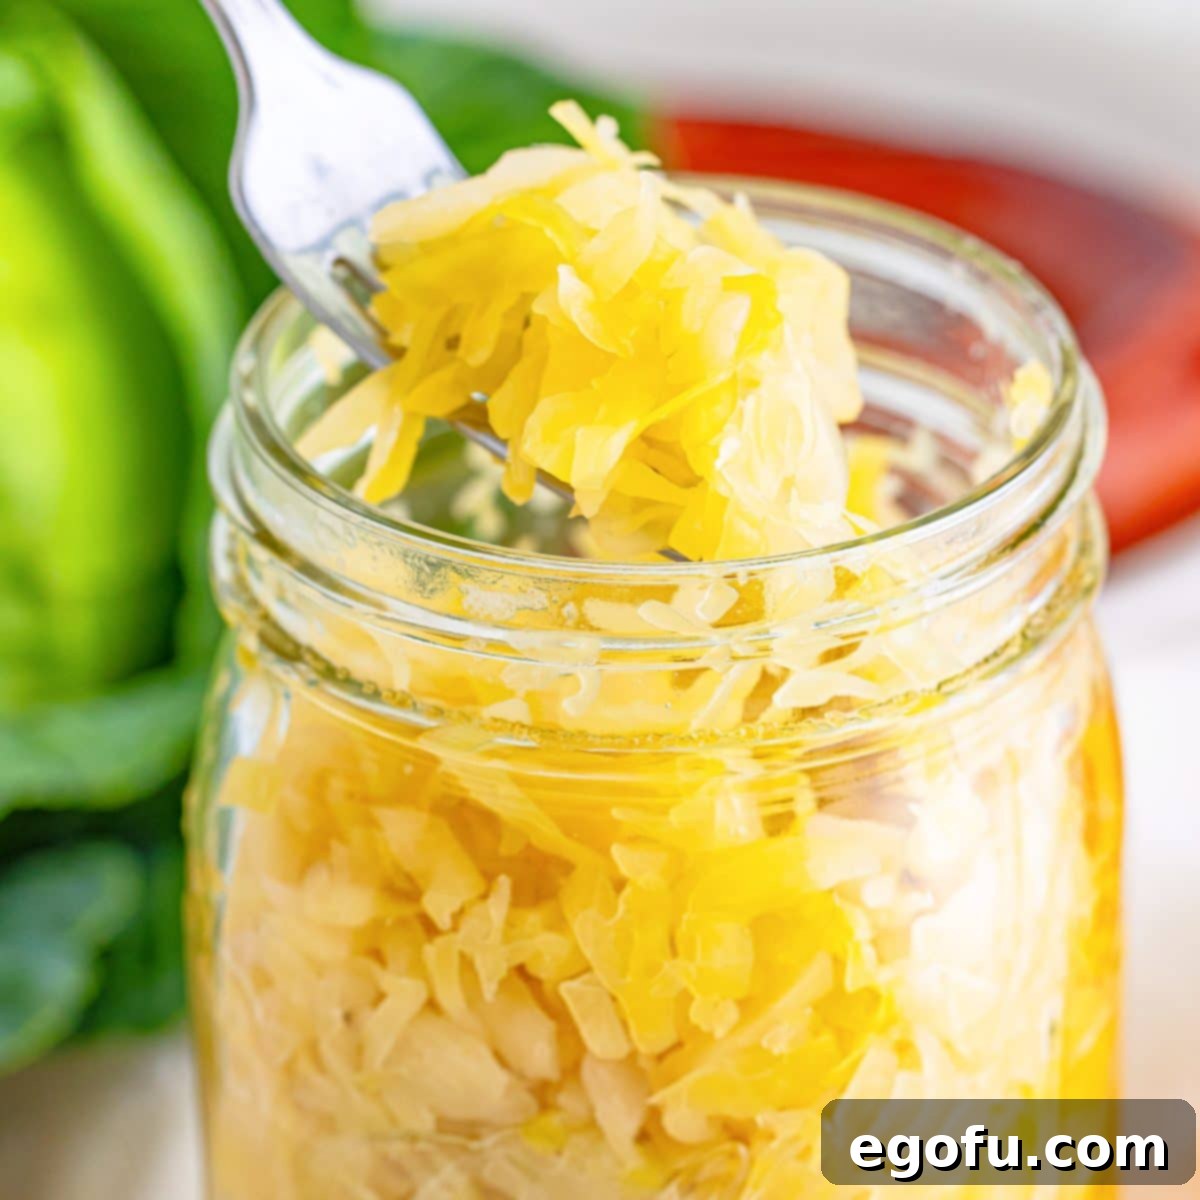
Embark on a culinary journey to create the most exquisite homemade sauerkraut, a fermented delight that promises to elevate your meals and nourish your gut. Forget the pale, overly tart versions found on store shelves; this traditional, two-ingredient recipe captures the authentic, vibrant flavor and satisfying crunch that only a homemade batch can deliver. Inspired by cherished family traditions, this recipe makes fermentation accessible and incredibly rewarding, proving that sometimes, the simplest methods yield the most profound results.

The Art of Fermentation: Why Homemade Sauerkraut Reigns Supreme
There’s an undeniable magic in homemade sauerkraut. This recipe, passed down through generations, consistently wins hearts with its unparalleled taste and delightful texture. Unlike its mass-produced counterparts, which often rely on vinegar for a quick tang, this recipe harnesses the ancient power of lacto-fermentation, allowing beneficial bacteria to transform simple cabbage and salt into a complex, probiotic-rich superfood. The result is a sauerkraut that is less aggressively sour, boasting a nuanced flavor profile and a satisfying crunch that makes it truly irresistible.
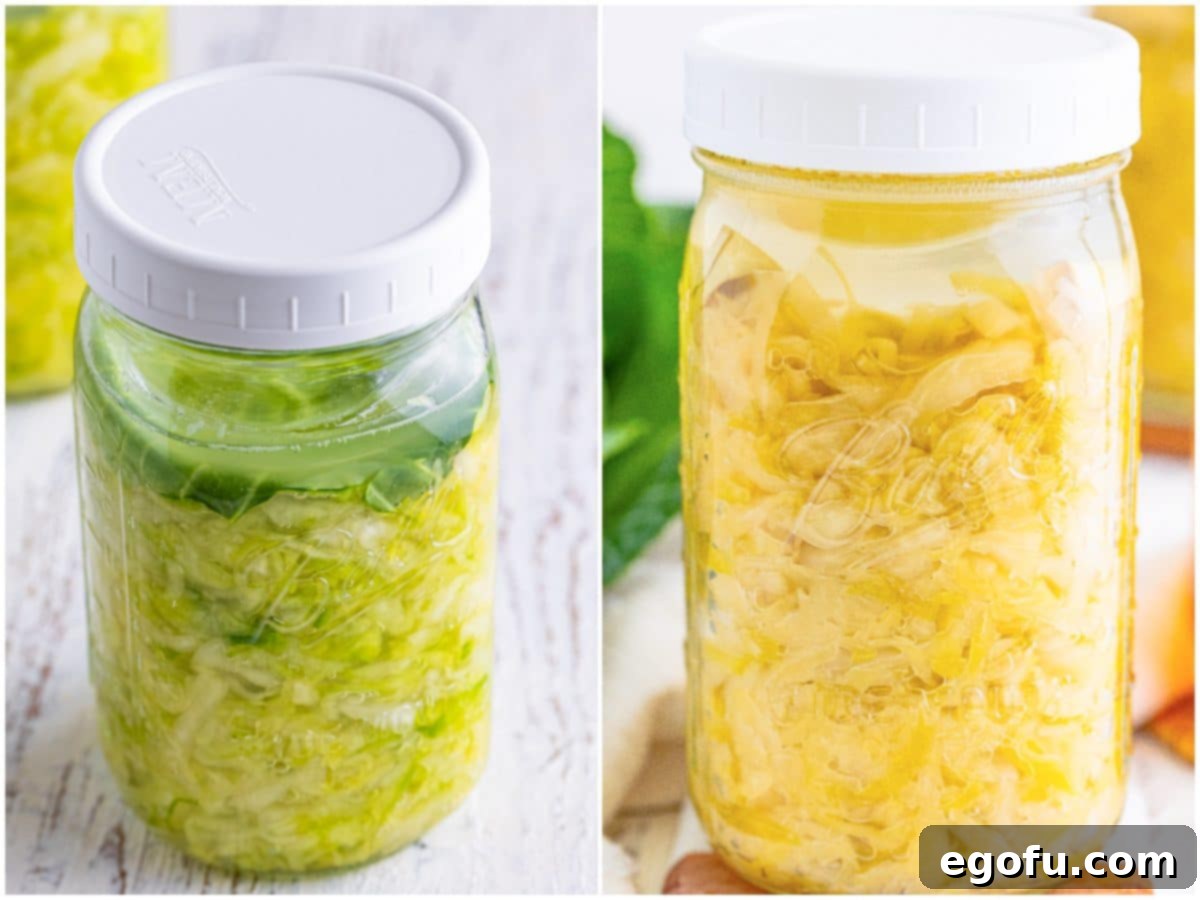
What sets this recipe apart is its elegant simplicity. Requiring just two core ingredients – fresh cabbage and fine sea salt – along with a jar and a bit of patience, it demystifies the fermentation process. It’s also thoughtfully scaled for home cooks, yielding two 32-ounce jars from approximately 2½ pounds of cabbage. This manageable quantity is perfect for those new to fermenting or anyone who prefers to keep a fresh supply in the refrigerator without the need for extensive canning.
Unlocking the Health Benefits of Fermented Sauerkraut
Beyond its incredible taste, homemade fermented sauerkraut is a nutritional powerhouse. The fermentation process introduces a wealth of probiotic bacteria, essential for a healthy gut microbiome. A balanced gut can contribute to improved digestion, enhanced nutrient absorption, and a robust immune system. Incorporating sauerkraut into your diet is a delicious way to naturally boost your intake of these beneficial microorganisms, supporting your overall well-being. Furthermore, cabbage itself is rich in vitamins C and K, as well as fiber, providing additional health advantages.
Frequently Asked Questions About Homemade Sauerkraut
This homemade version offers a milder, less tart flavor compared to many store-bought sauerkrauts. This subtle tang is often why people prefer the homemade variety, as it lacks the overpowering sourness some find off-putting. The cabbage also retains a pleasant crispness, providing a delightful textural contrast.
Absolutely! This recipe provides a foundational, basic sauerkraut that serves as a perfect canvas for customization. While excellent on its own, feel free to experiment with your favorite seasonings. Caraway seeds are a classic addition, imparting a warm, earthy aroma; we recommend starting with about a teaspoon for this recipe size. Other popular choices include juniper berries, dill, or even a touch of garlic.
This recipe utilizes the traditional salt brine method, the authentic way to produce true fermented sauerkraut. The cabbage naturally releases its own liquids, which combine with the salt to create a brine. This brine then encourages the growth of beneficial lactic acid bacteria, which are responsible for the fermentation and the characteristic tangy flavor. While some quick sauerkraut recipes use vinegar to mimic the taste, genuine fermented sauerkraut relies solely on the natural process, without added vinegar.
Any clean, food-grade glass jars will work for fermentation, with wide-mouth mason jars being a popular choice for their ease of use. For fermentation weights, these jars and weights are what I personally use. The key is to keep the cabbage submerged beneath the brine to prevent mold growth.
No fermentation weights? No problem! Many household items can serve as effective substitutes. A clean Ziploc bag filled with water, pie weights placed inside a Ziploc bag, or even small jelly jars filled with water can all work to keep your cabbage submerged. The main goal is to exert enough pressure to keep the shredded cabbage below the liquid line.
During the fermentation period, store your jars in a cool, dark place, away from direct sunlight. It’s crucial to monitor your sauerkraut daily. If you’re not using an airlock, you’ll need to “burp” the jars once a day. This involves simply opening the lid slightly to release any built-up gases that are a natural byproduct of fermentation. You might hear a gentle hiss as the pressure is released.
An airlock is a device specifically designed for fermentation. It attaches to the lid of a mason jar, allowing gases to escape while preventing outside air and contaminants from entering. This creates an anaerobic environment, crucial for successful fermentation and preventing mold. Here’s an example of an airlock (with jars) on Amazon so you can visualize it. While airlocks simplify the process and reduce the need for daily “burping,” they are not strictly necessary. Regular burping will achieve similar results.
Once fully fermented and to your taste, you can store your sauerkraut at room temperature for about a month, though refrigeration is highly recommended for longer preservation. When stored in the refrigerator, it will last for approximately six months or even longer. Freezing sauerkraut is generally not recommended, as it can significantly alter the texture upon thawing and may diminish the beneficial probiotic nutrients.
Yes, after your sauerkraut has completed its fermentation process, it can be canned for long-term storage. To do this, gently heat the fermented sauerkraut in a pot to about 200°F (do not boil). Then, pack it into sterilized mason jars and secure with new lids. Proceed with a standard water bath or pressure canning process, following established safety guidelines for fermented foods.
Absolutely! This recipe is incredibly forgiving and scales up beautifully. Whether you want to make a larger batch for extended storage or to share with friends and family, feel free to double, triple, or even quadruple the ingredients proportionally.
The optimal temperature for fermenting sauerkraut is generally between 60-75°F (15-24°C). Temperatures in this range encourage the beneficial bacteria to thrive, leading to a flavorful and safe ferment. Cooler temperatures will slow down fermentation significantly, while much warmer temperatures can lead to undesirable bacterial growth or a mushy texture. A cool pantry or a basement corner is usually perfect.
Mold can occasionally appear on the surface of your sauerkraut, especially if the cabbage isn’t fully submerged in the brine. If you see fuzzy, colored mold (green, black, pink), it’s best to discard the entire batch to ensure safety. However, a thin white film, often called kahm yeast, is usually harmless. You can simply skim it off the top. The best defense against mold is to ensure all cabbage remains under the brine.
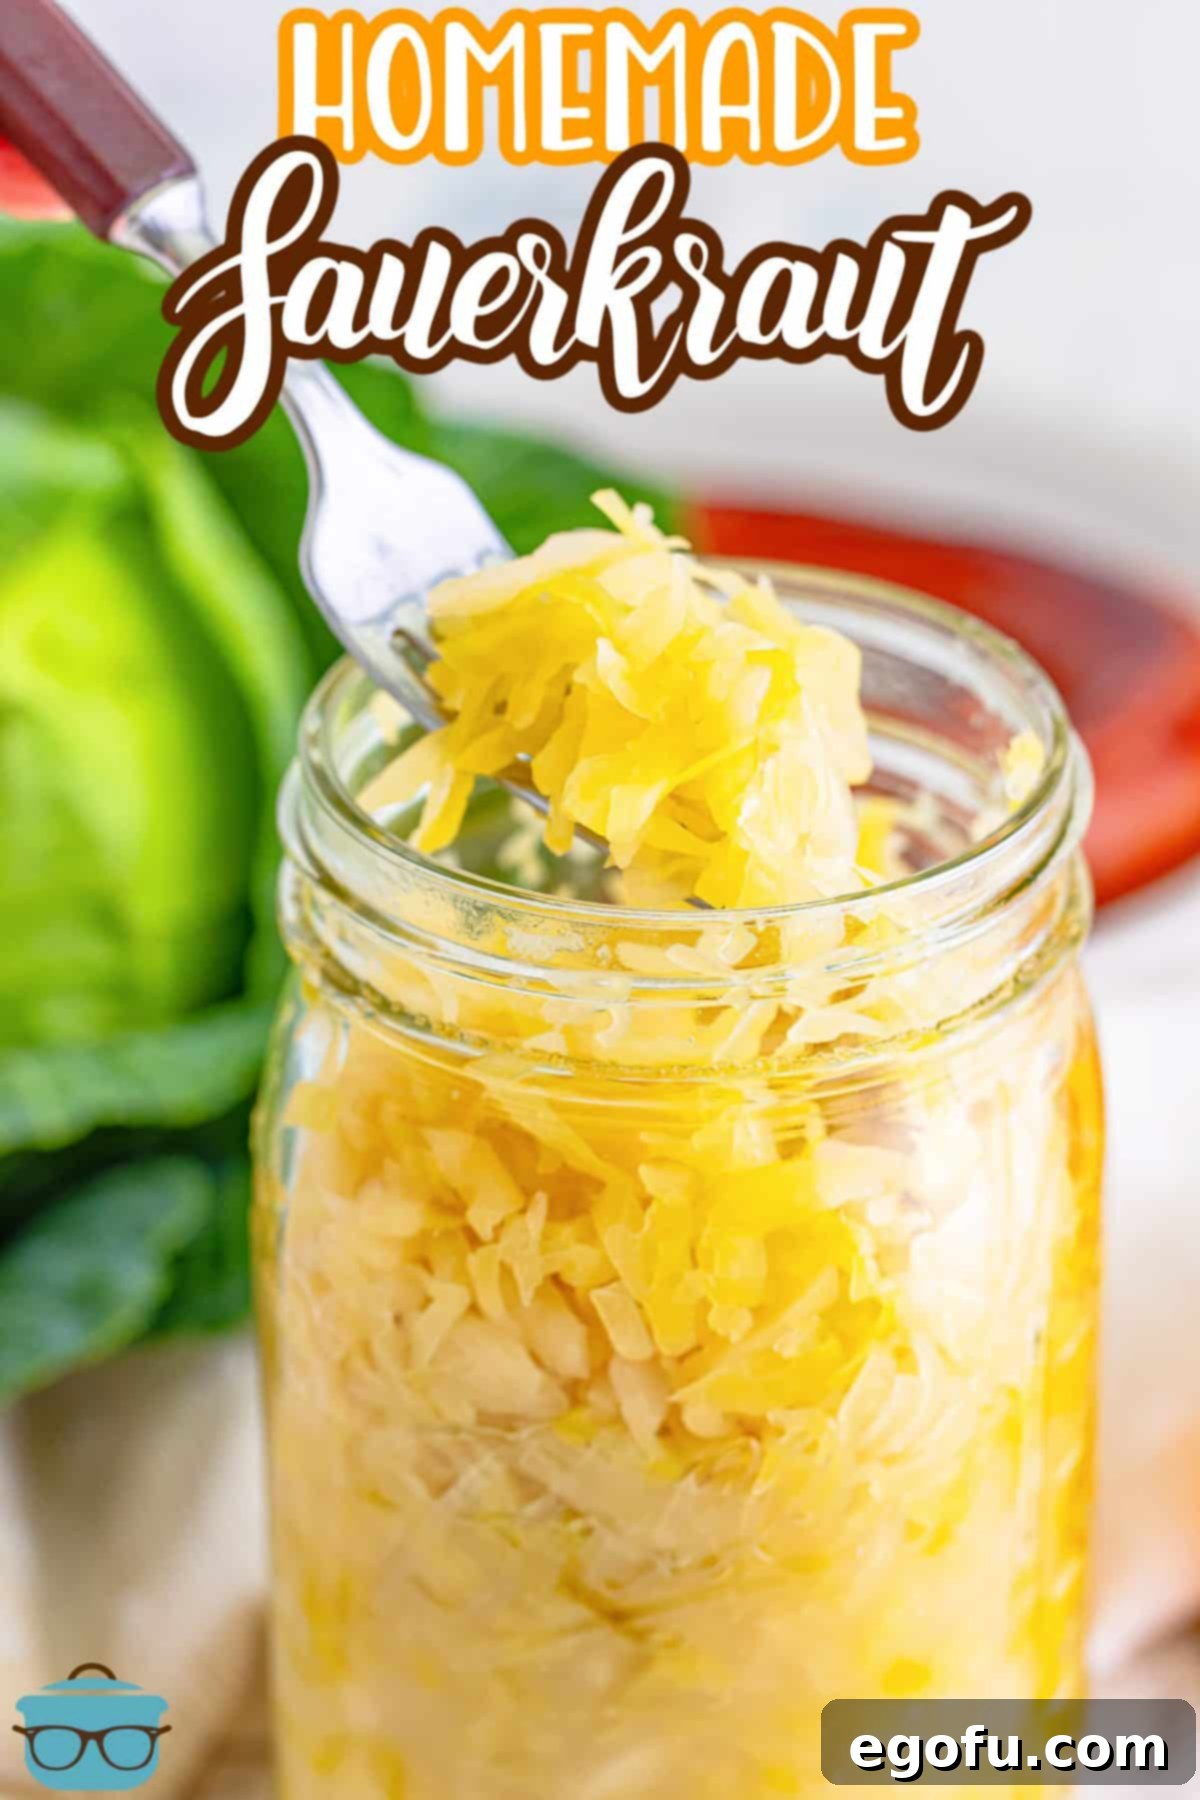
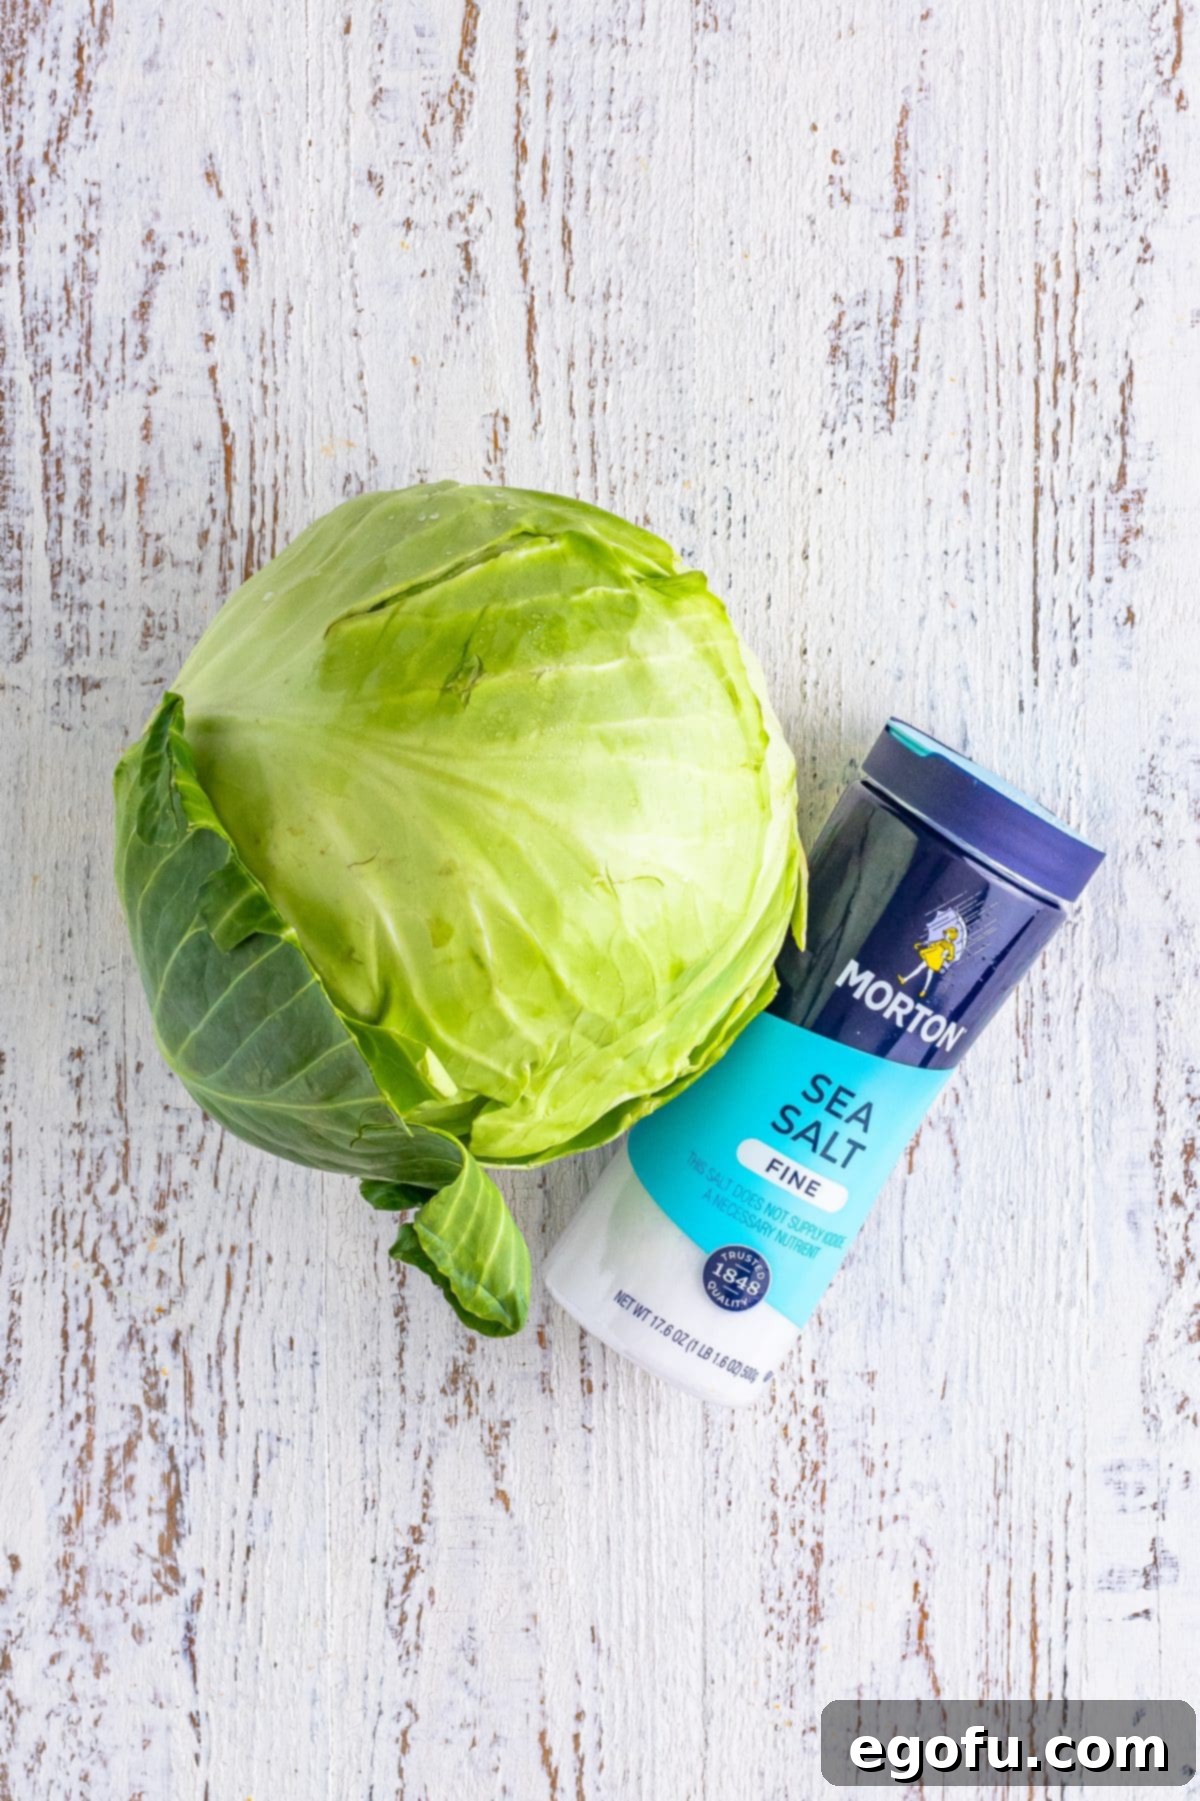
Essential Ingredients for Your Sauerkraut
The beauty of this recipe lies in its minimalist approach, requiring only two core ingredients that transform into something truly extraordinary. Quality ingredients are key to the best flavor and fermentation success.
- Fresh Cabbage: Approximately 2½ pounds of firm, fresh cabbage, typically equating to two medium heads. While pre-shredded cabbage might seem convenient, shredding it yourself ensures optimal freshness and texture. Green cabbage is the most common choice, but you can also experiment with red cabbage for a beautiful purple kraut.
- Fine Sea Salt: This is the crucial ingredient that draws out moisture and kickstarts the fermentation. Fine sea salt is preferred for its consistent crystal size, which dissolves easily and distributes evenly. While kosher salt or even table salt can be used, fine sea salt has yielded the best flavor results in our experience. Avoid iodized salt, as the iodine can sometimes interfere with the fermentation process.
Step-by-Step Guide: How to Make Homemade Sauerkraut
Making your own sauerkraut is a hands-on process that’s both therapeutic and rewarding. Follow these detailed steps to ensure a successful and delicious batch.
-
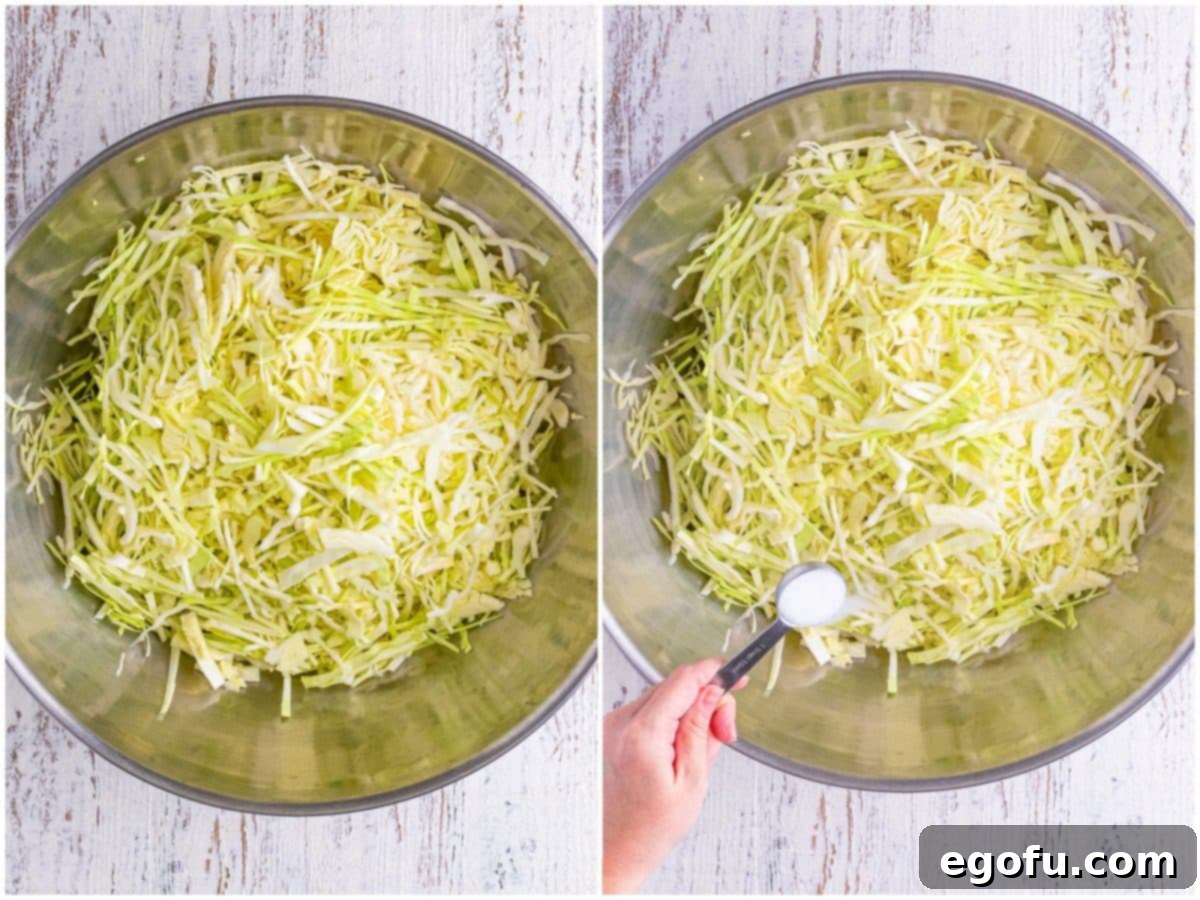
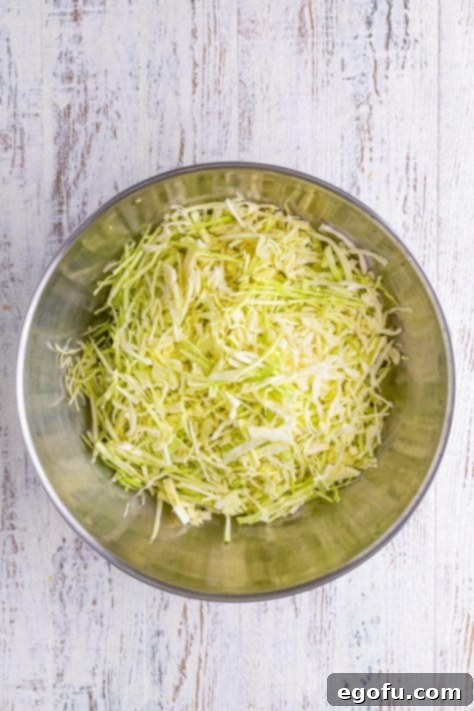
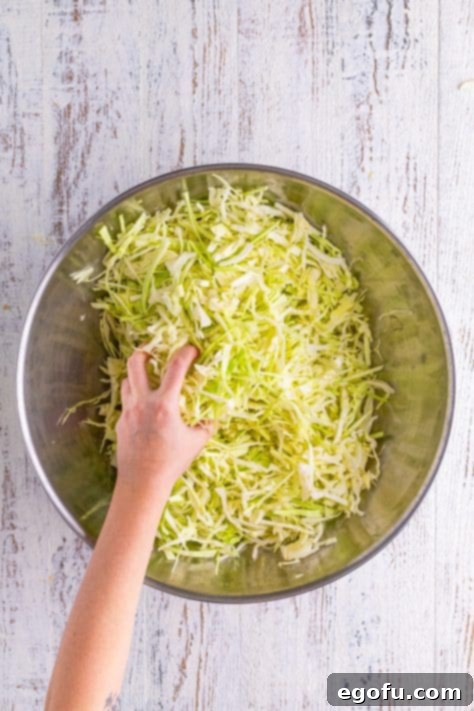
Prepare the Cabbage: Begin by removing any bruised or damaged outer leaves from the cabbage, reserving two intact outer leaves for later use. Core the cabbage; a simple trick is to firmly slam the core end onto a hard surface like your kitchen counter, which often loosens it enough to be easily pulled out by hand. Alternatively, carefully cut out the core with a knife. Once cored, finely shred the cabbage. A sharp knife works perfectly for this, but a food processor with a shredding disc or a mandoline can also speed up the process. Transfer the shredded cabbage to a large, sturdy mixing bowl.

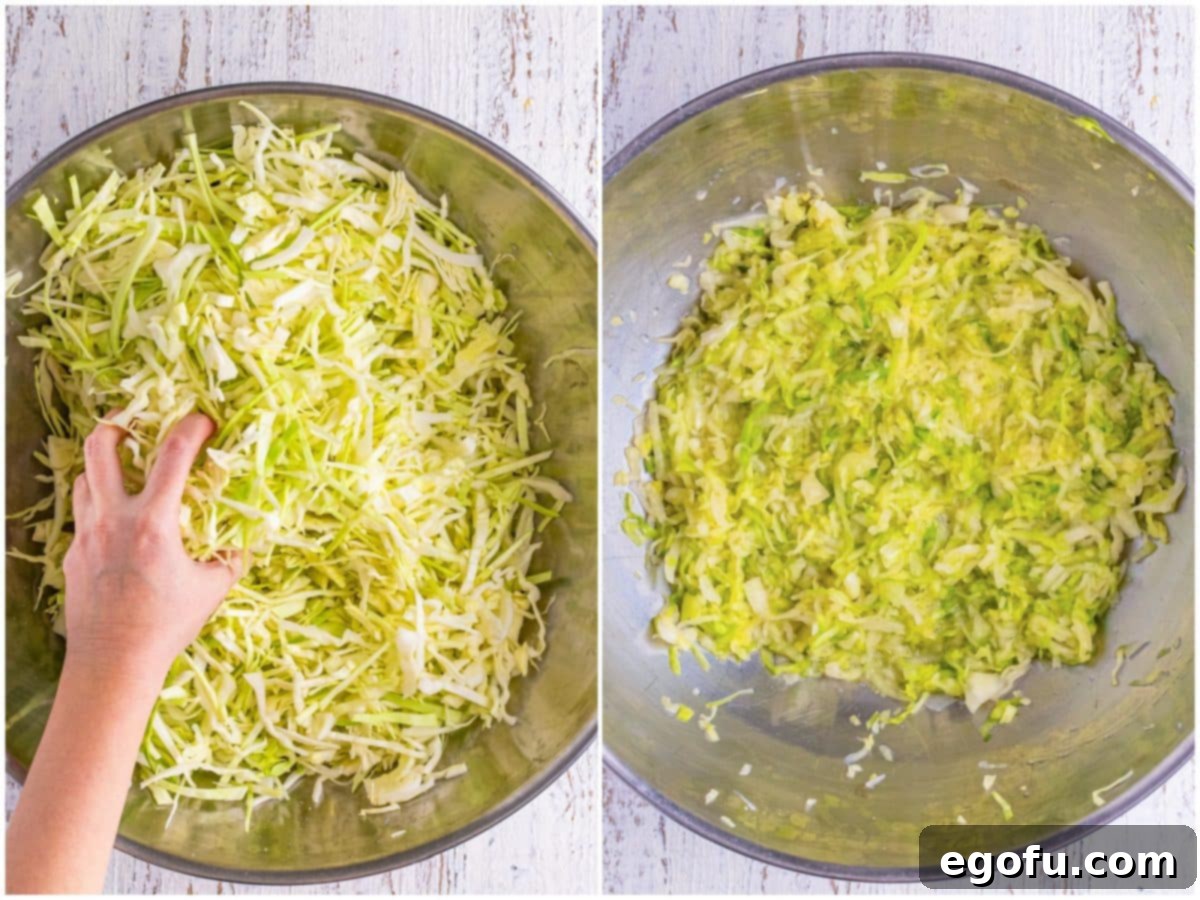
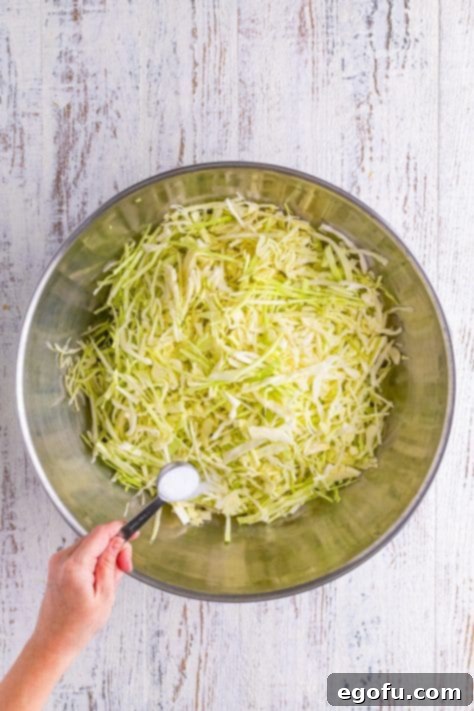
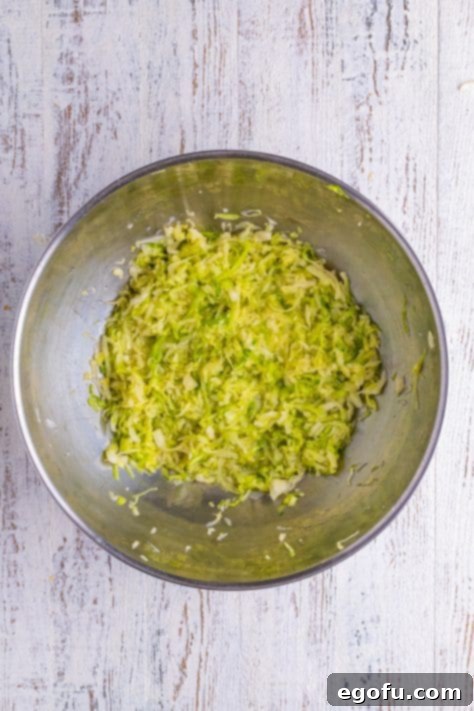
- Salt and Massage: Sprinkle the fine sea salt over the shredded cabbage in the bowl. Use your clean hands (or wear gloves) to thoroughly toss the cabbage and salt, ensuring even distribution. Now, begin the crucial massaging process. Vigorously squeeze and crush the cabbage with your hands for about 5 minutes. This action helps to break down the cell walls of the cabbage, encouraging it to release its natural moisture.
-
Rest and Repeat: After the initial massage, allow the salted cabbage to rest in the bowl for 15 minutes. During this time, the salt will continue to draw out liquid. After resting, repeat the massaging process for another 5 minutes. Continue this cycle of massaging and resting until a significant amount of liquid (brine) has accumulated in the bottom of the bowl, almost enough to submerge the cabbage. This entire process, including resting times, typically takes about one hour. If after an hour you feel there isn’t enough liquid, add another pinch of salt and continue massaging for a few more minutes.

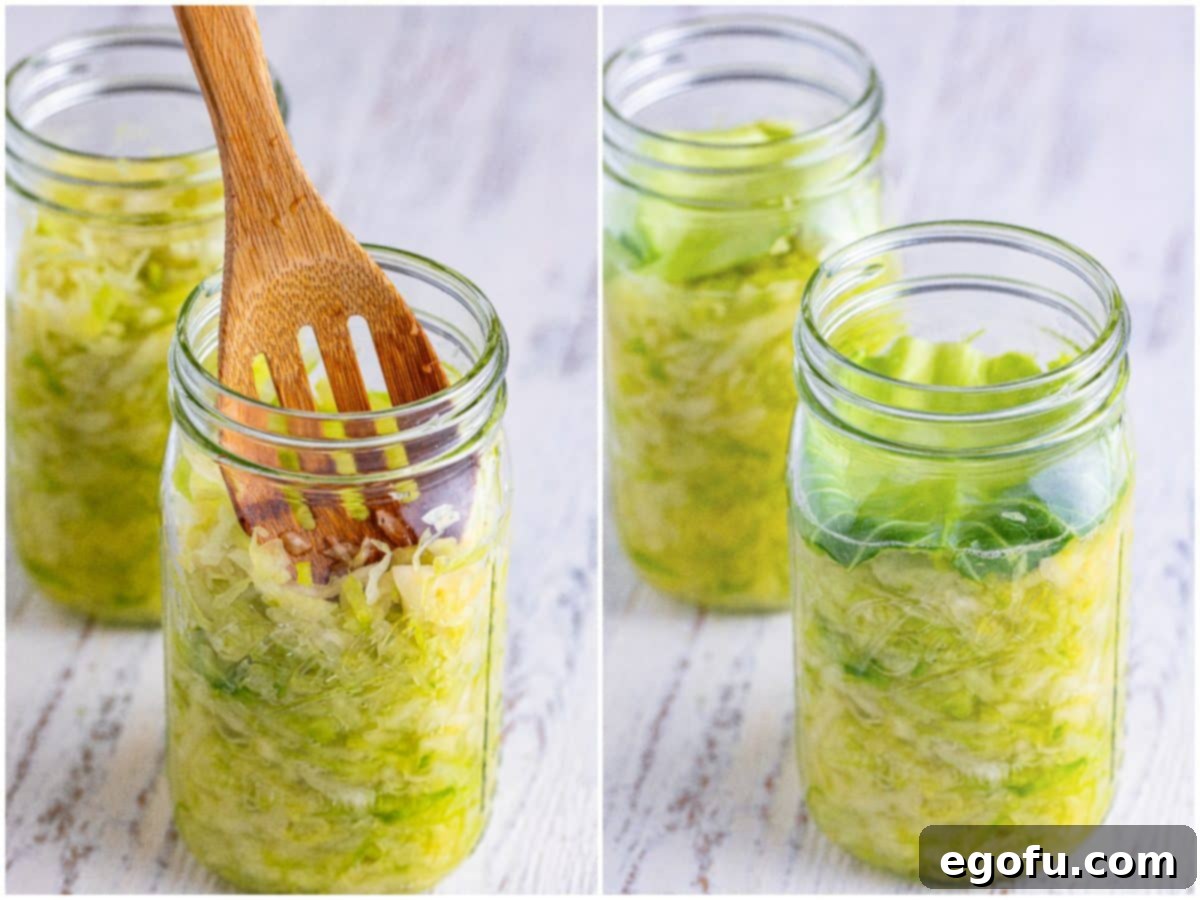
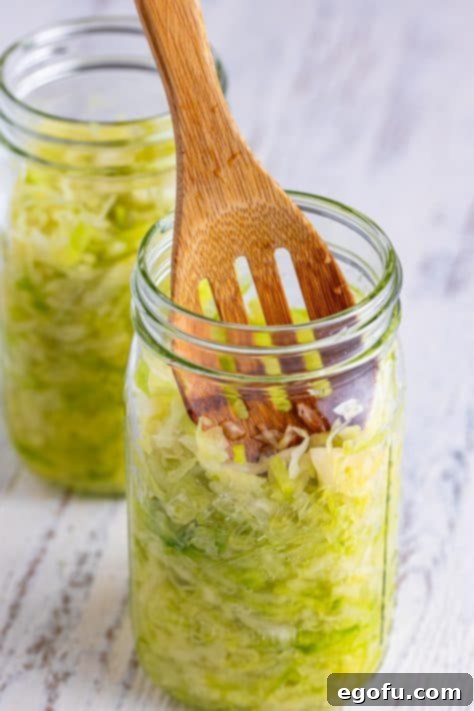
- Pack the Jars: Transfer the massaged cabbage into your clean fermentation jars (e.g., two 32-ounce mason jars). Pack the cabbage down very firmly with a spoon or your fist, eliminating any air pockets as you go. Pour all the liquid that accumulated in the bowl over the packed cabbage in the jars. The goal is to ensure the cabbage is completely submerged in its own brine.
-
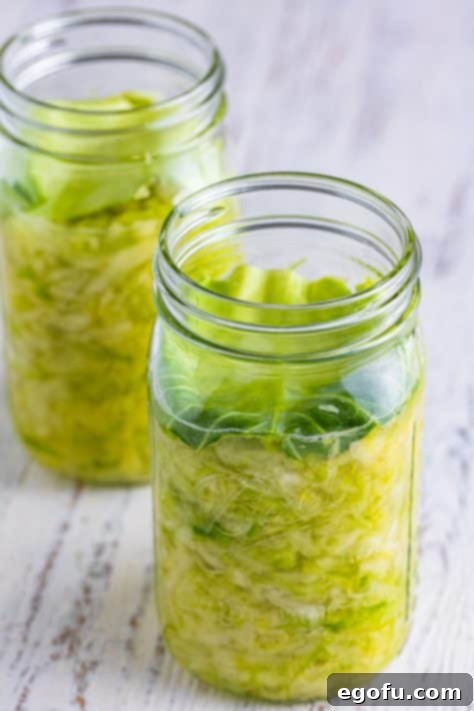
Submerge with Leaves: Take the two reserved outer cabbage leaves. Cut them into pieces that are large enough to fully cover the surface of the shredded cabbage in each jar. Place these leaf pieces on top, pressing them down firmly to keep all the smaller shredded pieces submerged beneath the liquid. This acts as a protective barrier and helps prevent mold.

- Apply Weight and Seal: Place a fermentation weight (or your chosen substitute, as discussed in the FAQ) directly on top of the cabbage leaves, ensuring it keeps everything pressed below the brine. Secure the lid on your jars. If you are using an airlock system, install it now.
-
Ferment and Monitor: Place the jars in a cool, dark, and dry place (ideally between 60-75°F or 15-24°C) for at least two weeks. If you are not using an airlock, remember to “burp” the jars once daily by briefly loosening the lid to release any built-up gases, then re-tightening.

-
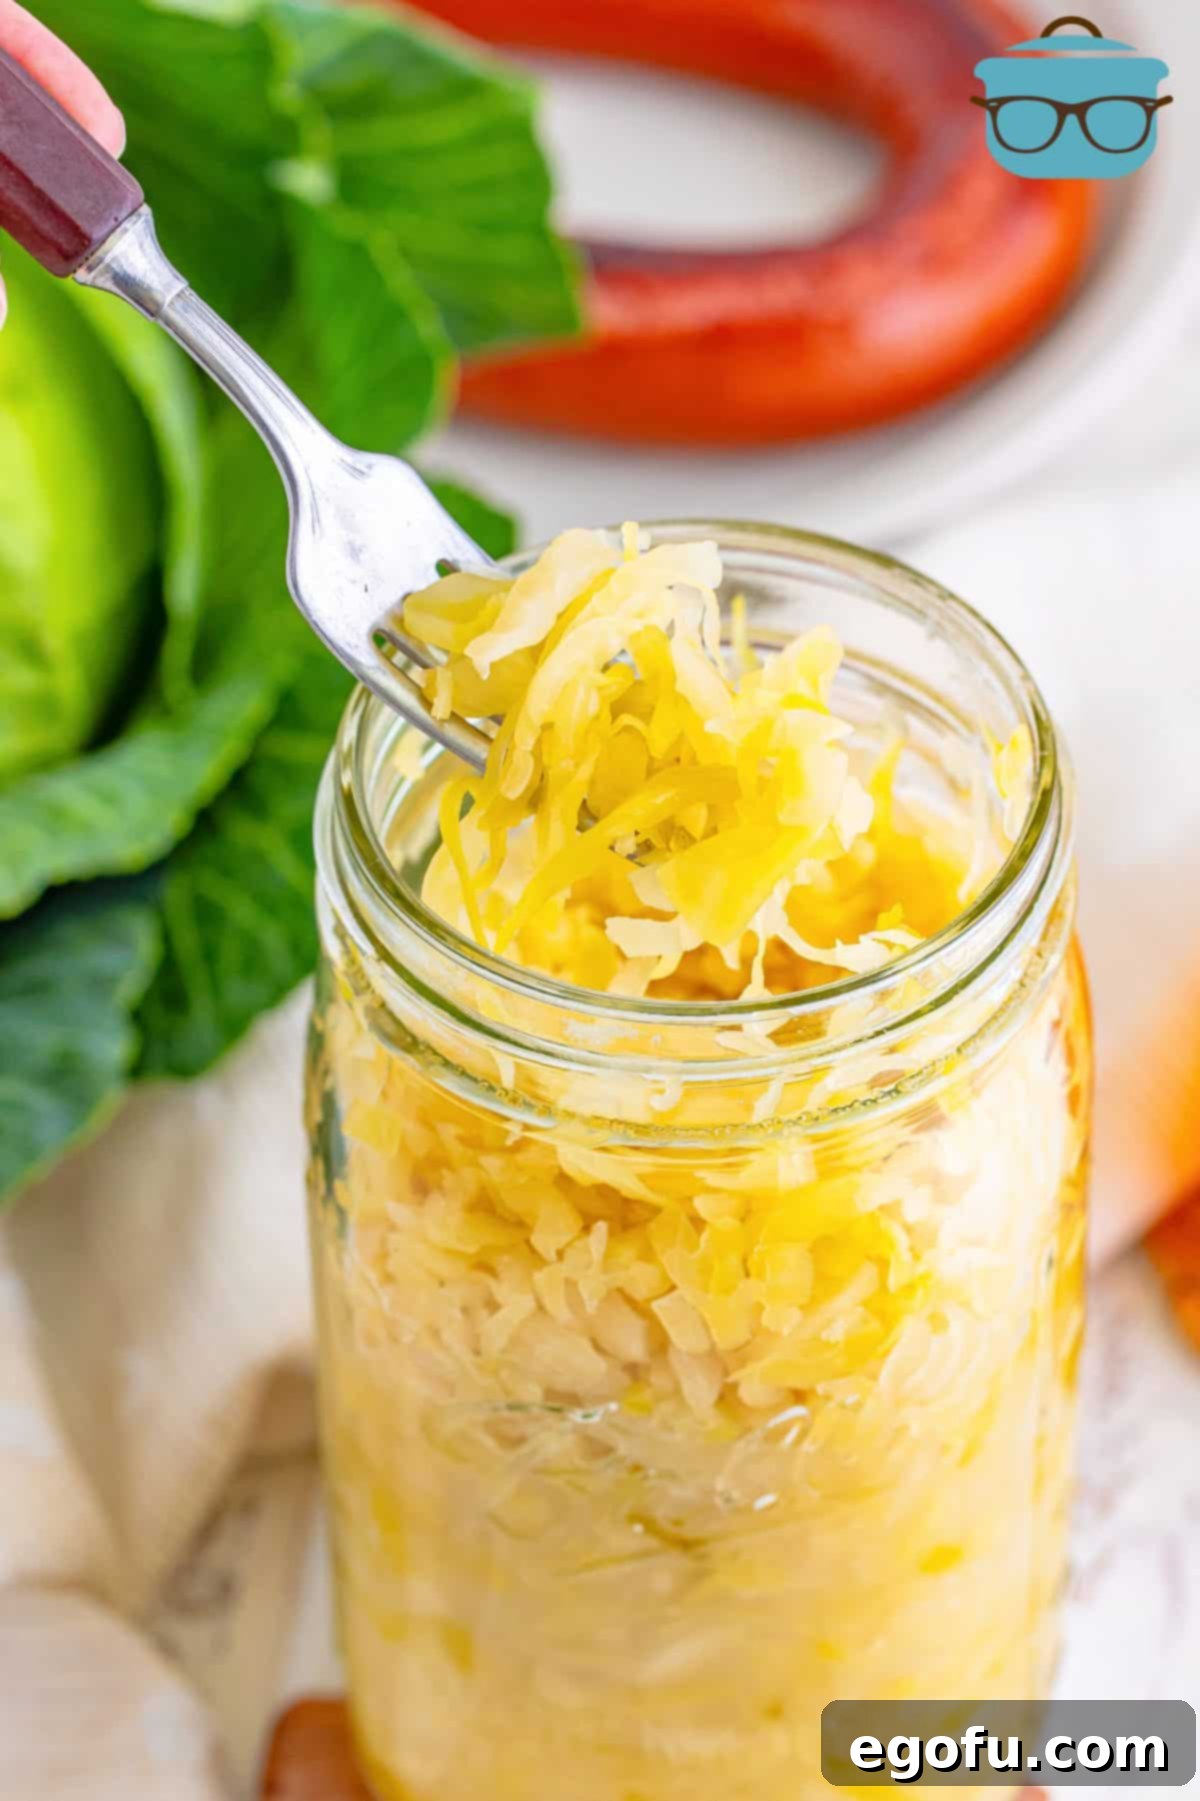
Taste and Store: After two weeks, taste a small amount of sauerkraut. If you prefer a stronger, tangier flavor, allow it to ferment for a few more days or another week, continuing to burp as needed. Once it reaches your desired taste and texture, transfer the jars to the refrigerator. This significantly slows down the fermentation process, preserving the flavor and probiotics.

Your homemade sauerkraut is now ready to enjoy as-is, or as a vibrant addition to countless recipes!
Serving Suggestions for Your Delicious Sauerkraut
Homemade sauerkraut is incredibly versatile and can be enjoyed in numerous ways. Here are some ideas to inspire you:
- Classic Accompaniment: Serve alongside grilled bratwurst, kielbasa, pork chops, or roasted chicken.
- Reuben Sandwich Essential: A must-have ingredient for the ultimate Reuben or Rachel sandwich.
- Salad Topper: Add a zesty crunch to green salads or potato salads.
- Breakfast Boost: Mix a small amount into scrambled eggs or serve alongside breakfast sausages.
- Bowl Enhancement: Stir into grain bowls or nourish bowls for an acidic kick and probiotic benefits.
- Soup & Stew Ingredient: Incorporate into hearty soups or stews, especially those with cabbage or pork.
- Simple Side Dish: Enjoy it straight from the jar as a refreshing and healthful side.
Sauerkraut Recipe
Making your own sauerkraut is incredibly easy with this simple two-ingredient recipe. Experience the fresh, vibrant taste that far surpasses anything you’ll find at the store.
Prep Time: 1 hour 15 minutes
Fermentation: 14 days
Total Time: 14 days 1 hour 15 minutes
Yields: 12 servings (approx. 2 x 32oz jars)
Author: Brandie Skibinski
Print Recipe
Share it on Instagram @thecountrycook and mention us #thecountrycook!
Ingredients
- 2 ½ pounds shredded cabbage (about 2 medium heads of cabbage)
- 1 Tablespoon + 1 ½ teaspoons fine sea salt
Instructions
Remove the outer leaves of the cabbage, reserving two intact leaves. Remove the core and finely shred the cabbage (use a knife, food processor, or mandoline).

Add the shredded cabbage to a large bowl. Sprinkle the salt over the cabbage and toss to combine thoroughly.

Massage the cabbage vigorously with clean hands (or gloved hands) for 5 minutes. This action will start releasing the cabbage’s natural moisture, which will become the brine.

Allow the cabbage to rest for 15 minutes. Repeat the massaging and resting process until enough liquid has been released to almost cover the cabbage in the bowl. This typically takes about 1 hour in total, including resting times. If needed, add a small pinch more salt and continue squeezing.

Pack the massaged cabbage firmly into your chosen fermentation jars (e.g., two 32-ounce jars). Pour all the accumulated liquid over the cabbage, ensuring it is fully submerged.

Cut the reserved outer cabbage leaves to fit and place them on top of the shredded cabbage, pressing down to keep everything submerged under the brine.

Place a fermentation weight on top of the cabbage leaves and secure the lid. If using an airlock, attach it now.
Store the jars in a cool, dark place for 2 weeks. If not using an airlock, “burp” the jar once daily by briefly opening and re-sealing the lid to release gases.

After 2 weeks, taste the sauerkraut. If you desire a longer fermentation or tangier flavor, continue fermenting for a few more days. Once to your liking, transfer the jars to the refrigerator to slow down fermentation and preserve freshness.

Your homemade fermented sauerkraut is now ready to be enjoyed! Serve as a side, topping, or ingredient in your favorite dishes.

Notes
- Refer to the Frequently Asked Questions (FAQ) section above for detailed information on substitutions, equipment alternatives, and common fermentation queries.
- This recipe yields approximately two 32-ounce jars of sauerkraut. The estimated 12 servings can vary based on individual portion sizes and how the sauerkraut is used.
- To easily remove the cabbage core, simply slam the core-side of the cabbage onto a hard counter surface; it should then be easy to pull out by hand. Alternatively, use a knife to cut it out.
- Shredding cabbage can be done with a sharp knife, a food processor with a shredding disc, or a mandoline. Choose the method that is most comfortable and efficient for you.
Course: Side Dish
Cuisine: American
Nutrition
Calories: 24kcal | Carbohydrates: 5g | Protein: 1g | Fat: 0.1g | Sodium: 889mg | Fiber: 2g | Sugar: 3g
Nutritional Disclaimer
The nutritional information provided is an estimate. As a general guide, if calorie count and other nutritional values are important to you, we recommend calculating them based on the specific brands and quantities of ingredients you use.
Craving More Delightful Recipes?
If you’ve enjoyed making and tasting this homemade sauerkraut, you might be inspired to explore other delicious recipes that pair wonderfully with it or delve deeper into the world of fermenting and preserving. Here are some fantastic options:
- Quick Sauerkraut (for those times you need it faster!)
- Chicken Schnitzel
- Chow Chow
- Dill Pickle Relish
- Refrigerator Pickles
- Pickled Banana Peppers
- Pickled Red Onions
- Bread and Butter Pickles
- Reuben Dip
- Reuben Casserole
- Reuben Eggrolls
- Reuben Sliders
- Pierogi Casserole
- Polish Casserole for Two
- Bacon Fried Cabbage
- Cabbage Rolls
- Crock Pot Unstuffed Cabbage Rolls
- Crock Pot Brats
