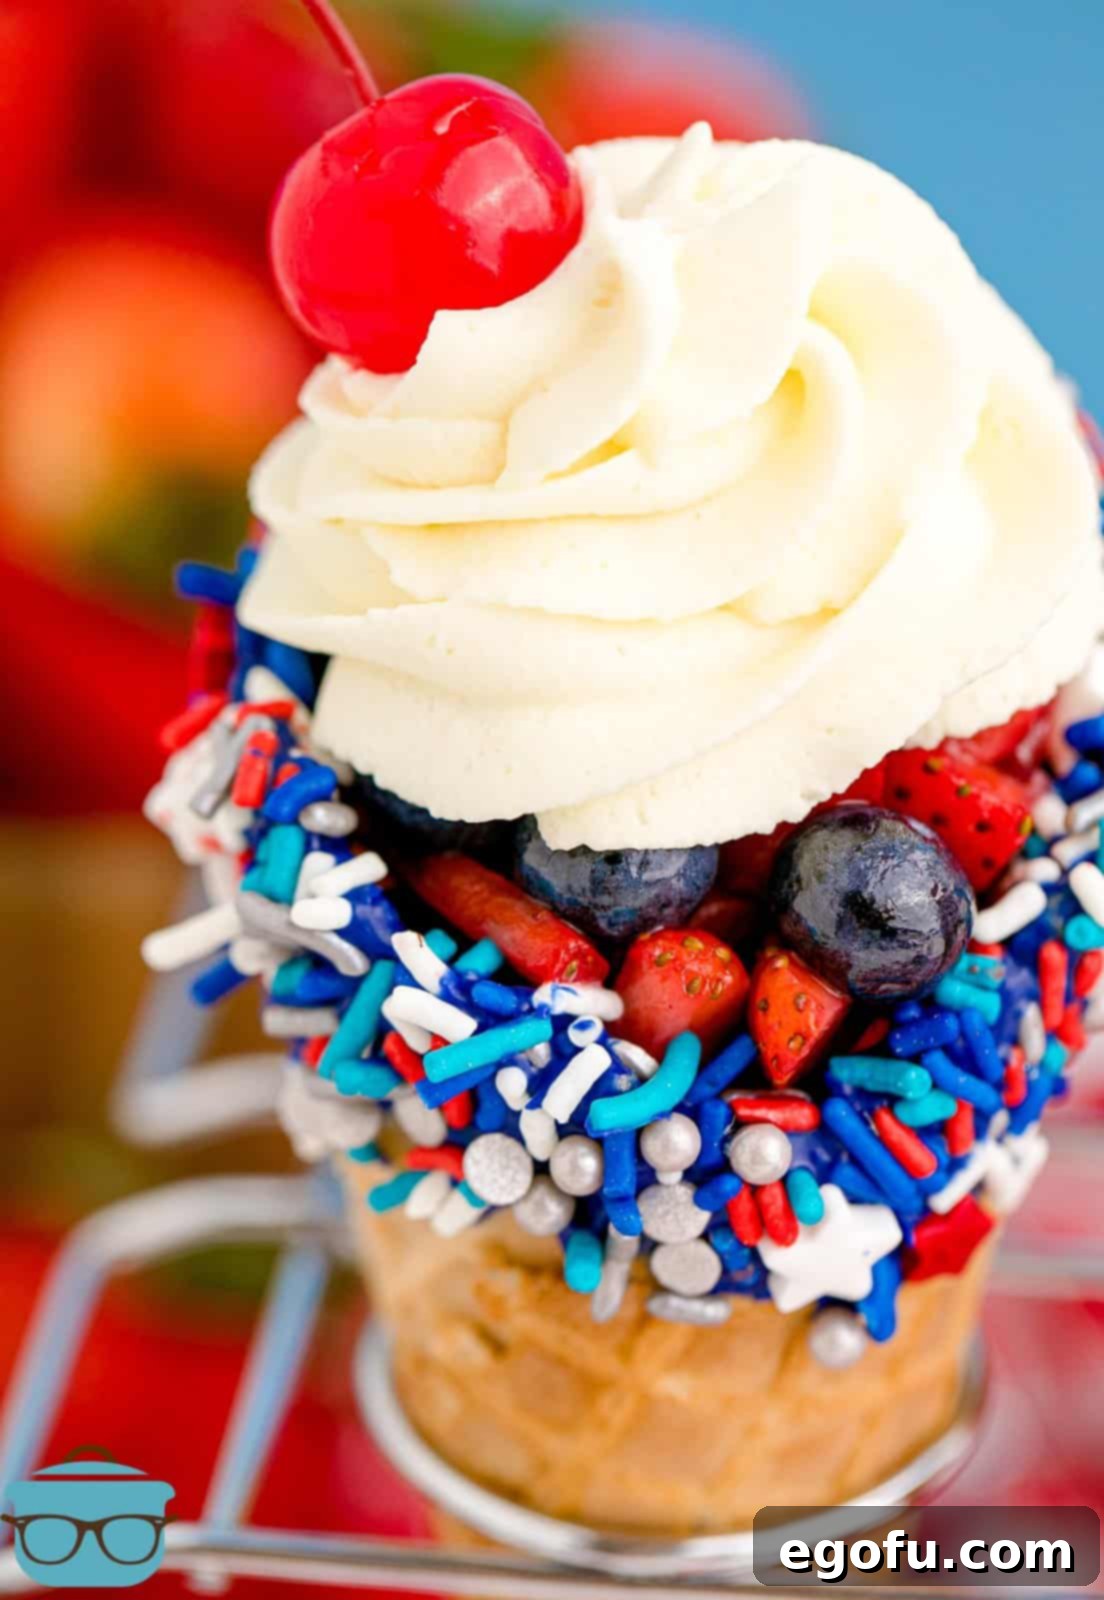
Celebrate Independence Day with a burst of flavor and a refreshing treat that’s as delightful to make as it is to eat! These 4th of July Waffle Cones are the ultimate kid-friendly dessert, offering a fun, festive, and fantastically tasty way to cool down during summer celebrations. Forget the usual fruit platters; these vibrant, red, white, and blue delights are an interactive and customizable experience that will be the highlight of any patriotic gathering. They are simple to assemble, visually striking, and deliver a creamy, fruity, and crunchy sensation with every bite.
The Perfect Patriotic Summer Treat
Searching for an effortlessly charming dessert that captures the spirit of the 4th of July? Look no further than these delightful Waffle Cones. Far more than just a recipe, this guide offers a creative ‘how-to’ for crafting edible masterpieces that are both patriotic and incredibly delicious. Each cone is a miniature celebration, featuring crisp waffle cone edges dipped in festive red and blue candy melts, adorned with sprinkles, and generously filled with sweet berries and a rich, cheesecake-infused whipped cream. They are a wonderful alternative to traditional desserts, providing a unique and refreshing experience for guests of all ages.
Frequently Asked Questions About 4th of July Waffle Cones
Adding sugar to your berries is completely optional, though highly recommended for an enhanced flavor profile. A light toss with granulated sugar helps to draw out the natural sweetness of the berries, intensifying their taste and creating a lovely syrupy texture. This simple step elevates the overall sweetness of the dessert, making it even more delectable. However, if you prefer a less sweet option or want to highlight the natural tartness of the fruit, feel free to use the berries plain without any added sugar.
While the recipe specifically calls for strawberries and blueberries to achieve the classic red, white, and blue theme for the 4th of July, you are certainly welcome to experiment with other fruits. Raspberries make an excellent substitute for strawberries, providing another vibrant red option. For different occasions, consider sliced kiwis, blackberries, or peaches. However, for an authentic Independence Day celebration, the combination of red strawberries and blue blueberries truly captures the festive spirit. Feel free to use whatever fresh fruits you and your guests enjoy most!
Waffle cones are highly recommended for this recipe due to their unique shape and sturdy structure. Their wider opening and higher edge at the back provide an ideal vessel for holding the generous fillings of whipped cream and berries, preventing spills and making them easier to handle. While you could technically use other types of cones, like sugar cones or even flat-bottomed cake cones, they might not offer the same level of stability or capacity. Waffle bowls are another excellent alternative, offering a similar aesthetic and functionality for a sit-down dessert.
Absolutely! If cheesecake pudding isn’t your preference, you have several delicious alternatives. Plain vanilla instant pudding mix or even white chocolate instant pudding mix would work wonderfully to create a creamy, flavorful whipped topping. The key is to ensure you are using an instant pudding mix and that it is incorporated into the whipped cream mixture dry, without any prior preparation. Do not mix it with milk or water as instructed on the pudding box; simply add the powder directly to the heavy cream mixture to achieve the desired consistency and flavor.
Melting candies, often referred to as candy melts or candy wafers, are small, disc-shaped confections designed specifically for easy melting and coating. Unlike regular chocolate chips, they melt smoothly without needing tempering, making them perfect for dipping and decorating. You can typically find a wide variety of colors, including the red and blue needed for these patriotic cones, in the baking or cake decorating aisle of most major grocery stores, like Walmart, Target, or craft stores. Popular brands include Wilton Candy Melts, which are known for their vibrant colors and consistent melt. They are an essential ingredient for creating that beautiful, hardened, sprinkle-ready rim on your waffle cones.
No piping bag? No problem at all! You can easily achieve the same effect using a large, sturdy resealable plastic bag, such as a Ziploc bag. Simply transfer all the prepared cheesecake whipped cream into the bag, push it down towards one corner, and snip off a small tip from that corner. This creates a makeshift piping bag that allows you to neatly squeeze the whipped cream into the cones. For an even quicker method, you can also just use a spoon or a small scoop to dollop the whipped cream into the cones; the presentation will still be fantastic!
These waffle cones are undeniably at their absolute best when freshly assembled and served immediately. The waffle cone remains wonderfully crisp, and the whipped cream is perfectly fluffy. However, if you happen to have leftovers, they can be stored. Place them upright in an airtight container or cover them loosely with plastic wrap, then refrigerate. They will maintain their quality for up to 2 days, though the waffle cone may soften slightly over time. Enjoy them cold for a refreshing treat!

Ingredients Needed for Festive 4th of July Waffle Cones
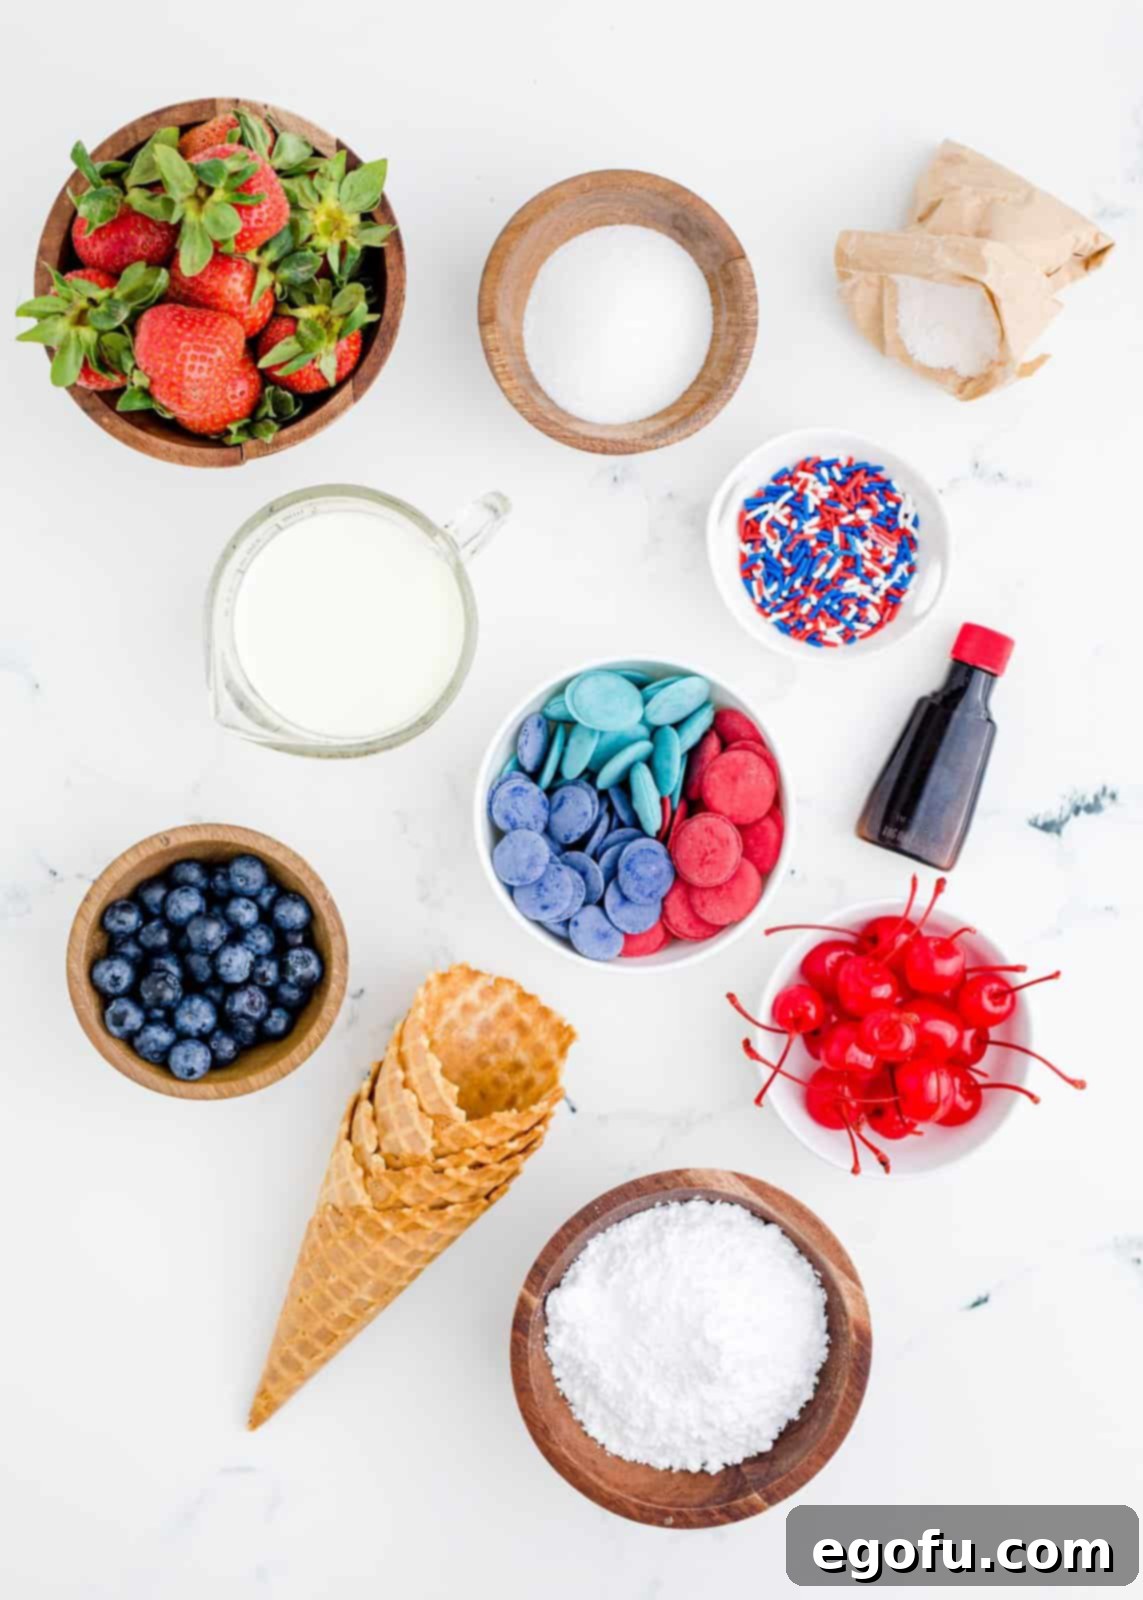
Gathering your ingredients is the first exciting step towards creating these patriotic masterpieces. You’ll need a combination of fresh fruit, classic dessert staples, and vibrant candy melts to bring these cones to life. Here’s what you’ll need to prepare:
- Waffle cones (for that perfect crispy base)
- Red melting candies (for a bold, patriotic pop)
- Blue melting candies (to complete the red, white, and blue theme)
- Fresh strawberries (sliced for easy layering)
- Fresh blueberries (sweet and juicy)
- Granulated sugar (to enhance berry sweetness)
- Cold heavy cream (the base for your fluffy whipped topping)
- Powdered sugar (for sweetening and stabilizing the whipped cream)
- Cheesecake pudding mix, dry and instant (for a rich, creamy flavor in the whipped cream)
- Vanilla extract (to deepen the dessert’s overall flavor)
- Maraschino cherries (the perfect bright red garnish)
- Red, white, and blue sprinkles (for a truly festive finish)
How to Assemble Your Own 4th of July Waffle Cones: A Step-by-Step Guide
Creating these festive waffle cones is a fun and straightforward process. Follow these easy steps to bring your patriotic dessert vision to life:
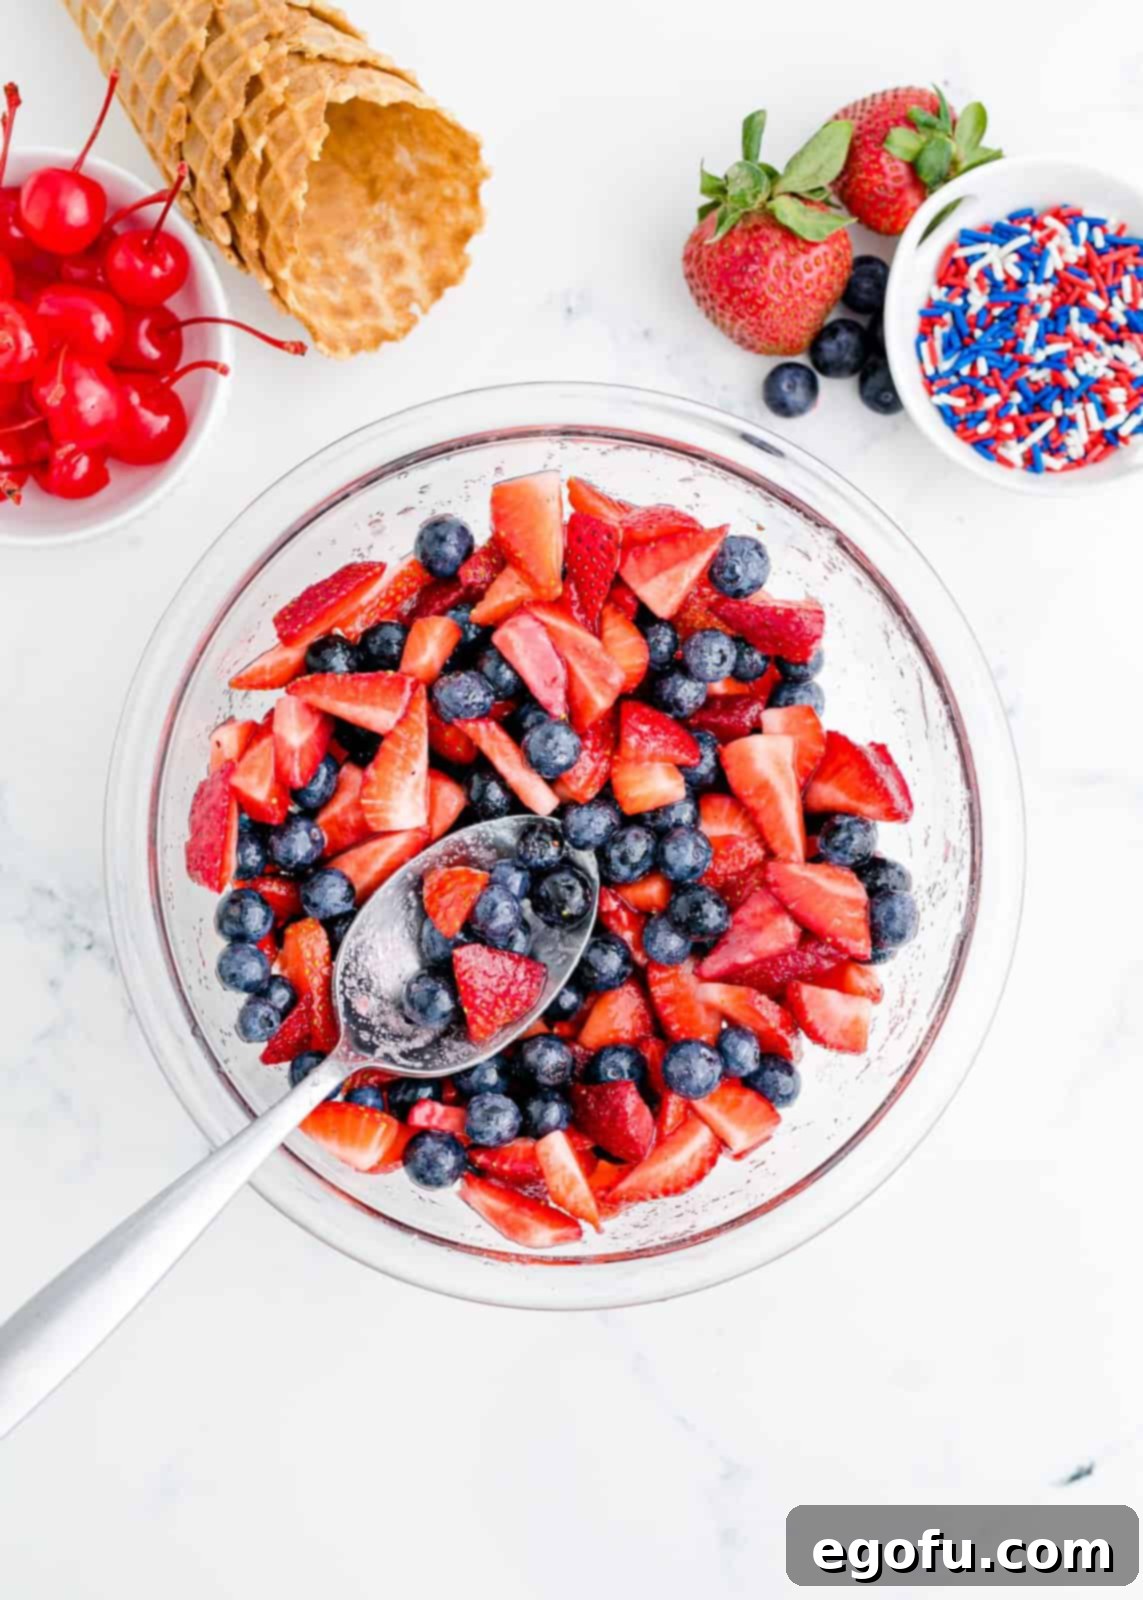
1. Prepare the Berries: Begin by thoroughly rinsing your strawberries and blueberries under cool water. Gently pat them dry with a paper towel to remove any excess moisture. Slice the strawberries into bite-sized pieces, then combine both the sliced strawberries and whole blueberries in a medium-sized bowl. Sprinkle the granulated sugar over the fruit and gently toss to coat. Place the sugared berries in the refrigerator to chill while you prepare the waffle cones. This allows the sugar to draw out juices, creating a delicious, slightly syrupy fruit mixture.
2. Melt the Candy: In separate microwave-safe bowls, melt the red and blue candy melts. Follow the package instructions carefully, usually involving short bursts in the microwave, stirring frequently, to ensure smooth and even melting. Avoid overheating, as this can cause the candy melts to seize or become grainy. You want a consistent, pourable liquid for dipping.
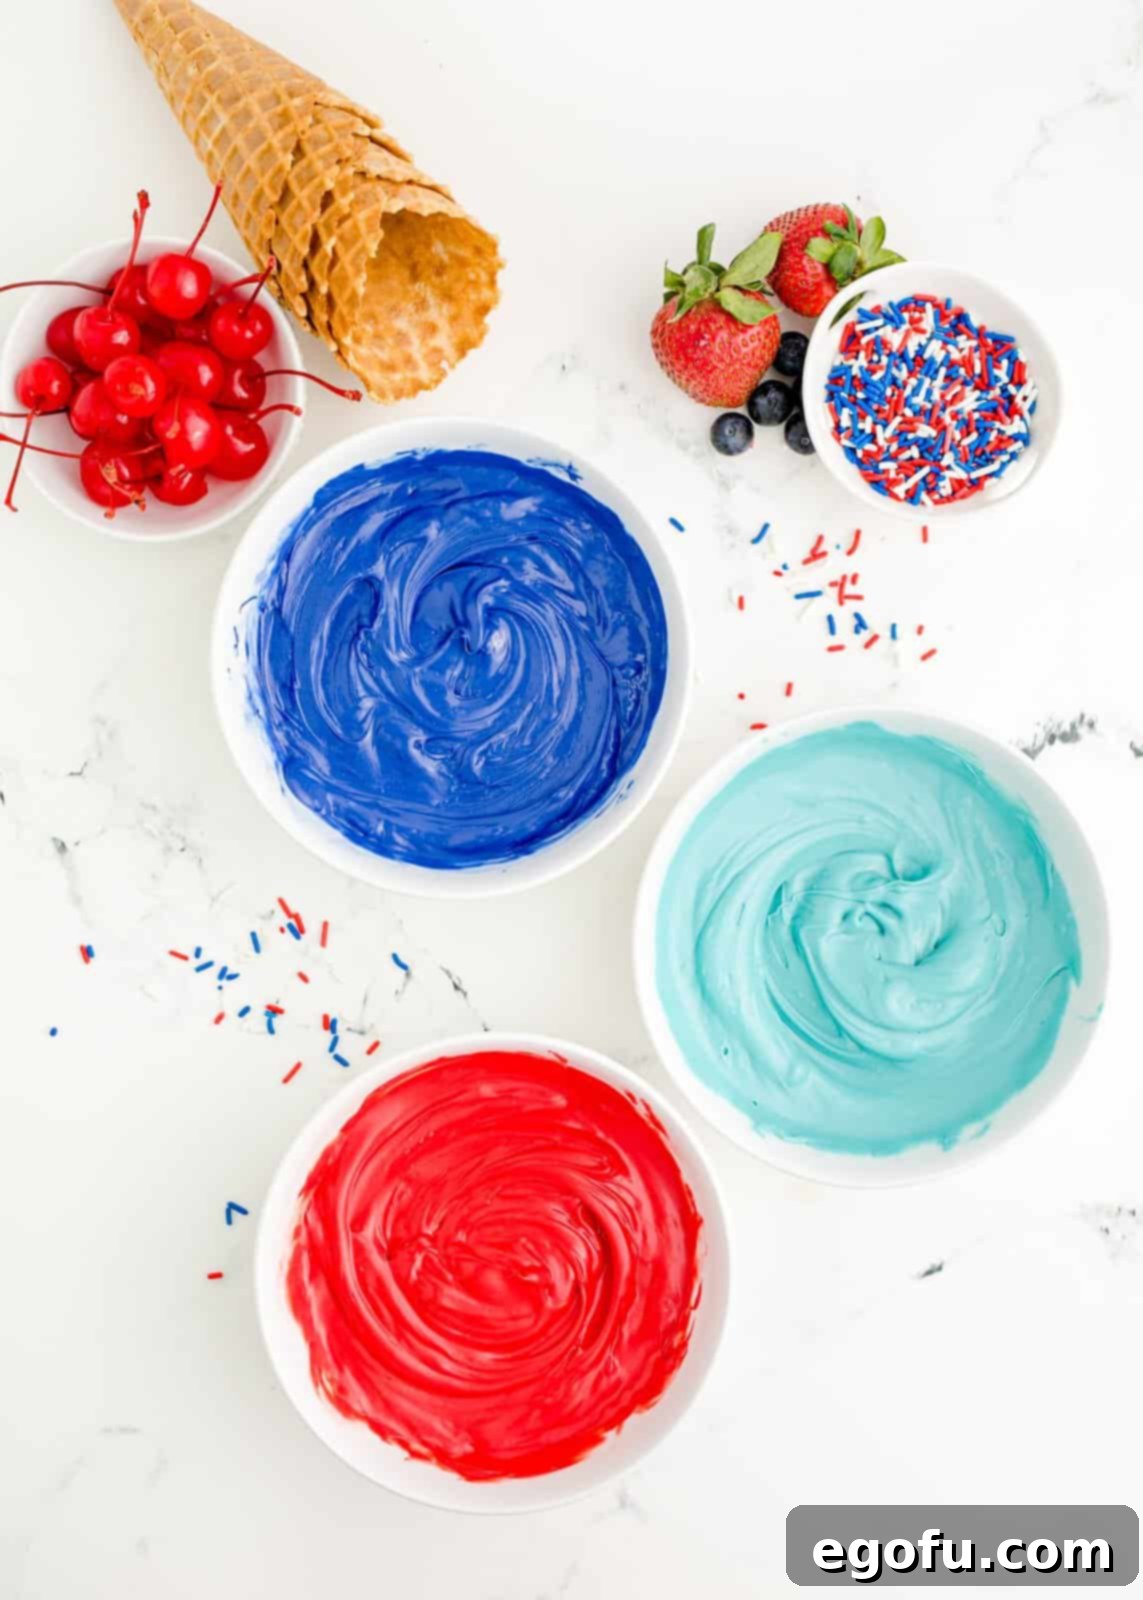
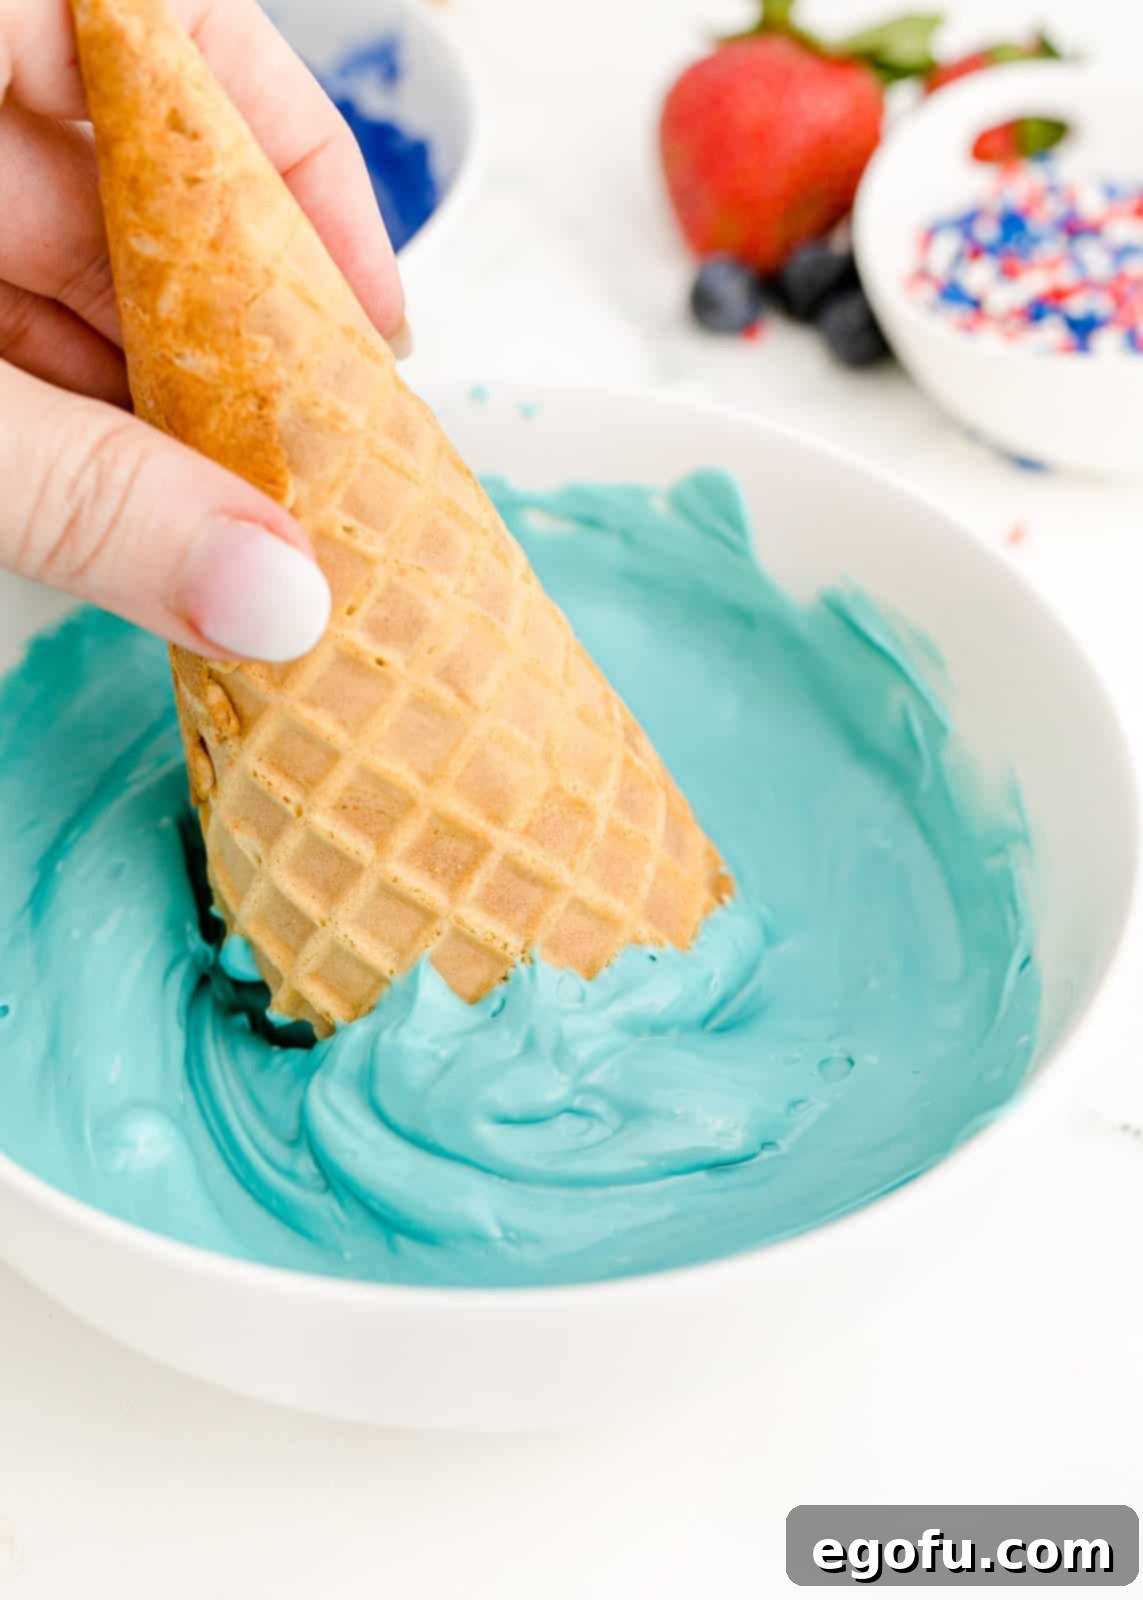
3. Dip the Waffle Cones in Candy Melts: Once your candy melts are perfectly smooth and ready, carefully dip the rim of each waffle cone into either the red or blue melted chocolate. Aim for about 1 inch down from the top edge of the cone. You only need a thin, even layer of chocolate – just enough to act as an adhesive for the sprinkles. Excess chocolate can make it difficult for the sprinkles to adhere properly and can also be messy.
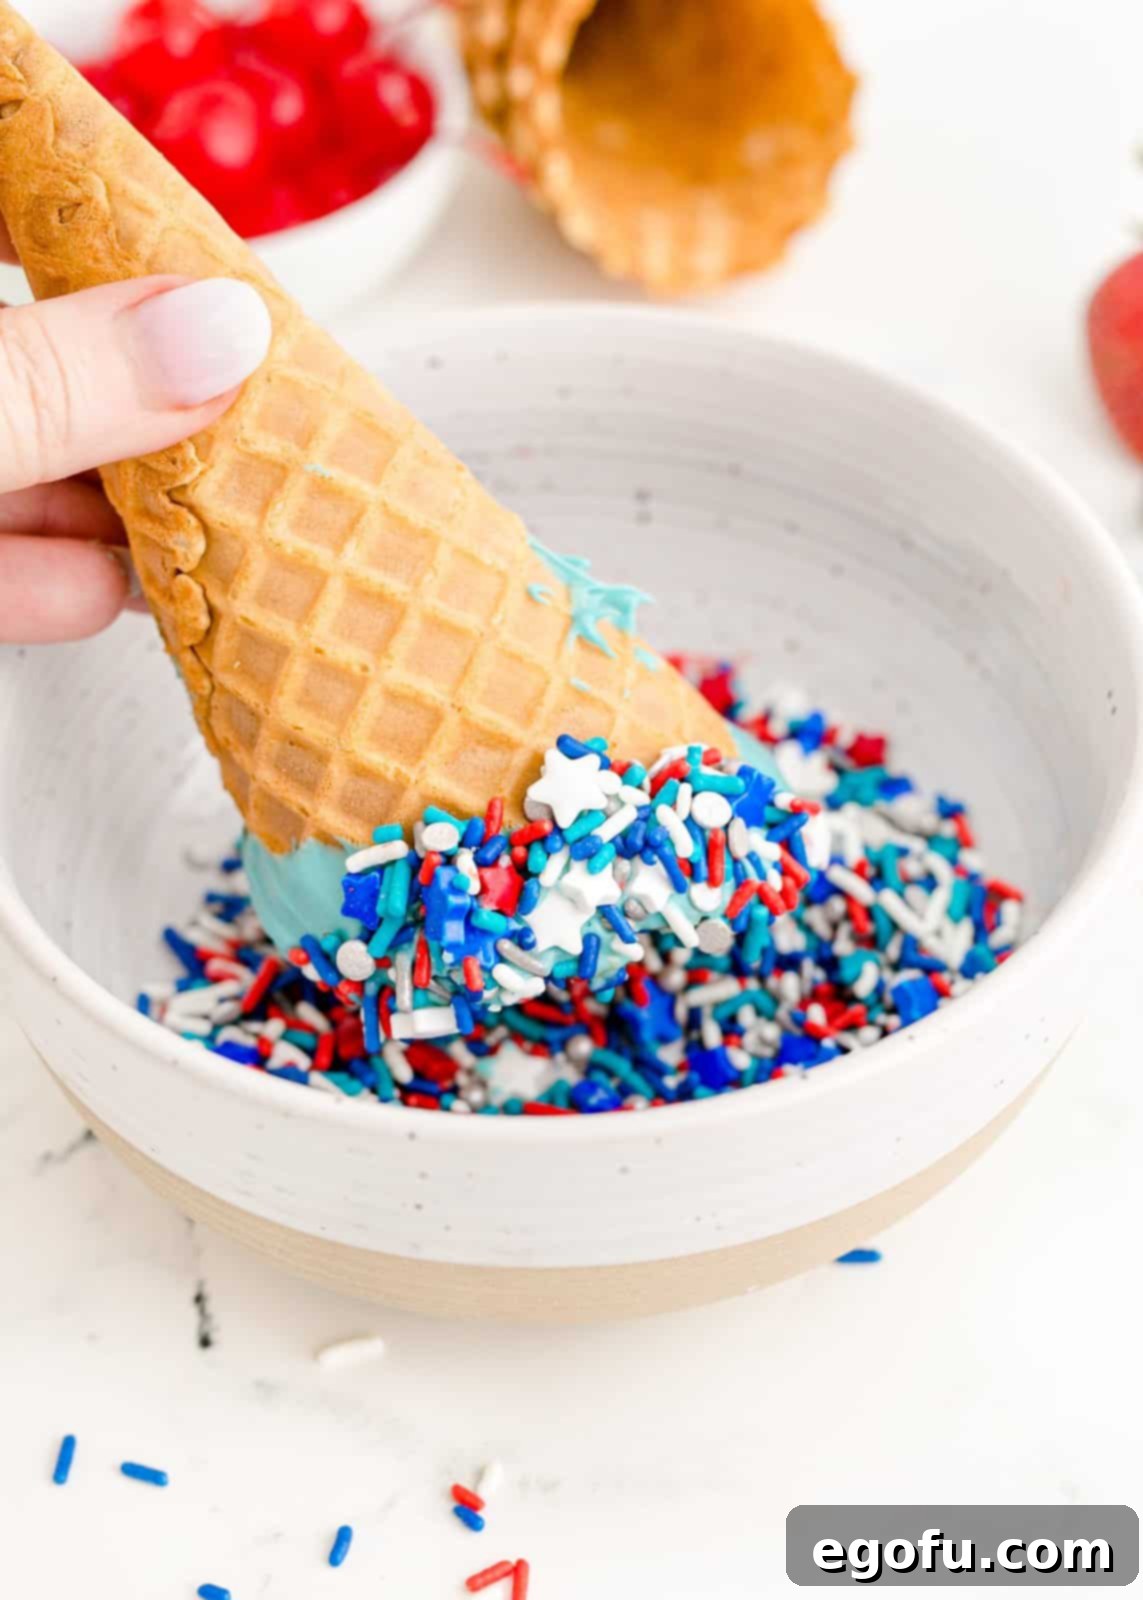
4. Add the Sprinkles Immediately: This step requires speed! Immediately after dipping a cone into the melted candy, dip it straight into your bowl of red, white, and blue sprinkles. Gently rotate the cone to ensure the sprinkles adhere evenly to the wet chocolate. If you wait even a few seconds, the chocolate will begin to harden, and the sprinkles will not stick as effectively. Repeat this process for all your waffle cones, alternating between red and blue candy dips for a truly patriotic display.
5. Chill the Cones to Harden: To set the chocolate and sprinkles, place the decorated waffle cones upright. You can use several glasses, cups, or, ideally, an ice cream cone holder to keep them stable. Transfer them to the refrigerator and allow them to chill for at least 15-20 minutes, or until the candy coating is completely firm to the touch. This step is crucial to prevent smudging and ensure a neat finish.

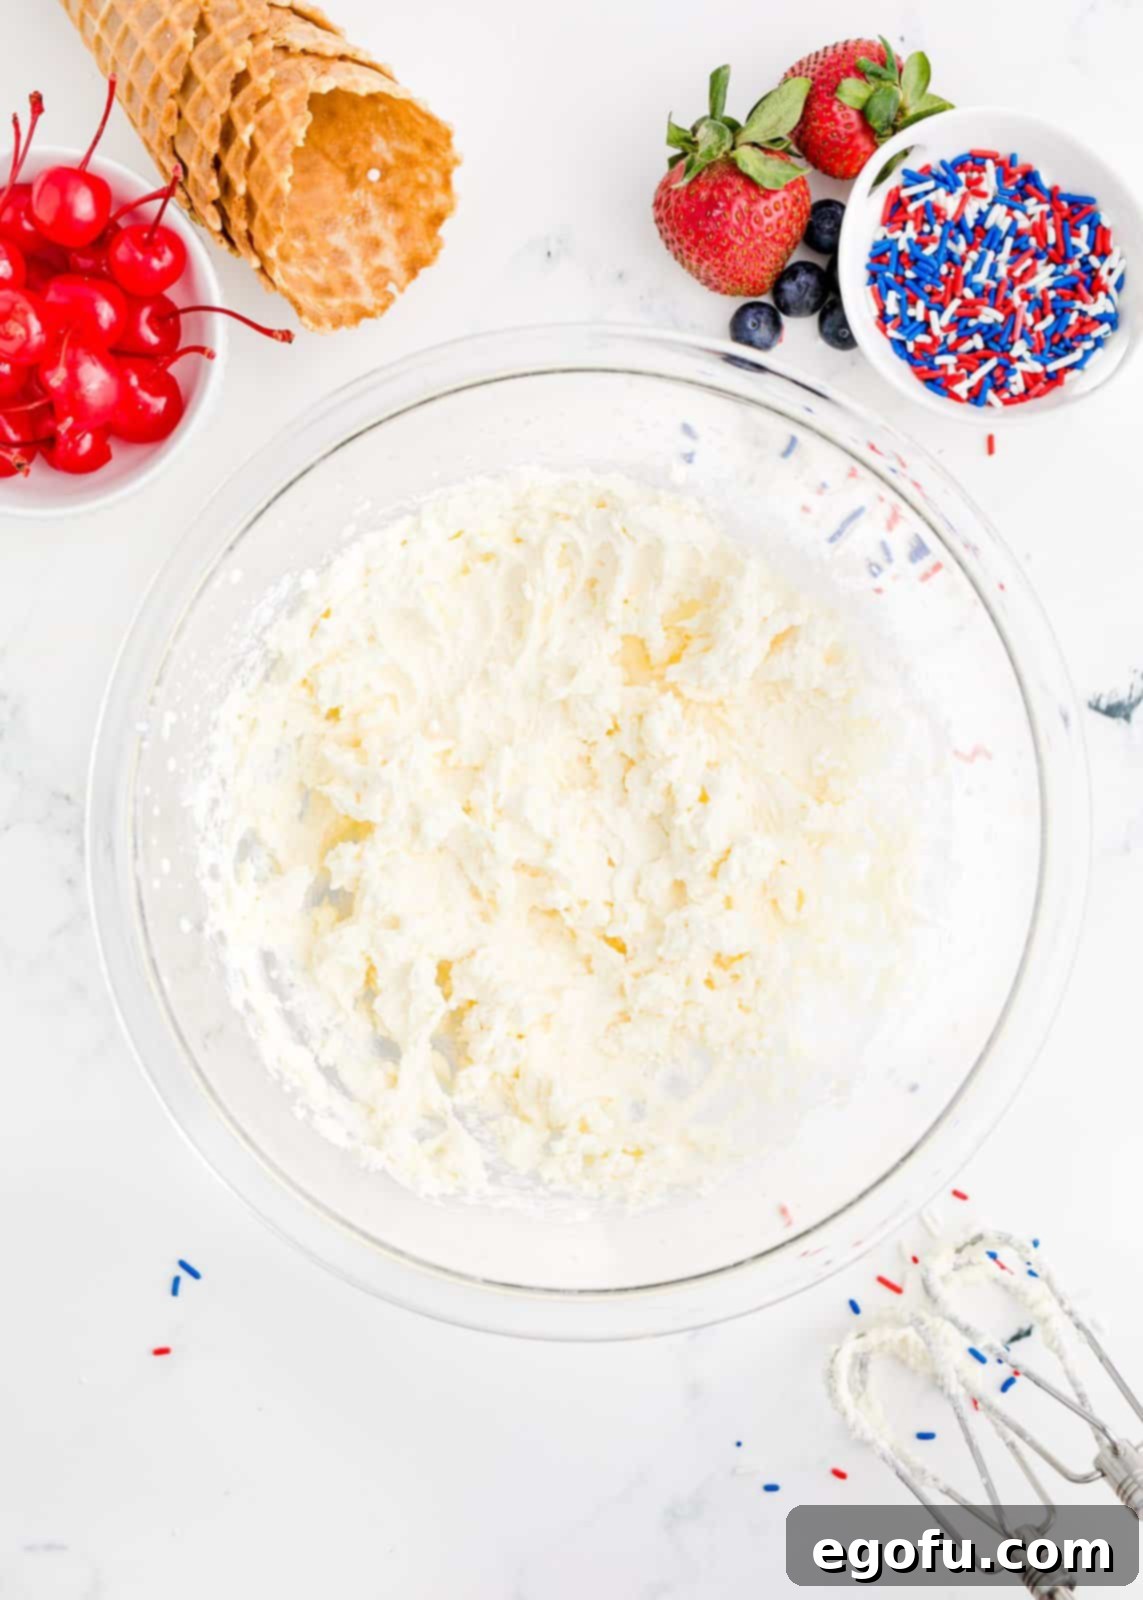
6. Prepare the Cheesecake Whipped Cream: While the cones are chilling, make the luscious cheesecake whipped cream. In a large, chilled bowl (preferably from your stand mixer or a deep bowl suitable for a hand mixer), pour the very cold heavy cream. Beat the cream on high speed for approximately 5 minutes, or until firm, stiff peaks form. This indicates it’s well-whipped and ready for the next additions. Using an electric hand mixer or a stand mixer with a whisk attachment will make this process significantly easier and quicker.
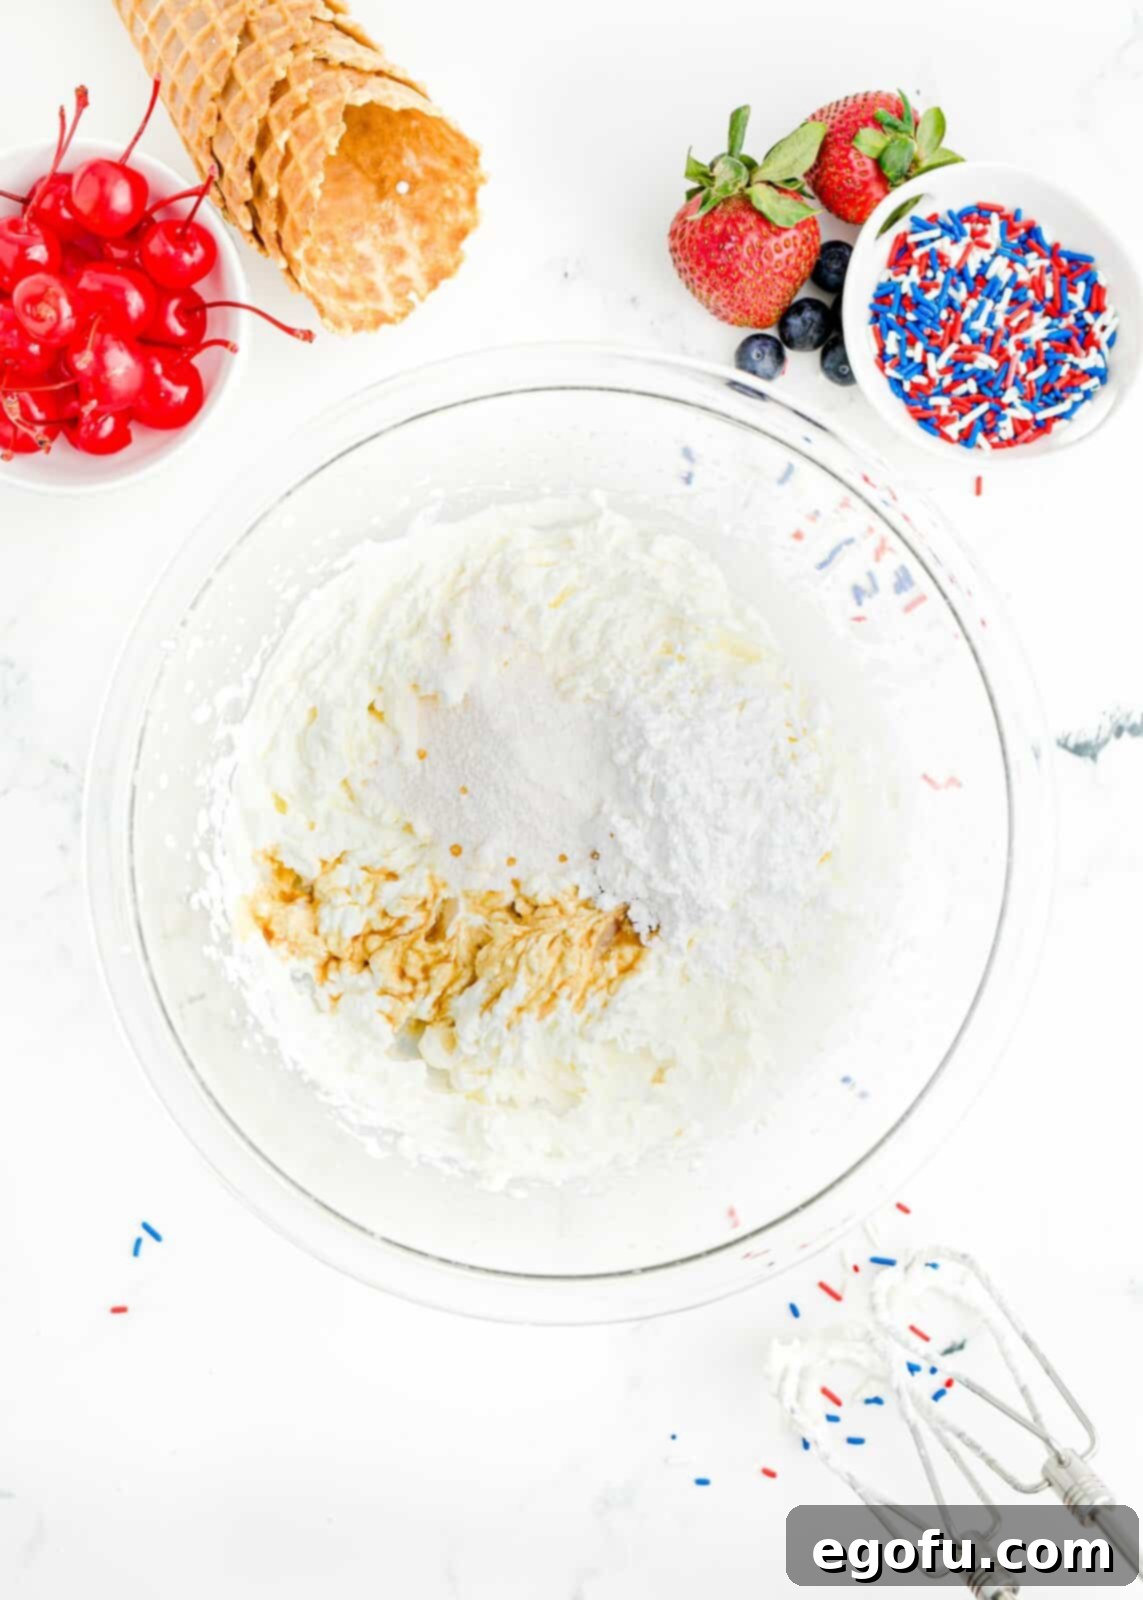
7. Flavor and Pipe the Whipped Cream: Once the heavy cream has formed stiff peaks, add the powdered sugar, dry instant cheesecake pudding mix, and vanilla extract to the bowl. Continue beating on medium-high speed until all ingredients are fully combined, and the whipped cream is light, fluffy, and holds its shape beautifully. Transfer this decadent whipped cream into a piping bag. If you don’t have one, remember a large resealable plastic bag works just as well. Snip off the tip of the bag, or attach a large piping tip (like a Wilton 1A) for a decorative swirl.
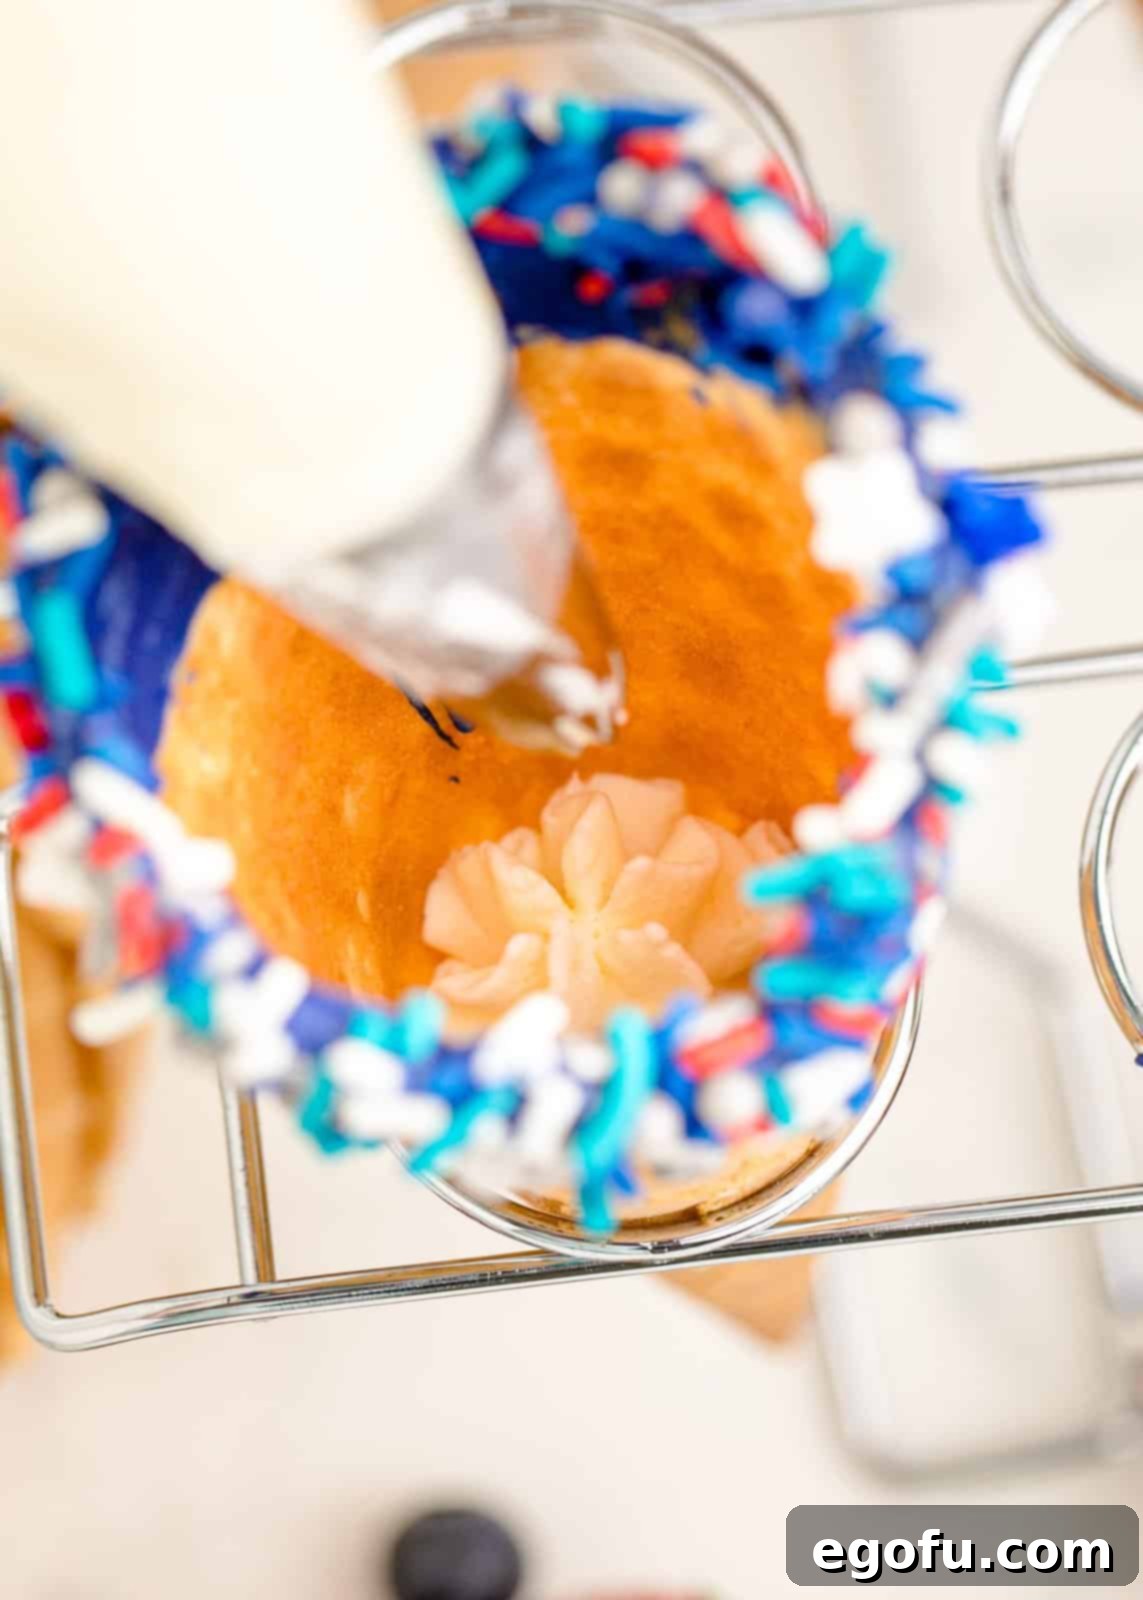
8. Begin Assembling the Cones with Whipped Cream: Retrieve your chilled and hardened waffle cones. Take your piping bag (or ziploc bag) filled with cheesecake whipped cream and pipe a generous layer, about an inch thick, into the very bottom of each cone. This initial layer provides a creamy foundation and helps prevent the fruit from making the cone soggy too quickly, ensuring a delightful texture in every bite.
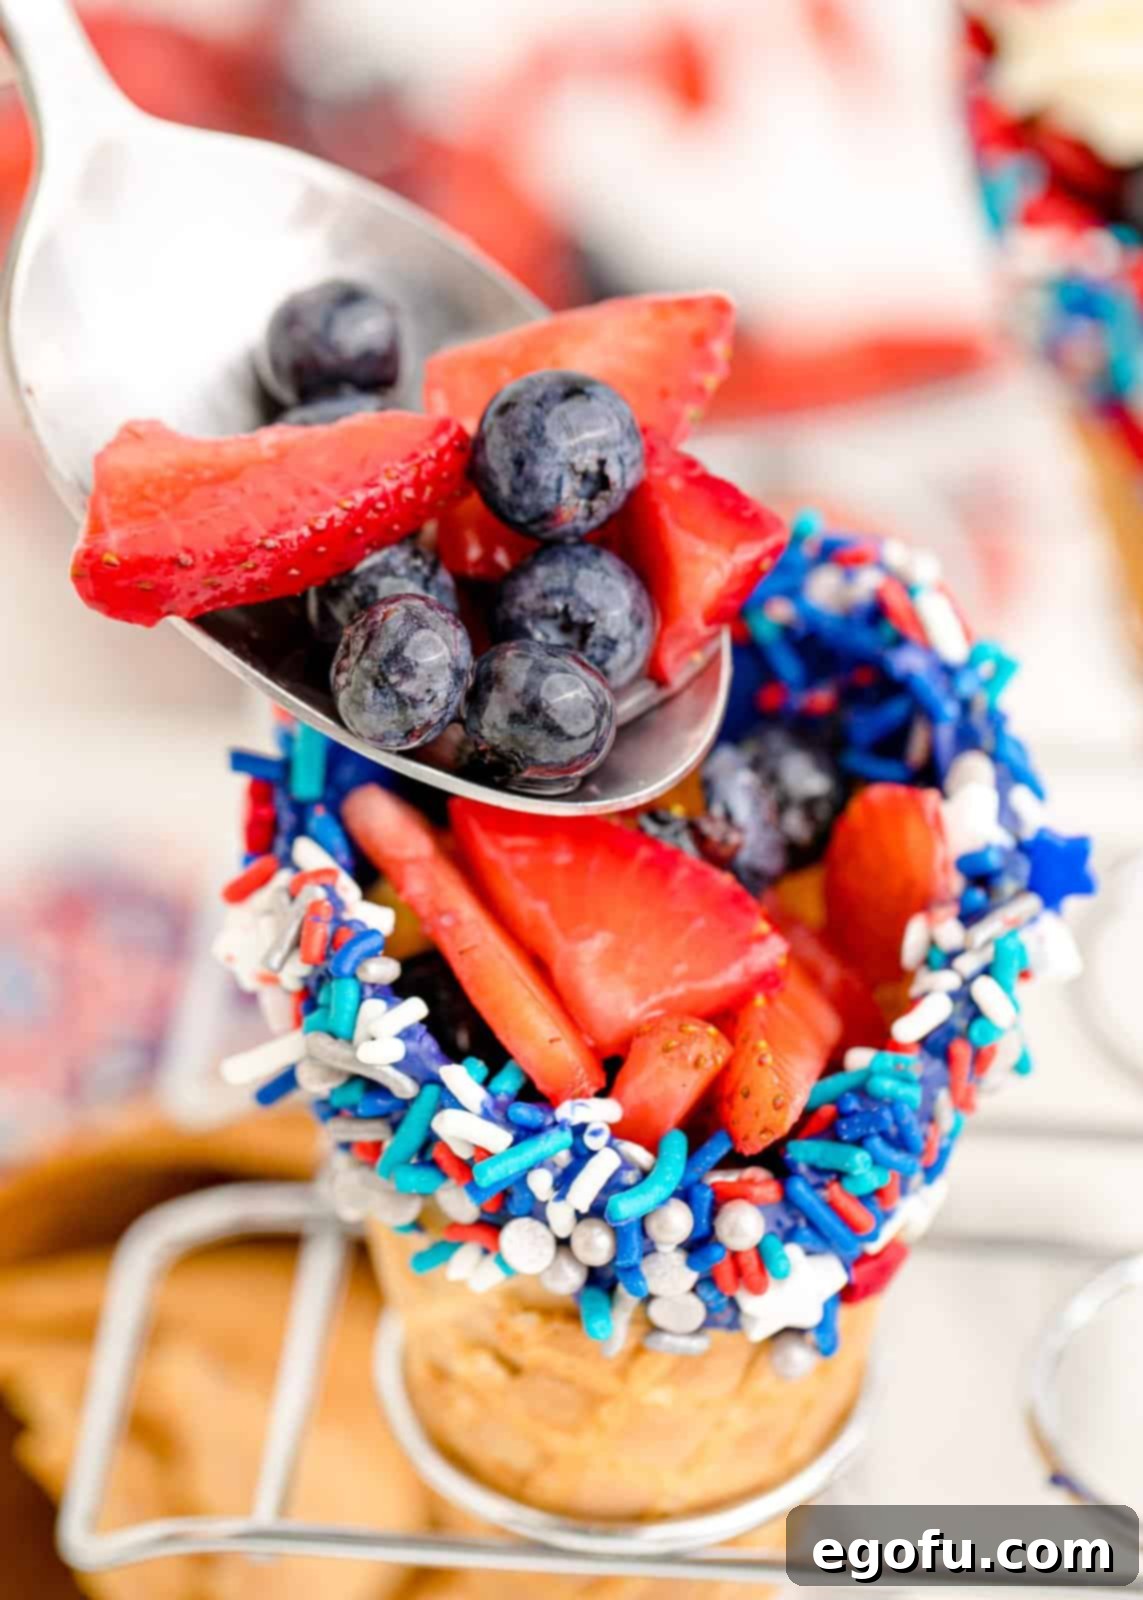
9. Add the Fruit Filling: Take the sweetened berries out of the refrigerator. Before adding them to the cones, it’s a good idea to gently drain any excess liquid that might have accumulated. Use a slotted spoon to scoop approximately ¼ cup of the mixed berries into each cone, filling it almost to the top. Distribute the red and blue berries evenly for a visually appealing and delicious fruit layer.
10. Garnish with Whipped Cream and Cherry: Complete your patriotic waffle cones by piping a final dollop or swirl of cheesecake whipped cream on top of the berries. Finish each cone with a bright red maraschino cherry. Remember to drain the cherries well and pat them dry before placing them, as they often come with a lot of liquid that could potentially make the whipped cream watery. This final touch adds both color and a classic dessert flourish.

Serve these magnificent 4th of July Waffle Cones immediately to enjoy them at their freshest and crispiest. If you’re preparing them slightly ahead of time, store them upright in the refrigerator until you’re ready to present these spectacular treats to your guests.

Tips for Success and Creative Variations
To ensure your 4th of July Waffle Cones are a resounding success and to inspire your culinary creativity, here are some additional tips and variations:
- Chilling is Key: For the best results, ensure all your ingredients, especially the heavy cream, are very cold before you begin. Chilled equipment (bowls and beaters) also helps the heavy cream whip up faster and hold its stiff peaks better.
- Pudding Mix Matters: Always use instant pudding mix and add it dry to the whipped cream. Do not prepare it according to the box instructions beforehand. This dry mix acts as a stabilizer and flavor enhancer for your whipped cream, giving it that delightful cheesecake texture.
- Beyond Cheesecake: As mentioned, feel free to swap the cheesecake pudding mix for other instant flavors like vanilla, white chocolate, or even lemon for a zesty twist.
- Customize for Any Occasion: While perfect for the 4th of July, these cones can be adapted for any holiday or celebration! Simply change the colors of the candy melts and sprinkles to match your theme. Think green and red for Christmas, pastels for Easter, or school colors for a graduation party. You can also experiment with different fruit combinations.
- Waffle Cone Integrity: The robust nature of waffle cones is crucial for this dessert. Their strong structure prevents the cone from crumbling under the weight of the filling and keeps everything neatly contained, making them easy to hold and eat.
- Piping Bag Alternatives: Don’t fret if you lack a piping bag. A large, sturdy ziploc bag with a corner snipped off makes an excellent substitute. Alternatively, a simple spoon will get the job done, albeit with a less refined finish.
- Making Ahead: You can prepare the berry mixture and the whipped cream a few hours in advance and keep them refrigerated. Dip and decorate the cones closer to serving time to maintain their crispness. Assemble the cones just before serving for optimal freshness.
- Chocolate Dip Options: While candy melts are convenient for their vibrant colors and smooth finish, you can also use tempered white chocolate dyed with oil-based food coloring for a more gourmet touch. Be sure to use oil-based colors, as water-based colors can cause chocolate to seize.
Craving More Delicious Recipes for Your Celebration?
If you’ve enjoyed making and tasting these 4th of July Waffle Cones, you’ll surely love exploring other festive and flavorful recipes. Here are some more delectable ideas to inspire your next gathering:
- A Collection of 4th of July Party Recipes
- Festive 4th of July Cupcakes
- Easy Patriotic Funfetti Cake
- Refreshing Patriotic Mixed Berry Dessert
- Charming Red, White and Blue Pinwheel Cookies
- Sweet Patriotic Sugar Cookie Bars
- Delightful 4th of July Flag Dip
Recipe: 4th of July Waffle Cones
A super easy kid-friendly treat, these 4th of July Waffle Cones are a fun and tasty way to cool off this summer and celebrate Independence Day!
Prep Time: 45 minutes
Cook Time: 0 minutes
Total Time: 45 minutes
Servings: 6
Author: Brandie Skibinski
Ingredients
- 6 waffle cones
- Red melting candies
- Blue melting candies
- 3 cups strawberries, sliced
- 3 cups blueberries
- ¼ cup granulated sugar
- 2 cups cold heavy cream
- ½ cup powdered sugar
- 2 tablespoons cheesecake instant pudding mix (dry, do not prepare)
- ½ teaspoon vanilla extract
- 6 maraschino cherries, for serving
- Red, white, and blue sprinkles (in a bowl for dipping)
Instructions
- Rinse and pat the berries dry. Slice the strawberries, then add sliced strawberries and blueberries to a bowl. Toss with ¼ cup of sugar and refrigerate while preparing the waffle cones.
- In separate bowls, microwave the red and blue candy melts according to the package instructions until smooth.
- Once the candy melts are ready, dip the rims of each waffle cone in either red or blue chocolate (about 1 inch down from the top). You only need a thin layer of chocolate for sprinkles to stick to.
- Immediately dip the chocolate-coated cones into the red, white, and blue sprinkles, rotating gently to ensure even coverage. If you wait, the chocolate will harden, and sprinkles won’t stick.
- Set the cones upright in several glasses or an ice cream cone holder and place them in the refrigerator to harden the candy coating.
- To make the cheesecake whipped cream: Pour the cold heavy cream into a large, chilled bowl. Beat on high speed for about 5 minutes, or until stiff peaks form.
- Add powdered sugar, dry instant pudding mix, and vanilla extract to the whipped cream. Continue beating until fully combined, fluffy, and stiff. Transfer this whipped cream to a piping bag (or a large Ziploc bag with the tip cut off).
- To assemble: Pipe about a 1-inch layer of whipped cream into the bottom of each prepared waffle cone.
- Remove the berries from the refrigerator and drain any excess liquid. Using a slotted spoon, scoop approximately ¼ cup of berries into each cone, filling it to the top.
- Add a dollop or swirl of whipped cream on top and crown with a maraschino cherry. Ensure cherries are drained and patted dry to avoid excess liquid.
- Serve these delicious cones immediately for optimal crispness, or keep them standing upright in the refrigerator until ready to enjoy (best within 2 days).
Notes
- Remember to use instant pudding mix and add it dry; do not prepare it beforehand.
- Vanilla or white chocolate pudding mix can be used as a delicious alternative to cheesecake flavor.
- Feel free to customize these cones for any holiday by changing candy melt colors, sprinkles, and even fruit choices.
- Waffle cones are recommended for their sturdy structure that holds the filling well.
- A large resealable plastic bag with a snipped corner works perfectly if you don’t have a piping bag.
Nutrition Information (Estimated Per Serving)
Calories: 474kcal | Carbohydrates: 52g | Protein: 4g | Fat: 30g | Sodium: 121mg | Fiber: 4g | Sugar: 40g
Nutritional Disclaimer
Please note that the nutritional information provided is an estimate. “The Country Cook” is not a dietician or nutritionist. Calorie counts and other nutritional values can vary significantly based on brands used and ingredient substitutions. If precise nutritional values are critical for you, we recommend calculating them using your preferred online nutritional calculator with the specific ingredients you use.
Did you make this delightful recipe? We’d love to see it! Share your creations on Instagram @thecountrycook and be sure to mention us #thecountrycook!
